
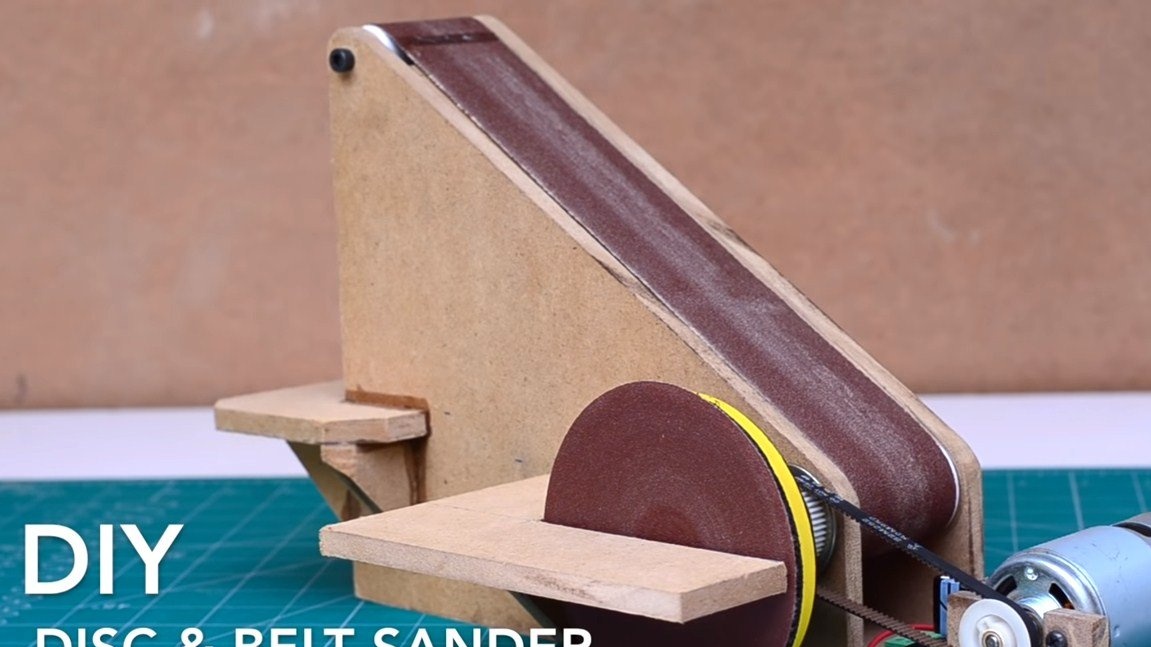
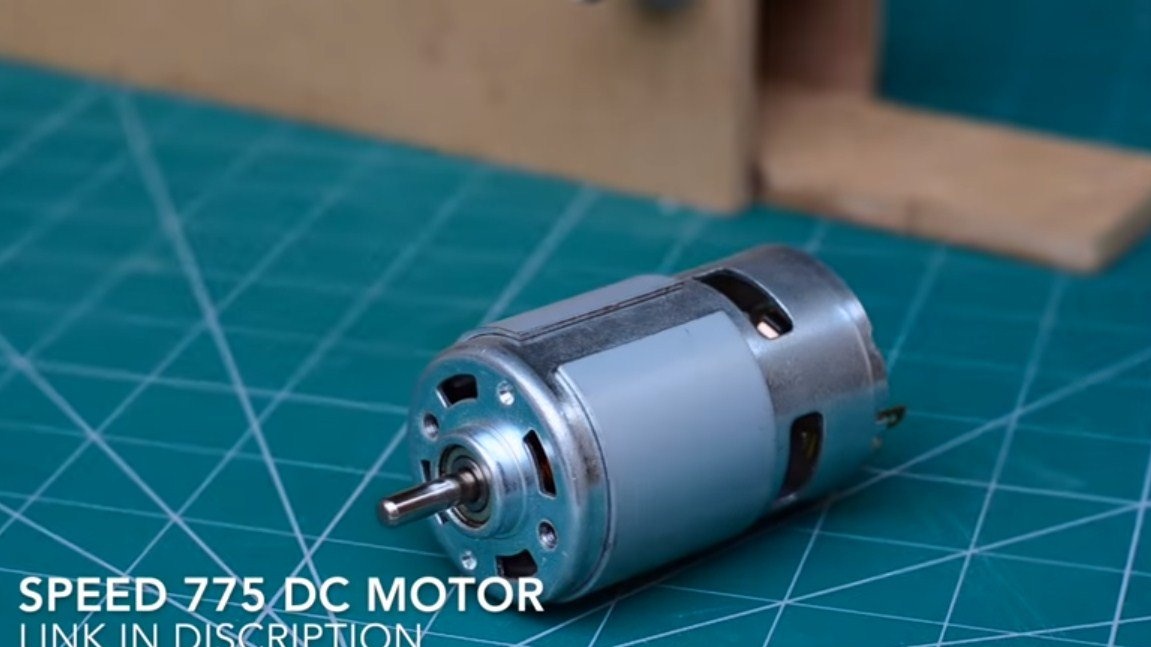
Hello everyone, in this instruction we will discuss how to make a miniature belt sander based on the 775 engine. In addition, a small sanding disc for sandpaper such as Velcro is installed here. Motor 775 is quite powerful and durable, they are used for the manufacture of various miniature machines. Thanks to the built-in impeller, the engine is forcibly cooled, and ball bearings significantly extend its service life.
The machine is not going to be assembled, the main material is an MDF board. If the project interests you, I propose to familiarize yourself with it in more detail!
Materials and tools used by the author:
Material List:
- ;
- ;
- MDF-plate;
- screws;
- Super glue;
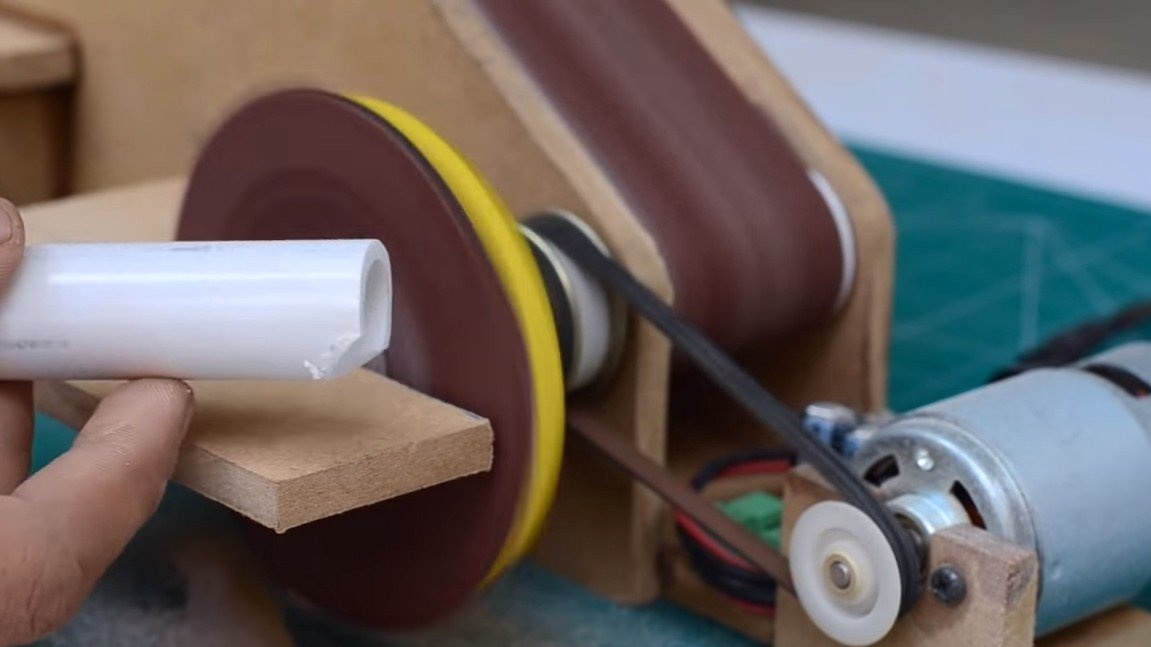
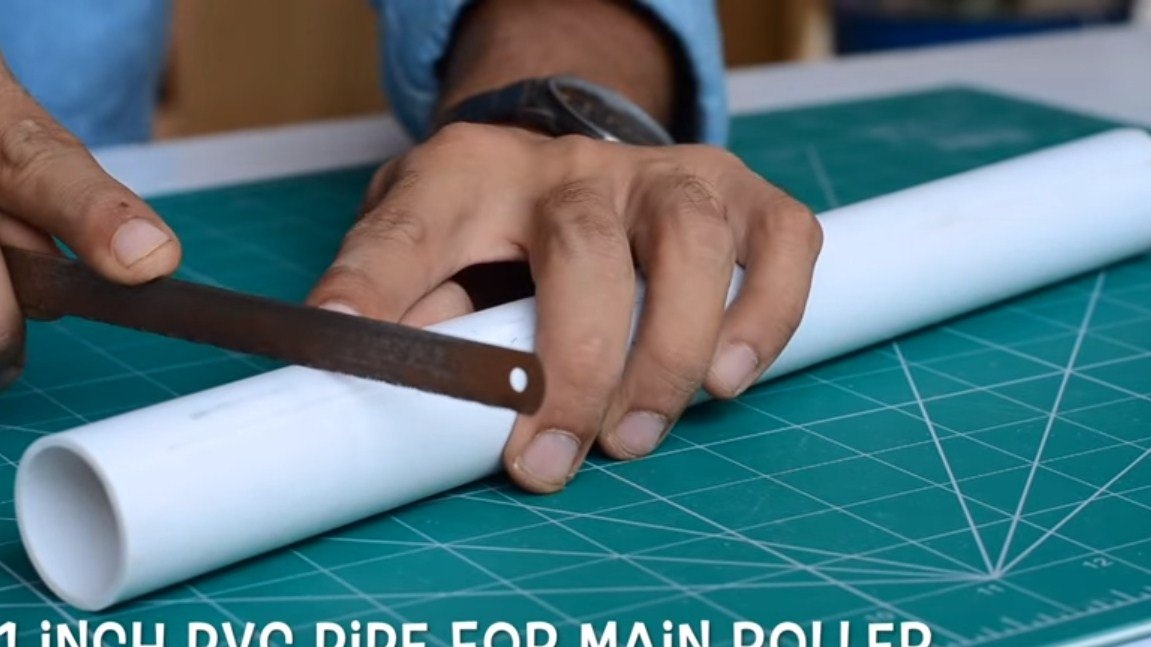
- PVC pipe ½;
- bearings;
- bolts and nuts;
- sandpaper;
- grinding disk (Velcro);
- (lowering).
Tool List:
- jigsaw;
- drill;
- screwdriver;
- pliers;
- marker;
- measuring tool;
- a hacksaw for metal.
Manufacturing process homemade:
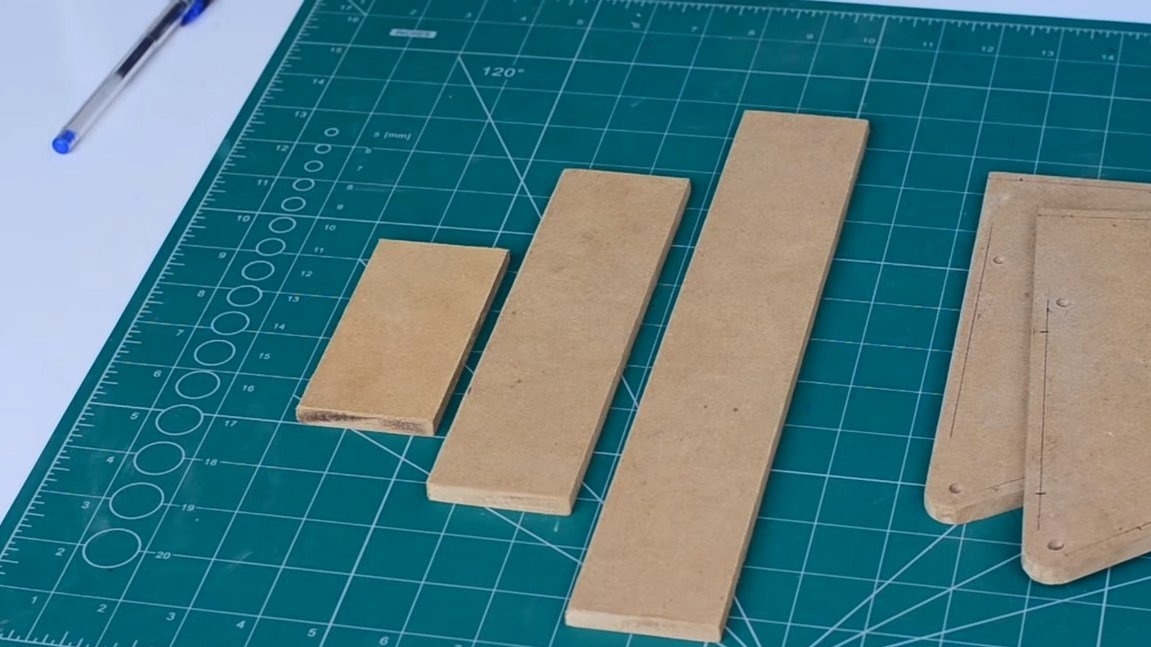
Step one. We cut out the necessary details and assemble the frame
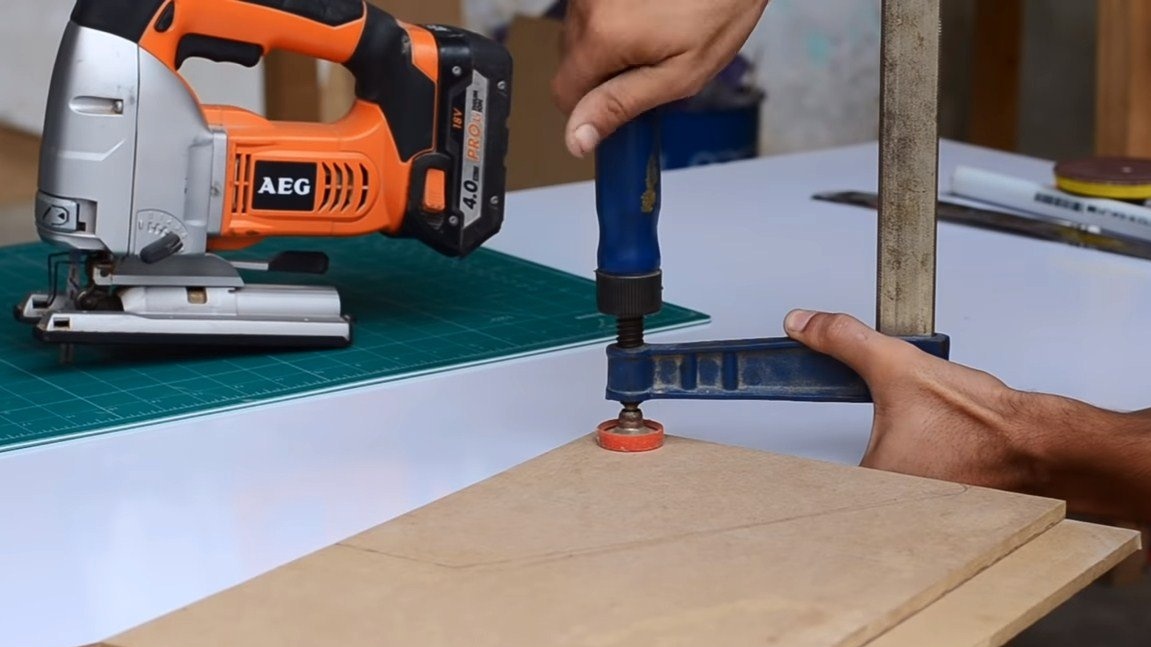
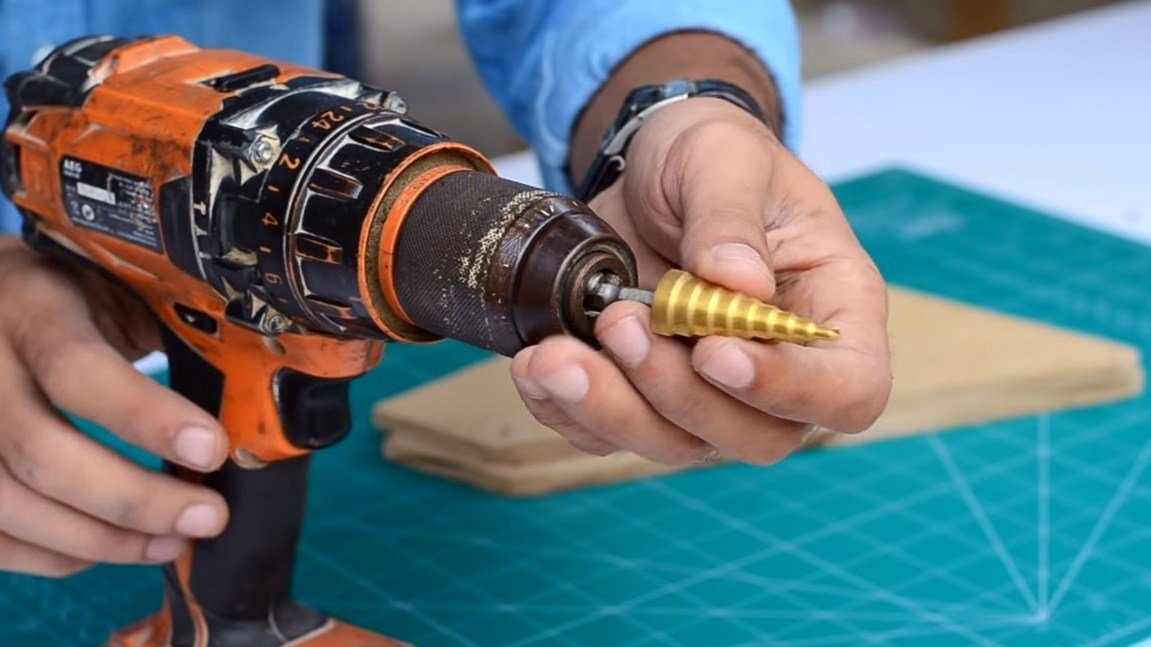
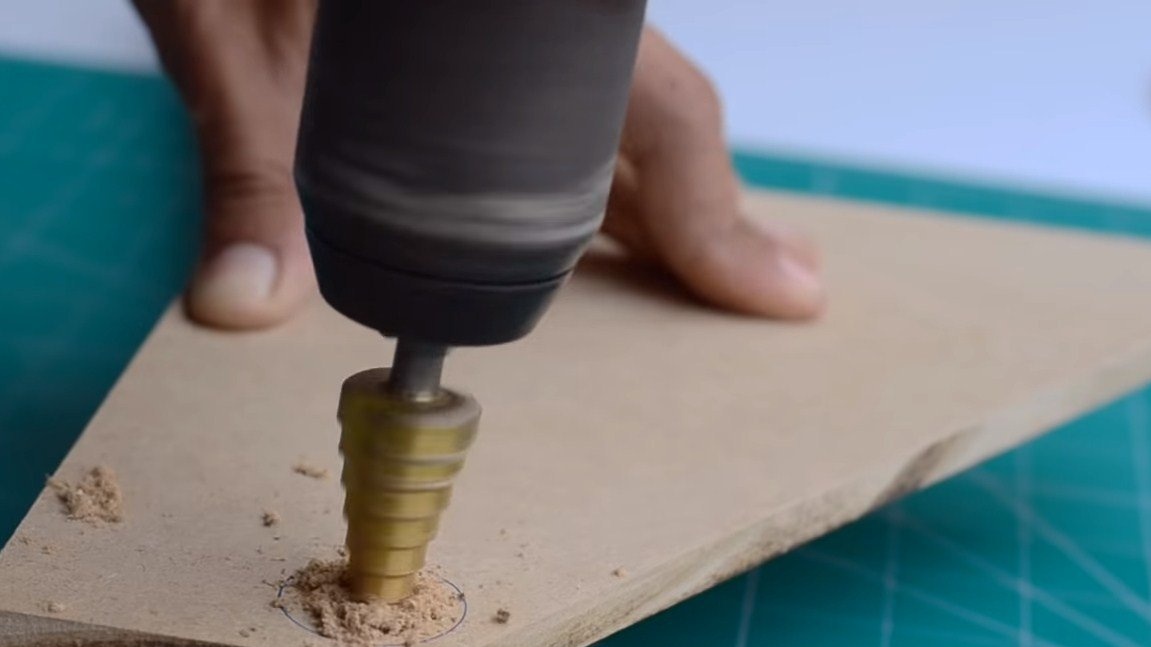
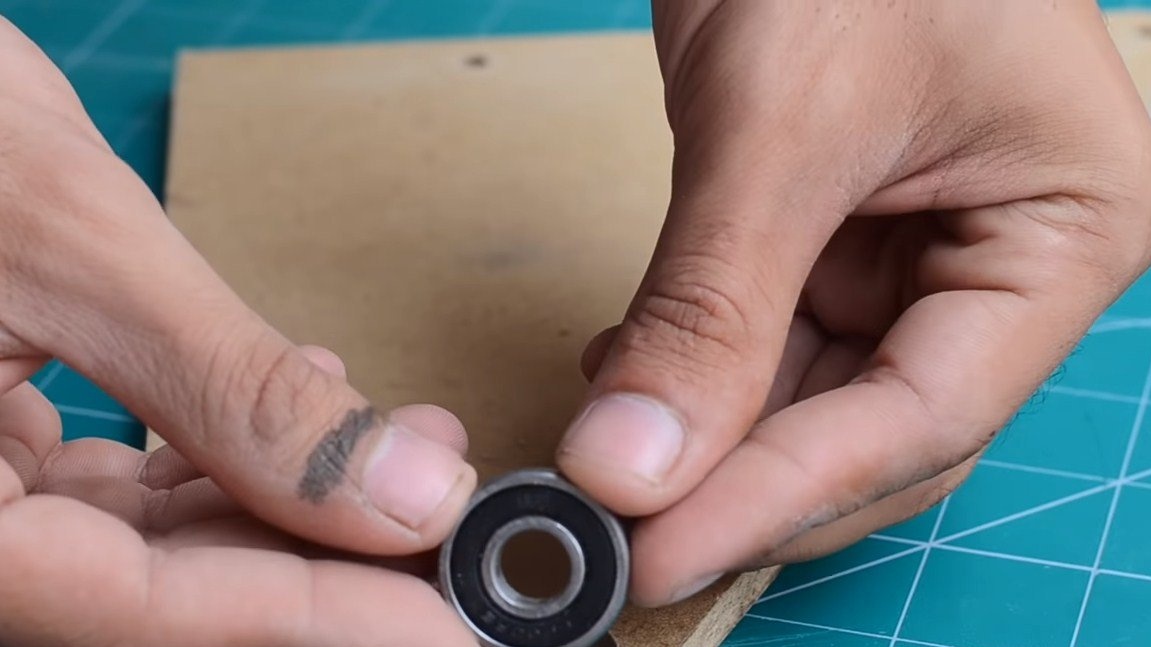
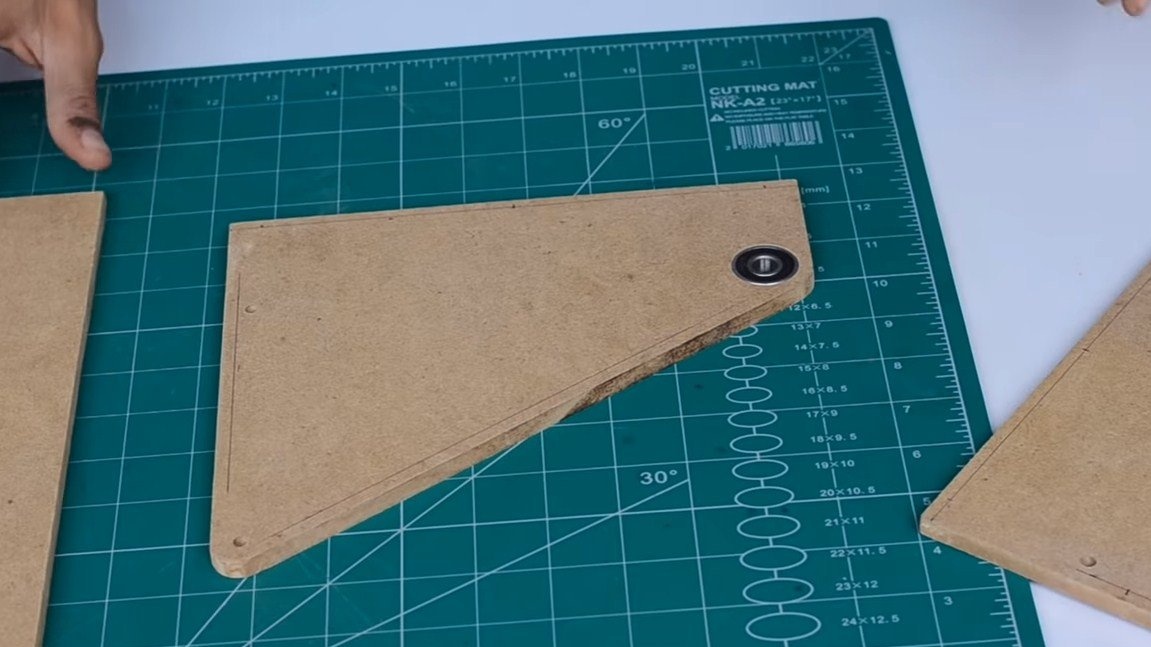
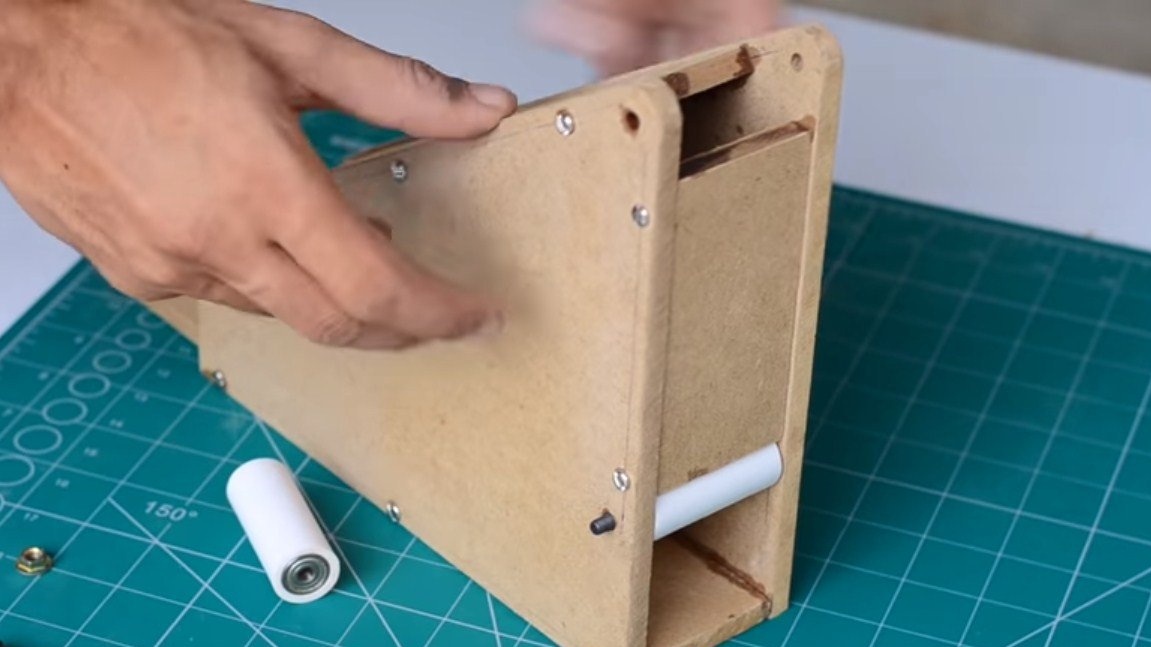
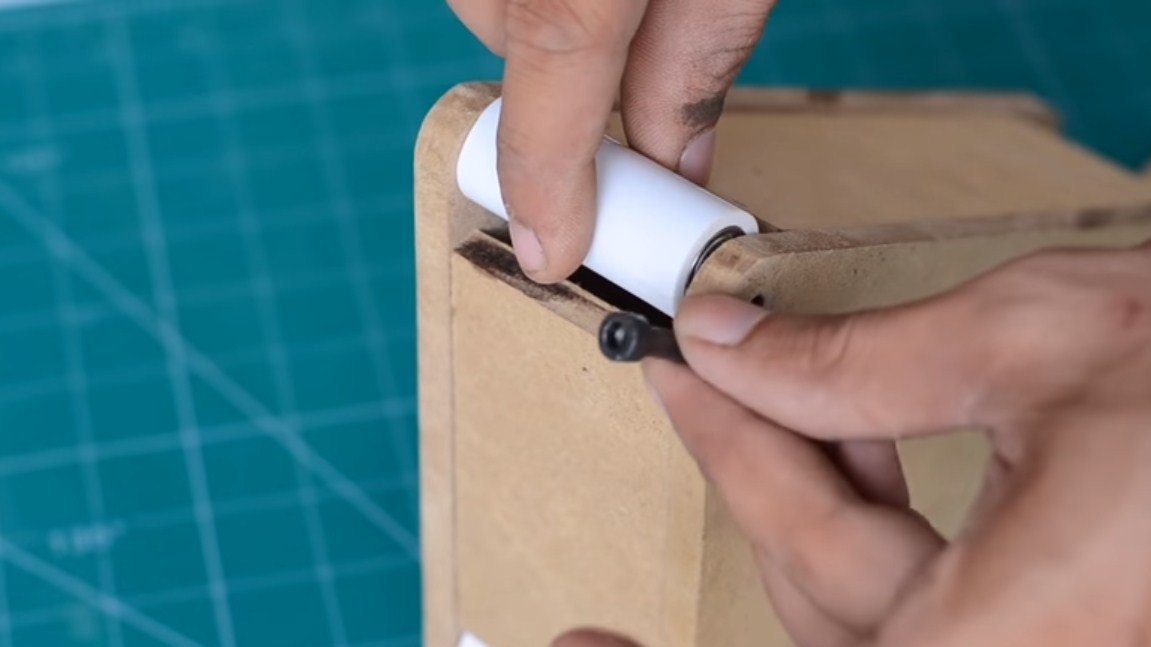
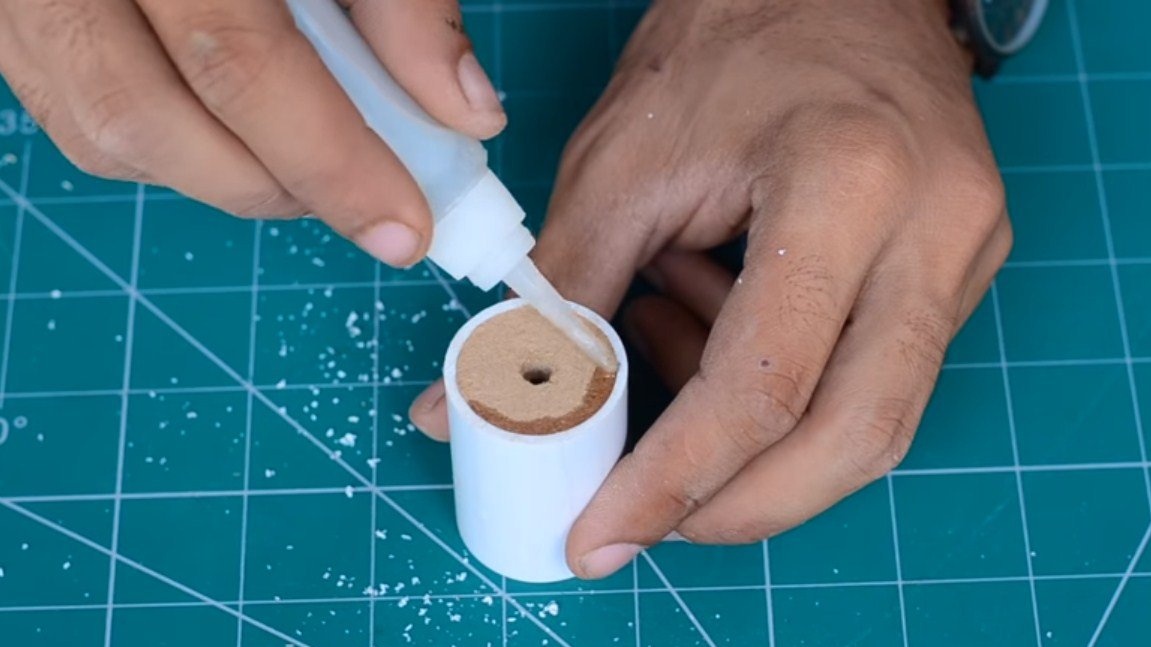
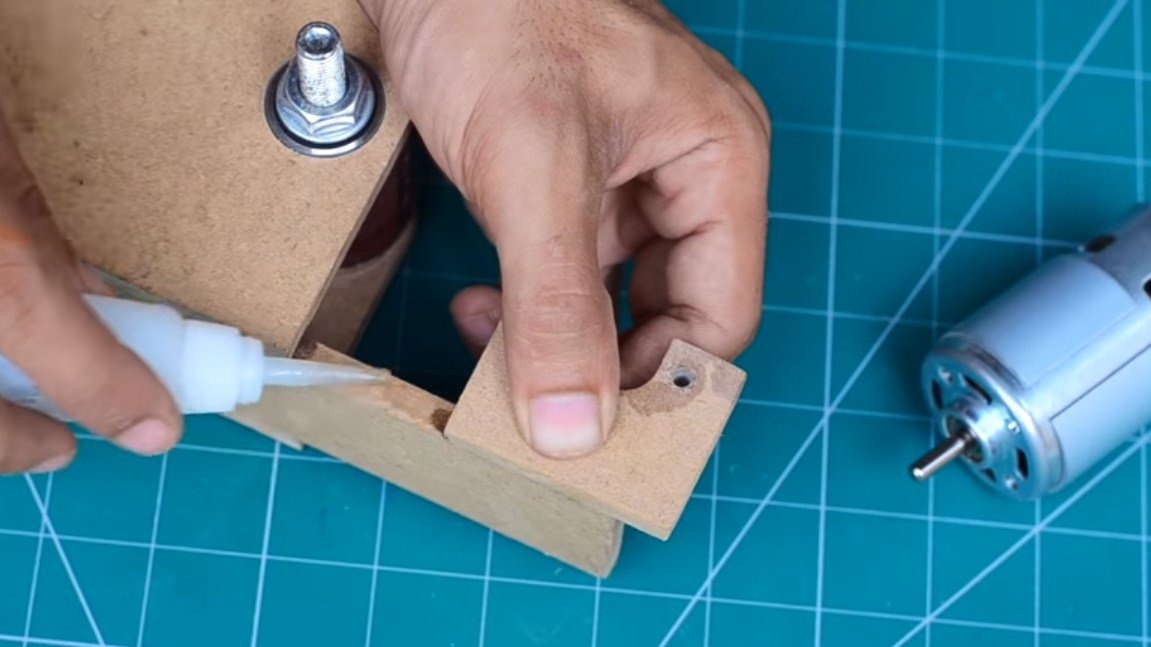
The bed is made of MDF board. First of all, we cut two identical racks, here we need an electric jigsaw. In them we drill with a step drill or a crown of a hole and press bearings into them. There will be a main axis to which torque will be transmitted through a belt drive. Bearings can be additionally fixed with superglue, self-tapping screws and so on.

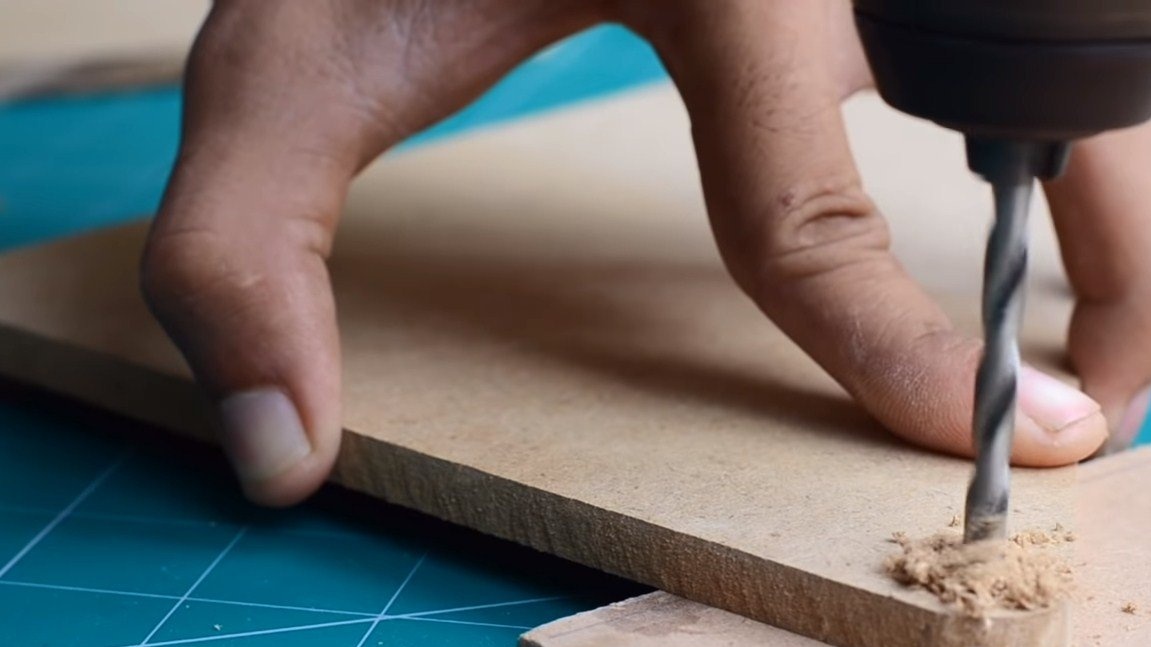
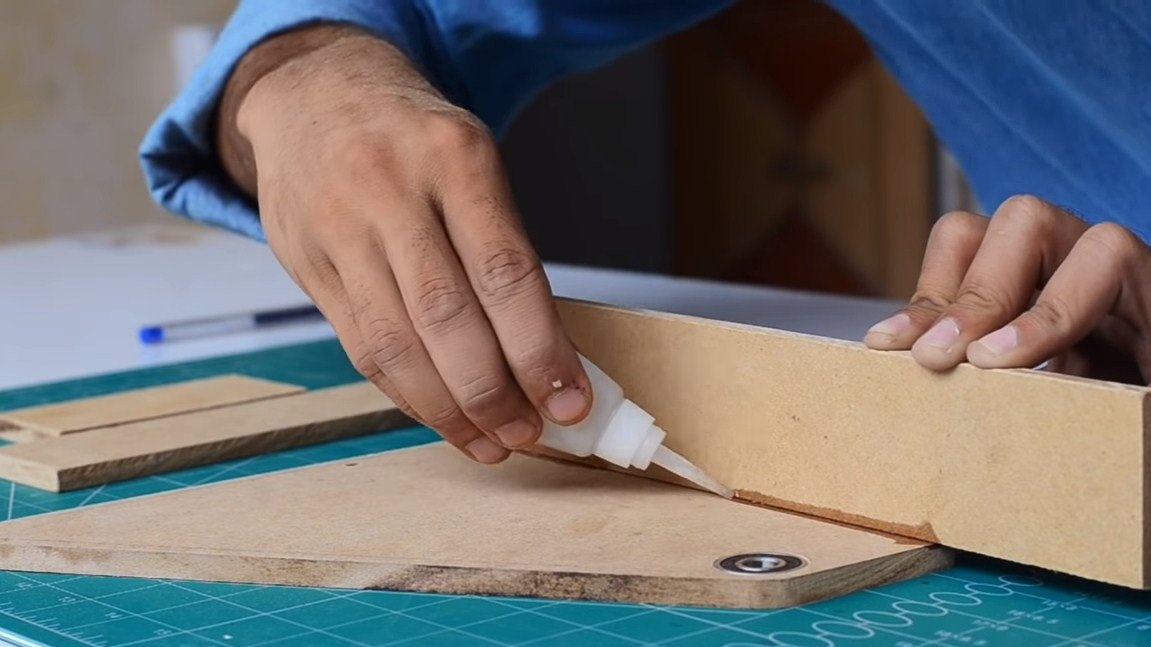
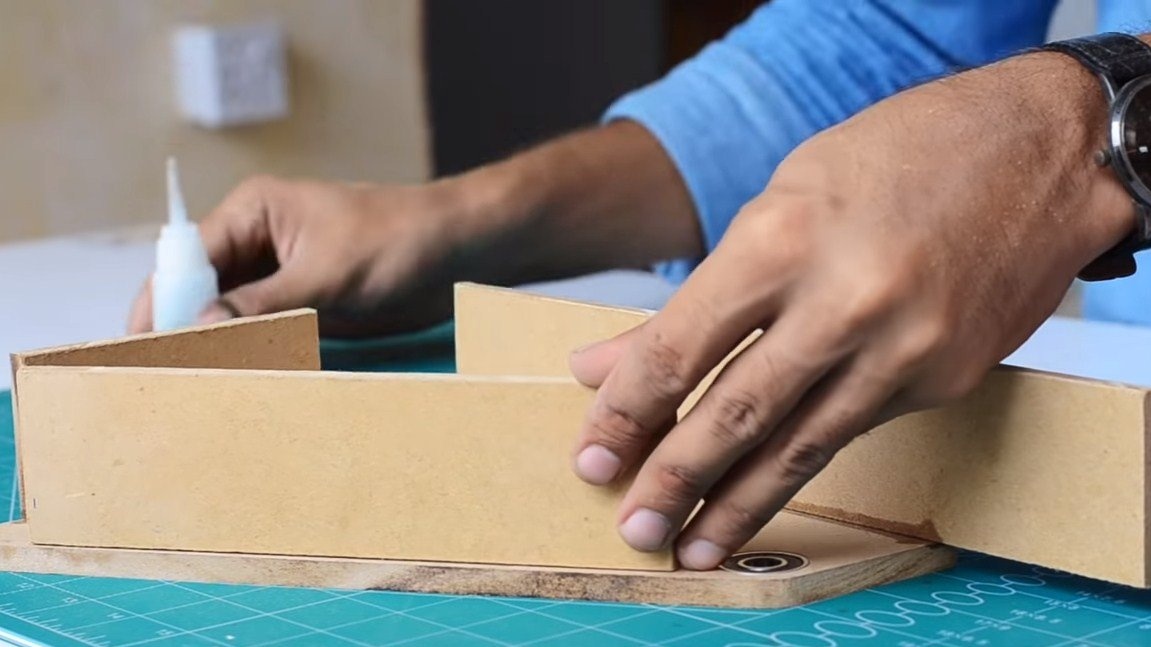
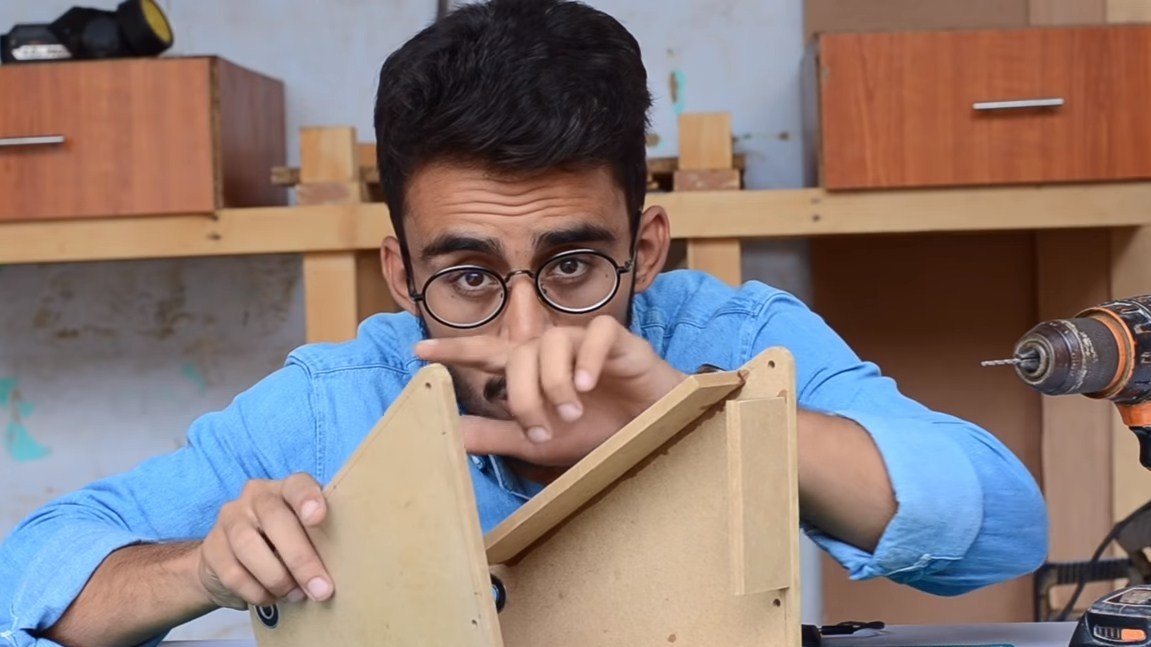
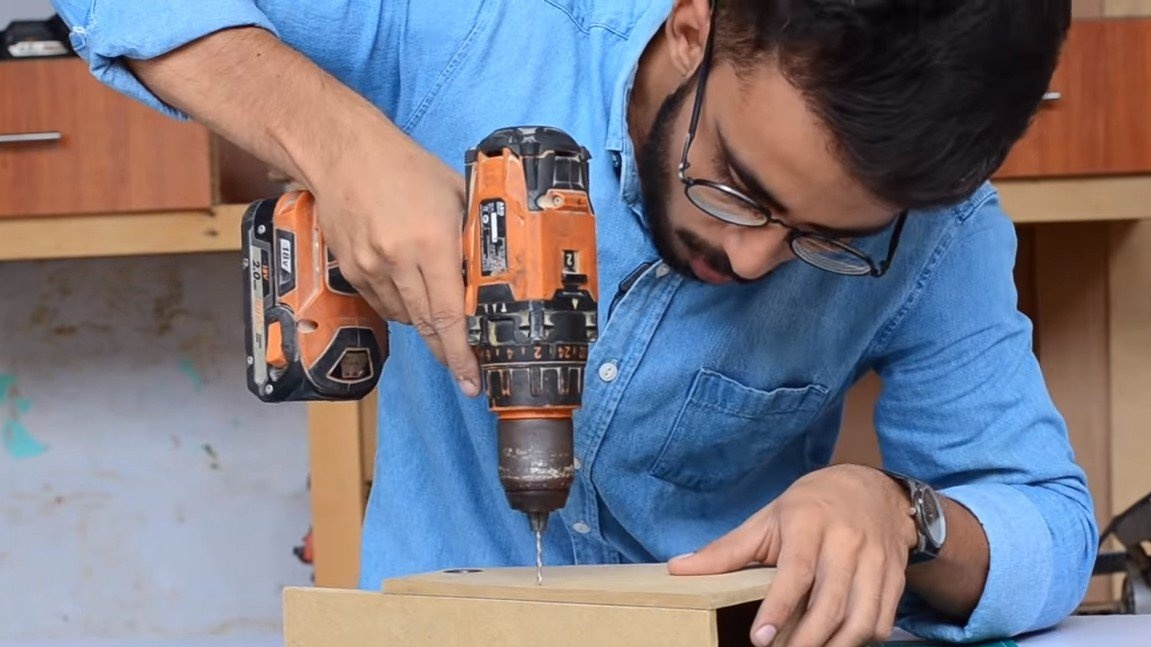
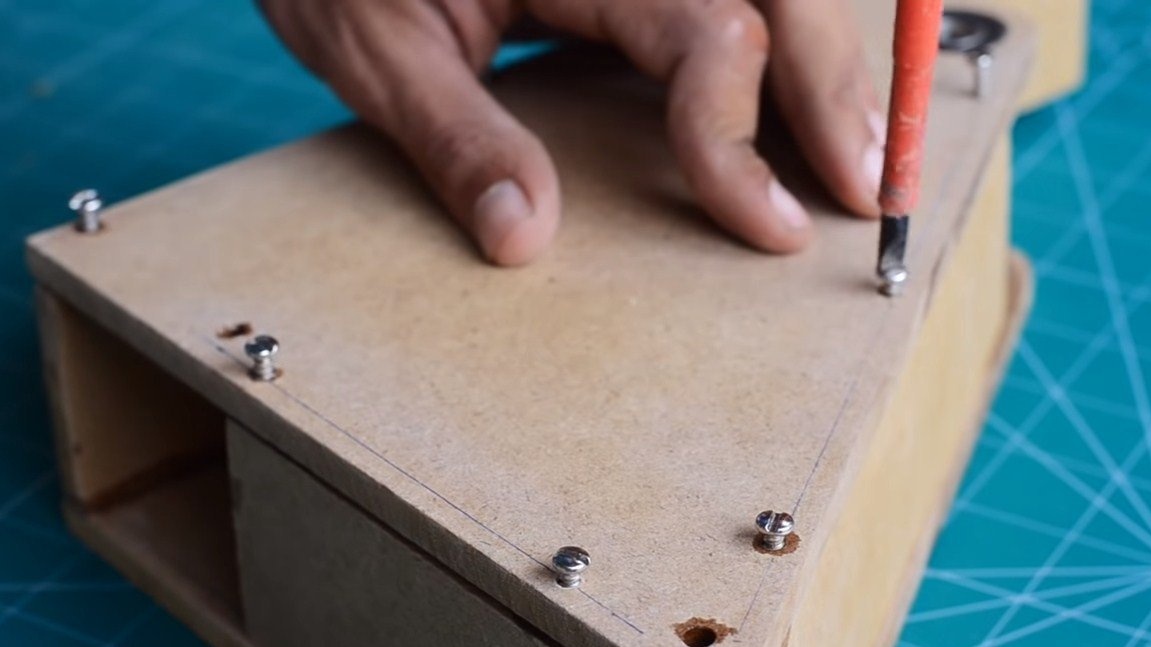
Next, the frame can be assembled. For ease of assembly, first we collect everything on superglue. Well, then we drill holes and wrap the screws, now the frame will turn out pretty strong.
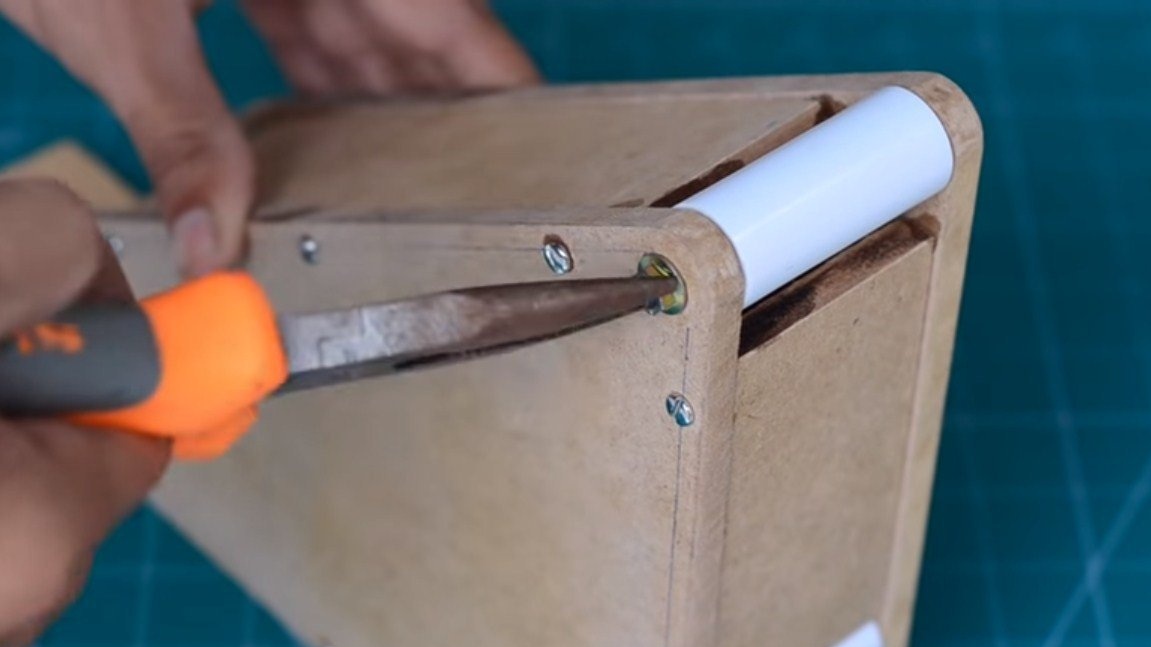
Step Two Driven rollers
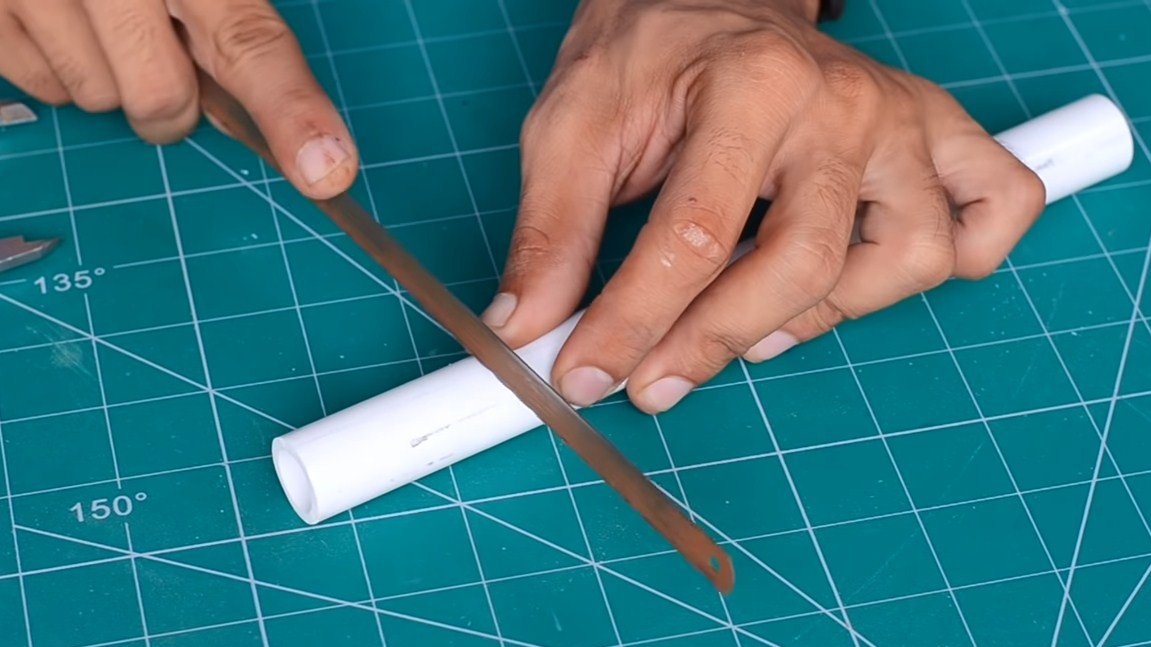
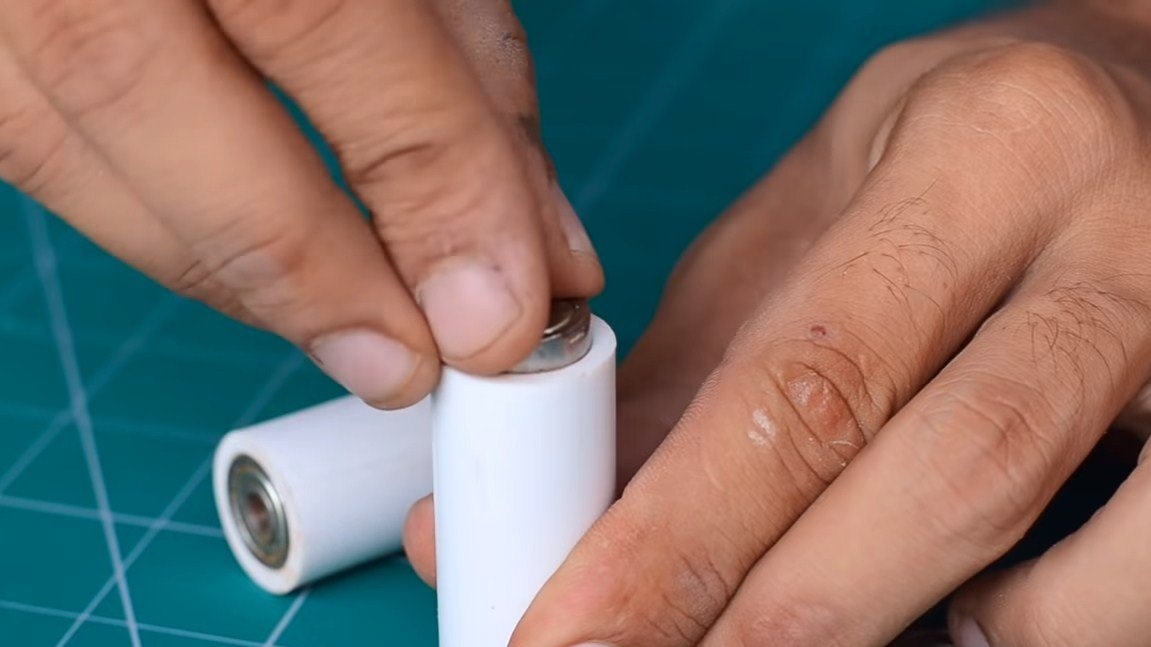
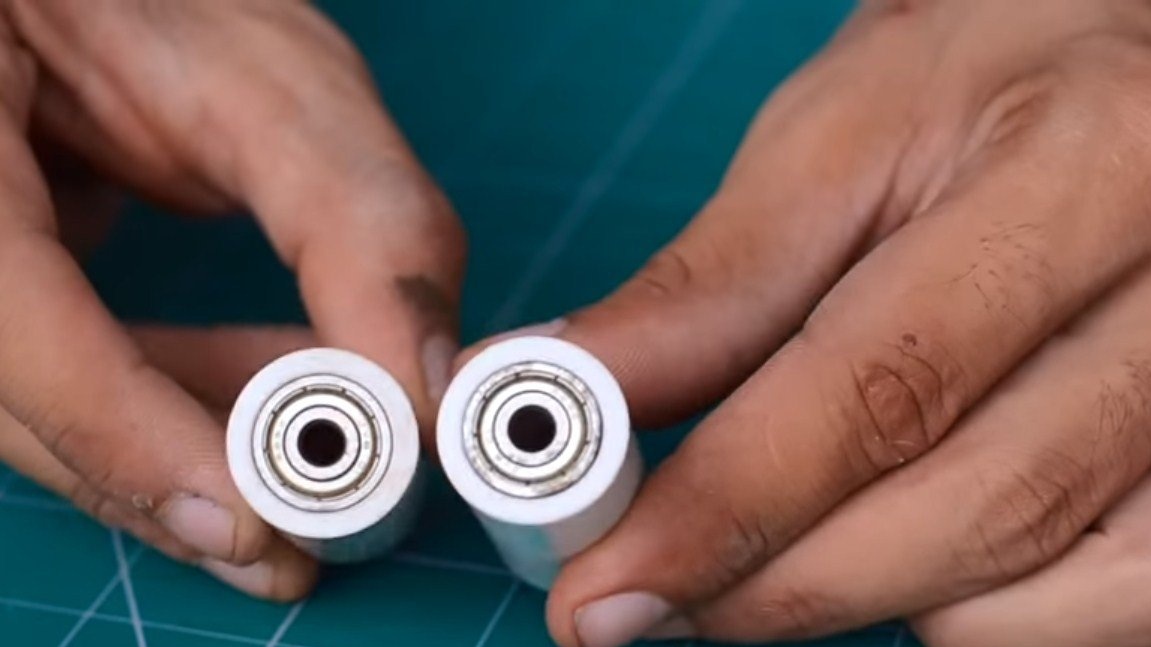
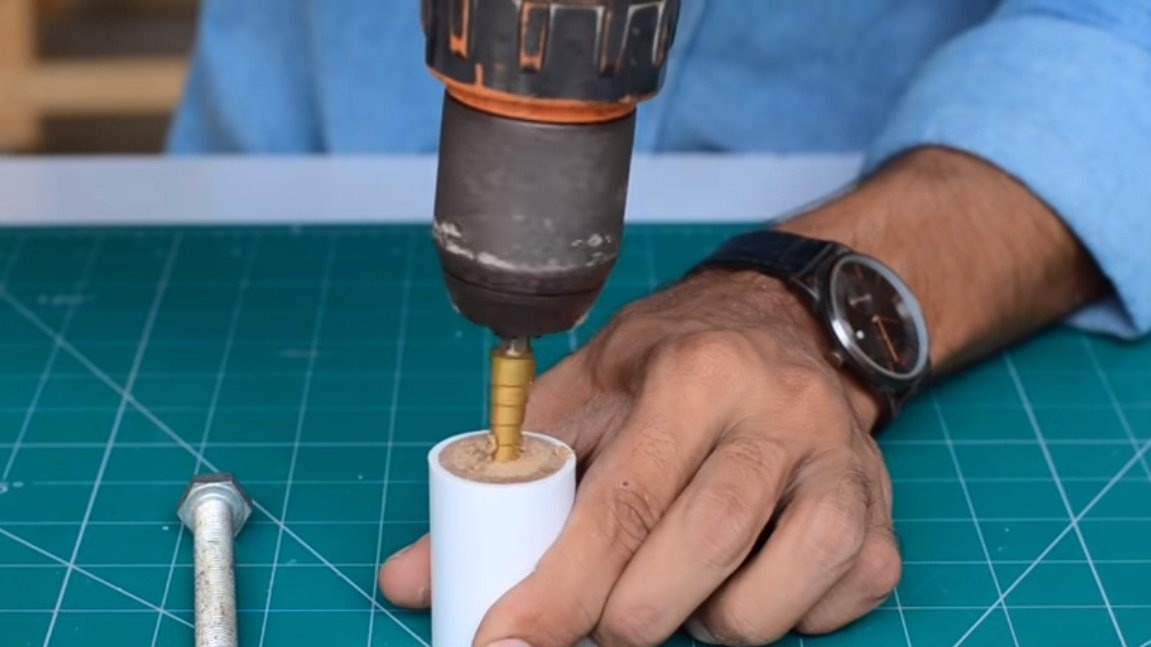
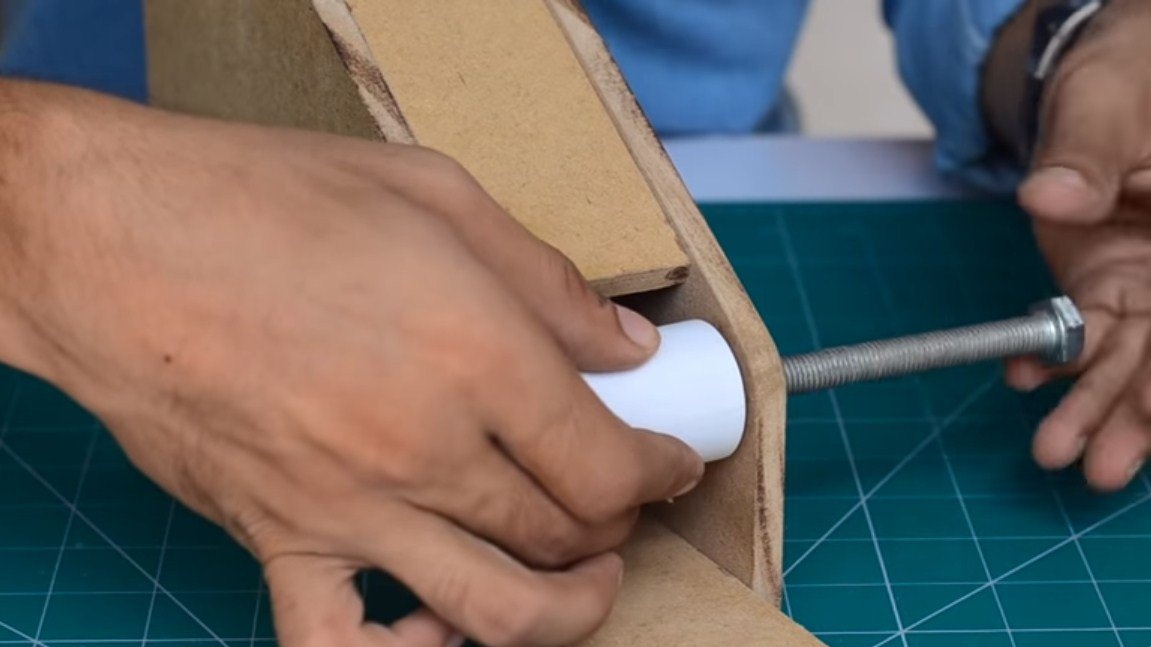
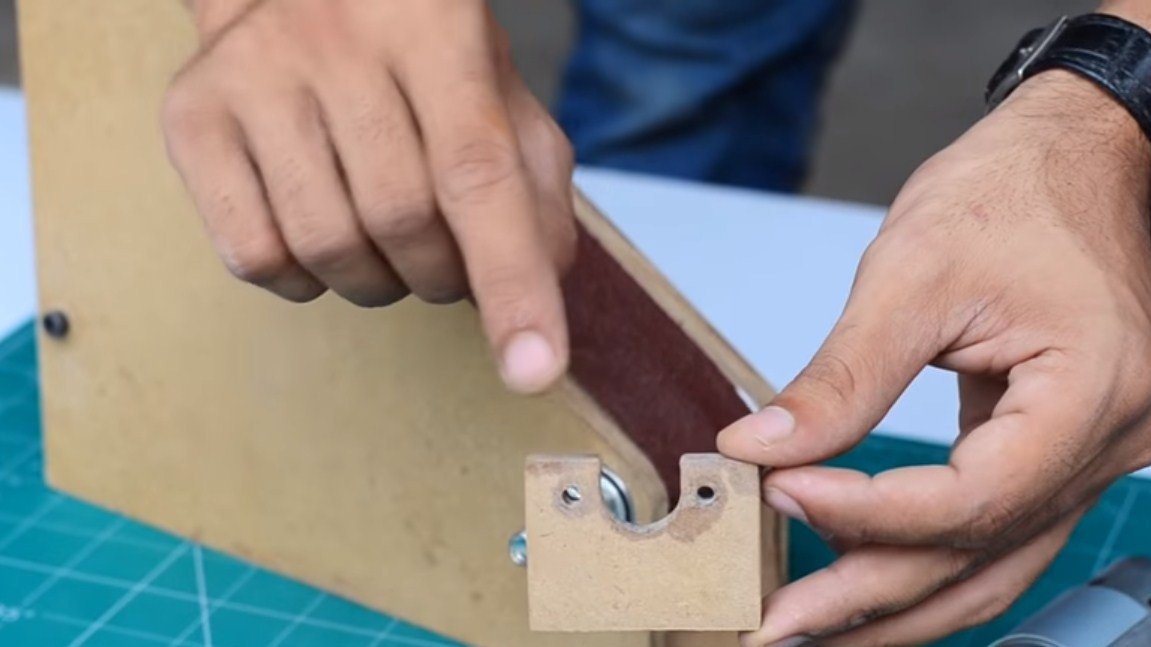
We make driven rollers, for these purposes we need two pieces of PVC pipe and 4 bearings. We press bearings into pipes and install them on the frame using bolts and nuts. As a result, we have excellent rollers, however, the author did not provide a device for tensioning the sanding belt.

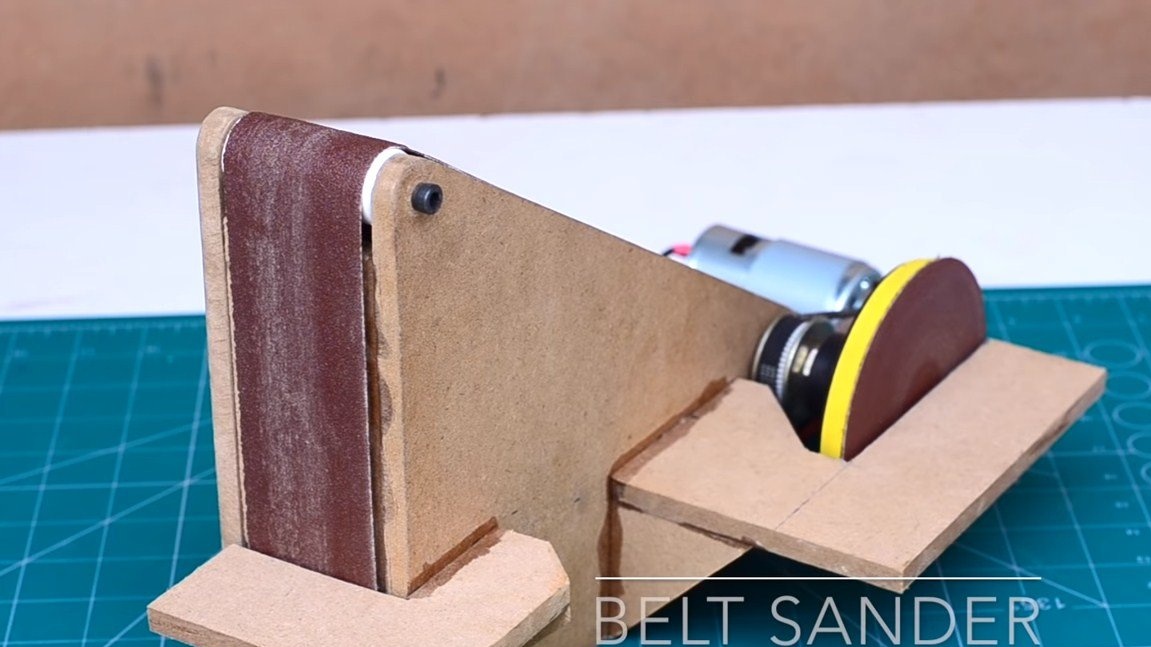
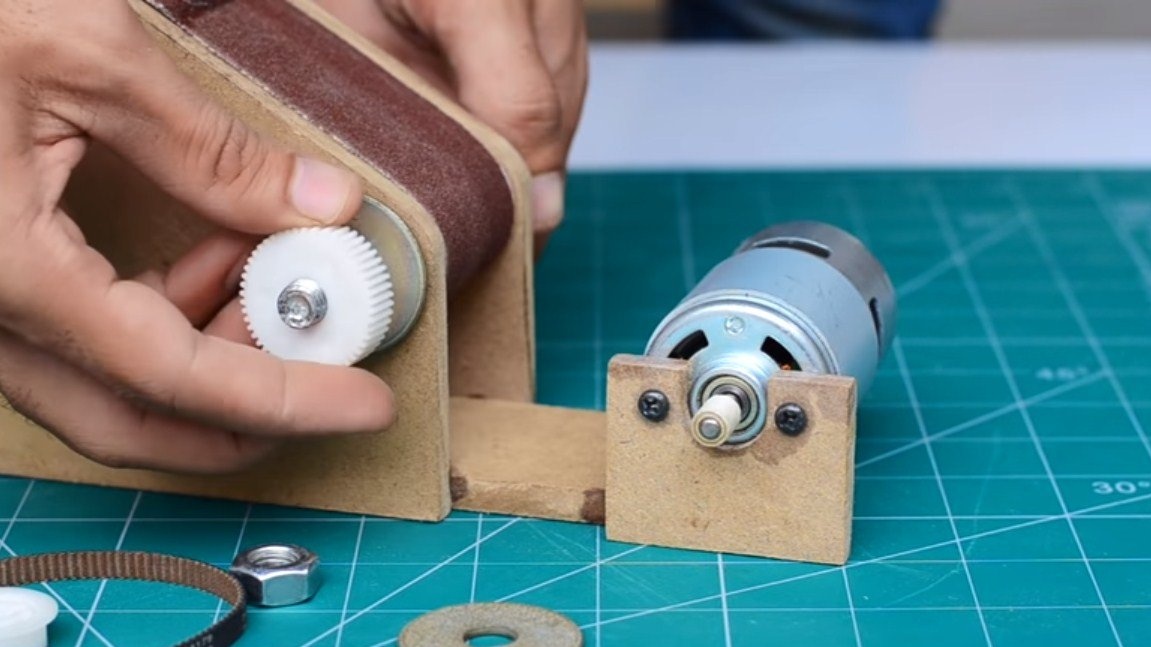
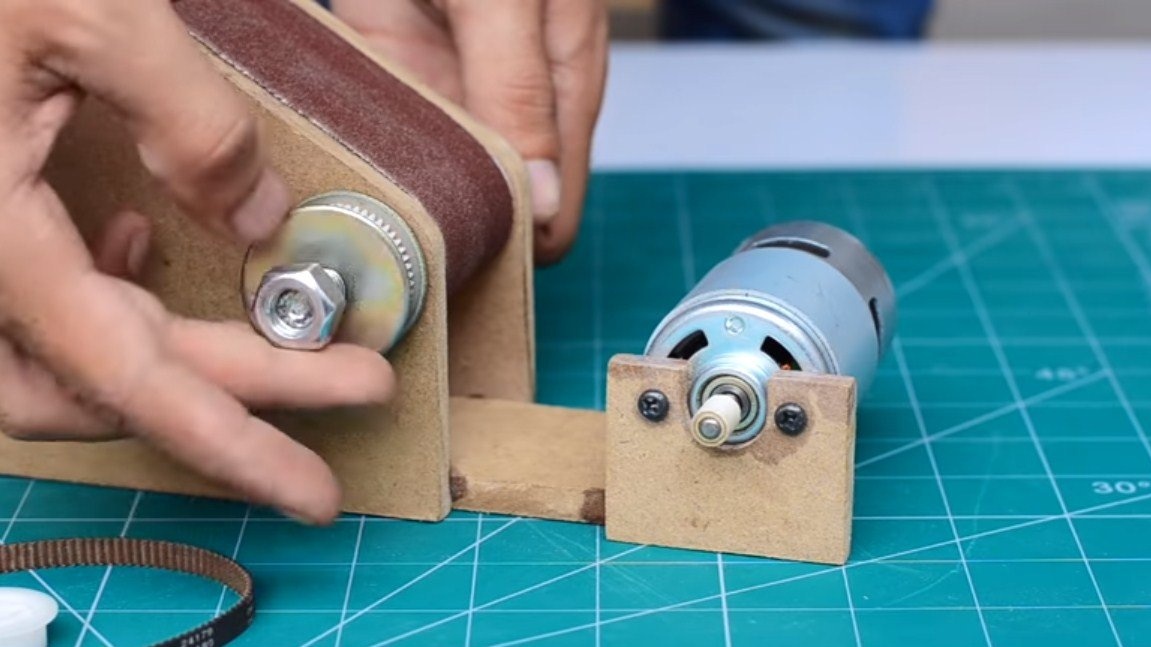
Step Three Drive roller and tape
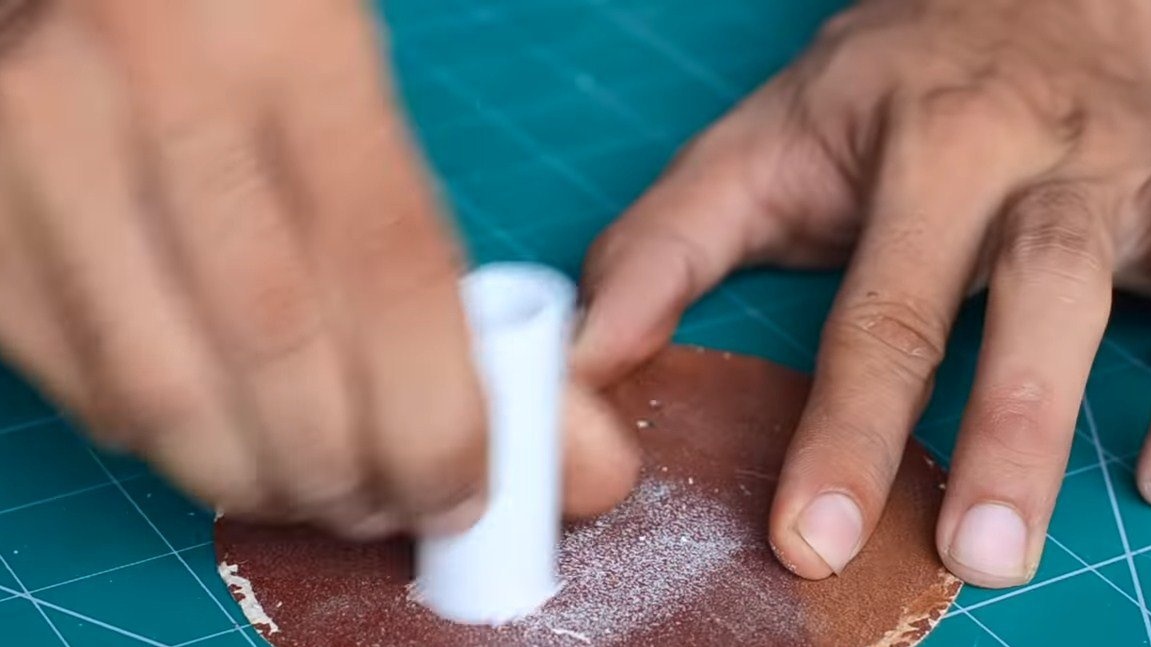
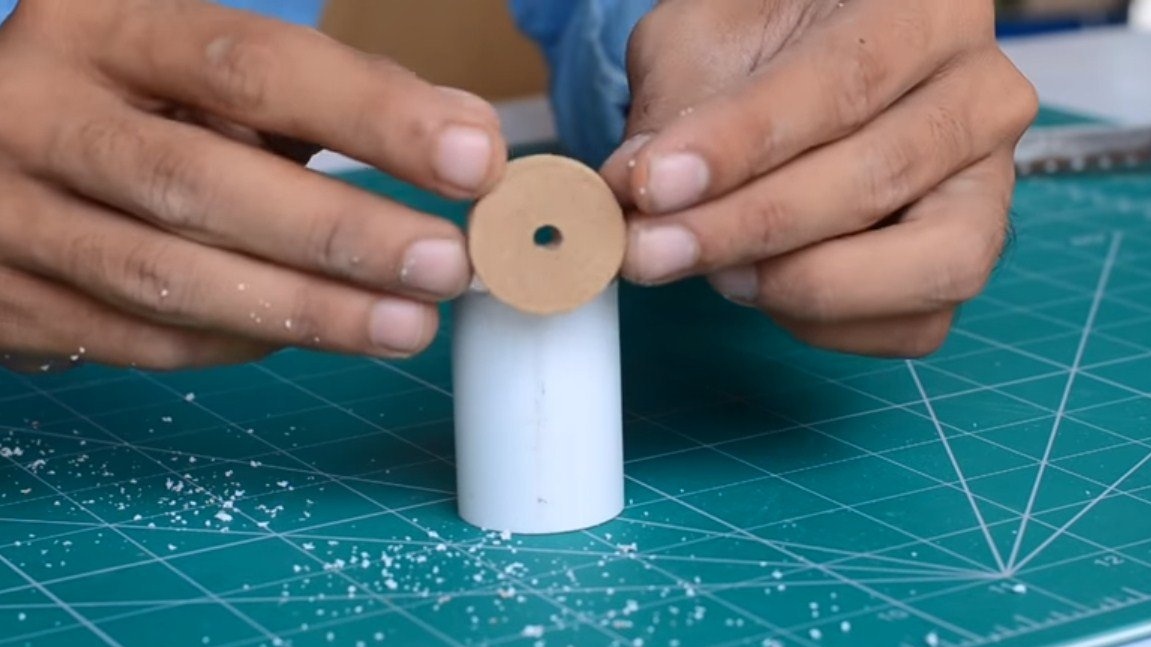
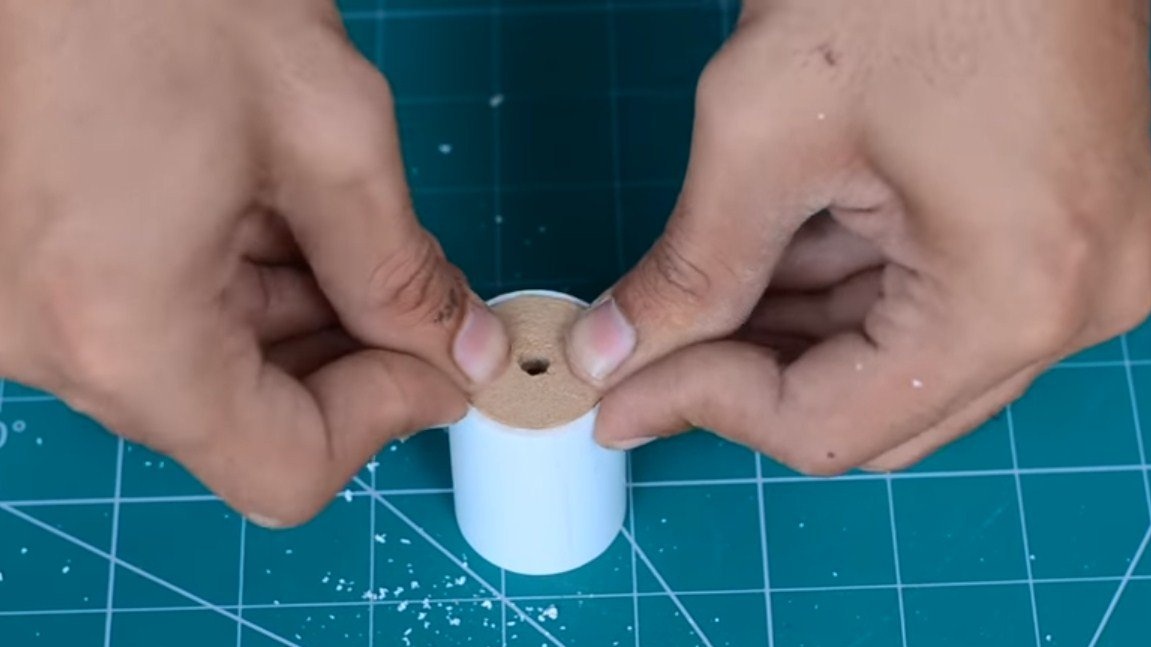
We make a driving roller, here instead of bearings we will need to install rounds from MDF, we glue them with superglue. We use a long bolt as an axis, screw a roller on it, the axis will rotate on two bearings installed earlier. We collect everything with washers and nuts.
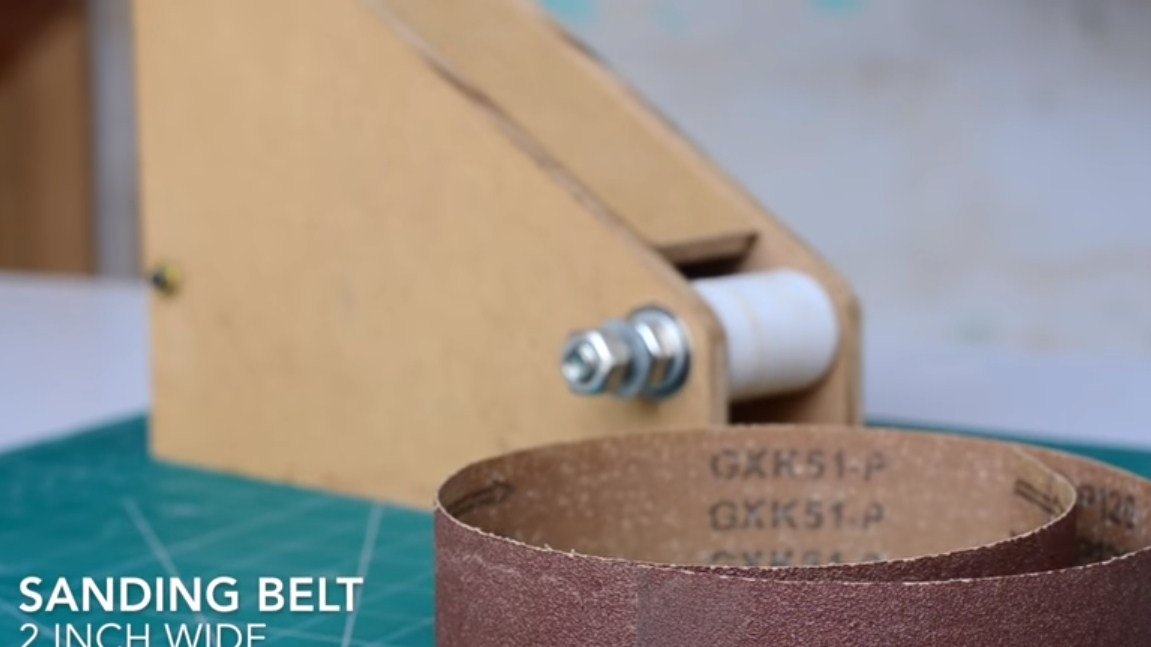
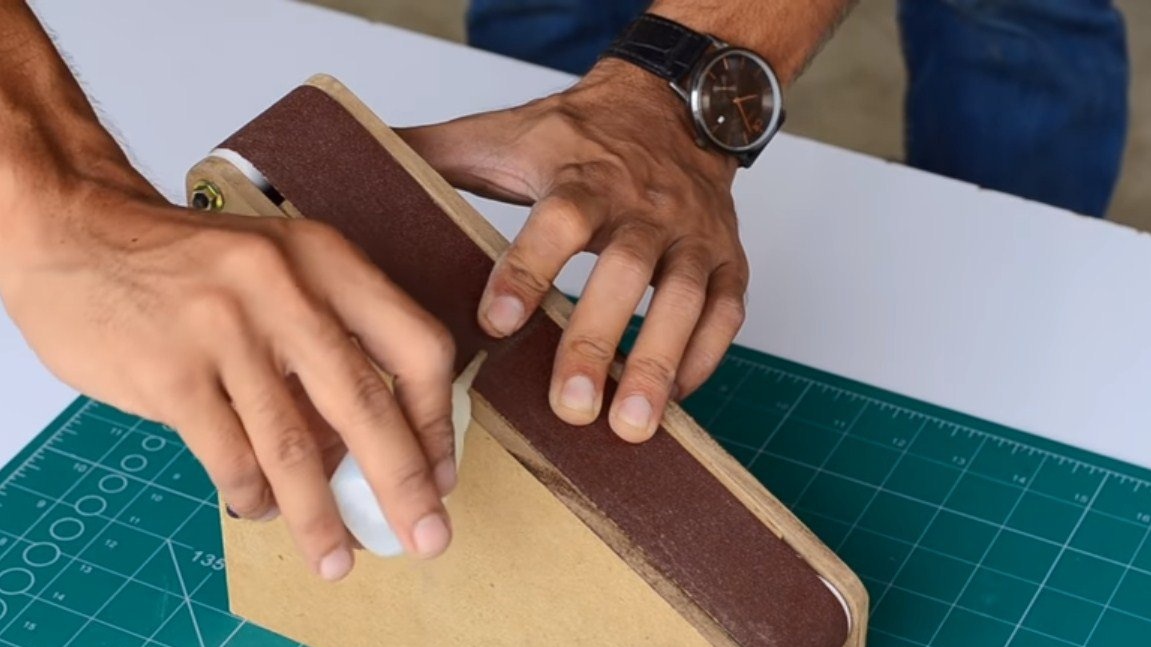
Next, you can install the sanding belt, select a piece of paper of the desired grain size, install it on the machine, and glue the ends with superglue.
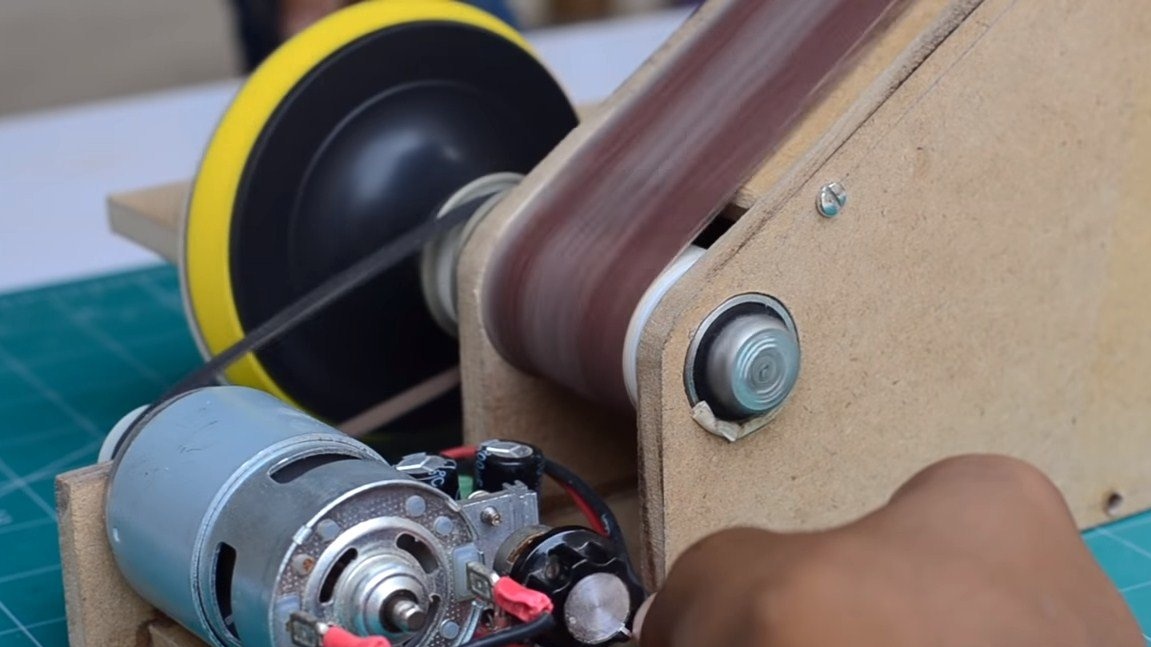
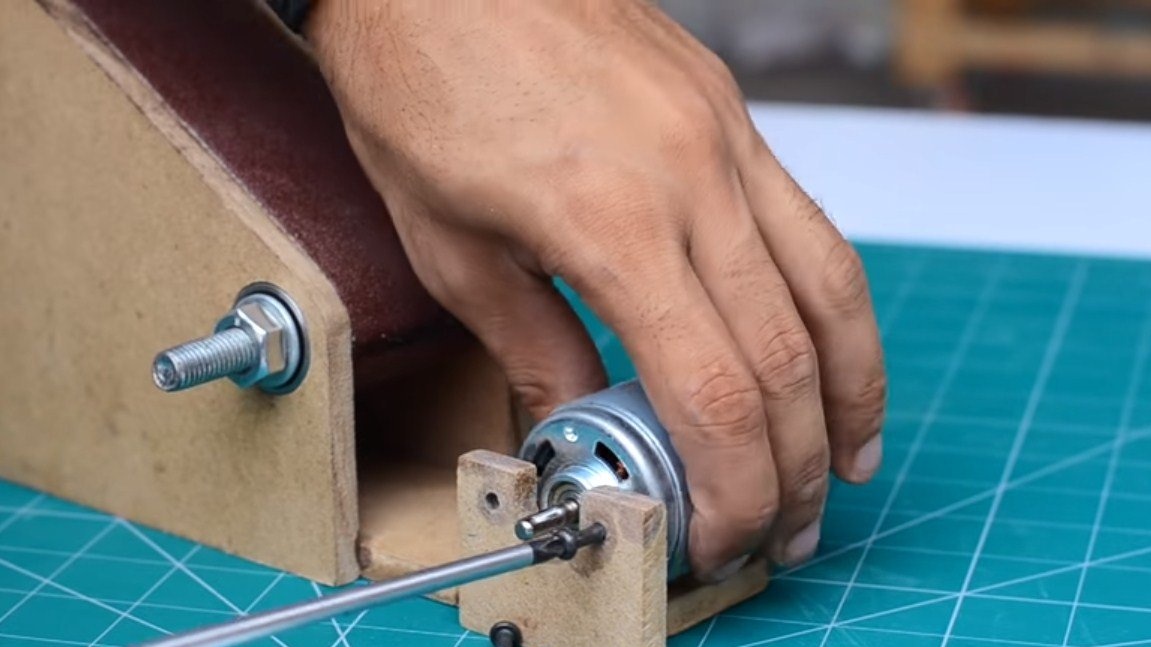
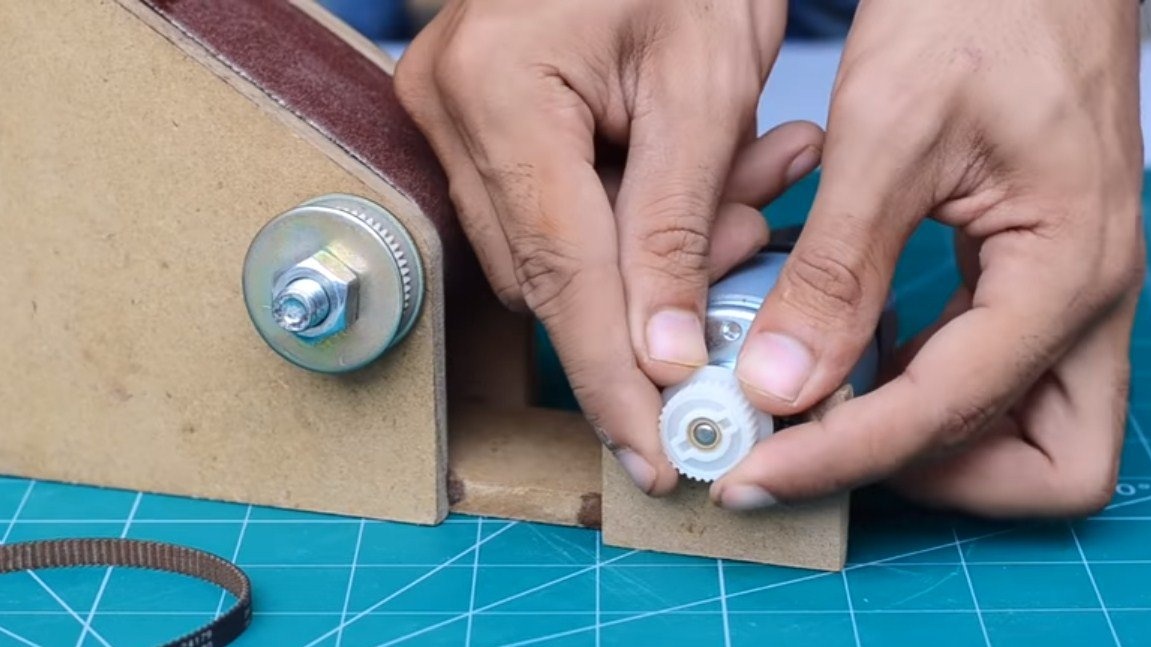
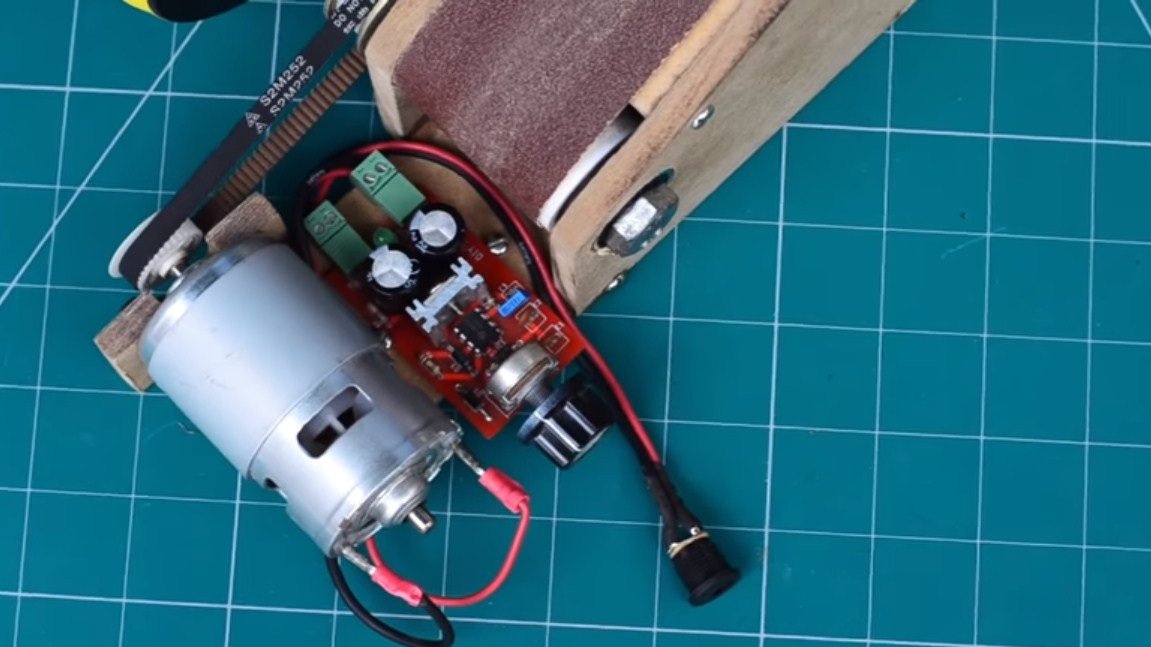
Step Four Engine and Belt Drive
We install the engine, in our case it is the 775 motor. The author made an MDF bracket for it, but it’s better to buy a ready-made aluminum bracket. The purchased bracket has oval mounting holes, this will allow the belt to be tensioned.
We mount and the belt drive, the author pulled it out of the printer or other similar device. Belt drive can also be bought ready-made with aluminum pulleys.
At the end we install the belt.
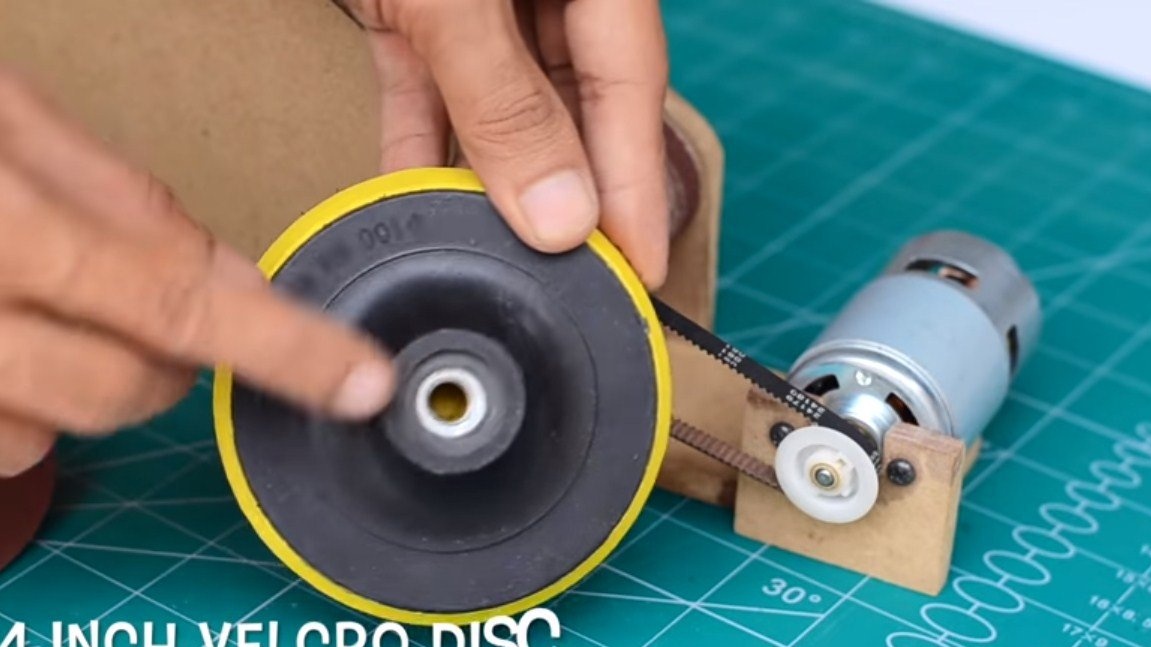
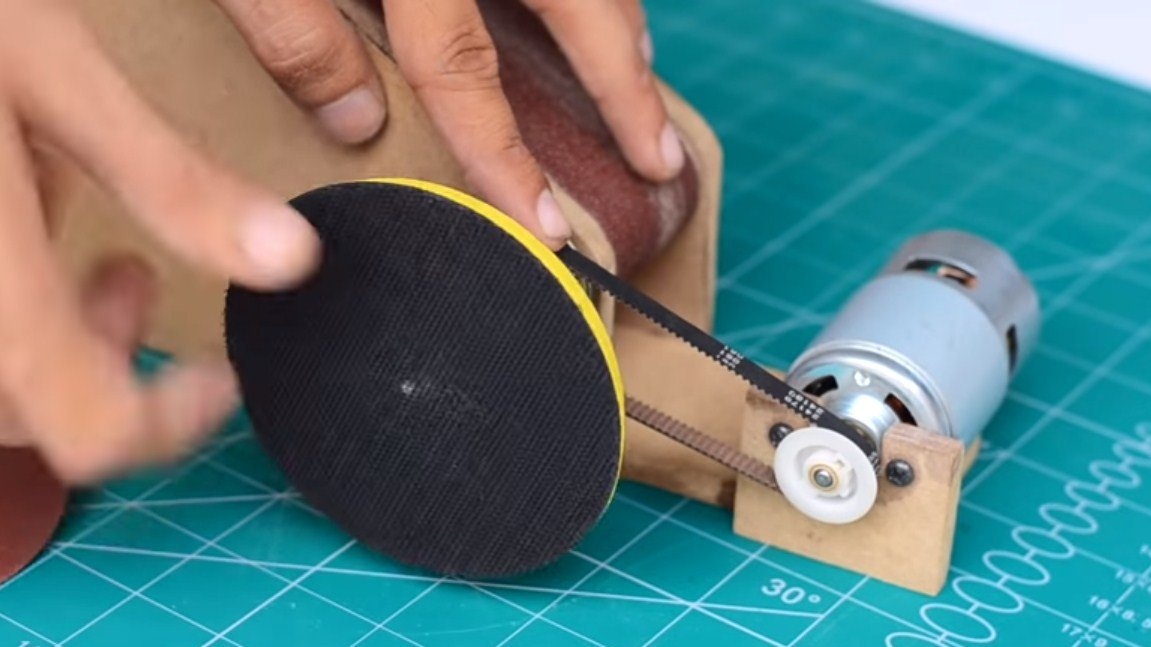
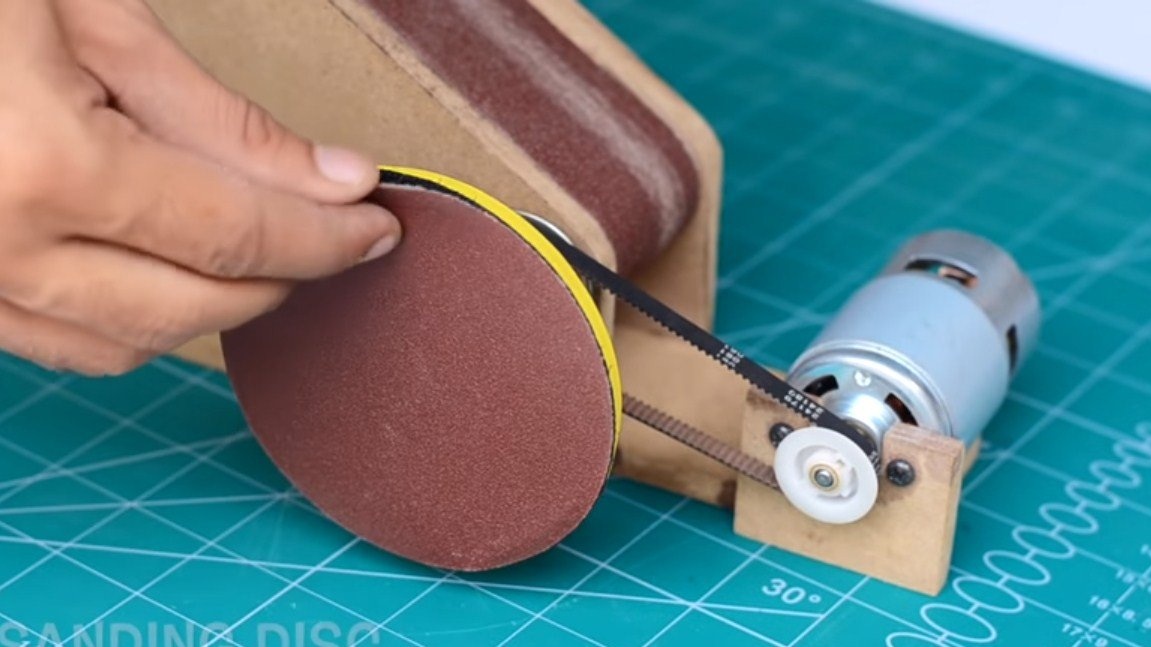
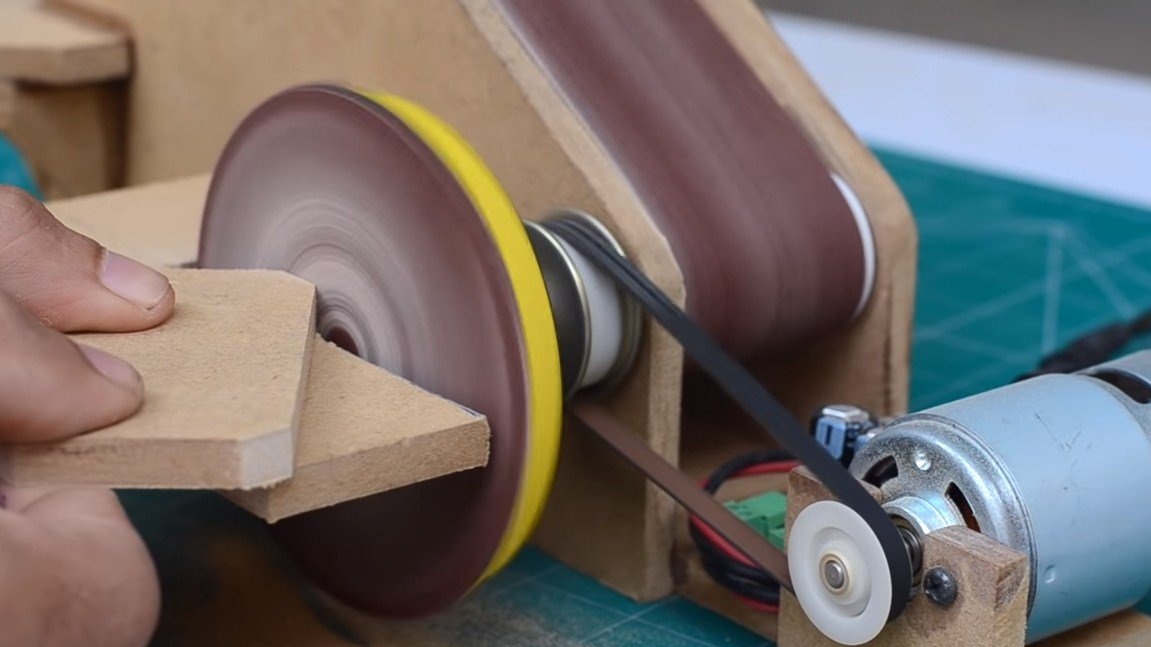
Everything is ready, then we wind the Velcro nozzle onto the drive shaft and install the grinding disk.
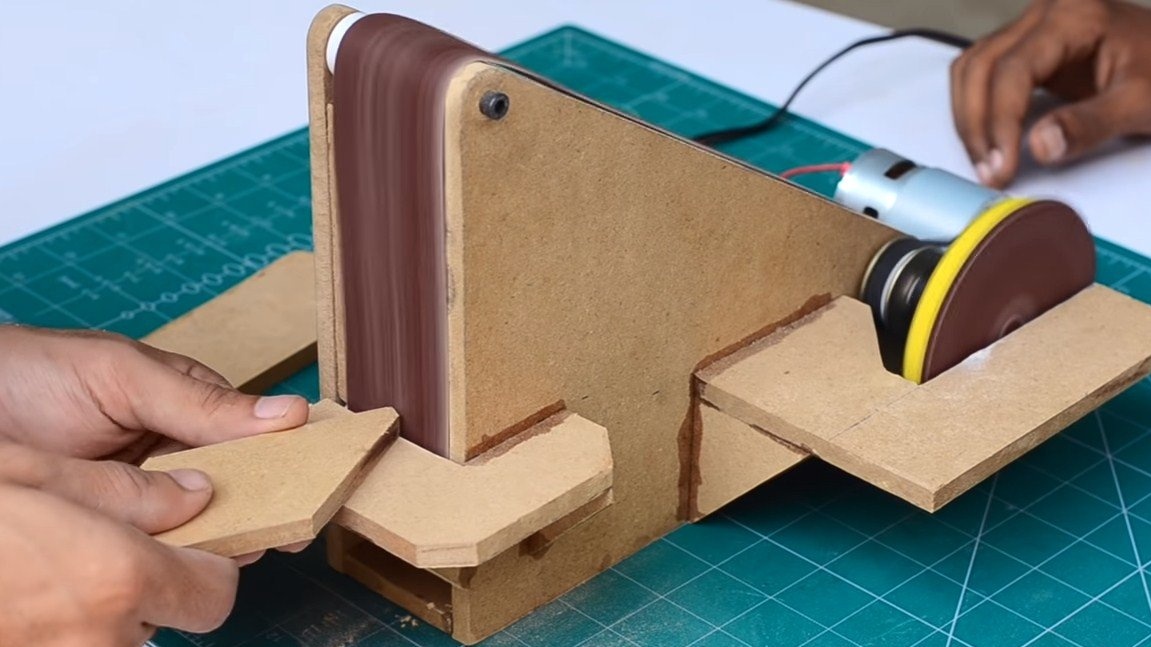
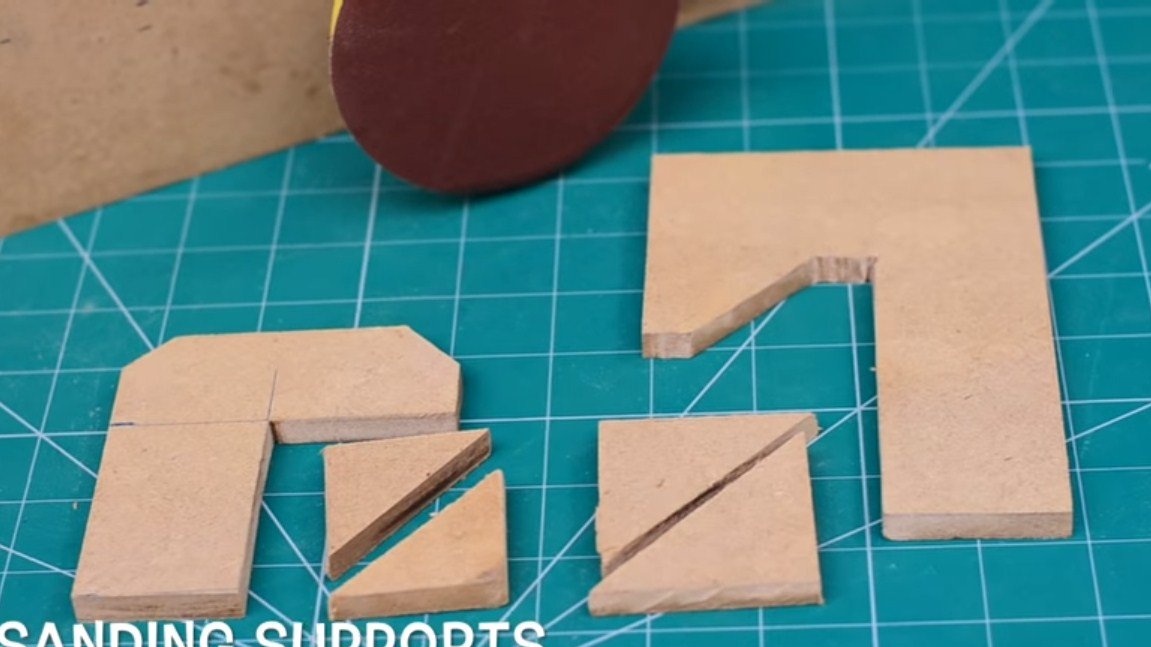
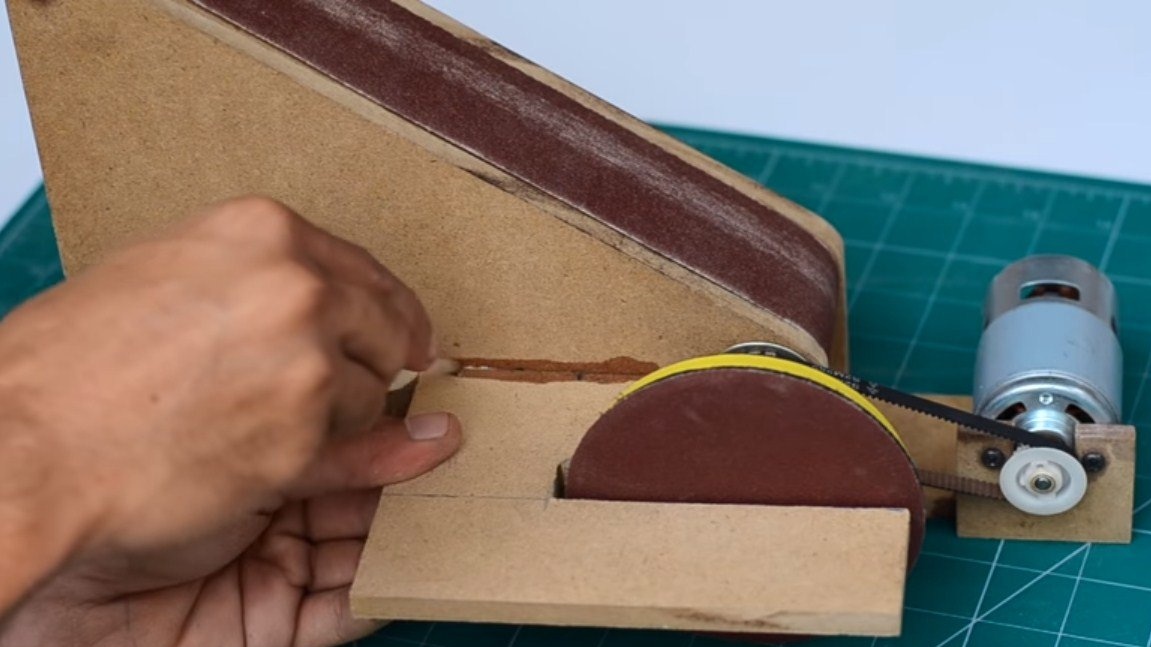
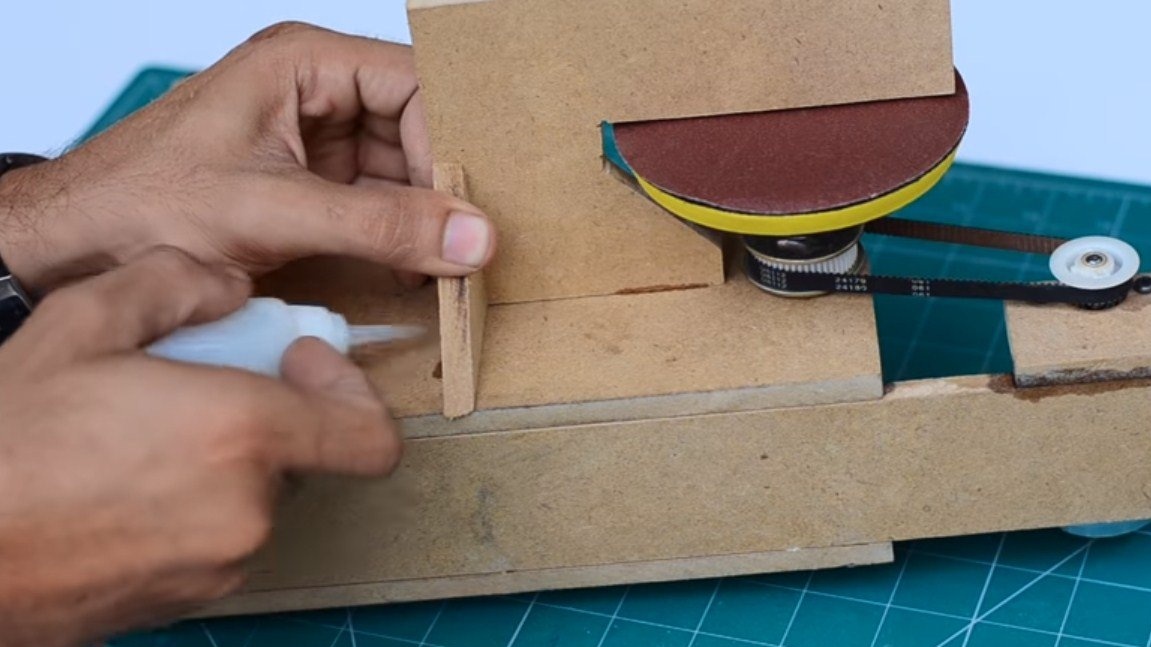
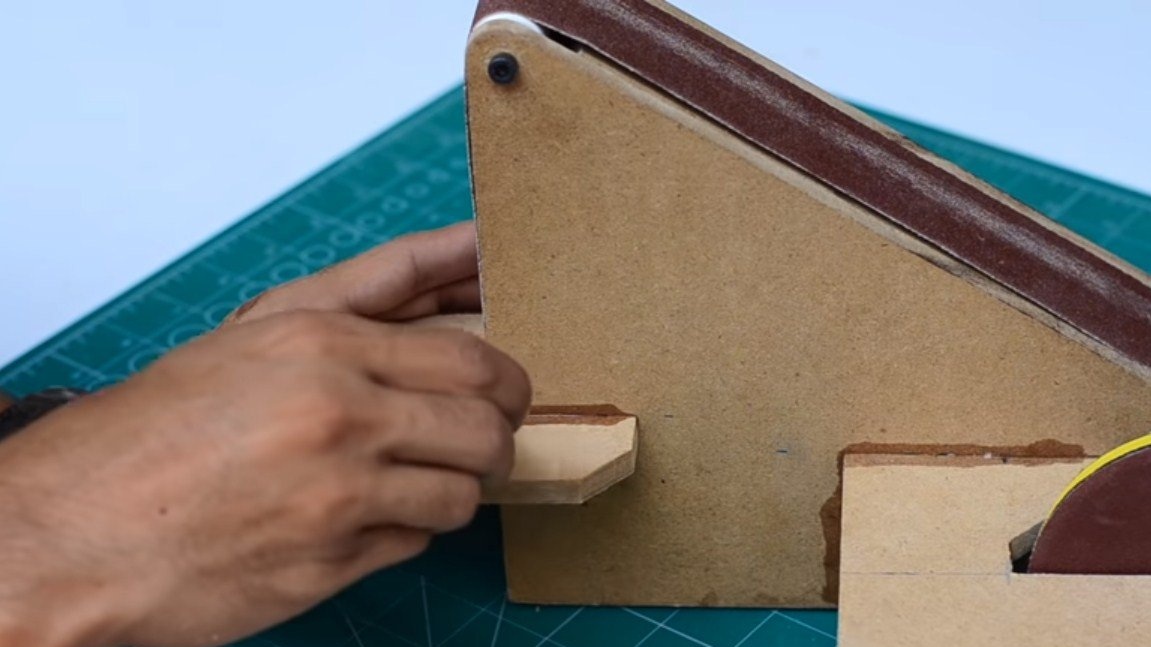
Step Five Thrust planes
We install thrust planes on the machine. The author cut them out of MDF, and then simply glued superglue into place.
Step Six Test
We install a speed regulator on the machine, apply power and watch how everything works. Such a motor can operate on a voltage of 12-24V, at a voltage of 24V, its full potential is revealed.
You can feed the machine both from the power supply and from the battery.
The device works not bad, though, beating is visually noticeable. Engine power is enough for various small grinding tasks. That's all, the project is over, I hope you liked the home-made. Good luck and creative inspiration, if you decide to repeat this. Do not forget to share with us your ideas and homemade products.