
In this article, with the help of a wizard, we will look at how to make a blacksmith forge working on coal. According to the master of the use of coal, instead of other types of fuel, it is most economical. To make the hearth, the master used the following
Tools and materials:
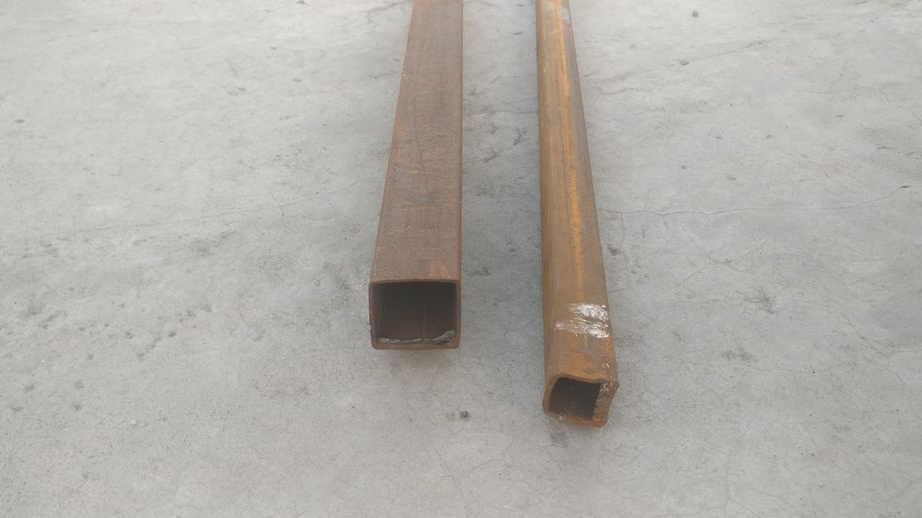
- Profile pipe 40 * 40 mm;
- Profile pipe 25 * 25
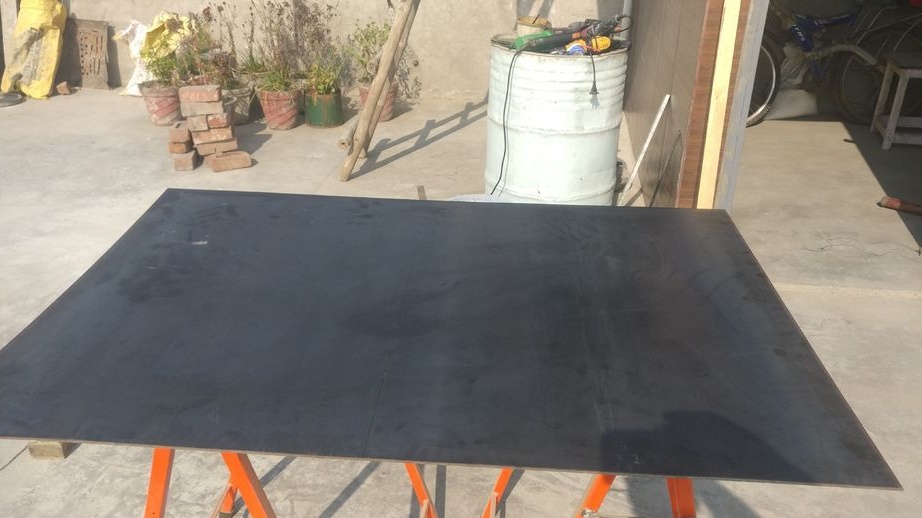
-4 mm sheet of metal;
-Wheels;
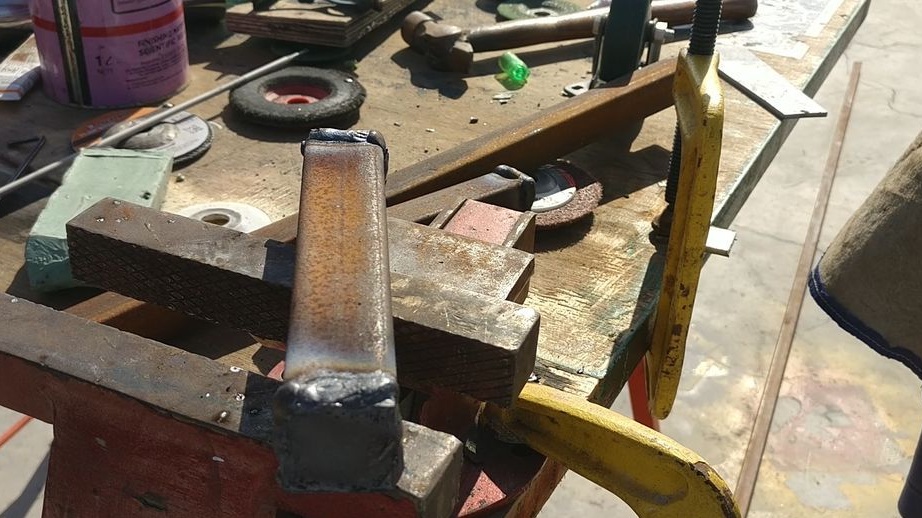
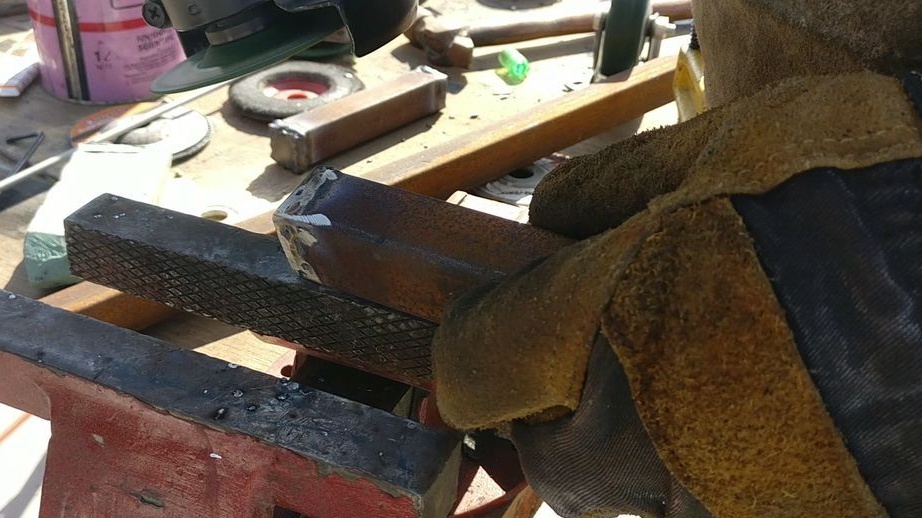
-50 mm flat rod made of mild steel;
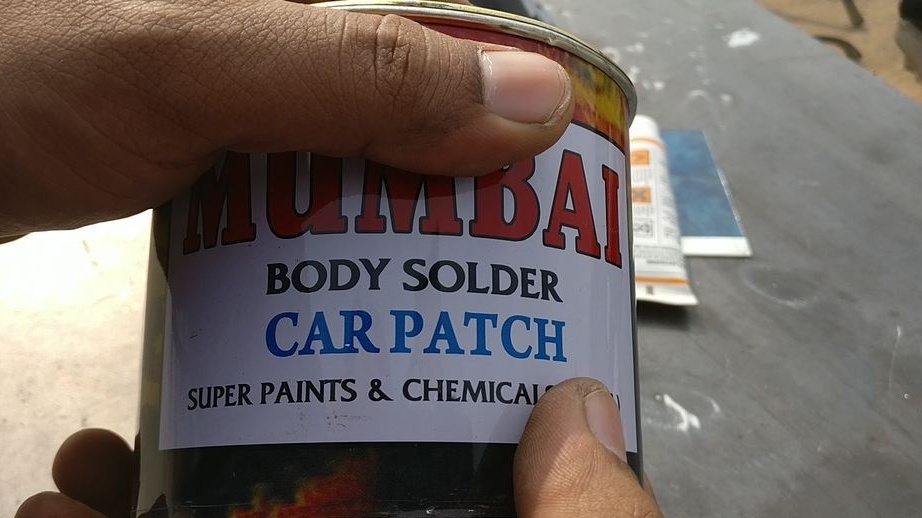
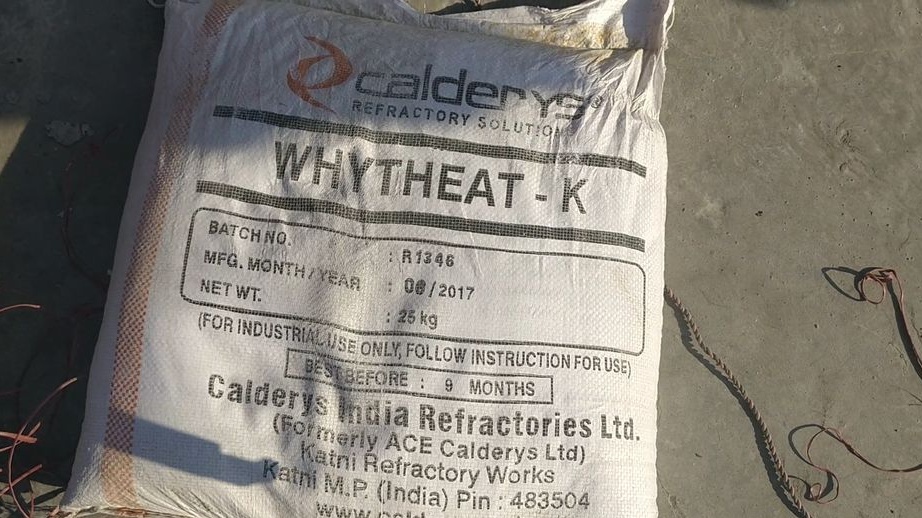
- Refractory cement;
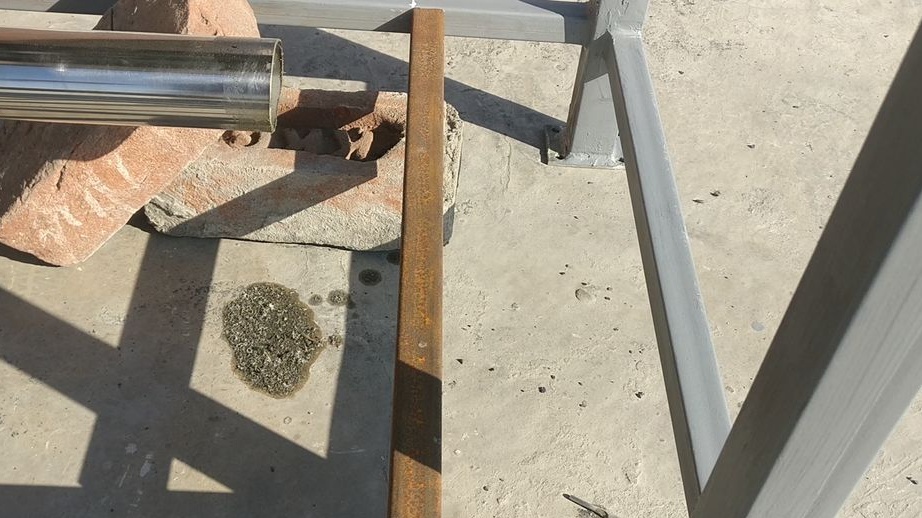
- A pipe from stainless steel with a diameter of 50 mm;
- 2 bends from stainless steel with a diameter of 50 mm;
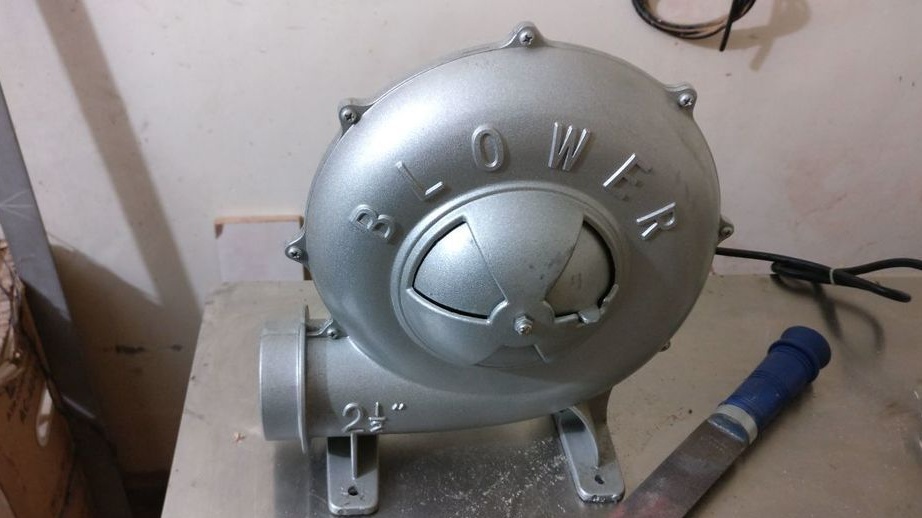
-Blower;
- PVC reducer;
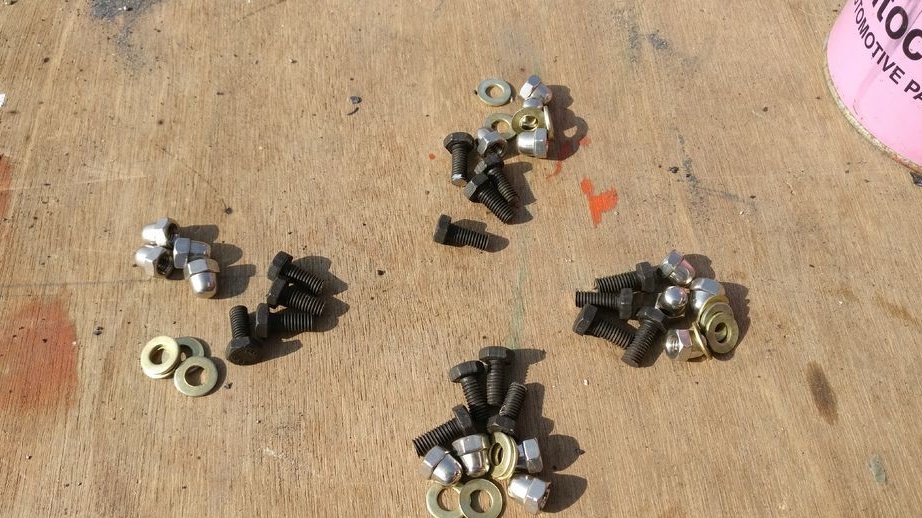
-Fasteners;
- Putty;
-Primer:
-Paint:
-Cardboard;
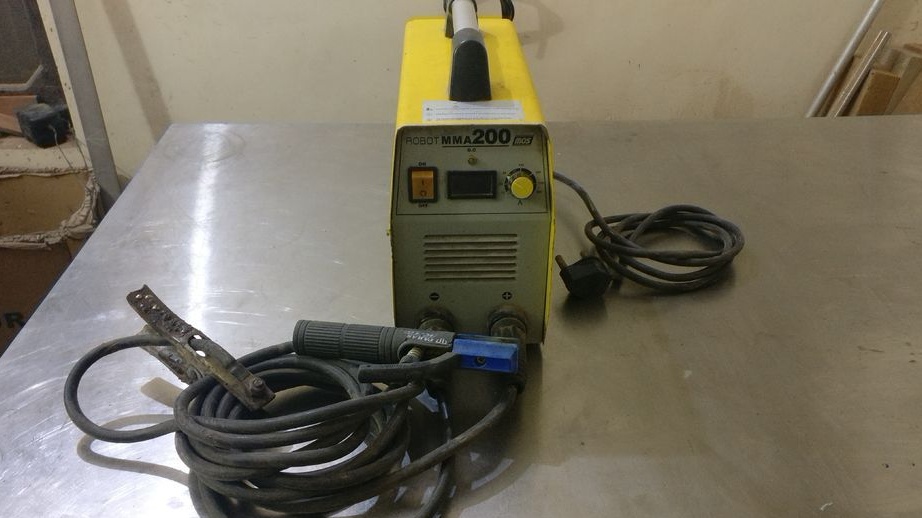
-Welding machine;
- Electrodes are ordinary and for stainless steel;
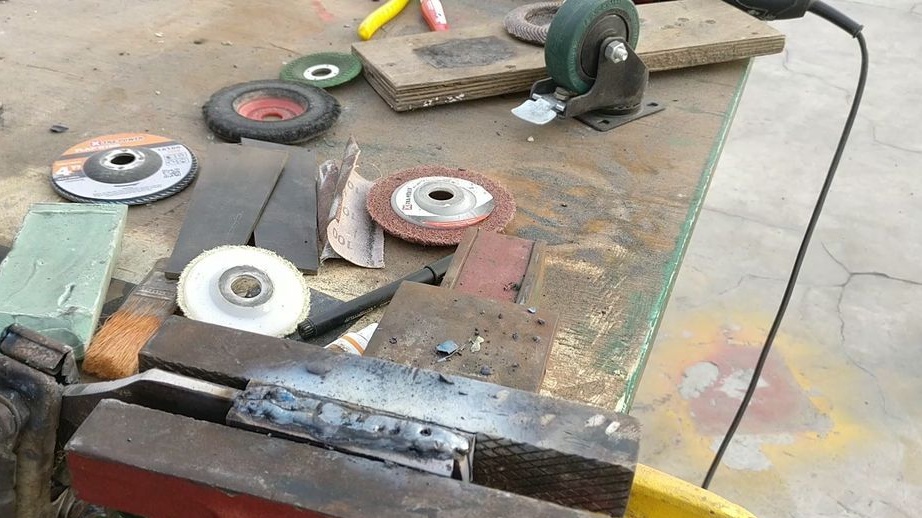
-USHM;
- Electric jigsaw;
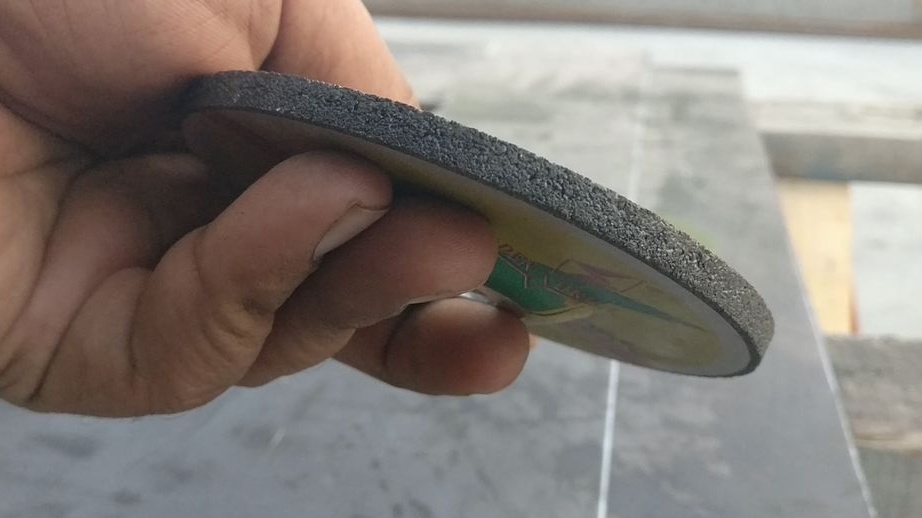
- Cutting and polishing wheels;
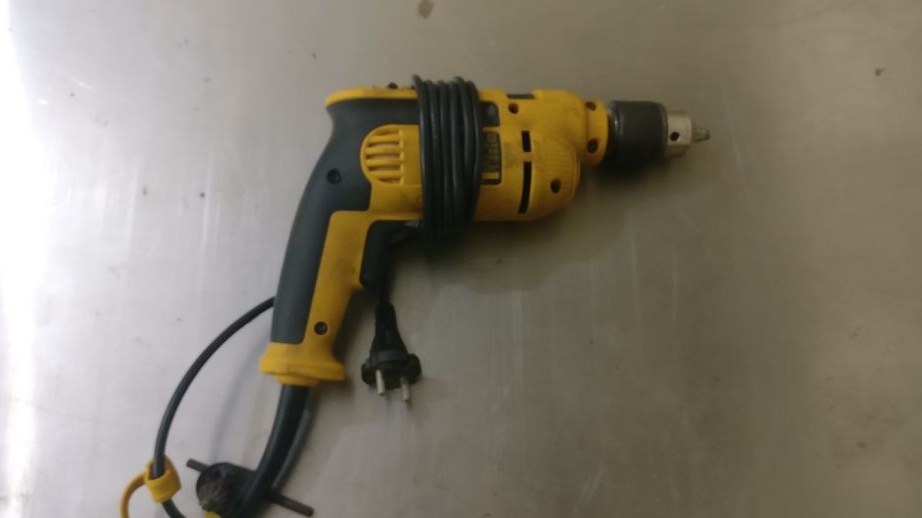
-Drilling machine;
-Drill;
-Welding magnets;
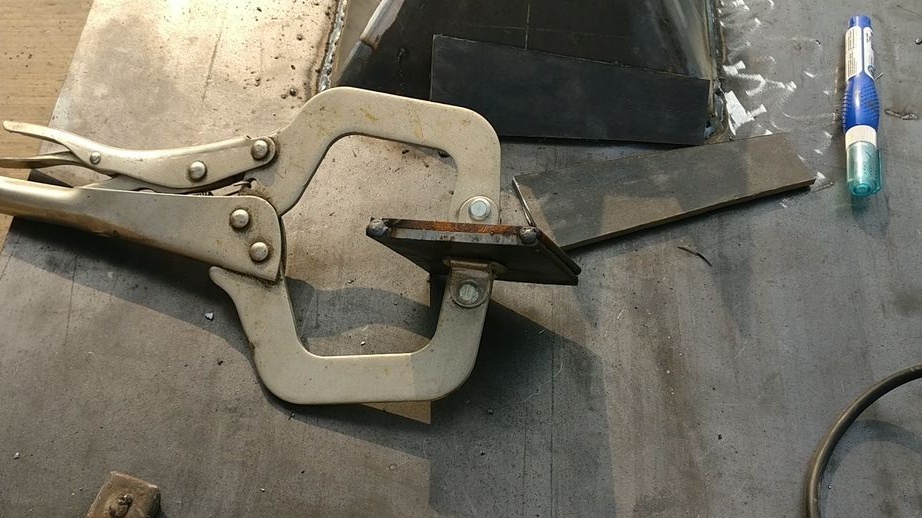
- Clamps;
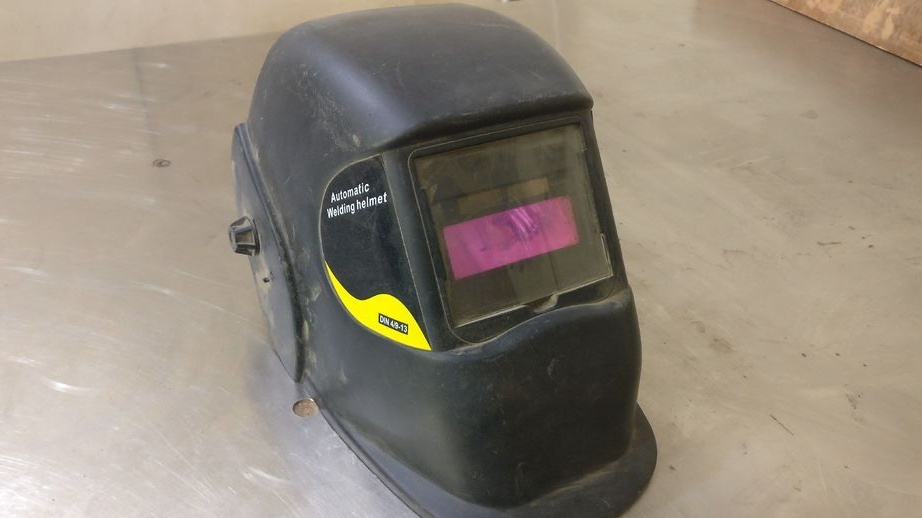
-Welding mask;
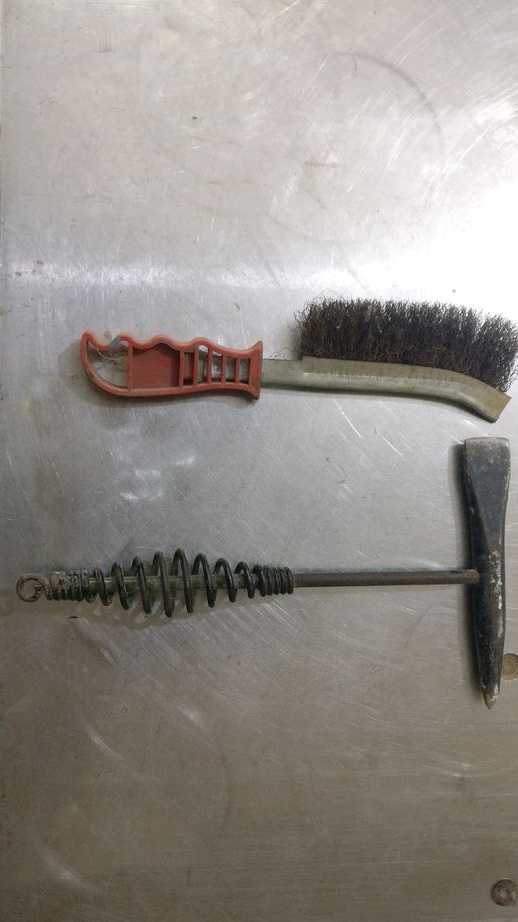
-Hammer;
-Brush for metal;
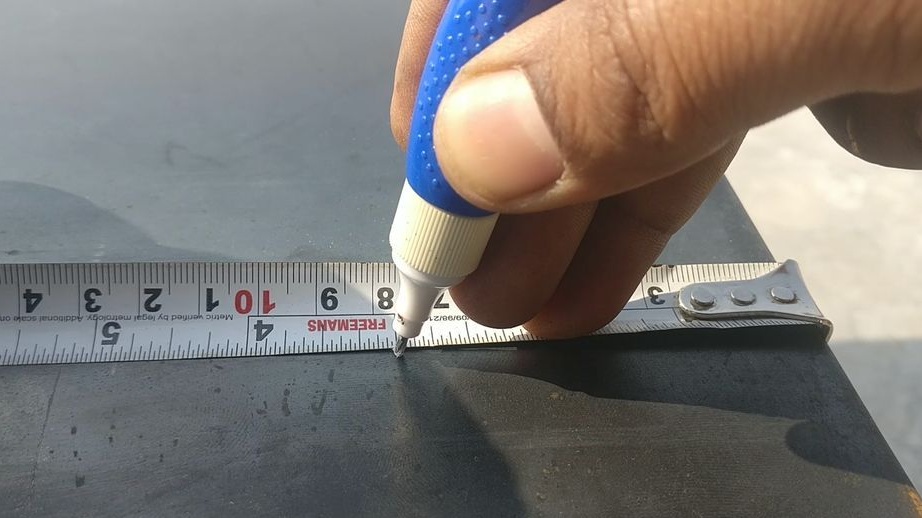
-Roulette;
-Marker;


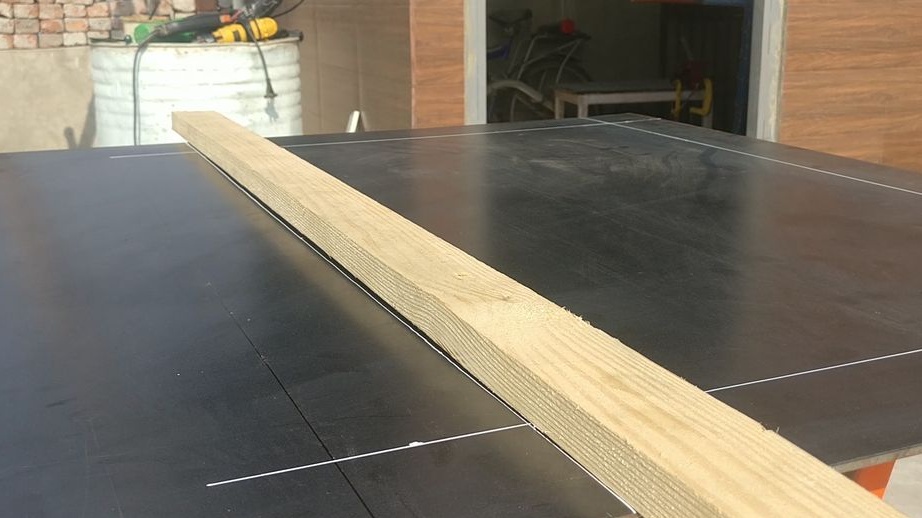
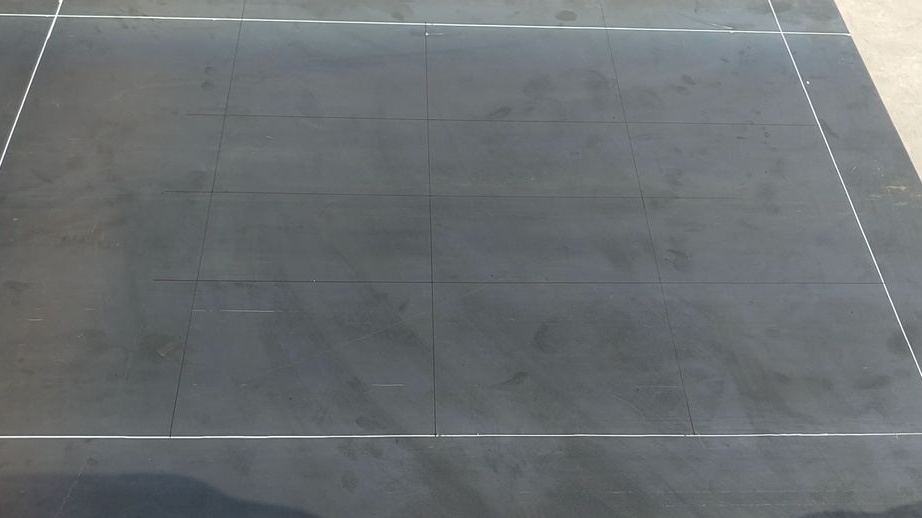
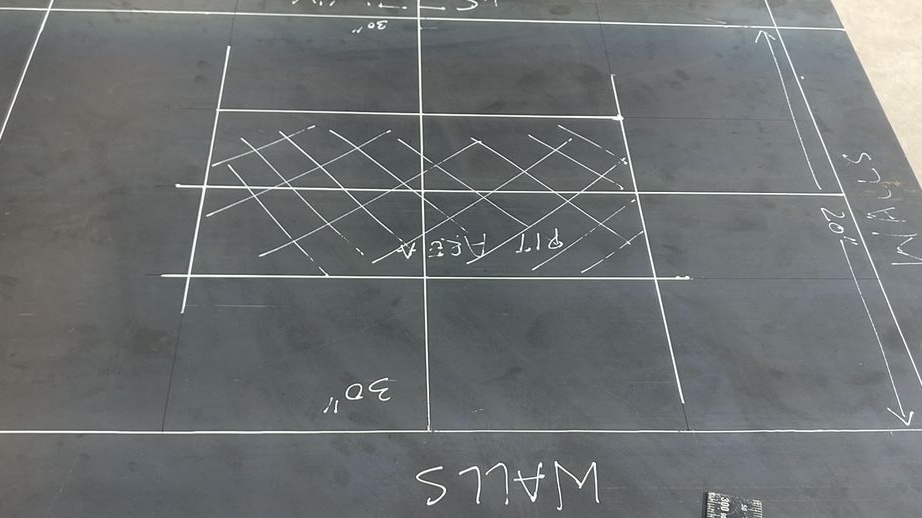
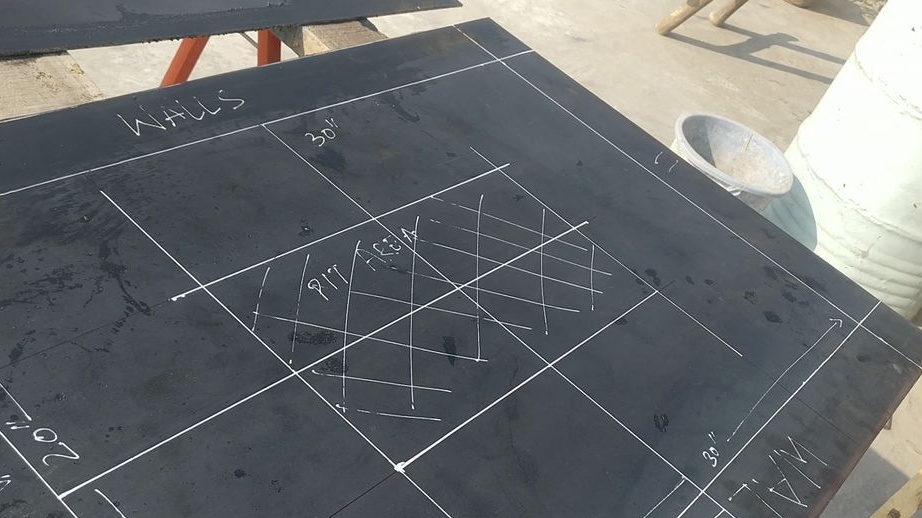
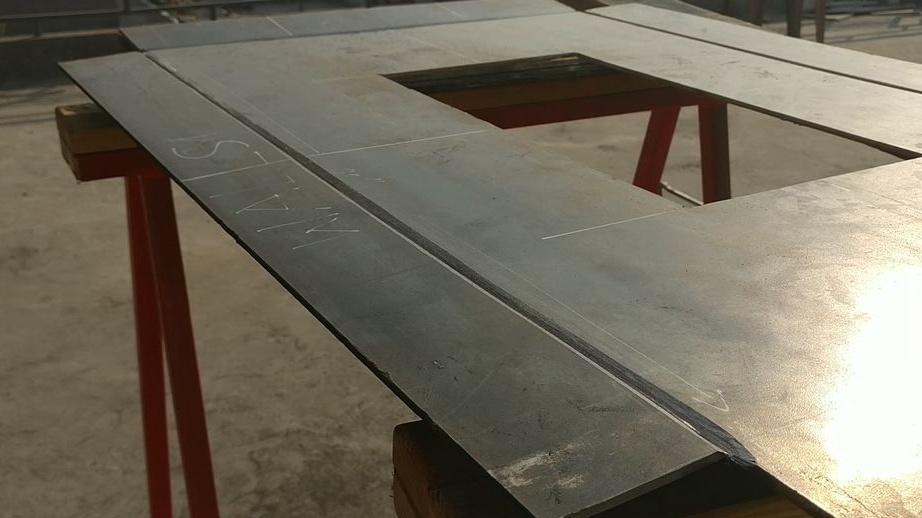
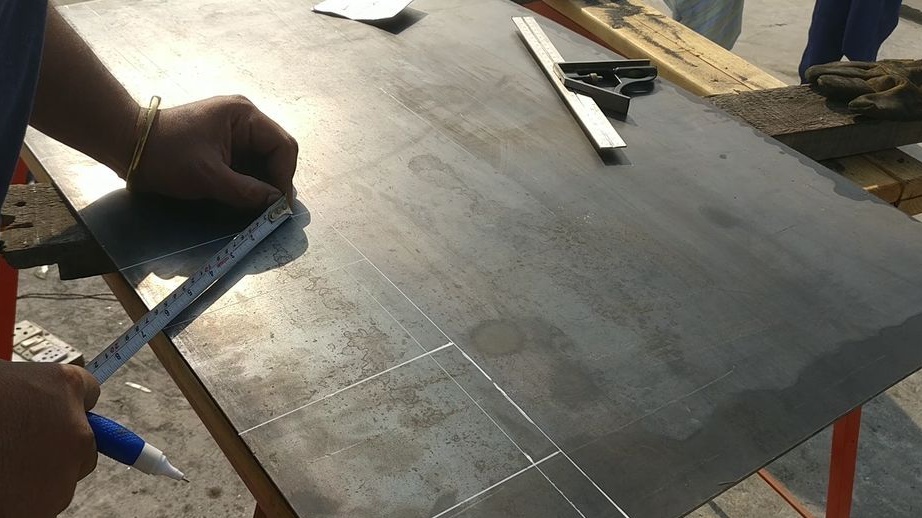
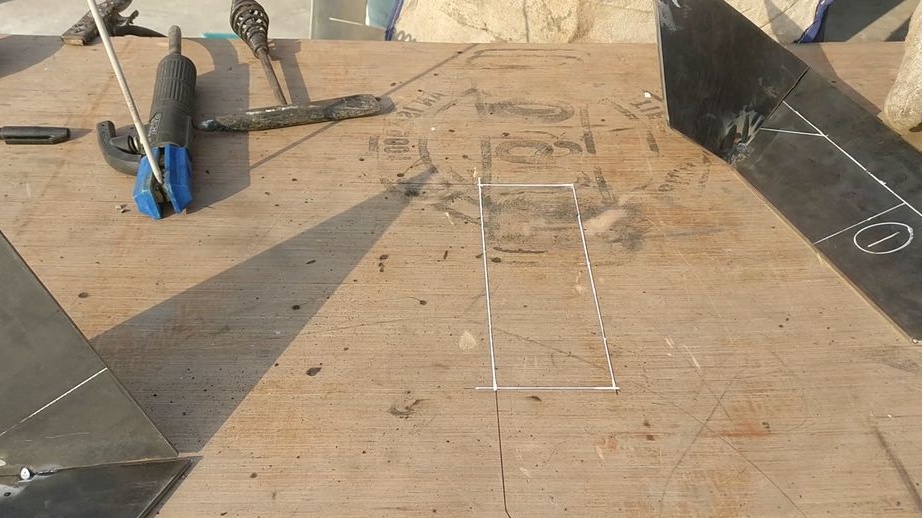
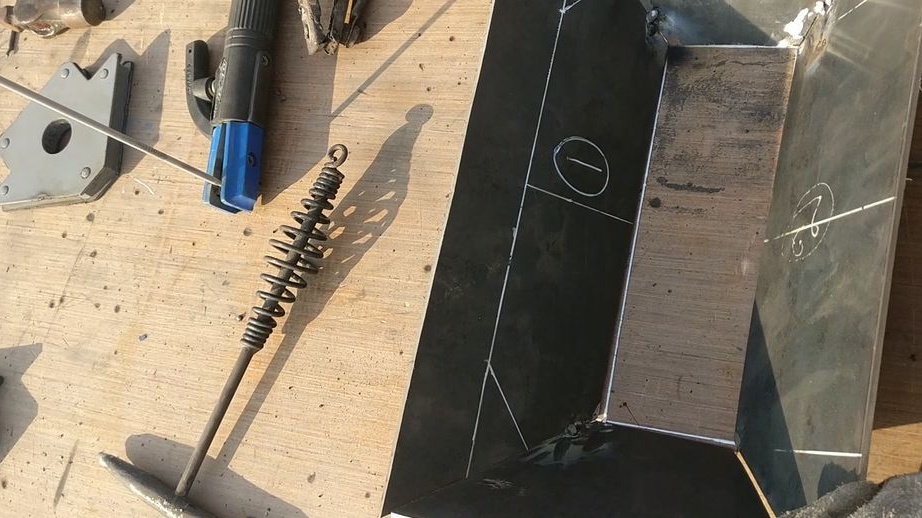
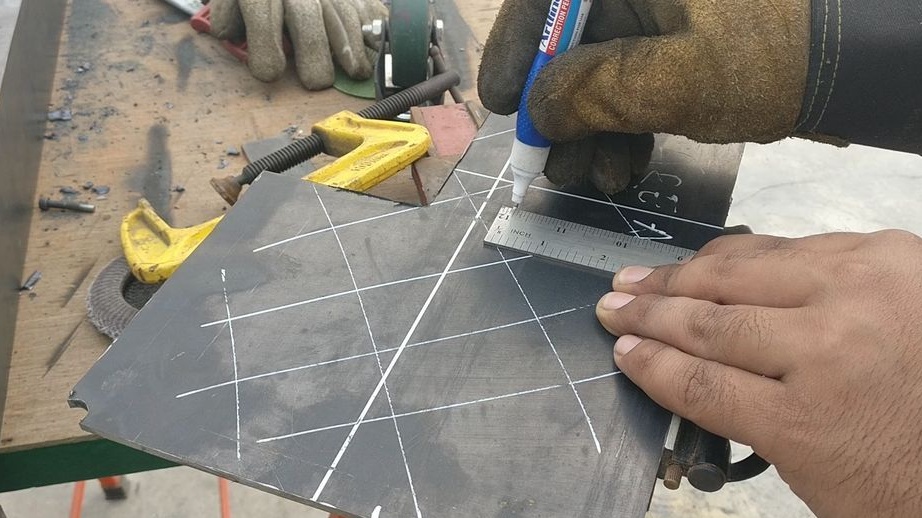
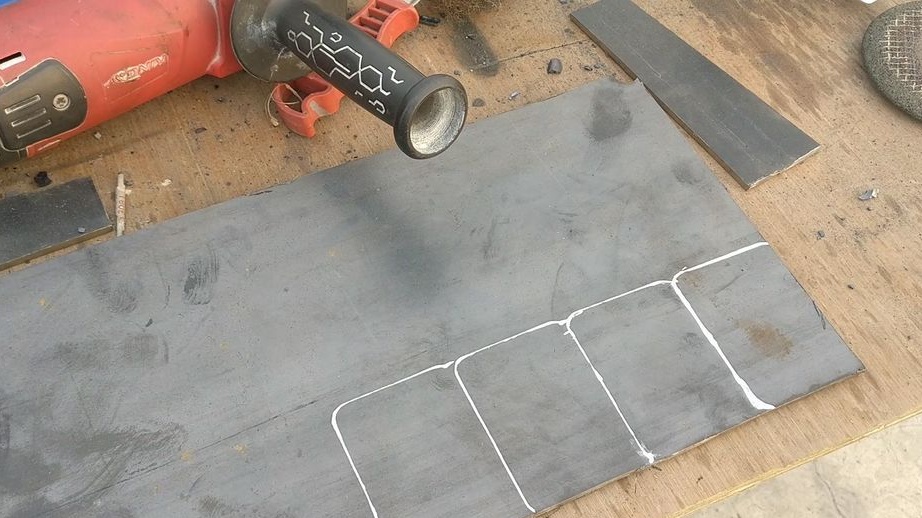
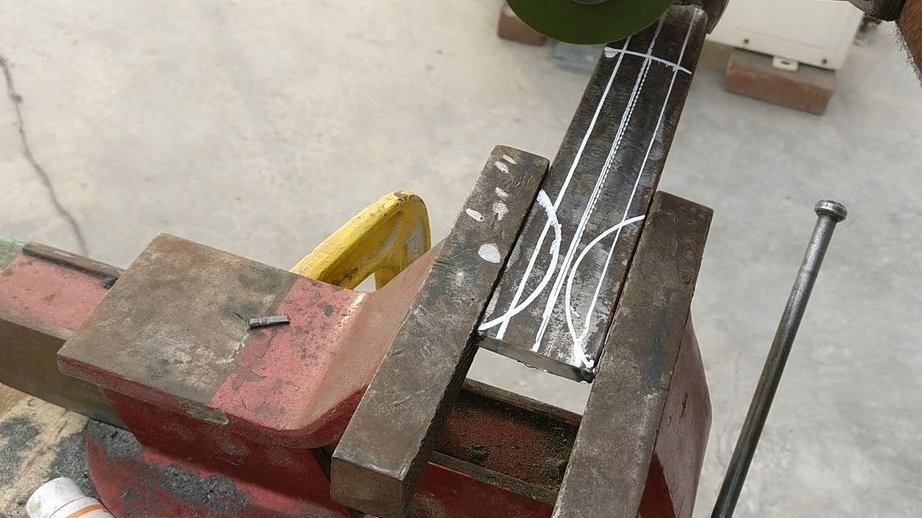
Step One: Markup
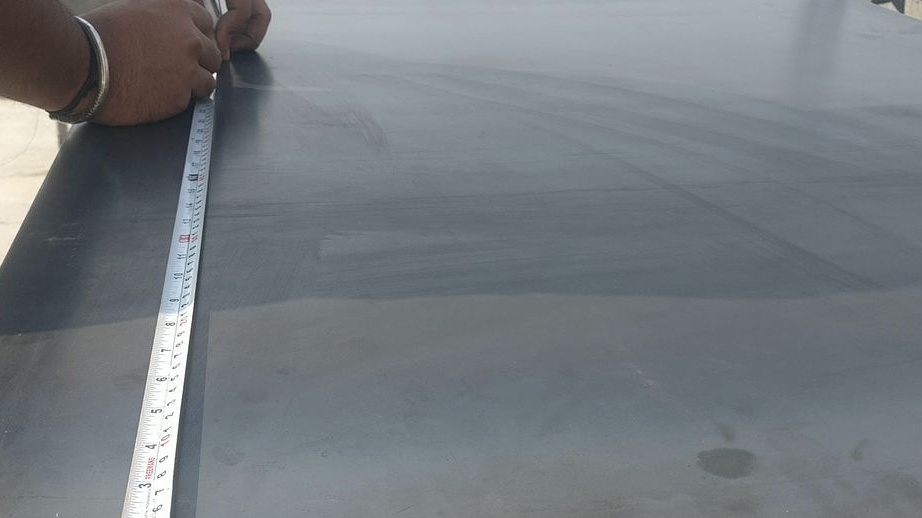
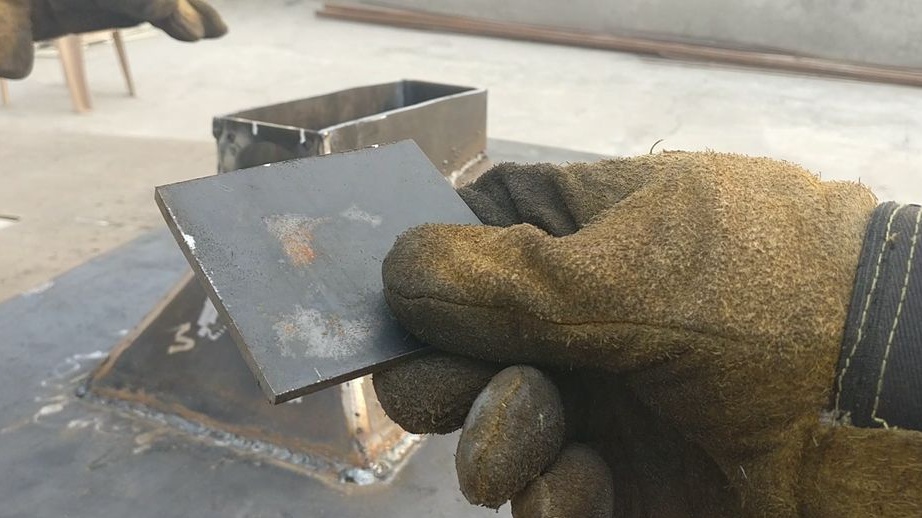
The master applies marking on a metal sheet. Marks two rectangles 762 * 508 mm (hearth size). And 914 * 660 mm, (walls). In the center marks a place for a lattice.
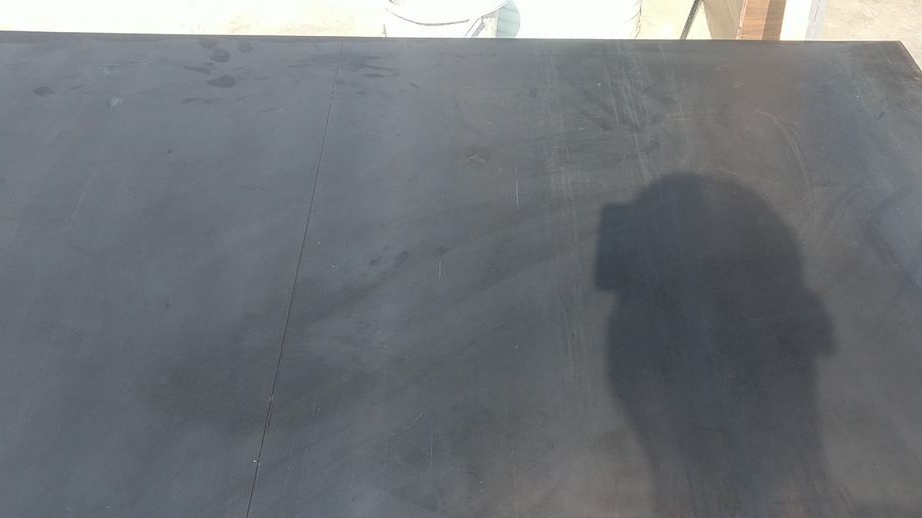
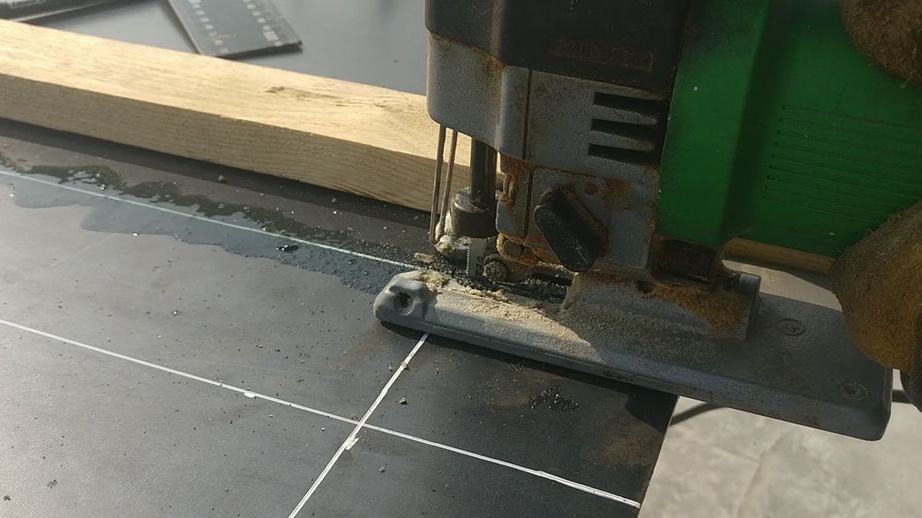
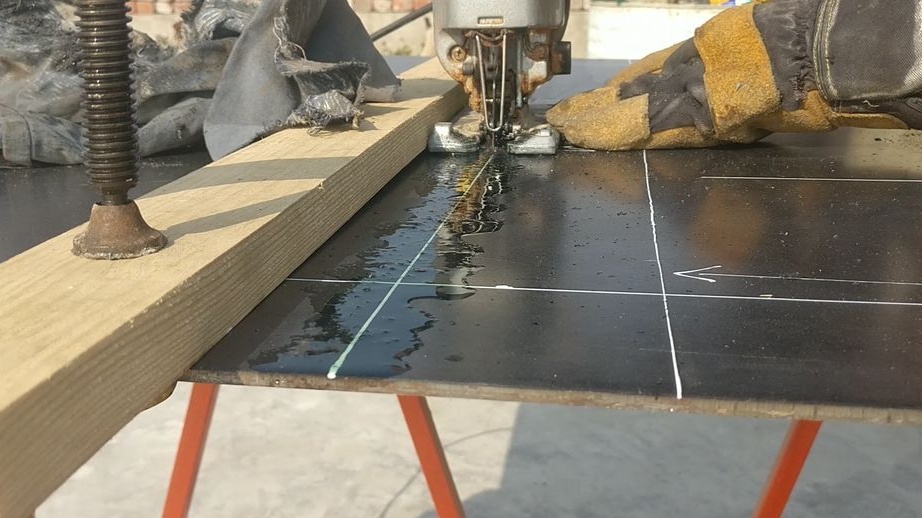
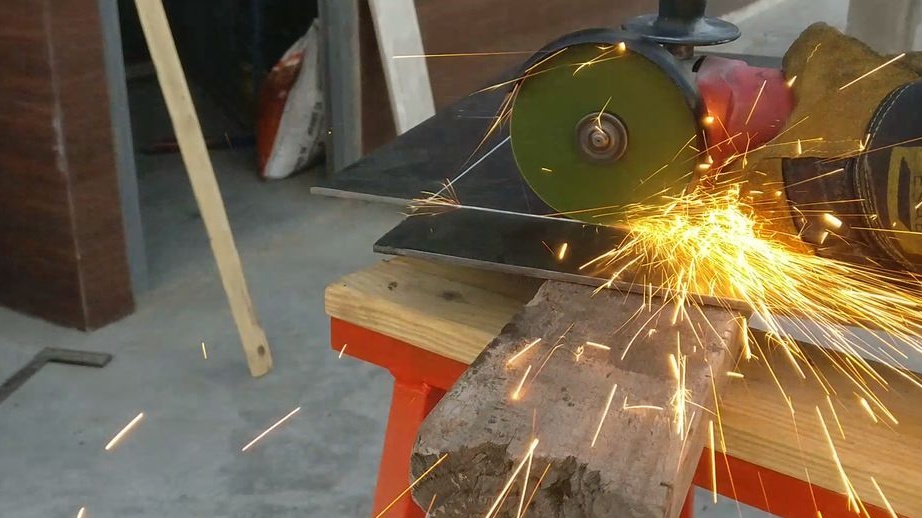
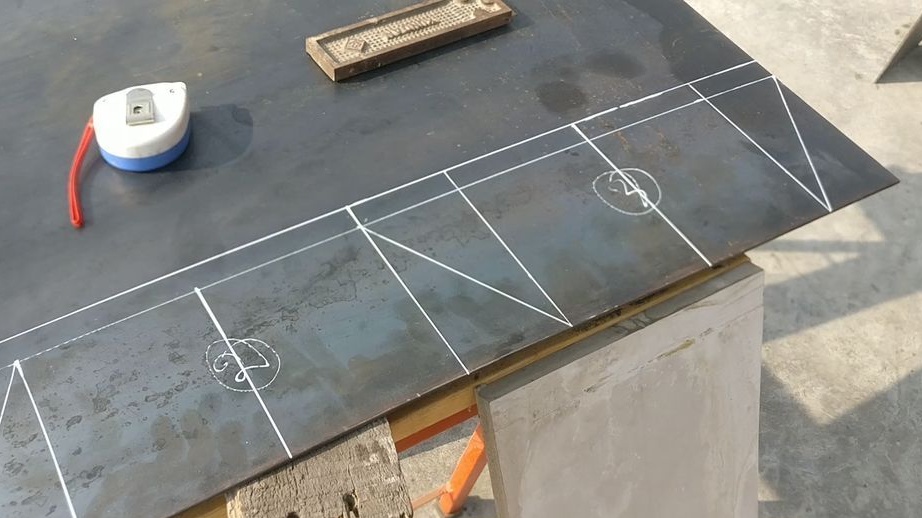
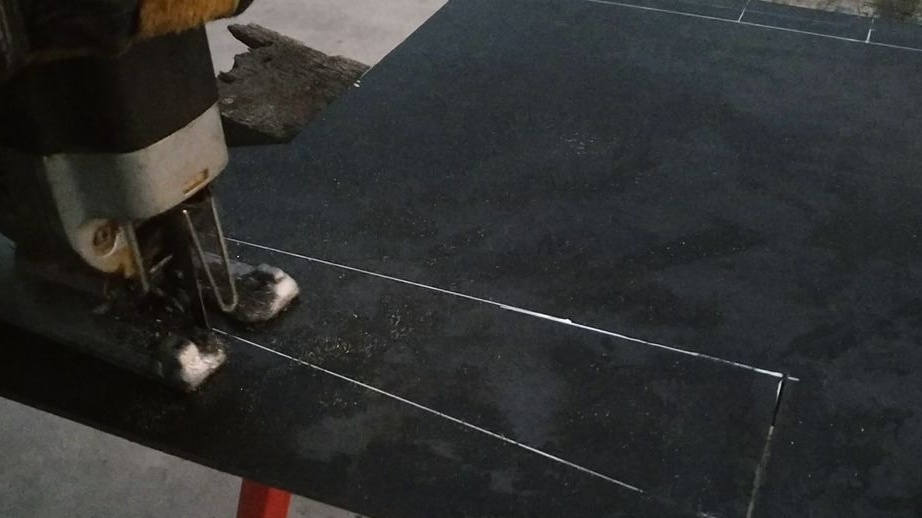
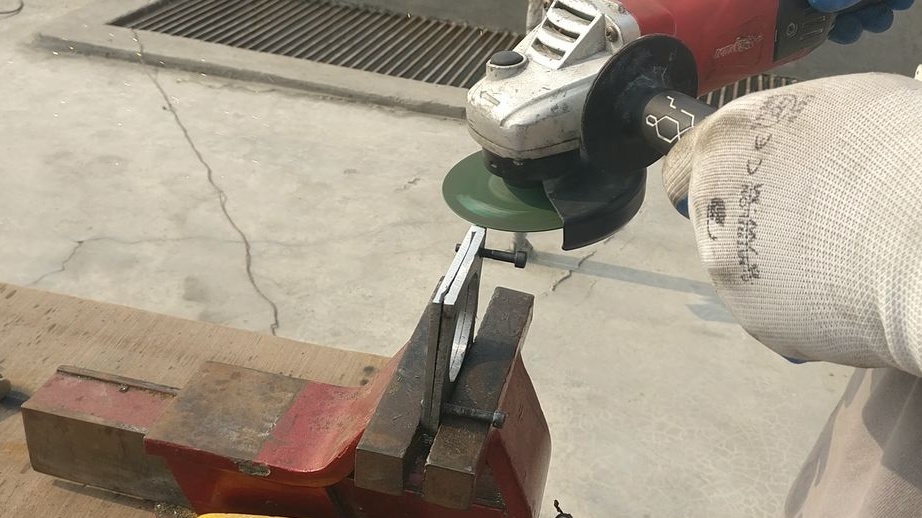
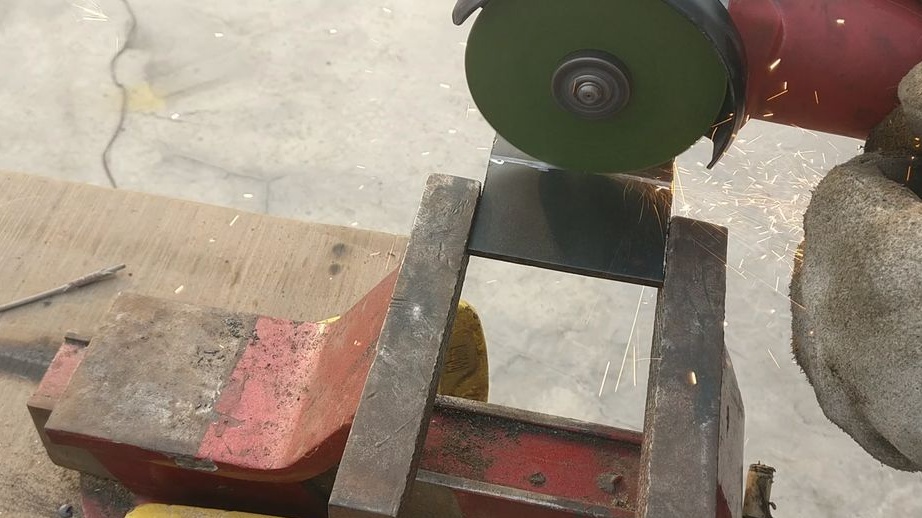
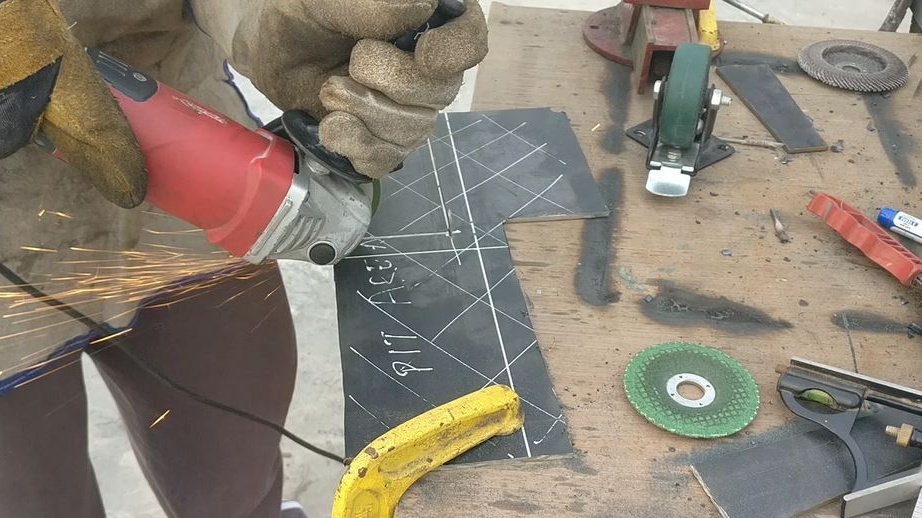
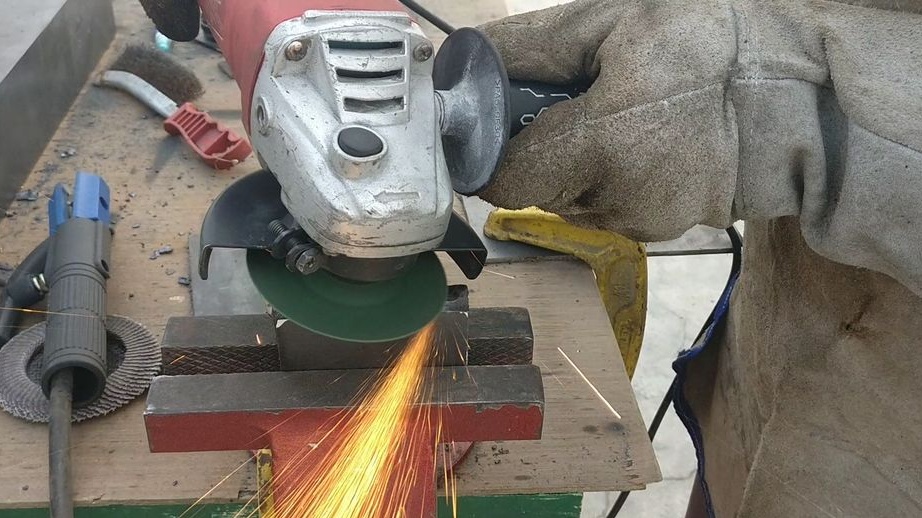
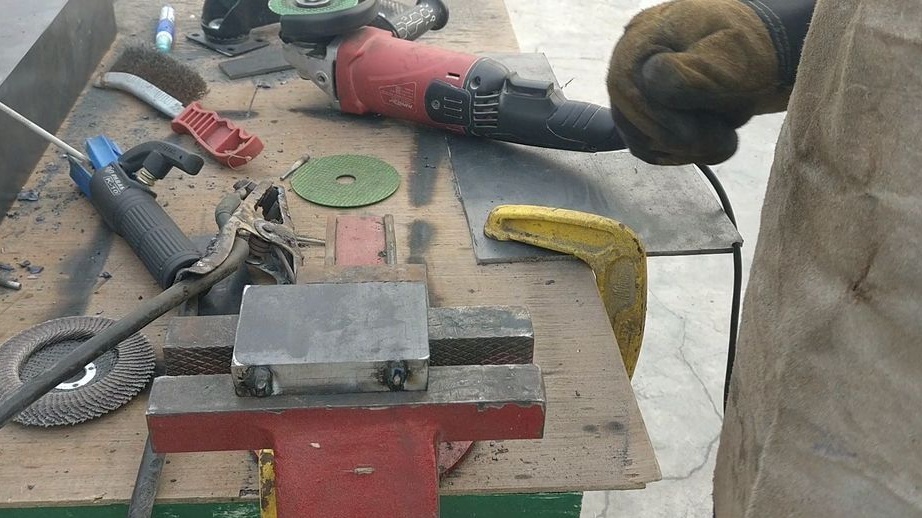
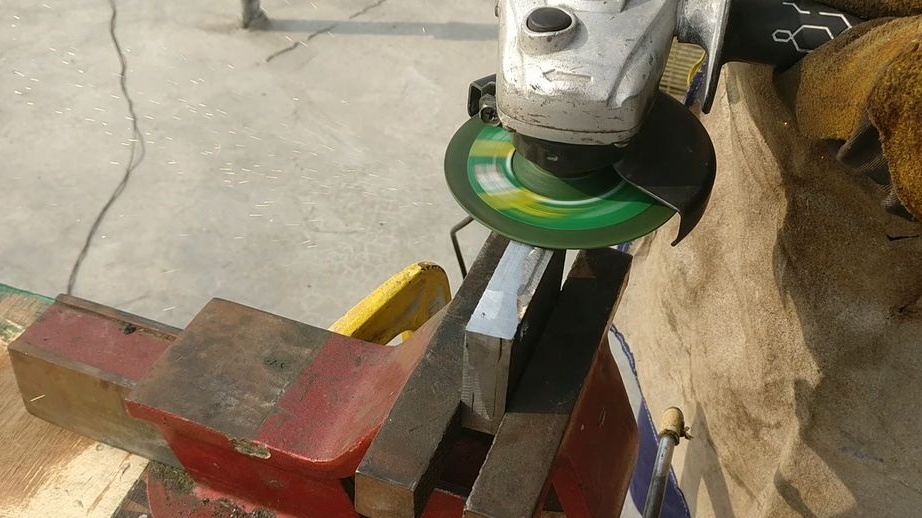
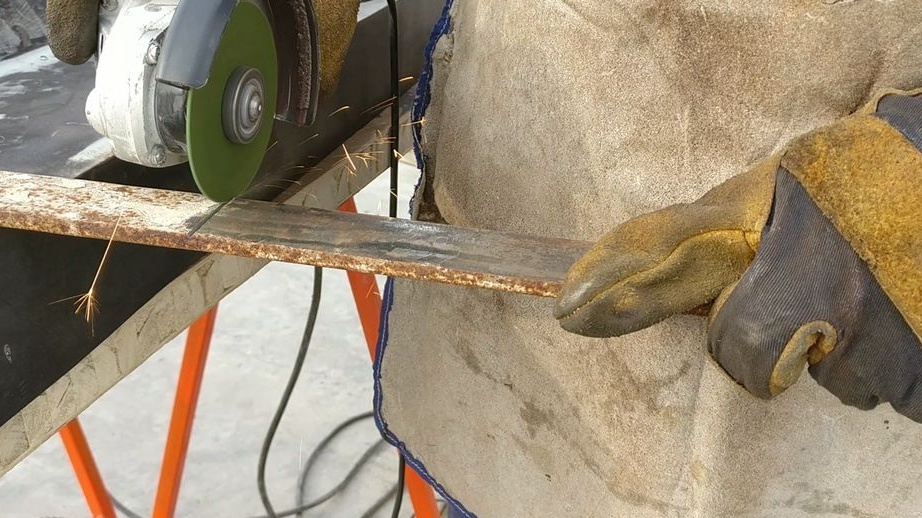
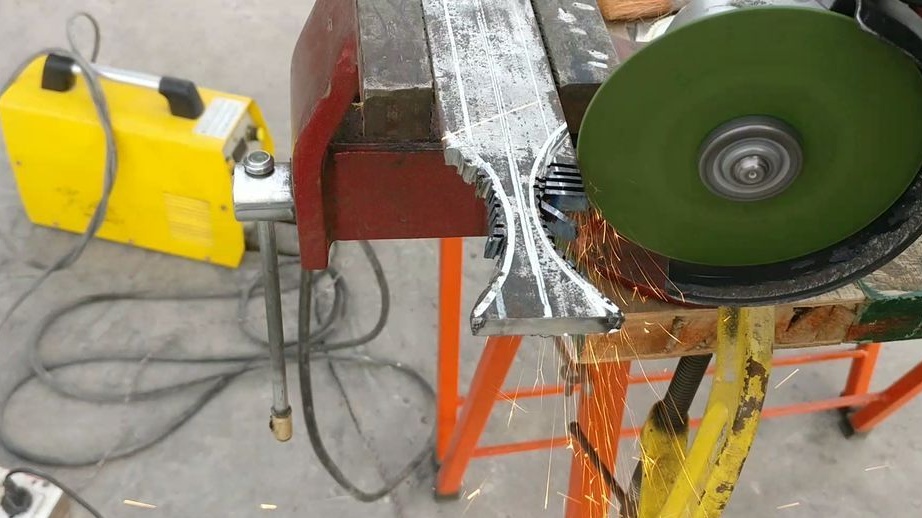
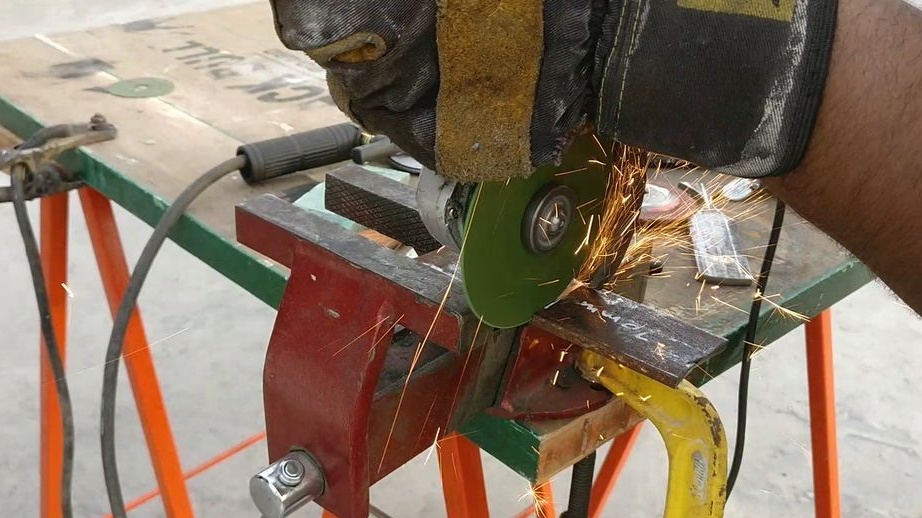
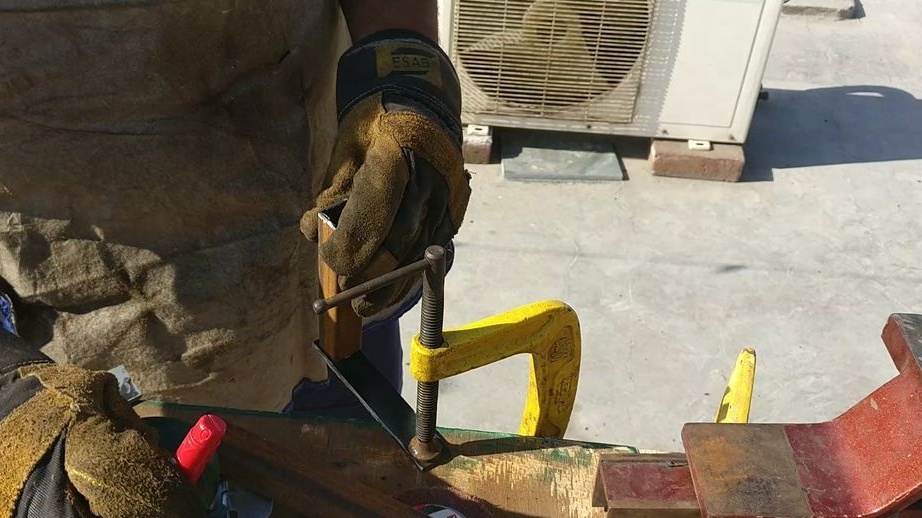
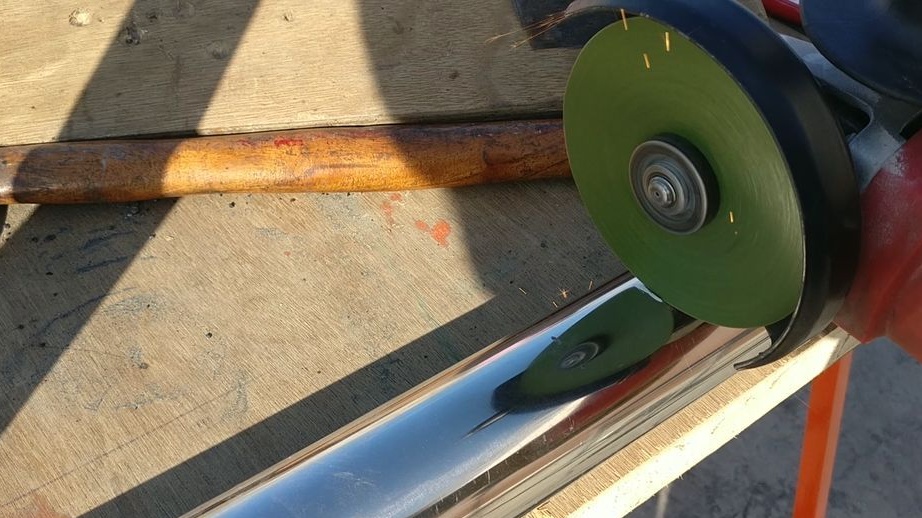
Step Two: Cutting
Using a jigsaw and angle grinder cuts out the middle part of the countertop and the corners of the workpiece. When cutting with a jigsaw, lubricates the blade with oil.

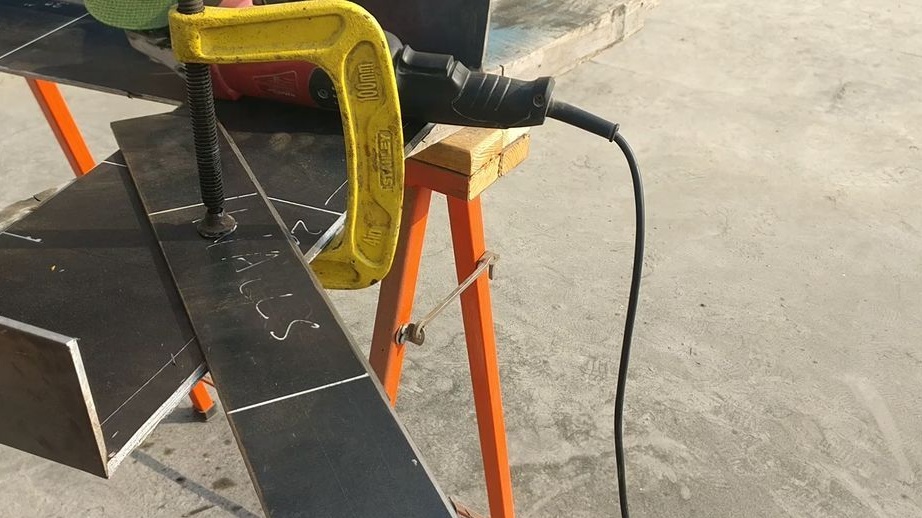
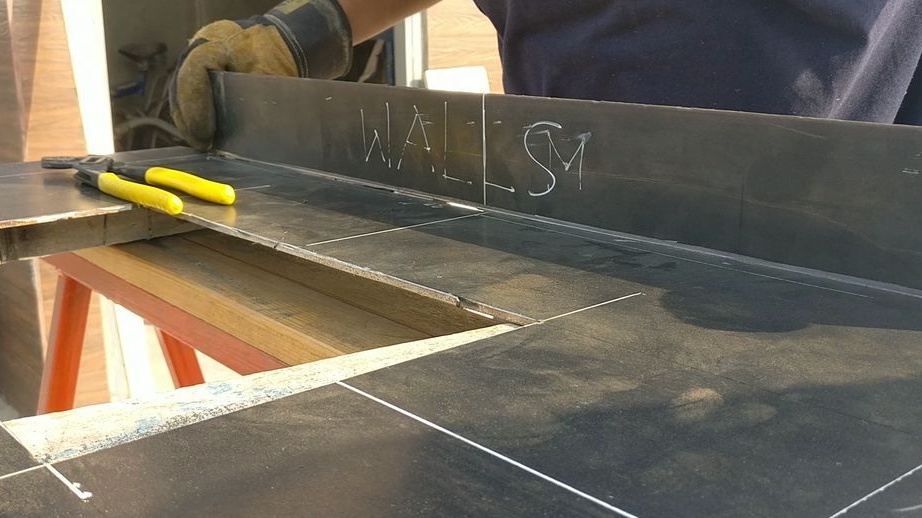
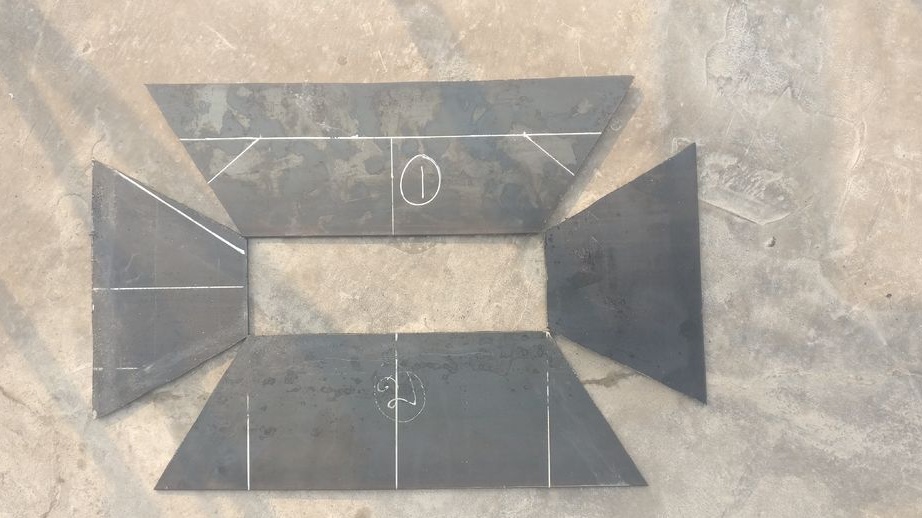
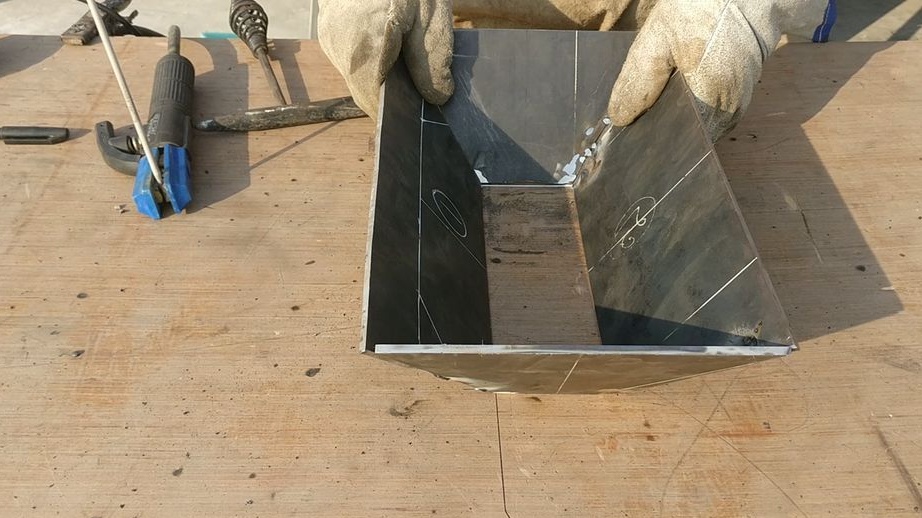
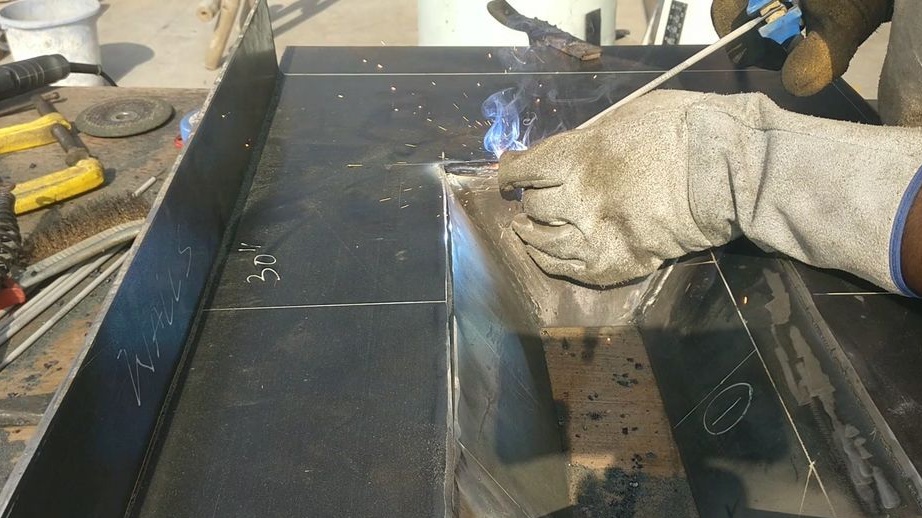
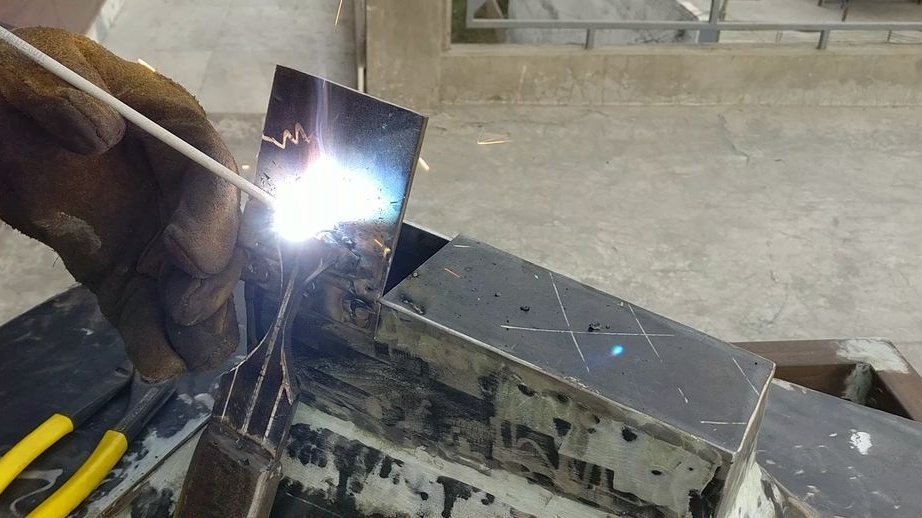
Step Three: Walls
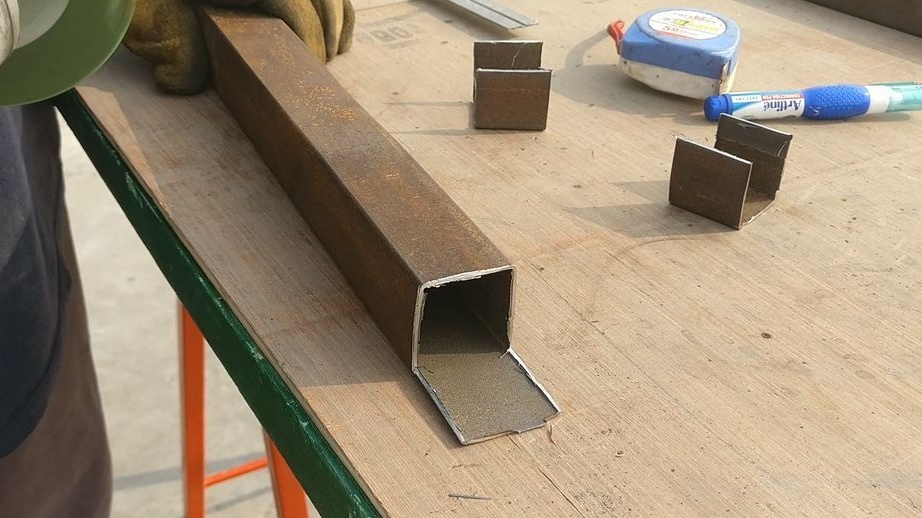
The master did not completely cut off the three walls, but cut a groove, bent and welded. One wall is cut off, from this side the workpiece will be fed into the furnace.


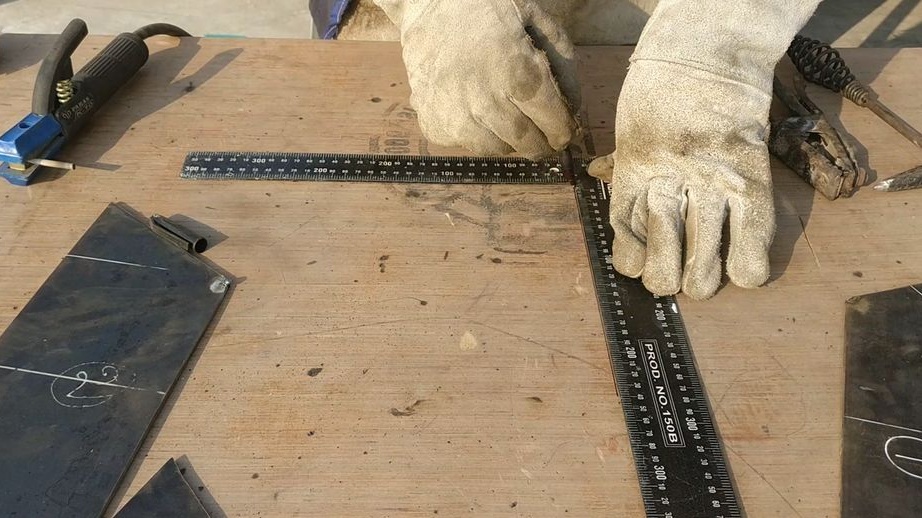
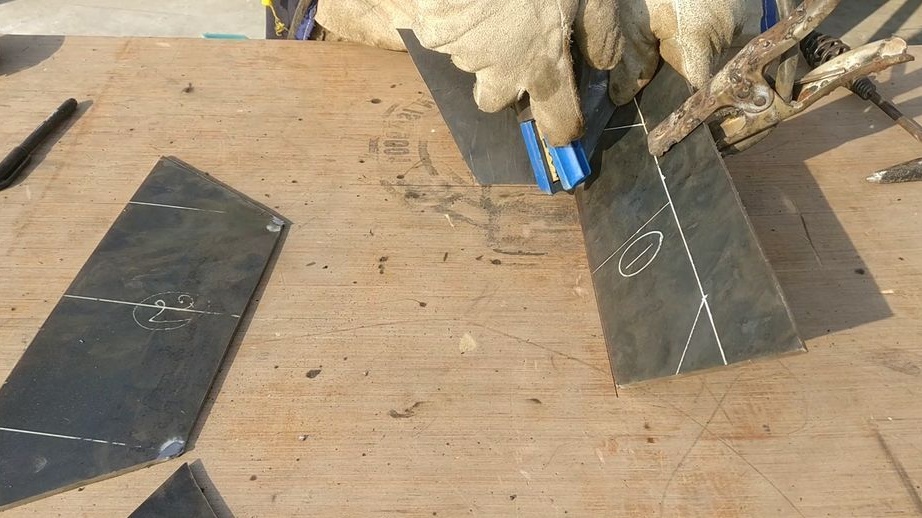
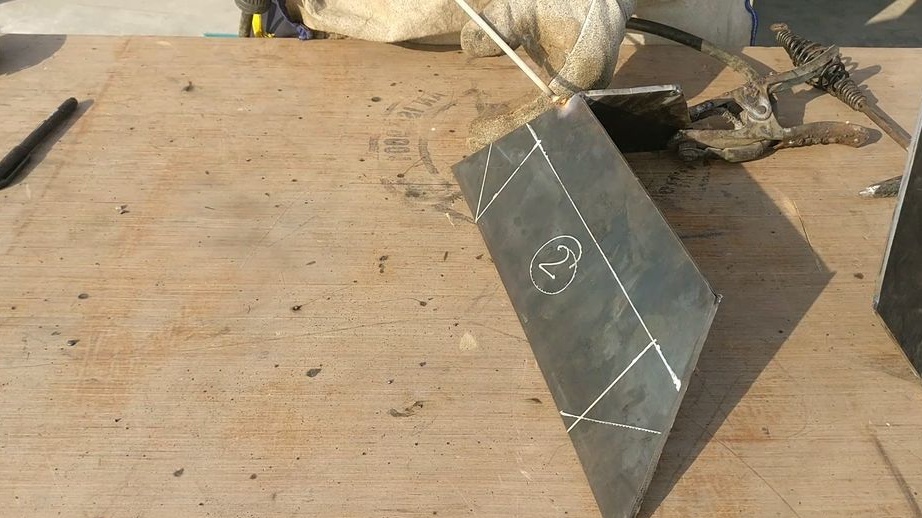
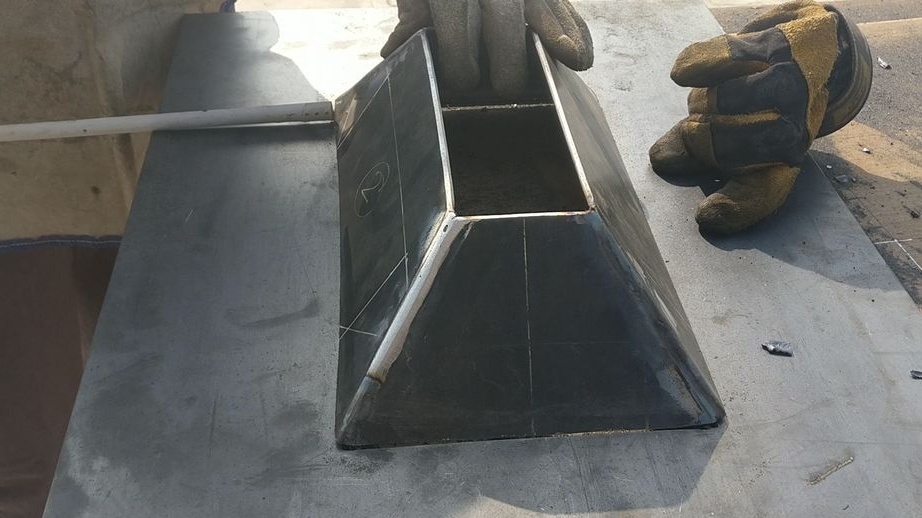
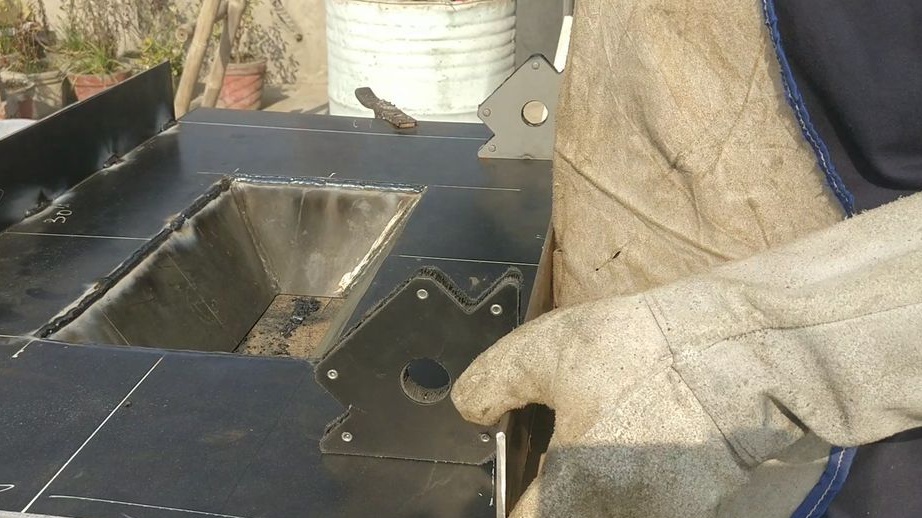
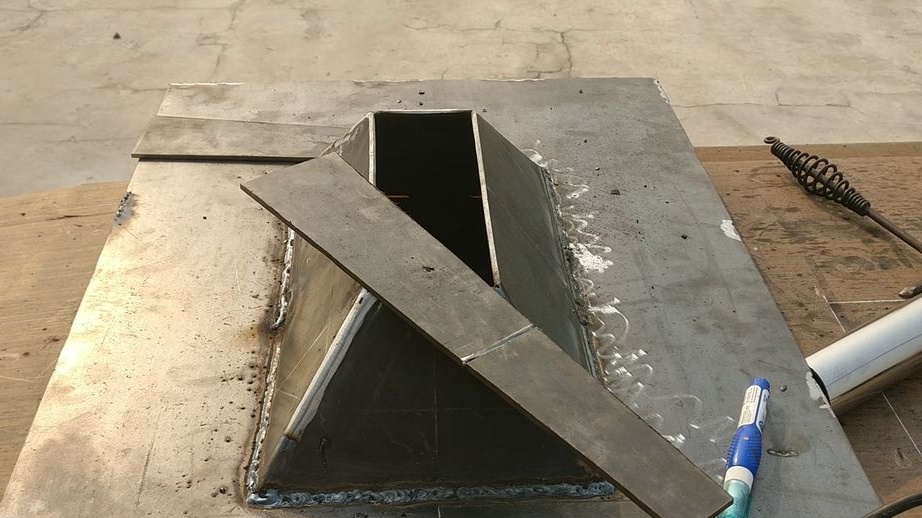
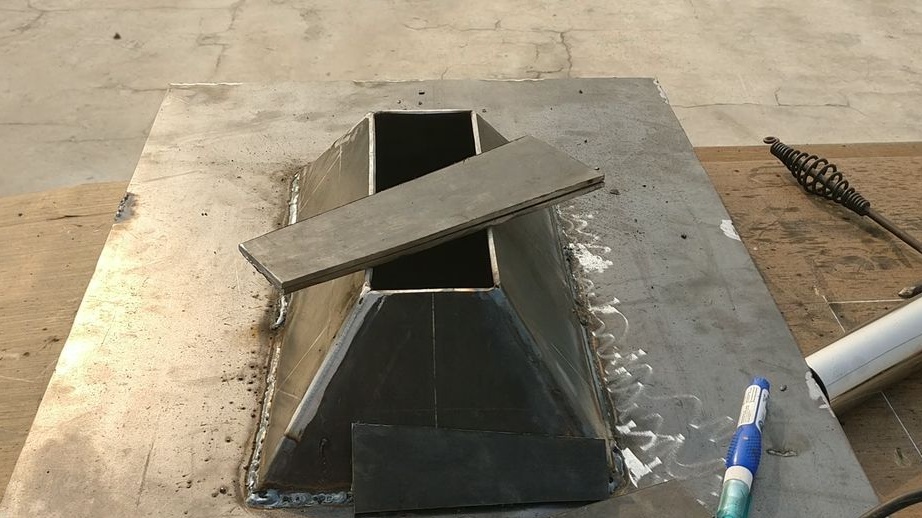
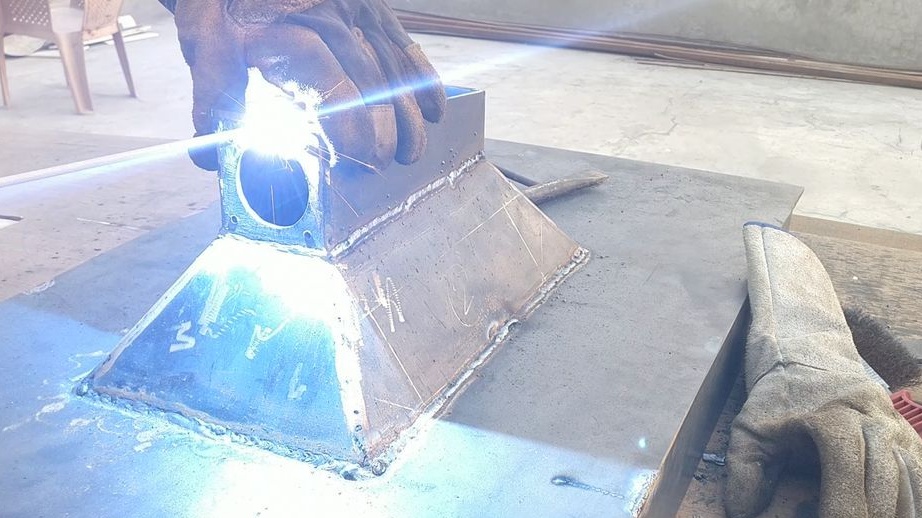
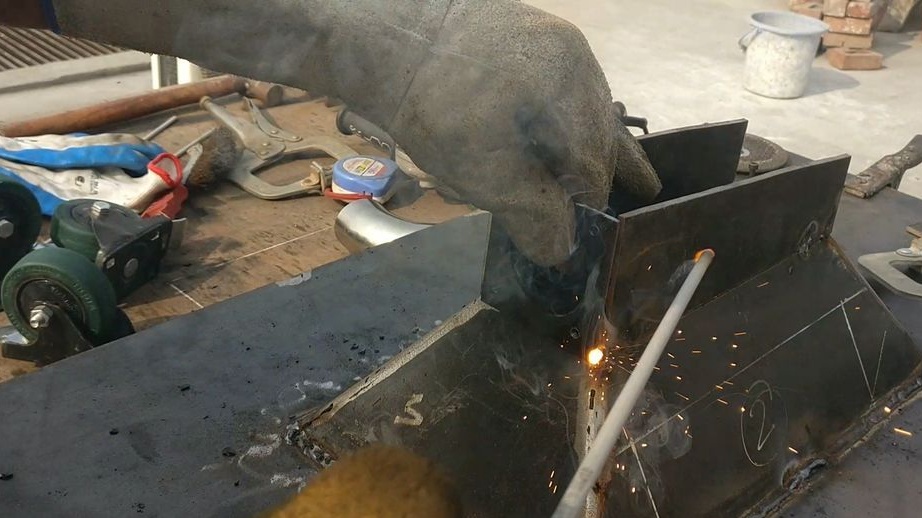
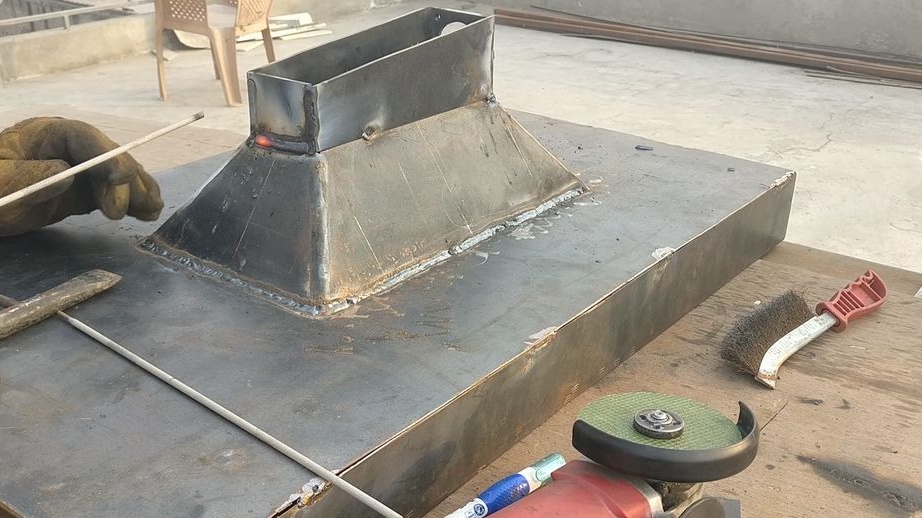
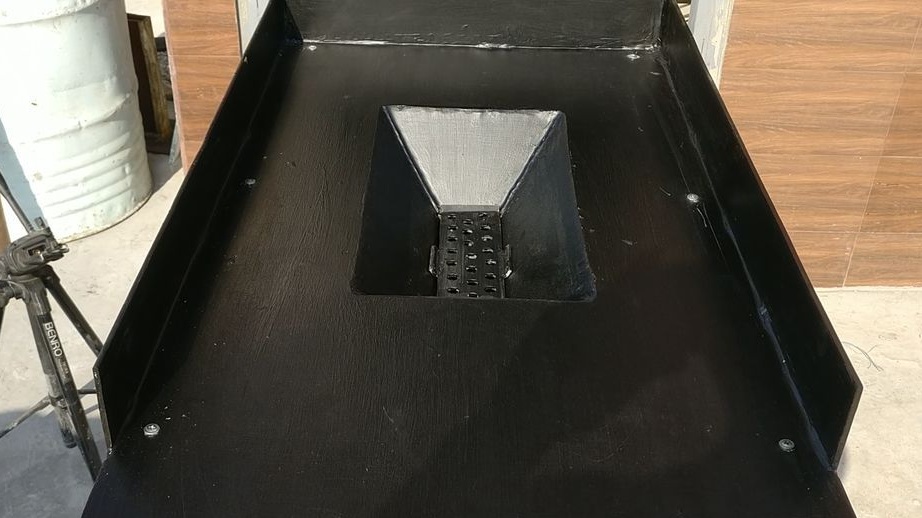
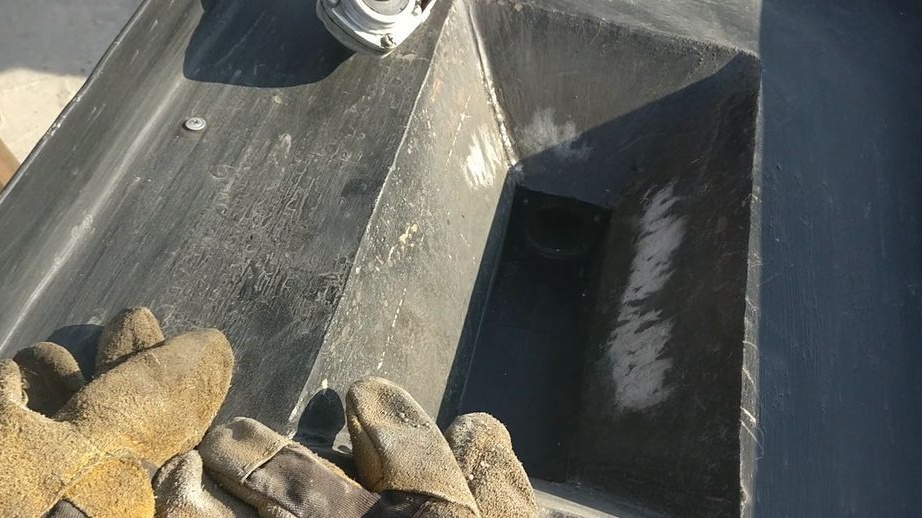
Step Four: Firebox
The firebox has the shape of a truncated pyramid. On the metal makes a markup, then cuts it out.


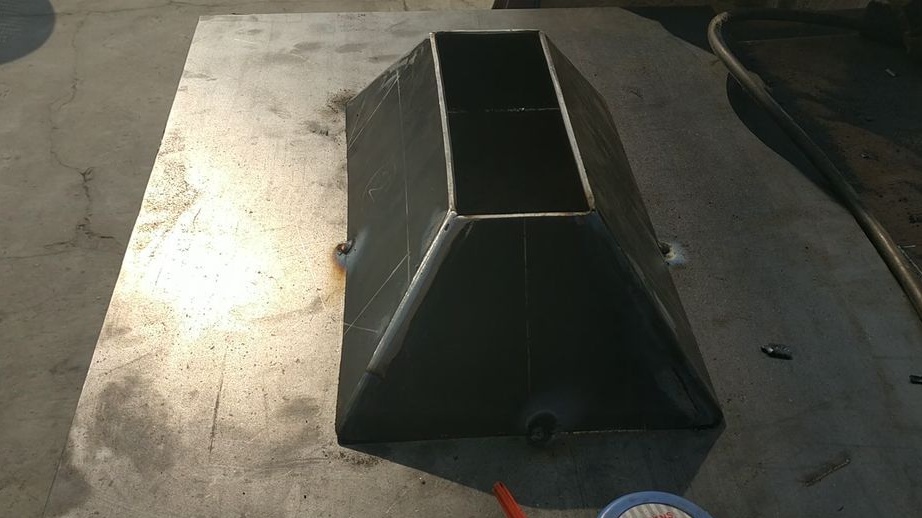
Welds the firebox.
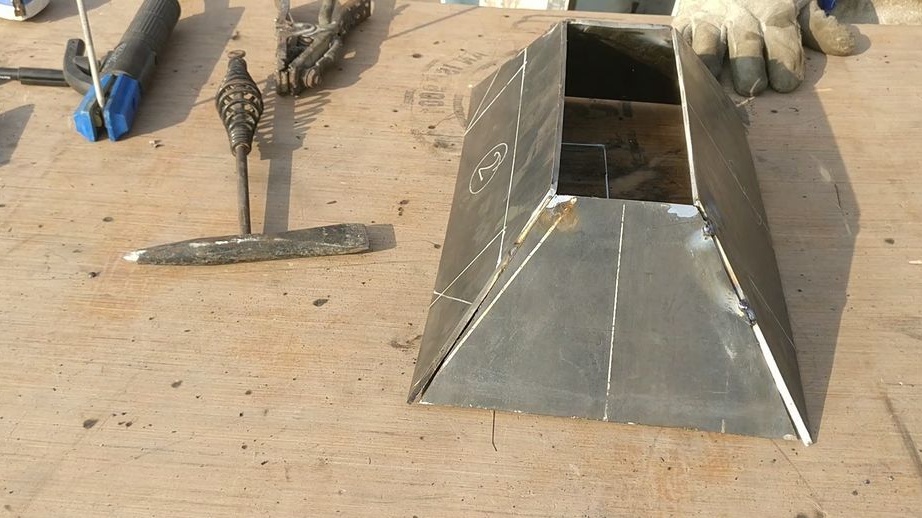
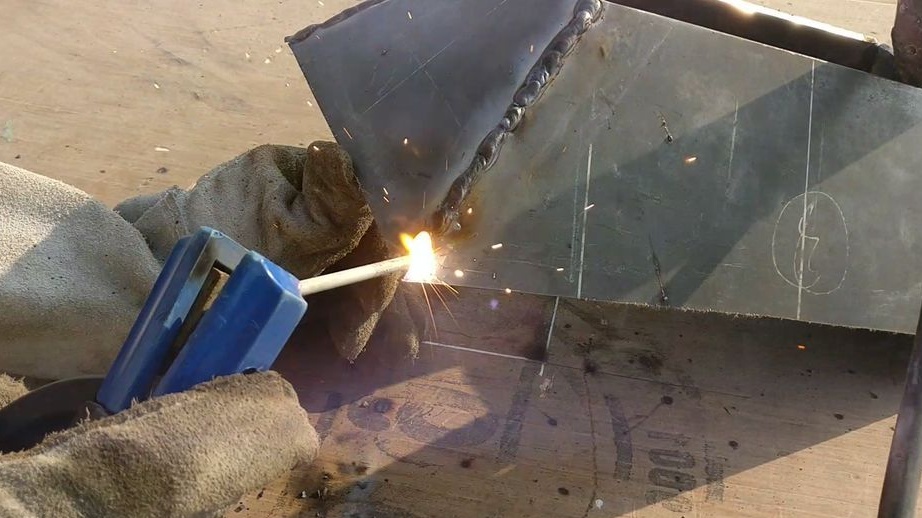
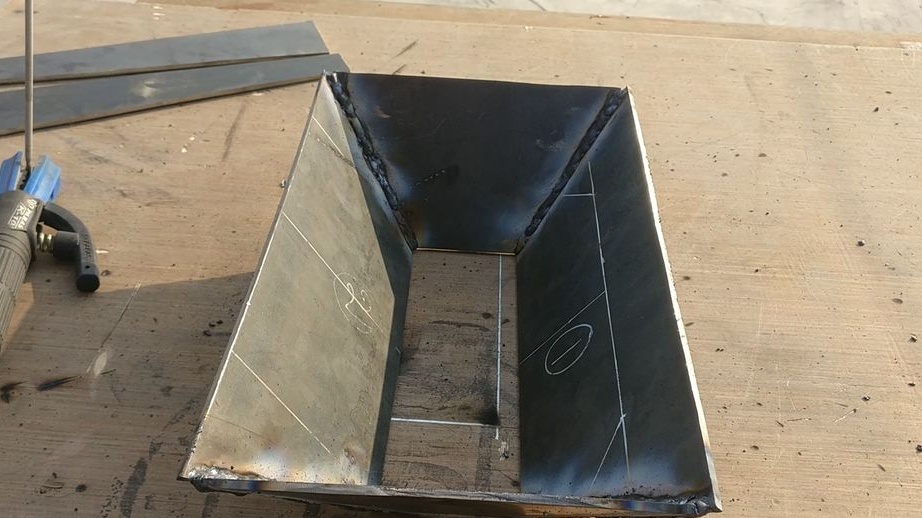
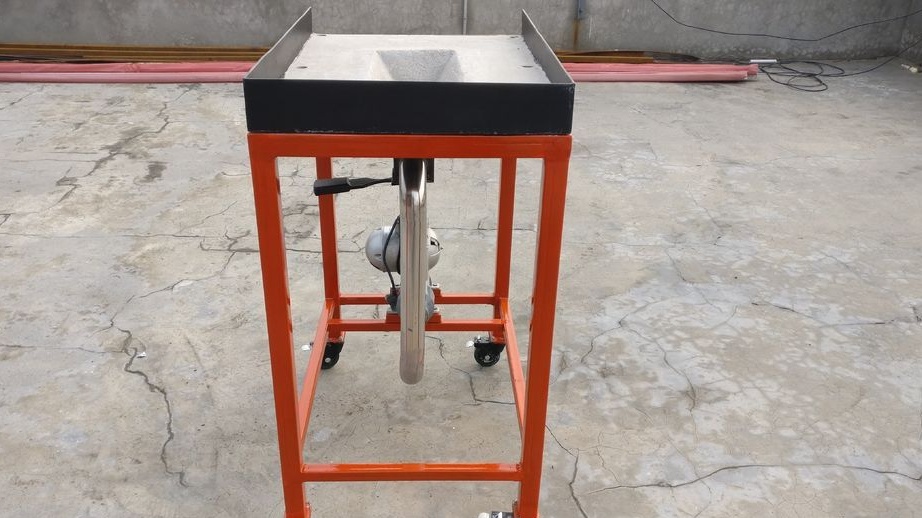
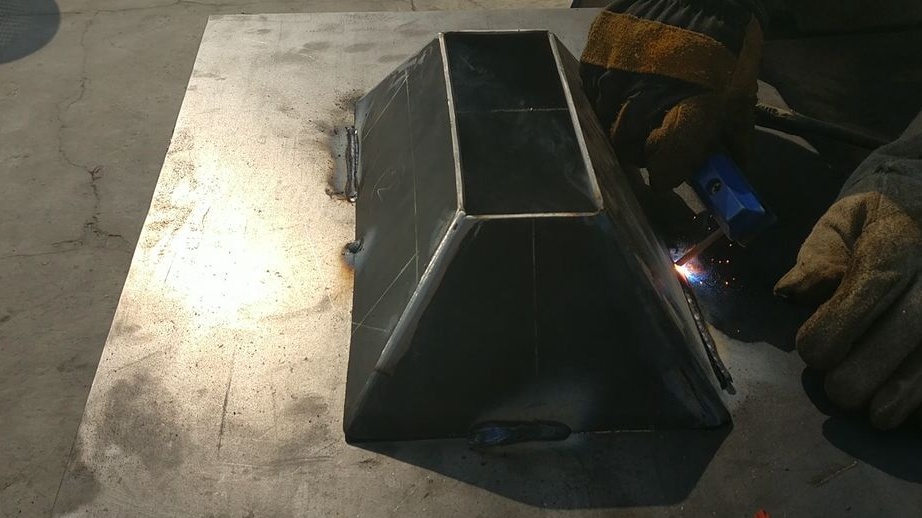
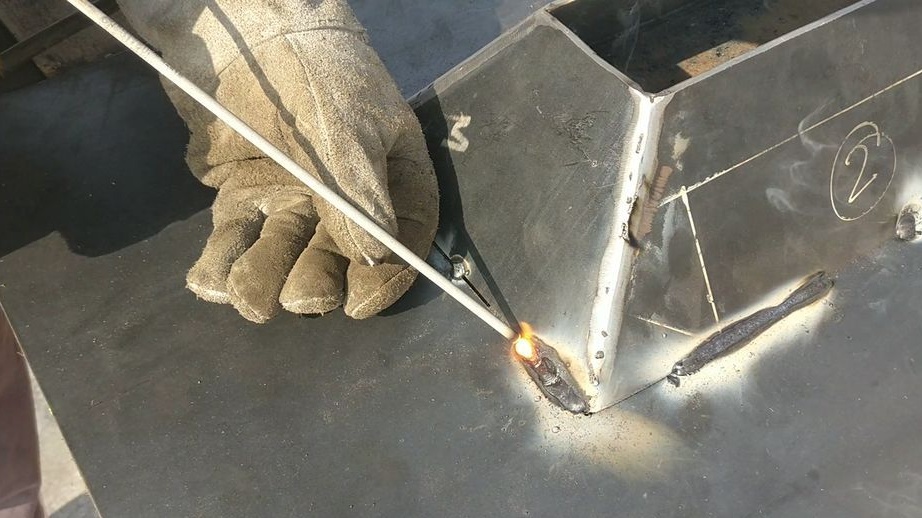
After cleaning the seams, the furnace is welded to the countertop.


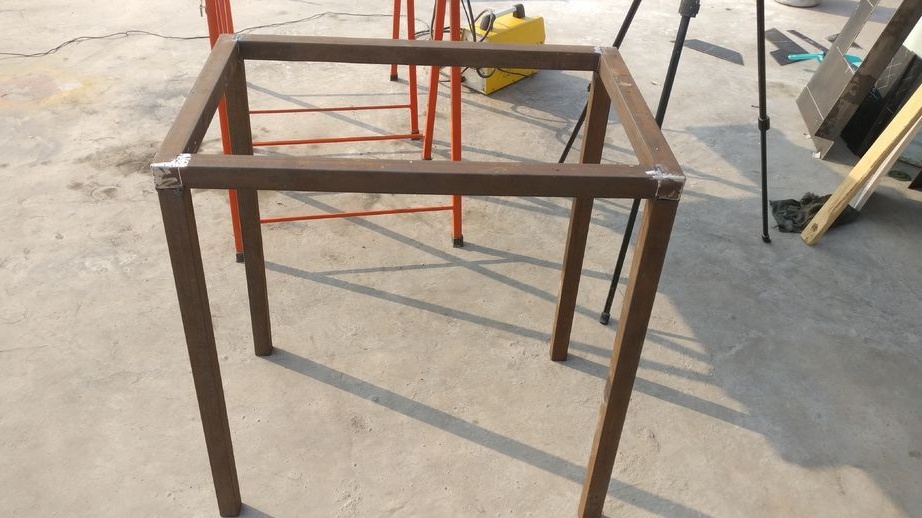
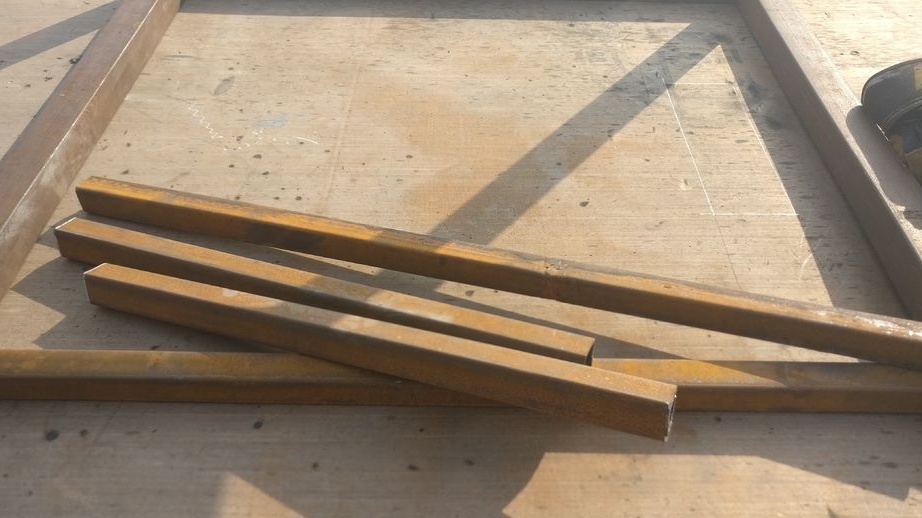
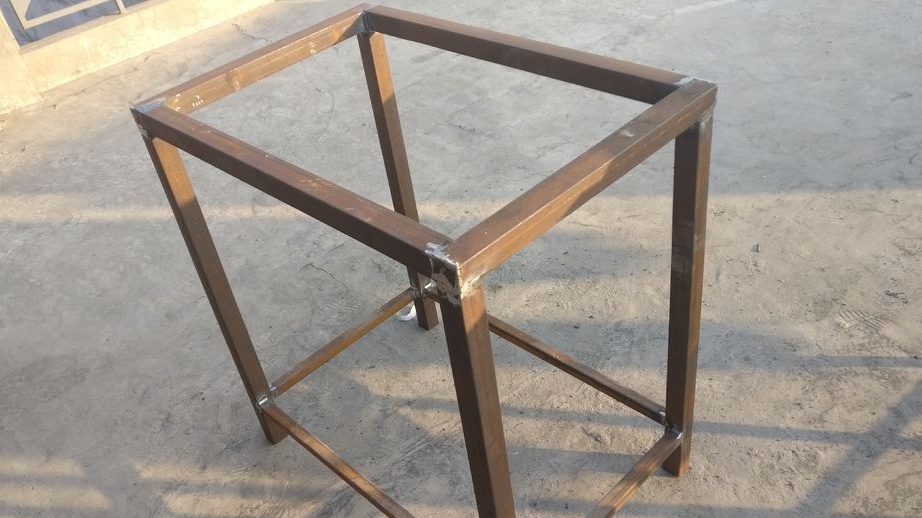
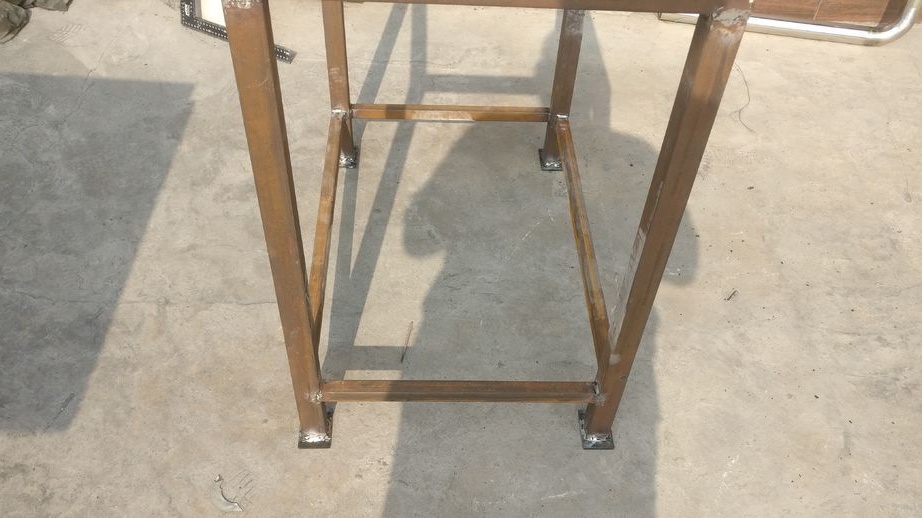
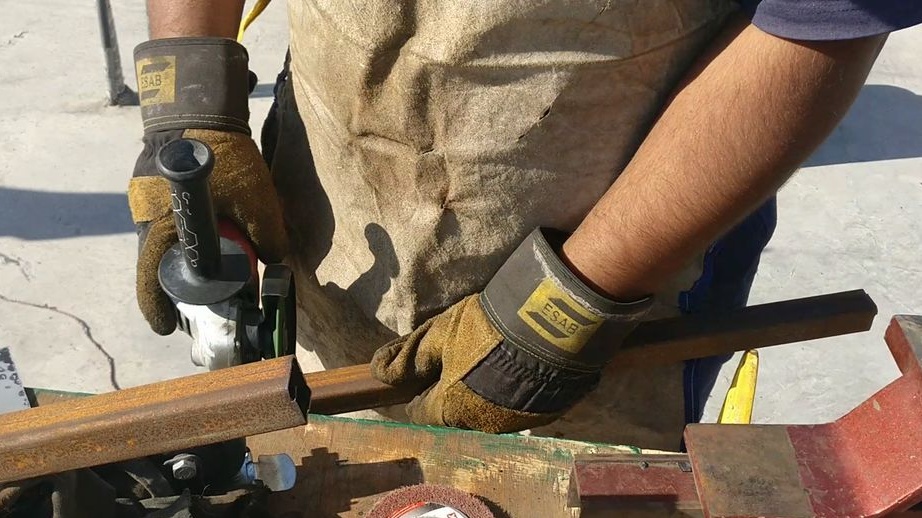
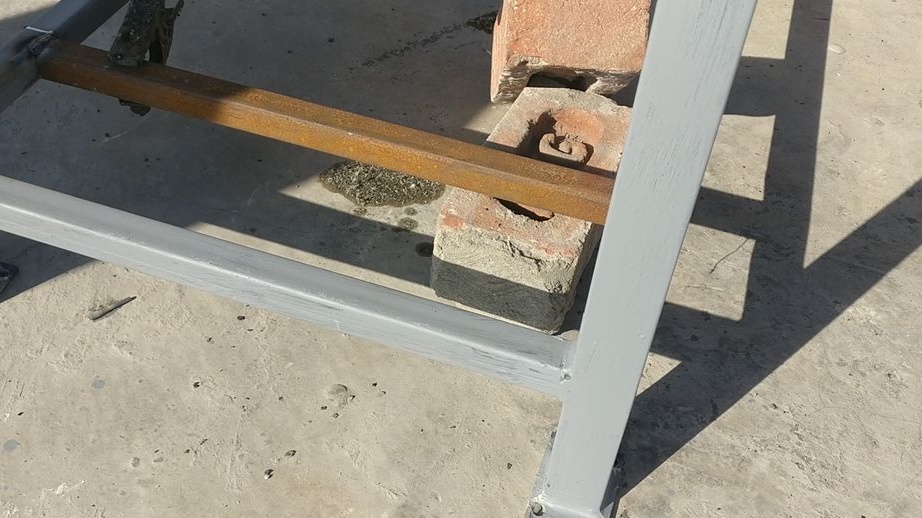
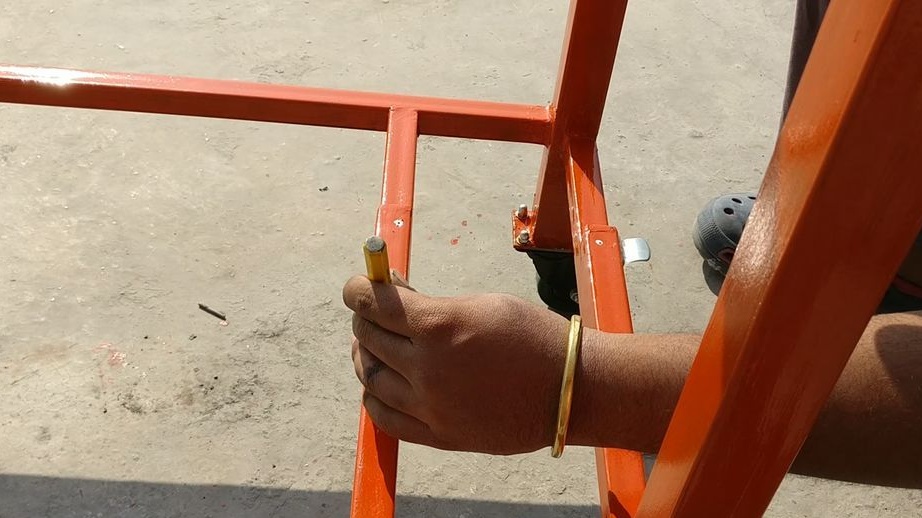
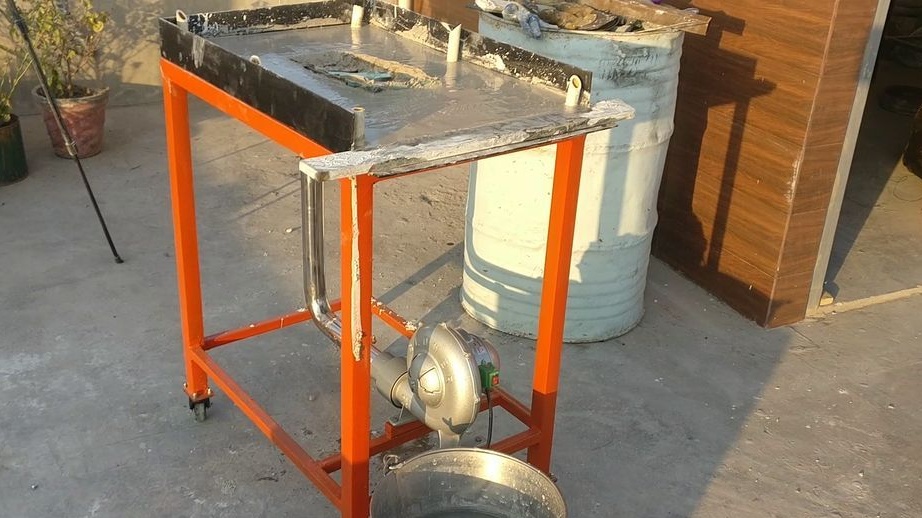
Step Five: Frame
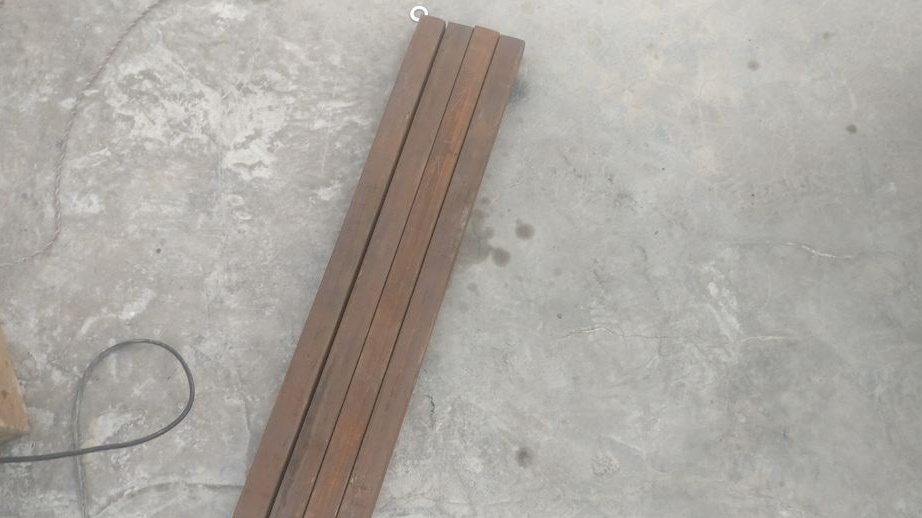
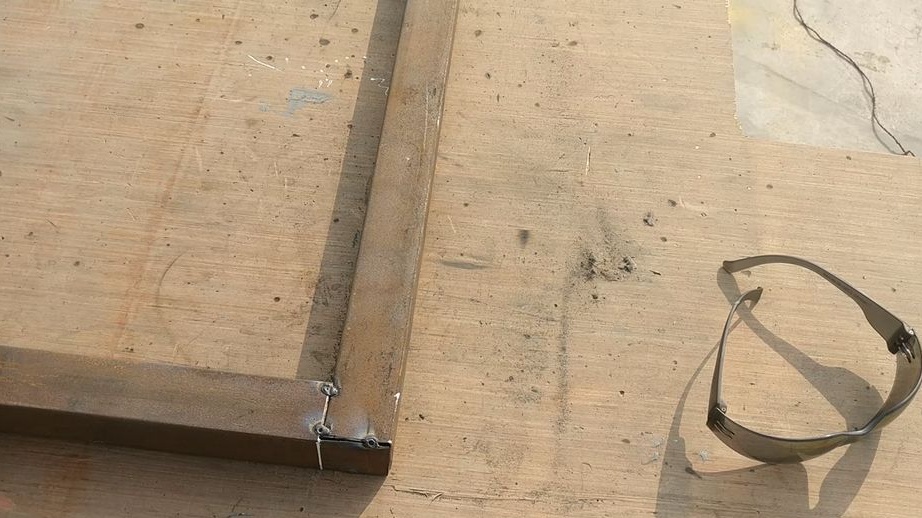
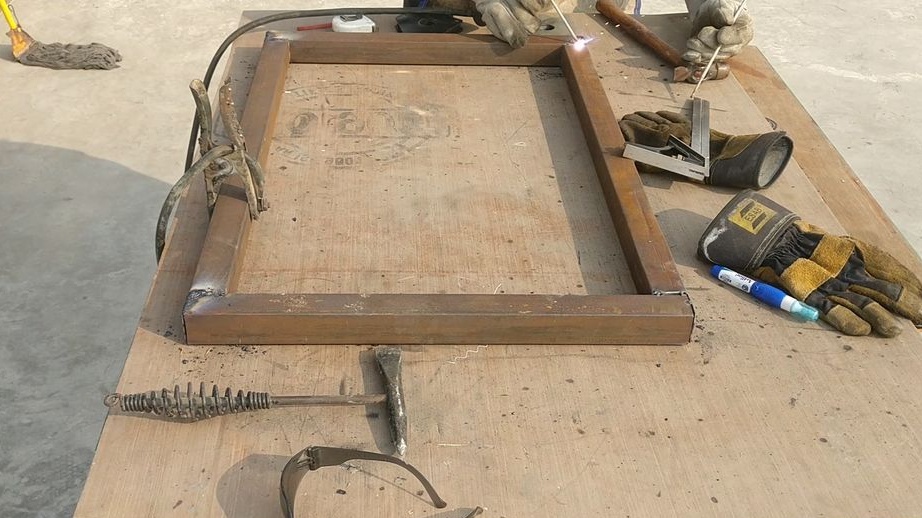
From a square profile, the master makes a table frame.


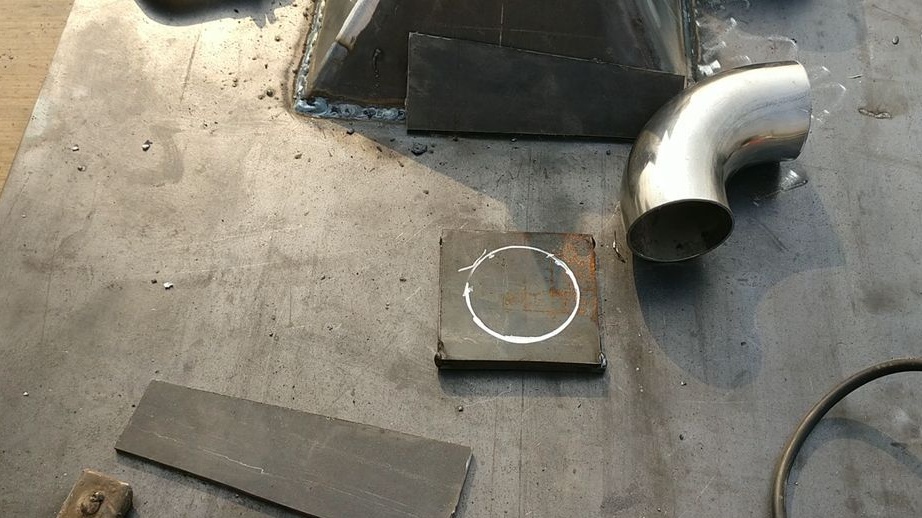
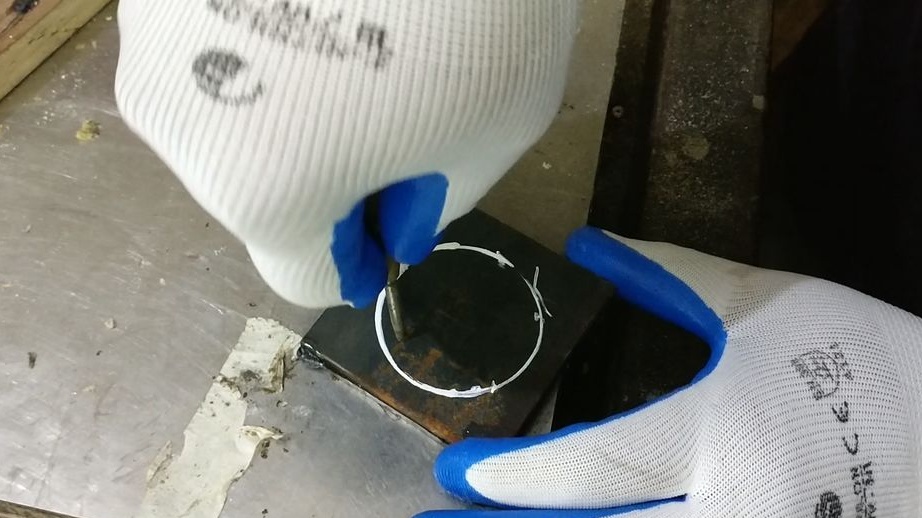
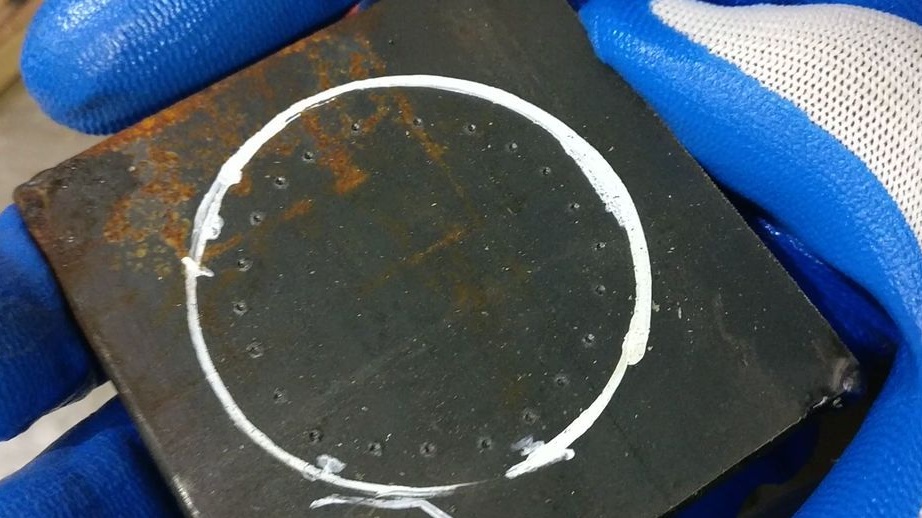
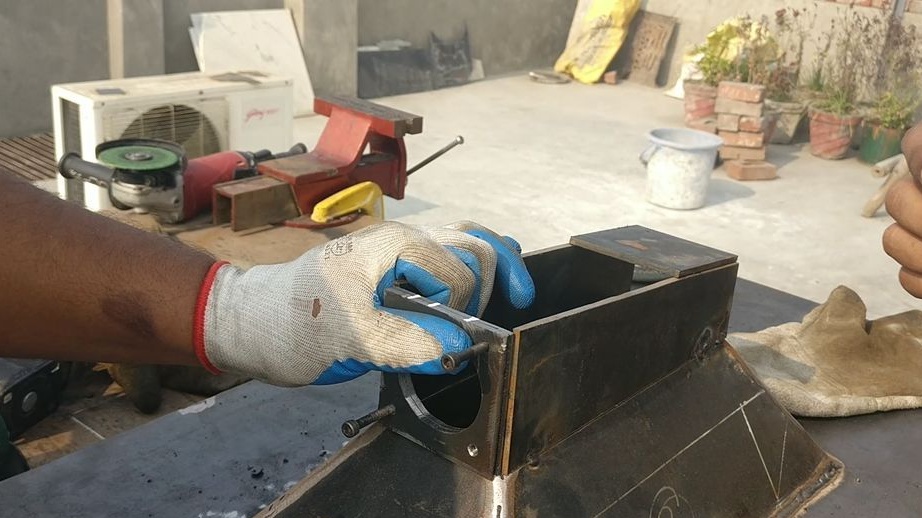
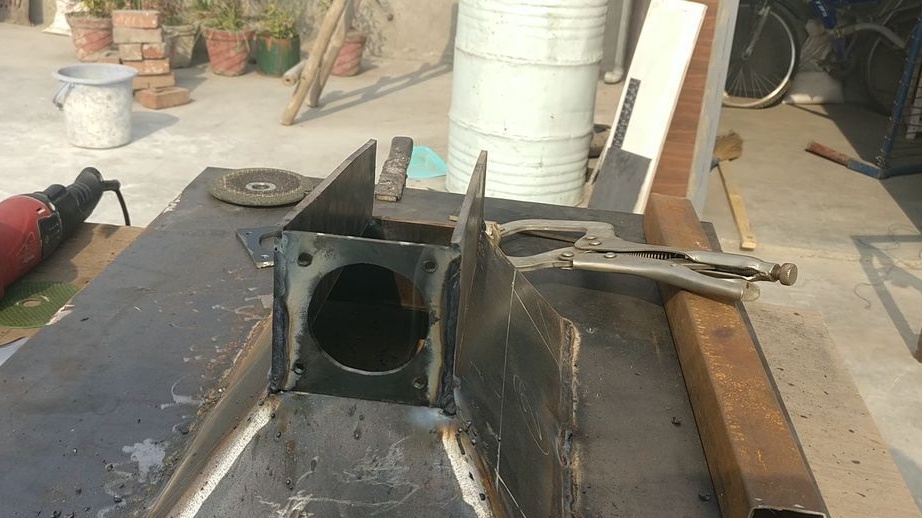
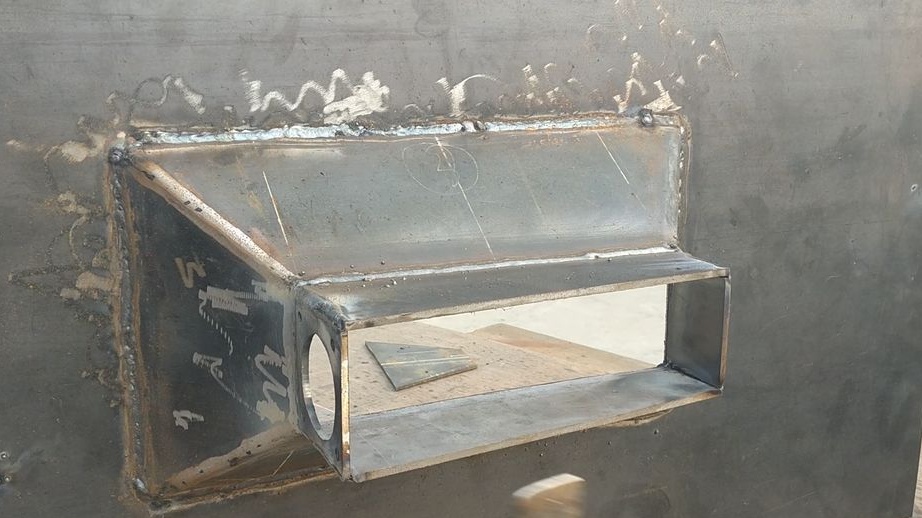
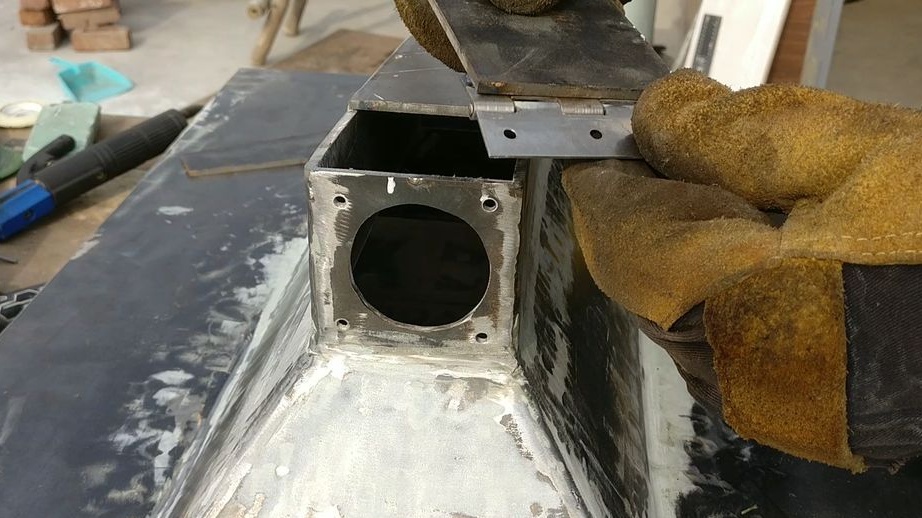
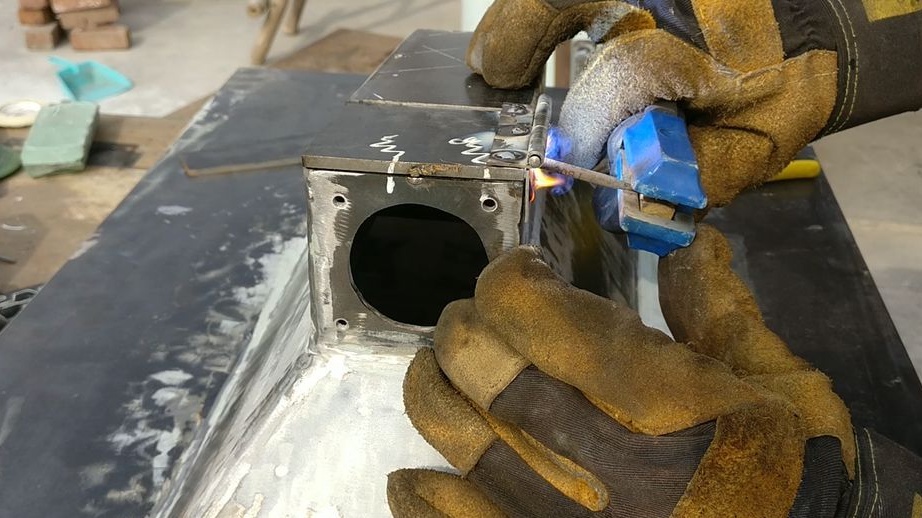
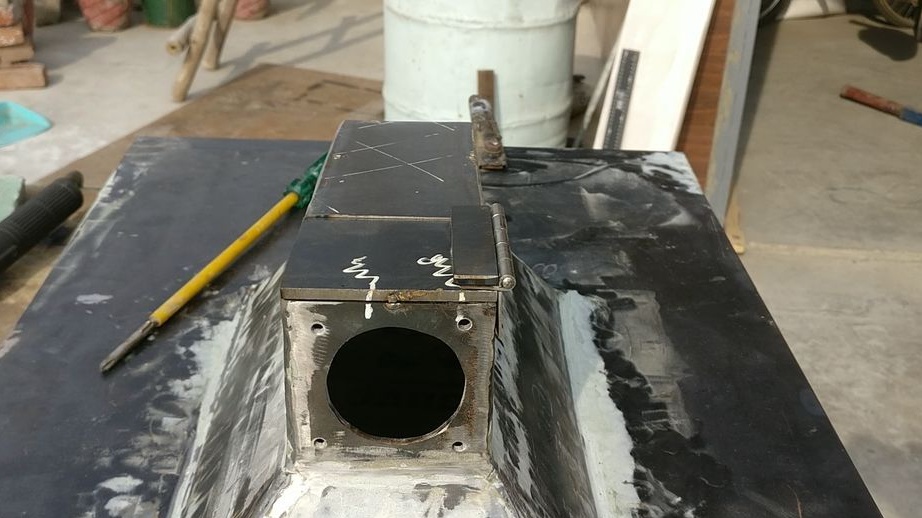
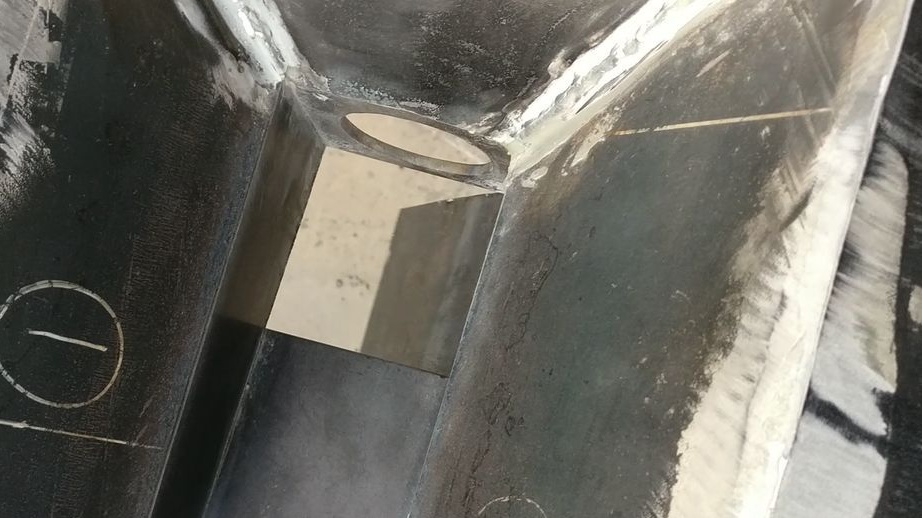
Step Six: Air Chamber
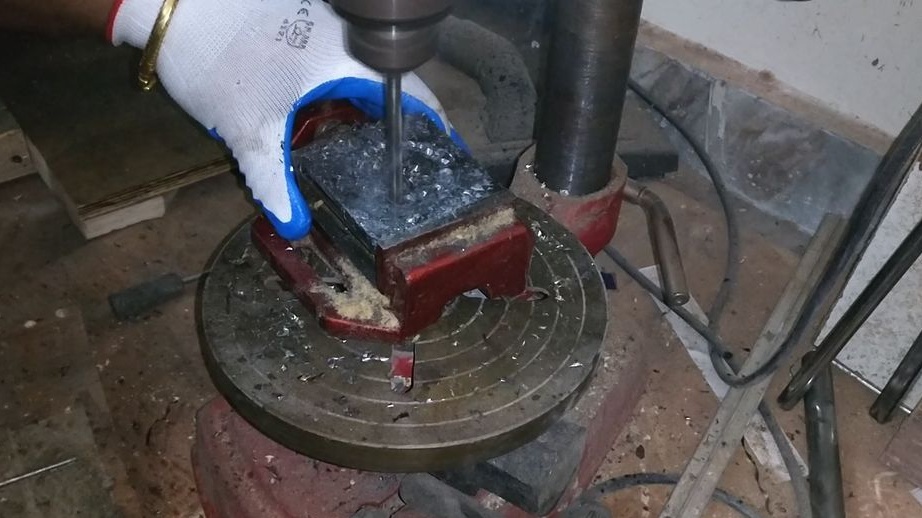
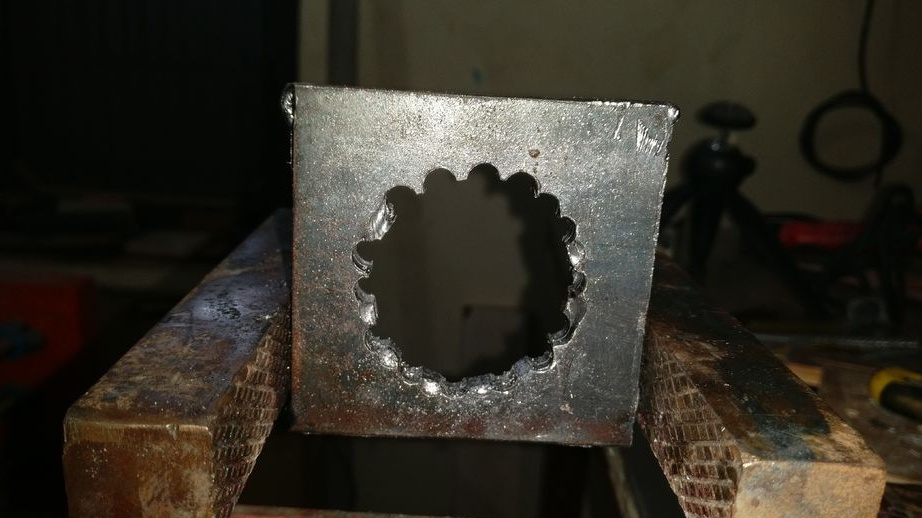
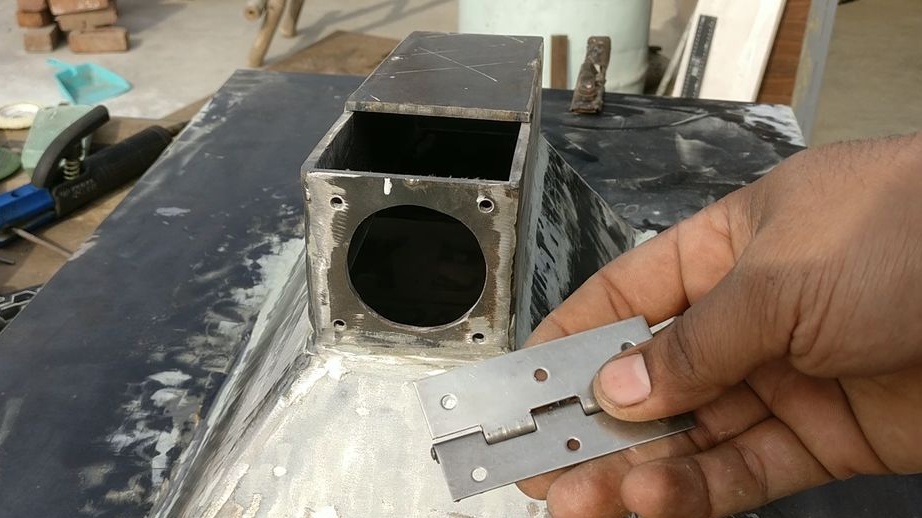
Makes an air chamber. Air will be pumped into it by a fan. The camera is made of metal. The perimeter of the chamber corresponds to the perimeter of the furnace in its lower part. One side of the chamber is welded to the bottom of the furnace. The remaining parts are closed, except for one end wall and part of the bottom. The master welds a plate with a round hole to this end wall. The door will be made in the lower part.

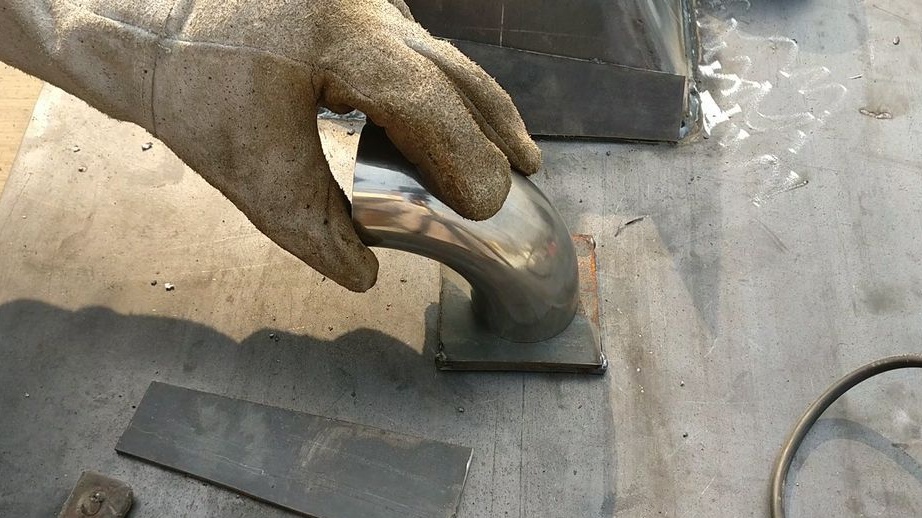


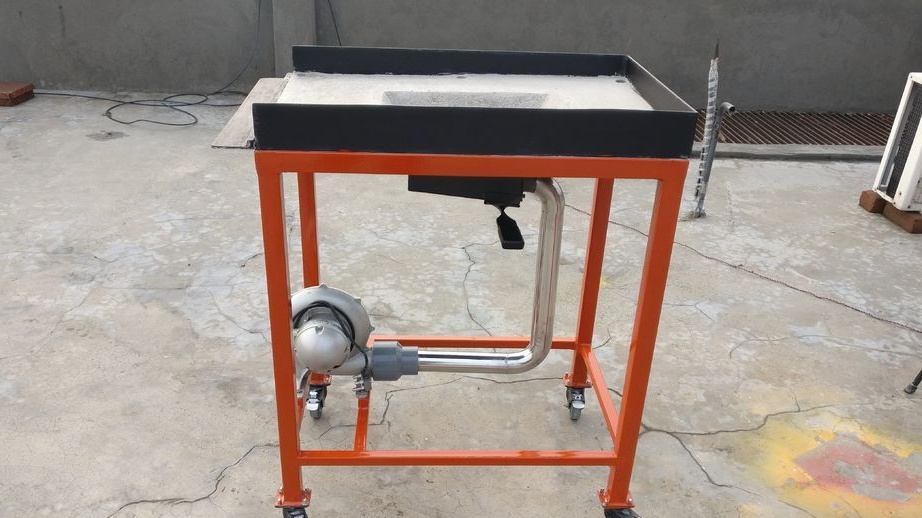
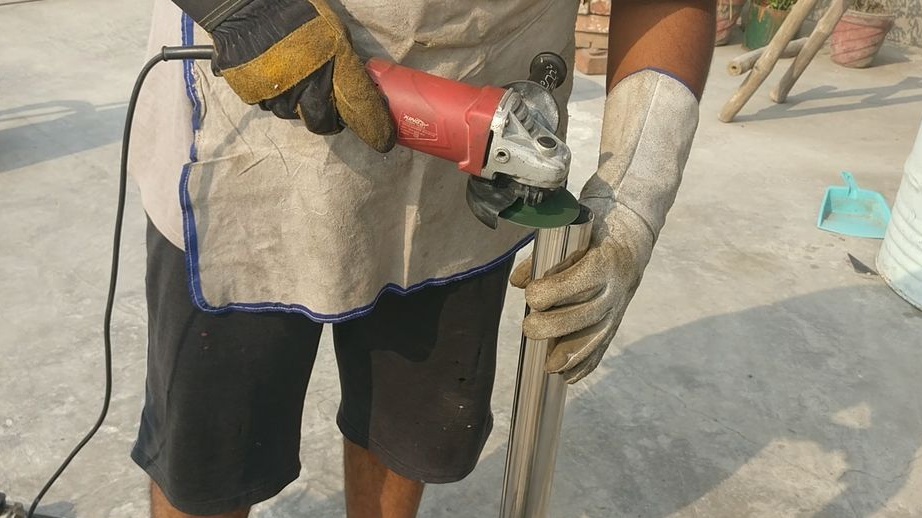
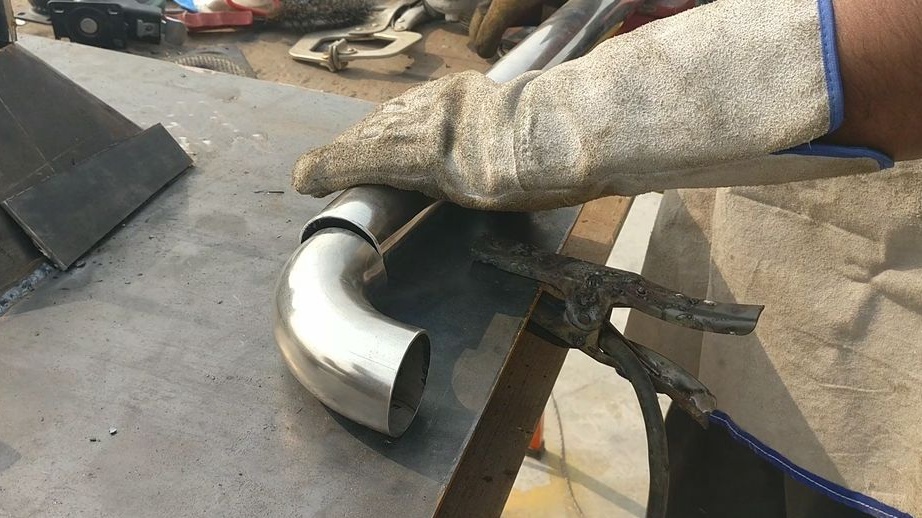
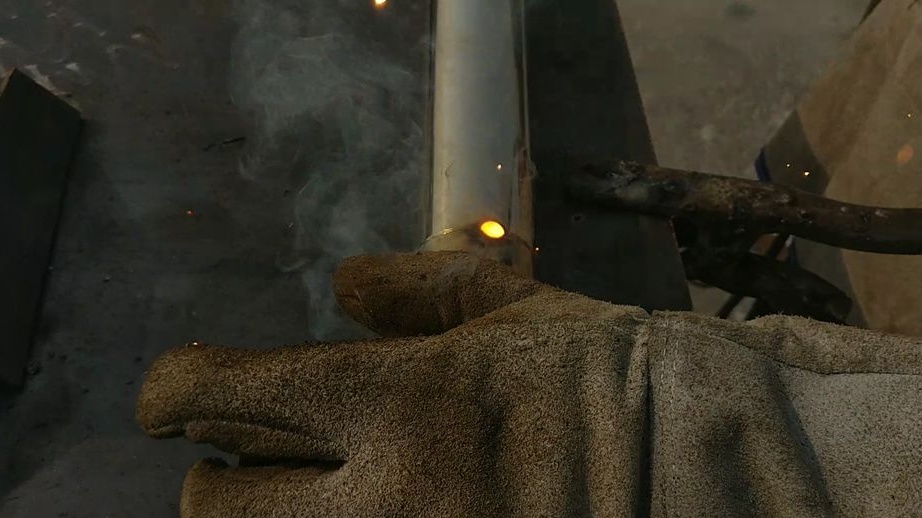
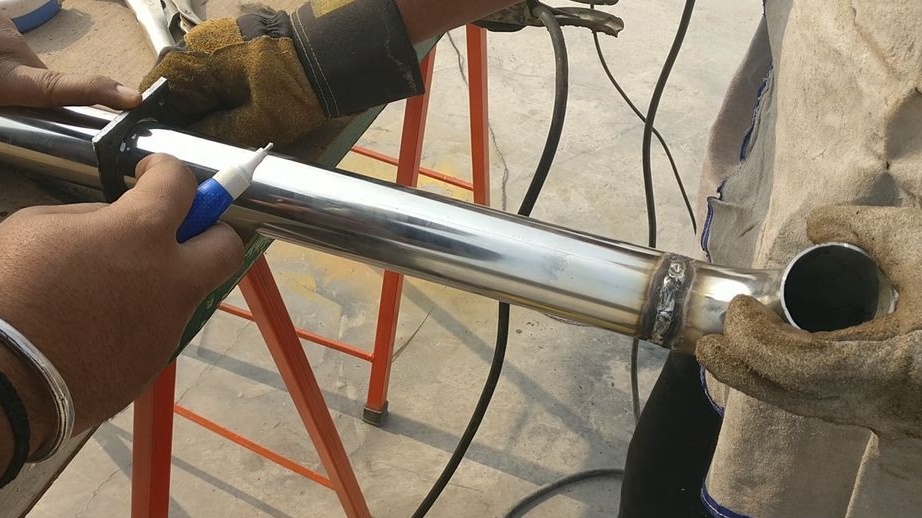
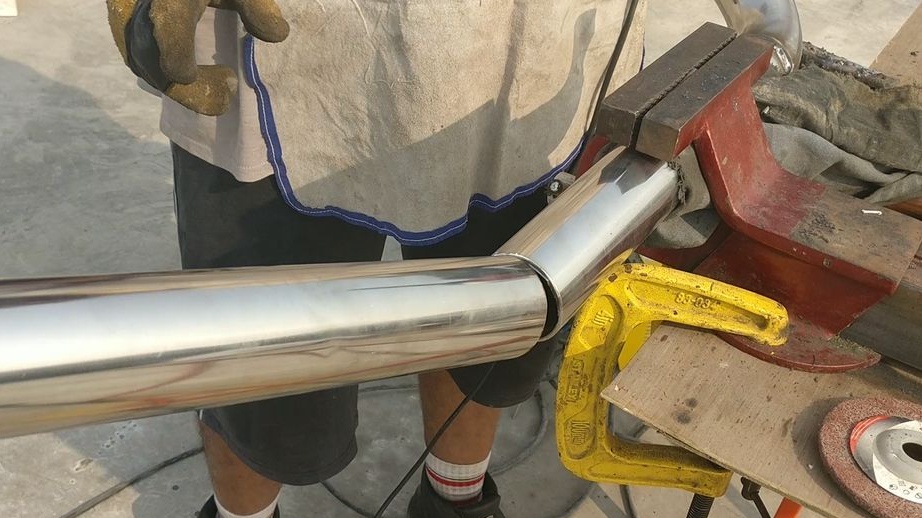
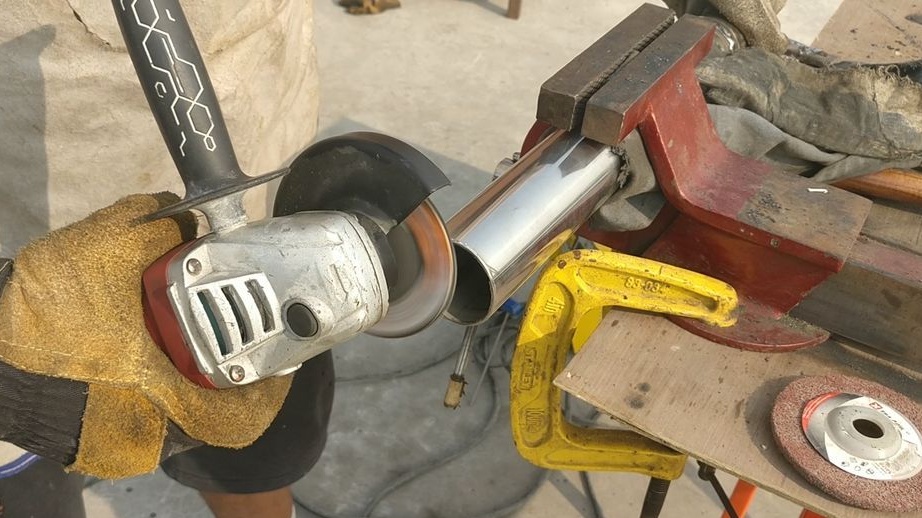
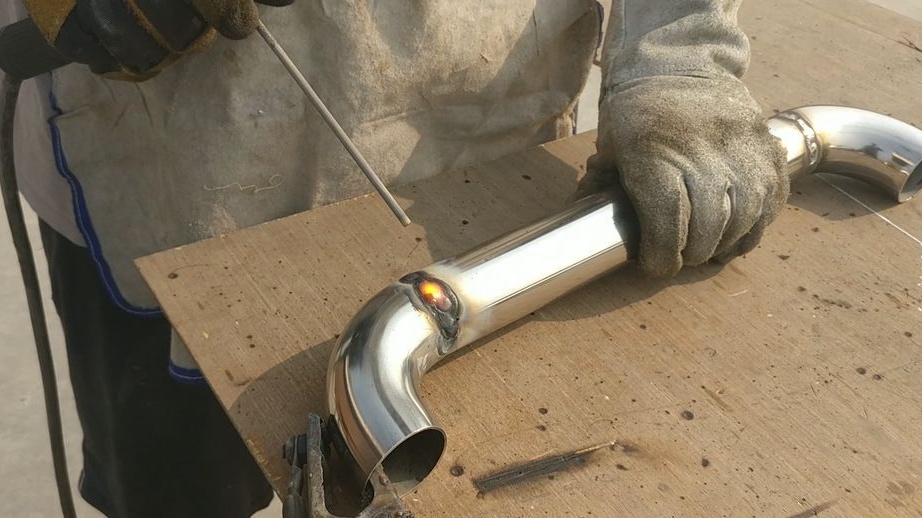
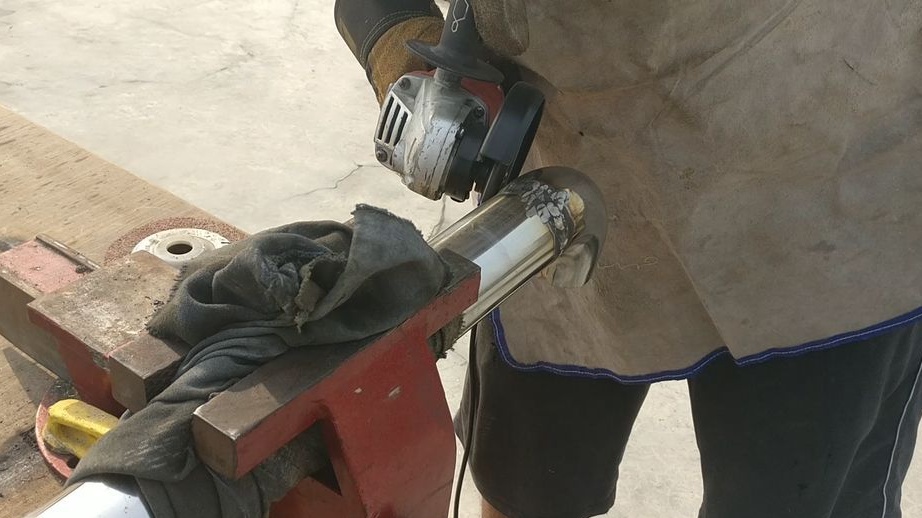
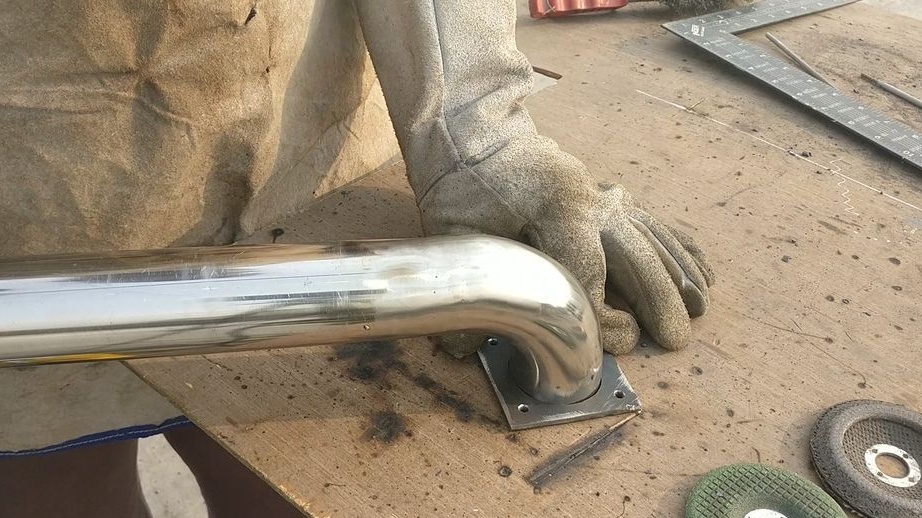
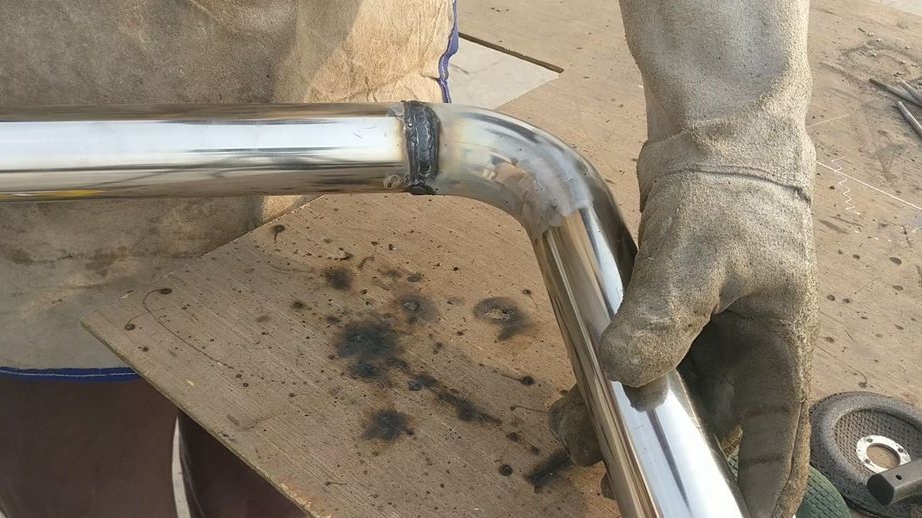
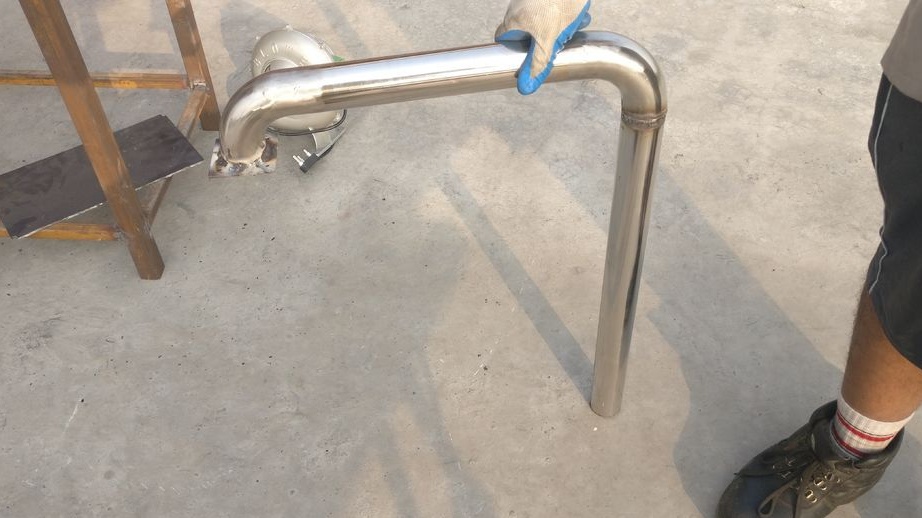
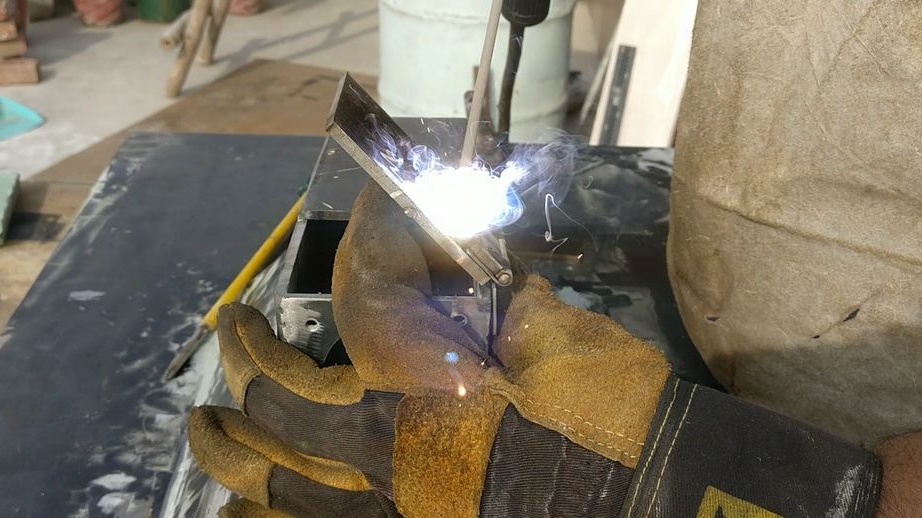
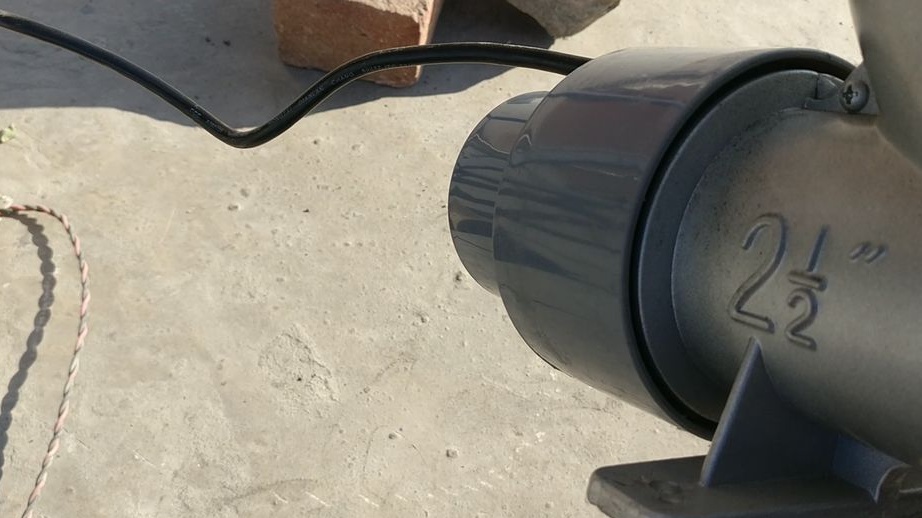
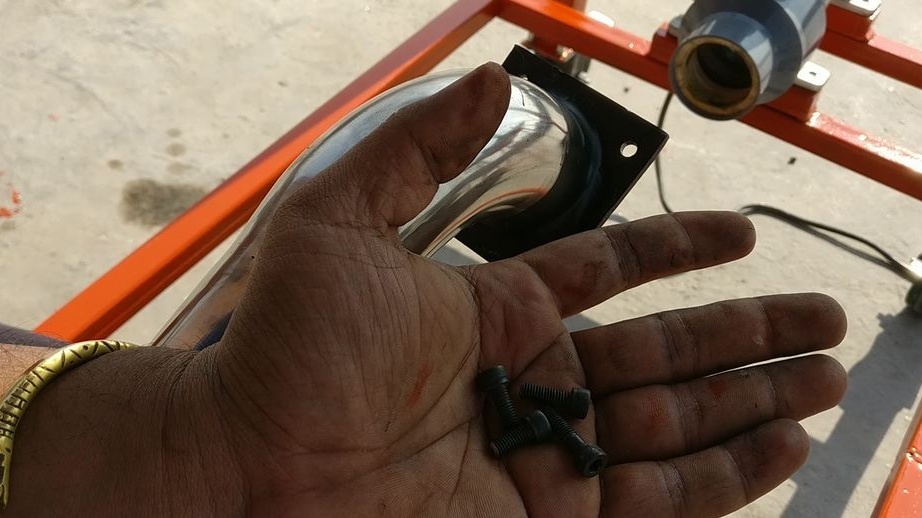
Seventh step: air duct
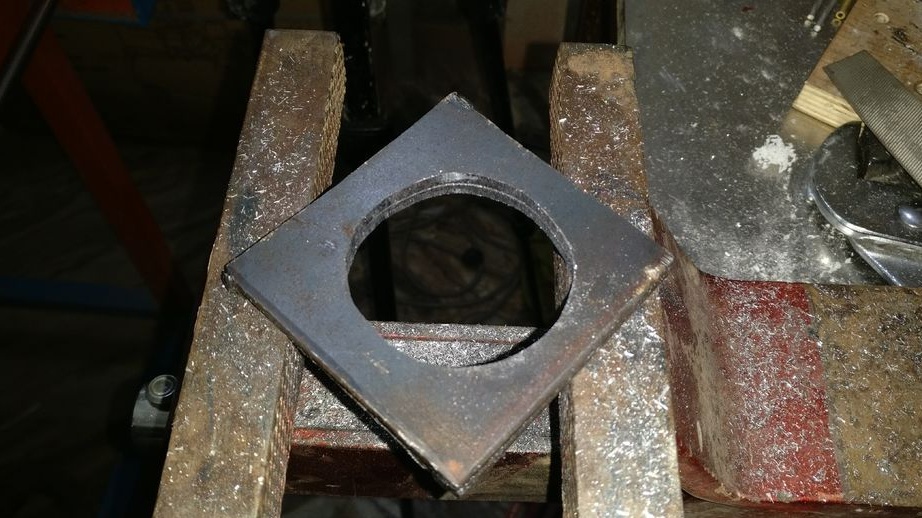
The master made a stainless pipe to supply air from the blower to the chamber. A flange is welded to one end of the pipe to secure the pipe to the chamber.


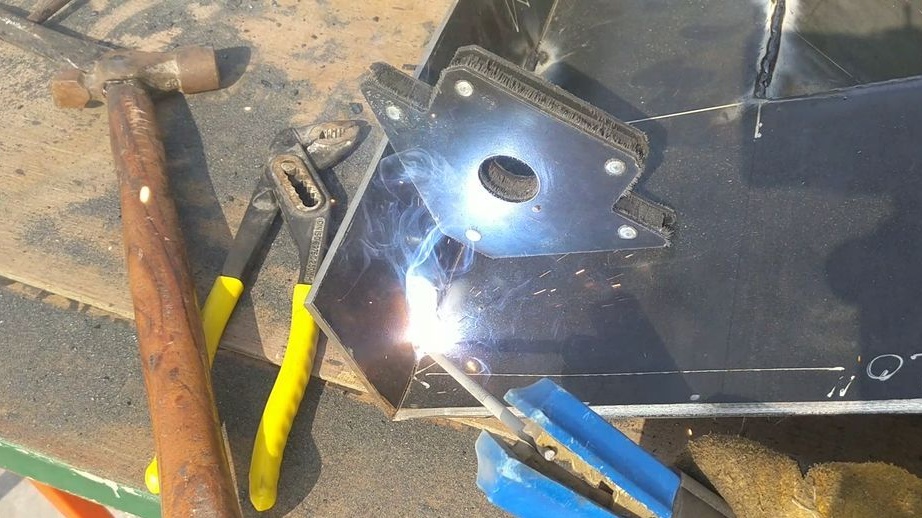
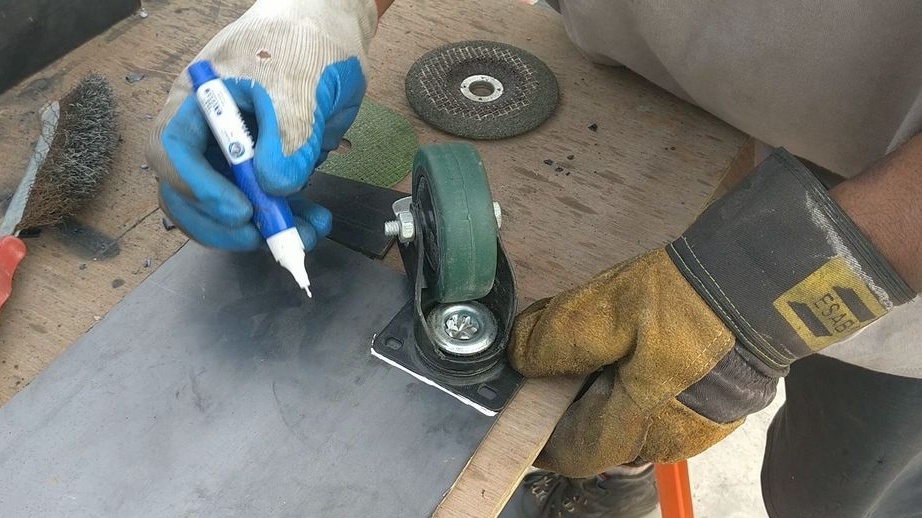
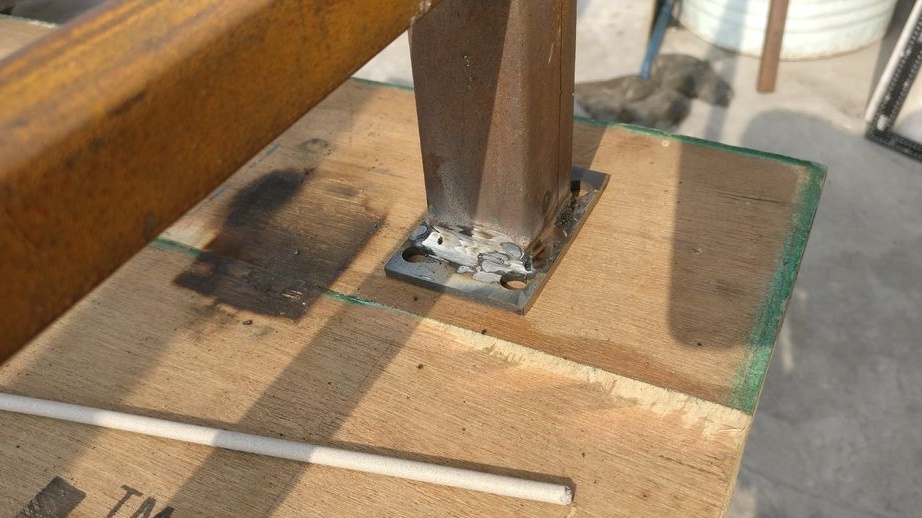
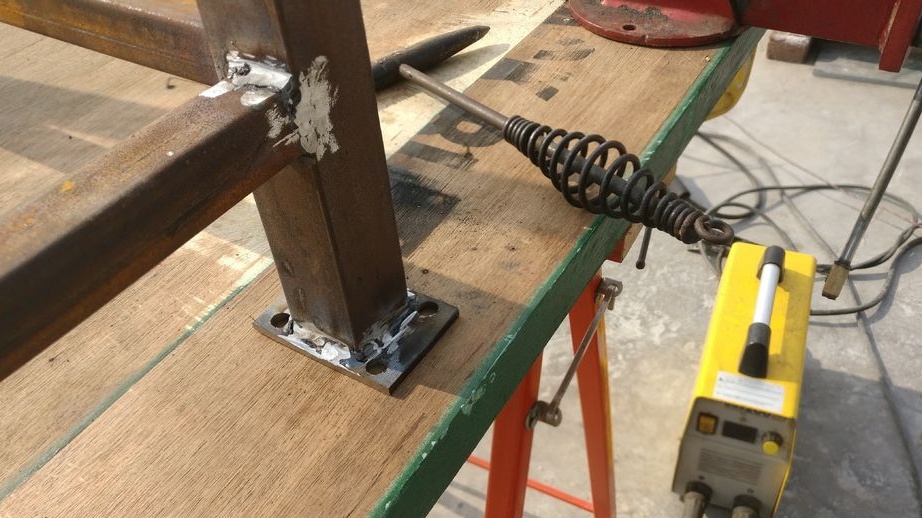
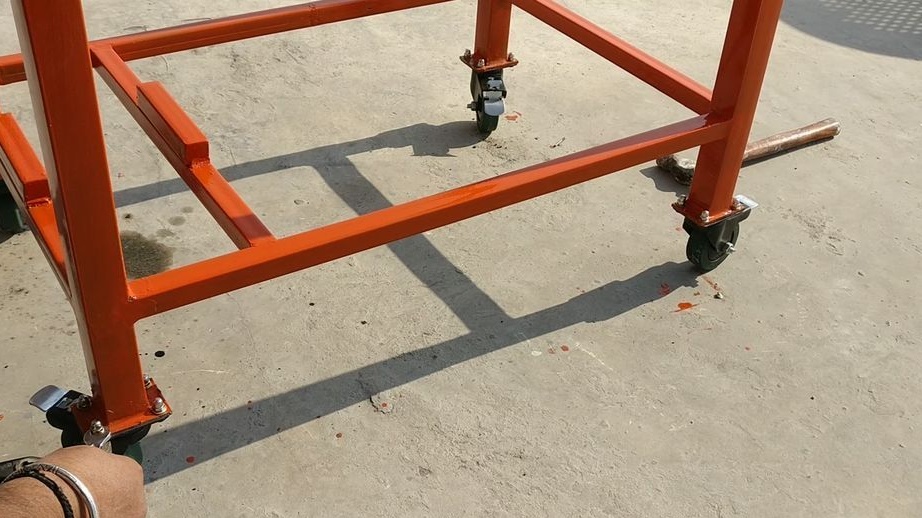
Step Eight: Wheel Mount Plates
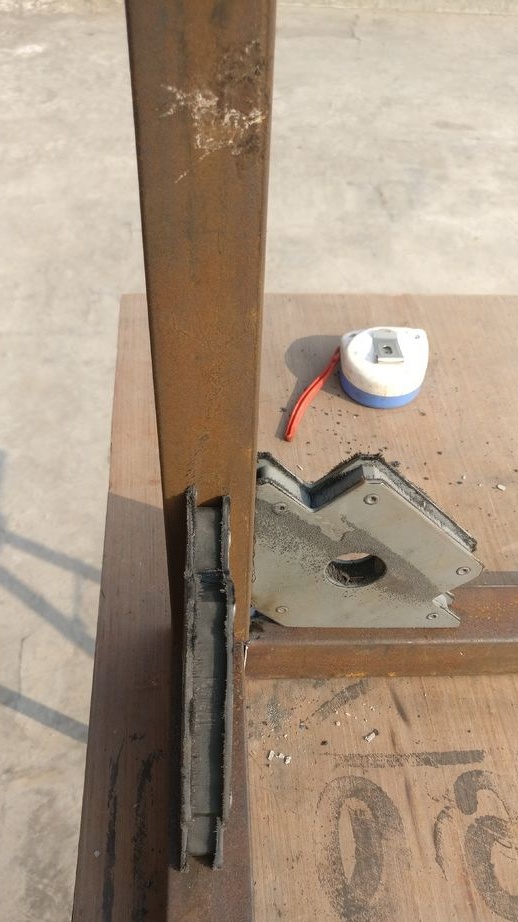
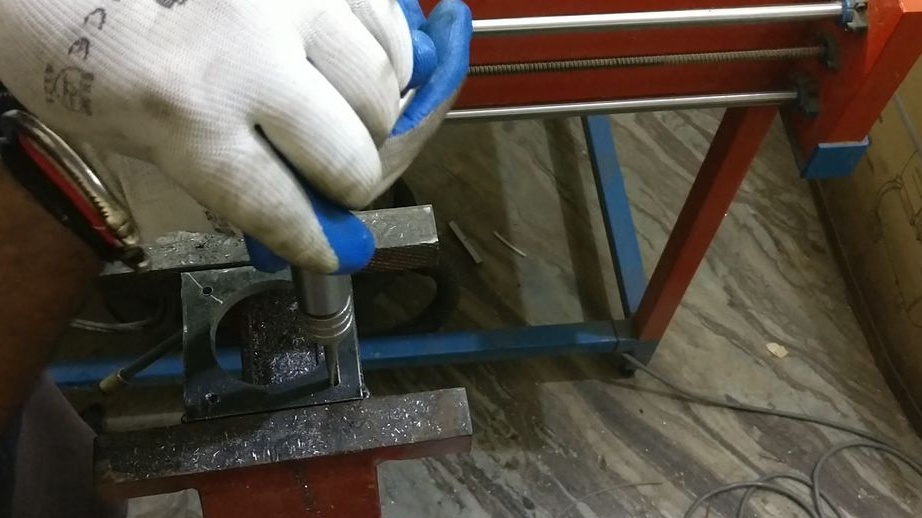
To be able to move on the legs of the table wheels will be installed. To fix the wheels, the master makes four metal plates.Drill mounting holes at the corners of the plates. Welds the plates to the legs.


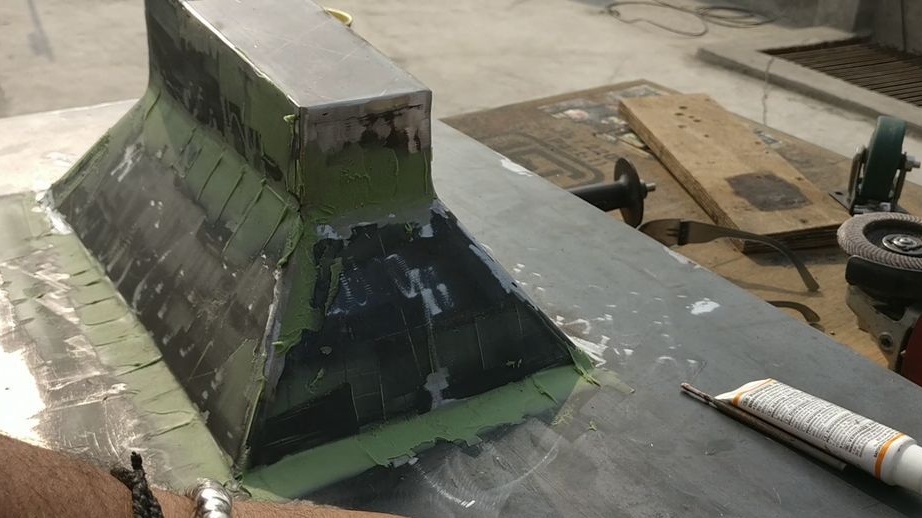
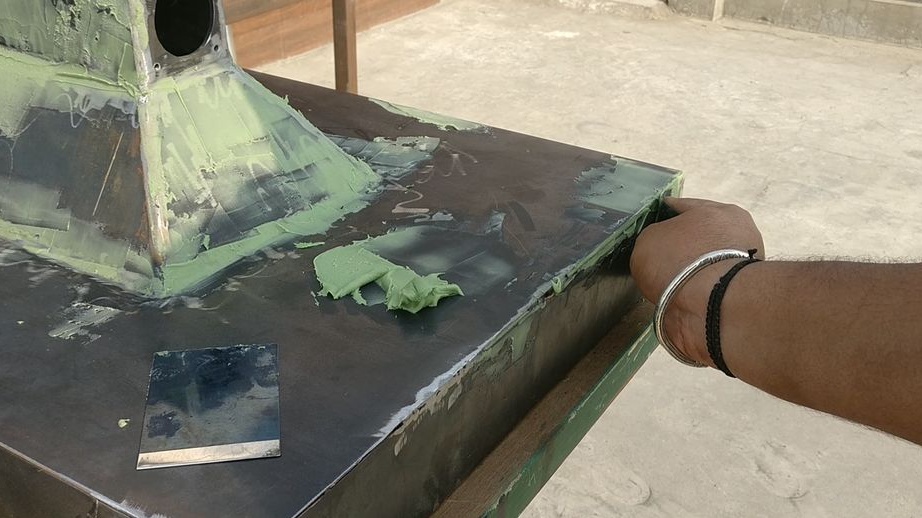
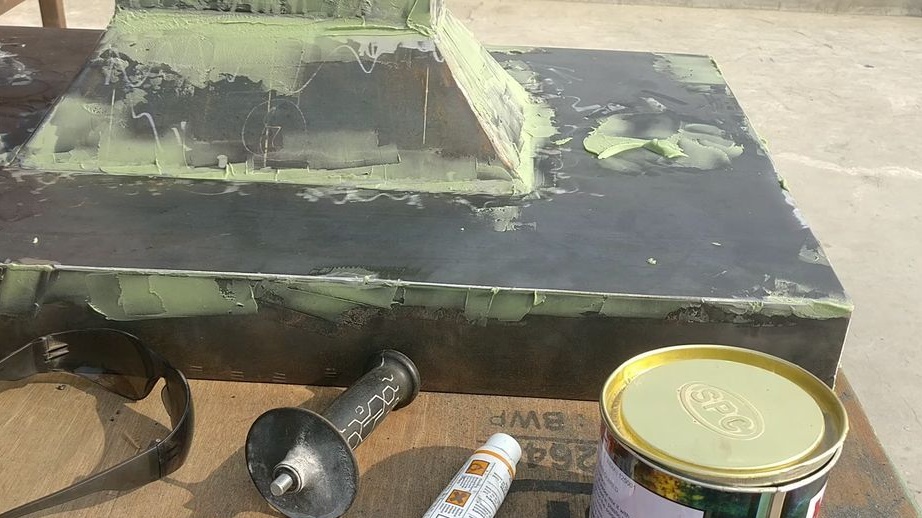
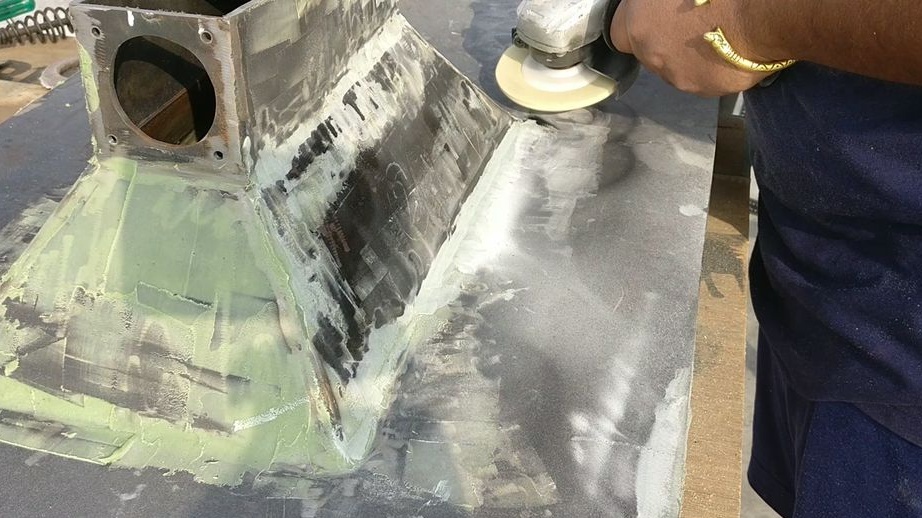
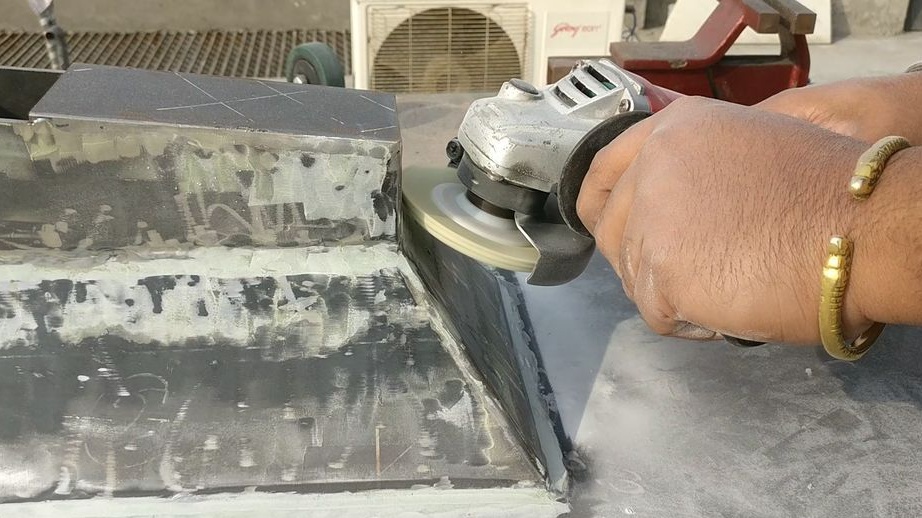
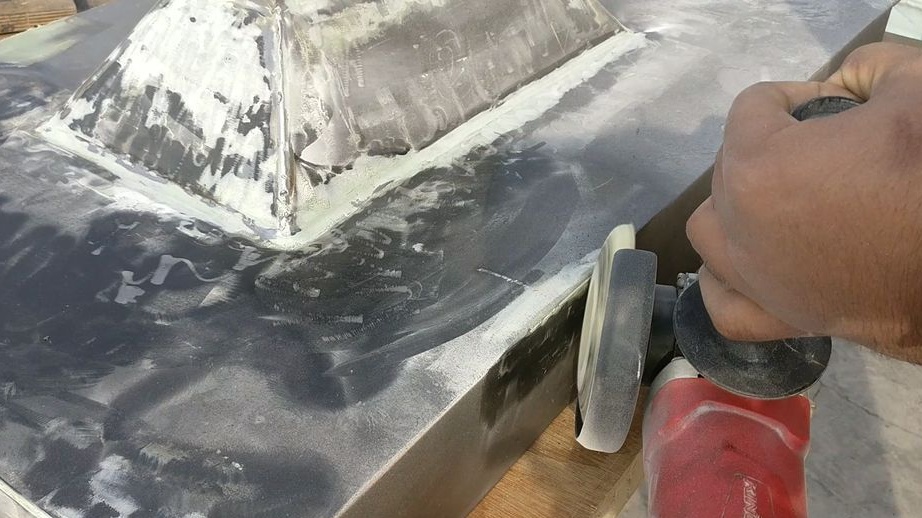
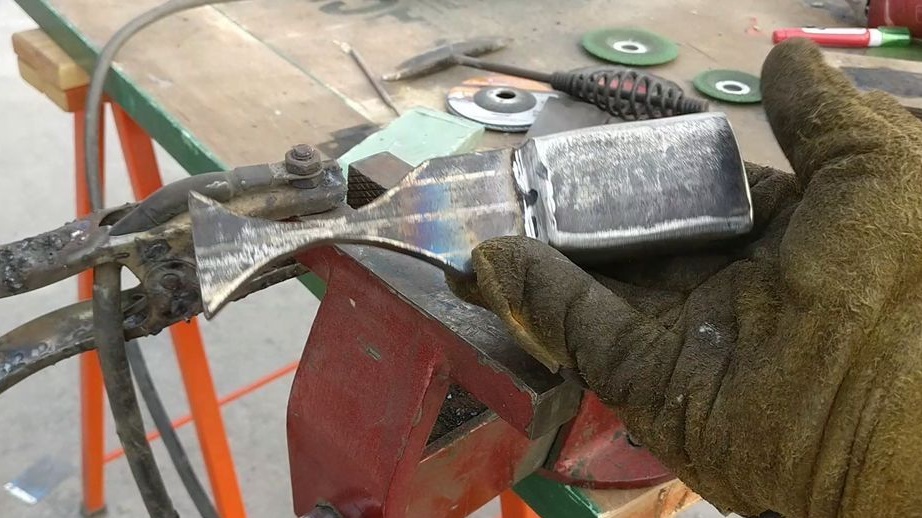
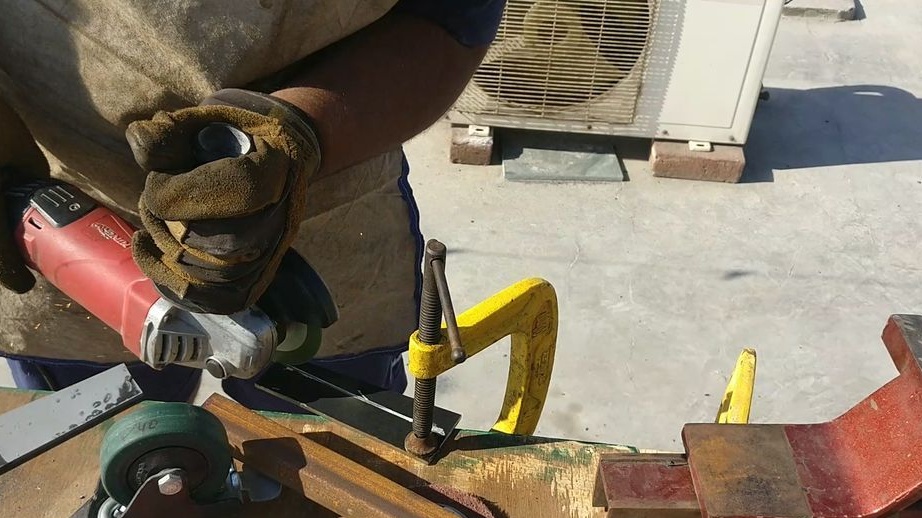
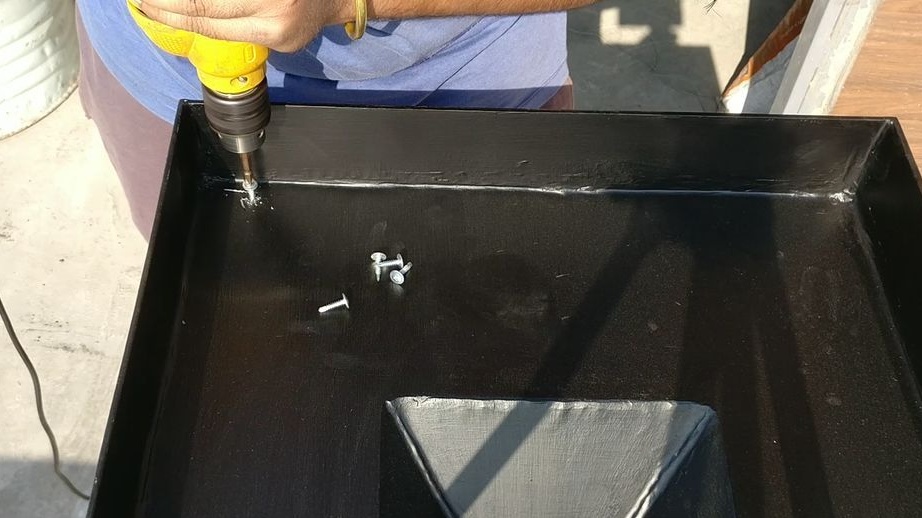
Step Nine: Putty
Since the welds of the master turned out to be uneven, he putsty them and grinds them.

Step Ten: The Door
To remove the products of combustion in the air chamber, the master makes a door. As we remember from step six, the master did not close part of the bottom of the air chamber. It is in this part that the master sets the door. The door is made of a metal plate and is attached to the camera with a loop. The master welds a metal handle to the door.


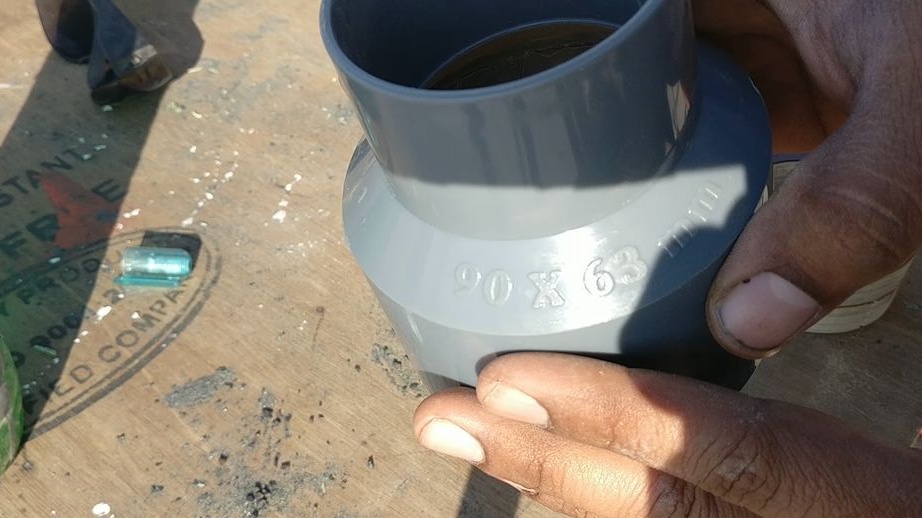
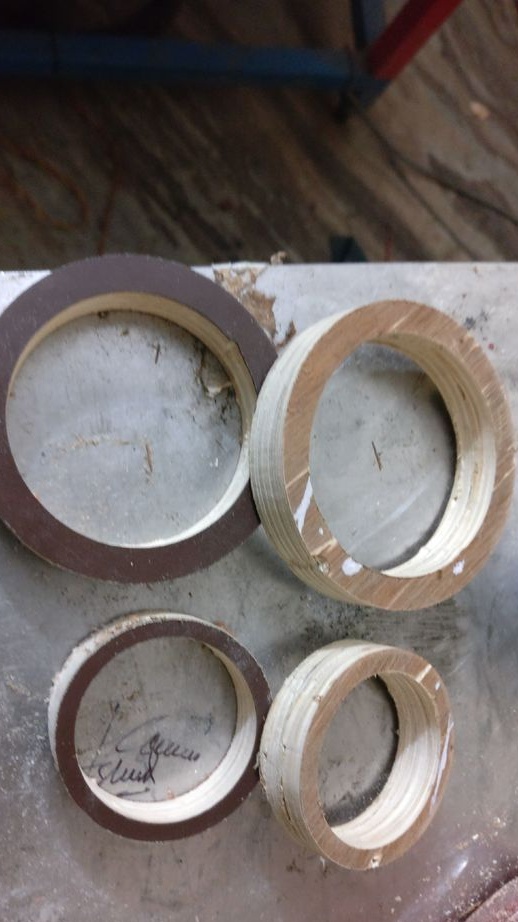
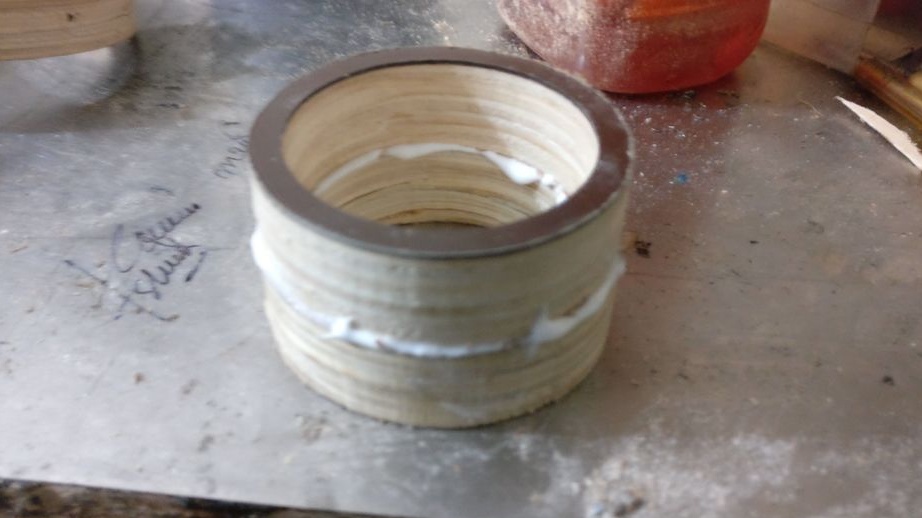
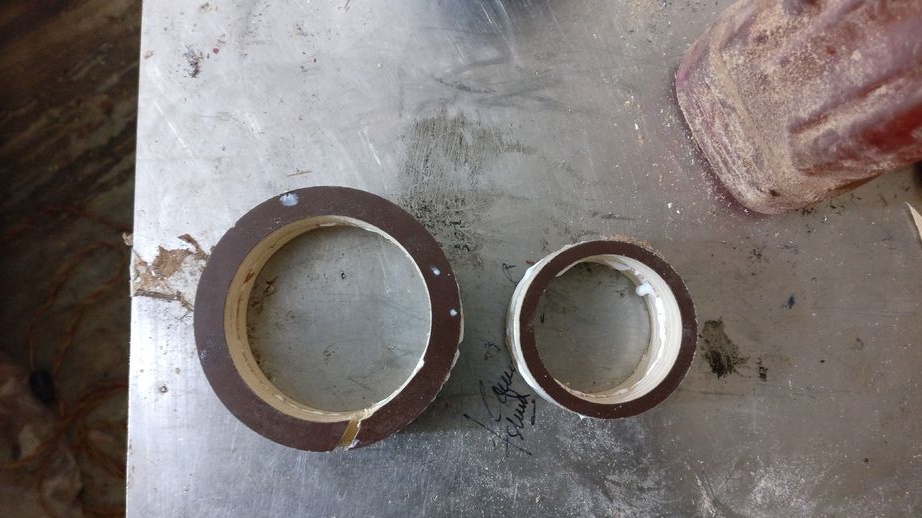
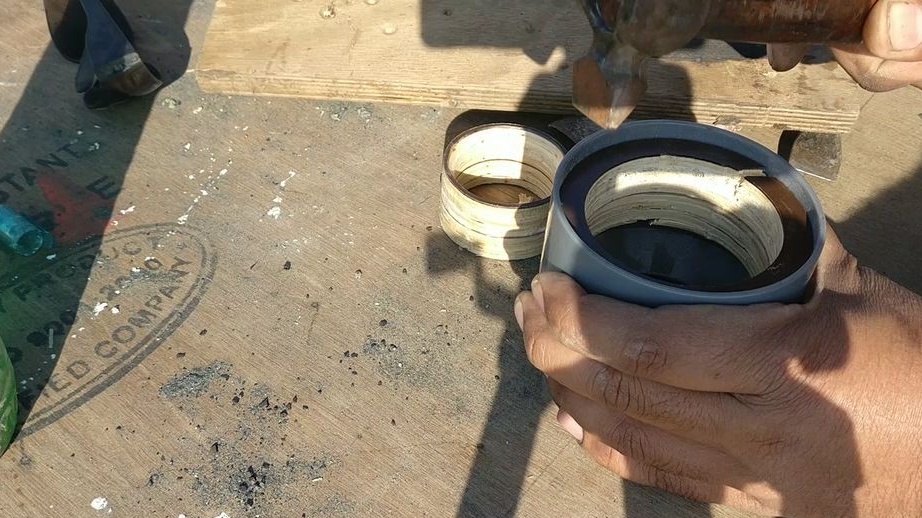
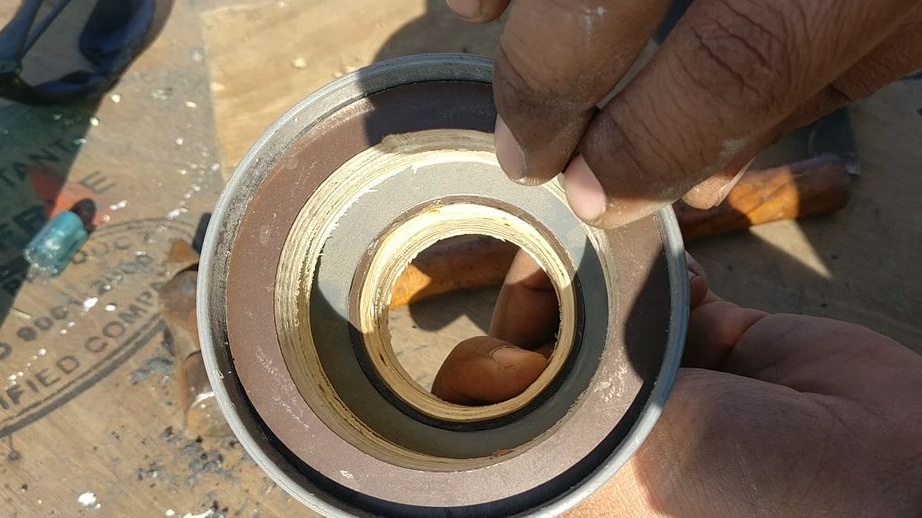
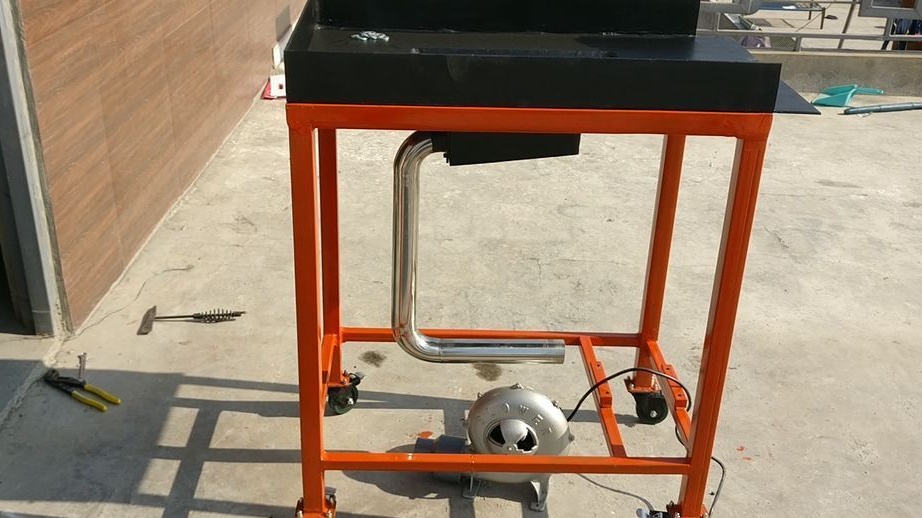
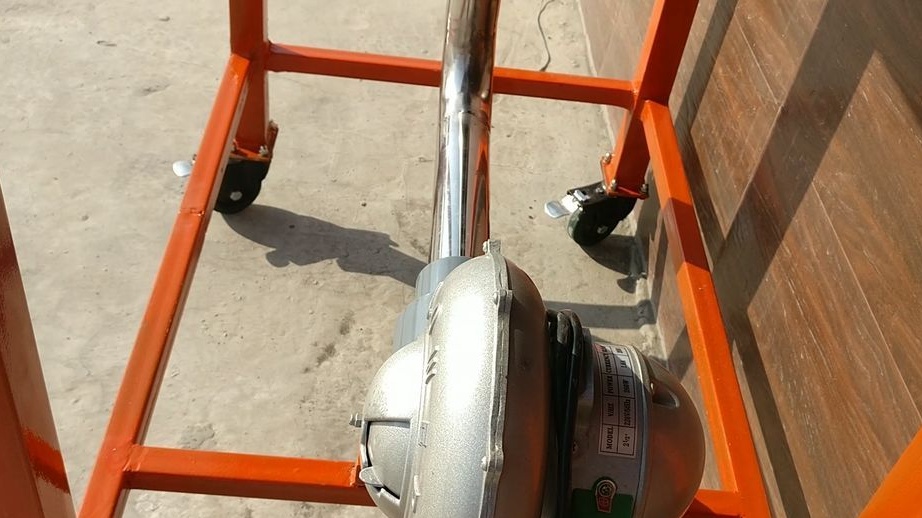
Step Eleven: Blower
To connect the duct to the blower, the master used a plastic fitting. Sealing sleeves were made of plywood.

From the profile, it makes and welds to the base the frame for attaching the blower. Then it installs it on the frame and measures and cuts the duct pipe.


Step Twelve: Primer and Paint
Apply two coats of primer to the metal parts of the hearth, and then two coats of paint.
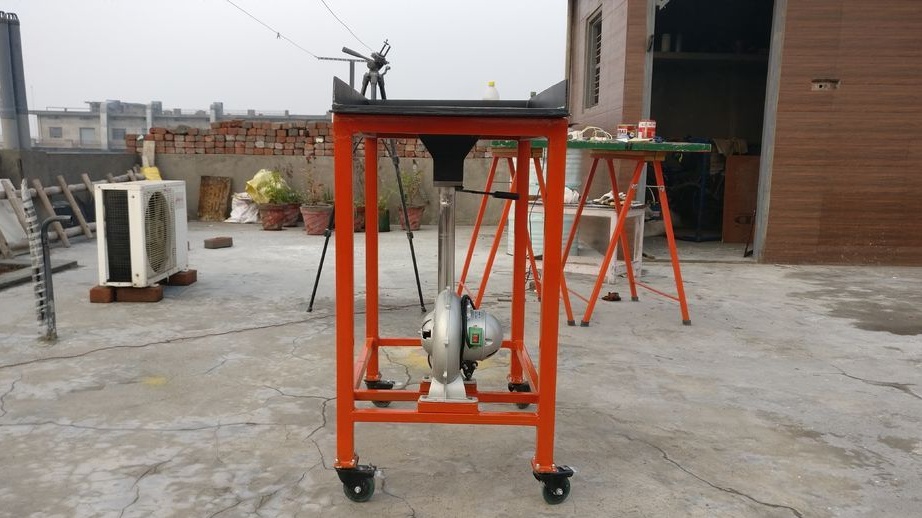
Step Thirteen: Build
Screws to the wheel plates. Drills holes in the mounting frame and installs a blower. Secures the horn to the frame.


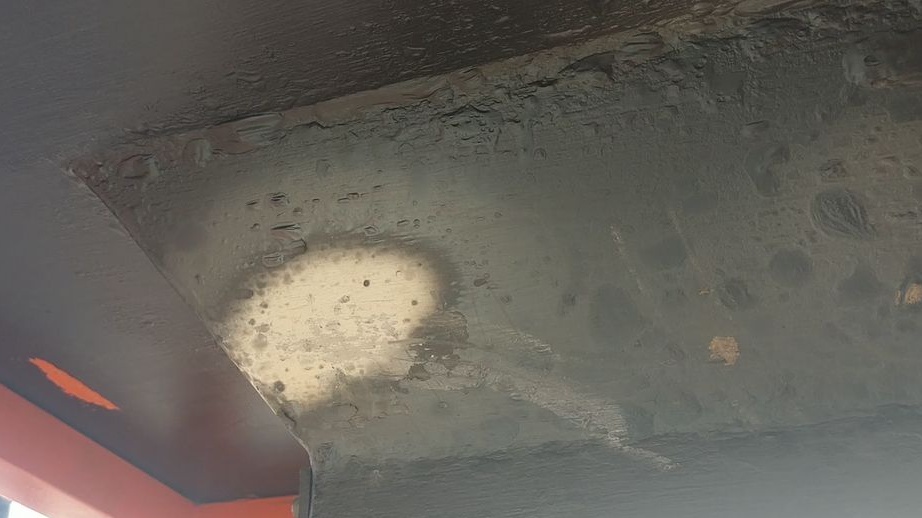
Step Fourteen: Testing
After assembling the hearth, the Master conducted the tests. The test revealed one serious flaw. The metal surface of the hearth is highly heated and can burn out. To eliminate this problem, the master decided to make a lining of refractory cement.

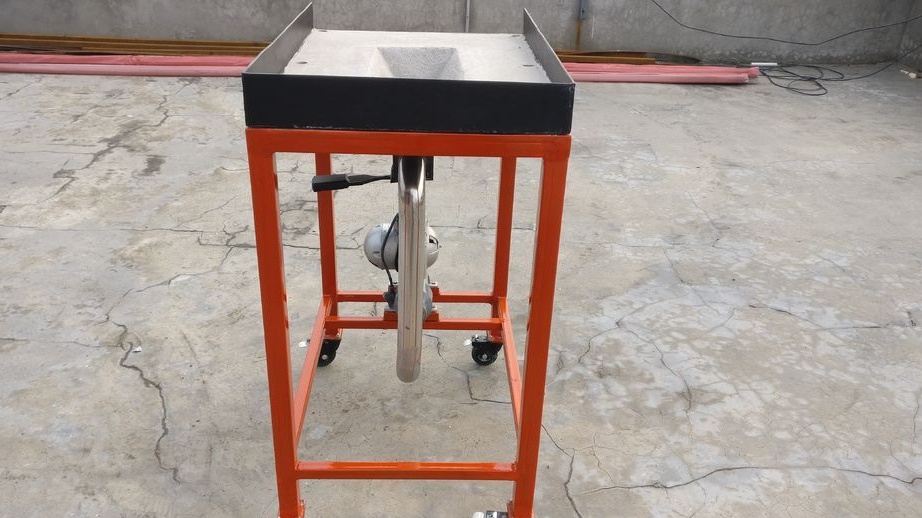
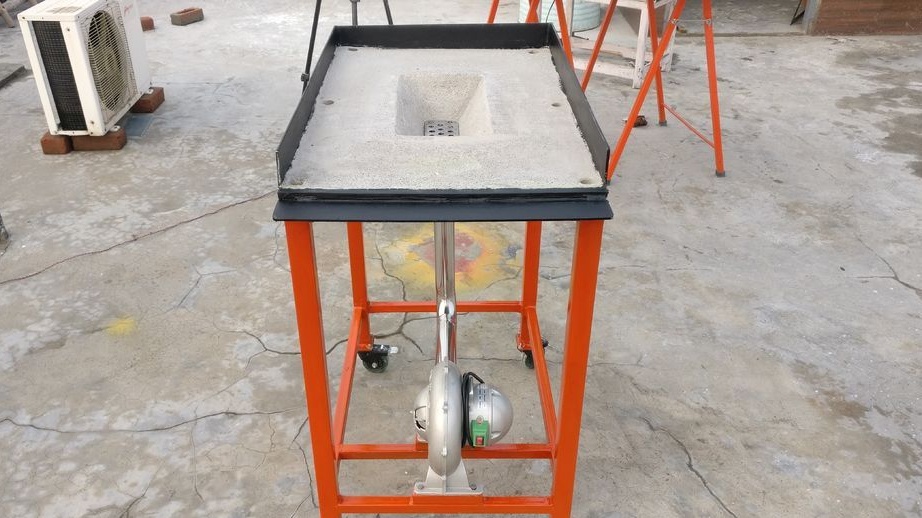
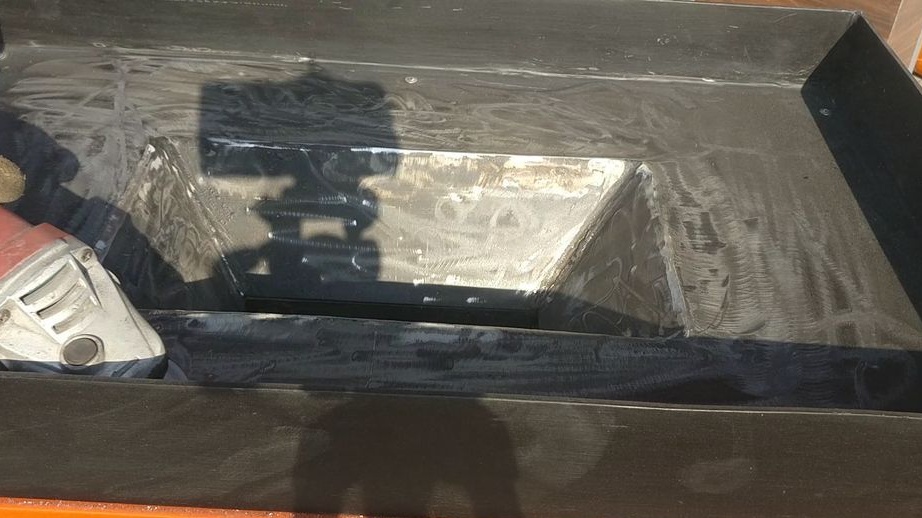
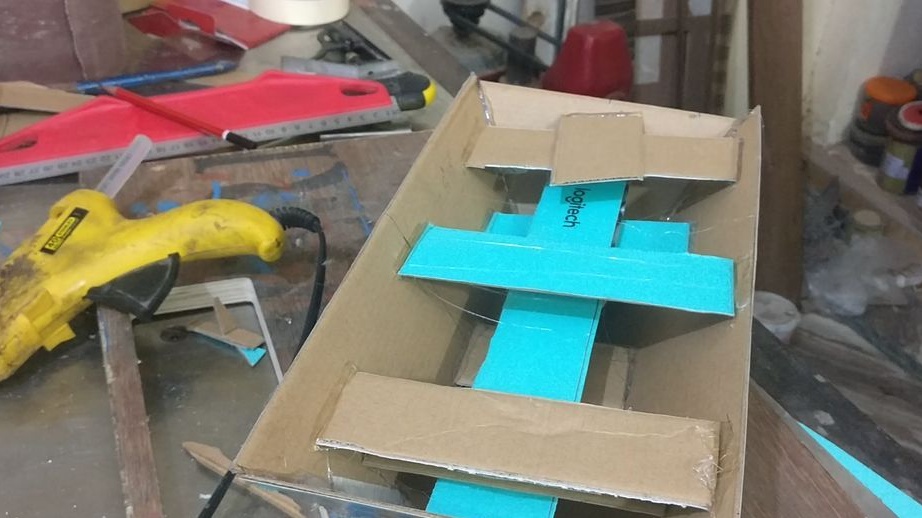
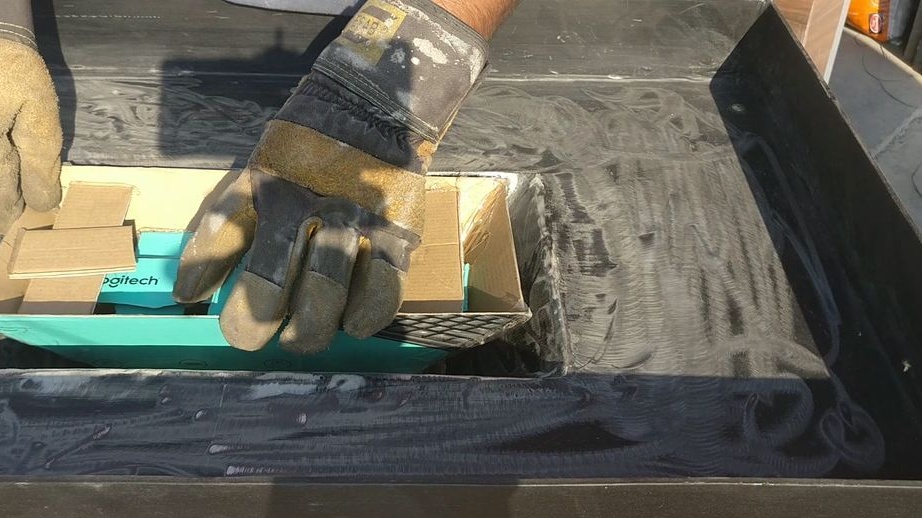
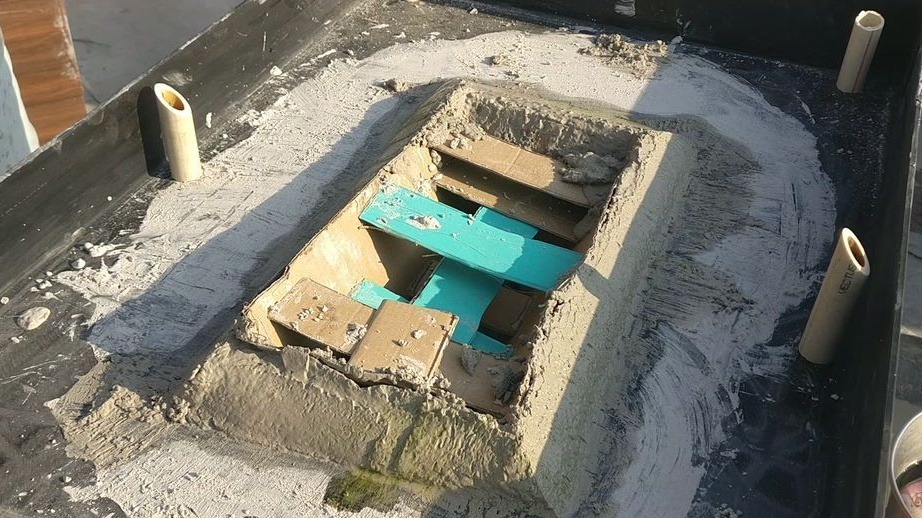
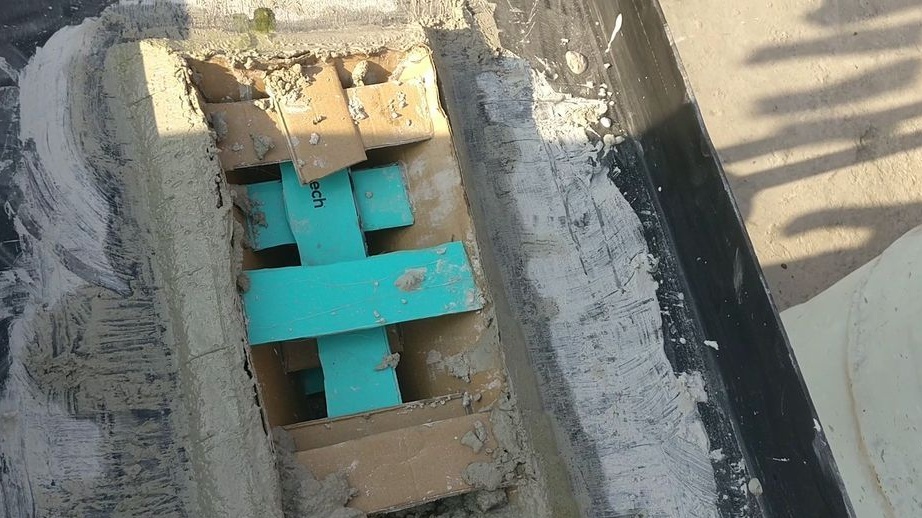
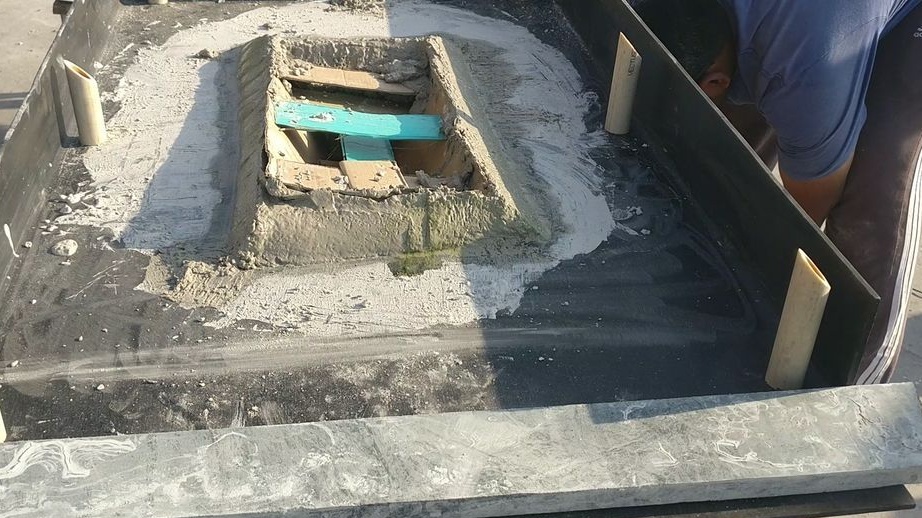
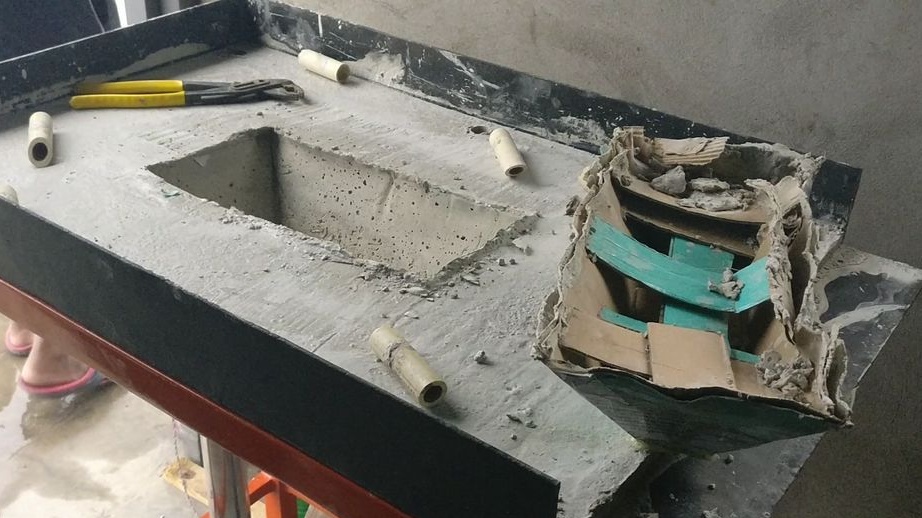
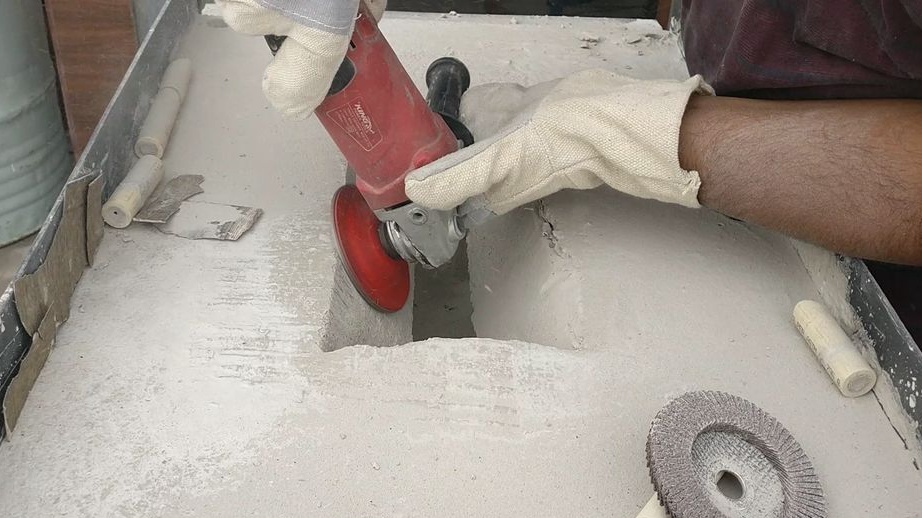
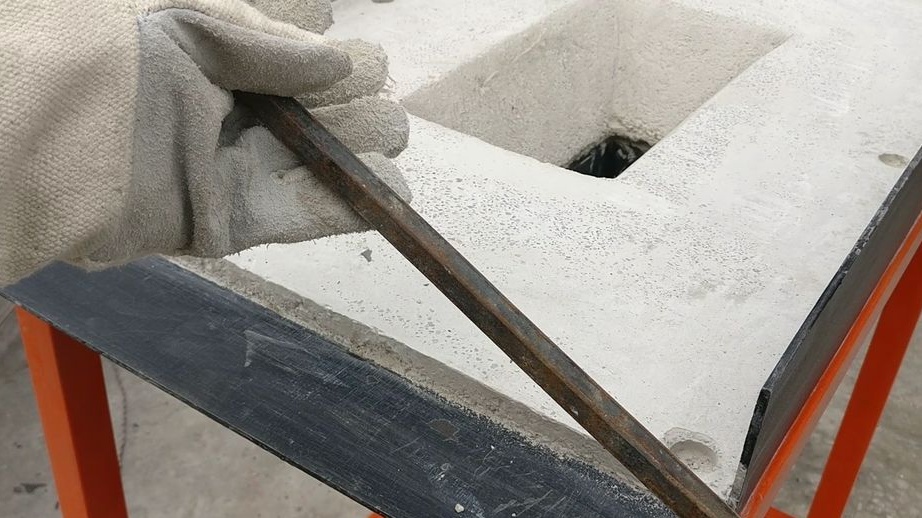
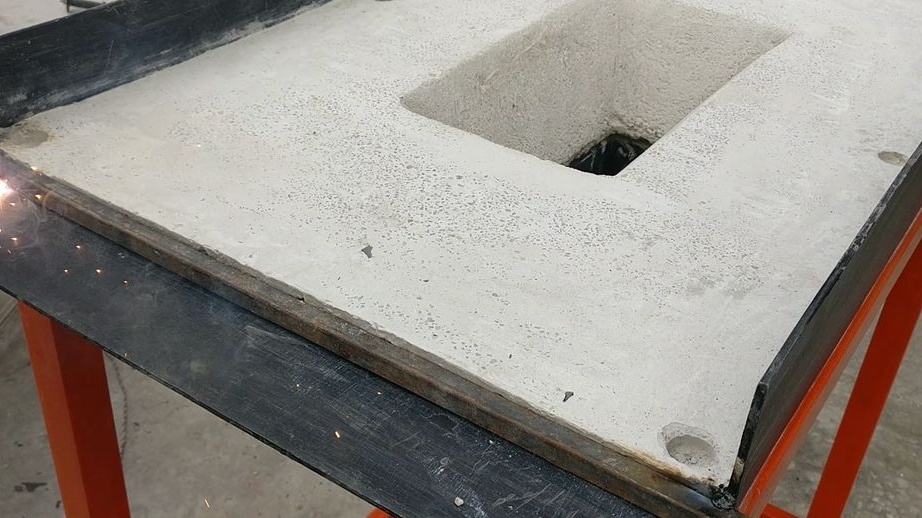
Step Fifteen: Refractory Gasket
To fill the gasket, the master made a form of cardboard. Having set the mold in the furnace, cement was laid between cardboard and metal. Then he cut off six polypropylene tubes. With tubes, the master closed the bolts securing the table to the frame. Then he laid the cement on the entire surface of the table. Also, the gasket was reinforced with a metal bar. After two days, he took off his mold and tubes, polished the surface.


Everything is ready, now you can get to work.