

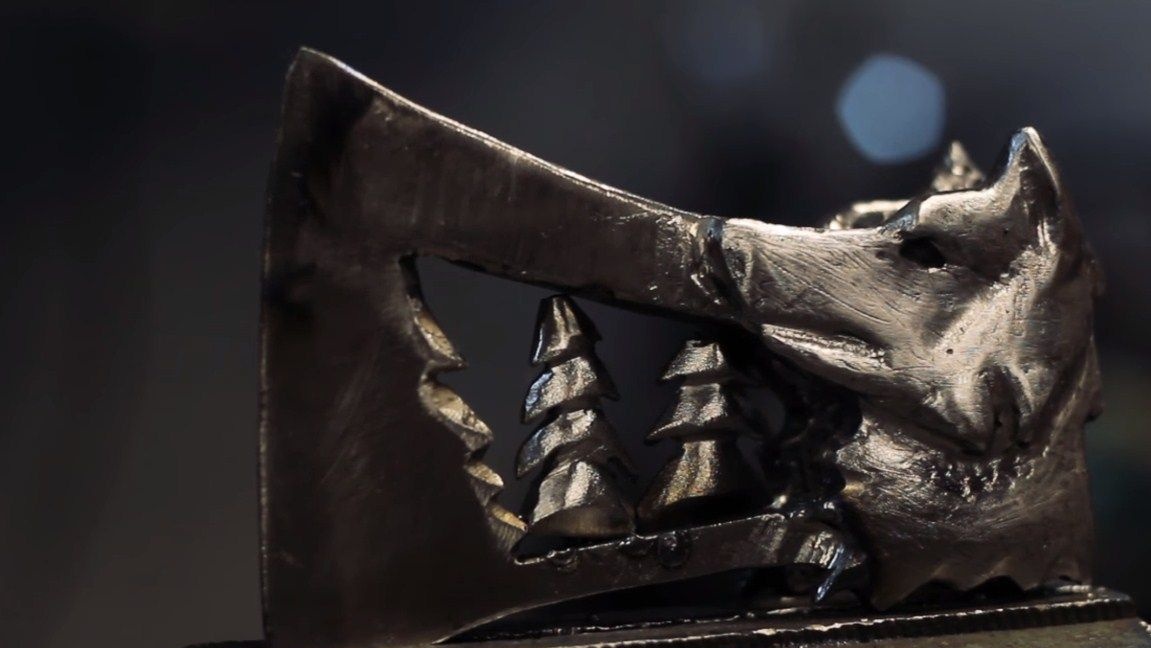
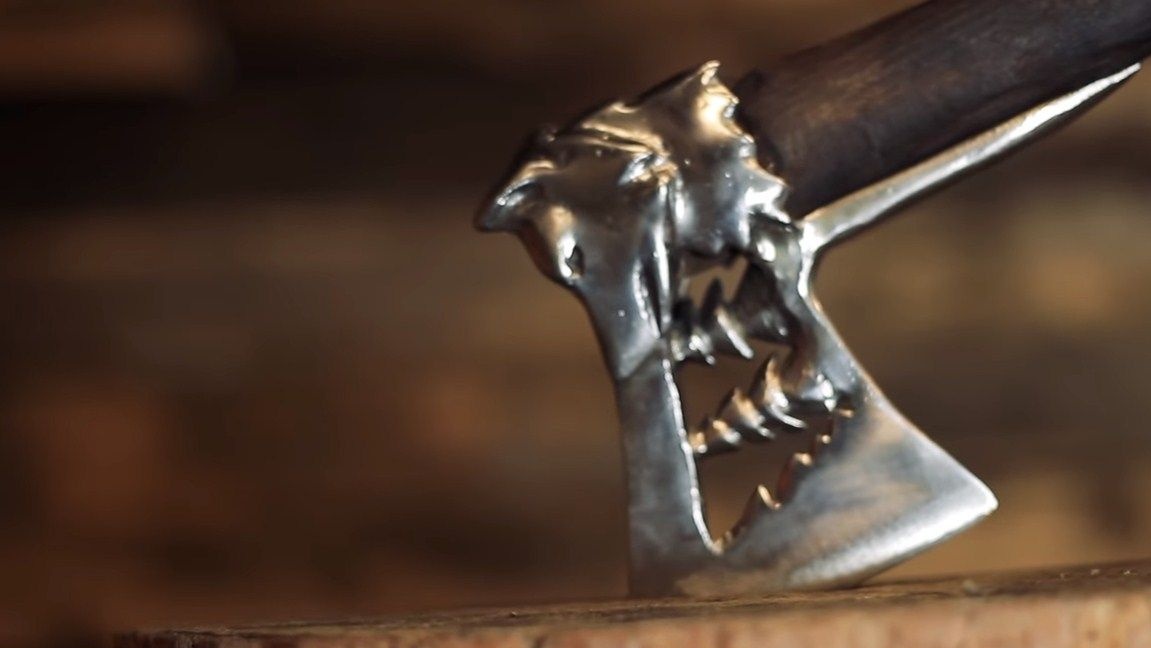
Greetings to all those who like to work with metal. I present to you a very interesting hatchet with a silhouette of a wolf. In general, this is not an ax, but the whole picture, there are also pine trees, because of which our proud wolf allegedly peeps out. The tool looks very interesting. If you take this with you on a hike, then you will surely surprise your friends. Of course, I do not want to use such an instrument for its intended purpose, because it is a real masterpiece. Such a gift will be appreciated by hunters, fishermen, tourists, and simply collectors.
Despite the complex design, it is not difficult to make such an ax, moreover, here you do not need to have any sophisticated tools. An old ax cleaver is used as a basis. All details are cut separately, and then simply welded into the cavity cut in the ax. Of course, there is a lot of welding and grinding work, but in general, this task can be dealt with. So if you are ready to test yourself in such a thing as metalworking, we will start manufacturing an ax!
Materials and tools used by the author:
Material List:
- an old ax of the "cleaver" type;
- handle for an ax or material for its manufacture;
- sheet steel (from it we make the silhouette of a wolf, as well as pine);
- oil for impregnation of the handle.
Tool List:
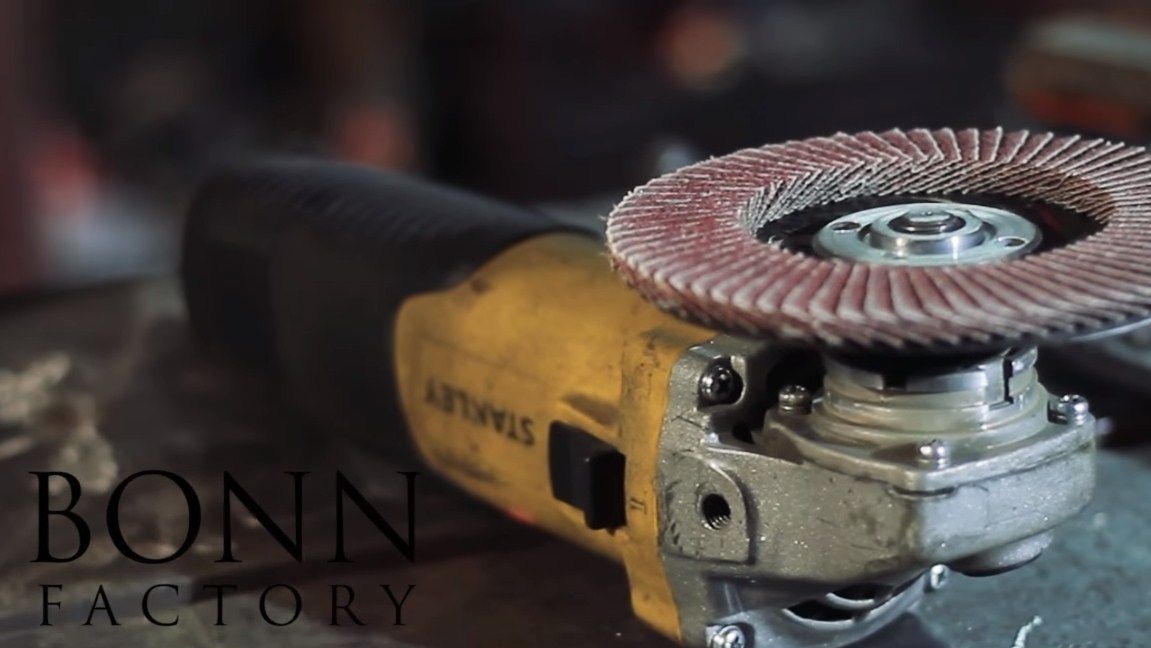
- sandpaper or belt grinder;
- drill;
- welding machine;
- grinder;
- vise;
- marker;
- drill;
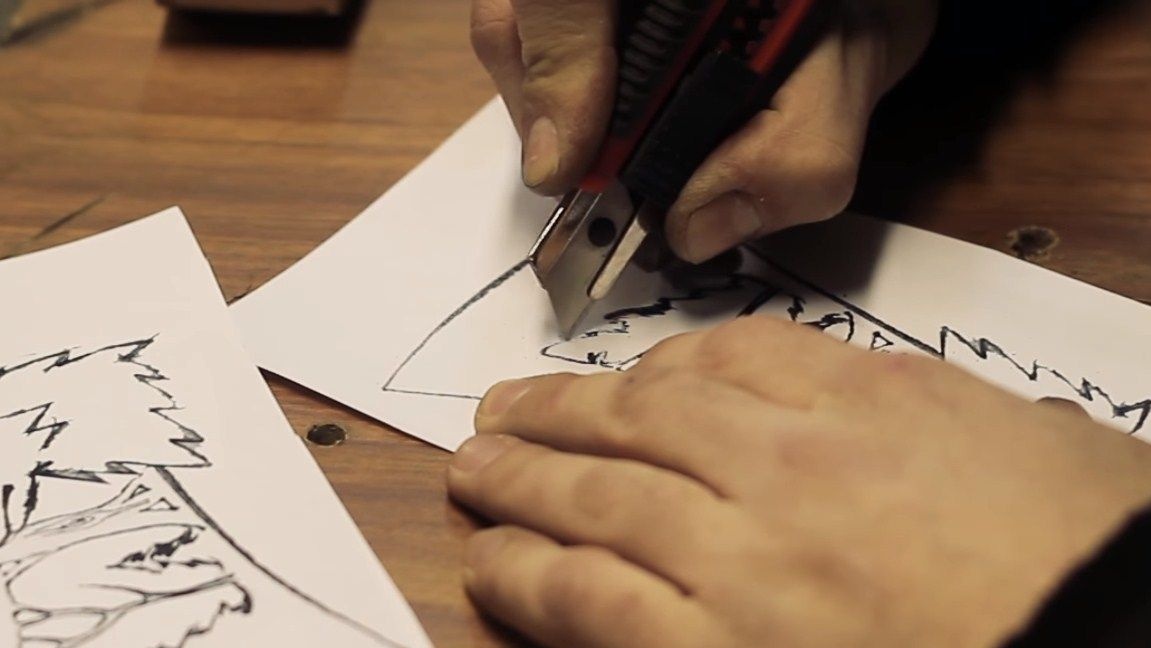
- paper, scissors, pencil (to make patterns).
Hatchet manufacturing process:
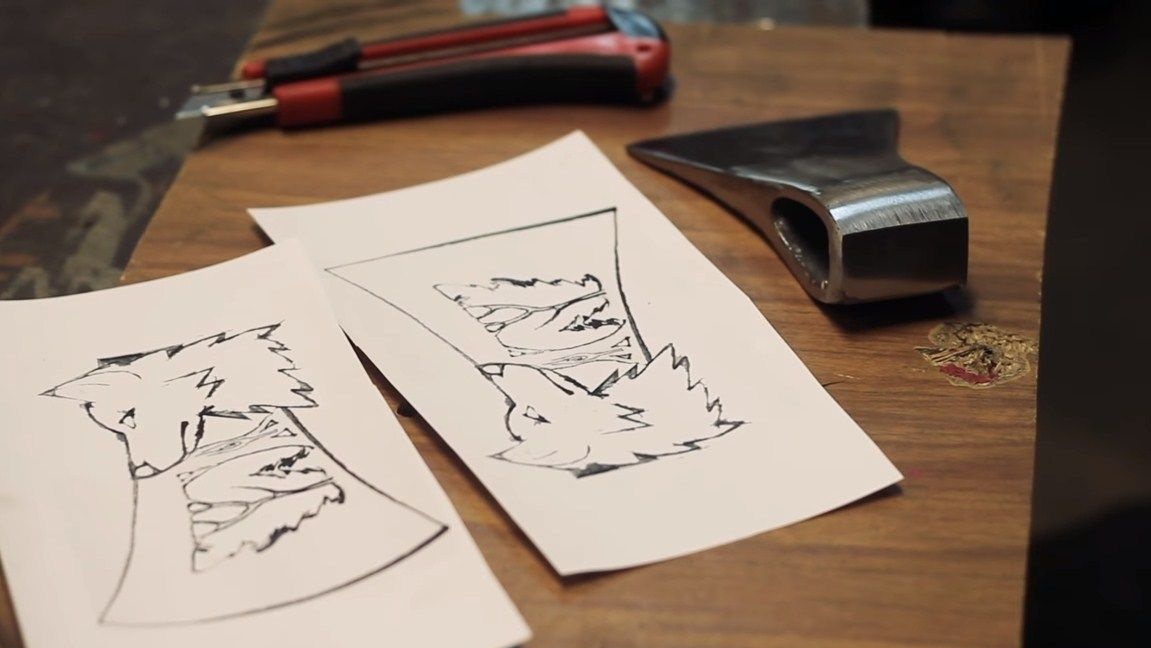
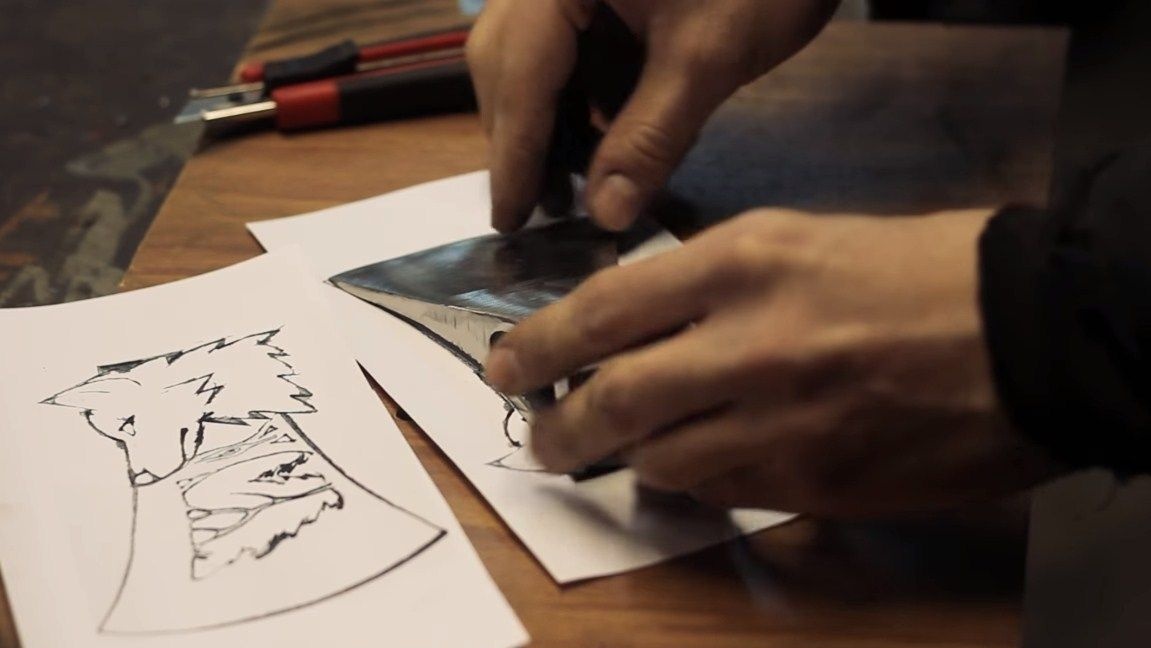
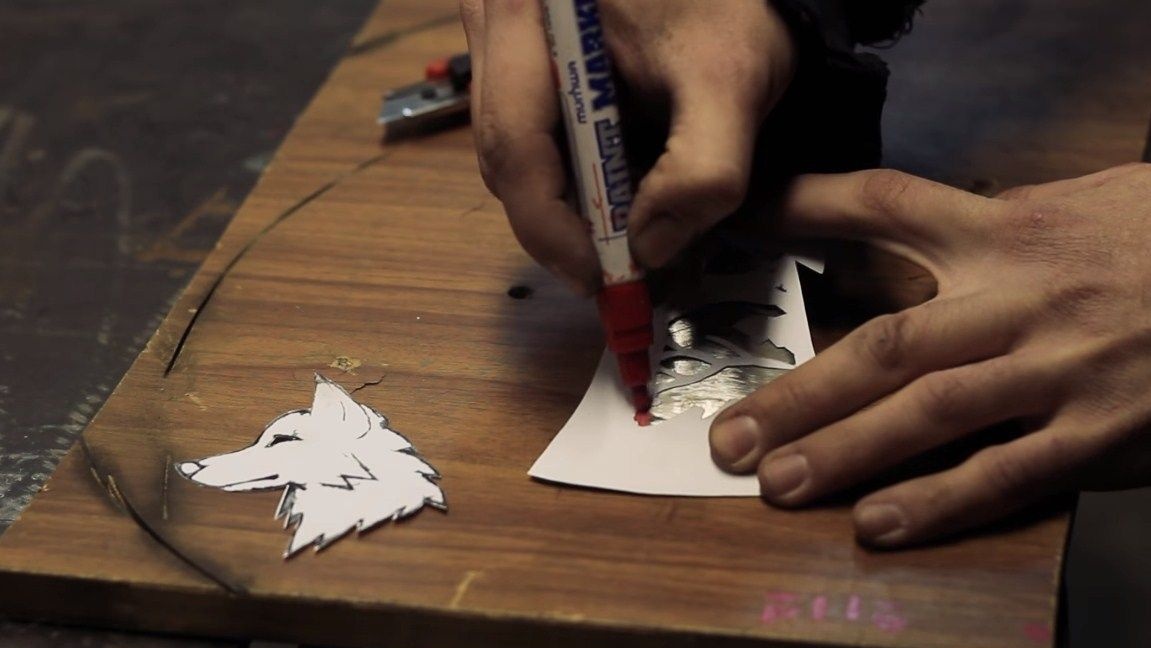
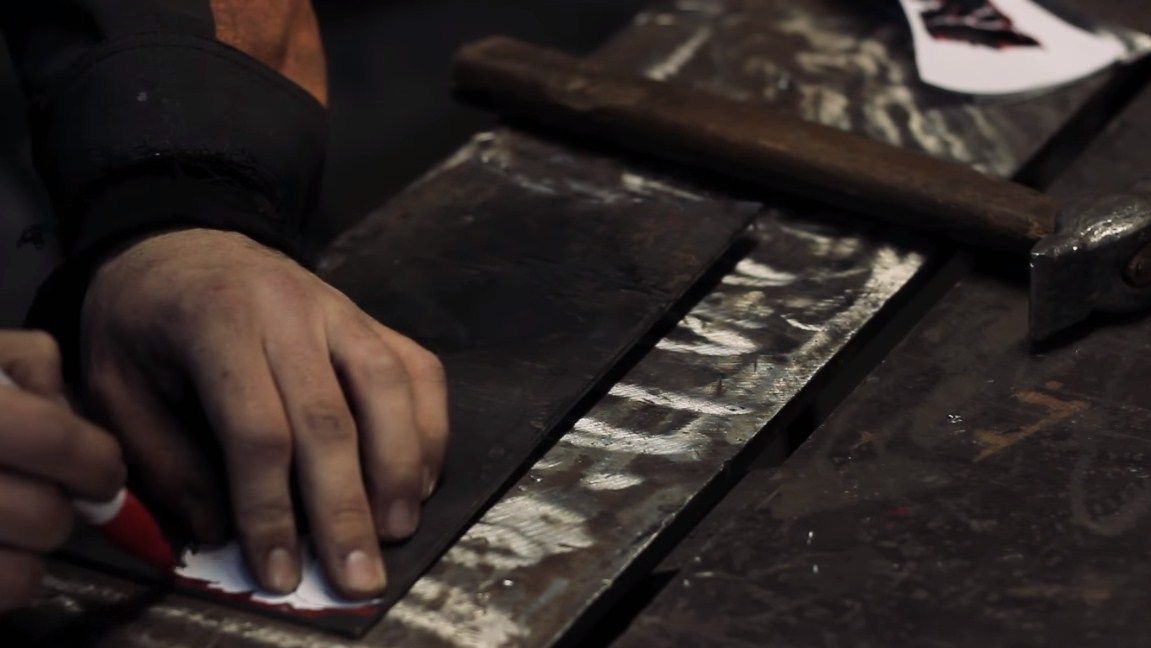
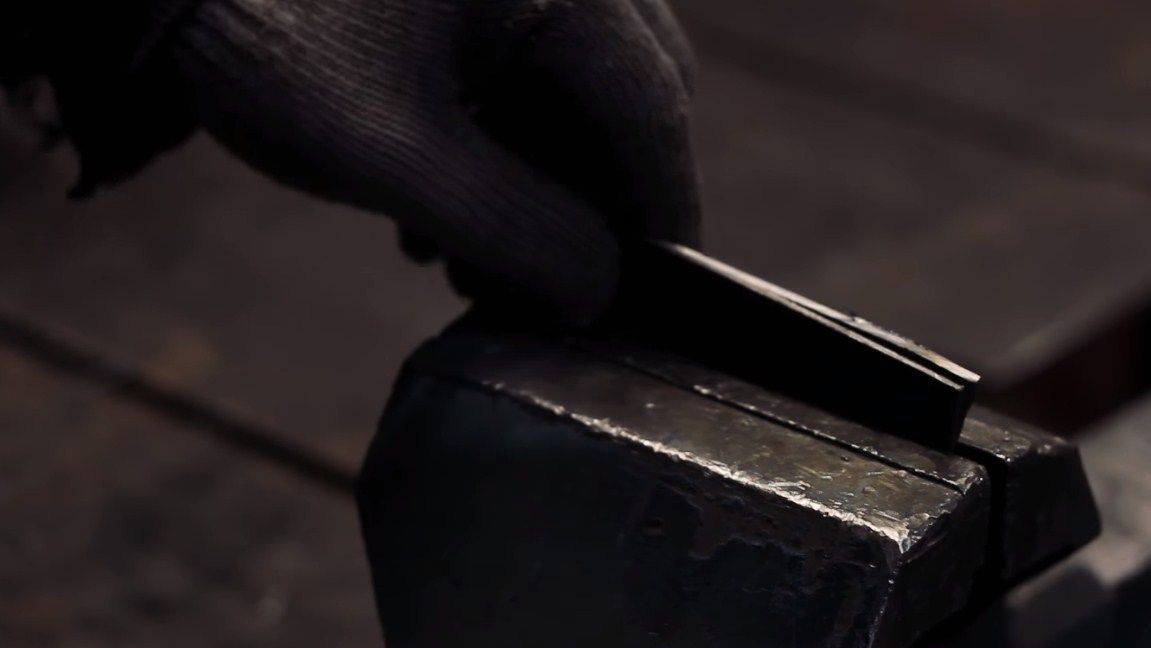
Step one. Prepare and transfer templates
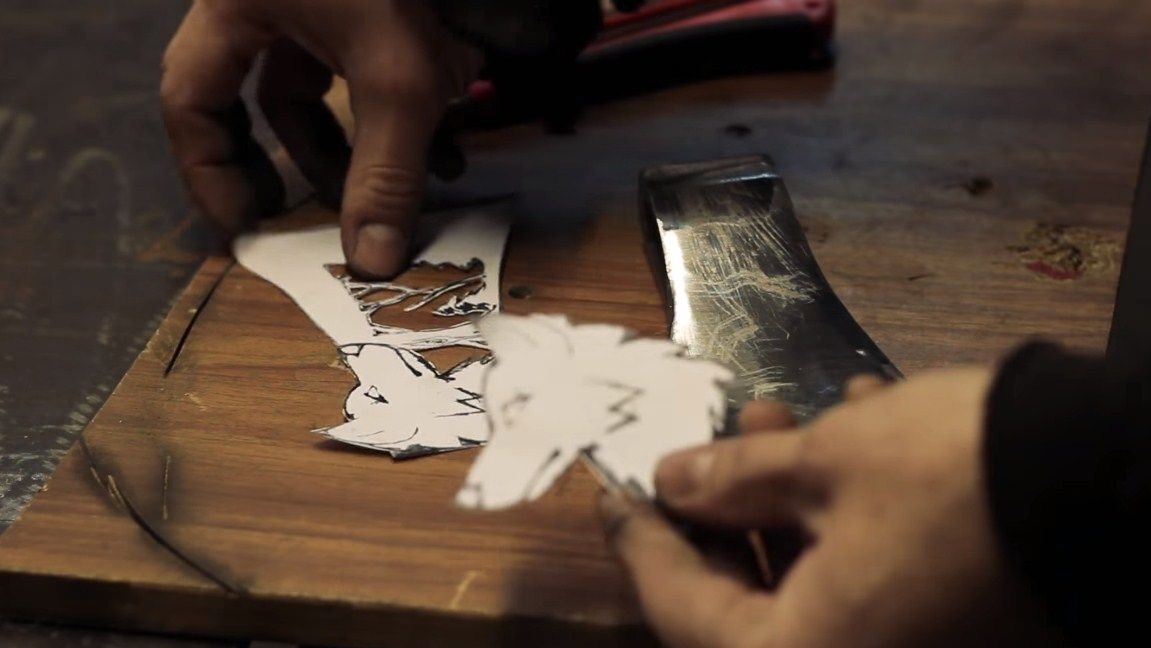
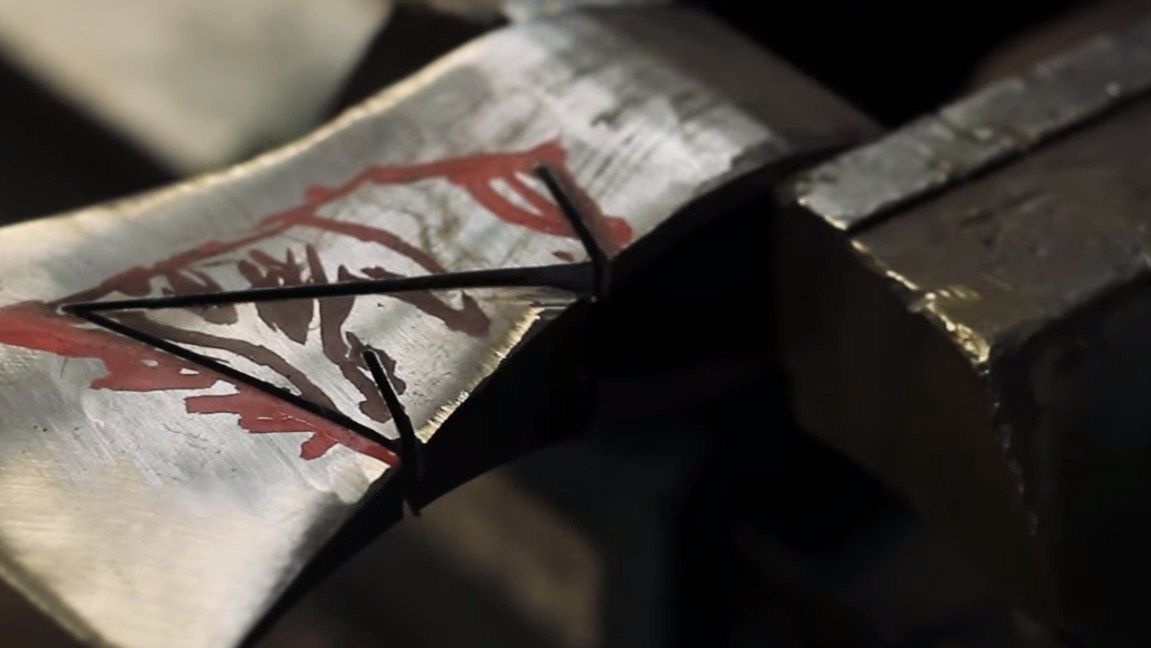
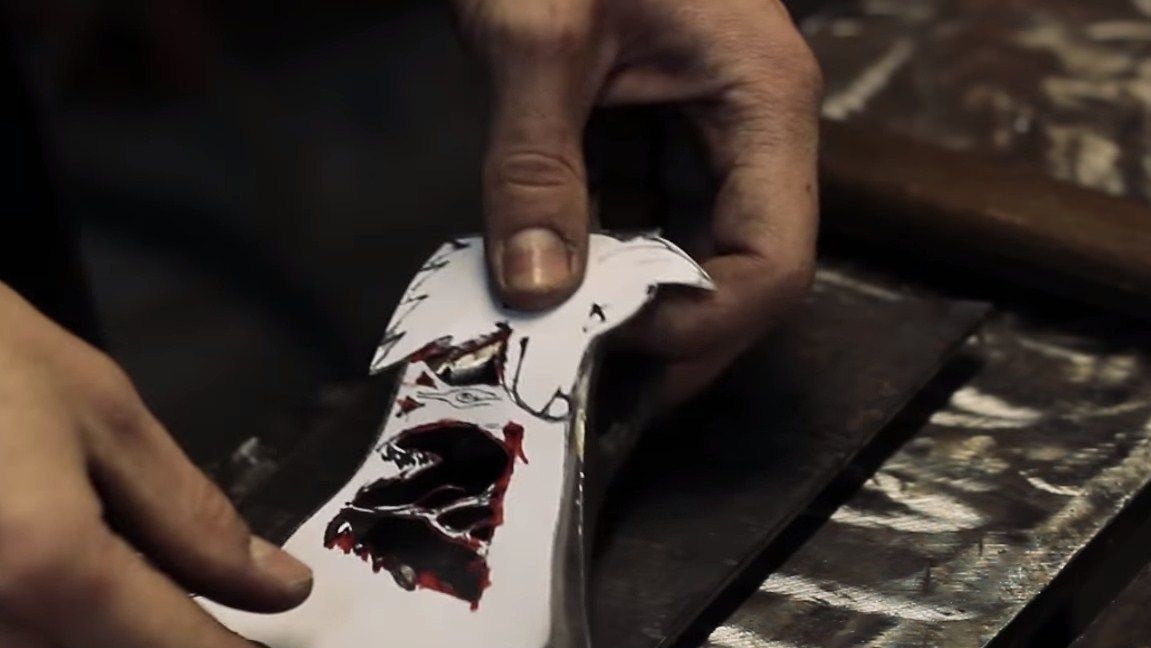
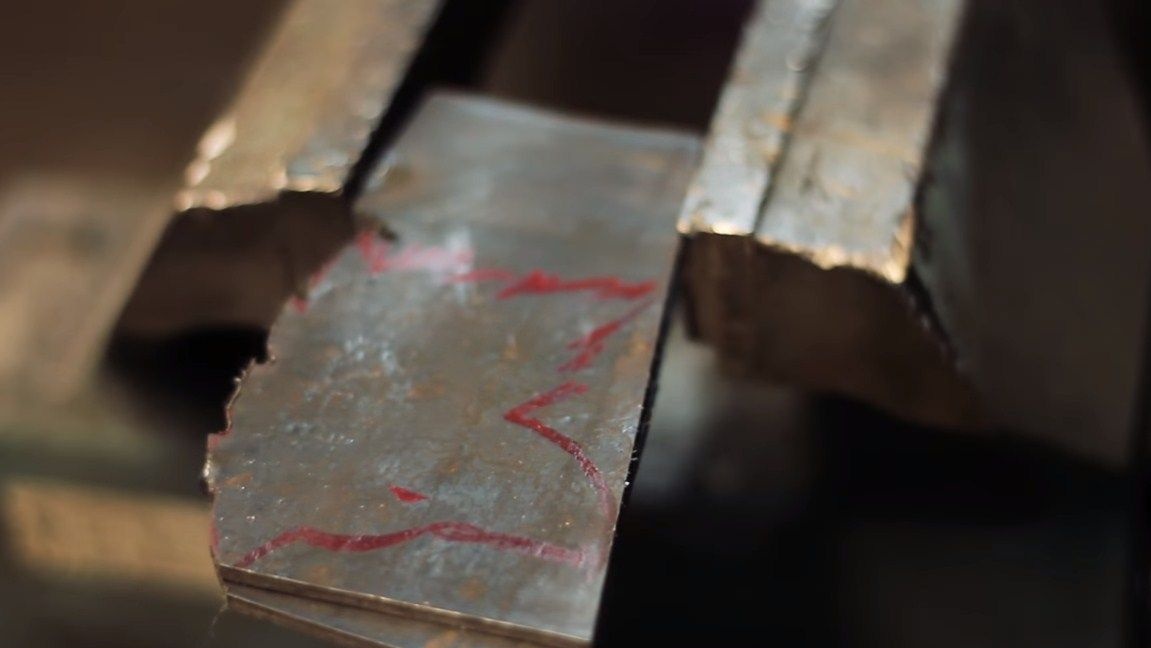
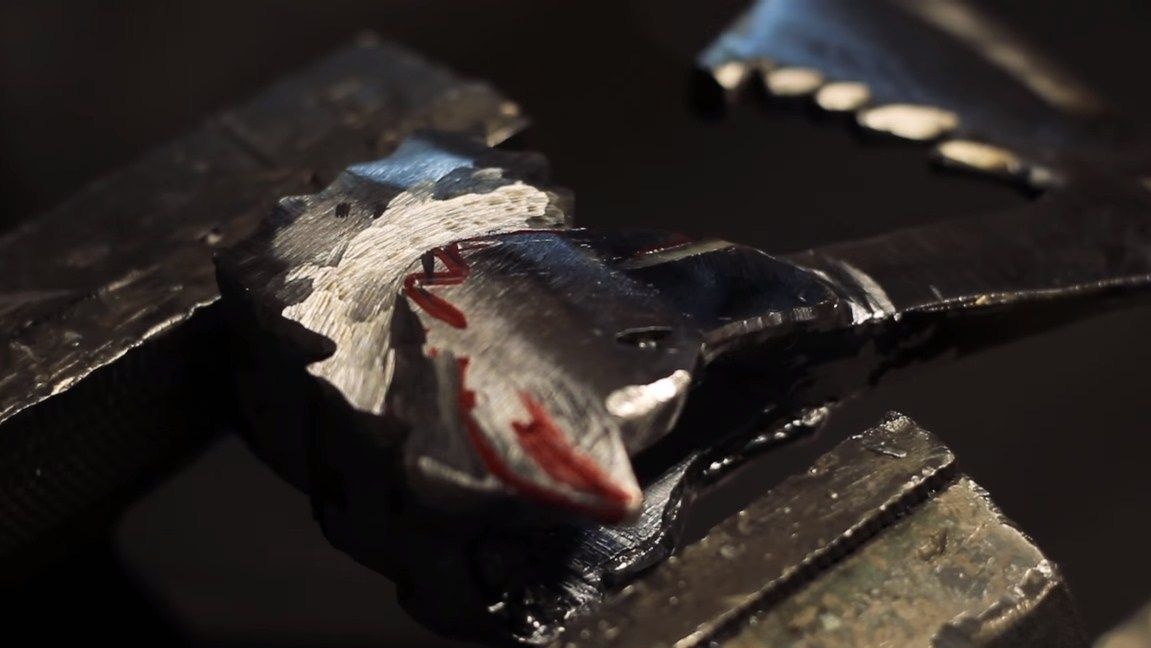
First of all, you will need a template of what you want to do. In our case, we need a wolf template. Some of its silhouette is cut inside the ax, and the silhouette itself is then cut separately and welded inside. We take paper and draw a silhouette of a wolf, but you can find a ready-made one on the Internet and just fit it in size. We print on the printer and cut out the template. Next, the template remains to be transferred to the ax, for this we use a marker.
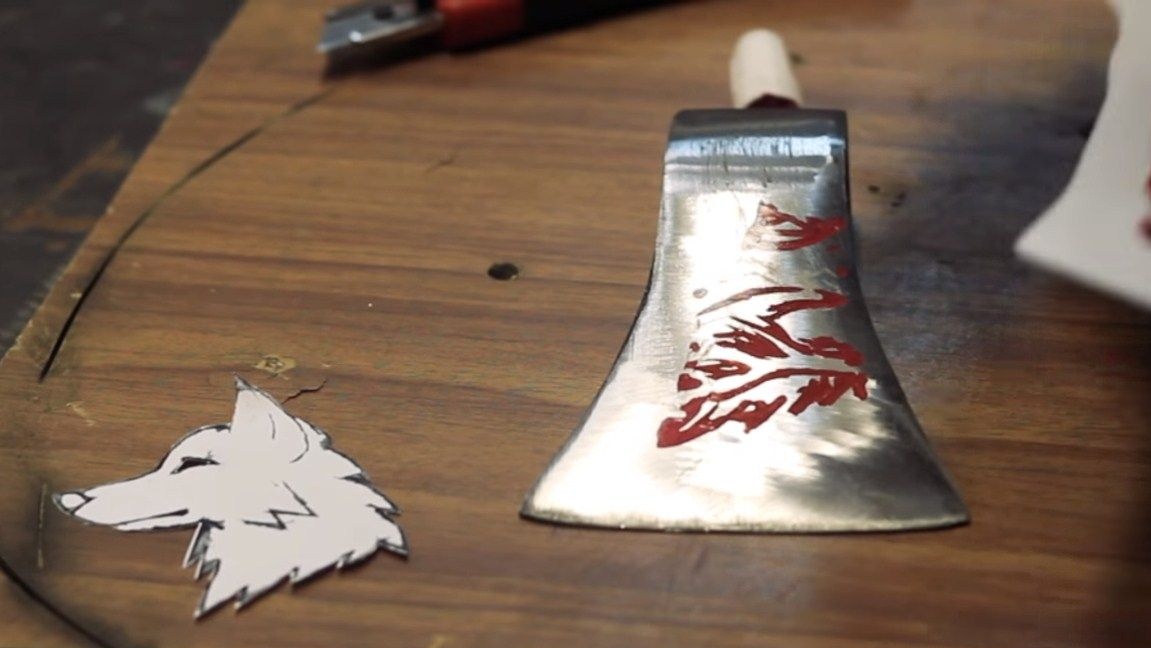
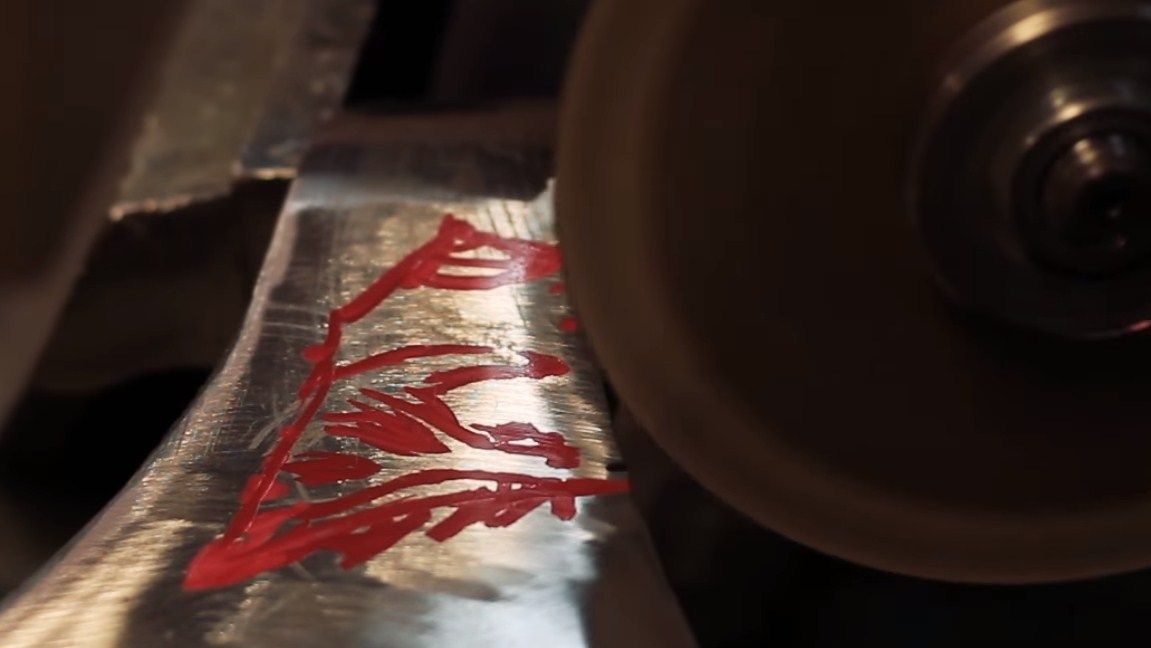
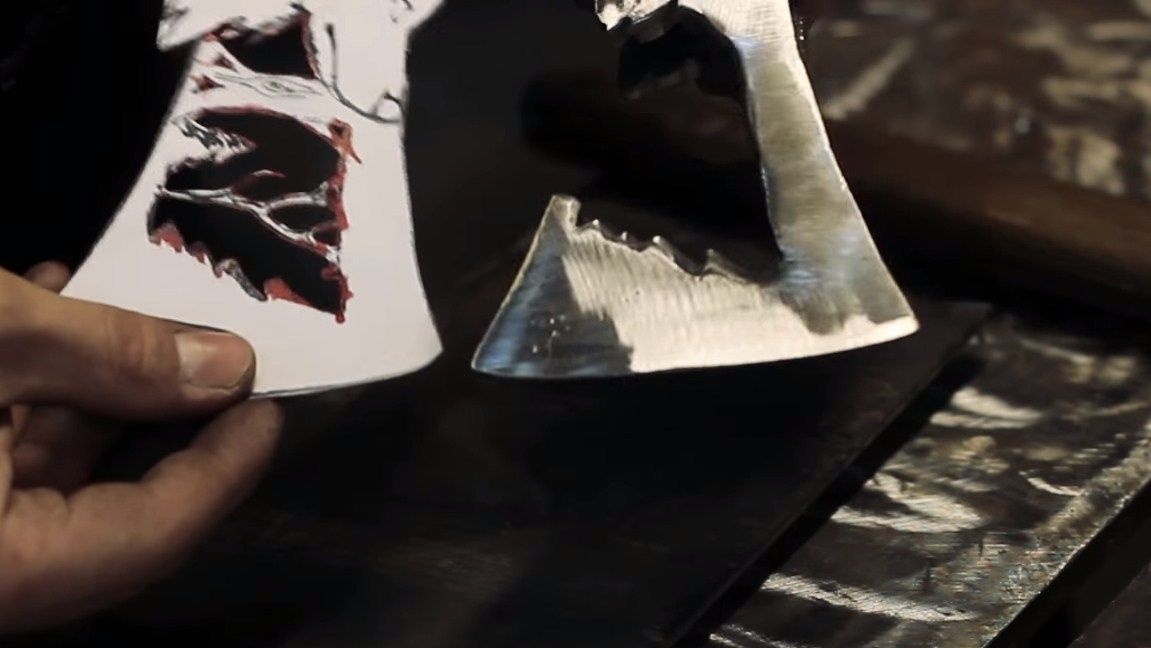
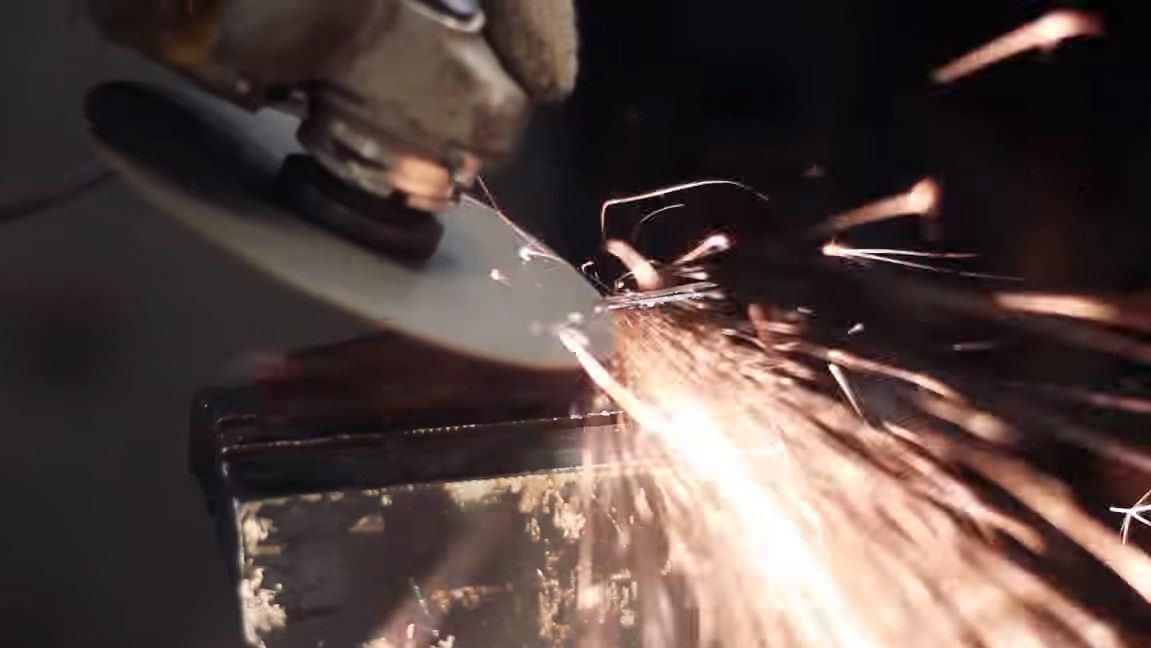
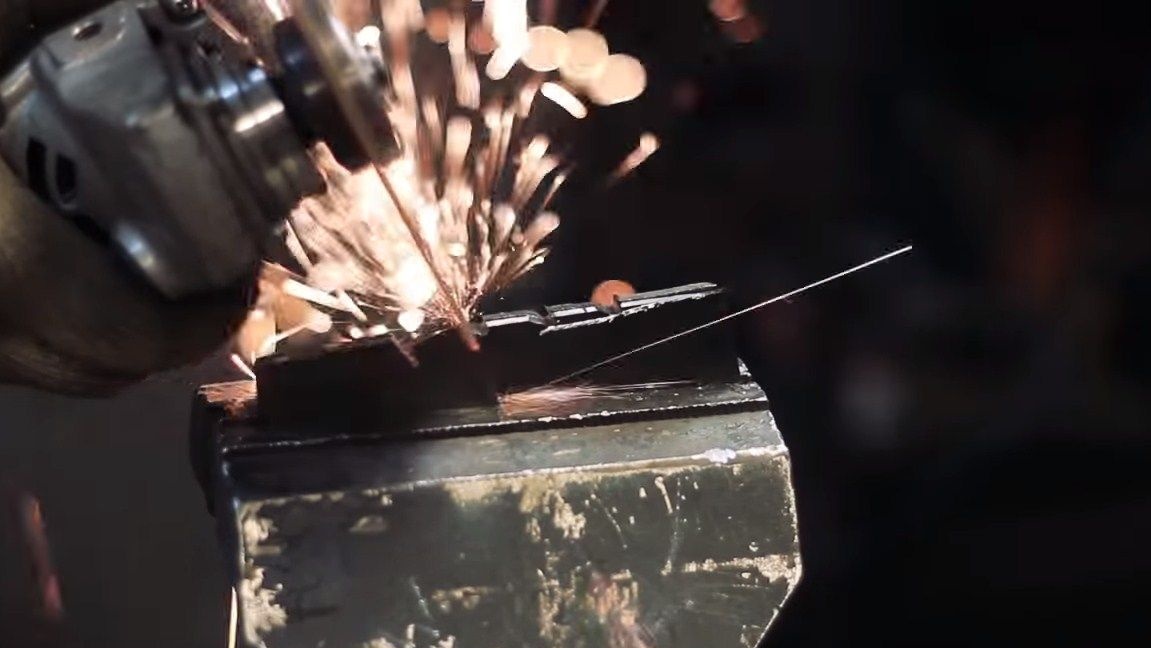
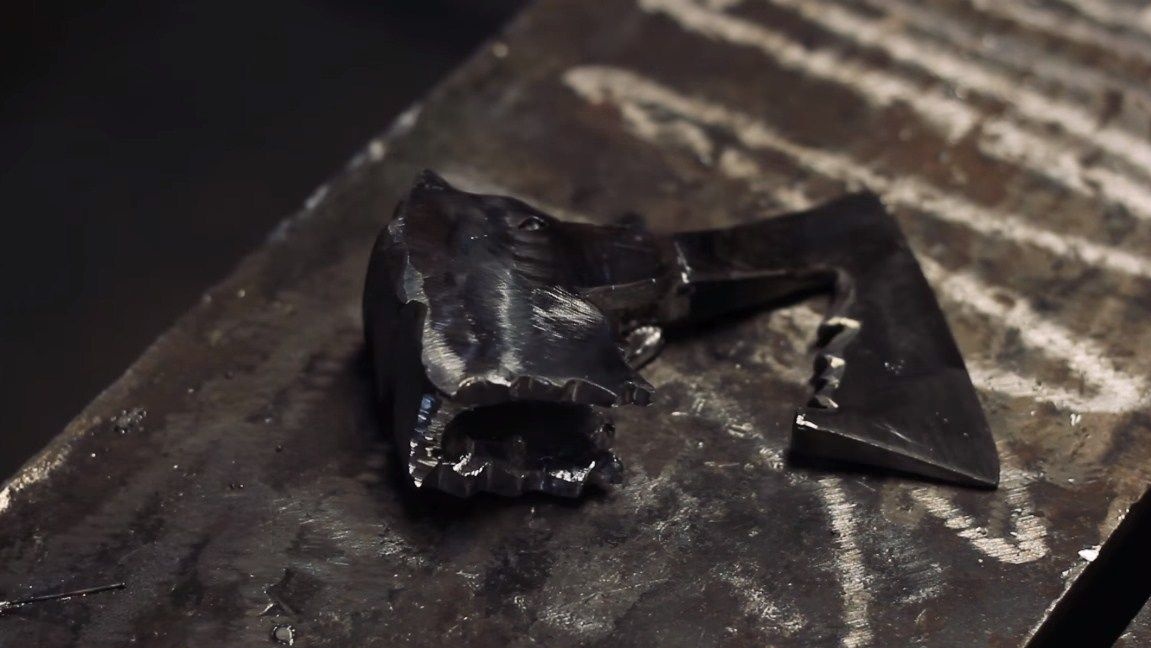
Step Two Cut excess from the ax
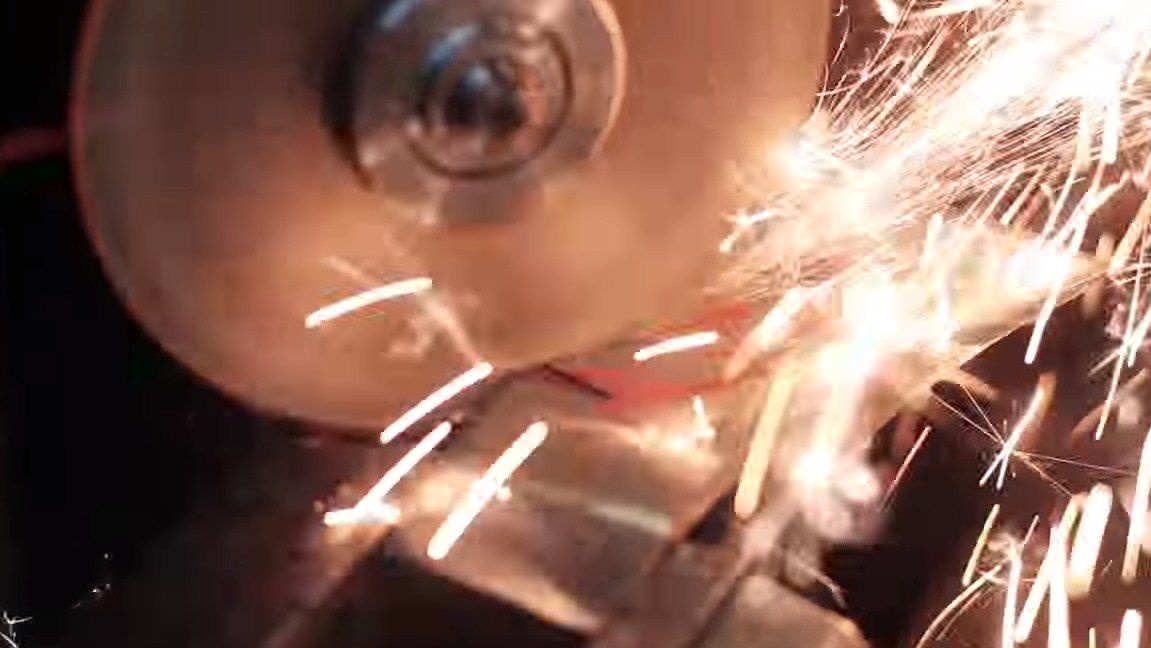
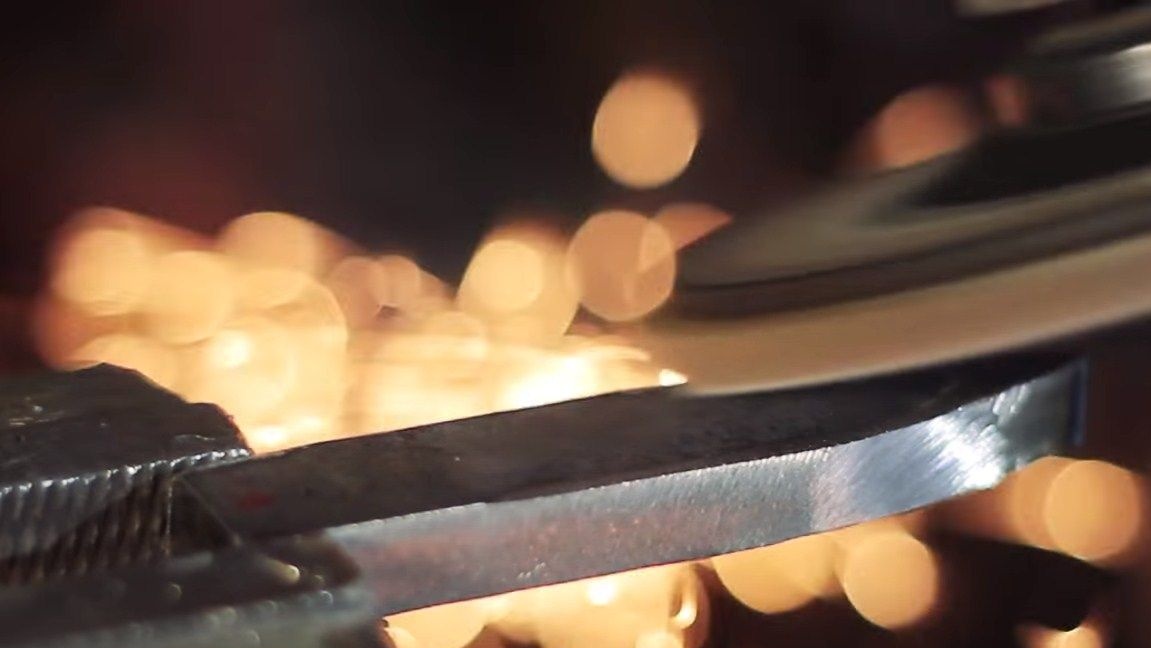
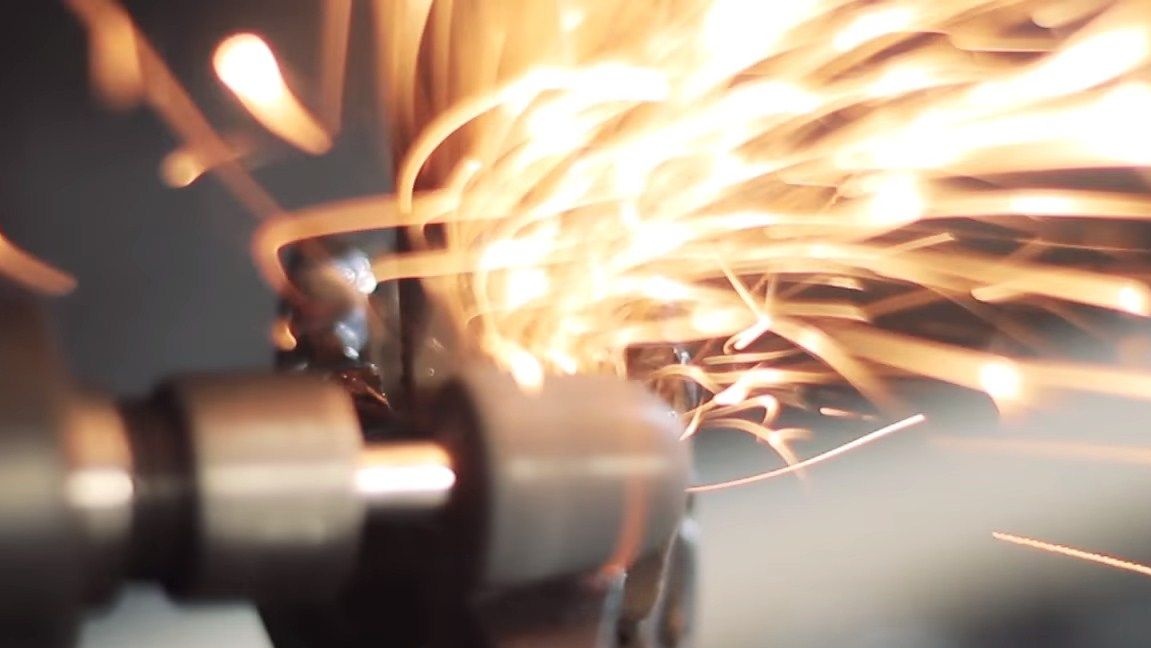
Now we need to cut out the silhouette that we transferred to the ax. The author does all this work with the help of an ordinary grinder. To start, just cut in a straight line and cut out a shape resembling a triangle. Well, already further we cut out the rest of the silhouette. We carry out grinding of the cutting points using grinding wheels.

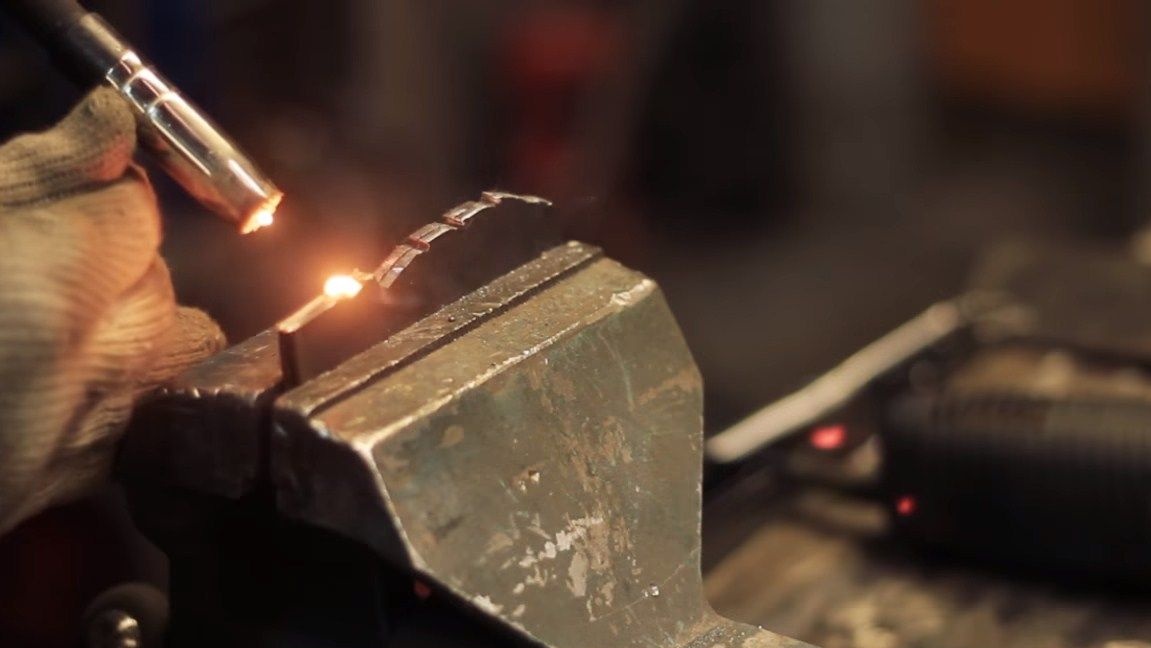
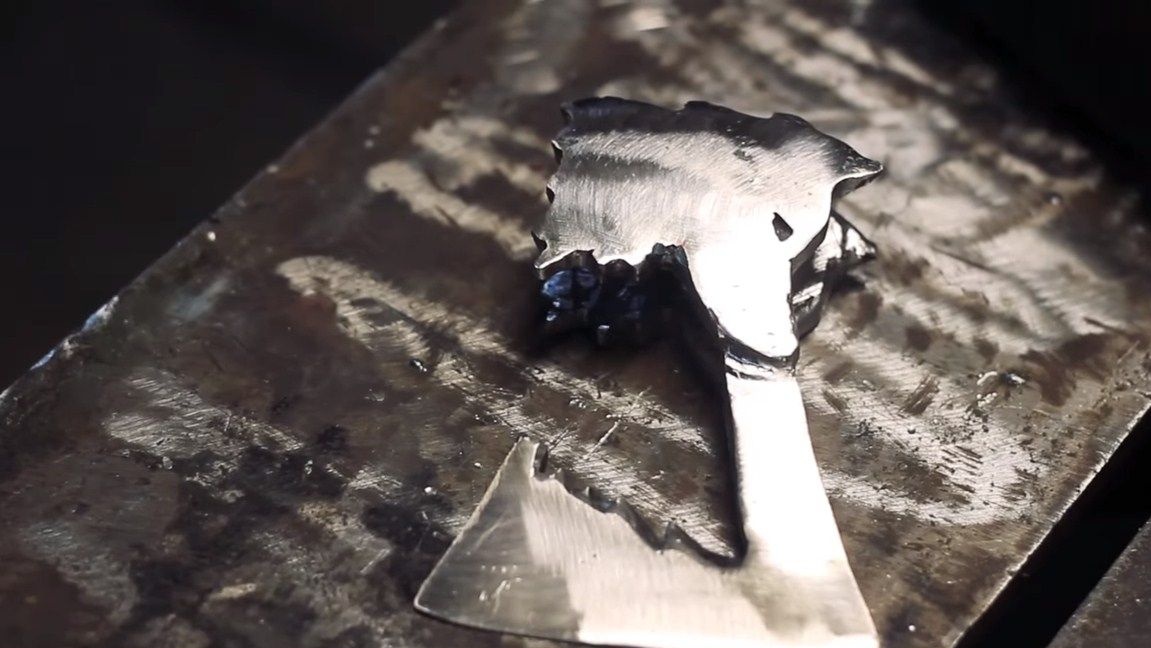
Step Three Cut out the silhouettes of wolves
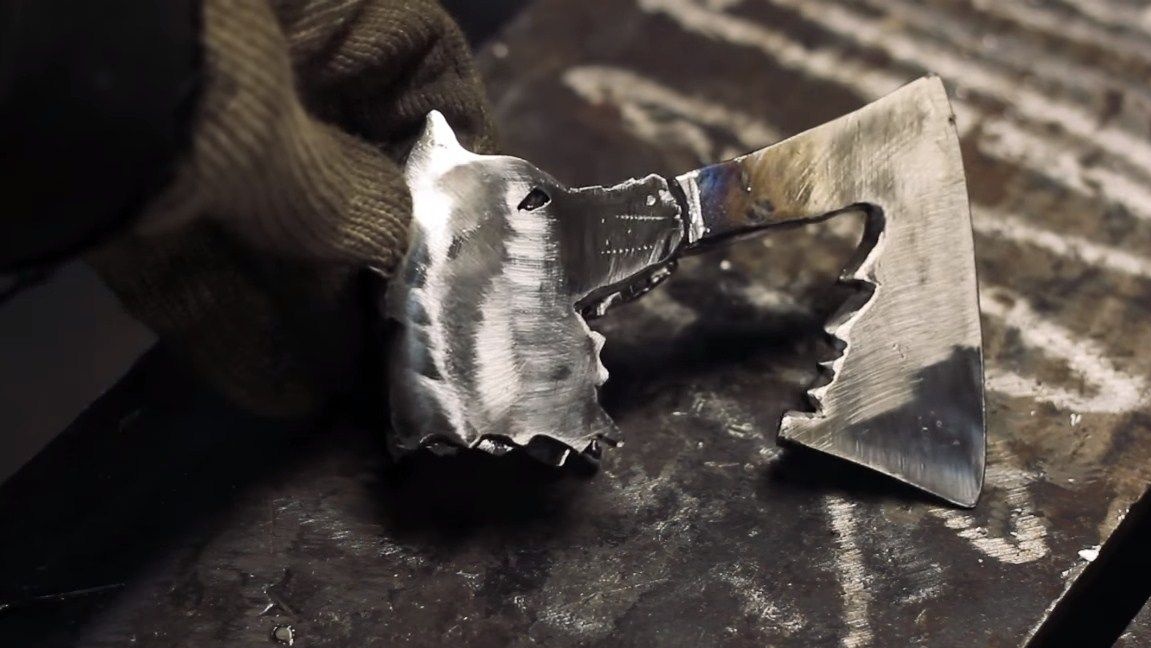
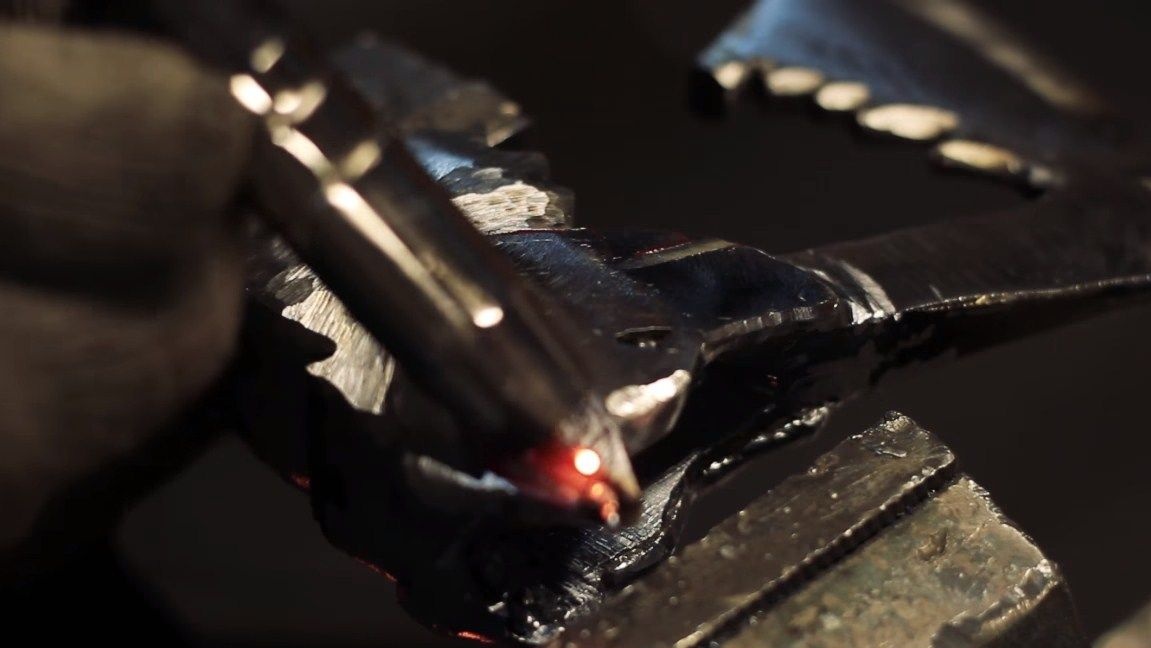
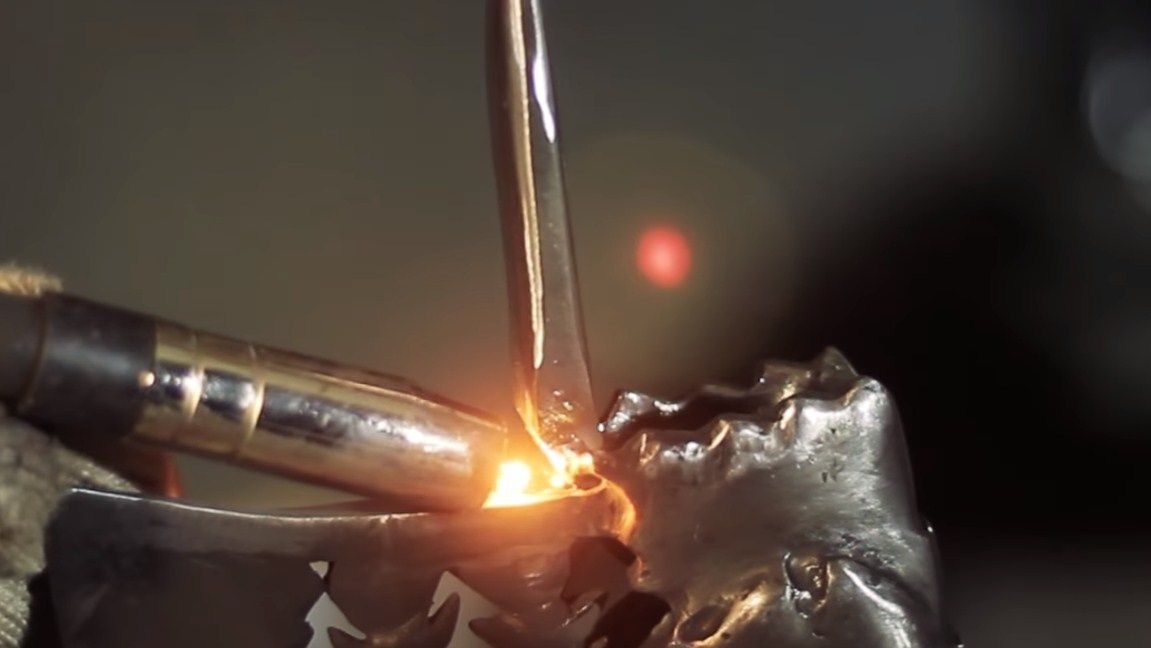
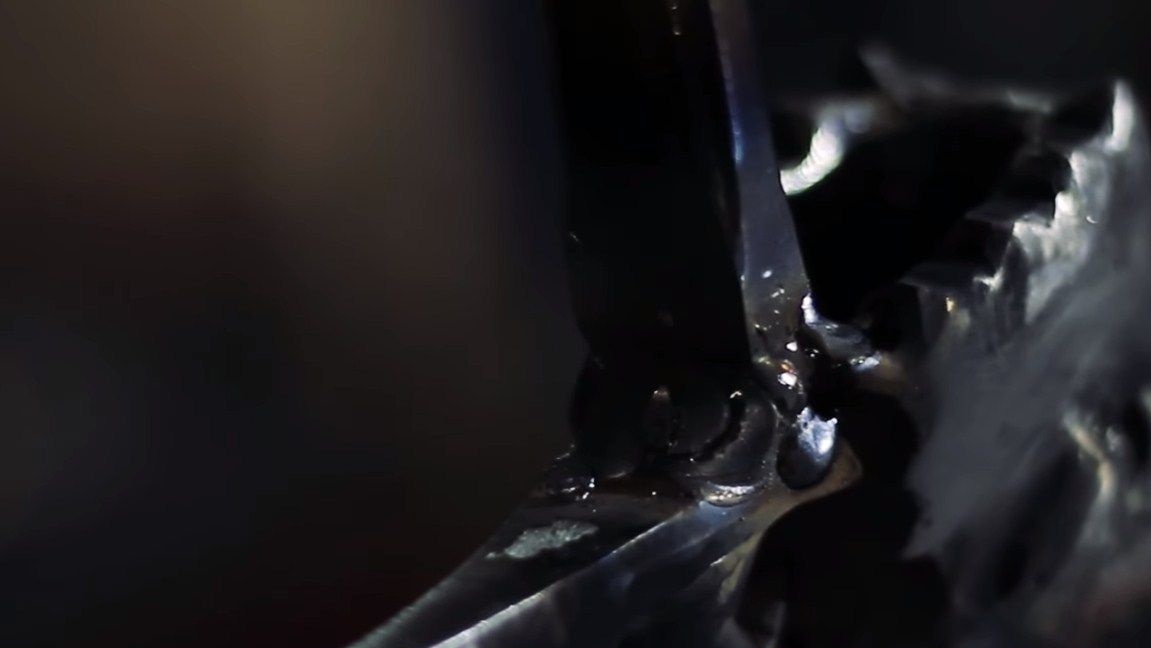
Now we need to cut out the wolf silhouettes from sheet metal. You can also cut them with a grinder, but then you have to sweat. The easiest way to cope with this task with a jigsaw with a metal saw. The result should be two identical blanks in the form of a wolf. We need to weld them to the ax as the author in the photo. The weld must be solid and of high quality so that everything looks as one.
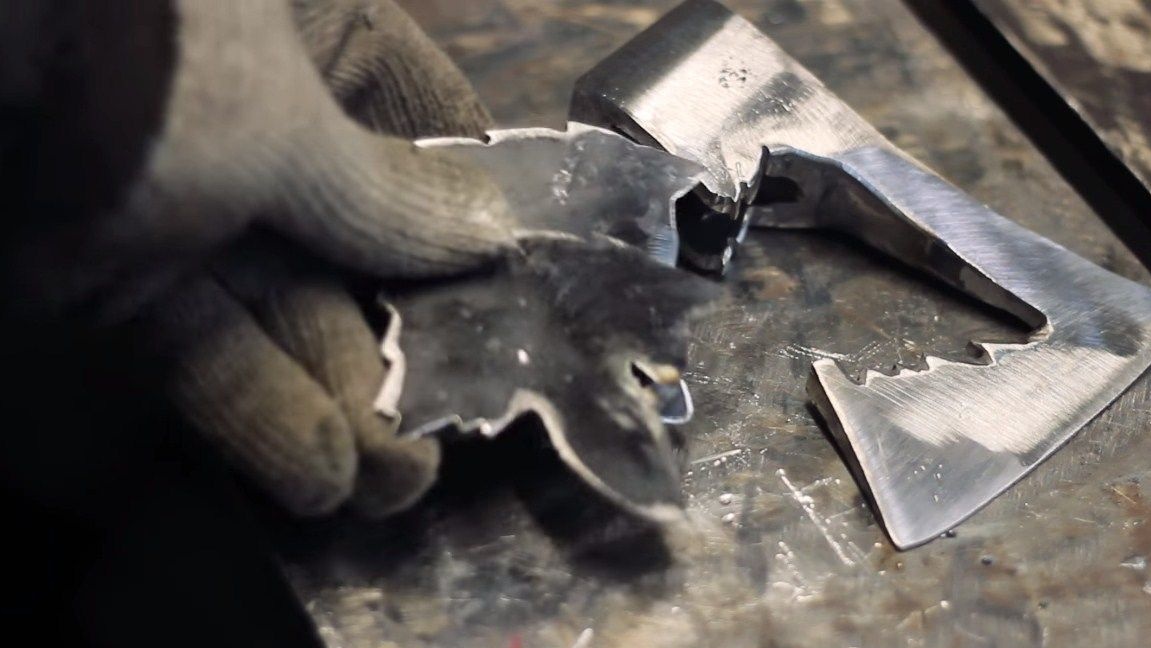
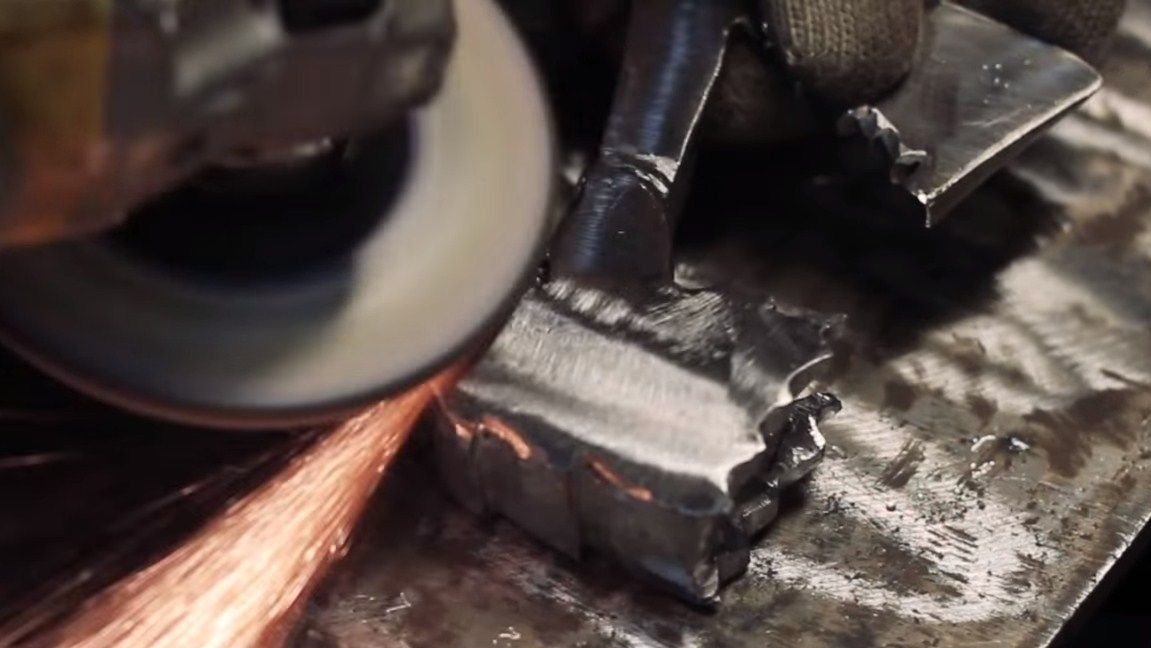
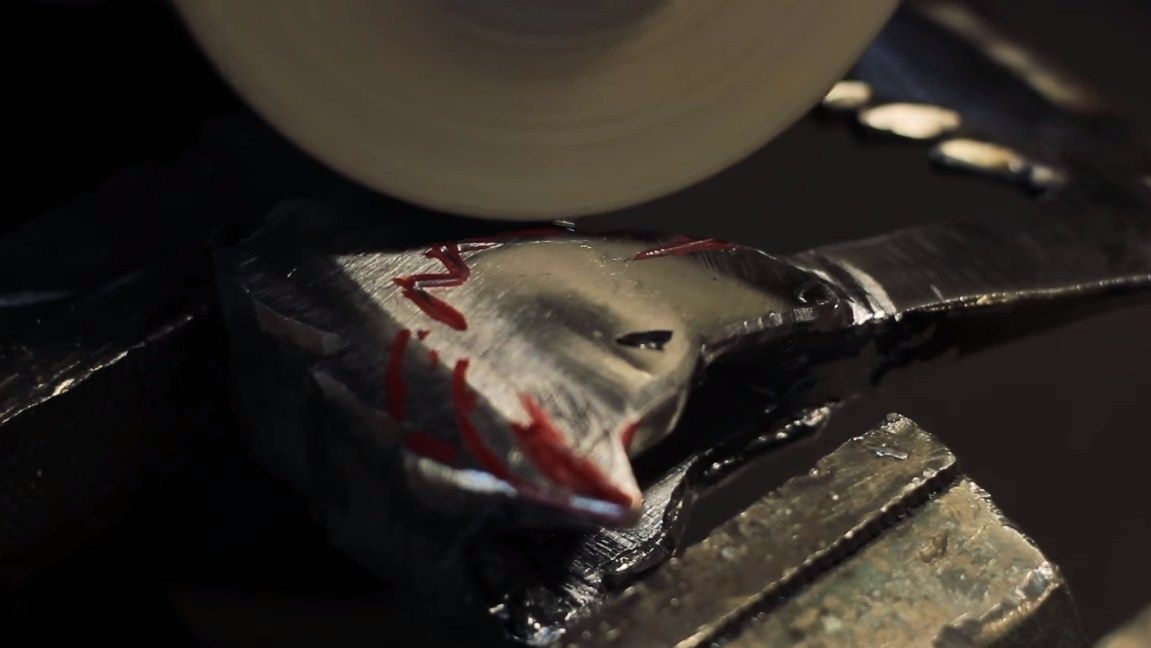
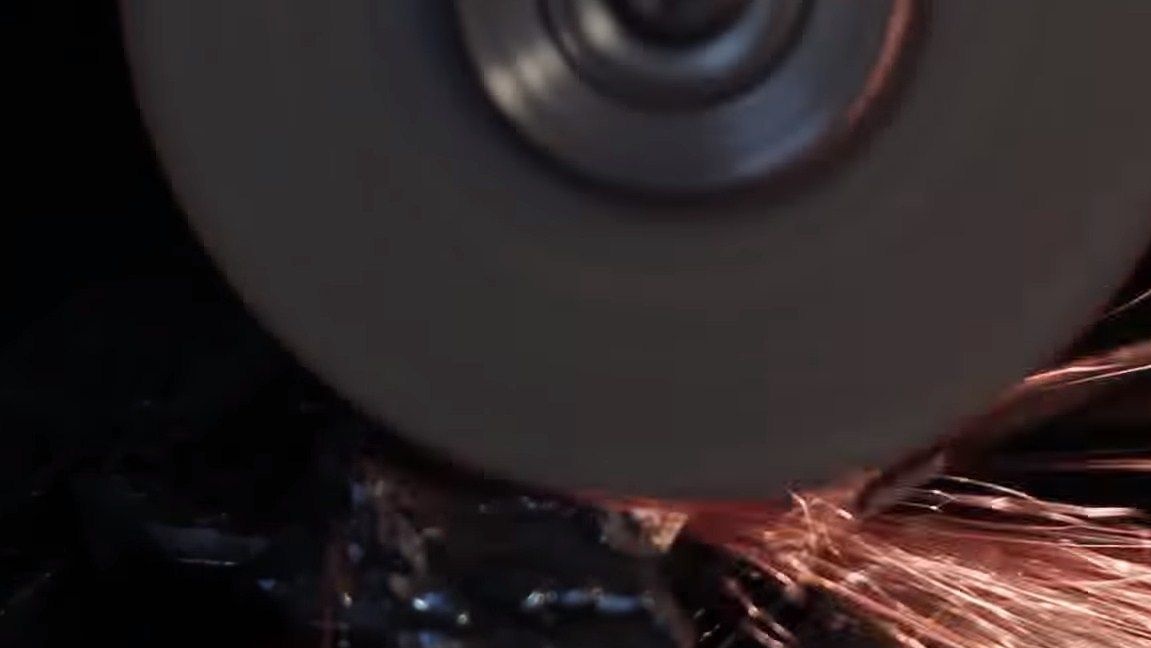
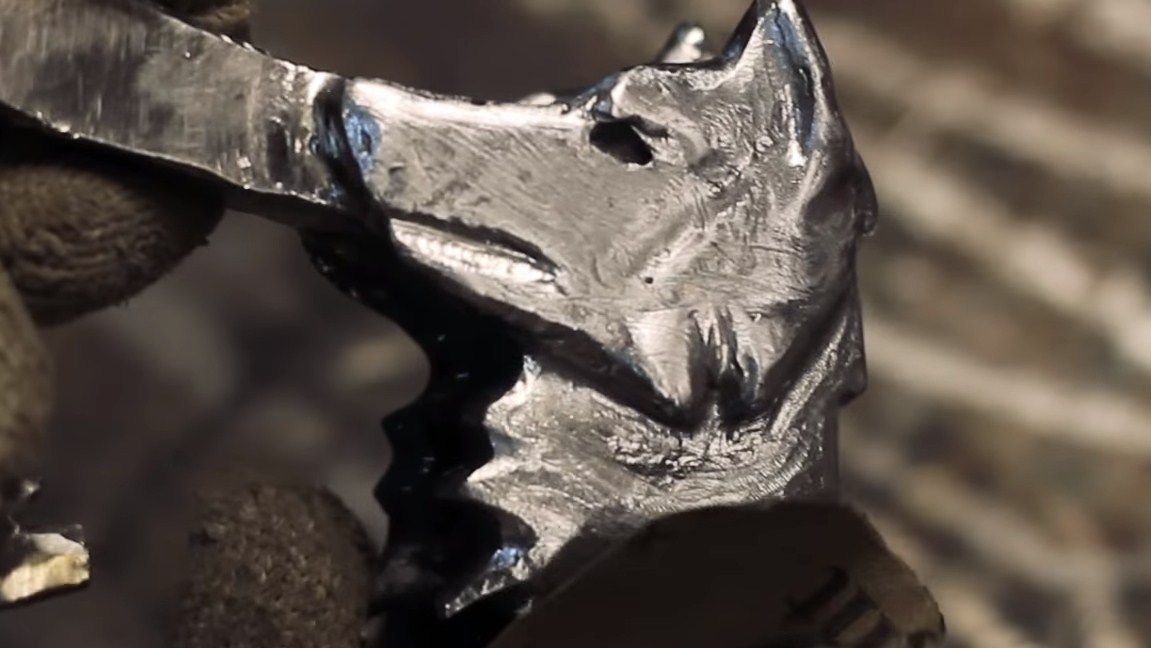
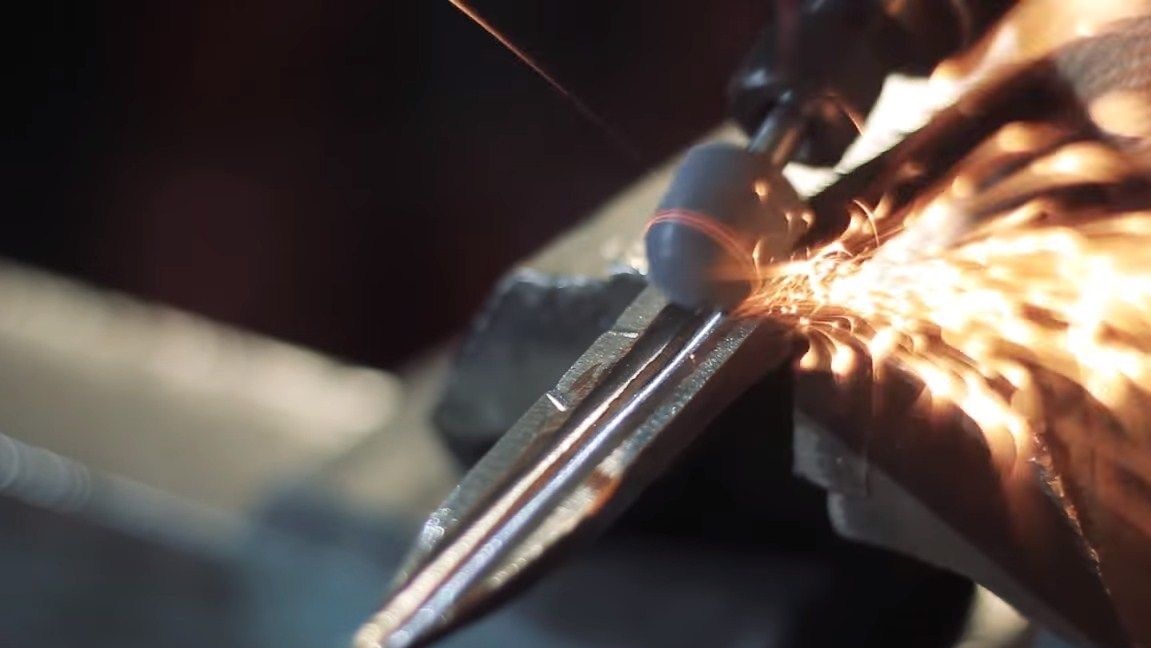
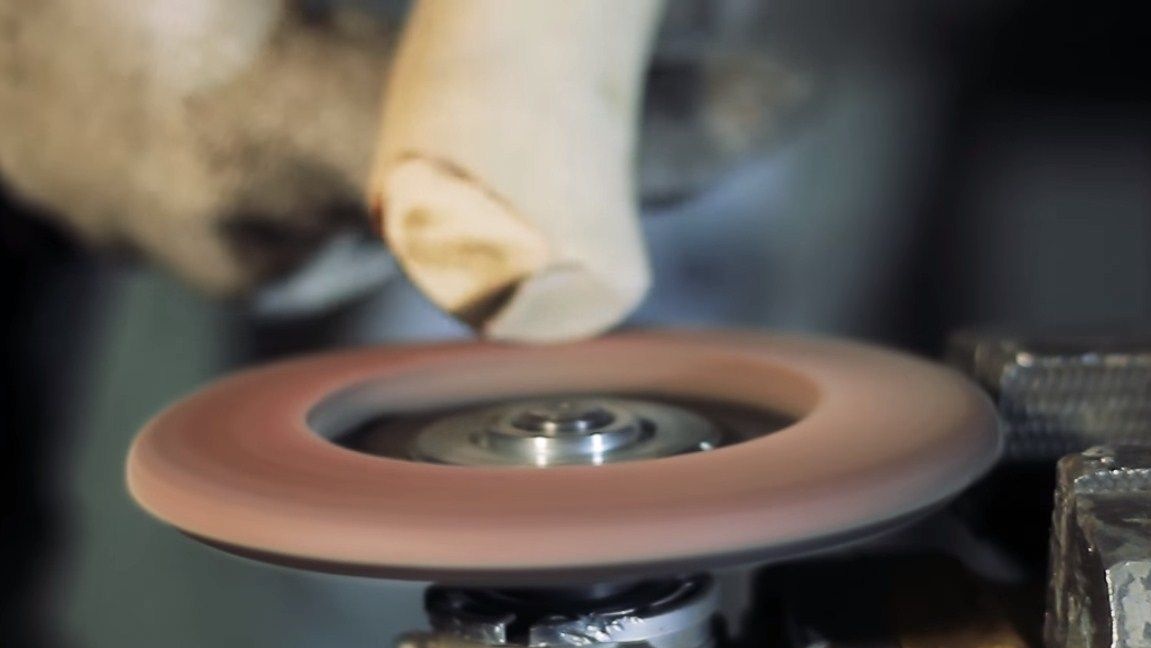
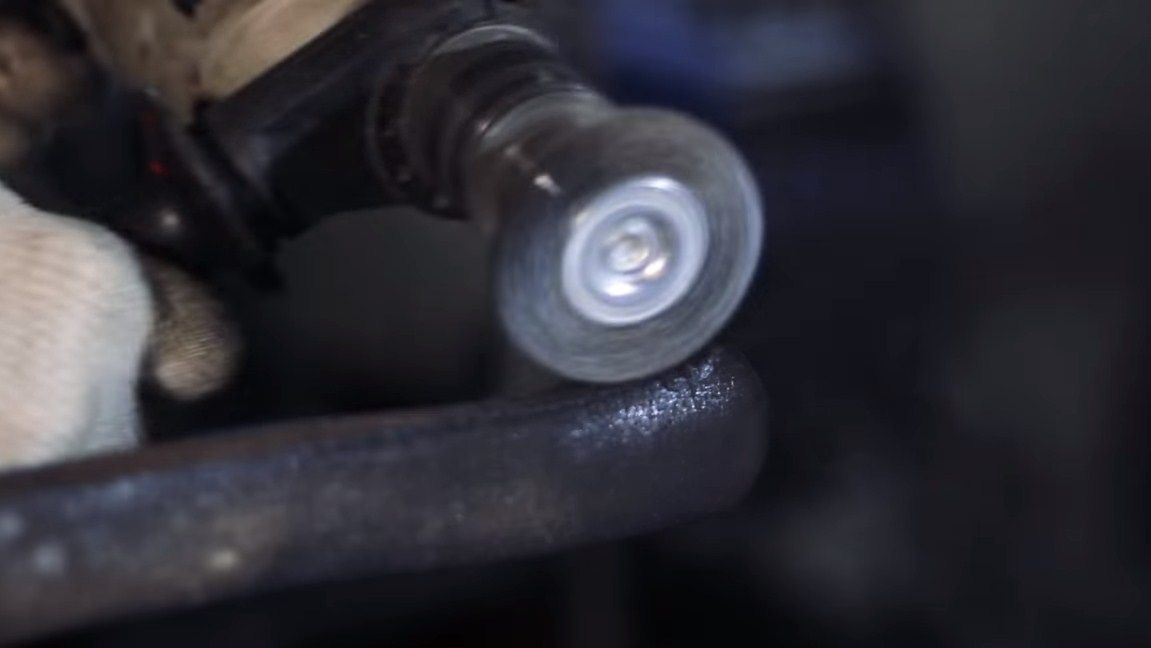
In conclusion, we need to make some parts of the wolf voluminous. To do this, take the grinder and grind the metal a little along the contour of the head of the wolf. Further, to make other details voluminous, we will need welding. We simply weld metal where it is required. Well, then you just have to grind the product with a grinder and polish if desired to a shine.
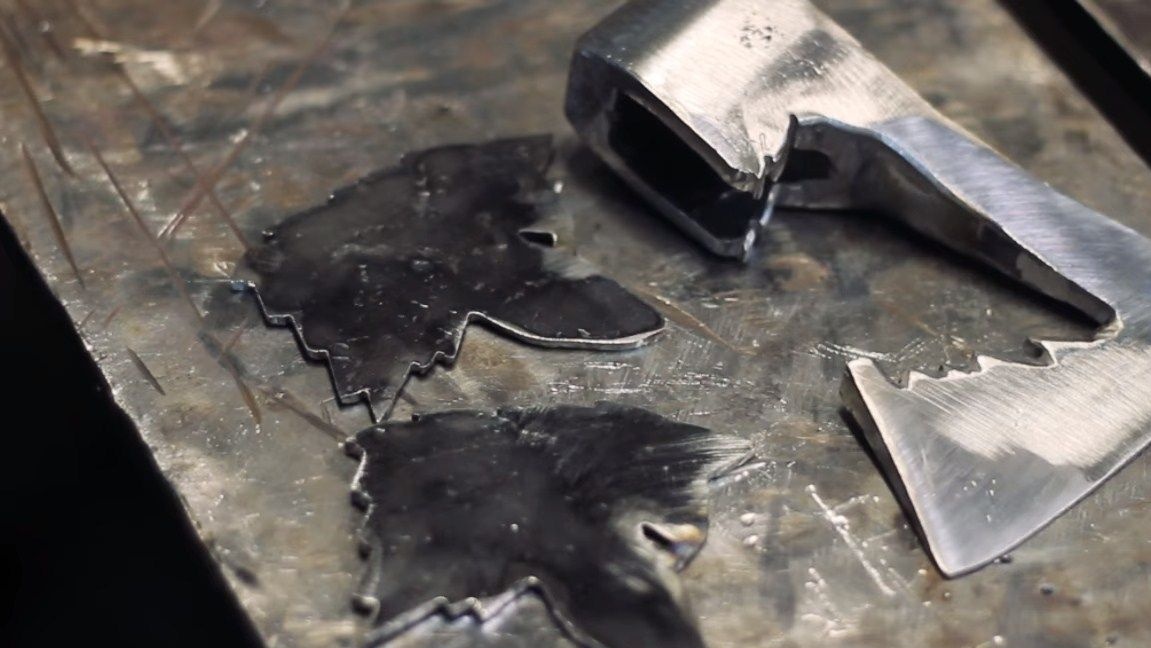
Step Four Production and installation of Christmas trees
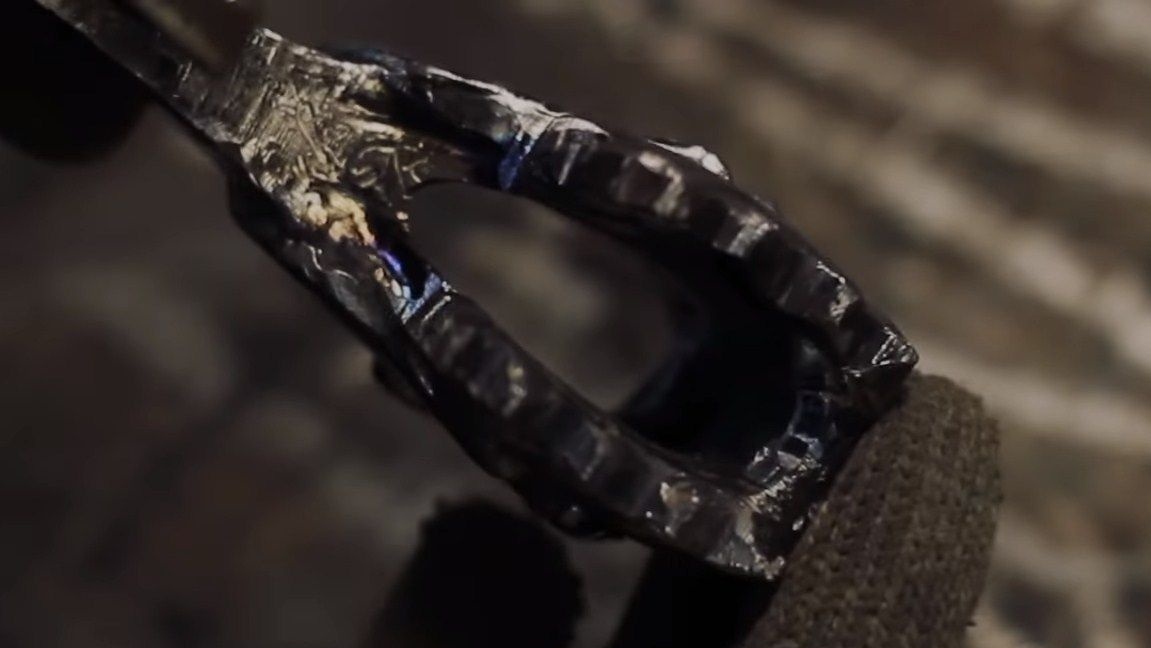
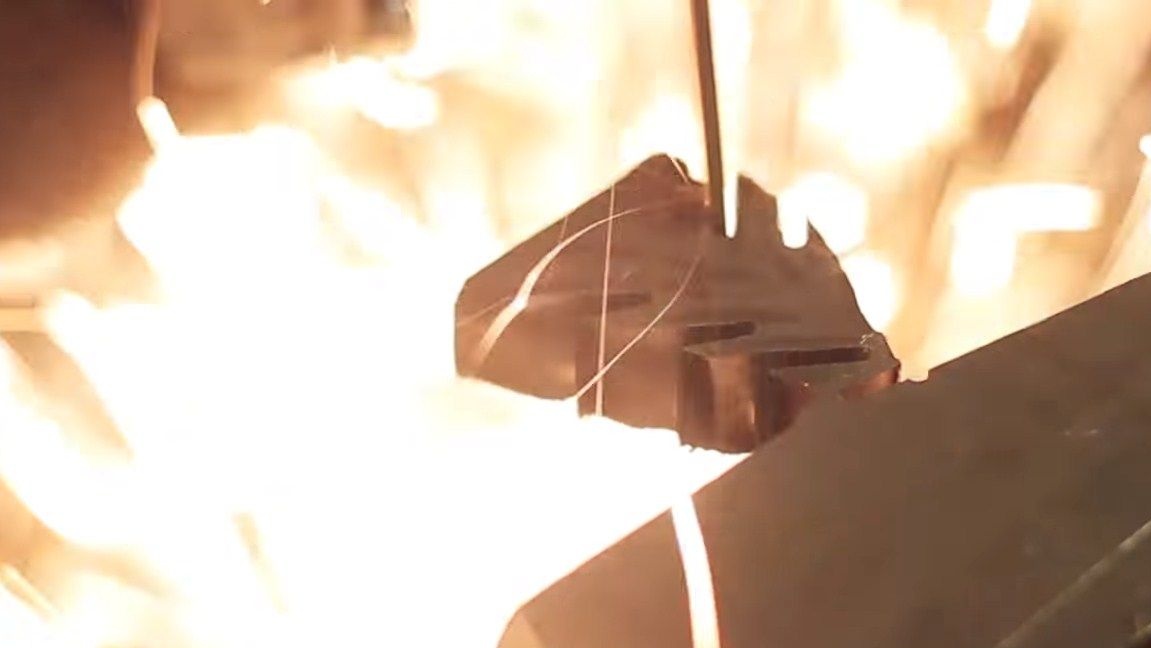
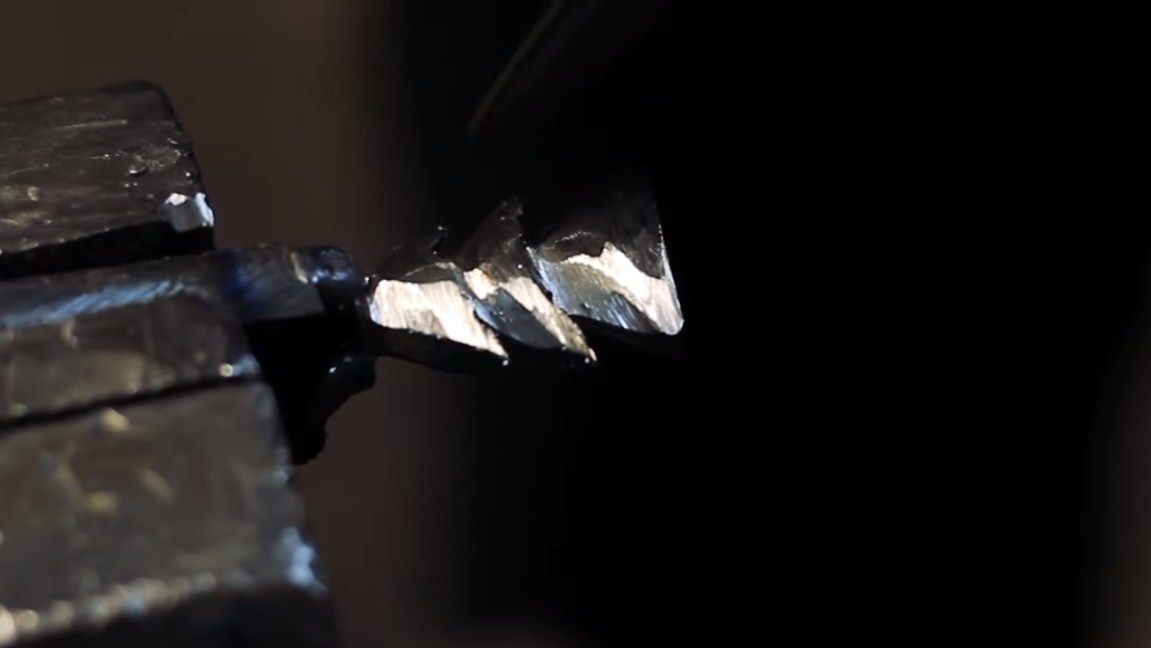
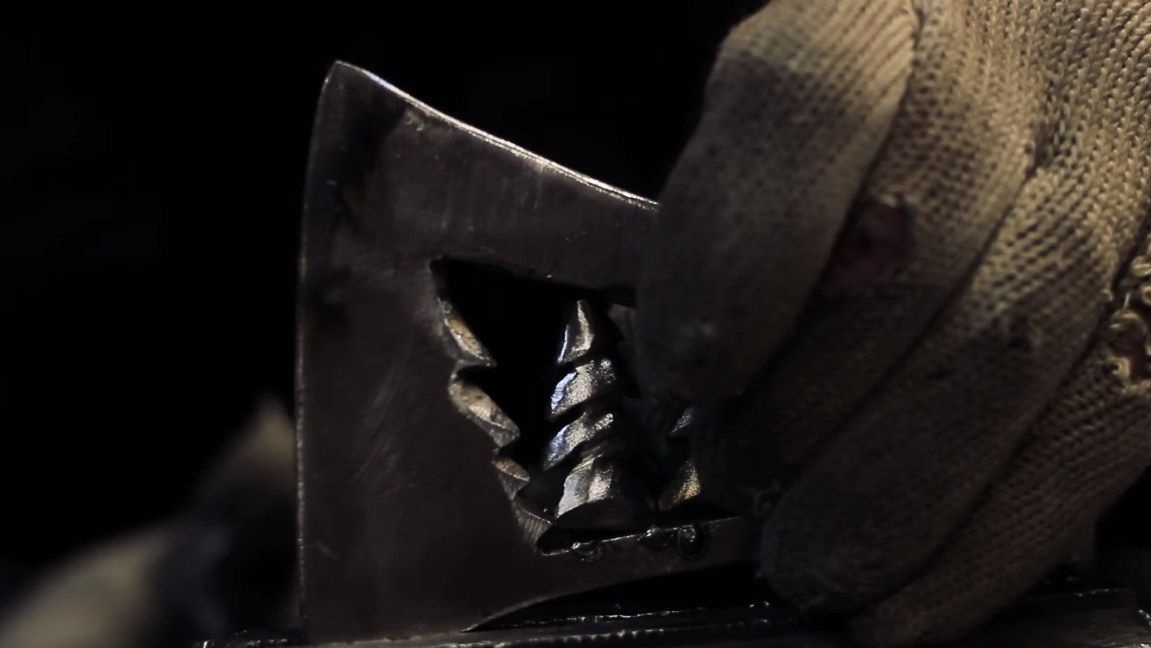
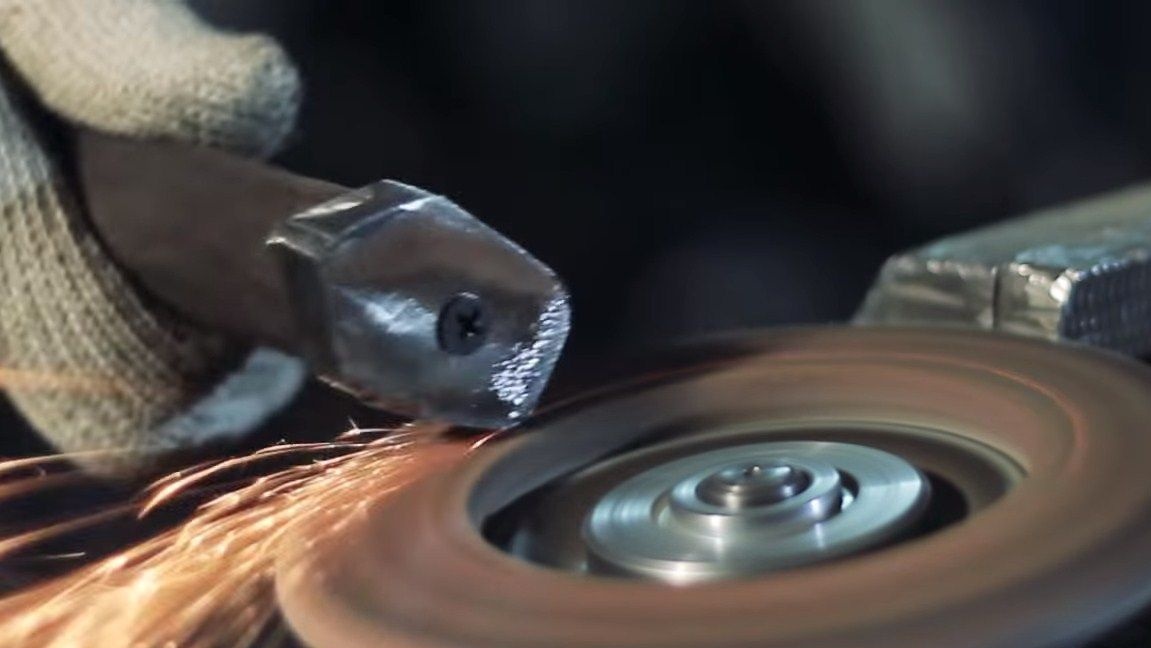
To make a herringbone, we take sheet steel of suitable thickness. Well, then everything is simple, with the help of a grinder we cut out the Christmas trees and grind them with grinding disks. As soon as the trees are ready, we will have to carefully weld them into the cavity prepared in the ax. We grind everything thoroughly with sandpaper so that the design is monolithic.
Step Five The final part of the ax
The author welds a metal axis to the ax, which will serve to securely fasten the handle, as well as make the ax more stylish. This thing will also work as a protection for the handle, sticks will not hit wood and damage it when chopping wood. As a result, your hatchet will last a long time.
Step Six We make and install the handle
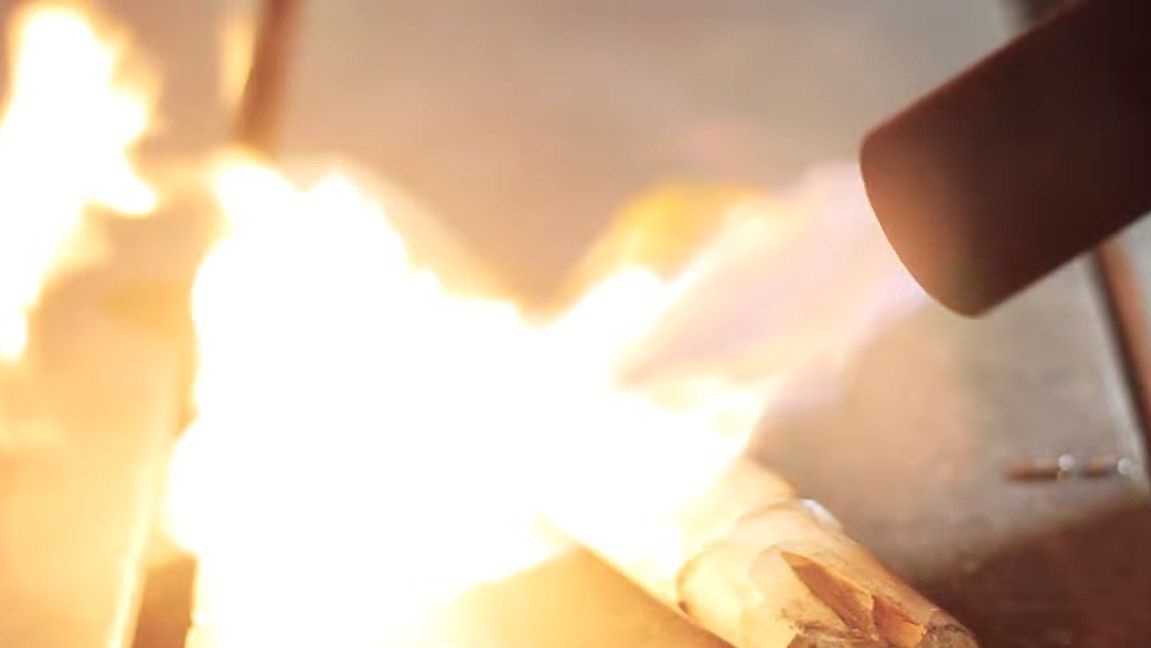
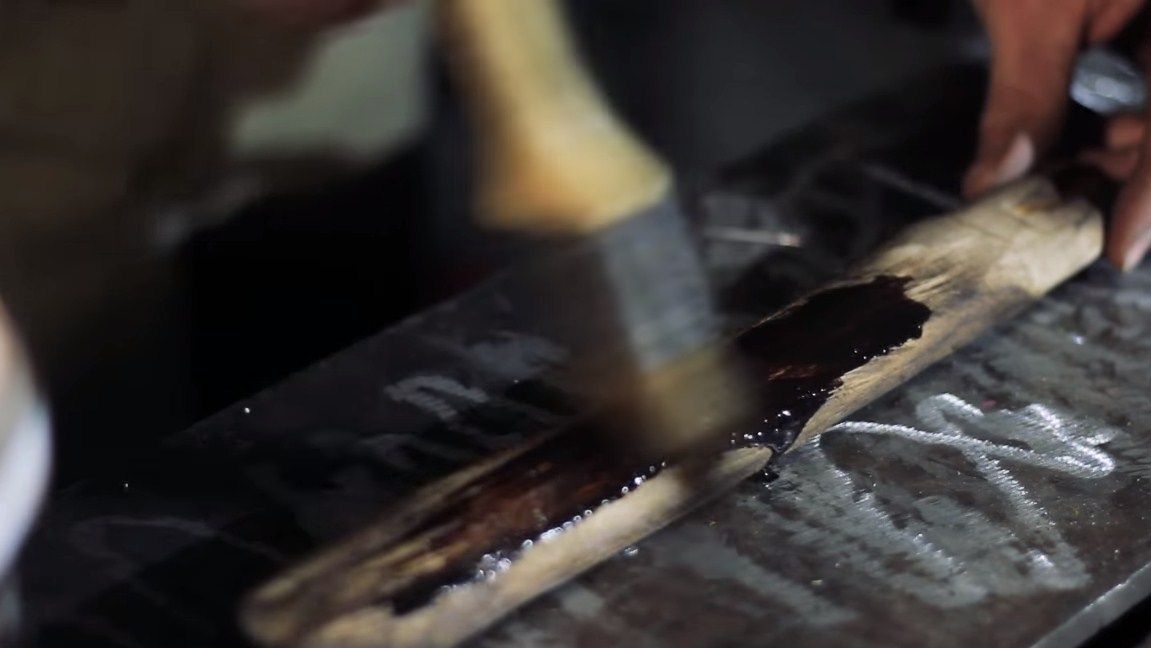
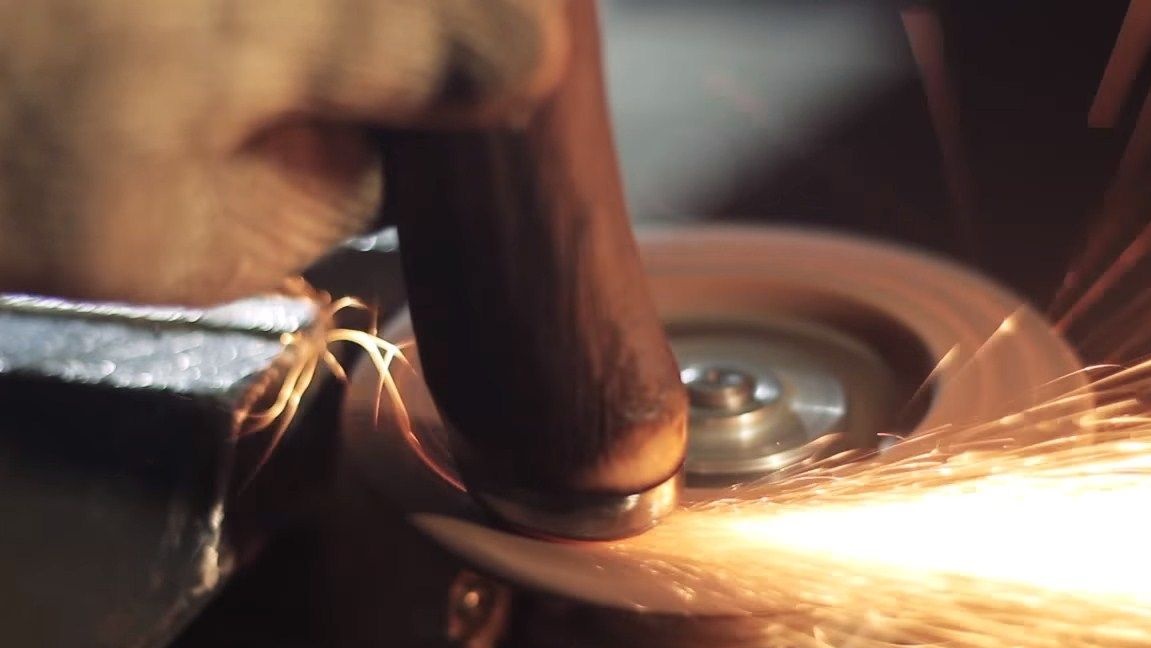
We cut the handle out of wood or buy it already ready and modify it. To make the pen look interesting and well protected from moisture, the author burns it with a burner. Next, carefully grind the handle with sandpaper. It should be slightly dark in color. That's all, now you can put oil on the handle for wood impregnation. As a result, we have a high-quality and stylish pen. At the end of the pen, the author decided to install the plate. We cut out the product from steel and fasten it with a screw.

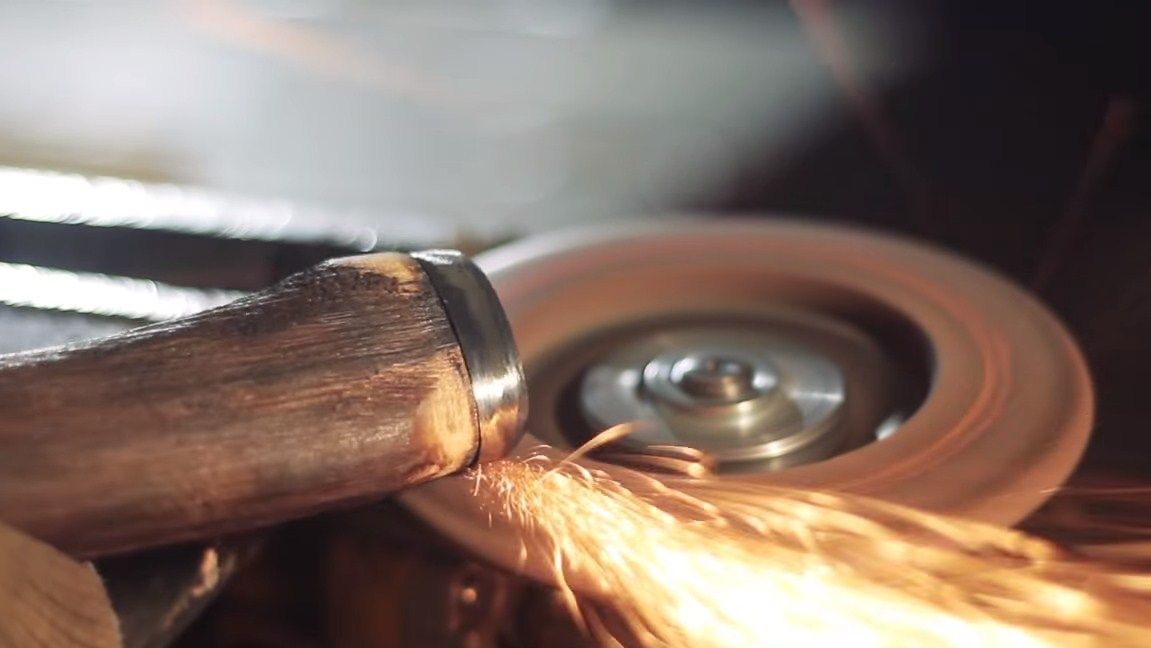
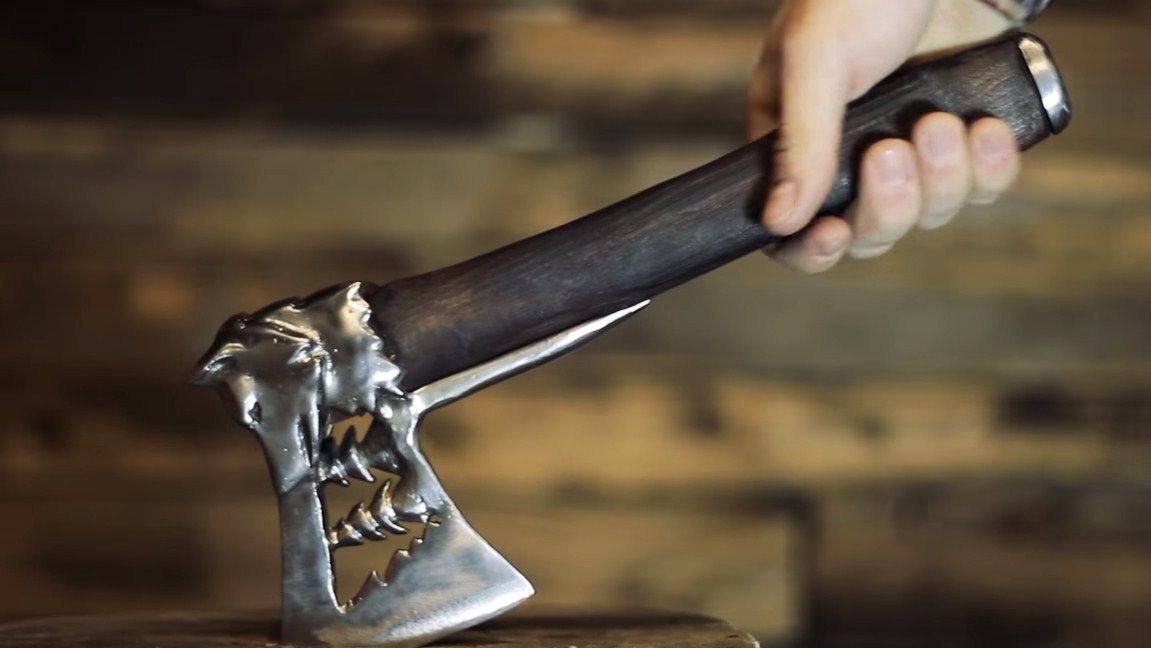
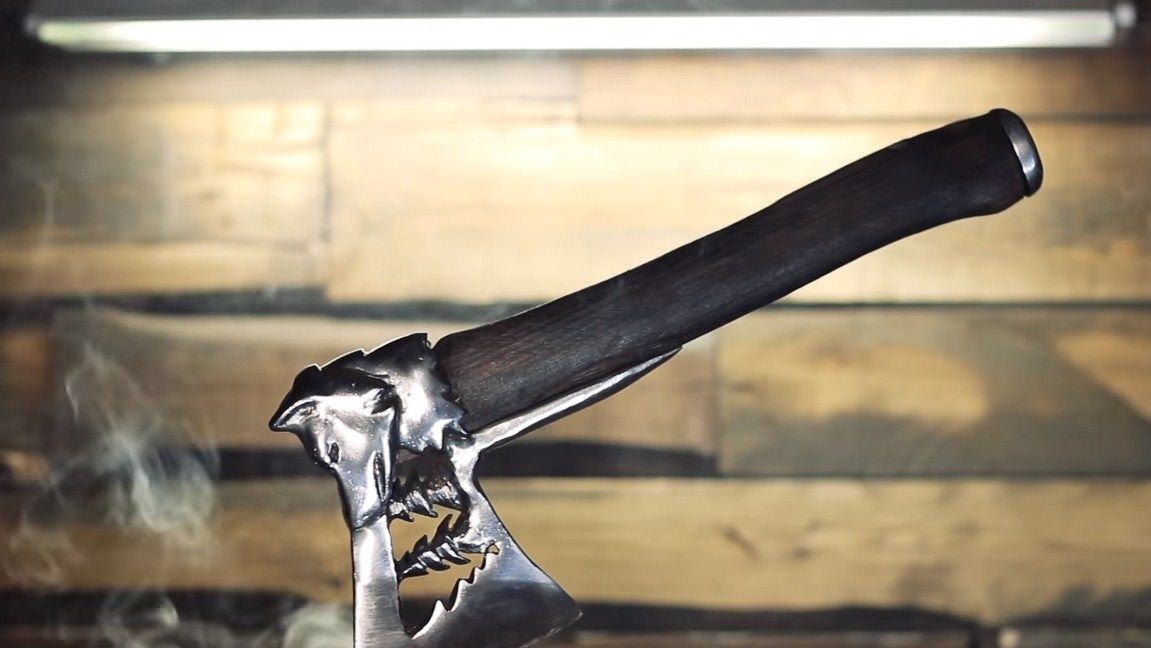
That's all, now our ax is ready, if you use it for its intended purpose, you need to sharpen the blade. Looks homemade quite original, but in the manufacture is not as complicated as it might seem at first glance. That's all, the project is over, I hope you liked it, and you found useful information for yourself. Good luck and creative inspiration in the manufacture. Do not forget to share your best practices with us.