

Have a nice summer, the inhabitants of our site and sympathizers!
I mentioned summer not in vain, this time I want to bring to your attention one of the country crafts, made with your own hands at the request of his wife. The issue of building a garden arch was raised last year, after visiting the gardening department of the OBI store, but it was only done now, it was necessary to think over the design and select the materials. On the Internet, such constructions are a dime a dozen, but I didn’t find one that I wanted to repeat, and maybe the principle “shitty, but in my opinion” worked. In general, what has grown has grown.
Materials and tools:
1. Polypropylene pipe ø20mm.- 12m. (6pcs on 2m.)
2. Metal-plastic pipe (China) ø16mm. - 13m.
3. Pipe 3/4 ”metal - 2m.
4. Self-tapping screws 3x16mm. galvanized - 44 pcs.
5. Hairpin M14 - 25cm. (or 4pcs. 6cm.)
6. Bulgarian
7. Gas burner
8. Screwdriver
9. Drills ø2mm. and ø6mm.
10. Hacksaw
11. Plumbing scissors
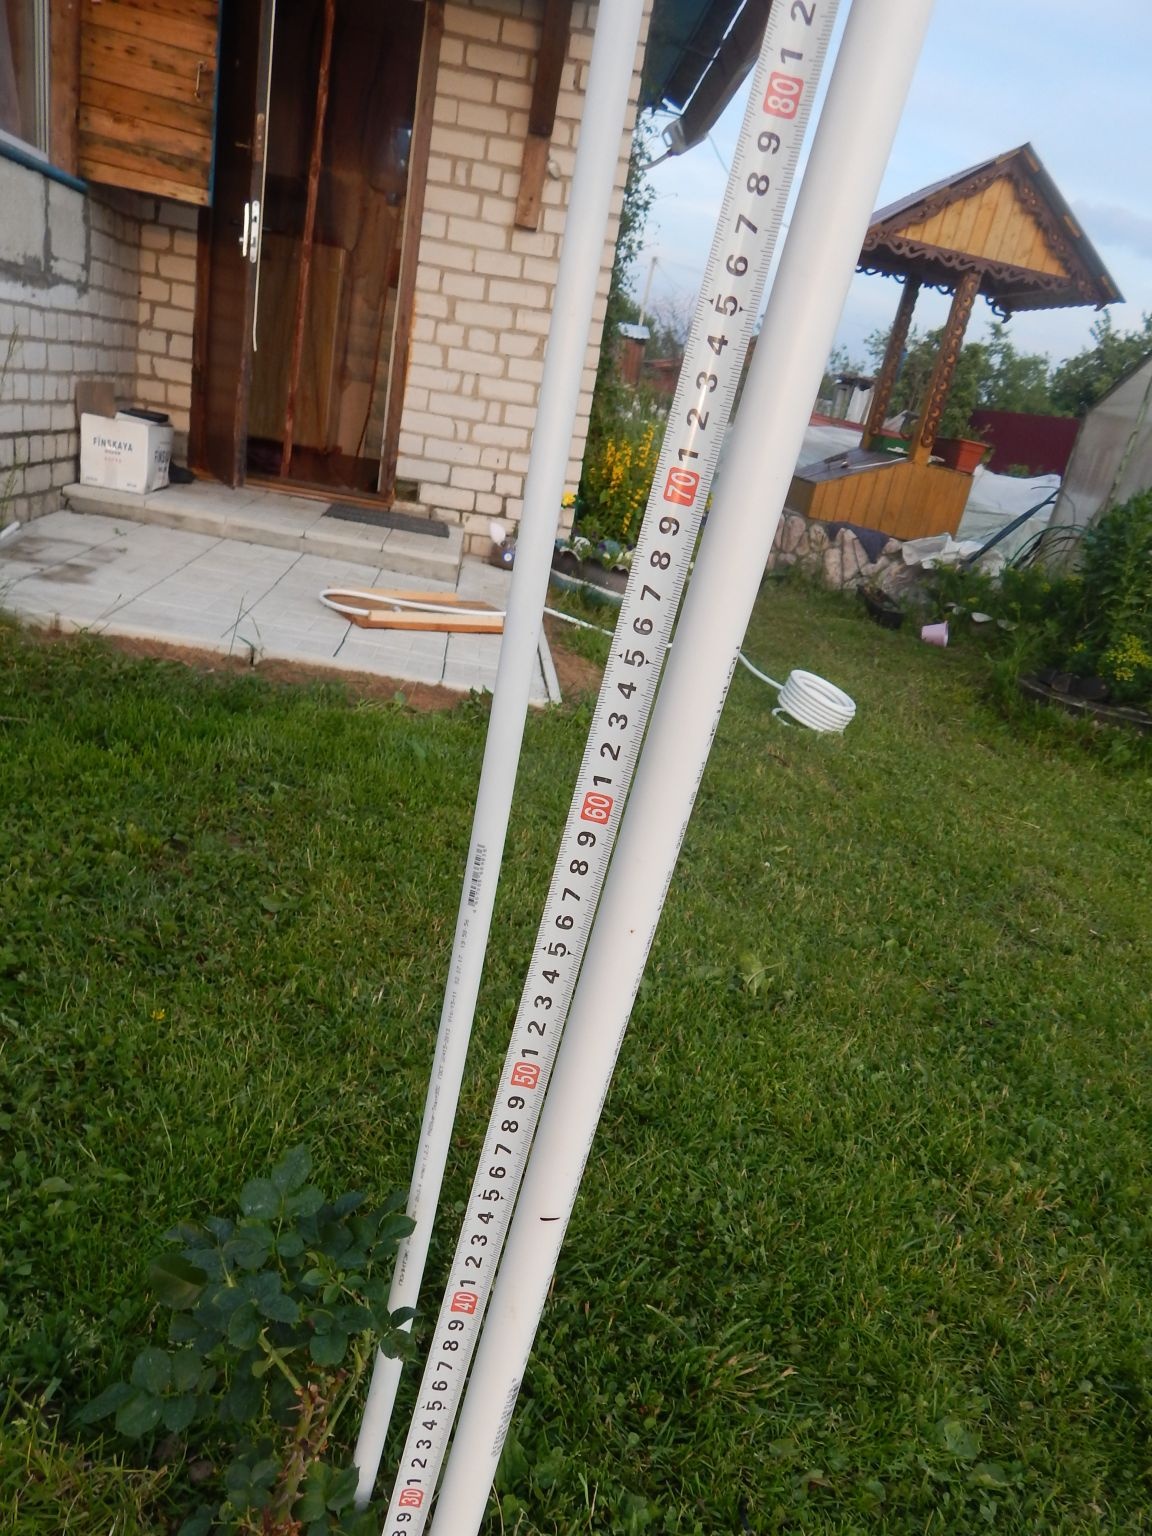
The material for the arch was a polypropylene pipe ø20mm with strength and elasticity, as well as the ability to maintain shape. Unlike metal (which is by the way more expensive), plastic is not subject to corrosion, it is easier to process, and it is also lighter in weight.
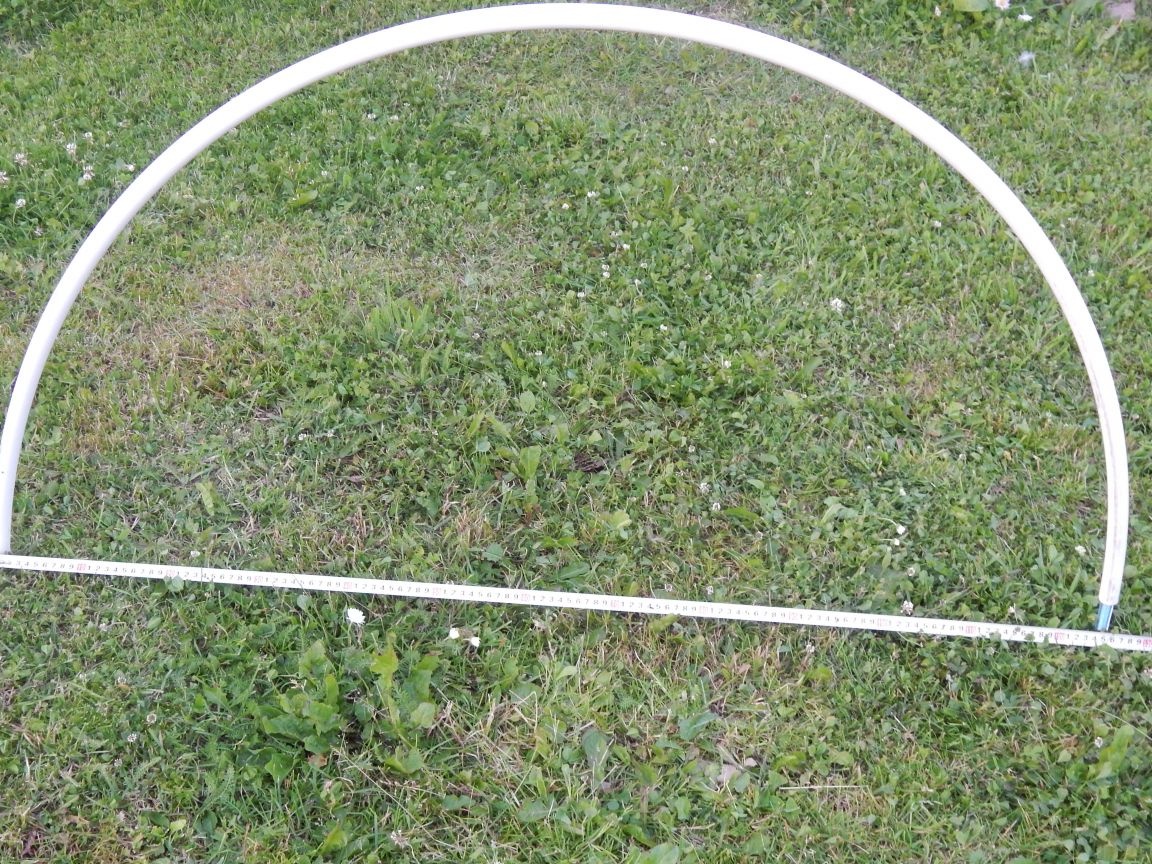
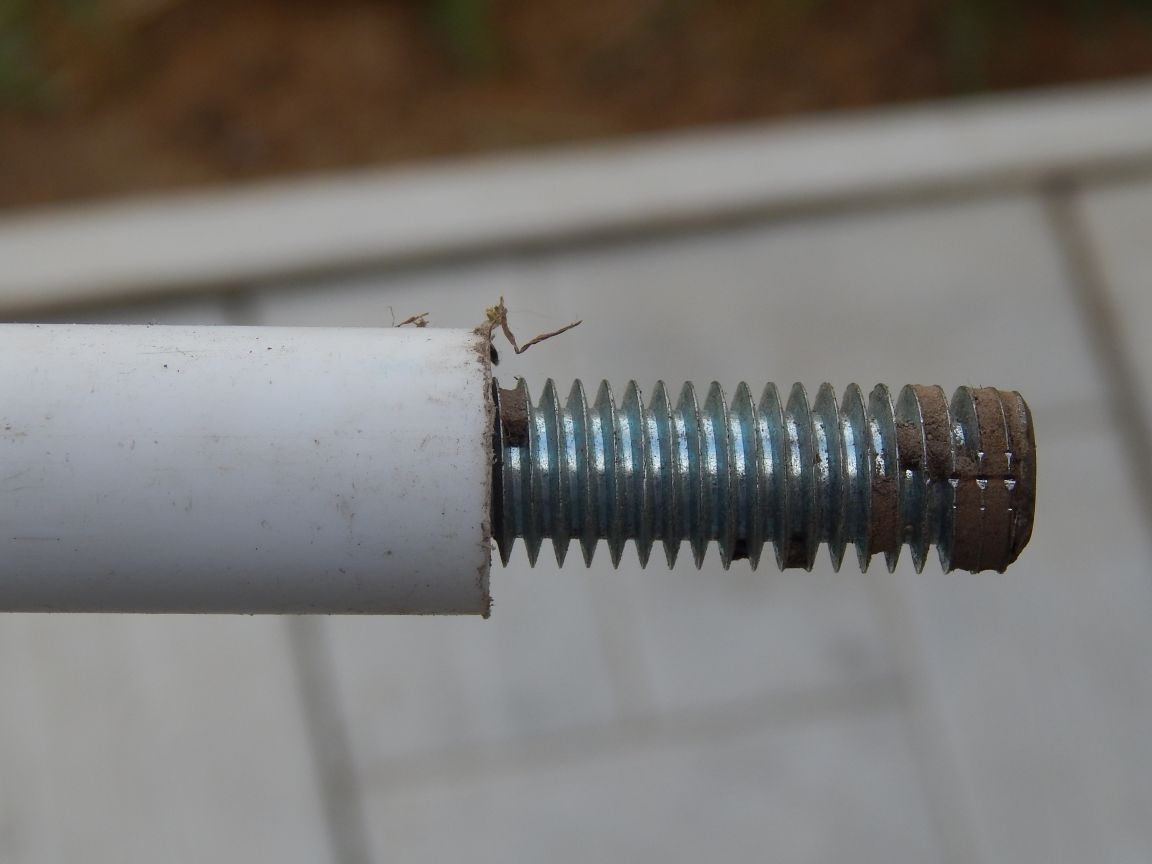
He bent the arcs in this way: he screwed the M14 studs into the pipe channel, the stud cuts the thread itself and sits very tight (it’s already difficult to screw in more than 30 mm), bent the pipe by sticking the studs into the ground at a distance of 125 cm (arch passage width, or more precisely with 2 meter pipe length is the diameter of the semicircle of the arch).
Then, using a gas burner, he heated the pipe. The main thing here is not to overdo it with heating, since the softening temperature is 140 ° C, and the melting point is 160 ° C, it is better to heat it with a burner from end to end along the entire length of the pipe without stopping in one place. When the pipe material becomes similar in elasticity to silicone, the heating must be stopped and allowed to cool completely. After cooling, the pipe will retain its shape.
The pipes are interconnected by 60 mm segments of the M14 stud screwed into the pipe channel. The connection is almost imperceptible, in contrast to the welding by couplings.
To install the arch, I used 3/4 ”pipes with an inner diameter of 21.5 mm. right for a polypropylene pipe. Well, I was too lazy to dig or drill a hole under the racks, and then still think how to level it all out. By the way, I can’t imagine how purchased arches are installed.In general, I cut four pieces of half a meter of a three-quarter pipe.
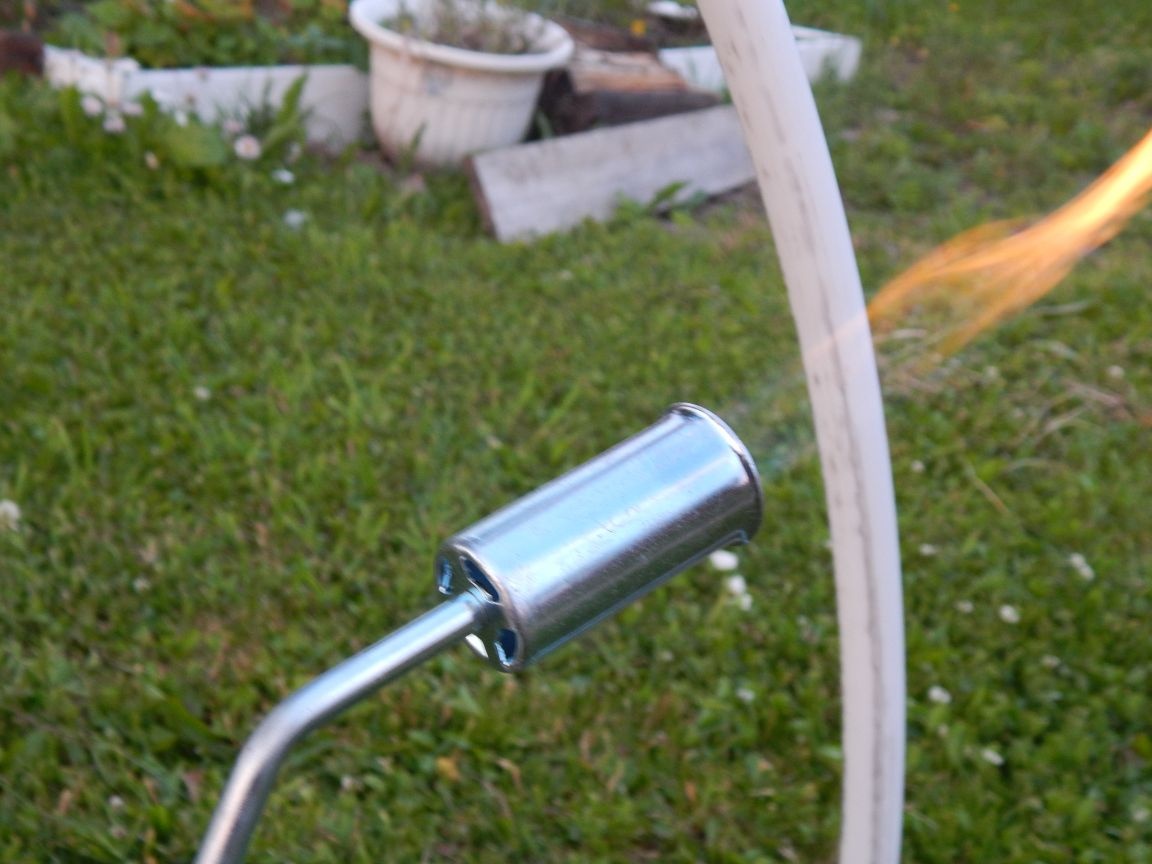
To hammer pipes into the ground at the ends of the pipes, a grinder cut a “crown”
He connected the teeth of the “crown” with a hammer. I did not weld, since the depth to which the pipe should be hammered is small.
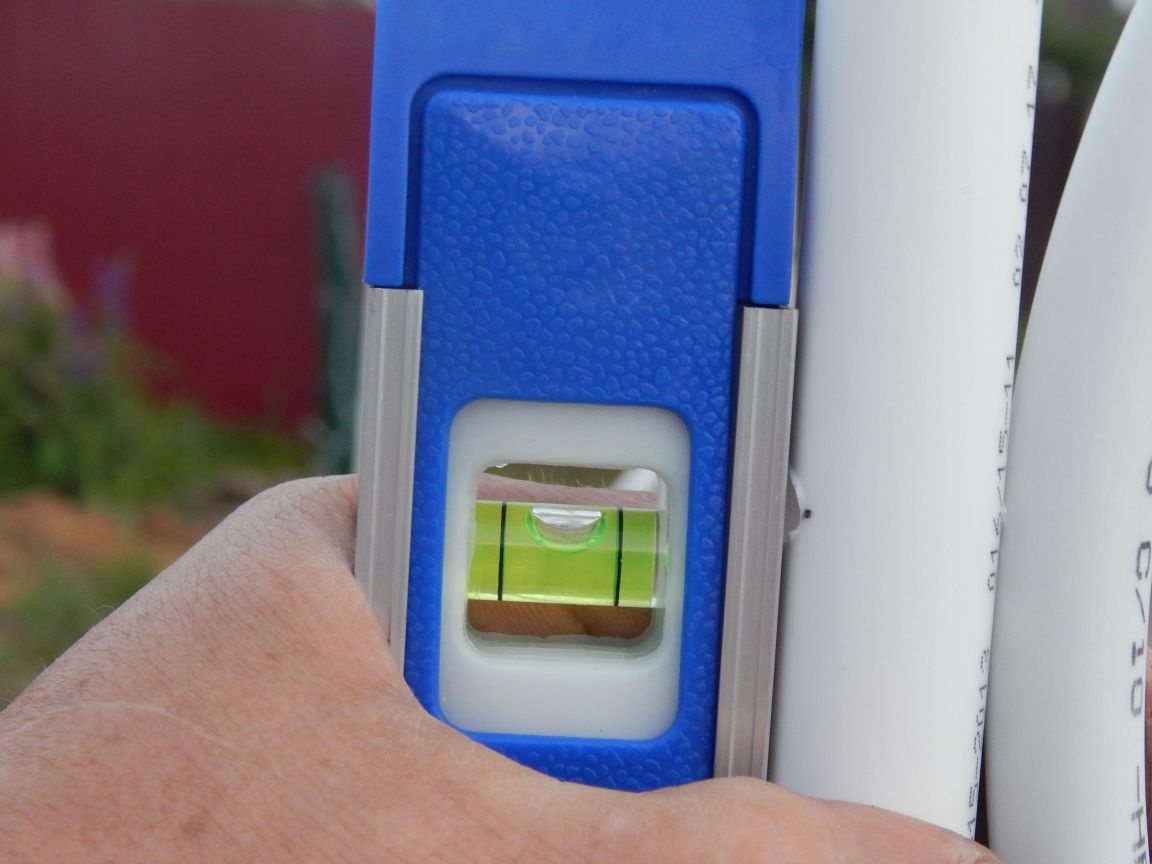
Clogging the pipe control the vertical level.

After the execution performed on the pipe, the edges of the pipe flared with a hammer, more precisely the inner diameter, are restored using a drill and a step drill.
We install the assembled arch racks and, if necessary, trim the ends so that the vertical pipes of the racks are at the same level.
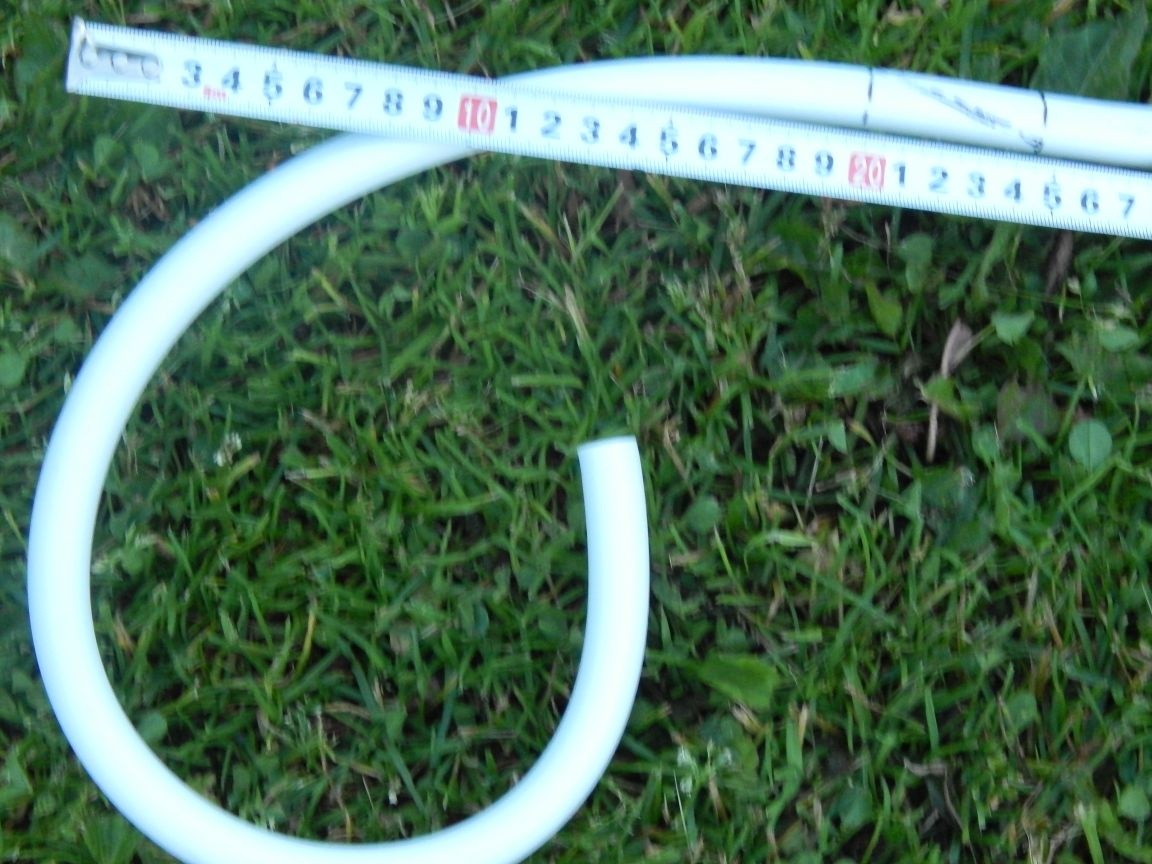
I also wanted to make jumpers between racks from polypropylene, but after several experiments with heating and molding the figure I decided to abandon this material in favor of a metal ø16mm (Chinese, which should not be used for its intended purpose), which bends in a cold state and holds its shape well, to the diameter is also slightly smaller, which looks more elegant.
To bend the metal plate to fit into the size between the racks, a simple template was made of two rails, fastened with screws to the board at a distance of this size.
I made the marking of the “sinusoid” right on the spot, an error of +/- 1 cm does not play a special piano here, the main thing is to mark it symmetrically and evenly. For example, I will give my sizes: the distance between the racks is 28cm. (30 along the axes of the pipe minus the diameter of the pipe), the bottom mounting points are 14cm. (bending radius), the distance between the attachment points of the "humps of a sinusoid" is 42 cm. or easier one and a half distance between racks. The final size, after dividing the entire length of the arch pipe by the design intervals and obtaining their integer, came out a little more-44cm. Marking is done on both racks symmetrically for attaching volutes (curls).
According to the marking, we drill holes ø2mm. Through, for self-tapping screws.
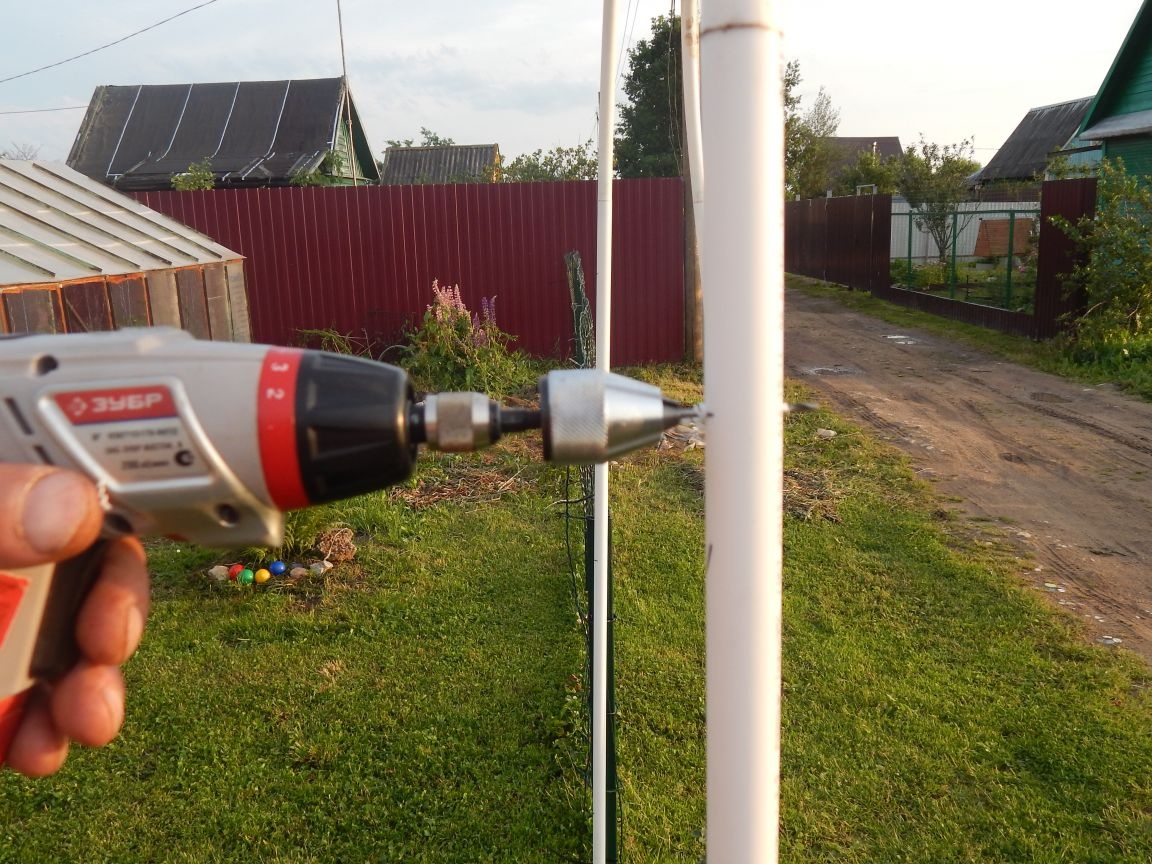
From the outside, drill holes up to ø6mm. so that the head of the screw passes.

Connecting the stand with the "sinusoid" we control the vertical level, after "having acquired" the screw. Since the tip of the self-tapping screw protrudes slightly from the hole in the stand, the metal plate pressed to it will not slip off, which makes it possible to fix the pipes with the left hand by controlling the verticality with the level in the right hand, and then take a screwdriver. (Well, or vice versa, if you are left-handed)
With the manufacture of volut, it seems to me that questions should not arise, the form is clear from the pictures. First, the curls themselves are bent to the smallest possible radius at both ends of the pipe segment, and then they are cut at an angle with the leg for about 50 mm (or how else to explain). Chinese metal plastic is chosen not only because of its low cost, but also because of its pliability, with a Korean, and even more so Belgian, such number will not work.
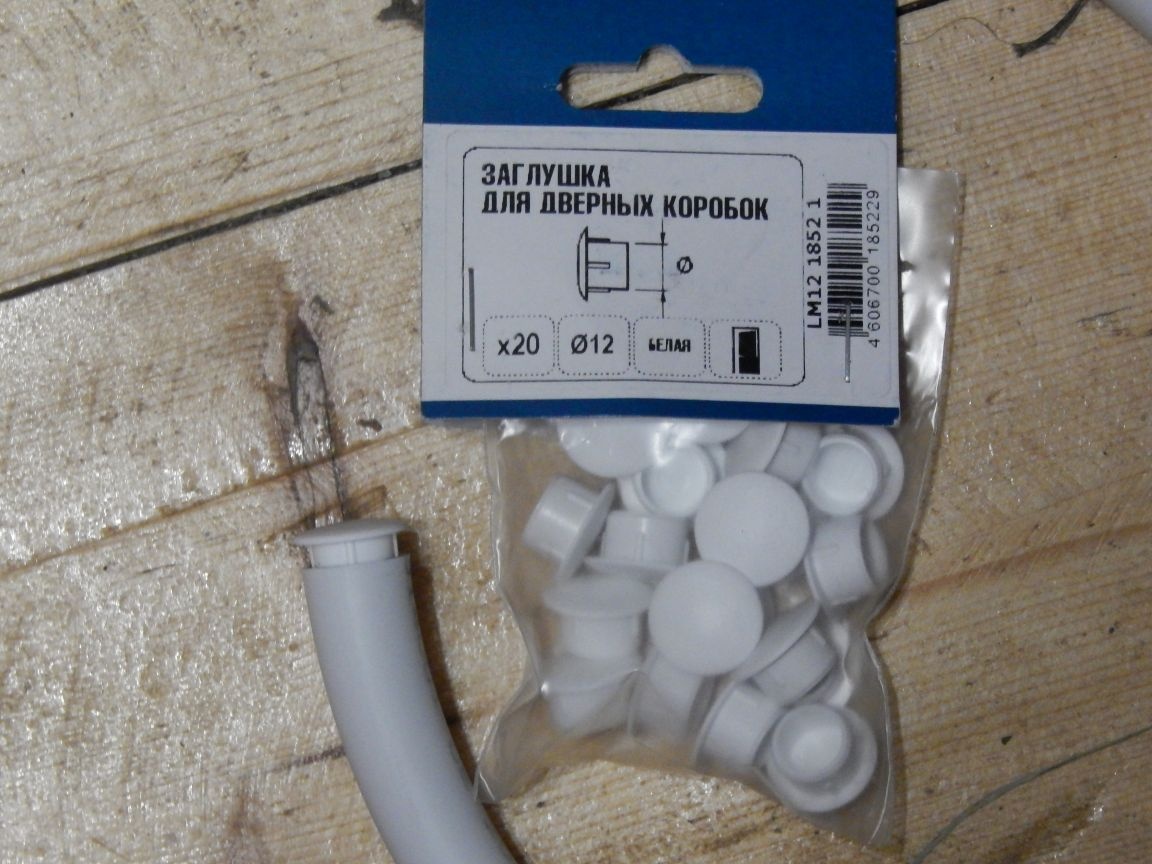
At the ends of the pipes we put plugs that close the fasteners of the door frames.
We bend the bend of the volute with self-tapping screws to the stand symmetrically to the waves of the "sinusoid", and the oblique section to the "sinusoid" itself. This not only decorates the arch, but also increases its rigidity.
The heads of the self-tapping screws of the volut to the "sinusoid" are recessed, countersink holes for the self-tapping screws.

The arch was supposed to be painted in dark green, even the paint was purchased, but at the request of the workers, more precisely the customer (wife) was left white (for now!). I wanted to experiment with painting, doubts are taken that the paint will stay on the plastic. I wanted to heat it with a burner until the top layer of plastic is softened and apply “hot” paint. On small pieces of pipe this worked out.
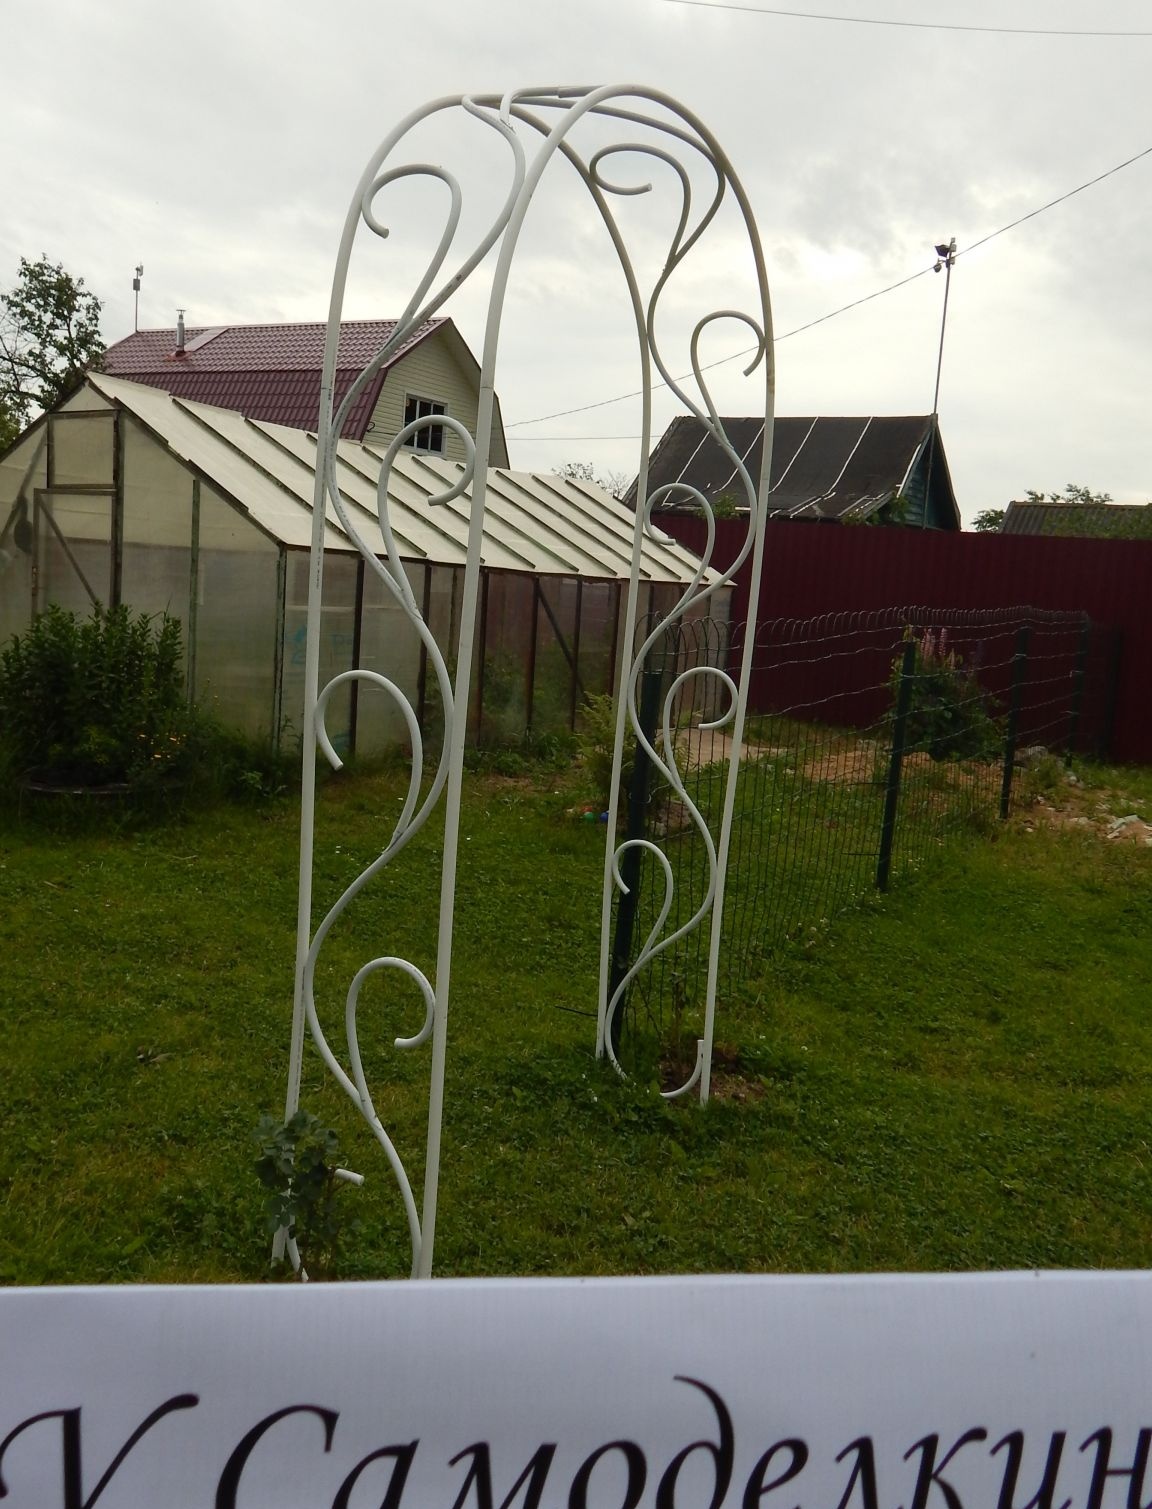
The result is this:
By the way, the picture shows that the roses that will curl along the arch are already planted.