
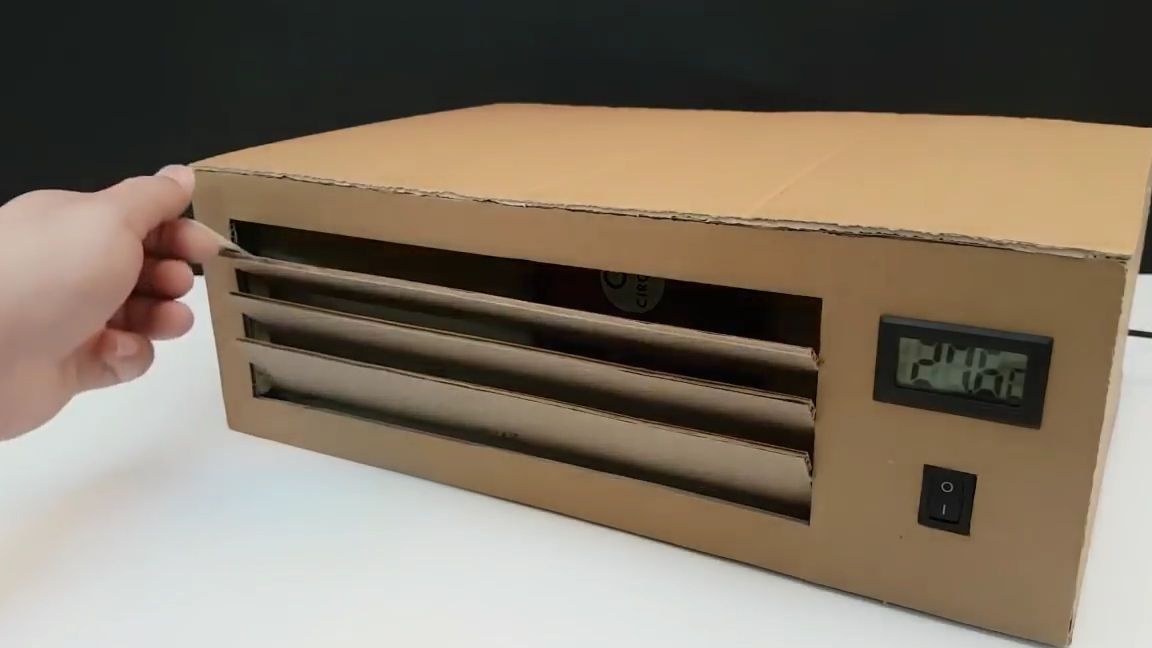
Good day to all dear friends! In today's article, I would like to show you a very interesting idea about homemade. This homemade product is not only interesting, but also useful, it is especially relevant now, in the summer. By the way, it is made of cardboard material, which is very common at the moment. Of late, as you probably know, it’s popular to make various things out of cardboard that they just don’t do, some craftsmen even make mock-ups of cars and food processors.
In general, we will not delay with a long introduction, let's go!
For a homemade corrugated cardboard air conditioner, we need:
-corrugated cardboard
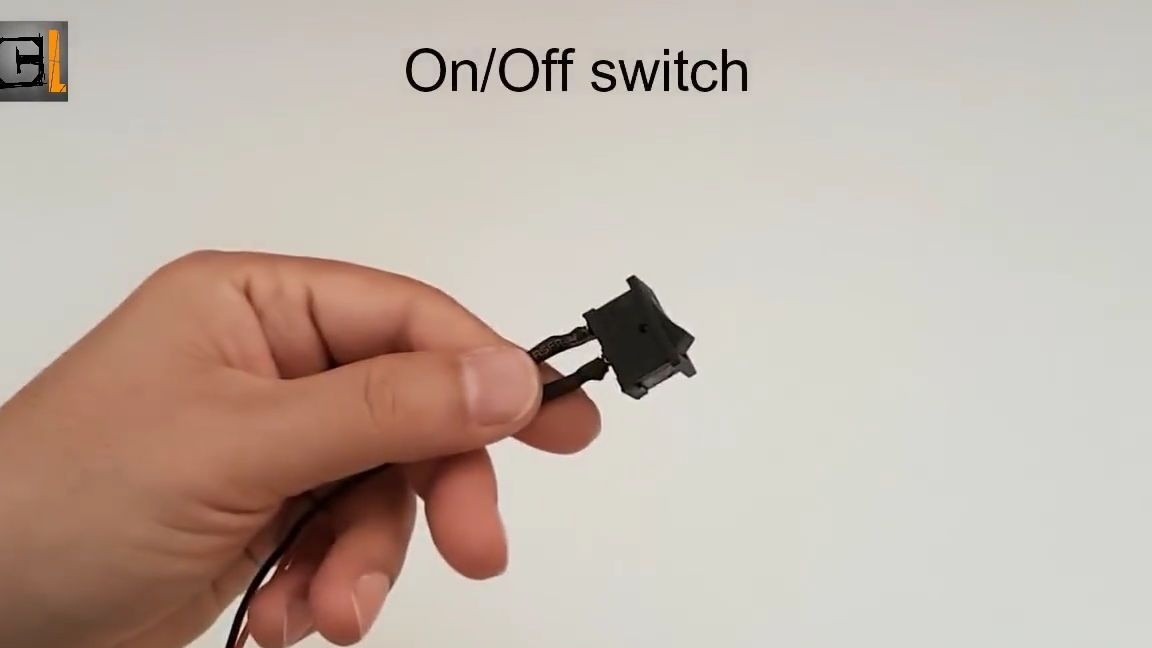
-switch
wire
-mini electro thermometer (can be ordered from China, besides it doesn’t cost very much)
toothpicks
two radiators
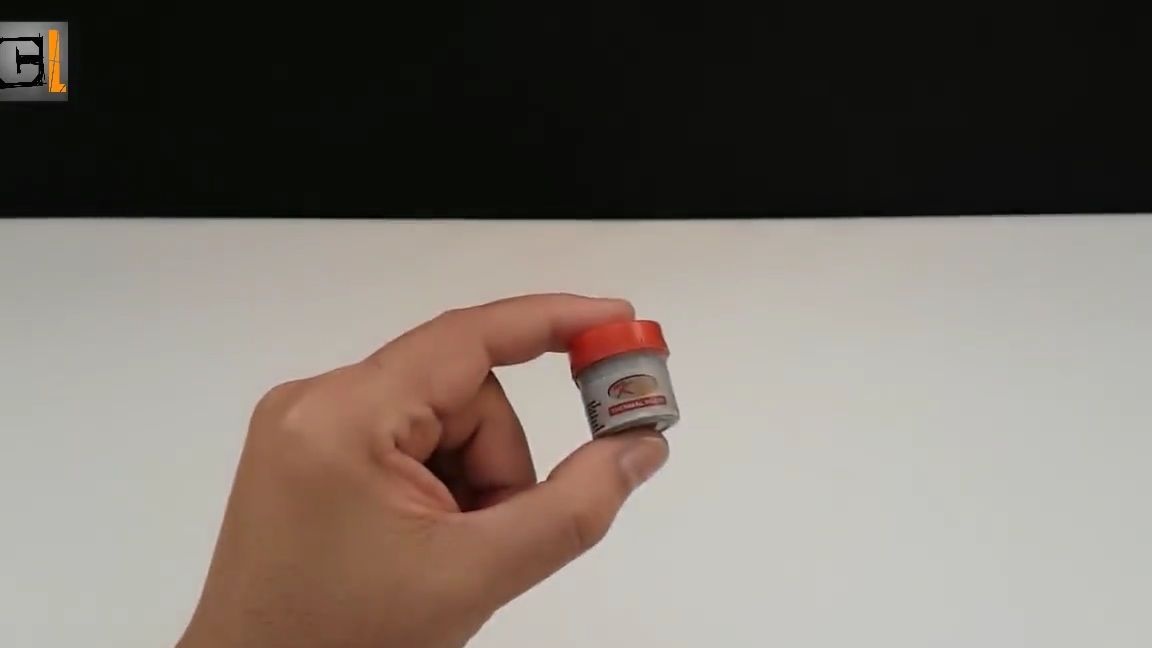
thermal paste
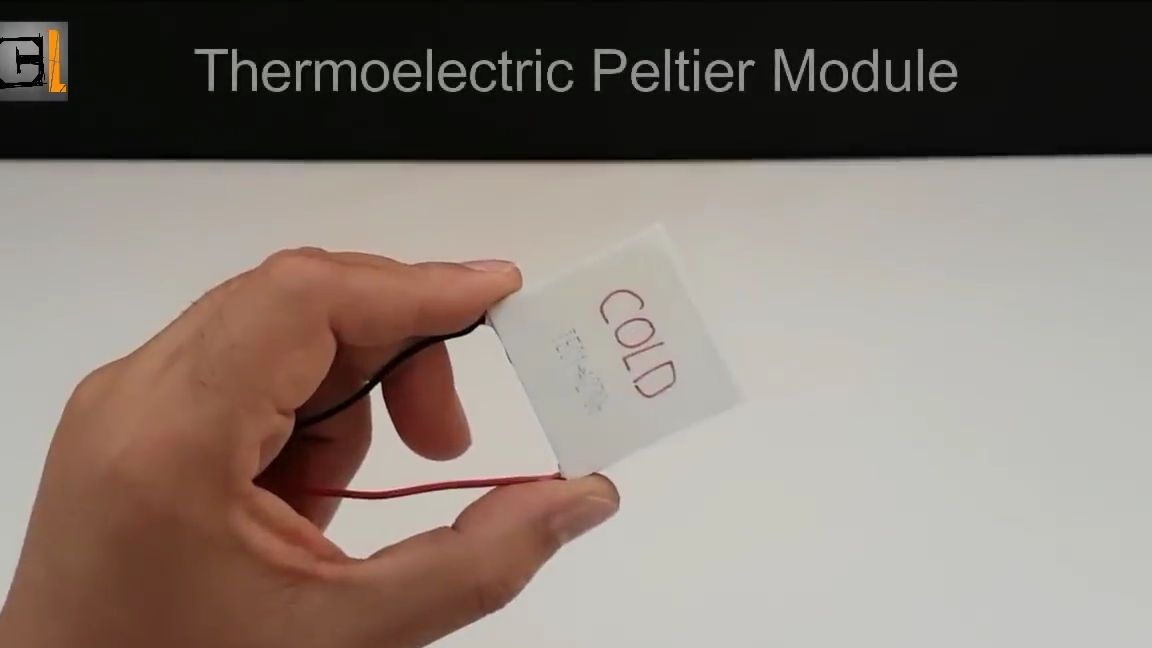
- piezoelectric element (this is done when voltage is applied to which one of its parts is heated and the other is cooled)
ice cream sticks
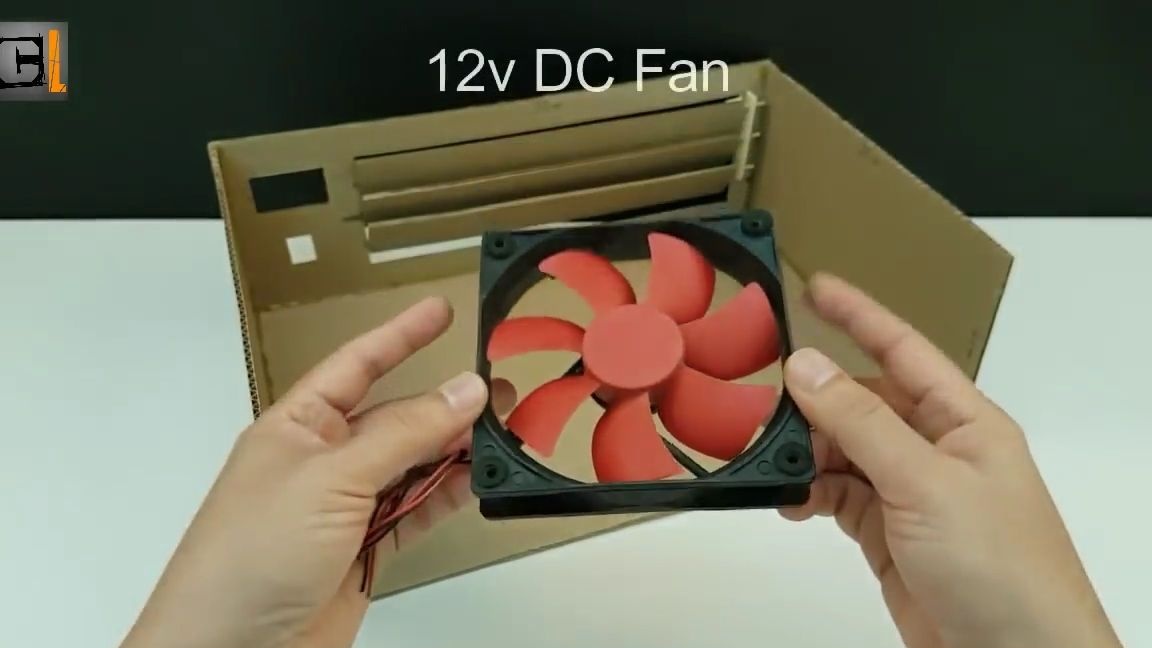
12V electric cooler
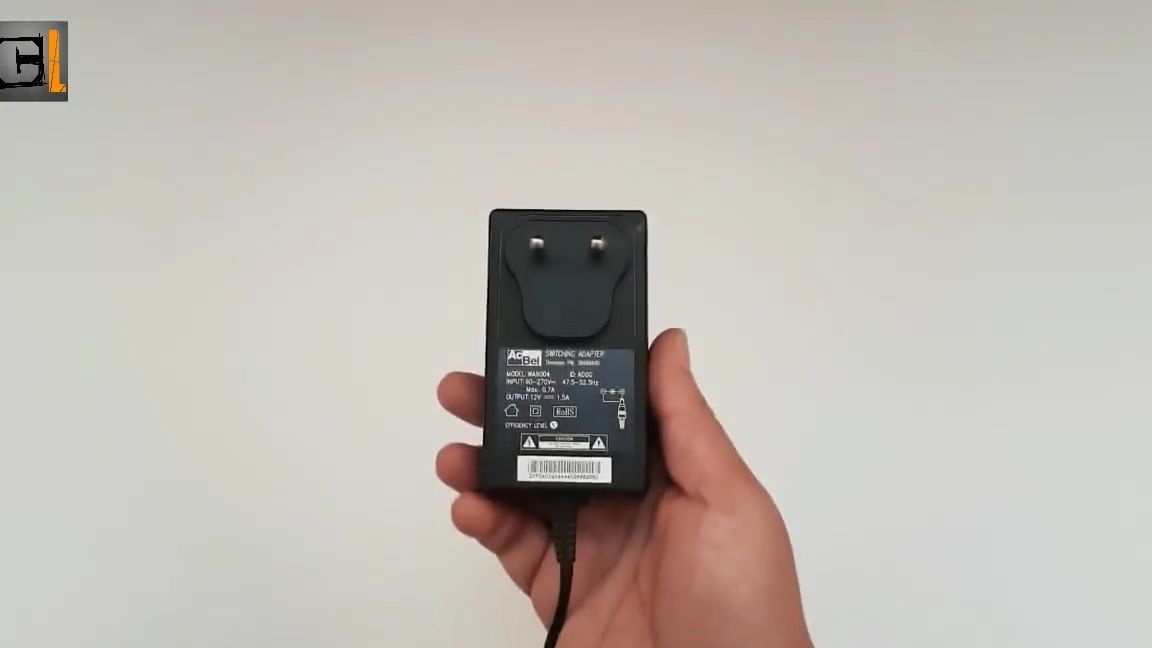
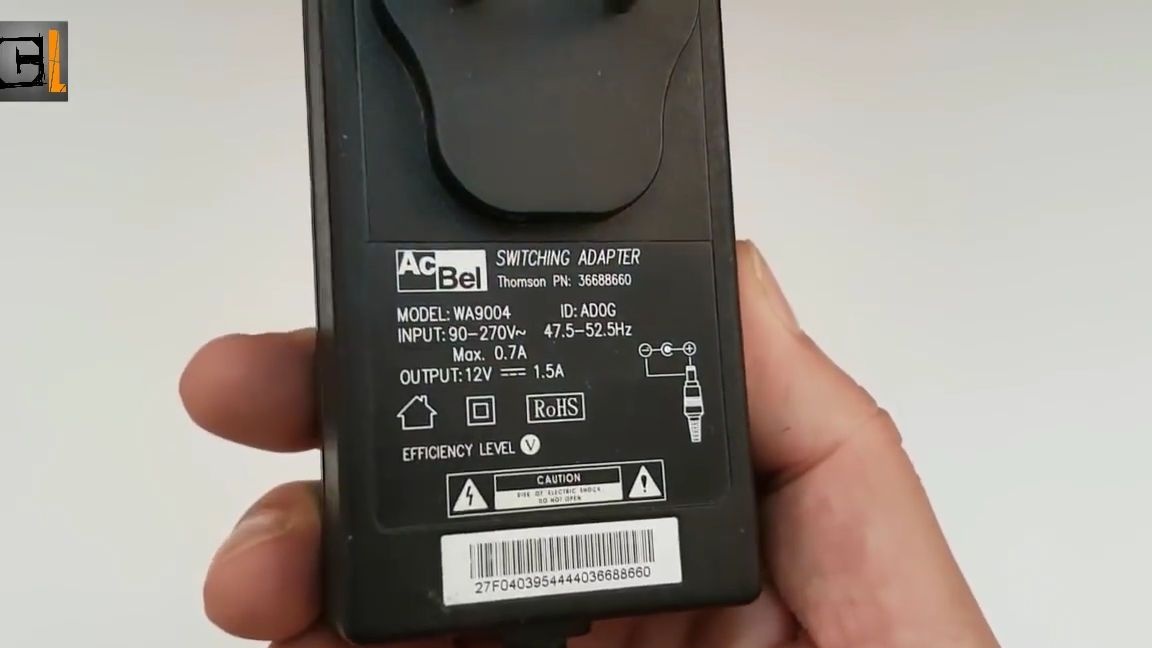
power supply for 12V cooler
From the tools you will also need:
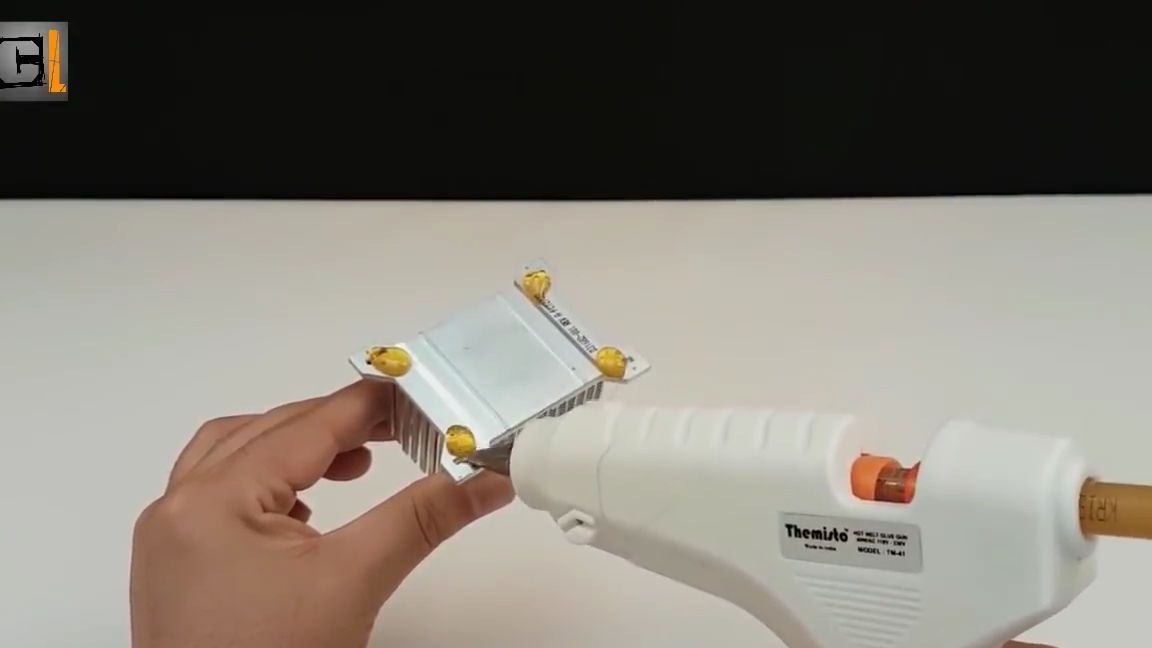
hotmelt
soldering iron
nippers
-scissors
-stationery knife
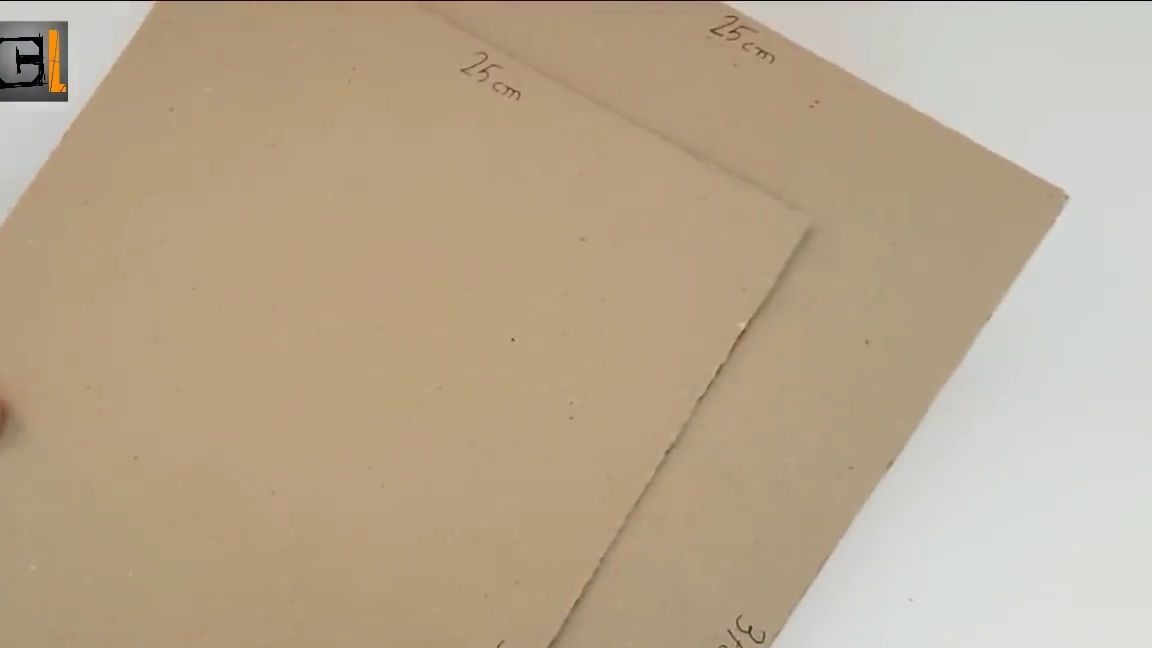
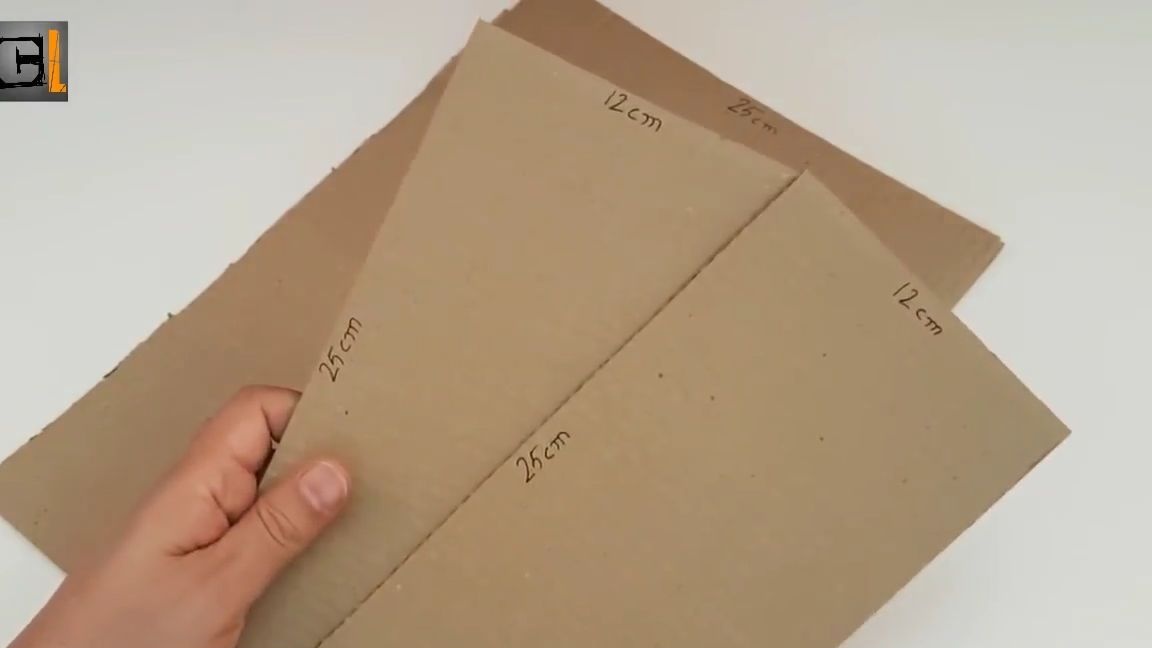
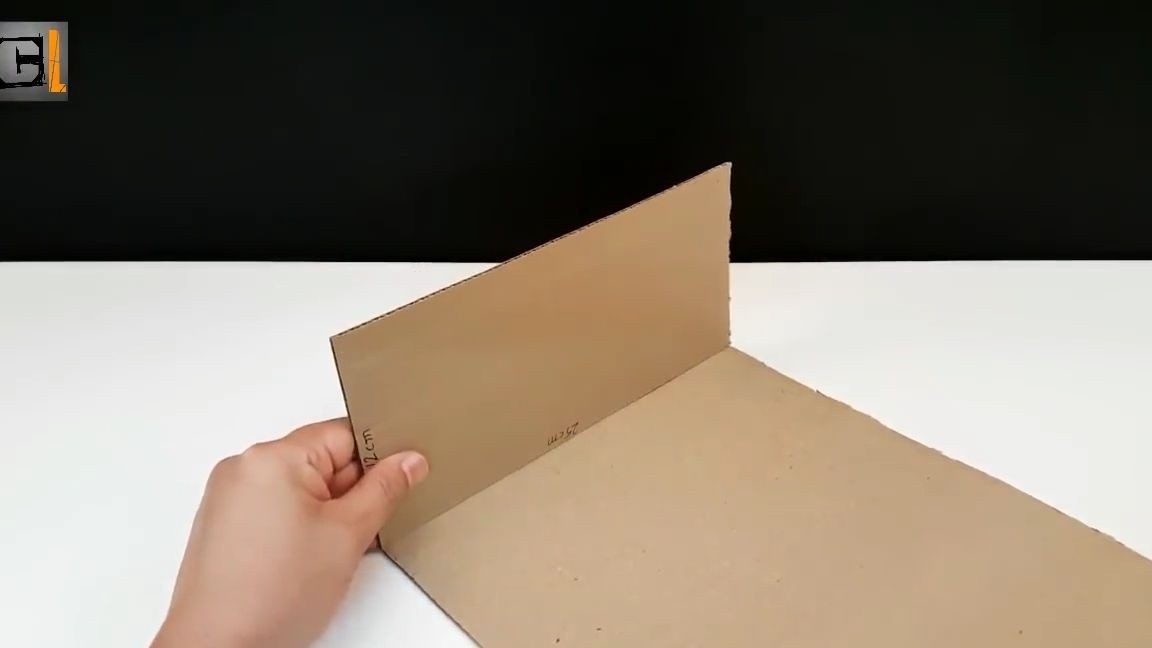
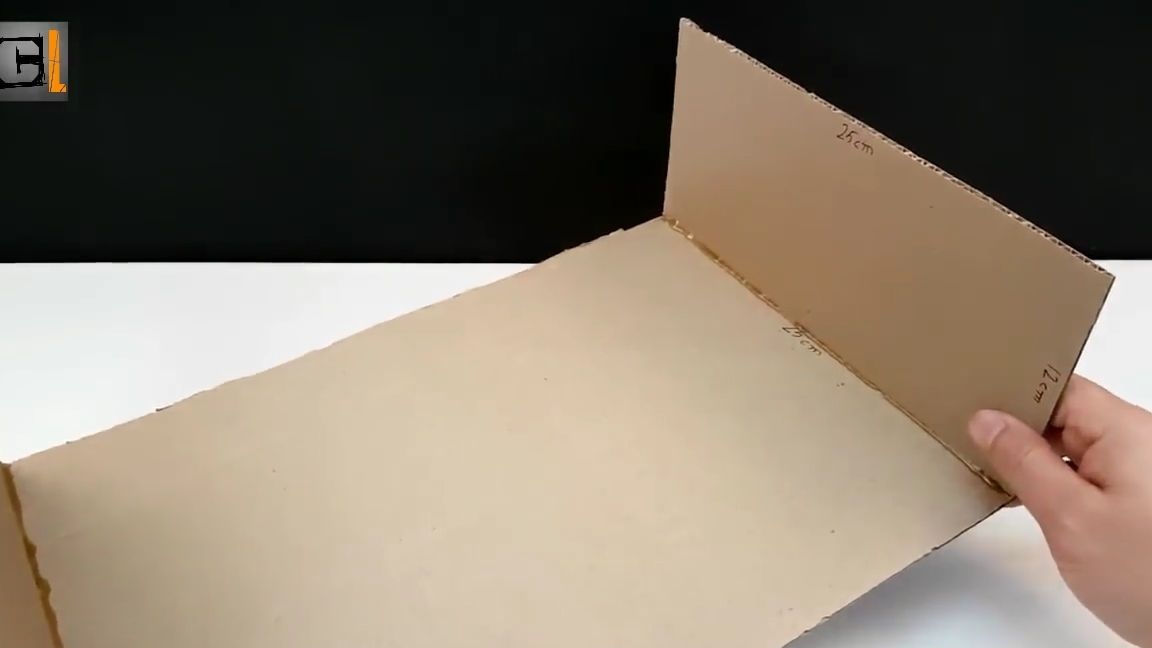
The first step is to cut out two large rectangles from the corrugated cardboard, with dimensions of 25 by 37 cm. Then we cut out two more equal rectangles with dimensions of 12 by 25 cm.
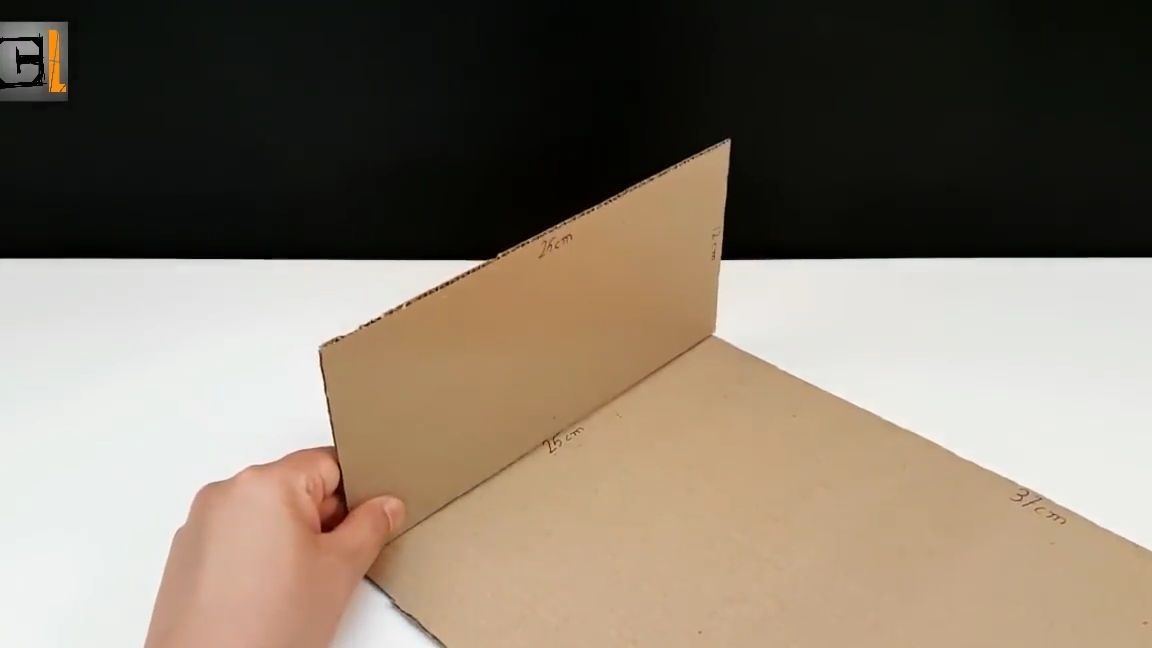
Glue two small rectangles on one of the large rectangles on both sides as shown in the photo below:
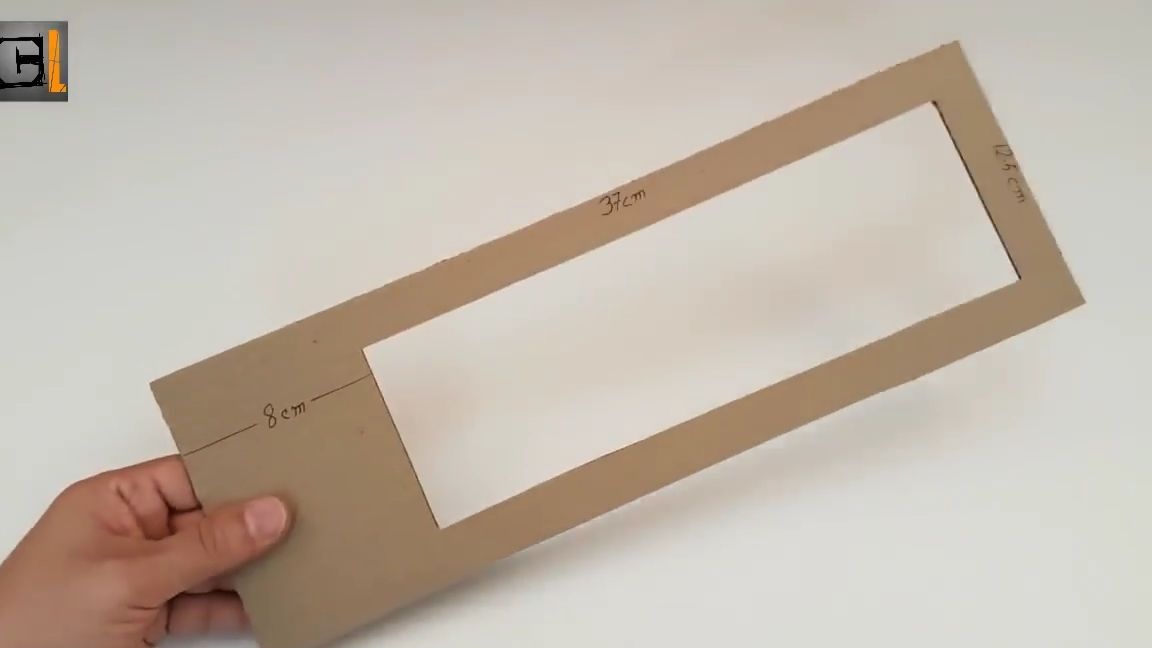
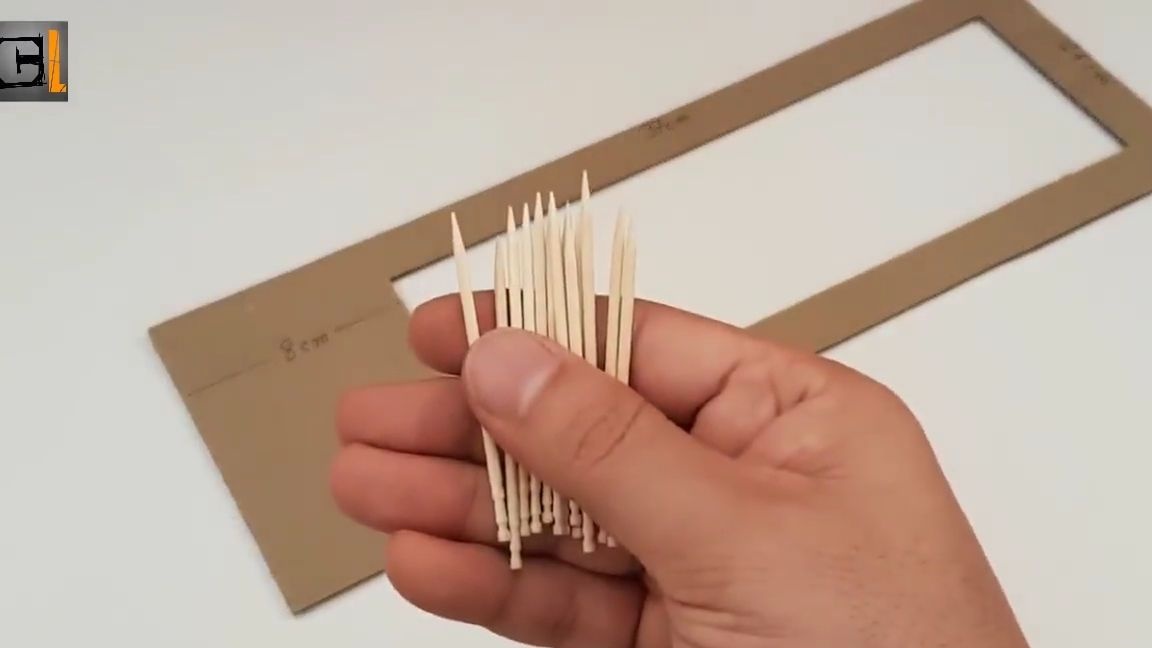
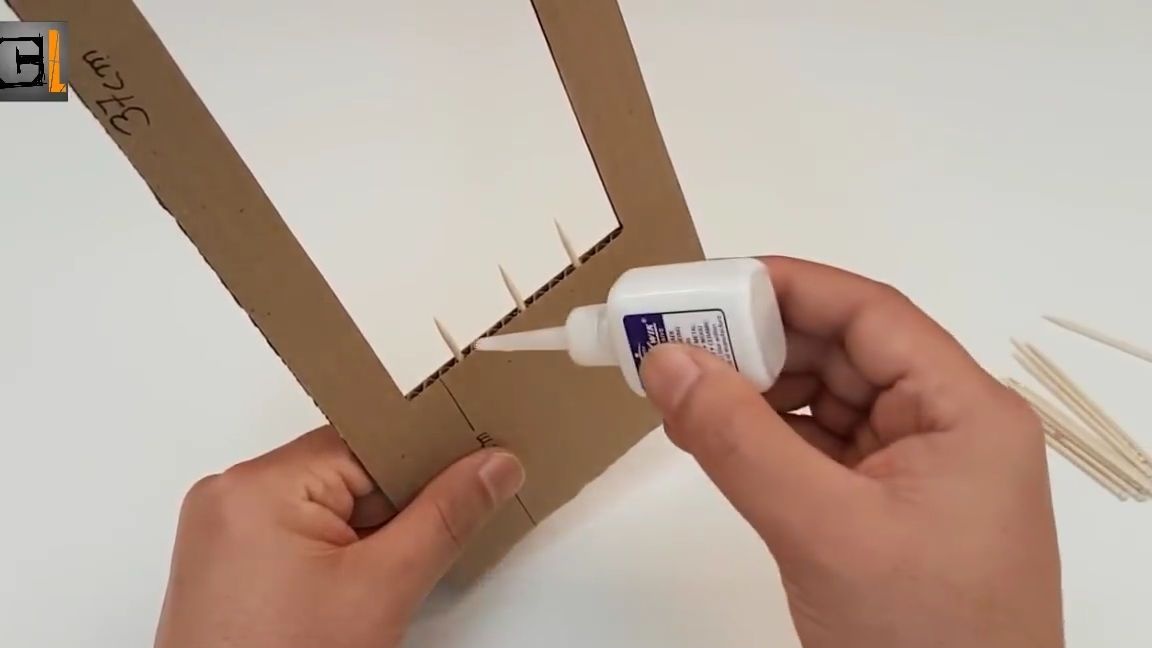
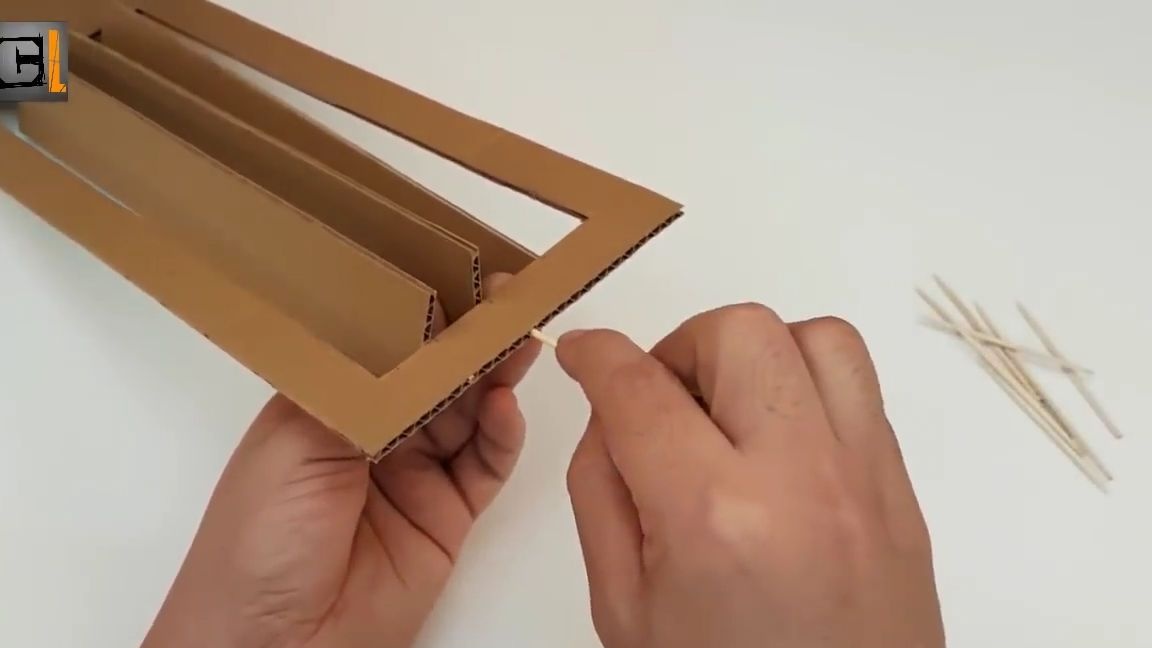
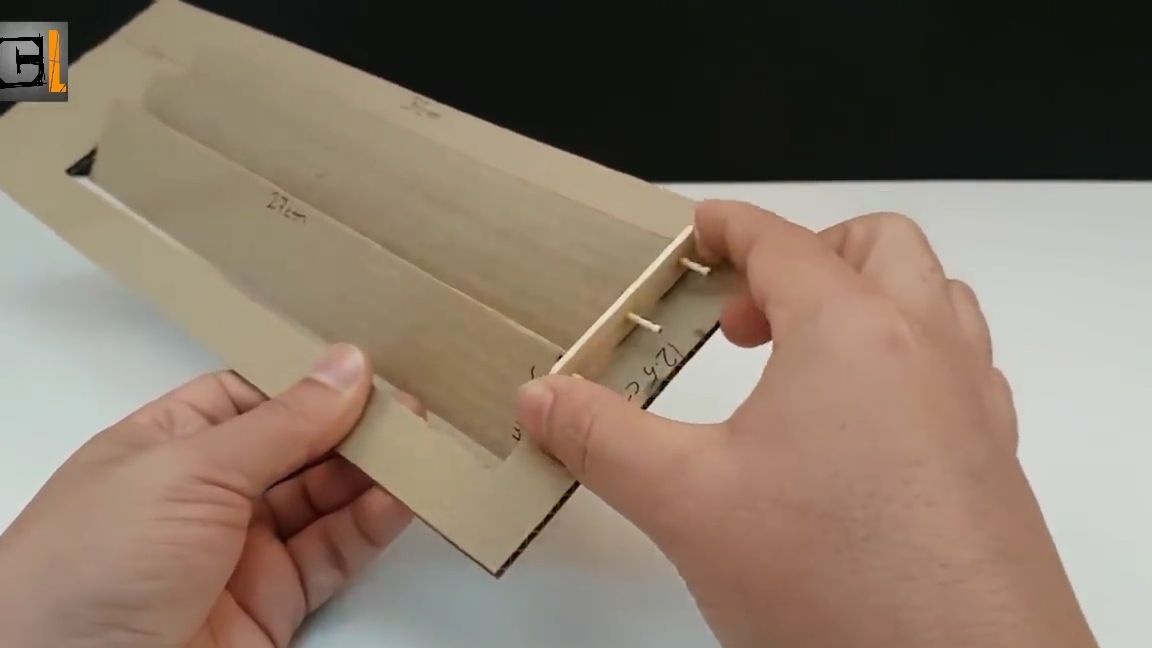
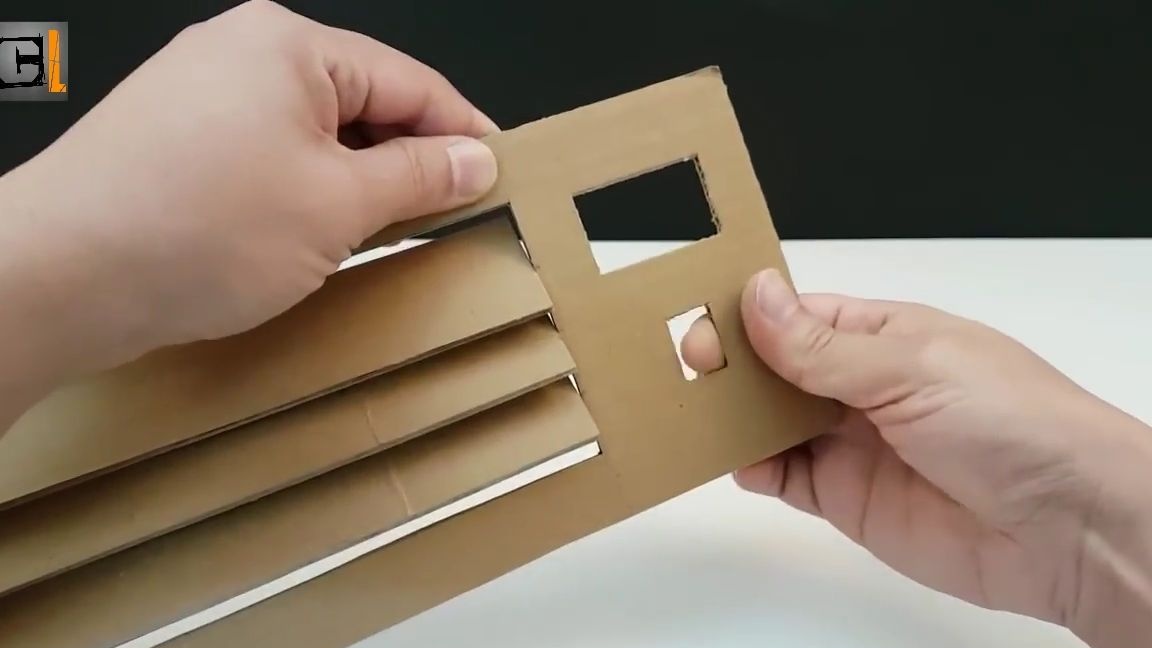
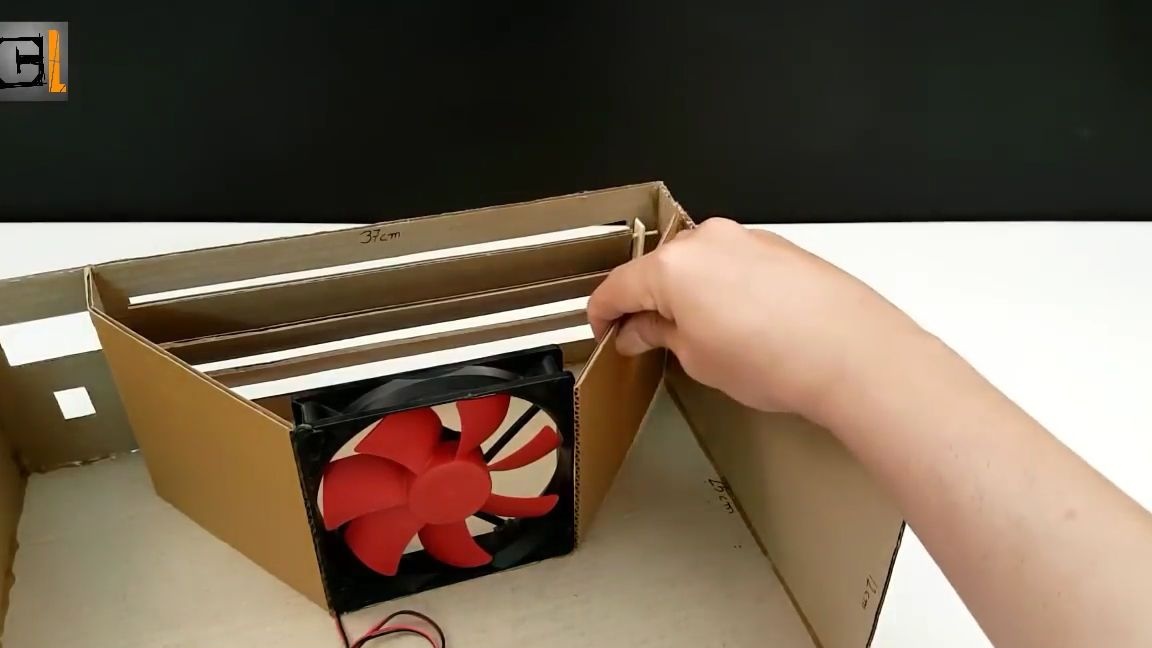
All of the same corrugated cardboard we cut out an elongated rectangle with a cut out rectangle inside. All sizes can be seen in the photo below. Then we take toothpicks or you can use ordinary barbecue skewers. We insert them inside the cardboard part, the toothpicks should be at an equal distance from each other, after you install and distribute the toothpicks in the cardboard part correctly (as shown in the photo below), you need to fix them with super glue:
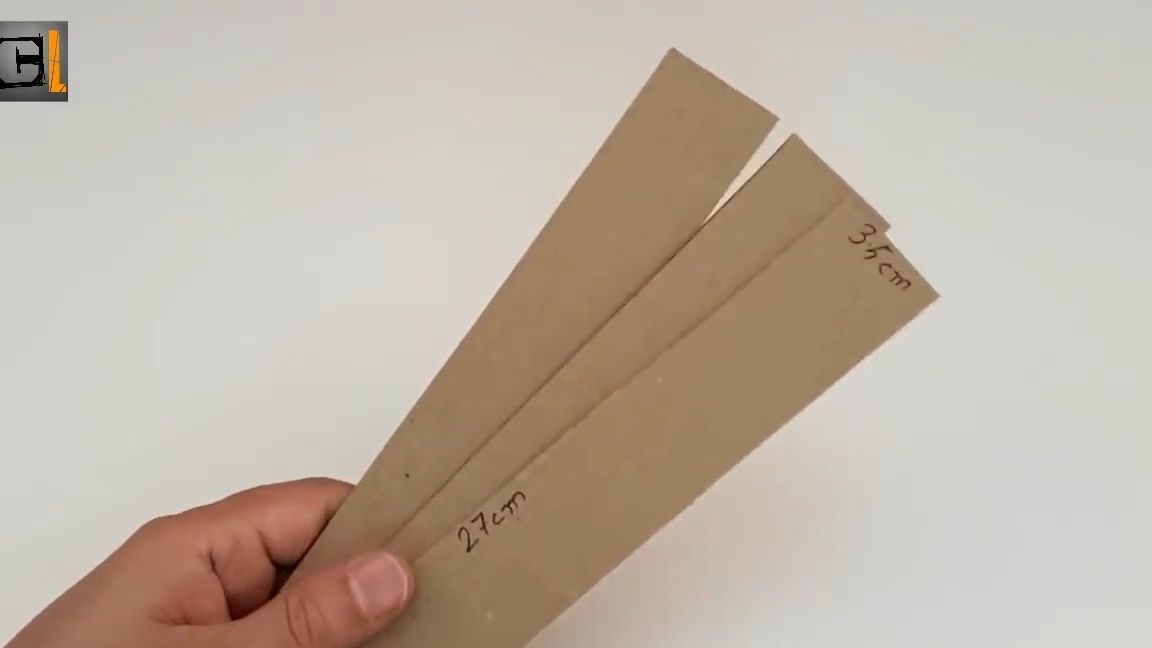
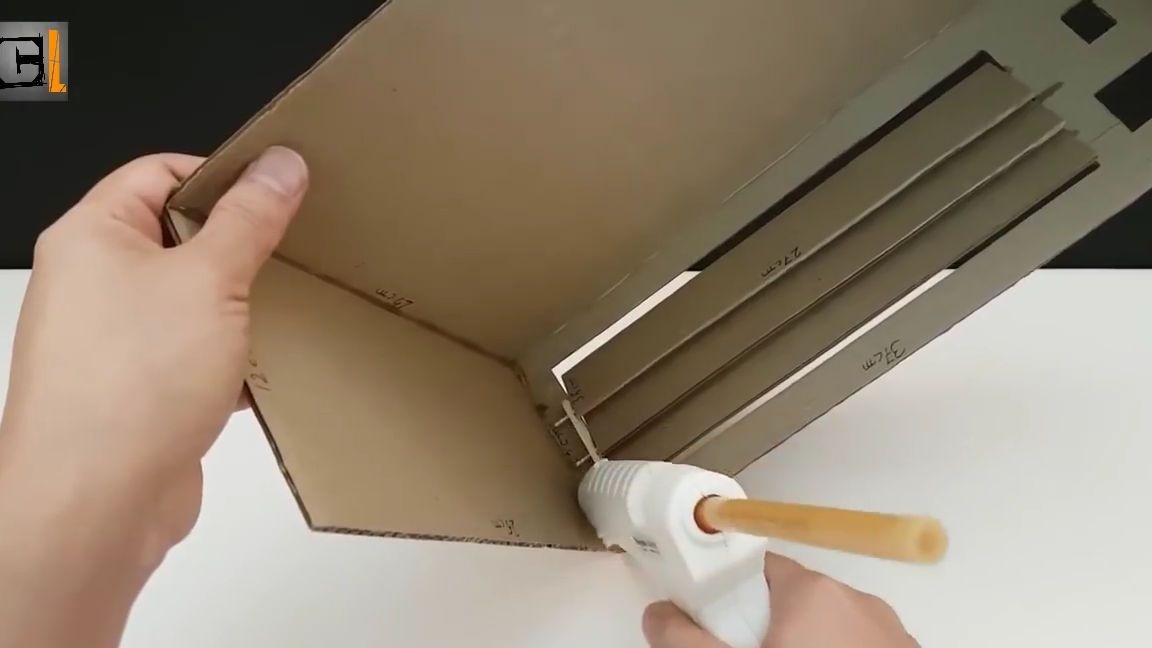
From corrugated cardboard we cut three equal parts, with dimensions of 3.5 cm by 27 cm.
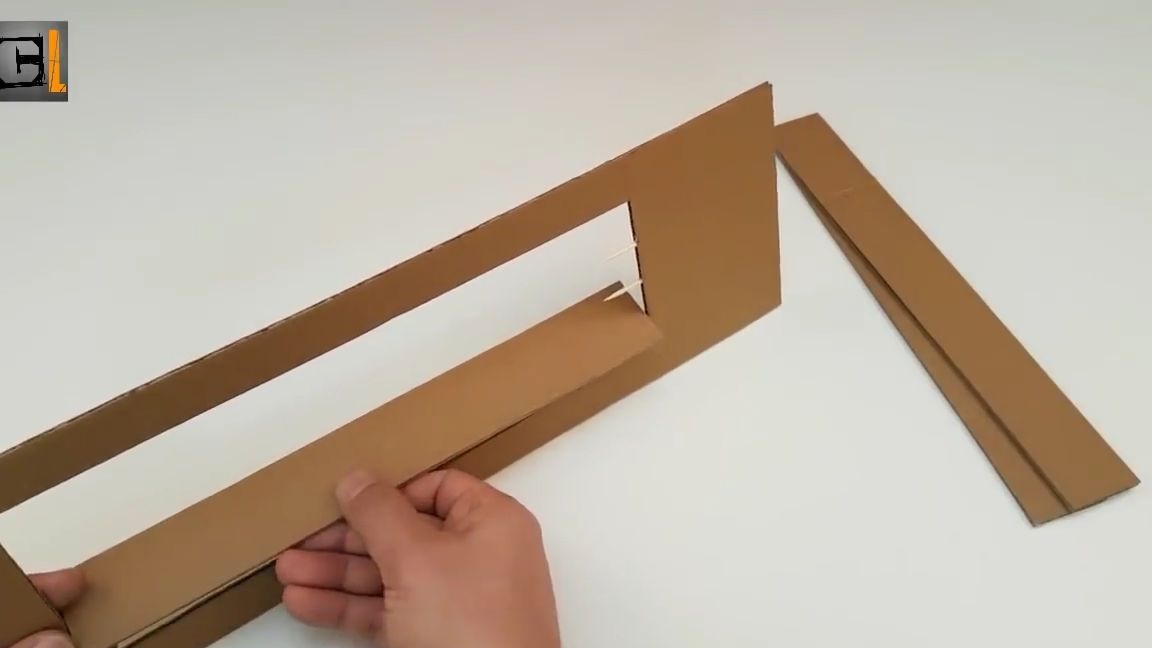
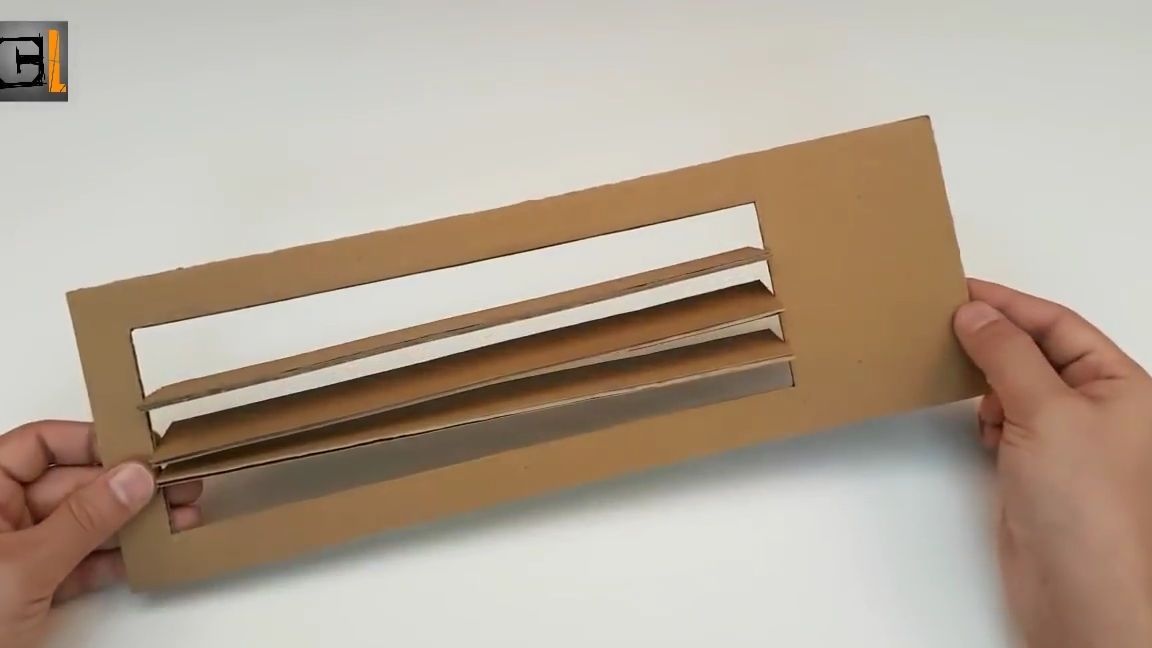
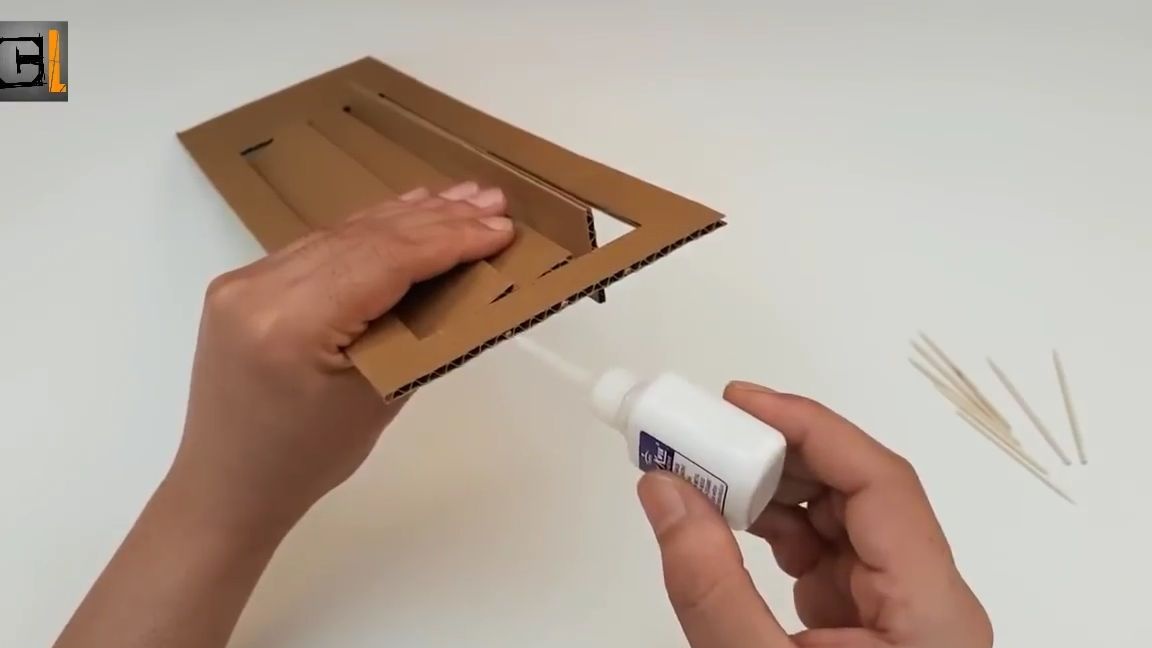
We put them on toothpicks in a cardboard part. After that, we insert three more toothpicks from the back, fix the cardboard blinds with them. Then glue the toothpicks with super glue.
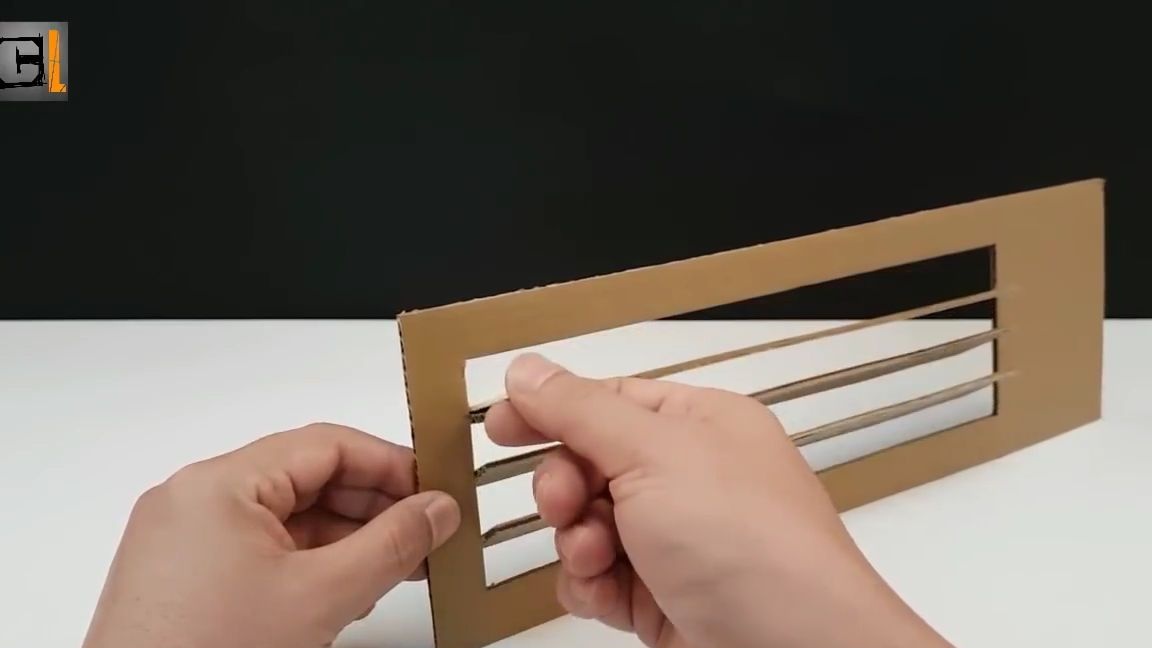
It is important that the cardboard blinds move freely up and down:
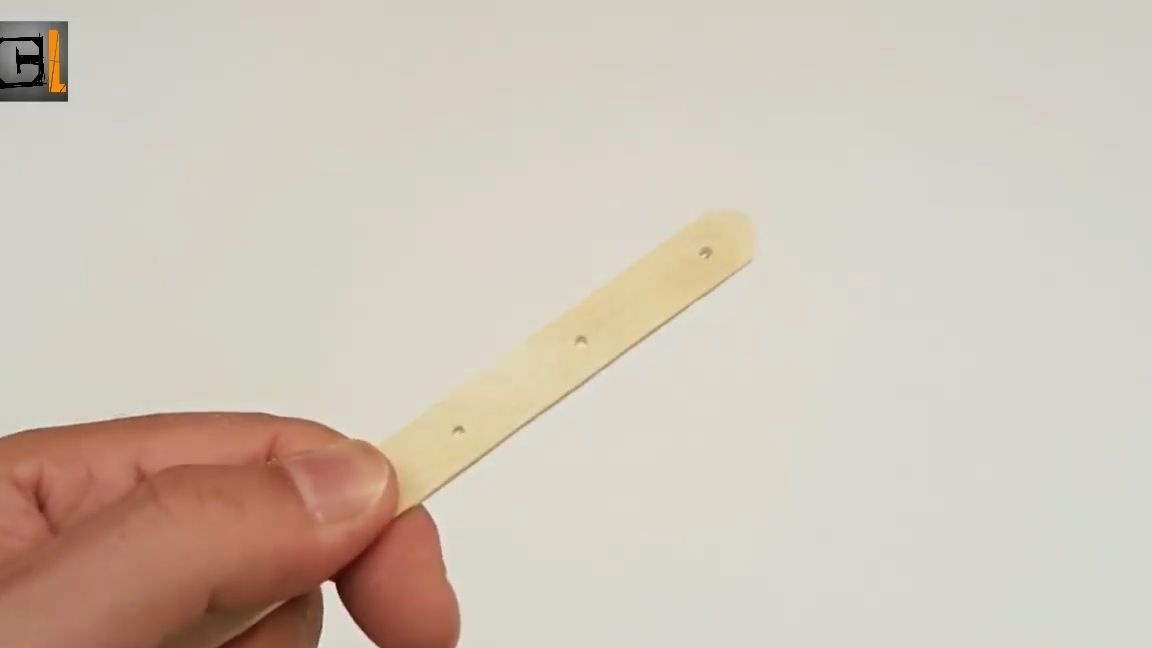
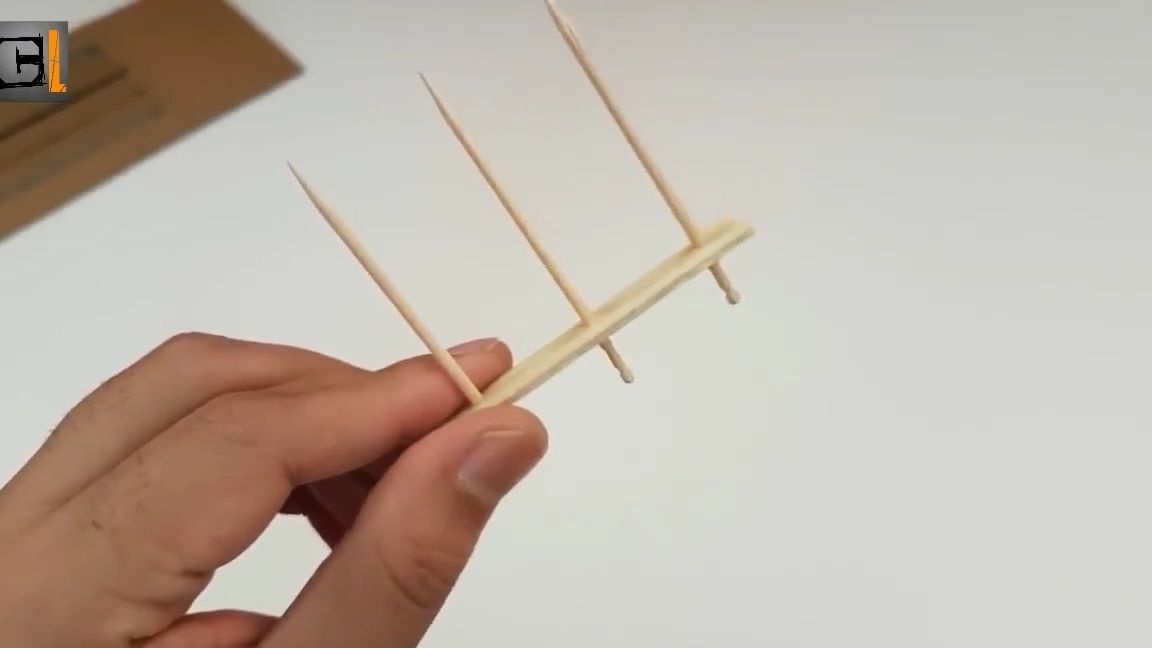
We take an ice cream stick and drill three holes in it, equally spaced from each other, then with the help of nippers we bite off the excess and insert into the holes we made with a toothpick, but not completely, a small part of it should go beyond the limits of the ice cream stick.
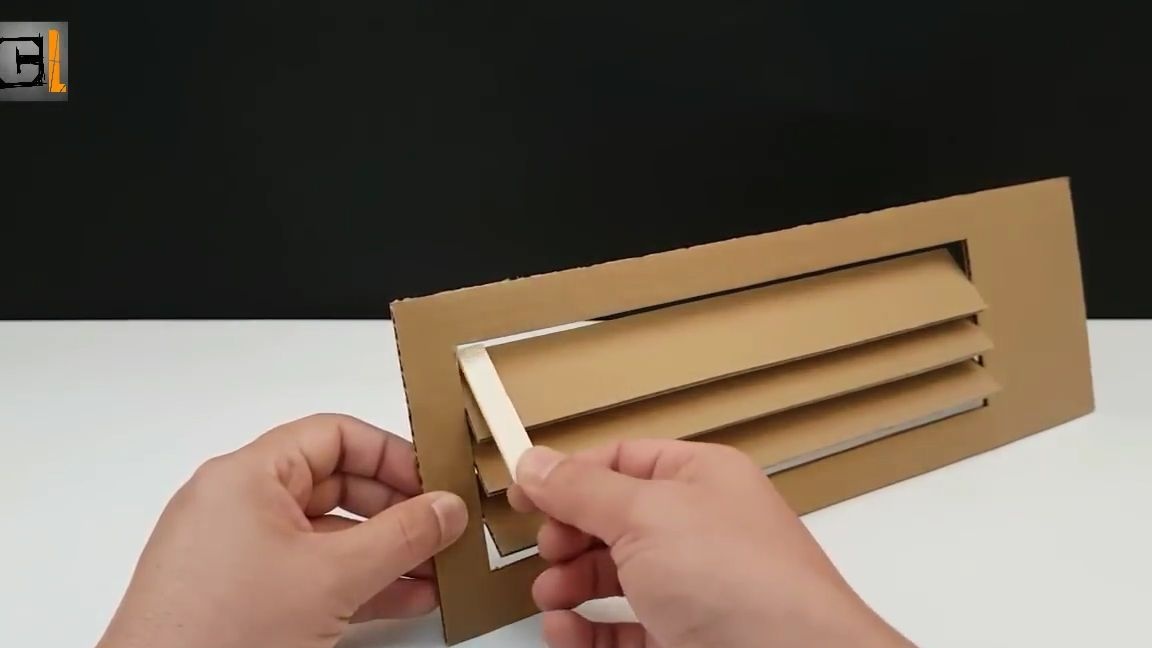
After manufacturing this part, it must be installed as shown in the photo. Each toothpick should be included in its blinds:
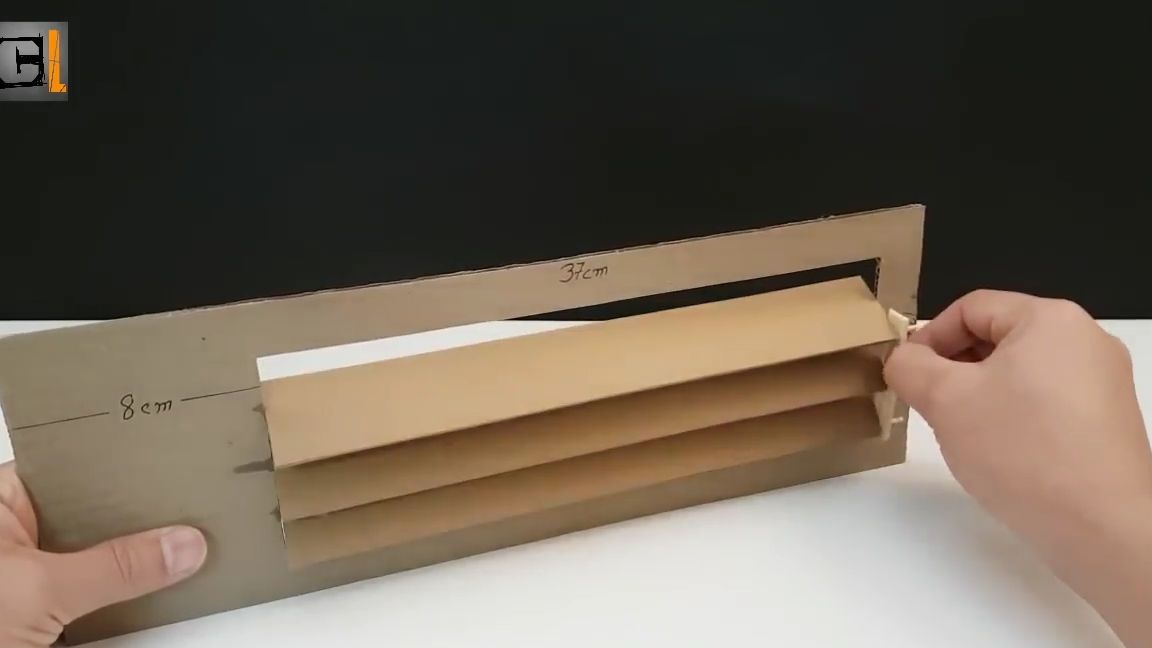
On the reverse side of this design, glue an ice cream stick on one of the blinds, and then test:
We pull the tip of the stick up and down, and if all the blinds rose first up and then down, then everything was done correctly.
On the side of the unit, two rectangular holes must be made one above the other. These holes must match the dimensions of the switch and the thermometer screen:
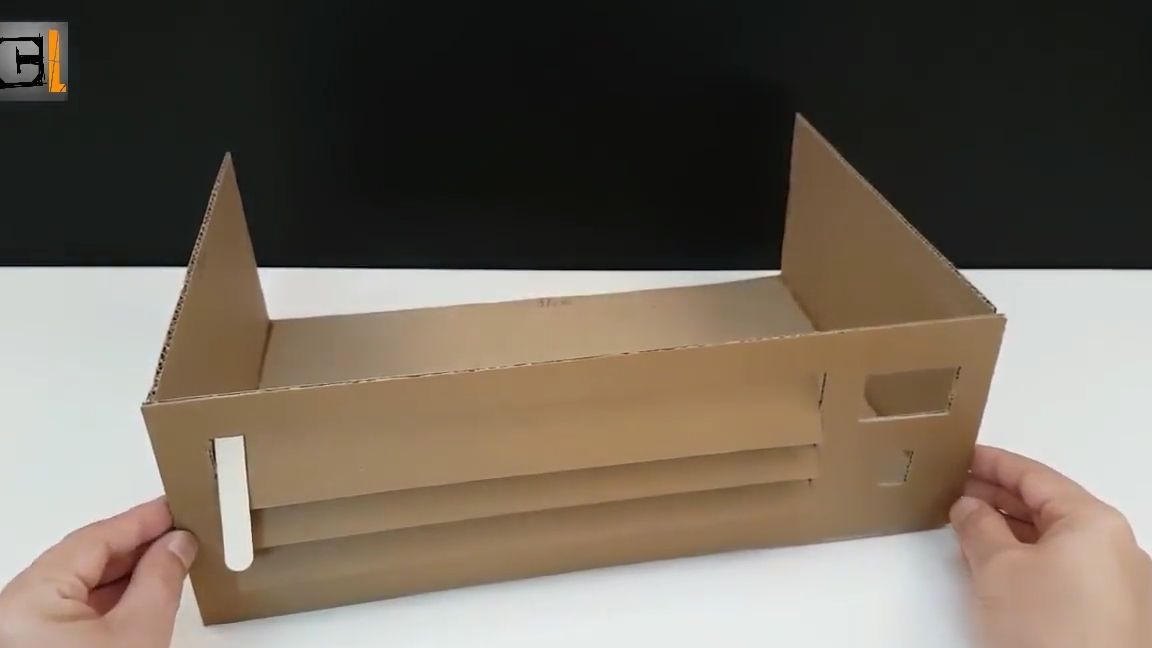
We glue together two workpieces into a single structure using hot-melt adhesive:
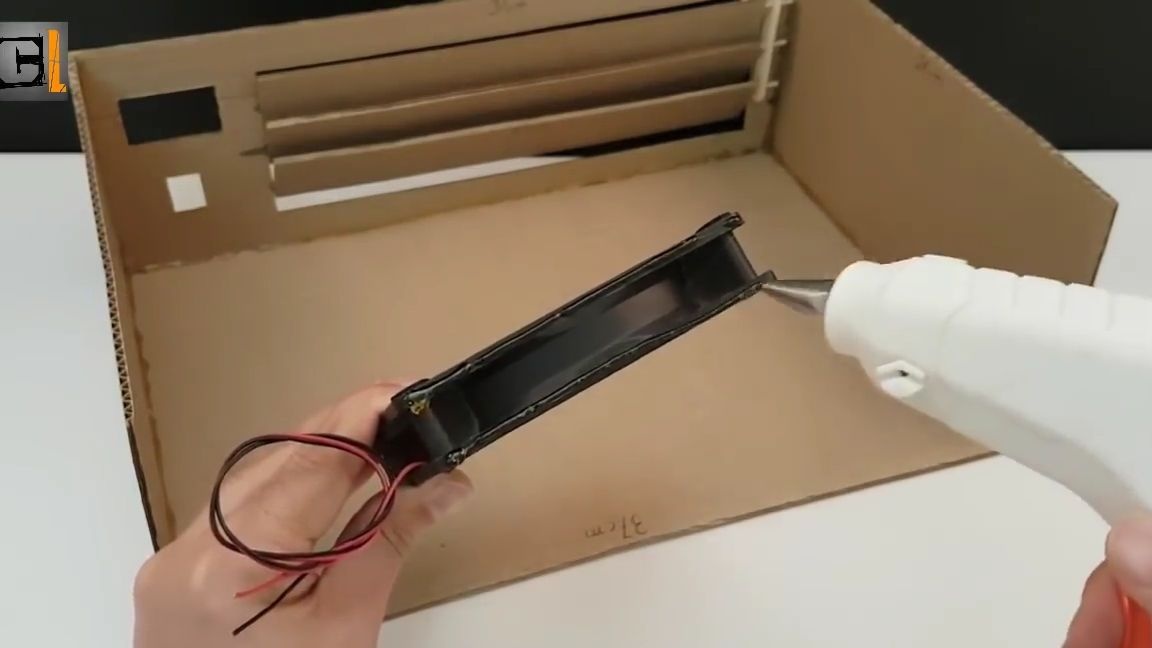
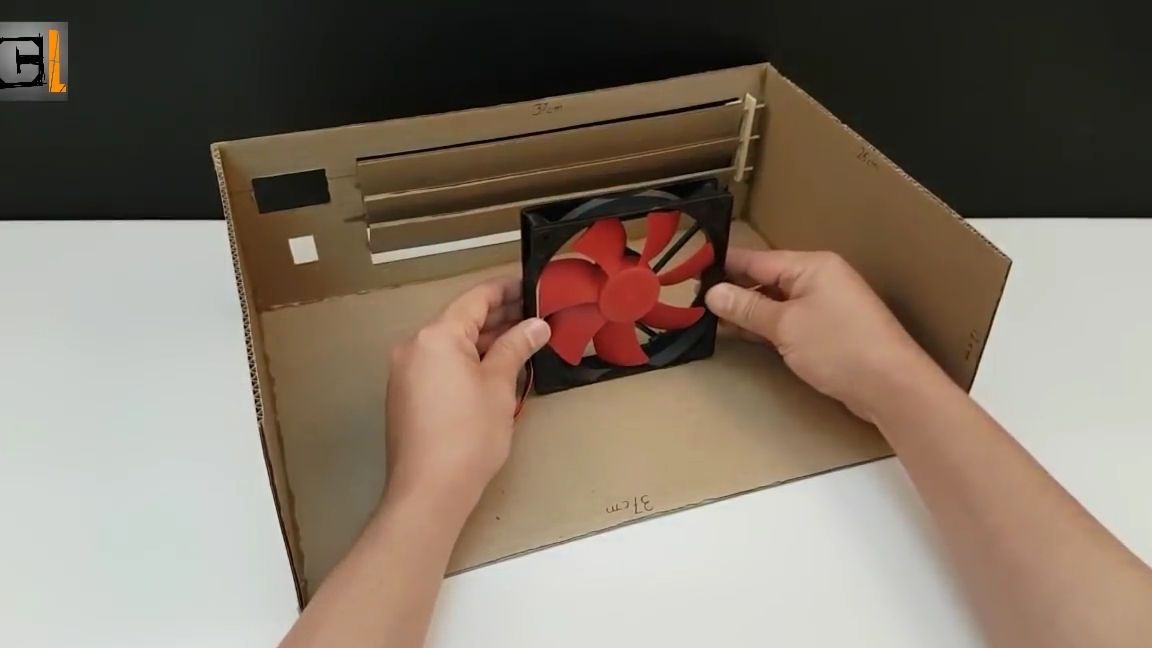
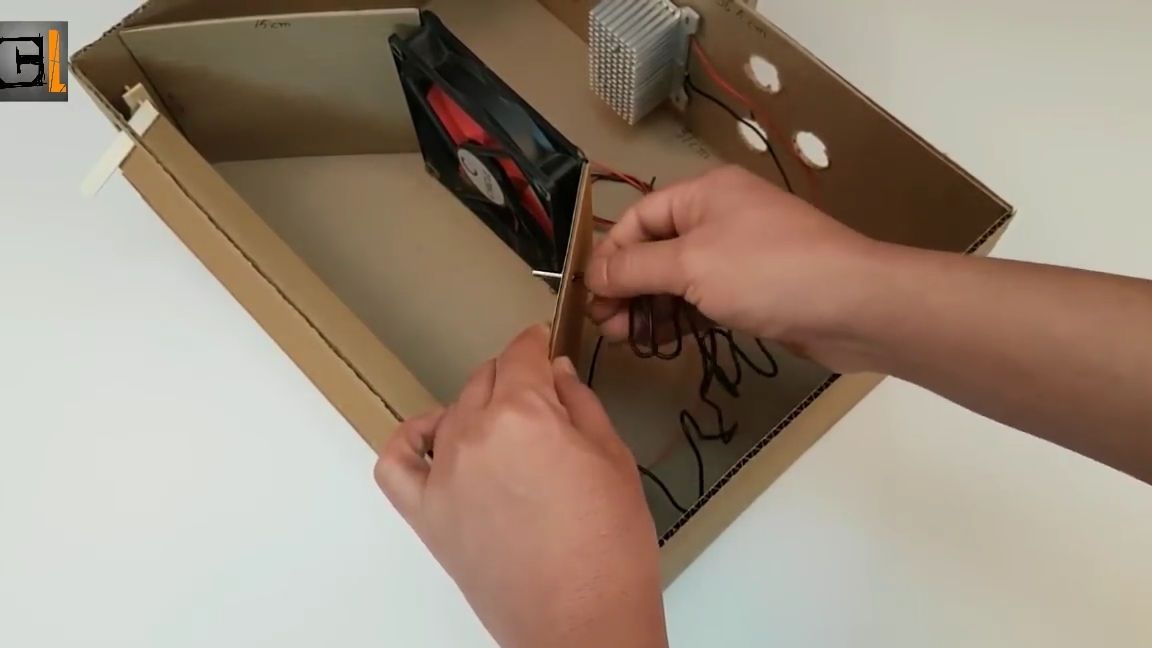
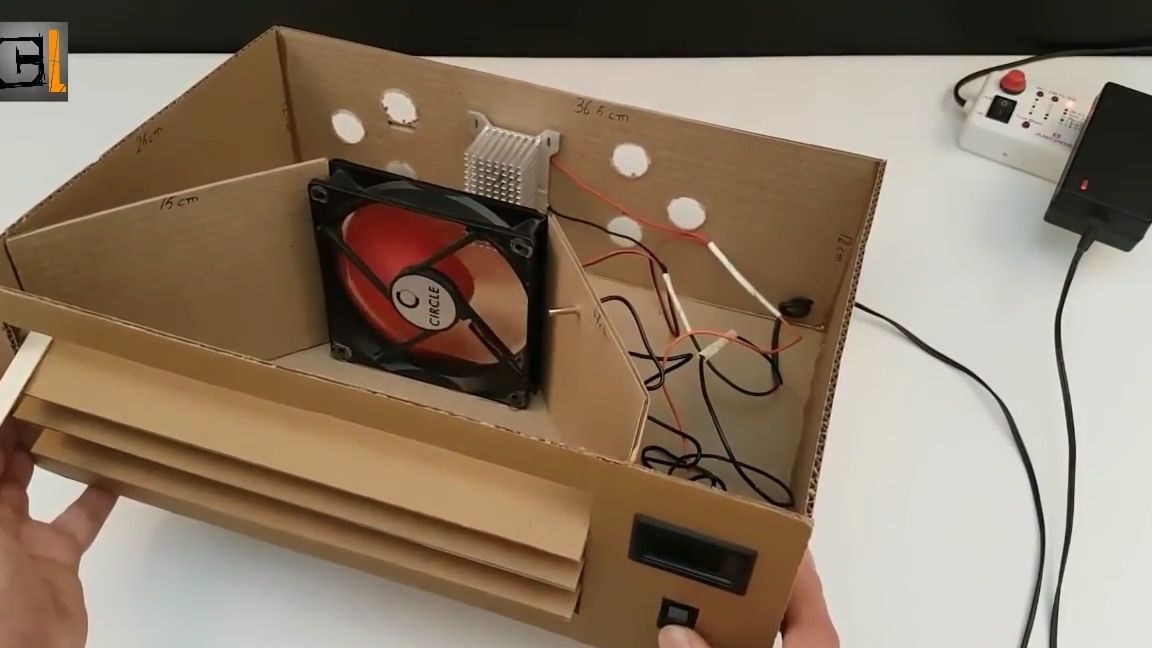
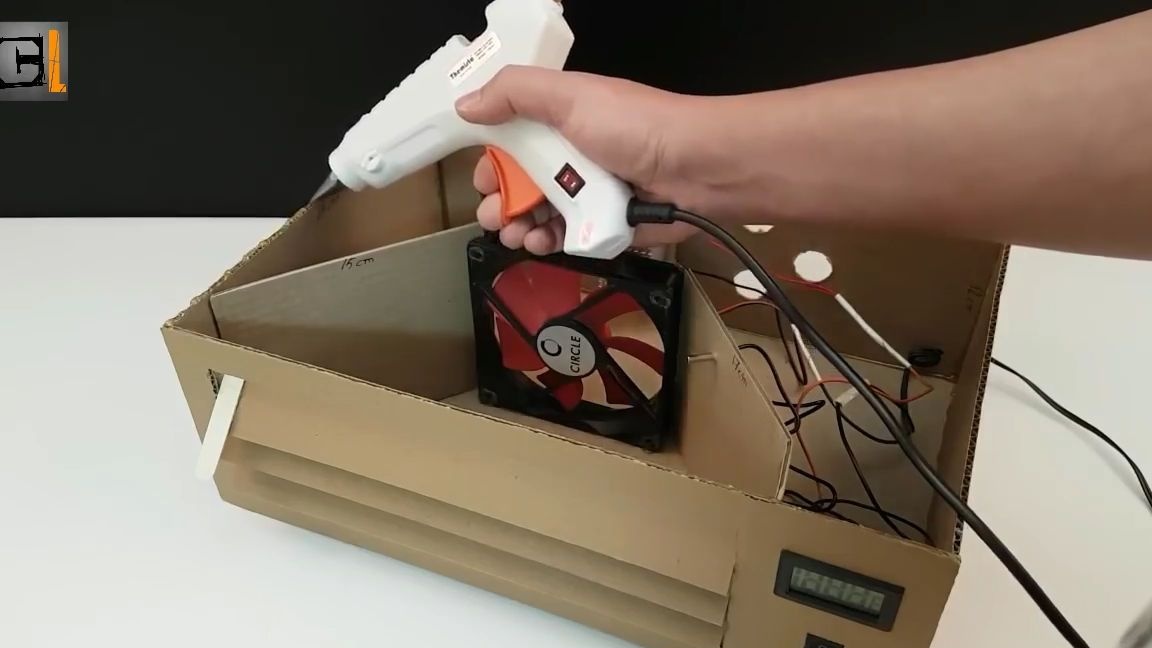
Now we also apply a little hot glue to the cooler from the computer and glue it in front of the blinds exactly in the center:
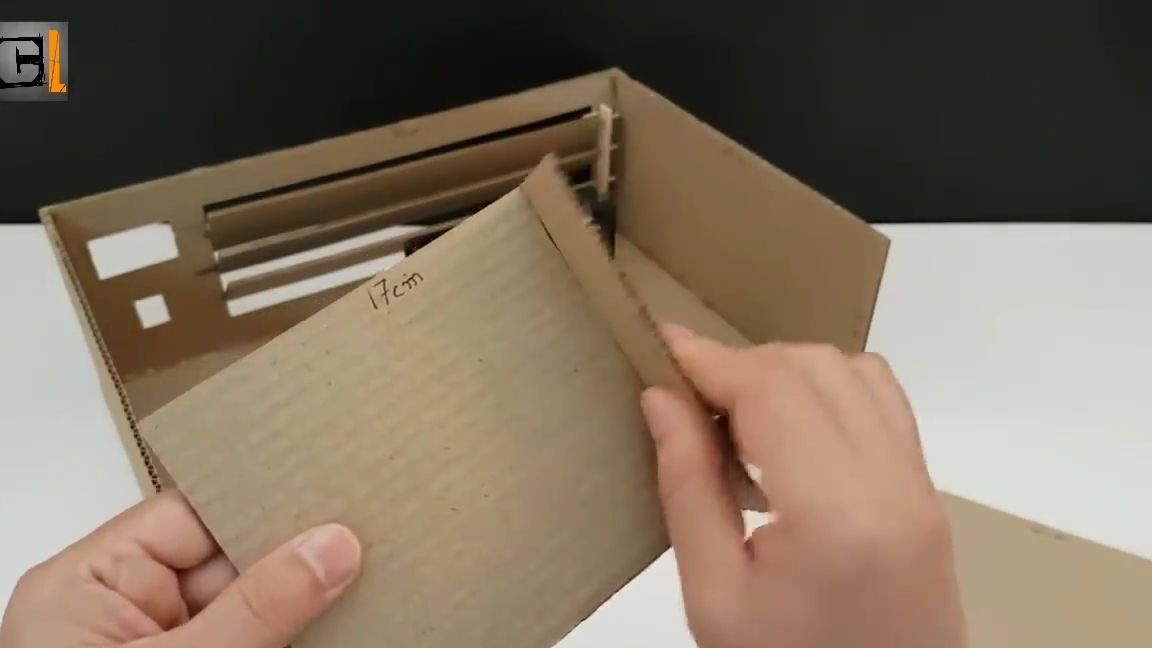
From corrugated cardboard we cut out two details. One part: 12 by 17 cm. Second: 12 by 15 cm.

On the first part, the edge should be bent a short distance.
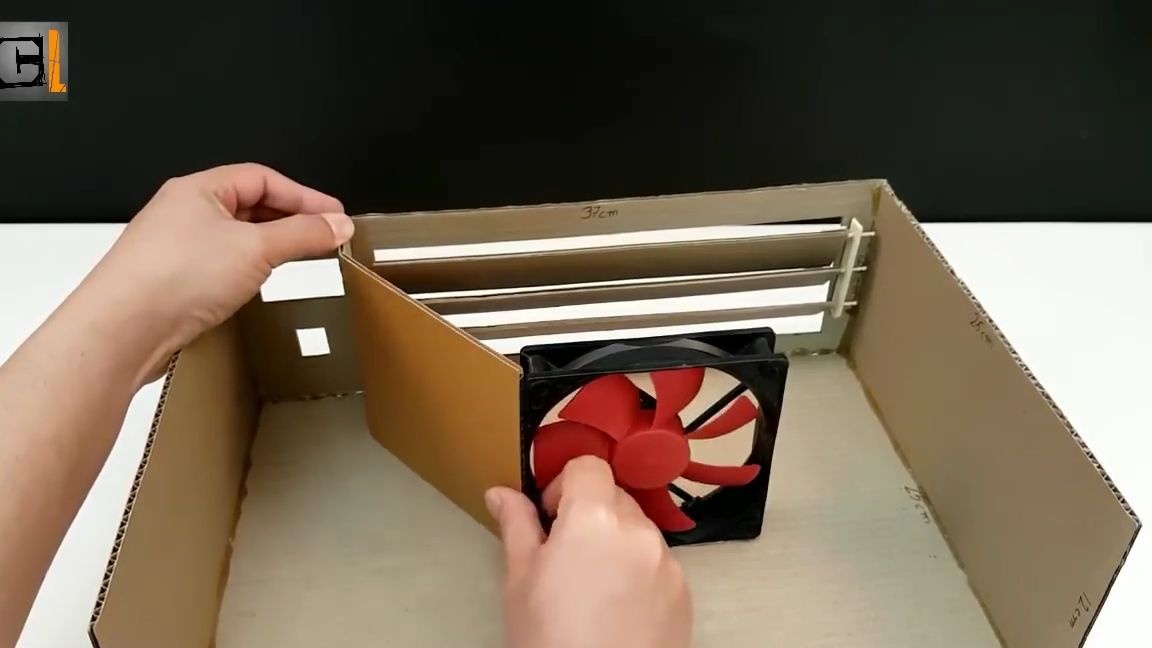
After manufacturing all the parts, they must be glued as shown in the photo:
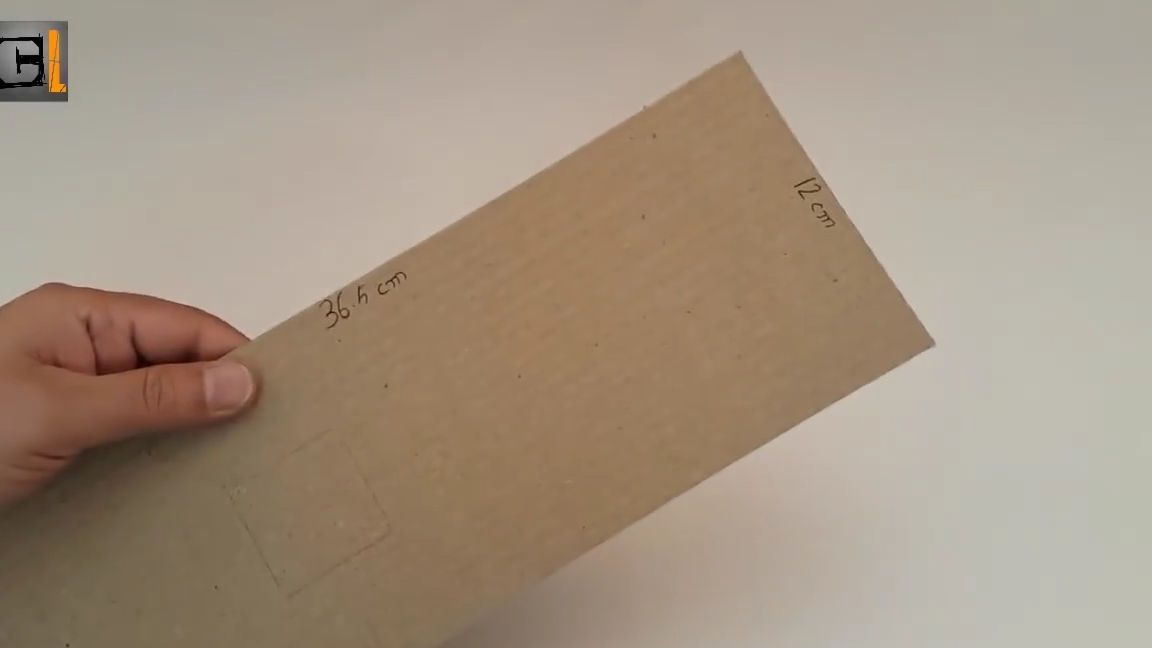
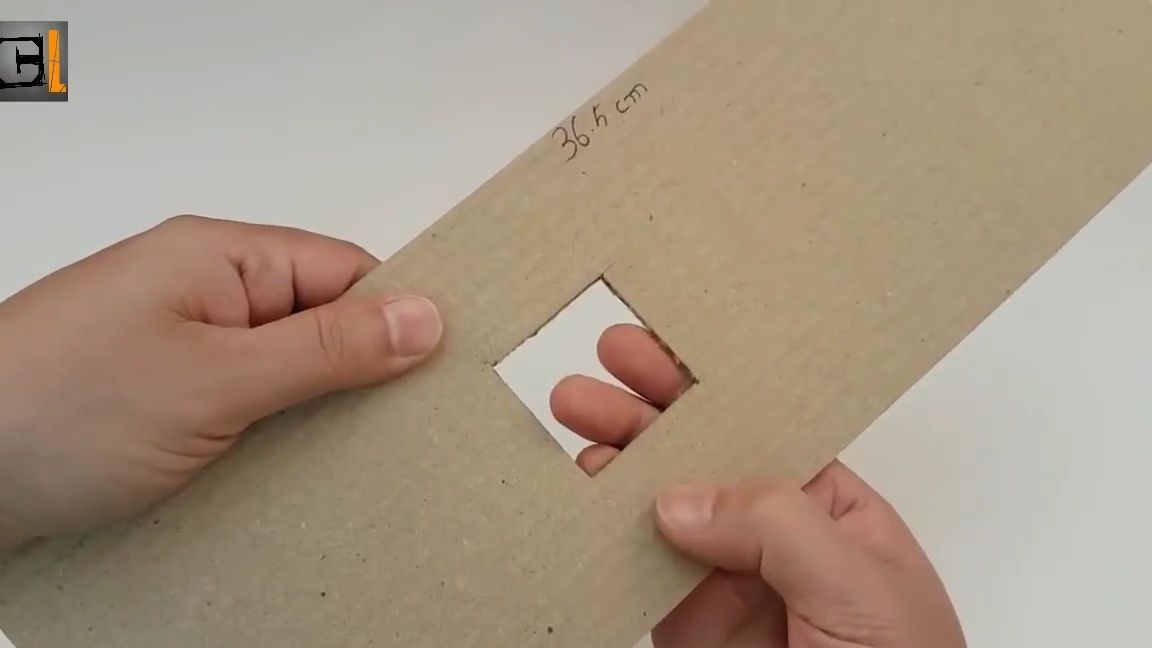
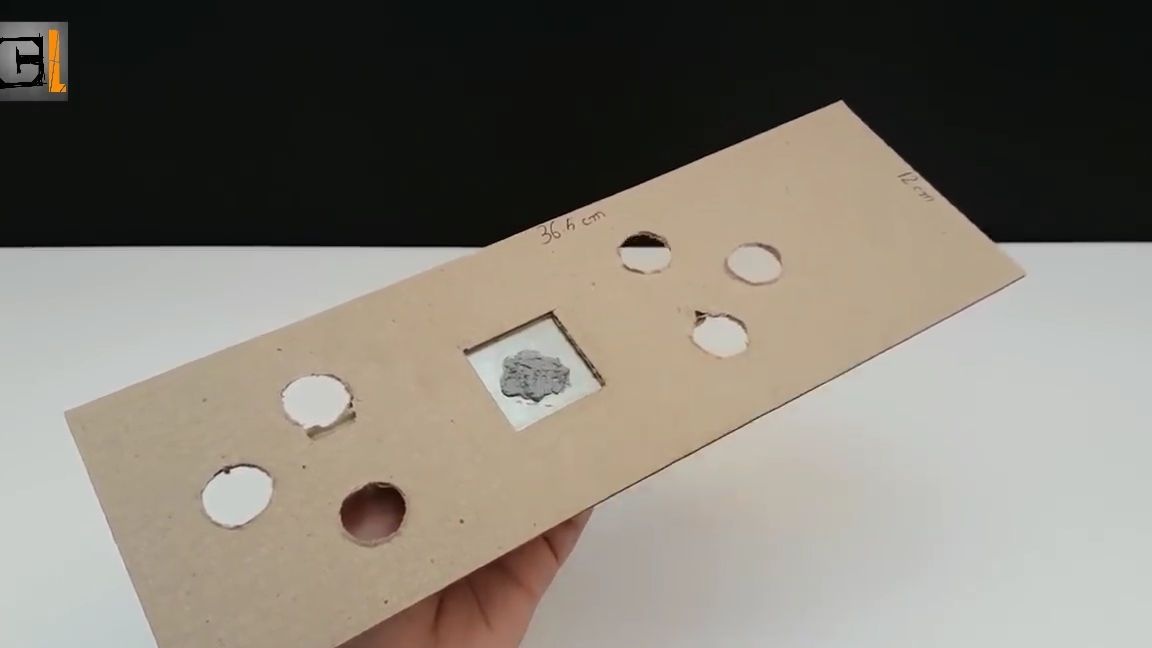
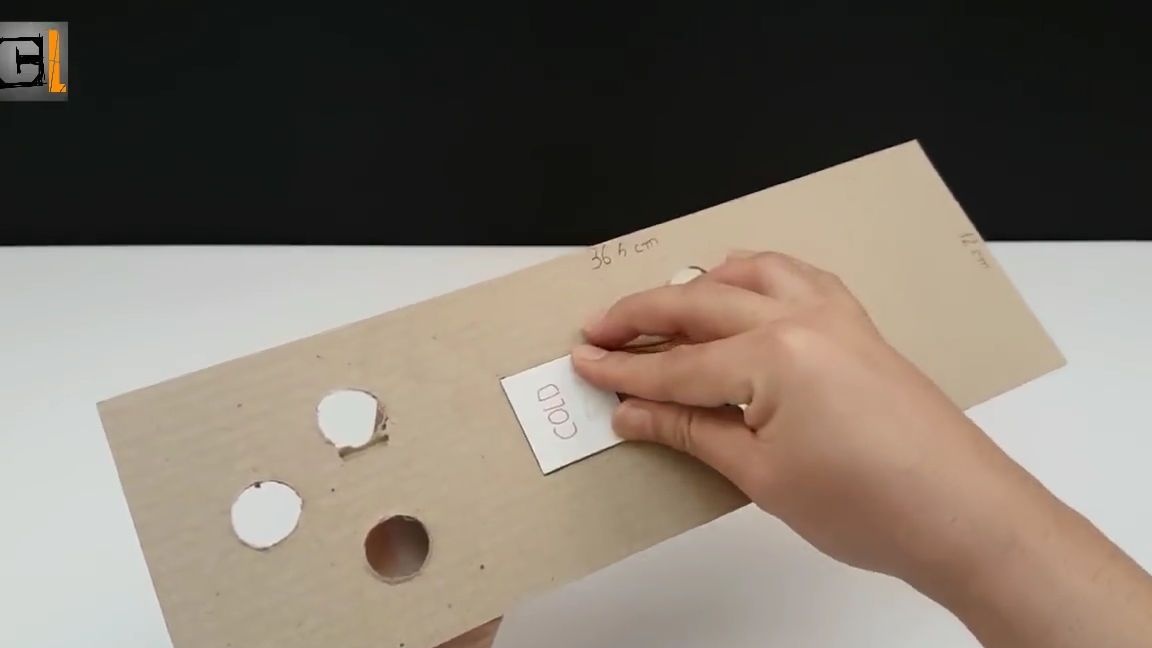
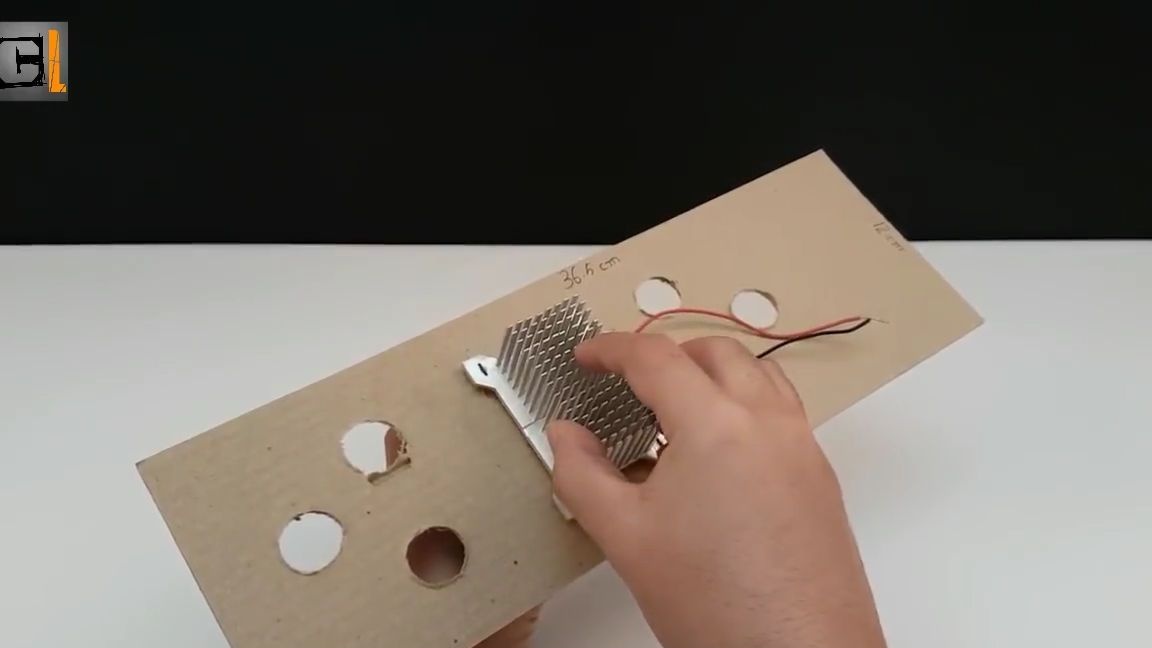
Again, cut out a rectangular piece of cardboard with dimensions of 12 by 36.5 cm. It is necessary to make a square hole in it:
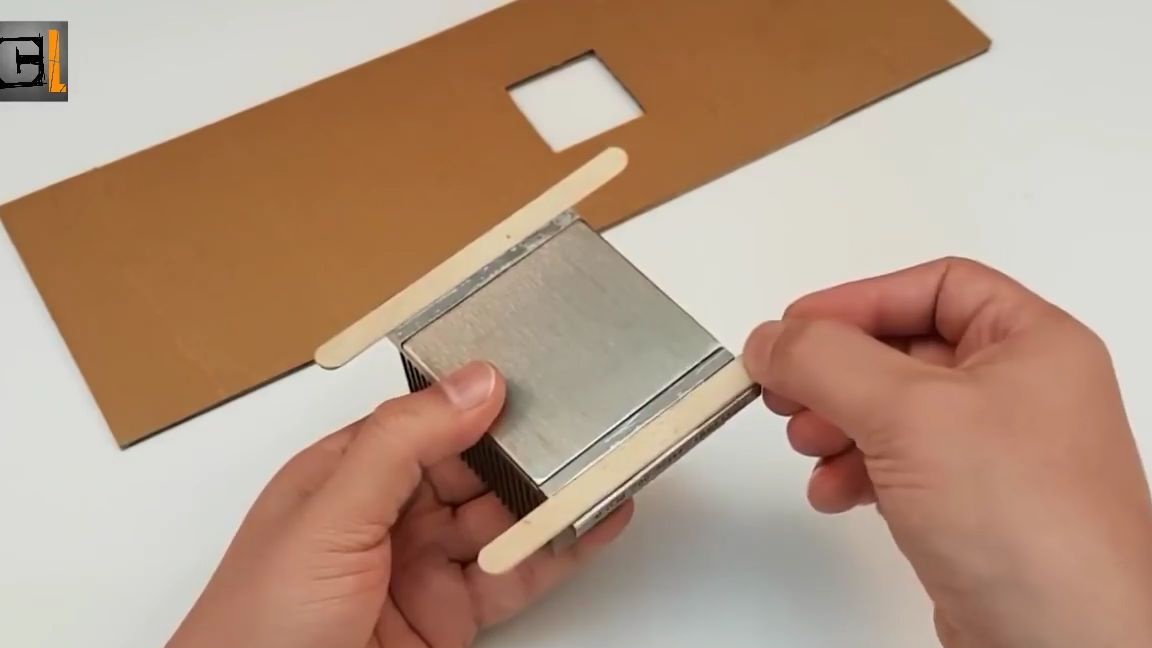
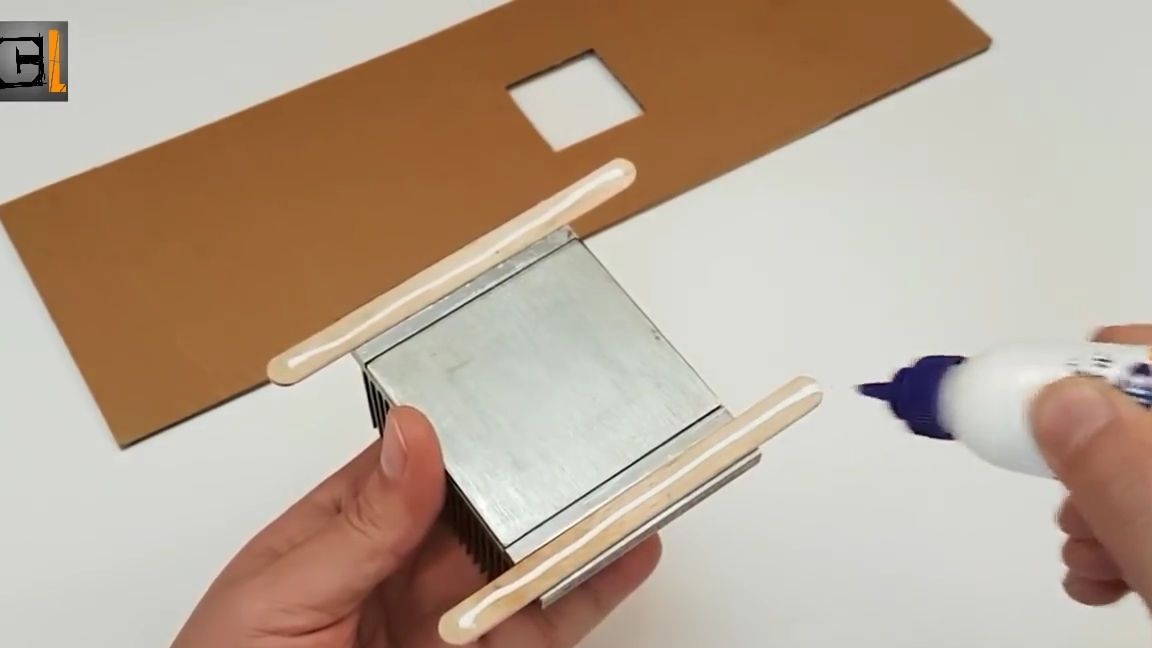
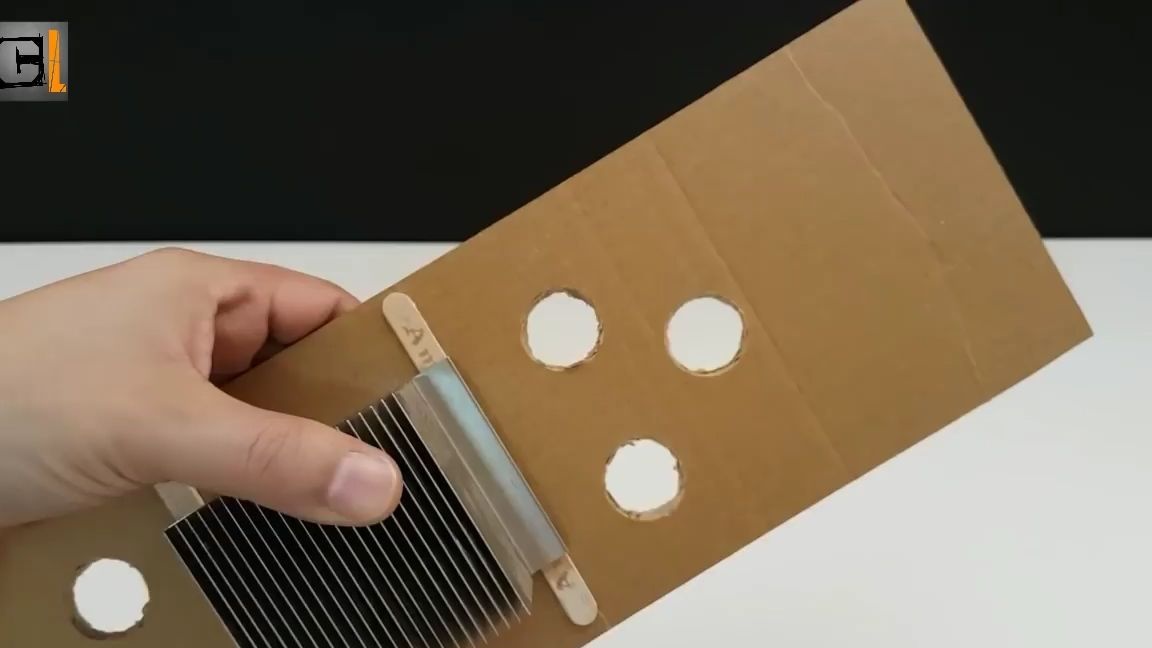
We take a large radiator and glue two ice cream sticks on it with super glue, then PVA glue this billet over the square hole with glue:
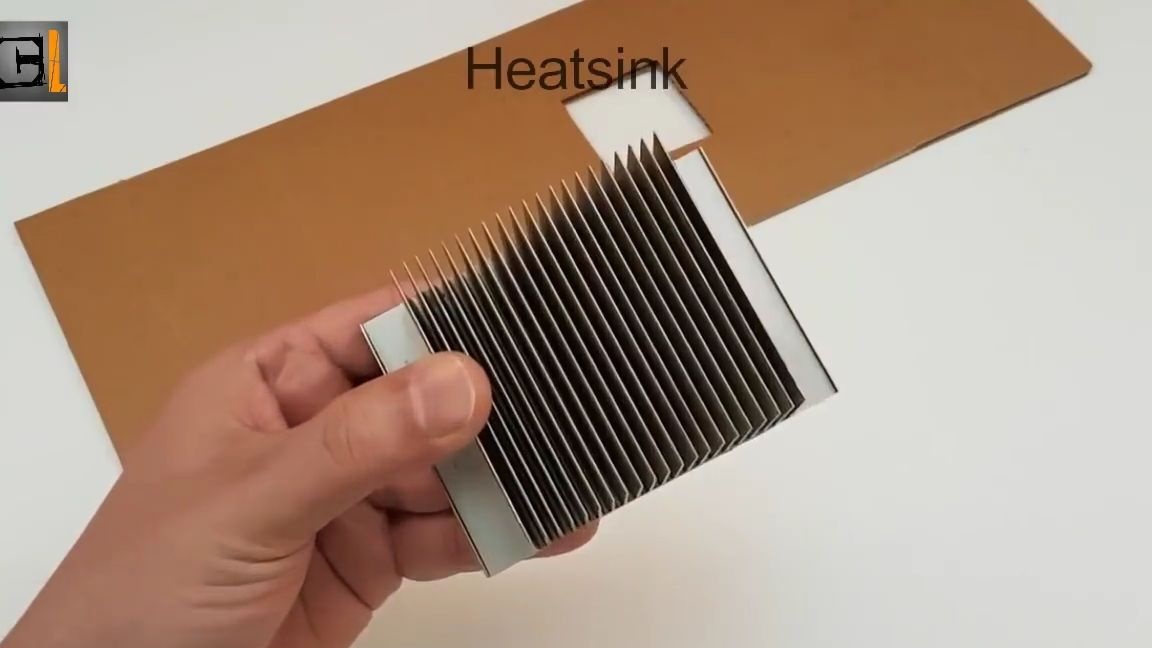
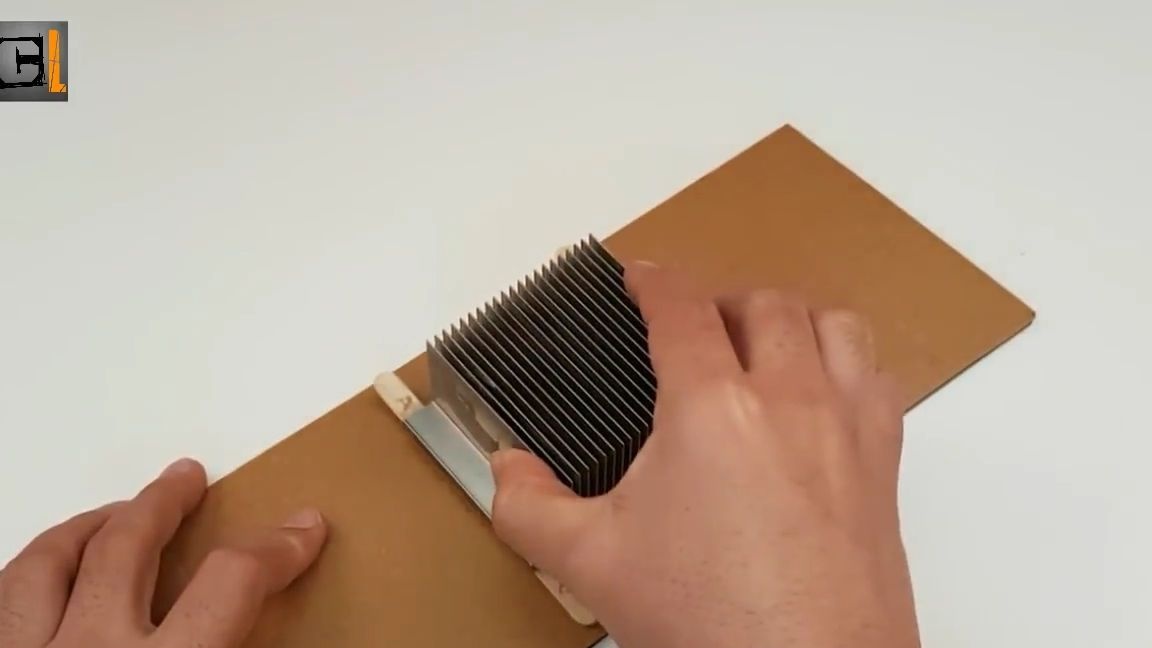
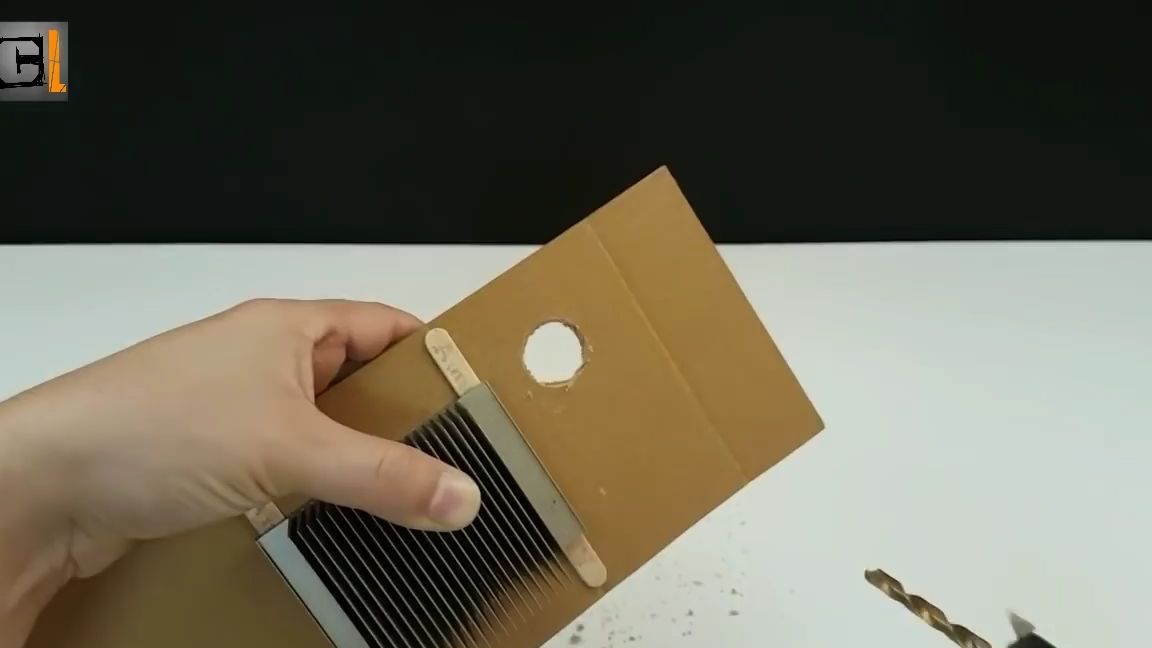
Six equal large holes must be drilled in the cardboard part:
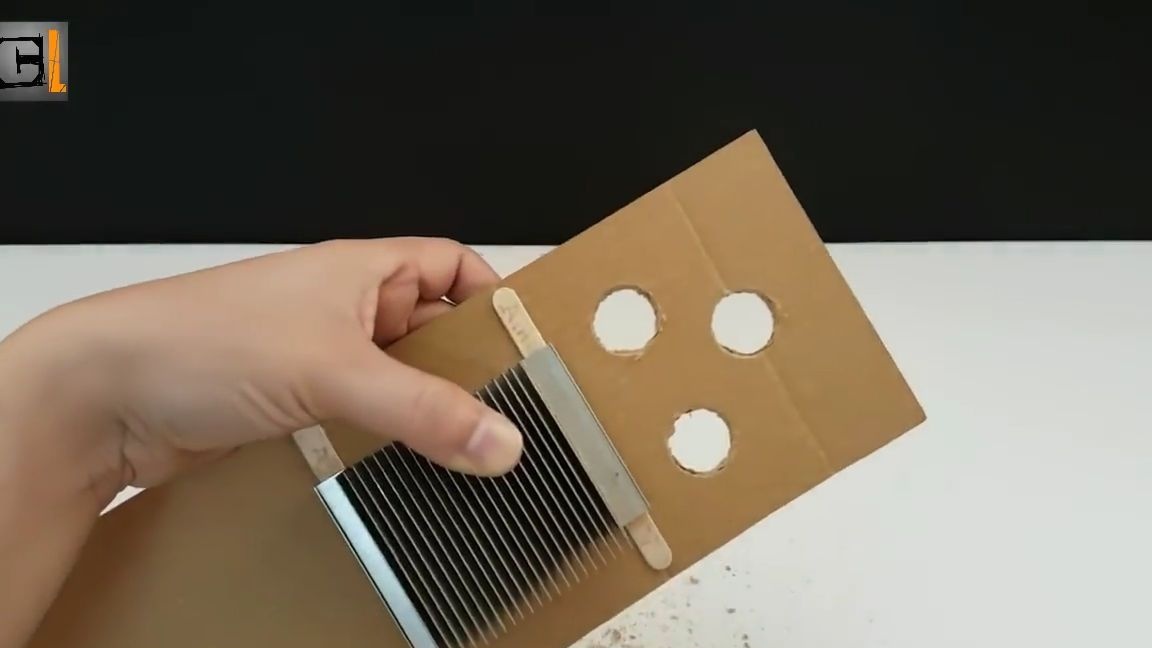
Now we take thermal paste and apply it on the back of the radiator. Then we insert the piezoelectric element into this hole, the side that heats up when voltage is applied:
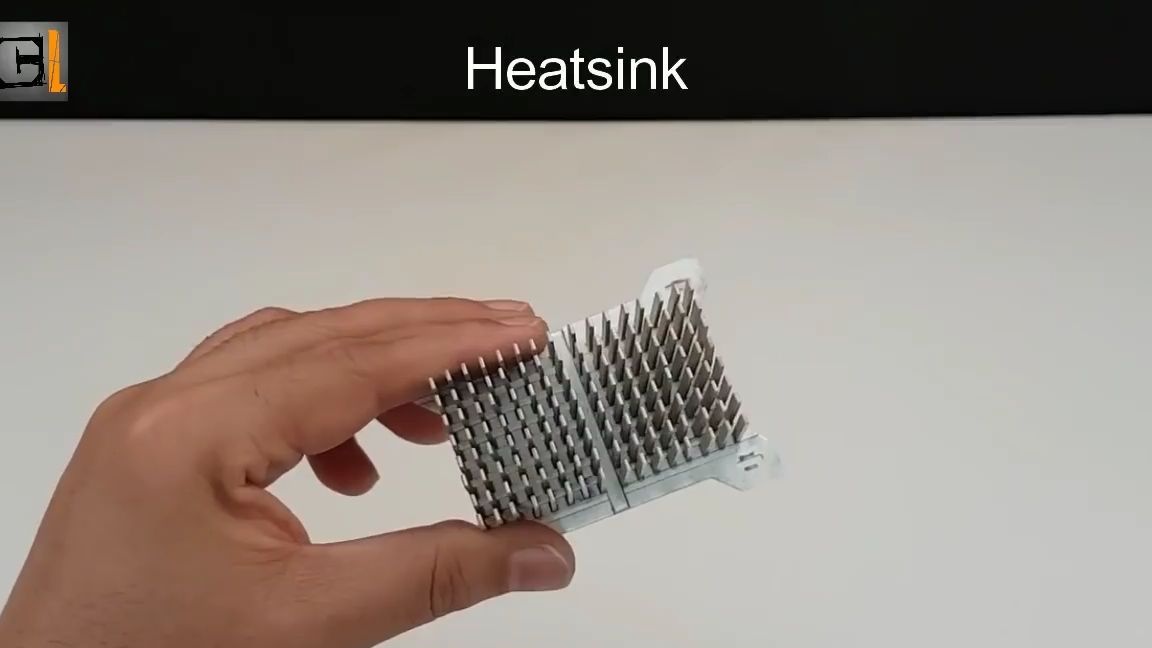
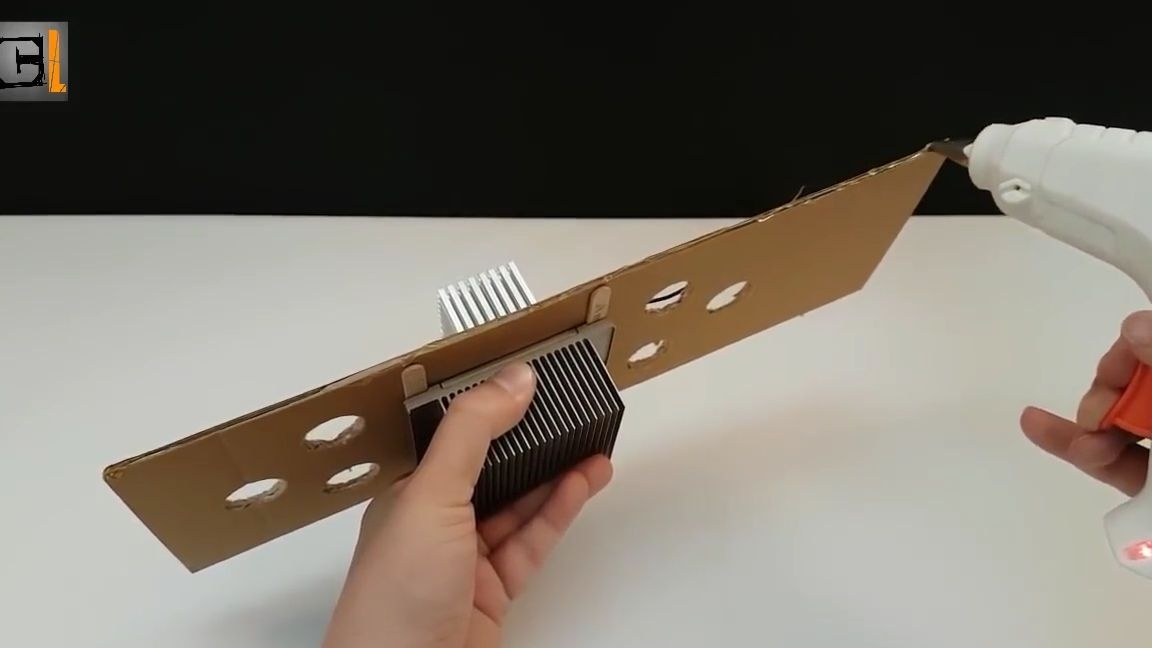
We apply hot melt glue to the small radiator and glue it to the cold side of the part. Then we glue all this workpiece to the general design, with a large radiator to the outside:
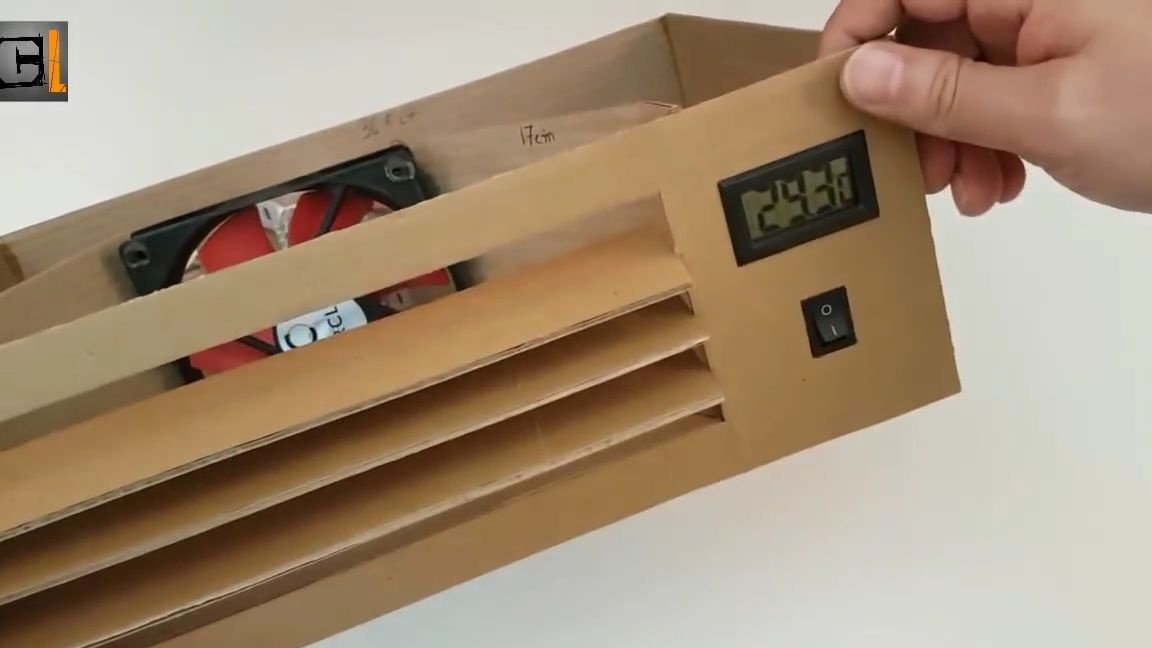
We insert and glue the switch and the electric thermometer into our holes:
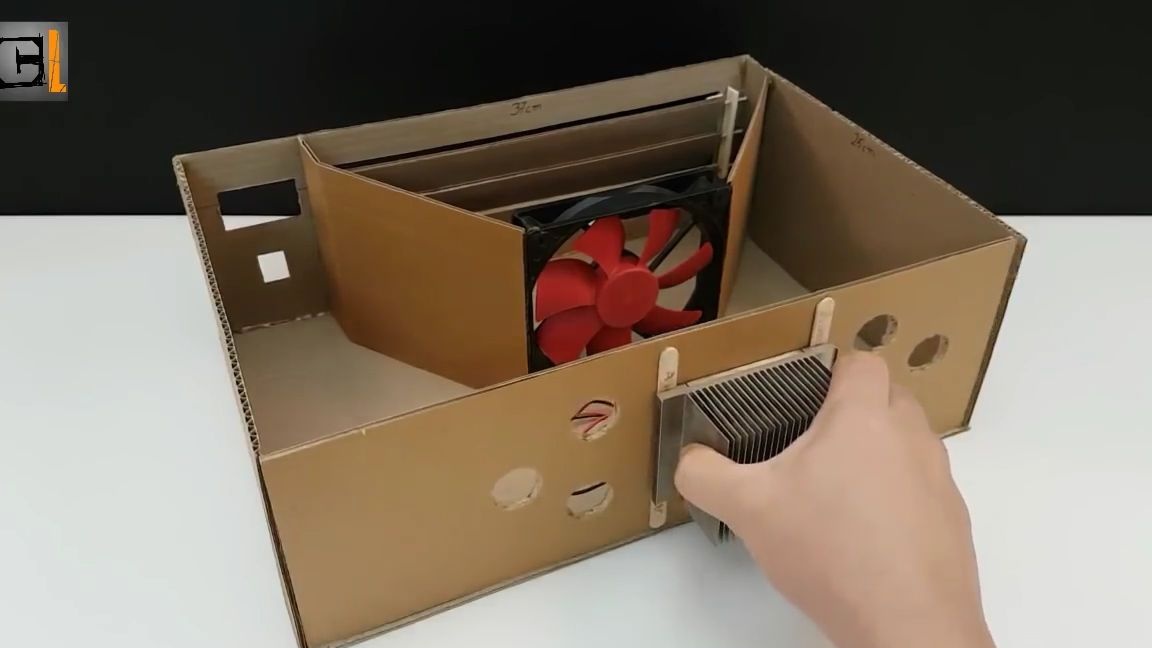


The thermometer sensor must be installed next to the fan:

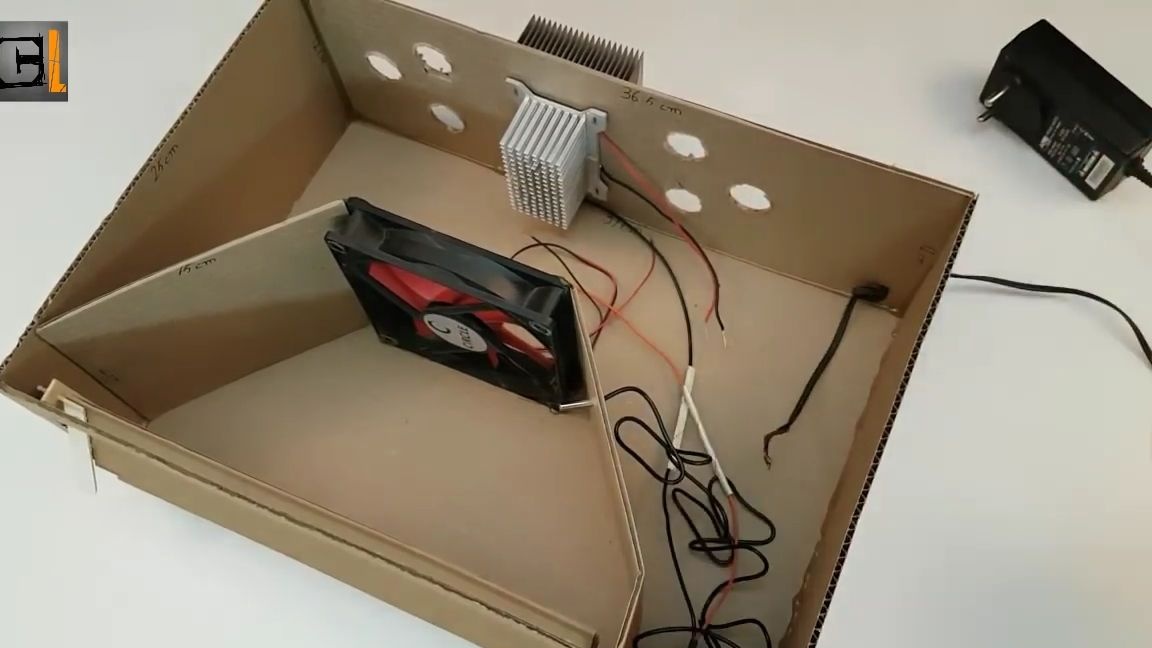
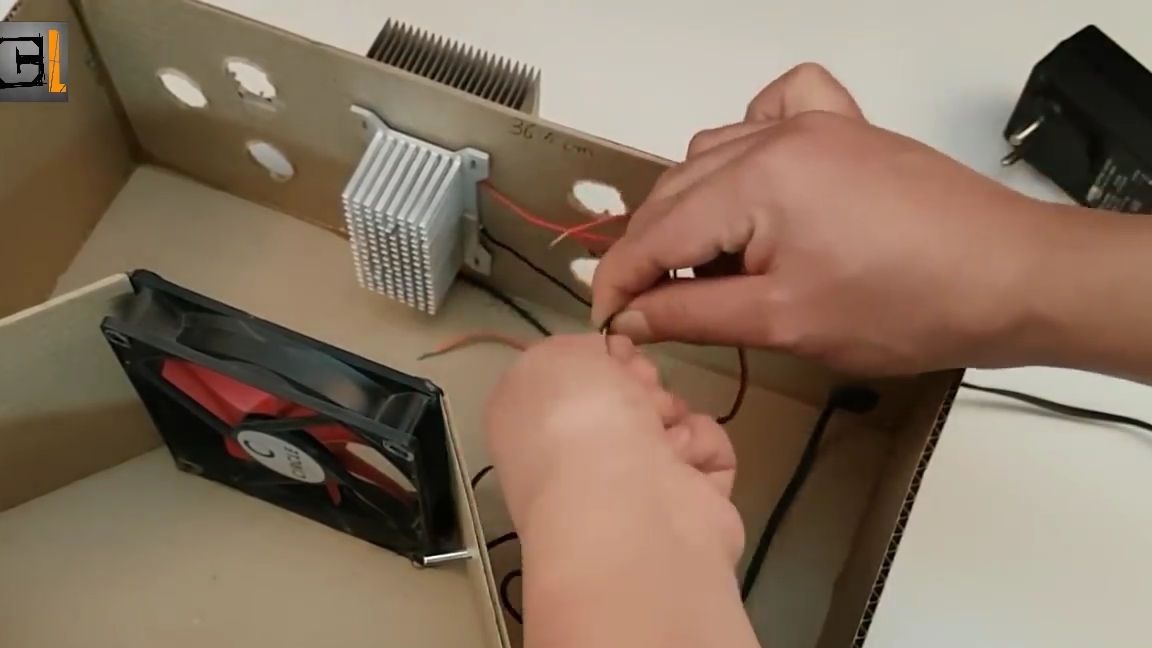
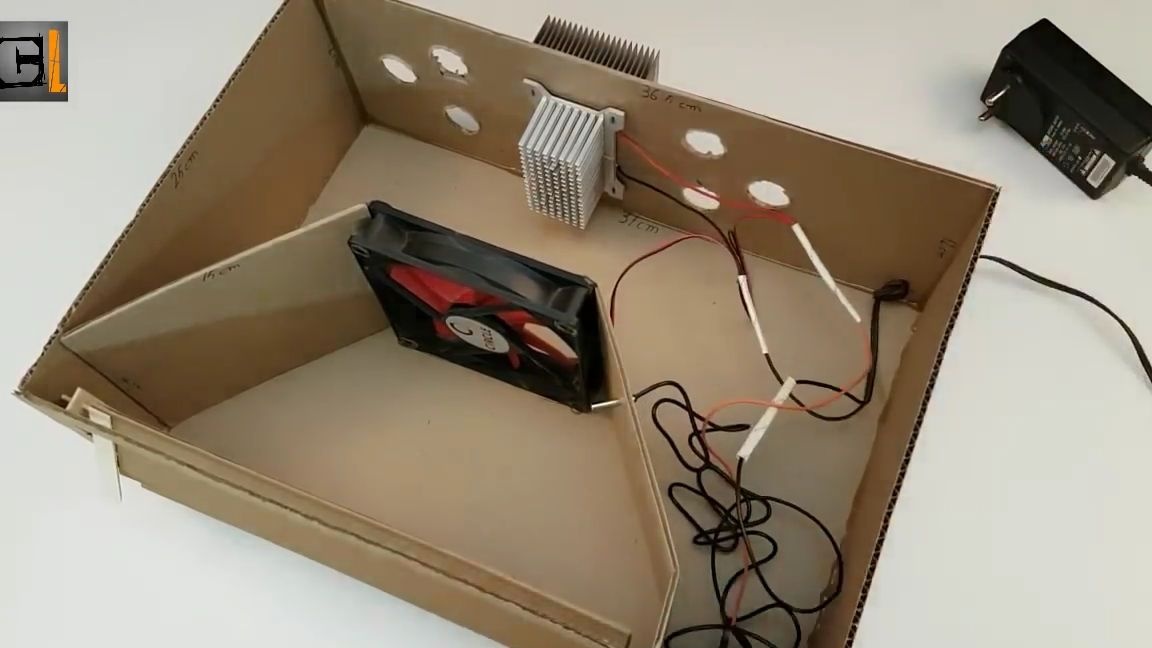
Now take a 12V power supply and insert its wires inside the entire structure, after which it is necessary to solder or just connect all the electrical components into a single electrical network. After connection, it is necessary to insulate the exposed contacts with electrical tape or heat shrink.
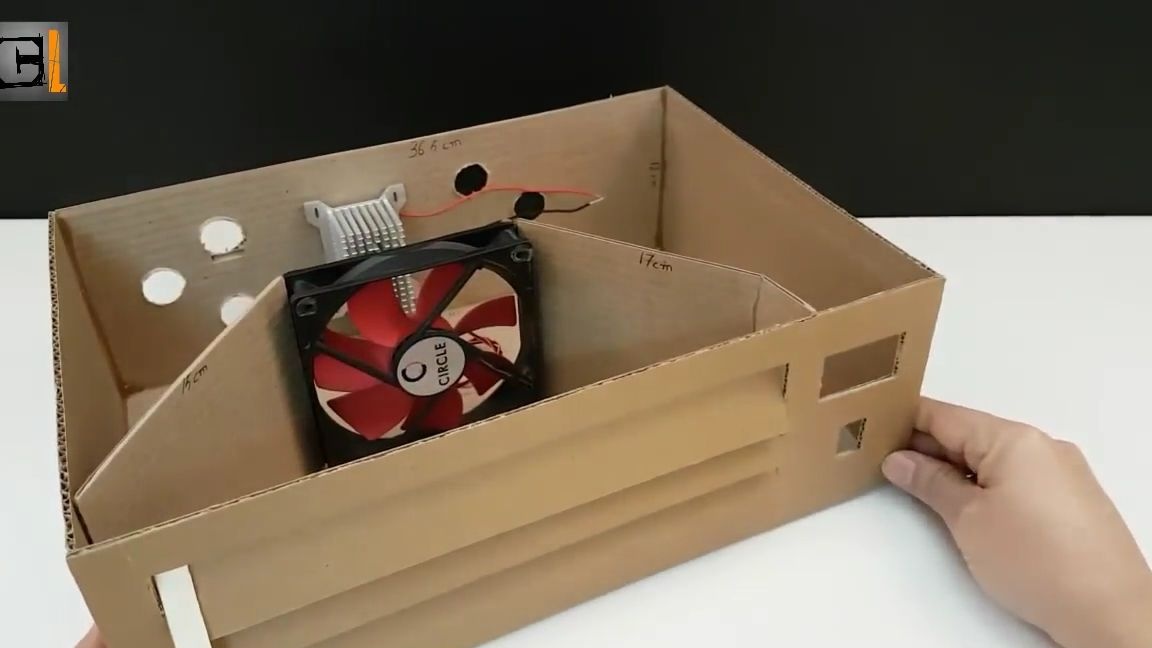
We test the entire system, connect the power supply to the network and turn on the air conditioning, if the fan and other components worked correctly, then we can continue further:
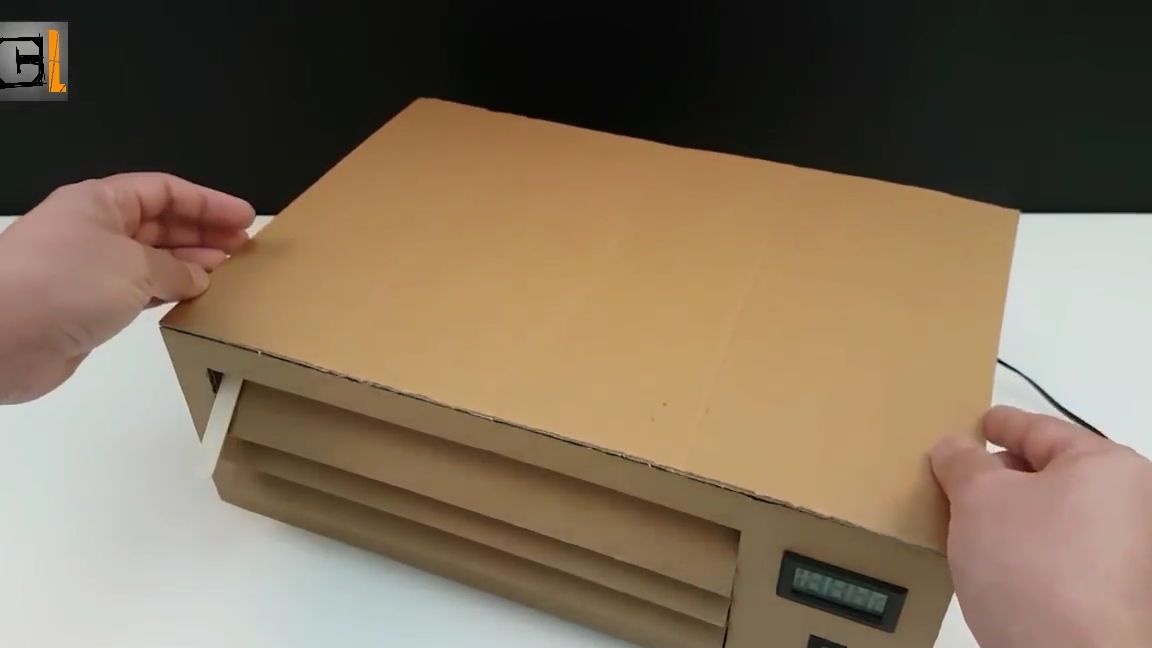
We glue the air conditioner cover (this is the second large piece of corrugated cardboard, which was made at the beginning):
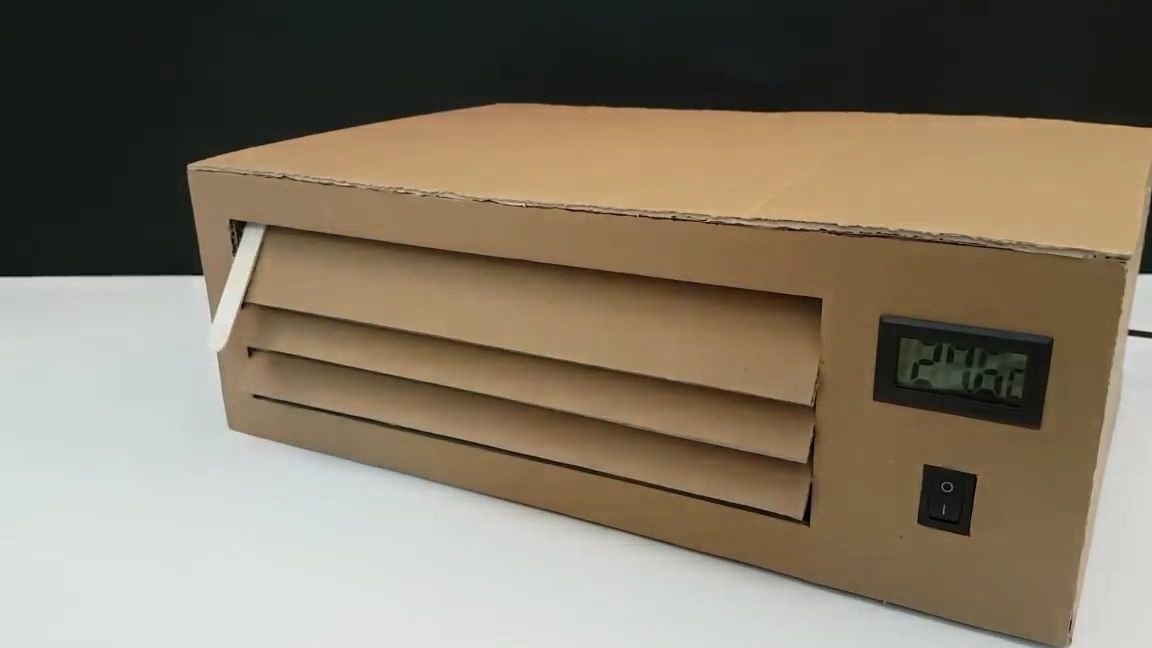
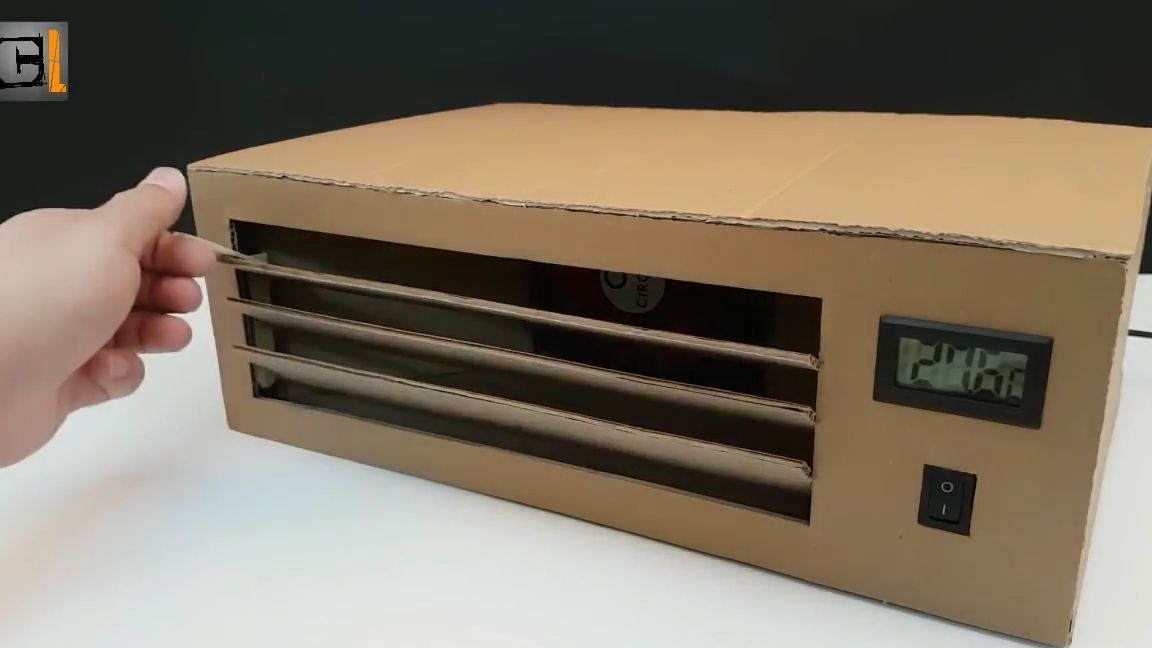
That's it! A simple but effective corrugated cardboard conditioner is ready and you just have to test it. To do this, just turn it on by pressing the switch. As you can see, this air conditioner really cools the air temperature (inside itself for sure) to 10.4 ° C. These indicators are very, very good. I think many will want to make a similar conditioner for themselves, because it is summer now, but I want to cool off. And to make it is not very difficult, all materials are more than affordable.
I hope someone will find this article helpful.
Here is a video from the author with a detailed assembly and testing of this homemade product:
Well, thank you all for your attention and good luck in future projects!