

Hello to all lovers homemade. In this article I will tell you how to make a chisel from a spring do it yourself. This tool is useful for those who often work with metal, with it you can chop metal parts, such as rods, sheets and so on. To assemble the tool does not need special skills and materials, so every beginner will cope with its manufacture.
Before reading the article, I suggest watching a video in which the entire assembly process is shown in detail, as well as a little testing of the finished tool.
In order to make a chisel from a spring with your own hands, you will need:
* Spring from Kraz
* Leg from an old broken chair
* Angle grinder
* Cutting, grinding disc for angle grinder
* Drill for metal with a diameter of 4.5 mm
* Drilling machine
* Bench vise
* Kern
* Felt circle for drilling machine
* Paste GOI
* Pencil, ruler
* Crosshead screwdriver
* Safety glasses, gloves, respirator
* Two M4 screws with nuts
* Stone grinding machine
* Clamps
* Electric fret saw
Step one.
The first step is to process the spring from Kraz.
We mark out a pre-cut piece of spring with a length of 200 mm so that we get two identical parts with a width of 50 mm.
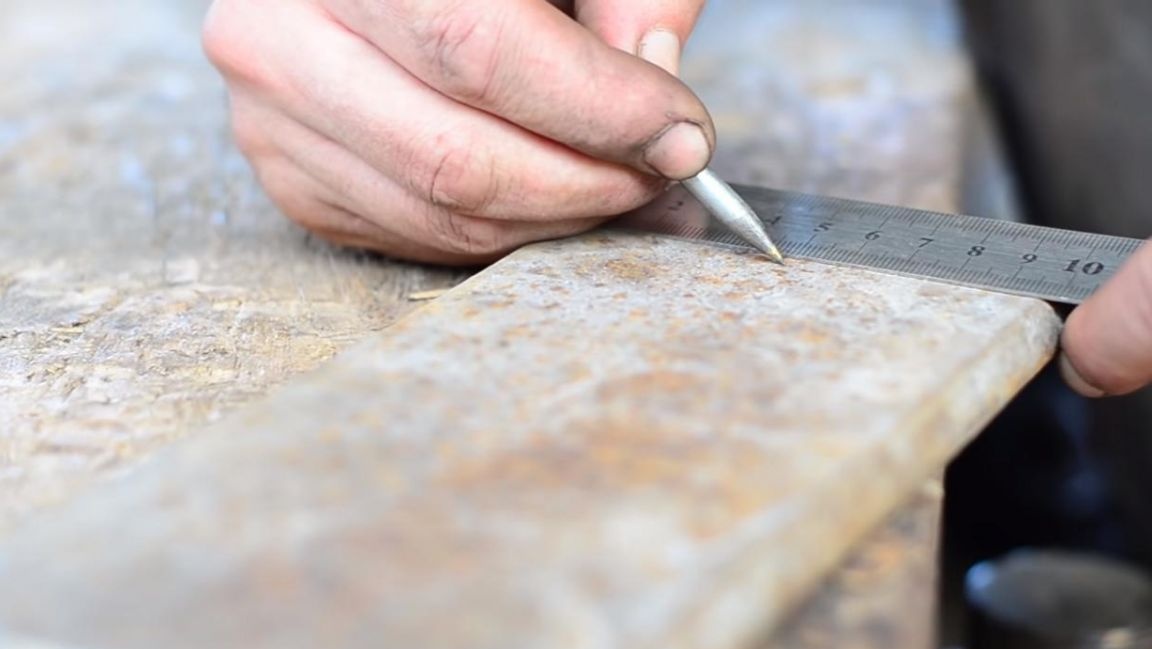
Marks are most conveniently made with a sharp metal object, such as a core.

Next, we clamp the marked workpiece on the workbench using two clamps and begin to cut it into two parts, for this we take an angle grinder with a mounted cutting disc, you will have to saw a lot, so be patient. When working with the angle grinder, be careful and also use safety glasses and gloves for safety reasons.

Step Two
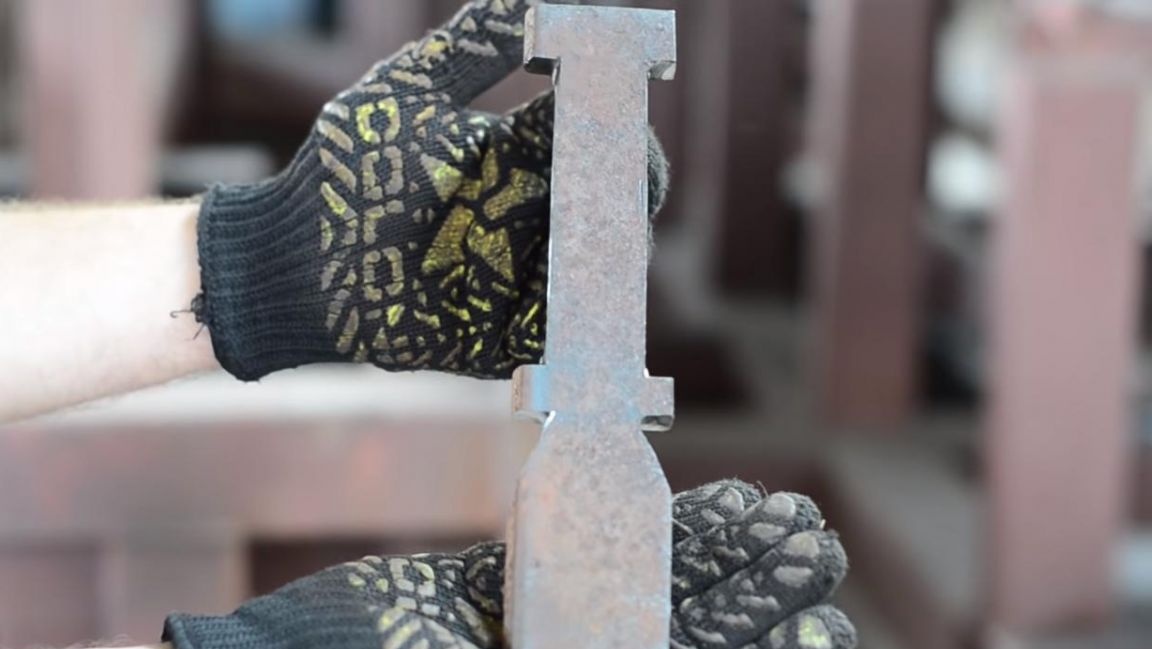
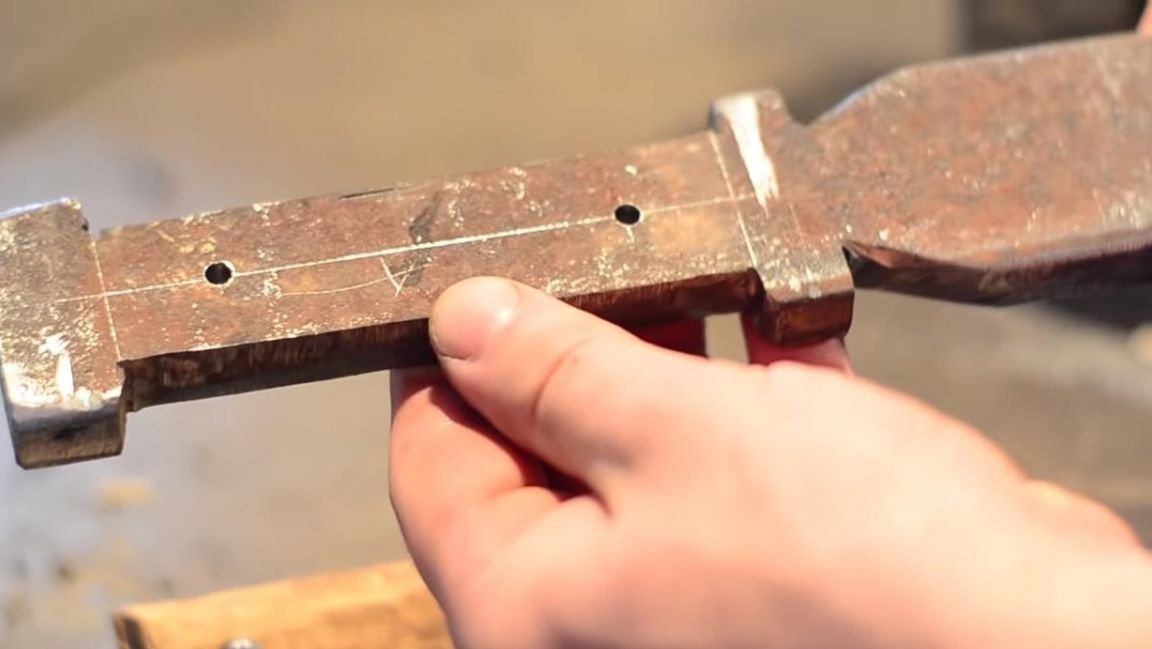
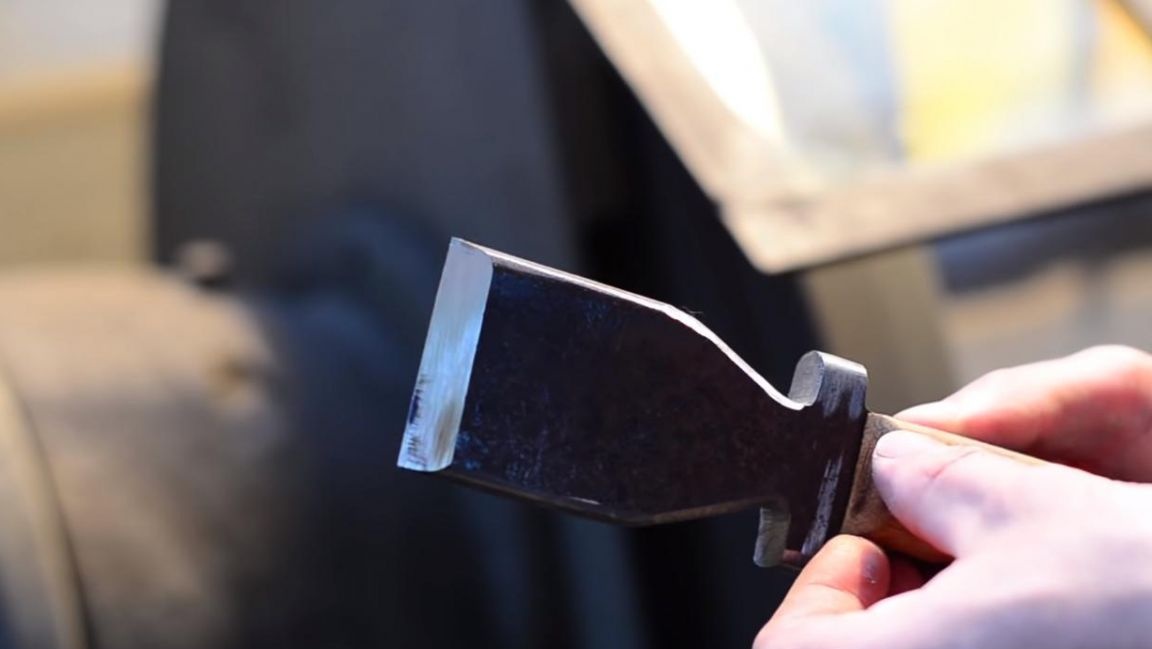
Then we take one of the segments 50 mm wide from the spring and mark it with a core as shown in the photo.
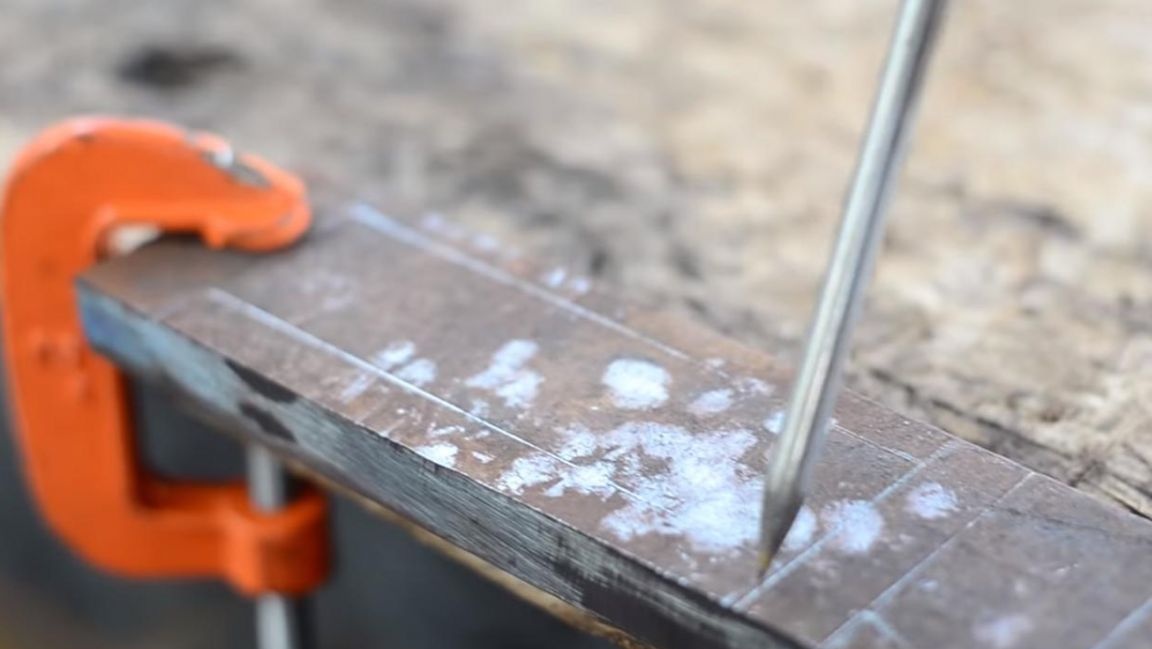
Next, using an angle grinder, we cut out the excess parts according to the marking, while firmly fix the workpiece on the workbench with clamps. After one side is ready, turn the part over and do the same. As a result, such a blank should be obtained from the spring.
Step Three
Now you need to make a handle for the tool from the legs of a broken chair.
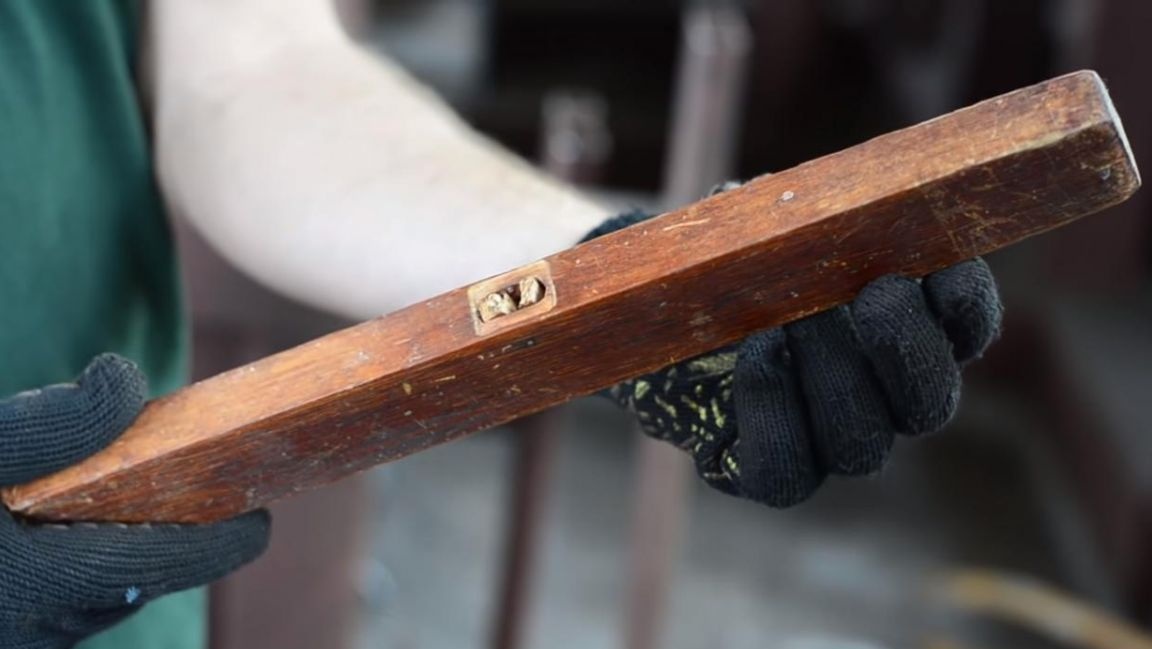
We fix the leg from the chair with clamps to the workbench and using a jigsaw we cut it across into two parts of the same thickness. When working with a jigsaw, be careful and use personal protective equipment, gloves, safety glasses and a respirator.
Next, we saw off two wooden pieces along the length of the handle on a metal part.
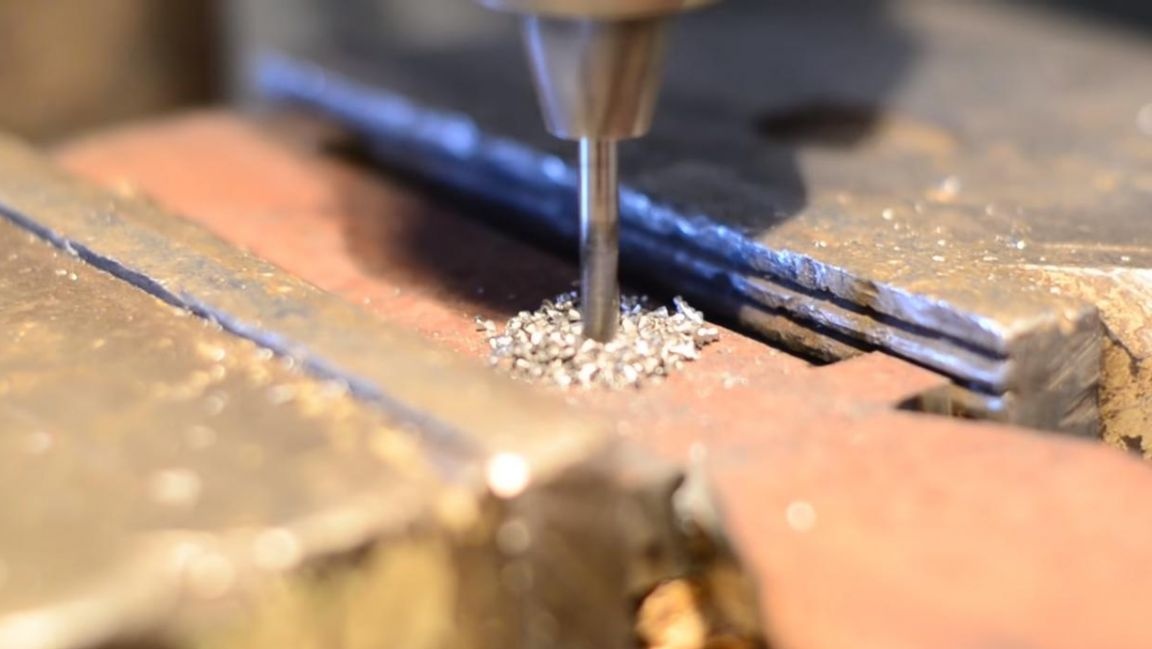
In the parts obtained, we drill holes with a diameter of 4.5 mm on a drilling machine, when drilling metal on the cutting edge of the drill, add a little technical oil, so the cutting tool will last longer and will not jam.
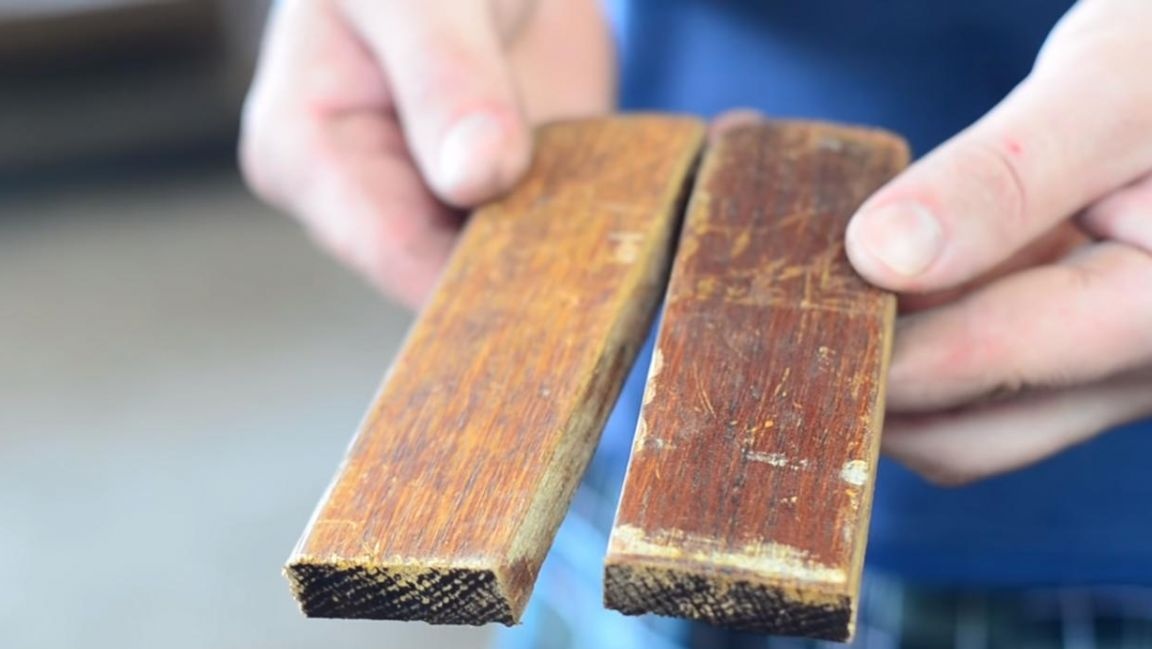
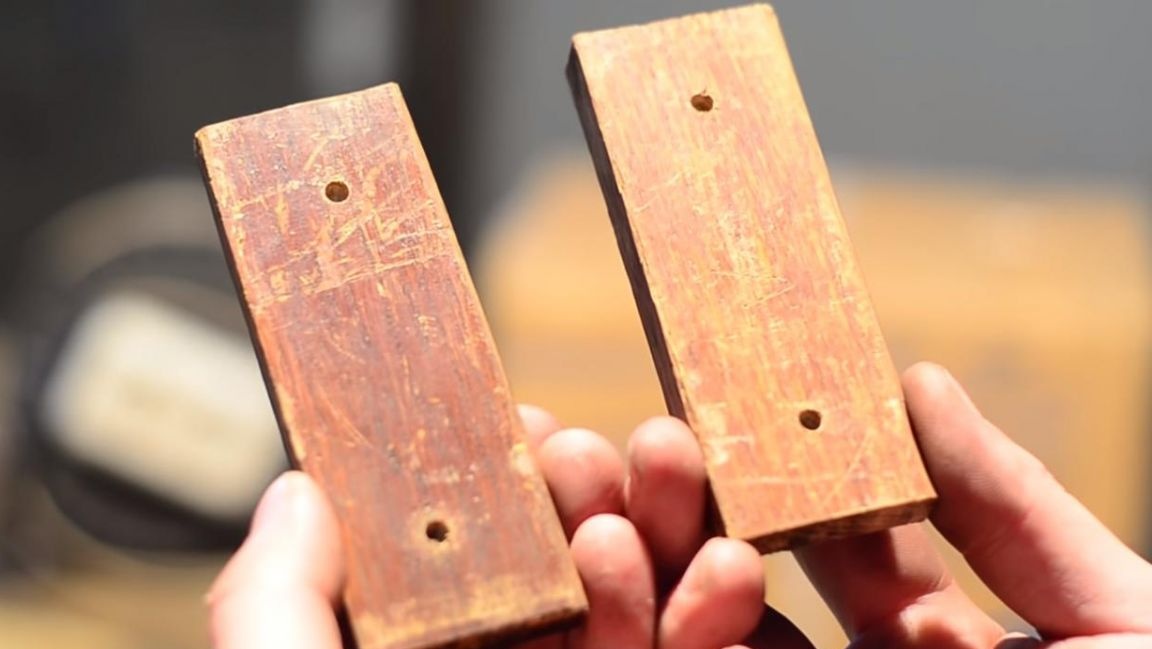
In wooden blanks, we also make two holes of the same diameter.
Step Four
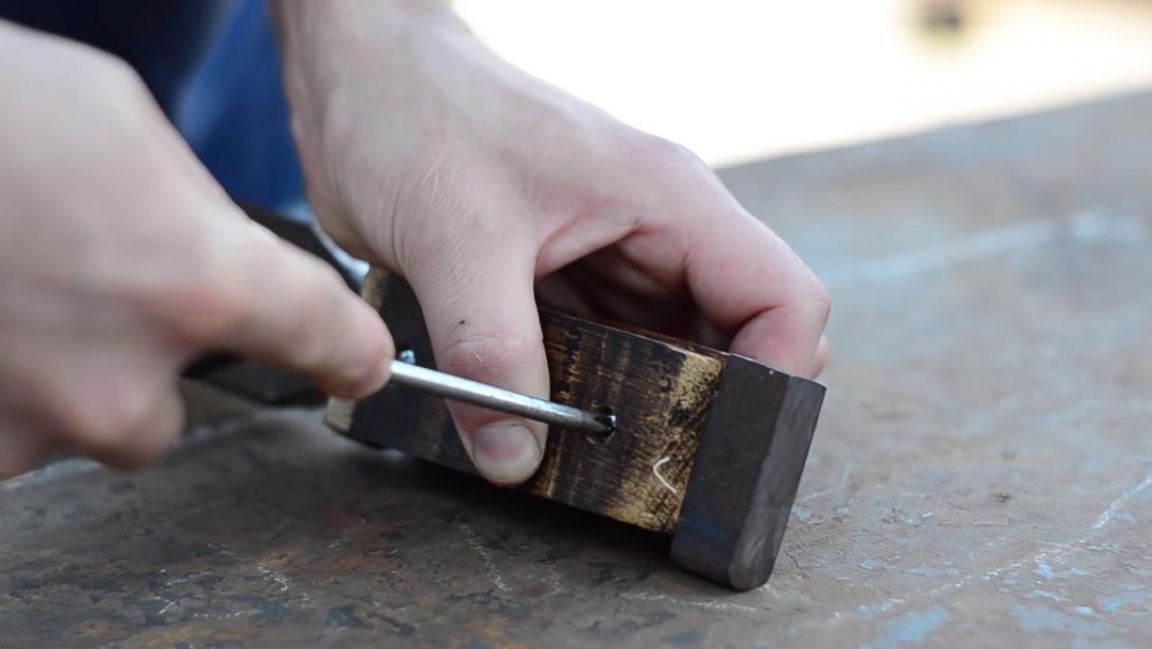
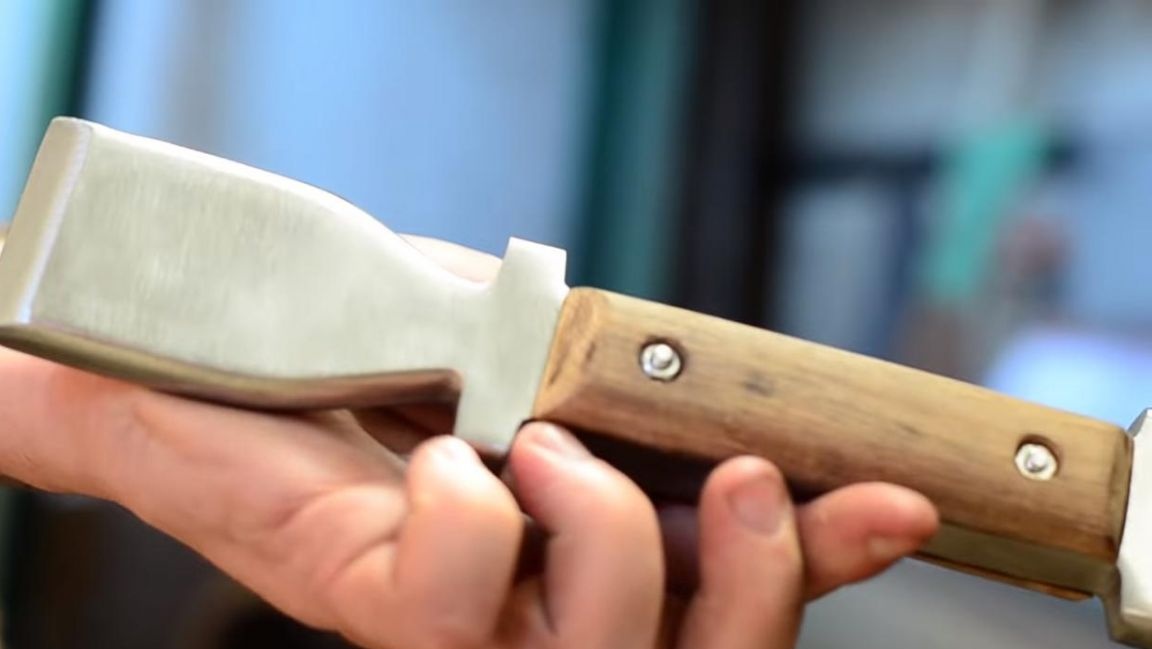
We assemble all the parts together, fix two wooden parts with two M4 screws and nuts.

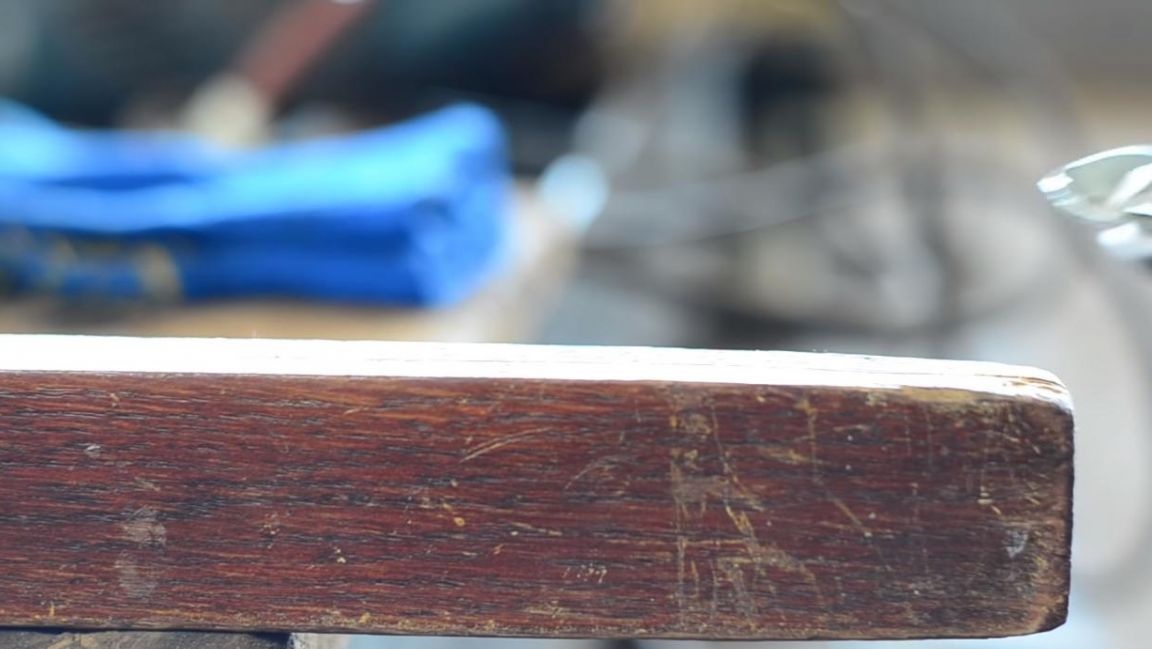
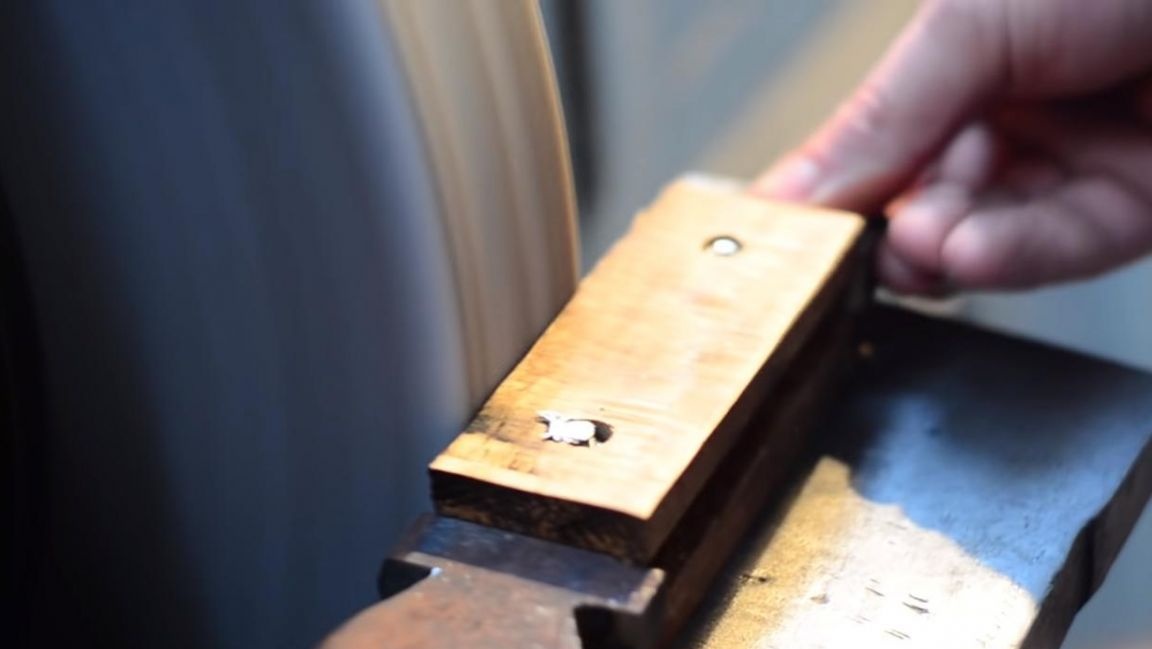
We give the final shape to the handle on the grinding machine, rounding sharp corners and removing burrs. When working on a sharpening machine, the workpiece must be firmly fixed and safety glasses, a respirator and gloves must be used.
Next, we untwist the screws with a Phillips screwdriver and proceed to the processing of the metal part.
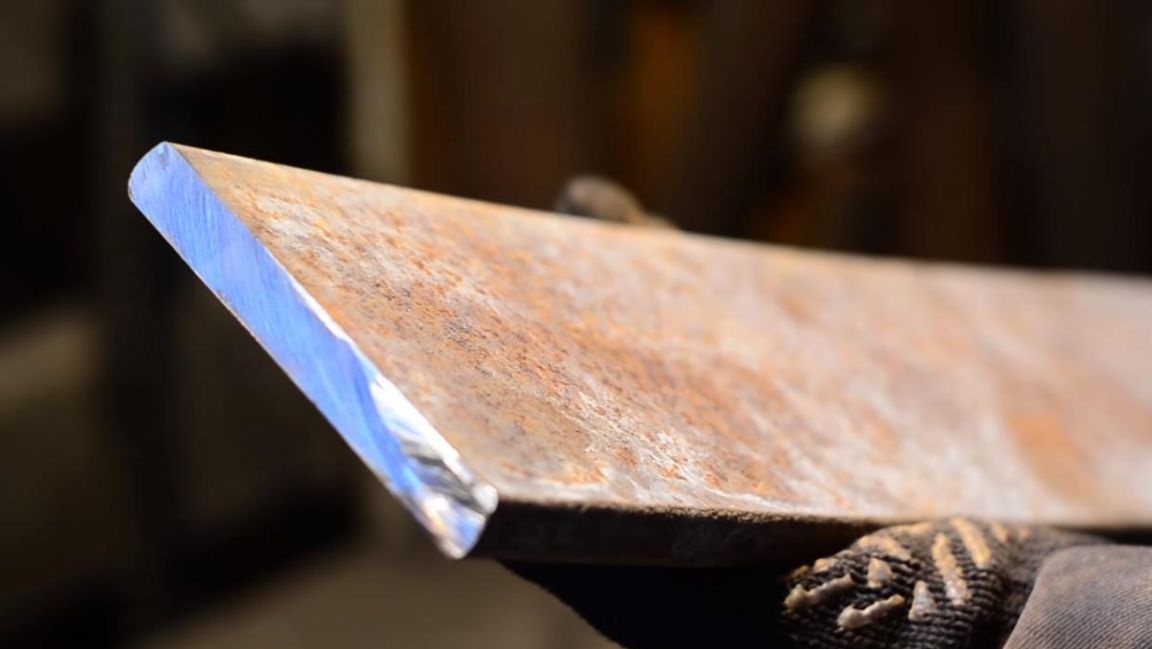
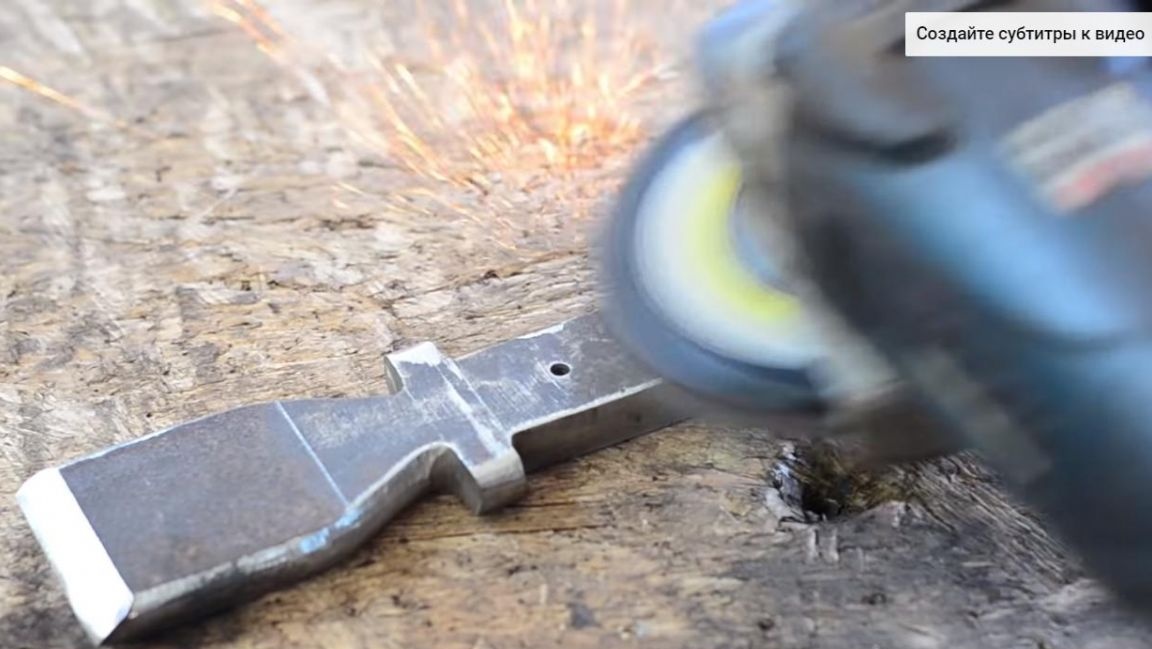
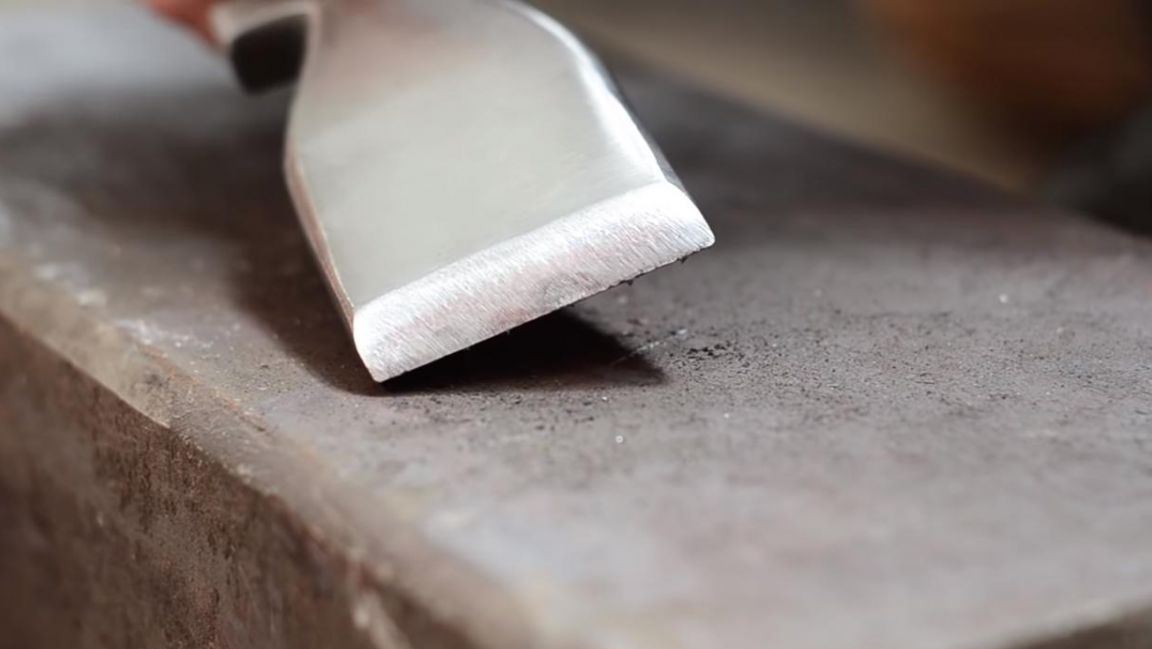
We fix the part from the spring in a bench vise and begin to grind the sharp edges and remove irregularities with the help of an angle grinder and a grinding disc.
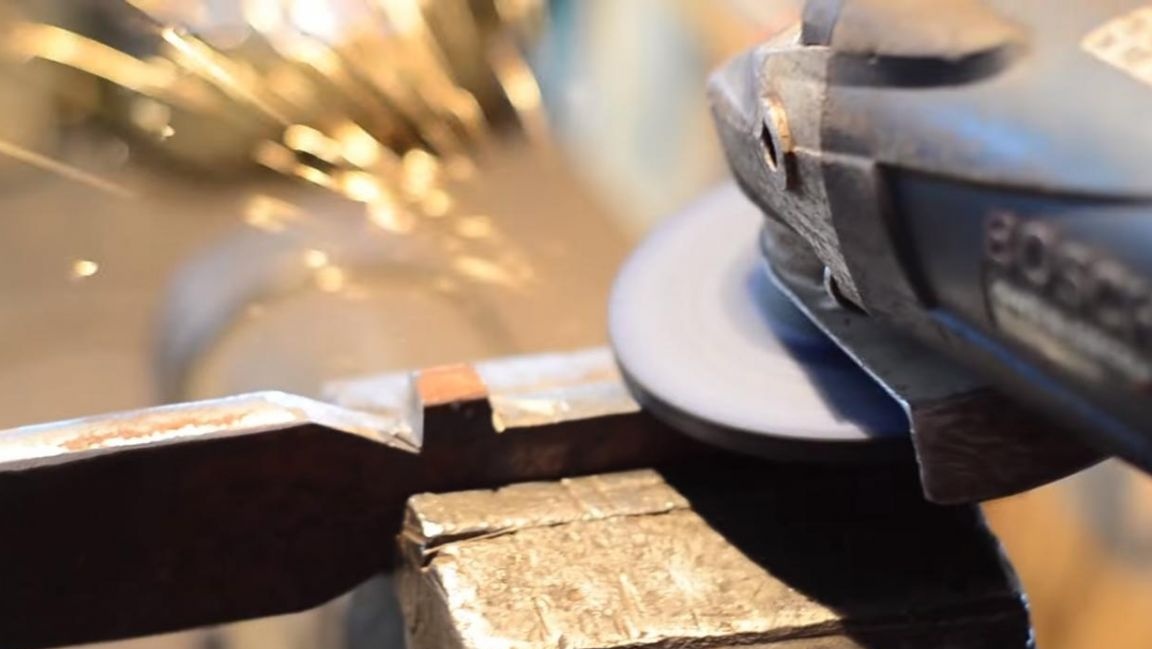
From the end of the plate we remove two chamfers on the grinding machine.
The result should be something like this.
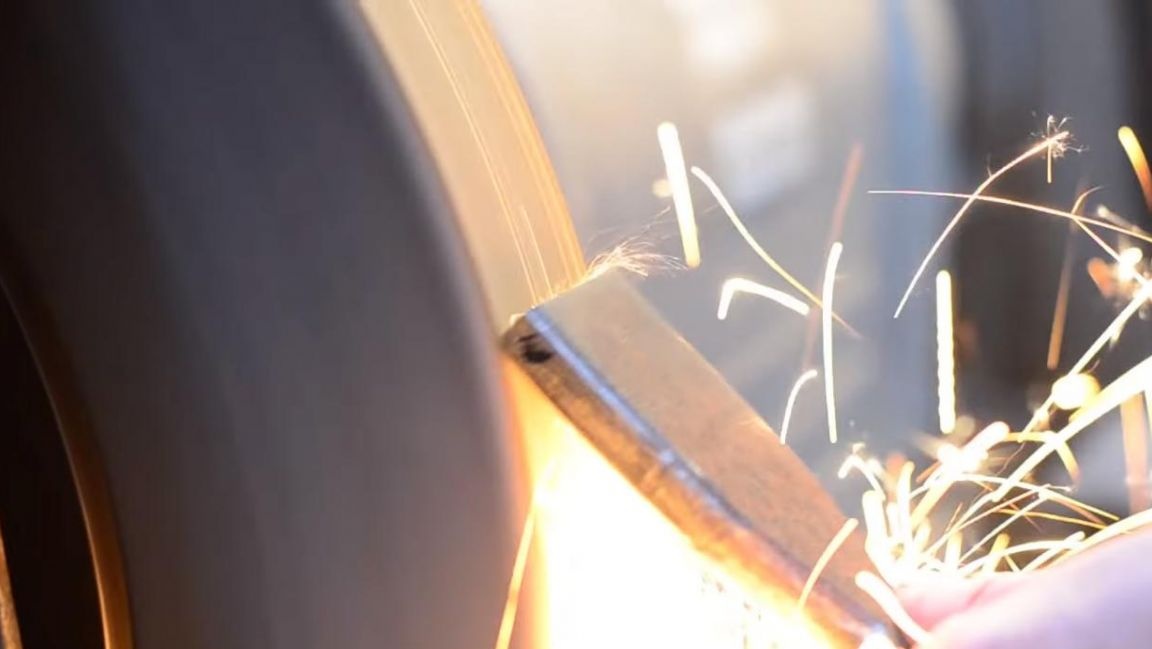
Then we remove the traces of rust and minor defects from the part using angle grinders and a grinding blade disk.
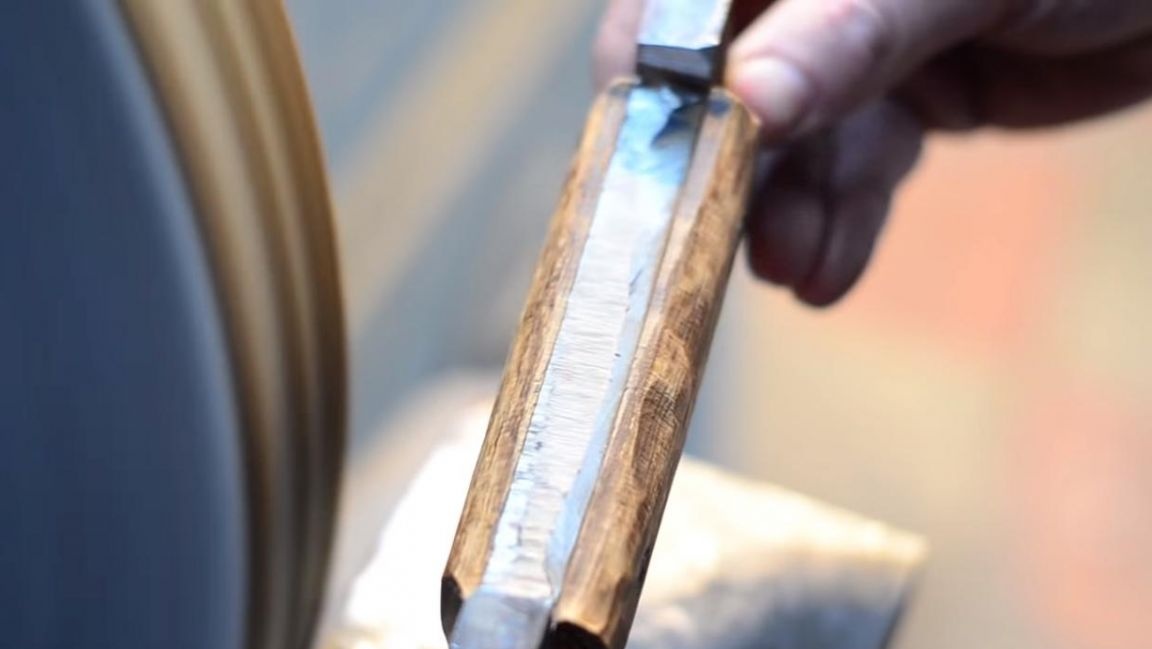
We polish the parts on a drilling machine by installing a felt circle in its cartridge, on which a little GOI paste must be applied in advance.
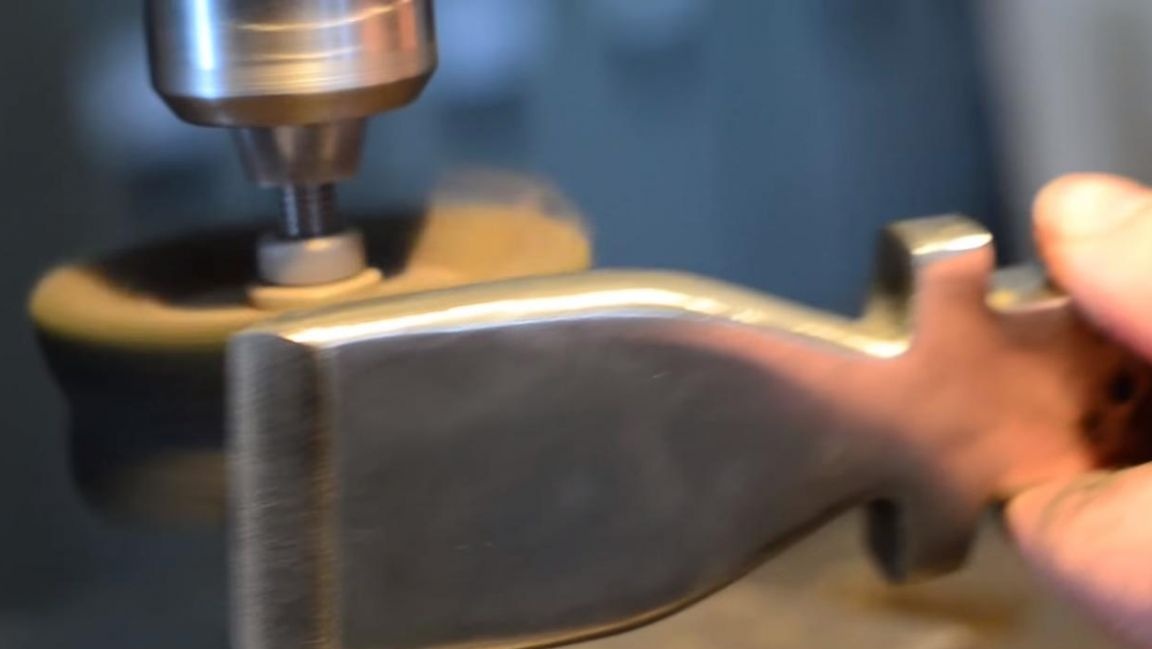
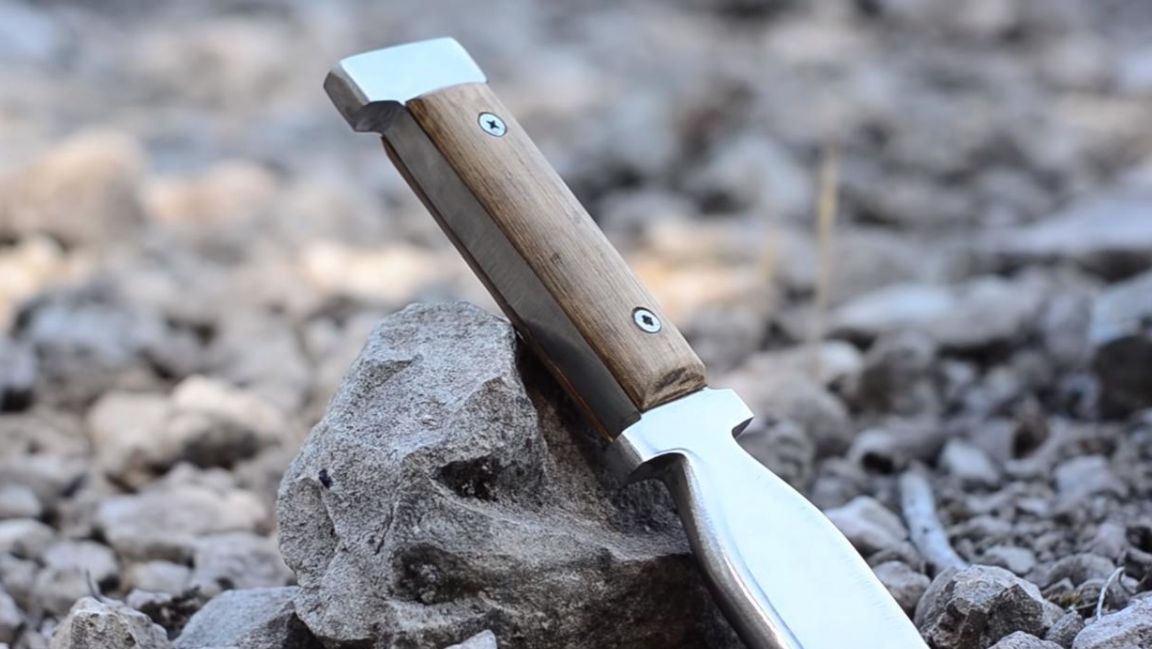
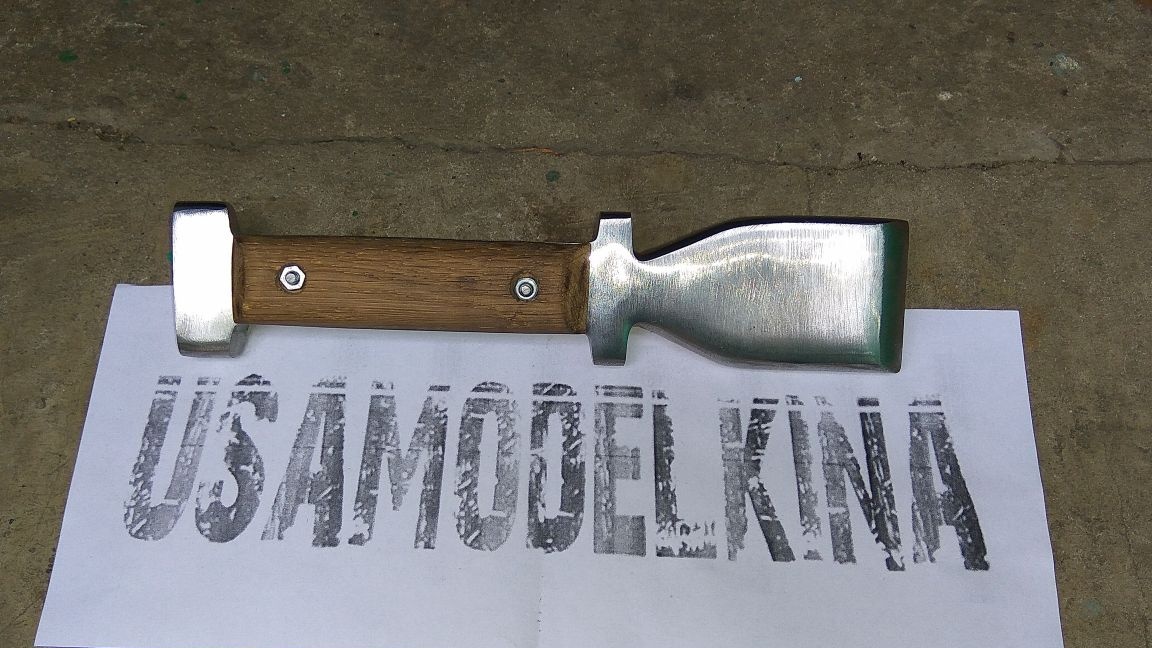
The result is a great tool called a chisel.
And since the tool is completely ready, it can be tested. To do this, we take a metal wire with a diameter of 6 mm and an anvil, put it on the wire and hit the wire with a hammer on its upper part.
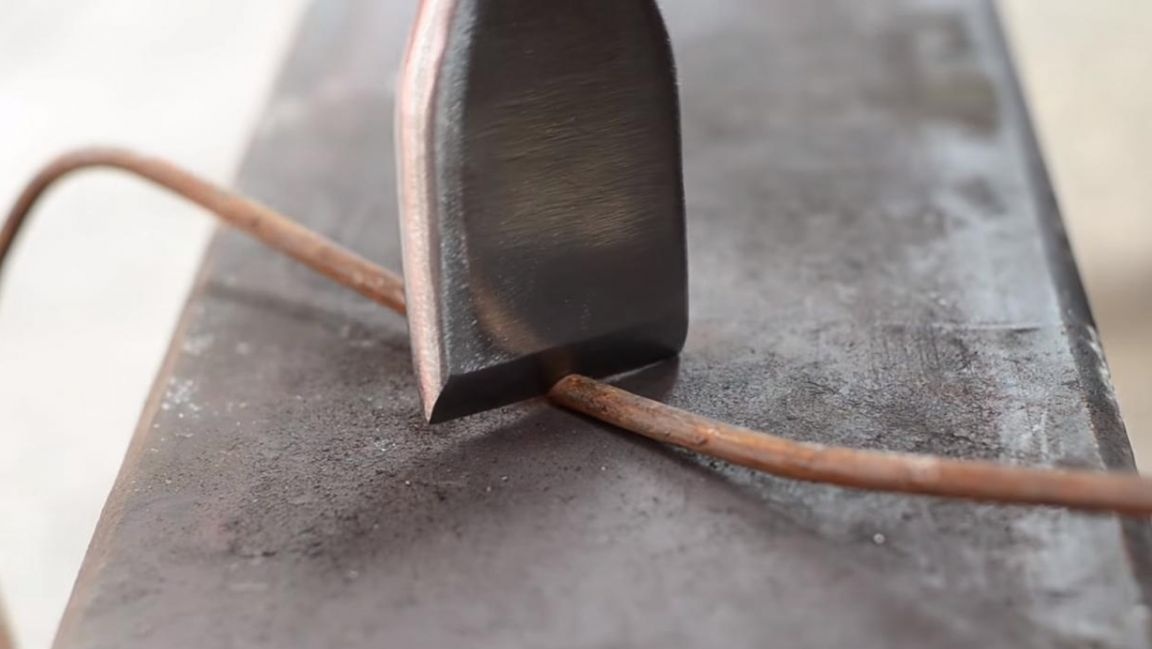
This do-it-yourself tool did an excellent job with the test, and its tip remained as sharp and without visible damage.
Therefore, if you often deal with metal and its cutting, then such a chisel will definitely be useful to you, and the experience gained in the process of its manufacture will only benefit.
That's all for me, thank you all for your attention and creative success.