

Hello to all lovers homemade. In this article I will tell you how to make a surface gage for marking do it yourself. It will help you mark out any part from various materials. This tool will be especially convenient as a square, which of course is a plus, since you will not need to have a construction square on hand. The cost of manufacturing such a homemade product is minimal and does not require special skills in manufacturing, so everyone can handle it.
Before you read the article, I suggest watching a video, which shows in detail the entire process of assembling this thicknesser for marking, as well as a demonstration of its work.
In order to make a surface gage for marking yourself, you will need:
* Wooden block dimensions 20 * 40 mm
* M14 bolt 30 mm long
* 12 mm metal drill
* Electric drill
* Wing nut M14, in this case there was only M12
* M14 tap with thread pitch 2 mm
* Ruler metal 40 cm
* Wood hacksaw
* Bench vise
* Superglue or PVA glue
* Chisel
* Coarse sandpaper
* Epoxy hardener
* Angle grinder, cutting wheel
* Safety glasses, gloves, earphones
* Building corner, pencil
Step one.
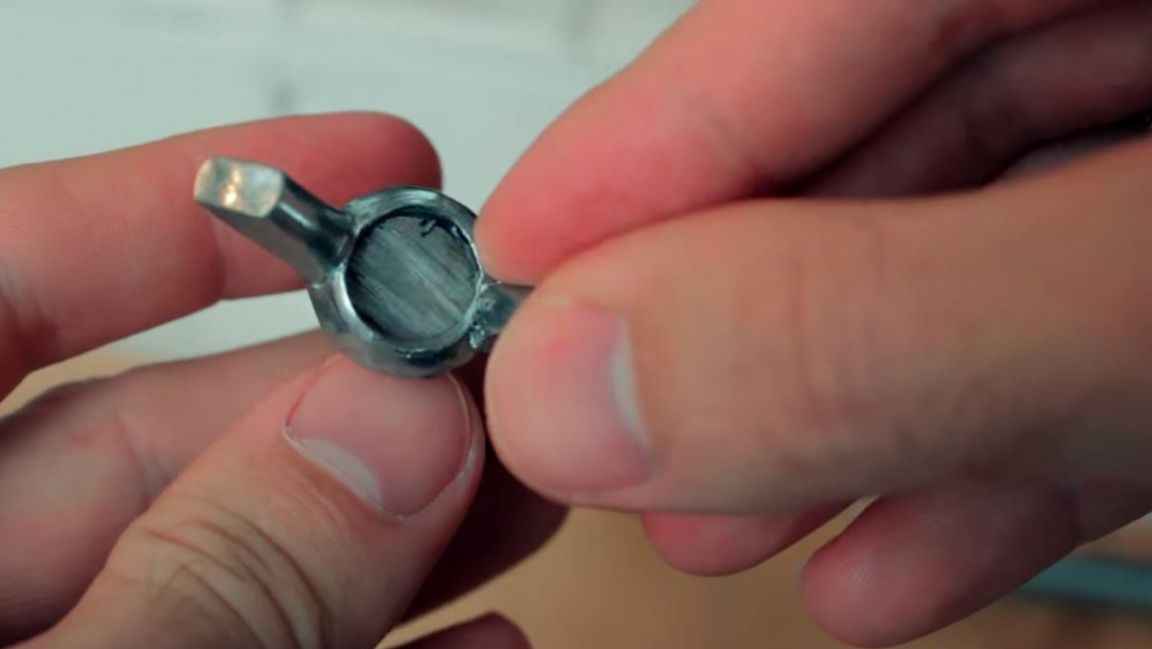
The first thing you need to earn a little wing nut, as its diameter is slightly smaller than the bolt. If you have a 14 mm wing nut, then skip this operation. We fix the nut in a bench vice and use an electric drill and a 12 mm metal drill clamped in its chuck to drill a through hole, and periodically add a little technical oil to the cutting edge, so the drill will last longer and will not jam.
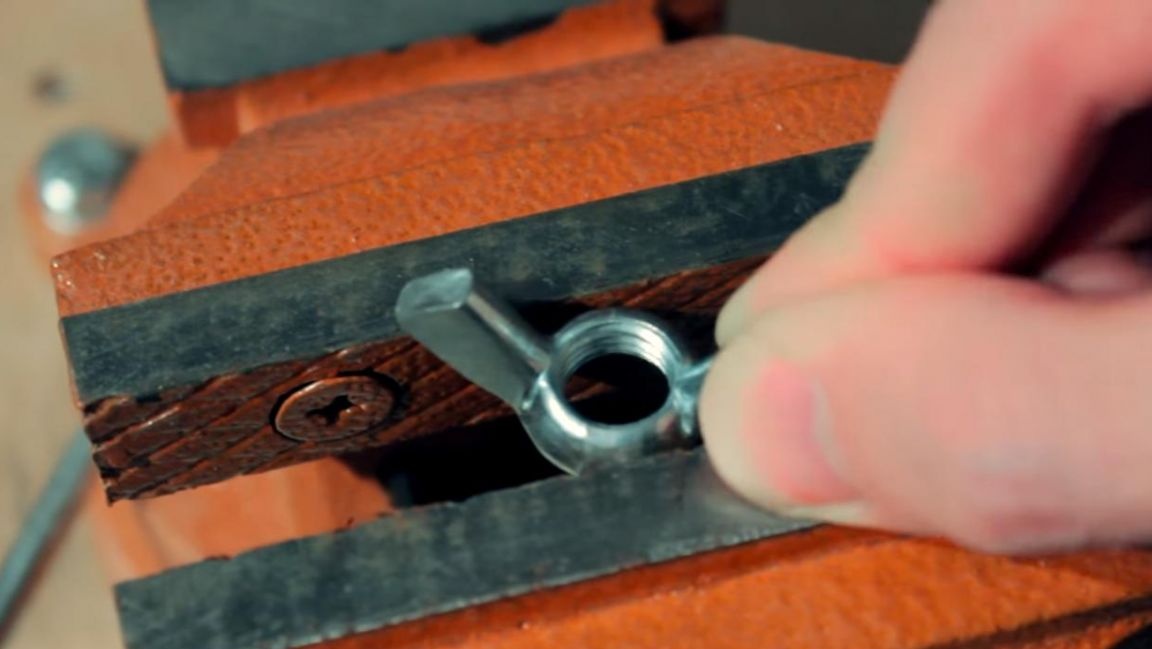
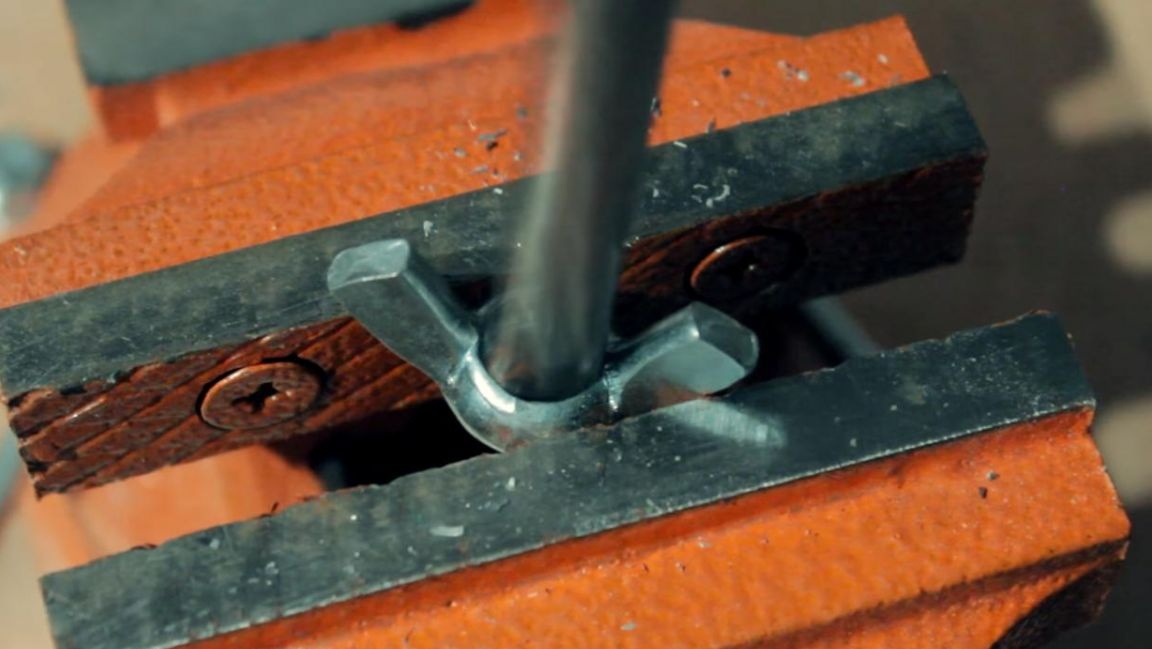
After that, it is necessary to cut the thread in the nut, install a 14 mm tap in the tap holder with a thread pitch of 2 mm and begin to slowly rotate the handle. In the process of threading, we also lubricate the cutting edge so as not to overload the tool and increase its service life.
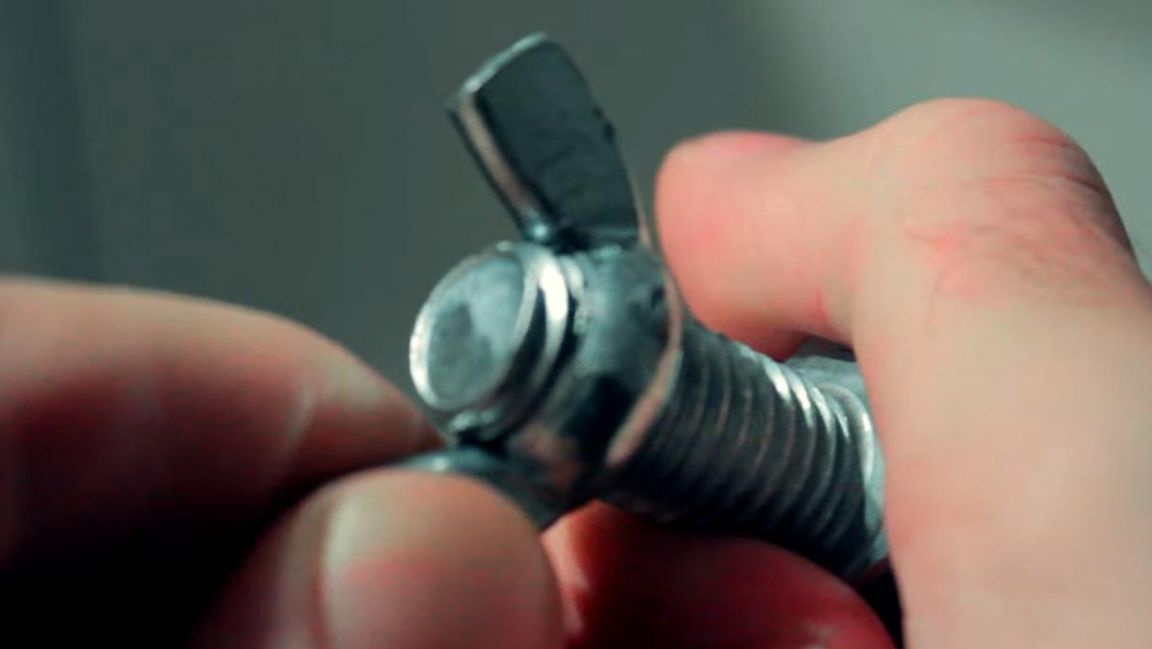
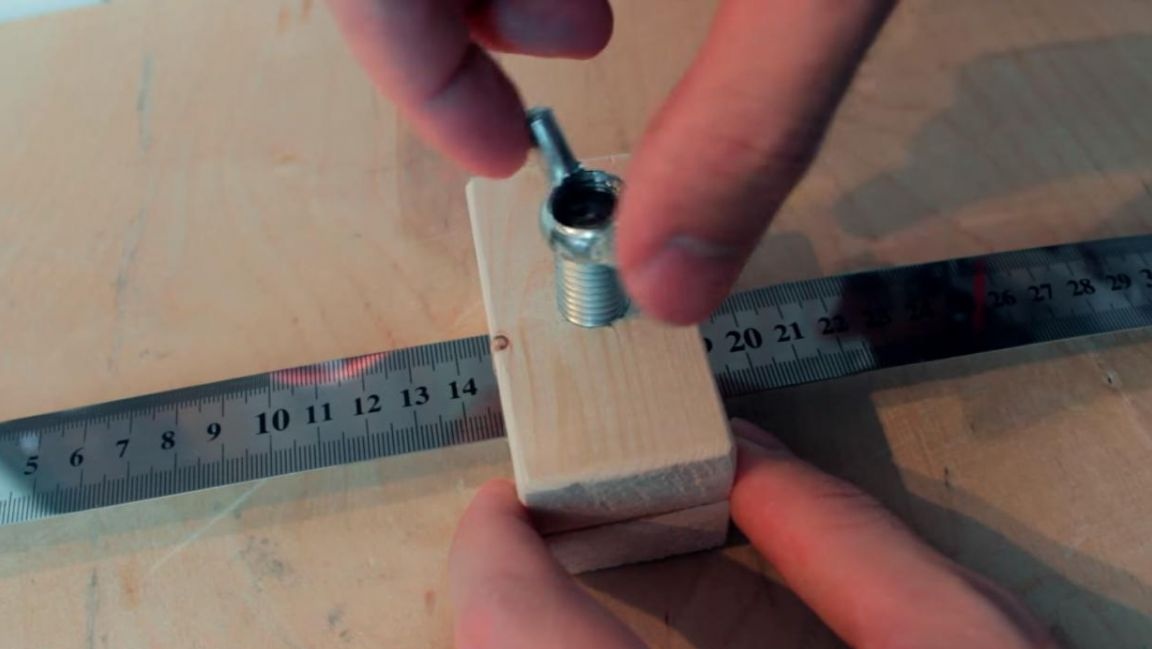
We check how the wing nut is screwed onto the bolt and proceed to the next step.
Step Two
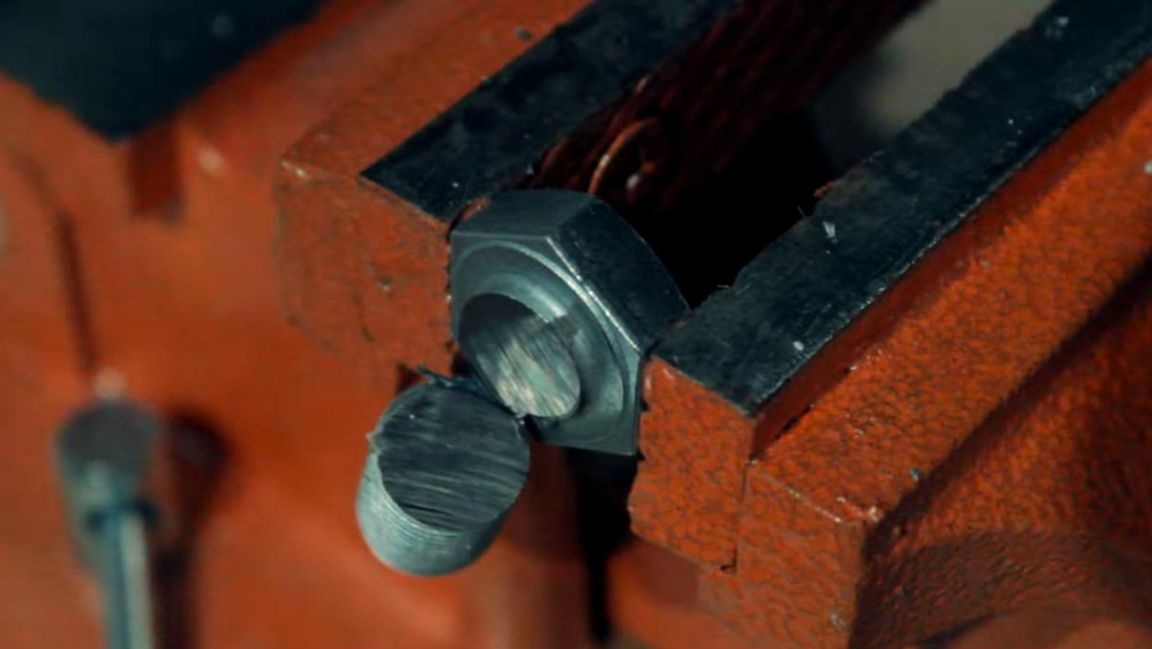
Then he clamps the bolt in a bench vise and, using an angle grinder and a cutting wheel, saw off his hex head. When working with the angle grinder, be careful and also use personal protective equipment, glasses, gloves and headphones.
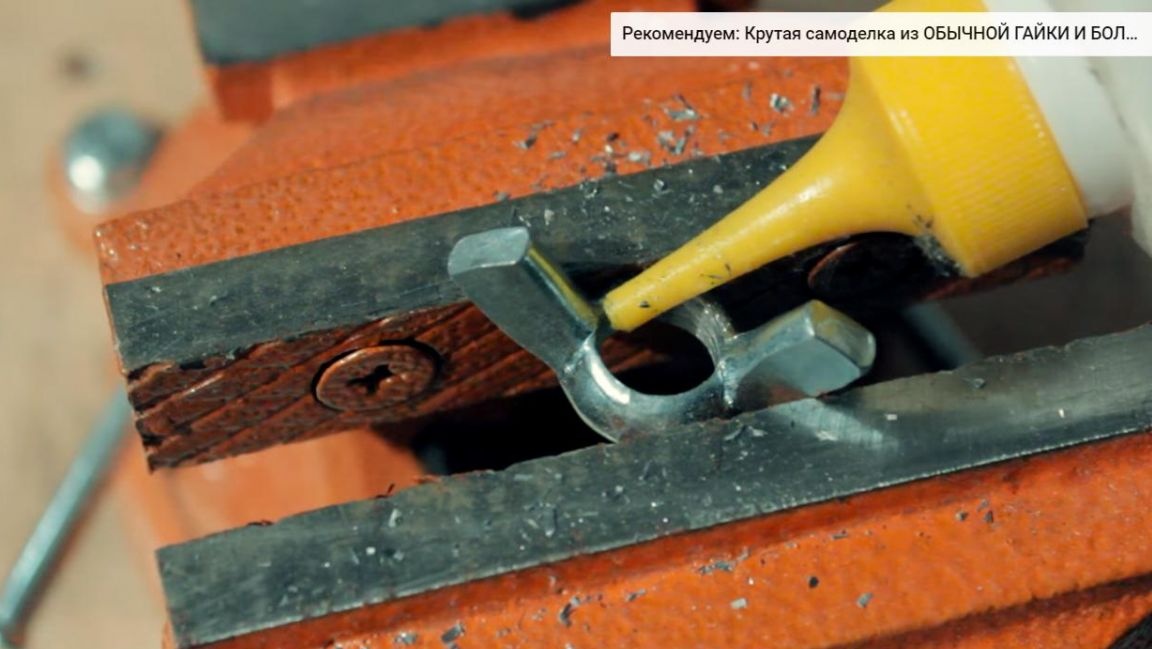
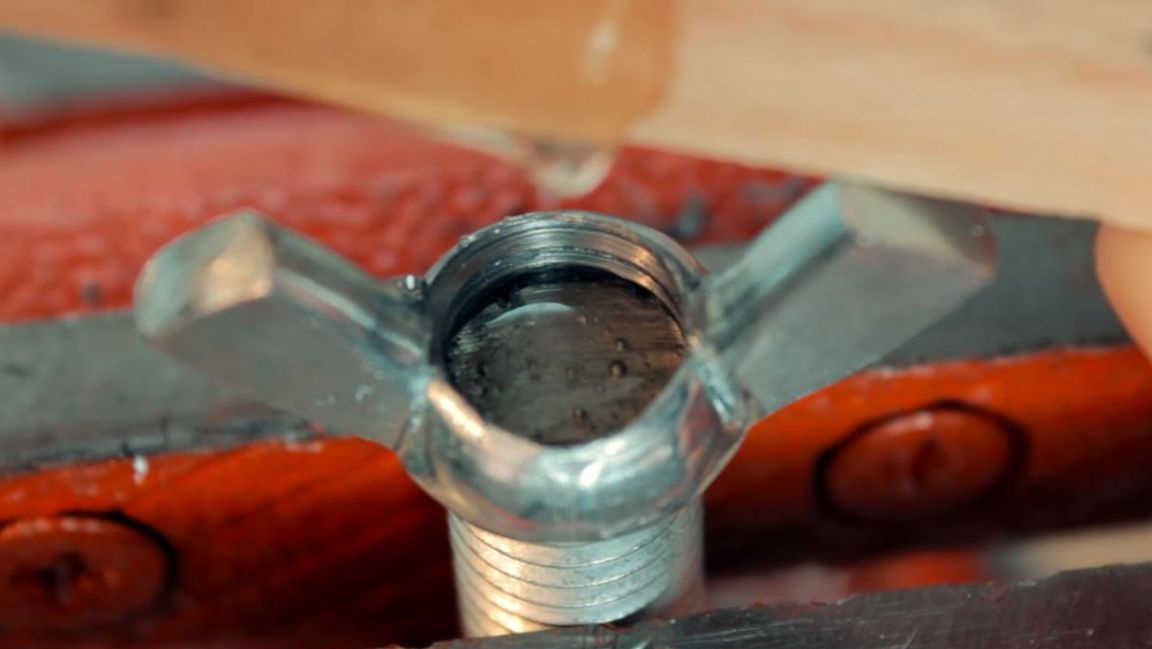
After that, we wind the rest of the bolt onto the wing nut and now these parts need to be fastened together.
To connect the bolt to the nut, we use epoxy resin, which, in accordance with the proportions, is mixed with the hardener and poured into the nut recess, which is pre-installed in a vice.
Full drying of the epoxy resin takes a long time, so you can proceed to the manufacture of the main part.
Step Three
Now we make the basis of the thicknesser. We clamp a wooden block with dimensions of 20 * 40 mm in a vise and measure 80 mm from the edge using a building square, after which we saw off a bar using a hacksaw on a tree using a mark. Two such blanks are needed, so we do the second in the same way.
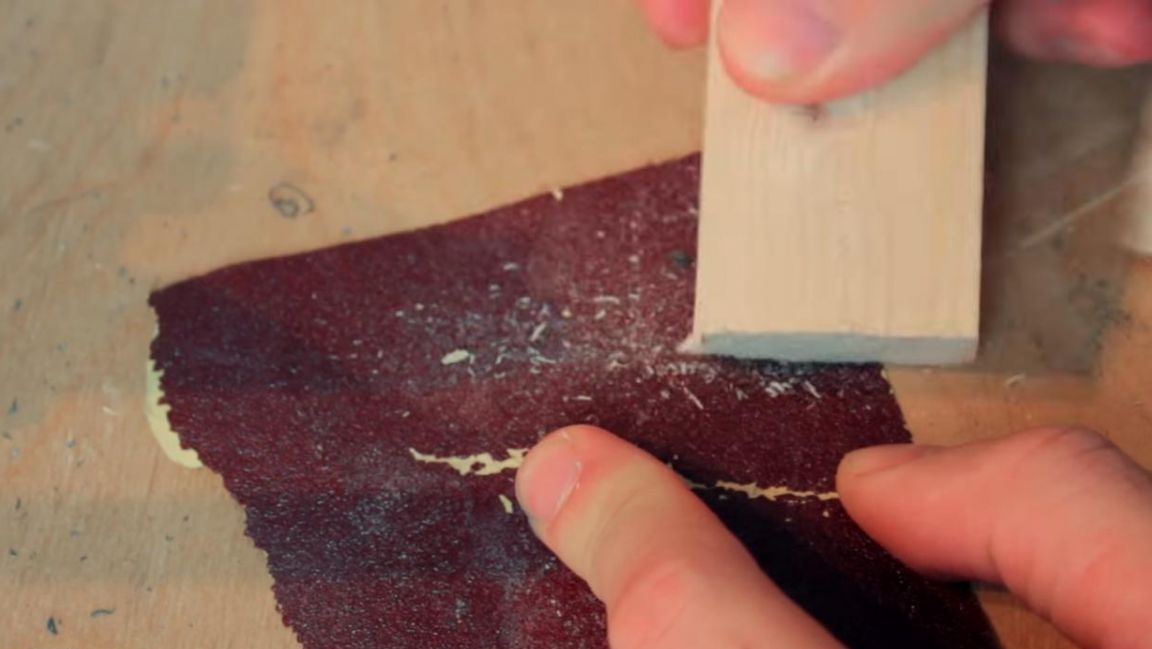
After the workpieces with a length of 80 mm are ready, they must be slightly sanded manually with sandpaper.
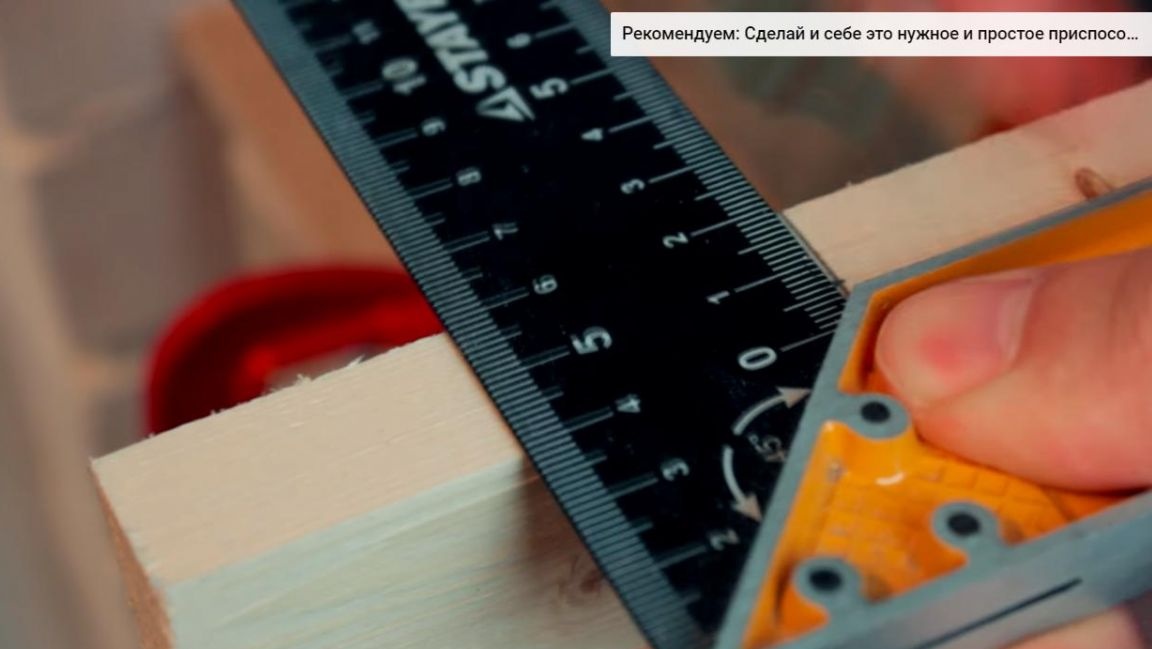
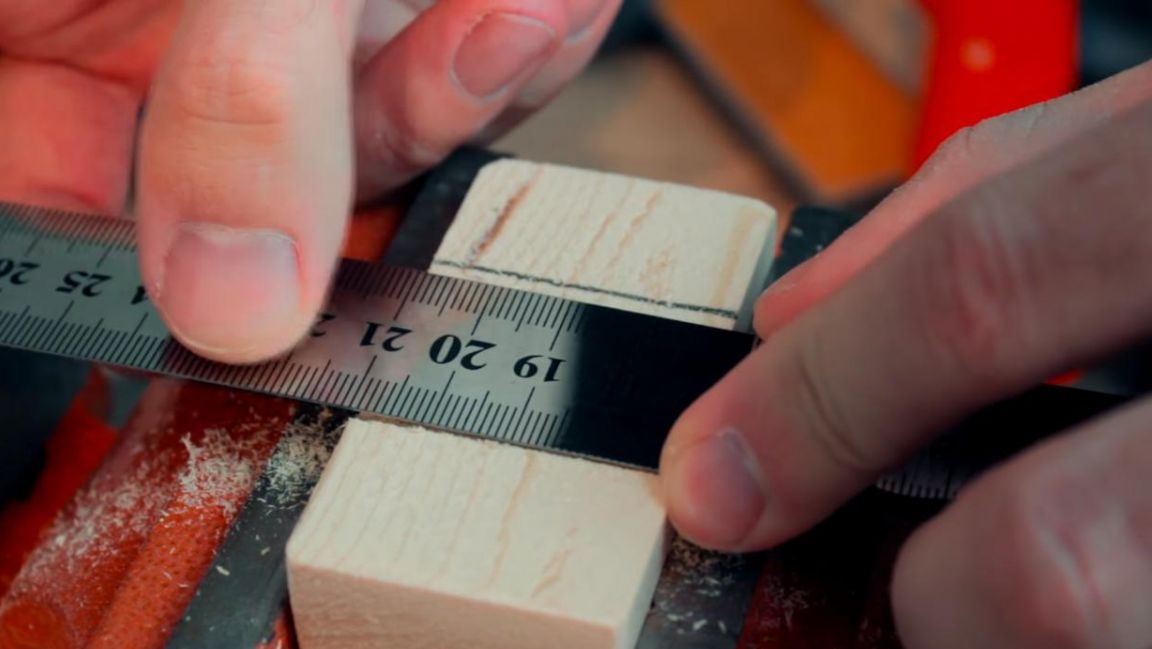
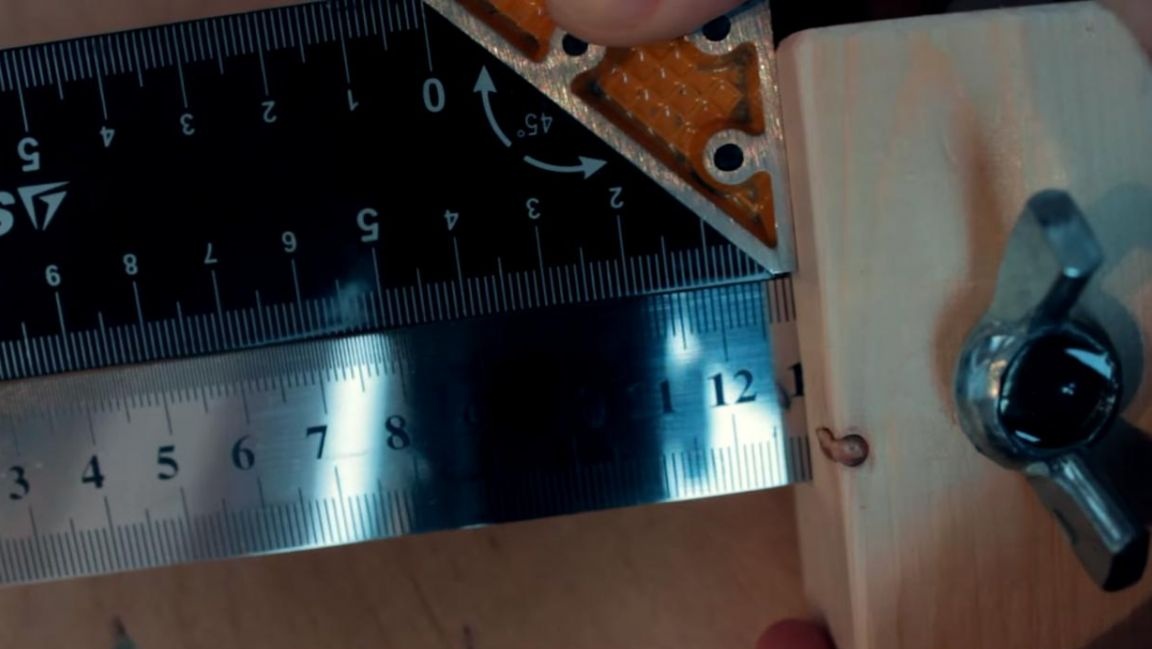
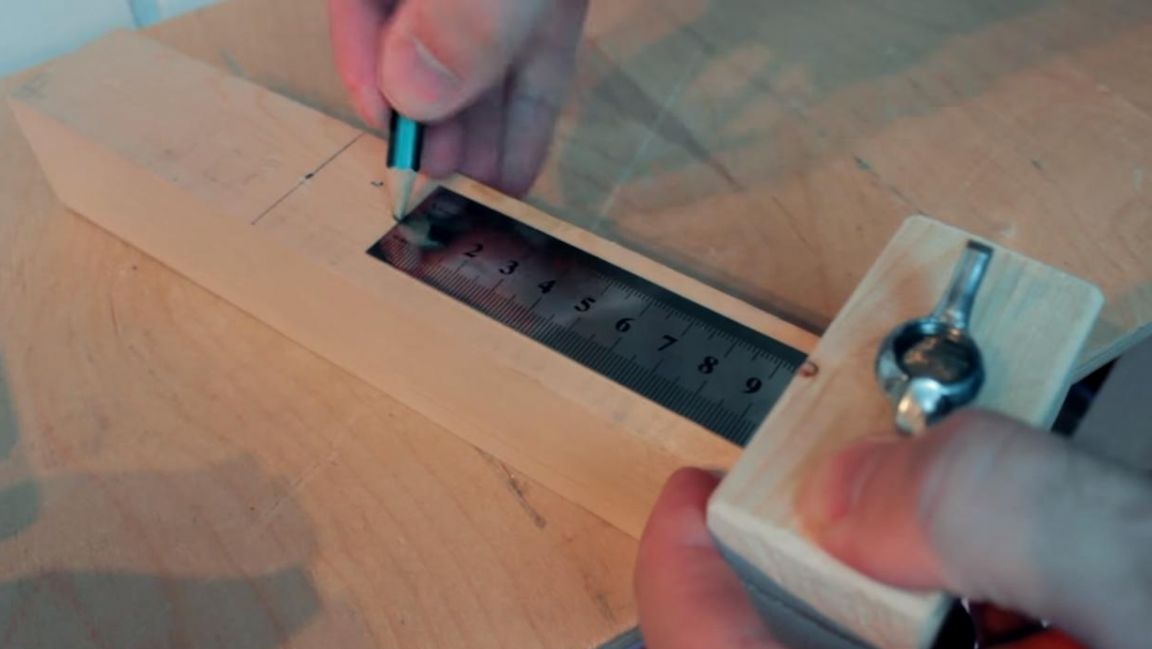
We fix one of the blanks in a vice with the wide side up and attach a ruler to it, circle it with a pencil, while observing a right angle with the help of a construction square.
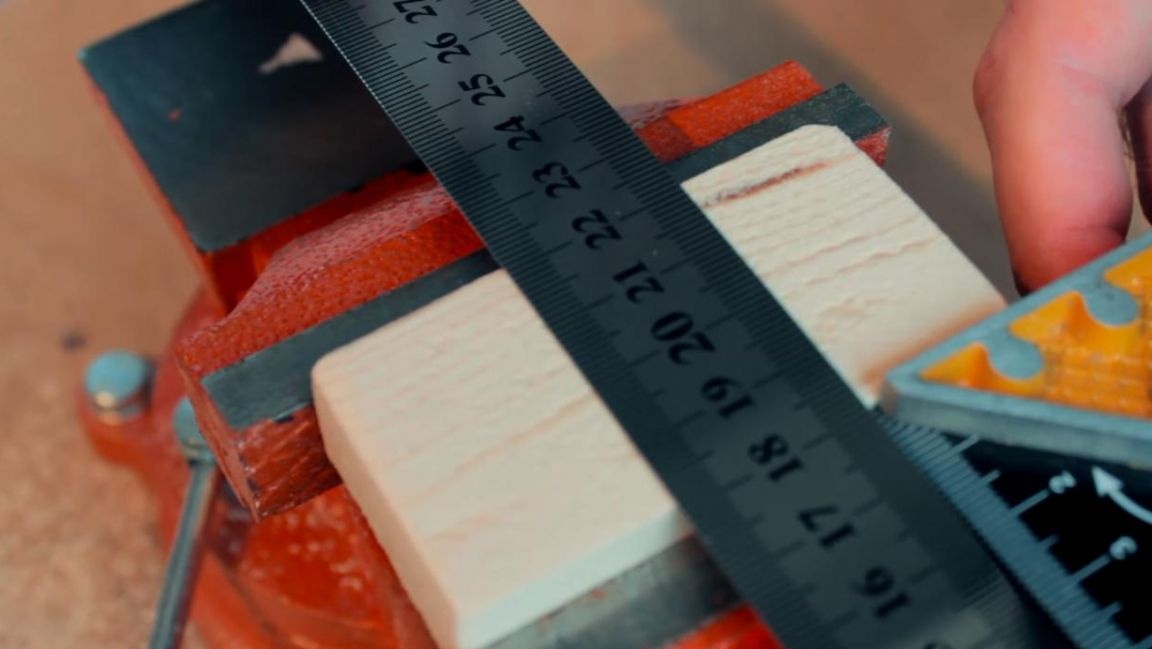
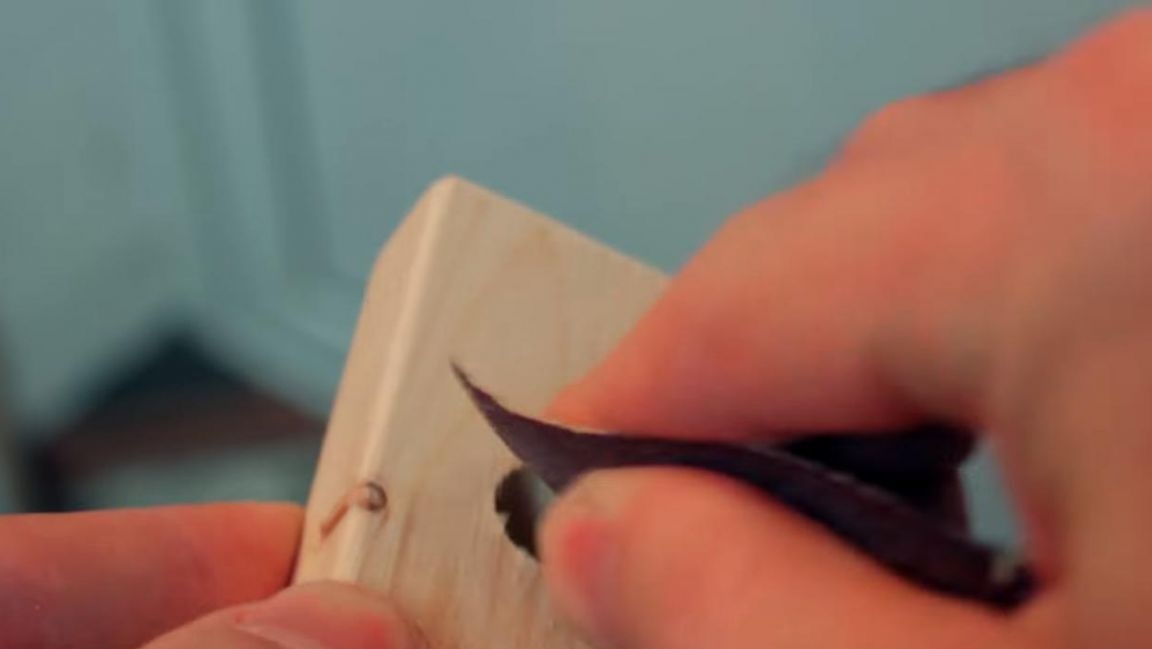
Further on the mark we make a small cut with a hacksaw on a tree, after which we apply a ruler and, starting from this, draw a second line and make a cut of the same depth.
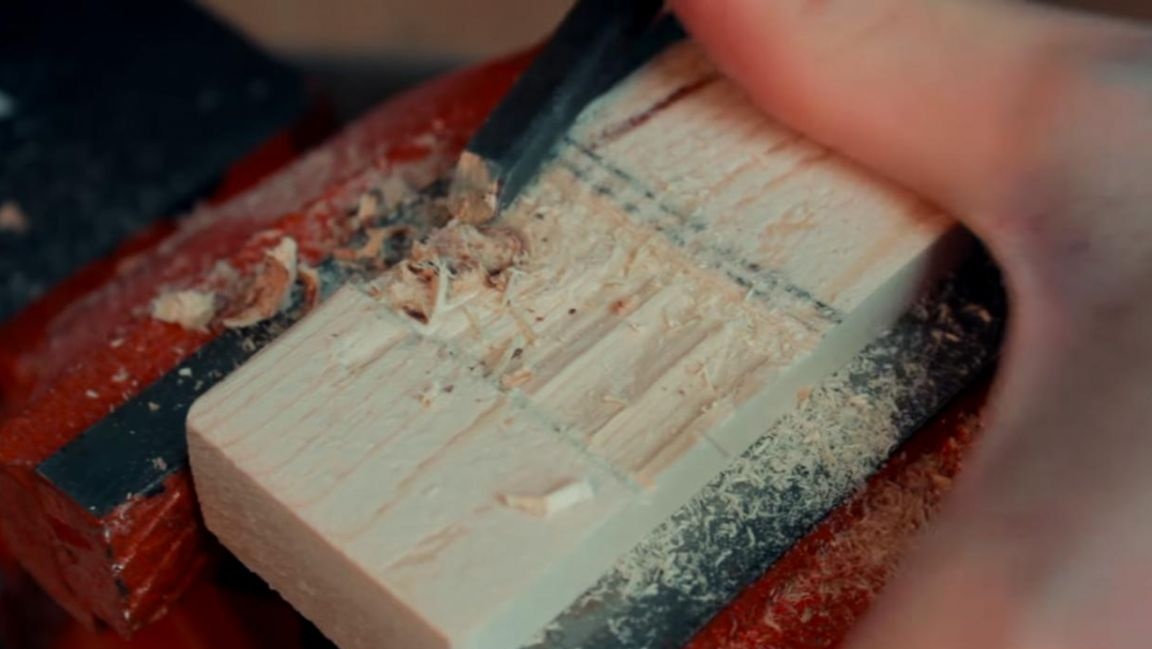
Using a chisel, remove excess material to form a recess for installing the ruler. For a better fit of the ruler to the bar, we slightly grind the recess, removing burrs and irregularities.
Step Four
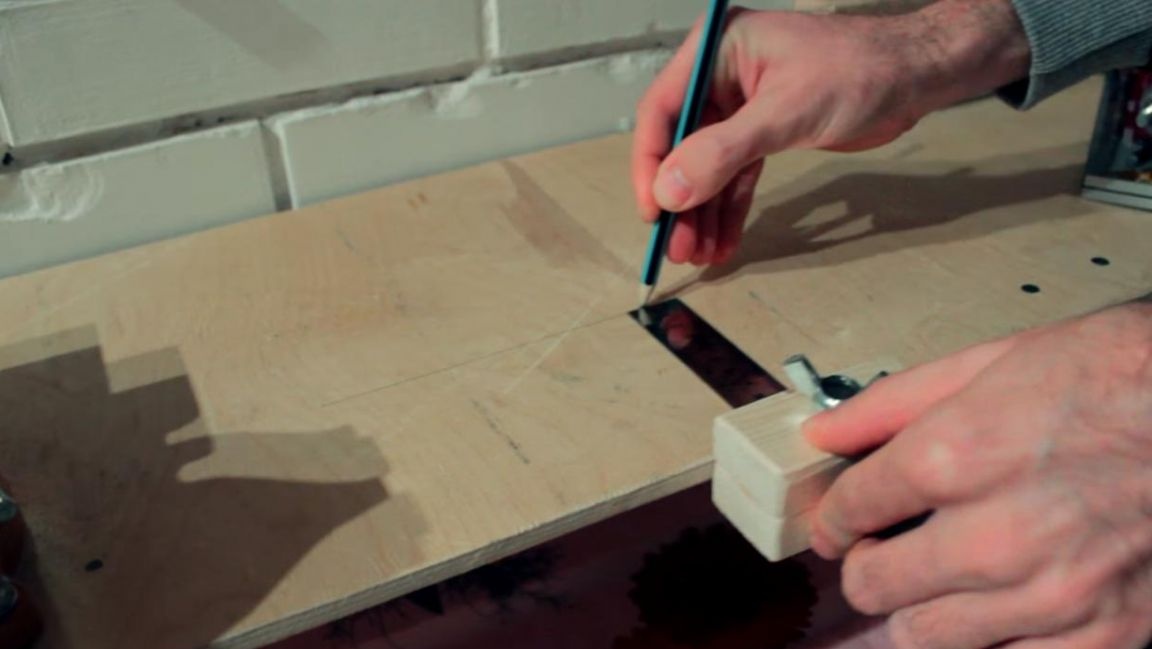
Clamp the next bar and mark its center with a pencil, high precision is not necessary here.
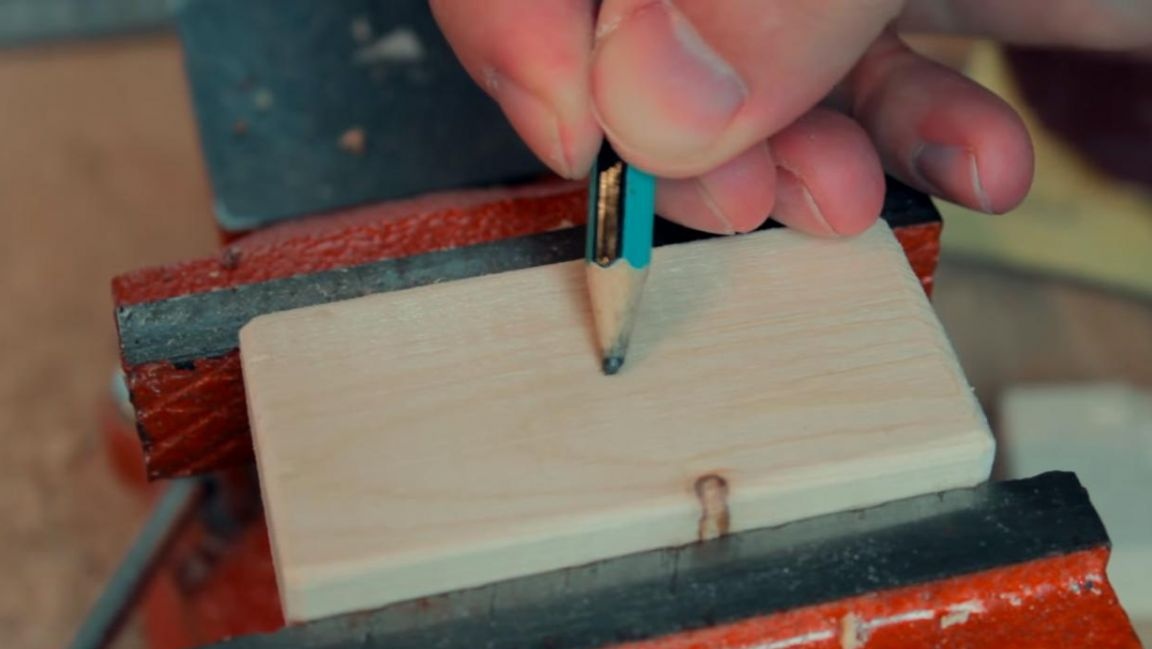
Next, using an electric drill and a 12 mm drill, make a through hole in the bar at the mark.
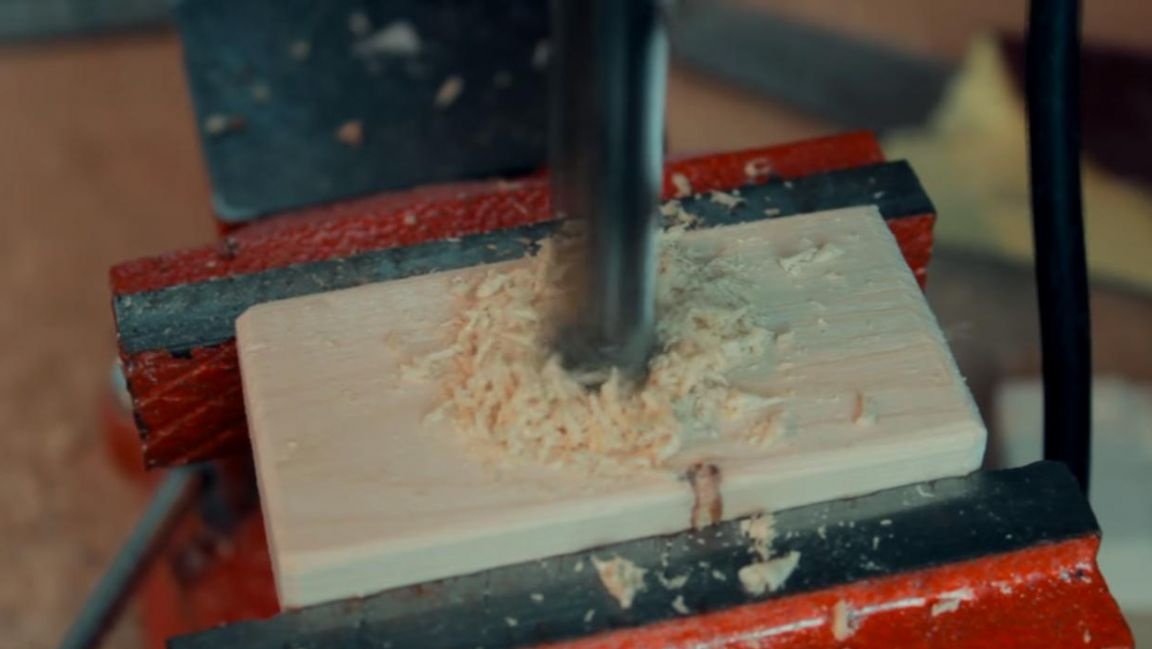
Grind the edges of the hole with sandpaper.
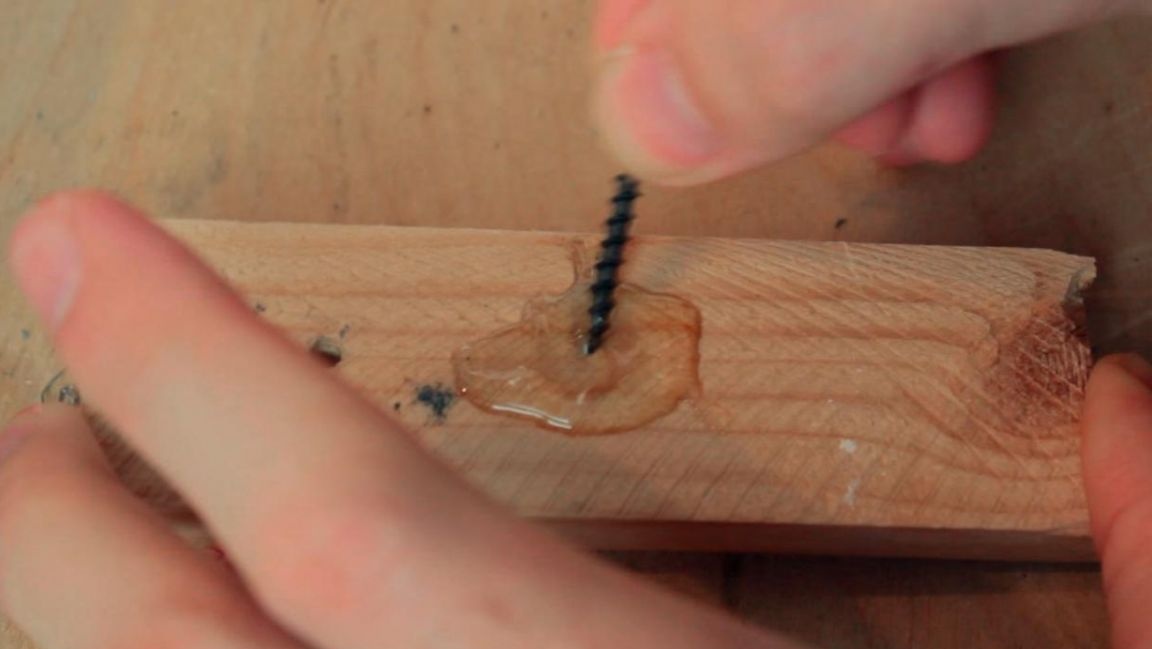
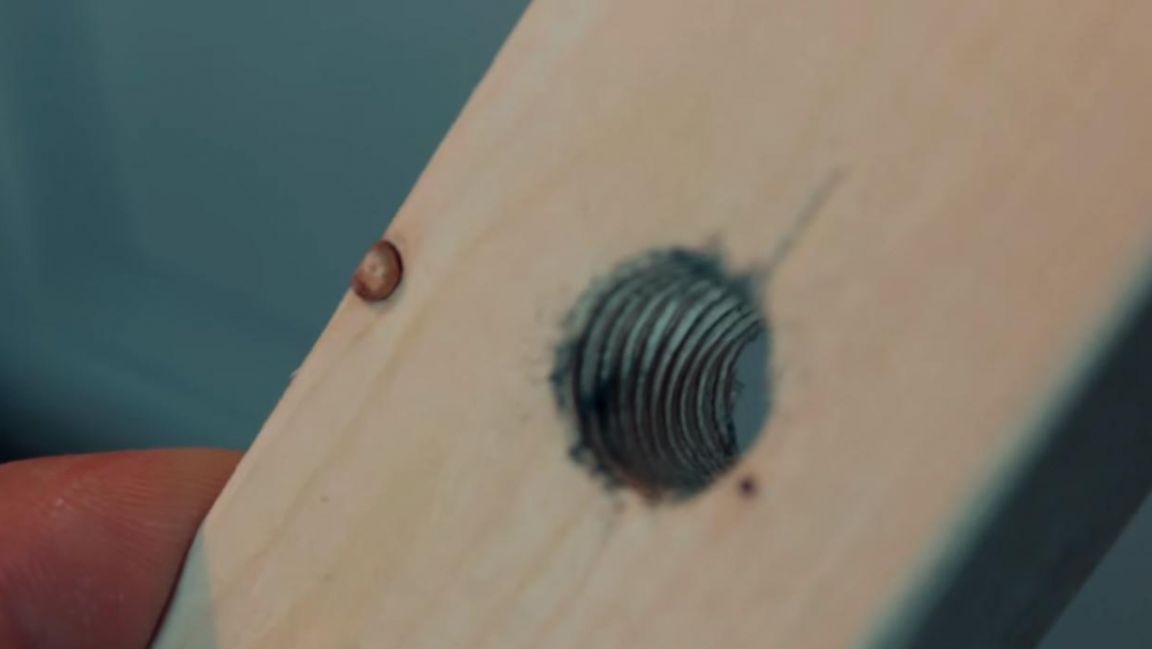
In the hole, we cut the thread with the M14 tap; the thread in the tree is cut much easier than in metal.
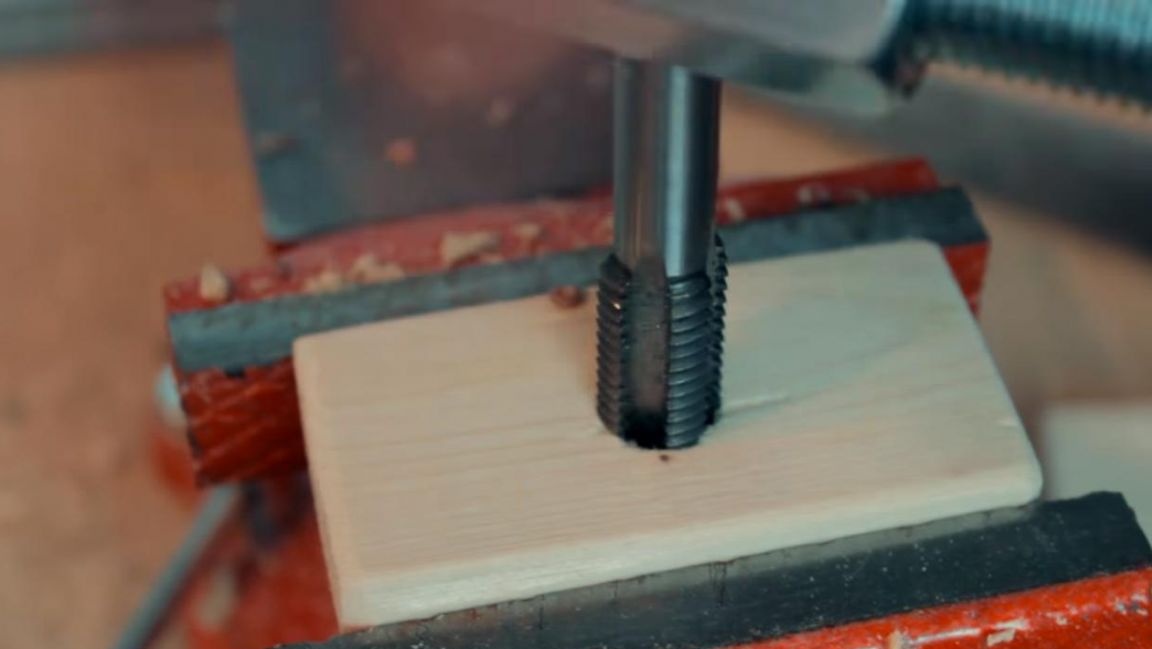
The result is such a result.
Step Five
It's time to hold the two bars together. We apply superglue to the places where the bars are glued together and press them together.
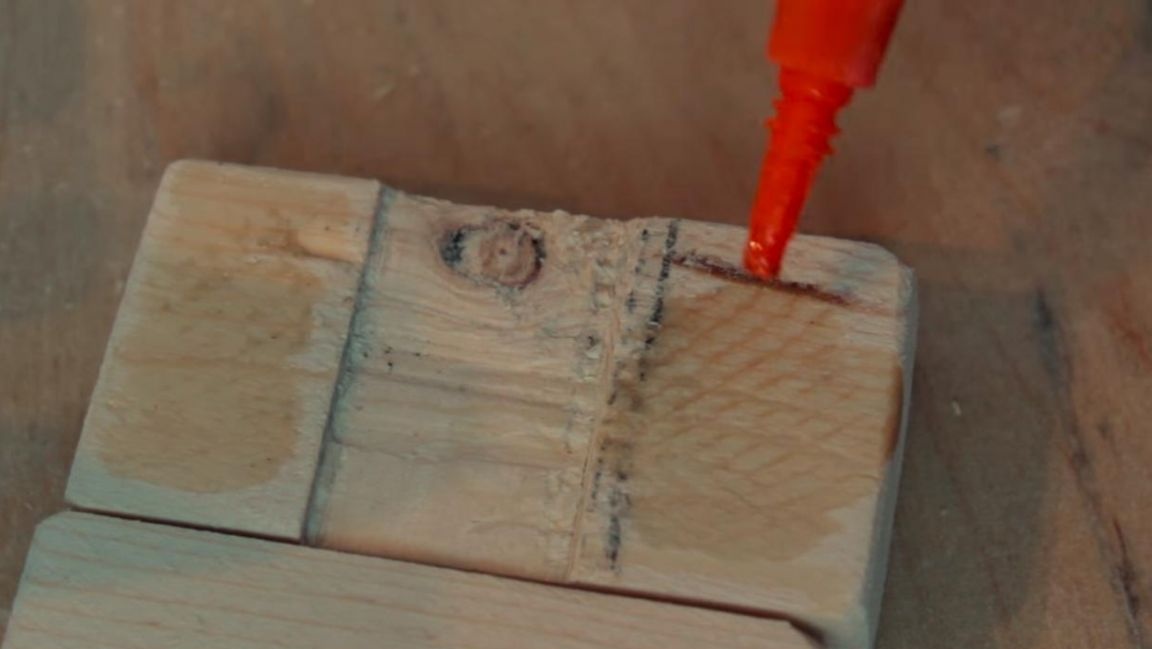
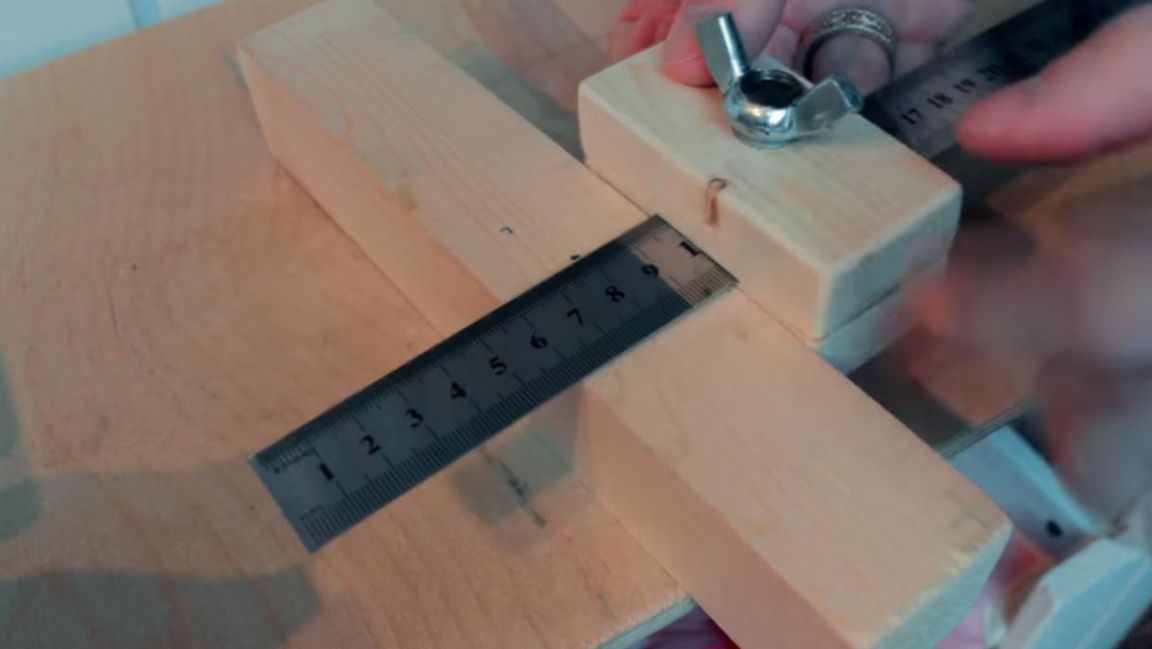
The use of superglue in this case is not mandatory, instead of it you can use PVA glue, the only thing is that it will take more time to dry it. Next, insert the metal ruler into the groove made and fix it with the wing nut.
The result was a surface gage for marking, with which you can mark any details. Also, this tool can be used as a square, the right angle here is quite accurate.
Using this thicknesser, you can copy the same distances from different edges and immediately draw a right angle, and you can set the required length if you loosen the wing nut.
And if necessary, with this tool you can draw a straight line at any distance.
That's all for me, thank you all for your attention and creative success.