

Hello to all lovers homemade. Sometimes there is such a need as marking circles of large diameter, for example, in order to make a cover on a hatch, a well or to make other round parts. But to make a perfectly smooth circle without a special tool is almost impossible, so in this article I will tell you how to make a huge compass do it yourself, which will help to draw a circle of large diameter, up to 2 meters, and the assembly costs will be minimal.
Materials for the assembly of this homemade product are readily available, so everyone can handle the assembly.
Before you read the article, I suggest watching a video, which shows in detail the process of assembling a huge compass, as well as its testing in operation.
In order to make a huge compass with your own hands, you will need:
* Angle grinder, grinding emery wheel
* Electric drill
* Safety glasses, gloves, respirator
* Waste Mop
* Wood hacksaw
* Bench vise
* A pair of wooden blocks
* Clamp
* Sandpaper
* Stationery knife
* Screw, Phillips screwdriver
* Drill for 2, 6, 8 and 10 mm in wood
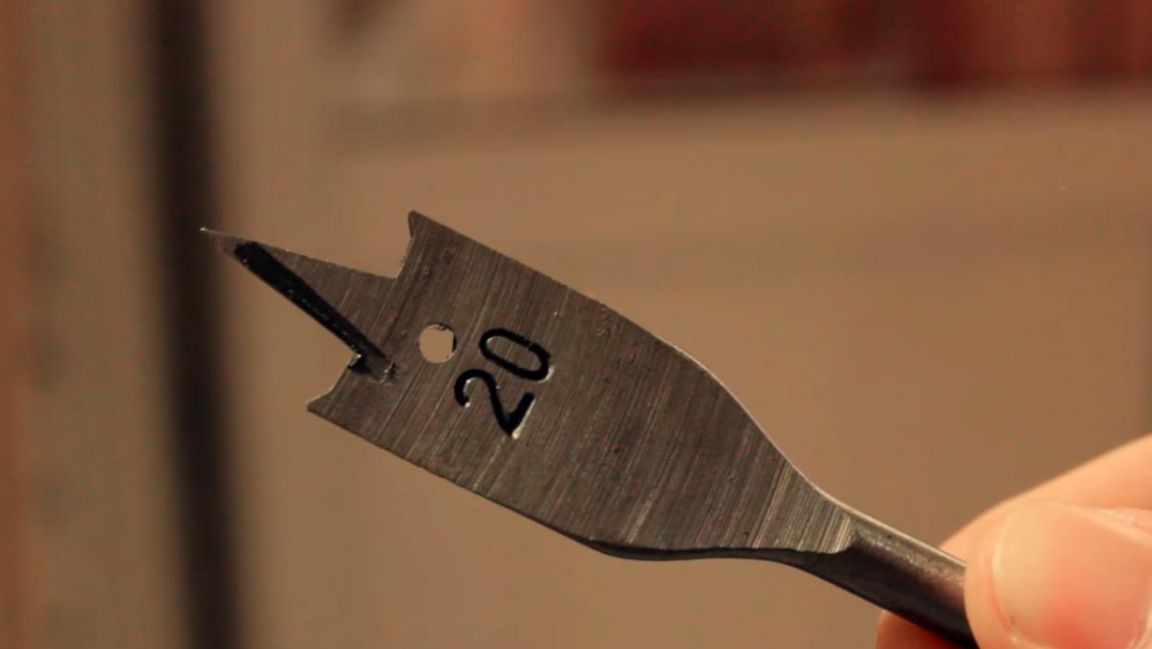
* Pen drill with a diameter of 20 mm
* Two 70 mm long M5 screws and one 30 mm long M5 screw with wing nut
* Construction square, pencil
Step one.
First of all, you need to shorten the wooden blocks to a length of 8 cm, we make the marking with a building square and a pencil.
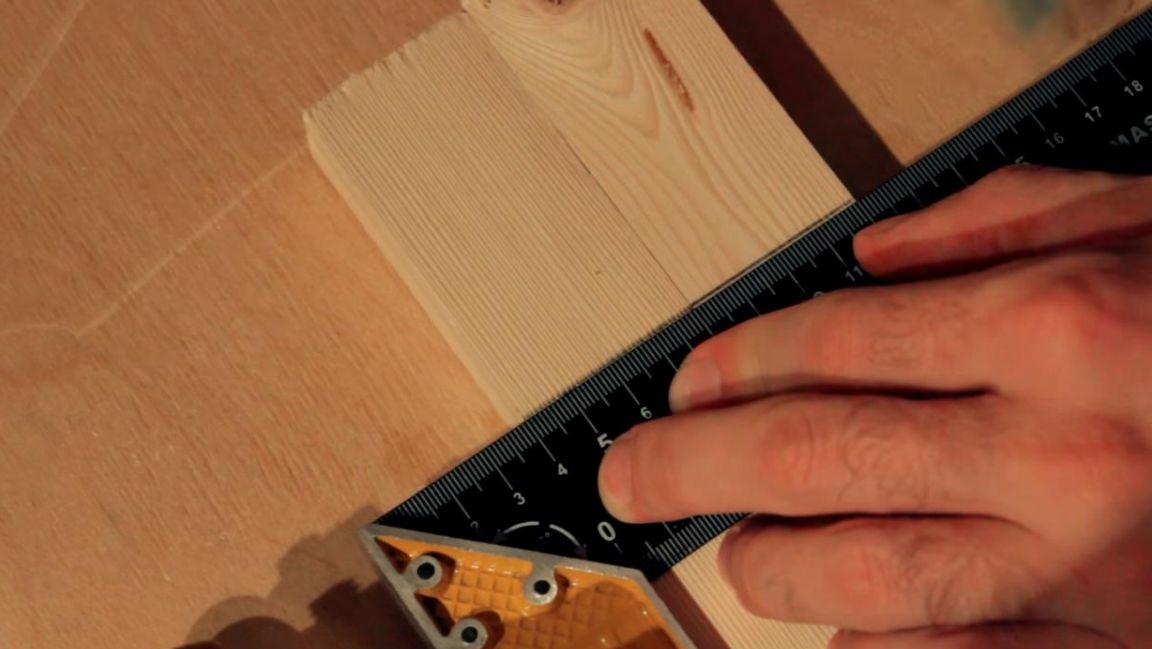
Next, we press the bars with a clamp to the workbench and saw them off according to the mark.
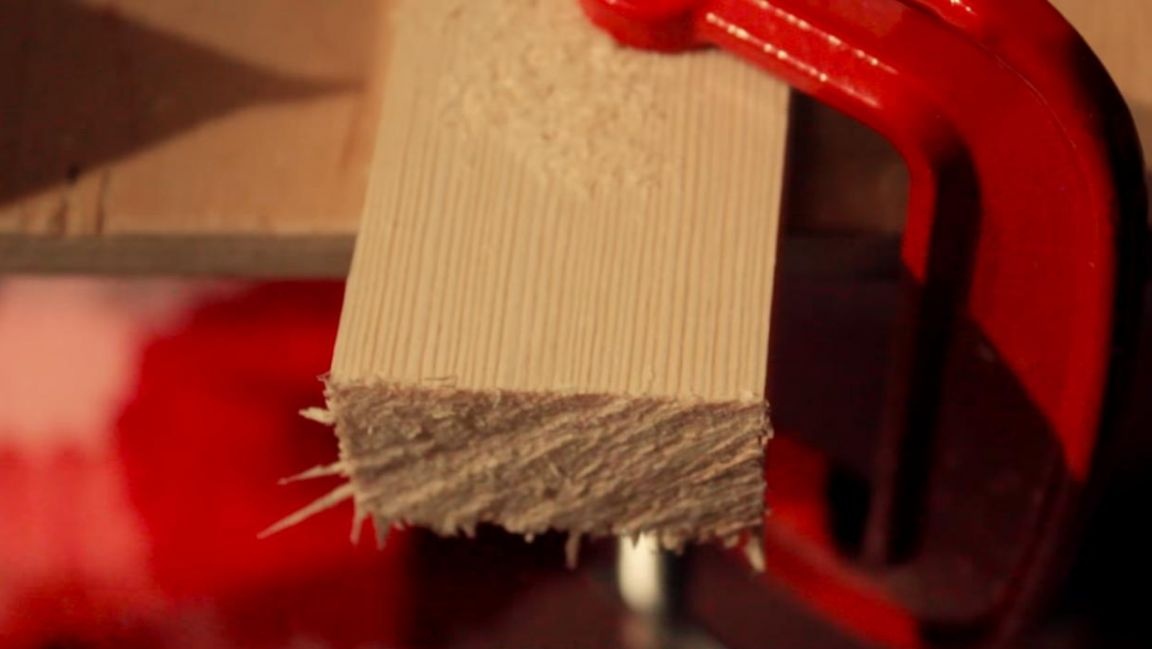
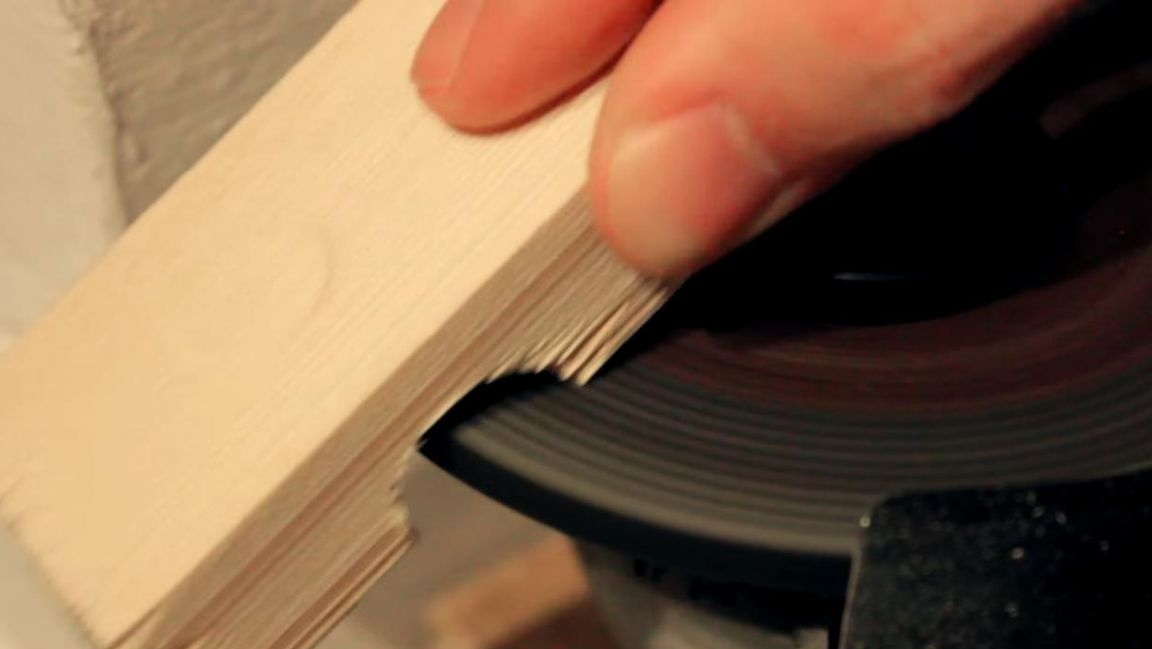
Now we install on the angle grinder a grinding emery wheel. Then we fix the EARS on the workbench with the help of a clamp, it turned out something like a horizontal grinding machine.
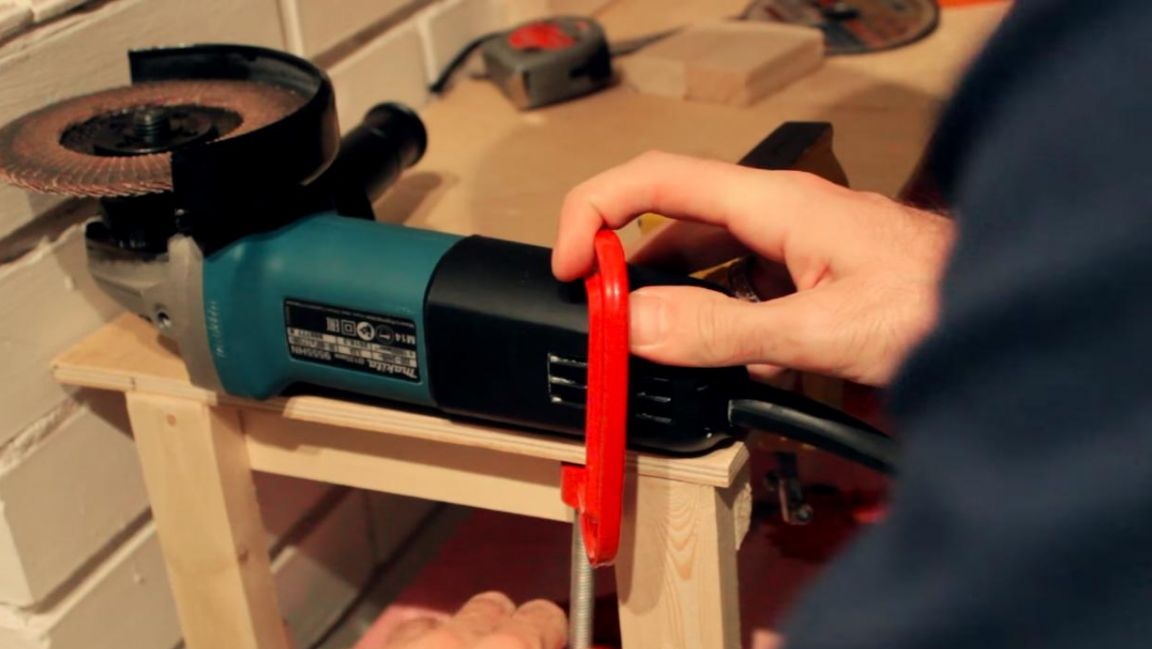
We grind the wooden blocks with the help of a angle grinder, clamped on a workbench to remove the burrs that formed during the sawing process and smooth sharp edges. When working with an angle grinder, be careful, use personal protective equipment, glasses and gloves.Also wear a respirator, as a lot of wood dust is released during grinding, which is harmful to the respiratory tract.
Step Two
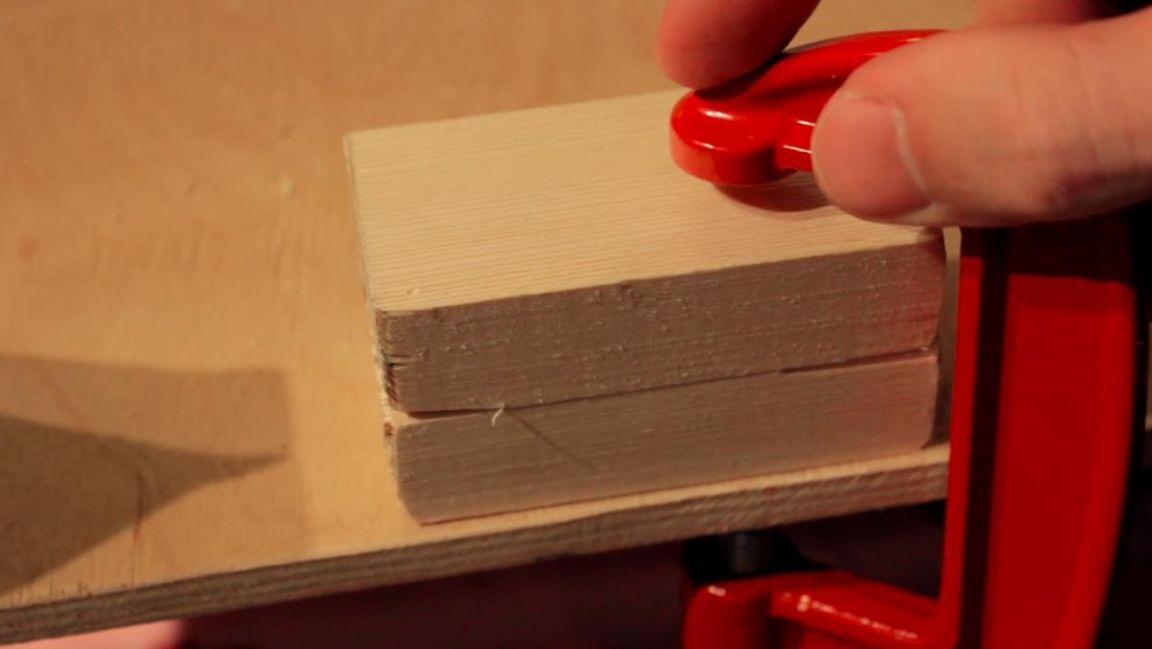
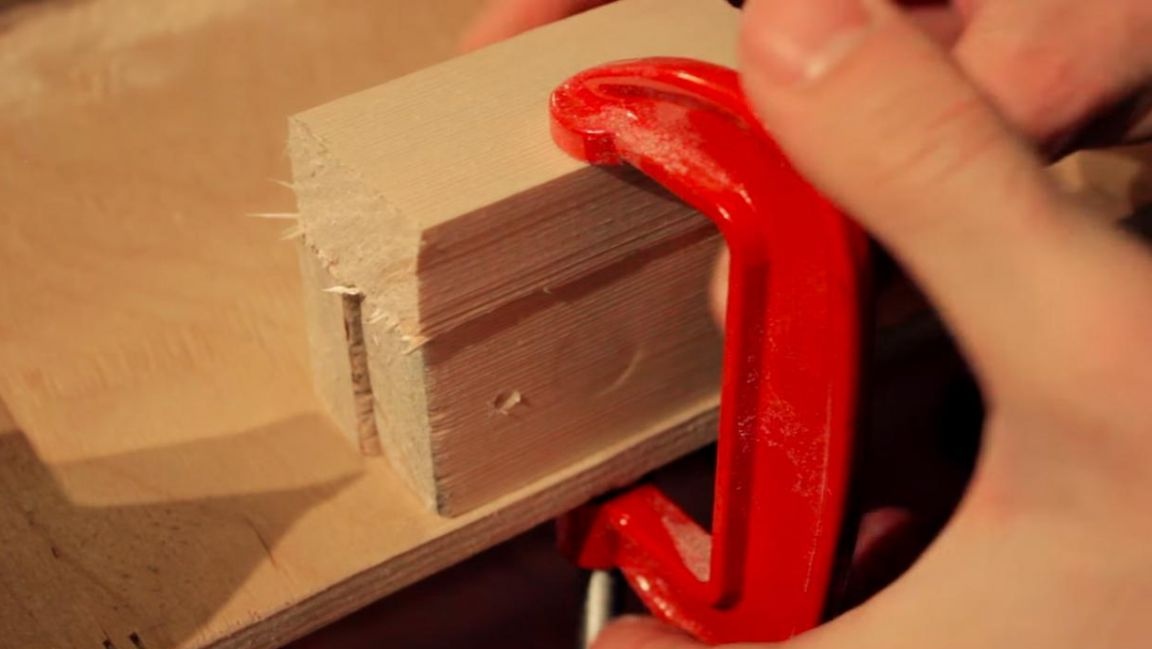
We combine two bars together and press them to the workbench using a clamp.
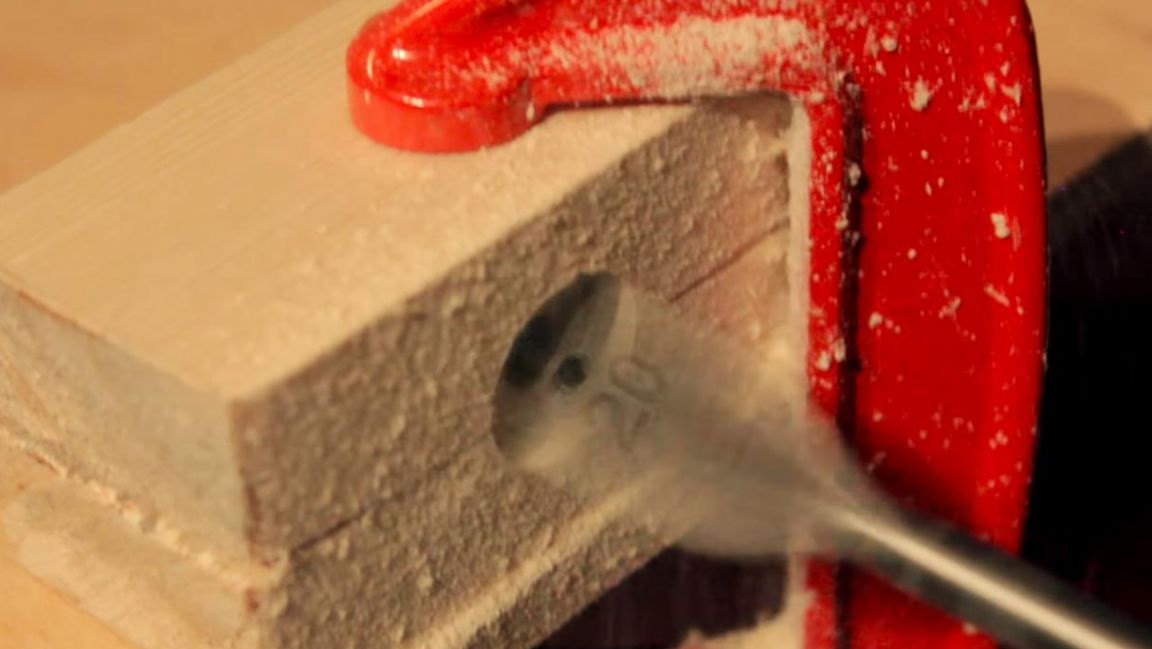
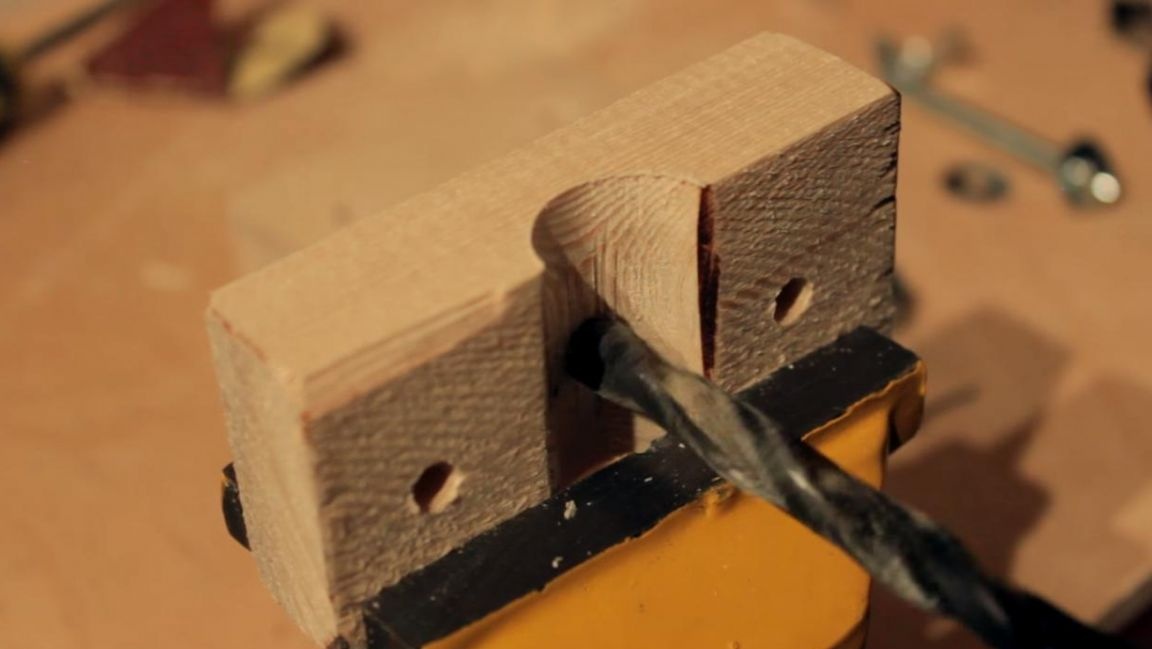
After that, we take a feather drill with a diameter of 20 mm and install an electric drill in the cartridge, then mark the center of the two workpieces with a pencil and start drilling a through hole.
The result is something like this.
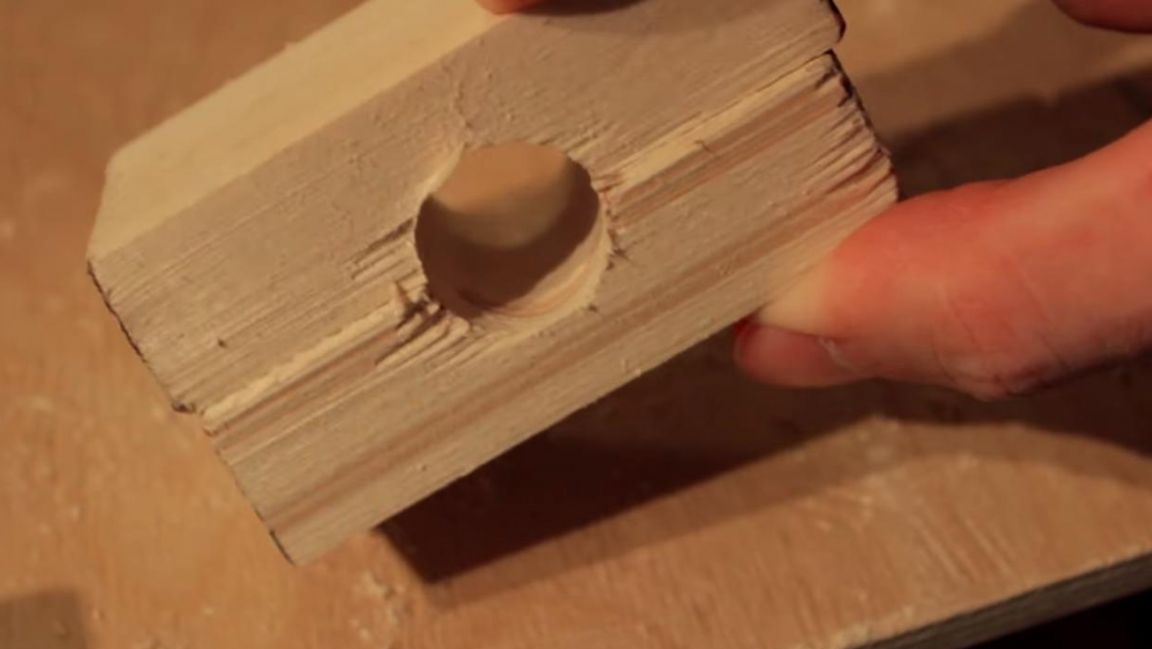
We round the inner edges of the resulting hole with an angle grinder, this will help prevent excessive fixation of the mop, so as not to damage its handle.
Step Three
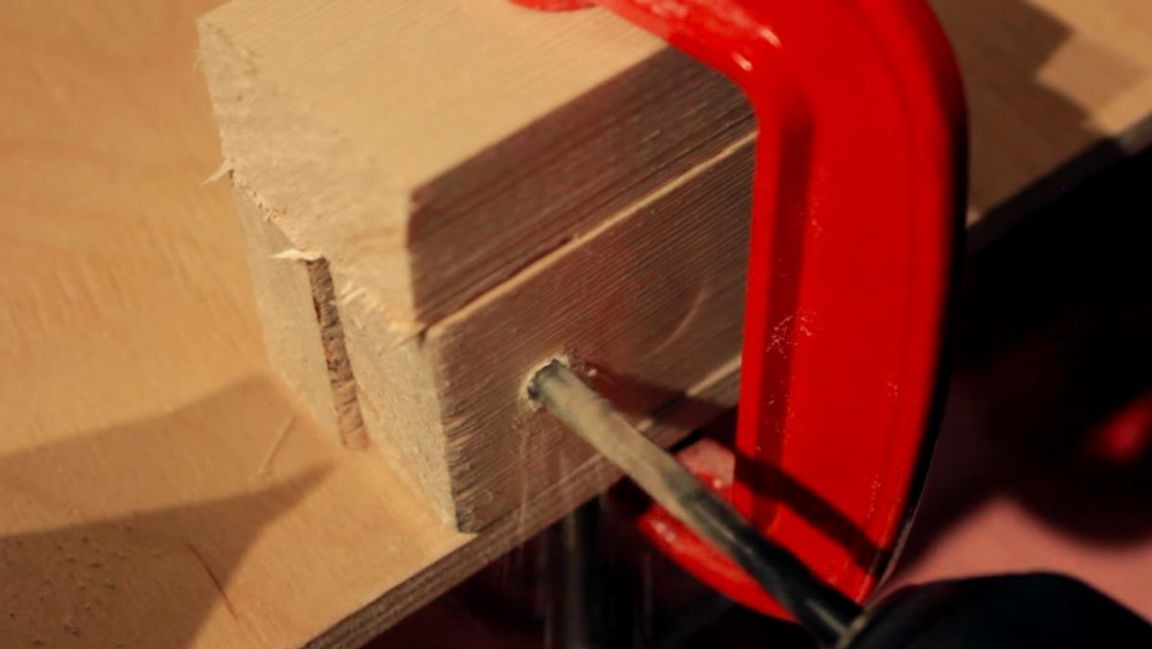
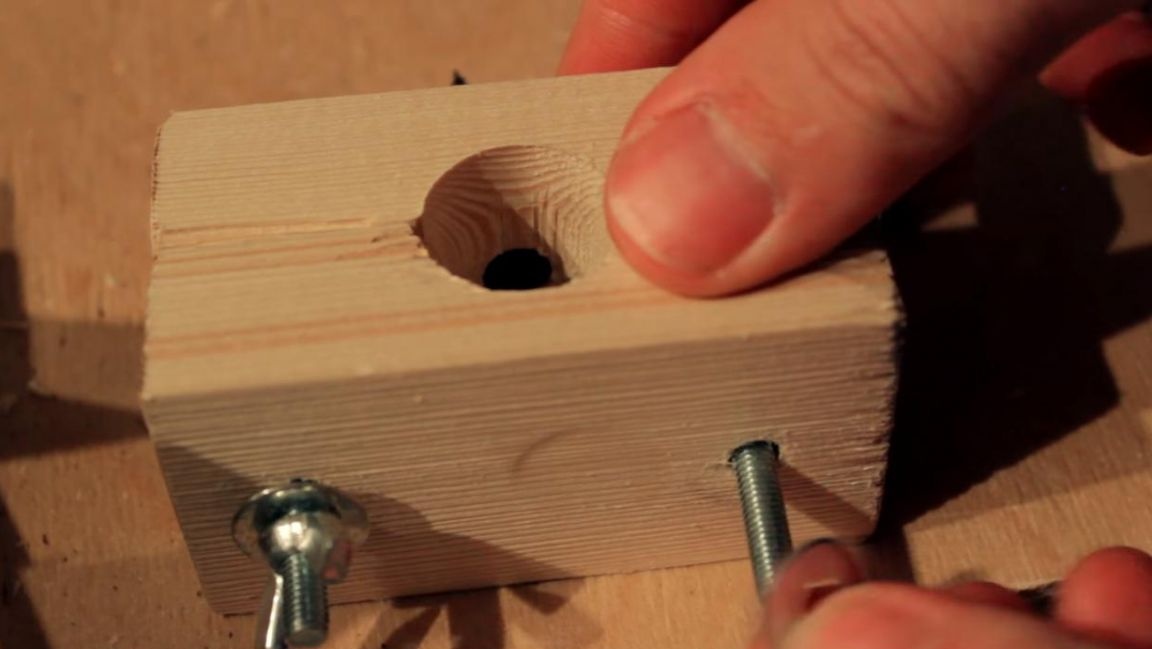
We fix the wooden blanks on the workbench using a clamp.
Next, we clamp a drill bit of 6 mm into the drill chuck and drill two holes in the bars, deviating about 15 mm from each edge.
We fix one of the bars in a bench vise and drill a through hole with a diameter of 2 mm strictly in the middle.
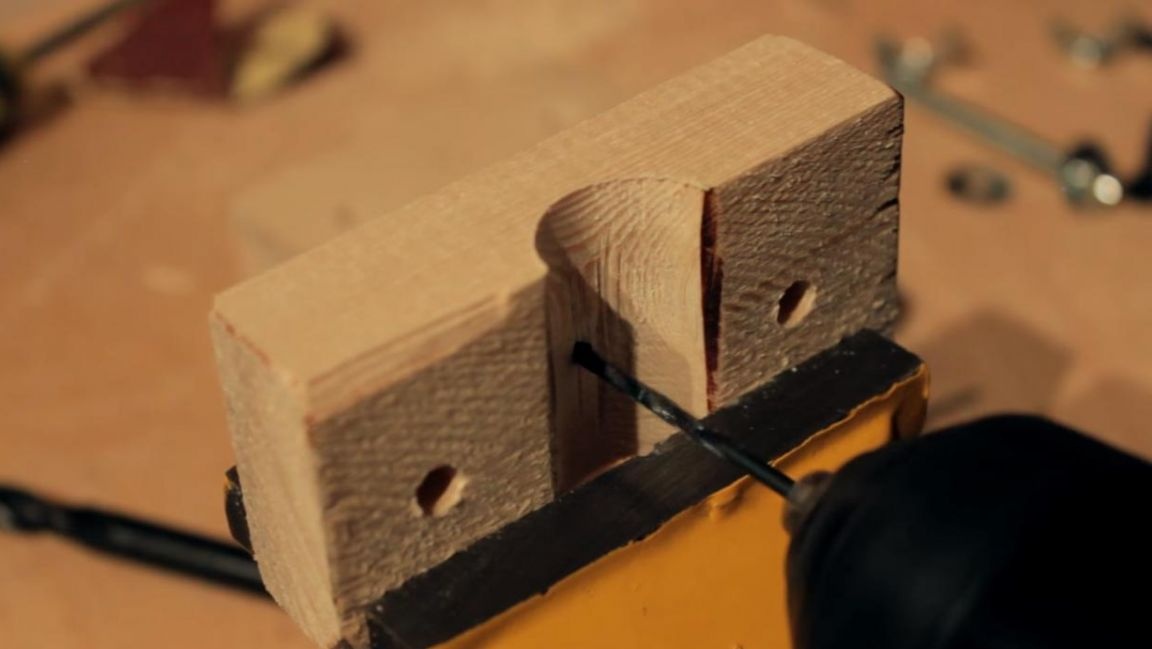
With a 10 mm drill, make a small recess and remove the chamfer so that the screw head does not protrude, and then screw it into the hole with a Phillips screwdriver.
Step Four
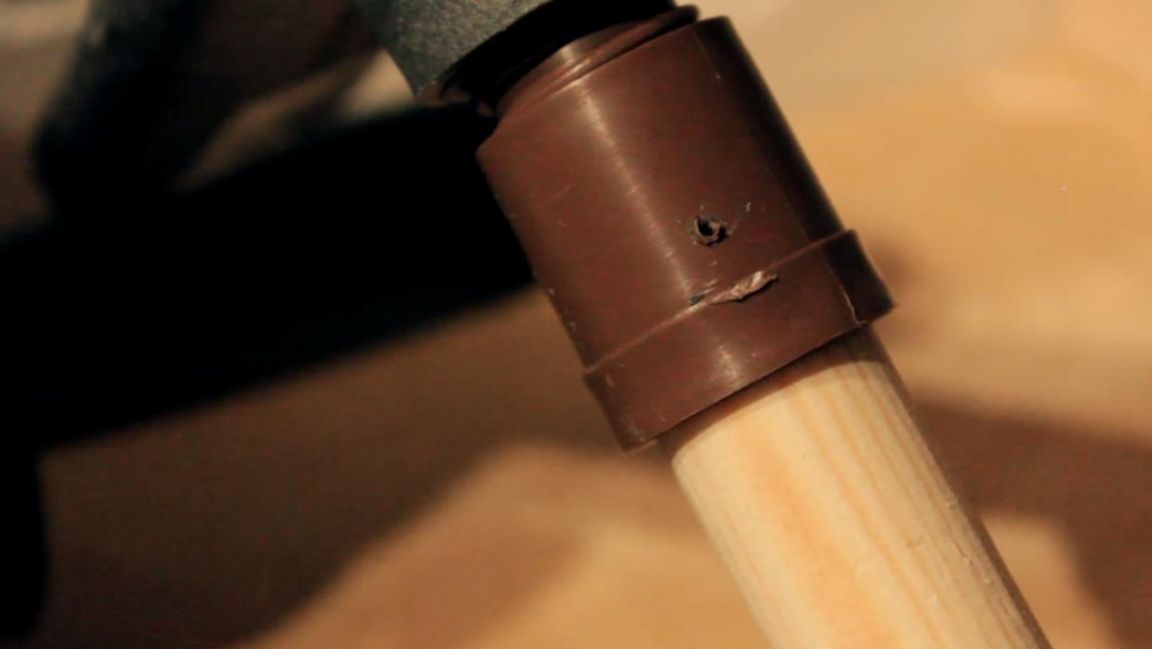
We disassemble the mop, remove the plastic tip from above and the connector from below, only the handle is needed from the mop.
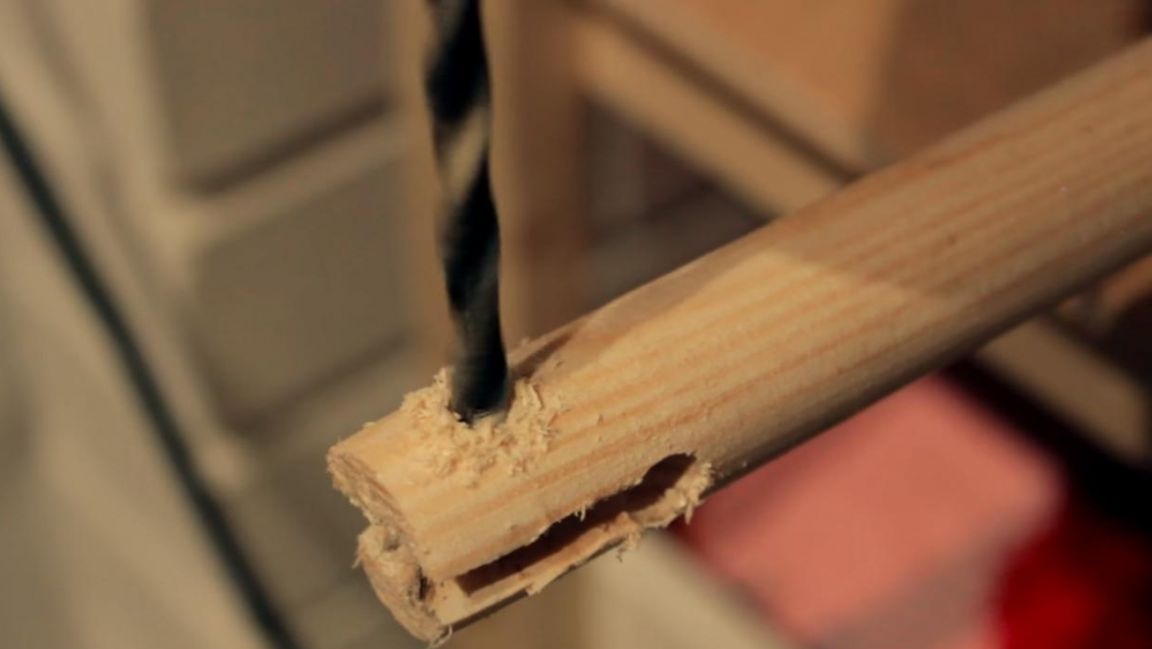
We fix the stalk in a vise, when clamped, you can put some piece of wood so that there are no traces of the jaws of the vice. Using an angle grinder, we make a cut in a handle about 4 cm. Next, use an 8 mm drill to make a hole at the end of the cut and trim the edges of the resulting groove with sandpaper and a stationery knife.

We turn the handle in a vice 90 degrees and drill a hole with a diameter of 6 mm, stepping back from the edge about 15 mm.
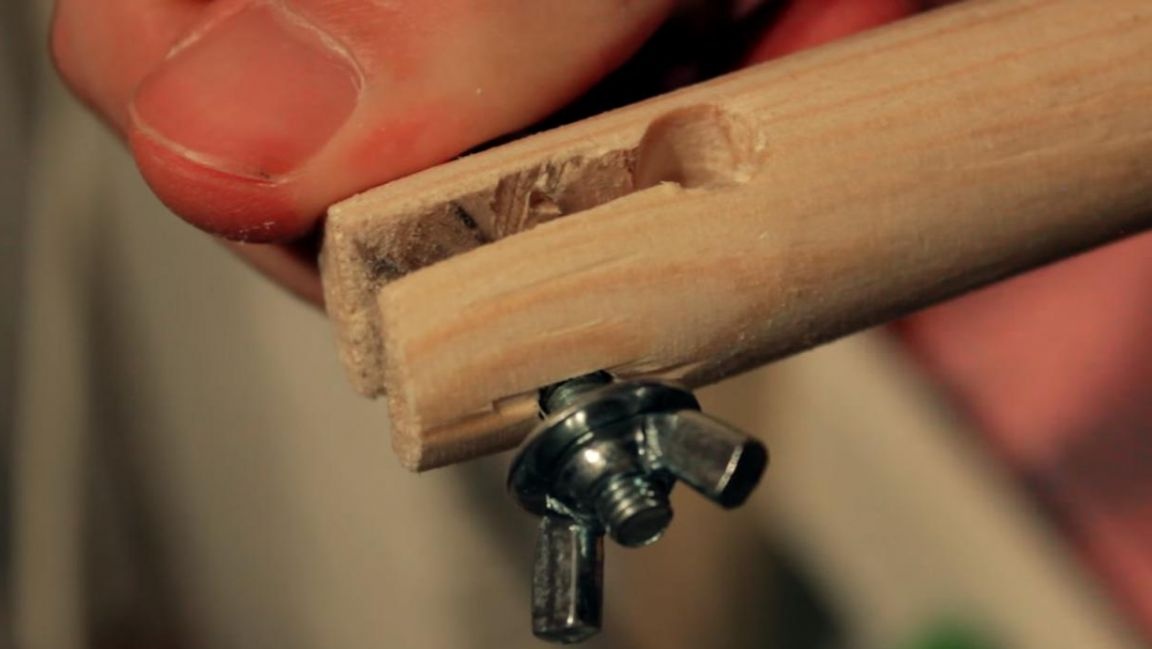
Then we insert a 30 mm long M5 screw into the finished hole, put on the washer, wing nut and install the pencil in the 8 mm hole, after which the position of the pencil can be fixed with the wing.
Step Five
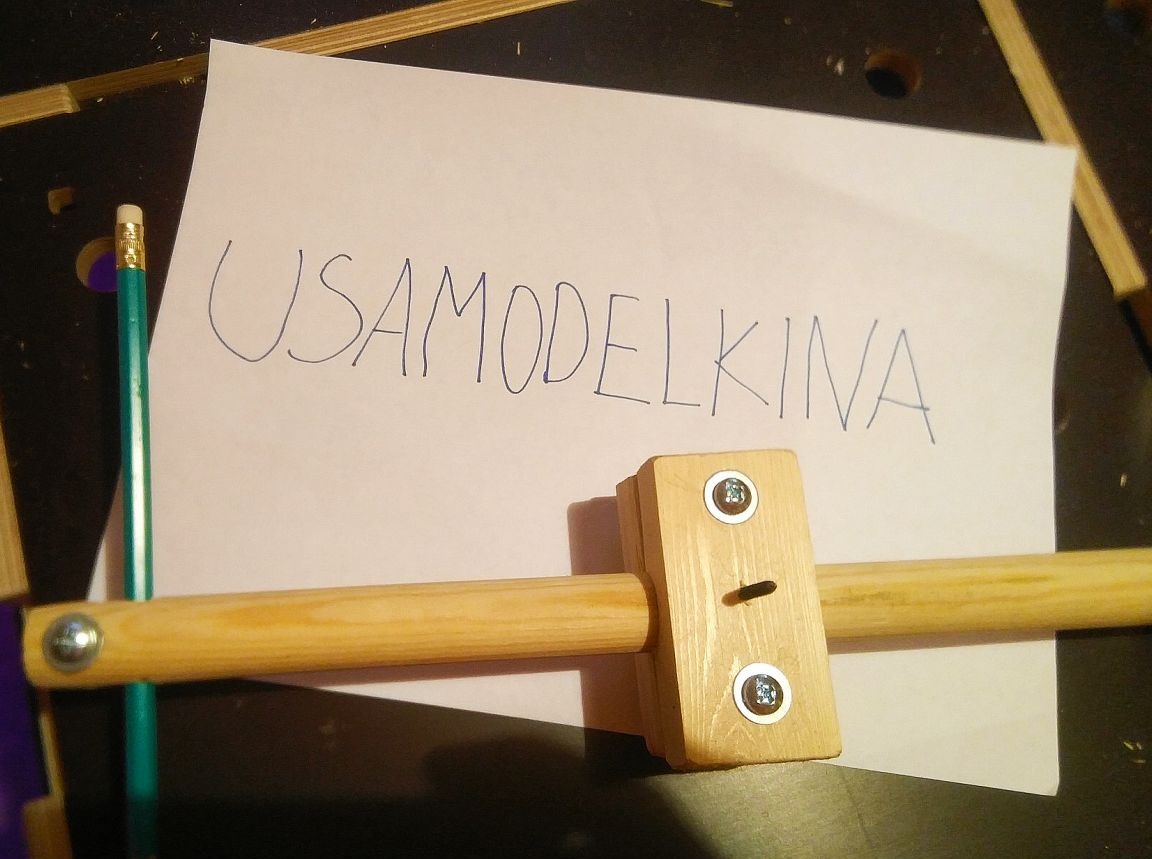
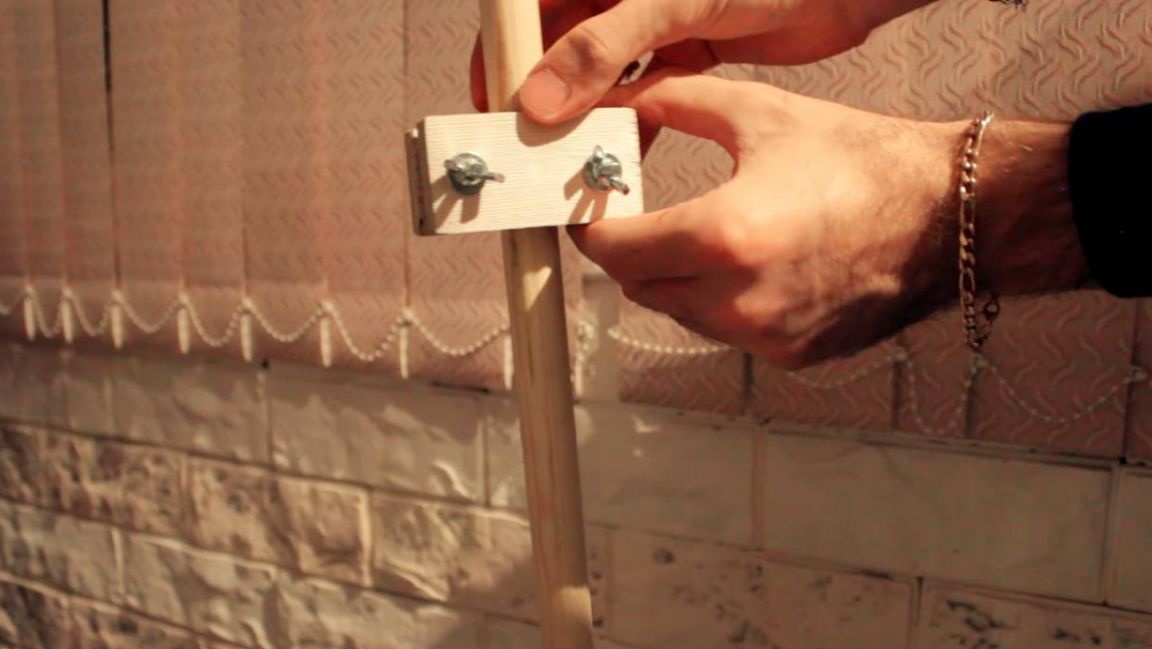
Now we assemble the fastener from two blanks with screws, washers and nuts.
We connect the two parts together, we put the handle through a hole in two bars and fix it with the wing nuts.
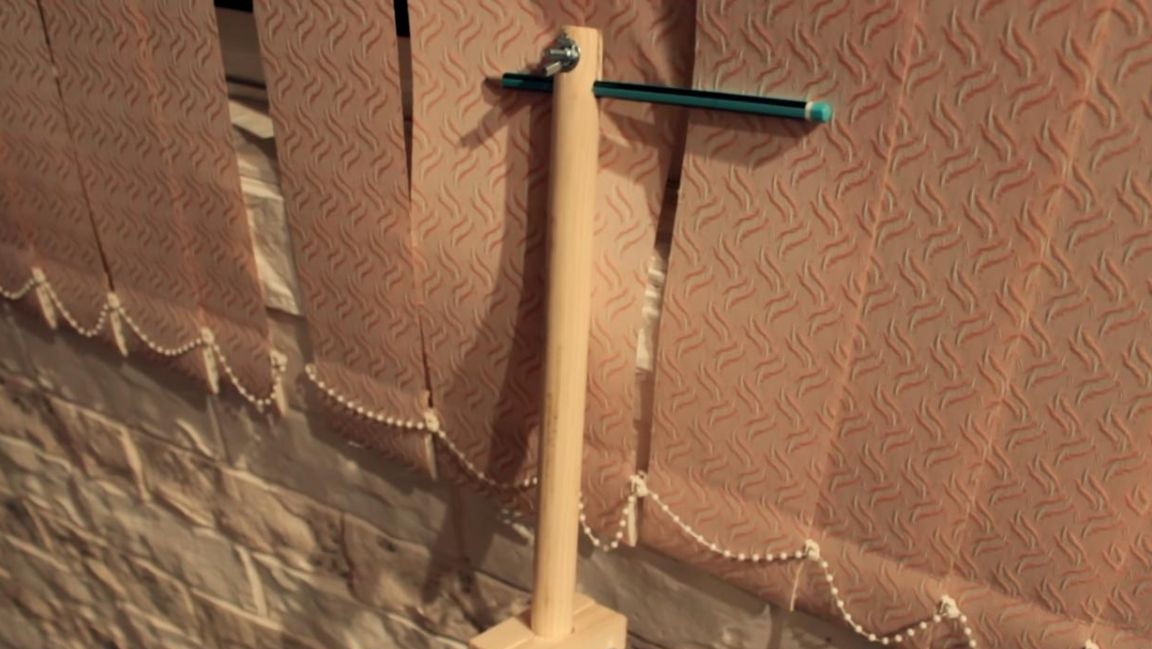
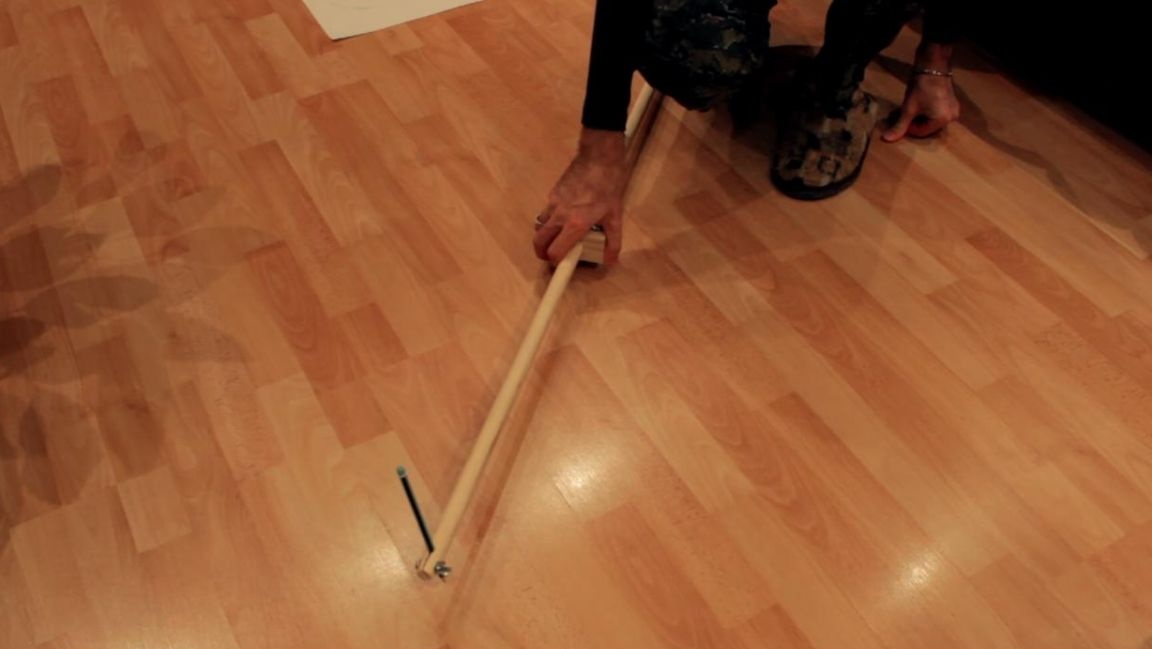
By setting the required diameter, you can draw the desired circle with a diameter of up to 2 meters.
In this design, the screw acts as a compass needle, and the pencil marks.
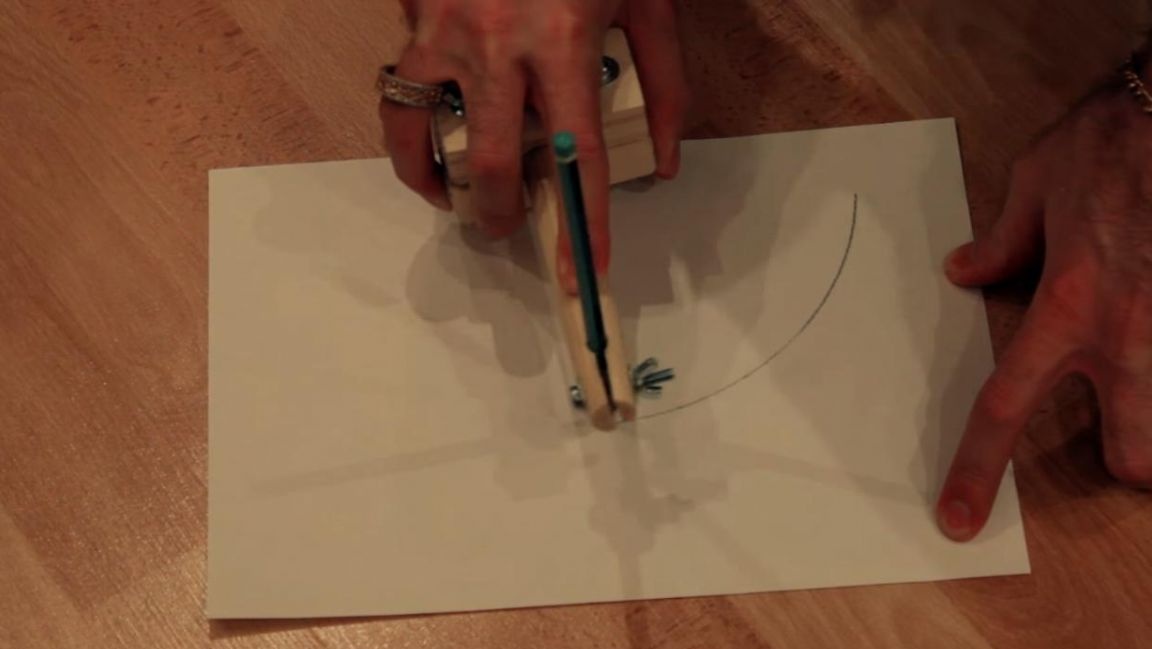
It is quite convenient to work with such an instrument, since it has a very rigid structure, which prevents the compass from “moving out” of the set diameter, and also eliminates the likelihood that it will turn out not an circle, but an oval.
That's all for me, thank you all for your attention and creative success.