
In this article we will try to combine a 45-gauge artillery sleeve, an ordinary rose and an epoxy resin, and we will make of this all such an original and very unusual LED lamp.
This instruction is taken from the YouTube channel "Good Master". First of all, we will have to find a rose suitable for today's project. To do this, the author of the YouTube channel "Good Master" had to climb into his wife's rose garden and steal one of the most beautiful flowers.

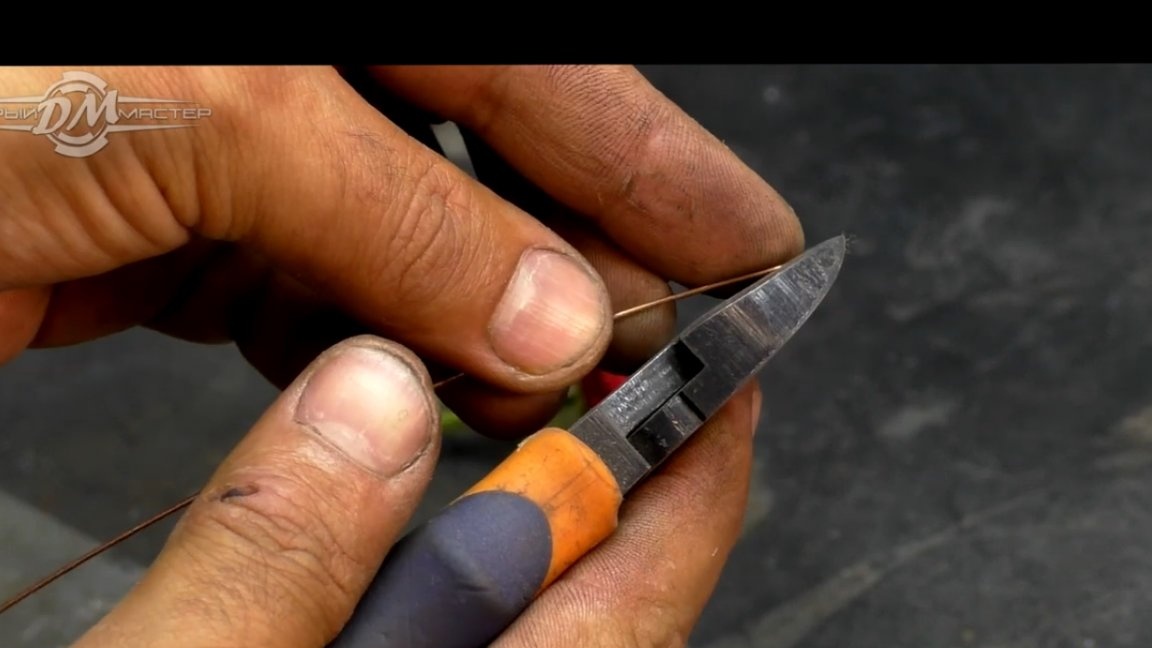
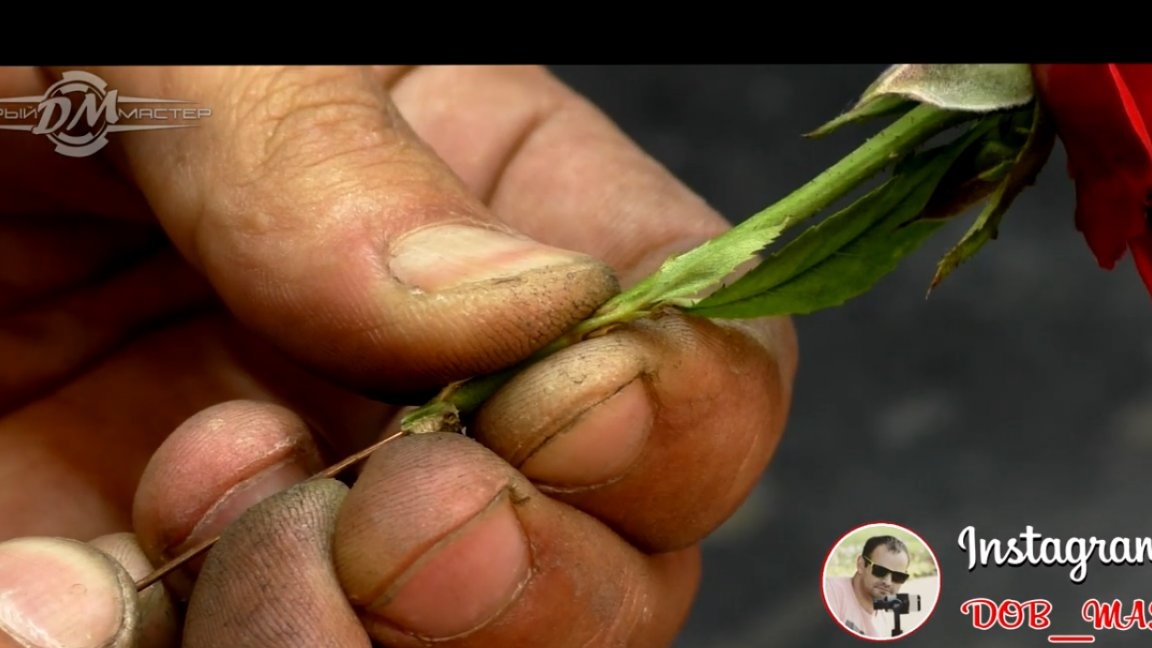
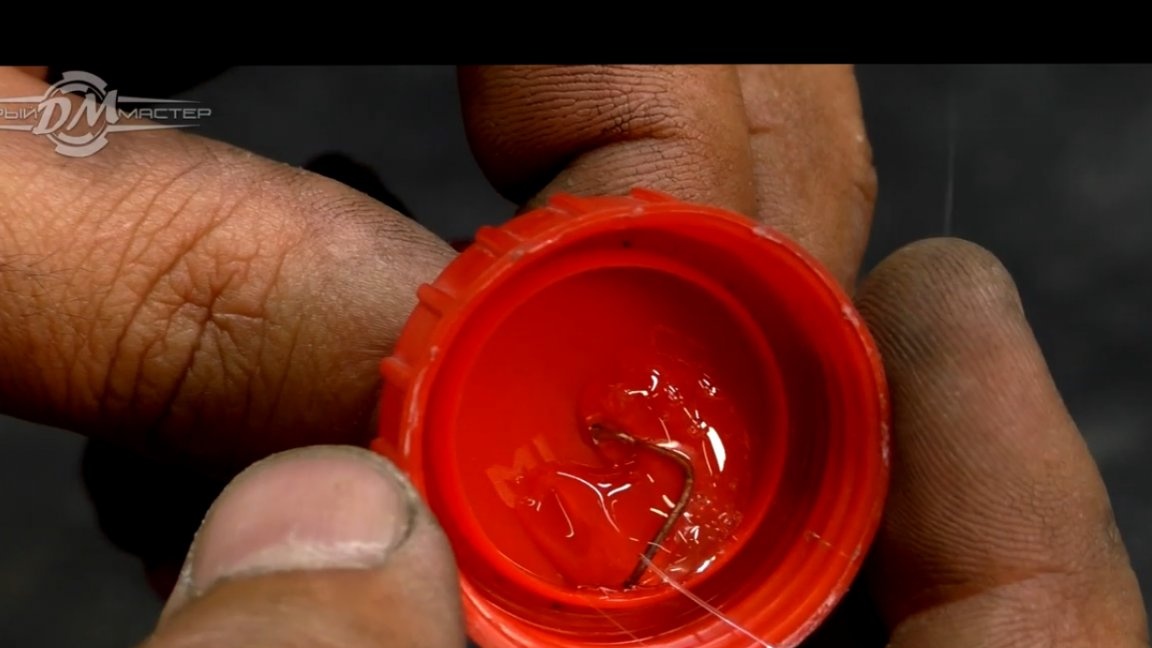
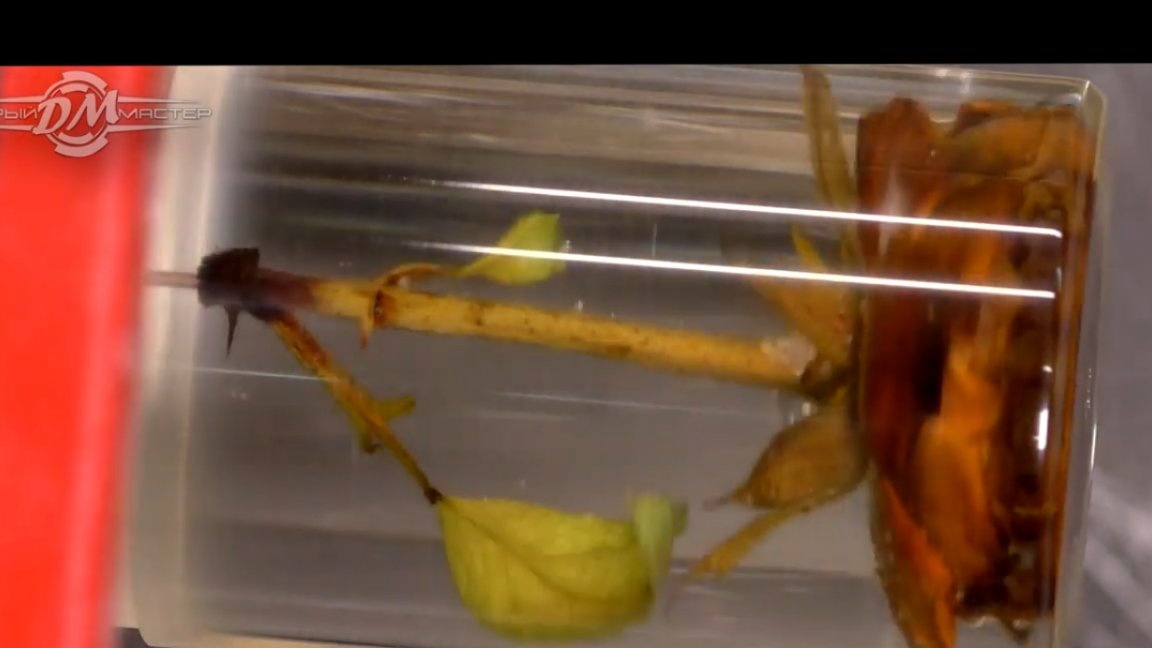
The next step is preparation. Since the stem of the flower is not very long, it will be necessary to grow it a little using an ordinary welding wire. We bite off the wire at an angle and just insert the degree - like this:
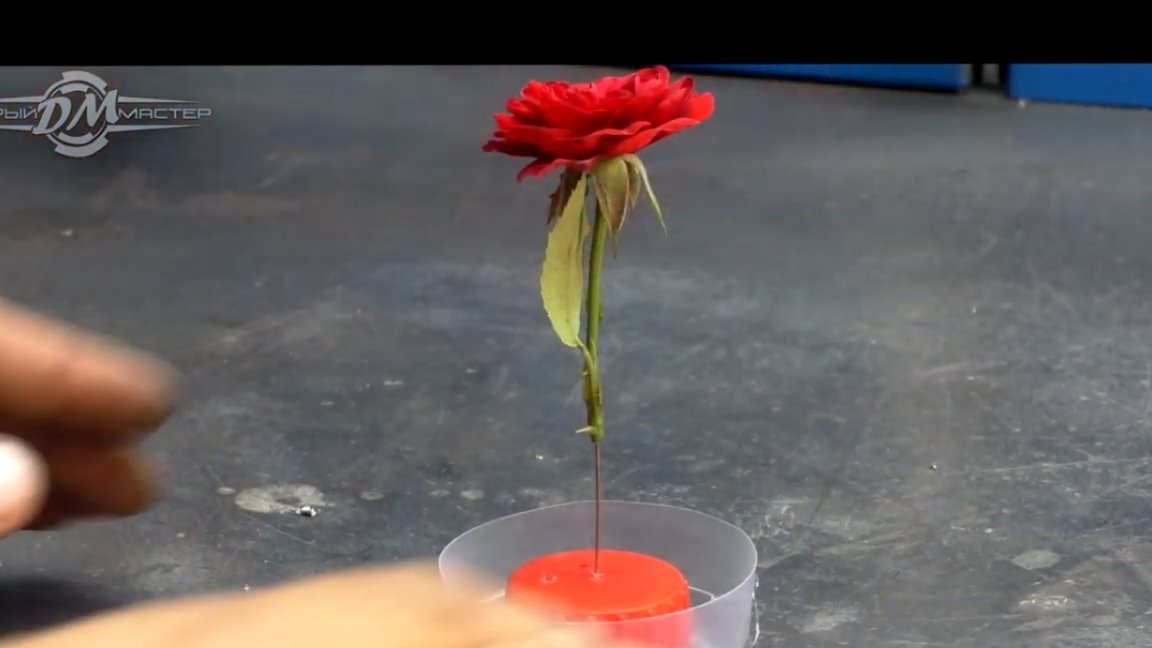
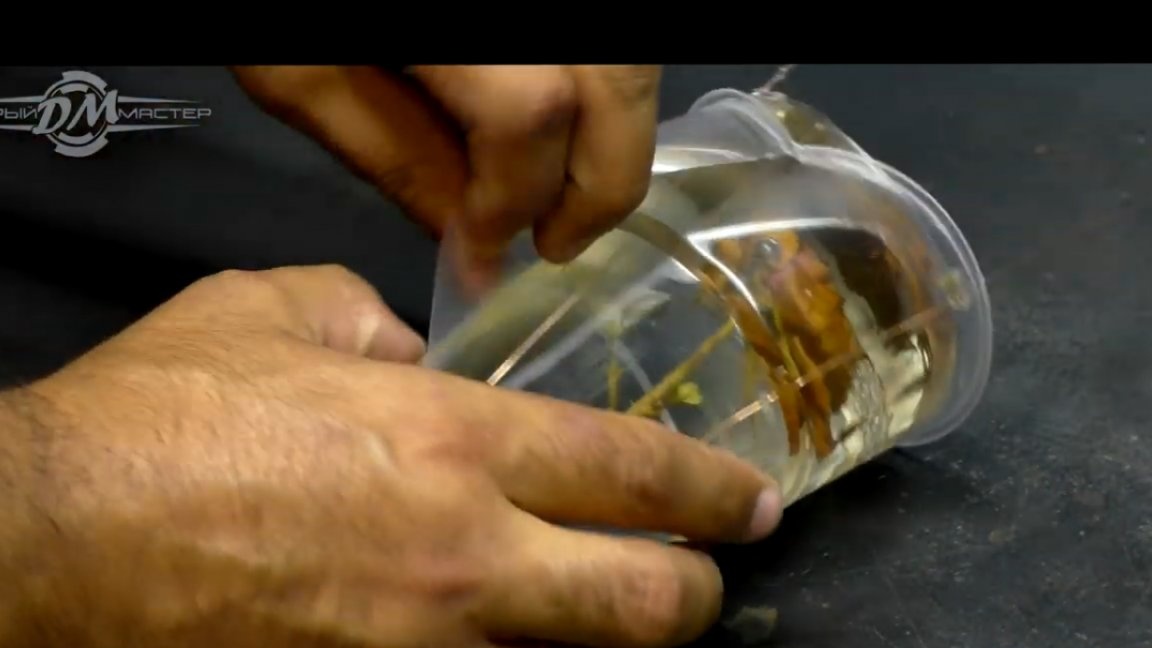
Now you have to figure out how the flower will be attached. The author decided to fix it on the lid of a plastic bottle and of course you can not do without the help of hot-melt adhesive.
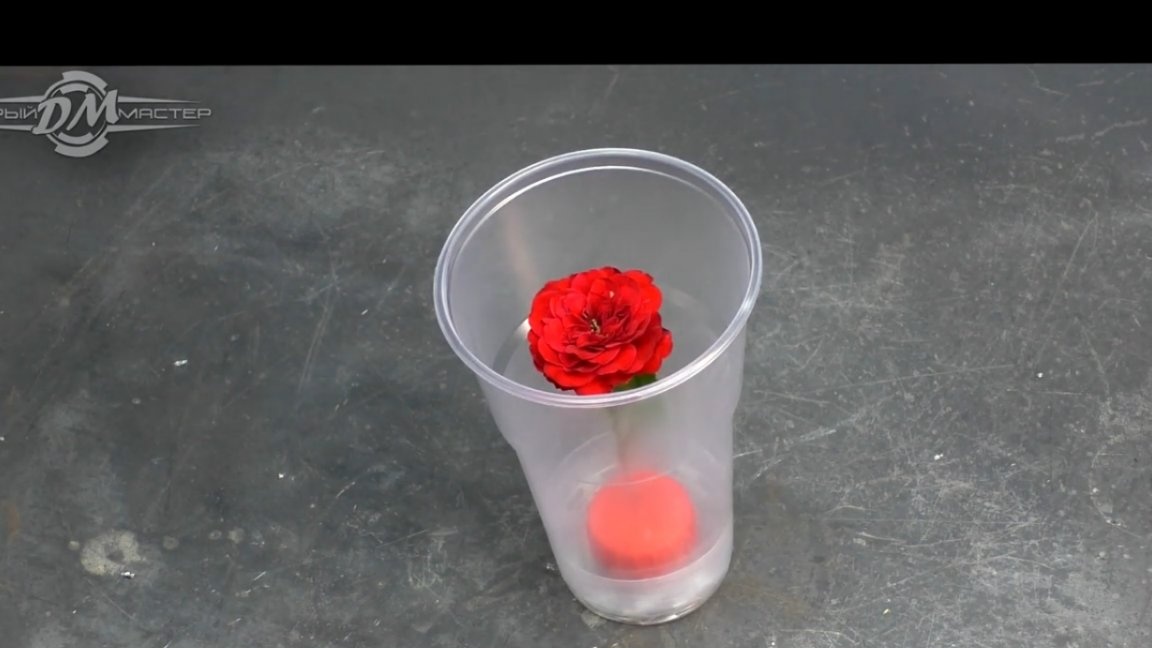
The lid itself must also be secured in a similar manner to the cropped bottom of the glass. And in such a simple way, we managed to arrange the flower strictly in the center.
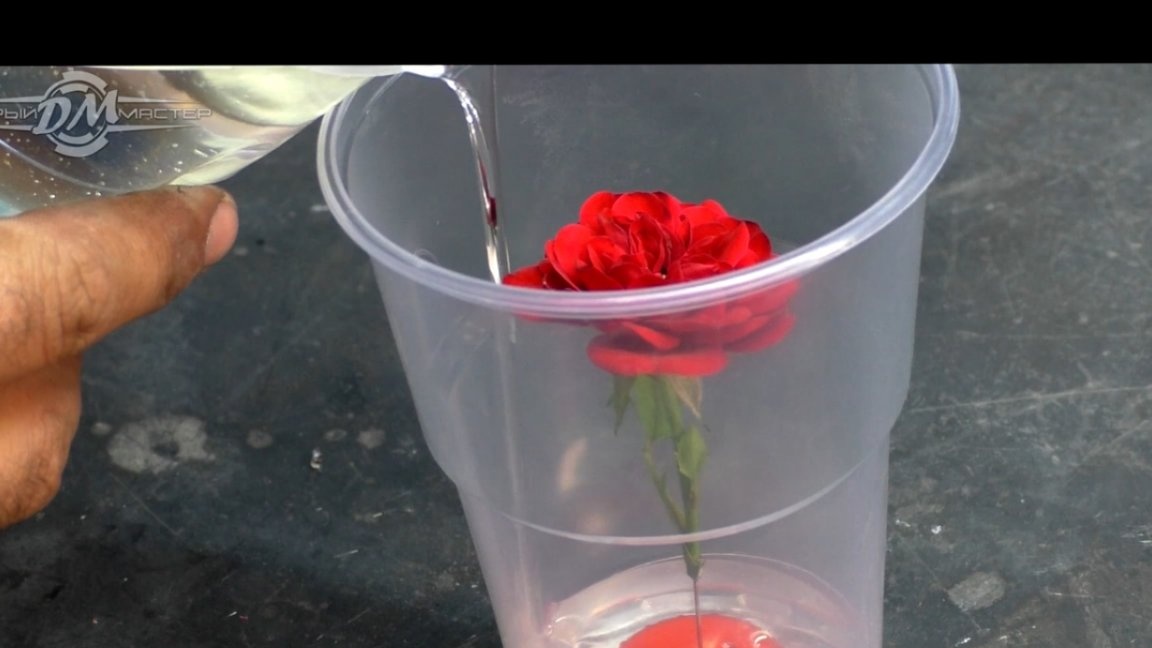
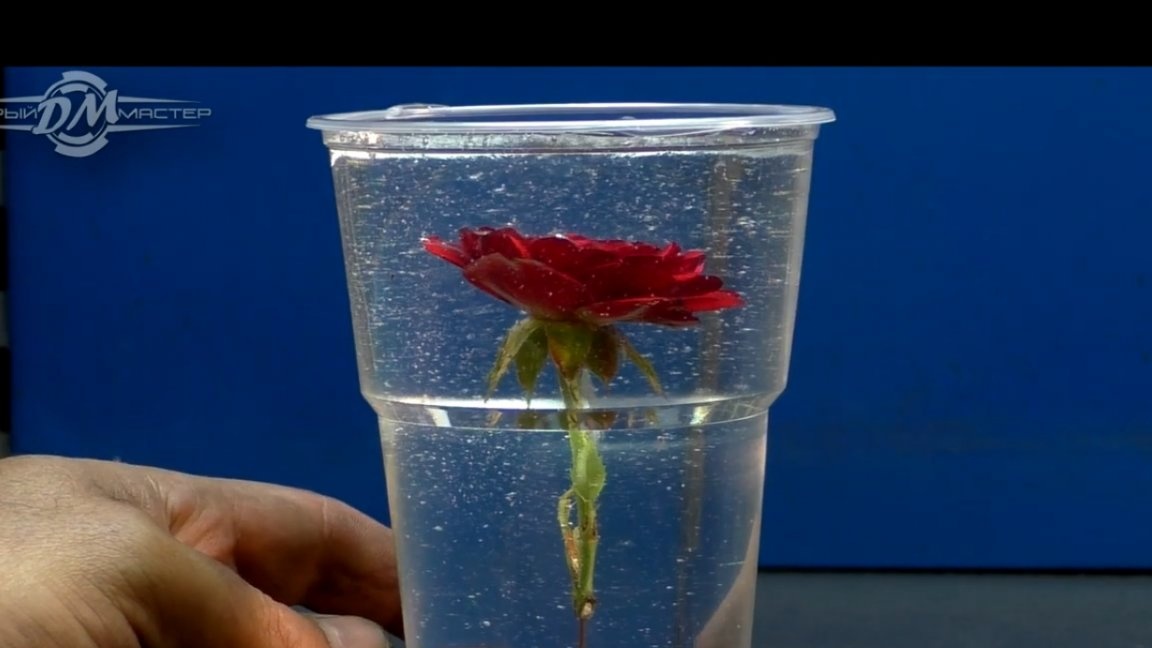
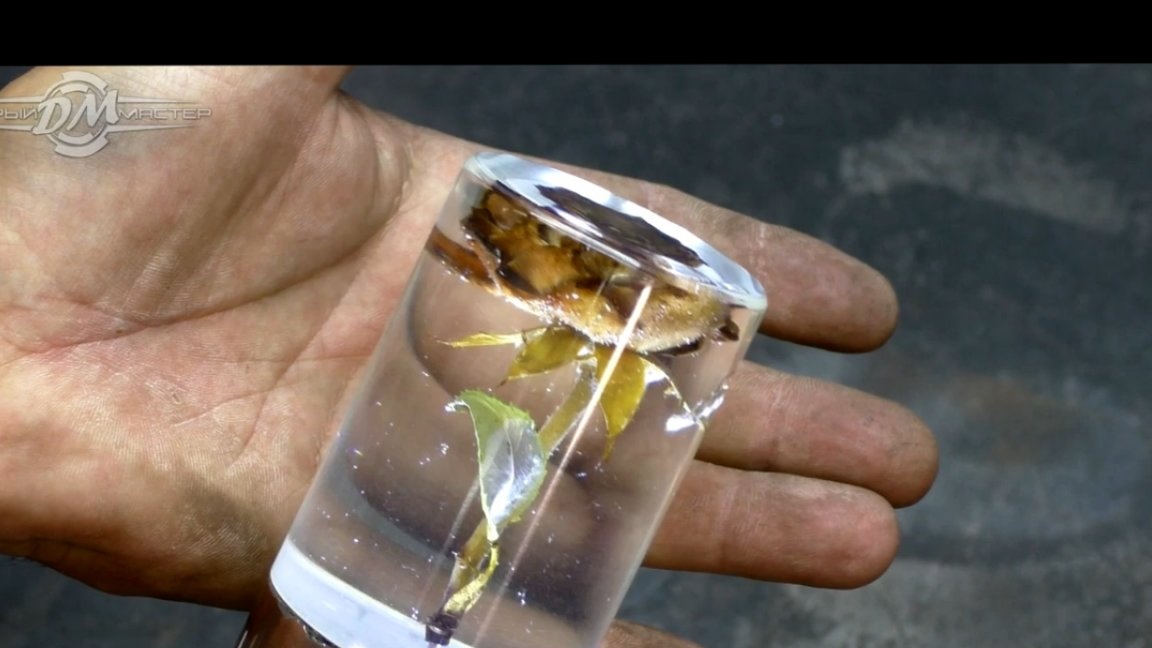
Now we can lower our workpiece into the filling tank. This capacity will serve as a regular disposable plastic cup.
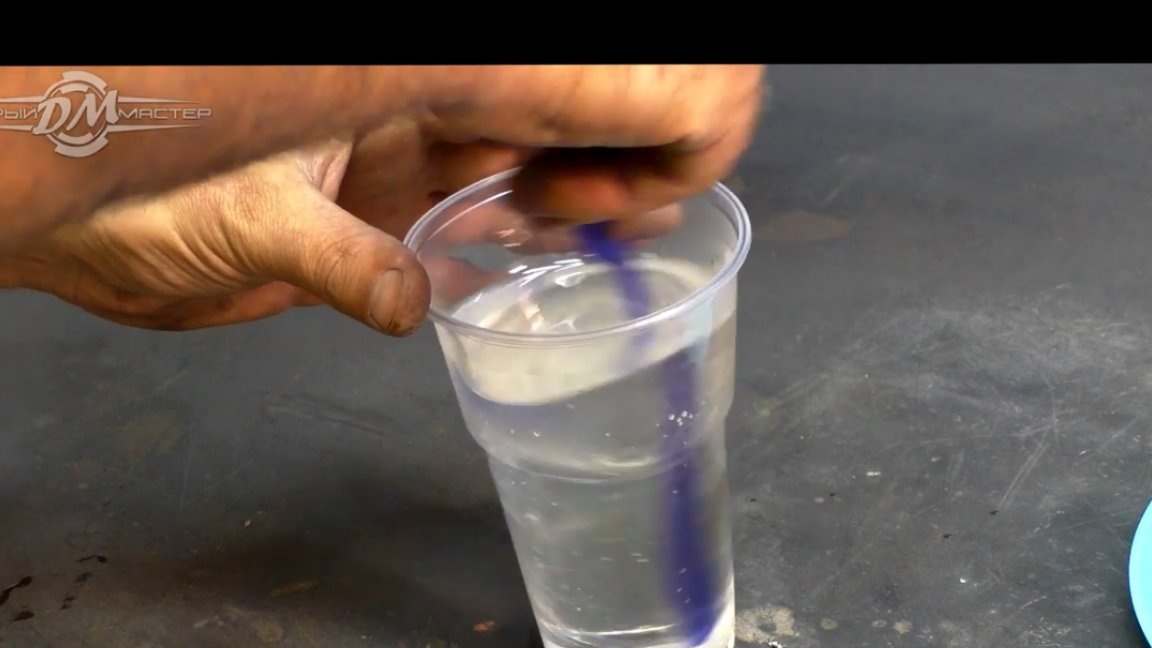
At this stage, the author admits that he made a mistake, since it was also necessary to smear the bottom with glue, then you will understand why. Next, proceed to kneading the epoxy resin. For more accurate proportions, the author recommends using the most ordinary.
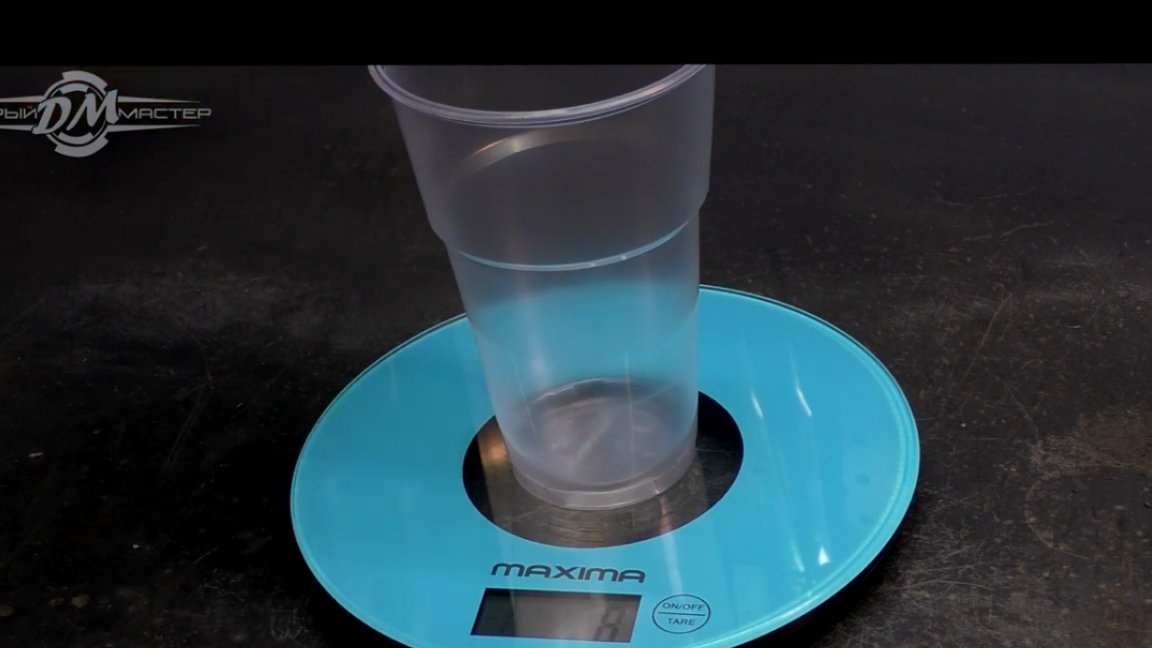
Before pouring, the resin components must be thoroughly mixed. In general, for better mixing of the components, it would be correct to pour this composition into another glass, but in principle, you can mix the resin in one container.
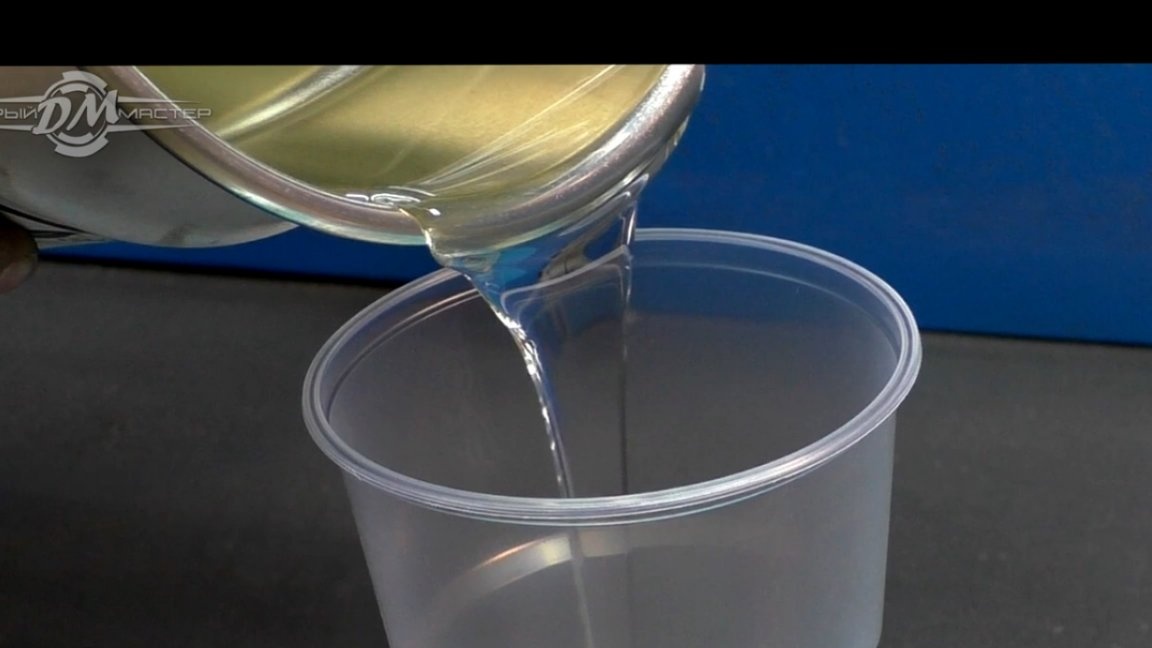
Next, proceed to fill. Pour and wait ... a week, the resin that the master used for this project hardens so much.
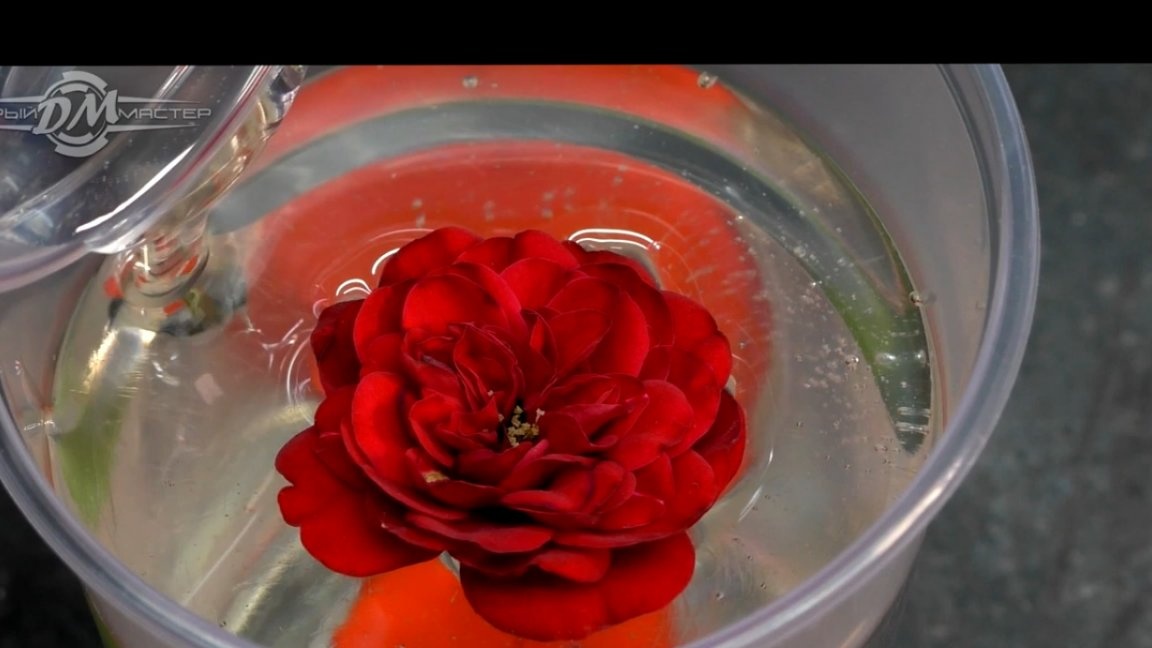
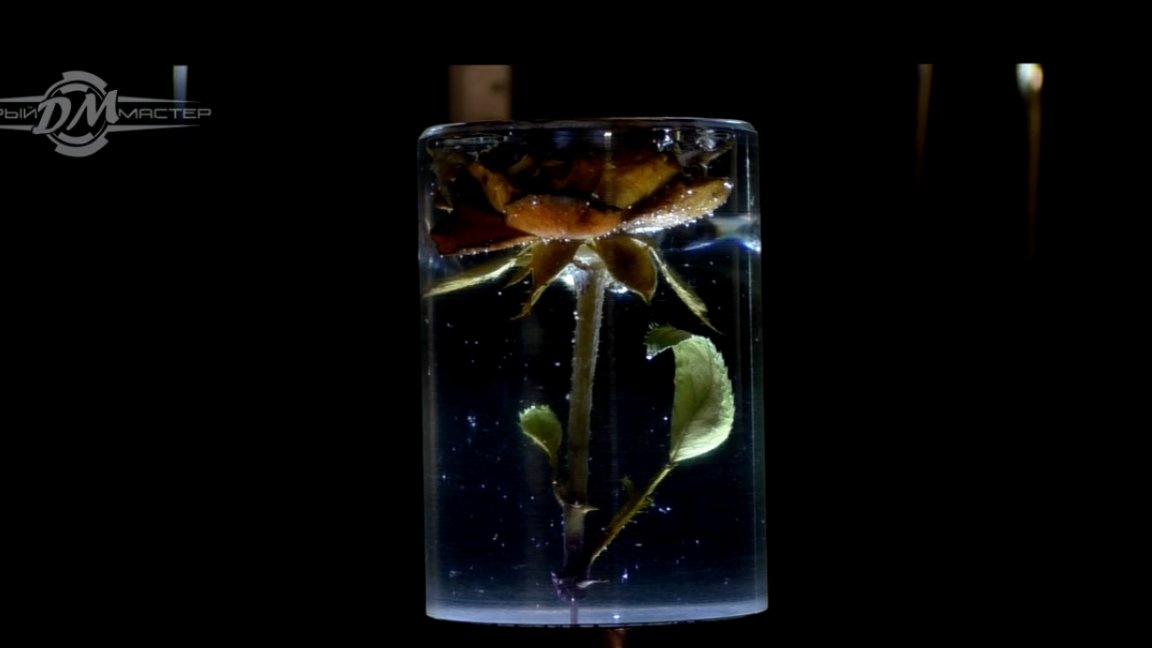
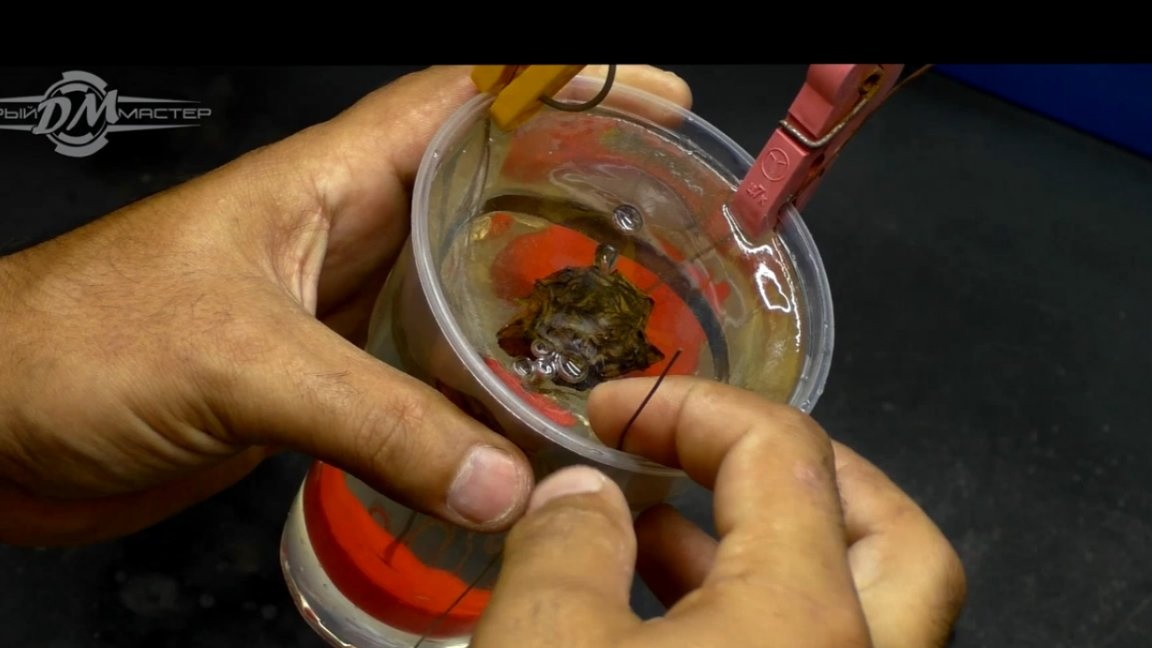
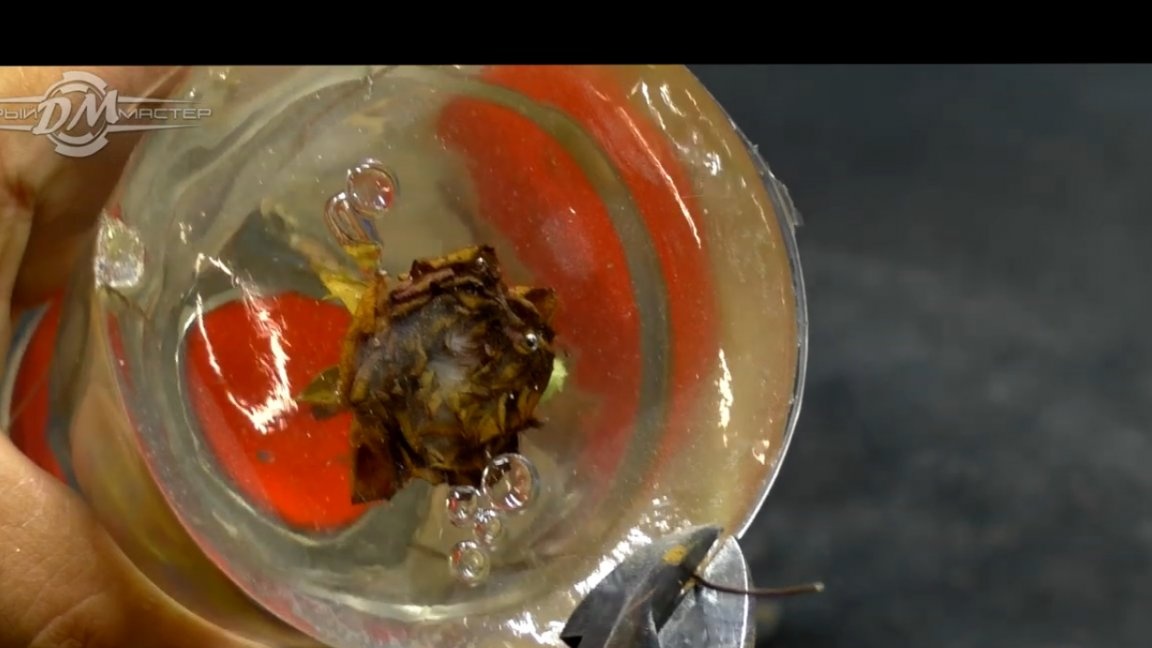
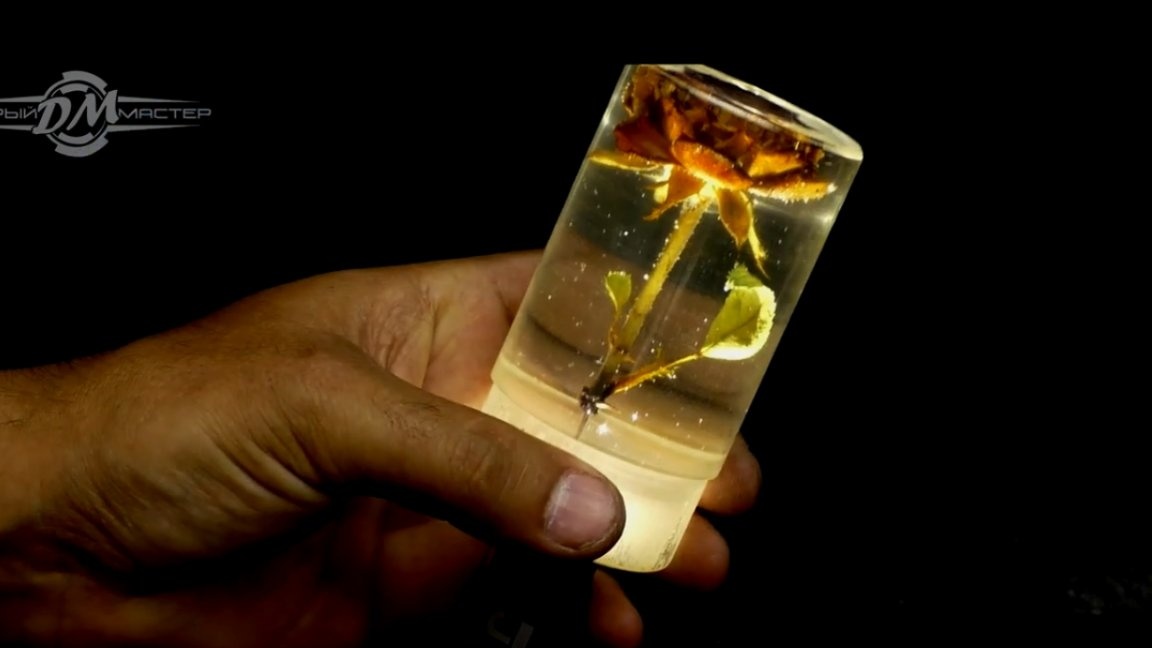
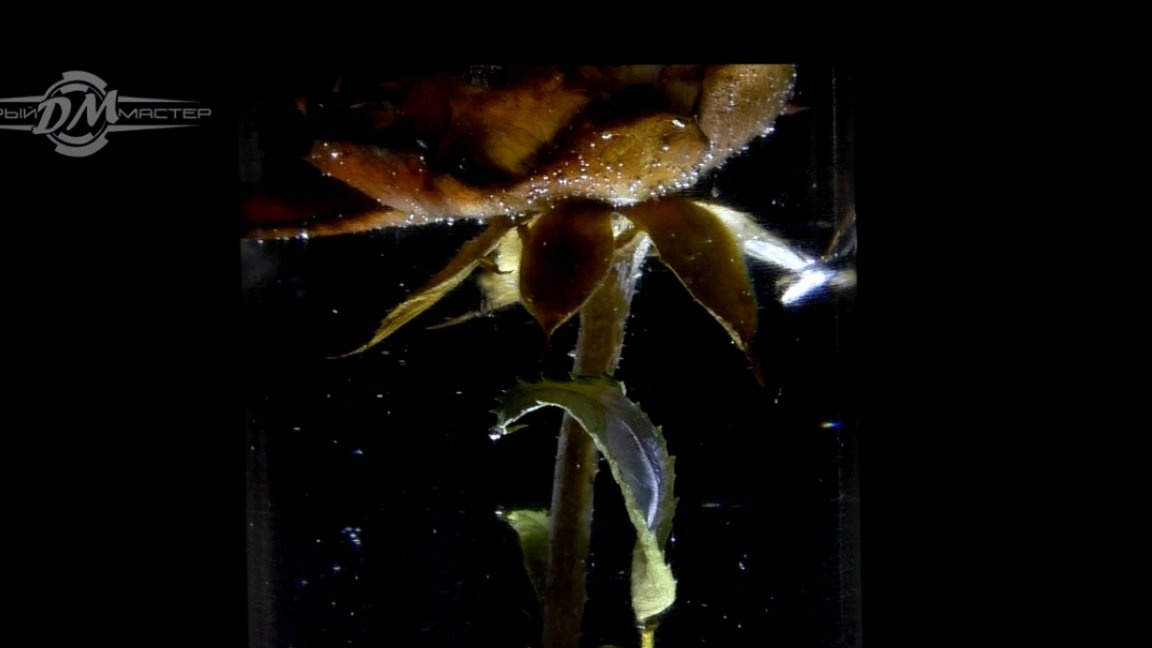
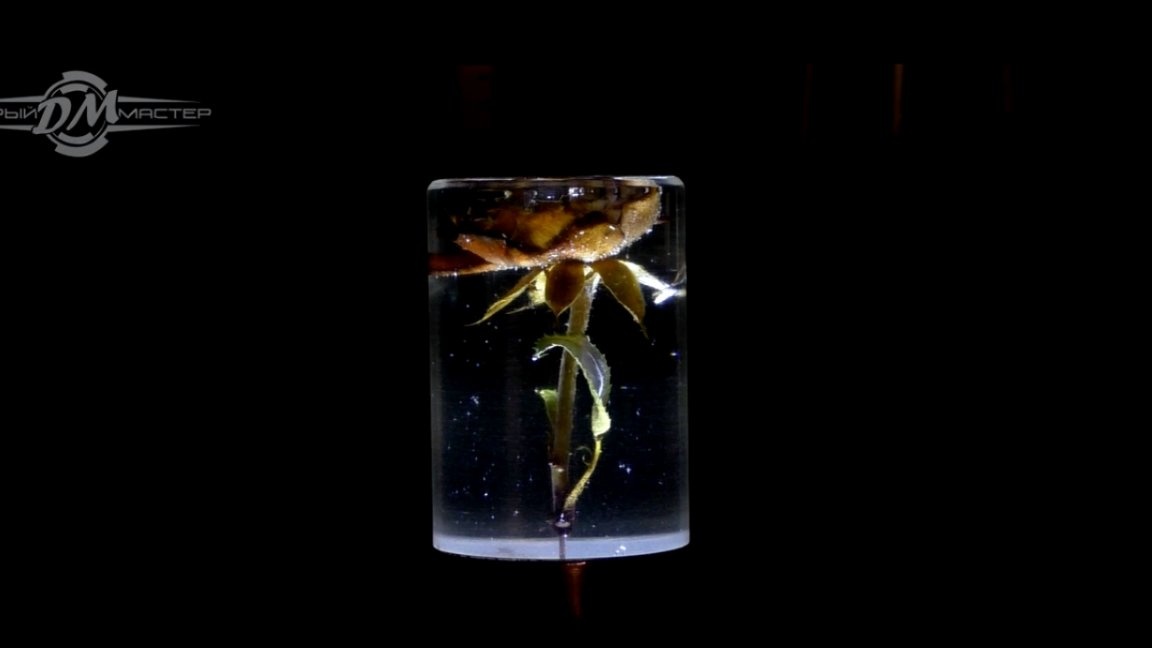
The resin froze, but the mistake made by the author at the beginning surfaced in the literal sense of the word.Since the bottom was not fixed with glue, the flower began to emerge and the author had to fix the base with the same wire from the semiautomatic device and clothespins. In addition, in a week the flower almost completely lost its color. They say that such things must be handled in some special way before pouring.
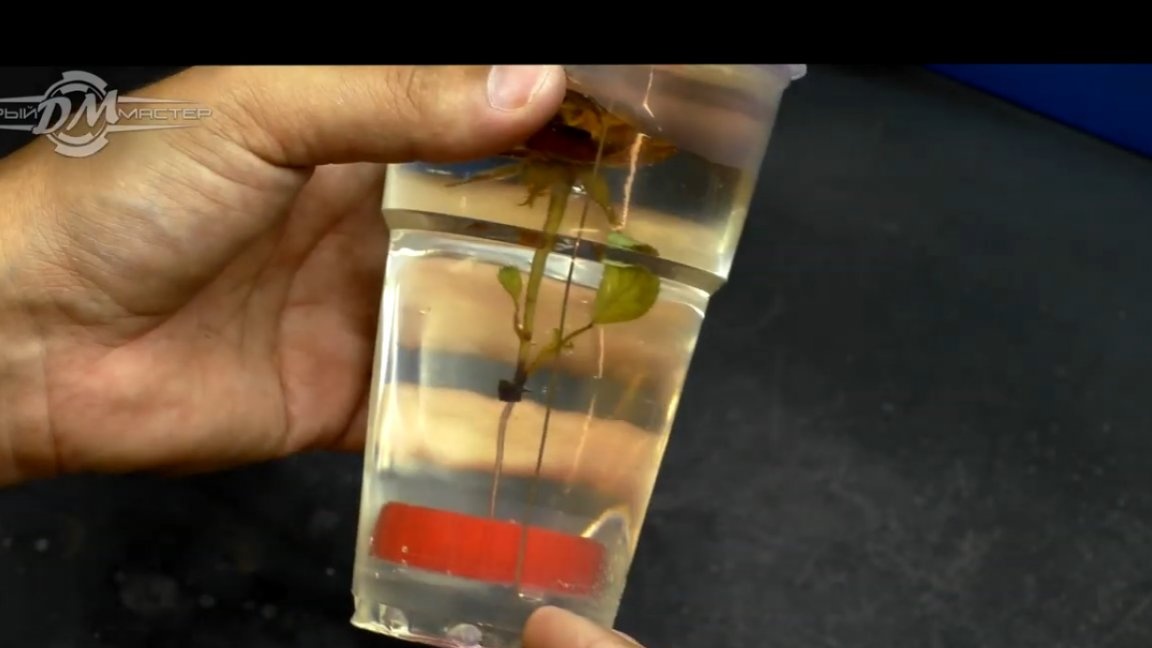
In addition, quite a lot of air came out of the flower and we got such a cool bubble.
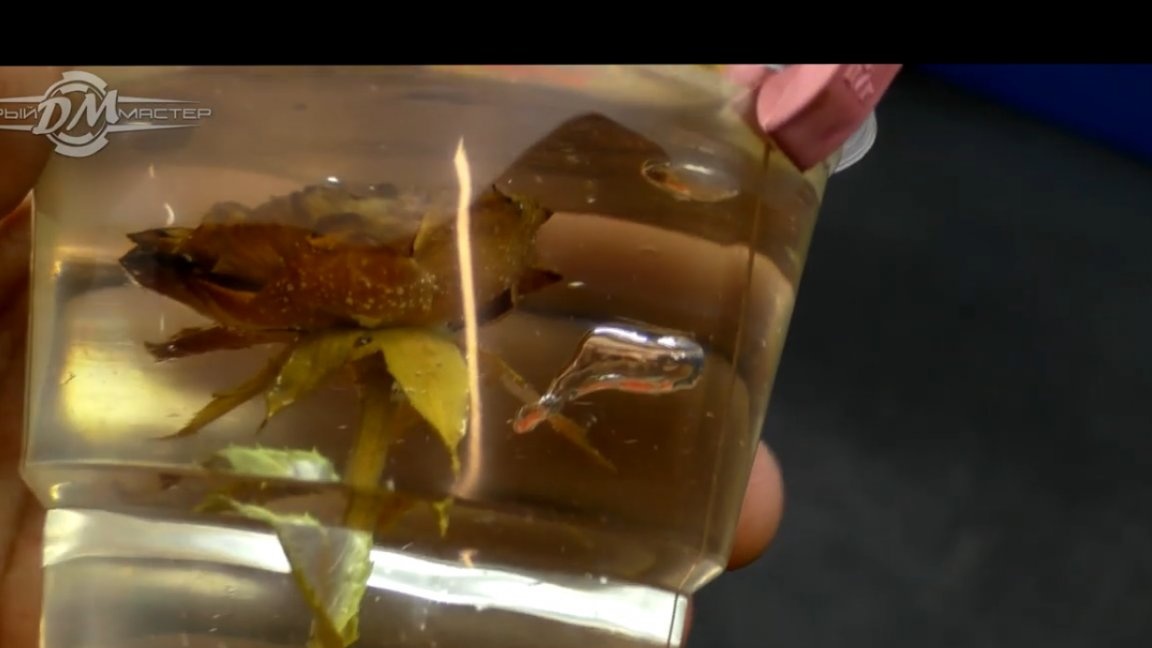
But do not be upset, maybe it will not spoil the appearance, but only embellish and give the future lamp an additional uniqueness.
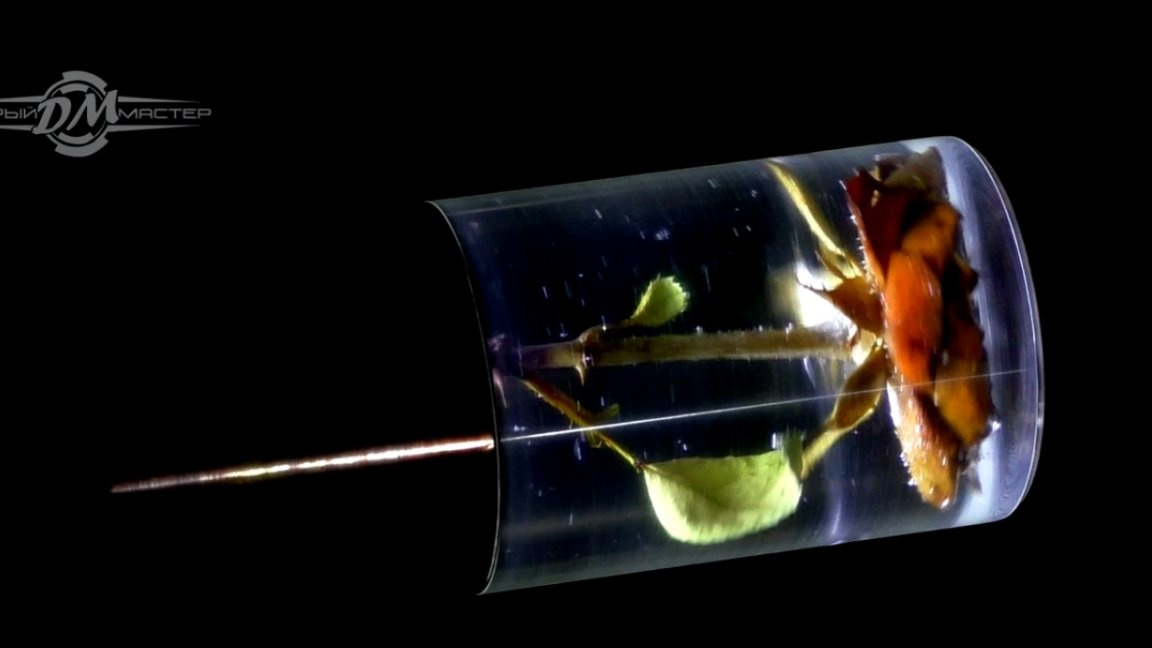
The next step is to get rid of the formwork, after which you can already proceed directly to the processing of the product.
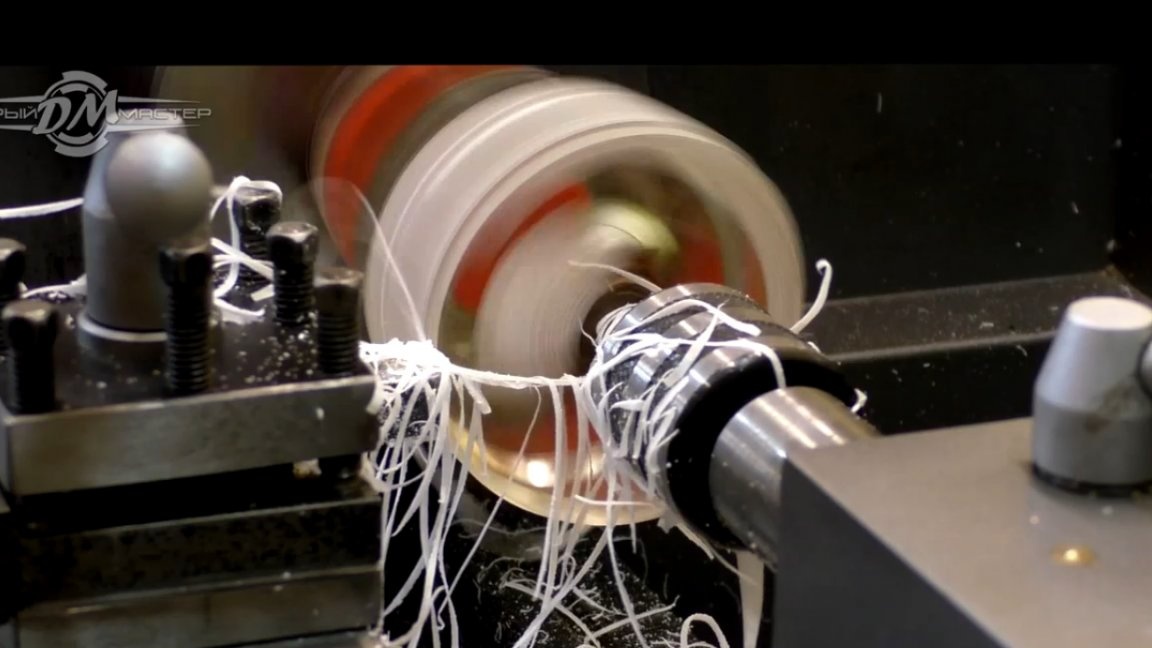
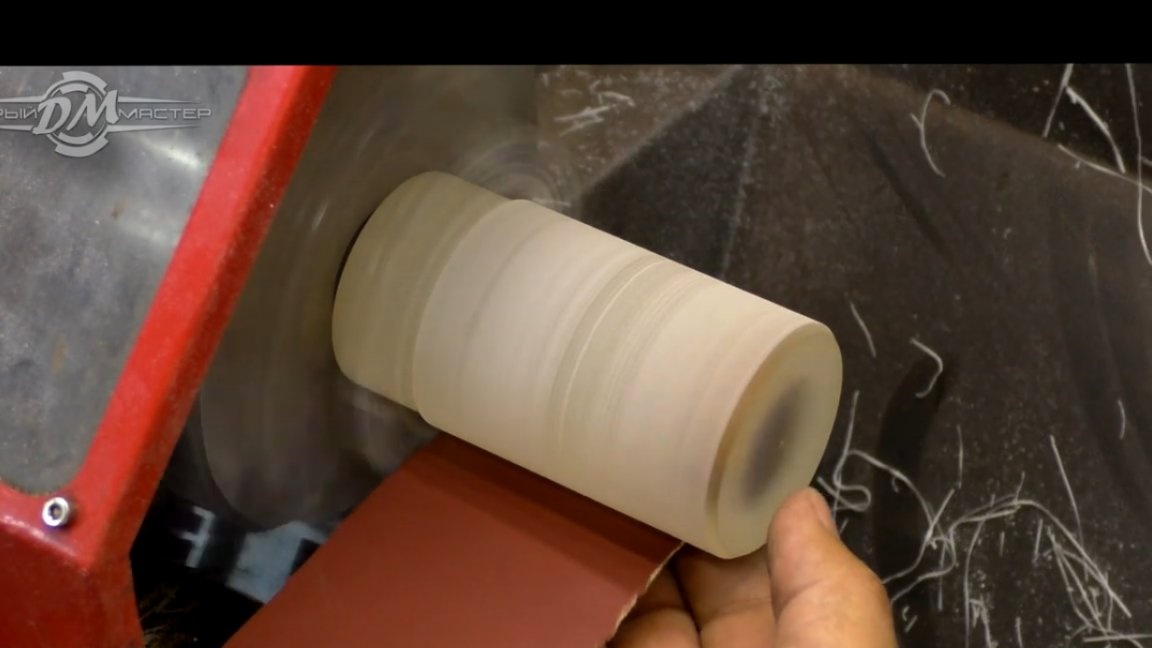
We will also drill through the workpiece and the diameter of this sleeve:

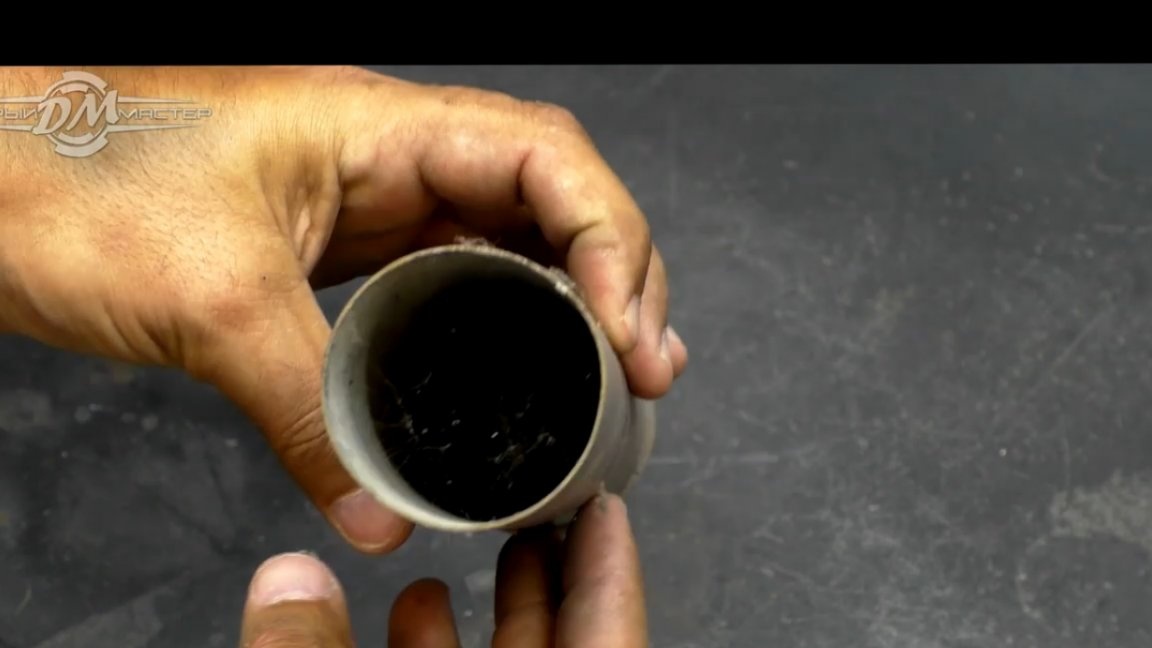
This item was presented to the author by friends from the search squad. The workpiece had to be set with a slight offset so that the flower after processing was located exactly in the middle.
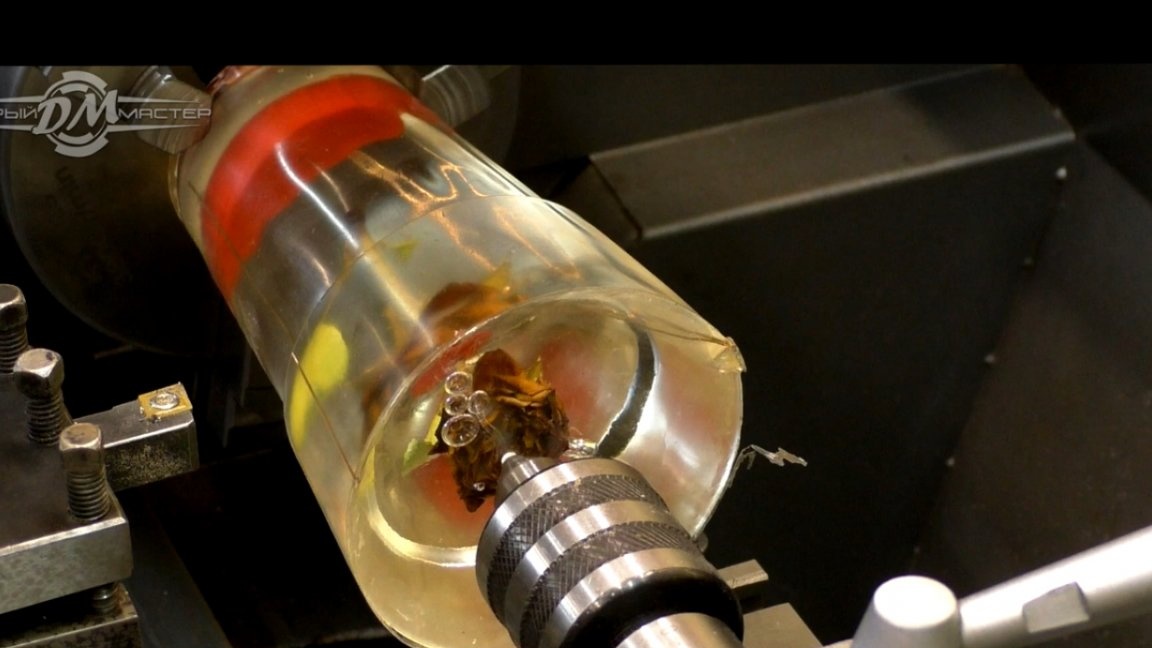
Then we put the machine at minimum speed and let's go.

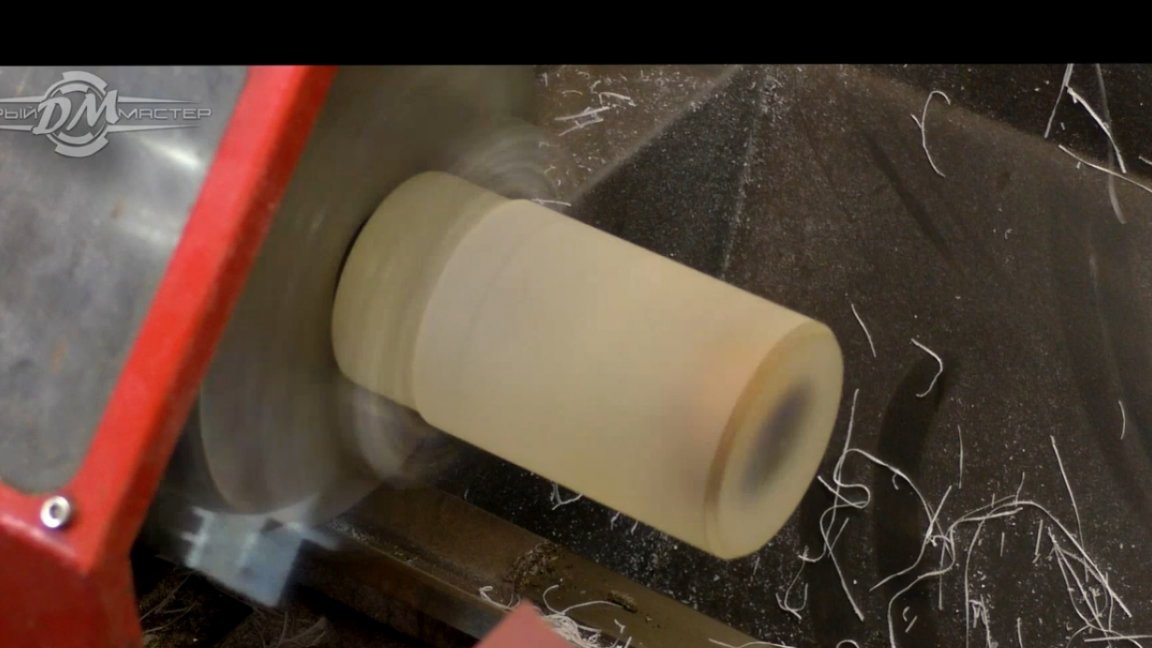
In general, turning an epoxy on a lathe looks rather unusual.
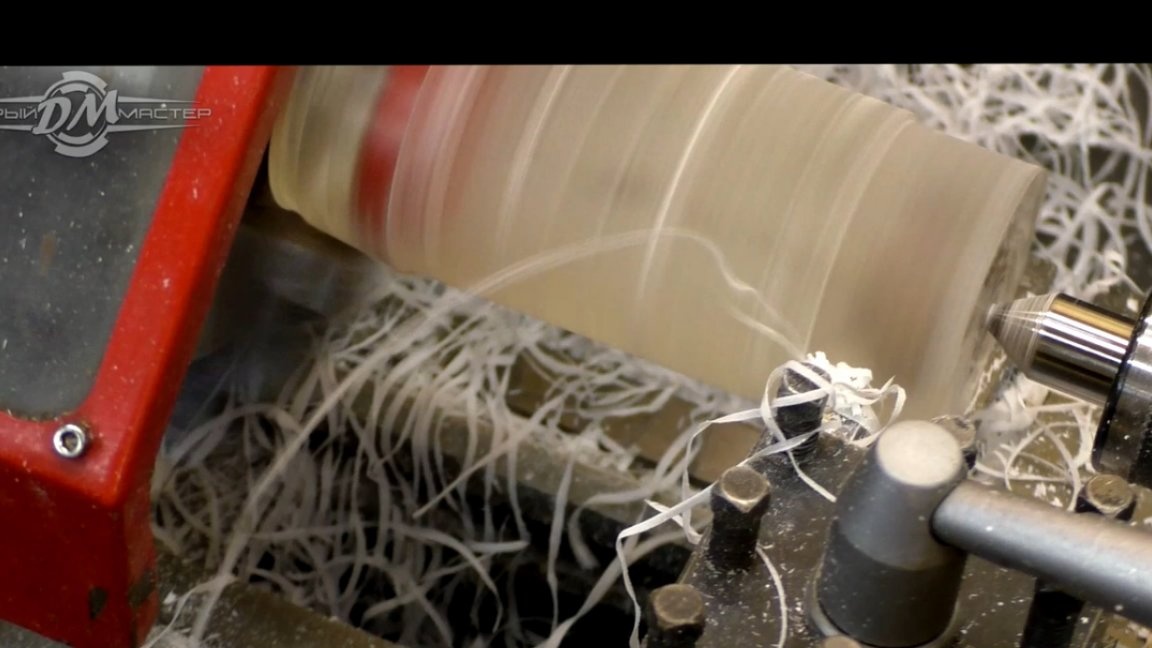

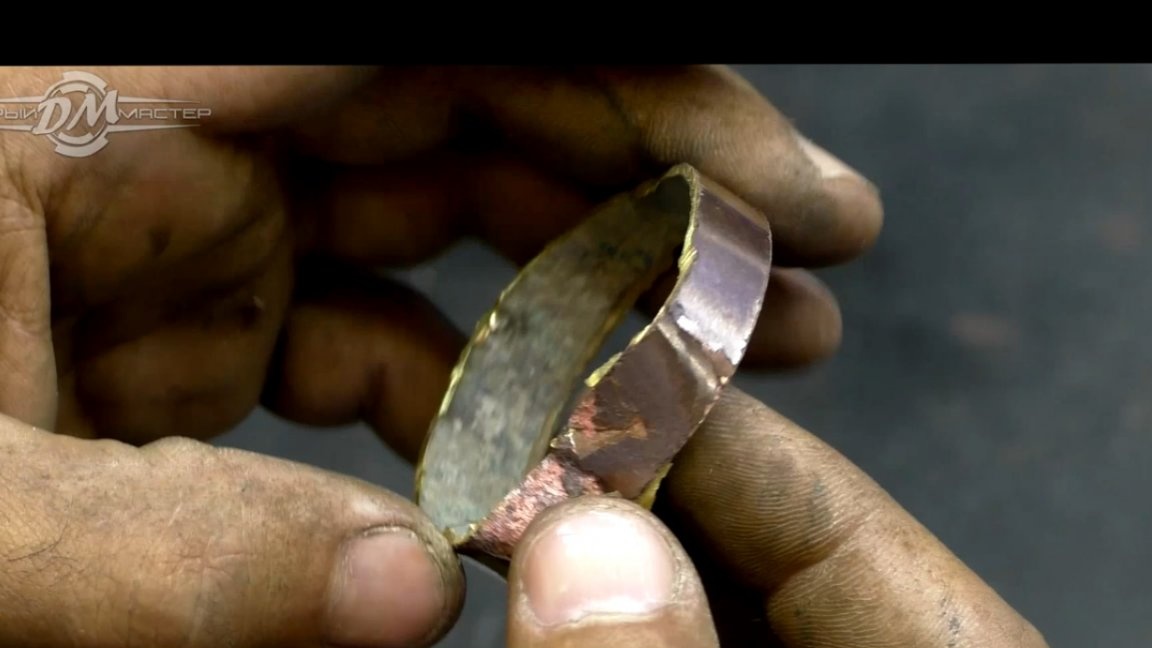
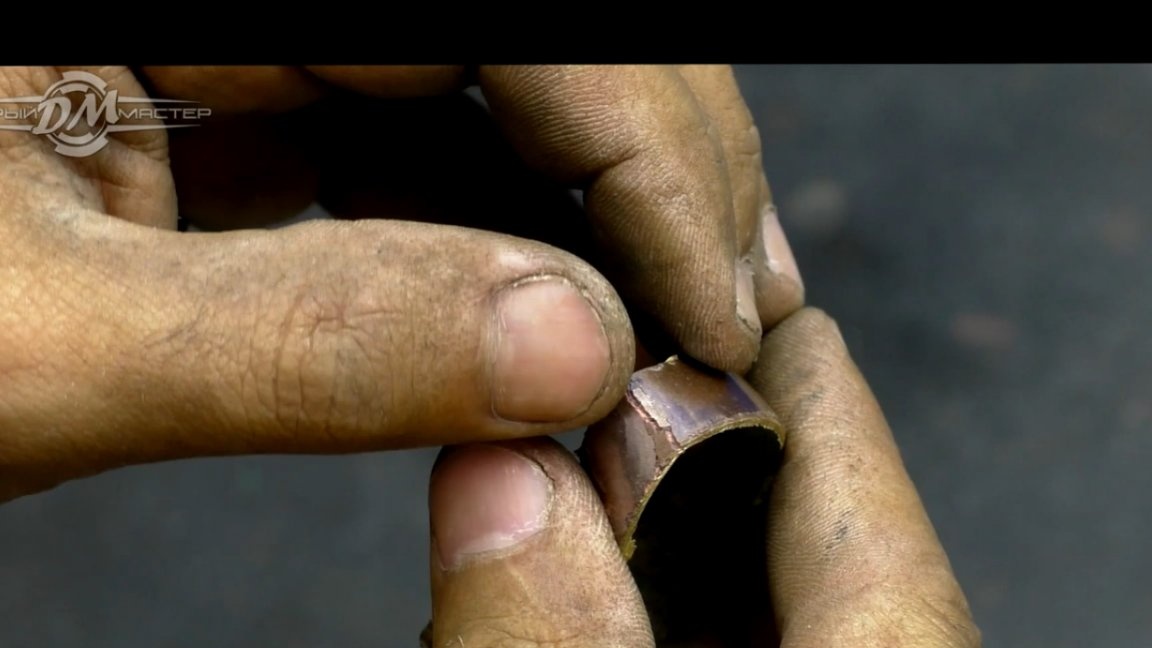
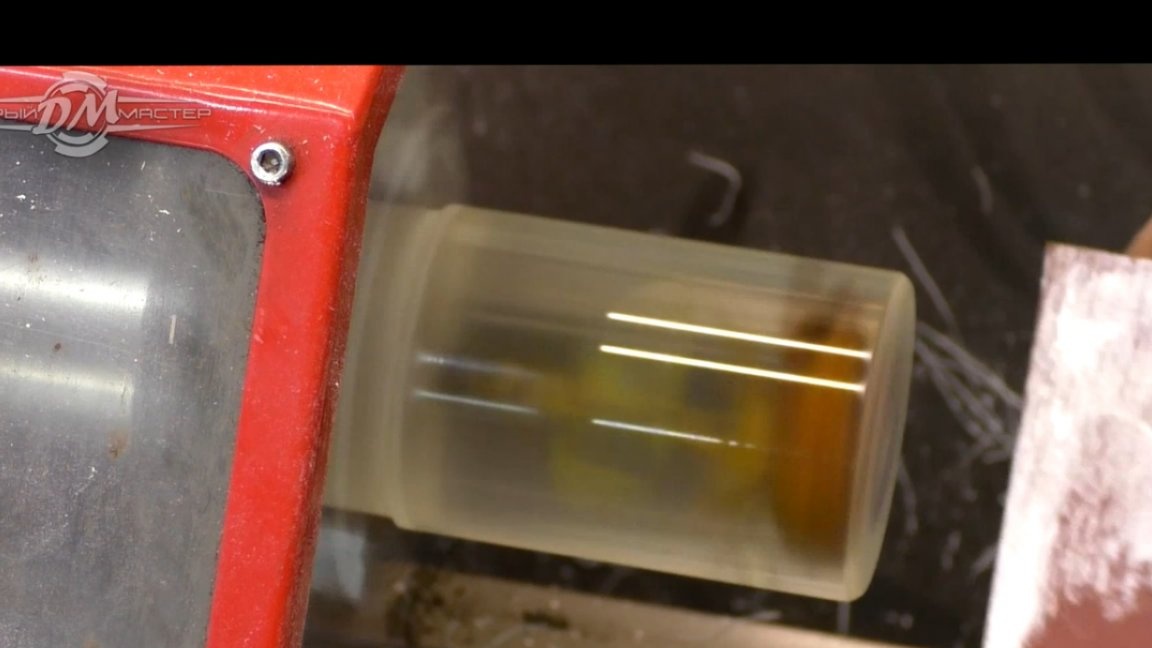
As a result, here we got such a blank, it has not yet been processed into the diameter of the sleeve, since with the latter it is necessary to carry out additional manipulations to clear of plaque and cut to size.
Here is the basis in the end we have succeeded.
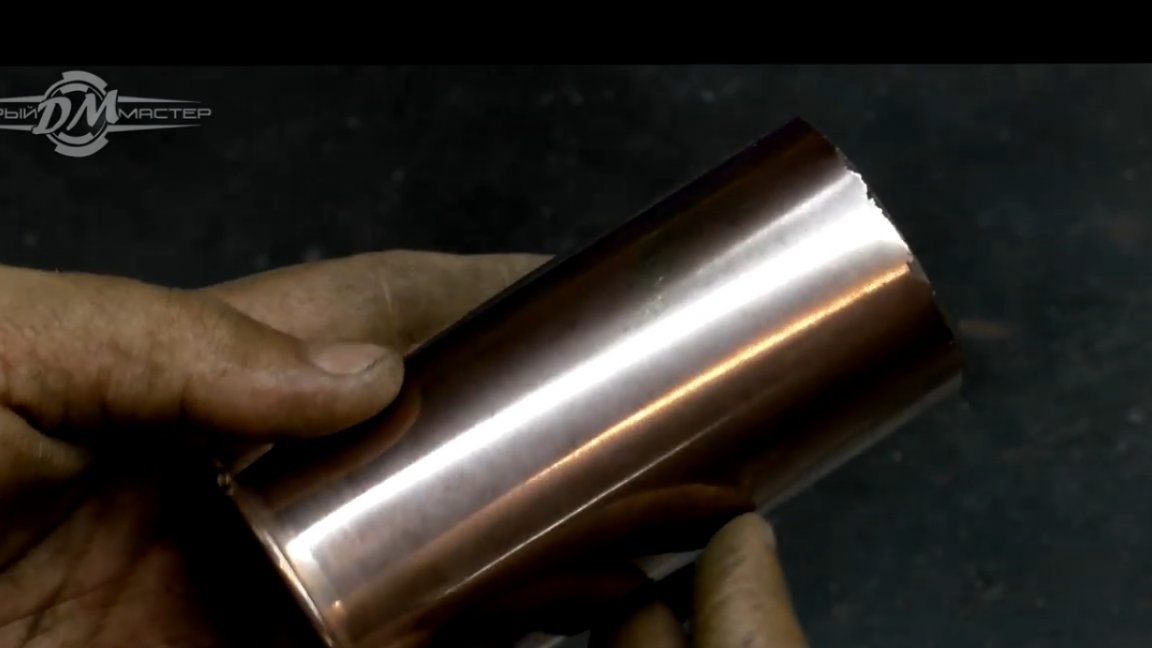
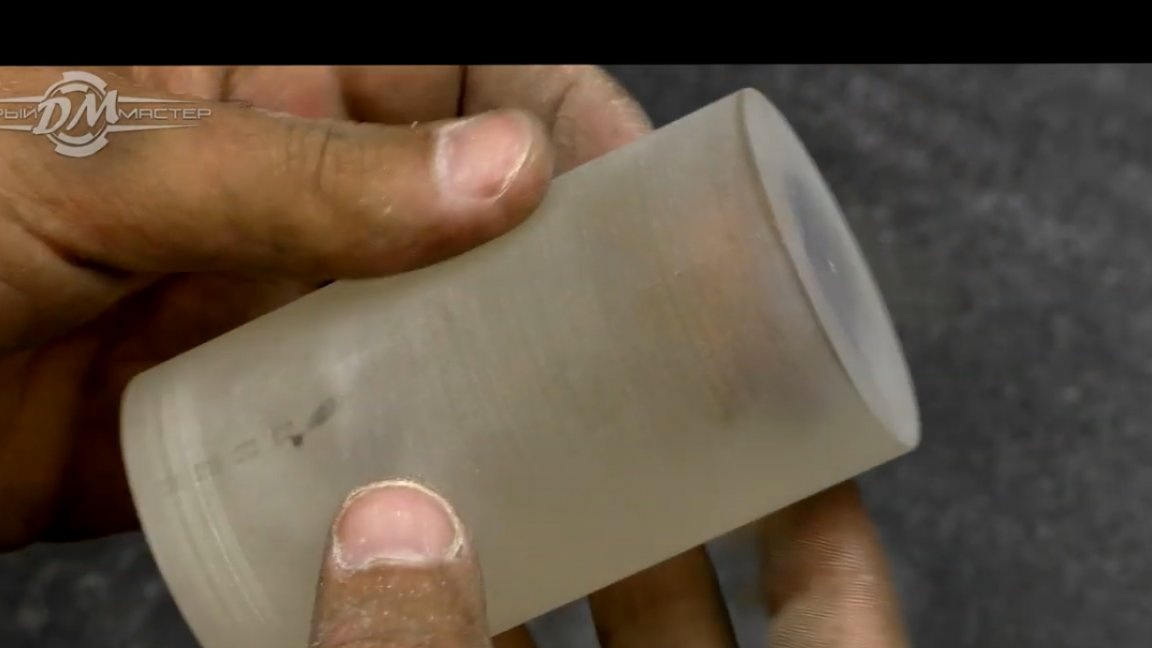
By the way, for those who did not know, these shells are made like a sandwich and have a protective coating, which is quite fragile. For what reason this was done, the author cannot assume.
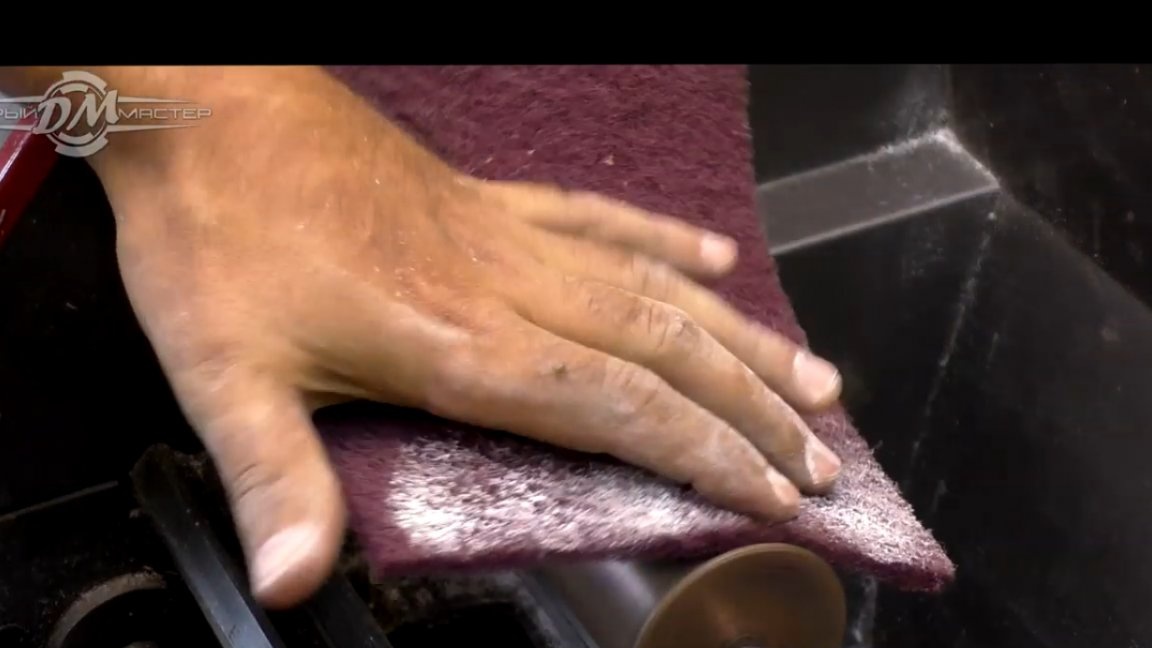
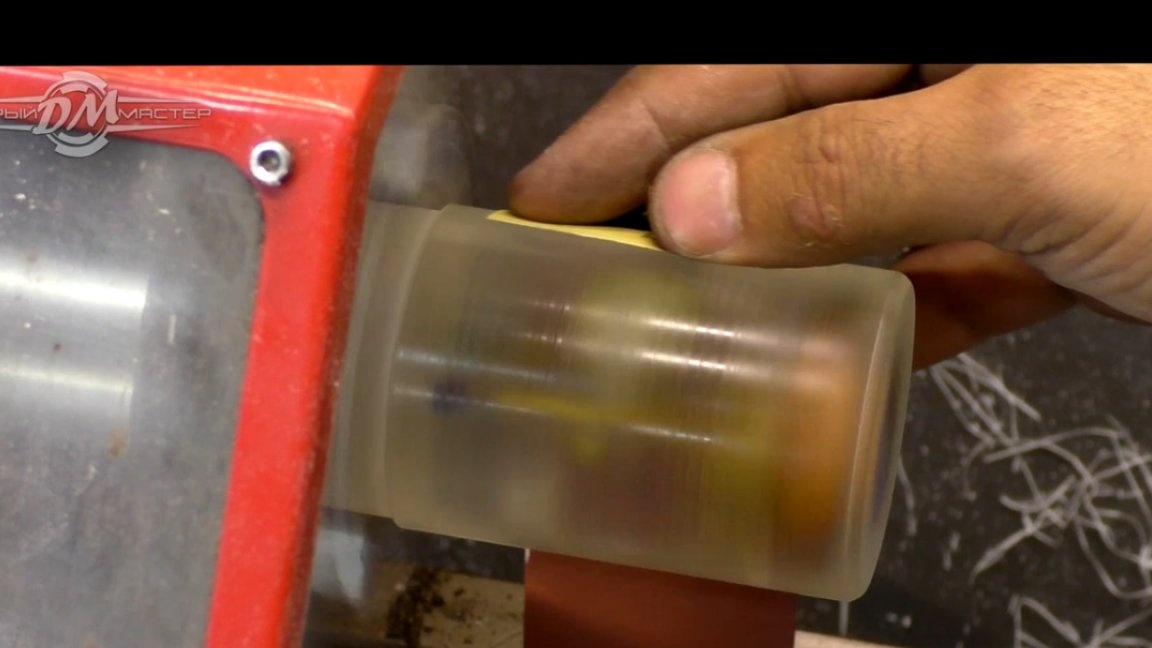
Now let's get back to the rose. The workpiece must be machined to the desired size, after which the polishing stage begins. First you need to walk along the surface with 600 grit sandpaper, and you need to finish processing with three thousandth paper.
Remember that when processing with fine sandpaper, the workpiece must be moistened with water, so the sandpaper clogs less and does not scratch the workpiece.
And now it's time to finish polishing with plastic paste. This is usually used for polishing car headlights.
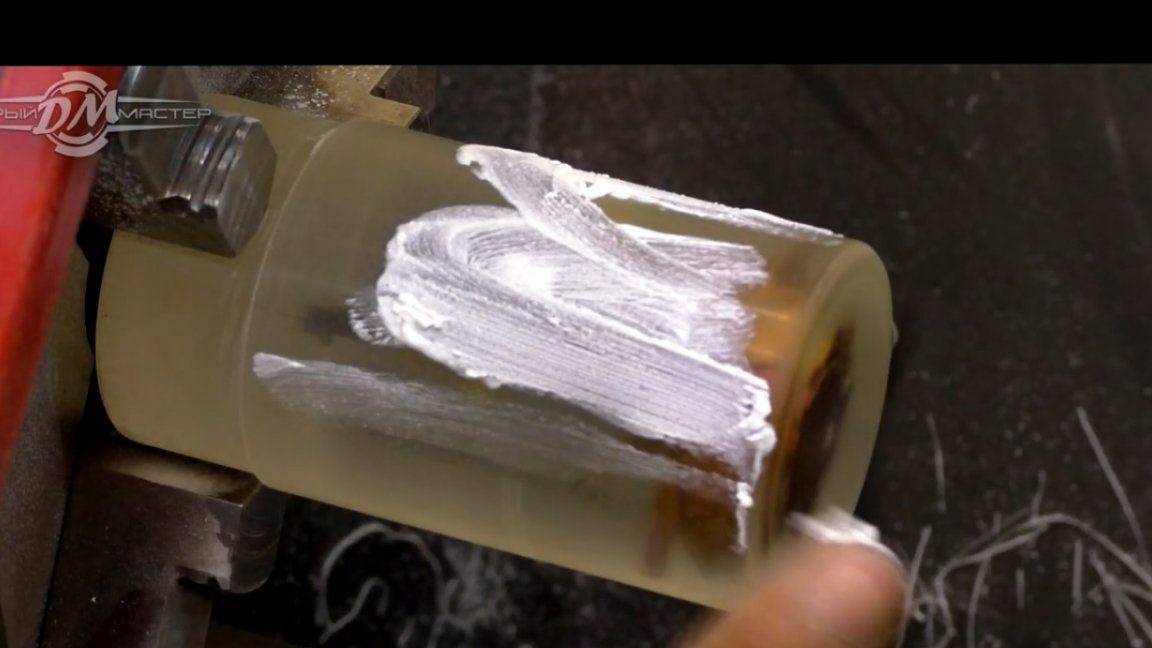

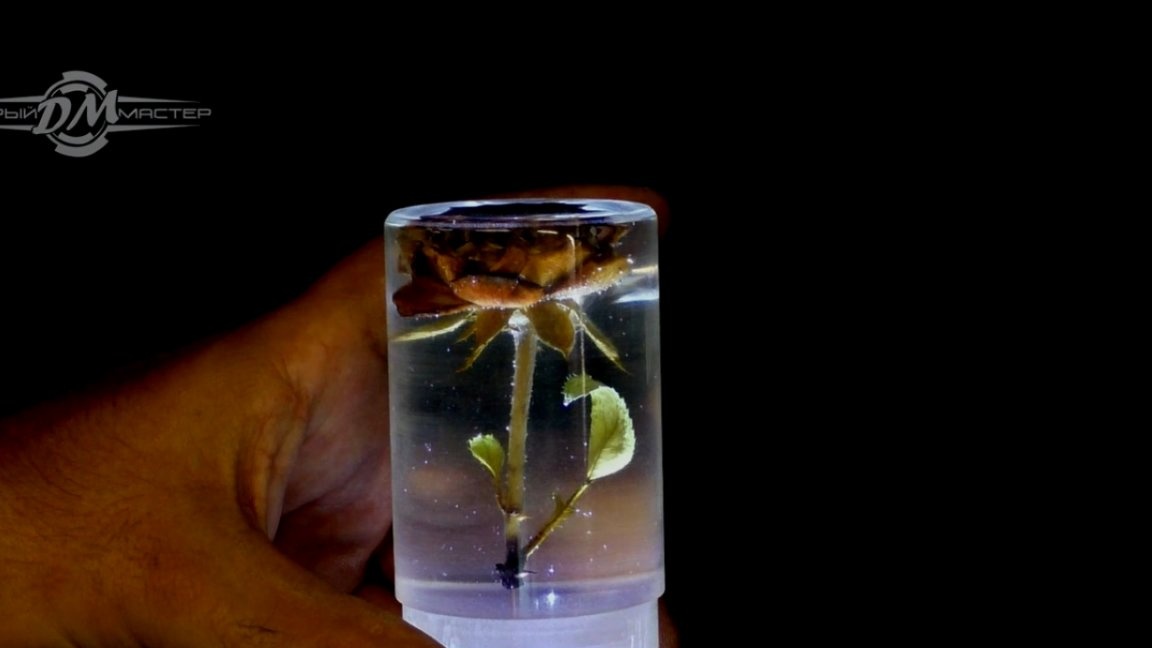
Here is such a workpiece in the end we got, you see, very good. Initially, the author did not plan to make a highlight of the rose, this idea (to make not an ordinary souvenir, but a nightlight) was born at his current stage.
He quickly went to the fix-price store and bought just such a cheap lamp:
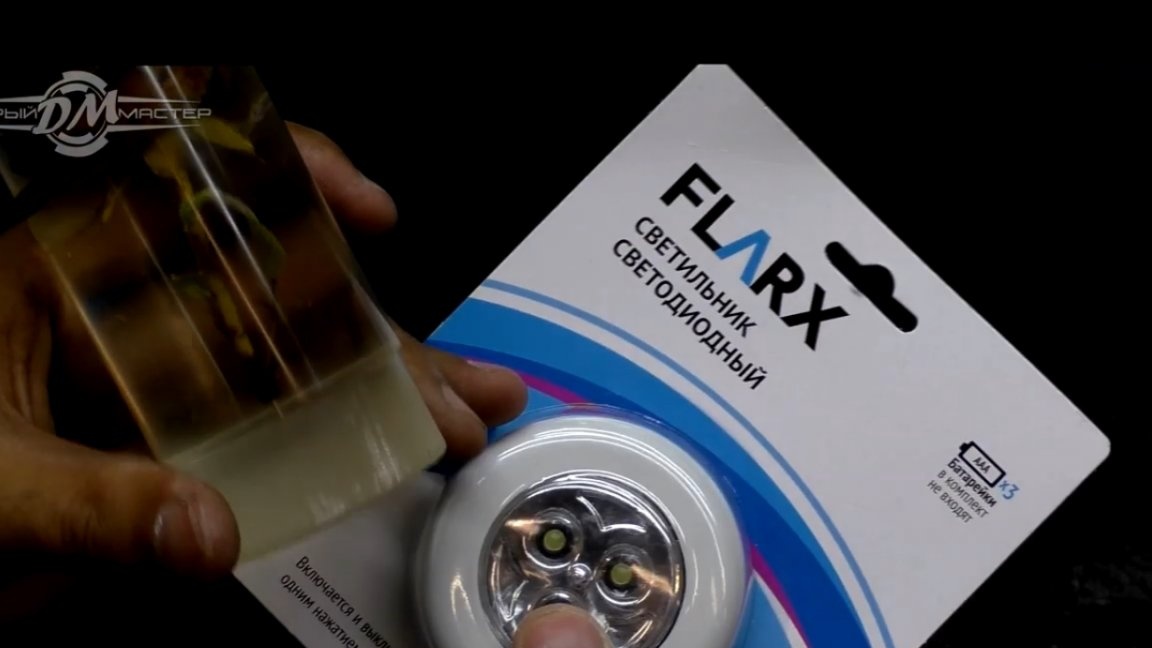
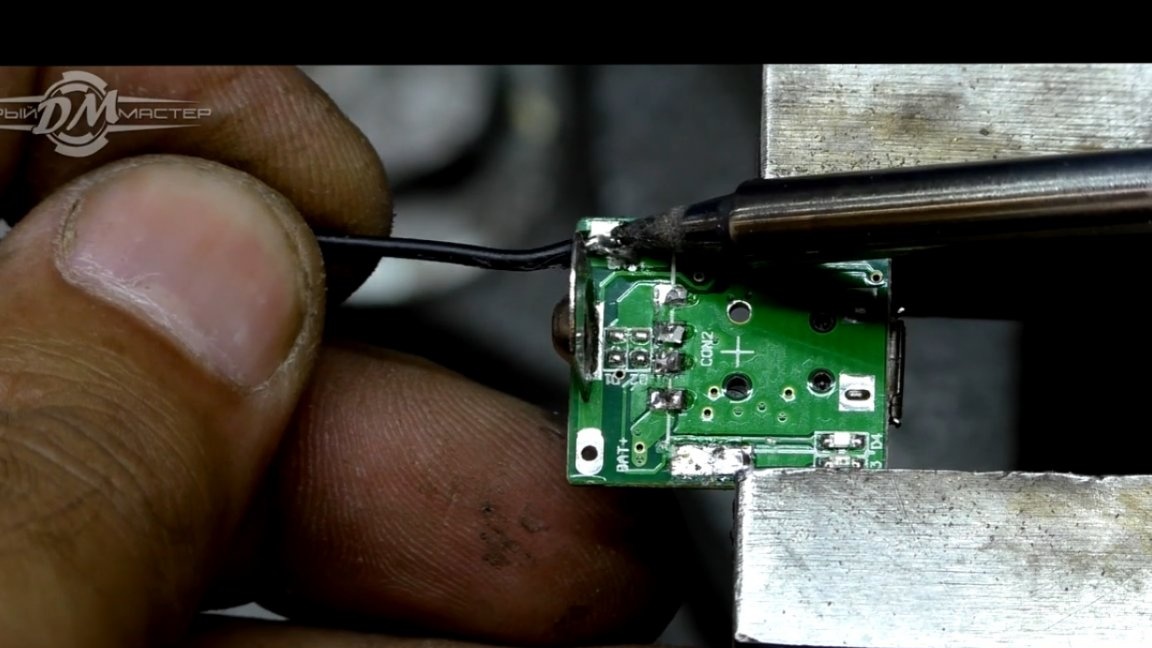
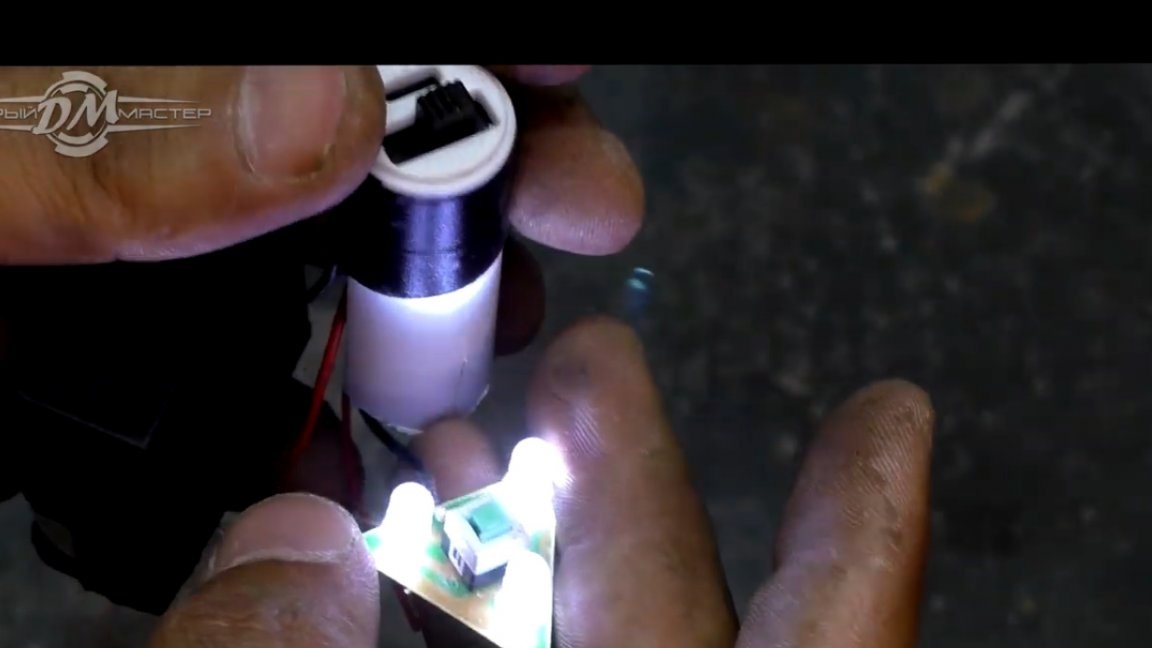
It is necessary to remove the LEDs from this lamp. The first tests showed that everything glows very well, so we continue.
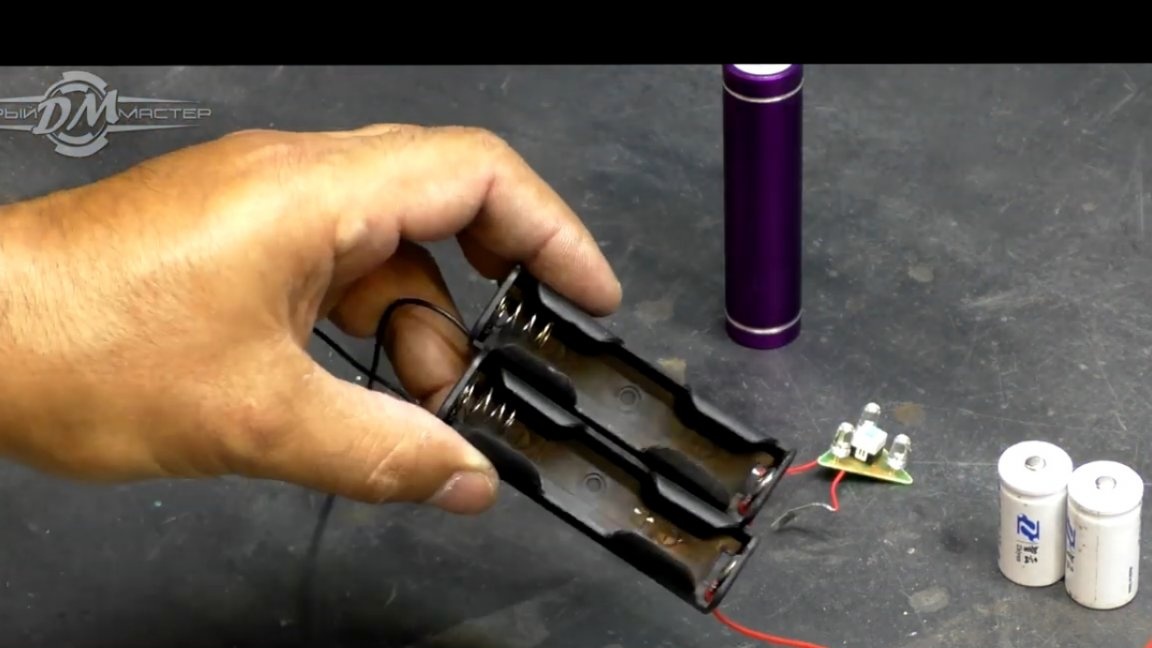
Also in the bins was found here is a set of components:
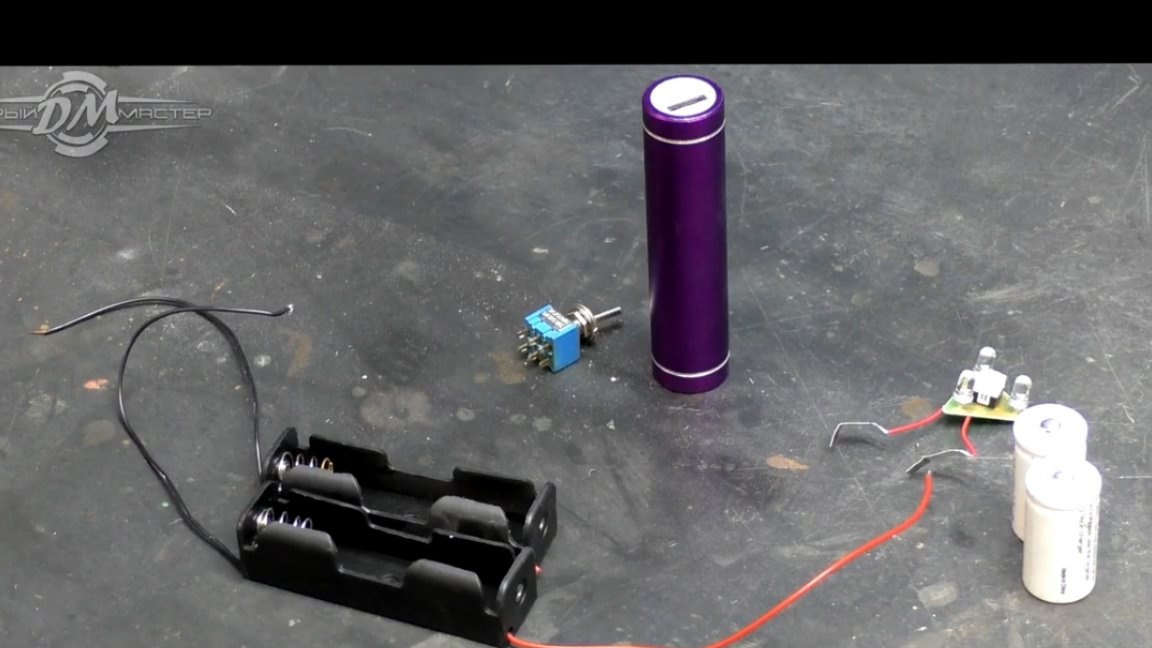
This, we will use his board as a controller for charge and discharge of batteries.

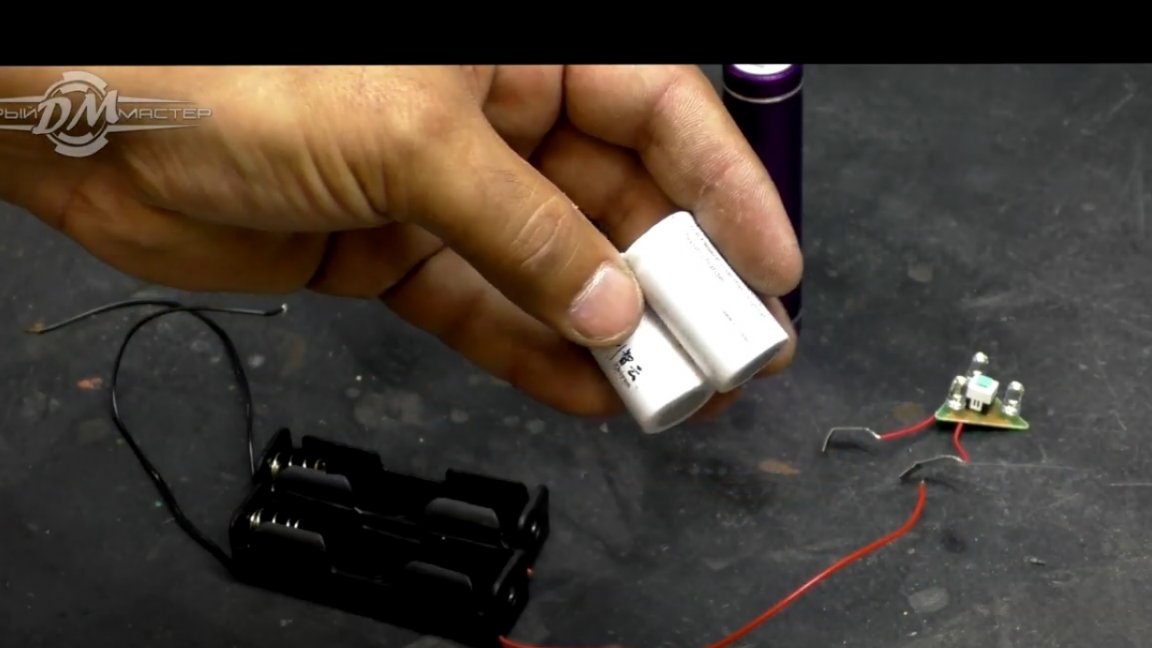
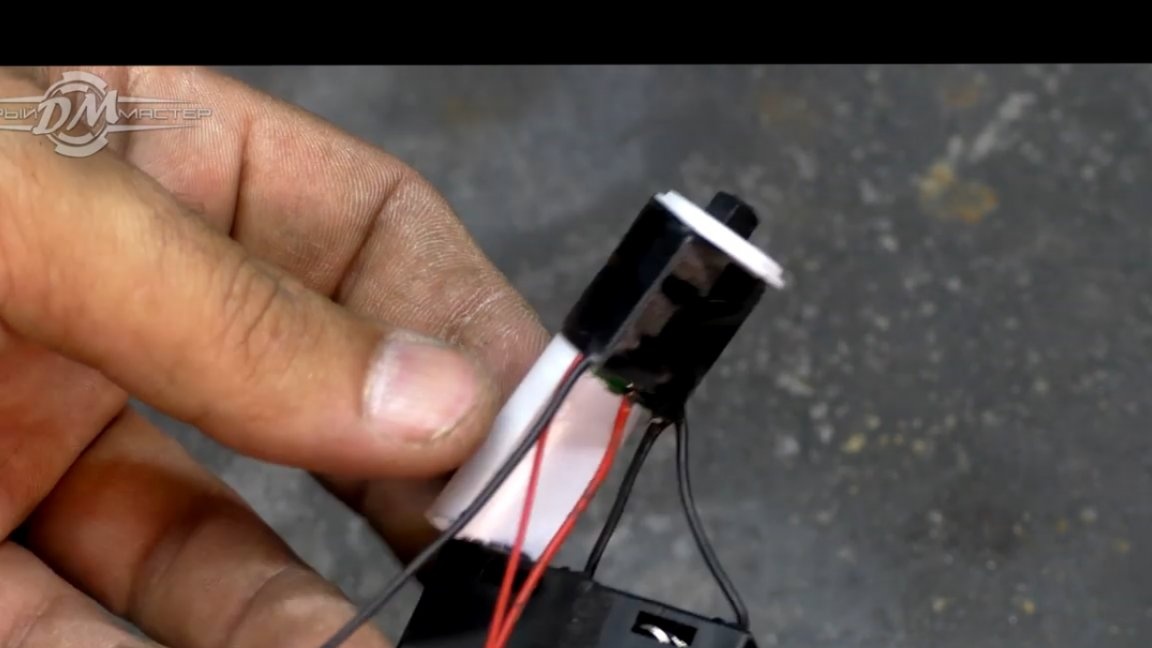
Next, a pair of 13650 format batteries:
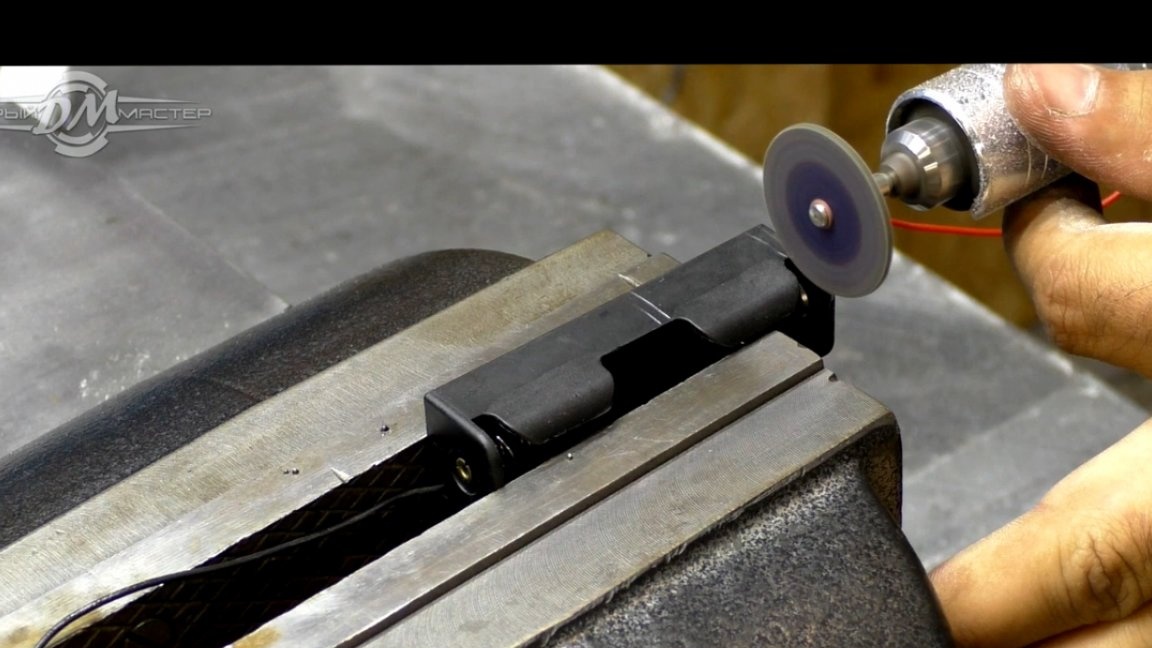
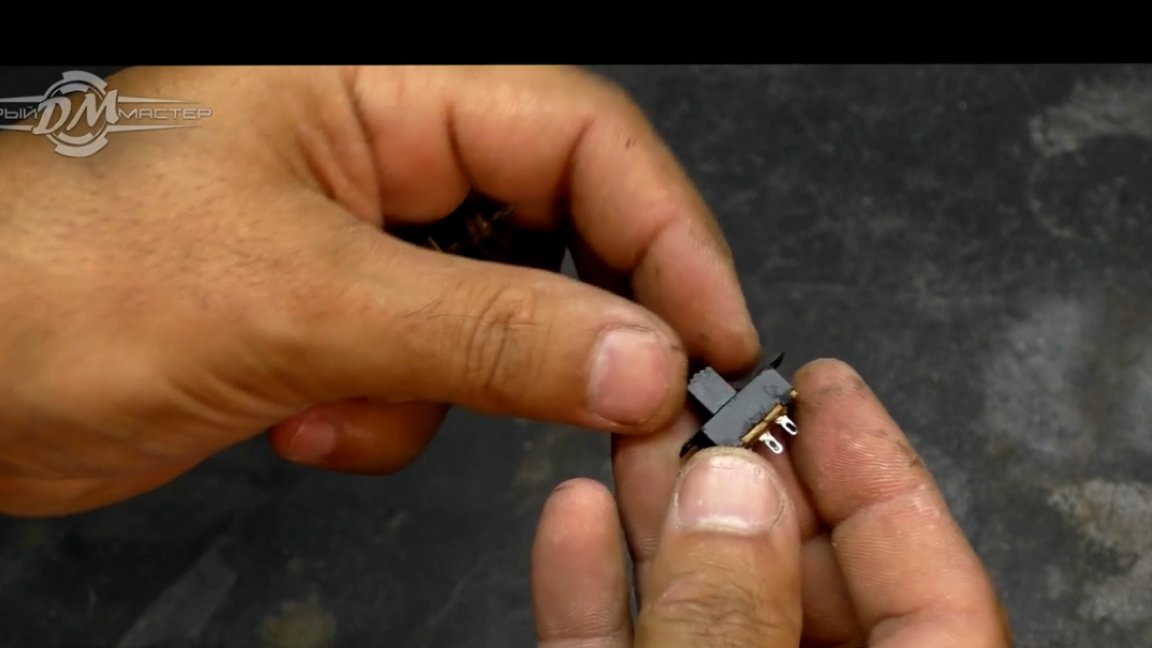
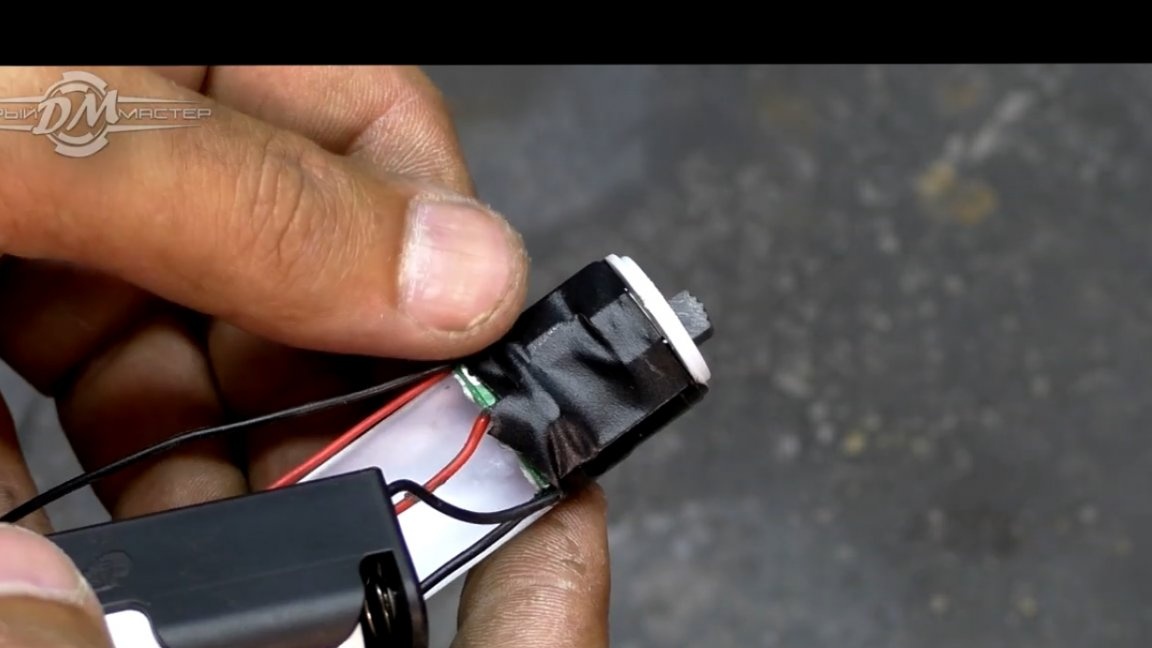
The switch is also for lithium-ion, they are a little larger in size, so they need to be shortened.
We cut the holders with a homemade drill and glue it with ordinary superglue with soda.
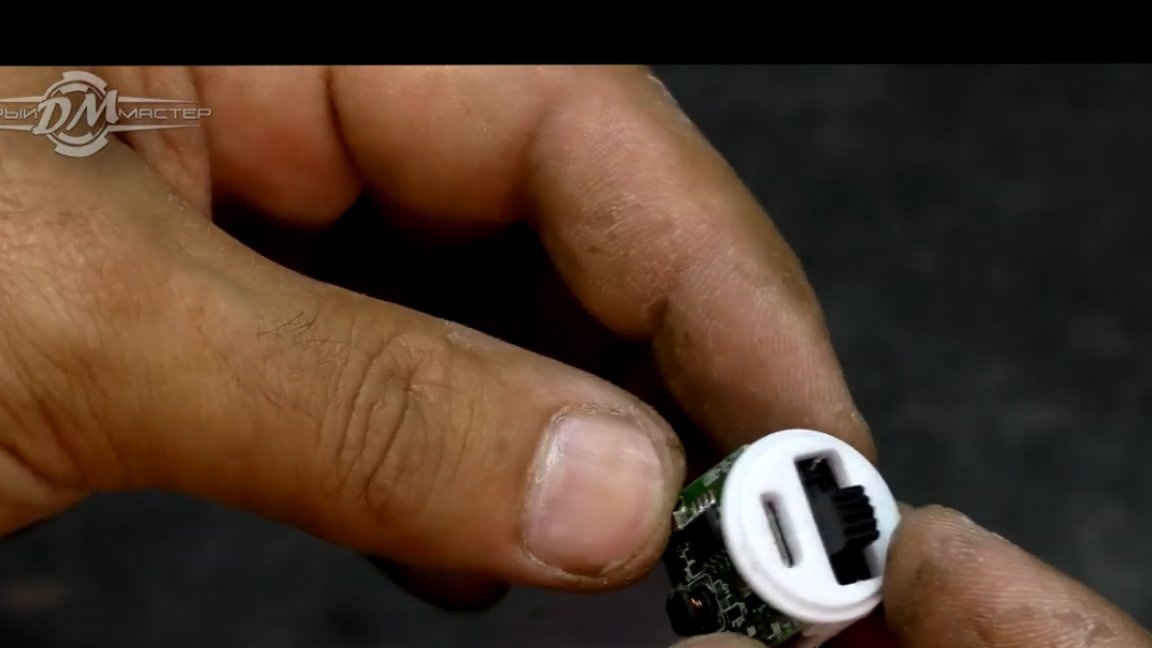
In the process, it was decided to install another smaller switch, it ideally stands in place of the usb connector.
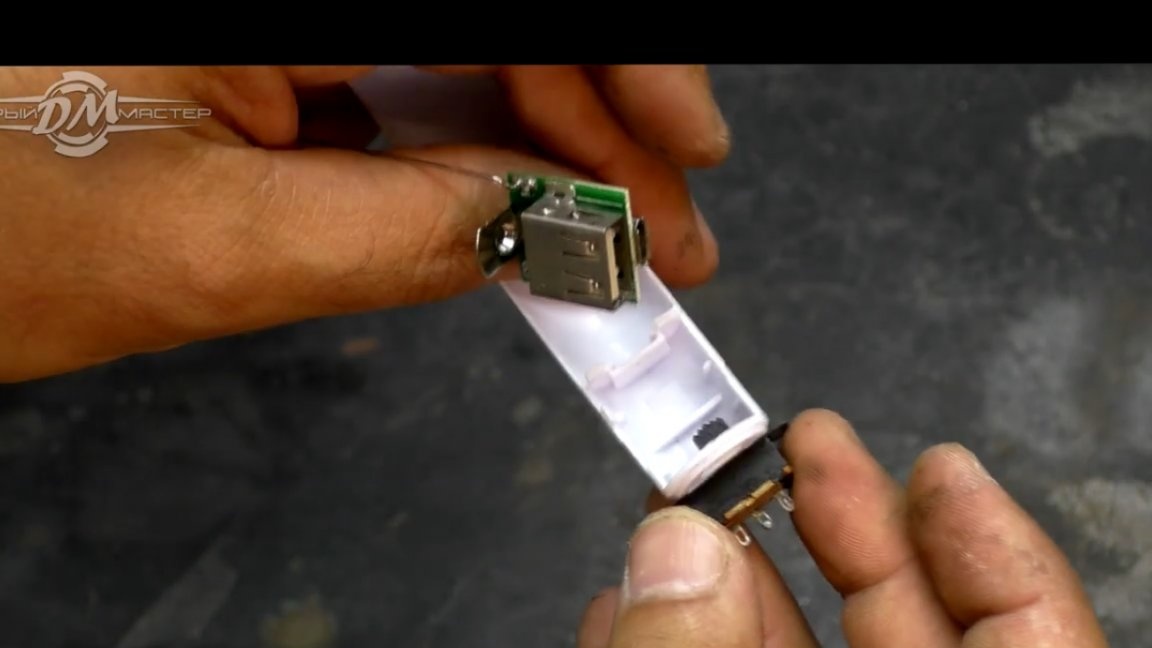
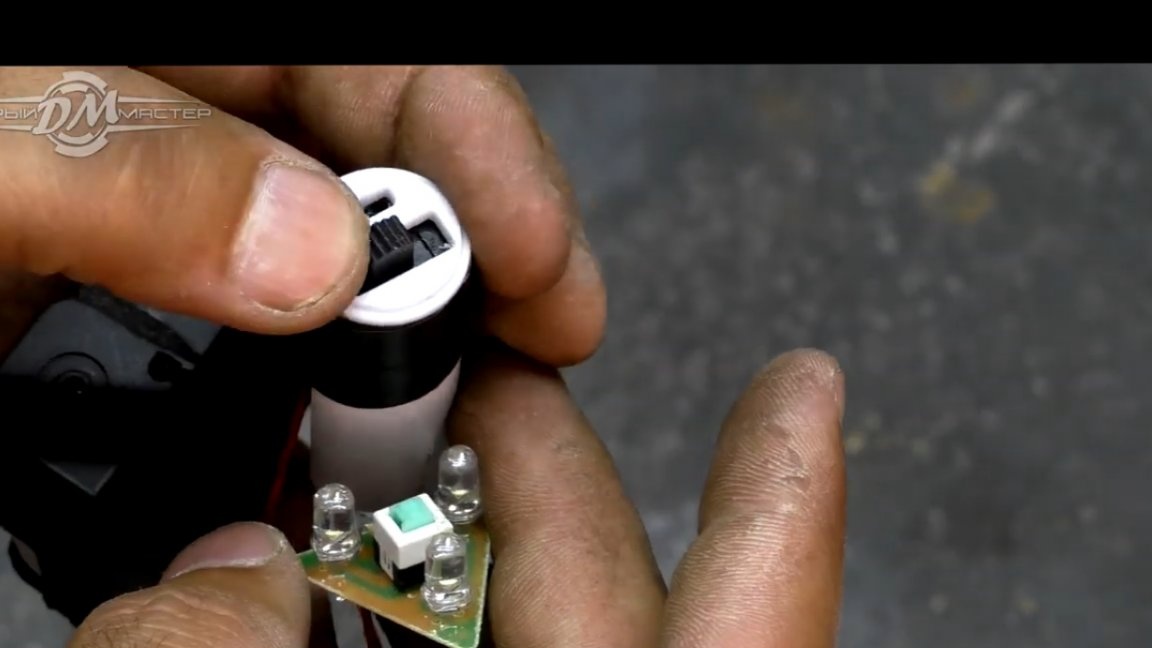
But first you need to get rid of this USB connector.

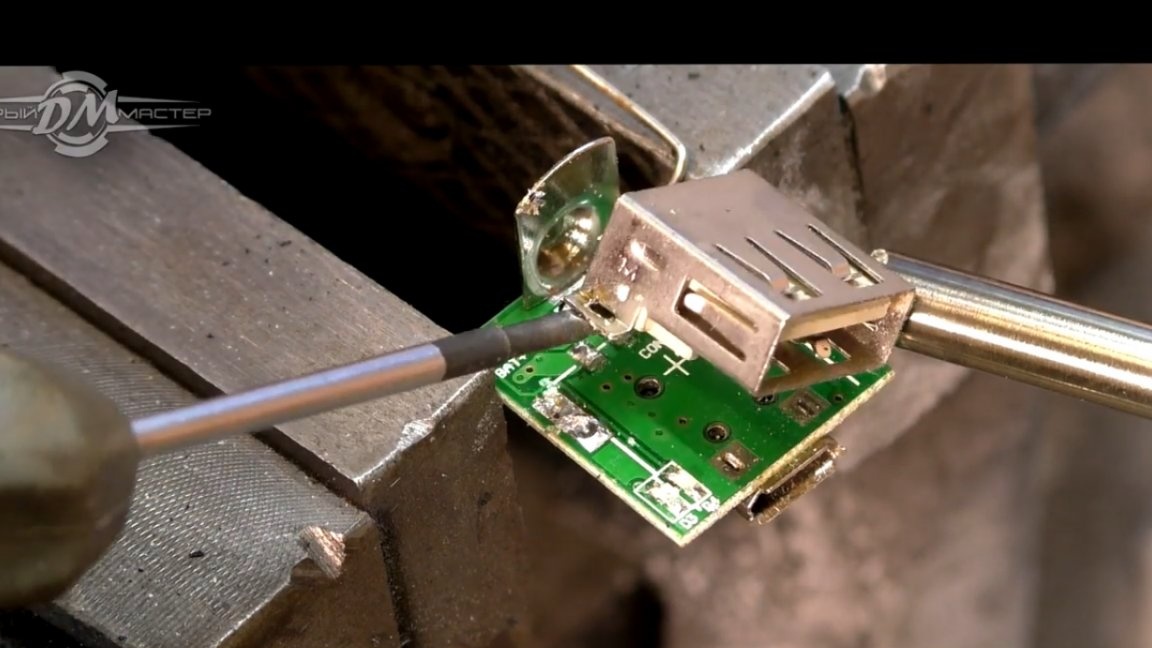
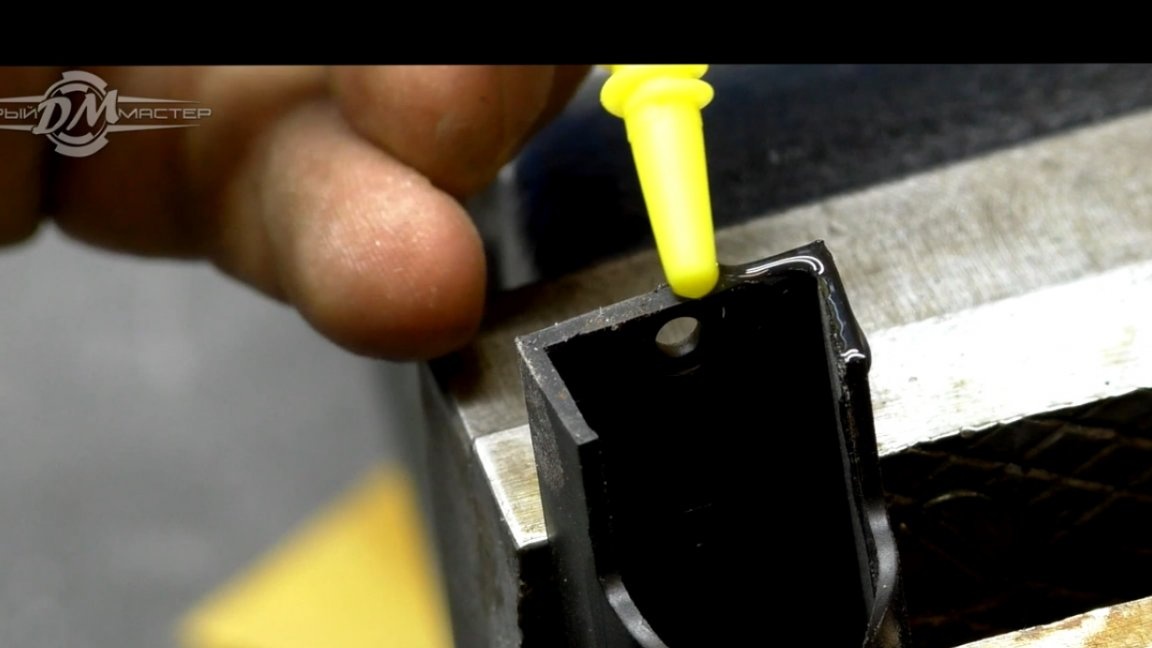
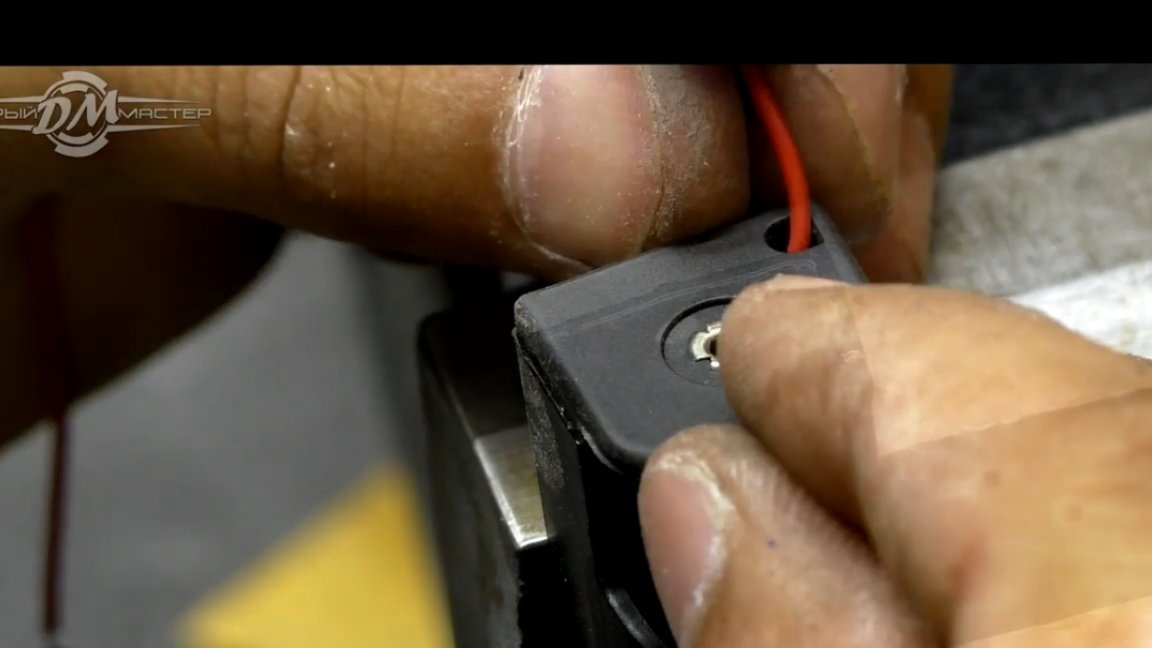
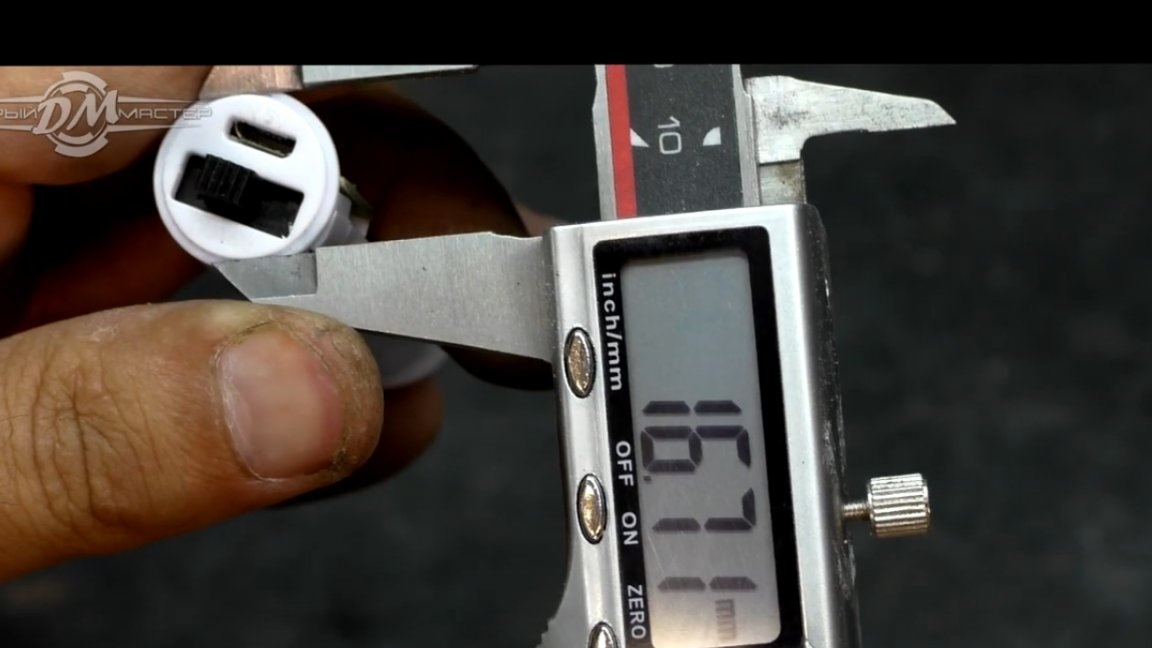
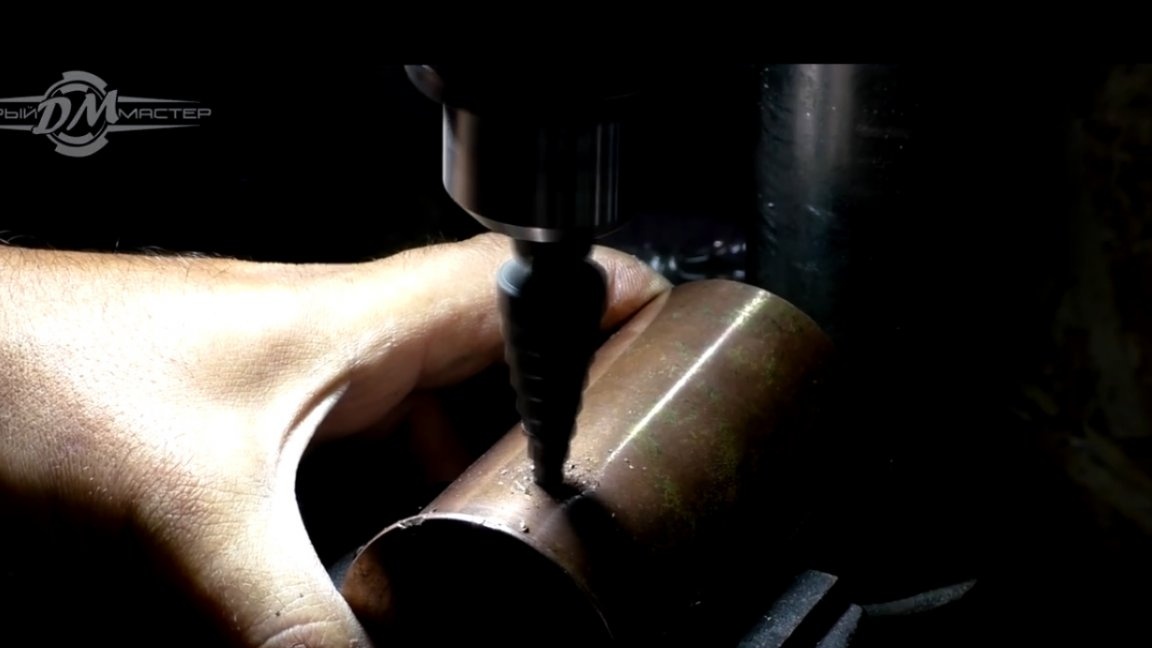
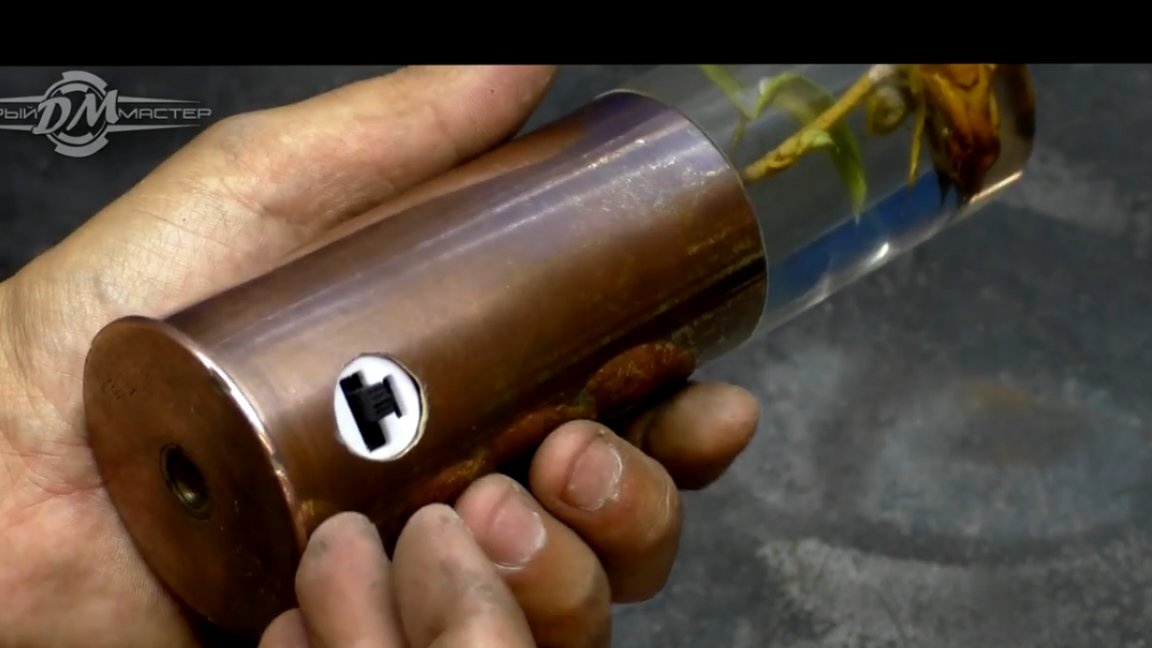
Now the switch is installed in its place and you can make a hole in the sleeve for our night light. Everything is extremely simple here, we drill up to 16 mm, and then we will work a little bit with a file.
Now we make all the necessary connections and now, our filling is assembled.
The circuit breaker must be insulated with electrical tape, of course not blue, but this should also work.
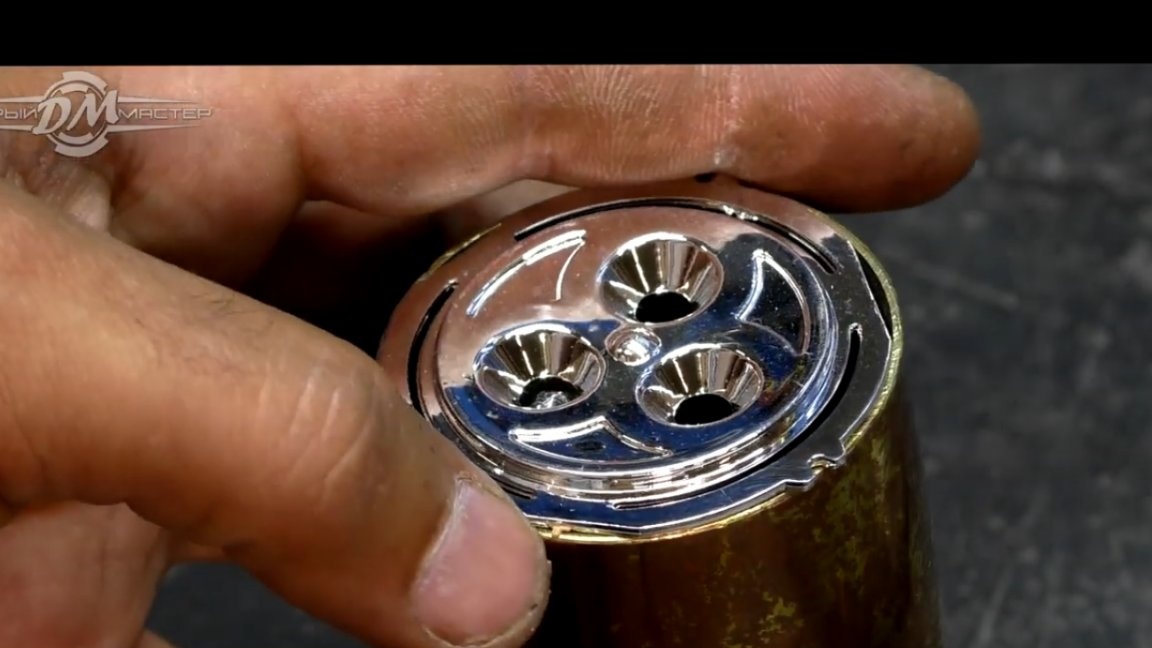
The native reflector of the lamp turned out to be almost the size of our sleeve, it was only necessary to slightly file it with a file and now, our lower part is assembled.


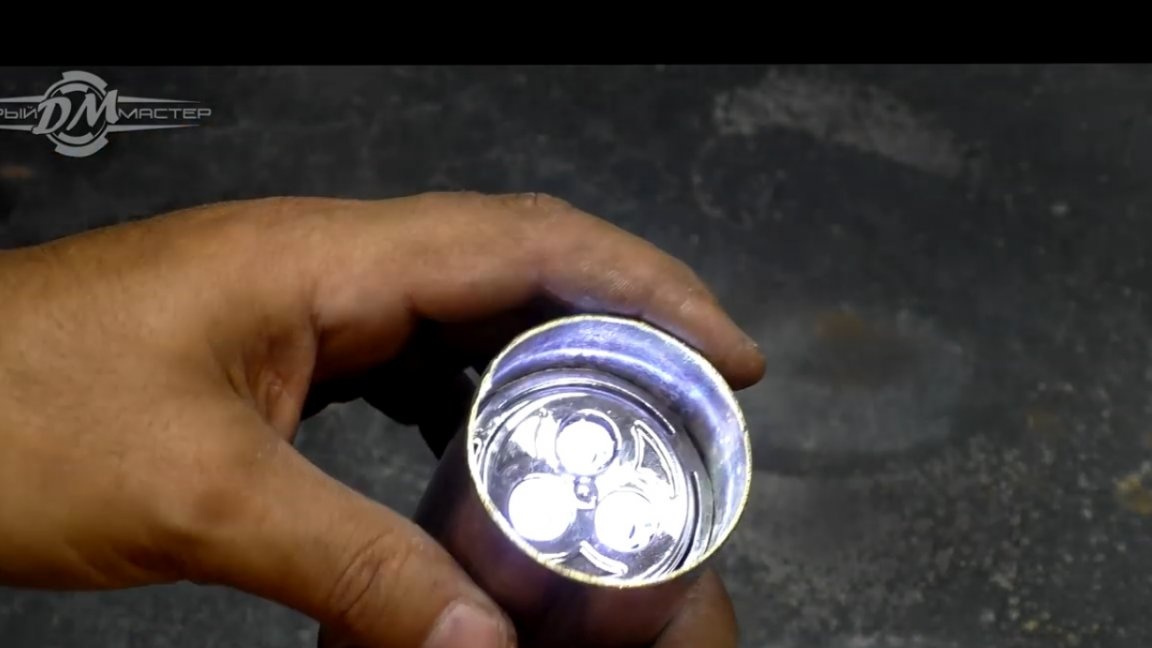
Now it remains only to establish a decor and enjoy the result of the work done.
Here is such a night light in the end turned out pretty good, agree. The author did not specifically polish the sleeve so that the product does not lose its vintage look.Now let this artillery case serve only for peaceful purposes. That's all. Thank you for attention. See you soon!
Author's video: