
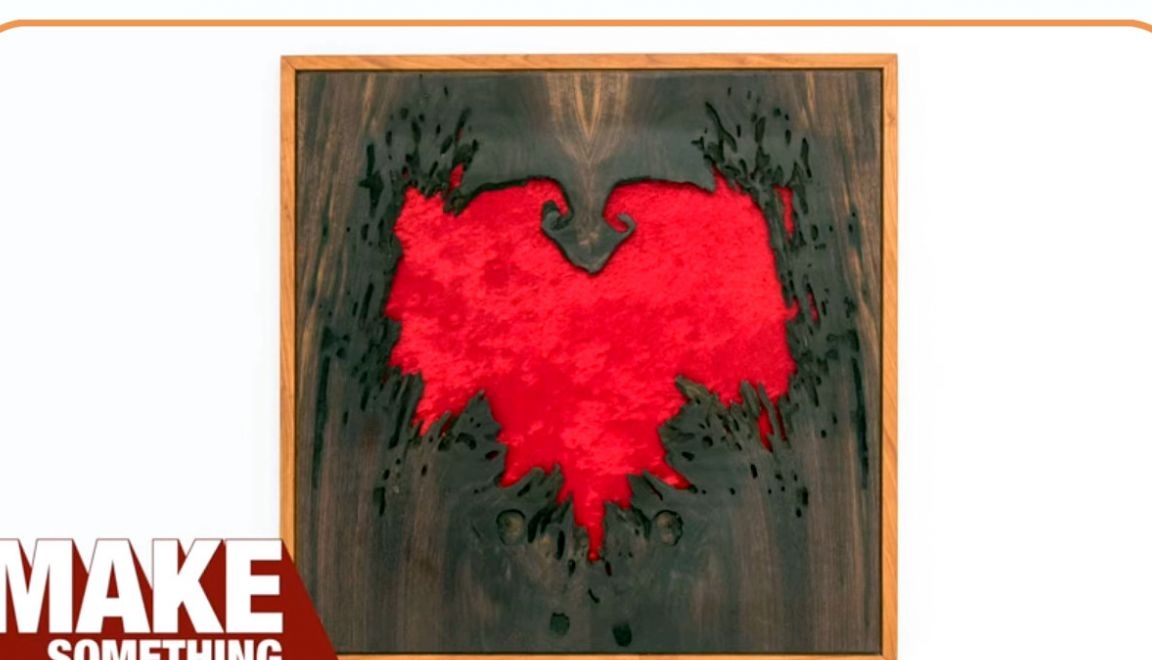
In this article, David Picciuto, the author of the Make Something channel, will show you how nature itself can inspire craftsmen to create amazing homemade products that, in fact, can already be classified as works of art. It will be a wall panel created from a damaged board.
Materials
- Cherry board with defects
- Flaxseed oil
- Velvet fabric
- Boards for the frame
- Fishing line or steel cable.
Instruments.
- Industrial Band Saw
- Furniture stapler, staples
- Sander
- Neiler
- Miter saw, circular saw with corner attachment.
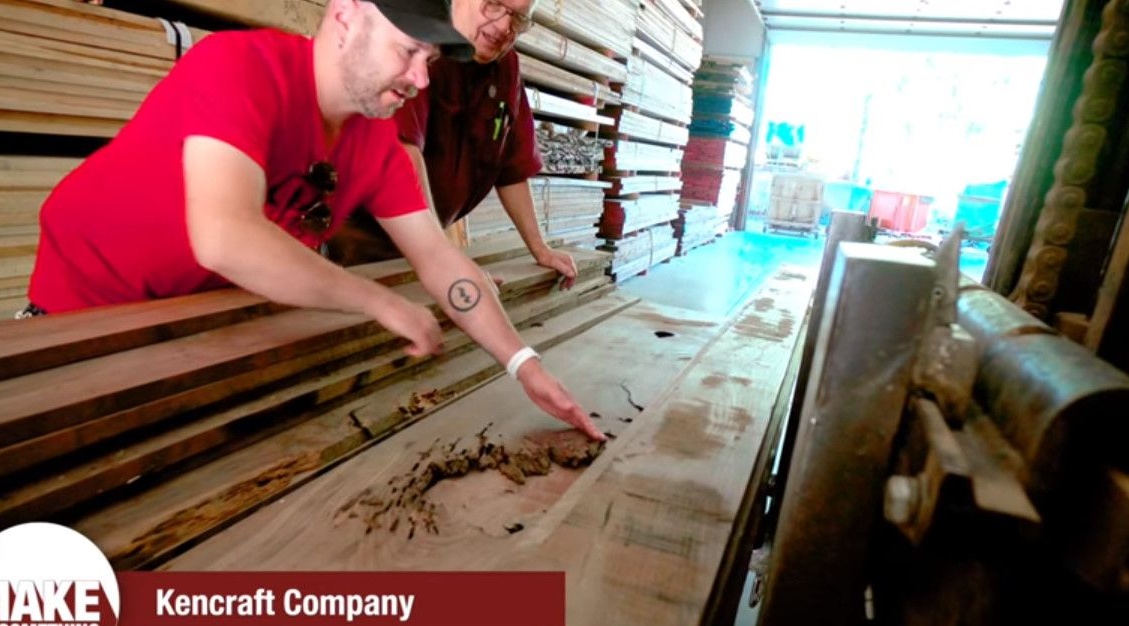
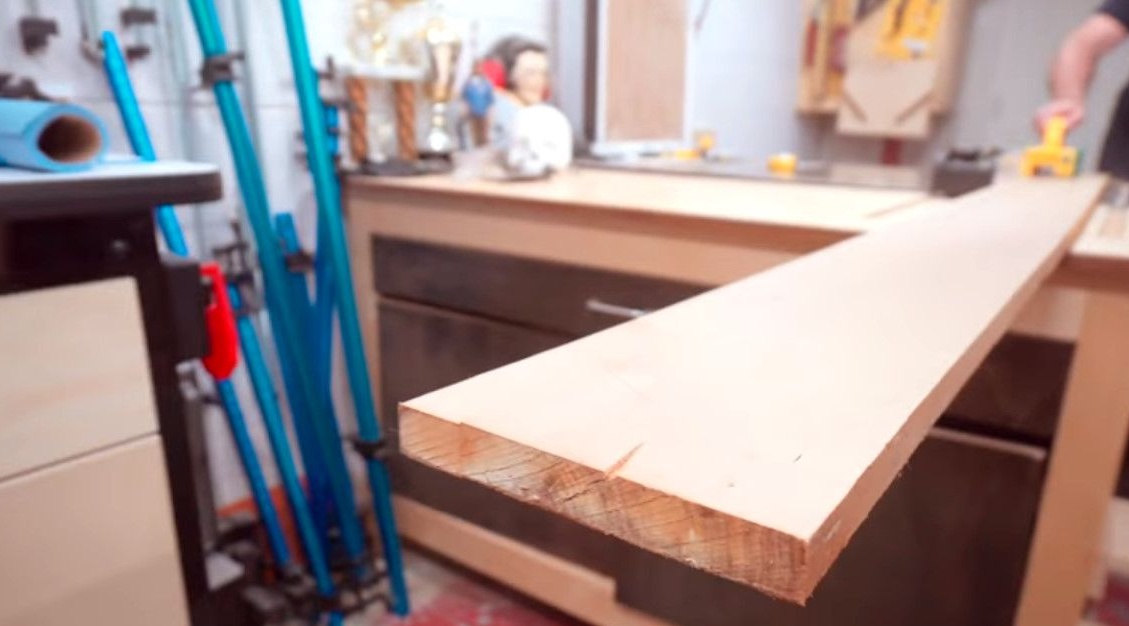
To begin with, the author went to the warehouse of a wood processing plant.
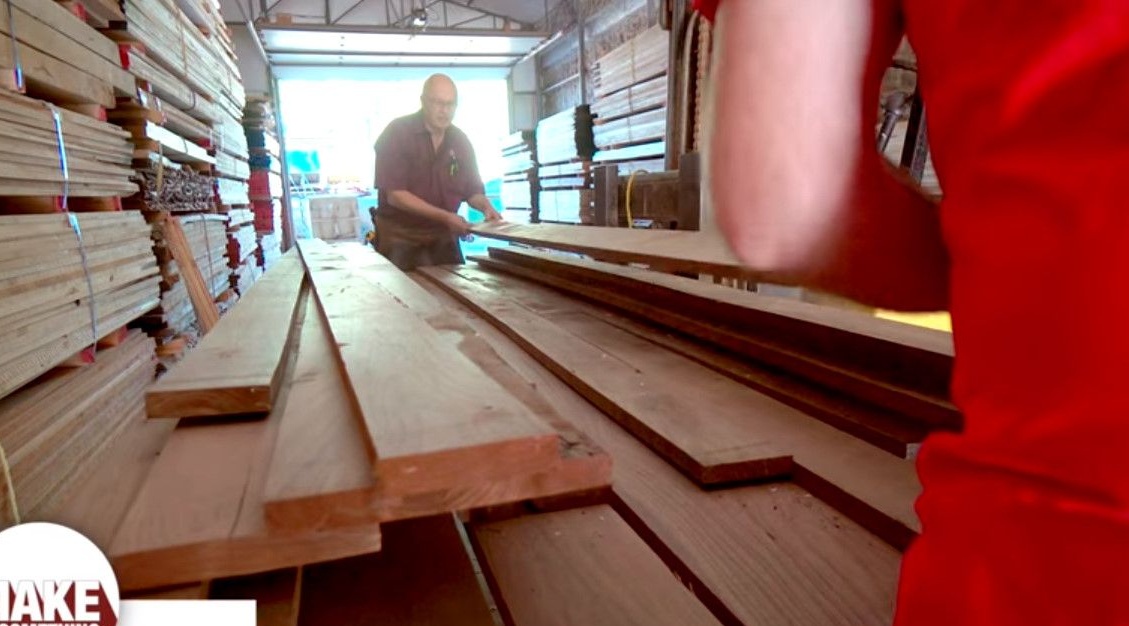
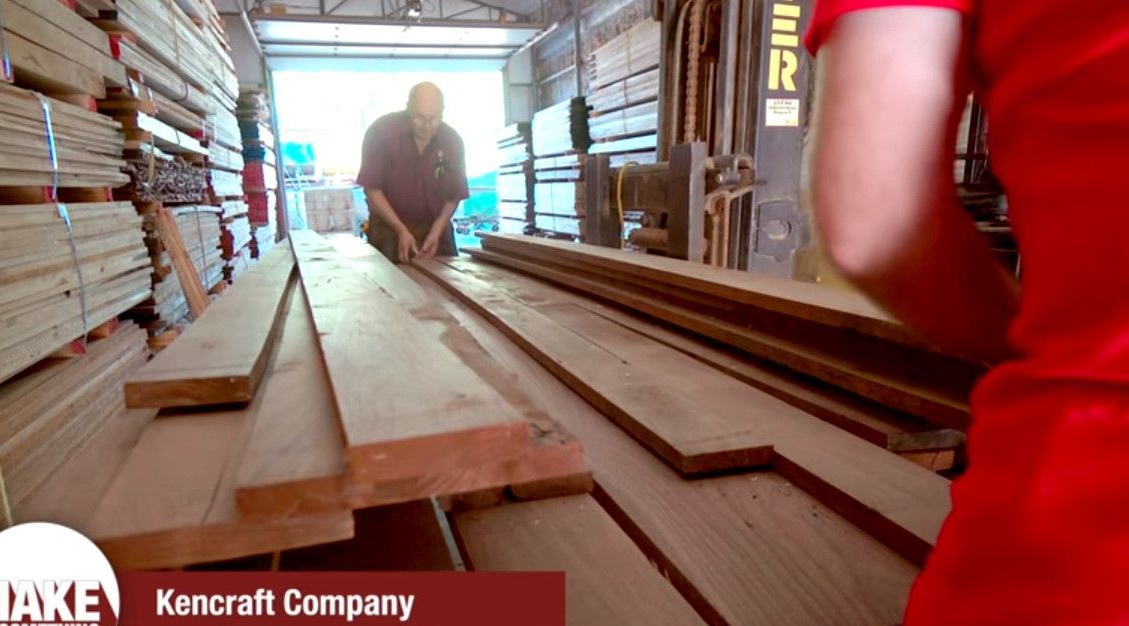
In a wood warehouse, you can sometimes find wood with fancy defects. Here, for example, such a "holey" board. Usually they are rejected at the factory, but this one was lucky.
Manufacturing process.
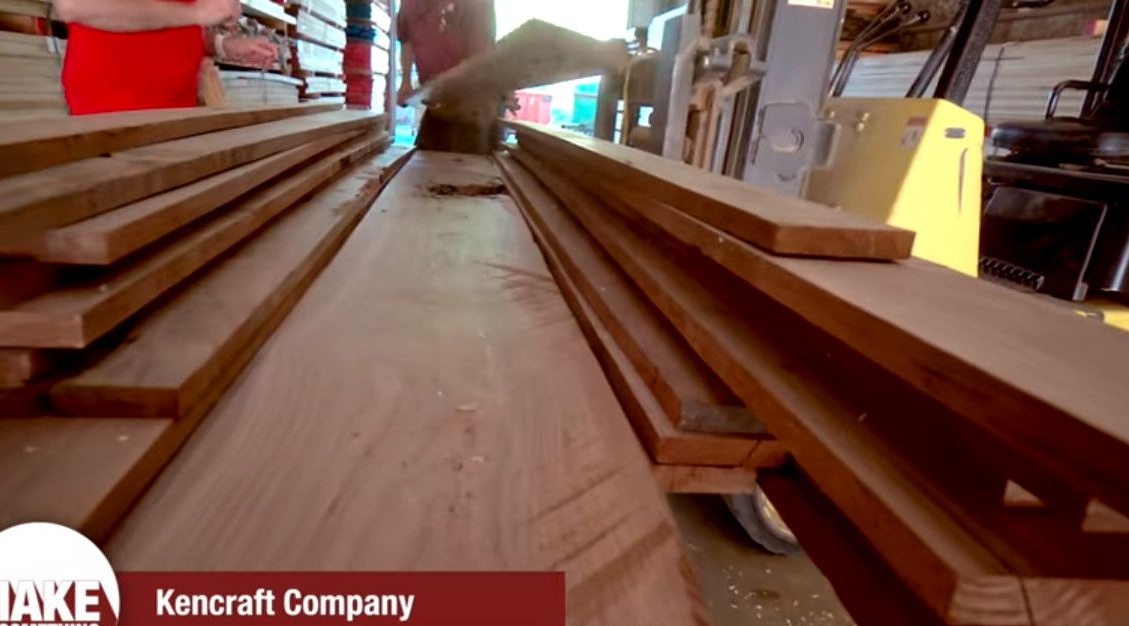
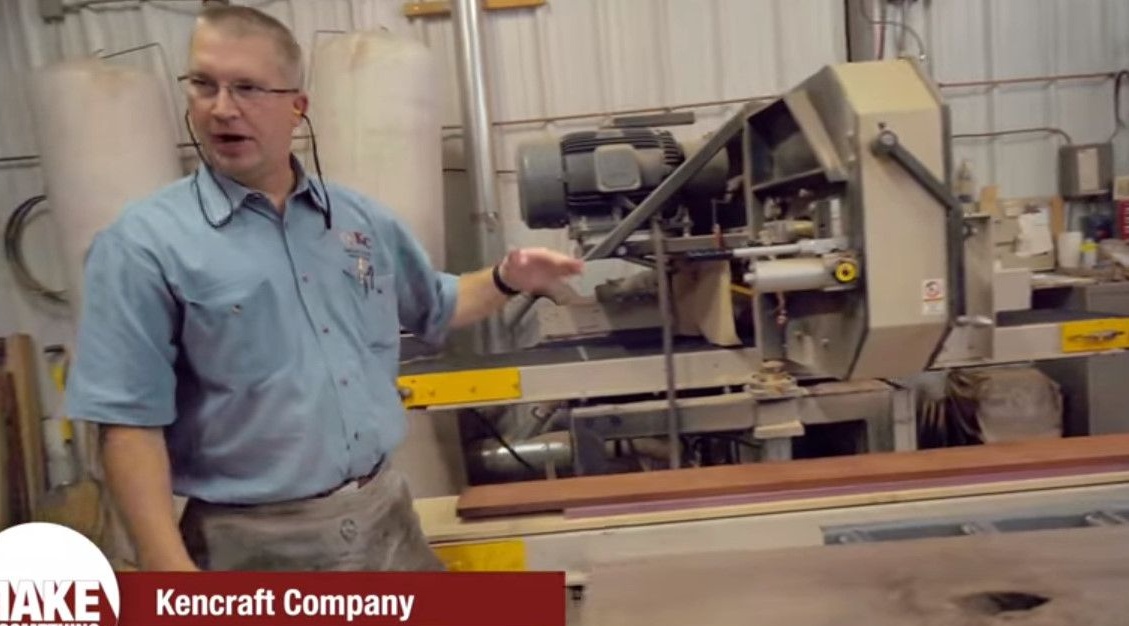
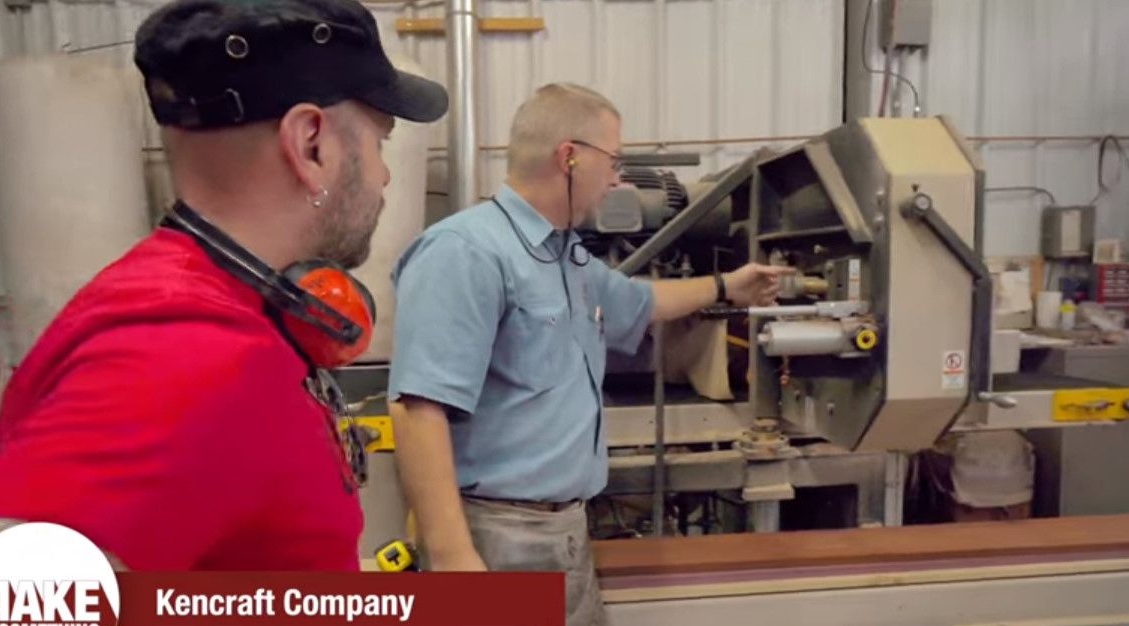
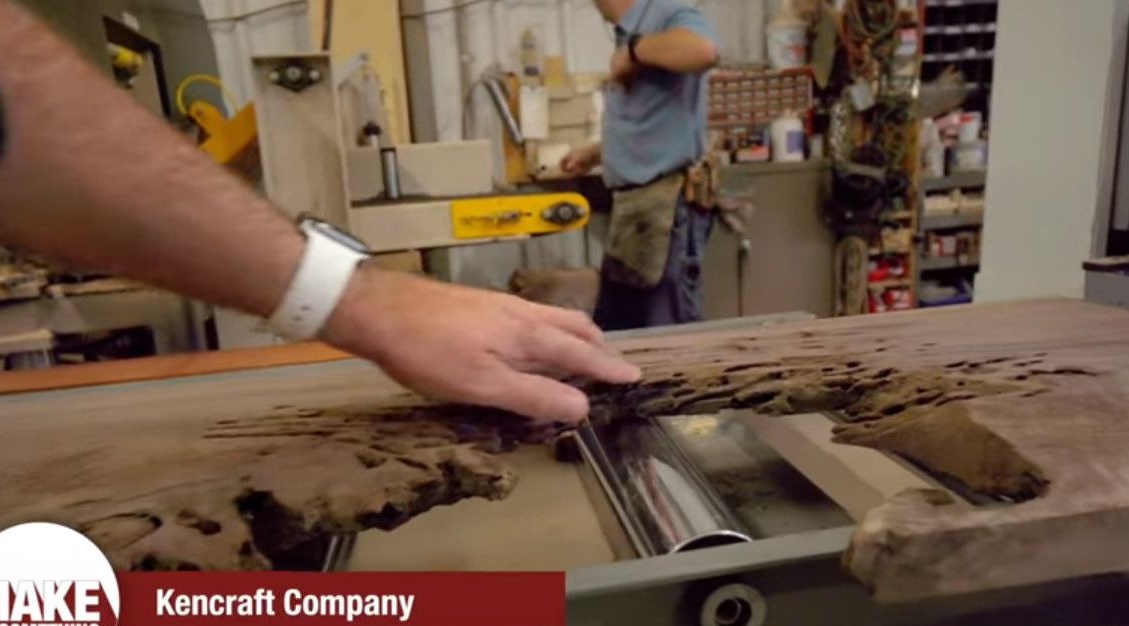
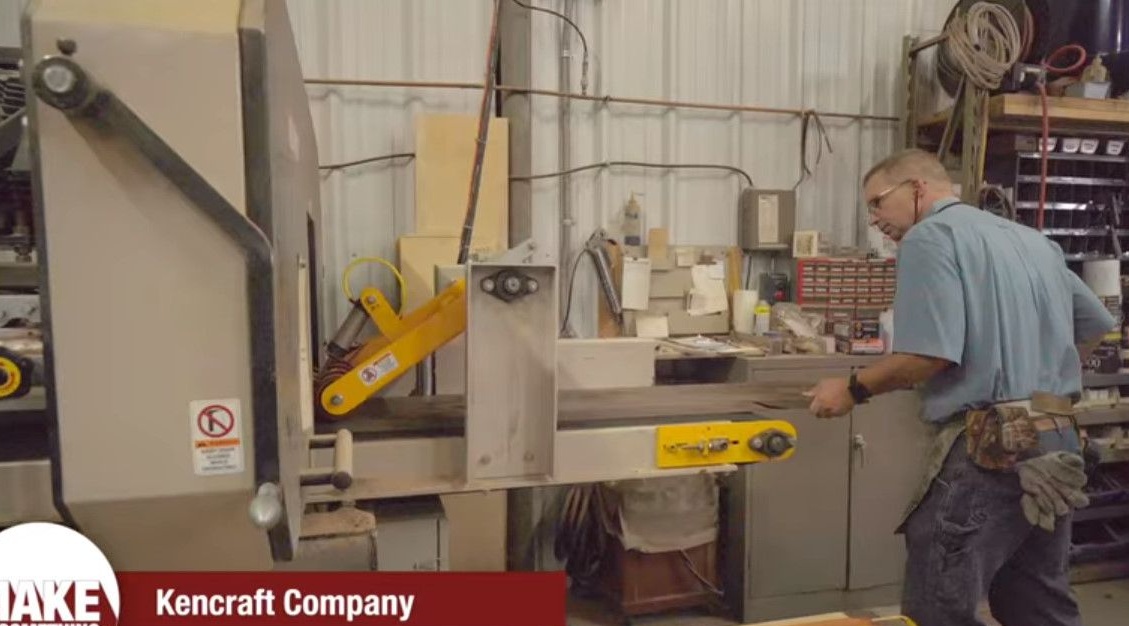
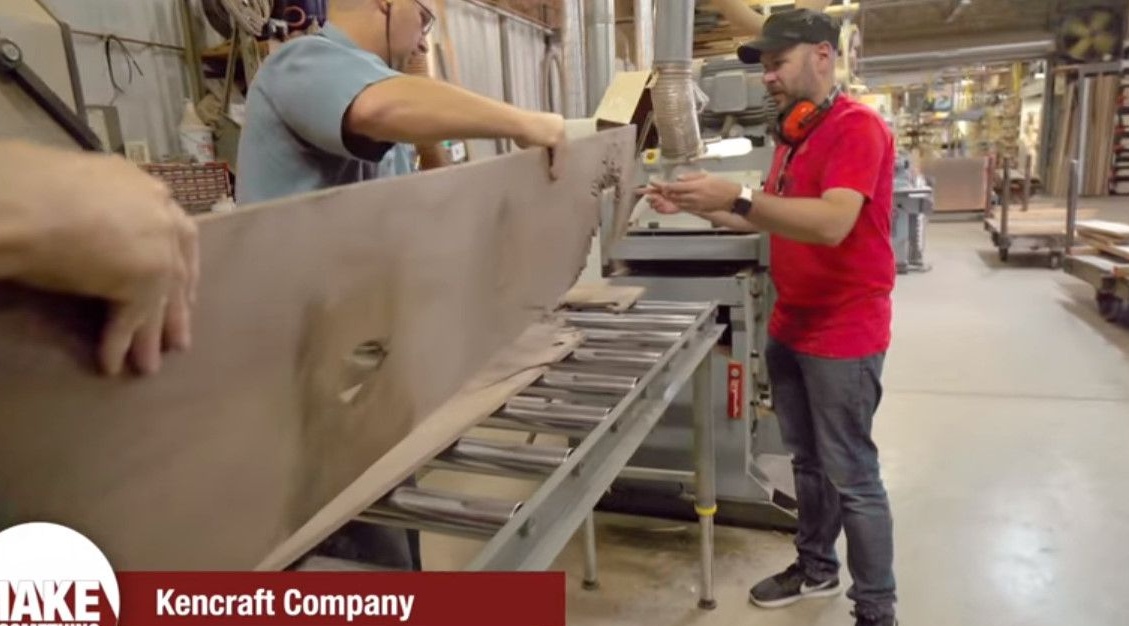
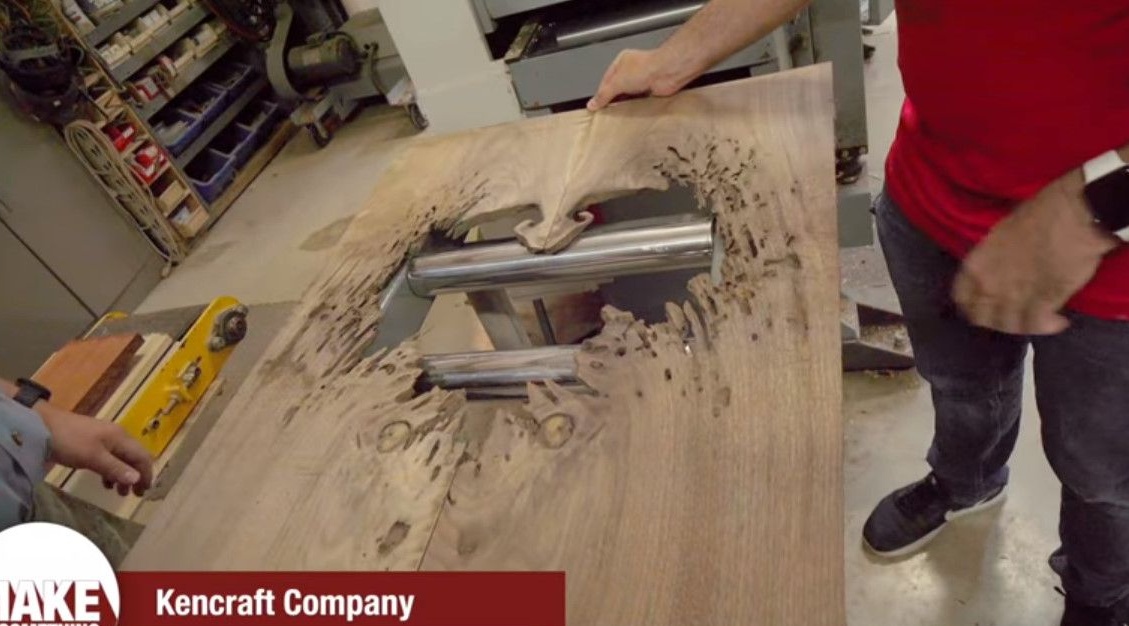
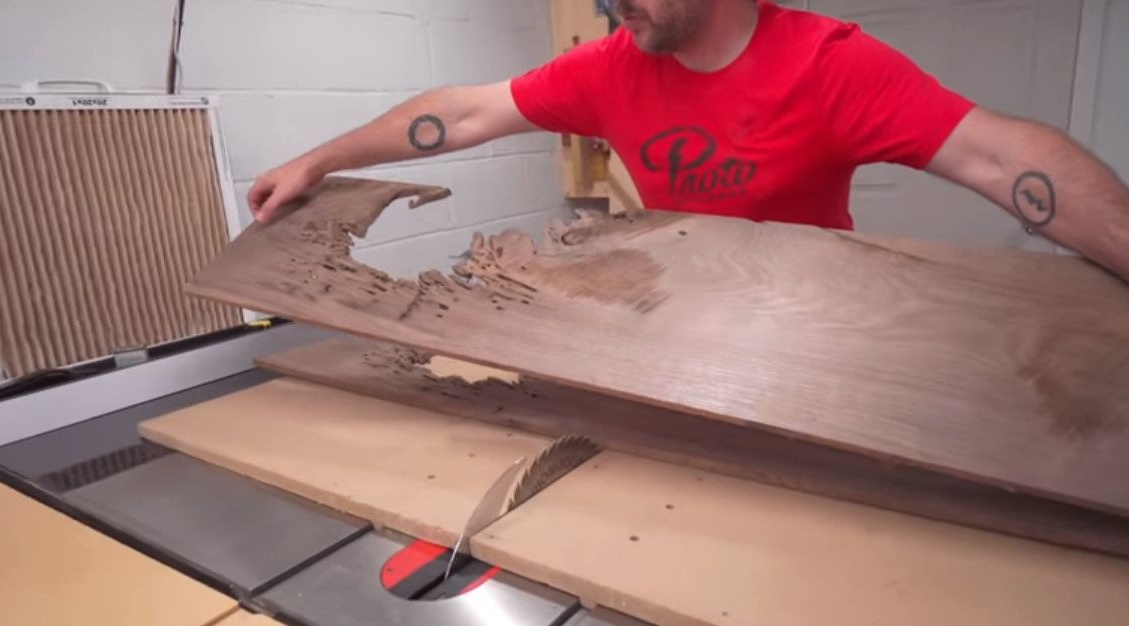
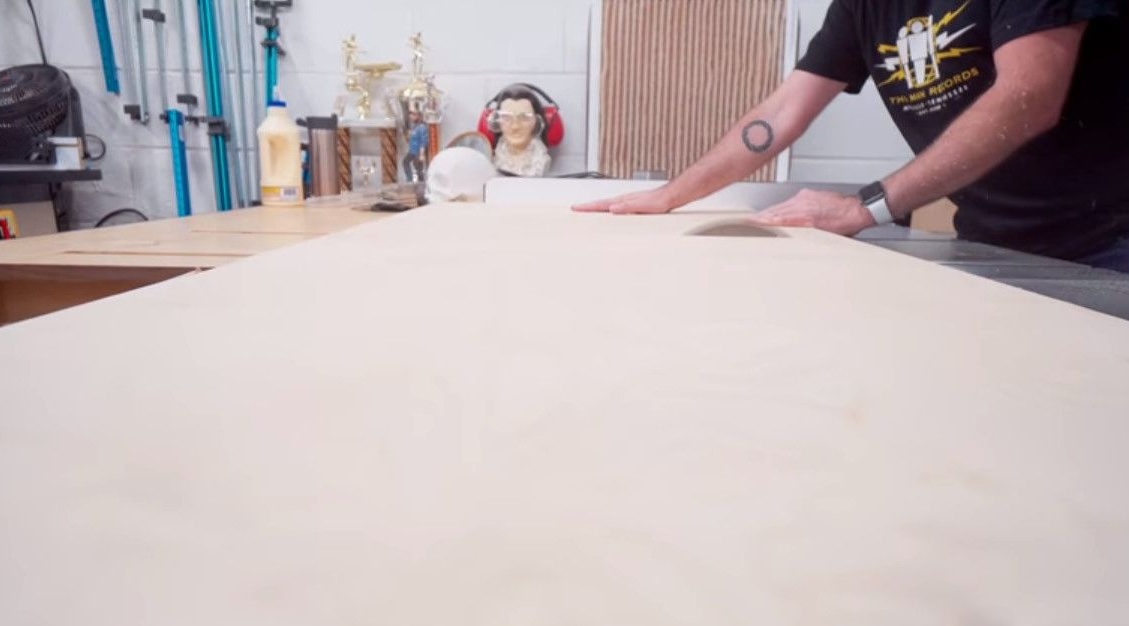
The first thing a craftsman decides to do, he cuts a board on a factory band saw, dissolving it in thickness. The most problematic point in the processing of wood with a similar defect is that the saw blade, breaking out of the wood in the place where the cavity, usually deviates slightly from the path. In addition, due to the same cavity, the board itself in this place loses its rigidity and can bend. All this can affect the quality of the saw. In this case, it is best to work together. One on the control, the other on the pitch.

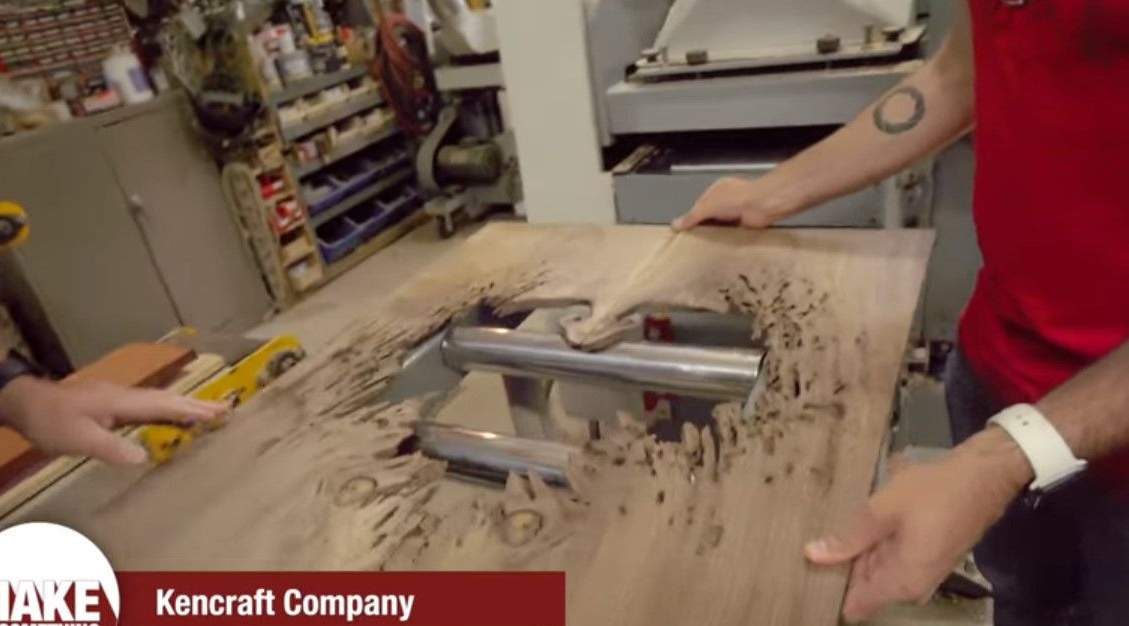
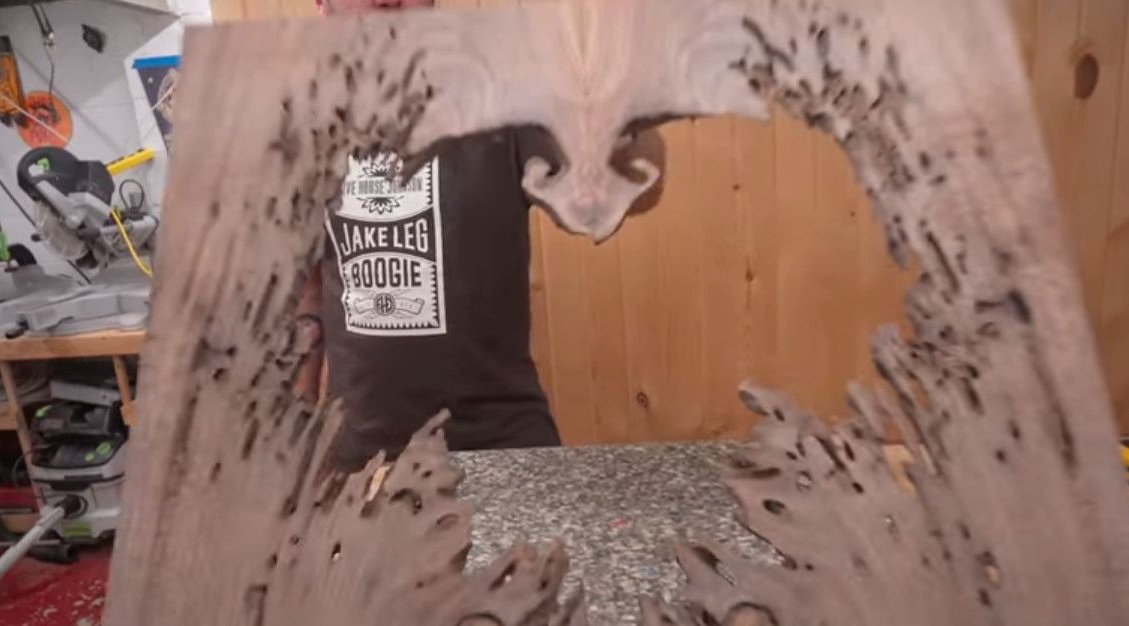
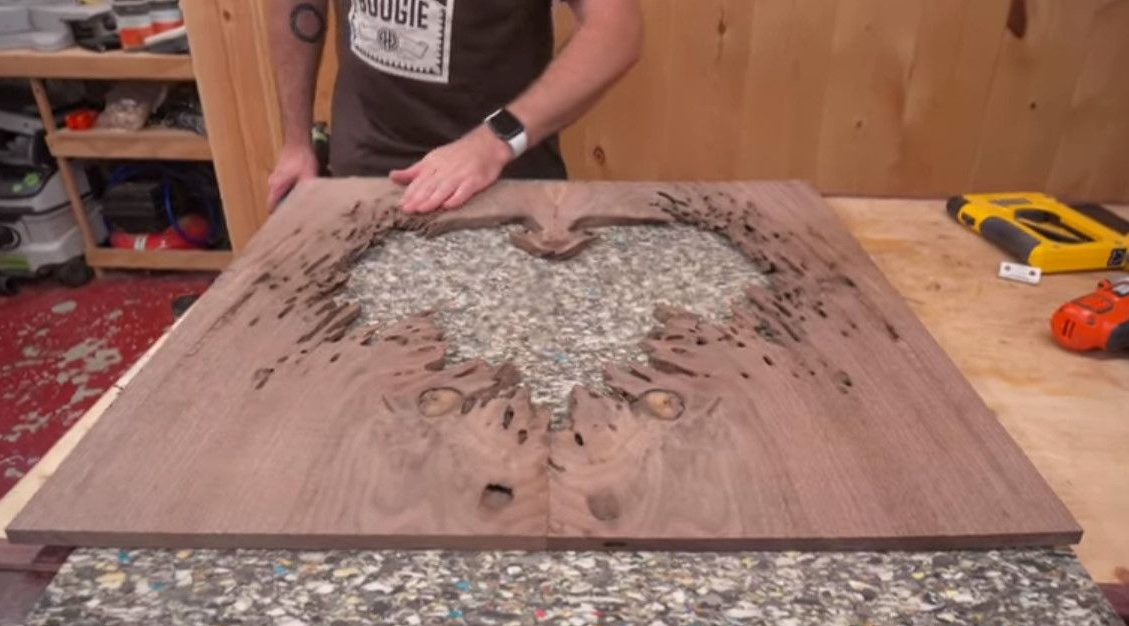
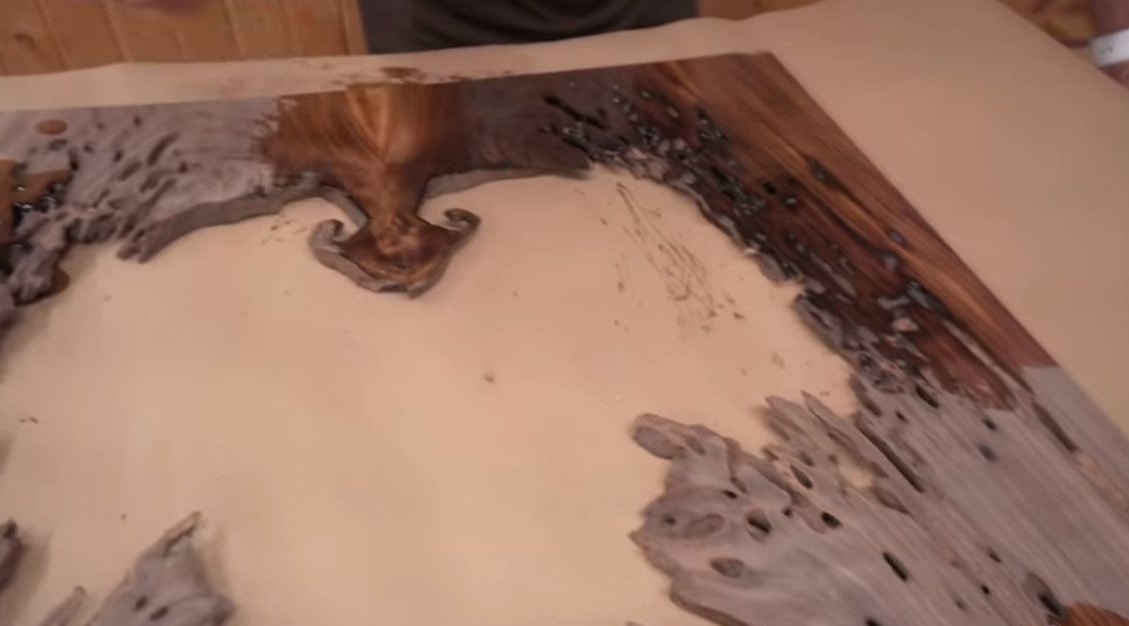
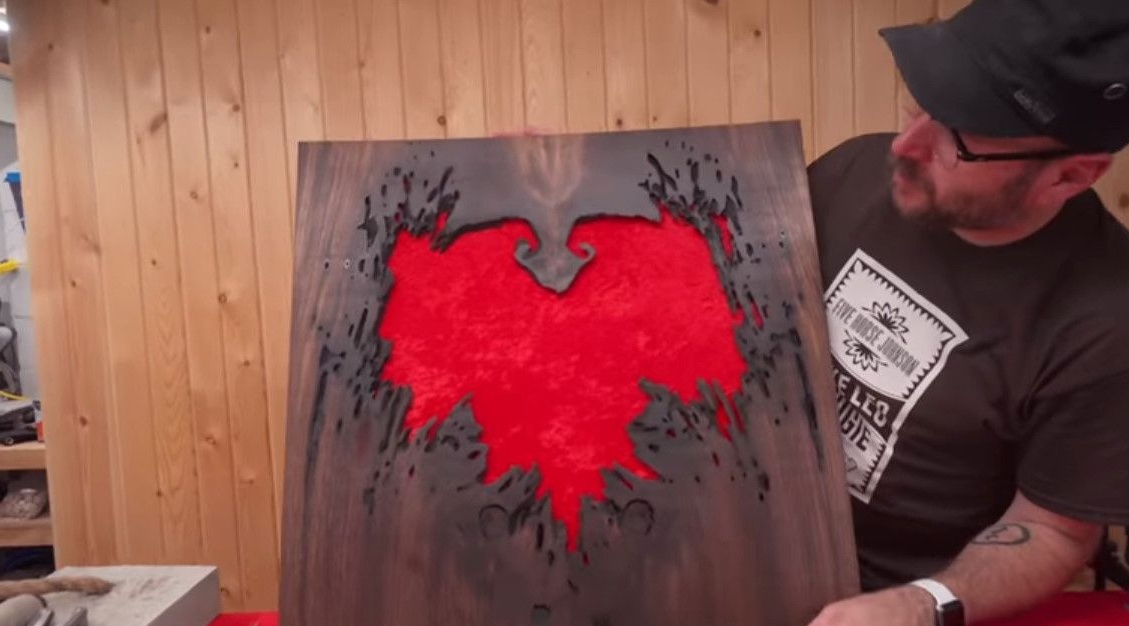
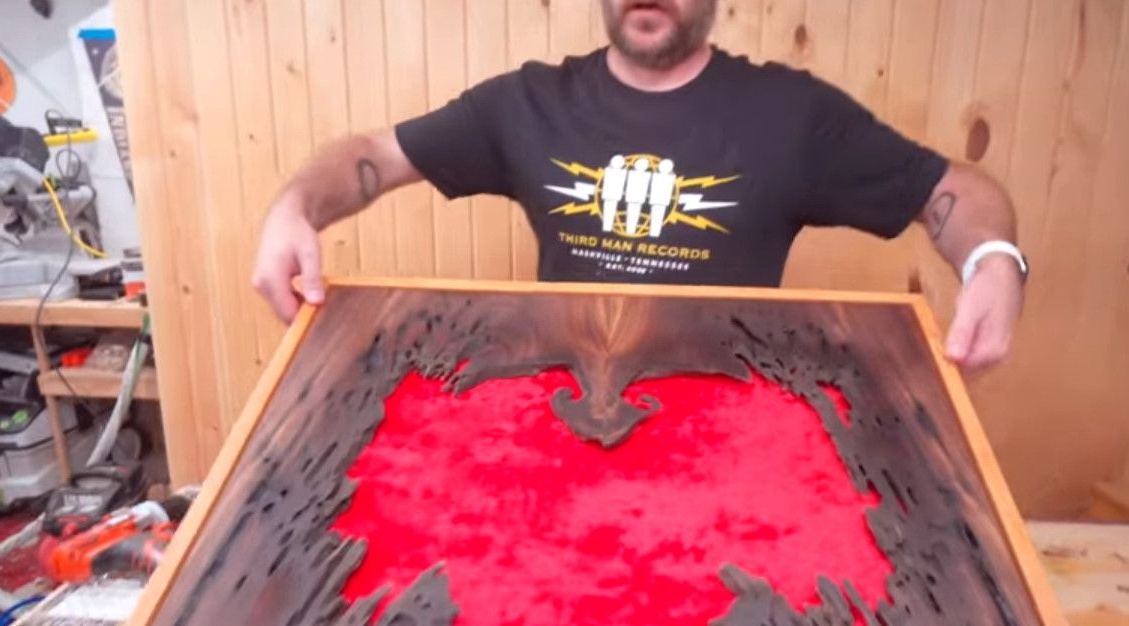
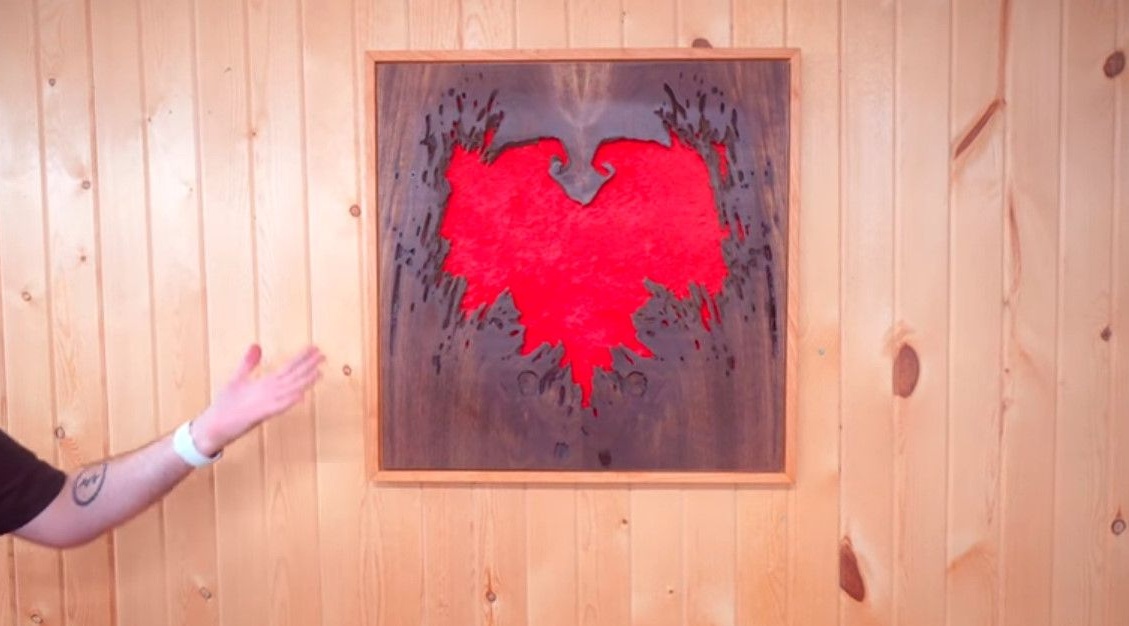
David and his partner did it. Jewelry work. And look: both halves, if put in a mirror, match perfectly! It turned out in the shape of a heart, as if the soul of a tree.
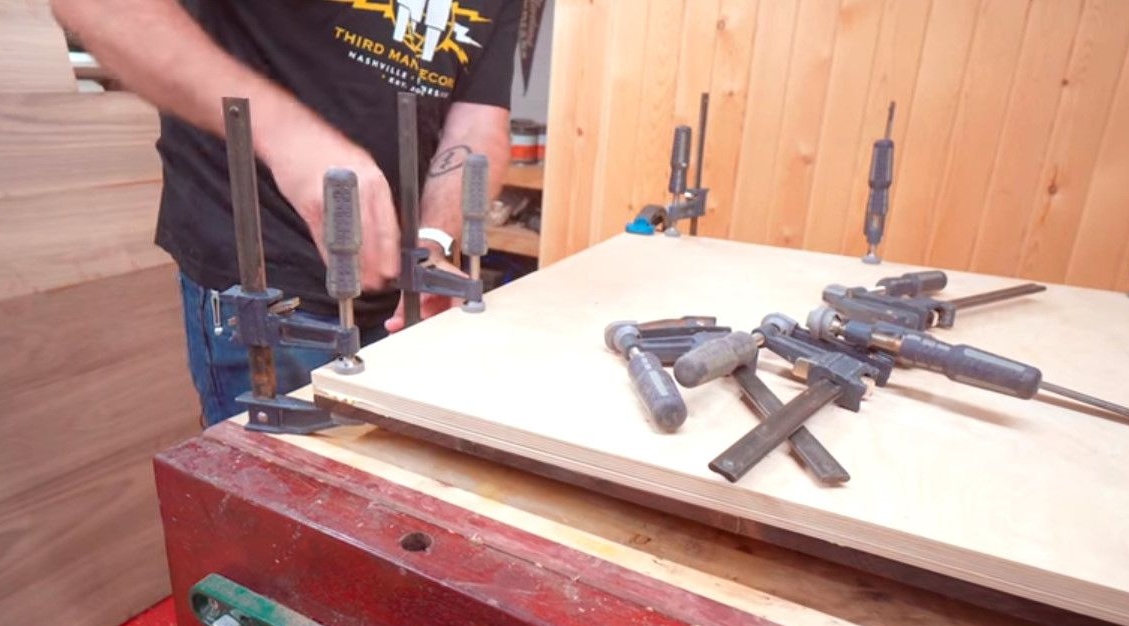
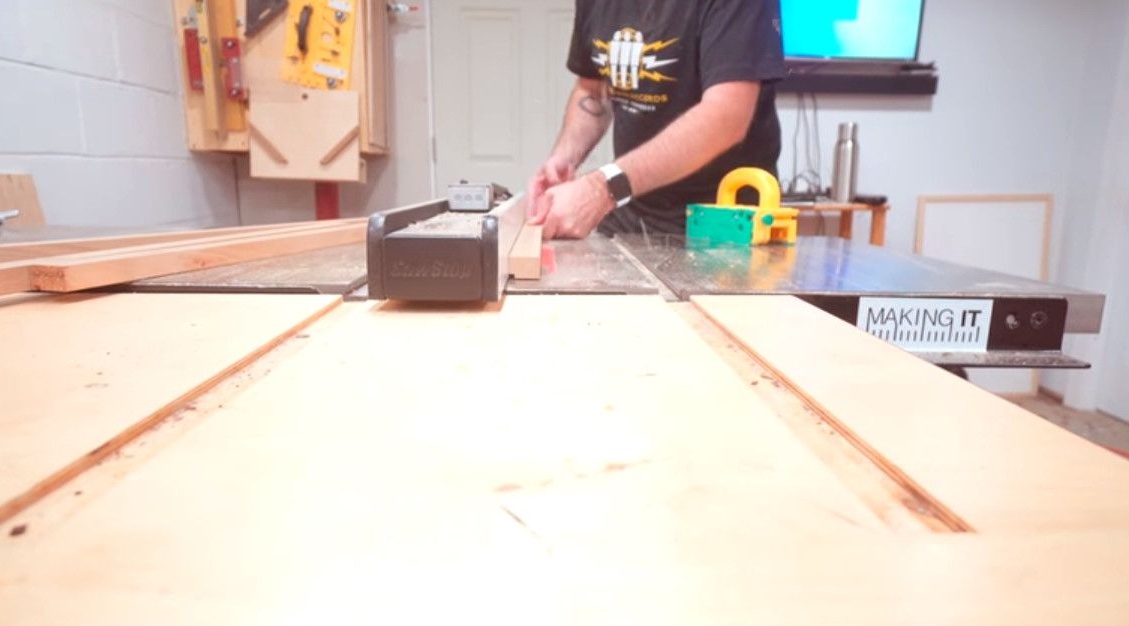
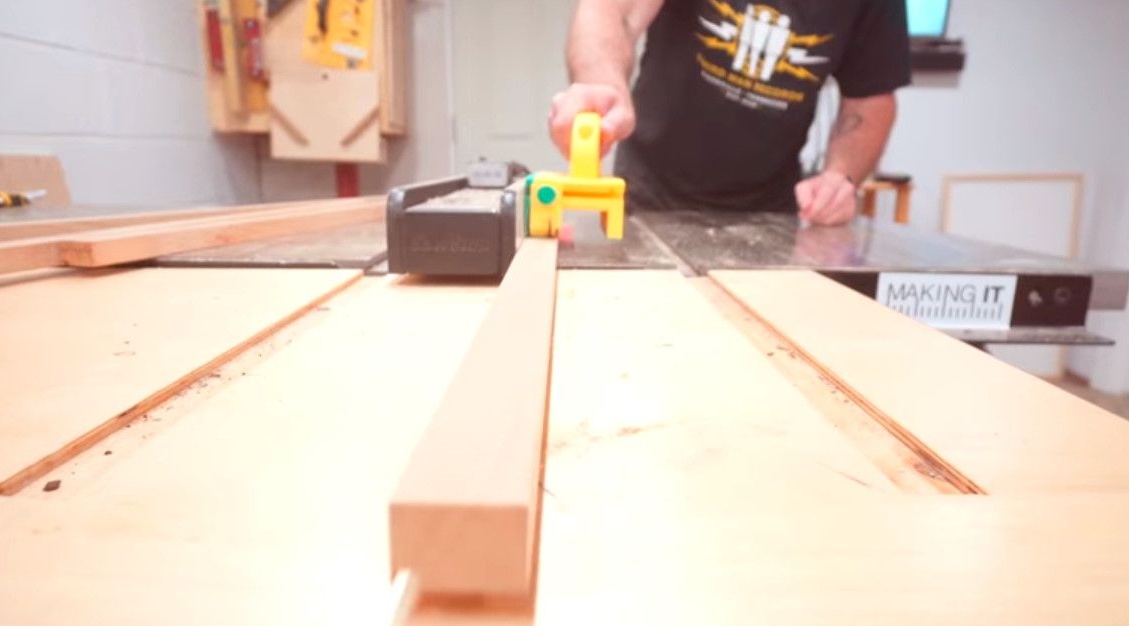
Now, already in home workshop, David using a carpentry saw cuts the boards across to a digestible size,
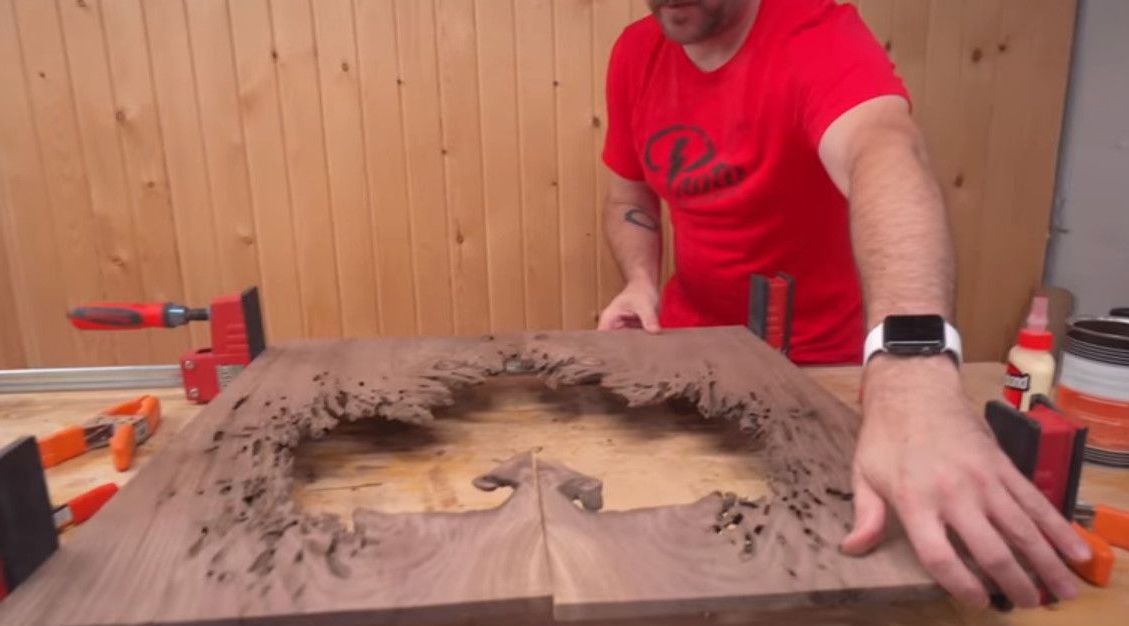
And then glues them together and tightens them with clamps. In this central protrusion, especially carefully, it is a complex and fragile element.

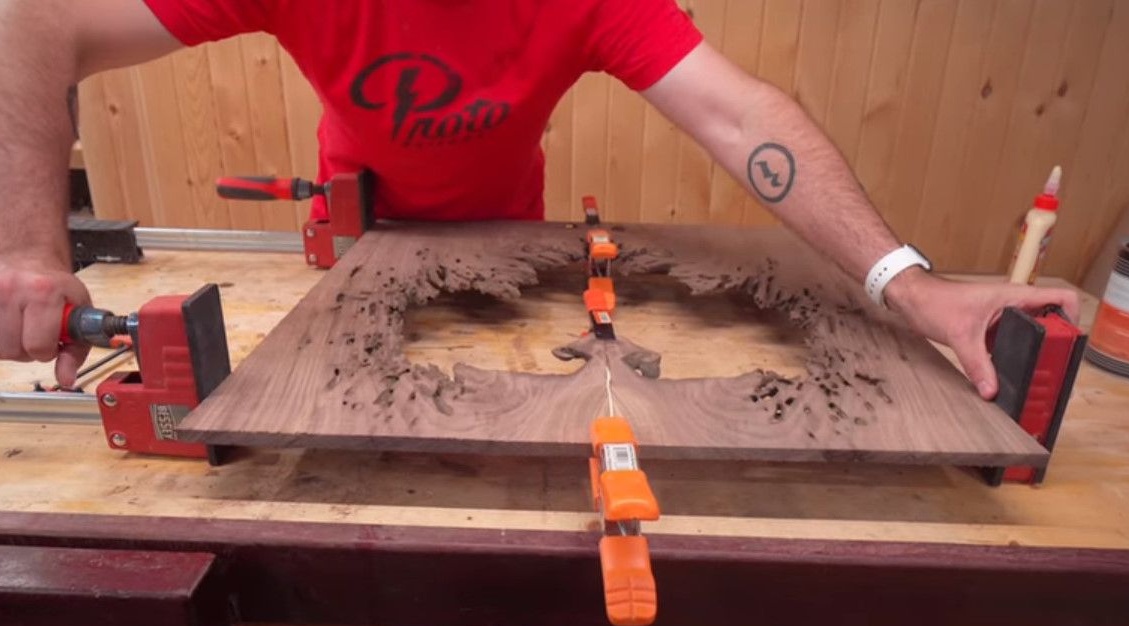
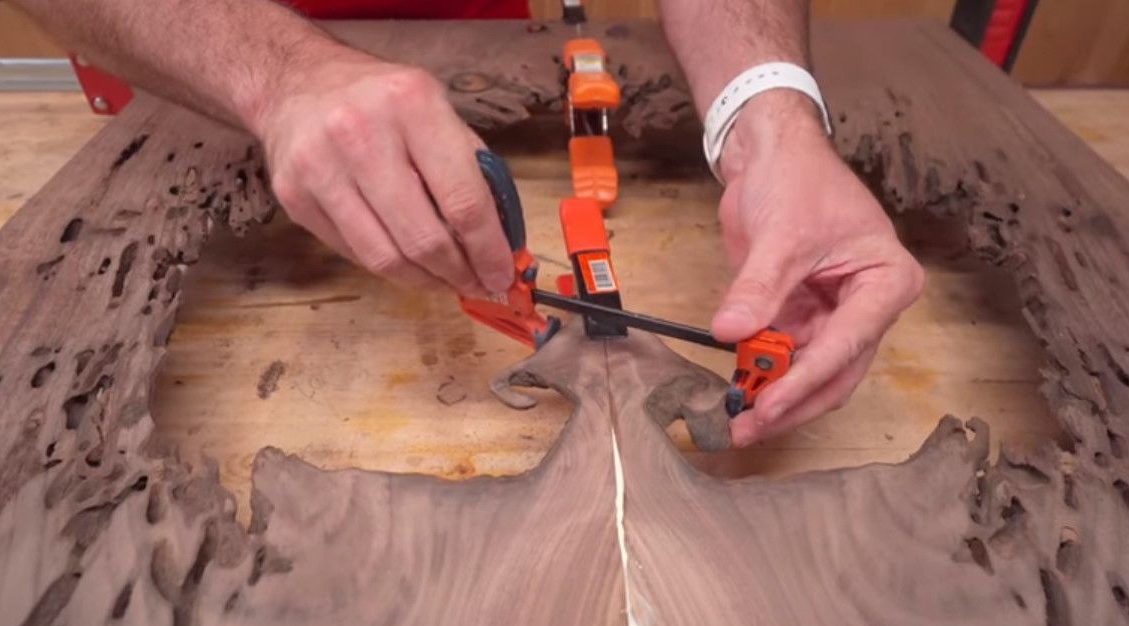
These internal sections are a little fragile and can break off when handled carelessly.
Next is the grout, using a circular grinder.
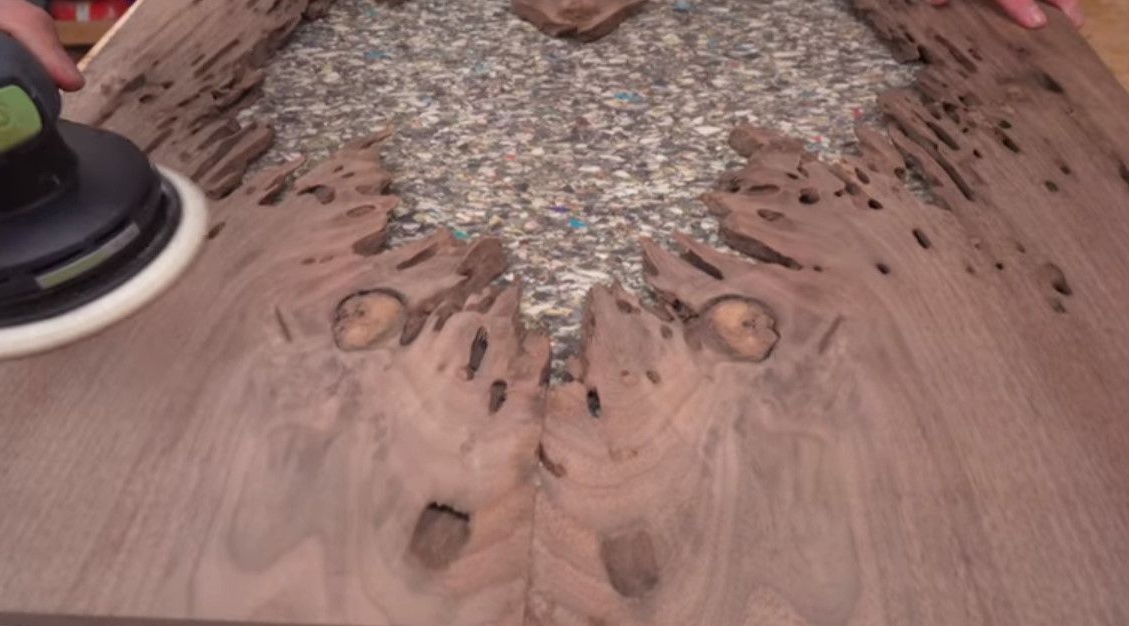
Grouting is completed, the workpiece has already begun to look better.
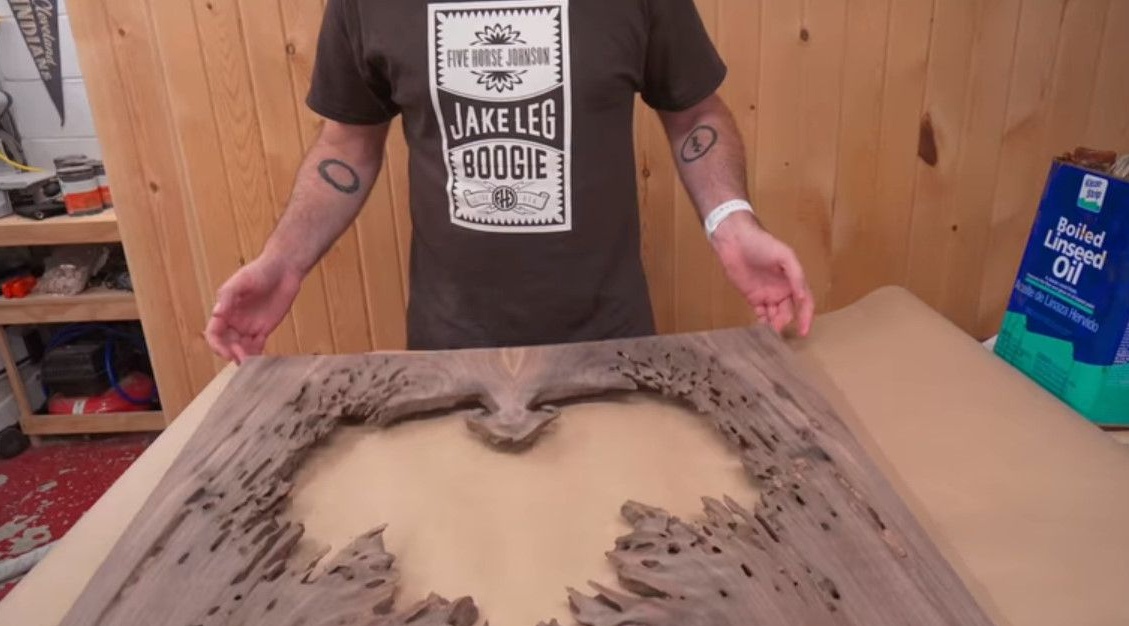
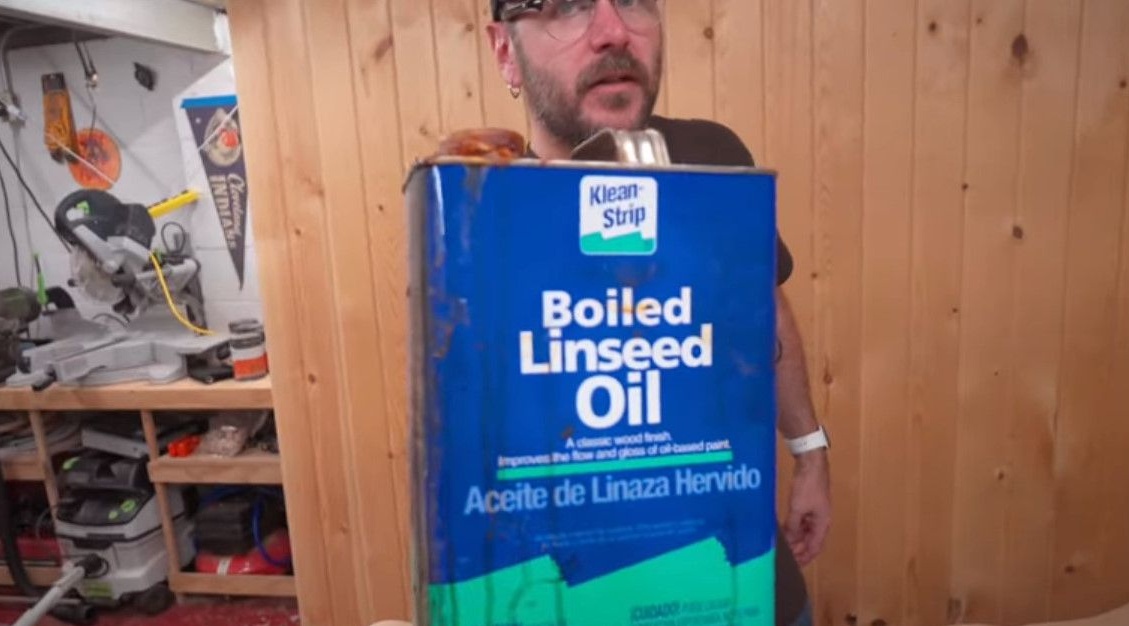
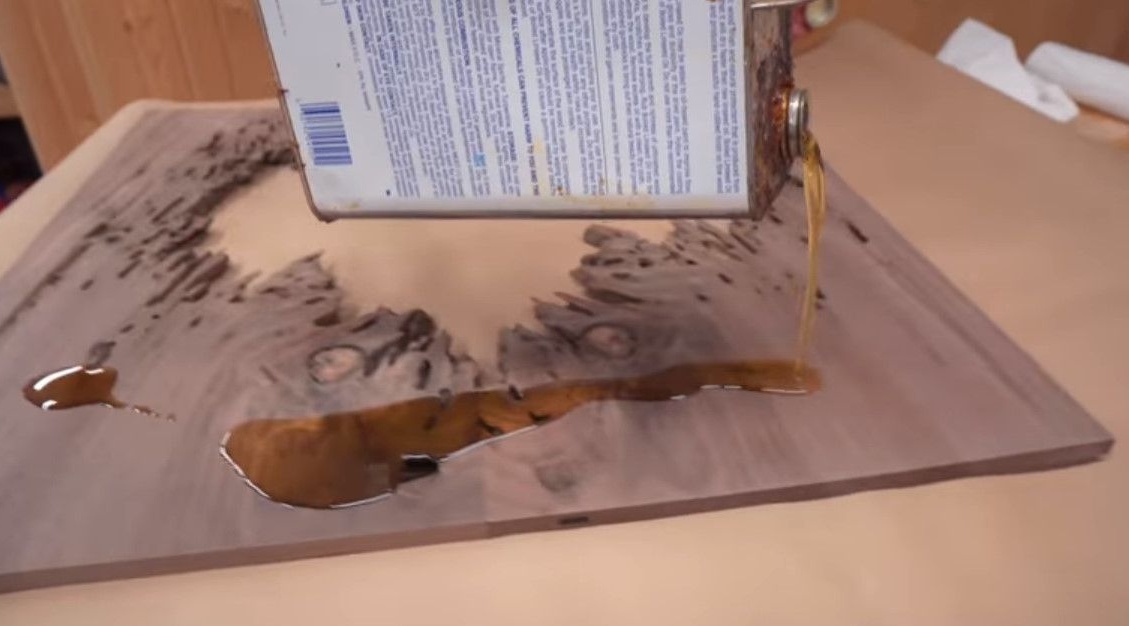
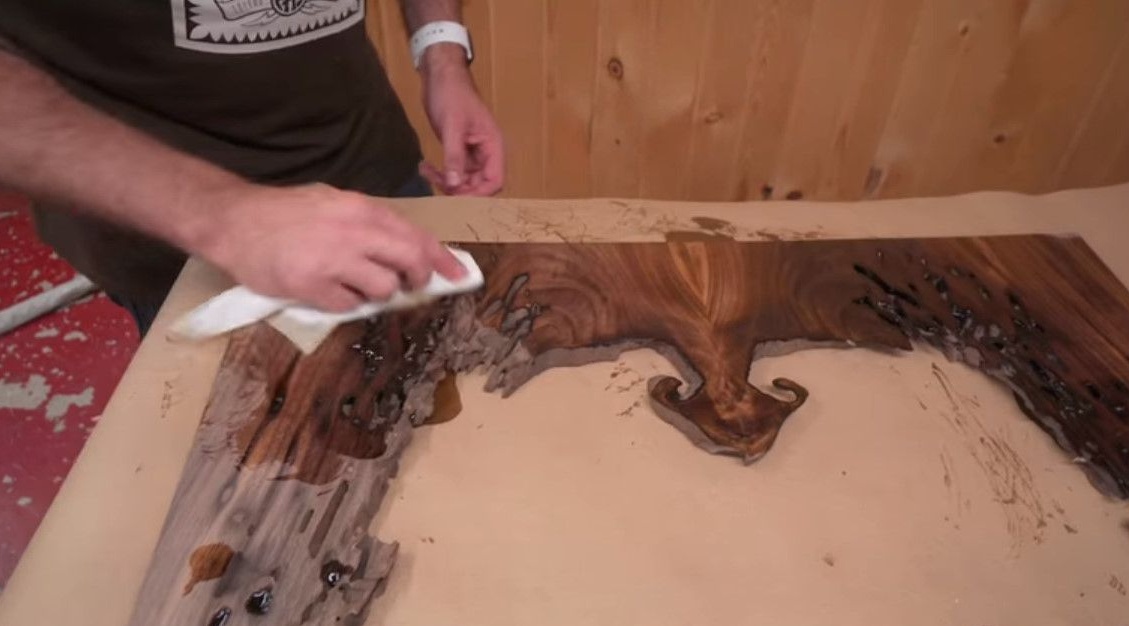
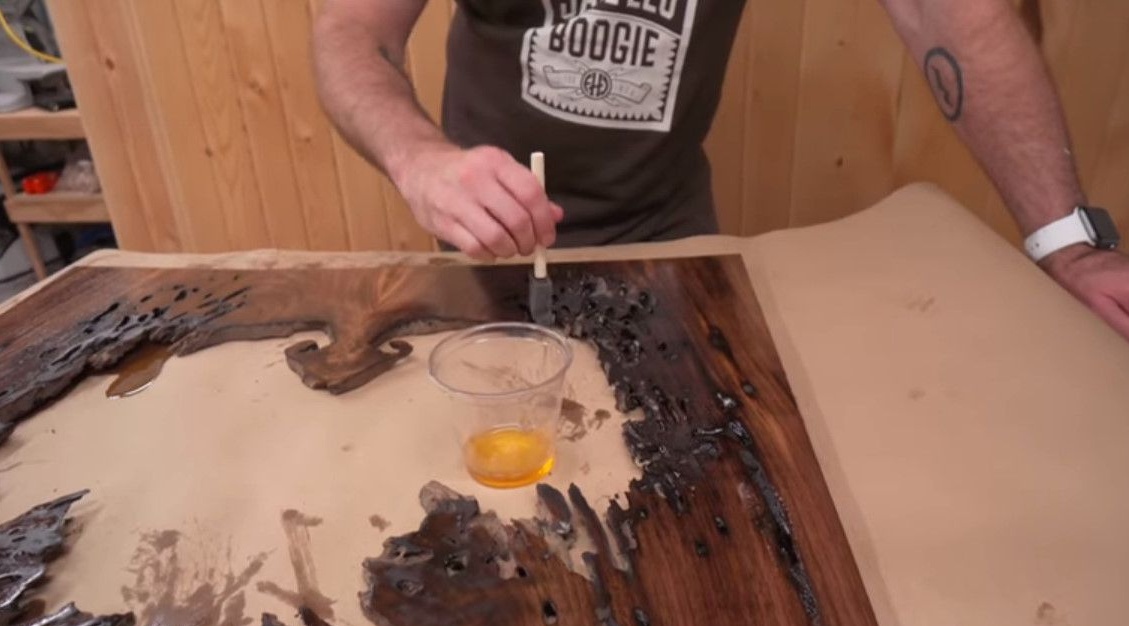
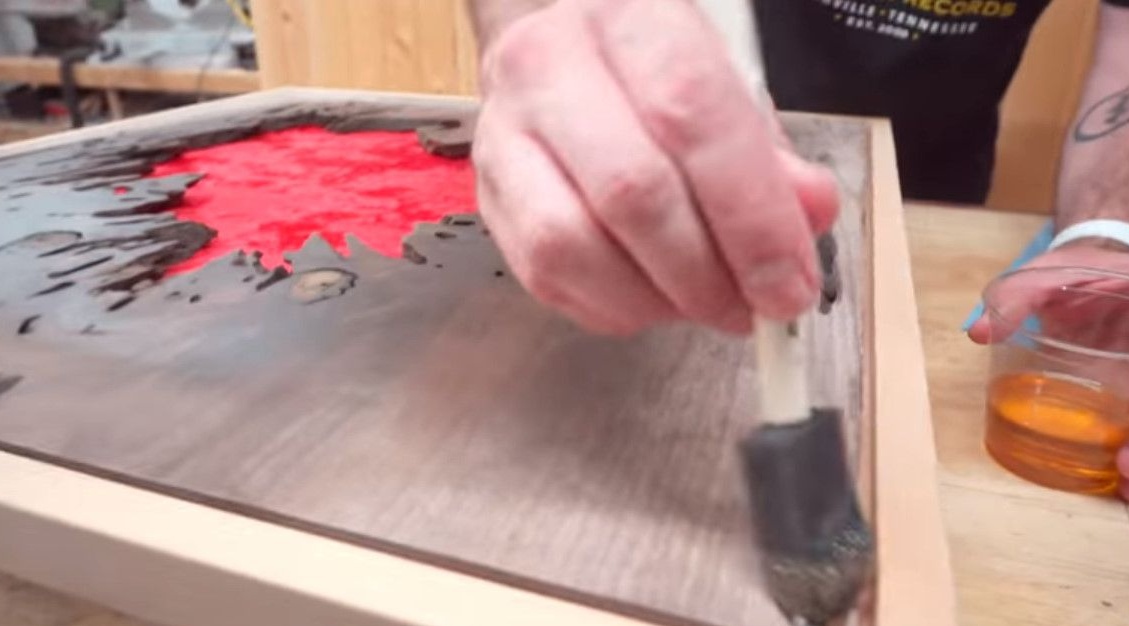
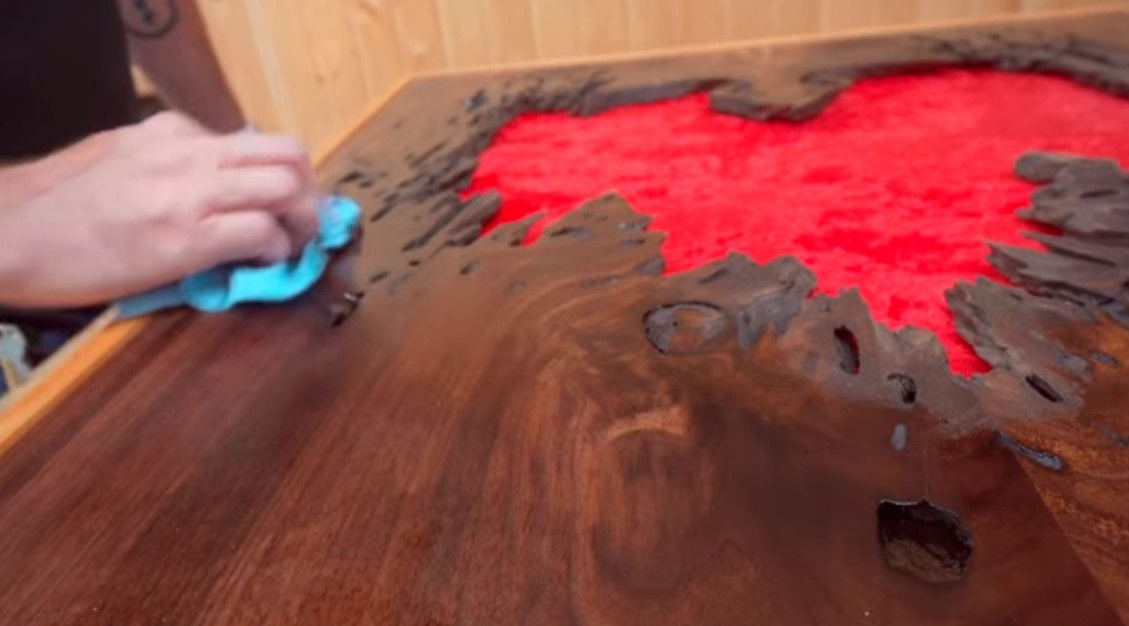
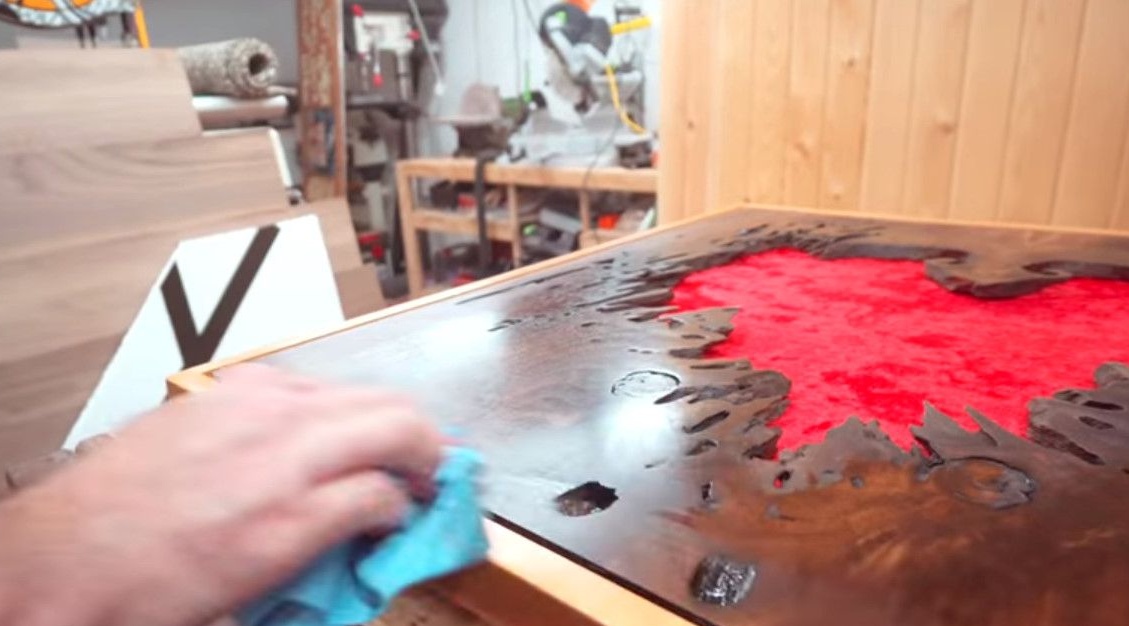
The next production step is to apply a layer of oil. For these purposes, the Master uses classic boiled linseed oil. It is important to oil the tree before the substrate is applied (the back of the panel) or the frame is made so that the oil does not get onto these elements.
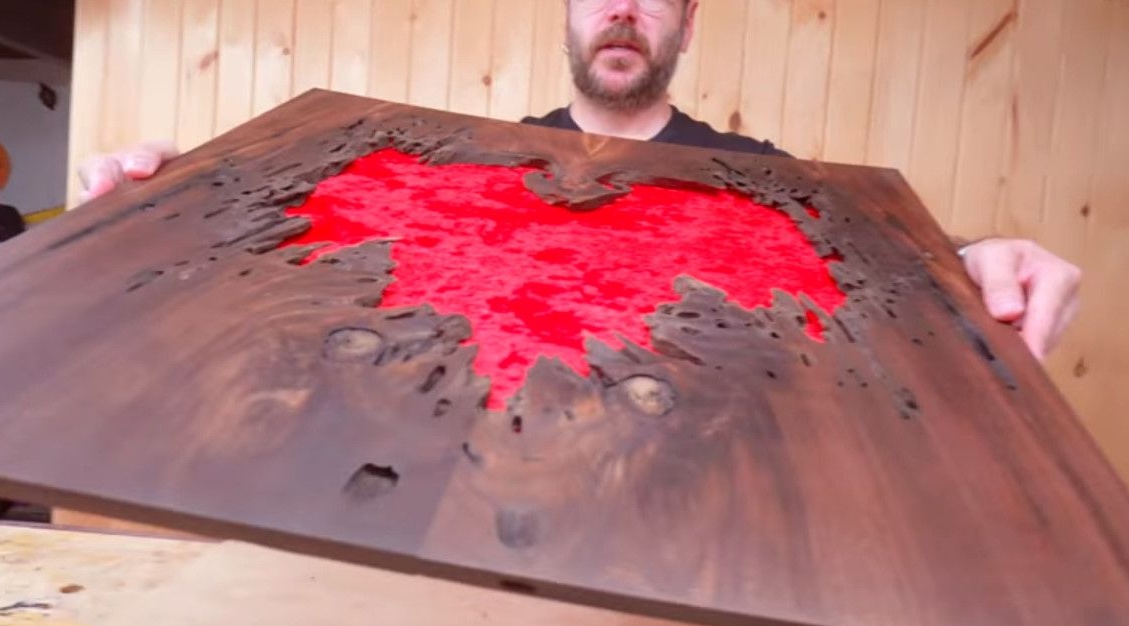
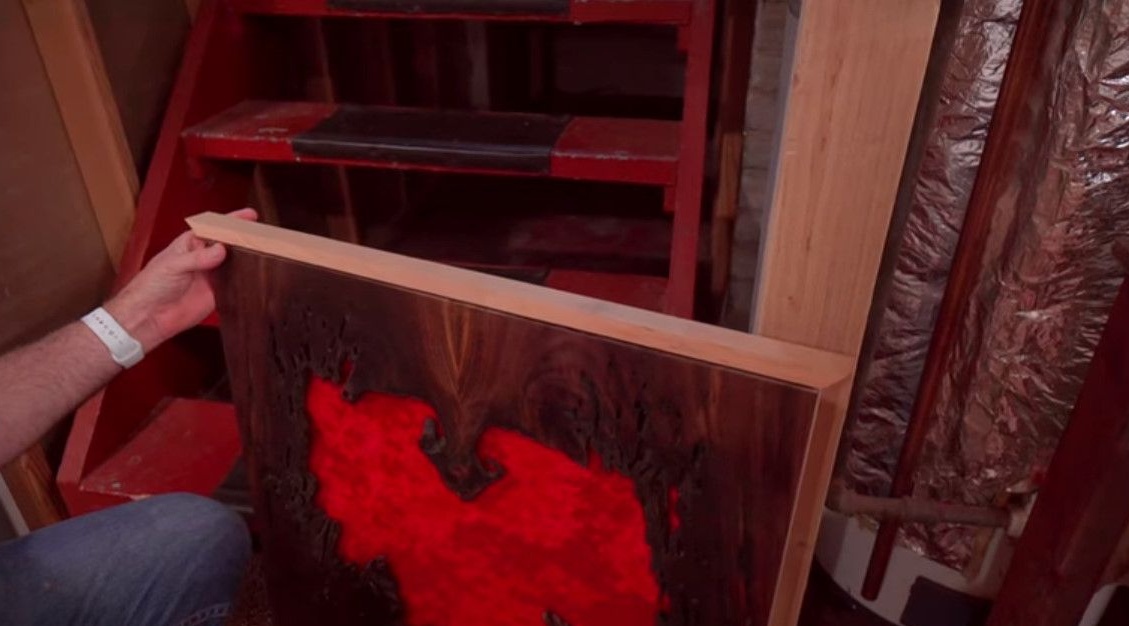
As the oil is rubbed and absorbed, the texture of the tree appears; it acquires the depth and noble hue of a walnut tree. It looks great.
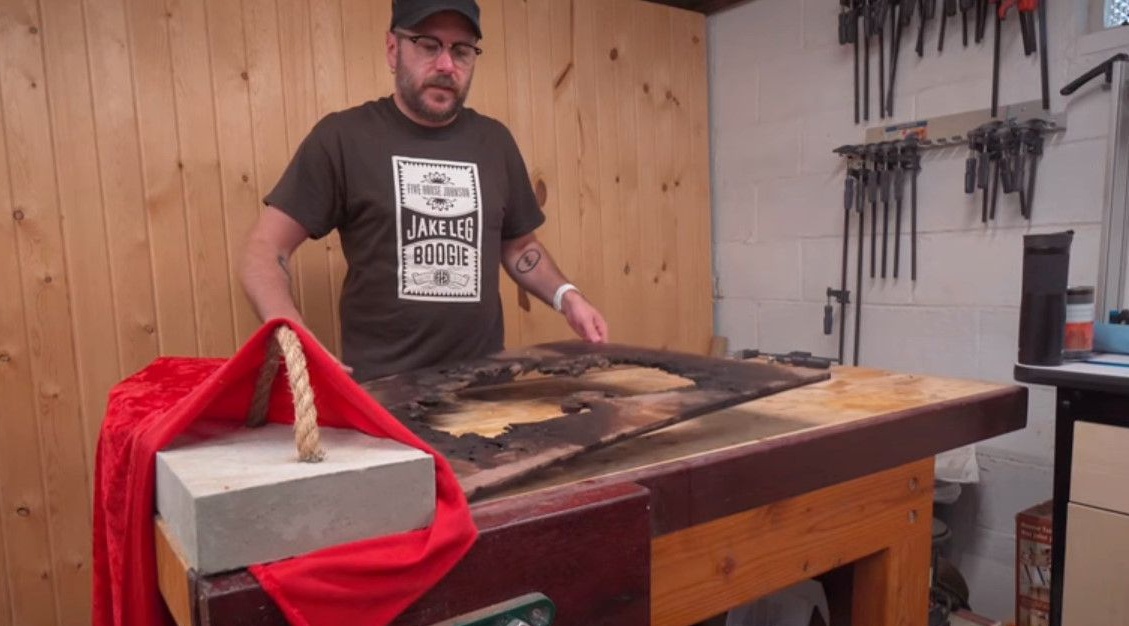
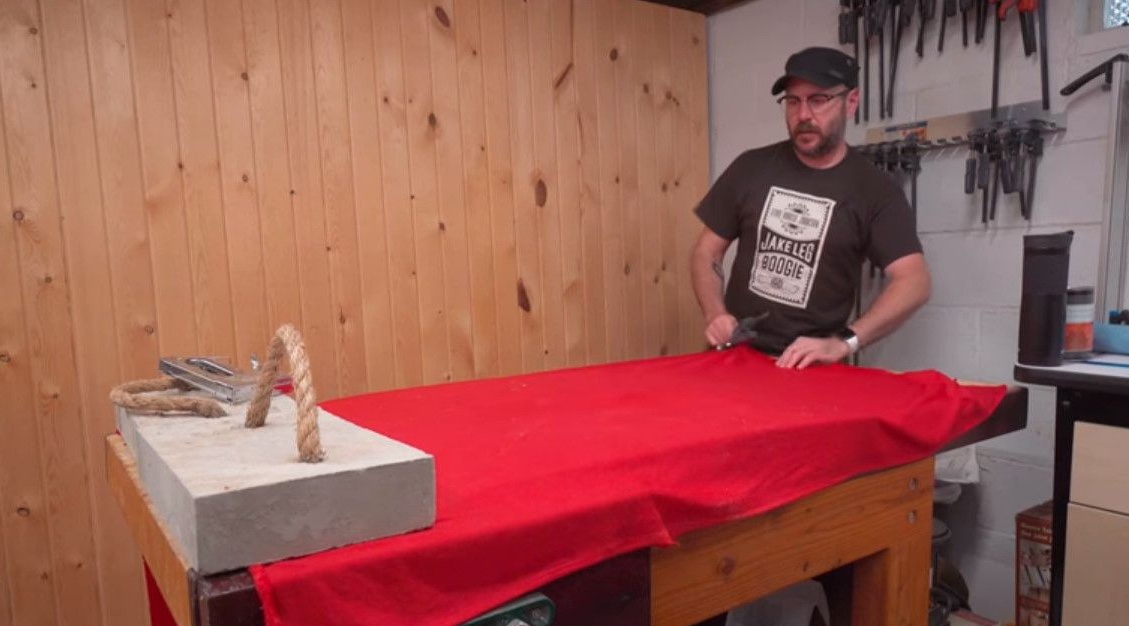
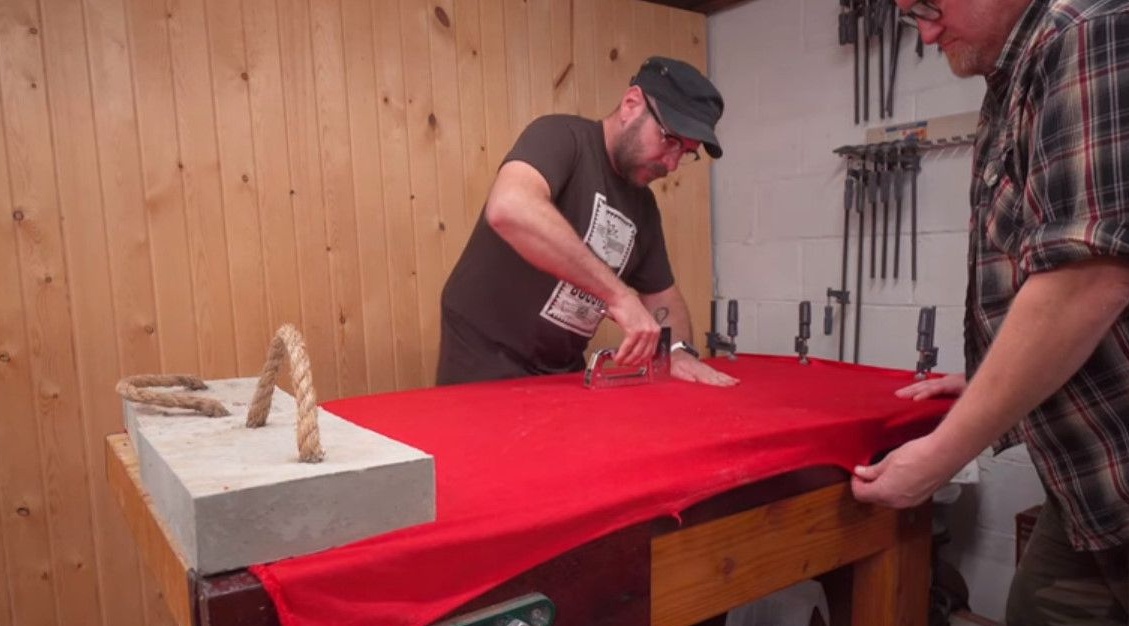
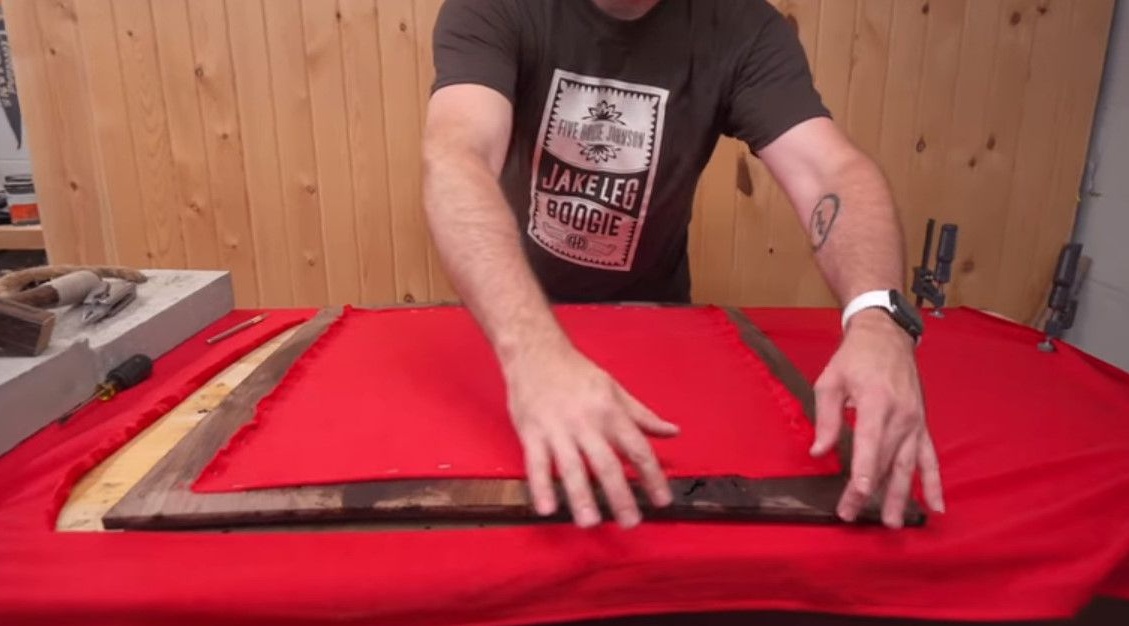
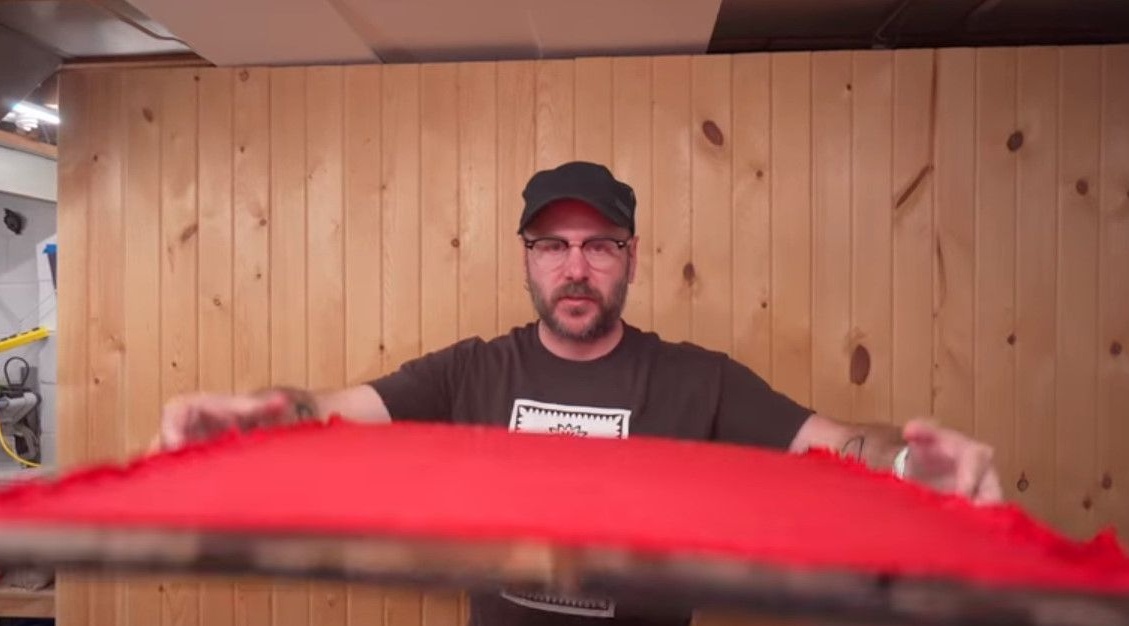
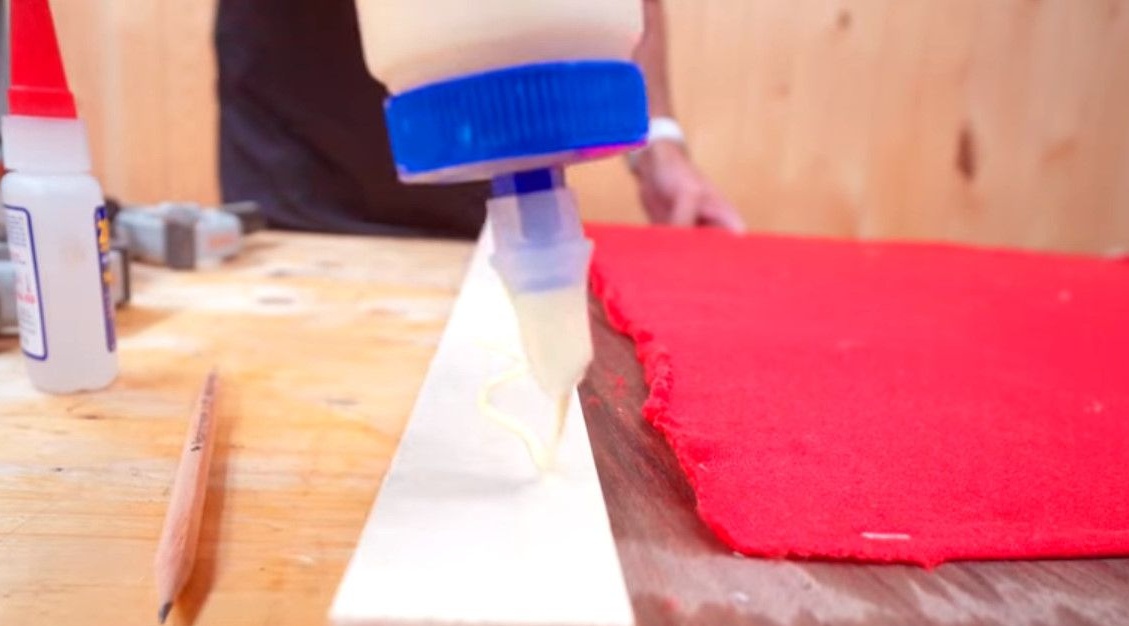
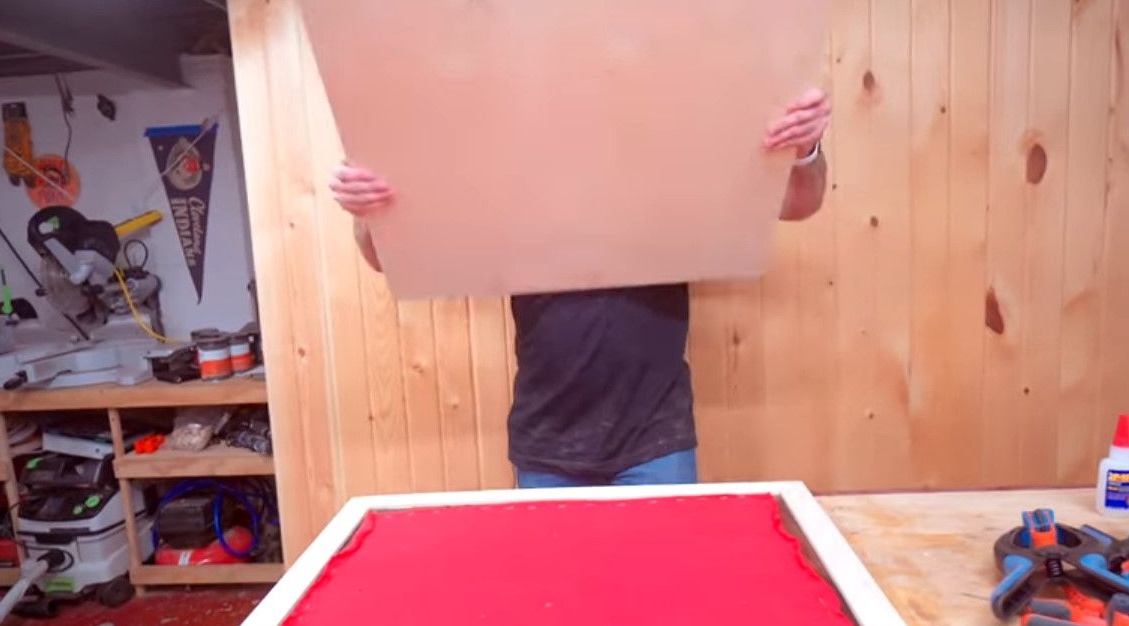
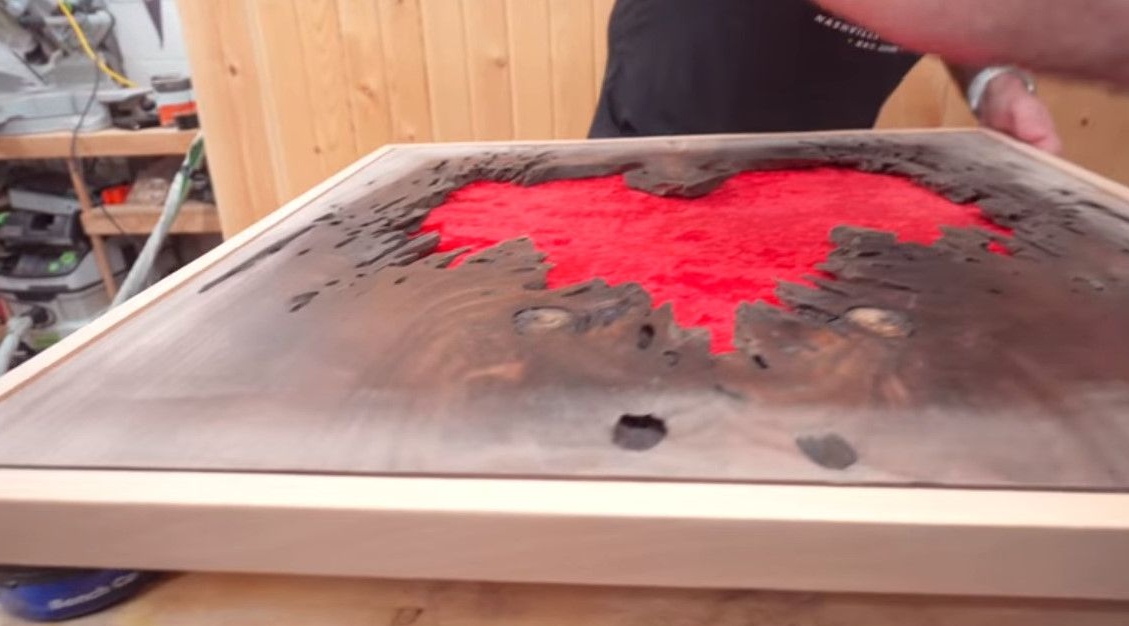
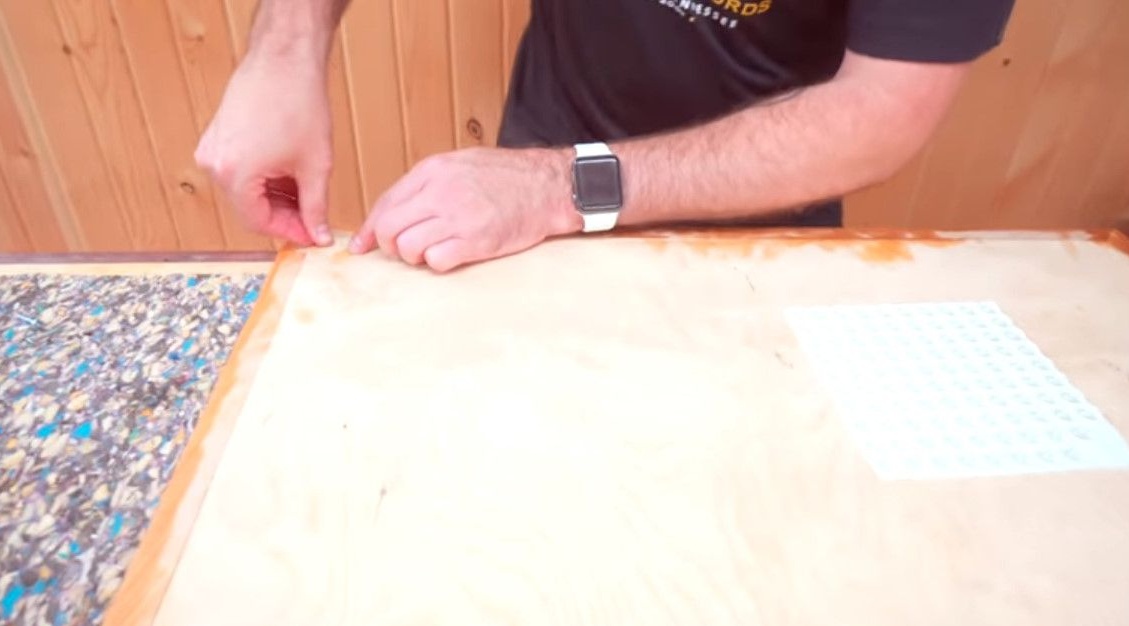
As a background, replenishing the wood cavity, the author uses velvet fabric the color of cadmium red (but you can also velveteen, the main thing is to have a deep texture). David turns the panel over and covers it with canvas. On the one hand, he presses the fabric with a cement block, and he pulls the other side together with his partner on the frame. Then, using a furniture stapler, attaches the fabric around the perimeter to the base.

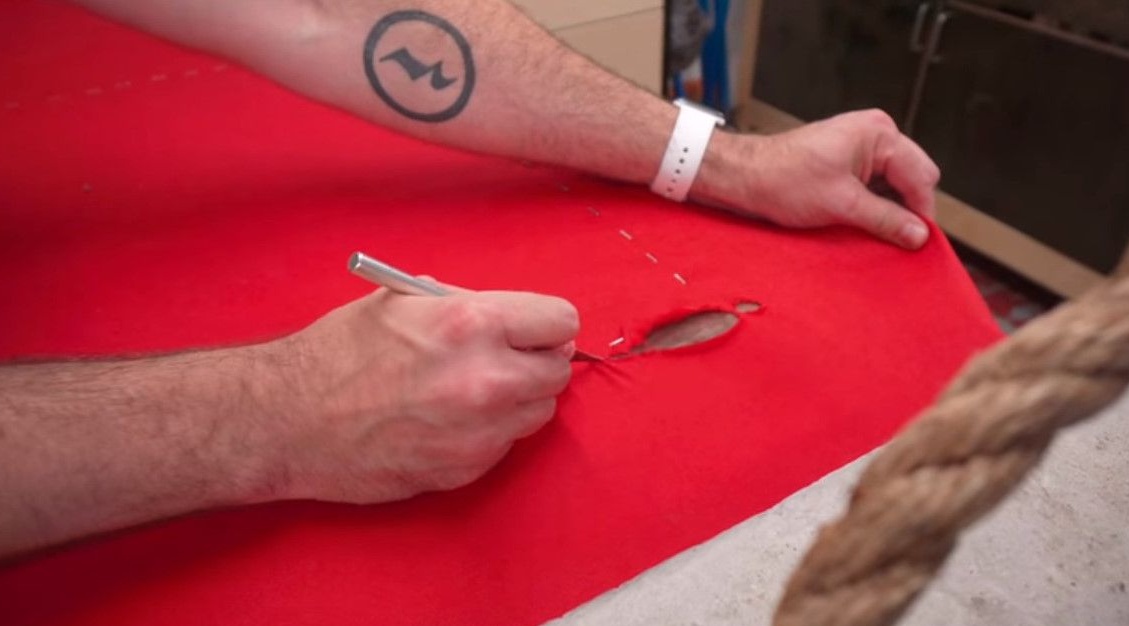
Excess tissue is cut with a scalpel or a sharp knife. Here's what happened.
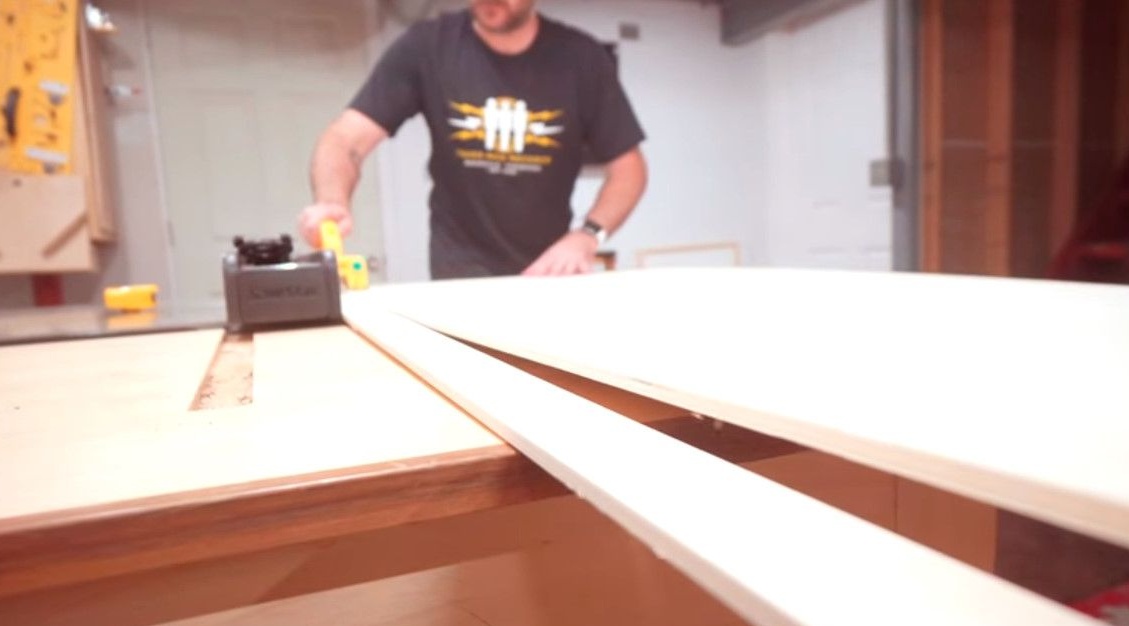
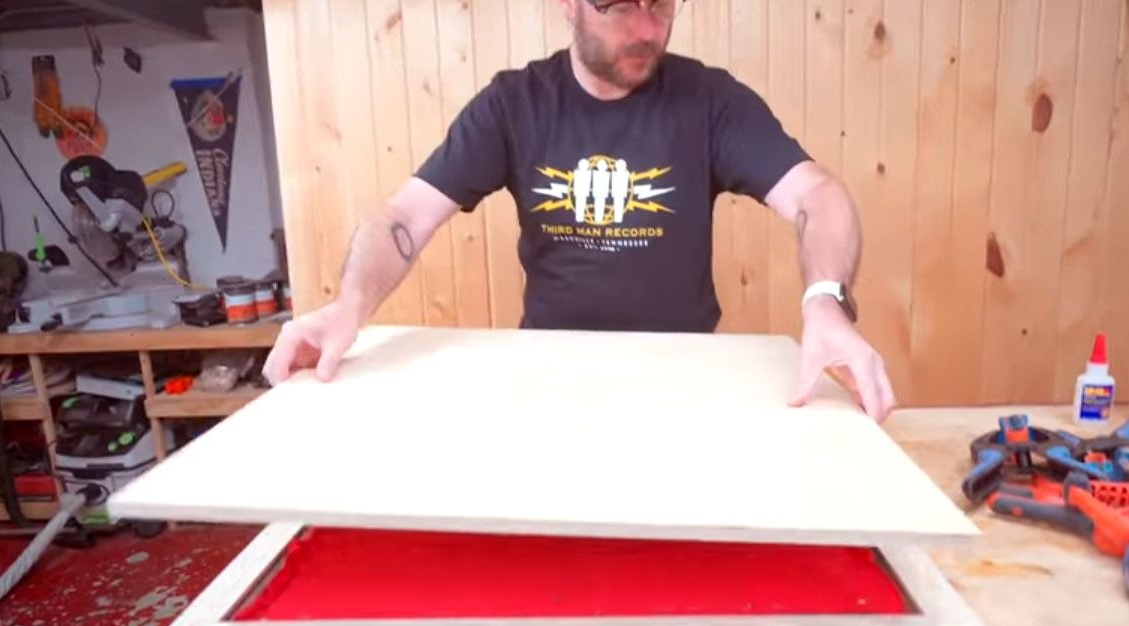
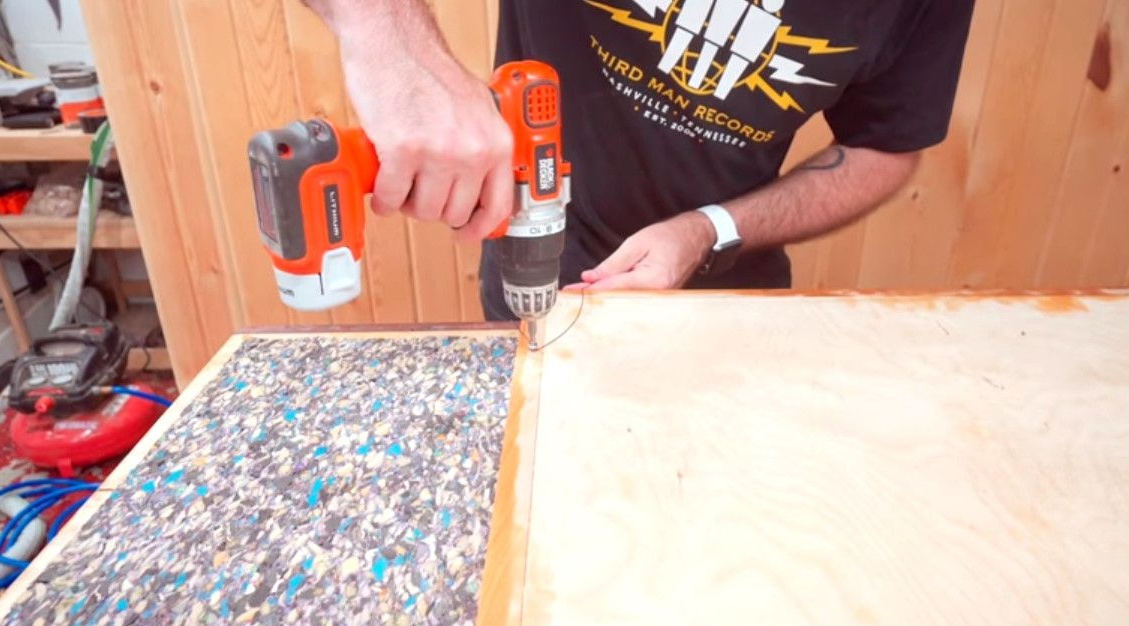
Next, the author is going to cut a piece of plywood to fit the picture in order to align and strengthen it. If you look closely at the side of the board, you can see that it has the shape of an arc. This is because it is very thin.
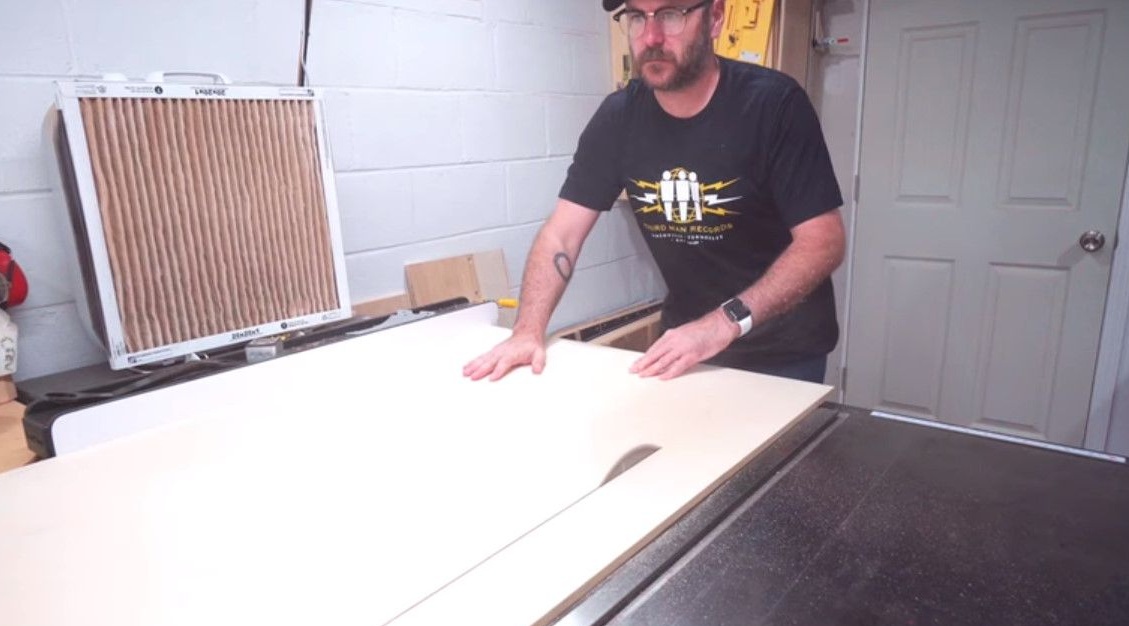
Usually, due to the expansion and contraction of the material, it is practically impossible to stick anything else on a board of this width. But the author hopes that this panel is quite thin, and the glue can keep the wood from stretching and compressing.
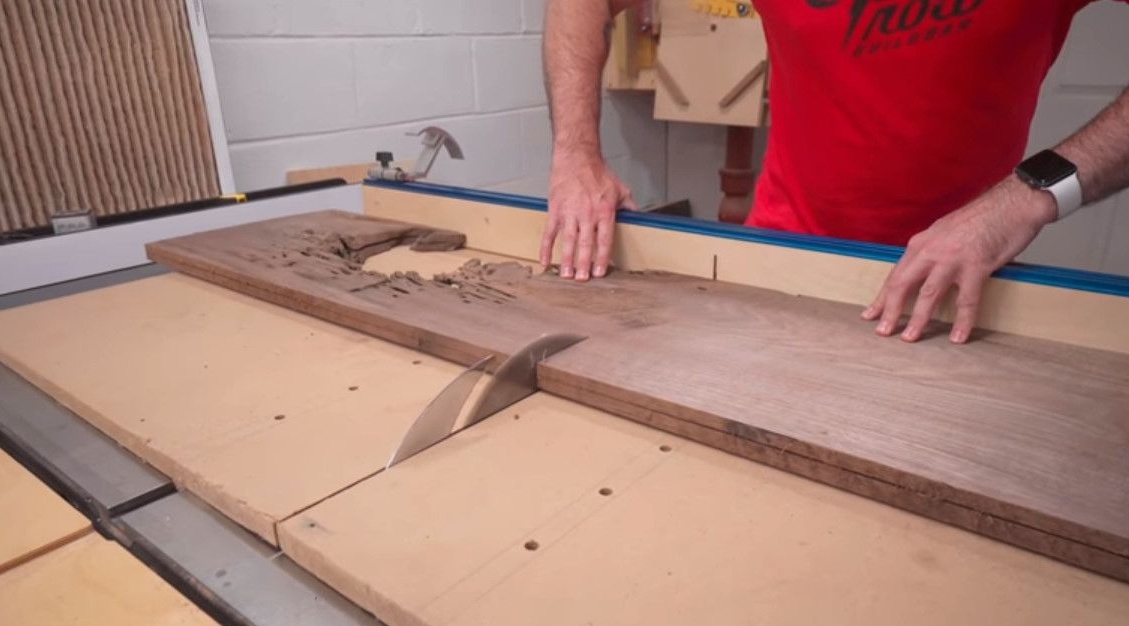
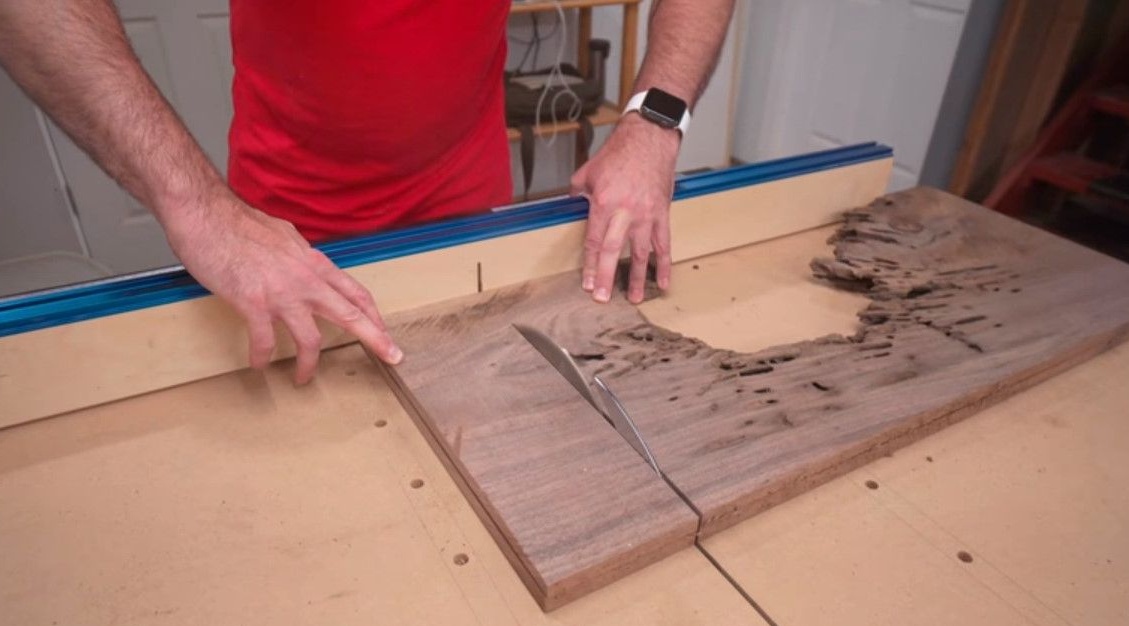
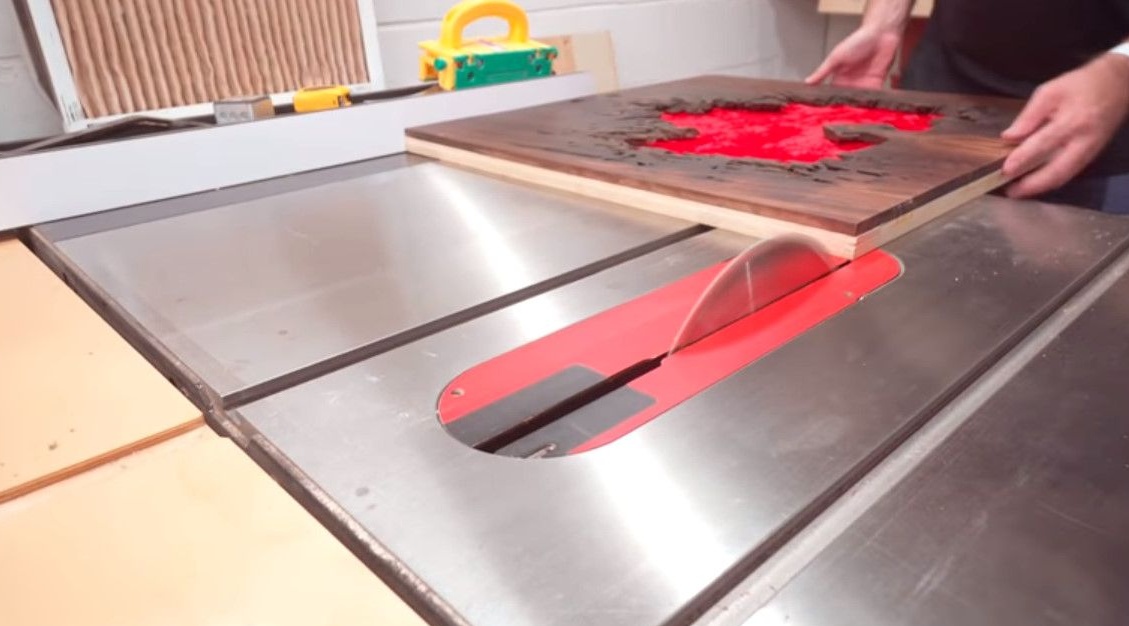
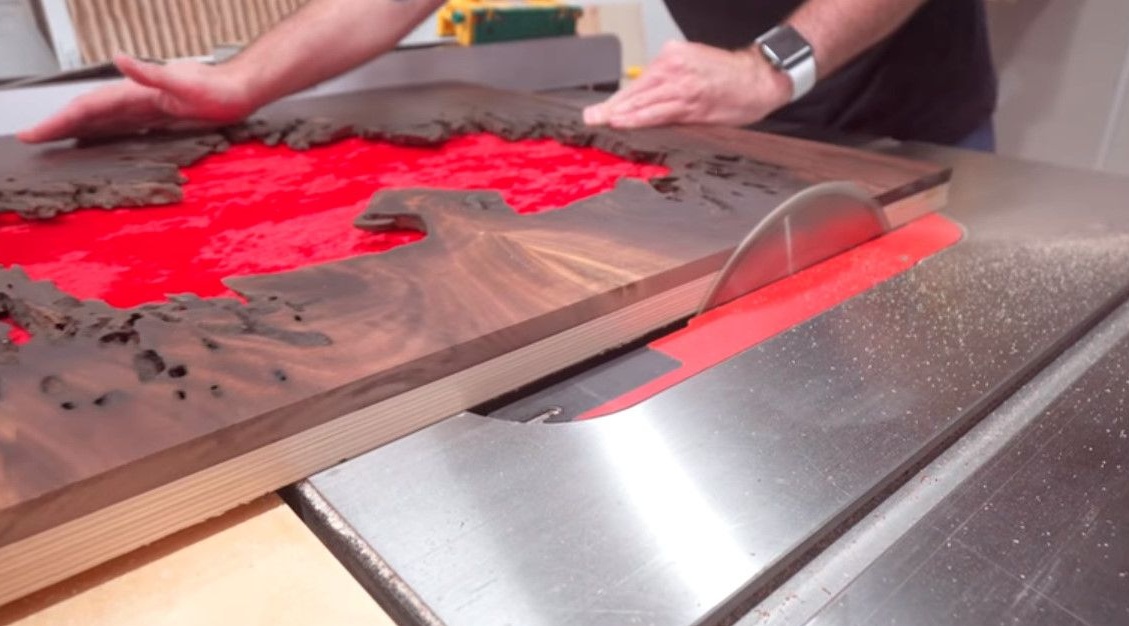
Then he aligns the ends of the picture with a circular saw.
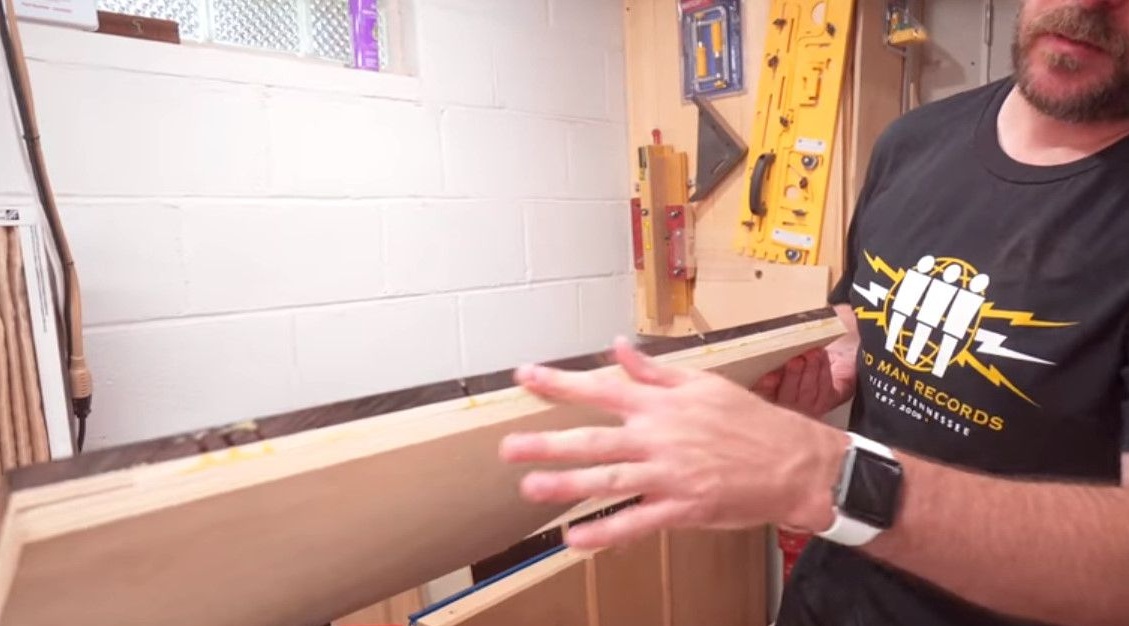
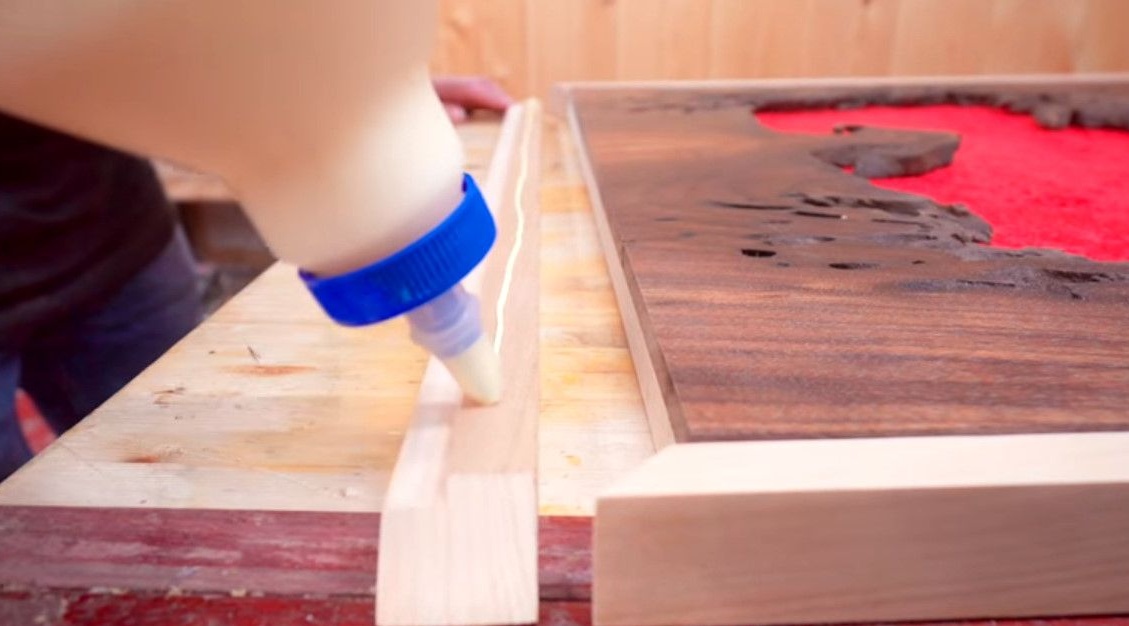
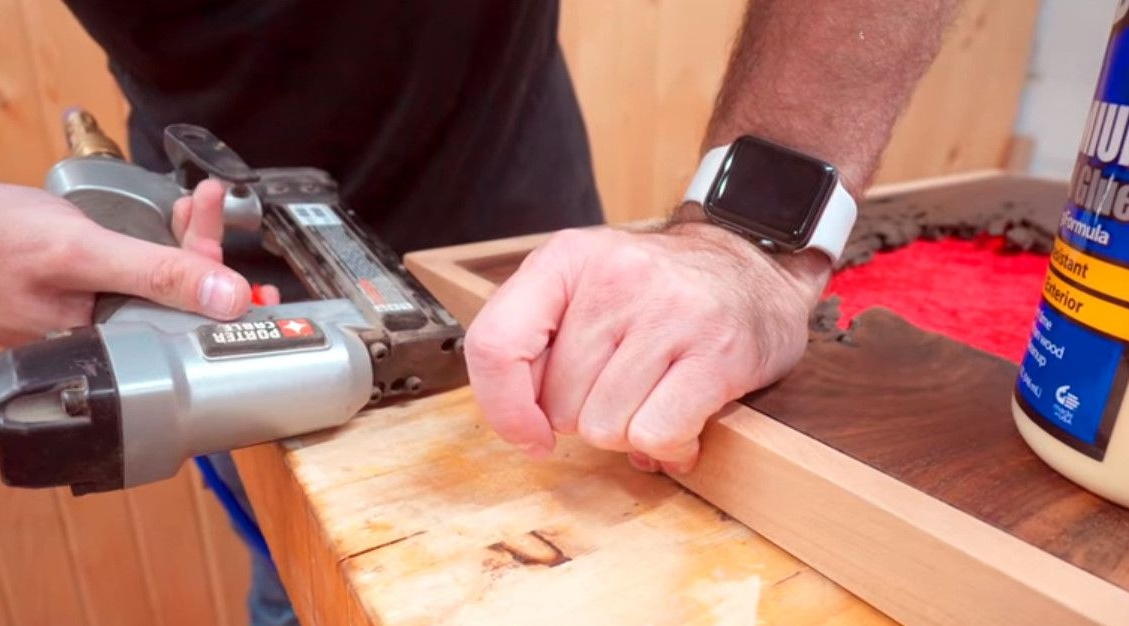
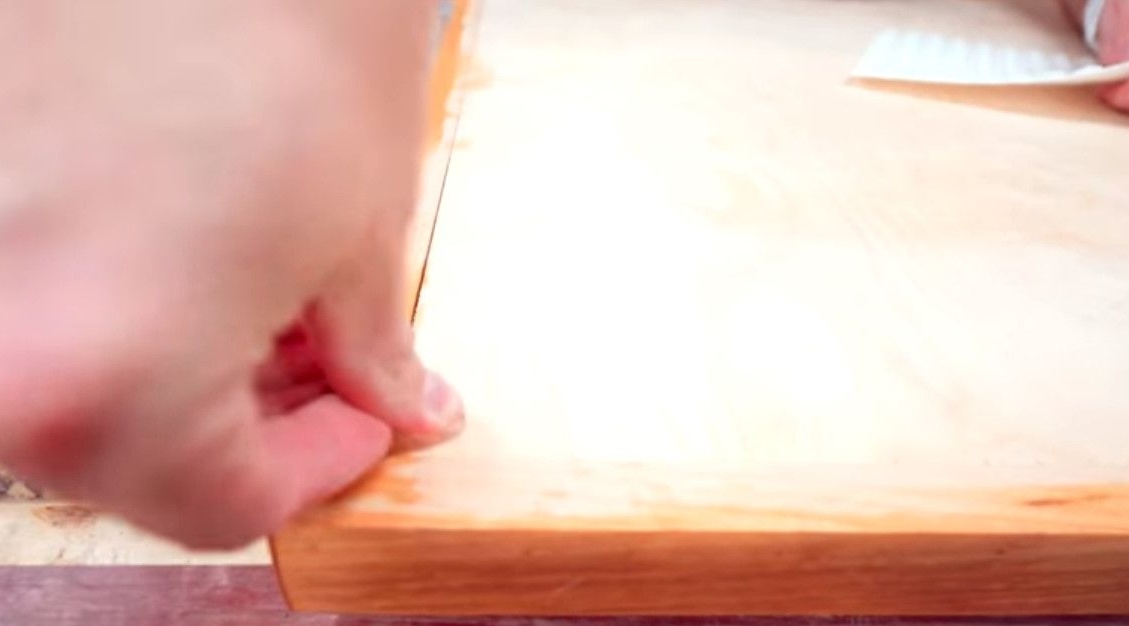
Further, from the scraps of cherry, David makes a frame, which will then be planted on glue and fixed additionally with nails.
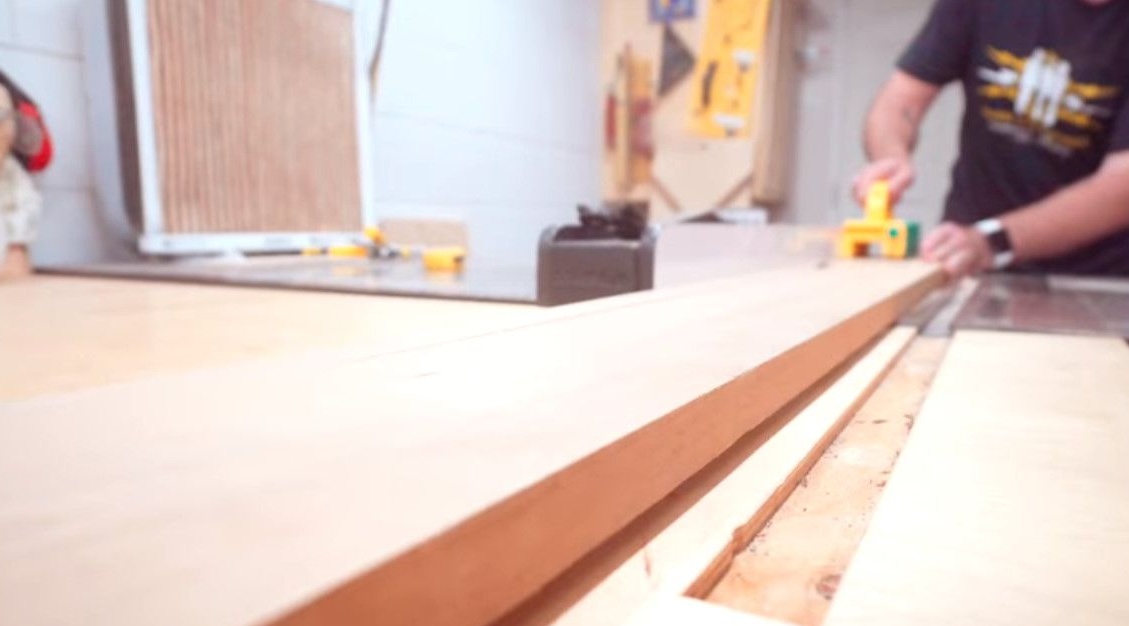
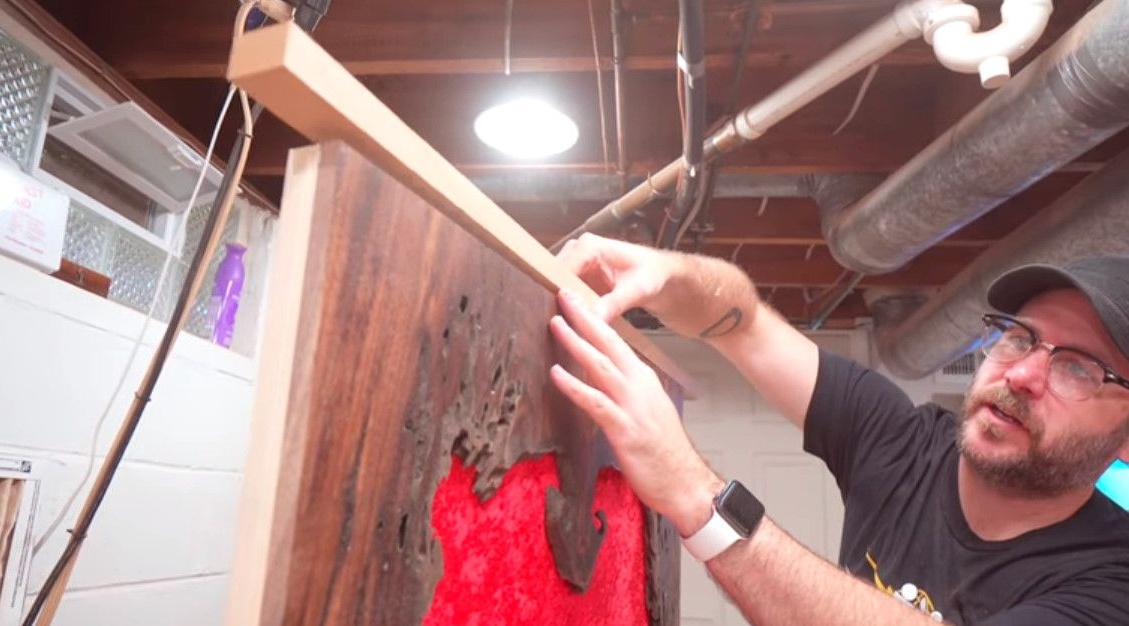
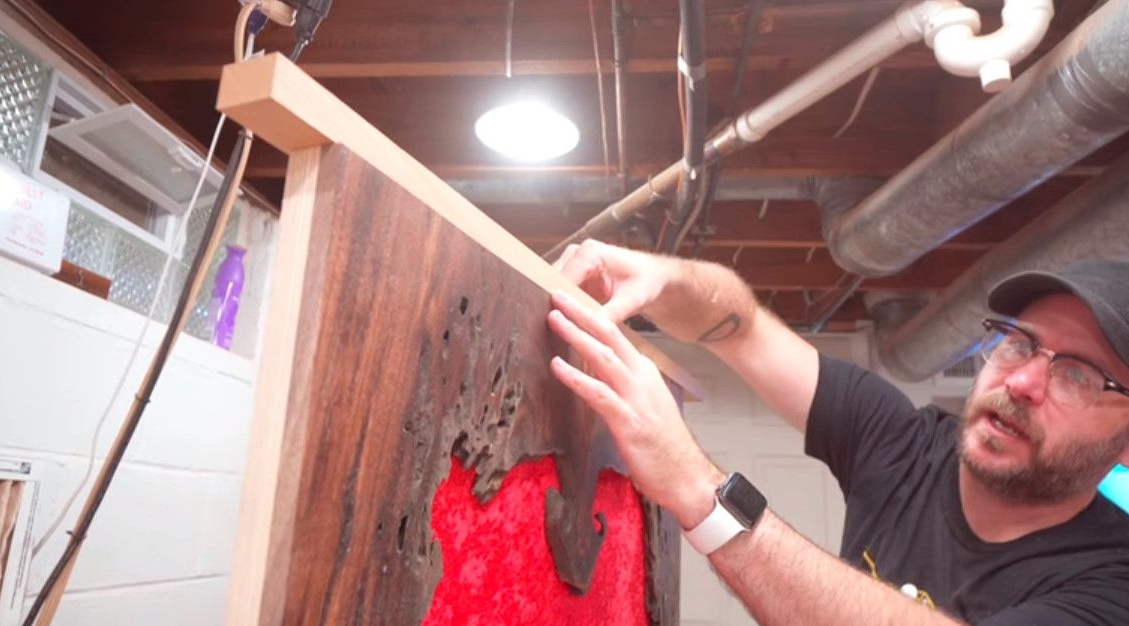
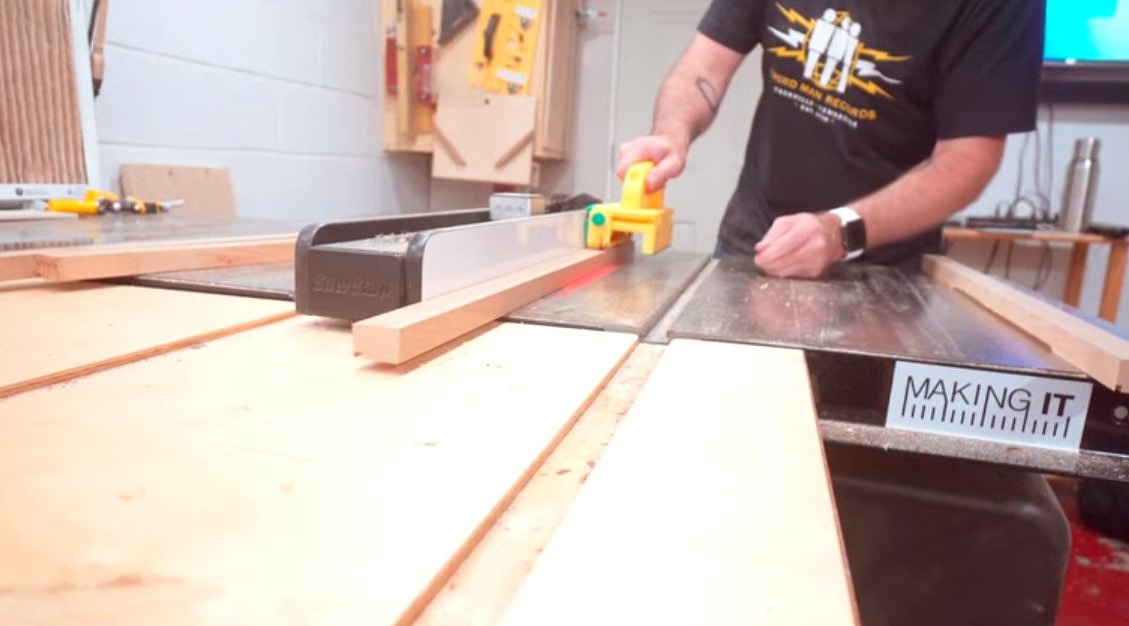
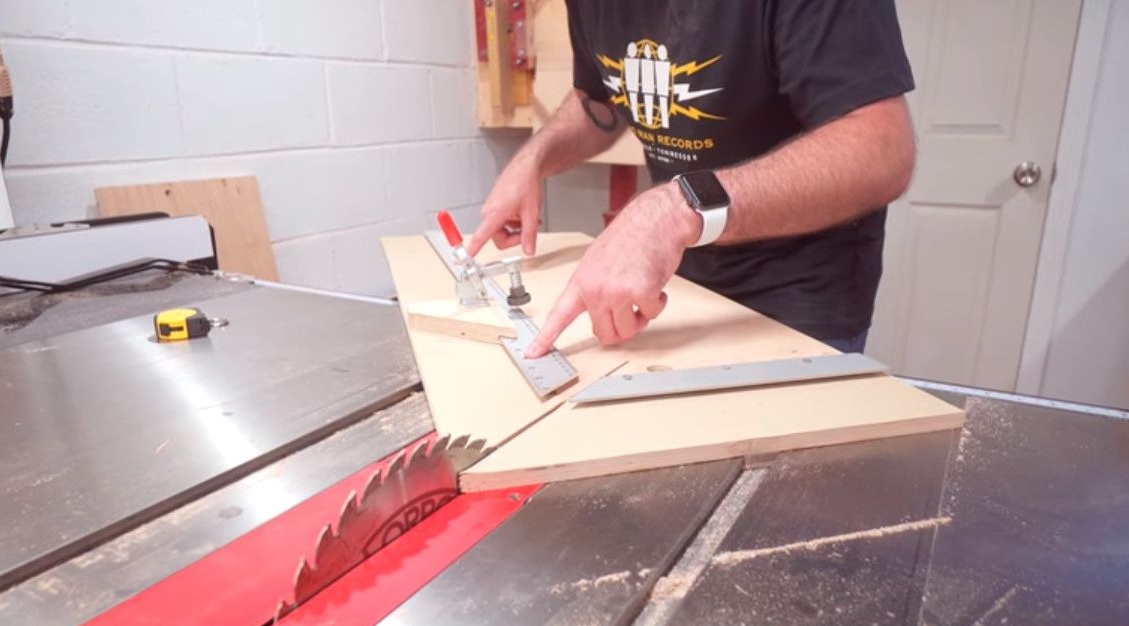
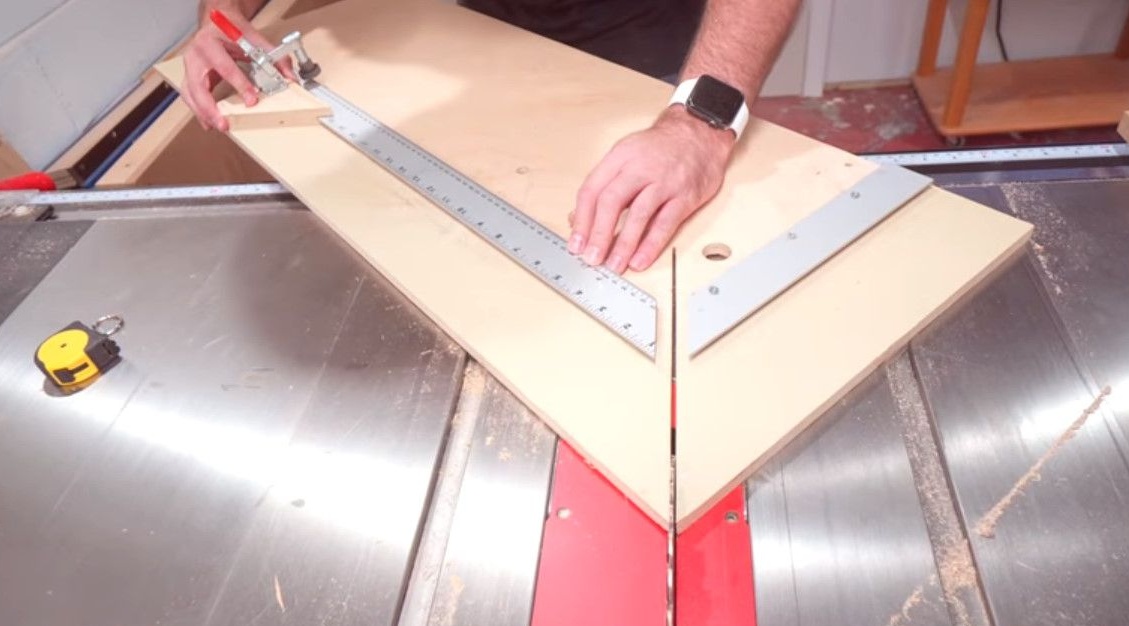
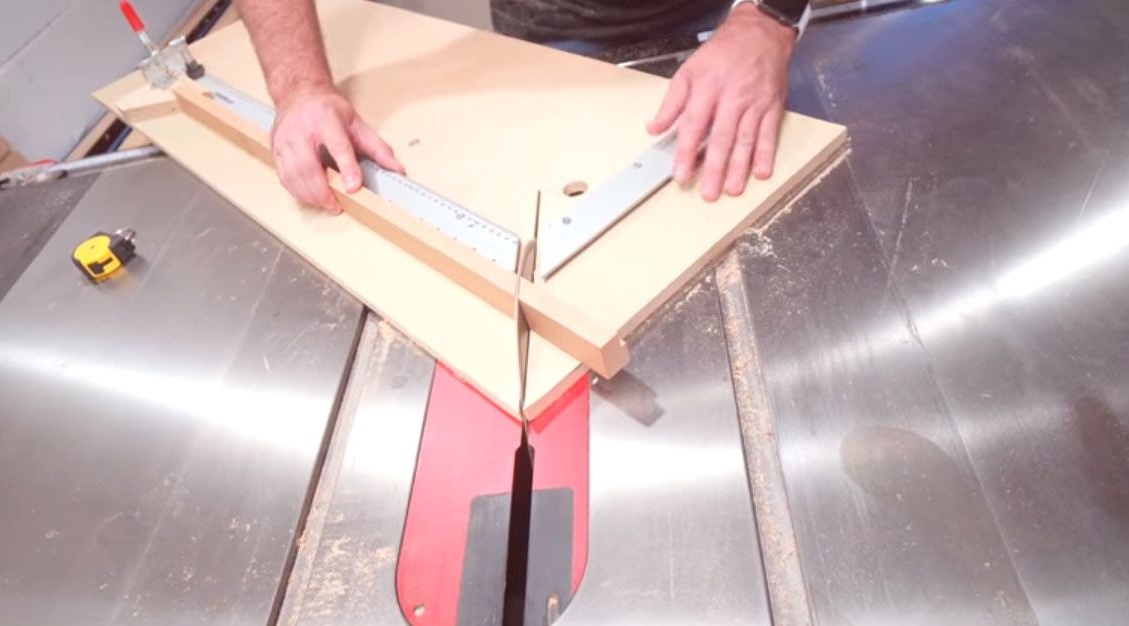
Using a circular saw and a special carriage, he cuts the trims for the frame at an angle of 45 degrees.
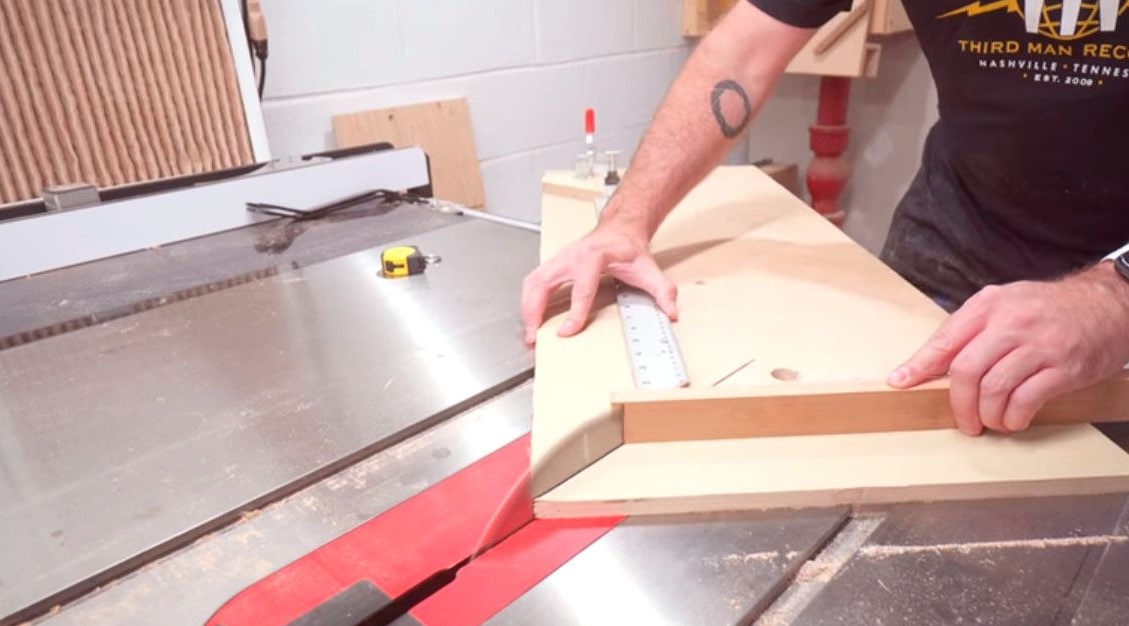
It is noticeable that there is a small gap between the block of the future frame and the panel itself. The author is going to close it thanks to the special configuration of the frame. Lubricates with glue and fixes with a nuler.
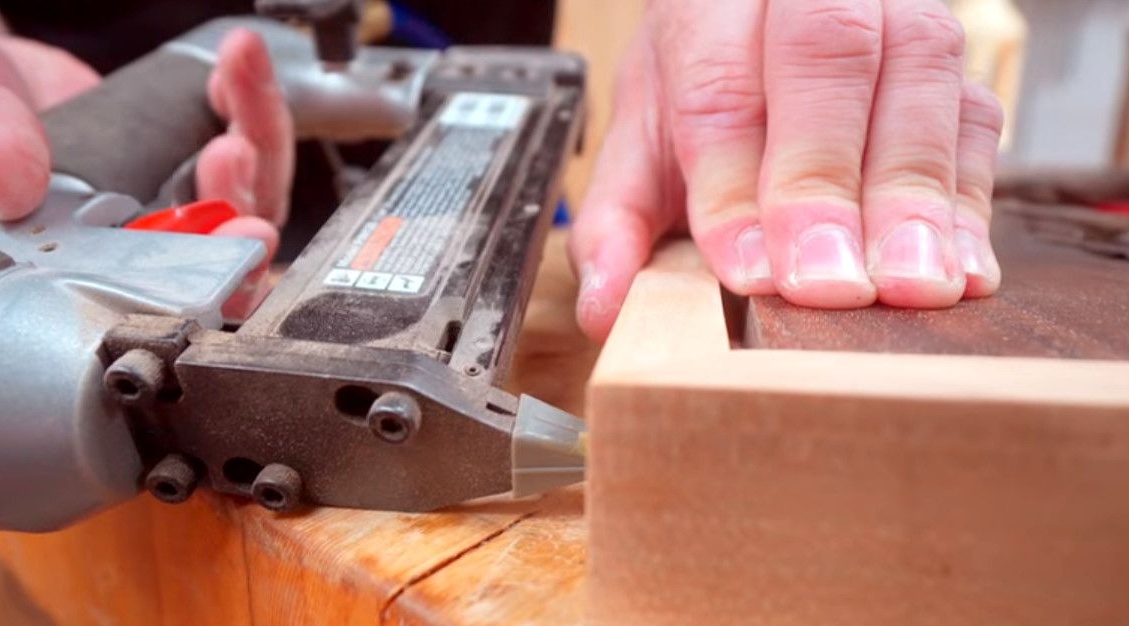
After the glue has dried, it once again cleans the frame and slightly captures the main part.
When the frame is ready, the author applies another layer of linseed oil.
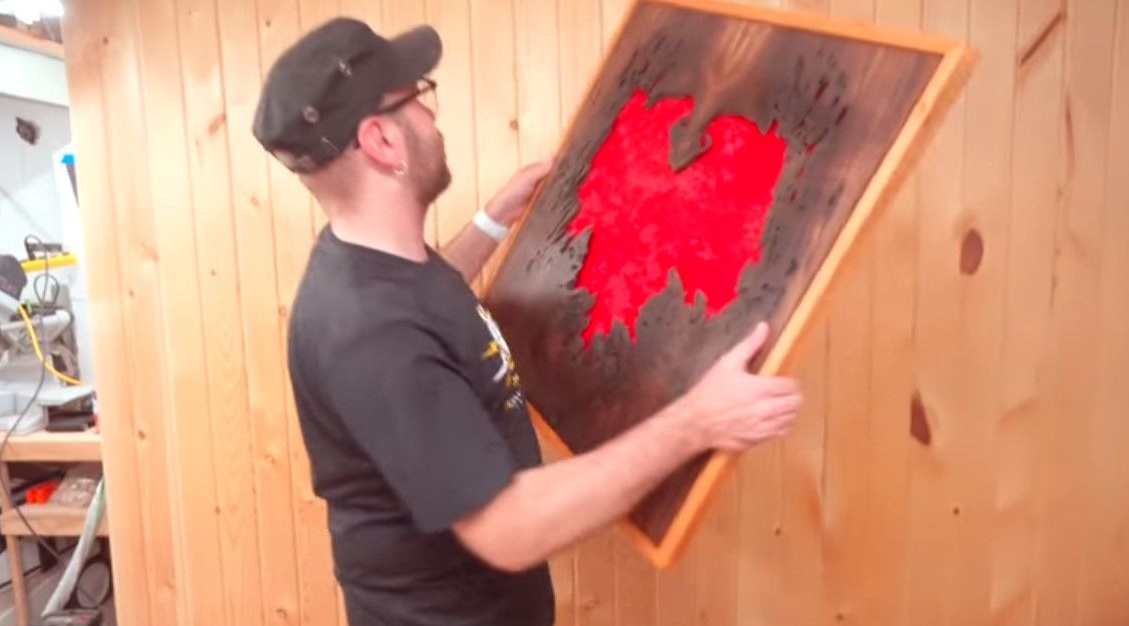
The final stage, the author glues the rubber legs on the back of the panel. Then baits the attachment for the fishing line, on which the picture will hang.
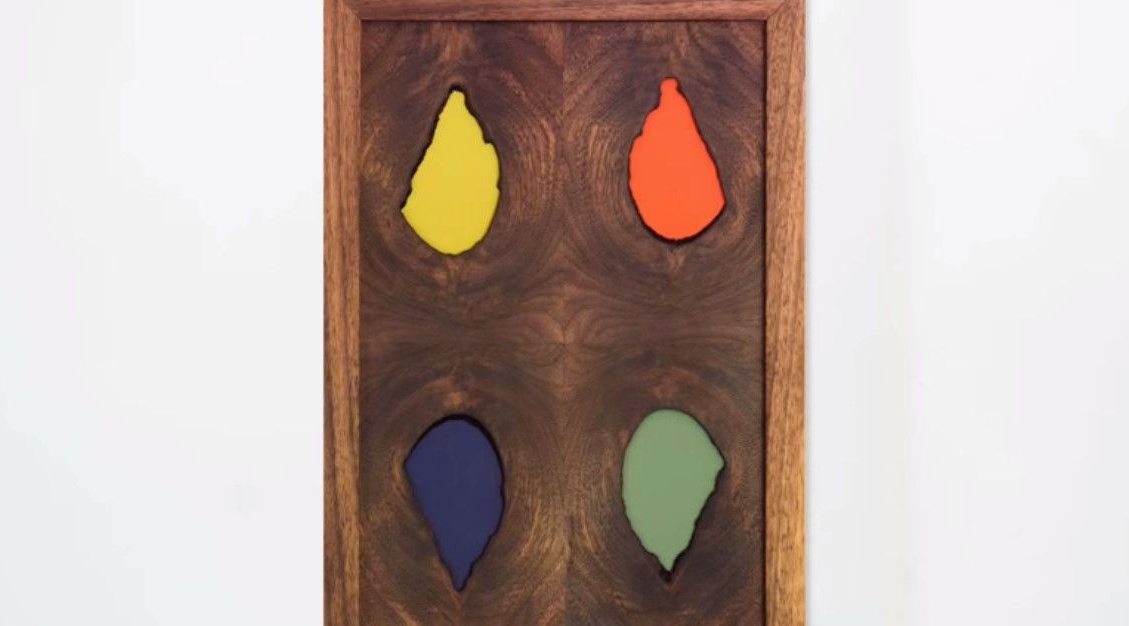
This is how a work of art created by nature itself might look. The author only noticed and skillfully emphasized the hidden beauty of the woody pattern.
Thanks to the author for an interesting idea for interior design!
Good mood to you all!