Materials
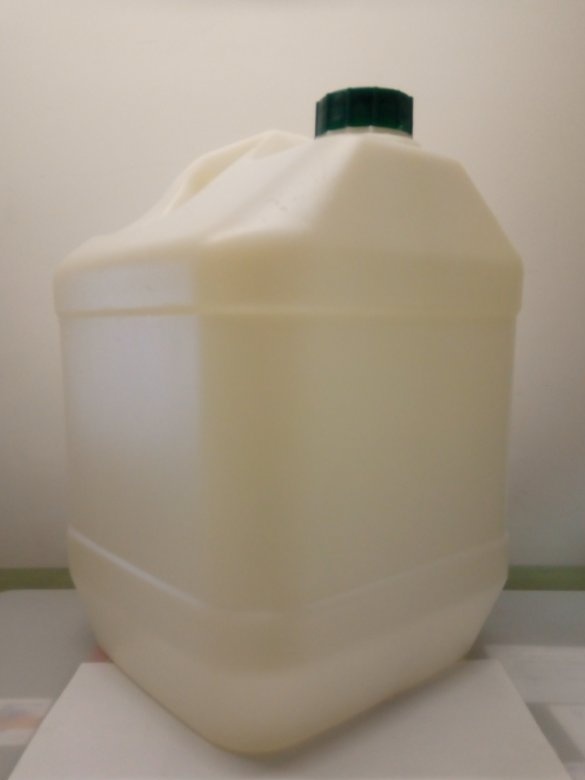
-canister (size depending on your pet)
-Wooden rail 20 * 5 mm
-Small screws
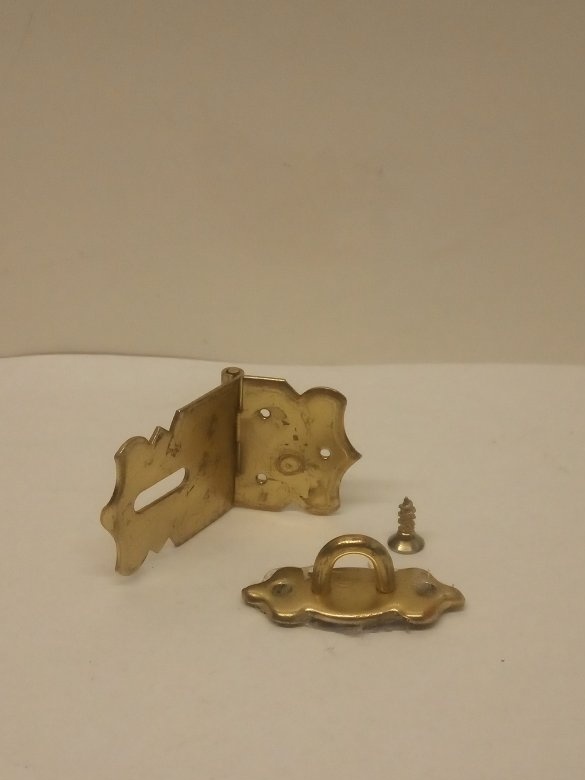
-the loop
-Lock and mounts for it
-screws
Instruments
- a hacksaw or a manual jigsaw
screwdriver
-drill
-cutter
-screwdriver
pliers
1 step
We wash the canister and clean it from the labels.
2 step
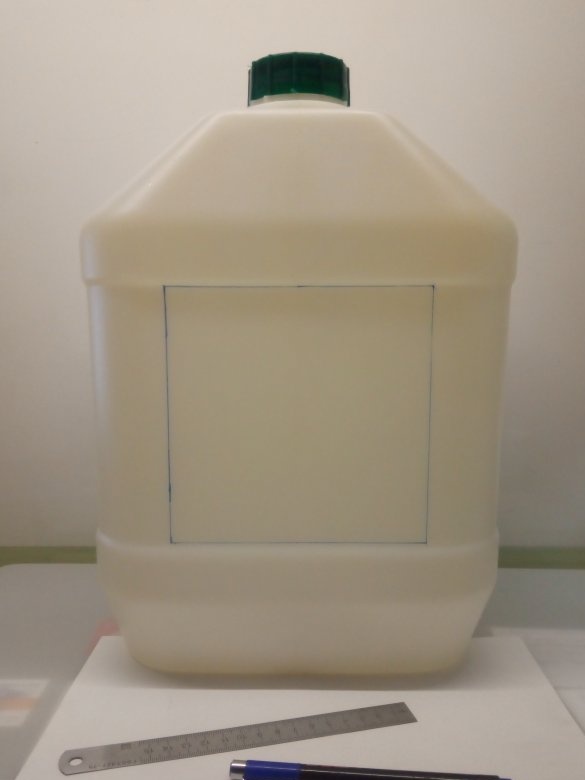
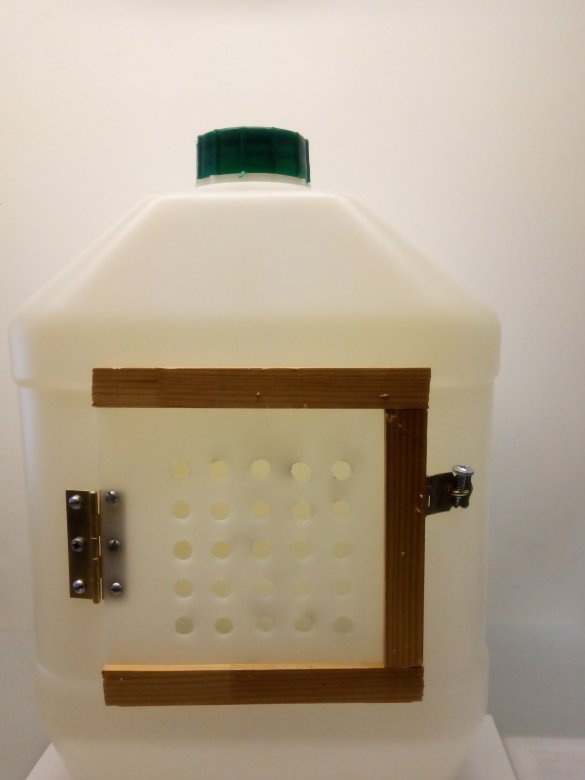
We outline the door dimensions on the canister, in my case a door measuring 150 * 150 mm.
(My canister is 250 * 400 mm in size and I am carrying it for a cat)
3 step
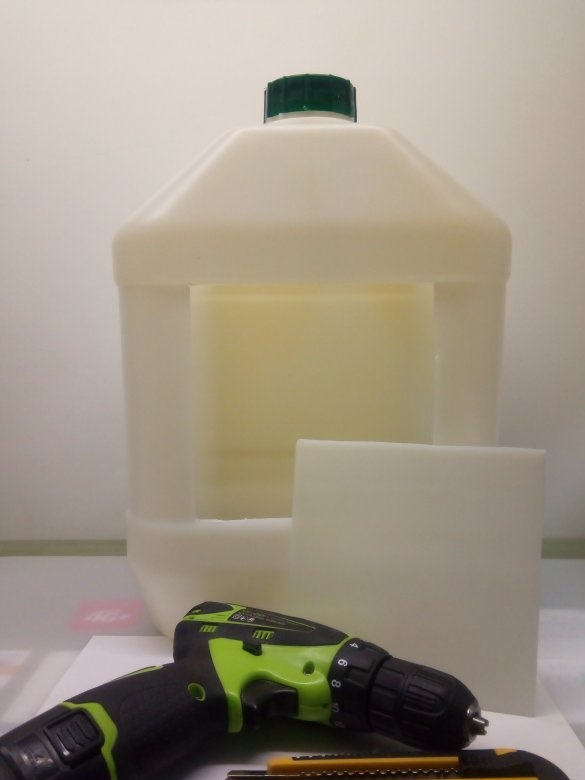
We drill holes in the corners of the door, no matter what is cut through the excess and cut out.
4 step
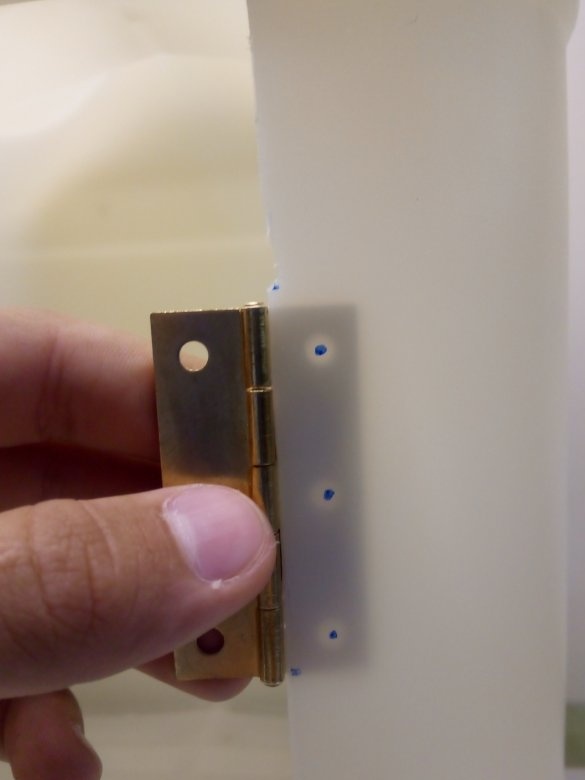
We mark the holes for the hinge on the carrying case and the door in the center and drill them.
5 step
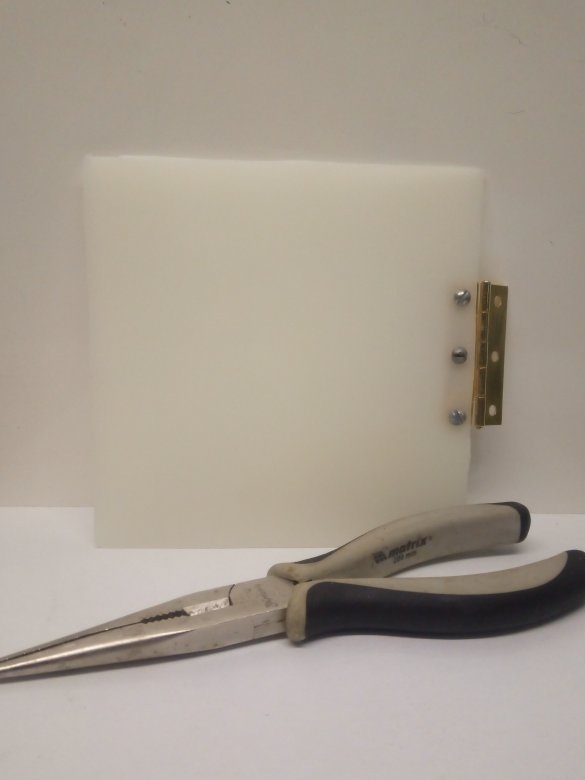
Fasten the hinge to the door on the cogs.
(no need to carry yet)
6 step
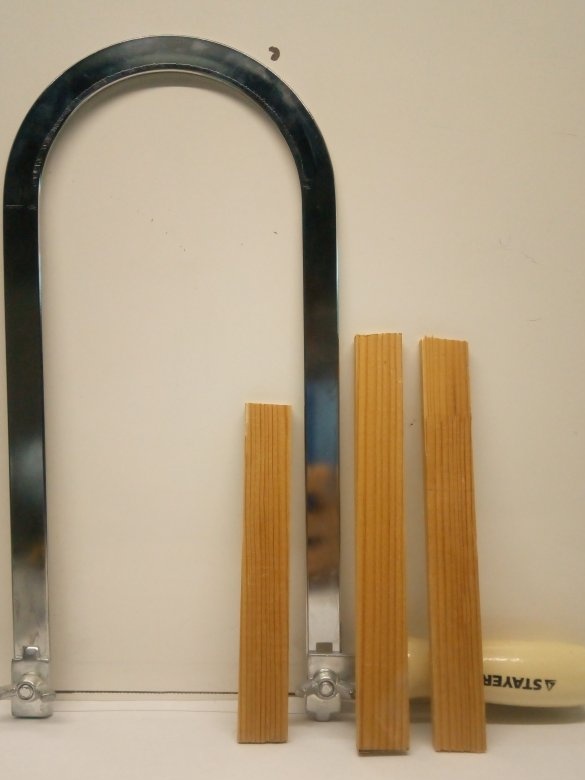
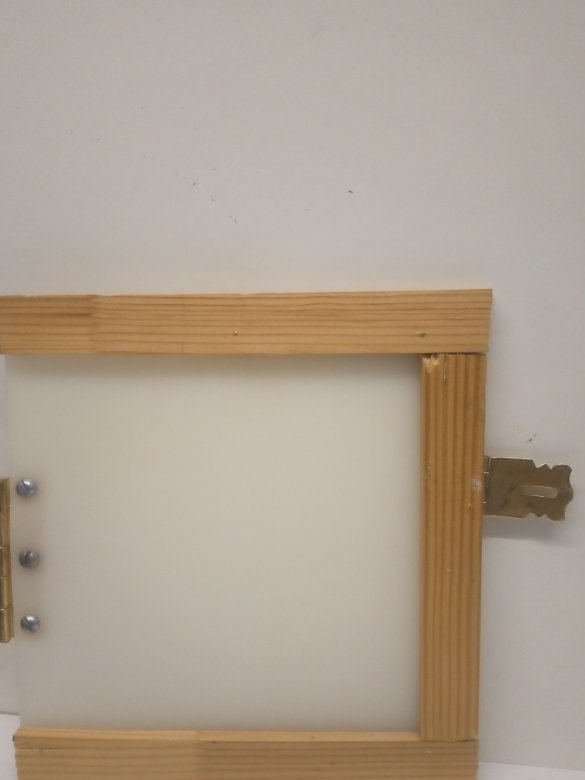
We cut 3 pieces of rail, one 20 mm less than the door edge and two 10 mm longer than the door. Provided that your door is square. In my case, the slats are 130mm and 160mm long.
7 Step
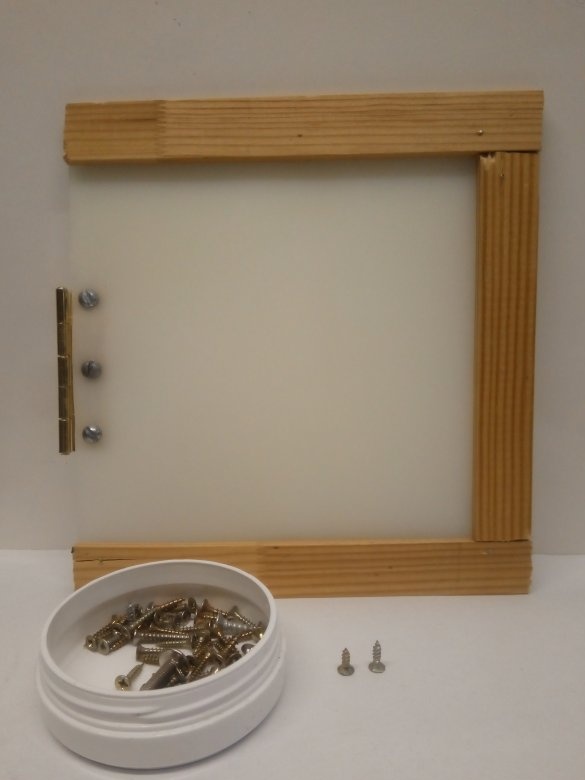
We fasten the slats to the door with a spacing 10 mm from the edge so that it does not close in the opposite direction.
8 Step
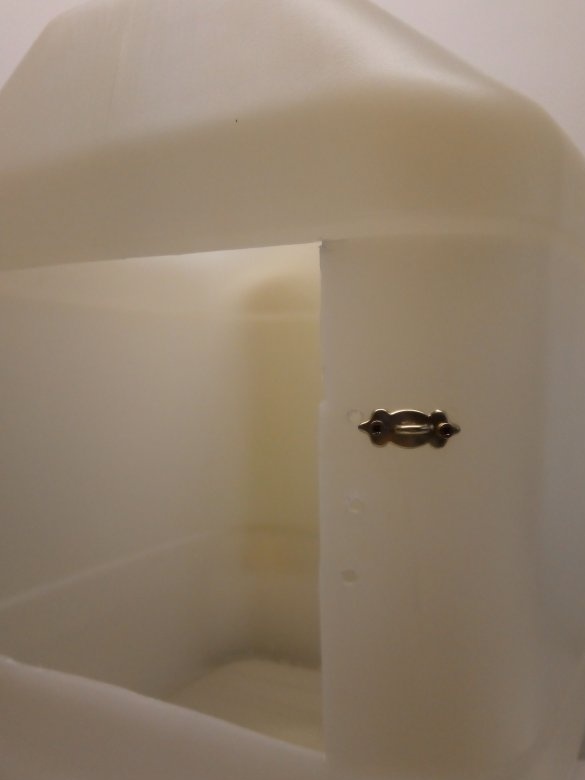
We fasten the loop and the latch to the door and the carrying case.
9 Step
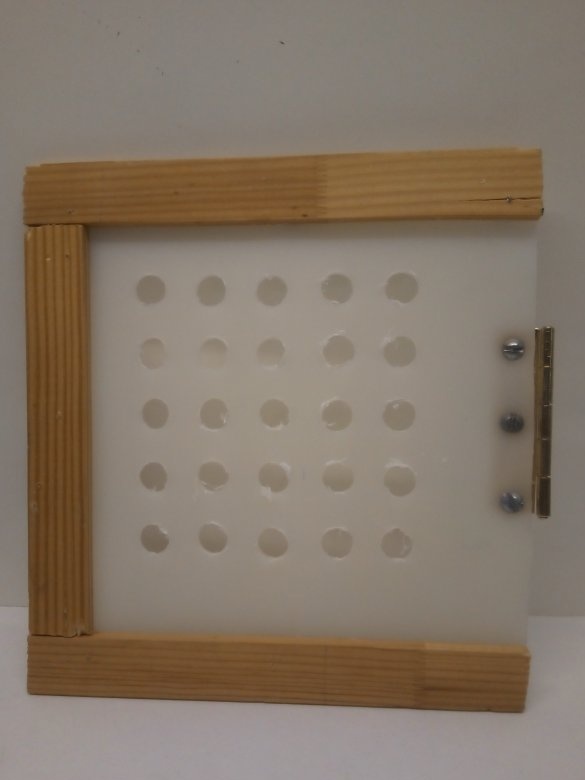
We draw a grid on the door and drill it with a large drill to make a grid. We burn the edges with a lighter so that the plastic does not stick out and does not hurt your pet.
10 step
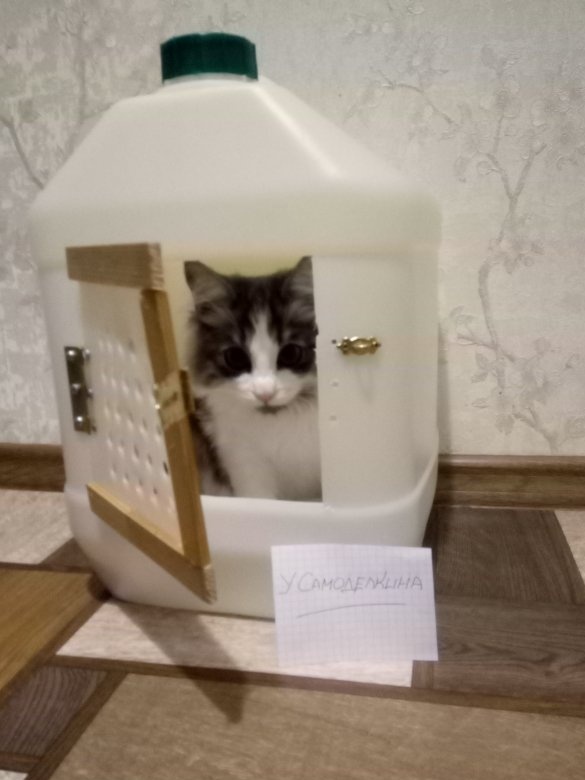
Screw the door into place. And that's it, the pet carrier is ready!
You can lead your pet at least for distant lands!


