
For you in this article, Lefty will show in detail the process of making a case for an action camera in retro style.
At the request of subscribers, the author decided to make a small souvenir - a camera. He liked the idea, and plus everything, he wanted it to be fully functional.
Actually the camera, of course, could not make the Lefthander. He acquired a small action camera and made an old-style case for it.
At the dawn of photography, cameras were bulky, wooden. And today we look at these devices and understand that they had a certain charm. It was an art.
So Lefty decided to make a cover in this style, and began with the most difficult part for him.
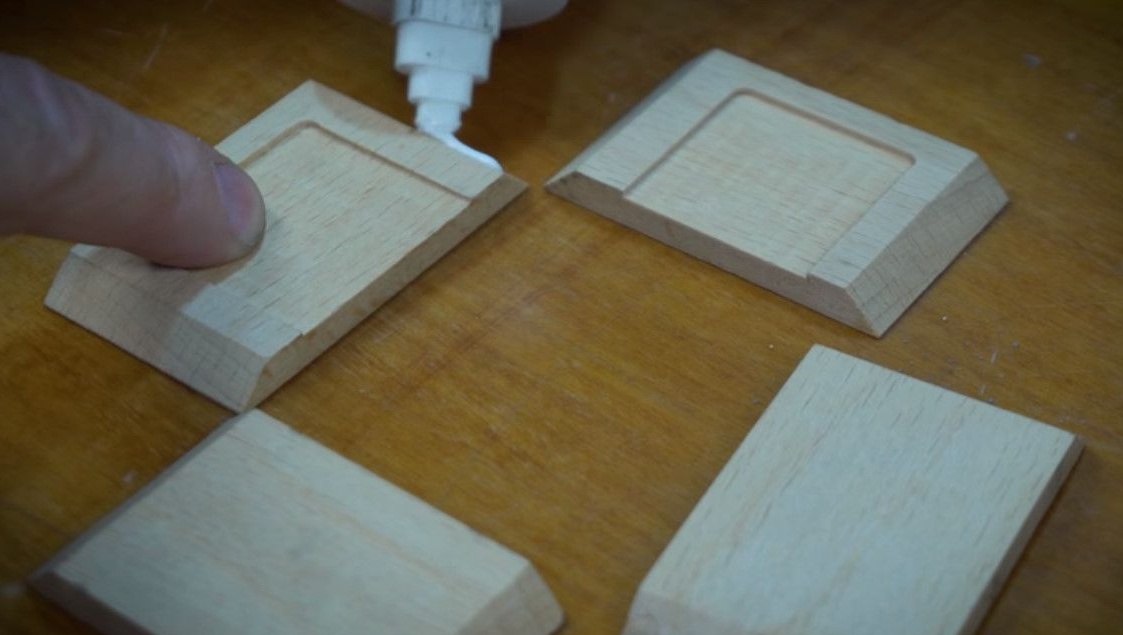
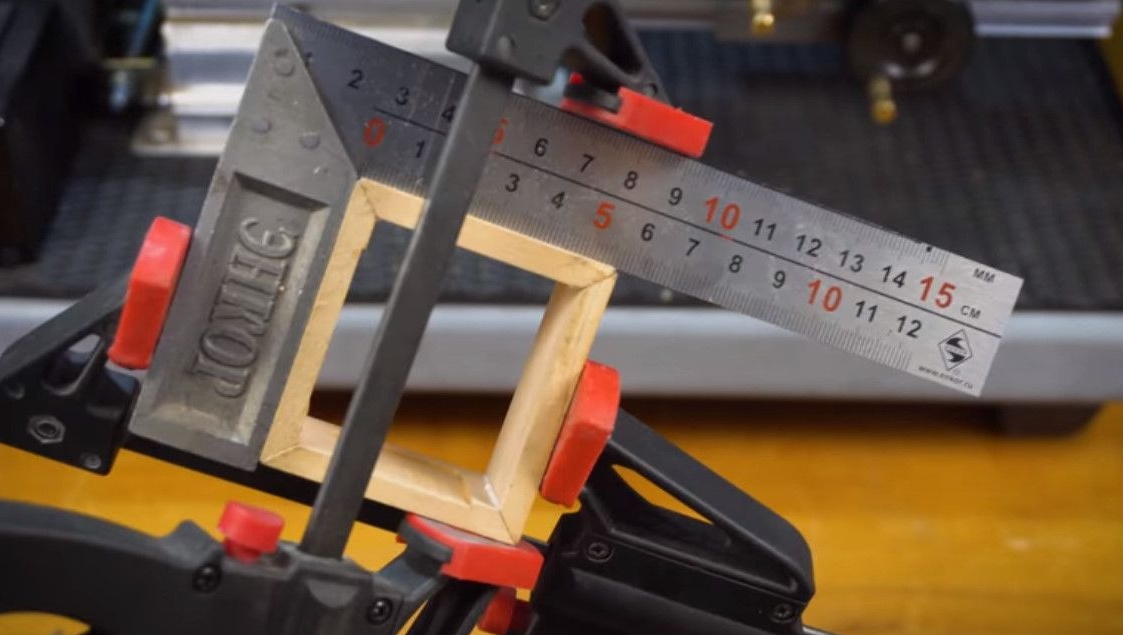
It is necessary to create the basis of the body. We cut four identical planks.
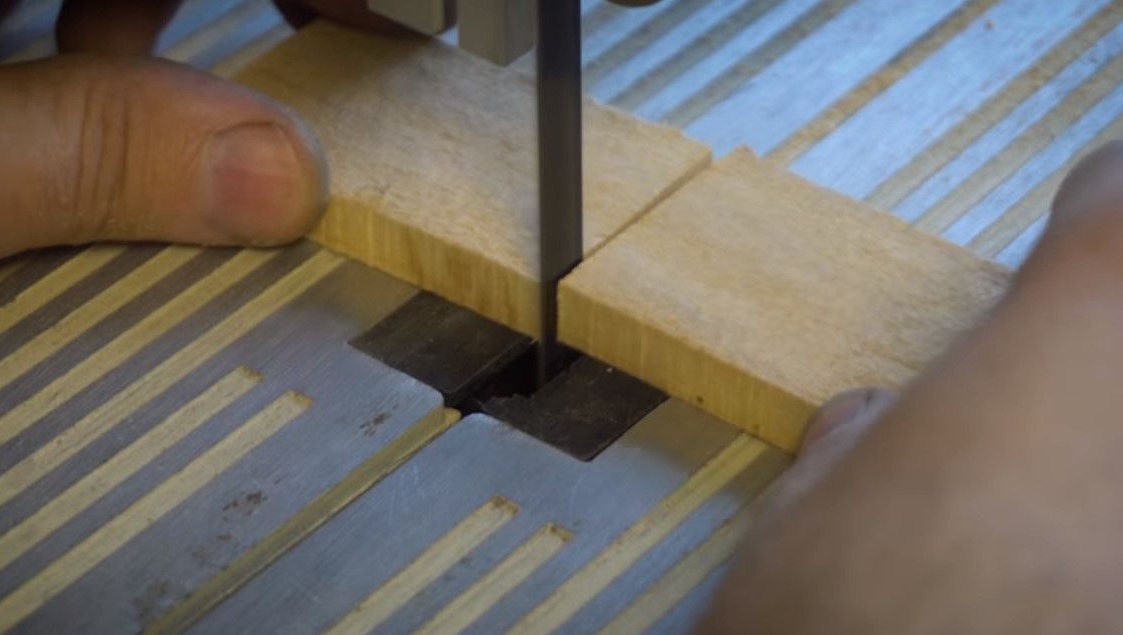
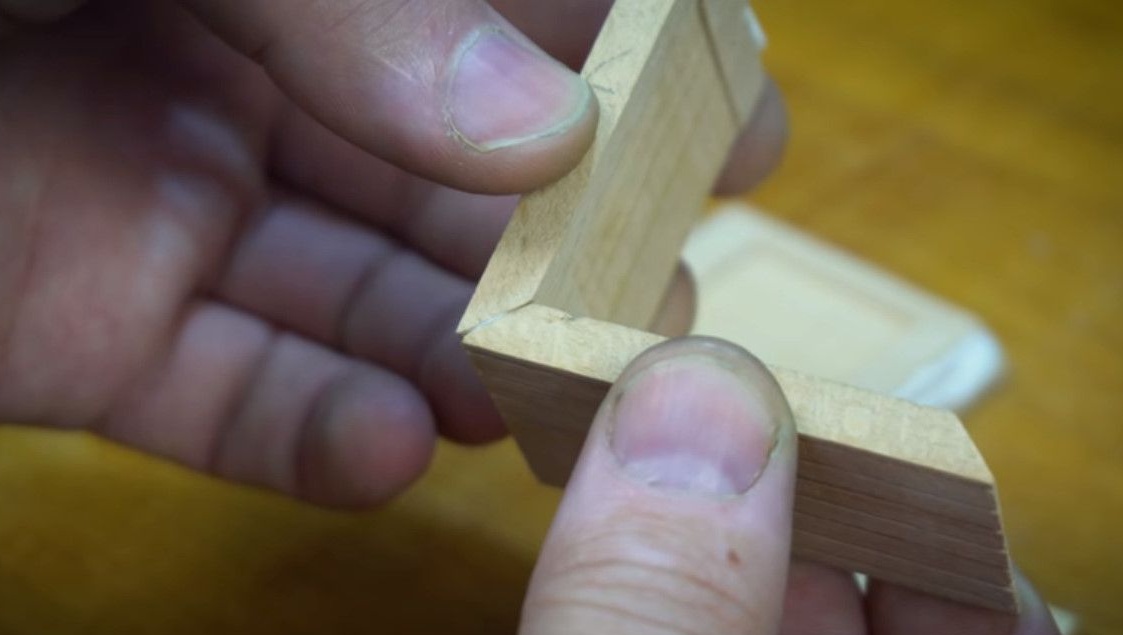
We cut off their angles at 45 degrees.
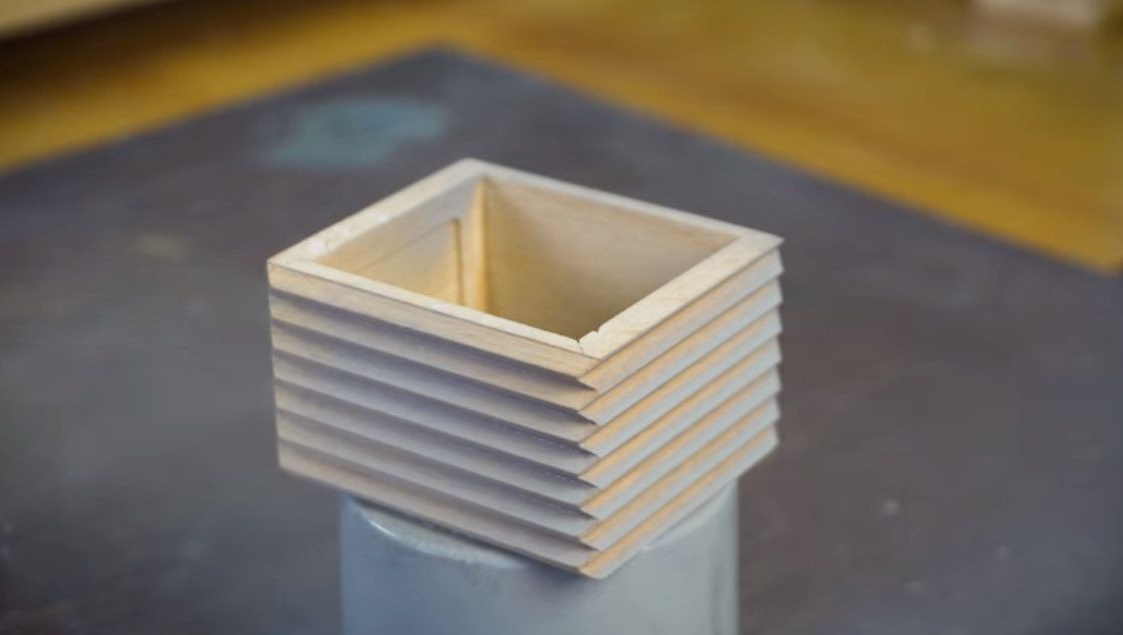
When assembling, we get a box.
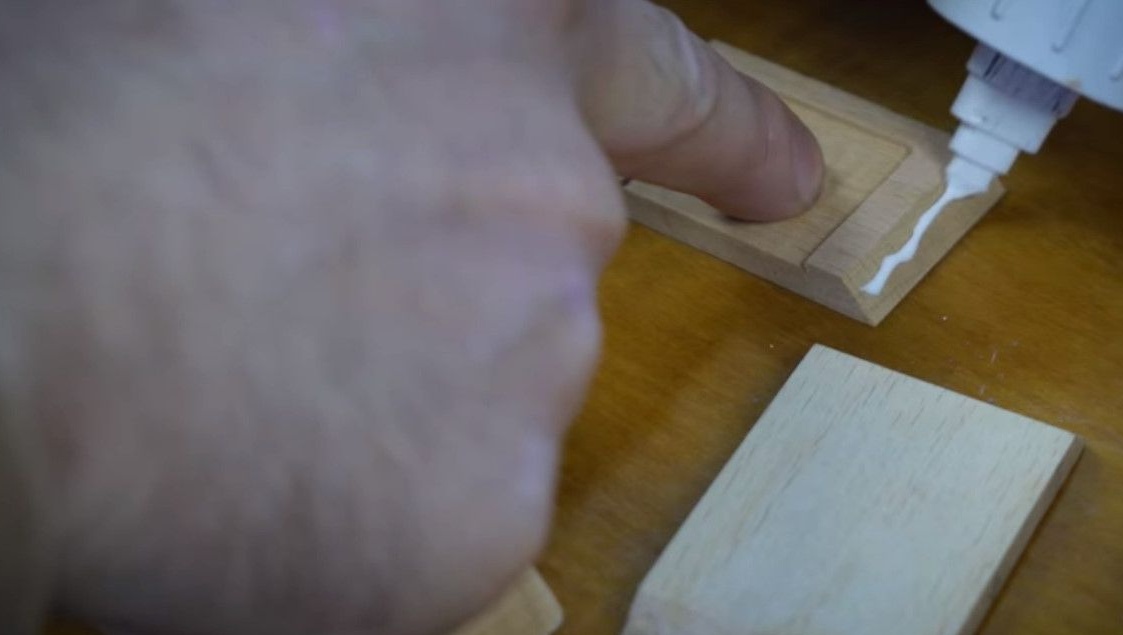
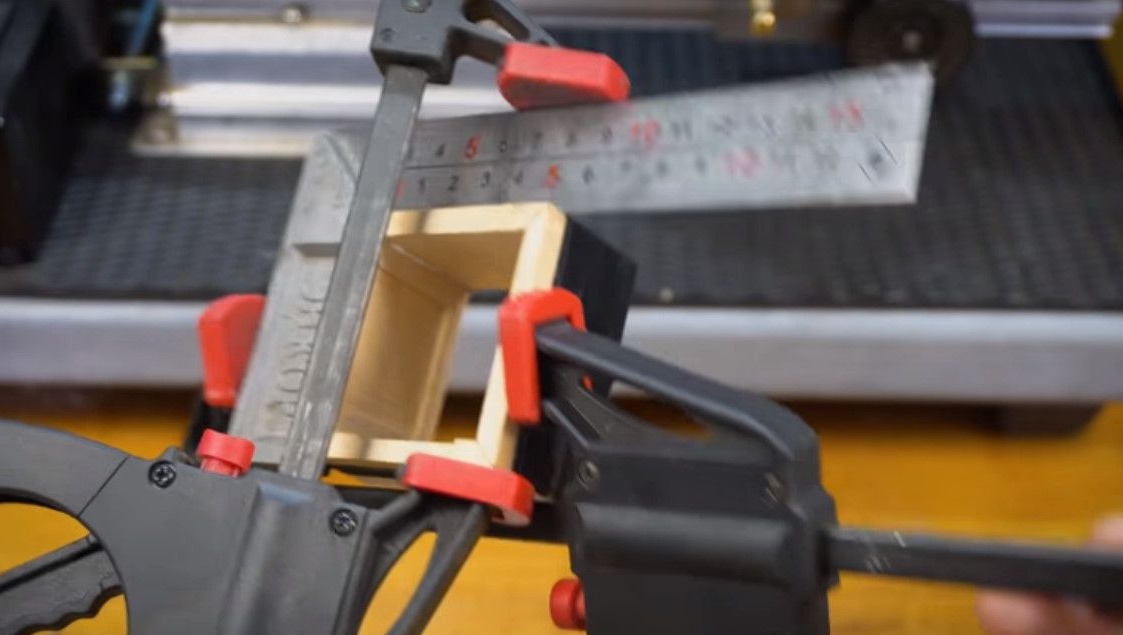
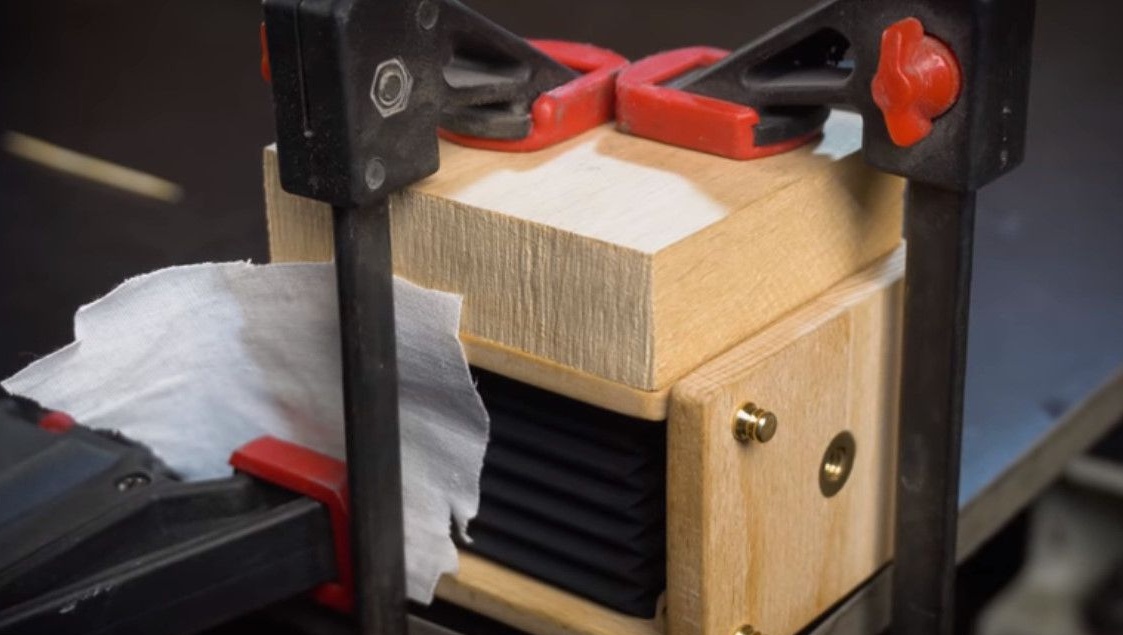
We glue the seams and clamp in the clamps.
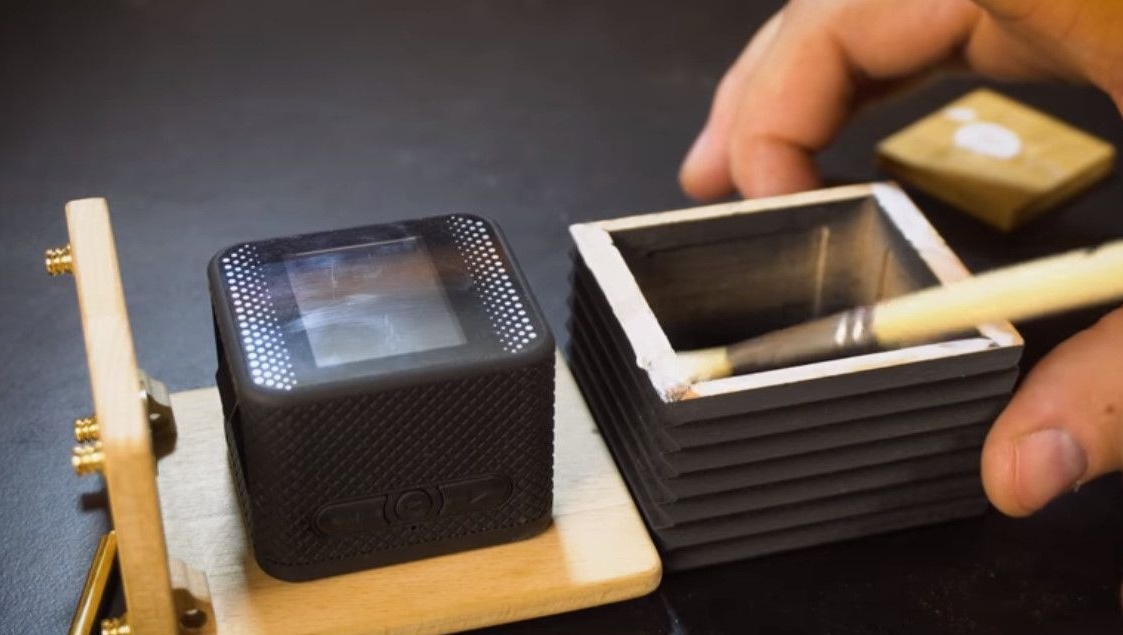
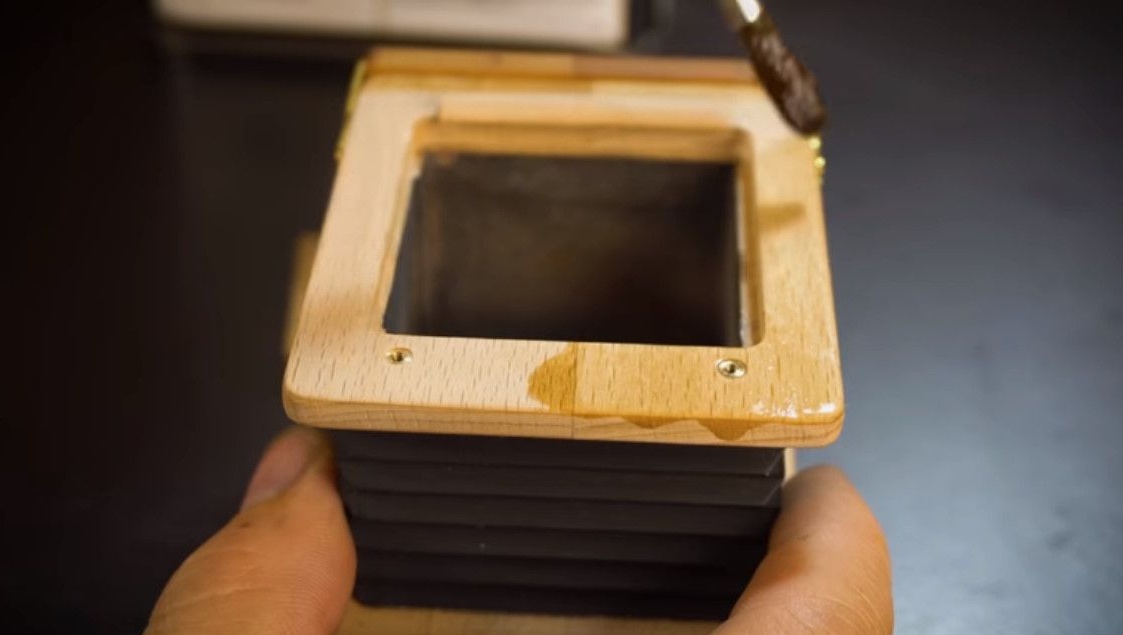
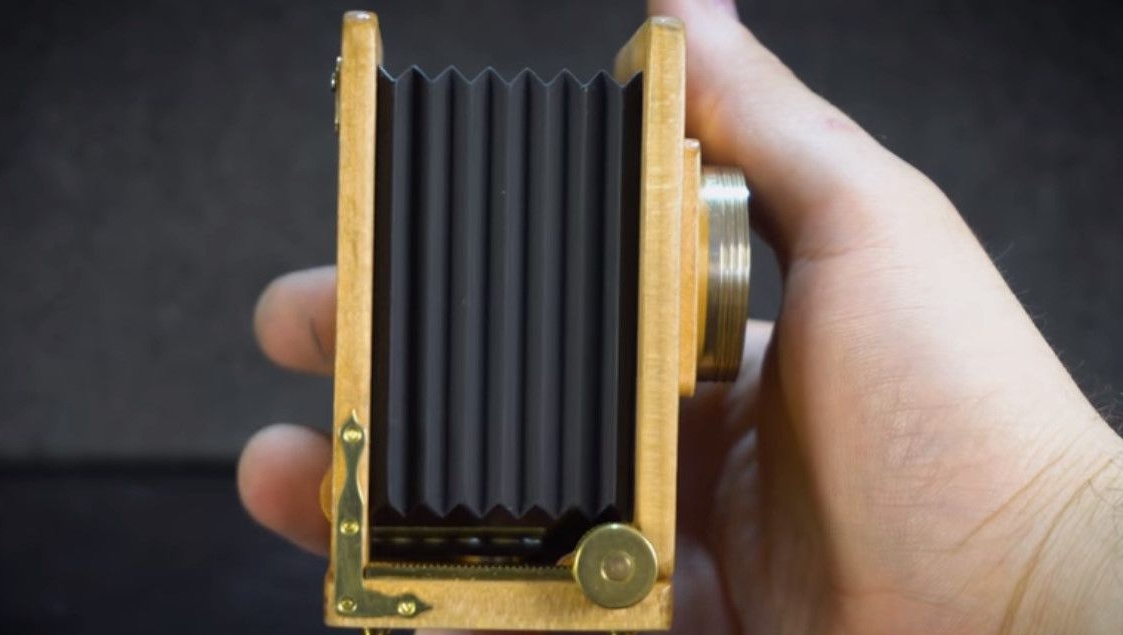
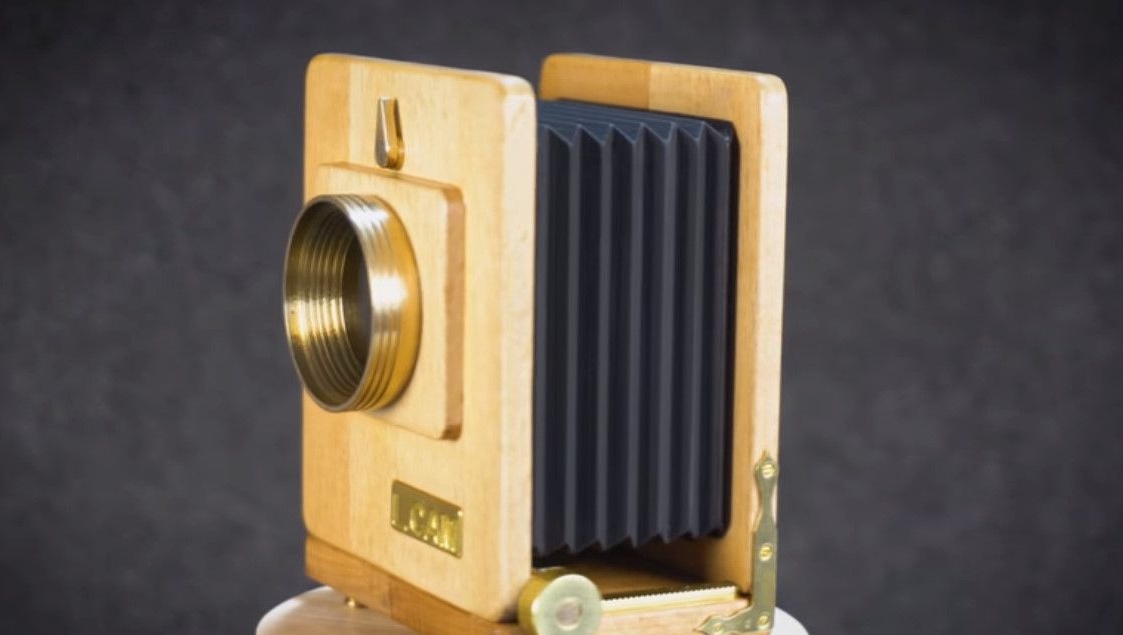
Between the front and back of the cameras were fur. They, as a rule, looked like an accordion and painted black.
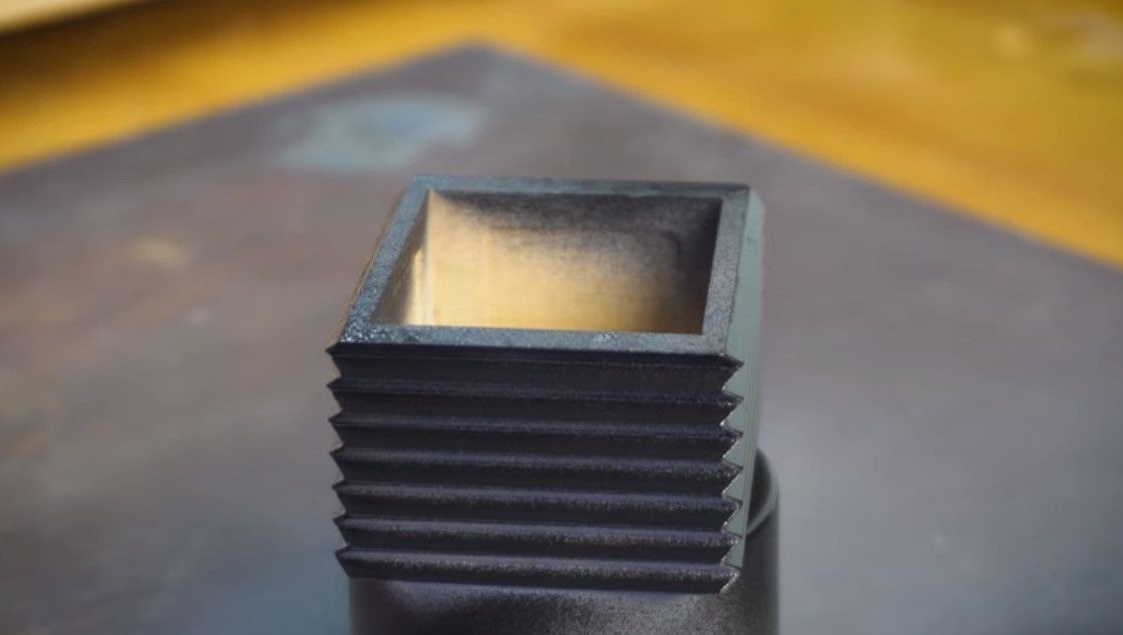
Unlike real ones, these furs will not be collapsible, but monolithic. And also painted black.
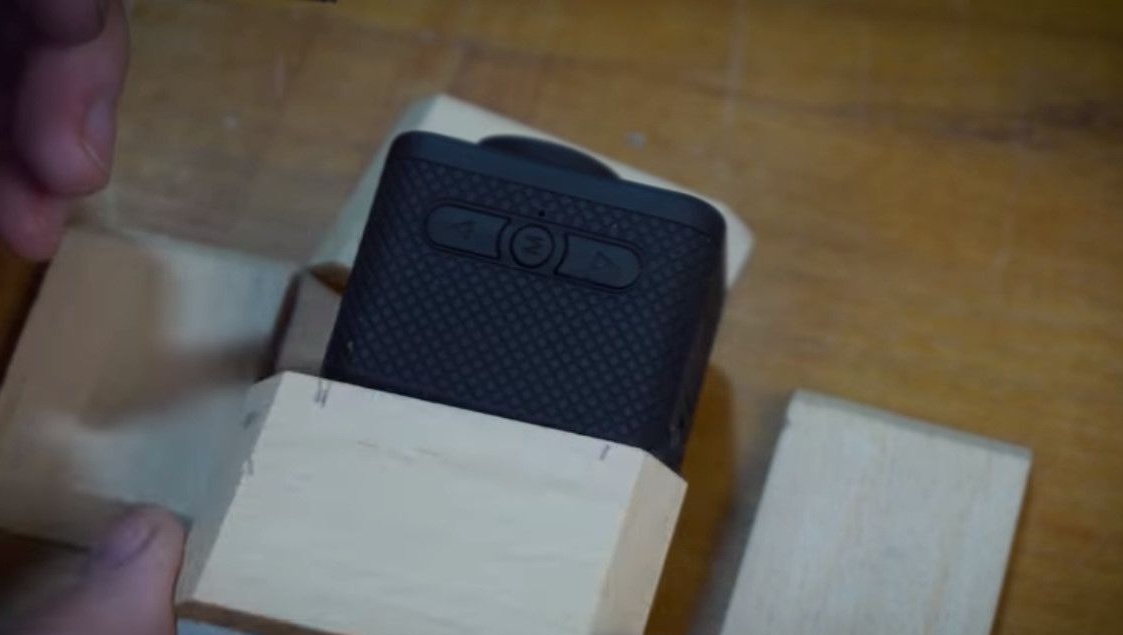
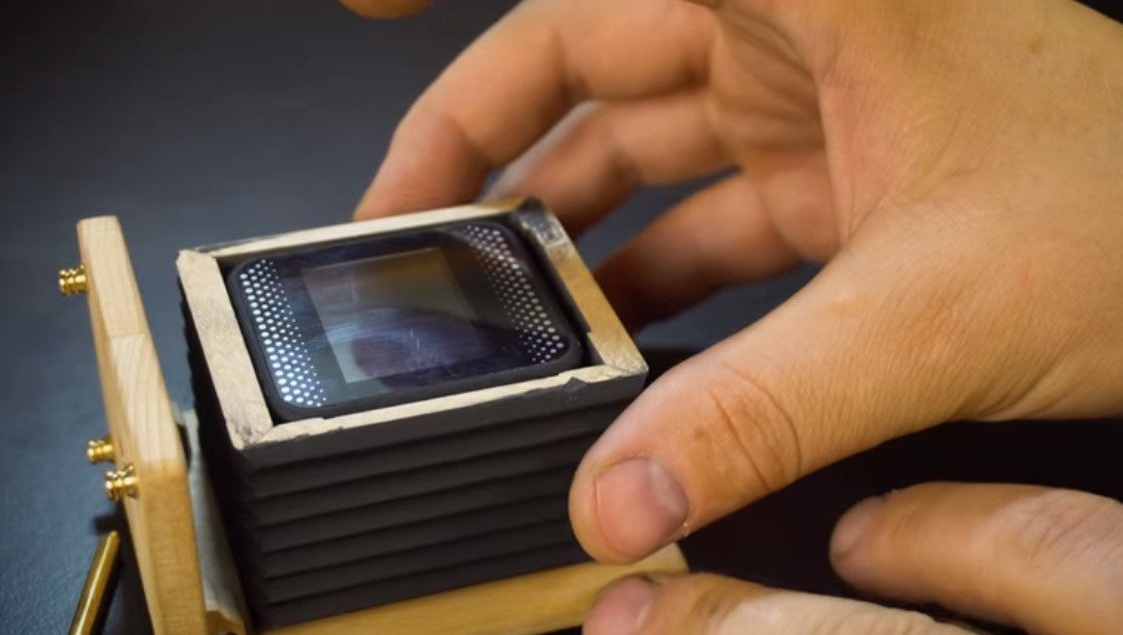
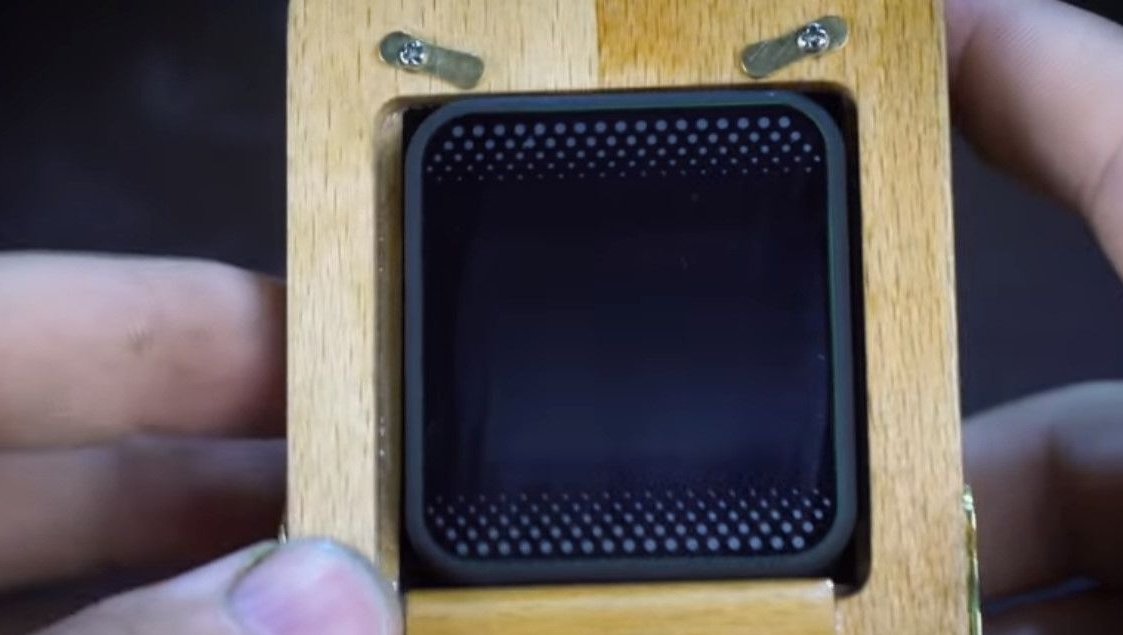
In fact, it is here, inside, that the action camera will be located.
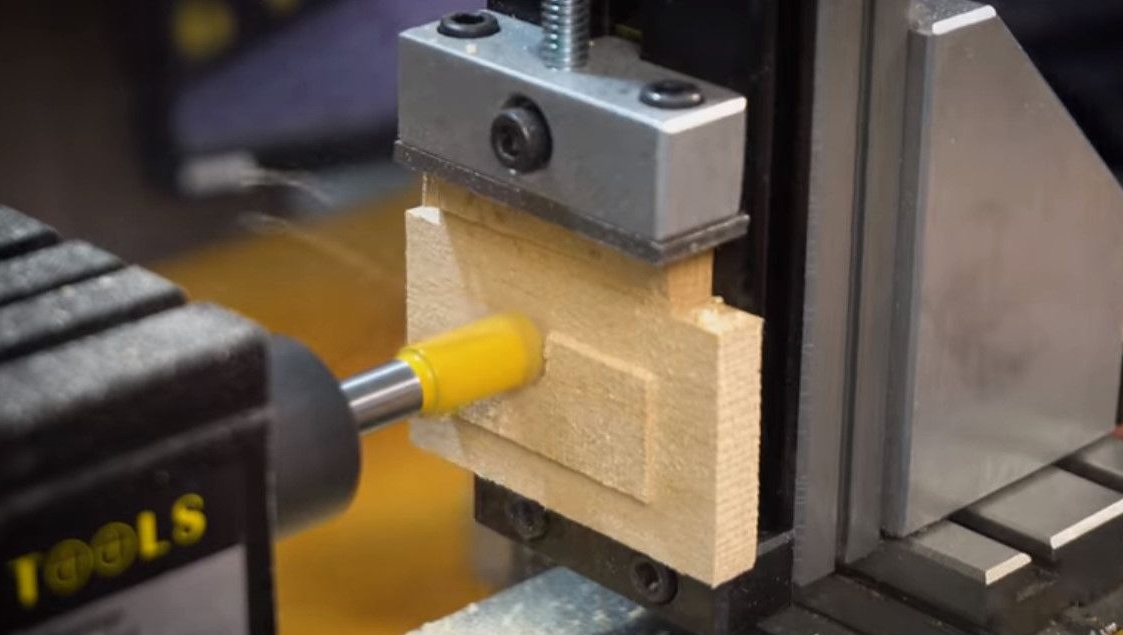
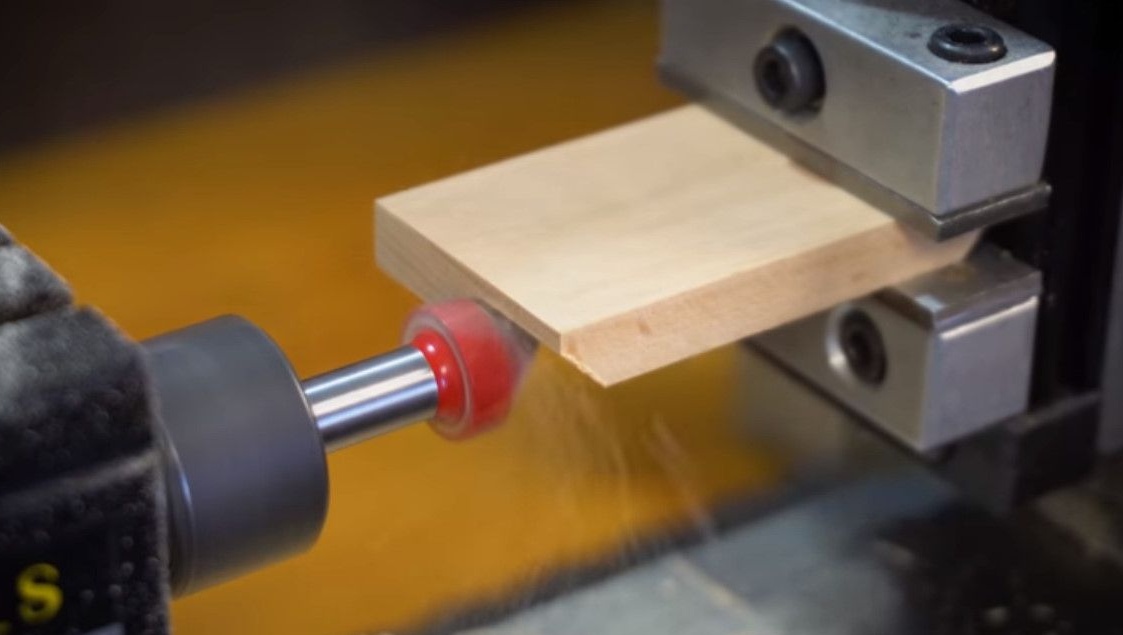
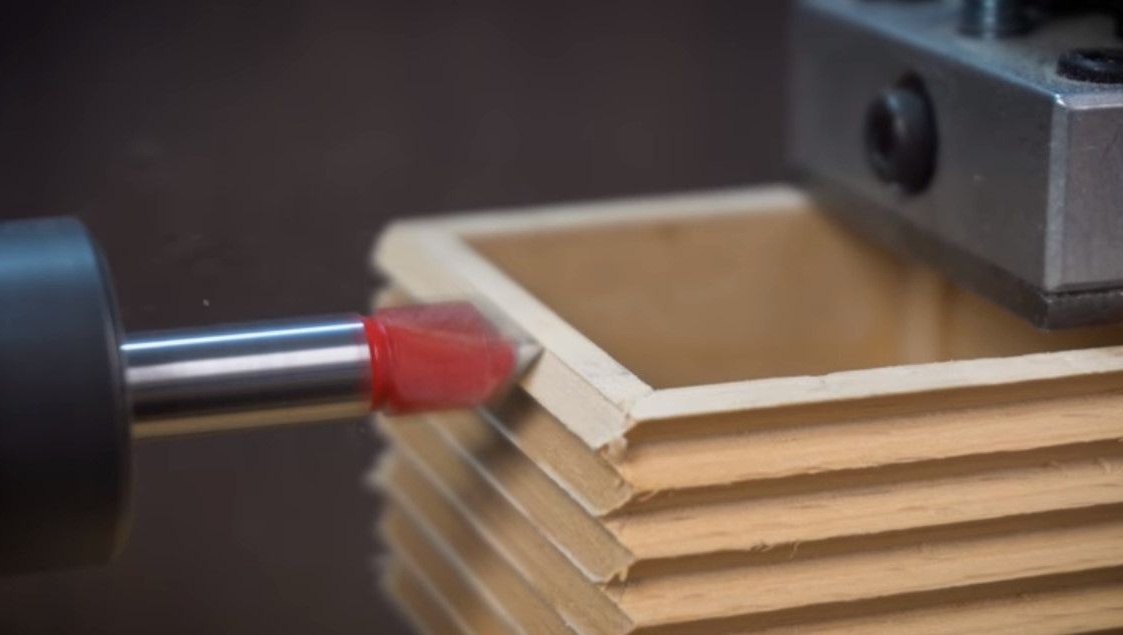
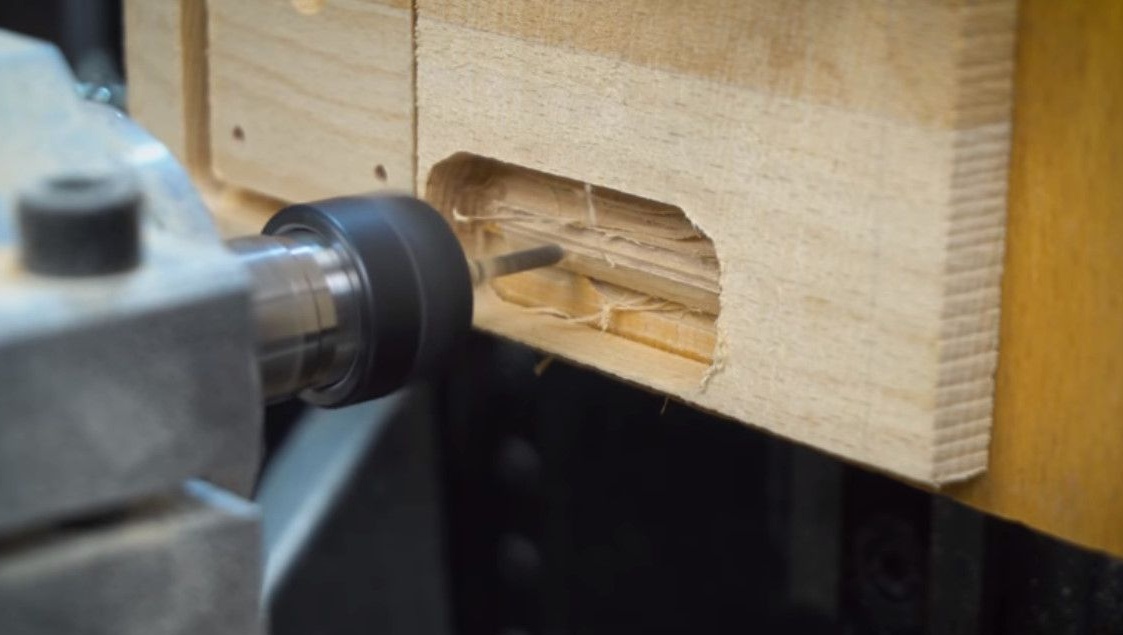
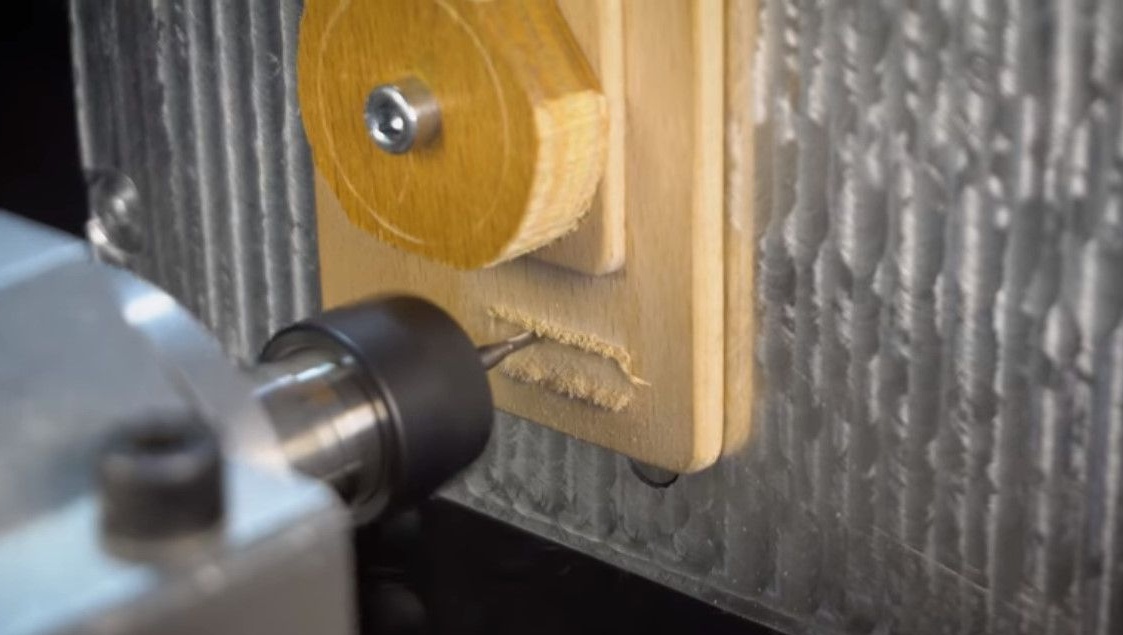
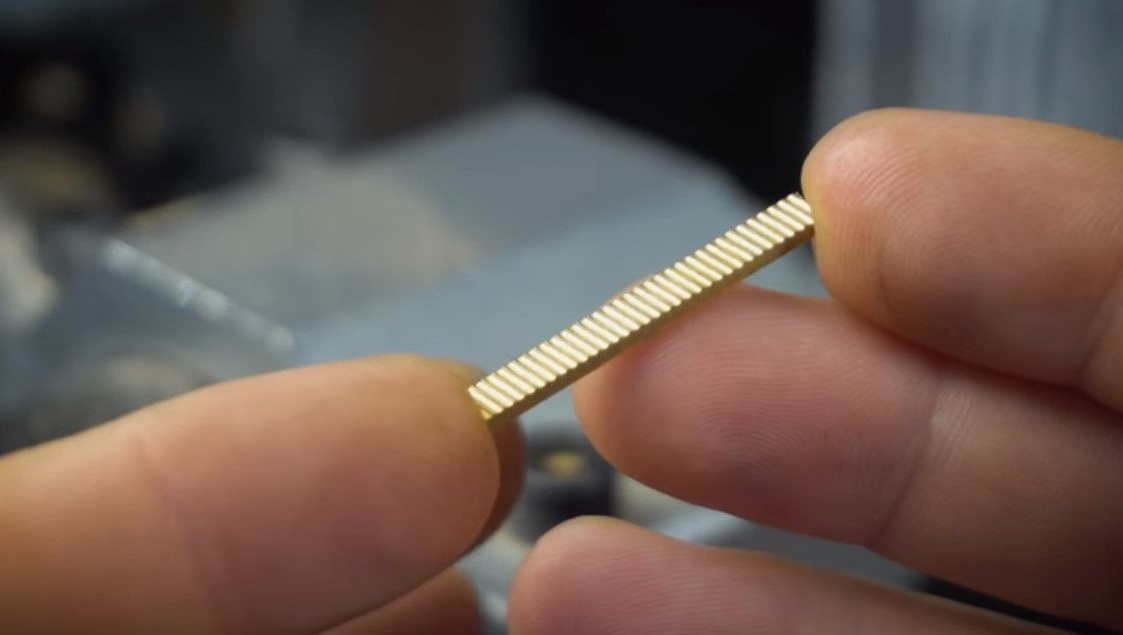
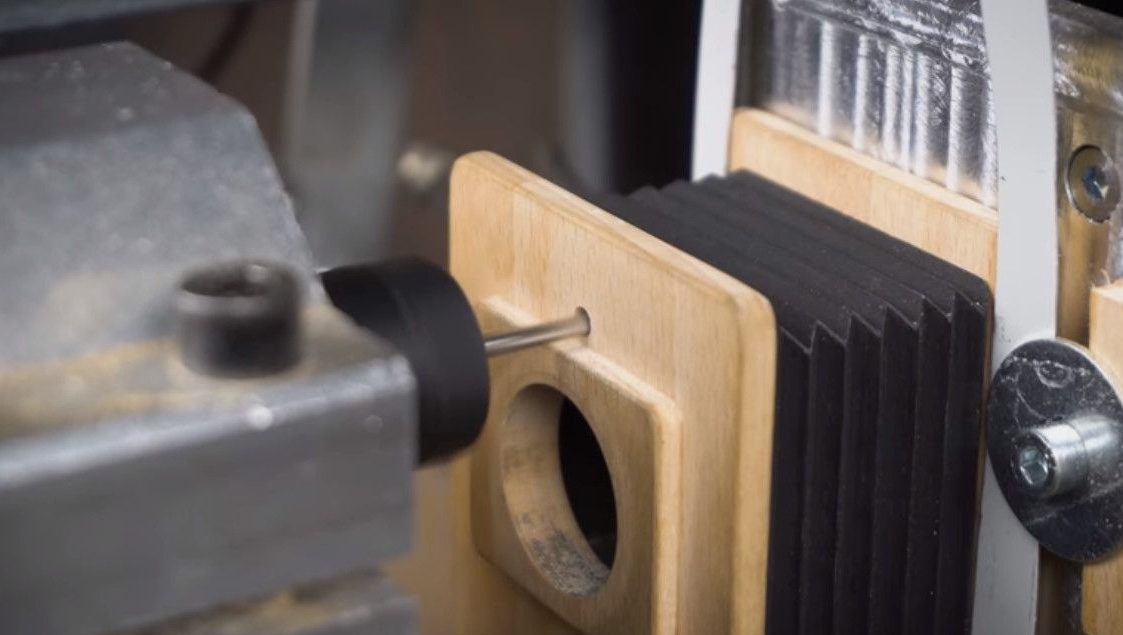
With a V-shaped milling cutter, we sample already glued workpieces at the same distance.
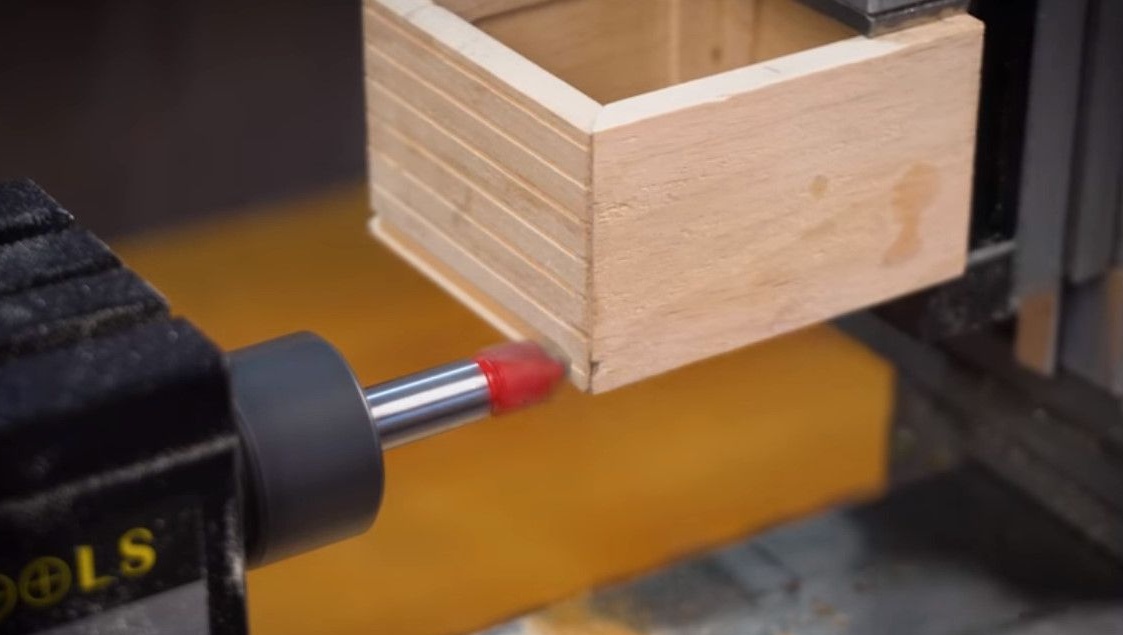
Thus we create an imitation of an accordion. We mill the outer sides opposite to each other.
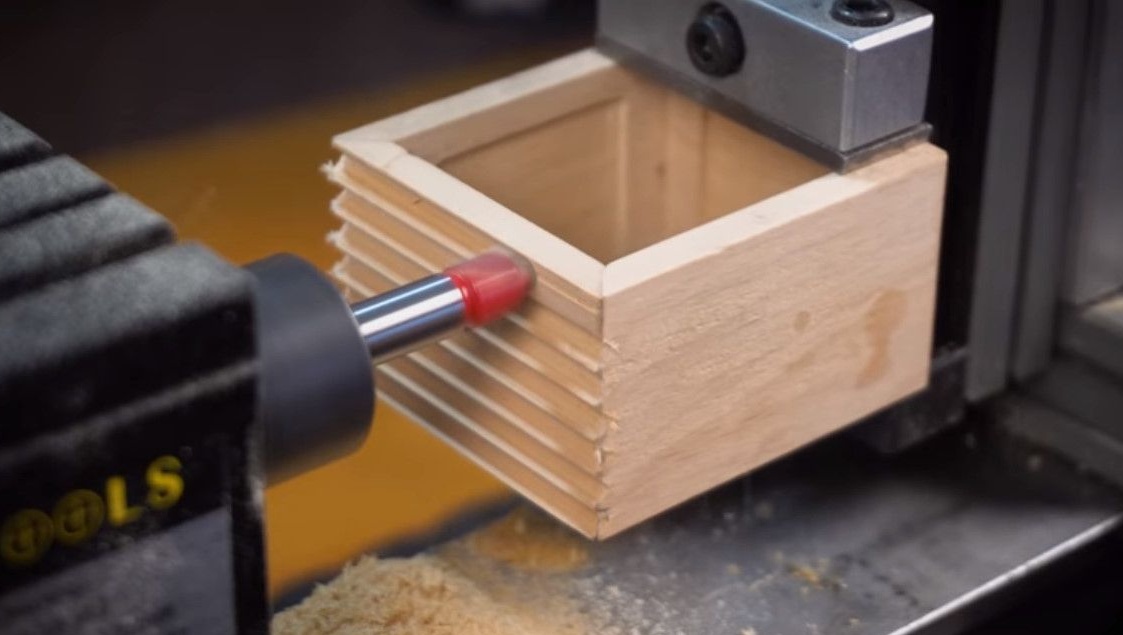
We process the second two sides with the same method, but with an offset.
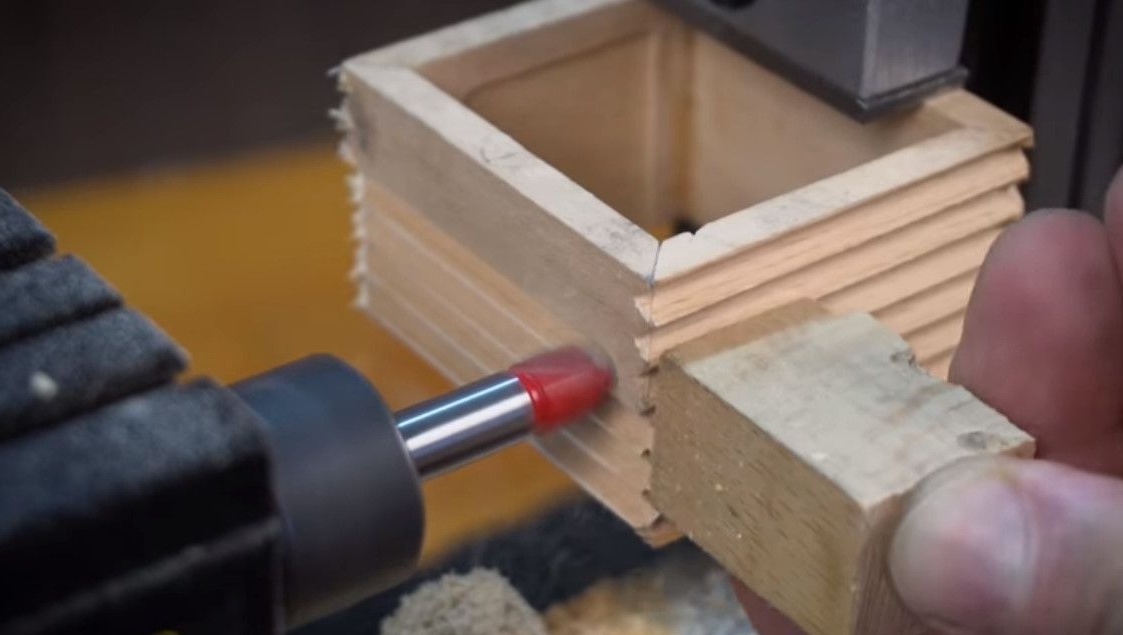
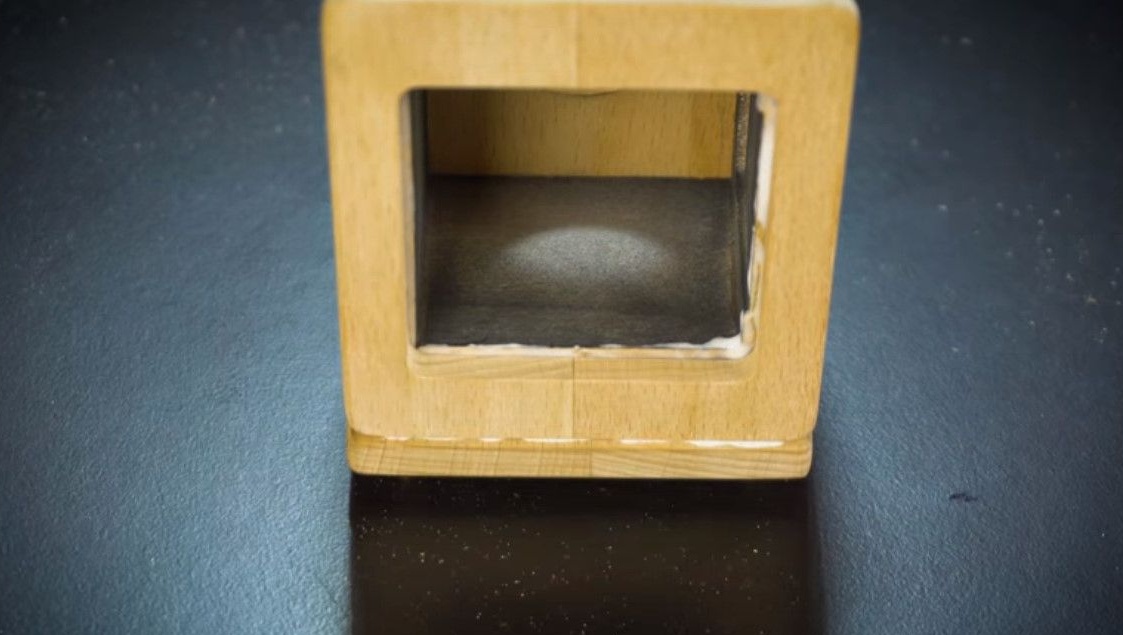
After milling, we clean the bellows blank with sandpaper.
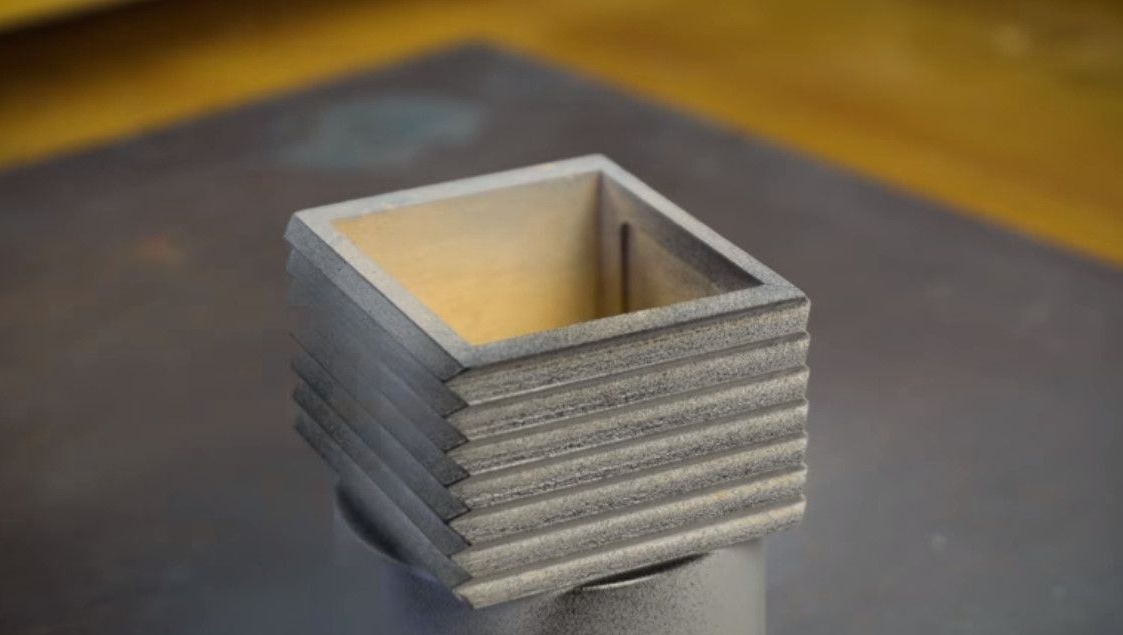
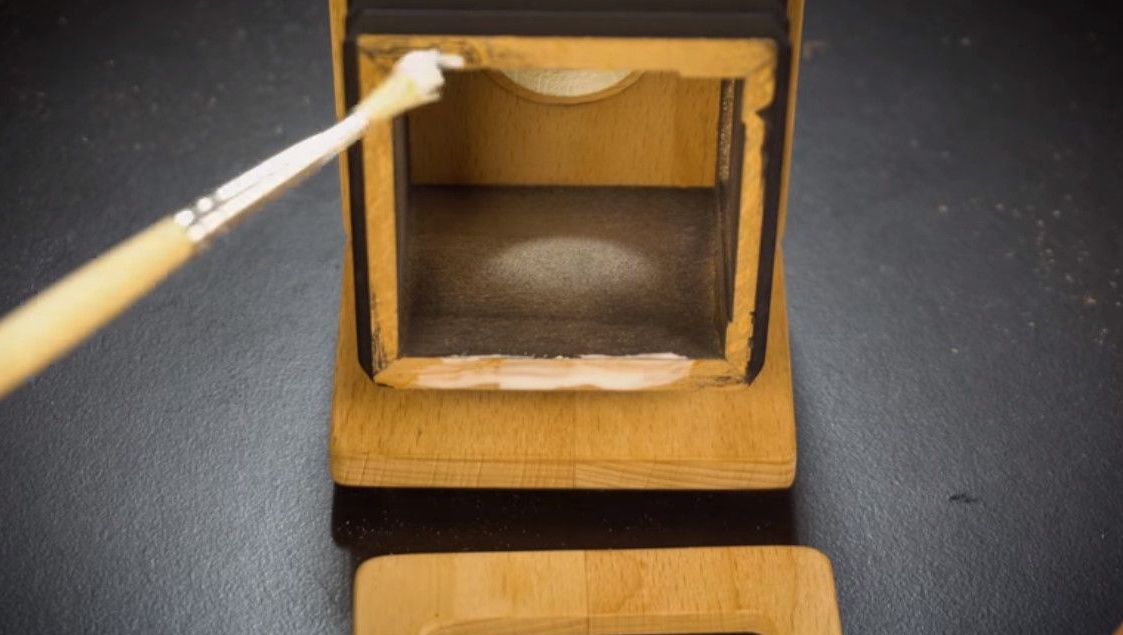
Open with a primer and paint in a black matte color.
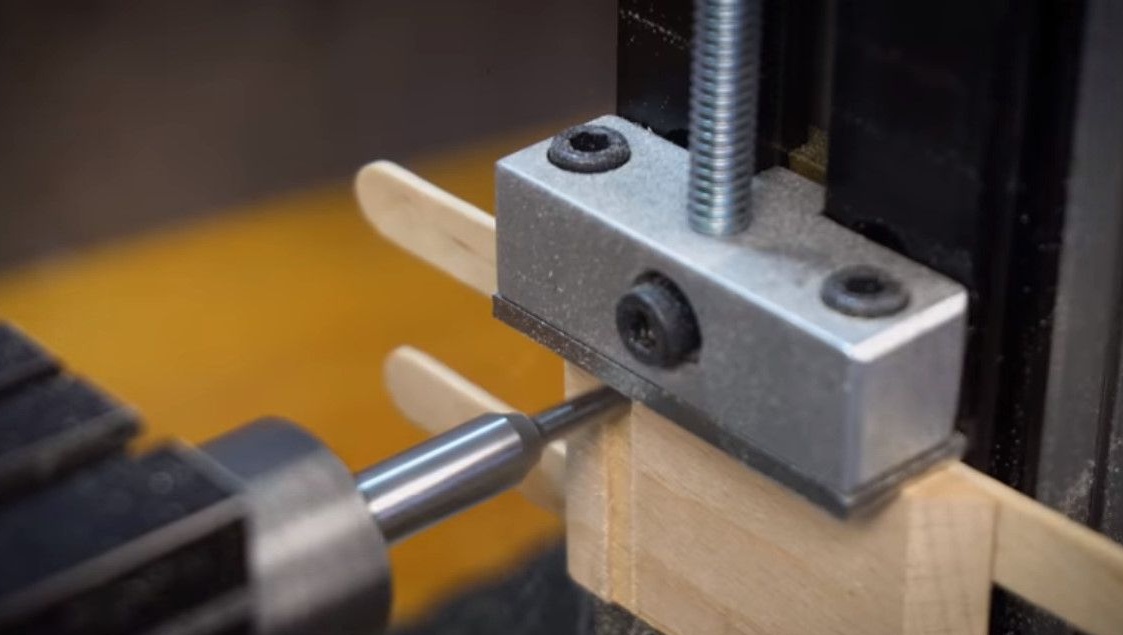
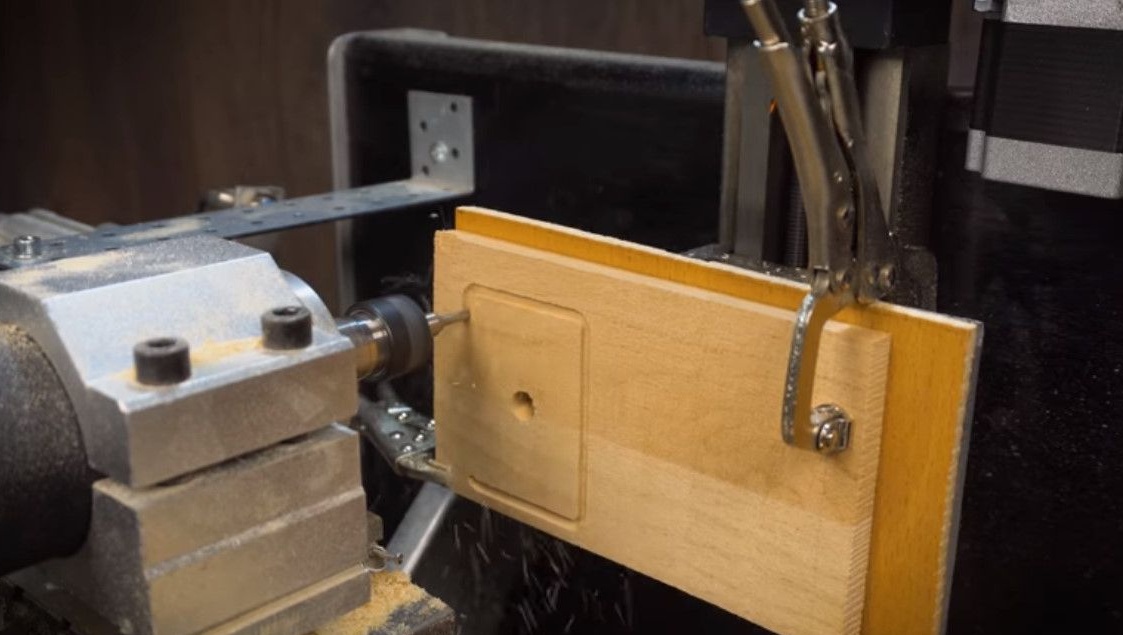
It was at this stage that the author realized that he lacked the functionality of existing machines.
For this reason, he had to buy a spindle and three stepper motors.
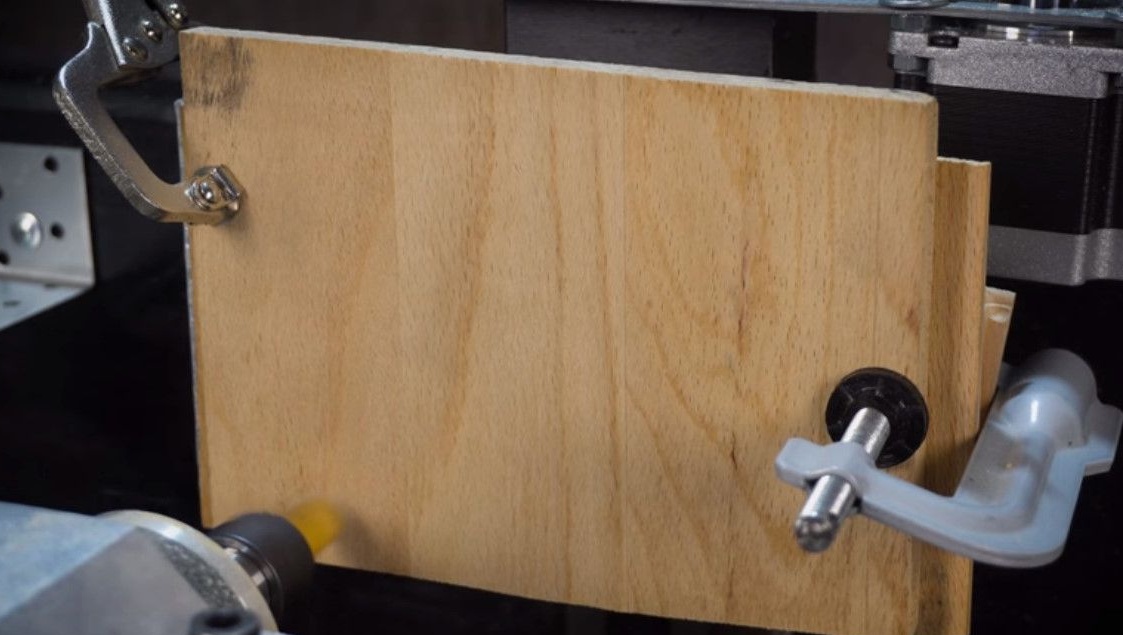
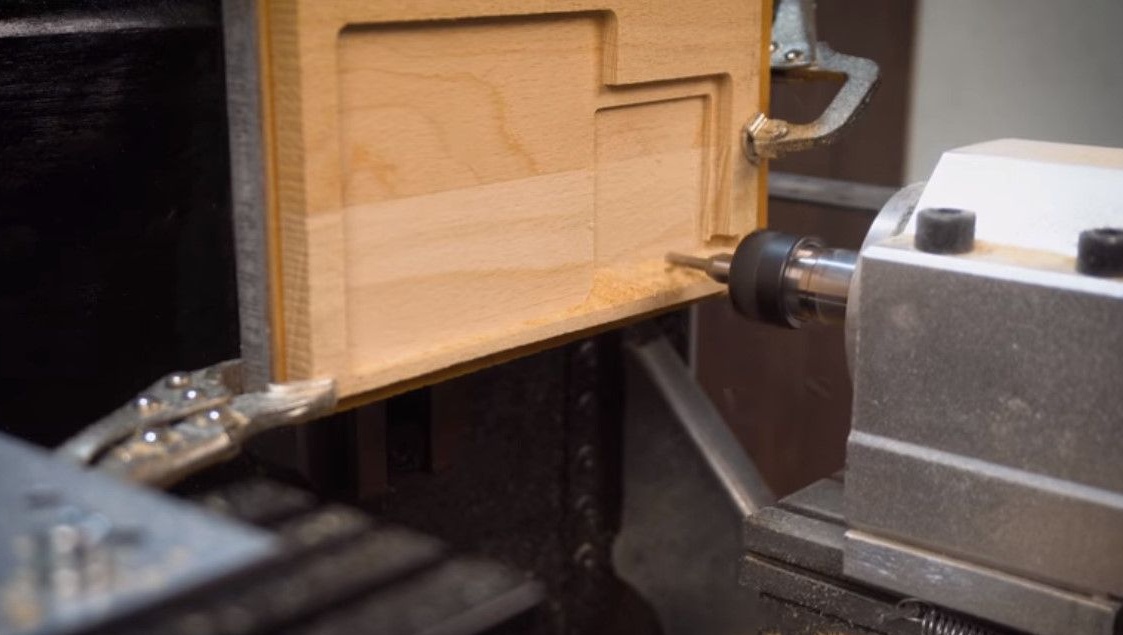
And on the basis of the existing small lathe to make a small CNC milling machine.
Cutting of the front part is already completed.
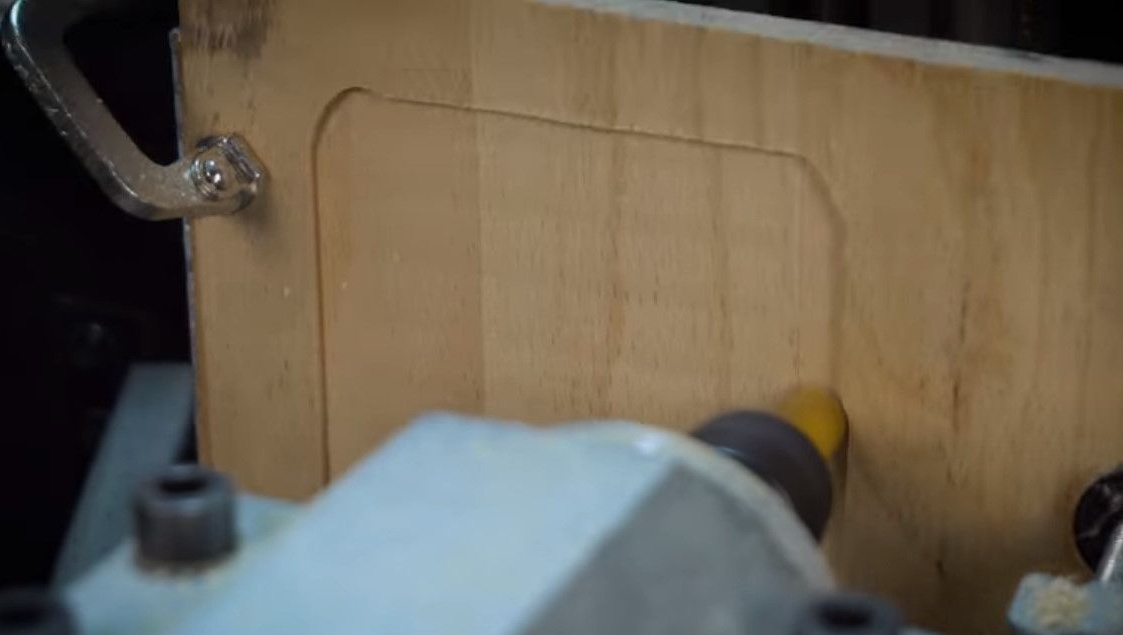
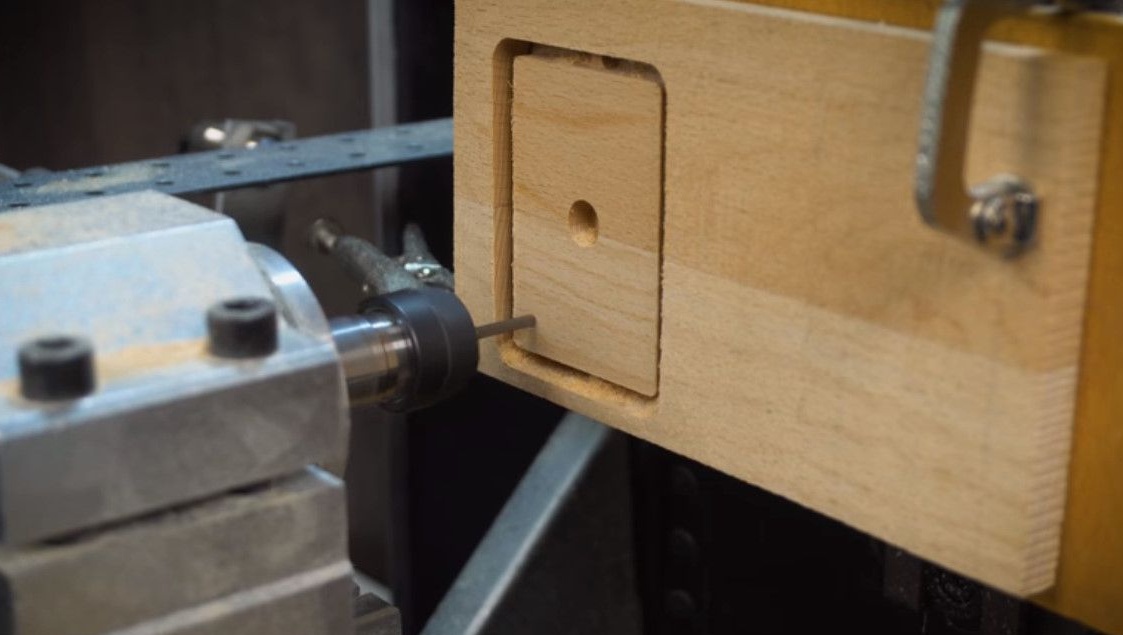
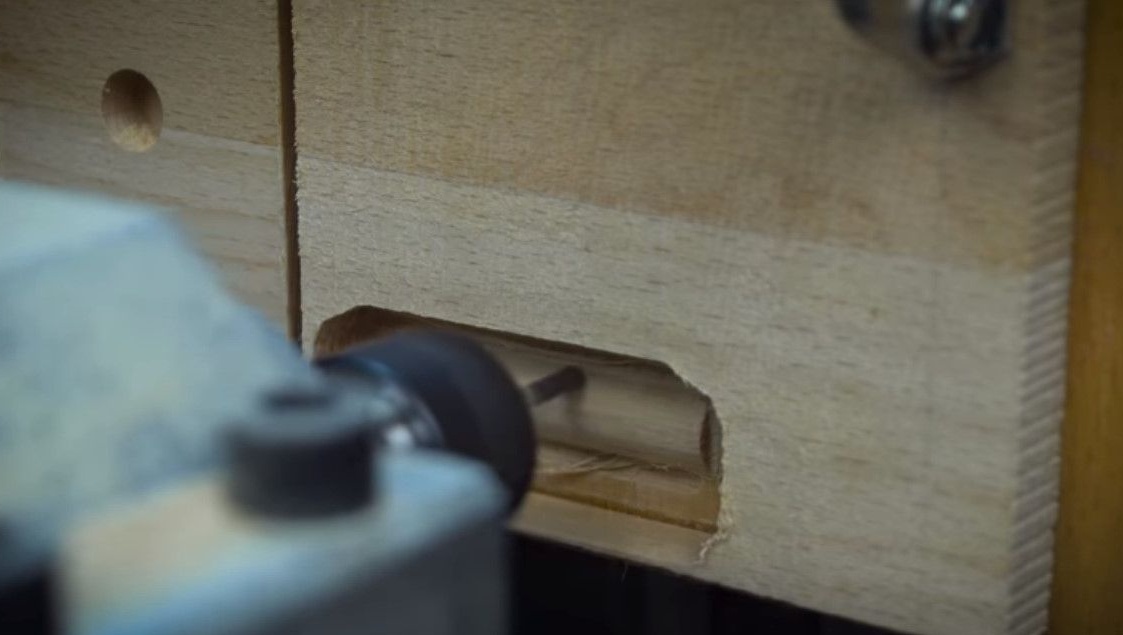
Now the back wall is cut with a small insert.
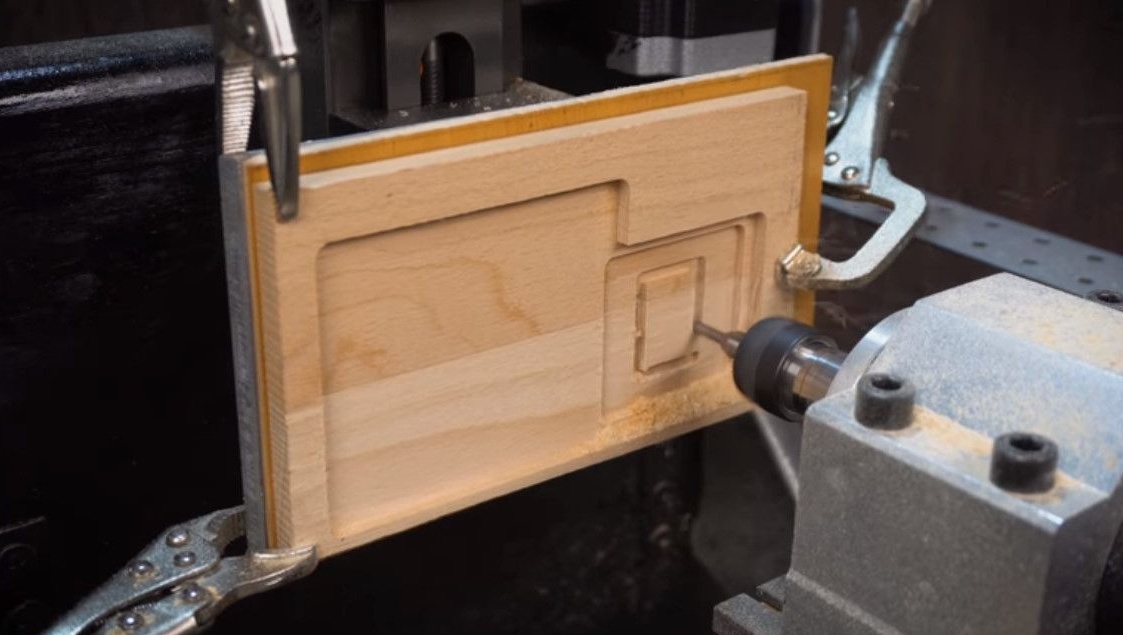
Each part after the machine must be sanded manually.
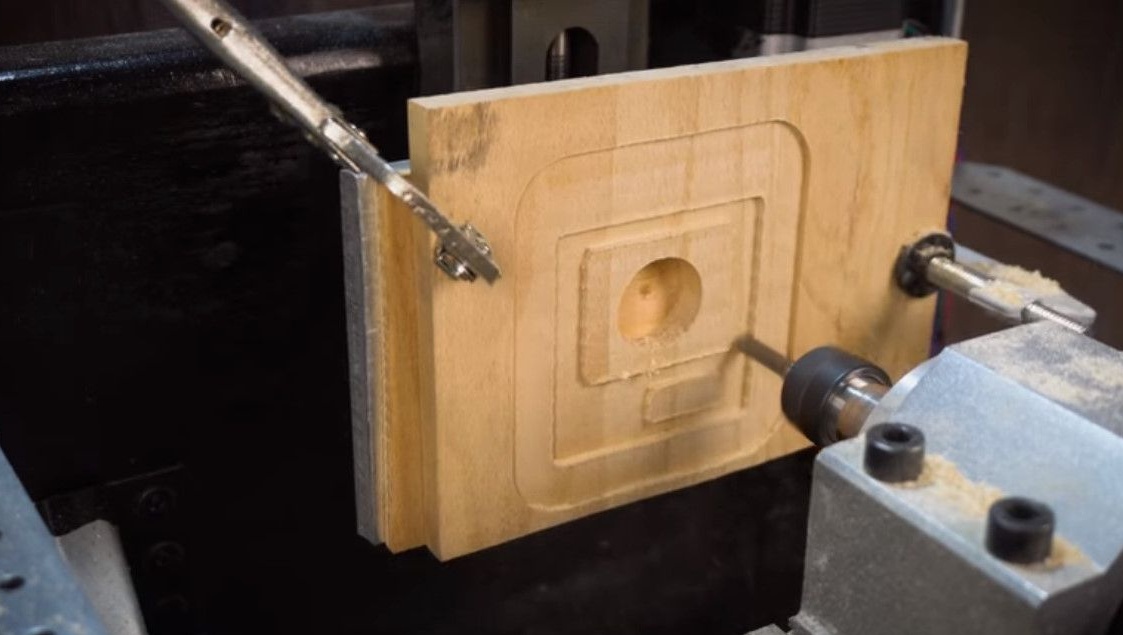
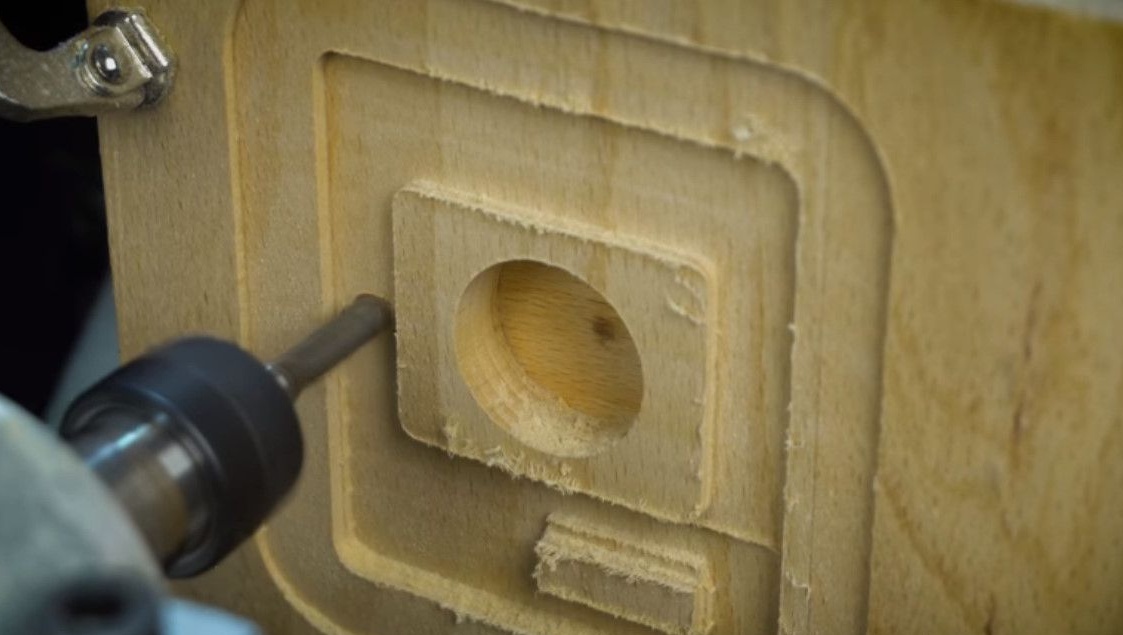
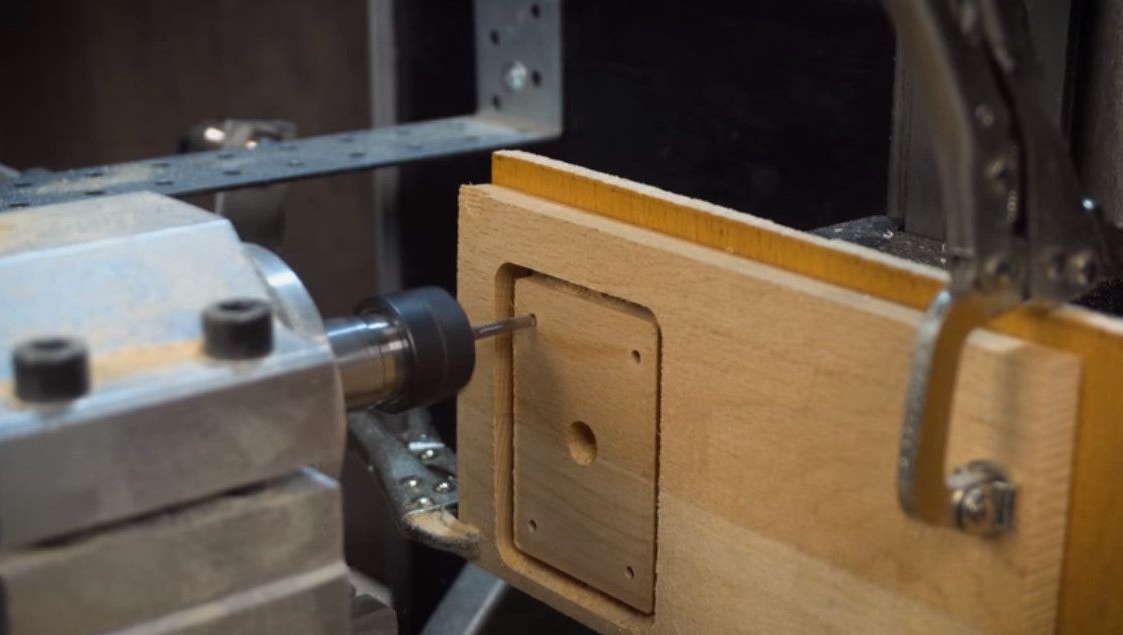
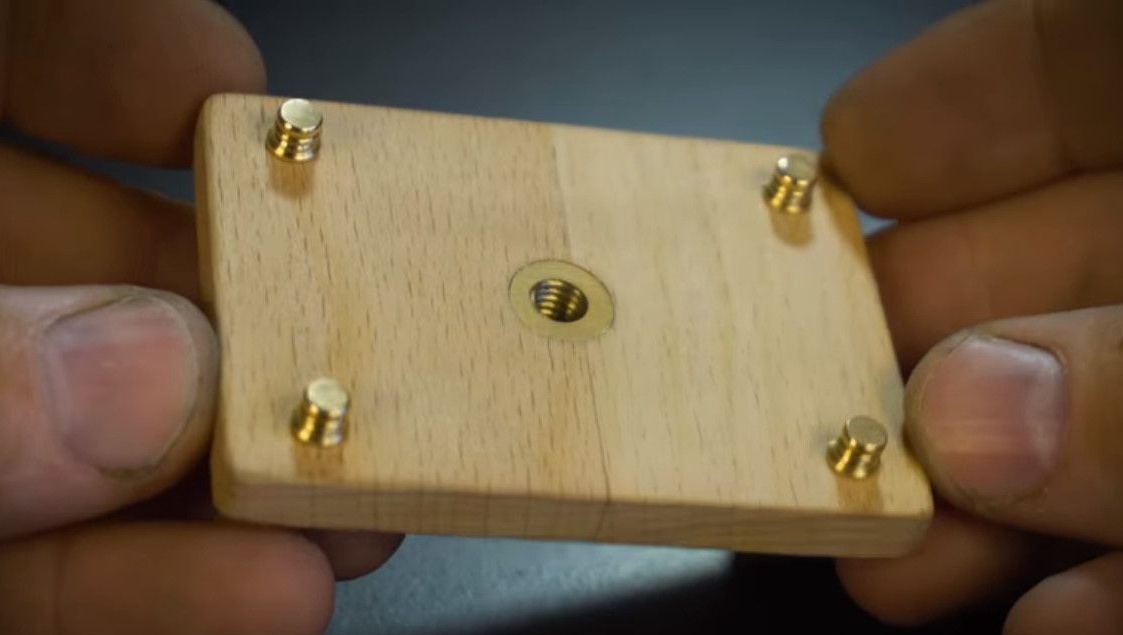
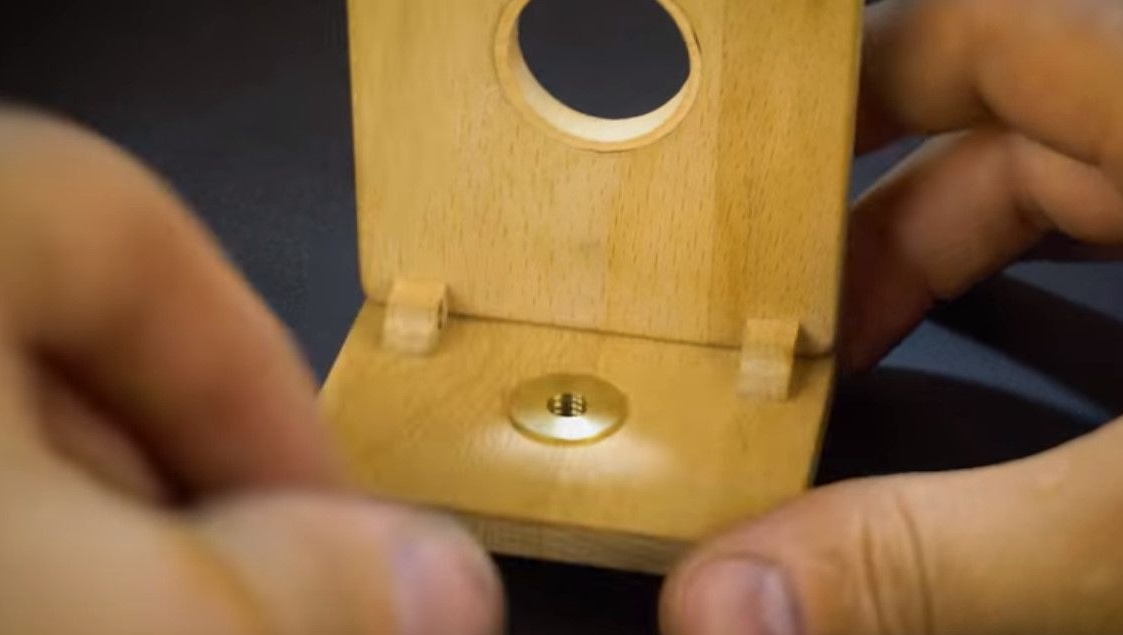
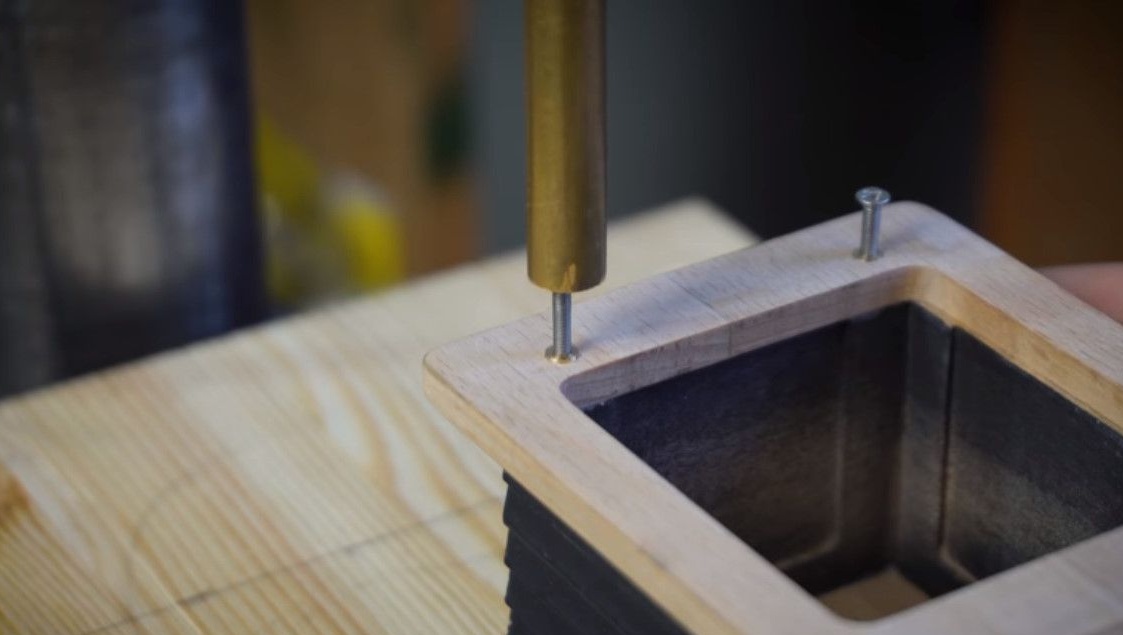
The last monolithic part of the case is the bottom of the camera.
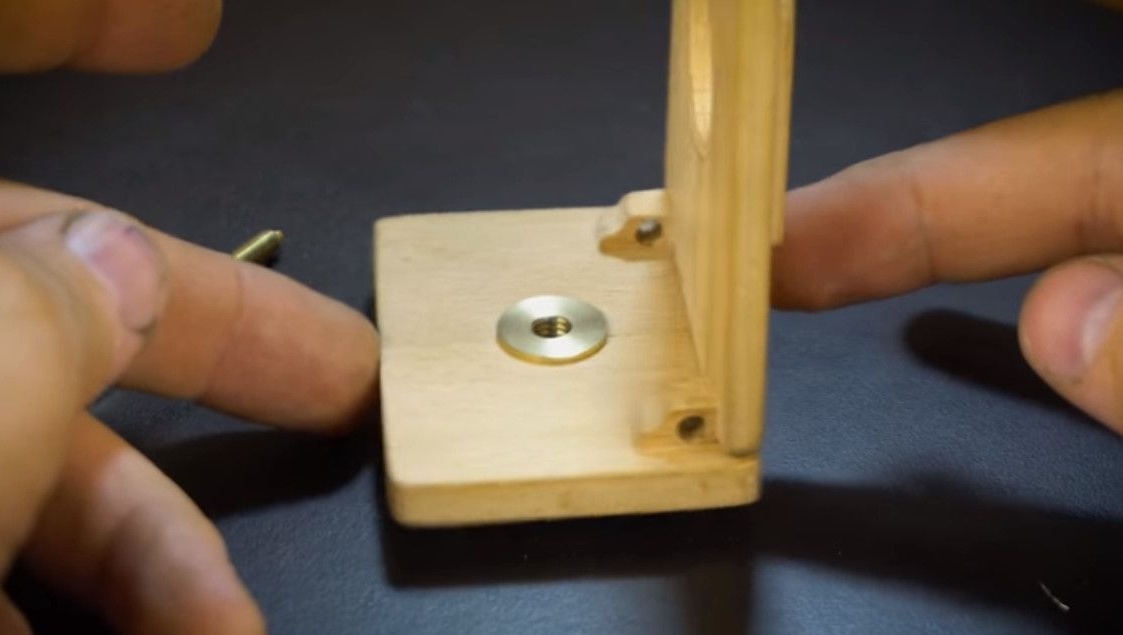
With holes for legs and nuts for attaching to a tripod.
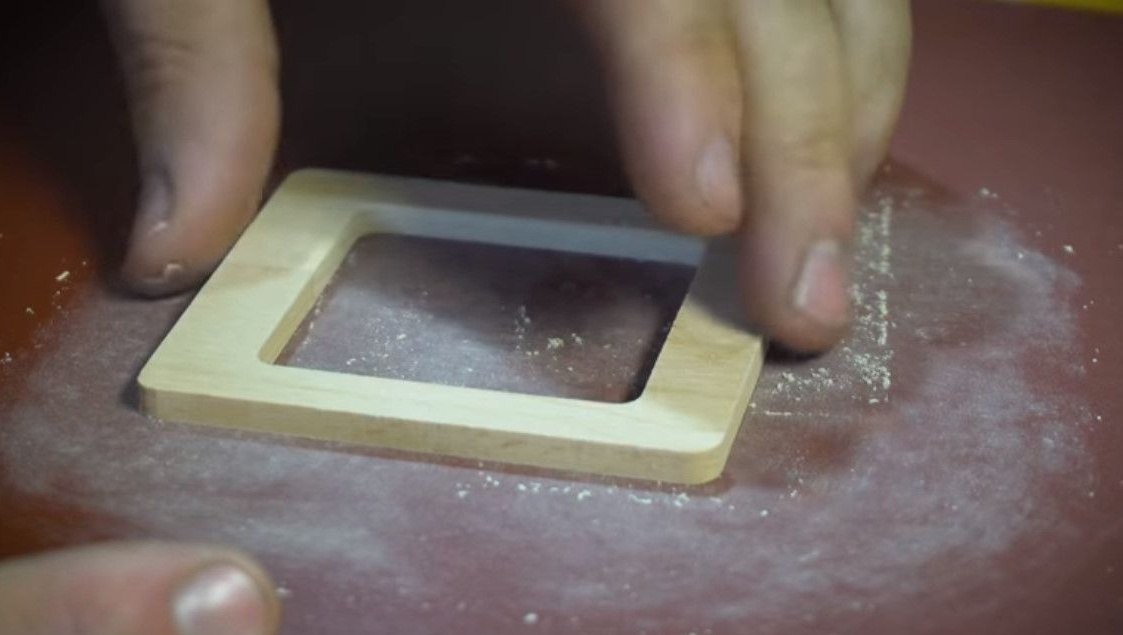
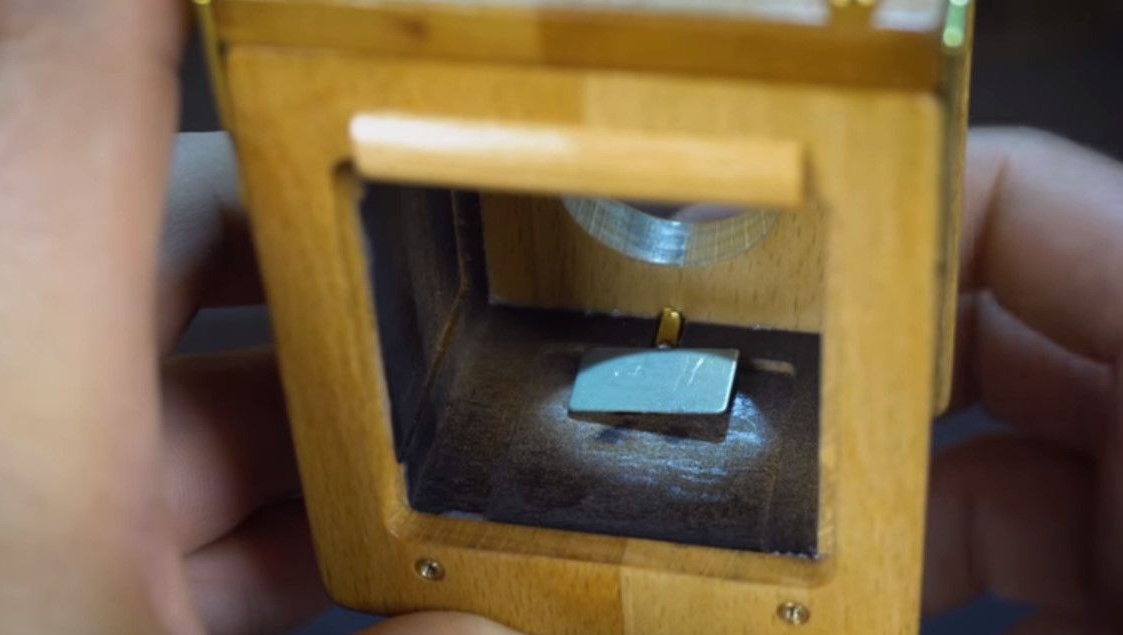
This part will fix the frame on the back wall and the camera itself inside.
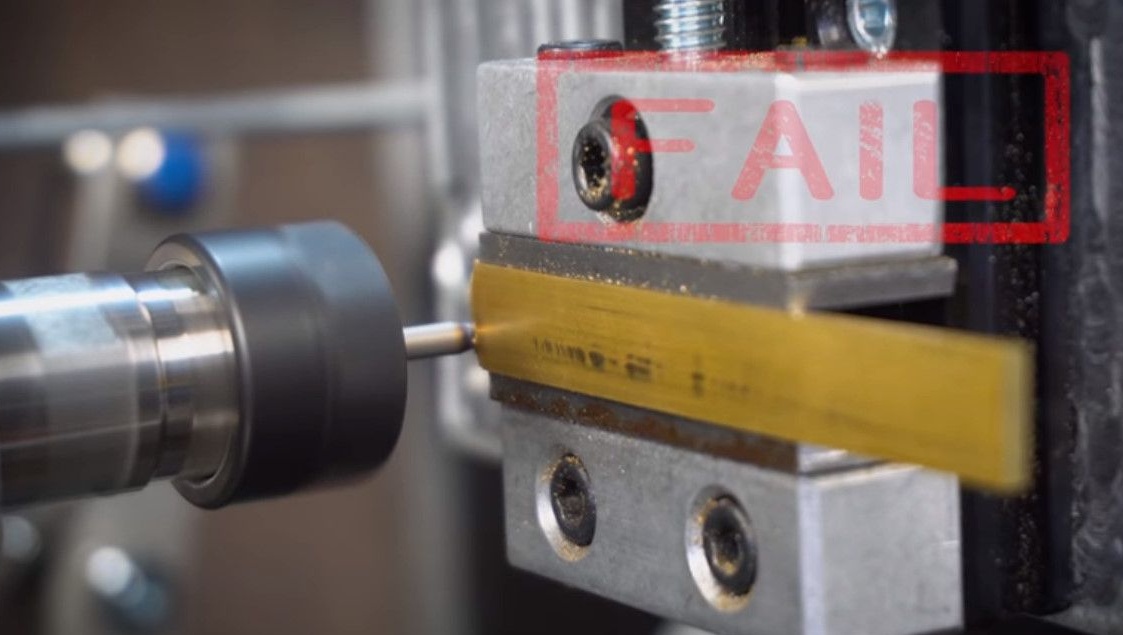
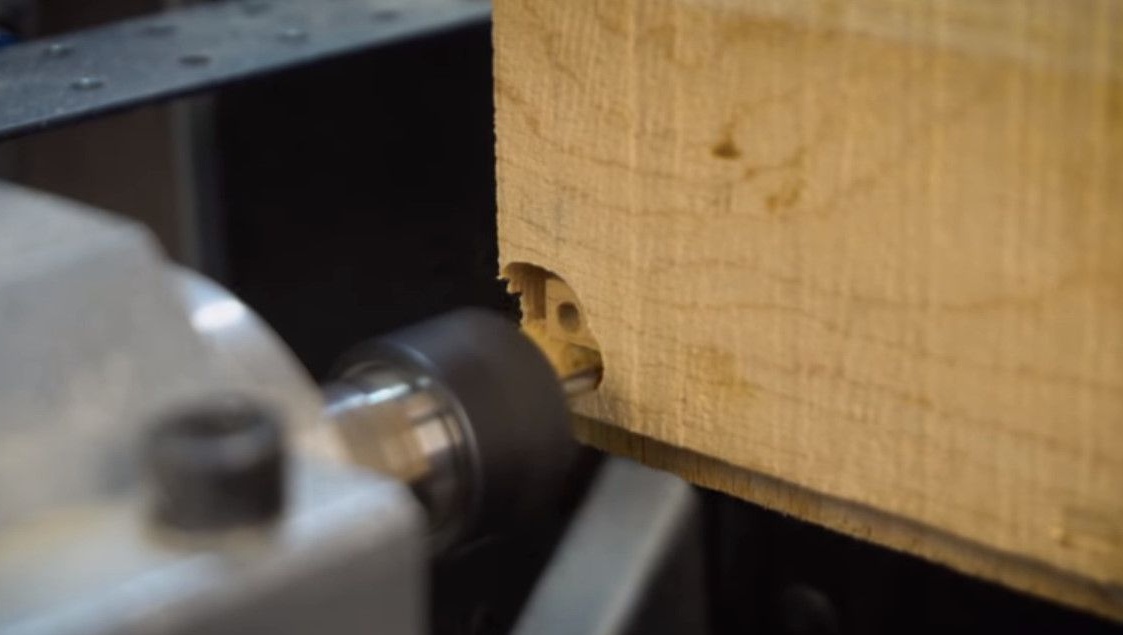
And here is the failure, many are asked to show such moments.
As the saying goes, here's an order for you. In this case, the height along the z axis was incorrectly set.
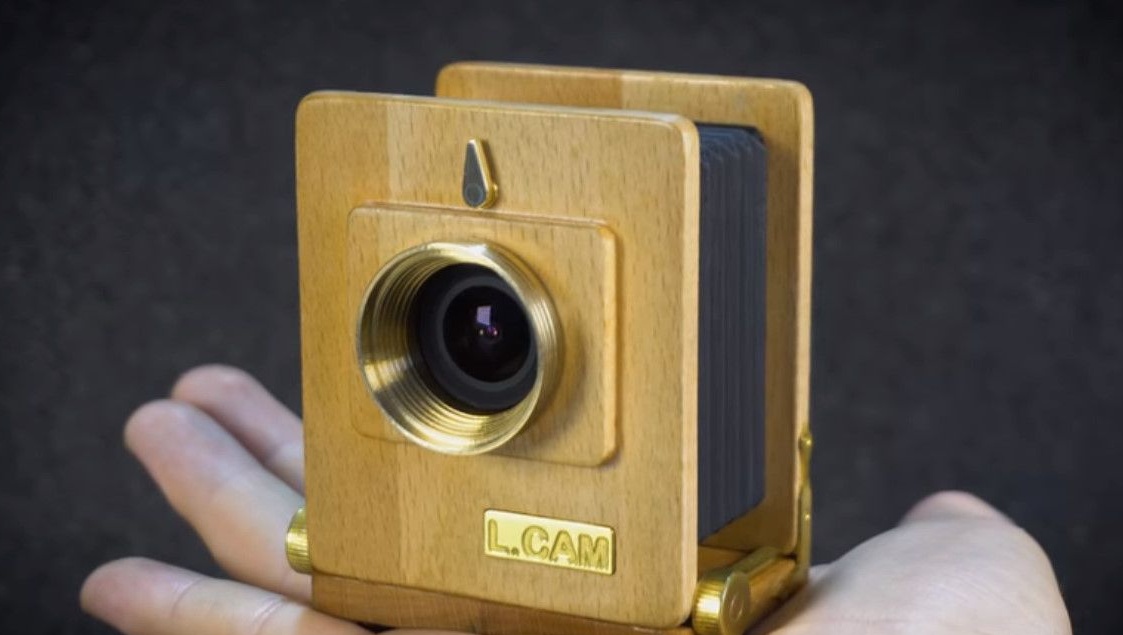
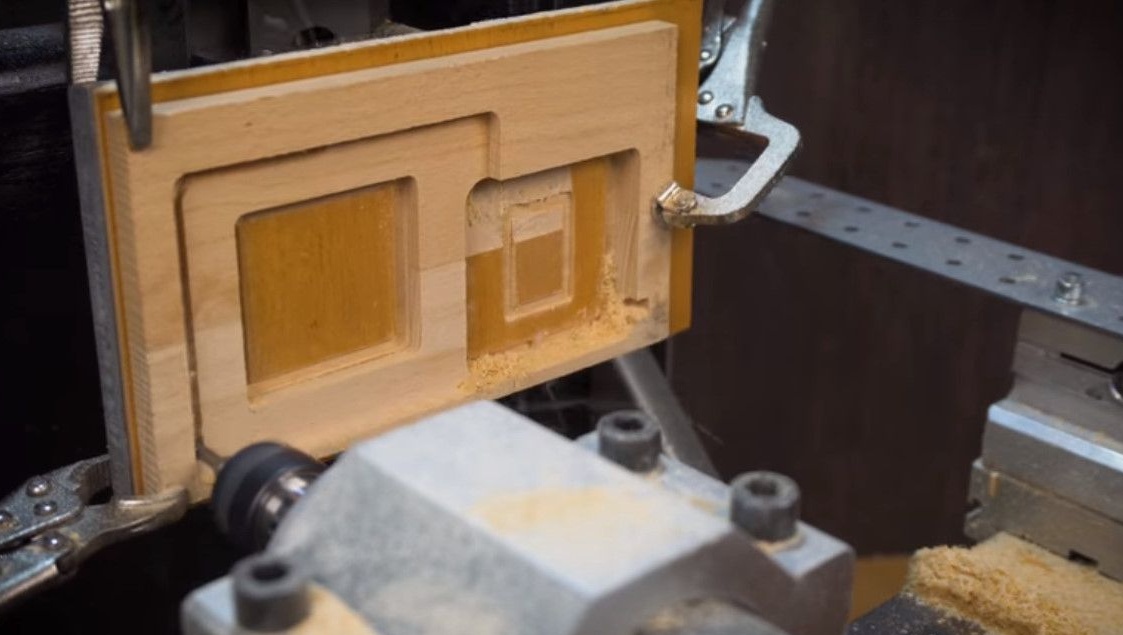
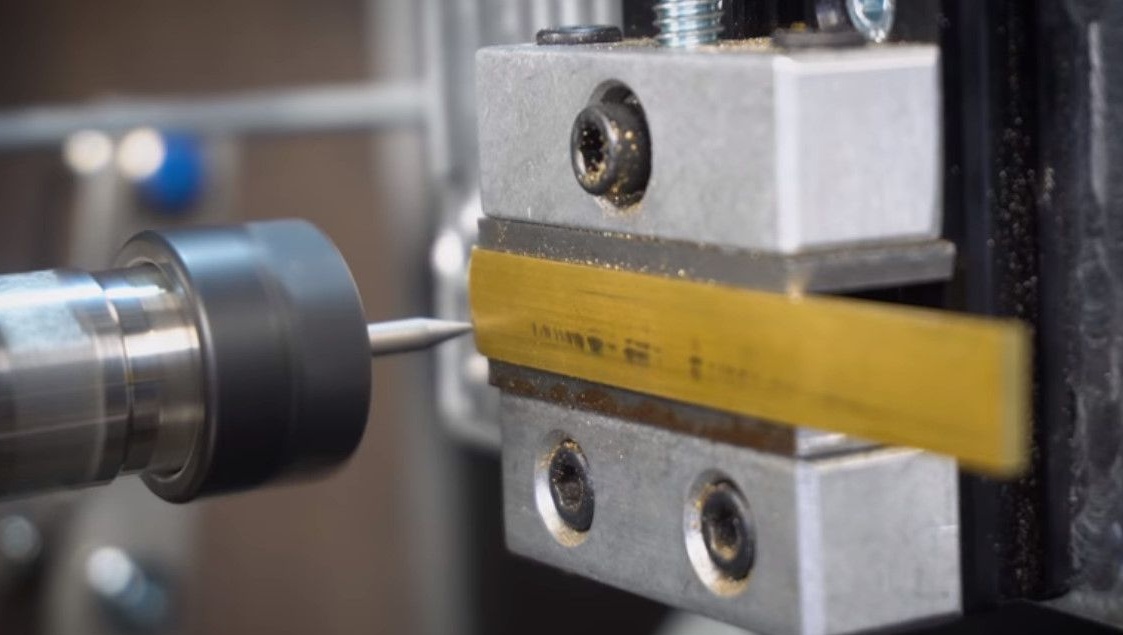
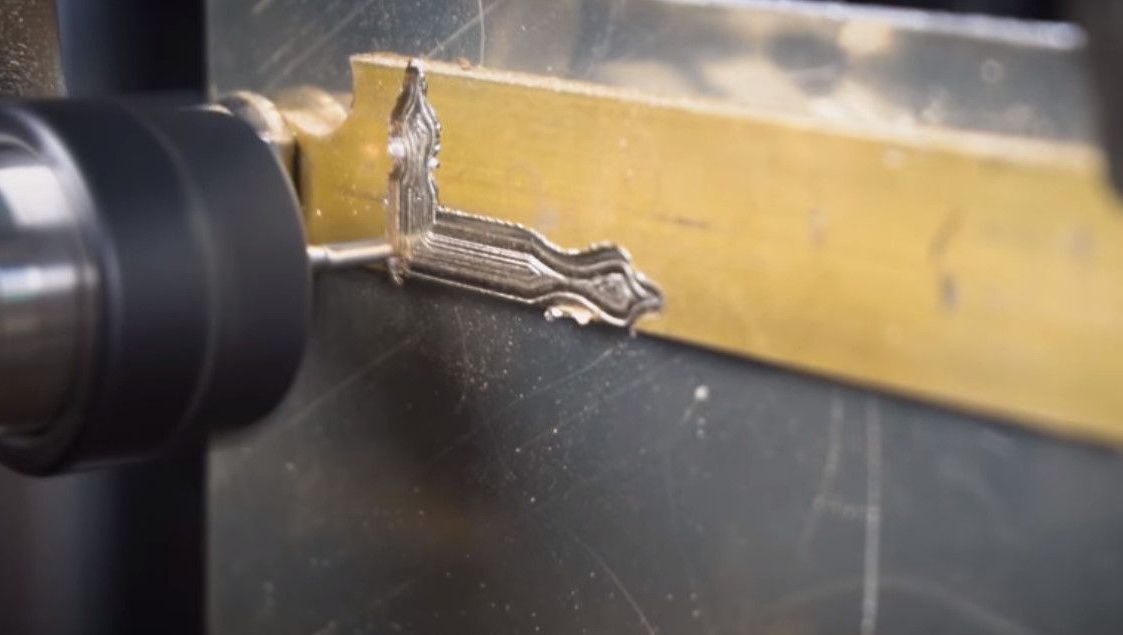
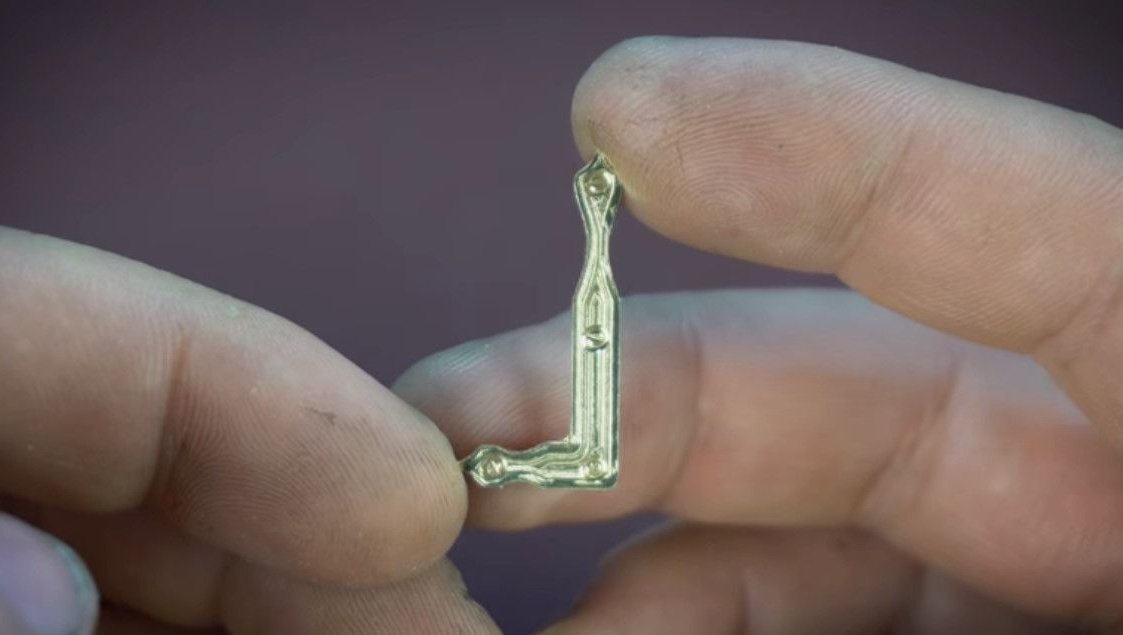
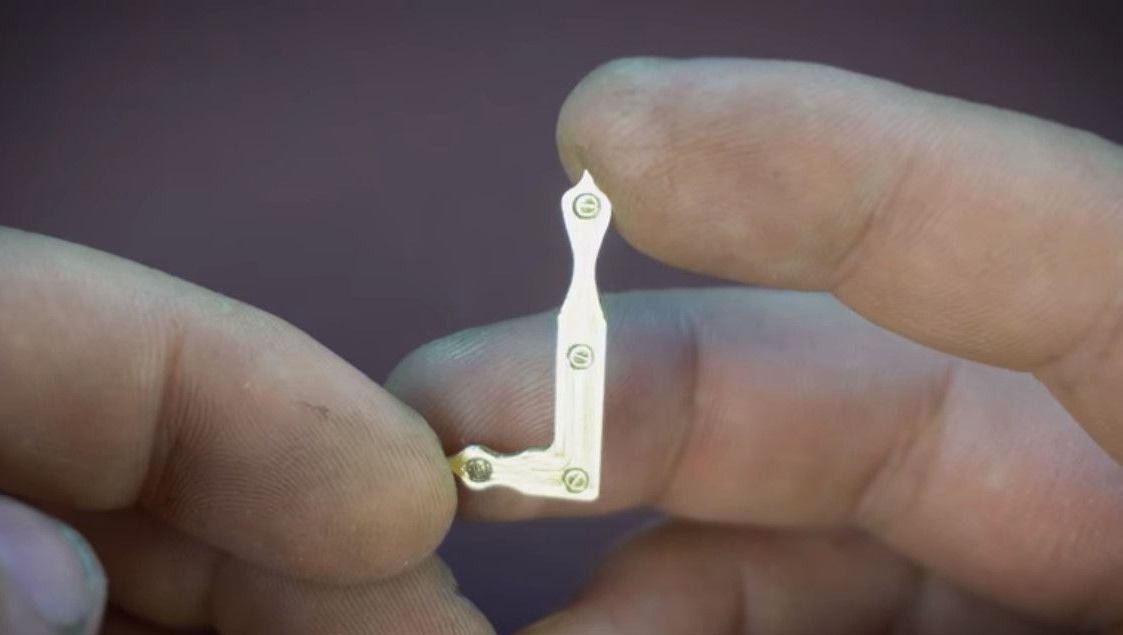
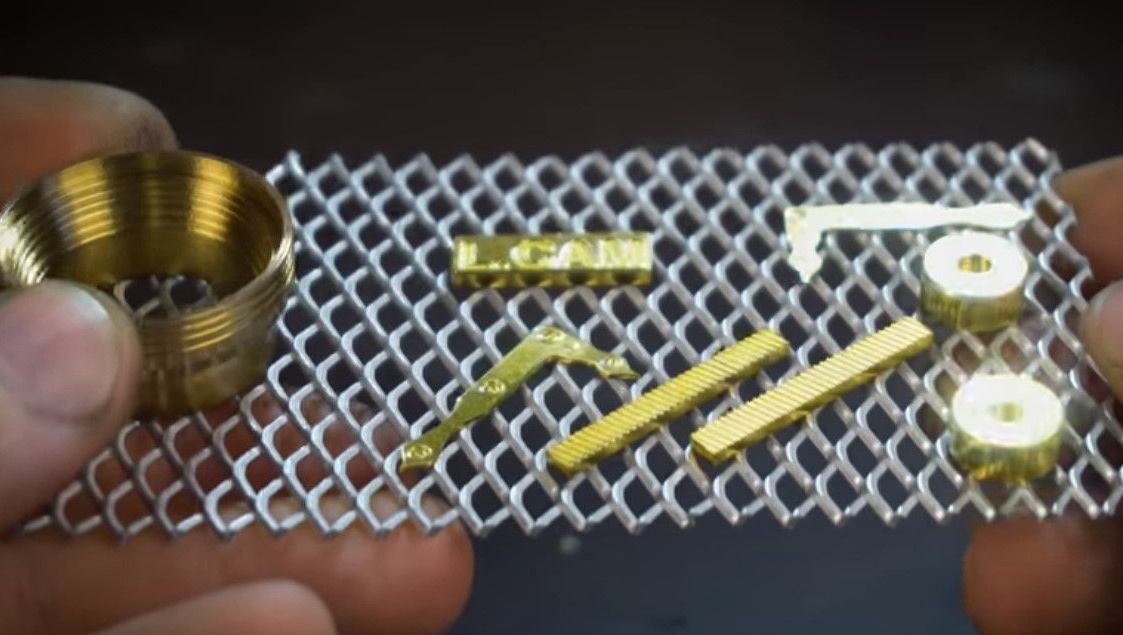
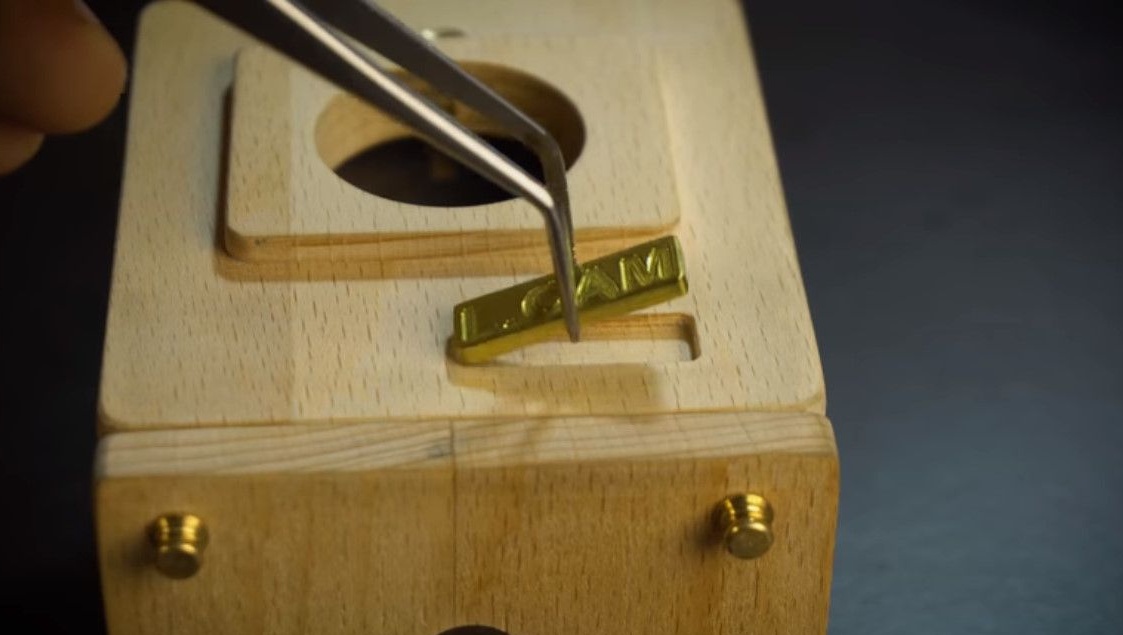
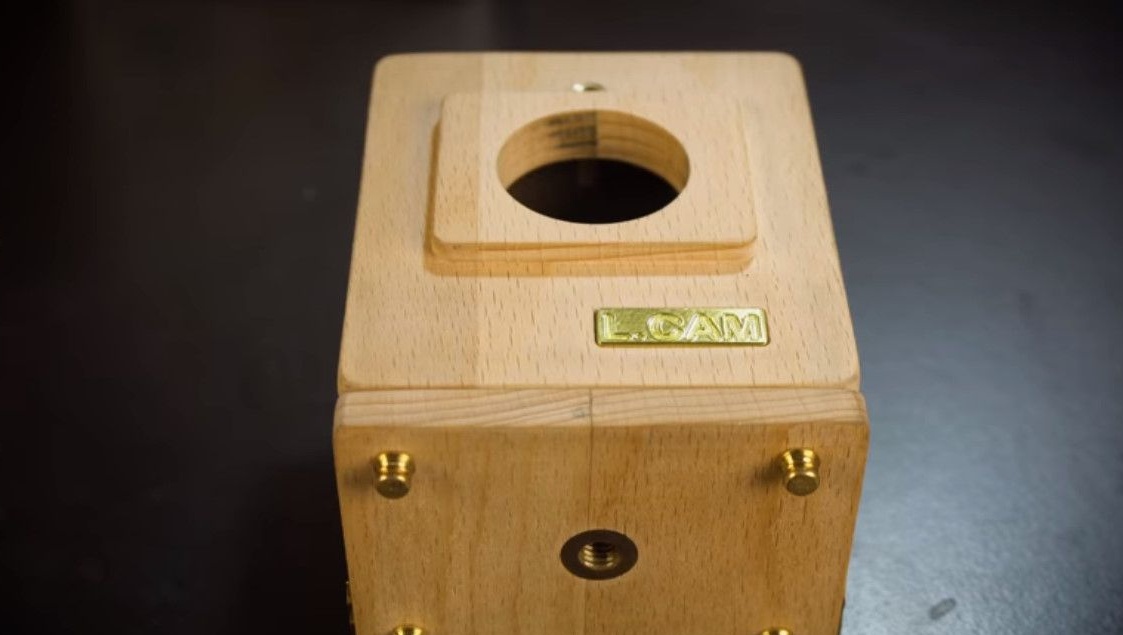
This will be a small nameplate with the inscription L.CAM, as if hinting at the name of the channel.
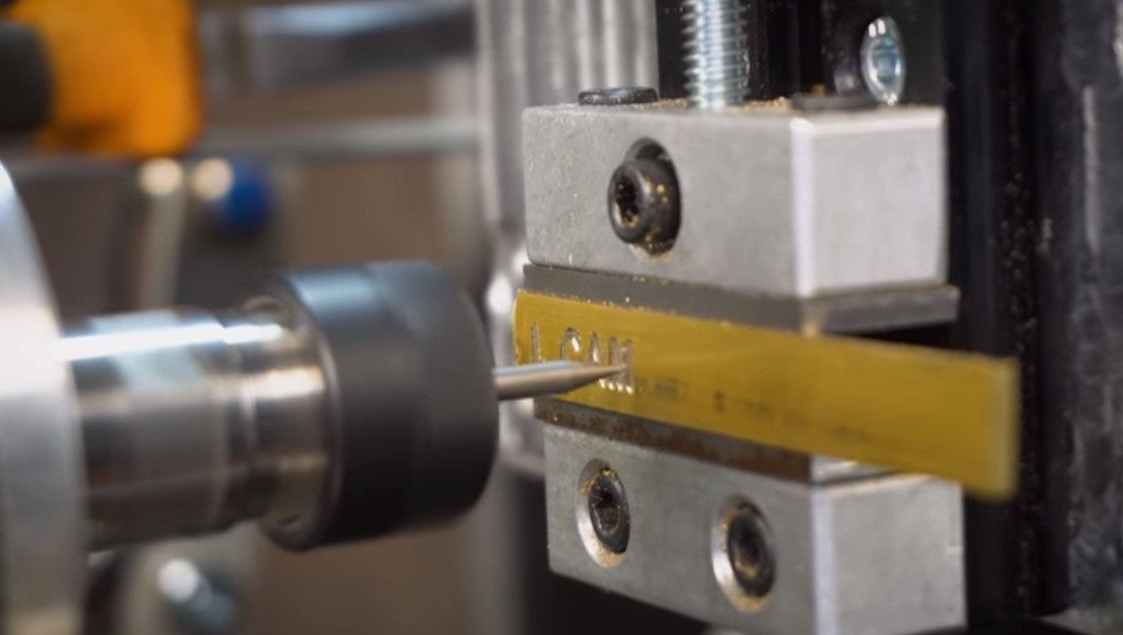
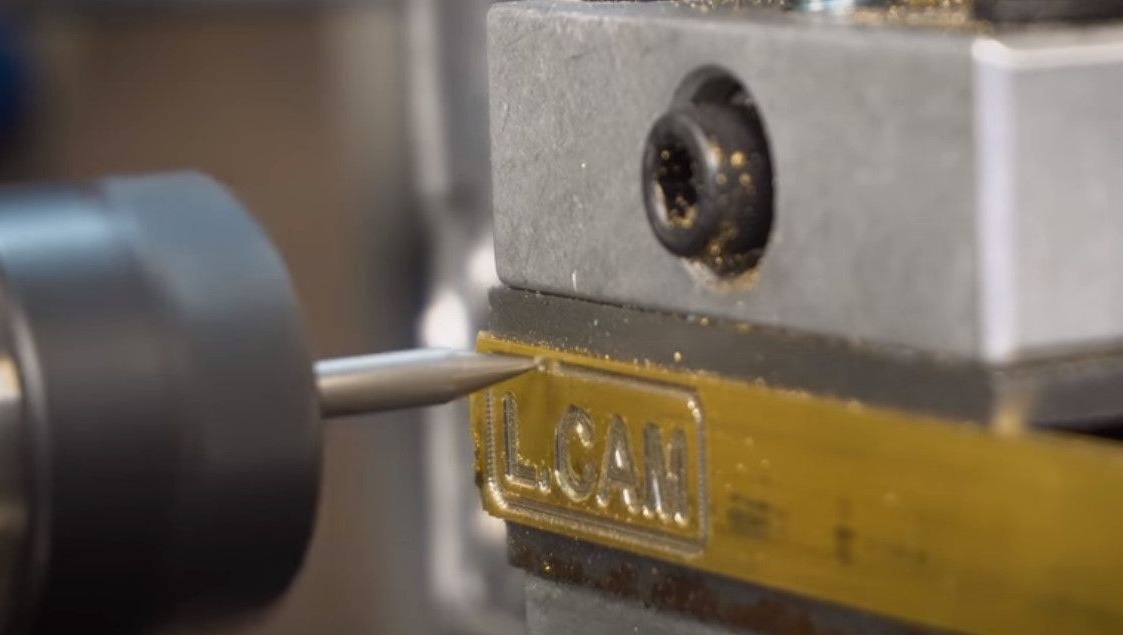
Milling cutters are also used not special, but those that were at hand.
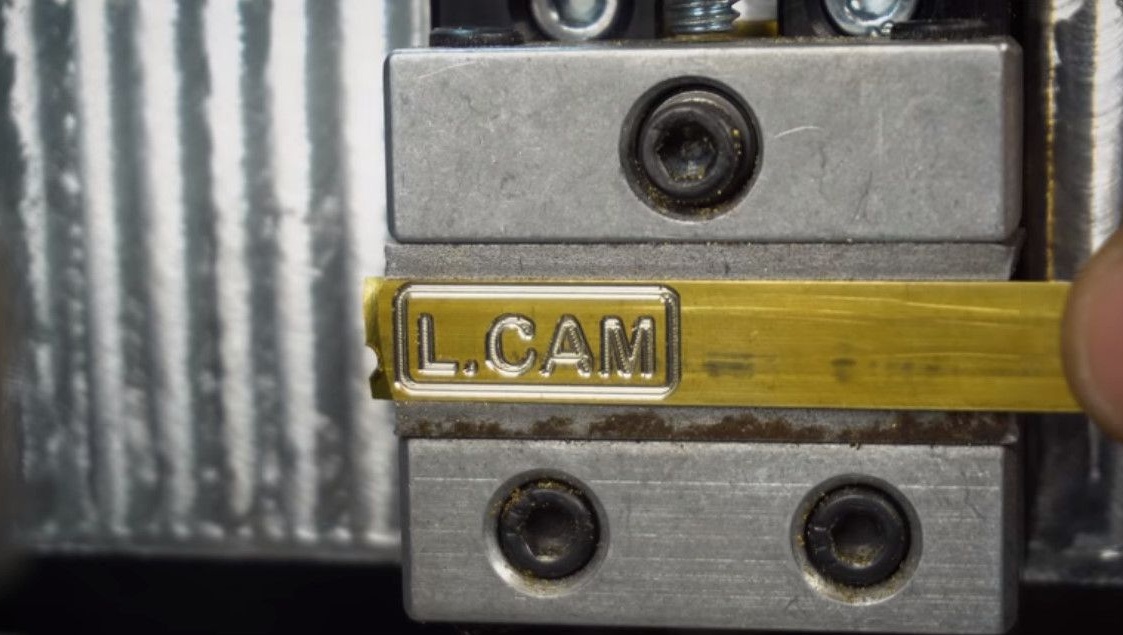
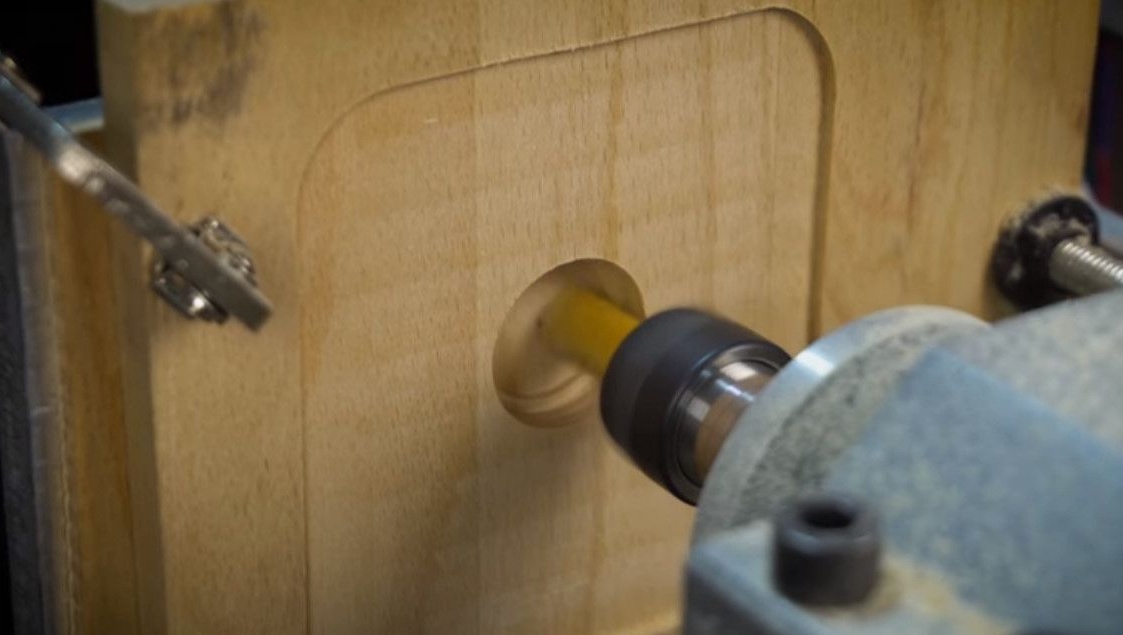
It was decided not to grind the brass insert, but simply deepen it inside the case.
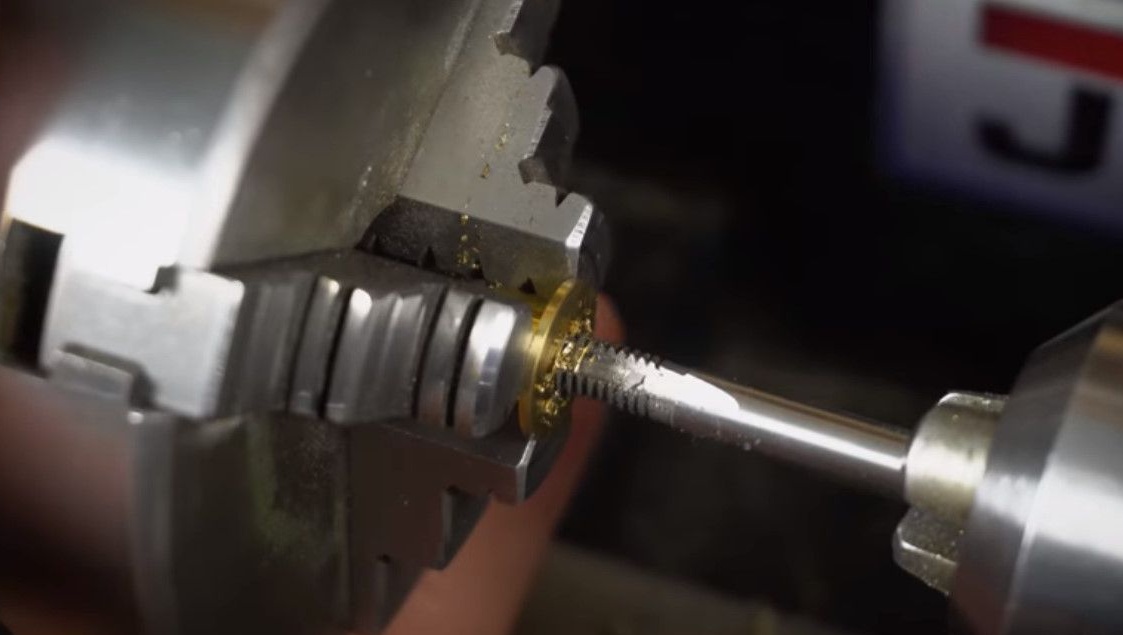
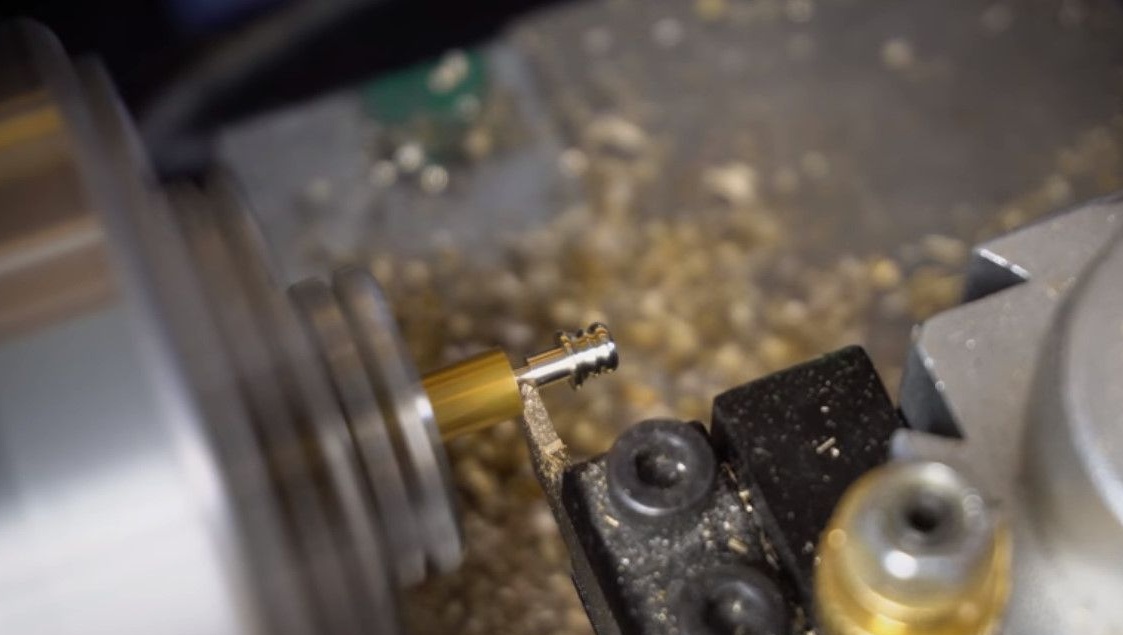
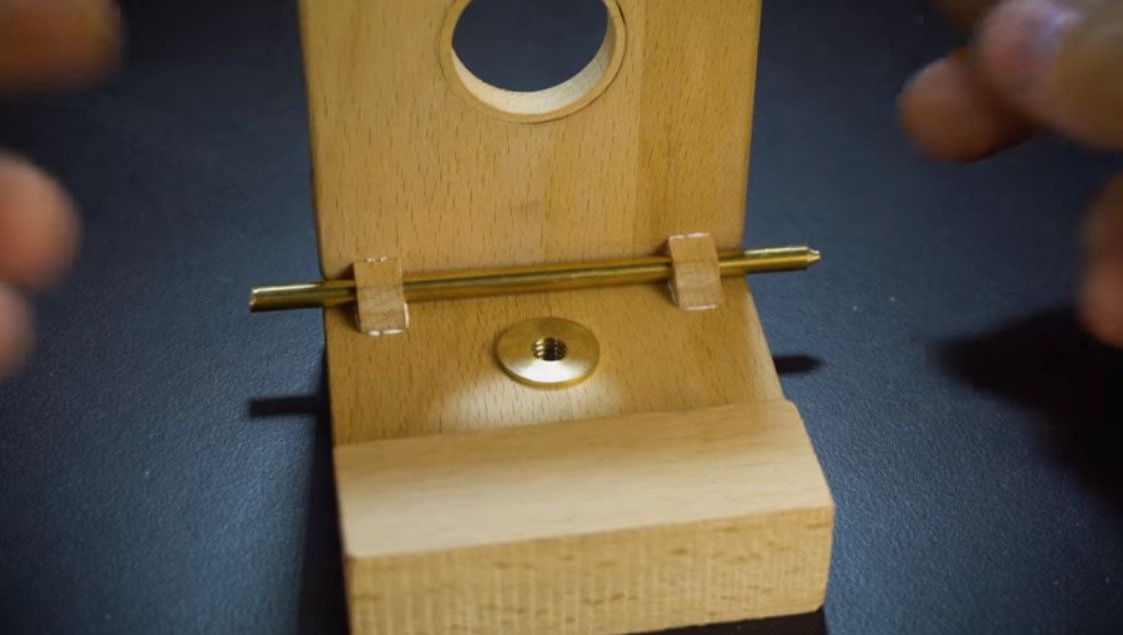
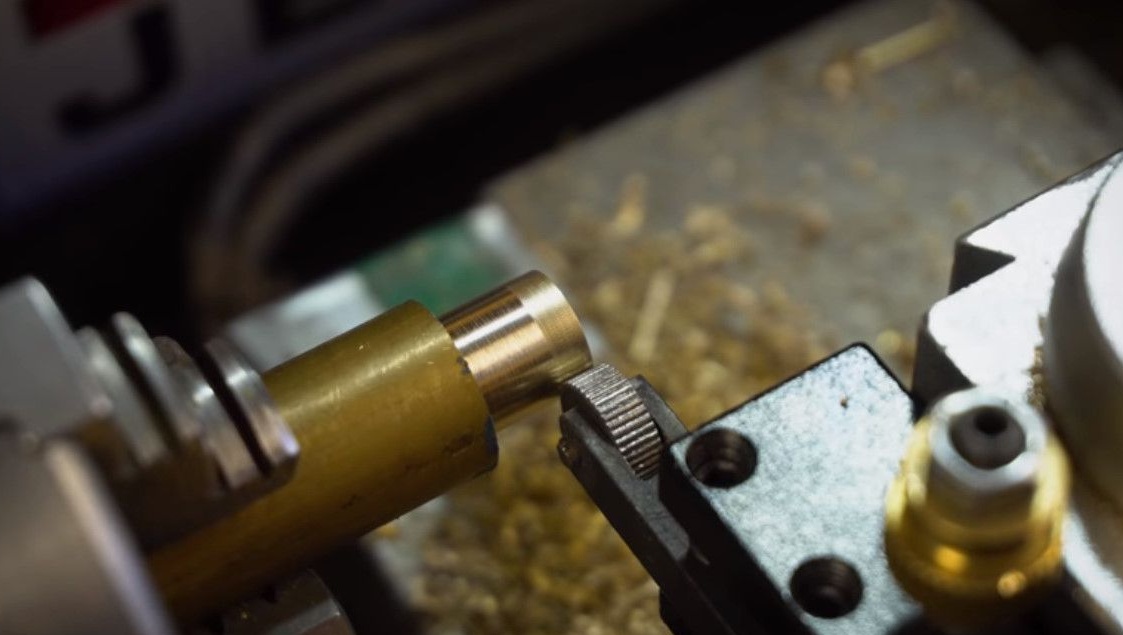
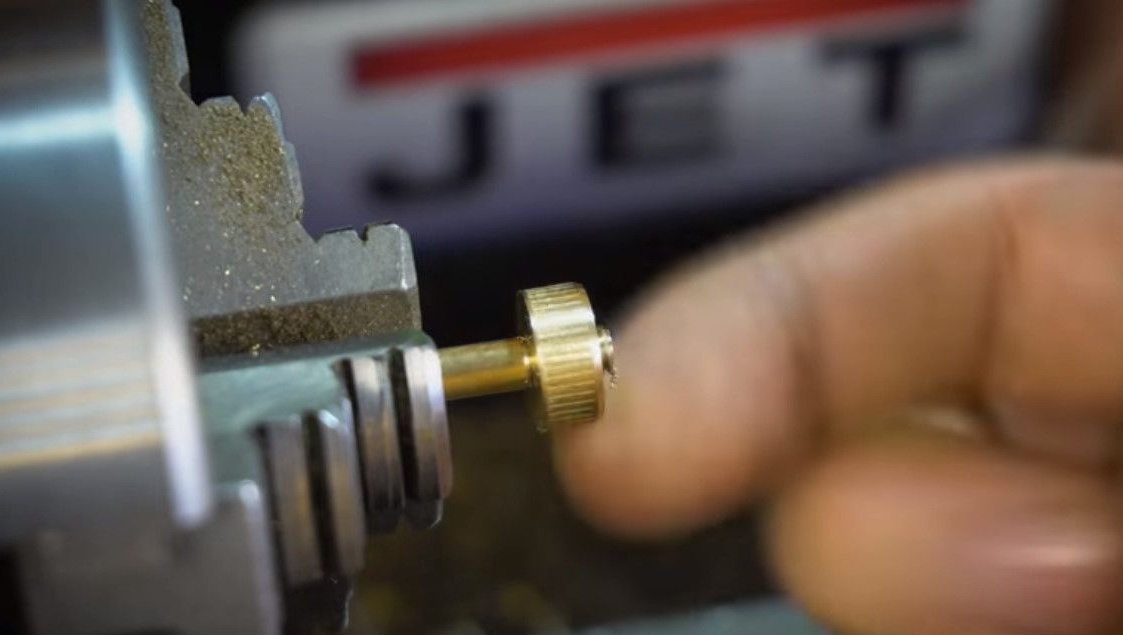
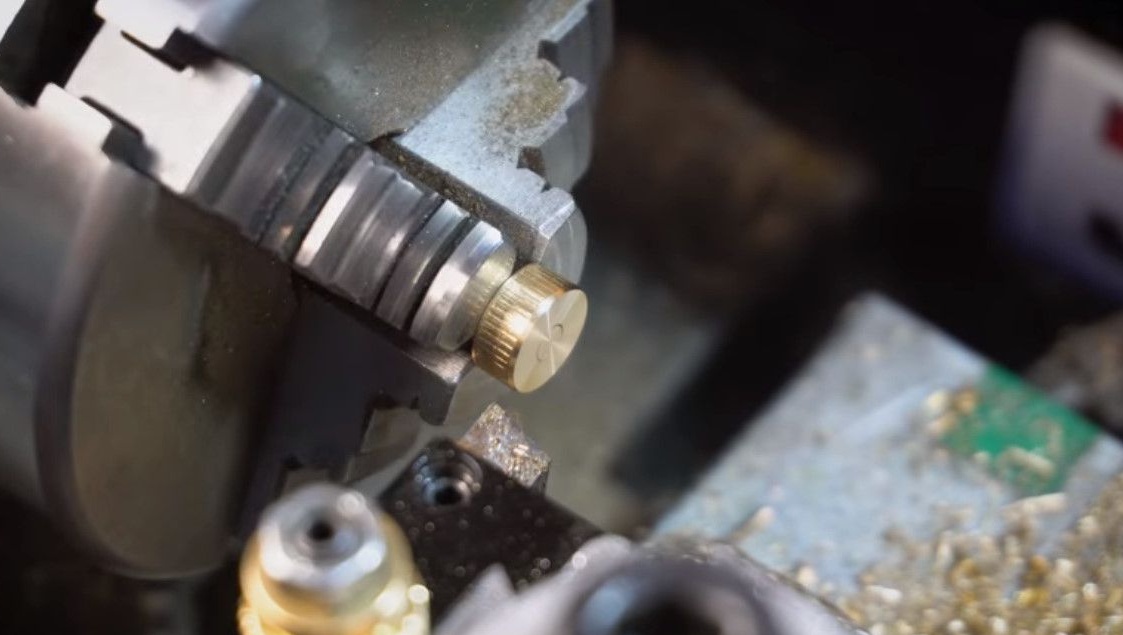
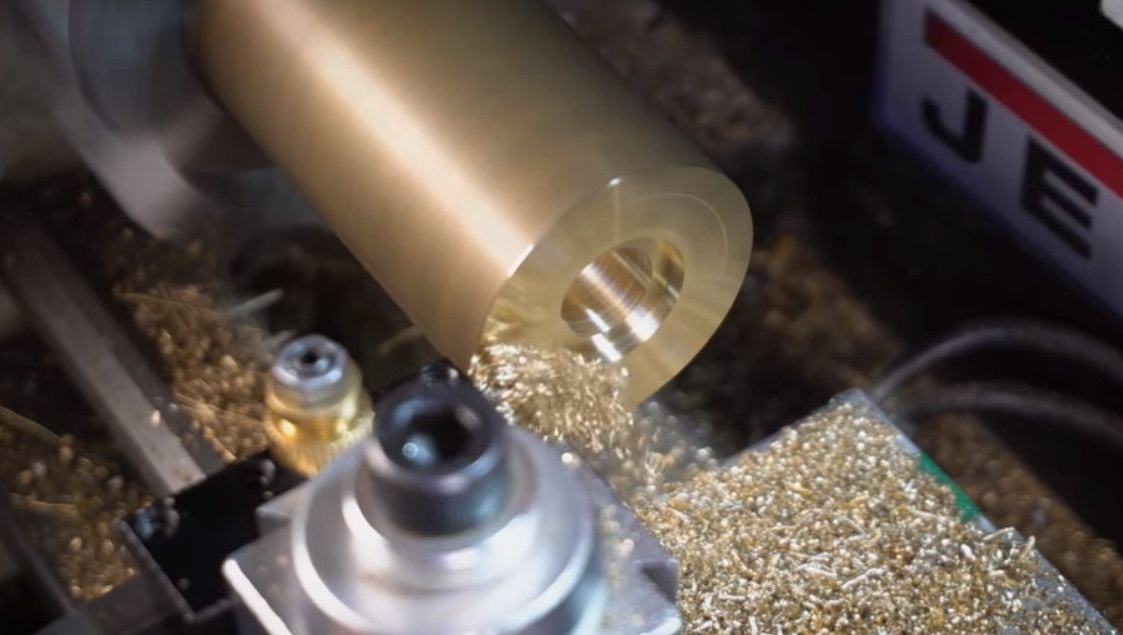
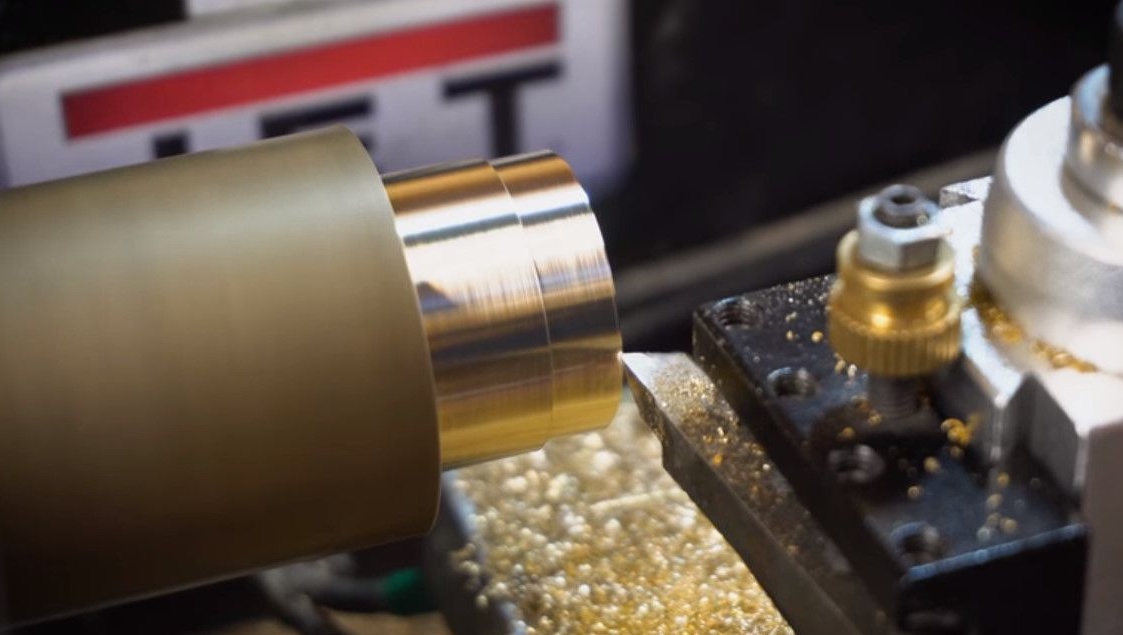
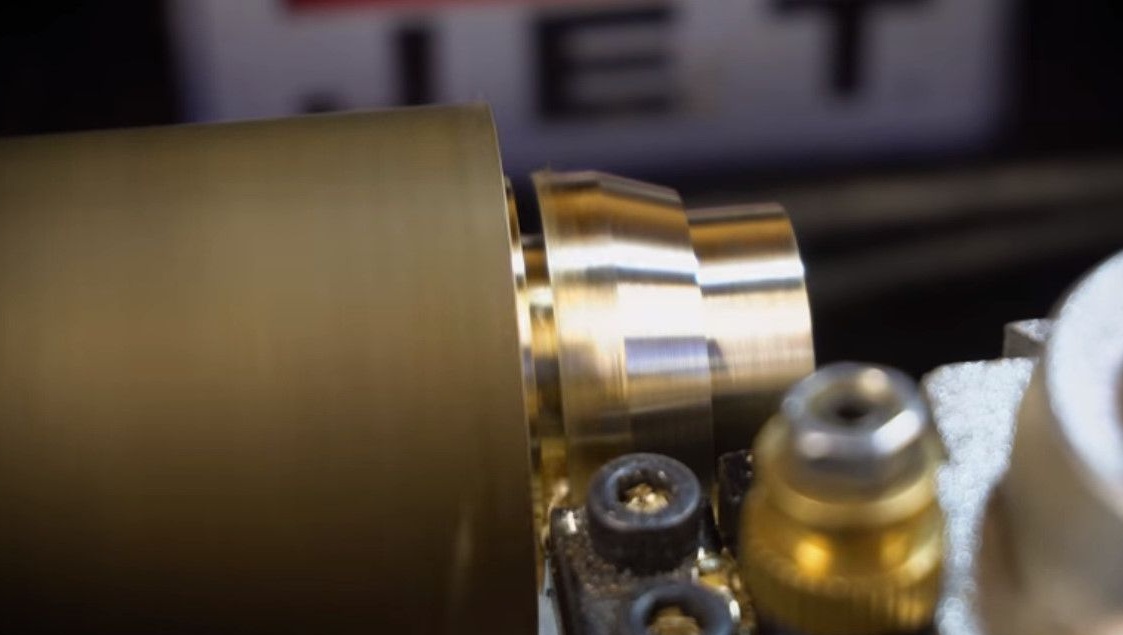
The nut for mounting on a tripod is made of bronze.
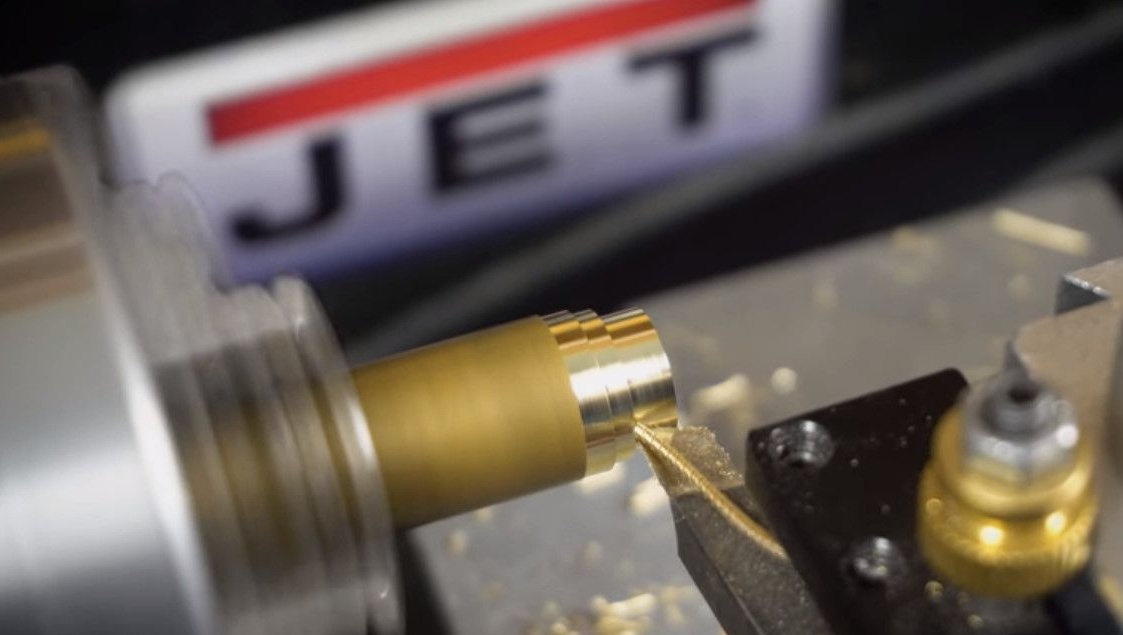
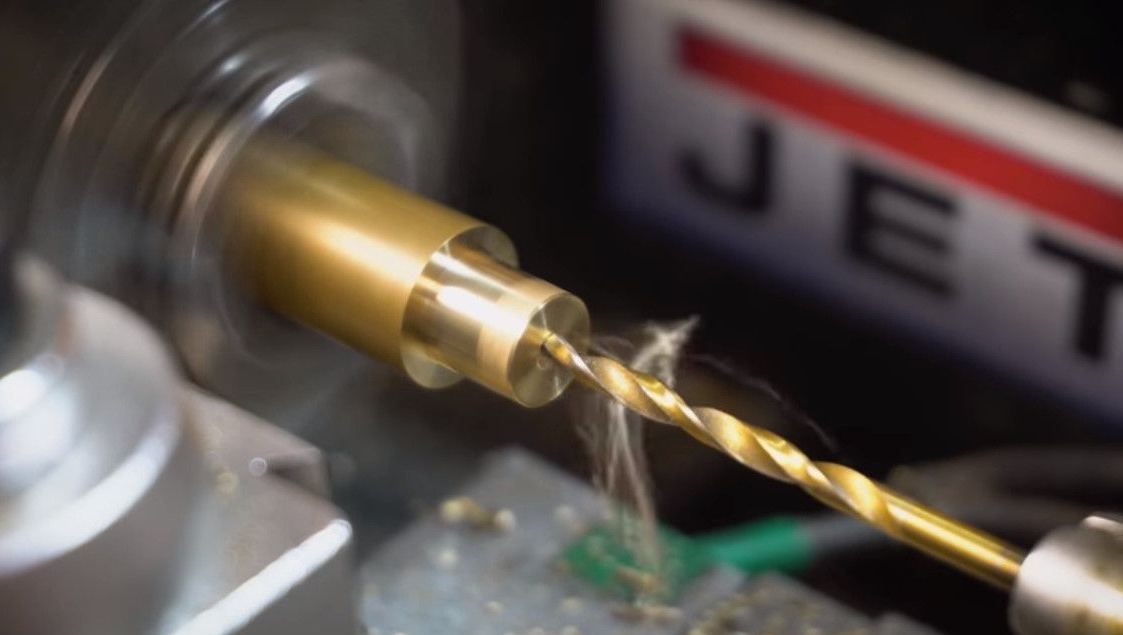
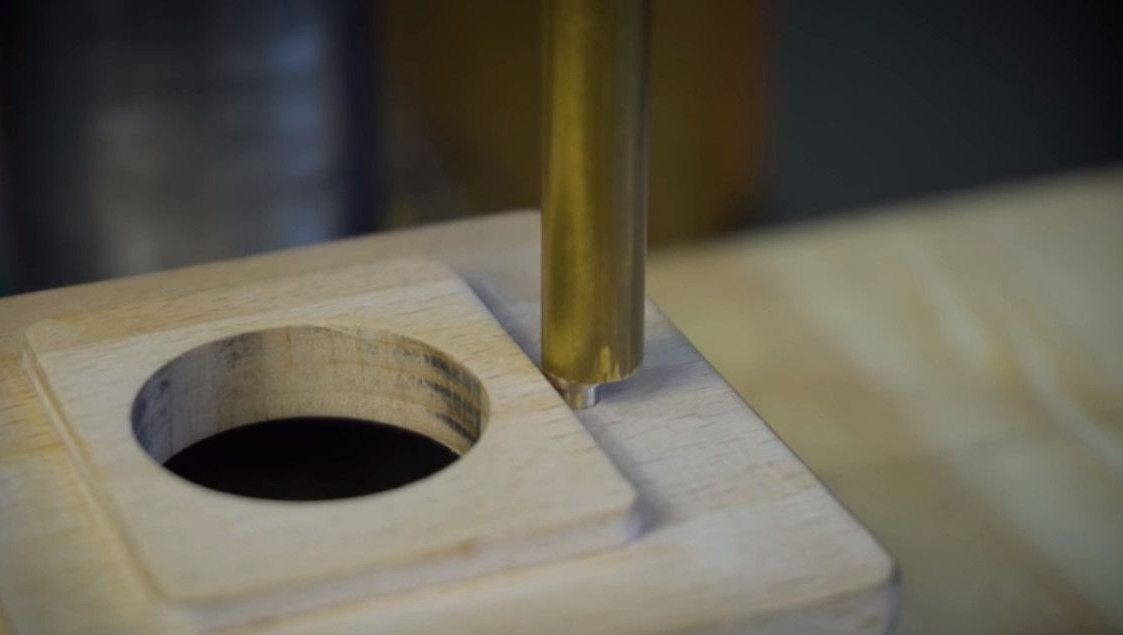
We drill a hole in advance so that everything is centered.
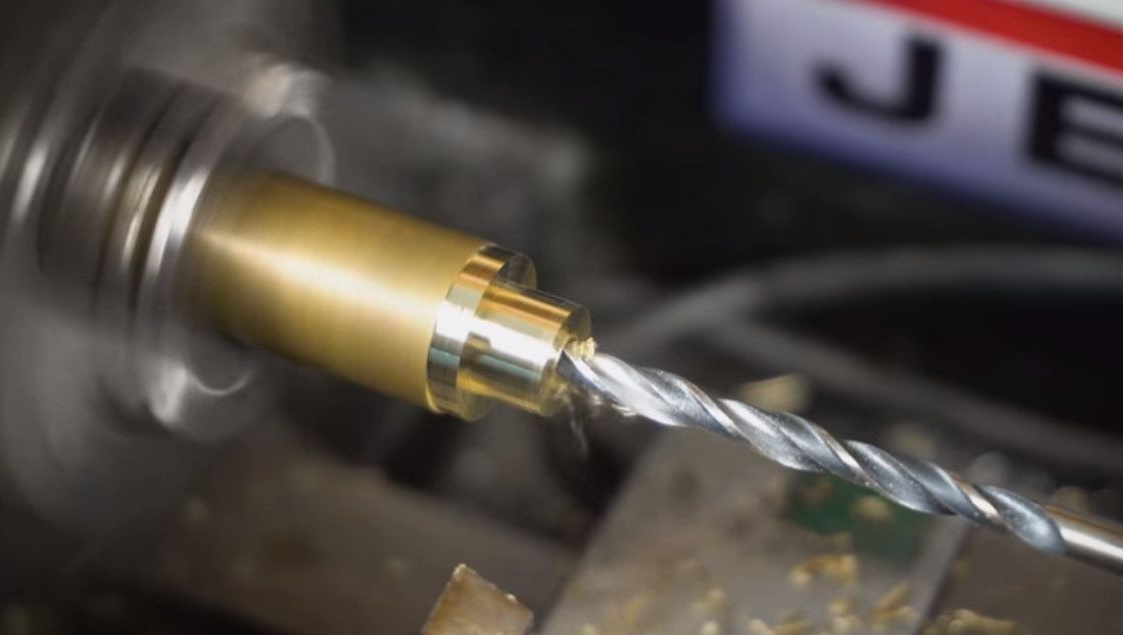
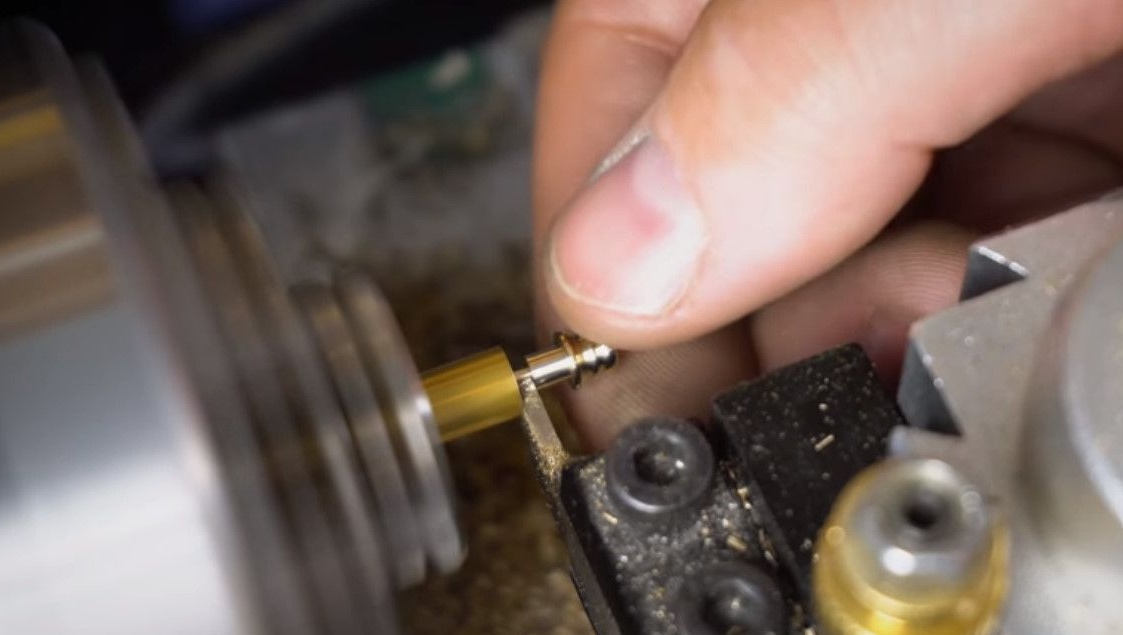
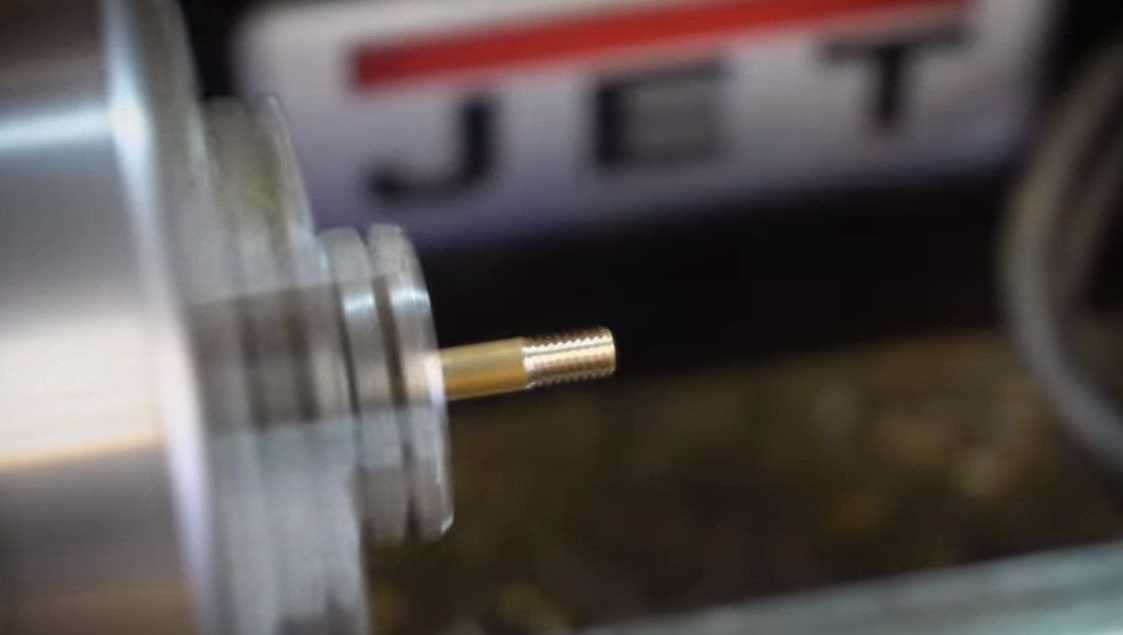
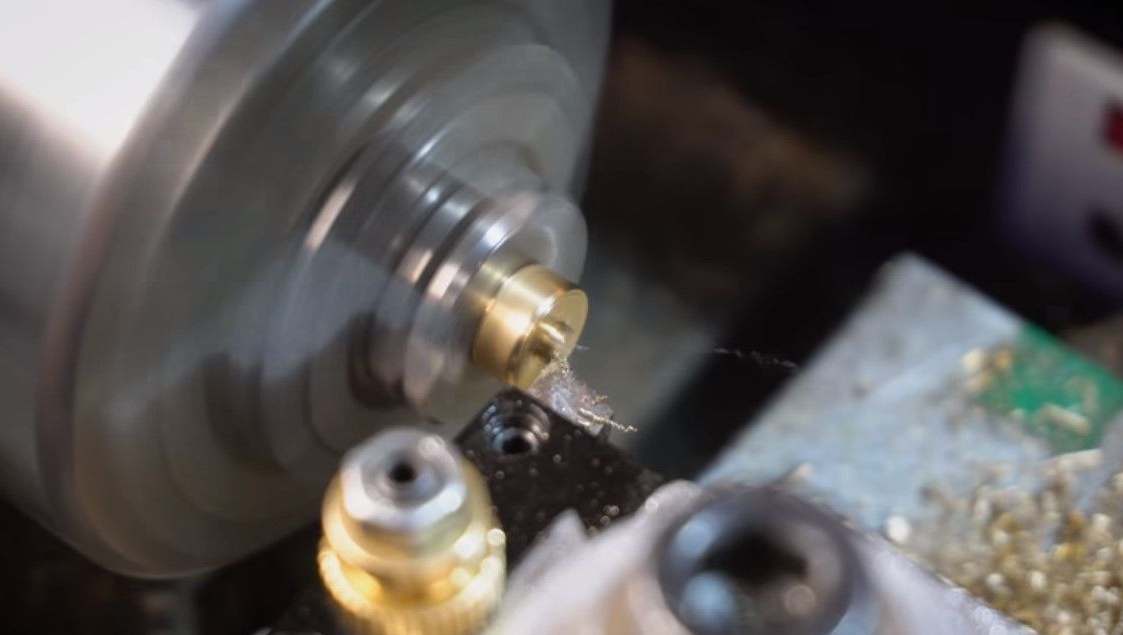
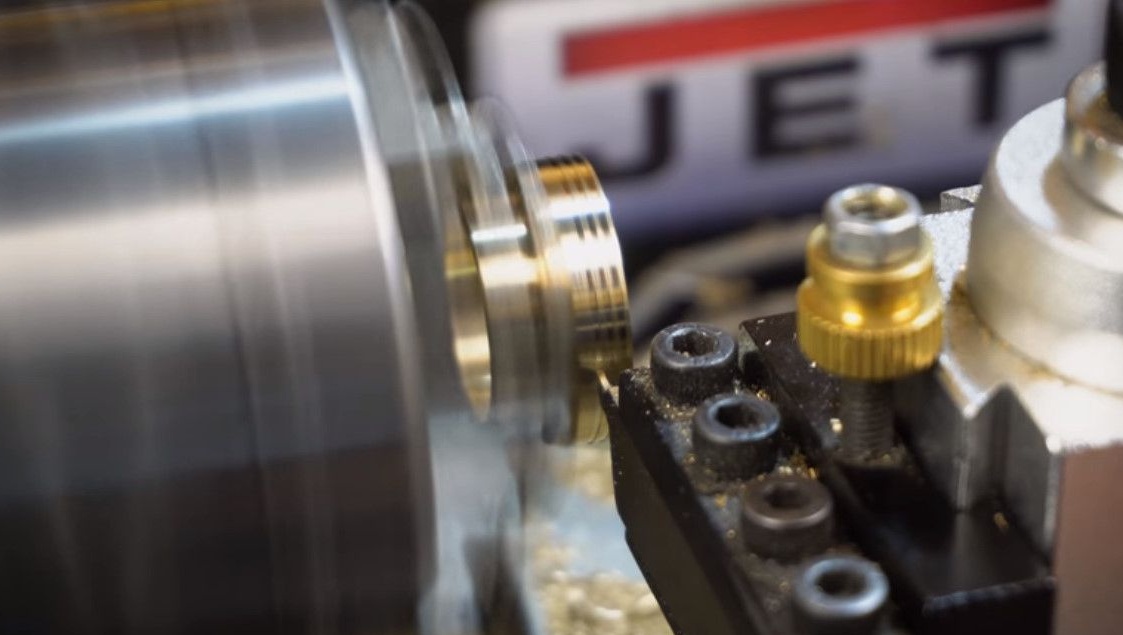
Cut the finished nut, be sure to catch it.
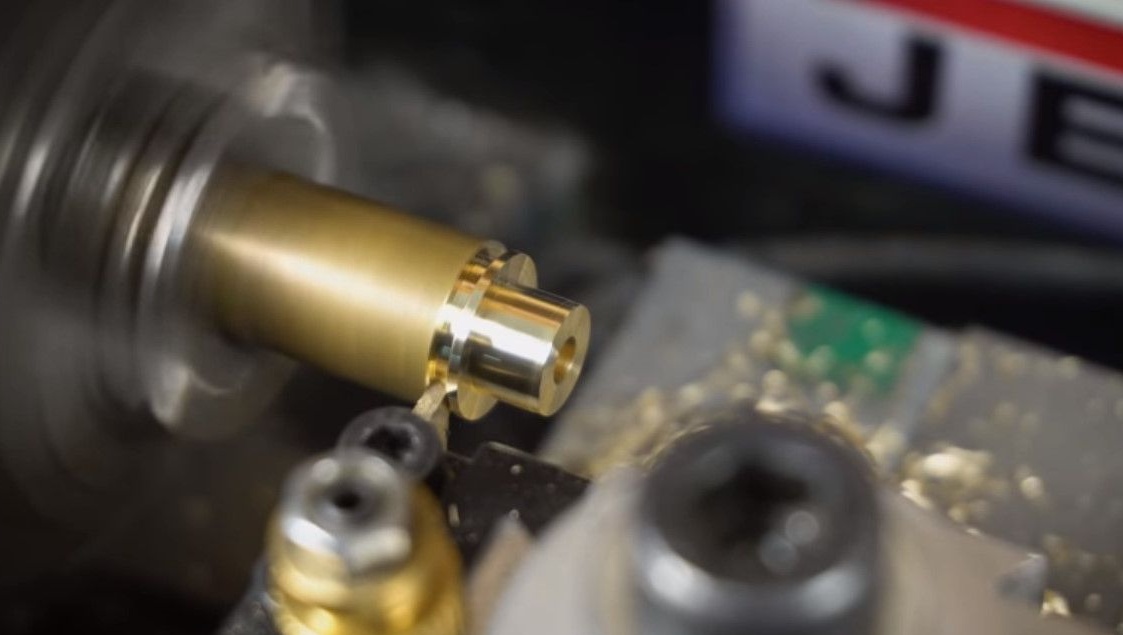
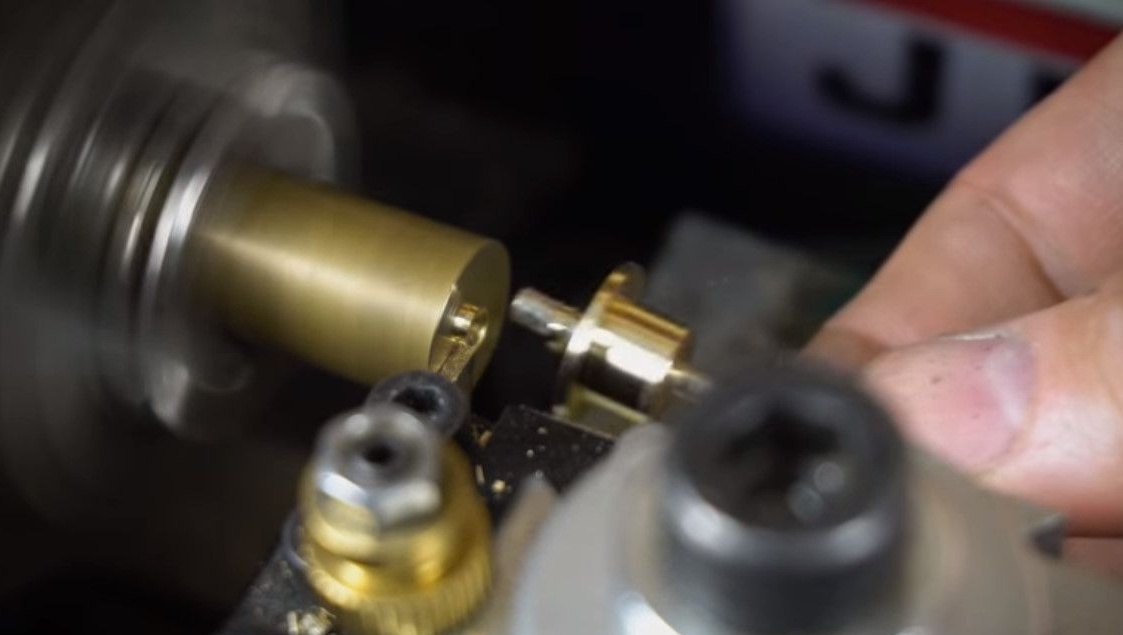
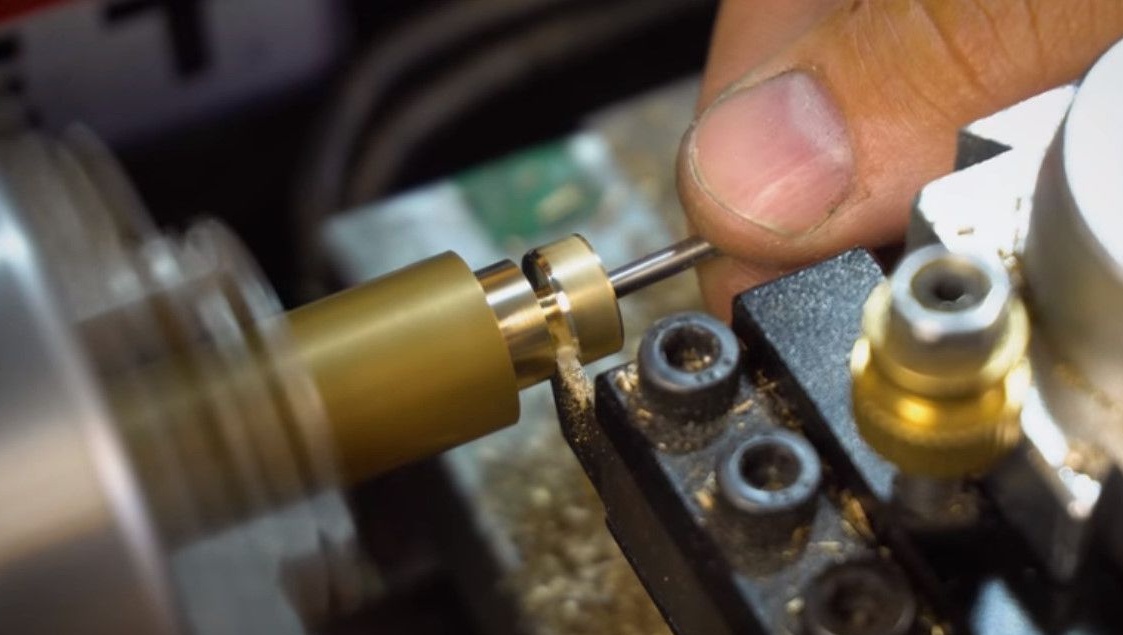
We cut the thread in it.
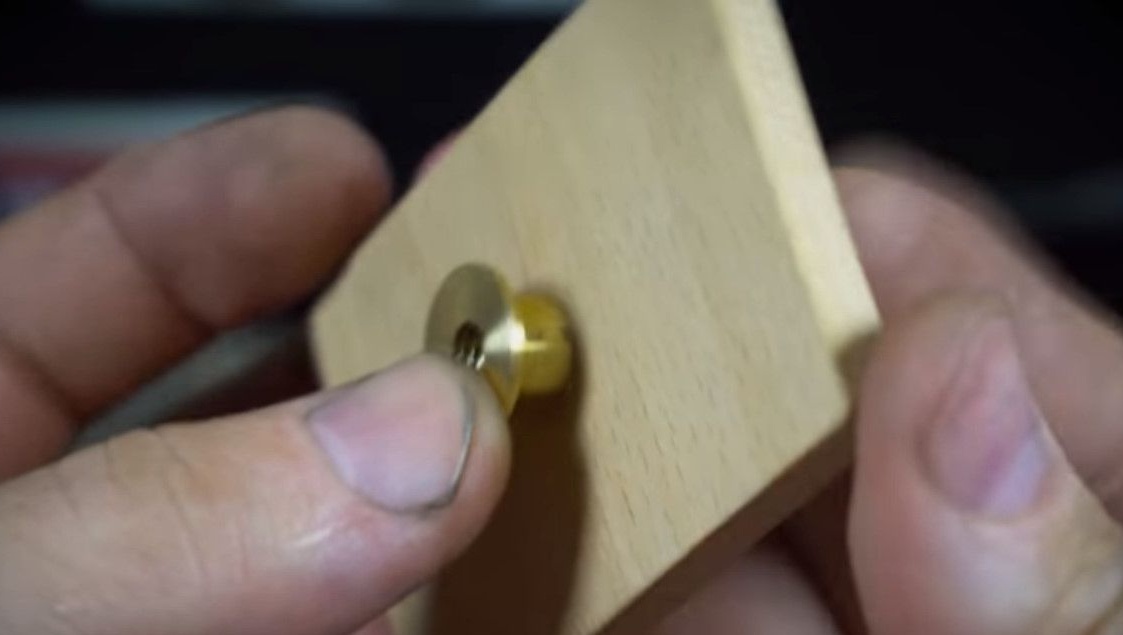
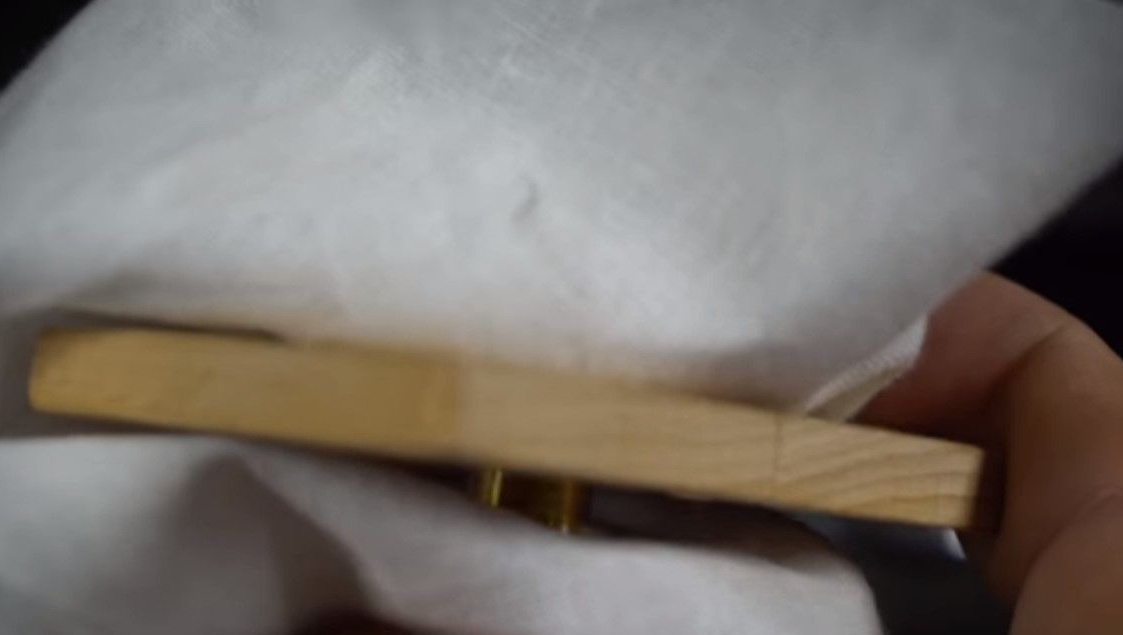
We press the nut into the base of the chamber, laying the fabric, in order to avoid damage.
To process bronze, a much sharper tool is needed than for brass.
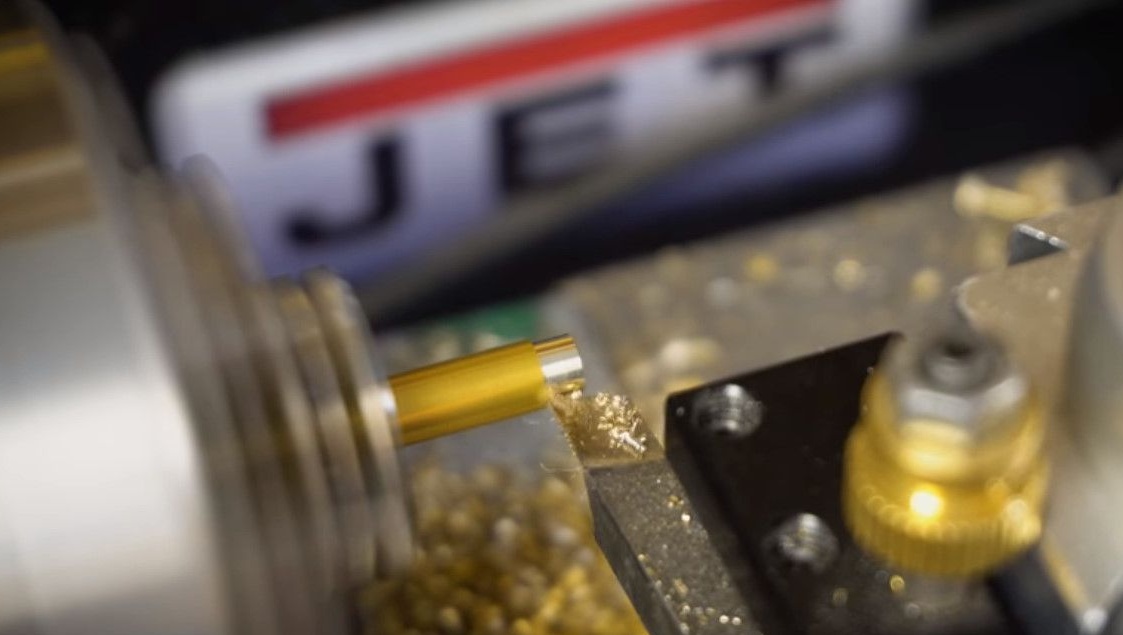
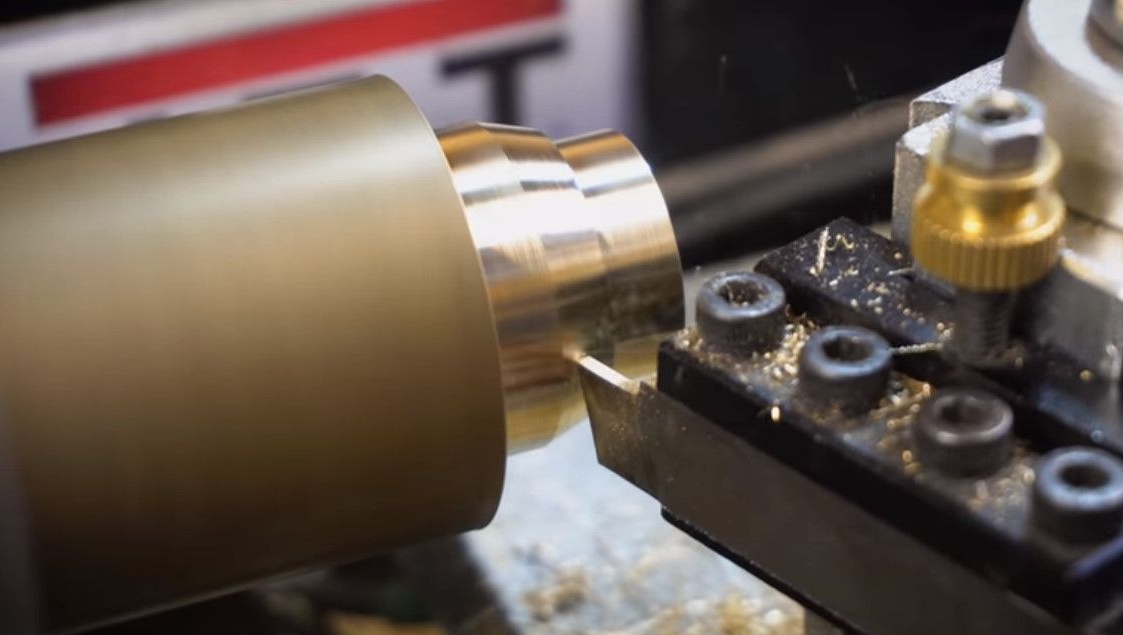
We grind the legs with special curly incisors.
Pressing in miniature parts again, for which it is very convenient to use a drilling machine.
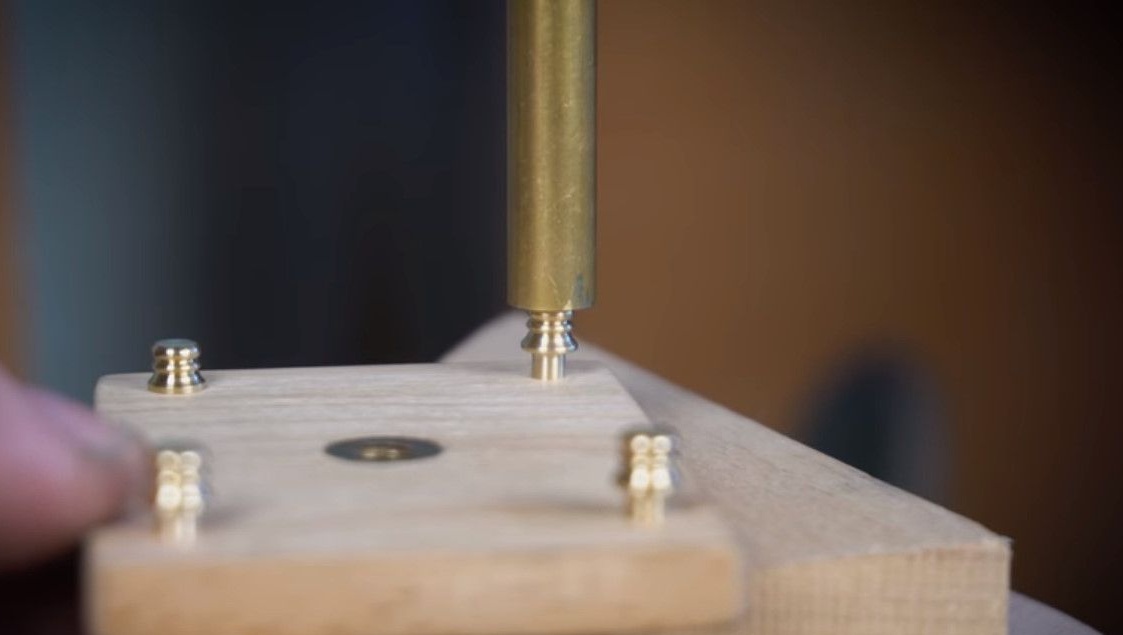
The first two details are ready.
And you can glue them together. There should be a little glue for the work to be neat.
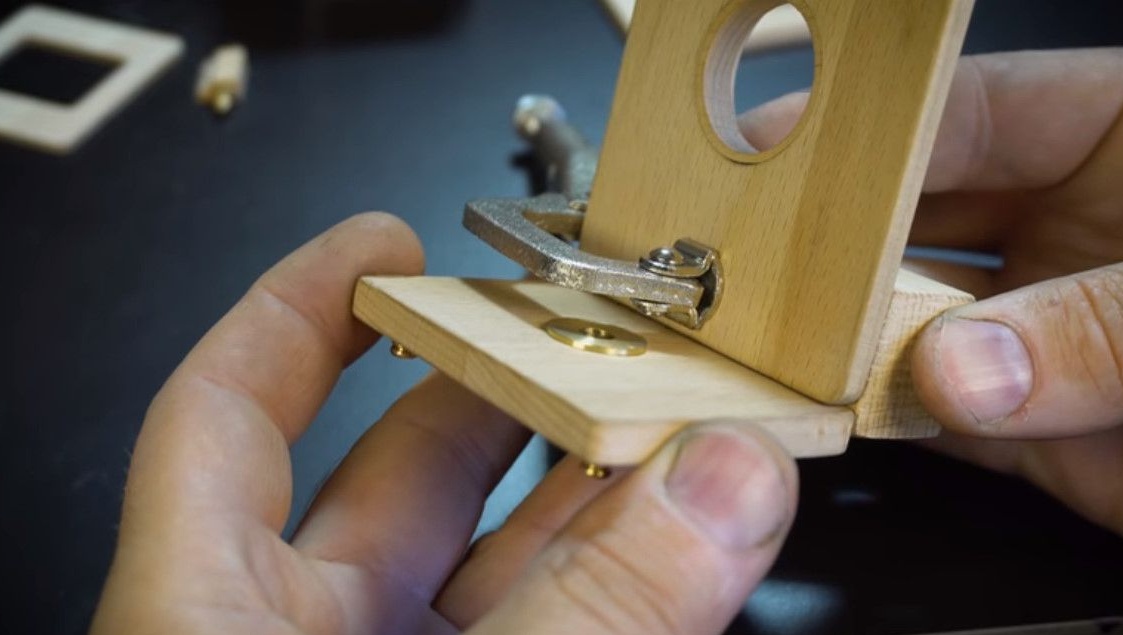
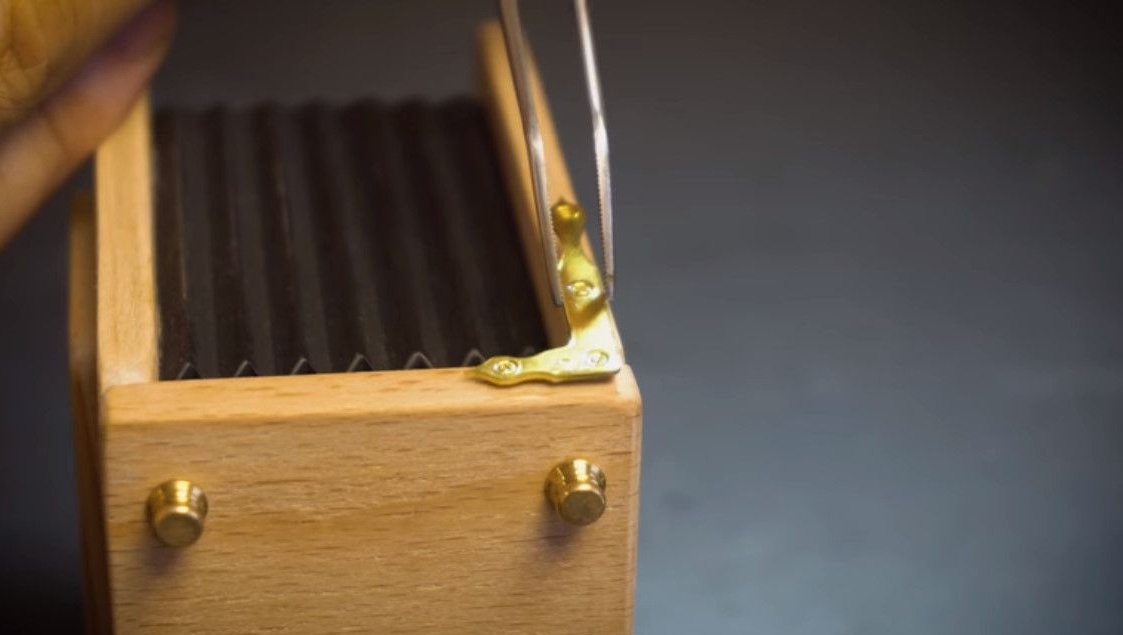
Next, we make two small corner joints.
They will fix the rotating knobs.
Glue them.
Plus, they will add extra rigidity.
We fix the camera on the front wall. Thus, it will center the third part when gluing.
We glue our improvised furs with glue.
We clamp the parts with clamps.
Joiner's glue dries quickly enough and reliably fixes.
The last of the large parts is gluing the back wall.
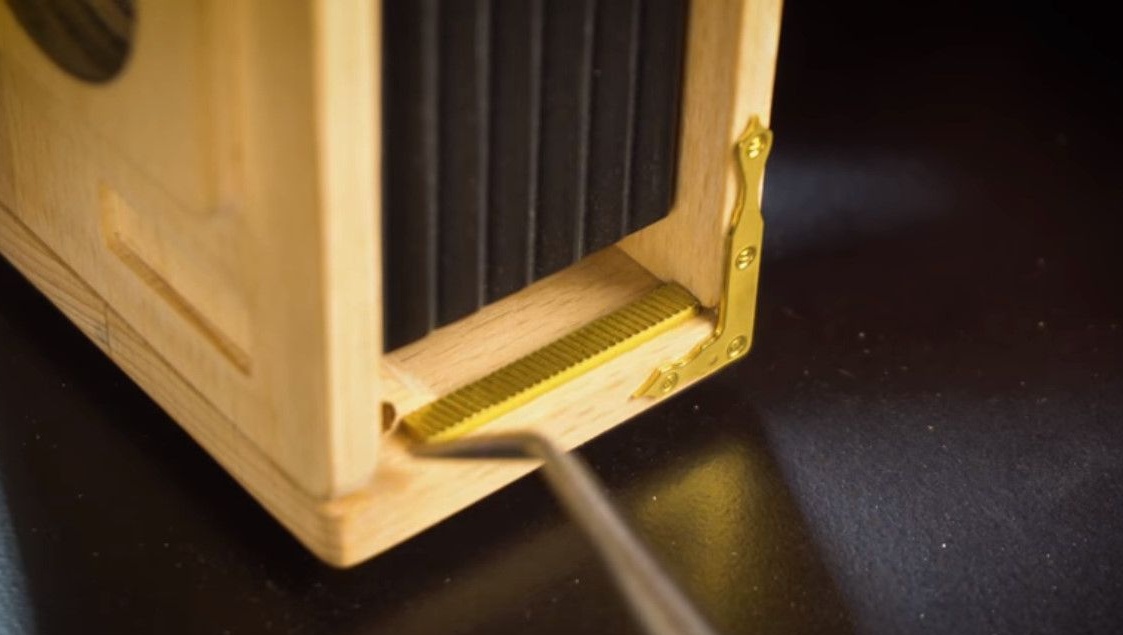
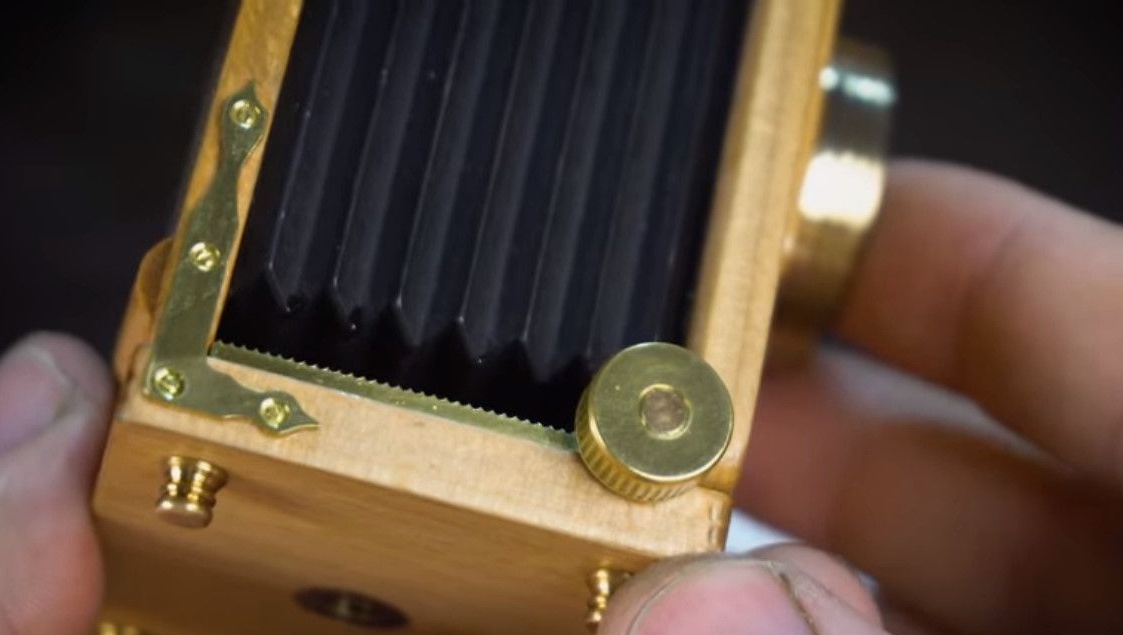
We make two decorative corners.
In this case, they are decorative, and in this chamber they performed certain functions.
After processing, we grind on fine sandpaper with water.
All details are very small, so the work is quite painstaking.

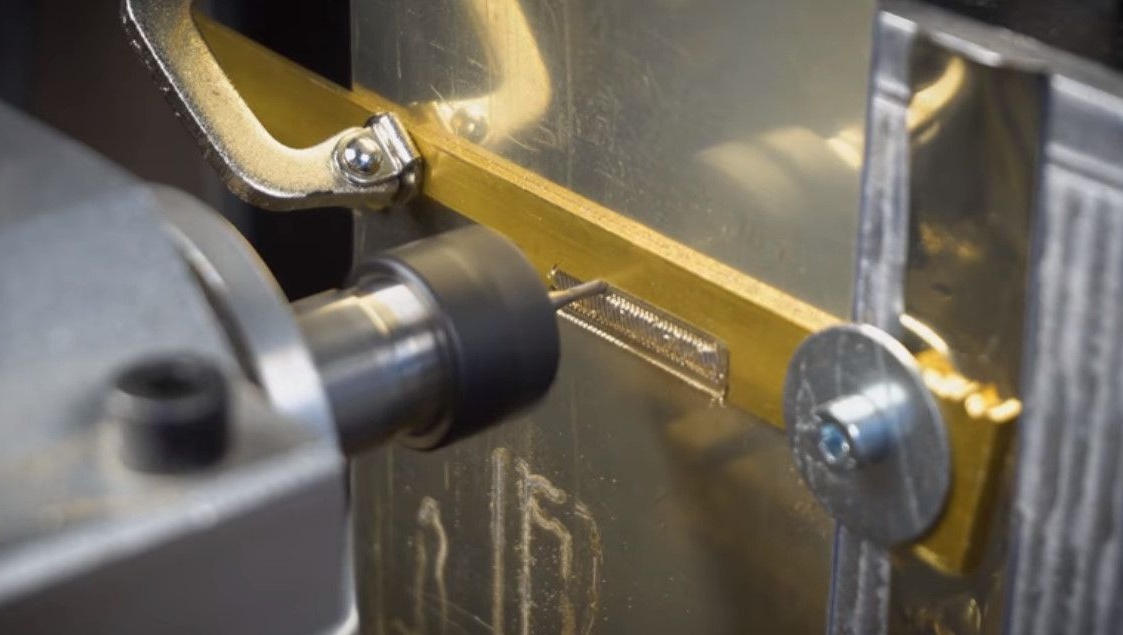
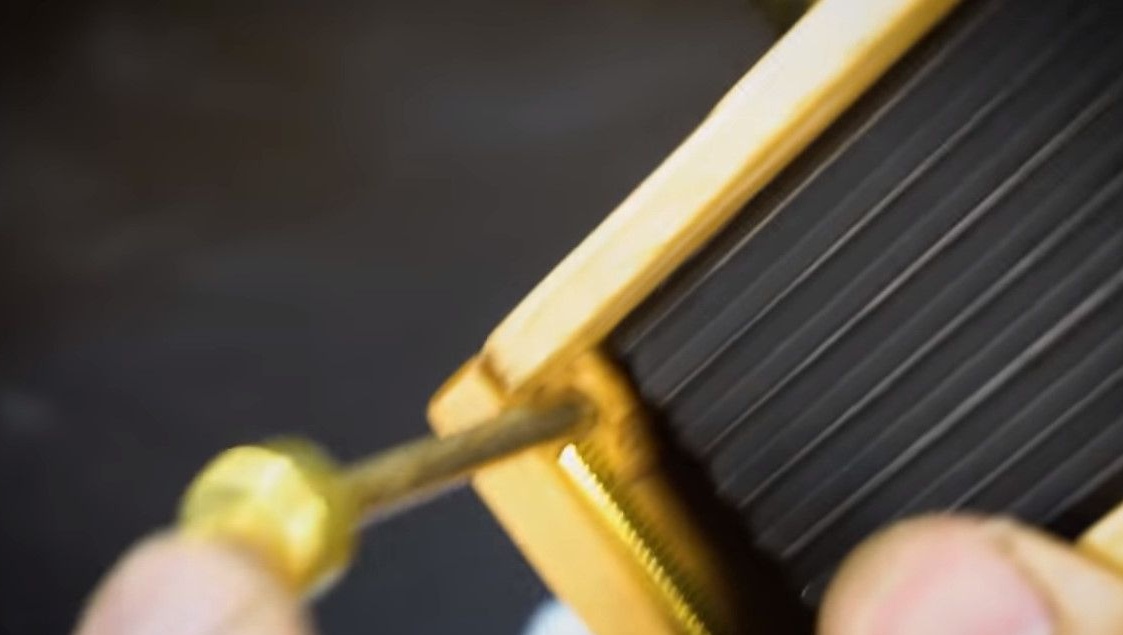
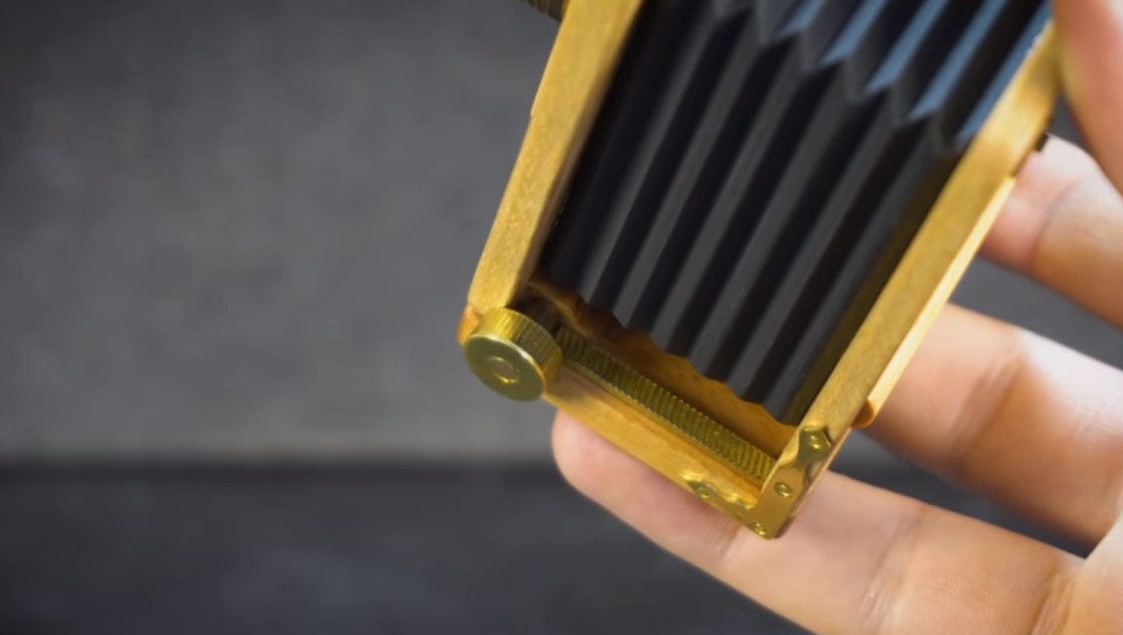
We make rotary handles that in the real camera are aimed at sharpness.
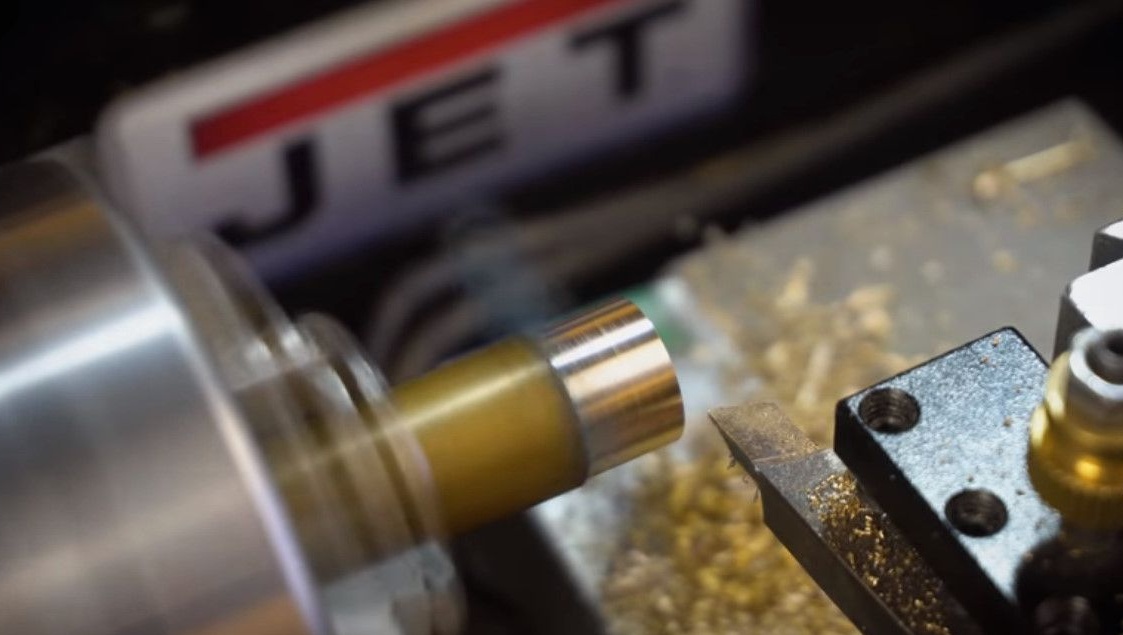
We roll the cut.
We drill a hole, cut the thread.

In this case, they will also be decorative.
Now cut and catch.
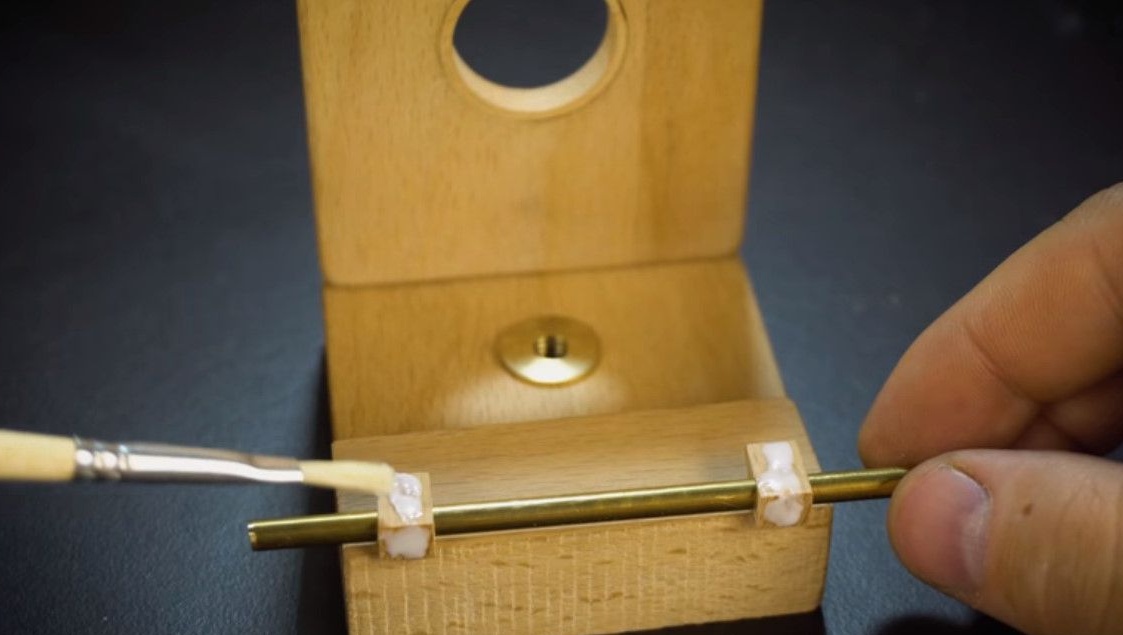
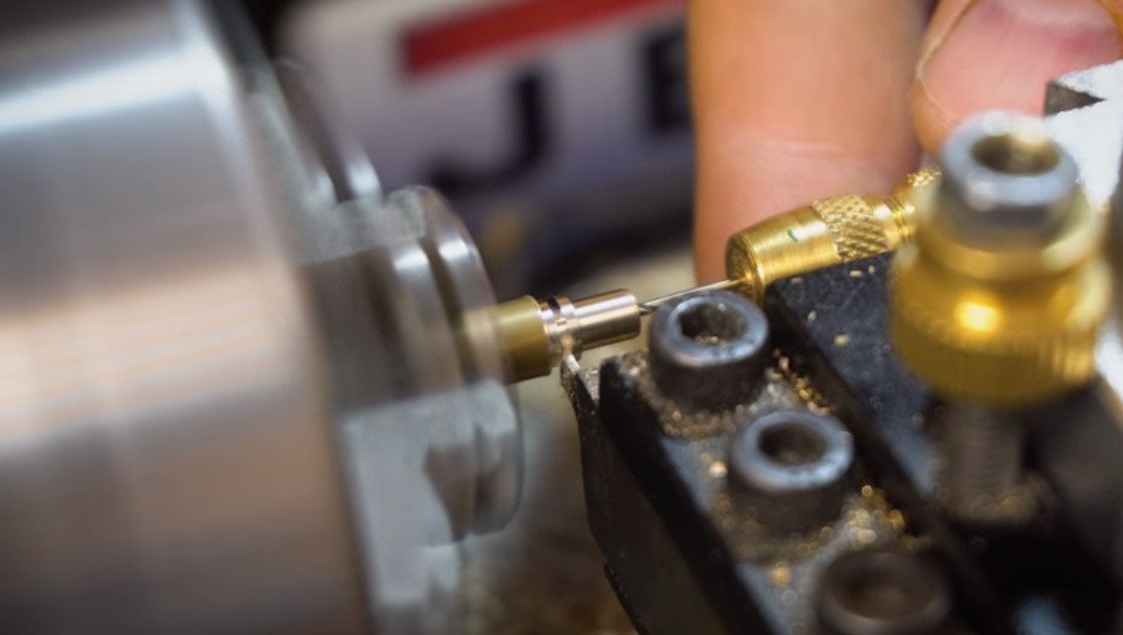
Let's make an axis with a thread on which these two handles are screwed.
We wrap the handle on the axis.
Flush the handle, cut off the protruding part of the axis.
This detail was not originally planned to be done, but the author’s father came, looked and said it was necessary.
Once it is necessary it is necessary. This is a rack, due to which the front of the camera should move.
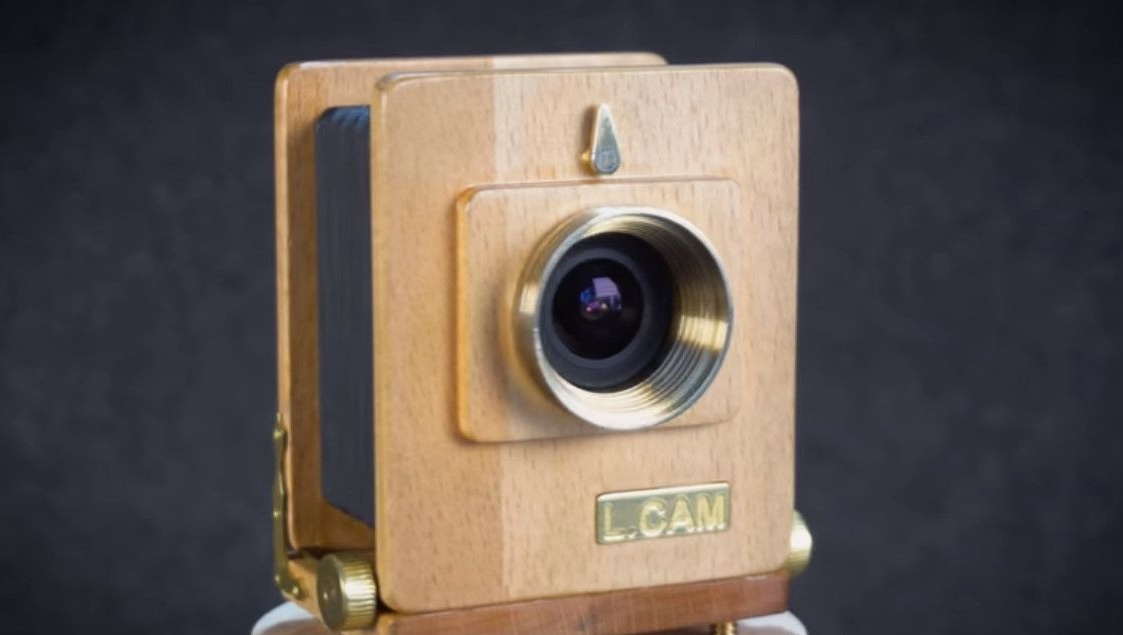
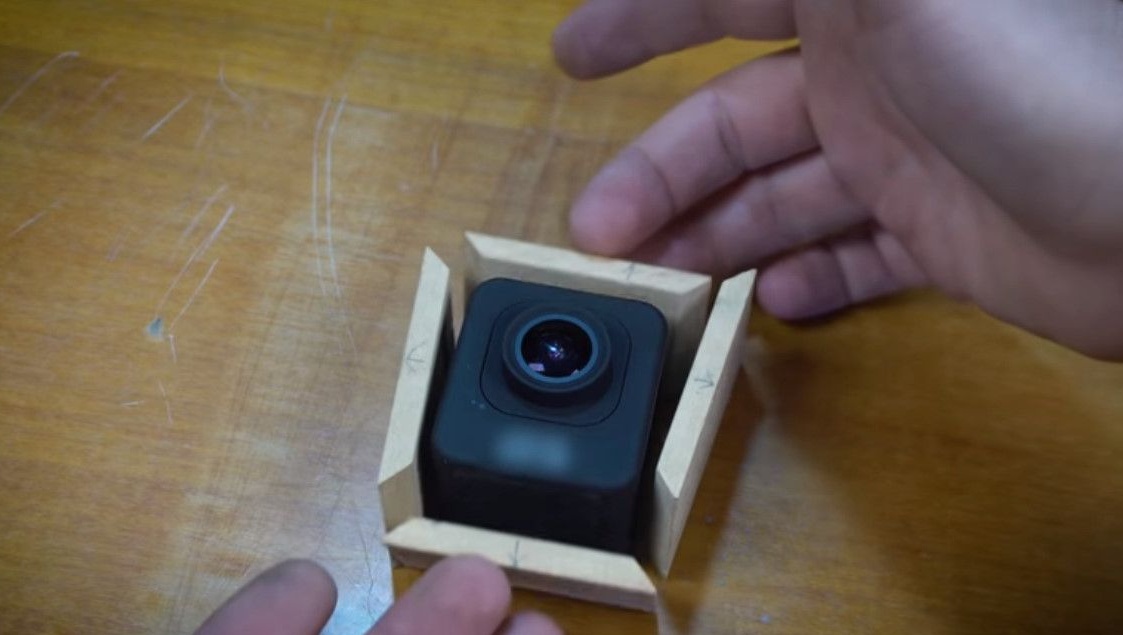
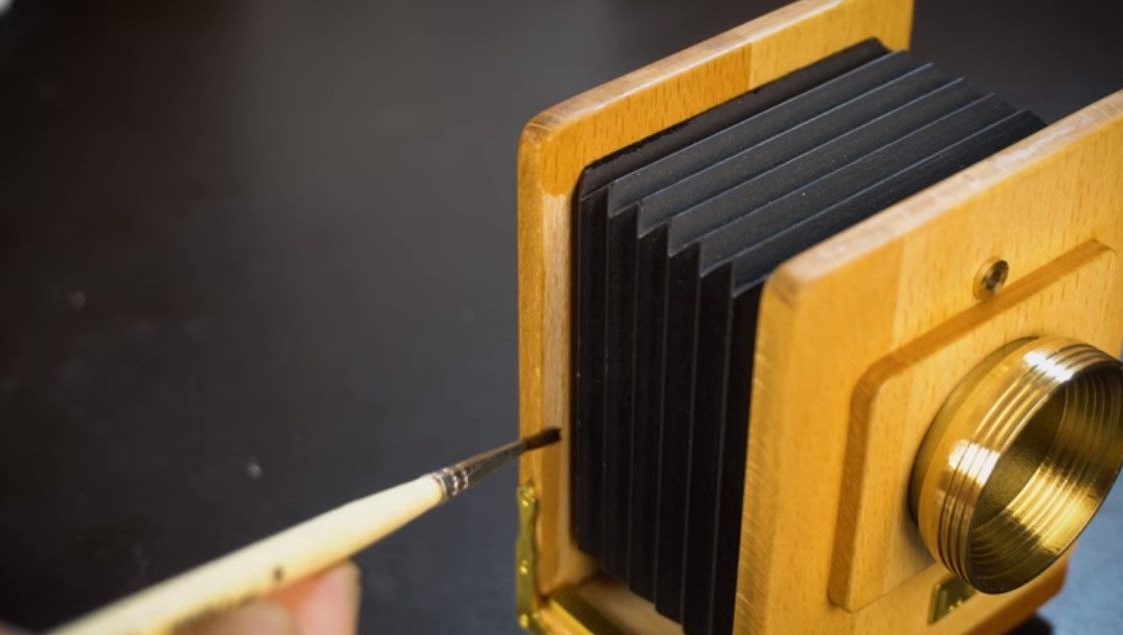
The action camera already has a lens. Therefore, we just make a lens hood.

It was originally planned to make it longer.
Due to the wide viewing angle of the camera, he had to be tamed.
Due to the fact that Lefty is now designing in a 3d program, it has become much easier to calculate the desired angle. In general, it’s generally easier to work.
We imitate the cutting on the lens.
We drill a hole for a small lever.
The lever that will turn on - turn off the camera and record.

We make a small sleeve from brass and press it into this hole.
Well, the rest of the details for fixing the camera inside.
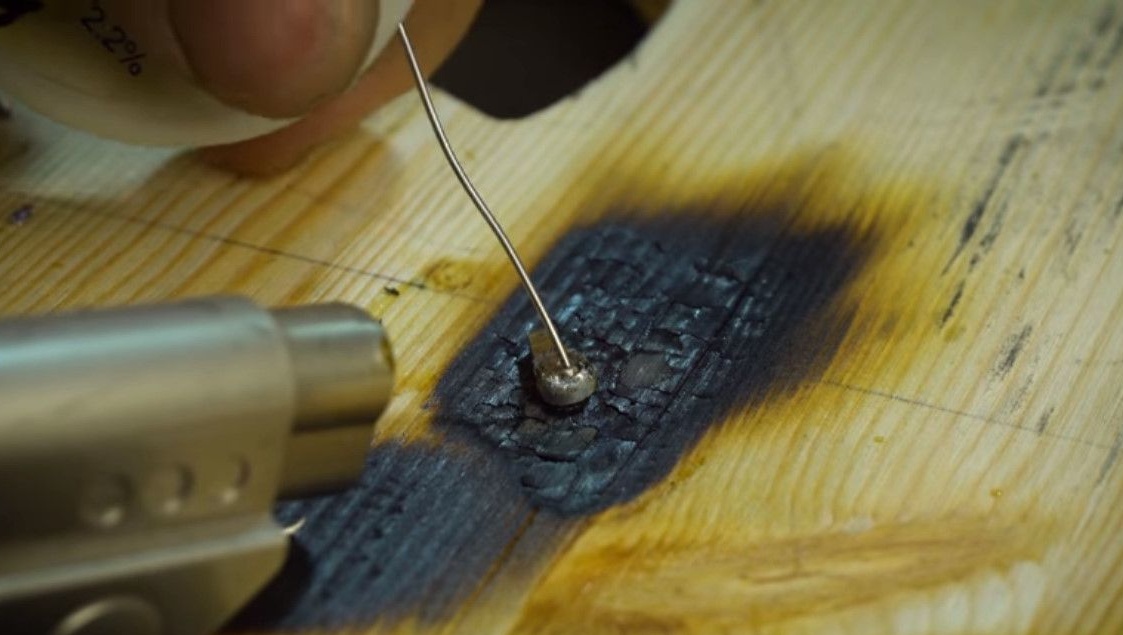
So that brass and bronze do not fade, we cover them with powder varnish.
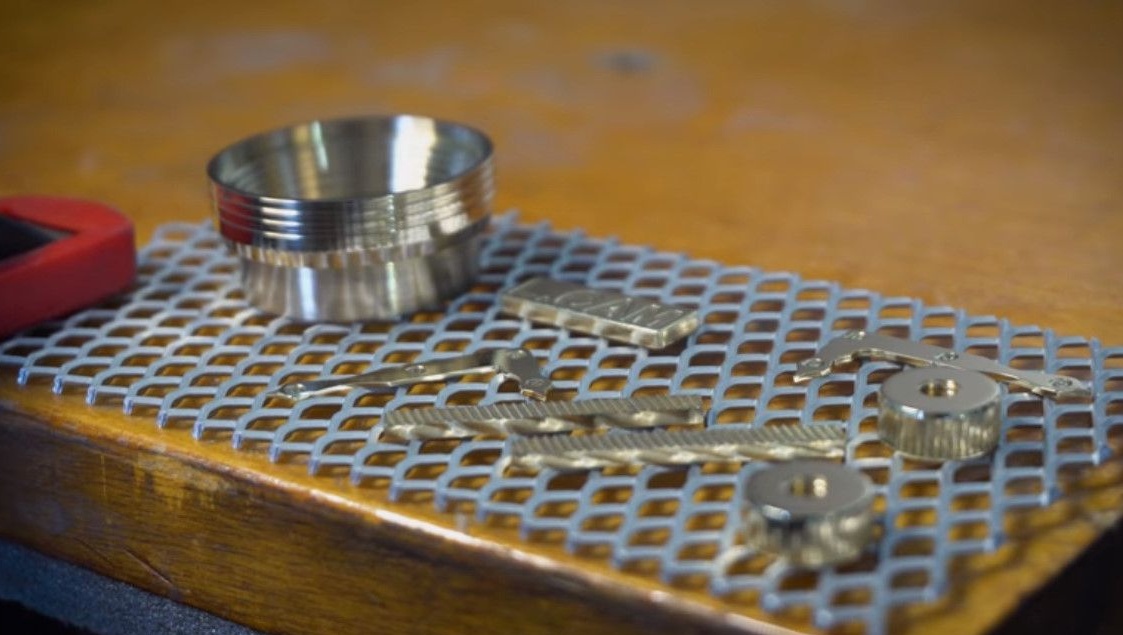
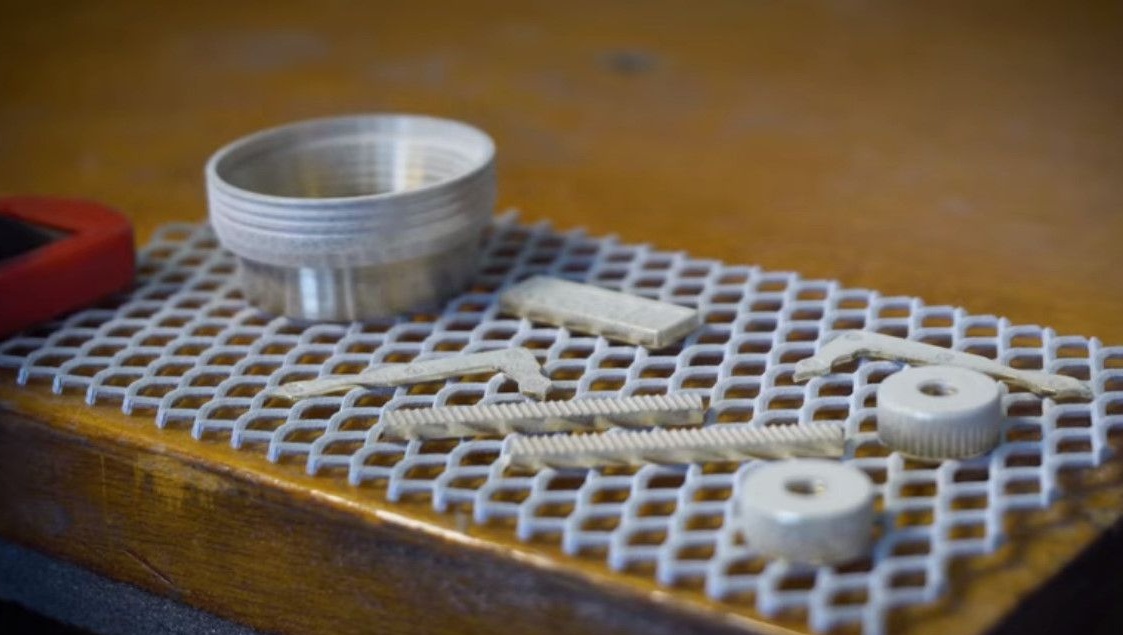
And bake.
These parts adhered well to the wood with MetalBand glue.
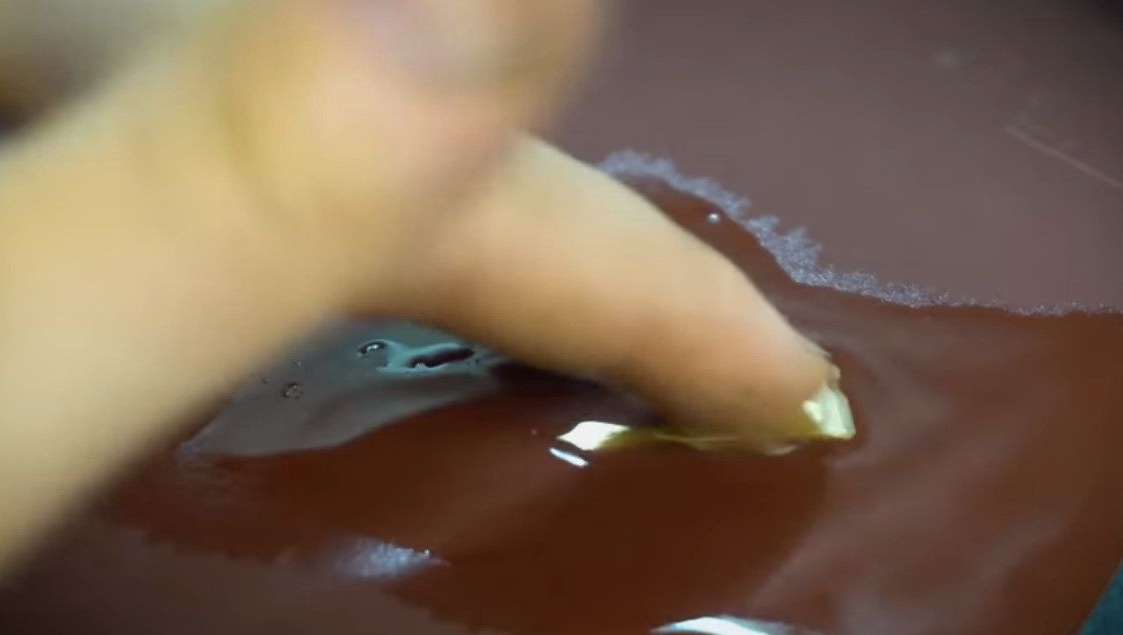
To cover all the light areas of the body, we will use oil with varnish.
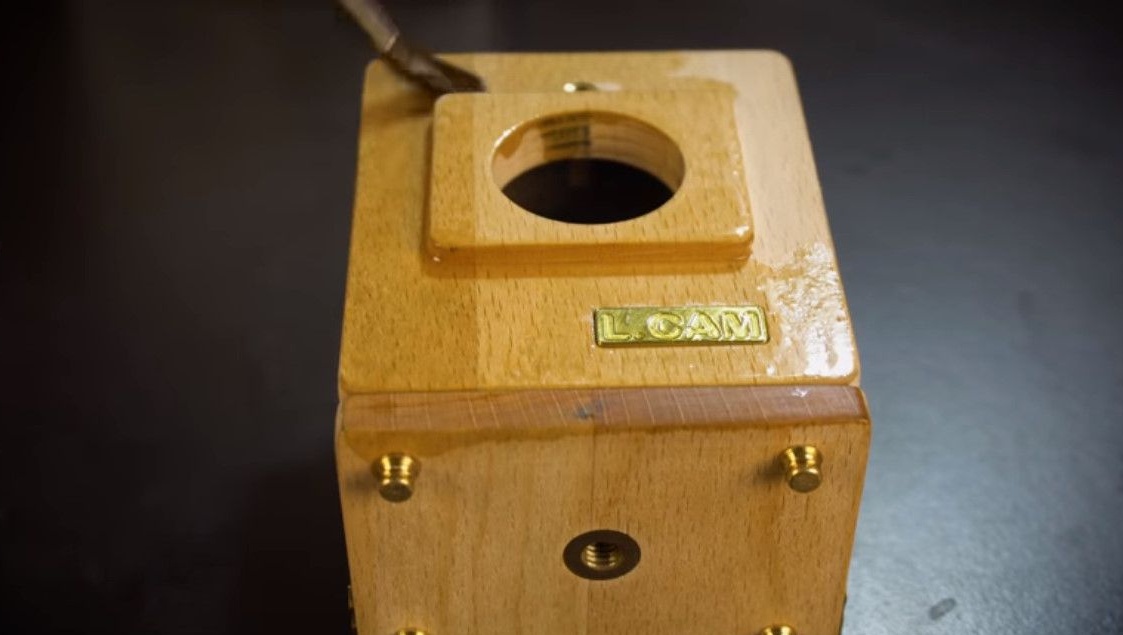
Quite an interesting composition, it is enough to apply it, then just wipe off the leftovers.
In this product there are a lot of corners, holes, therefore, varnish-spray could not be used.
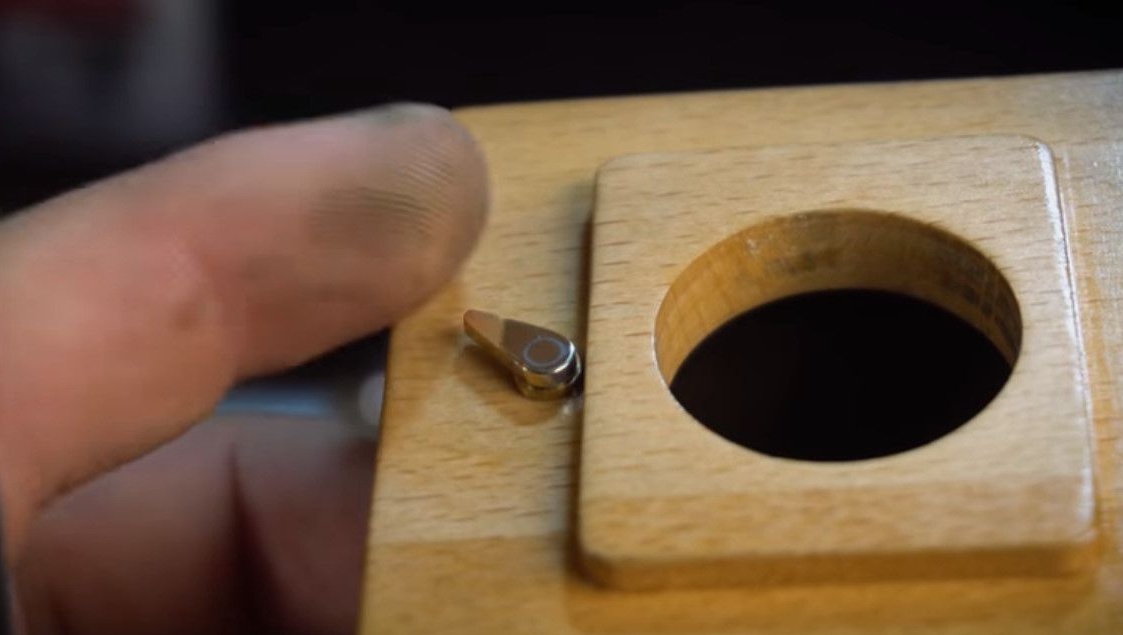
Back to camera control.
We grind a thin rod.
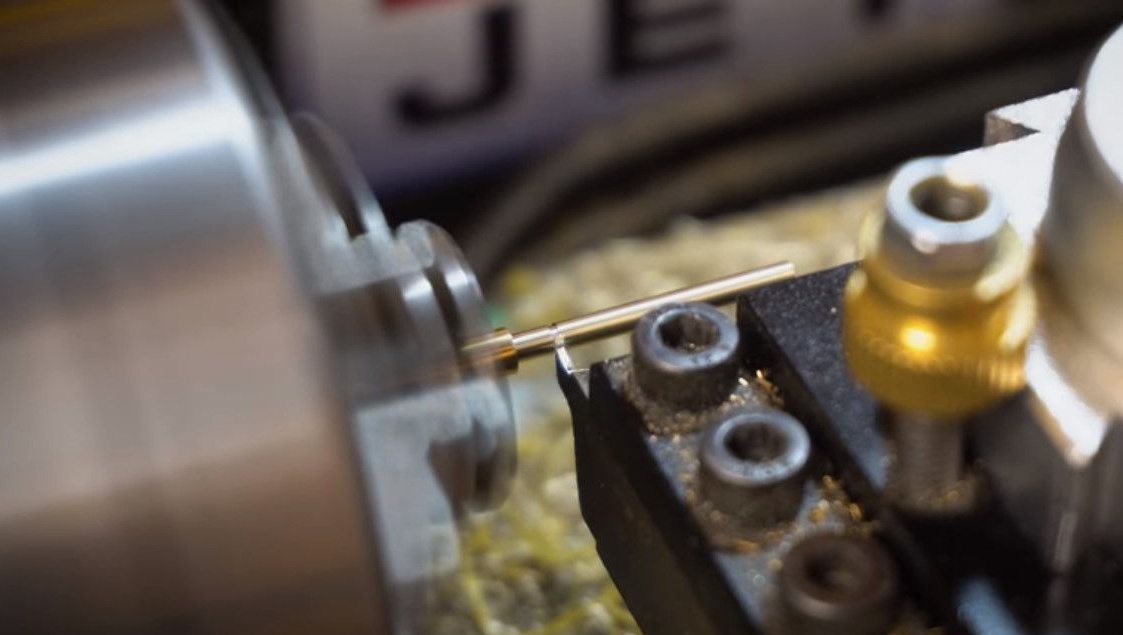
Solder a small lever to the rod.
We polish, grind, install.
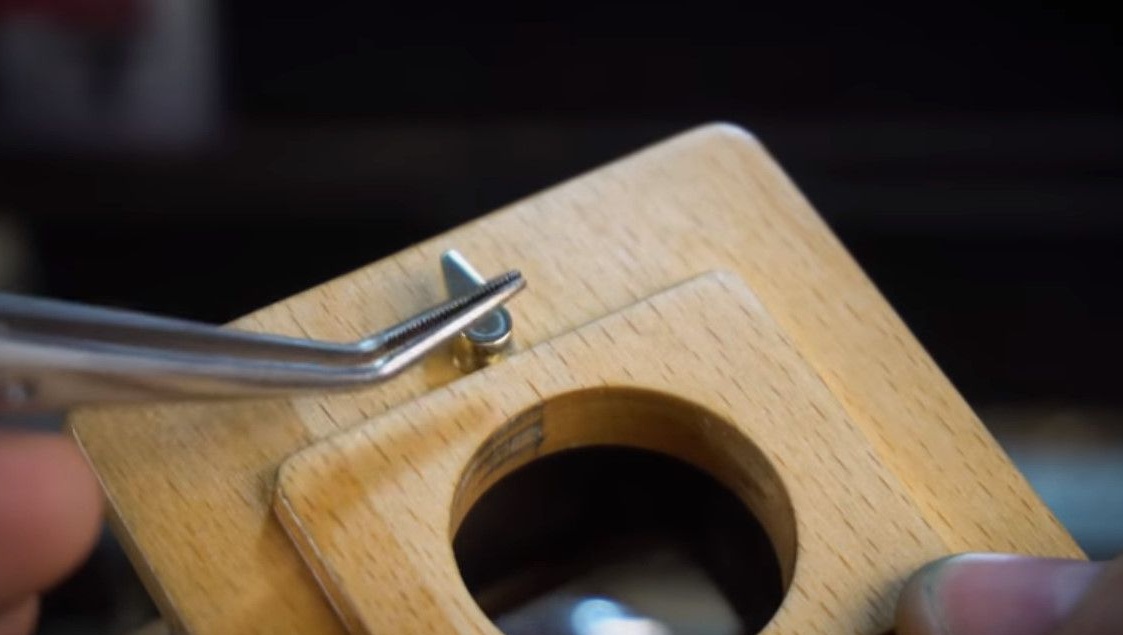
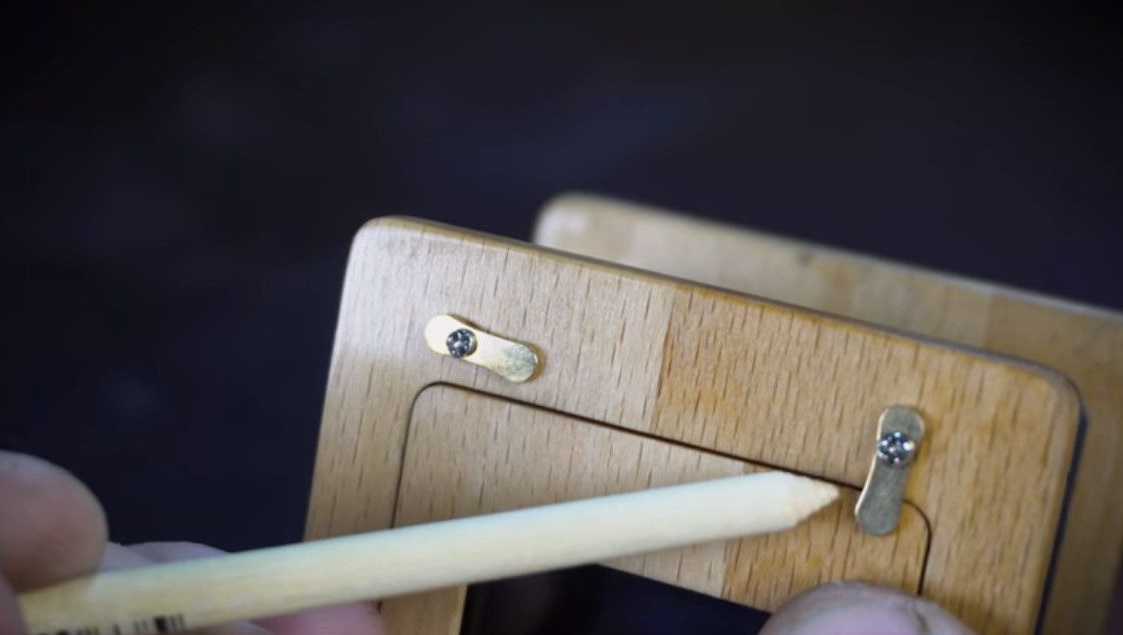
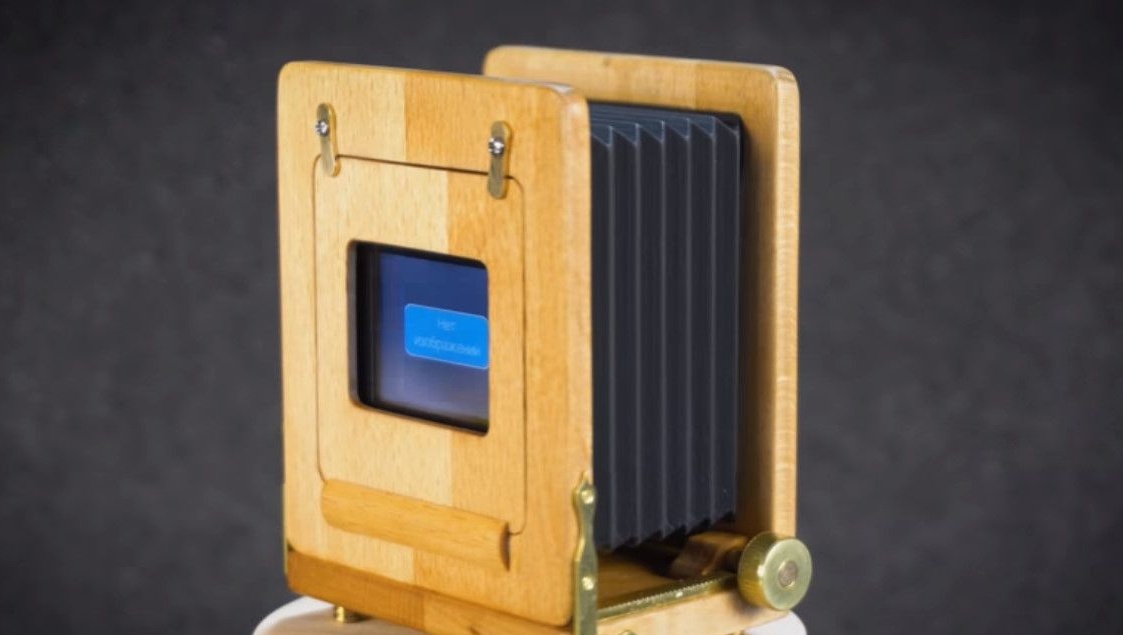
On the back there will be a plate for pressing two buttons.
Turning the lever in one direction, the camera power button will be pressed.
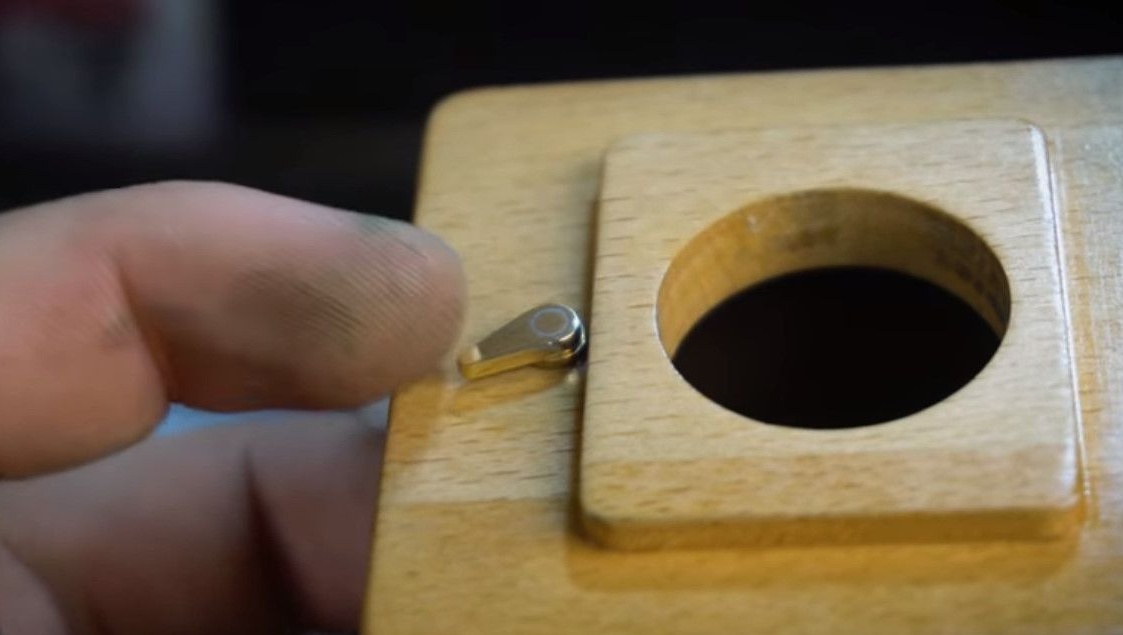
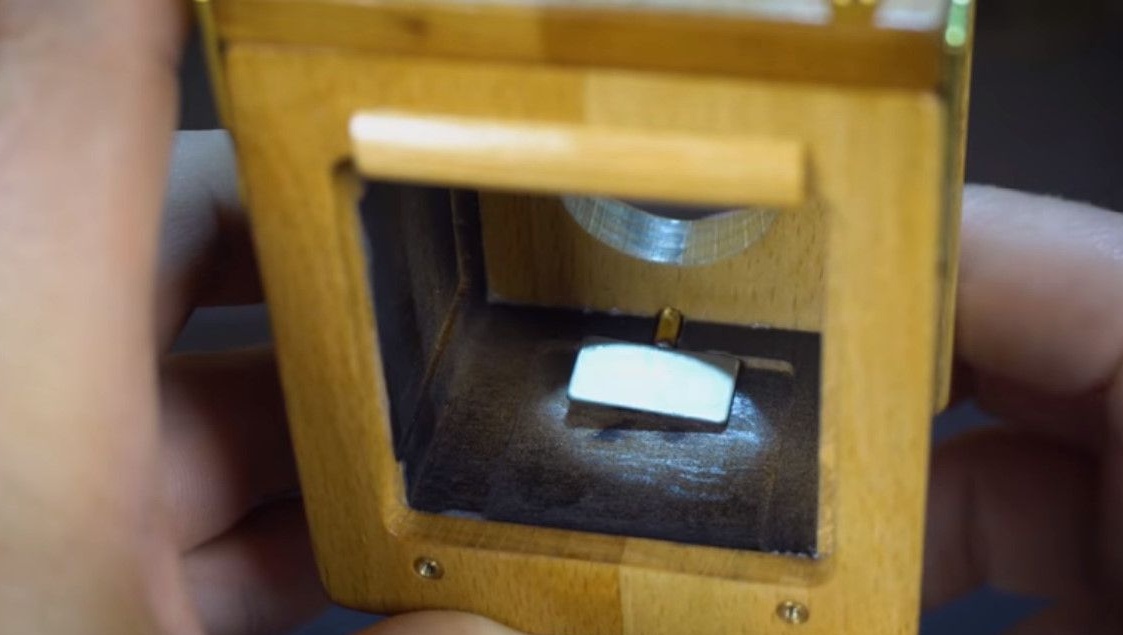
And when turning the other way - the record button.
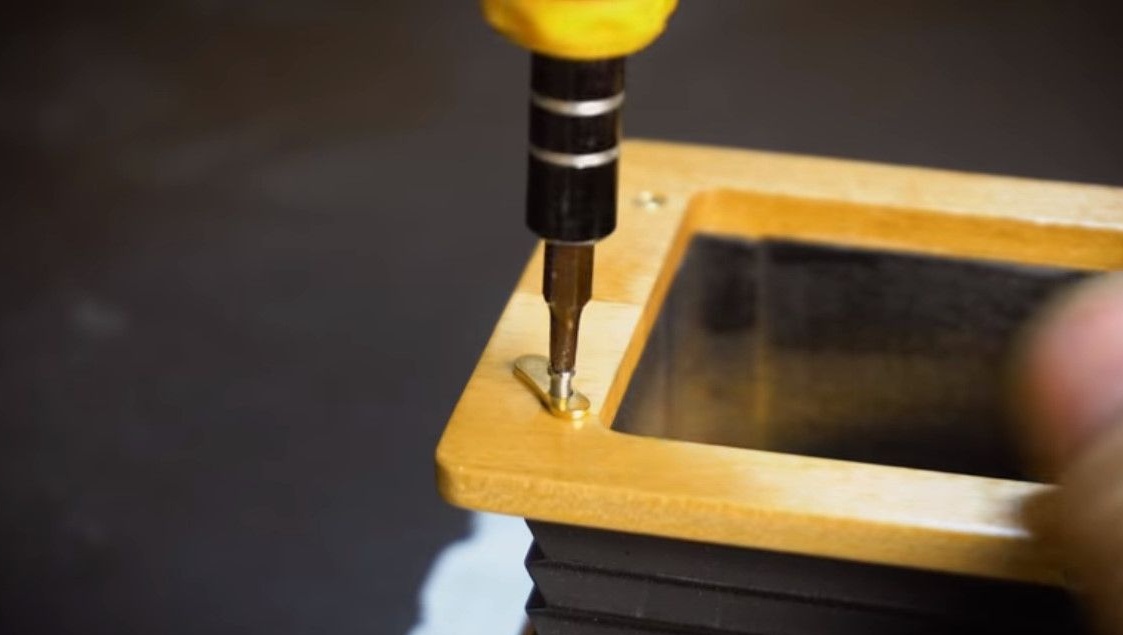
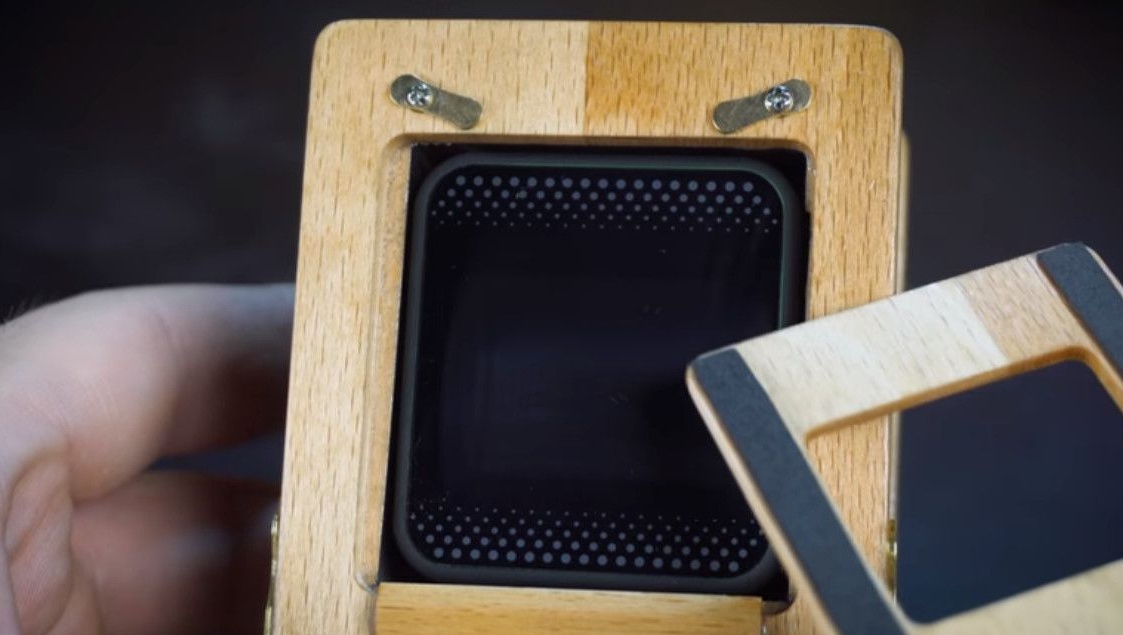
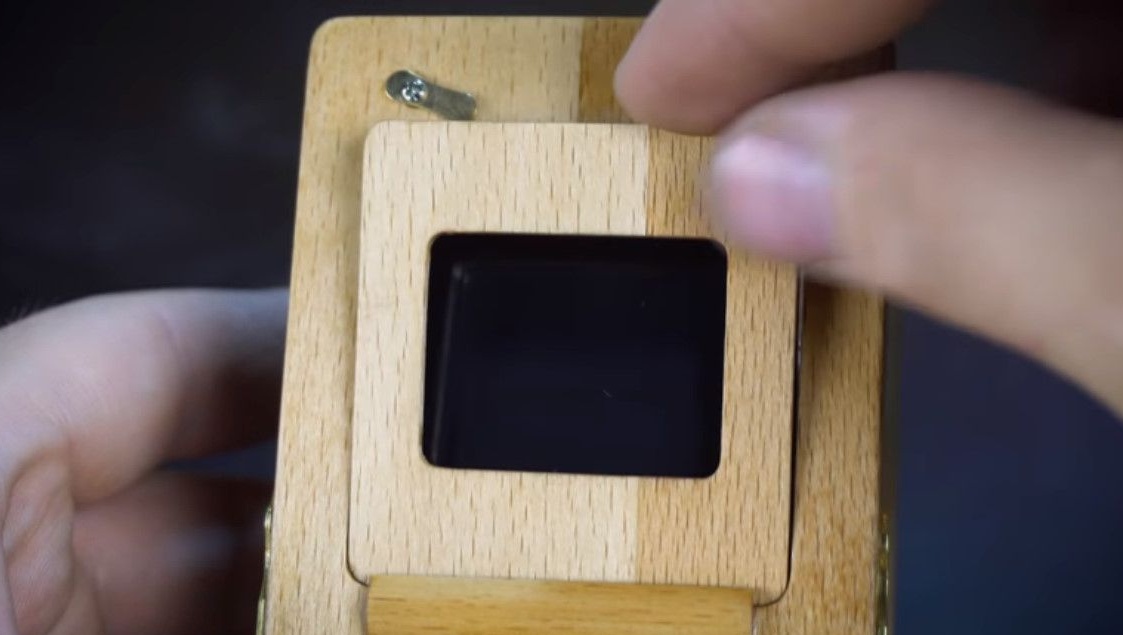
Screw the two upper latches on the back cover.
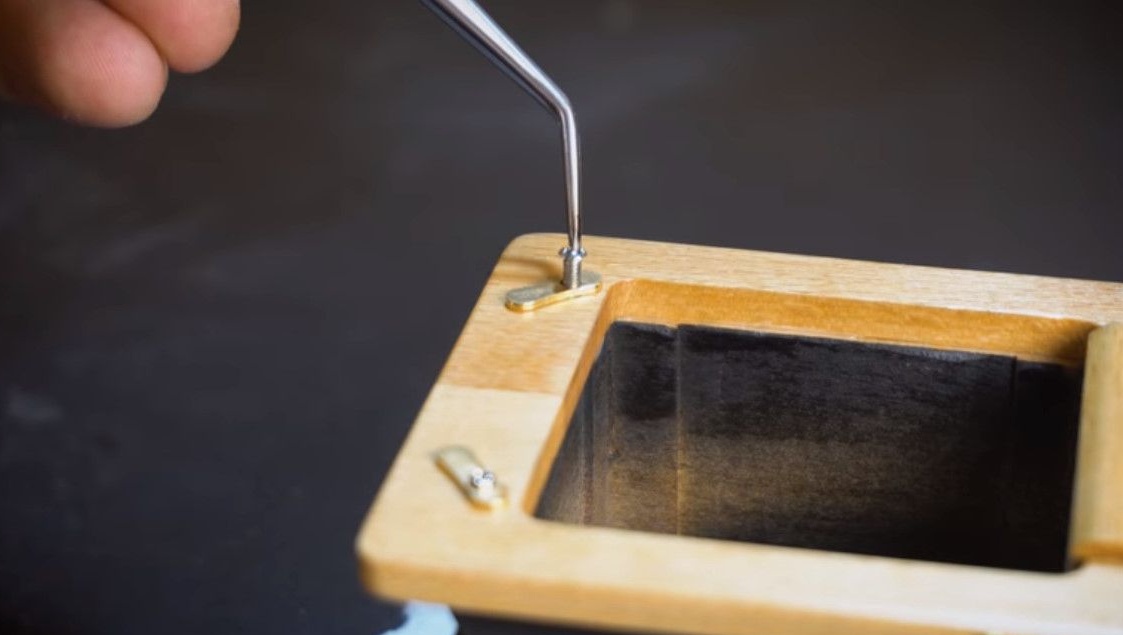
Insert the last part.
Almost everything is ready. Glue two soft pads on the small frame so that the camera does not get scratched and locks securely in place.
The first launch was successful, and this is already good.
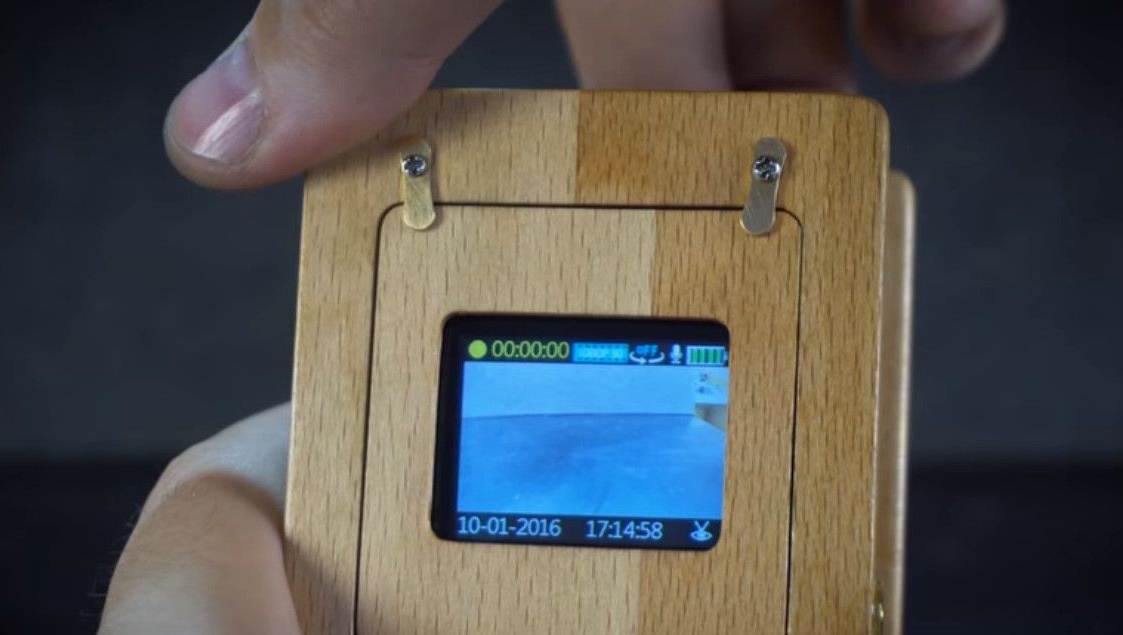
In the future, it is planned to make a small wooden tripod for her and use it as a web camera.
A small portfolio of handsome - corps from different angles.

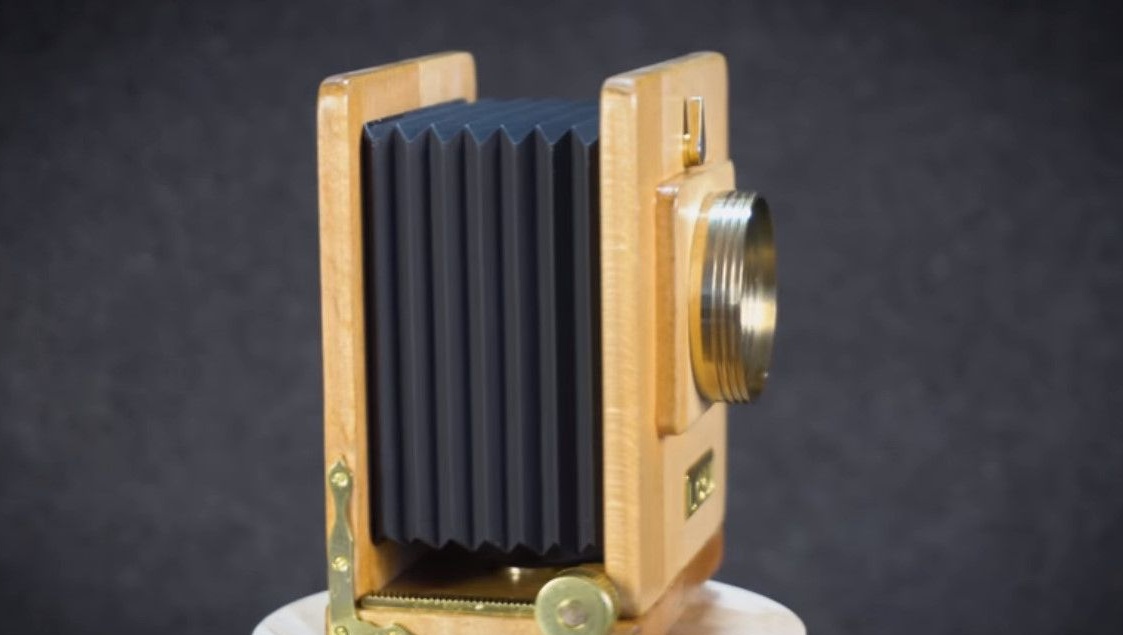
For you demonstrated the manufacturing process of Lefthander.
Process video:
Good luck to all!