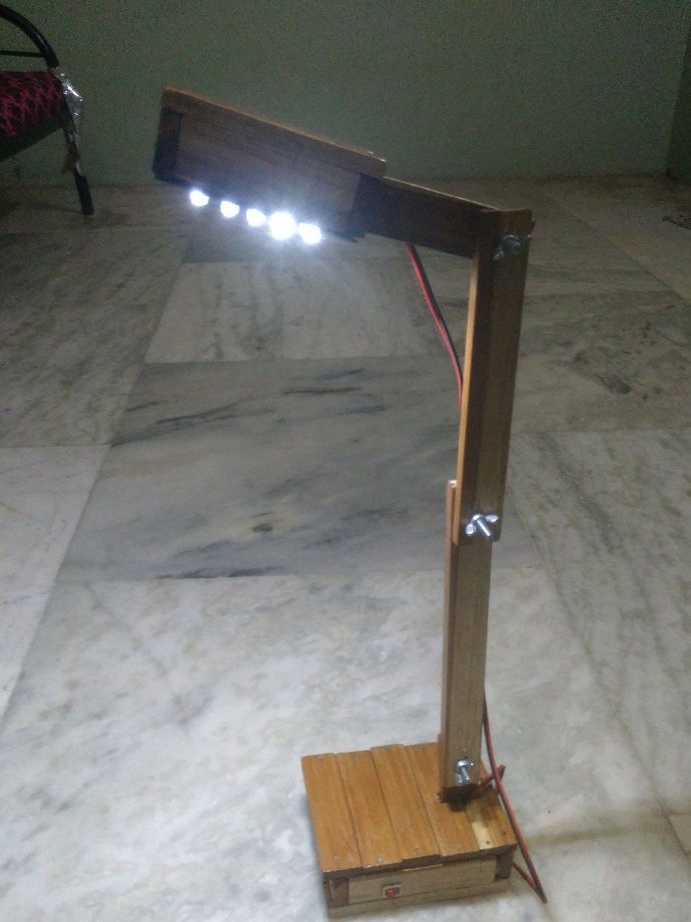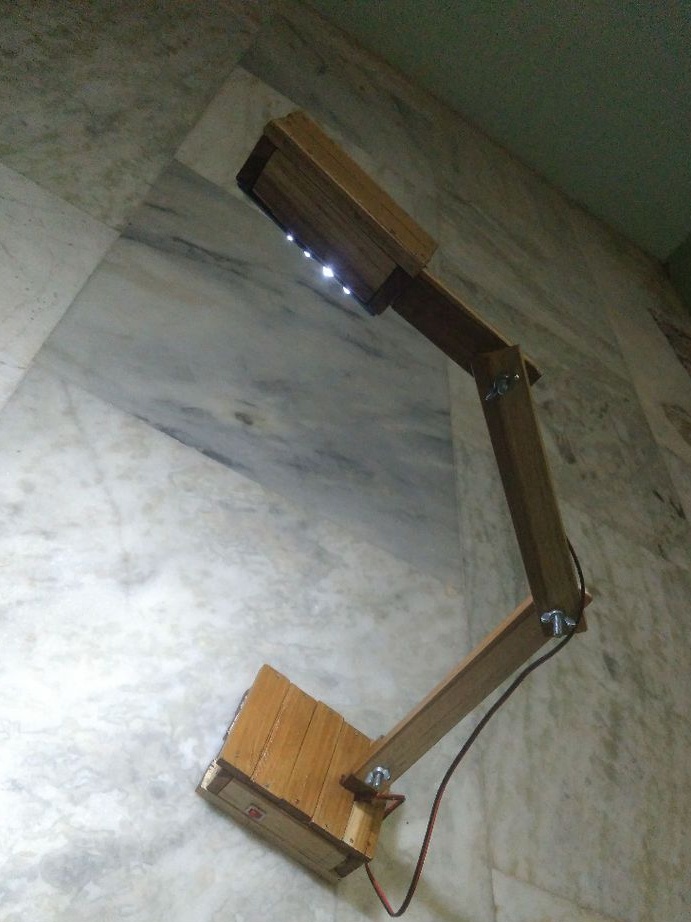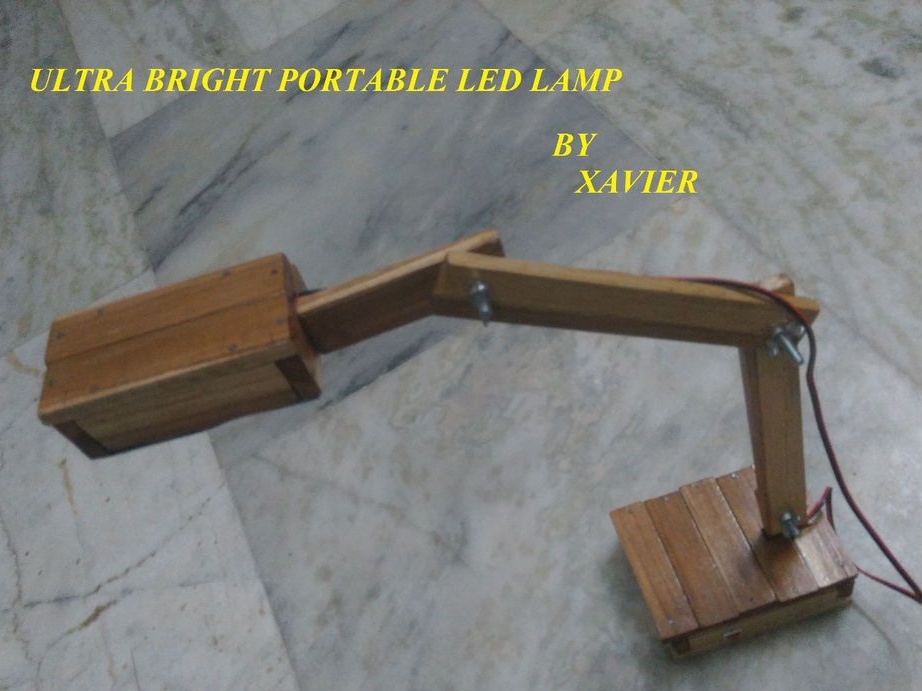
Another one homemade from an Indian master. Rechargeable LED table lamp. It is not difficult to make such a lamp, but its author uses it as emergency lighting during a power outage.
For the manufacture of the lamp master uses the following
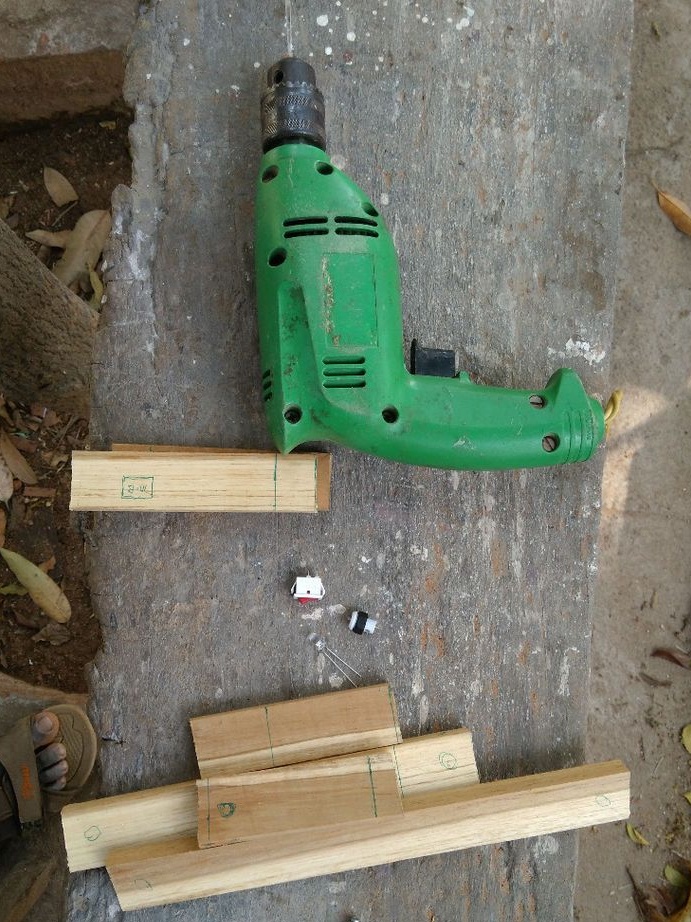
Materials and tools:
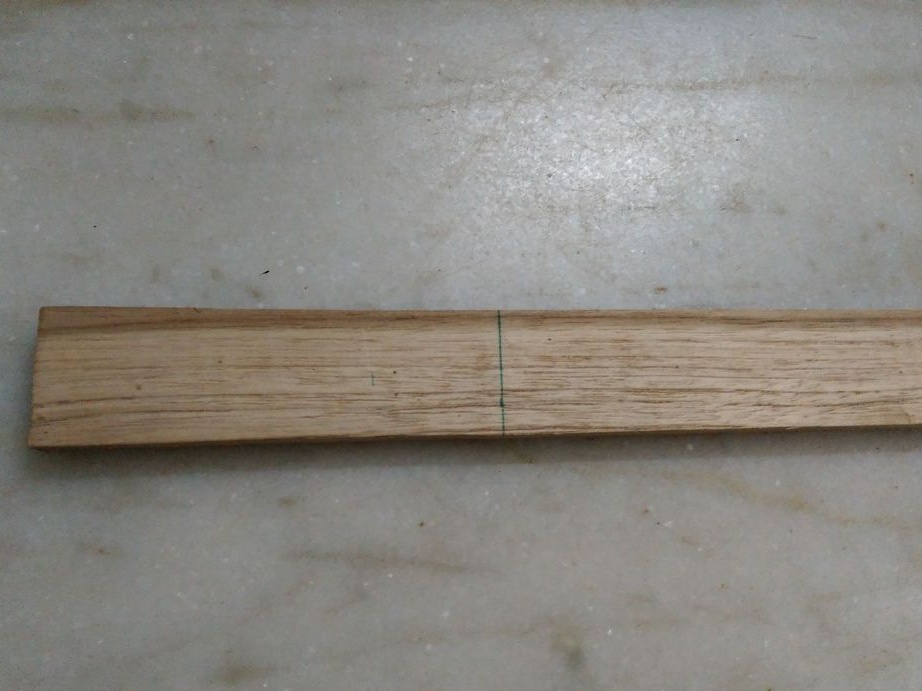
-Teak;
-Connector;
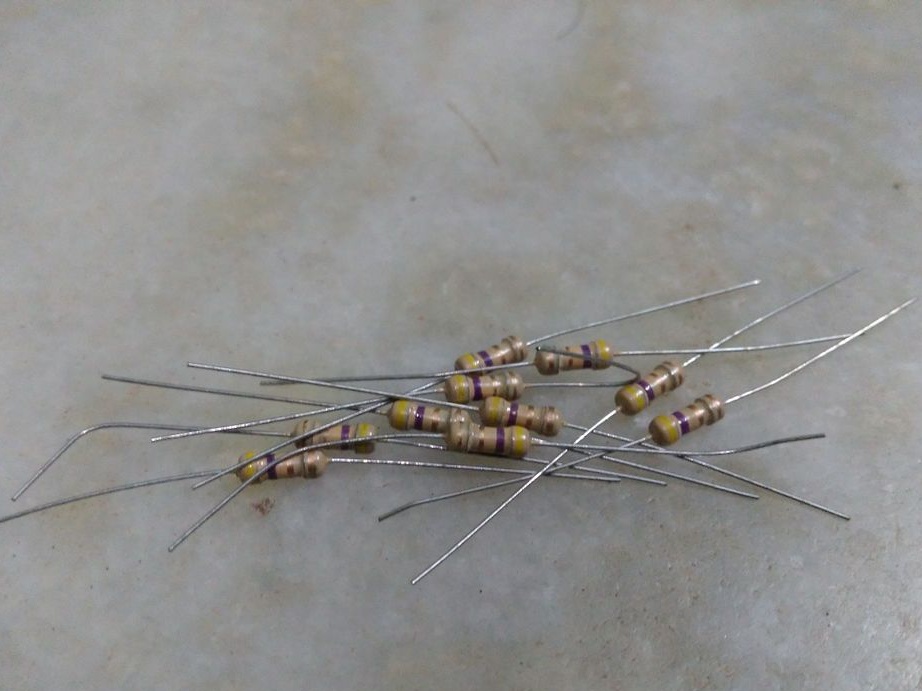
-Resistor 470 Ohm;
-Resistor 4.7 Ohm - 1- pc;
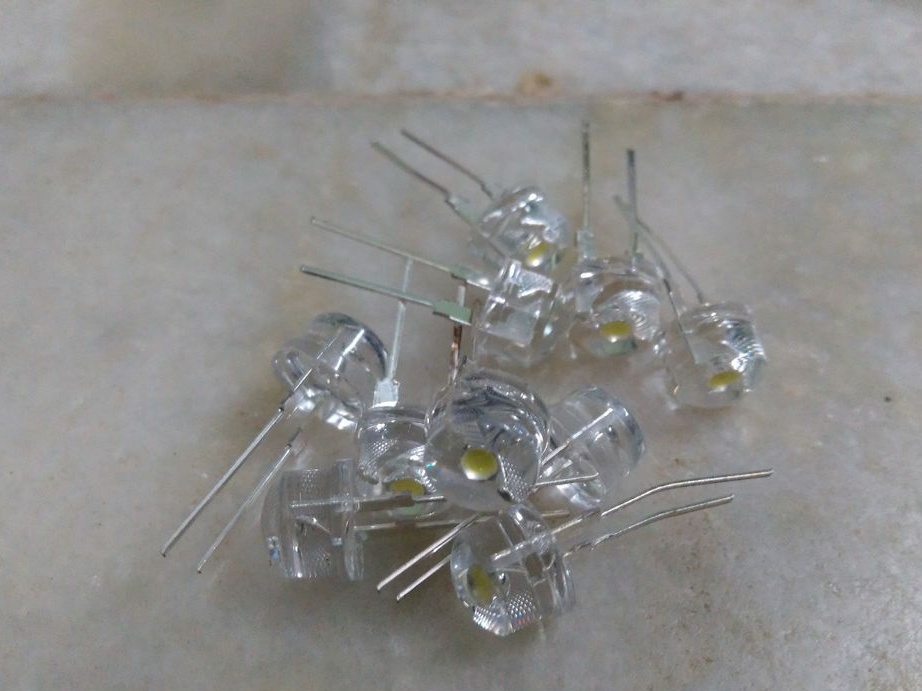
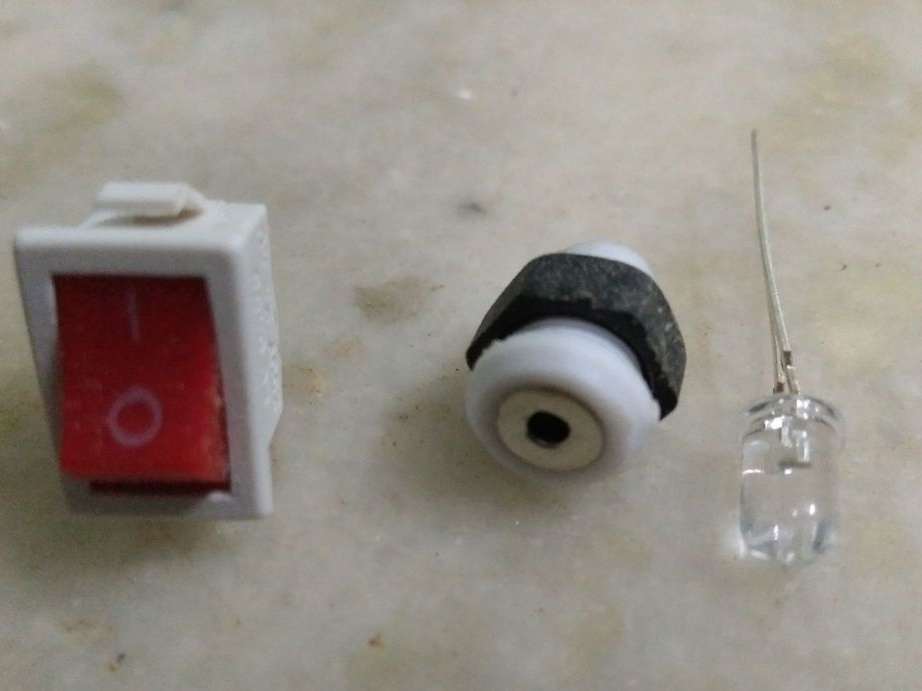
-Red LED;
-White LED -10 pcs;
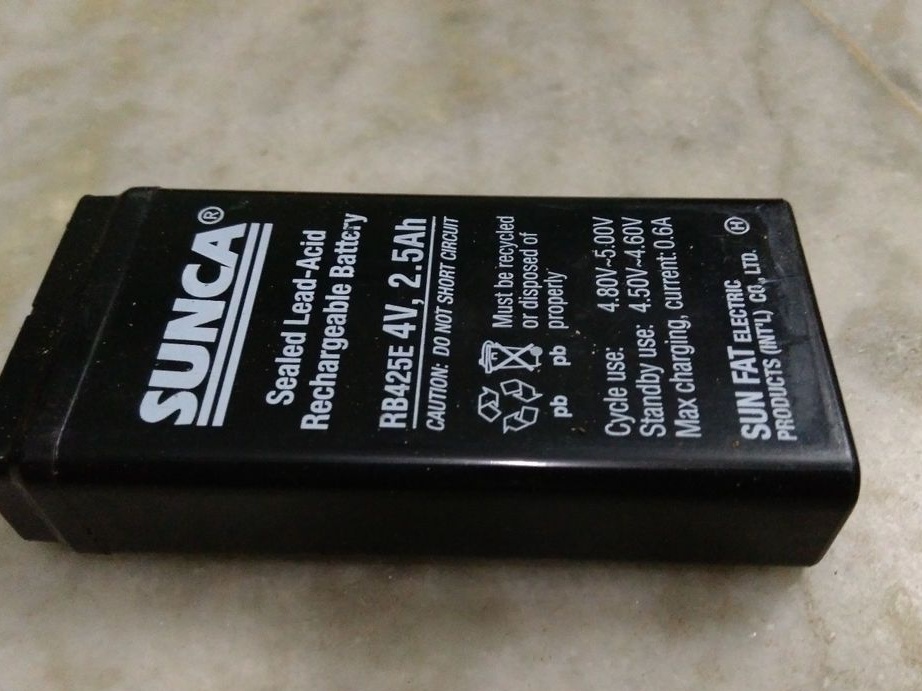
- Rechargeable battery 4v, 2.5 mAh;
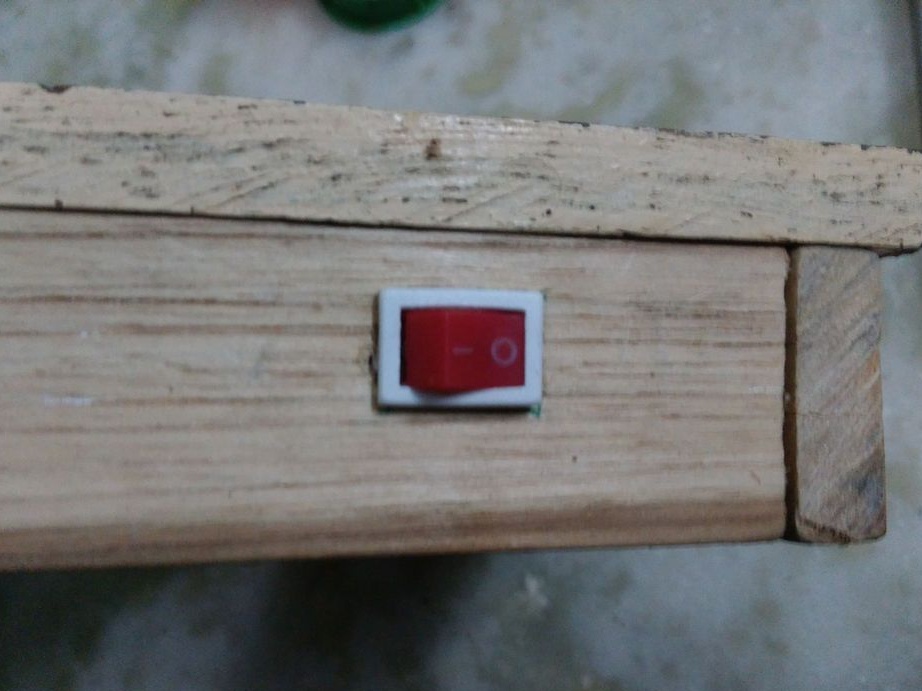
-Switch;
-Flat PVC sheet;
Diode IN4007;
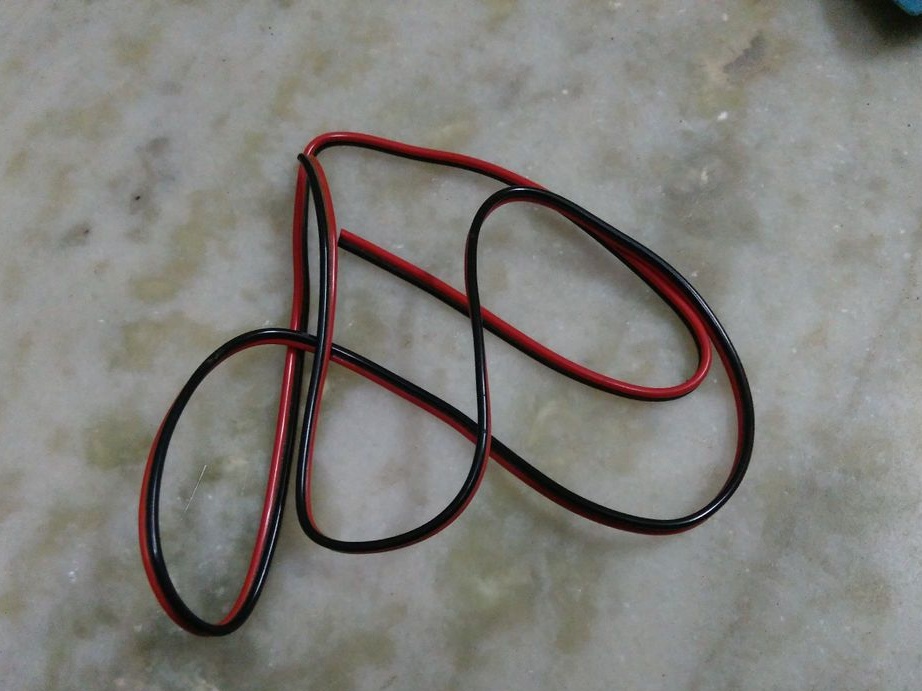
-The wire;
-Varnish;
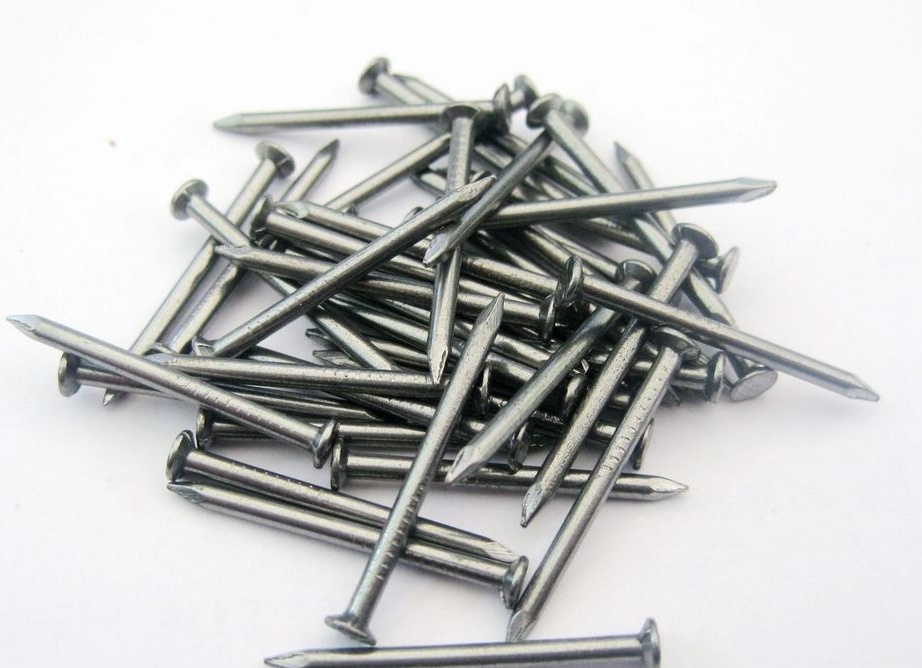
-Nails;
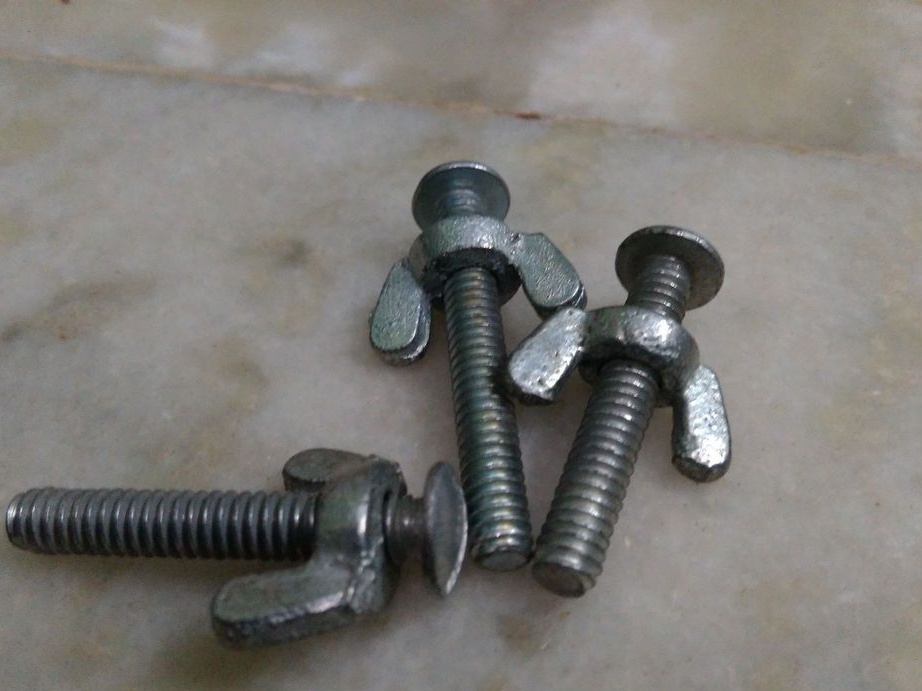
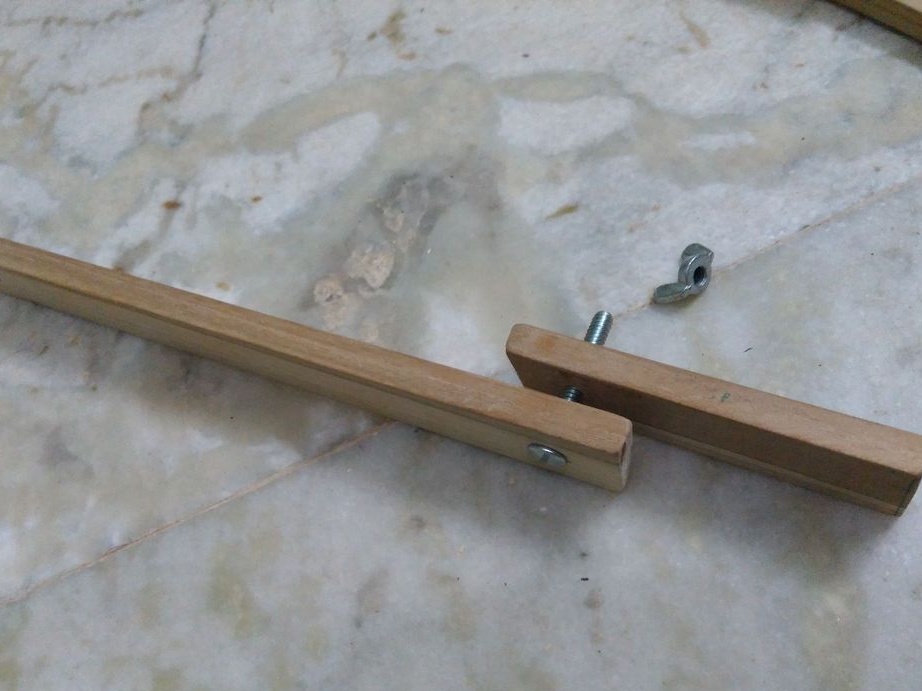
-Bolts with wing nuts;
-Saw;
-Drill;
-Soldering iron;
-Pencil;
-Rule;
-Clamp "third hand";
-Metal plate;
-Screws;


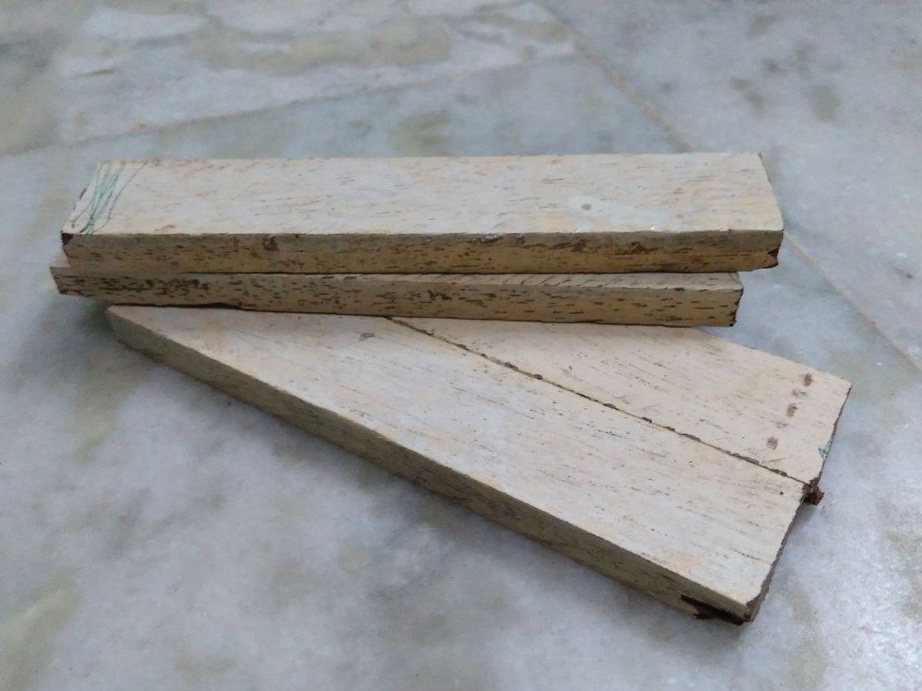
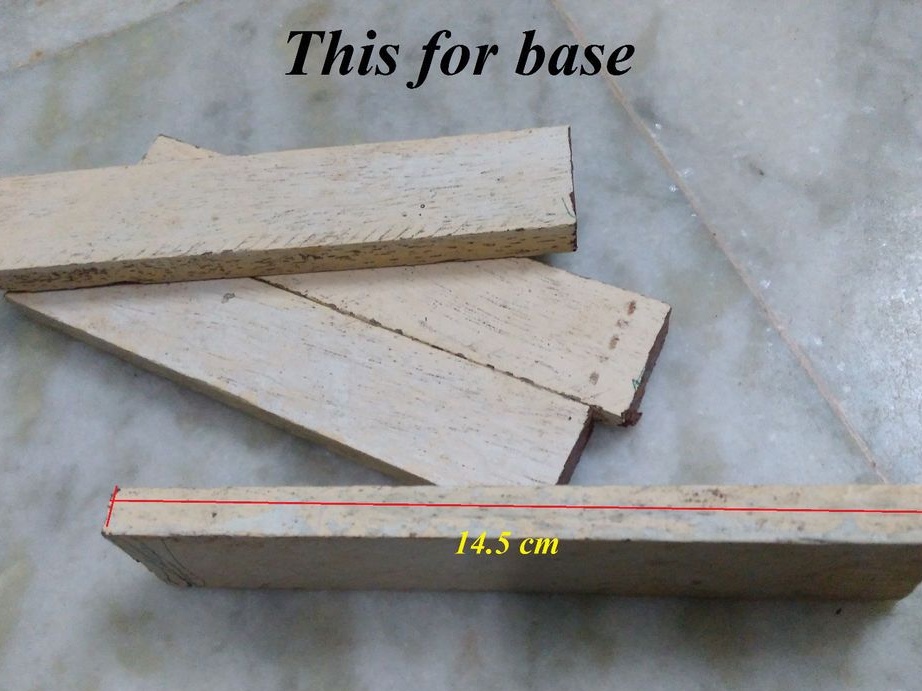
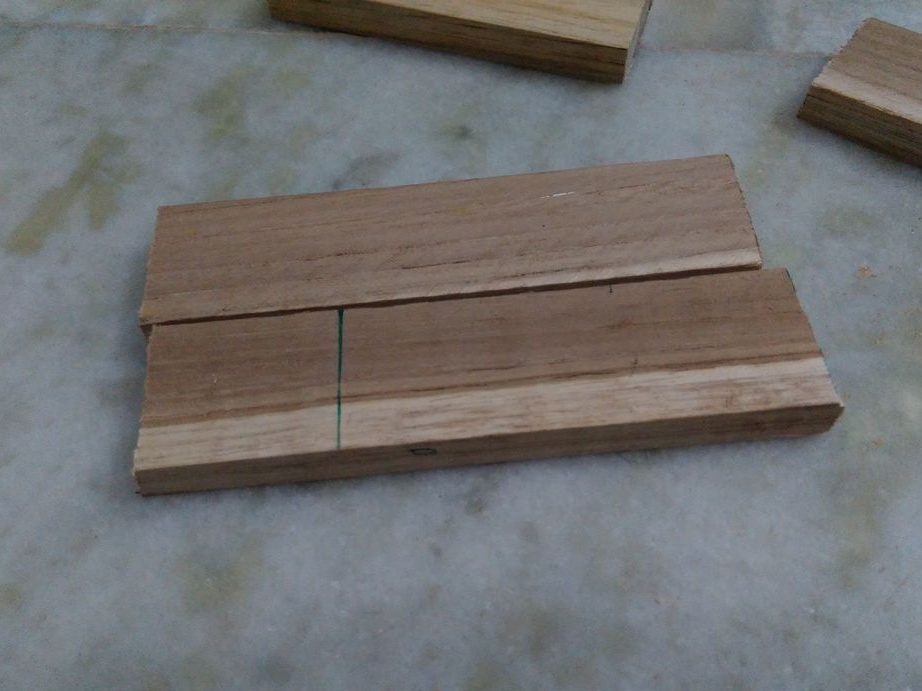
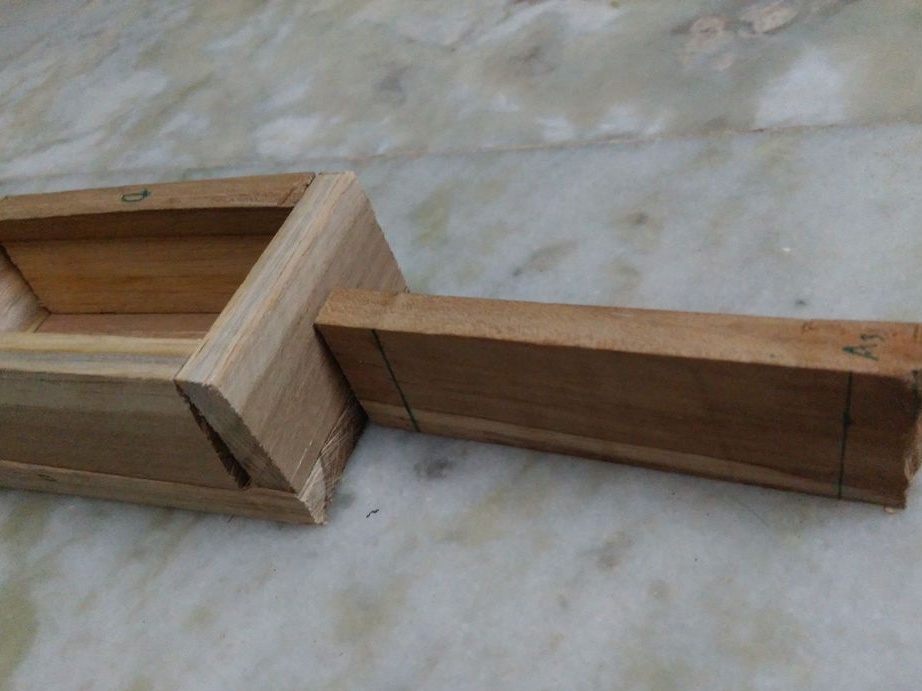
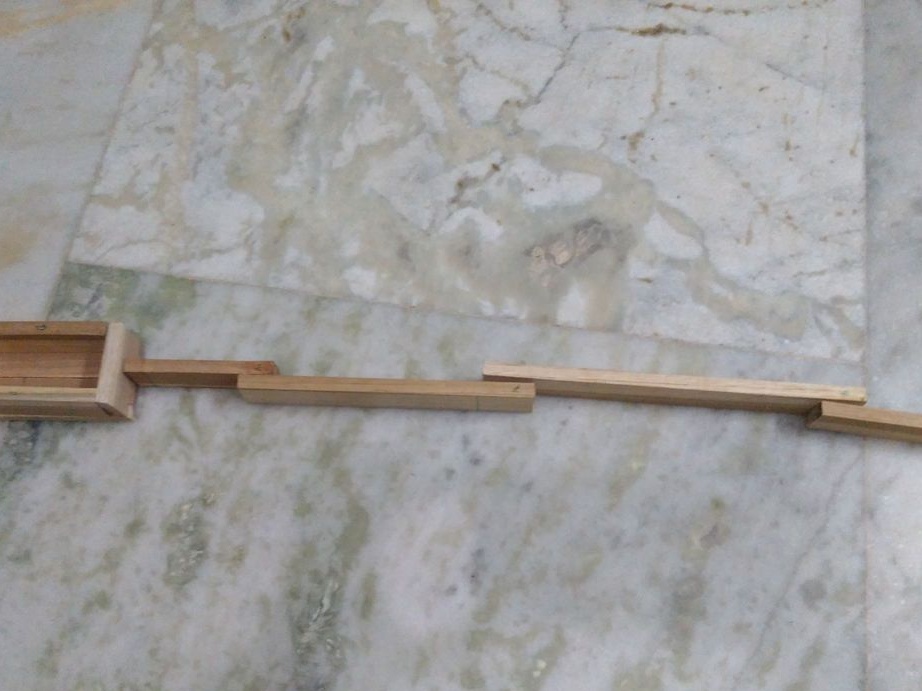
Step One: Material Procurement
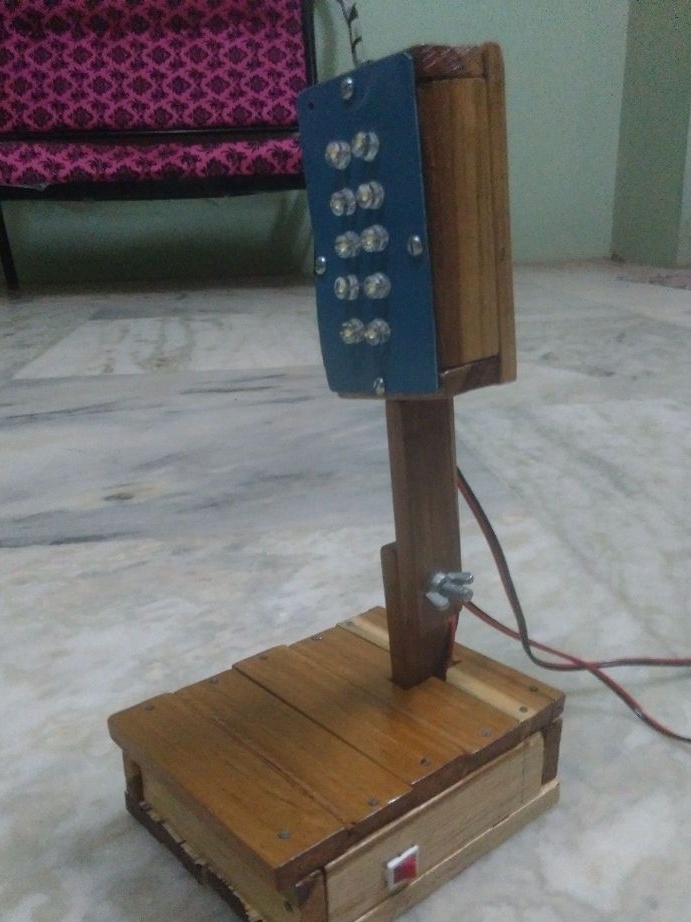
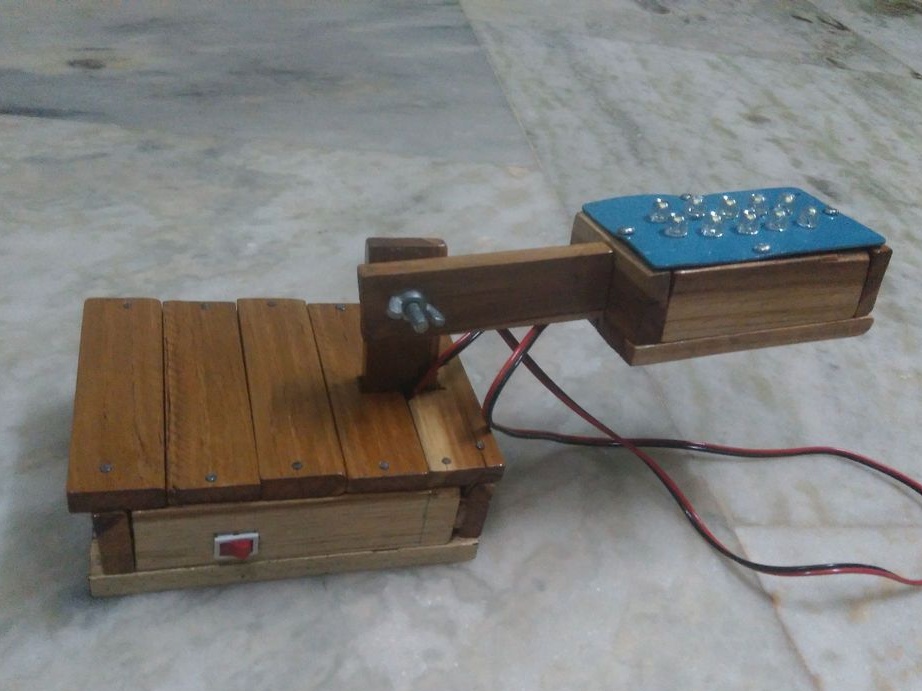
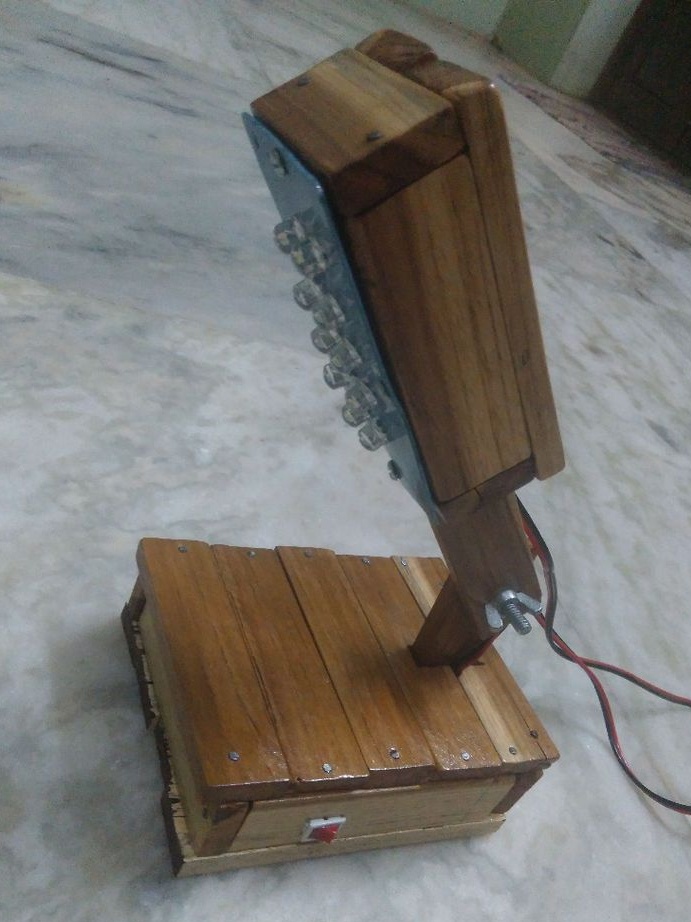
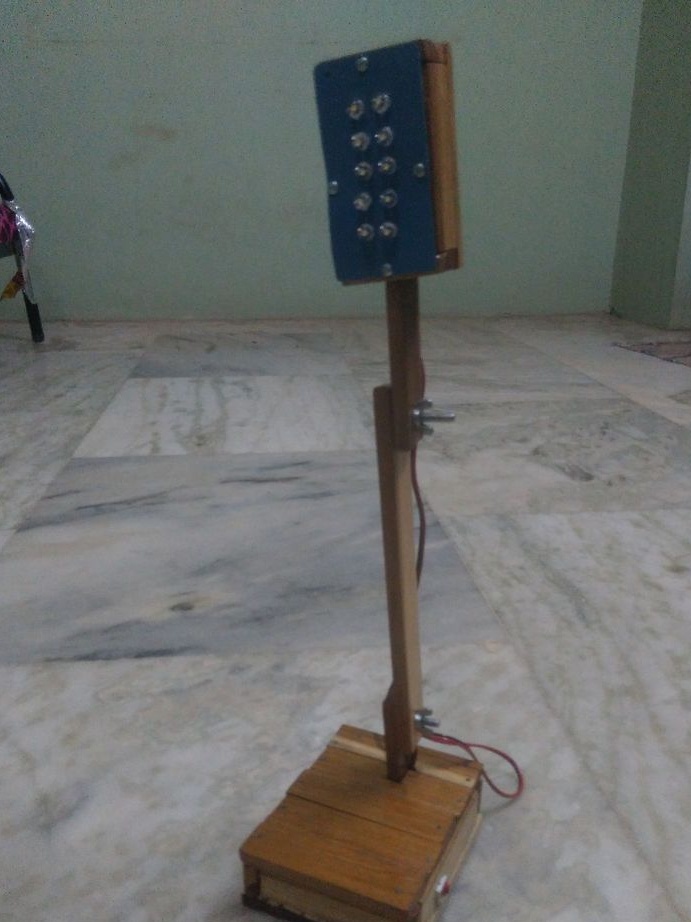
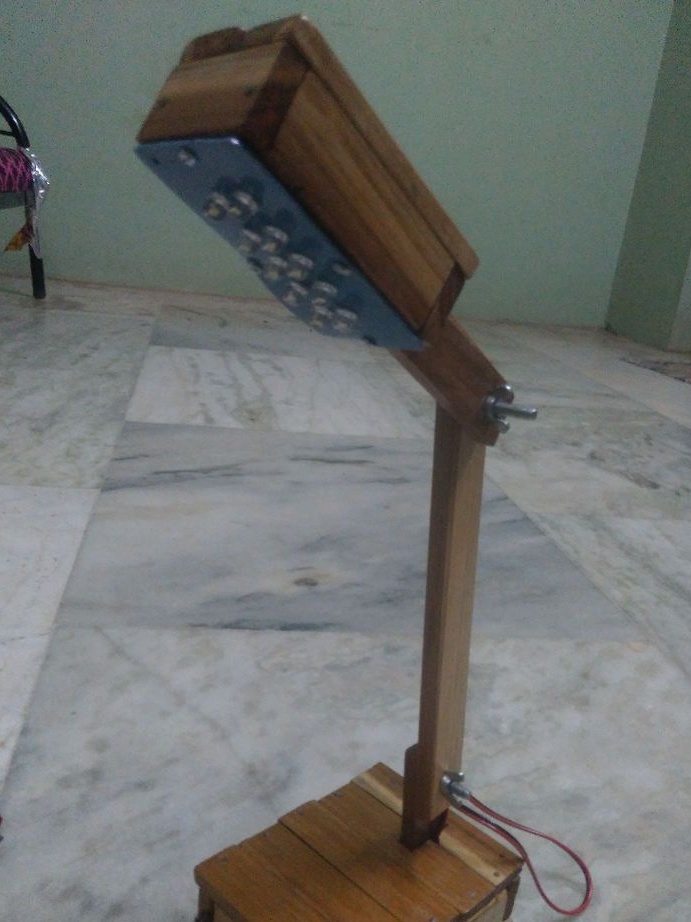
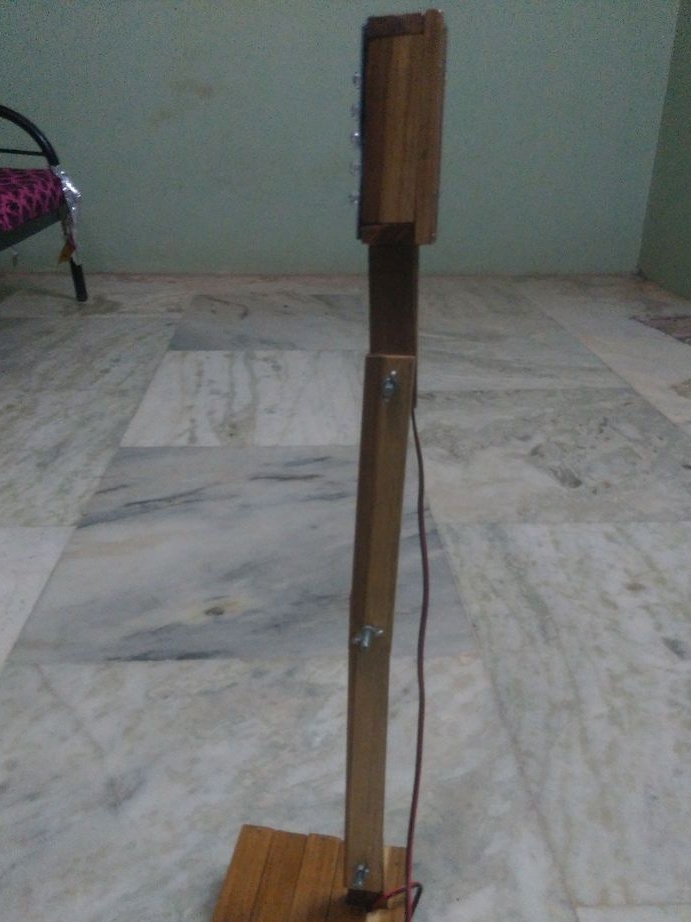
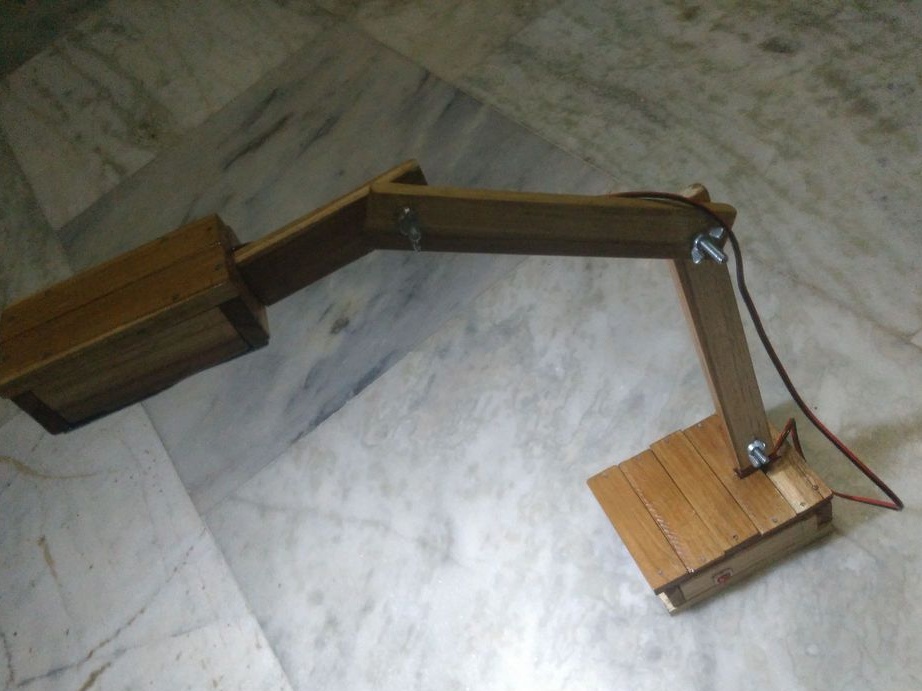
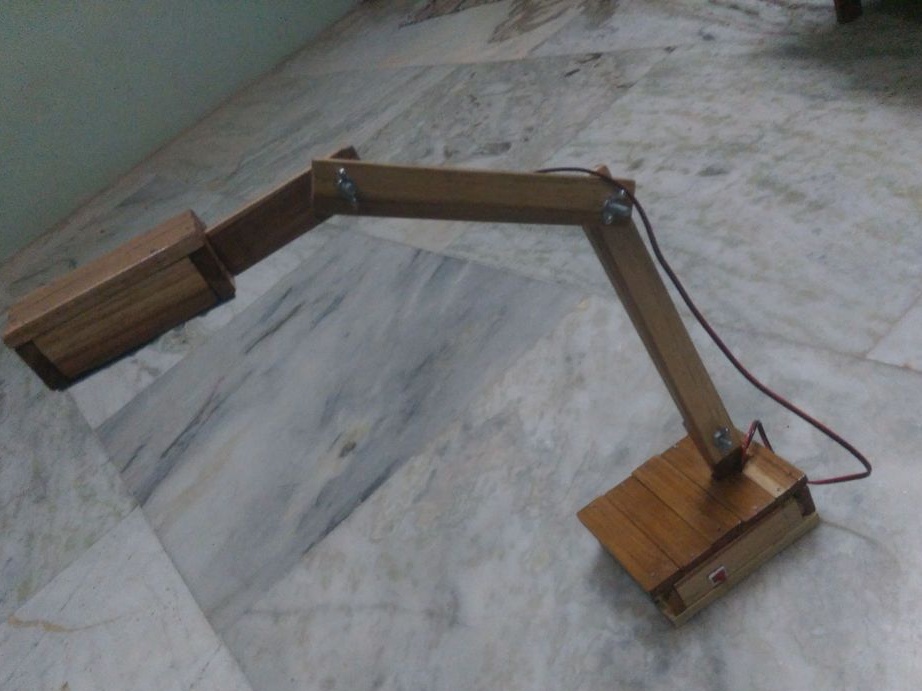
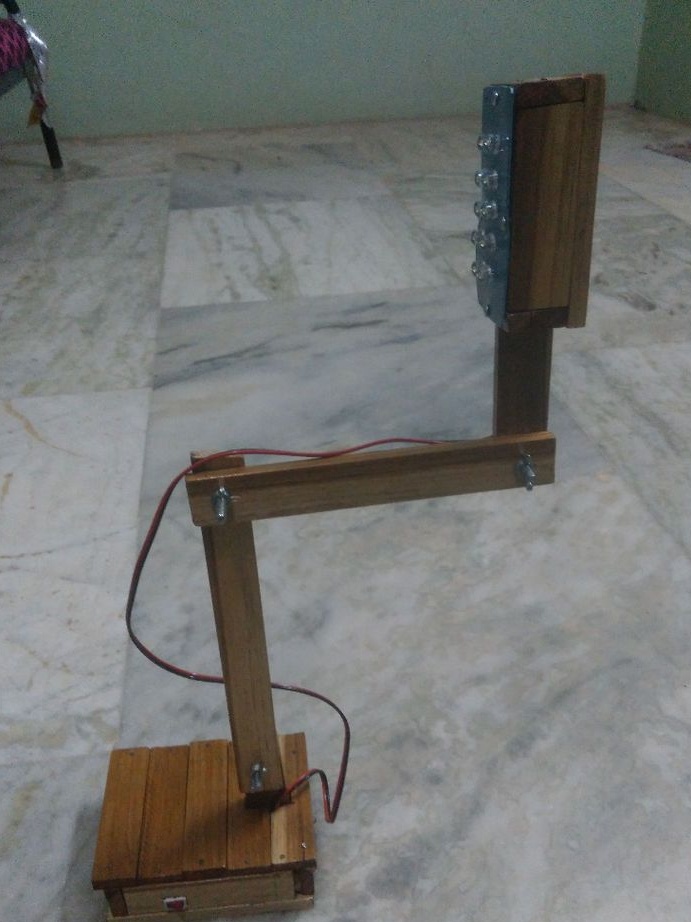
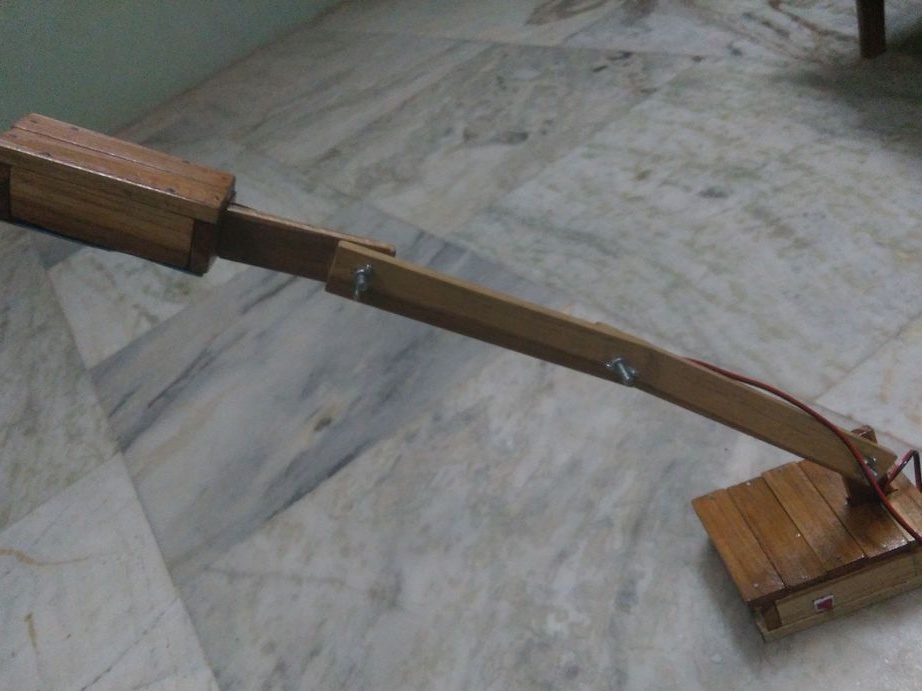
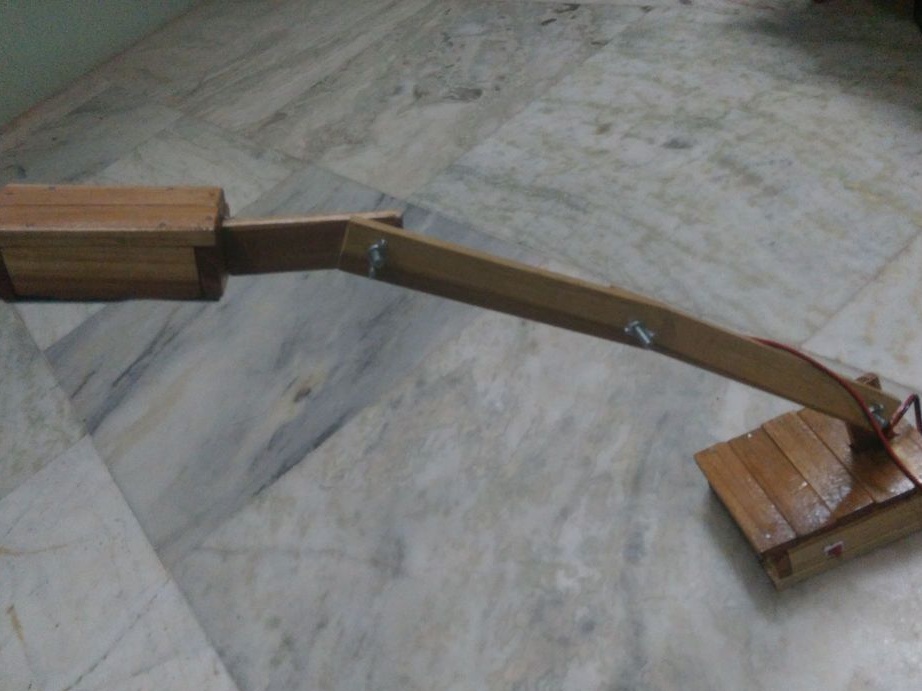
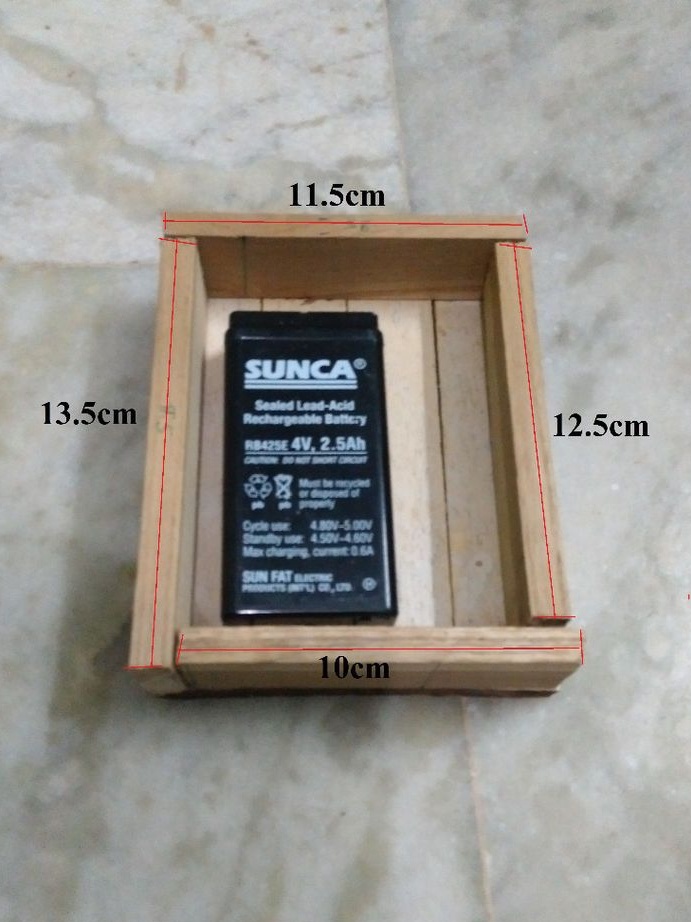
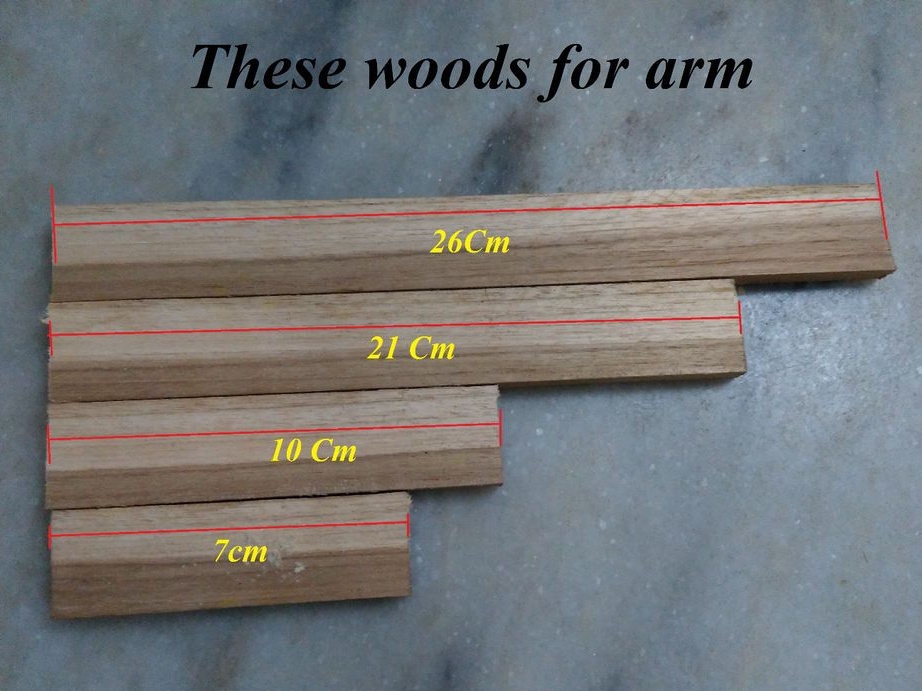
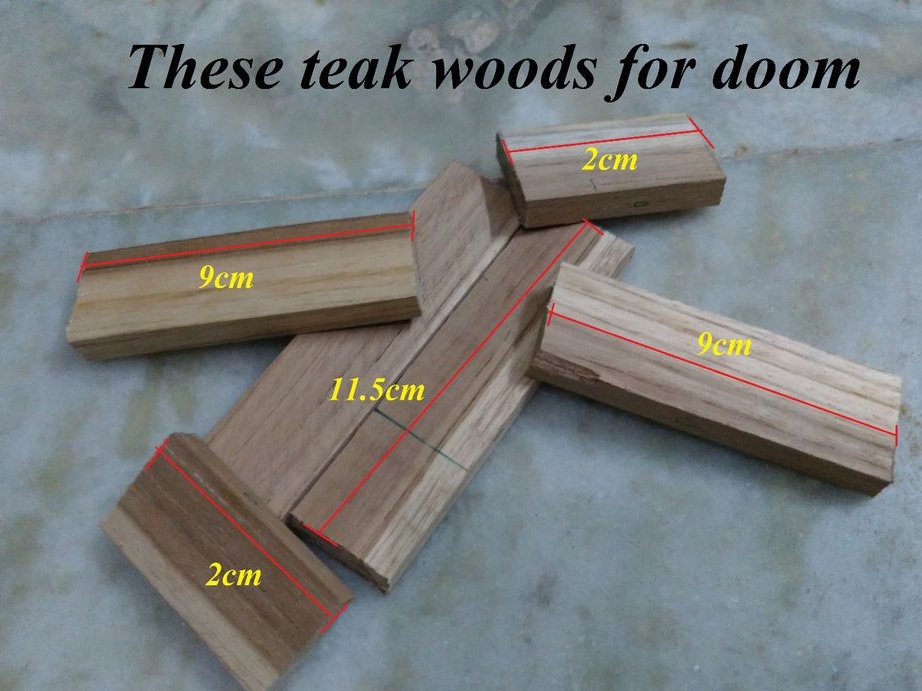
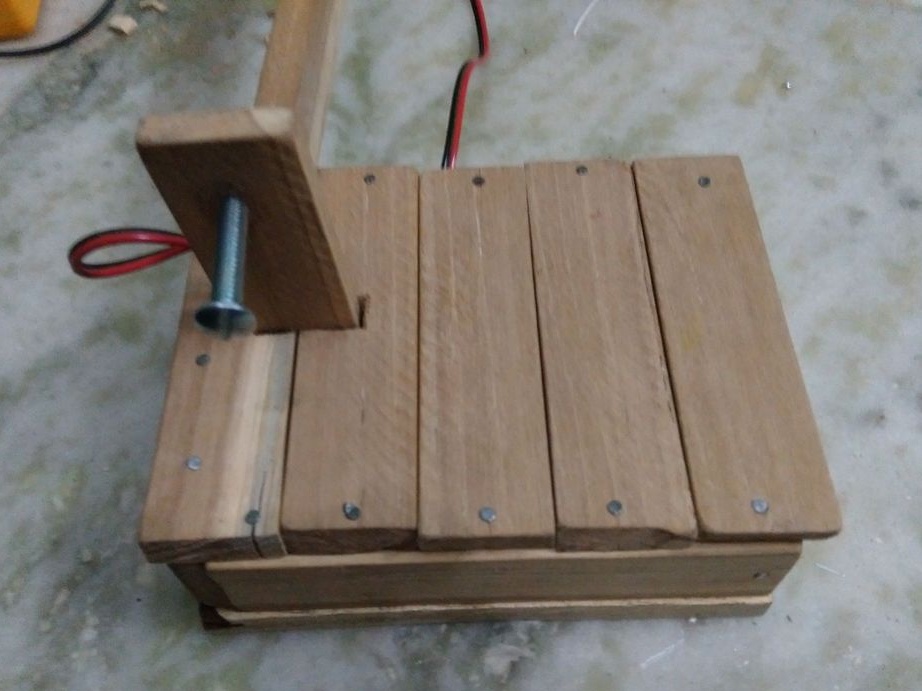
From teak rails cuts the workpiece. The wooden part of the lamp consists of three parts: the base, the movable stand and the upper part. For the base you need four segments of 14, 5 cm and one segment of 10 cm, 11.5 cm, 13.5 cm, 12.5 cm. For the rack - 10 cm, 21 cm, 26 cm, 7 cm one segment and for the ceiling 2 pcs. - 2 cm, 9 cm, 11 cm.

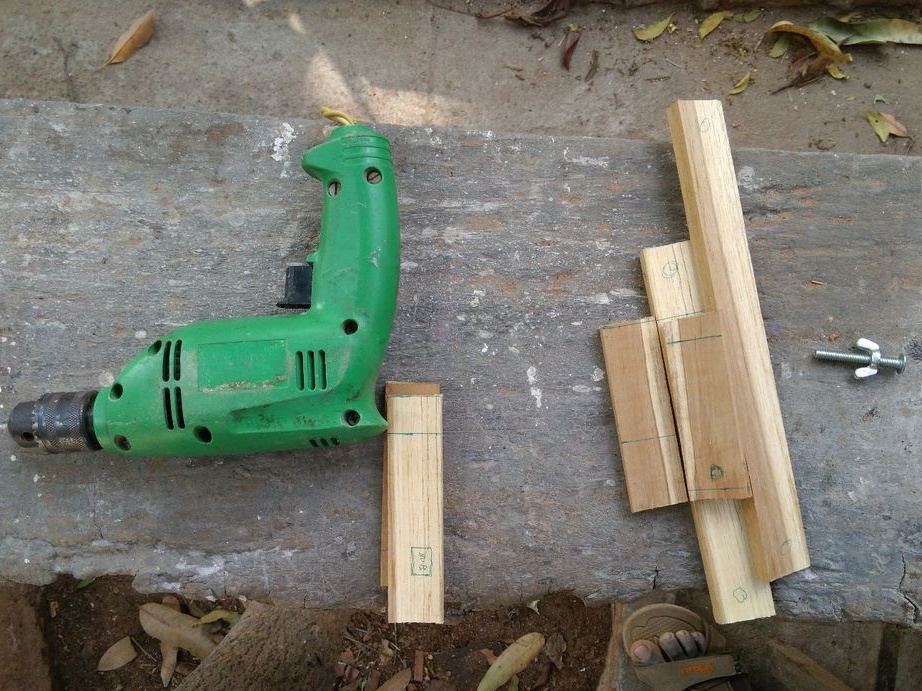
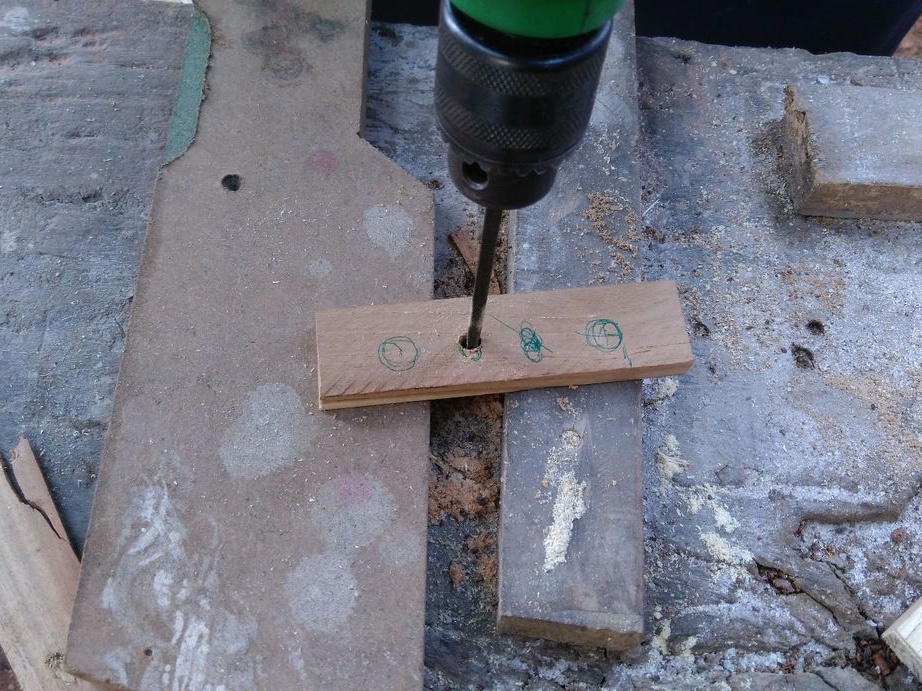
Step Two: Holes
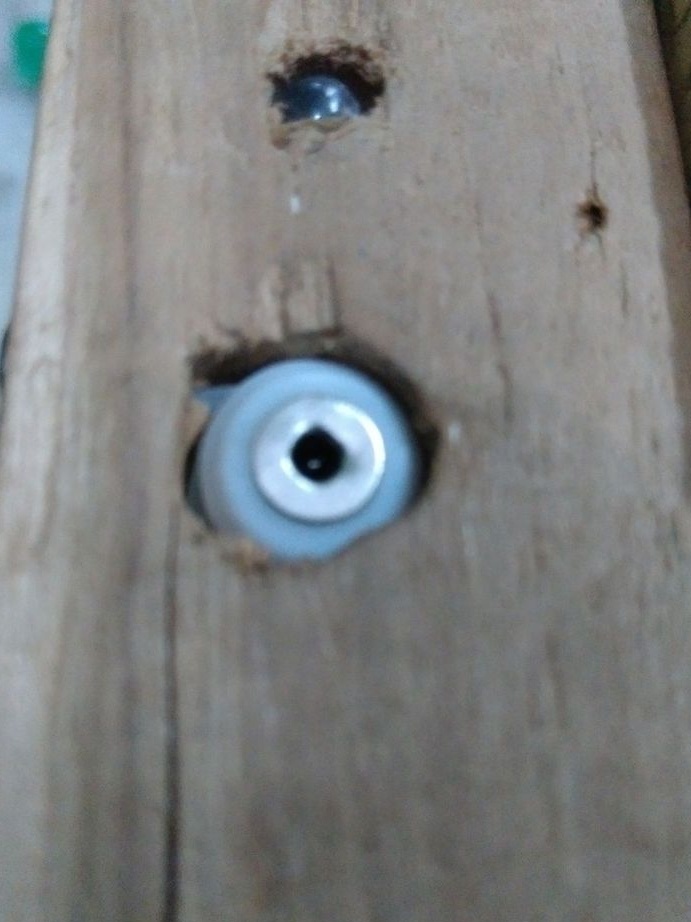
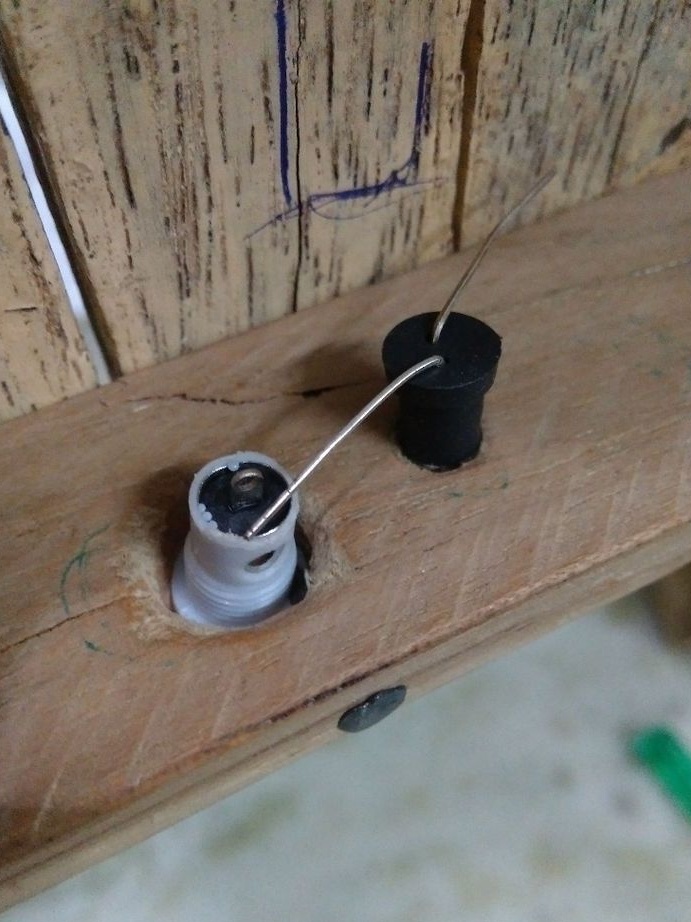
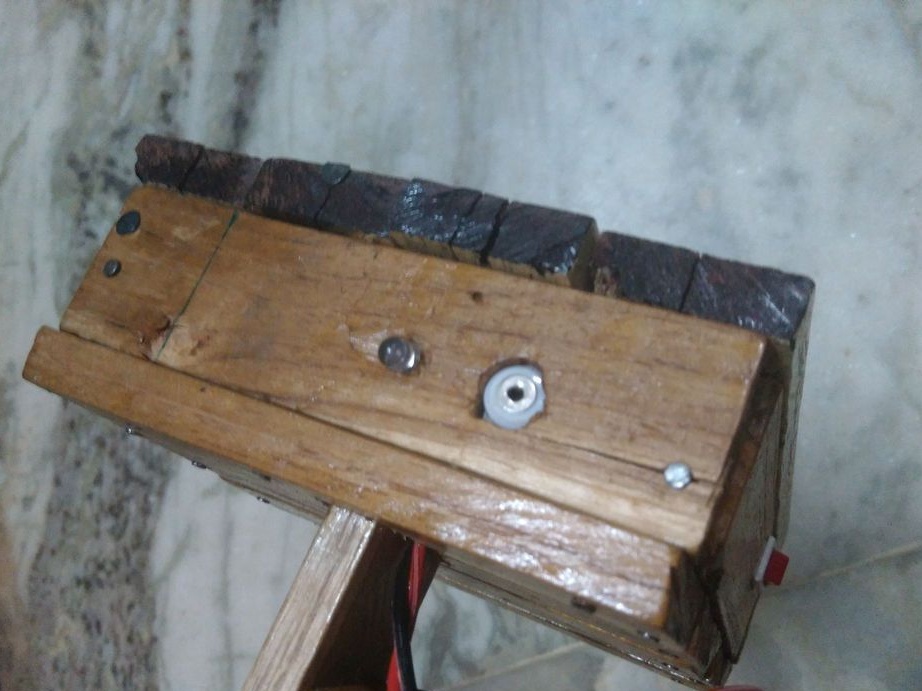
Makes a number of holes in the blanks: for indicator charge, connector, switch and mounting bolts.
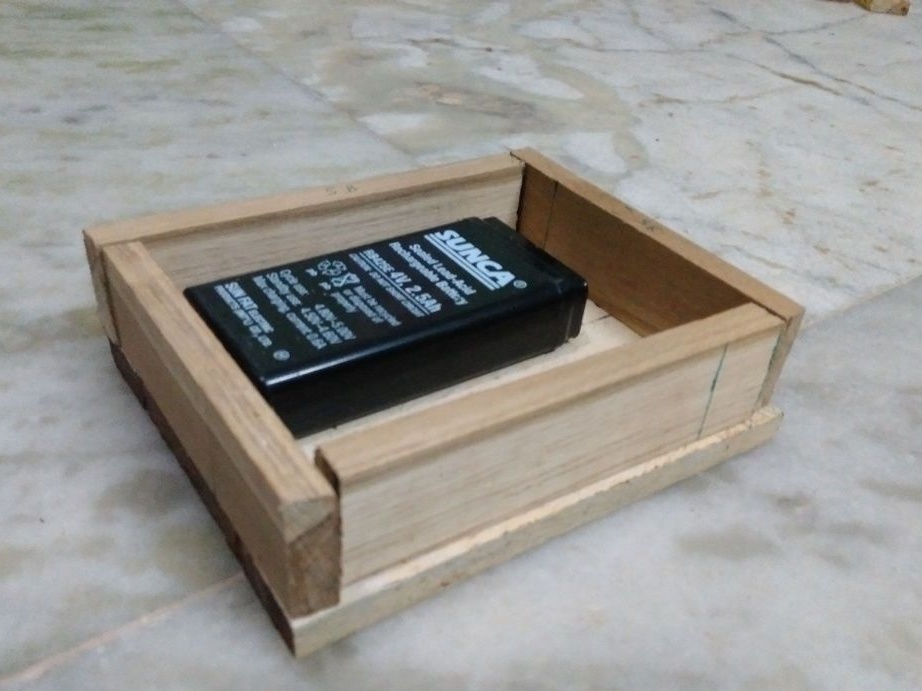
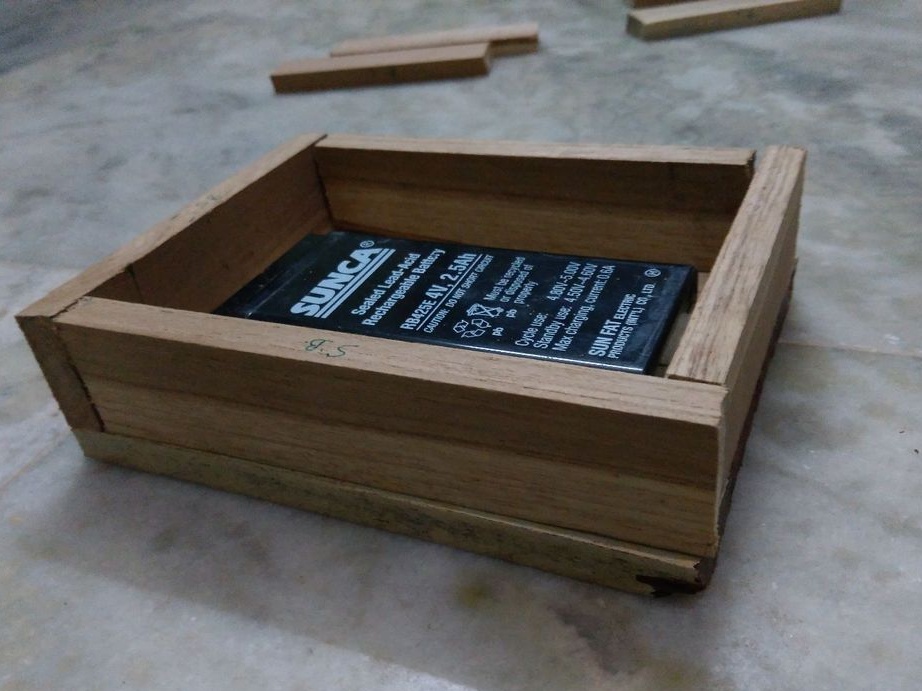
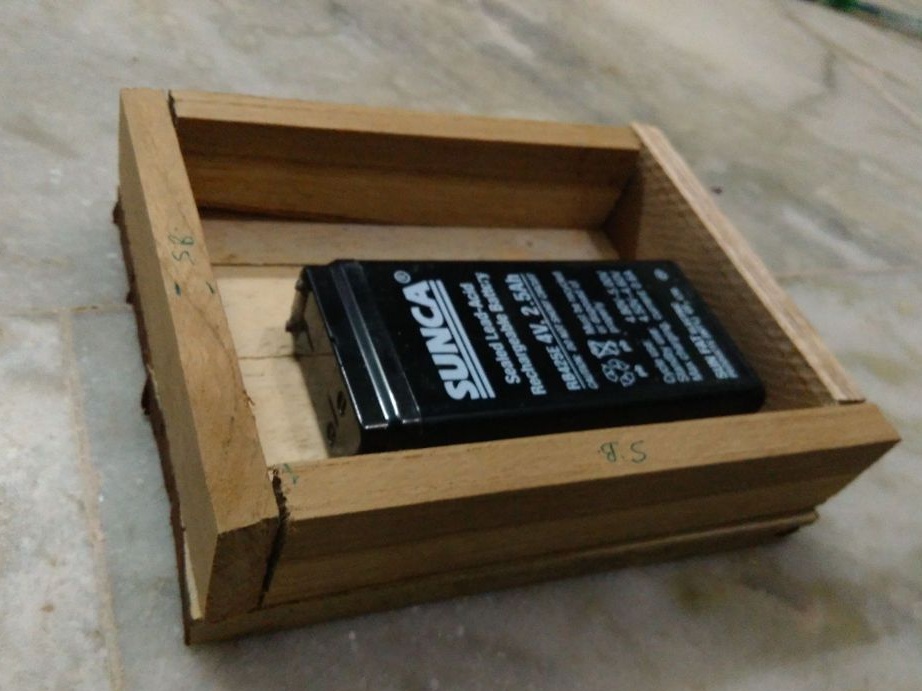
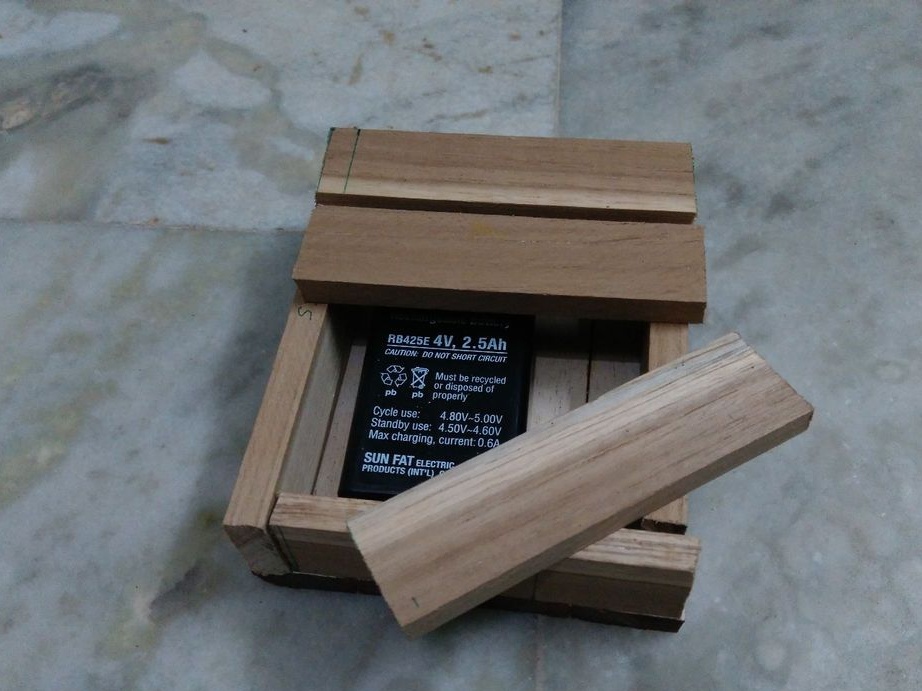
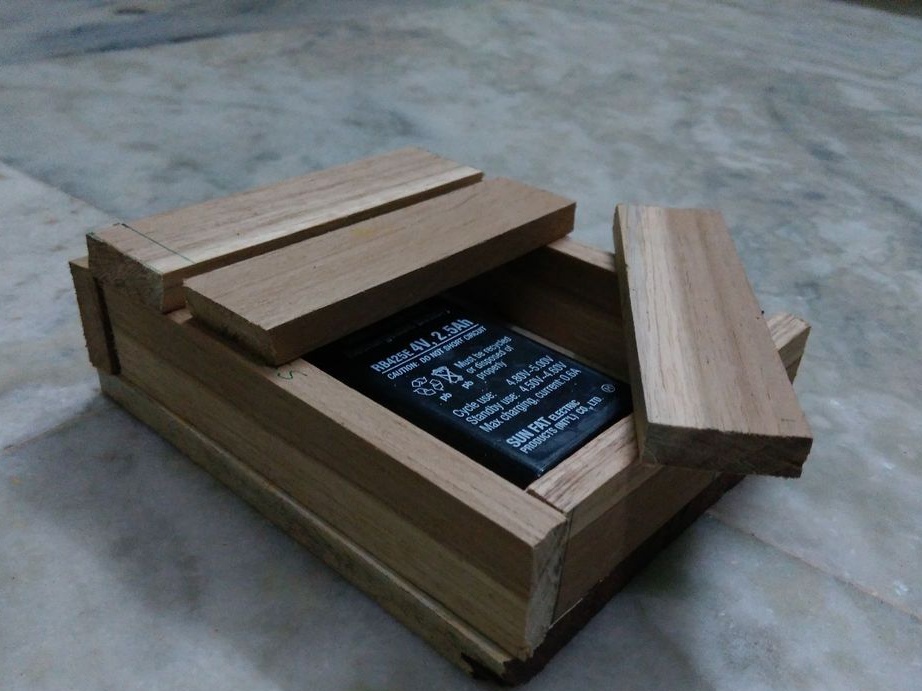
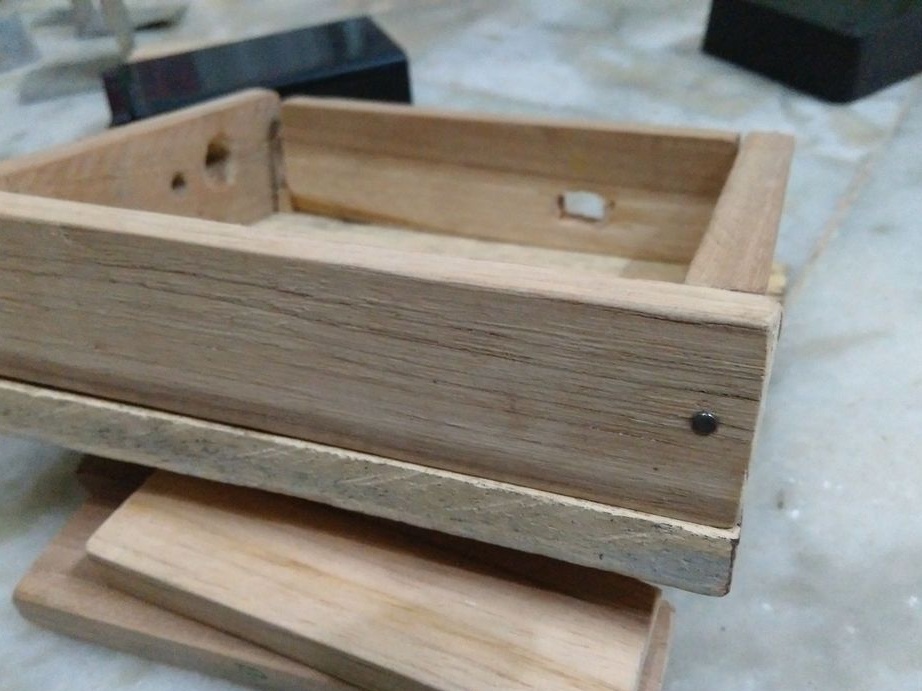
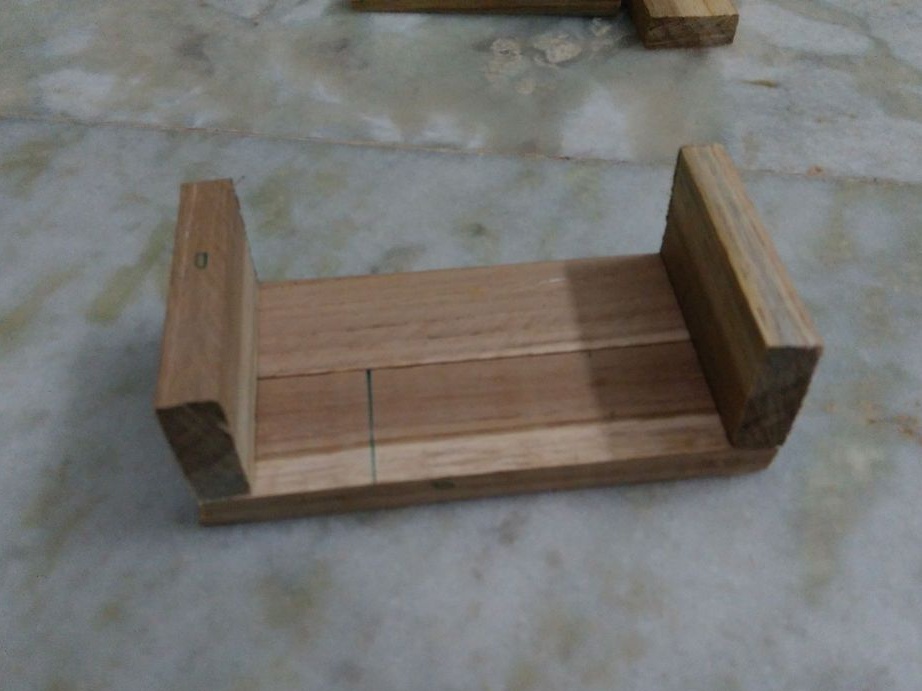
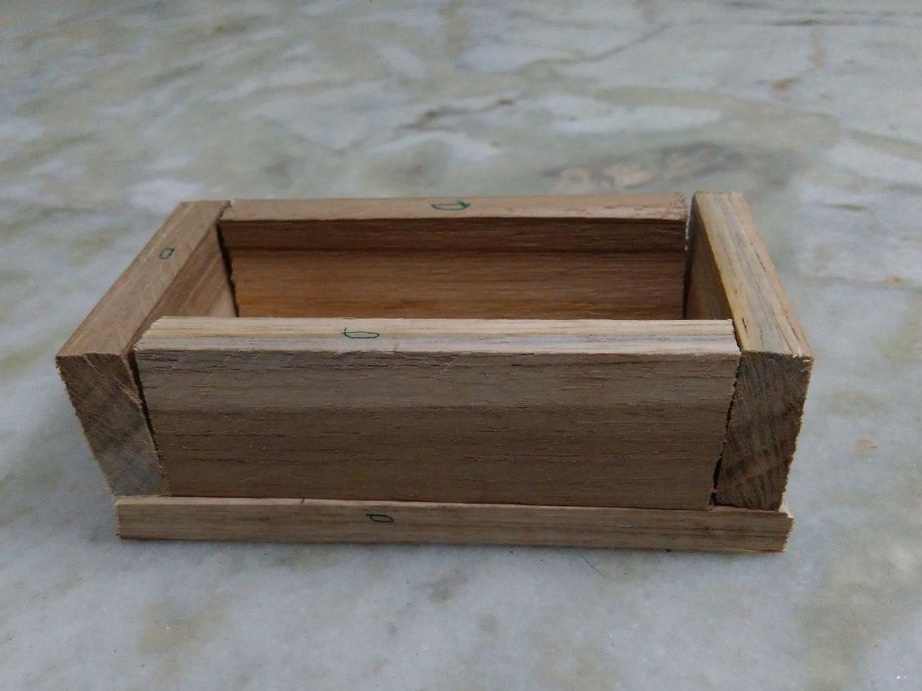
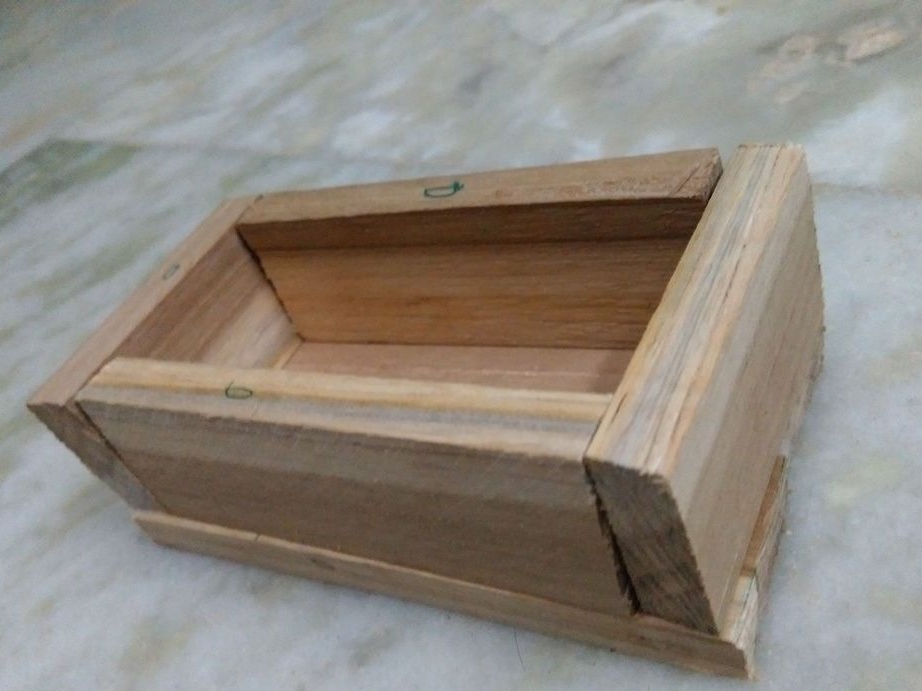
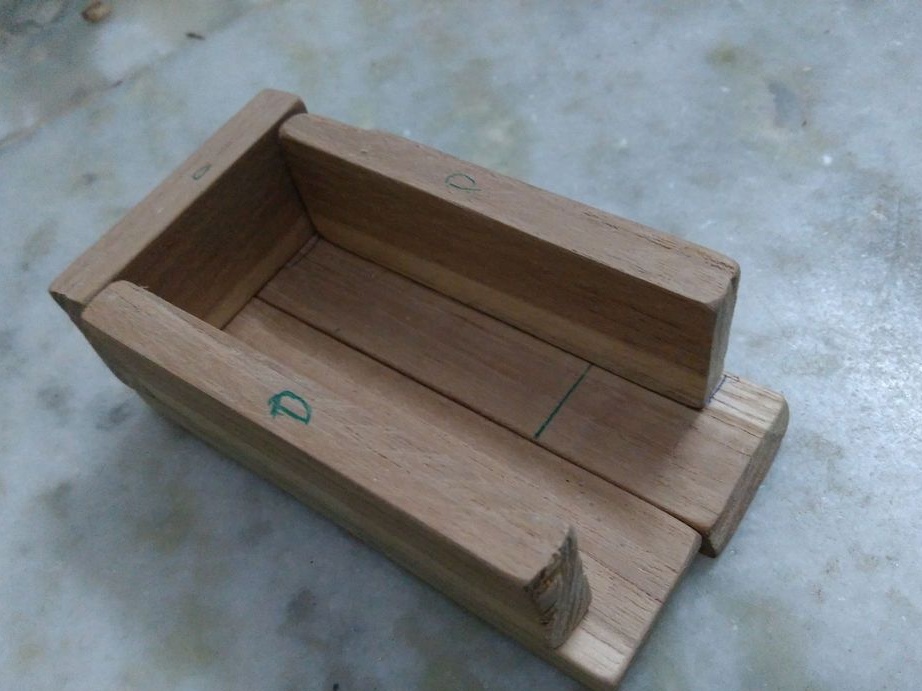
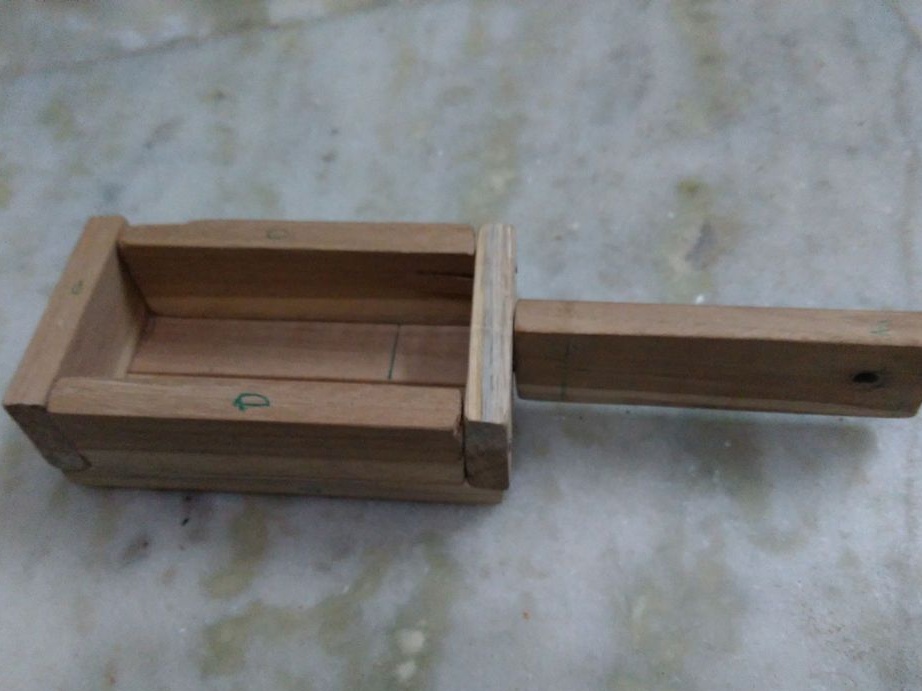
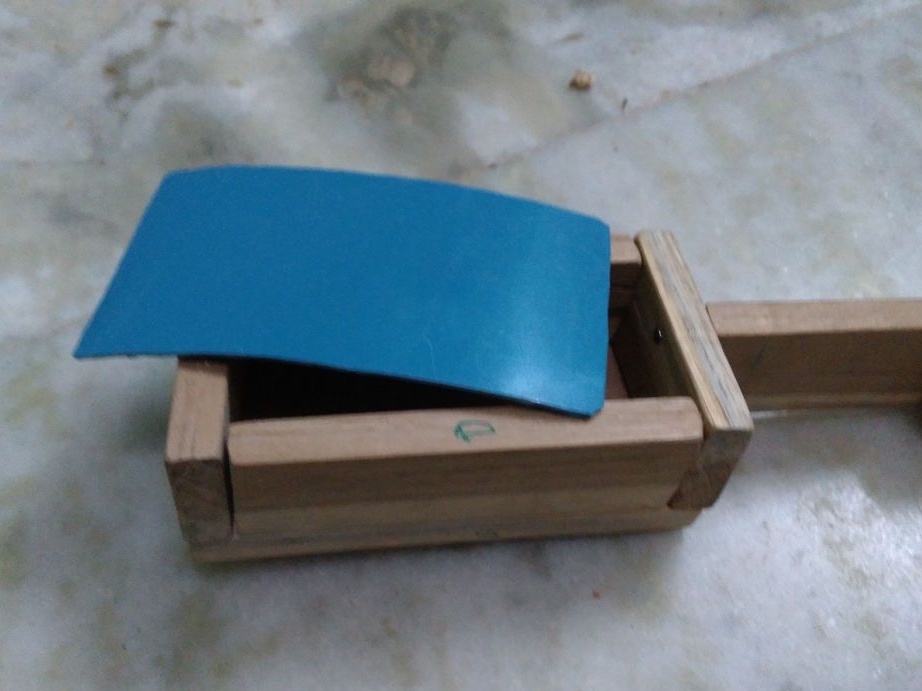
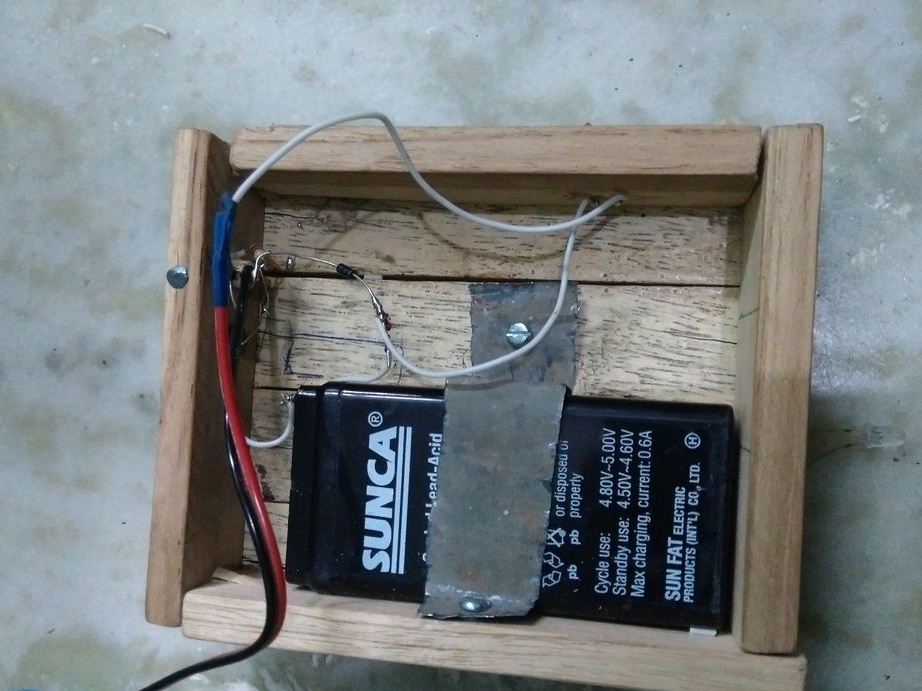
Step Three: Foundation
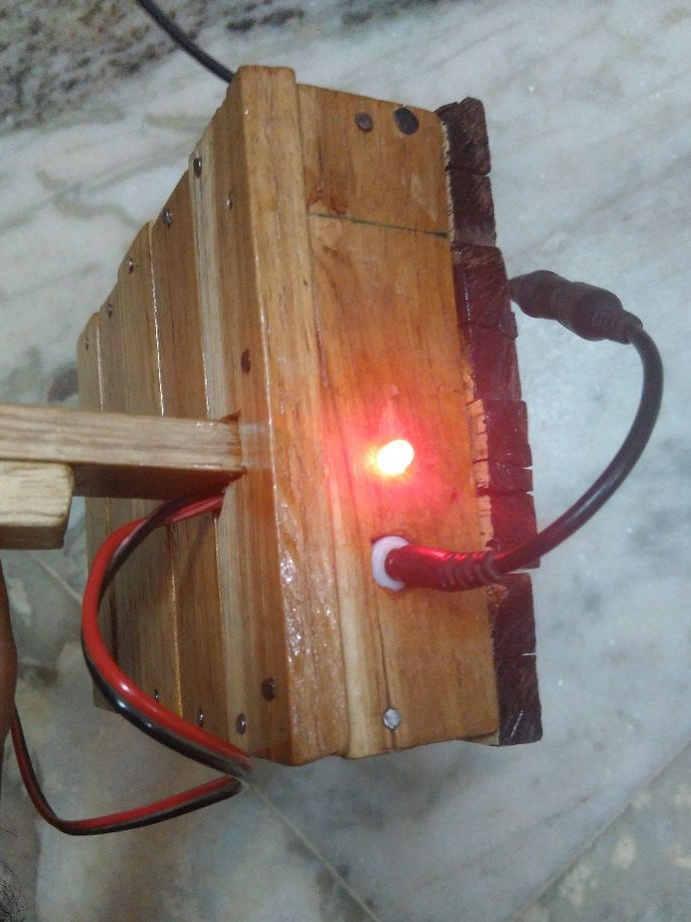
Gathers the base. The base is made in the form of a box. Inside is a battery, connector and charge indicator.


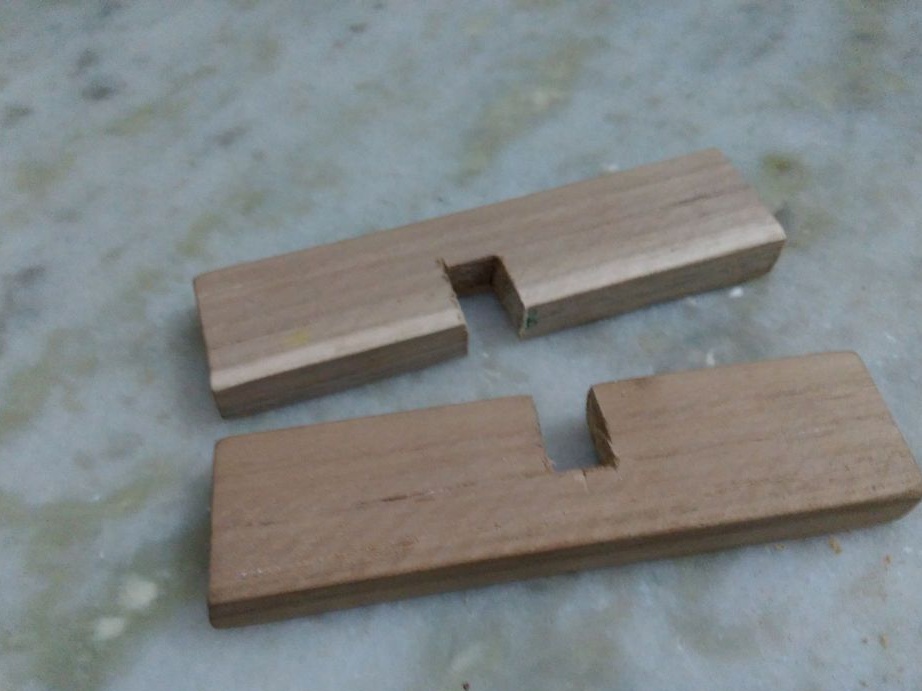
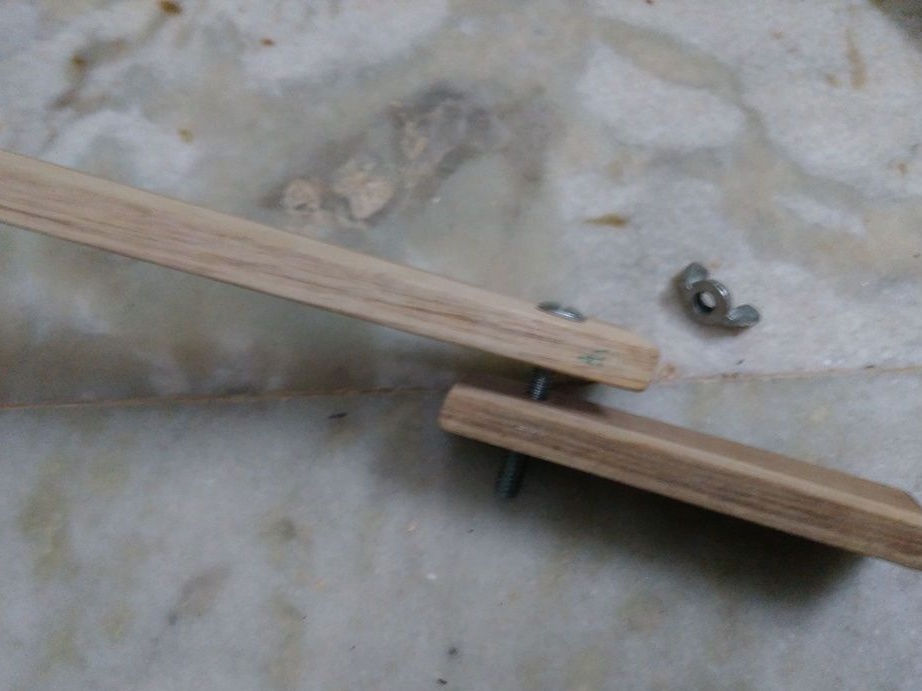
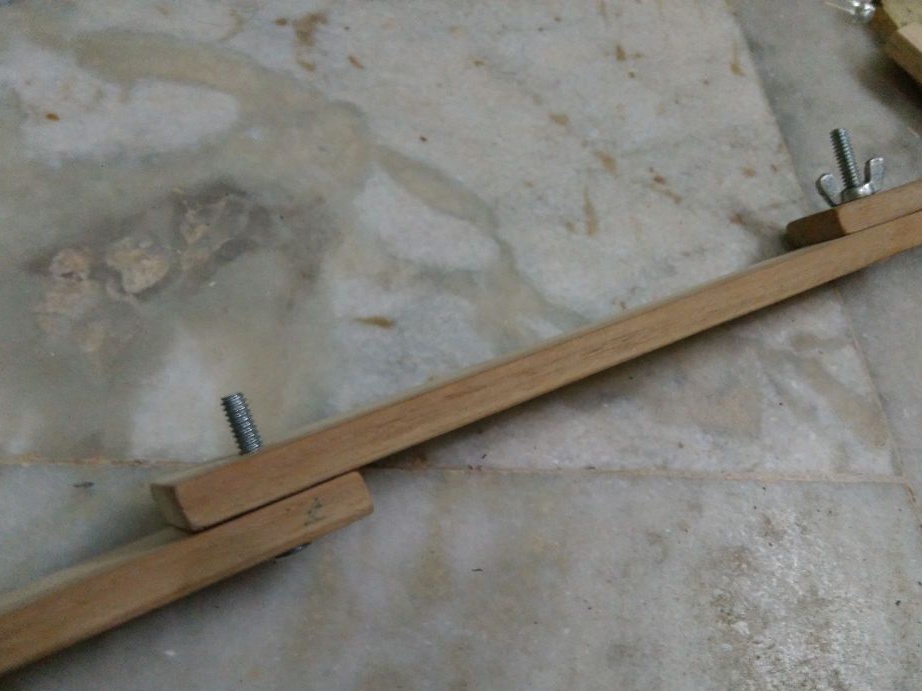
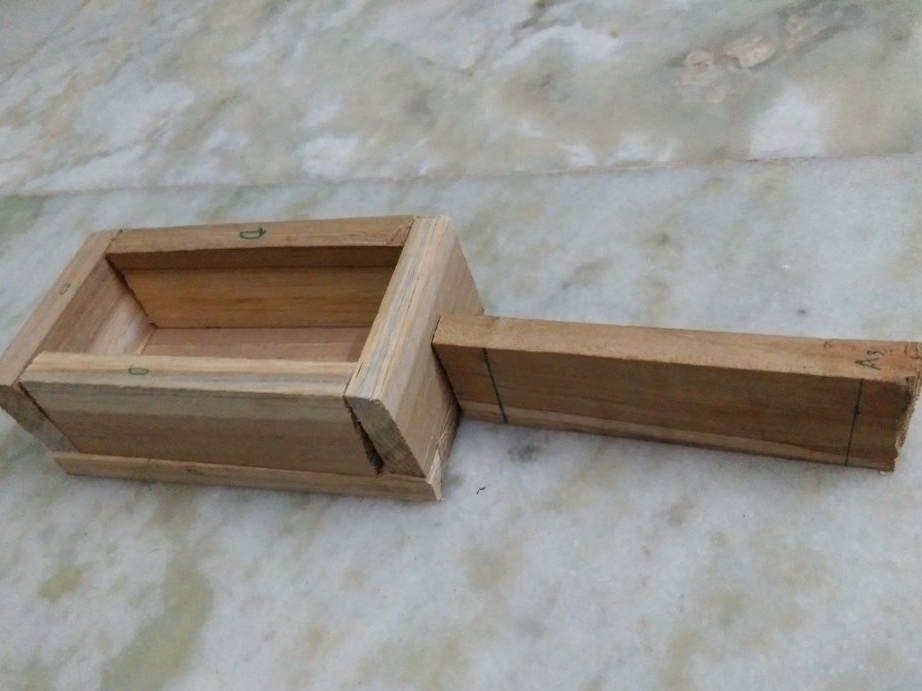
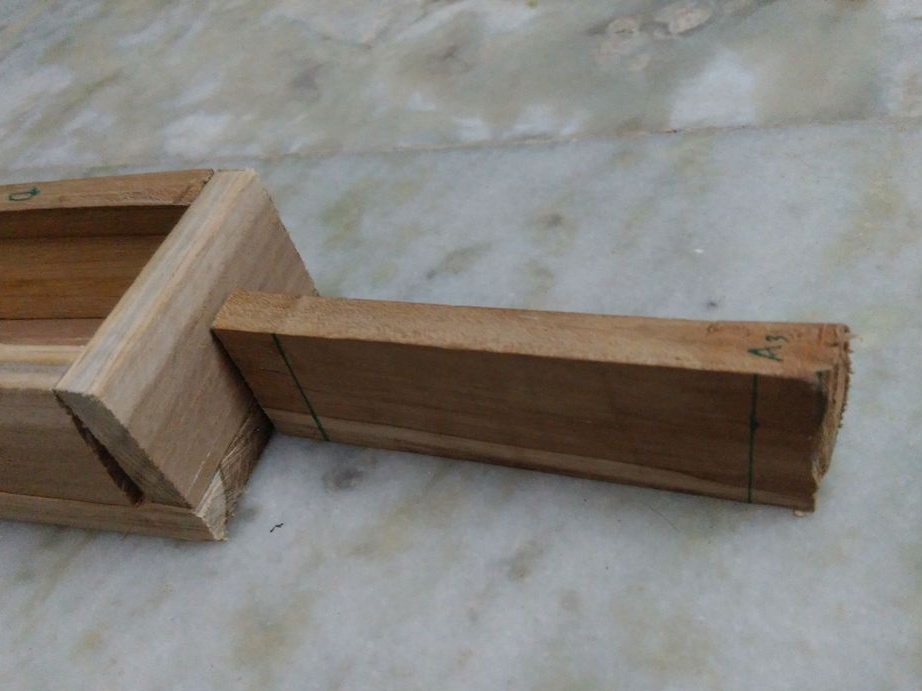
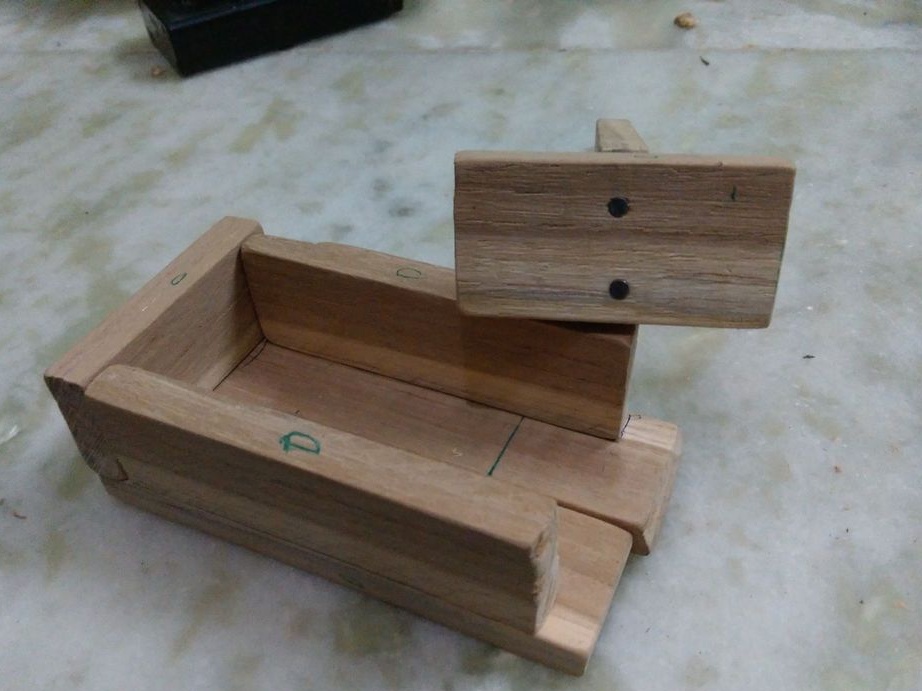
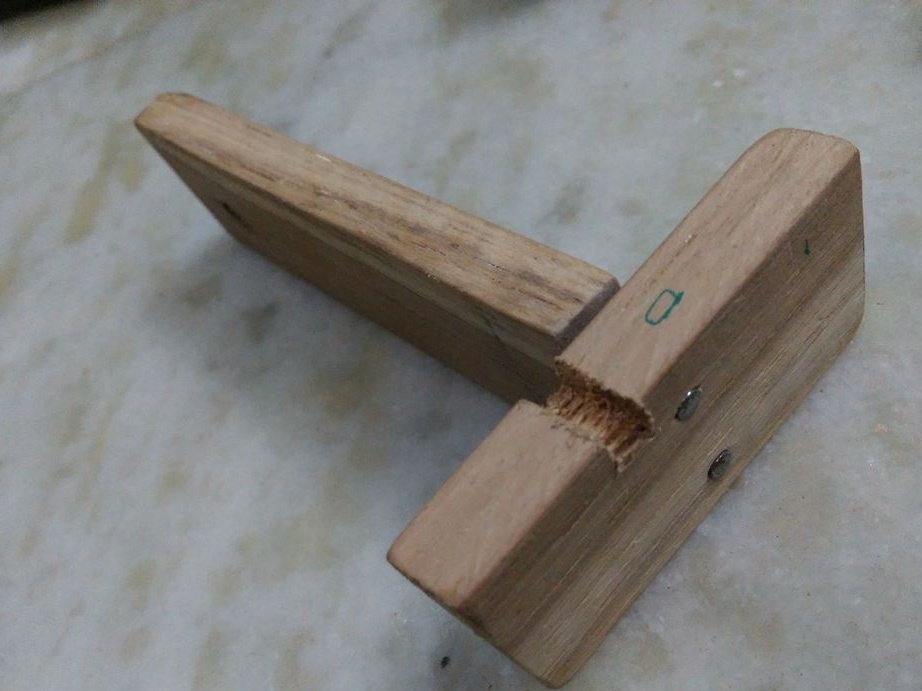
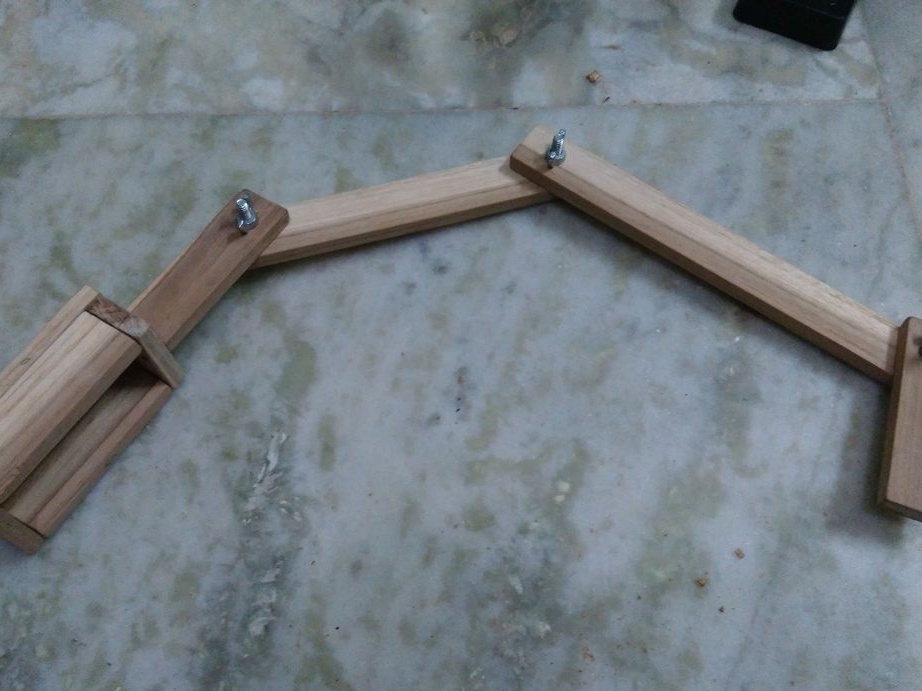
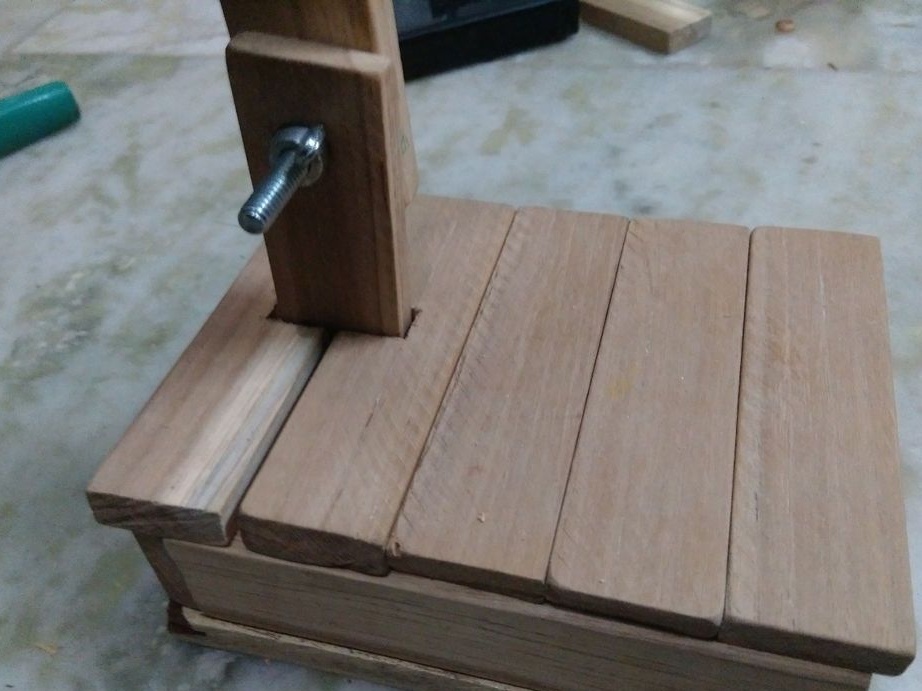
Step Four: Stand
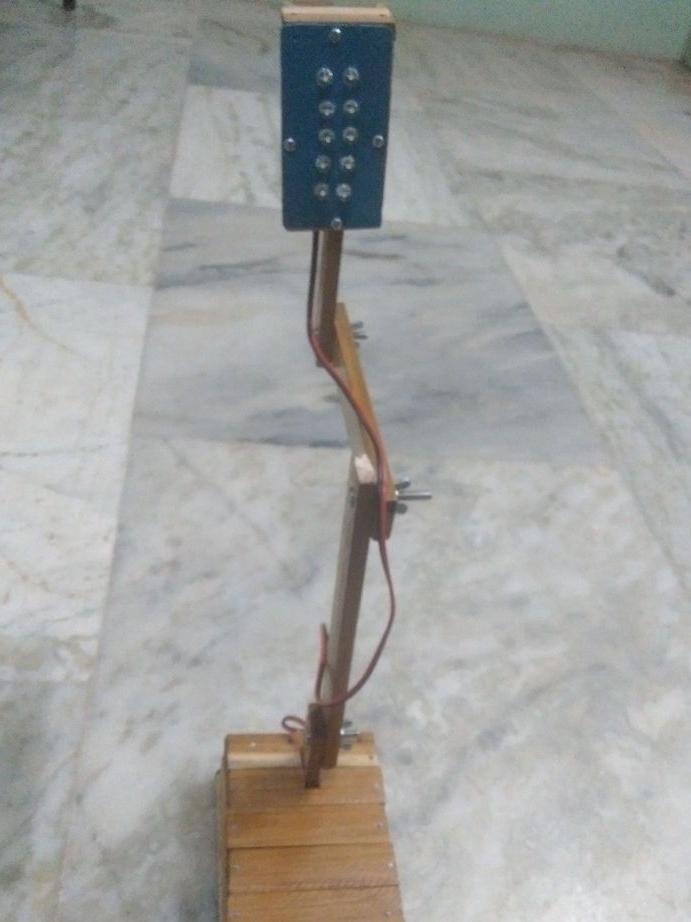
Assembles a rack.

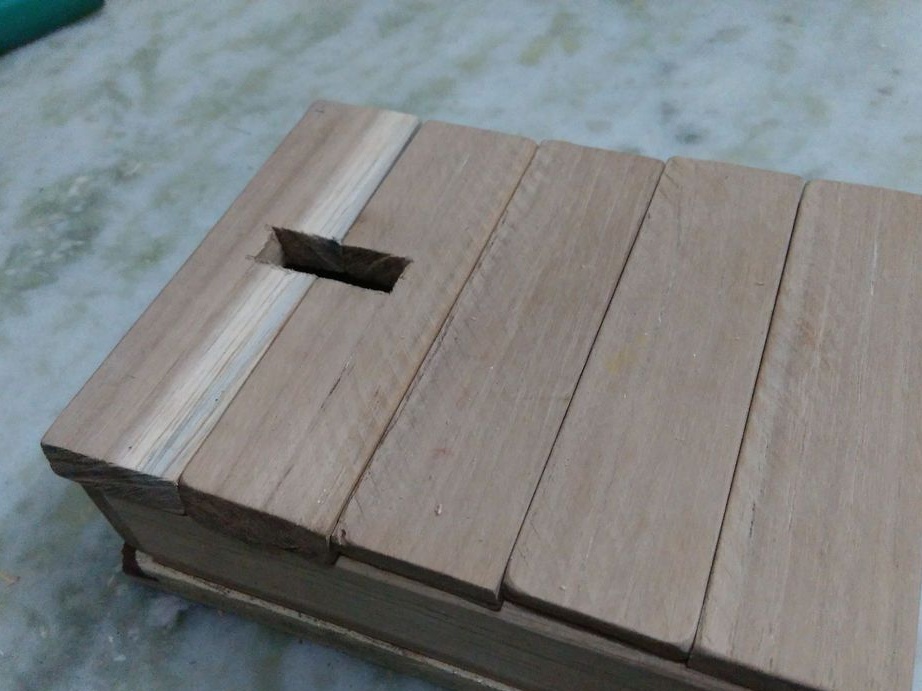
Step Five: Top
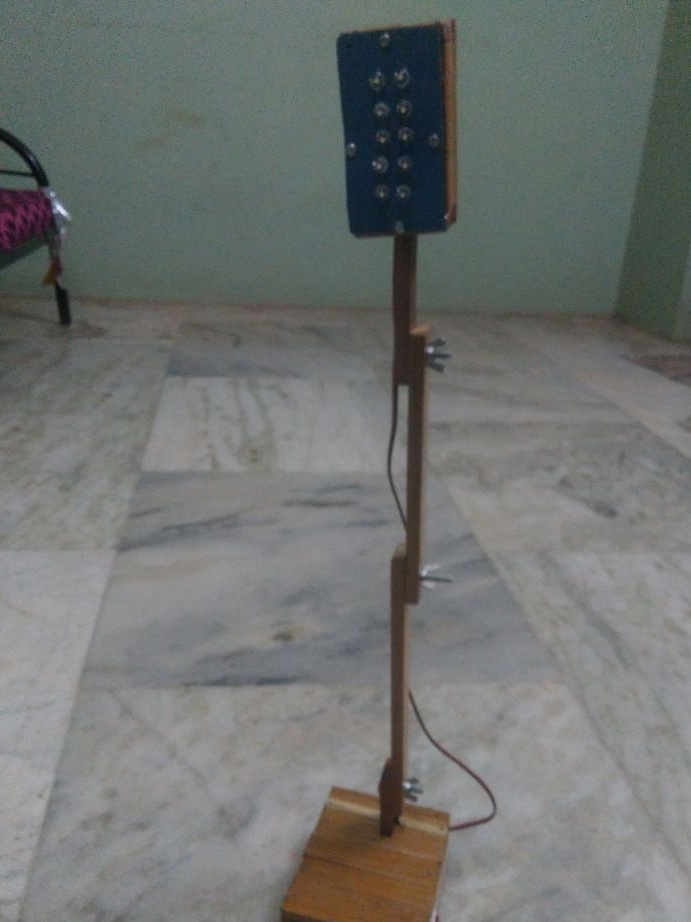
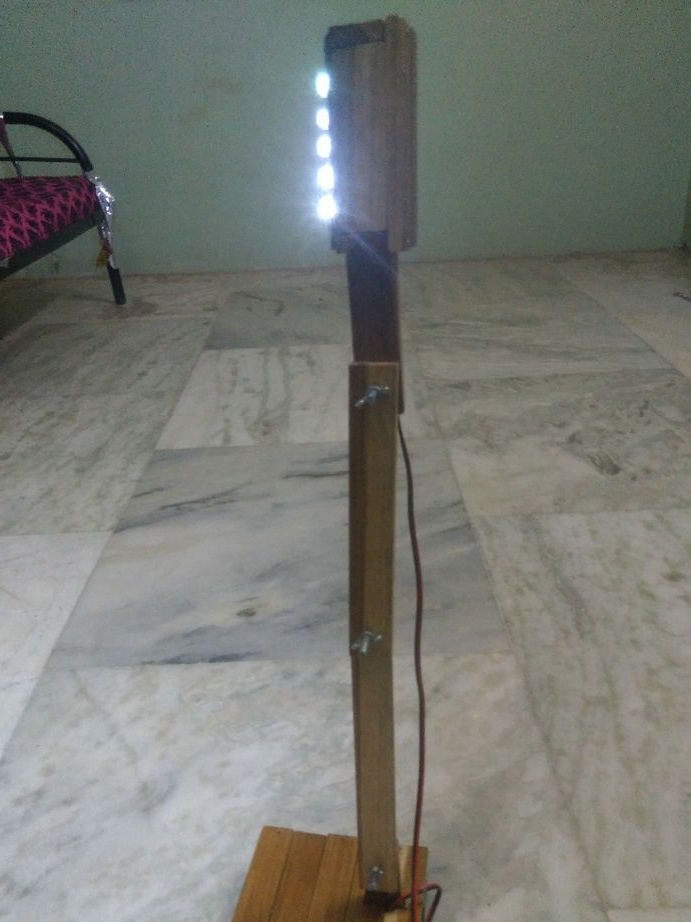
Gathers the top of the lamp. A board with LEDs will be attached to it.


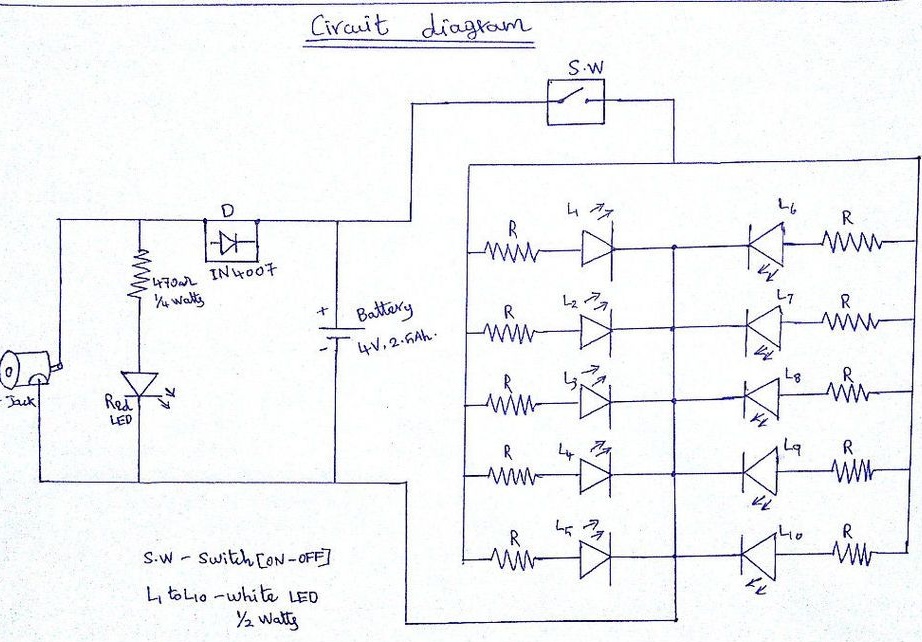
Step Six: Scheme
Installation of the electrical part will be carried out in accordance with the above diagram. According to the author’s calculations, the lamp will be able to work continuously for about 2 hours.
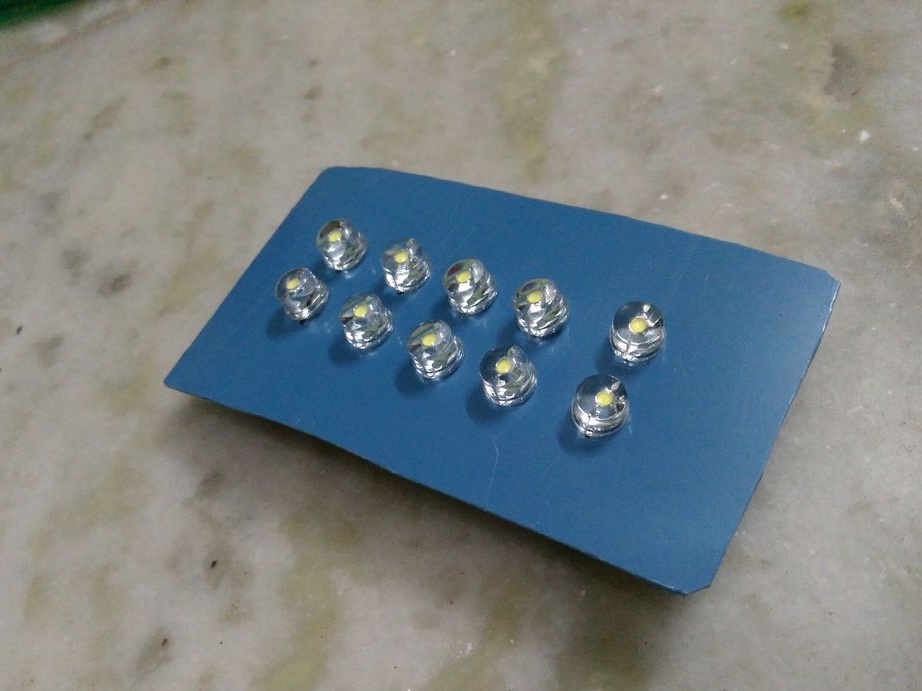
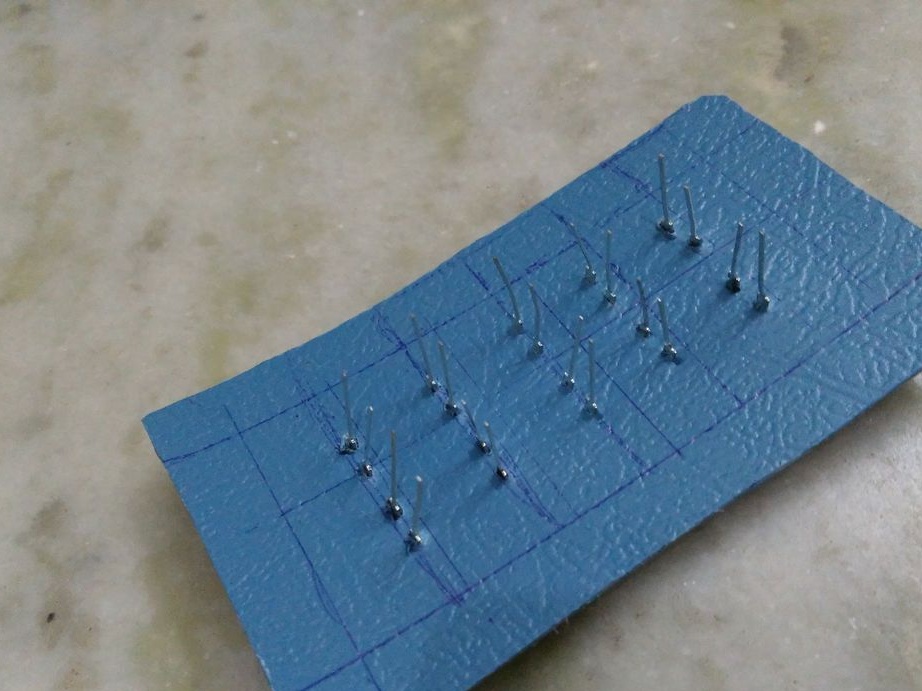
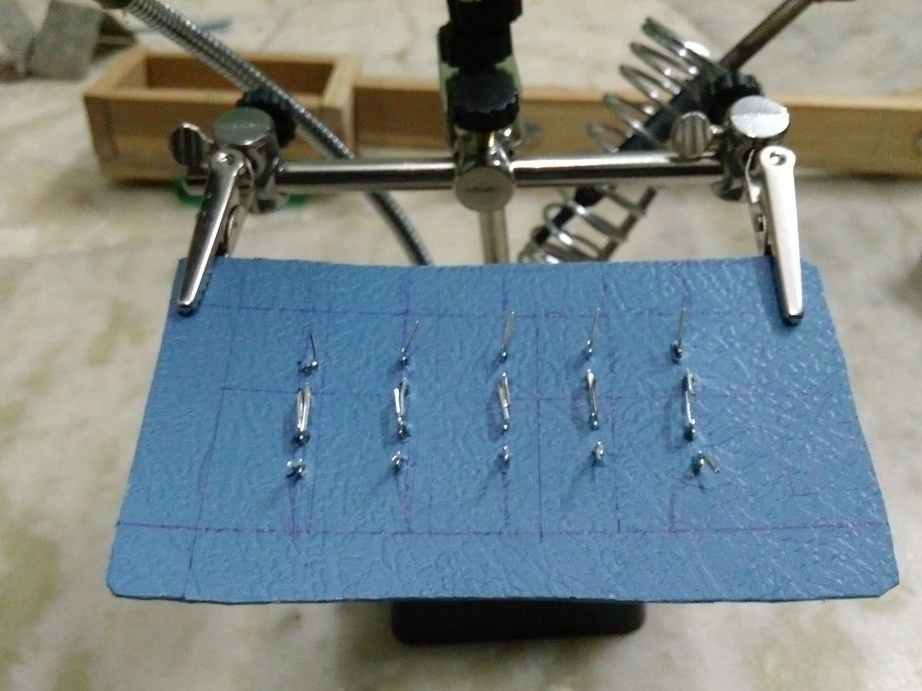
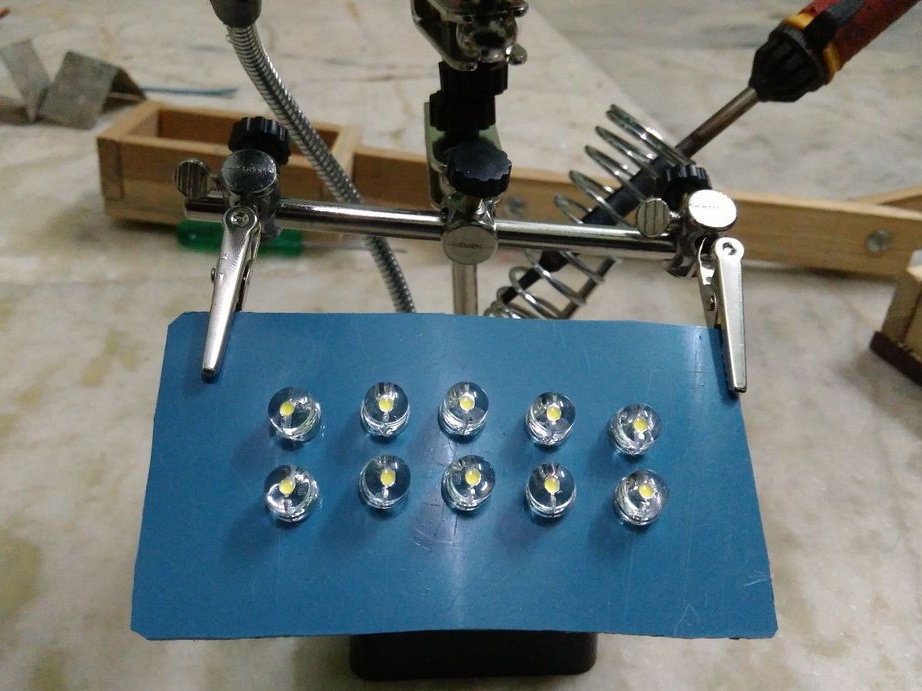
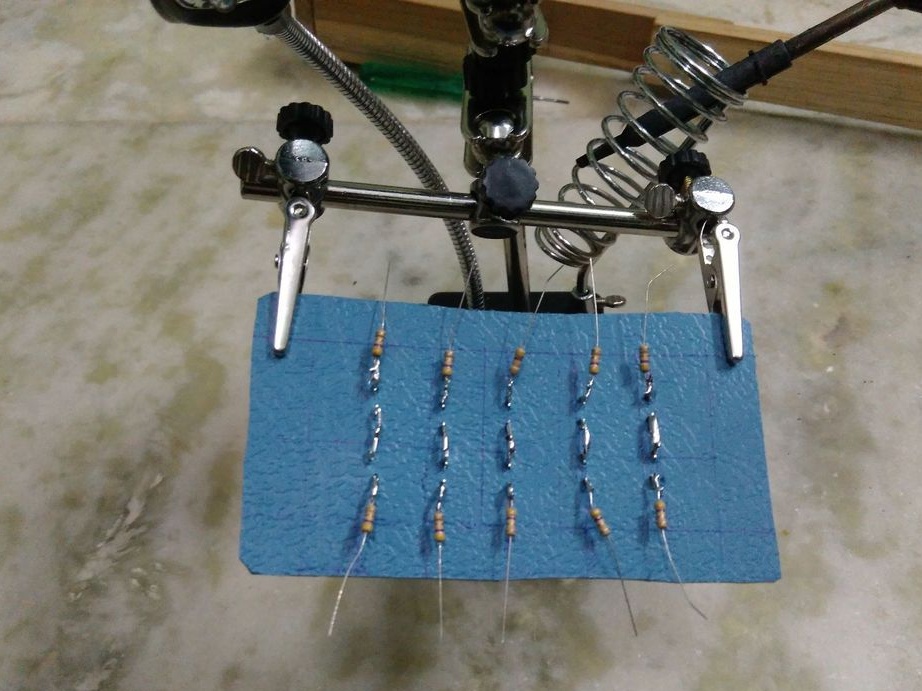
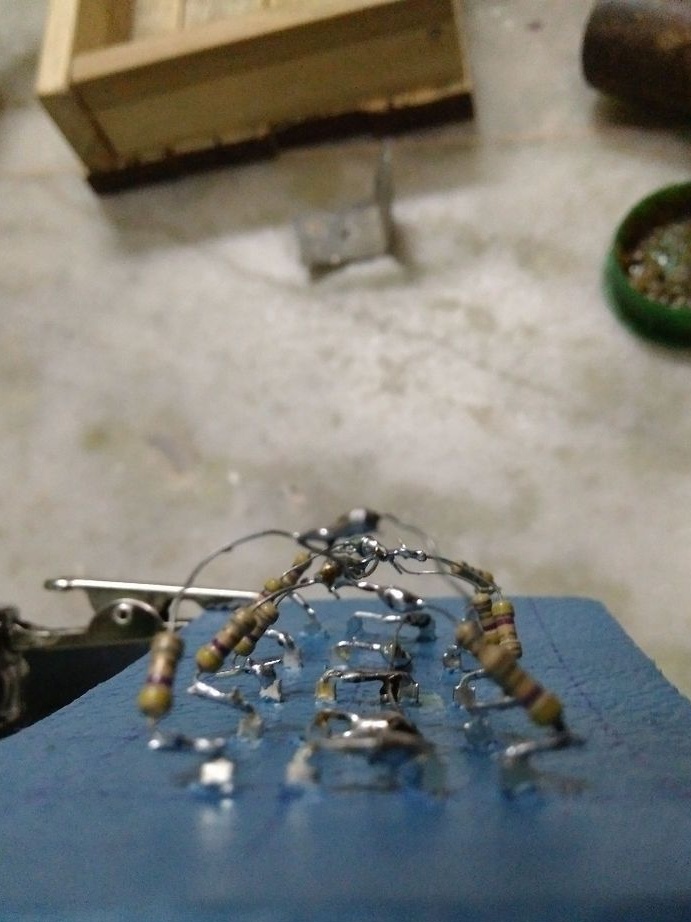
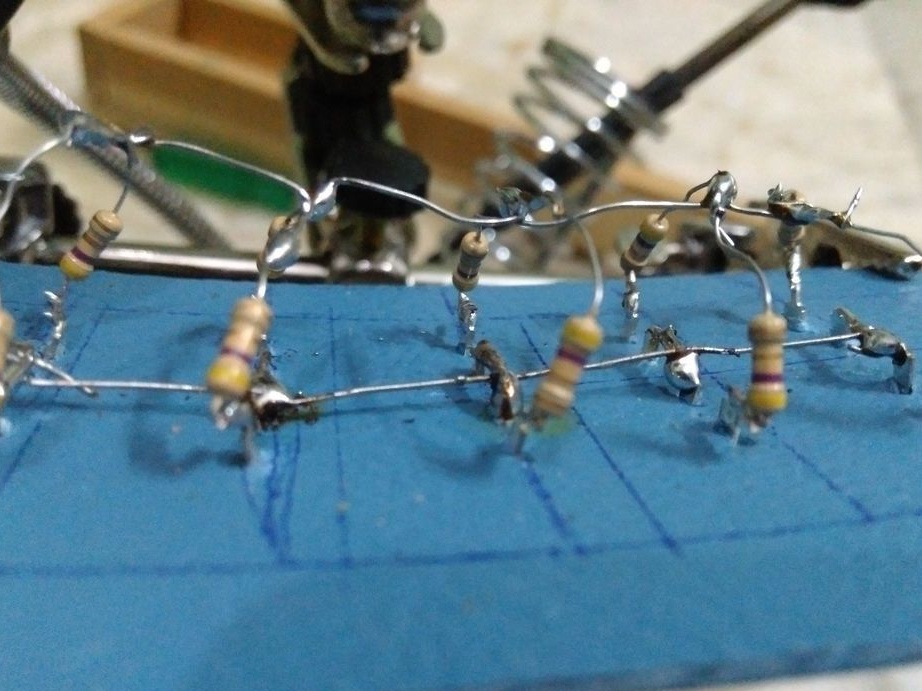
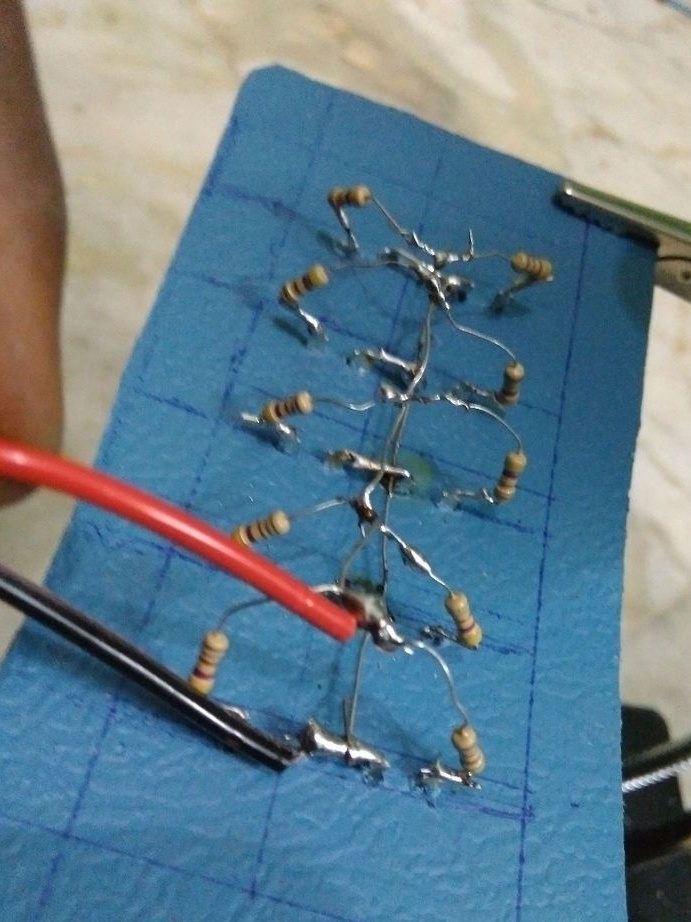
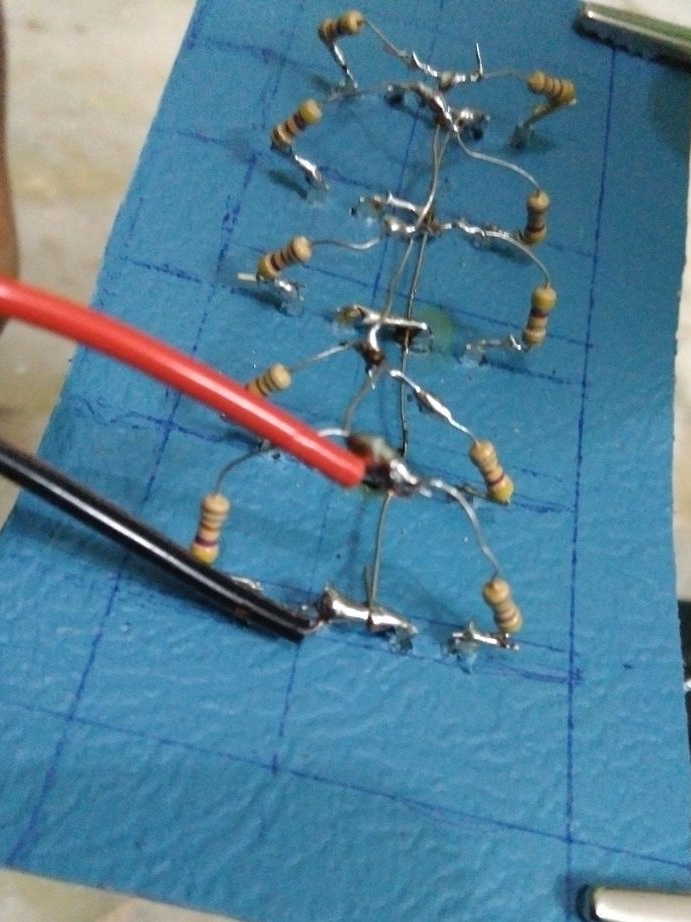
Seventh step: LED installation
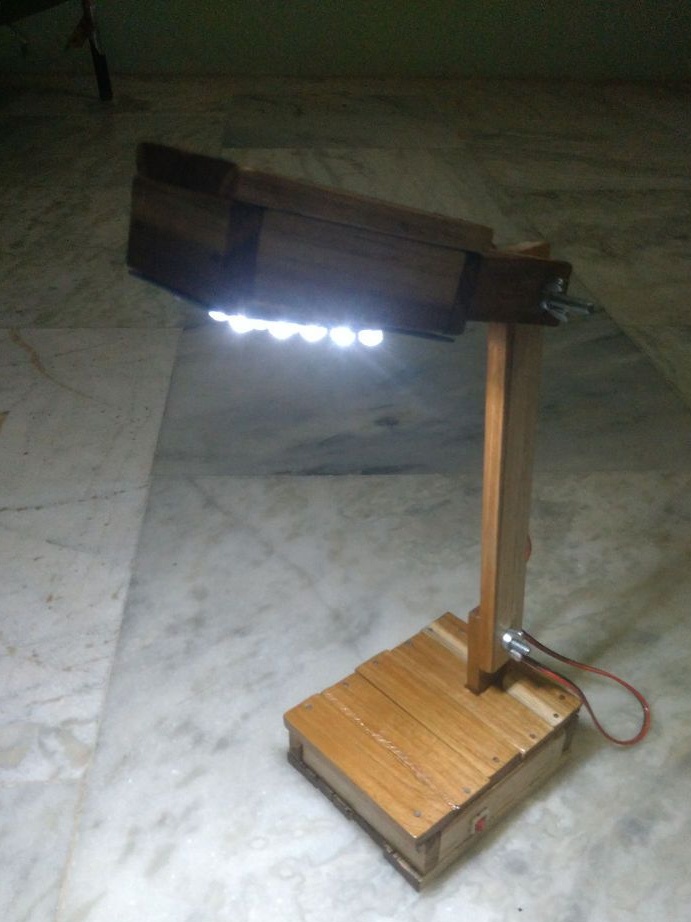
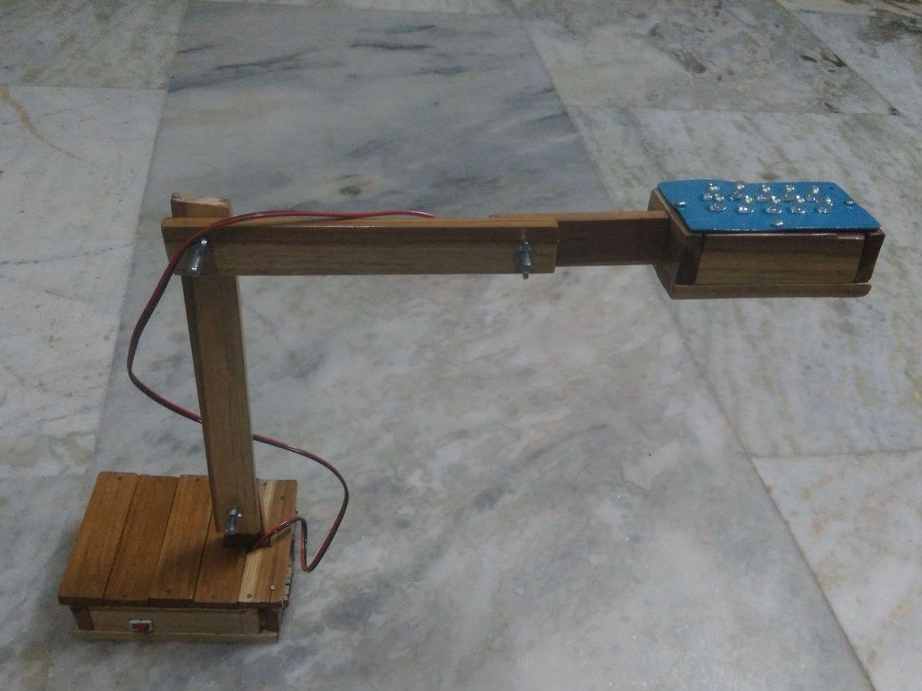
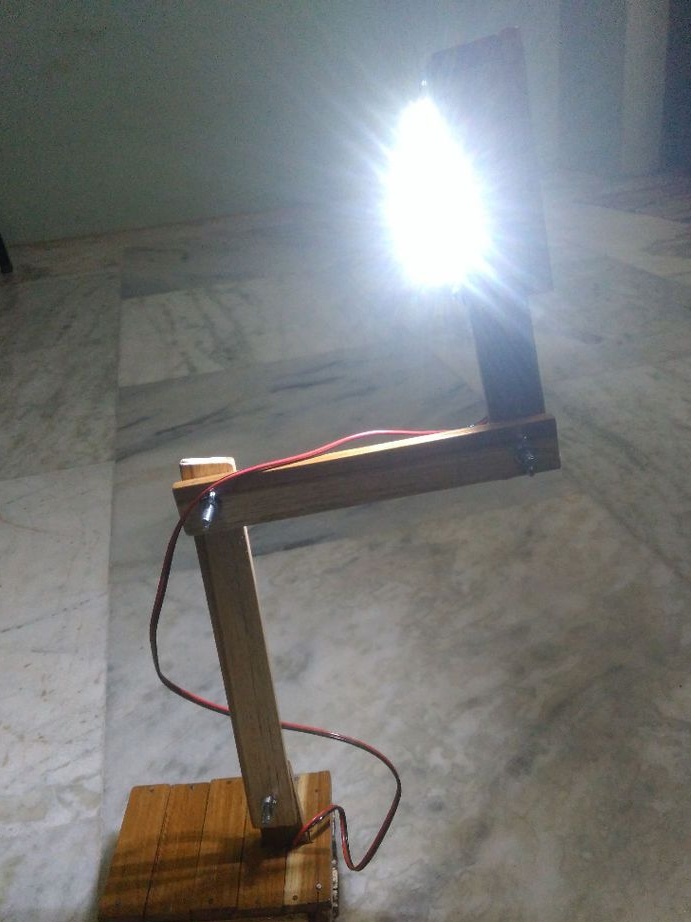
On the plastic of the right size, the master draws a grid, makes holes for the LEDs. Installs LEDs in their intended places, solders resistors and wires. After installation, it connects the battery for testing.
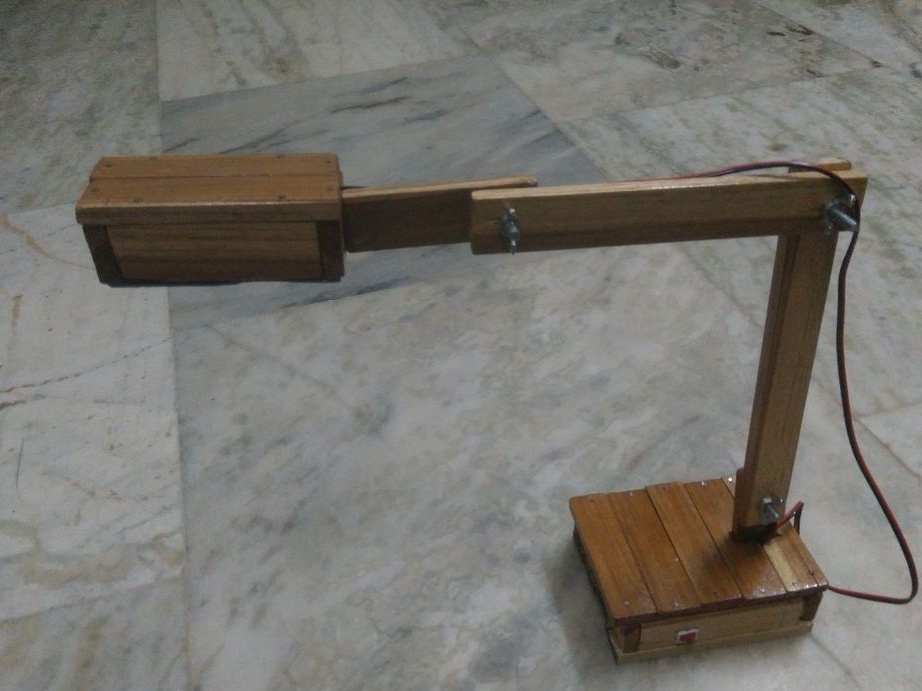
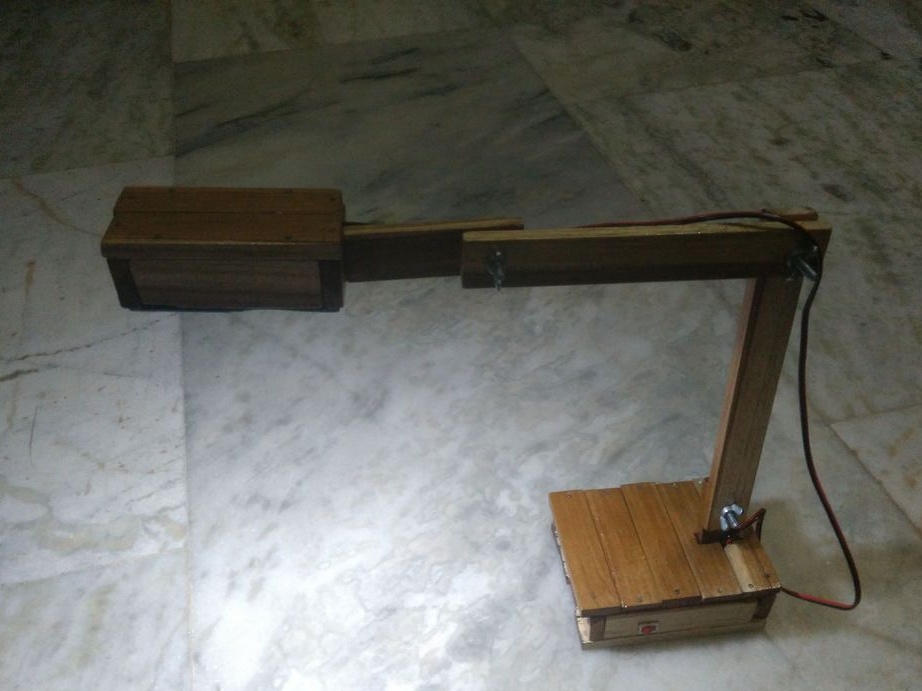
Step Eight: Final Assembly
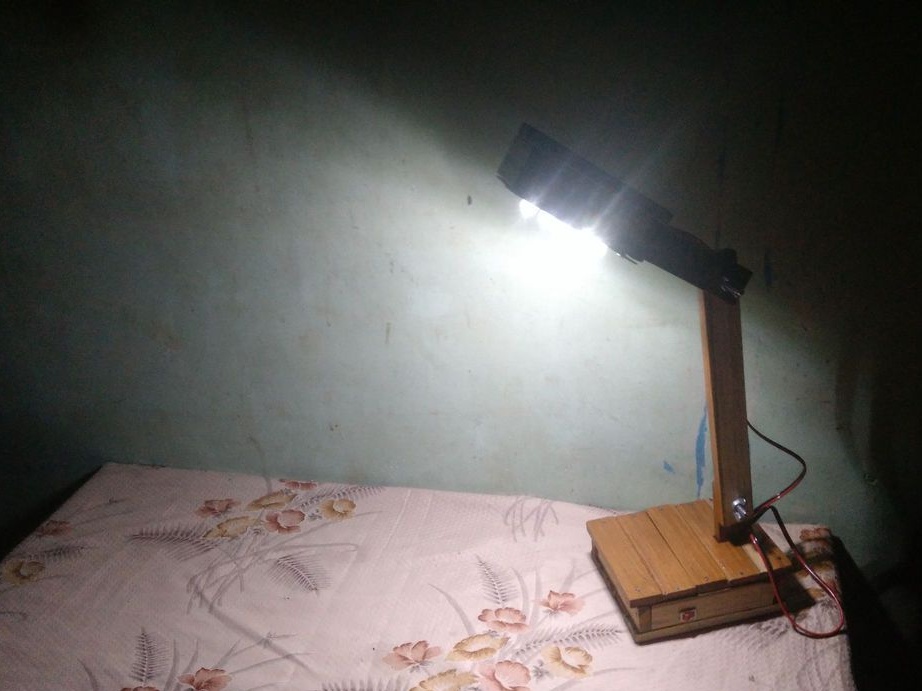
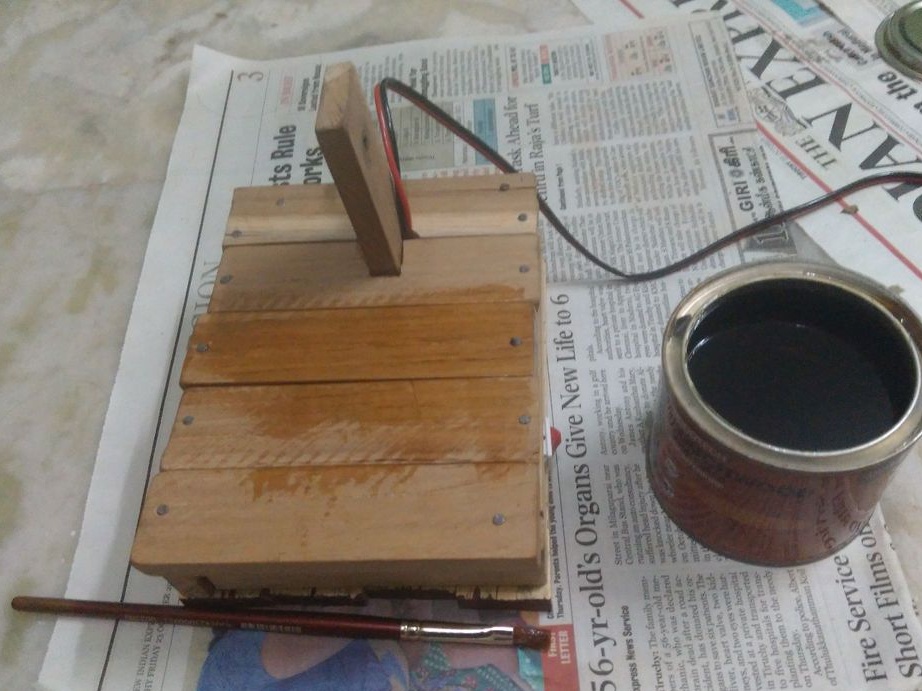
After a functional check, it collects all parts of the lamp together. After assembly, the lamp is varnished and put on charge.

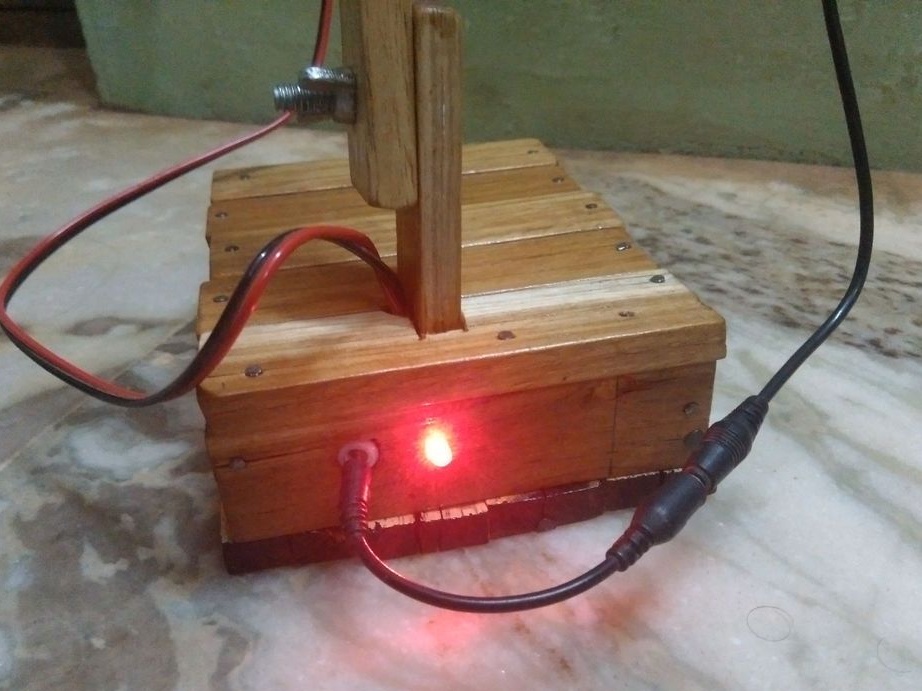
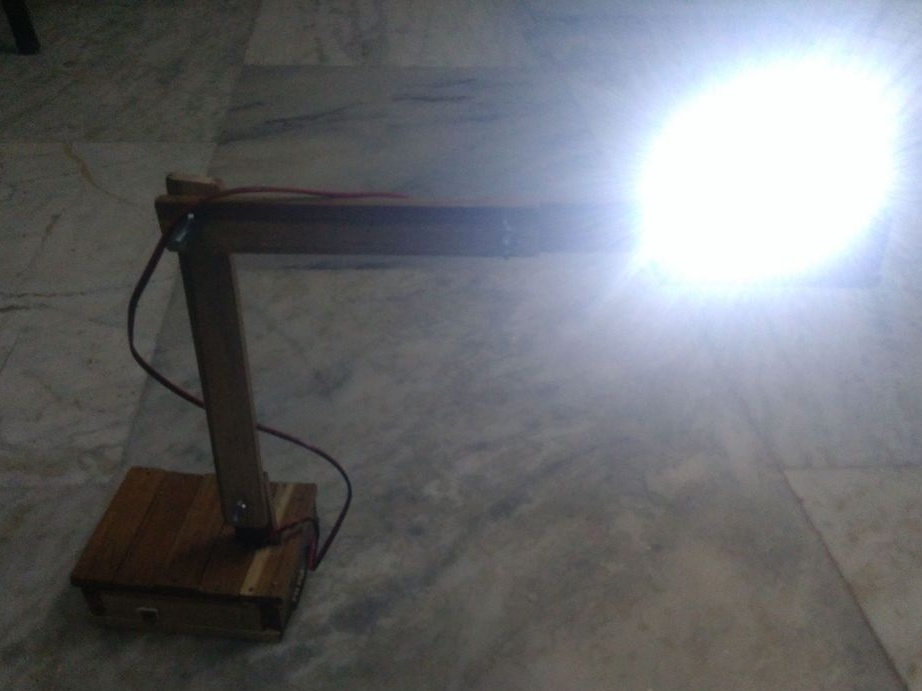
After charging, the lamp is ready. As you can see, the manufacture of the lamp does not cause great difficulties.