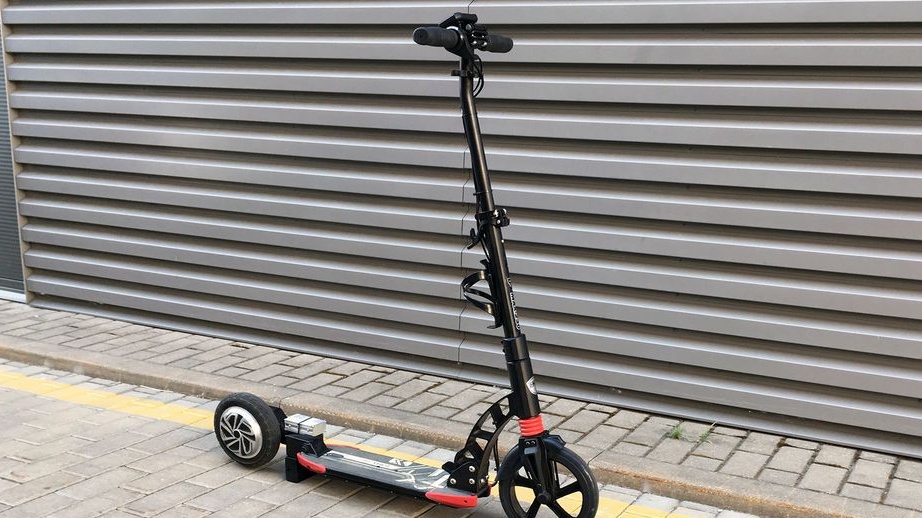
Hello everyone, if you have an old broken one - do not rush to throw it away, many interesting things can be done from it. So, for example, one author decided to collect an electric scooter from a gyro scooter. Homemade It turned out to be quite successful, the device drives quite cutting and all thanks to the powerful motor wheels that are installed in. Such a device also has excellent efficiency, which will allow you to move on a scooter for long distances. So, we will consider in more detail how to make such a homemade product!
Materials and tools used by the author:
Material List:
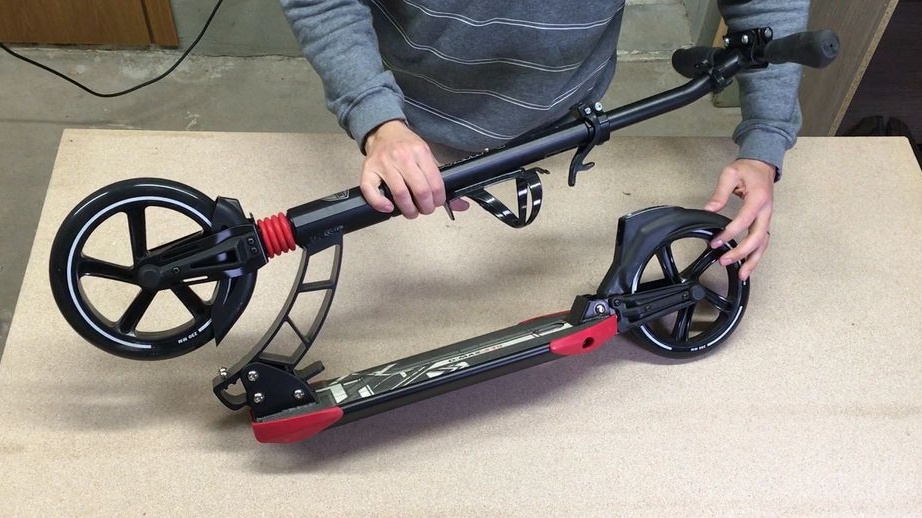
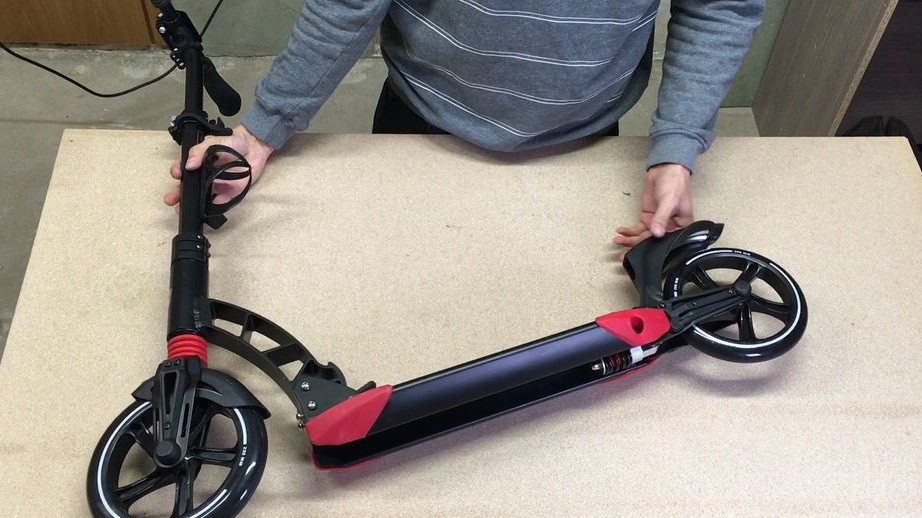
- ordinary scooter;
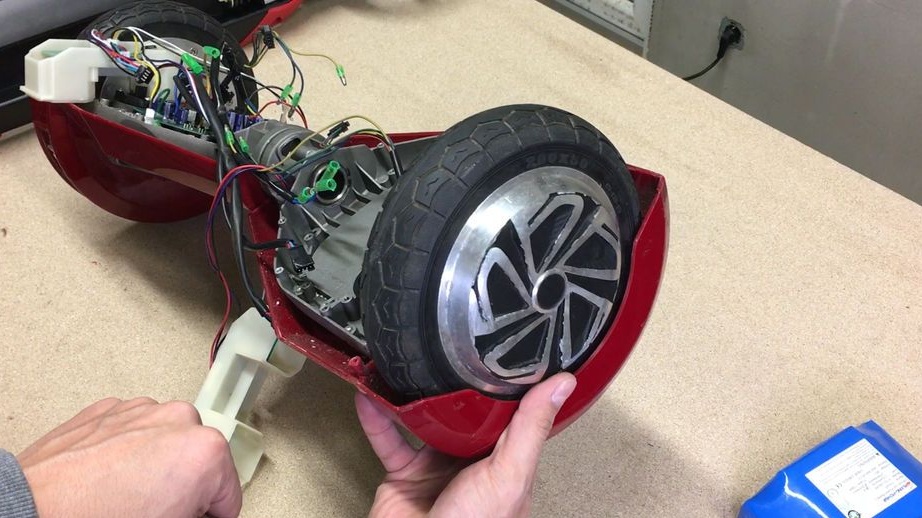
- An old hoverboard (a motor wheel will be needed);
- battery;
- controller for brushless motors;
- steel square pipes;
- Charger;
- controller for batteries and more.
Tool List:
- grinder;
- welding machine;
- drill with drills;
- soldering iron;
- screwdrivers;
- glue gun;
- nippers;
- measuring instrument and more.
The process of making an electric scooter:
Step one. We prepare materials
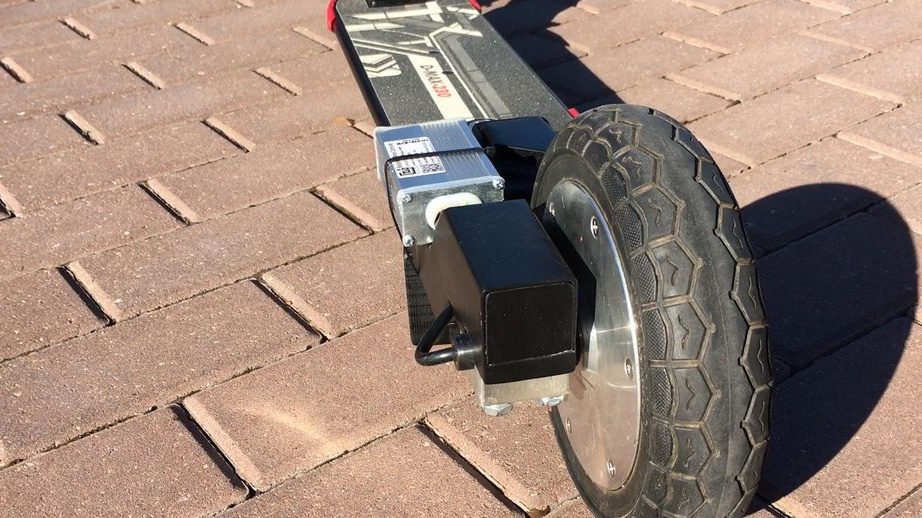
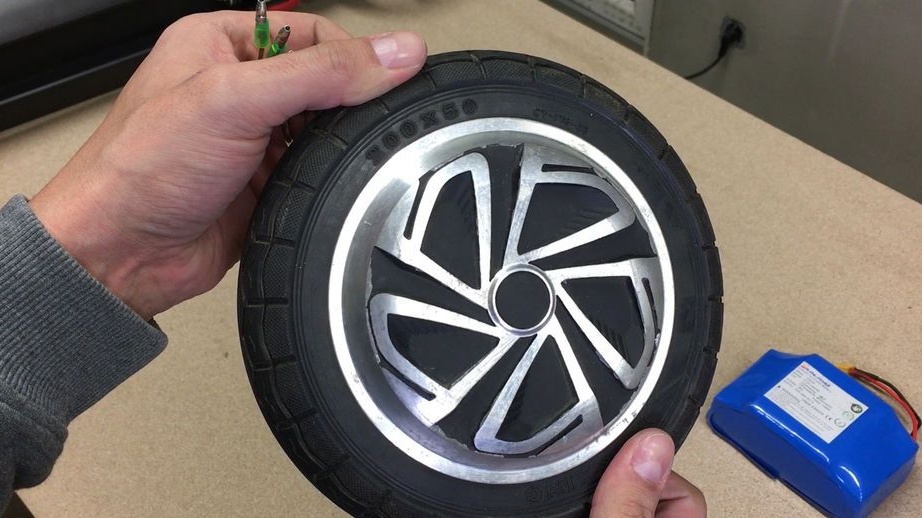
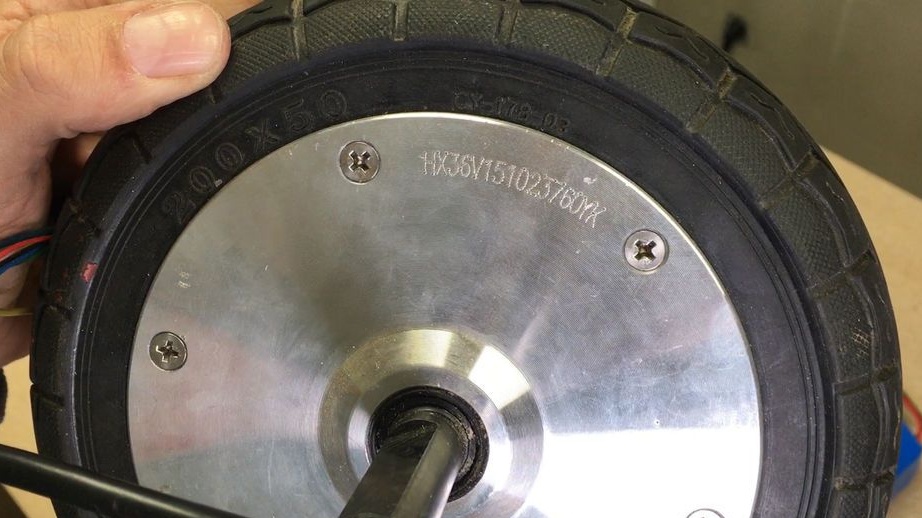
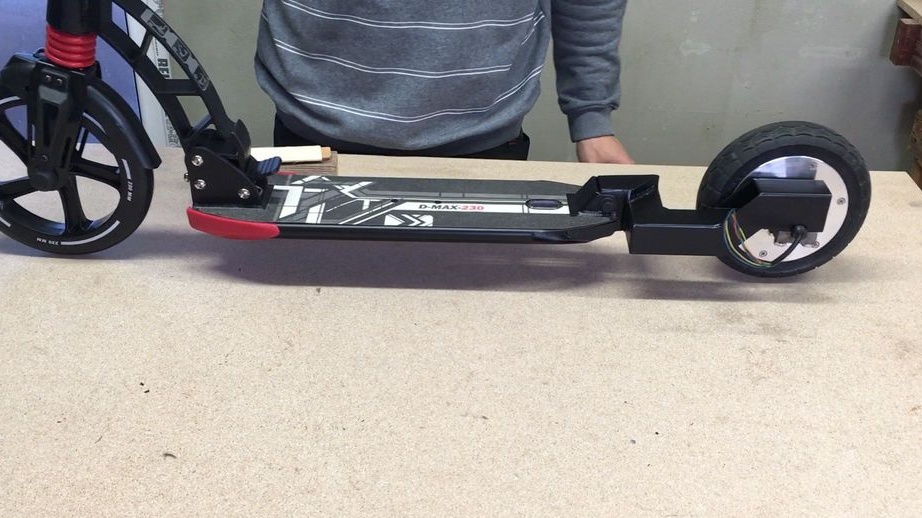
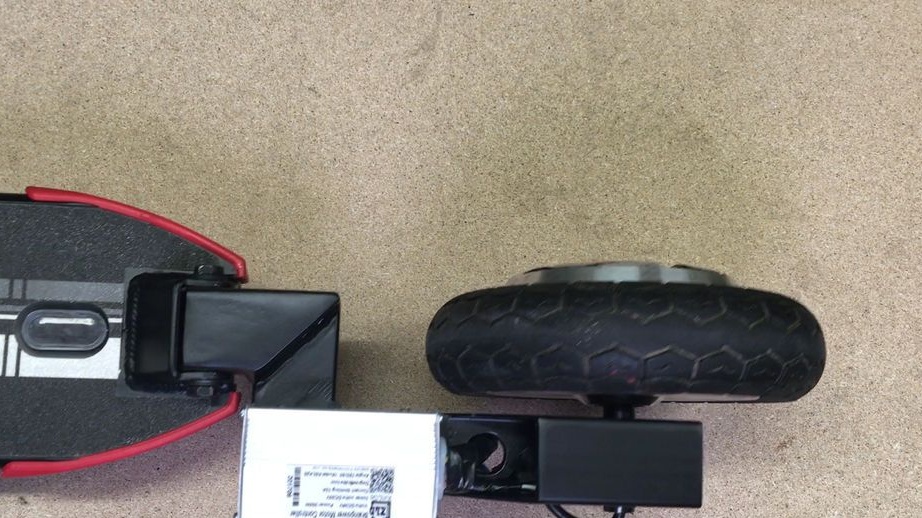
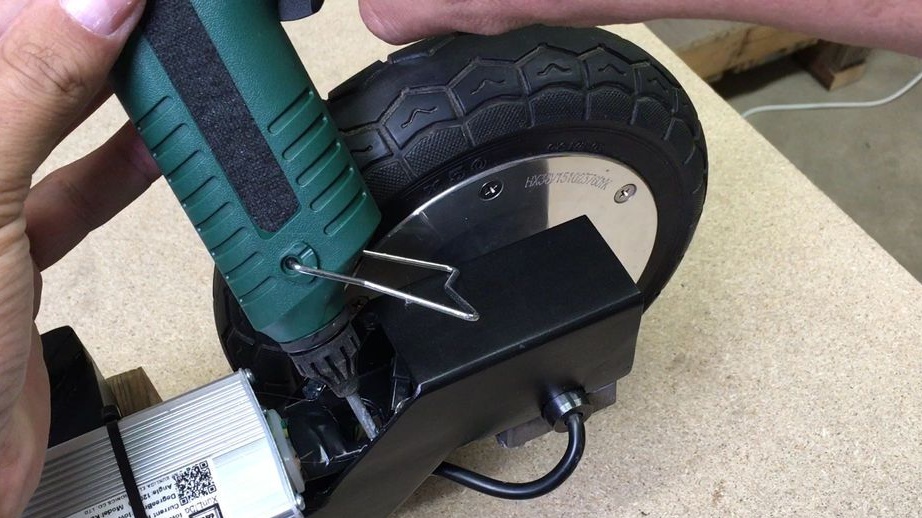
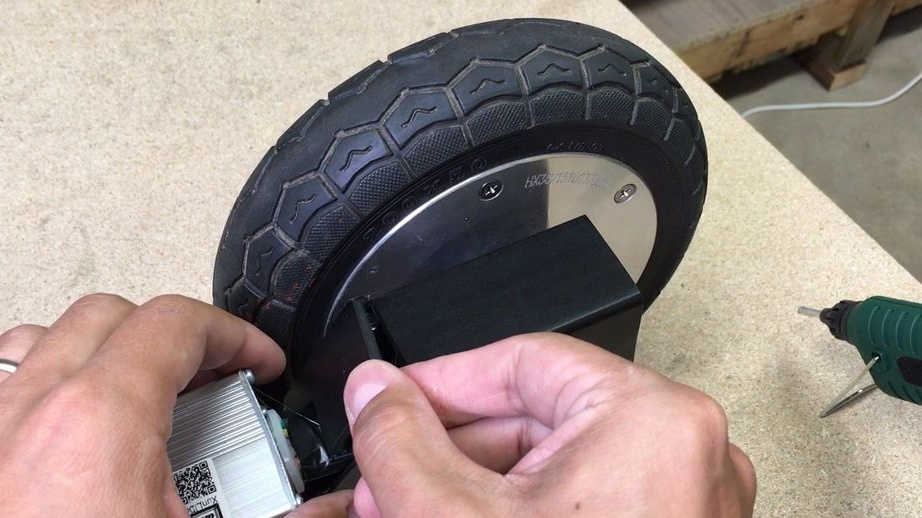
First you need to disassemble. We will need one wheel from him, or rather a motor wheel. The author has a wheel power of 350 watts, and its diameter is 20 cm. That is, the dimensions of the wheels of the scooter are exactly the same.

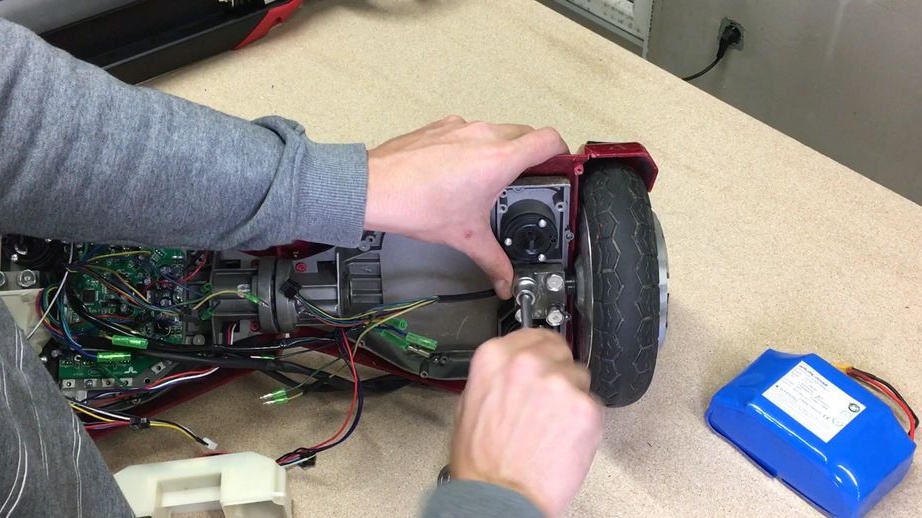
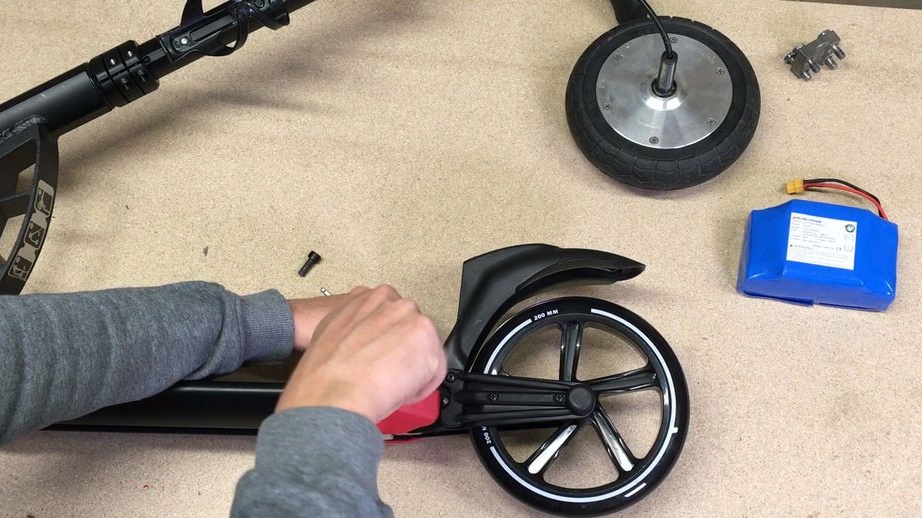
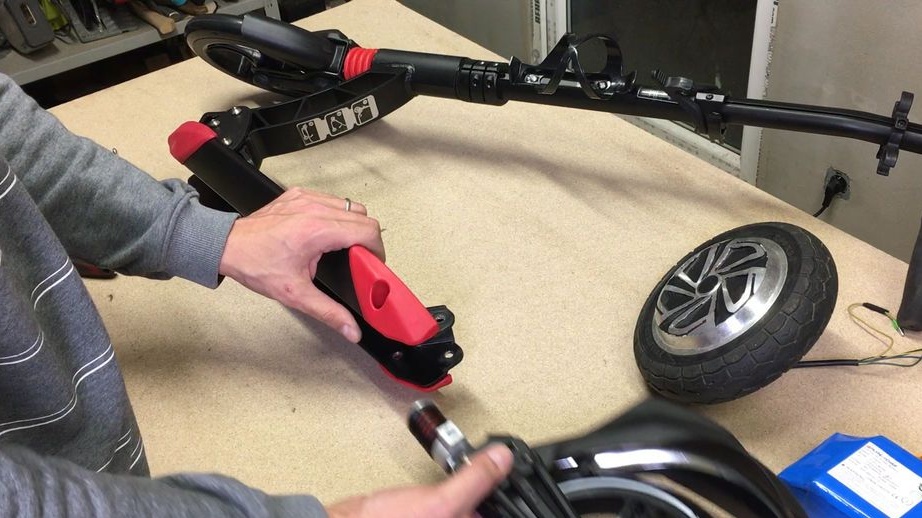
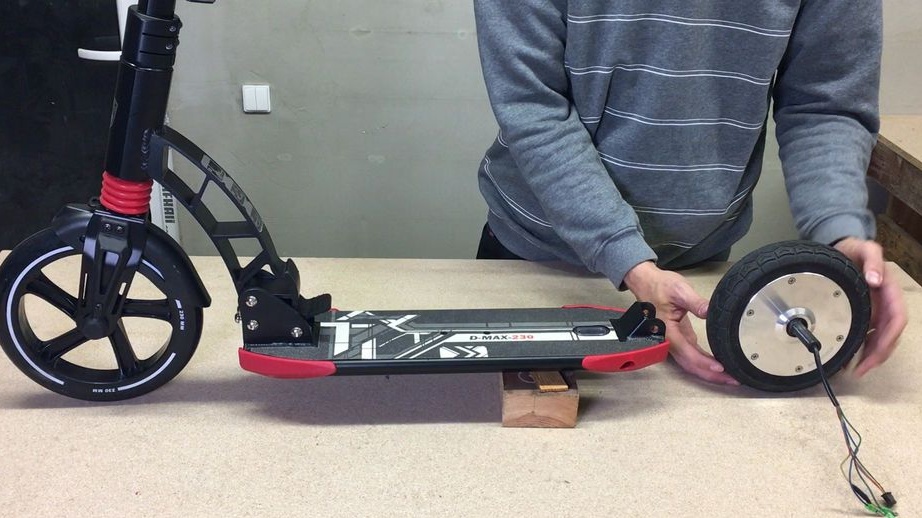
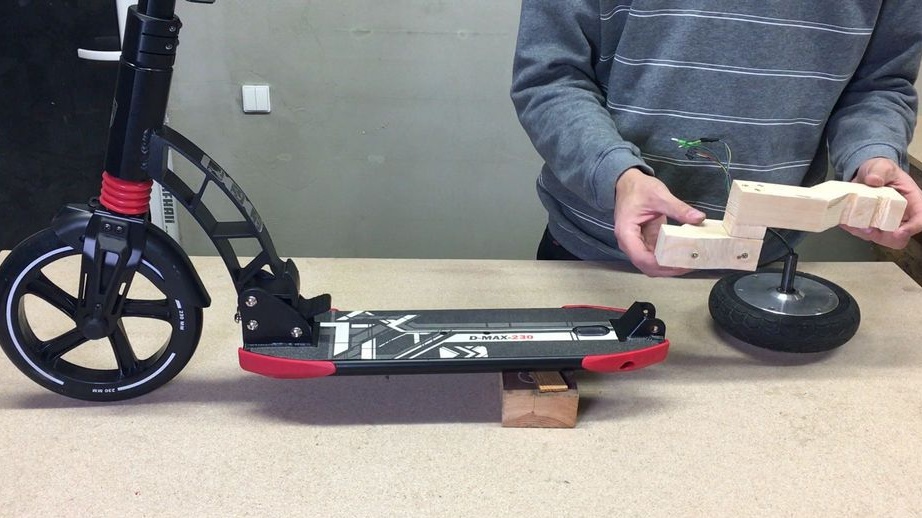
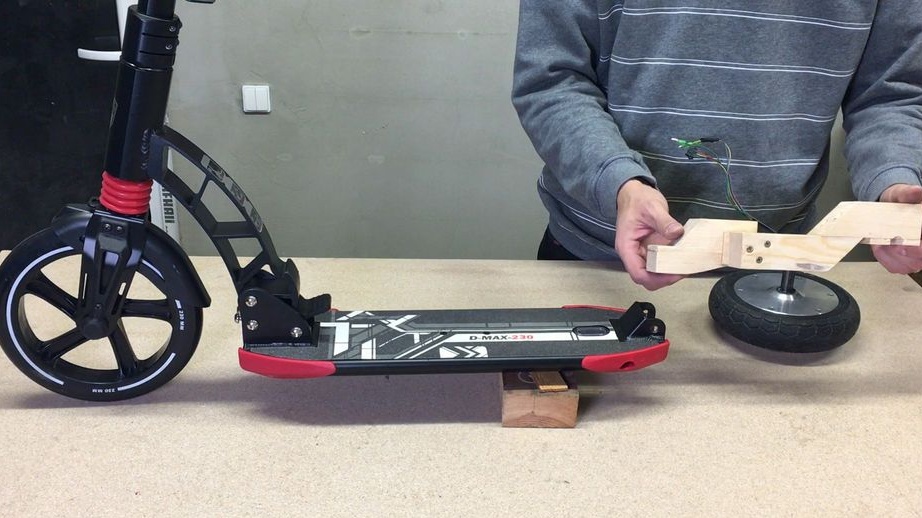
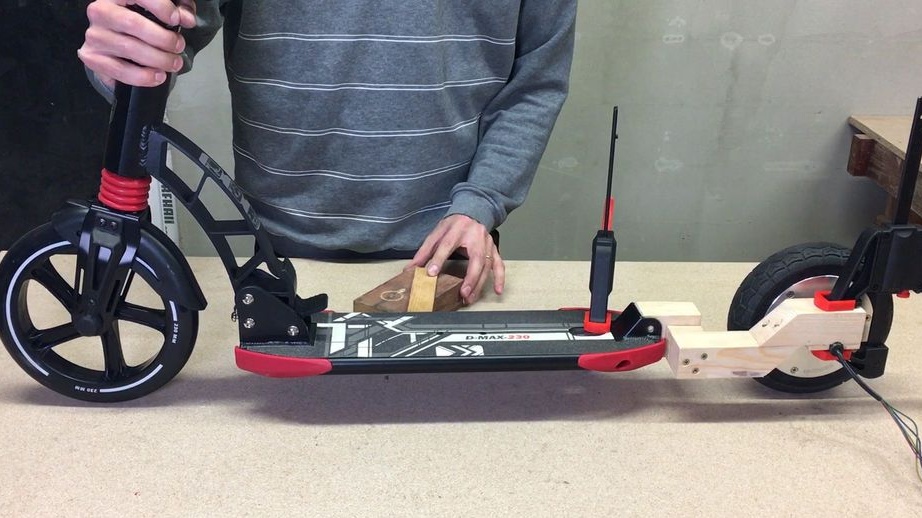
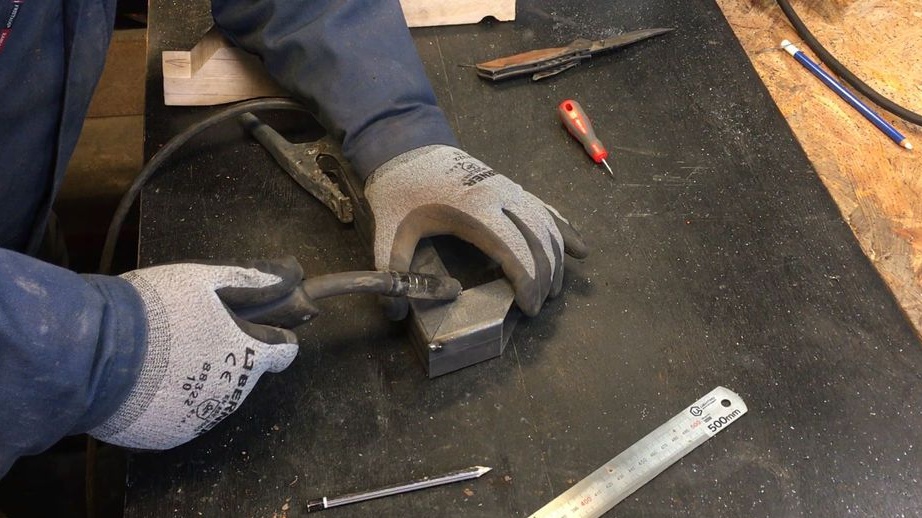
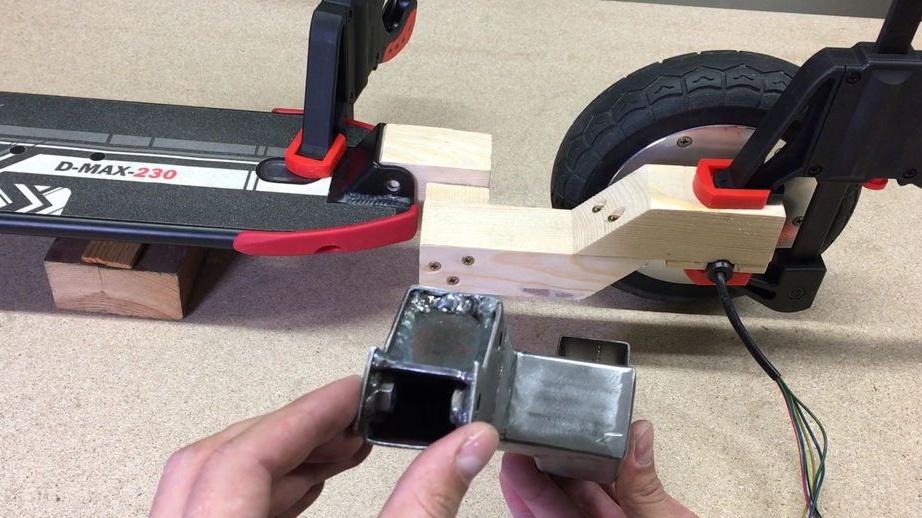
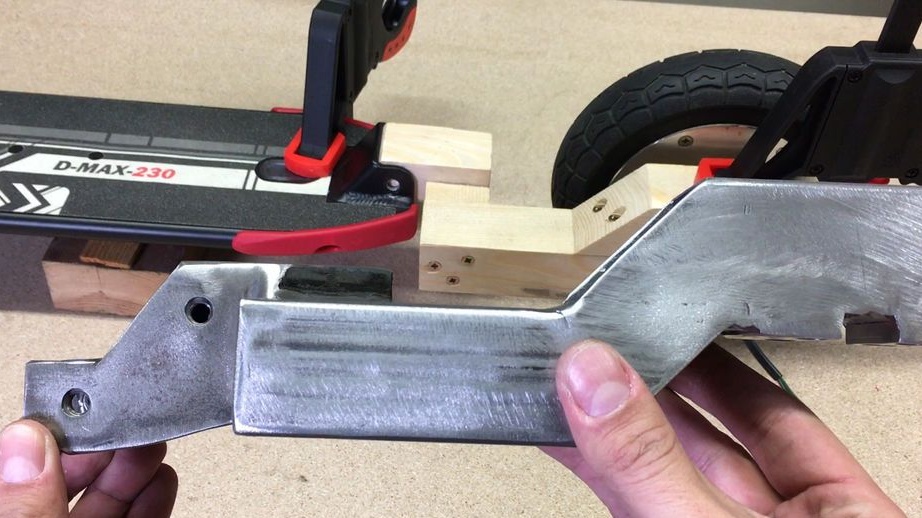
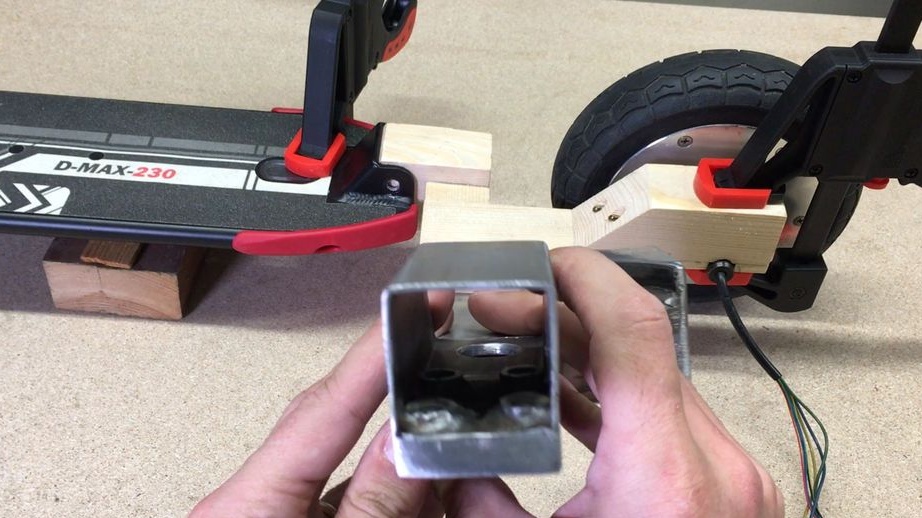
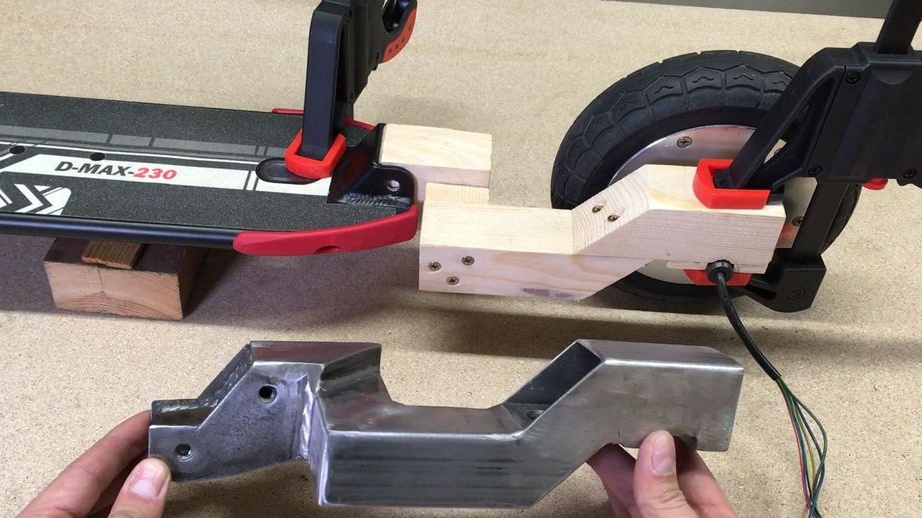
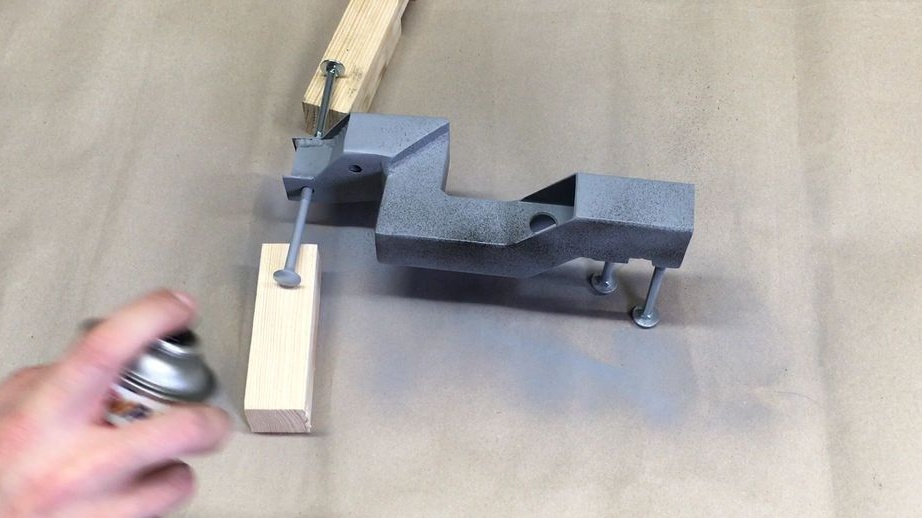
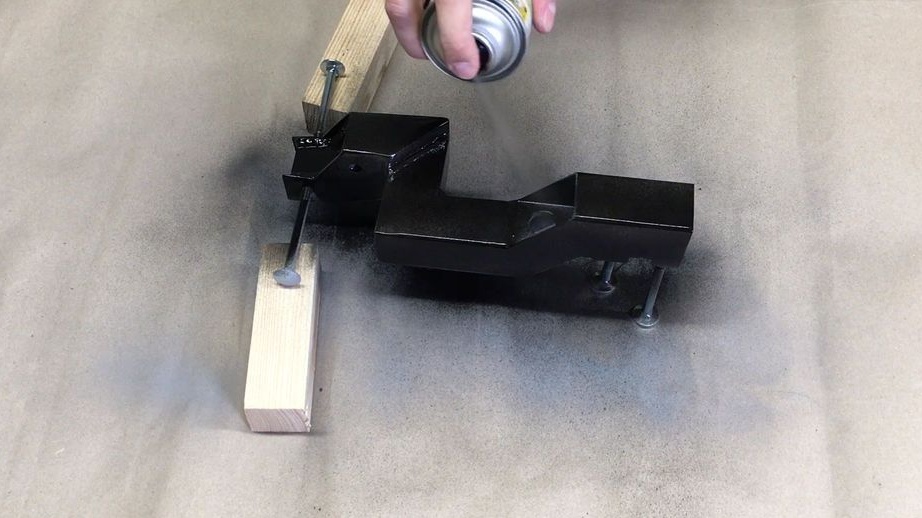
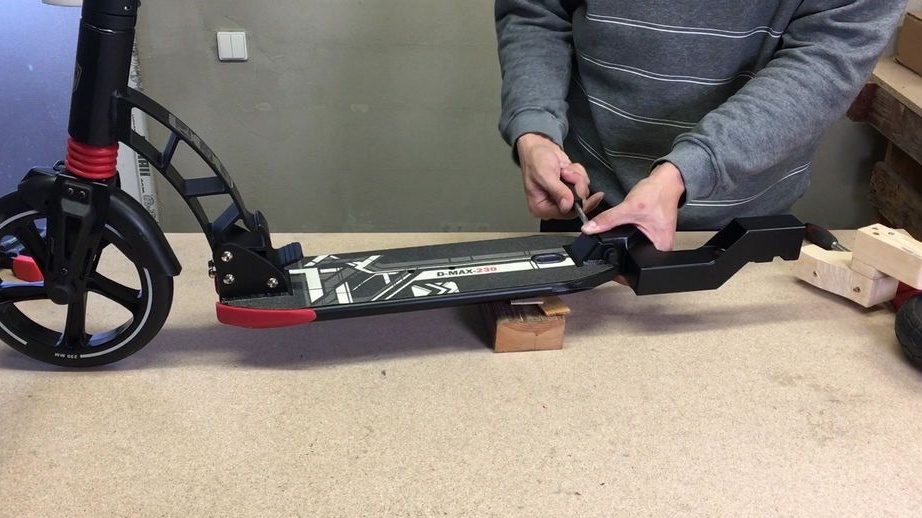
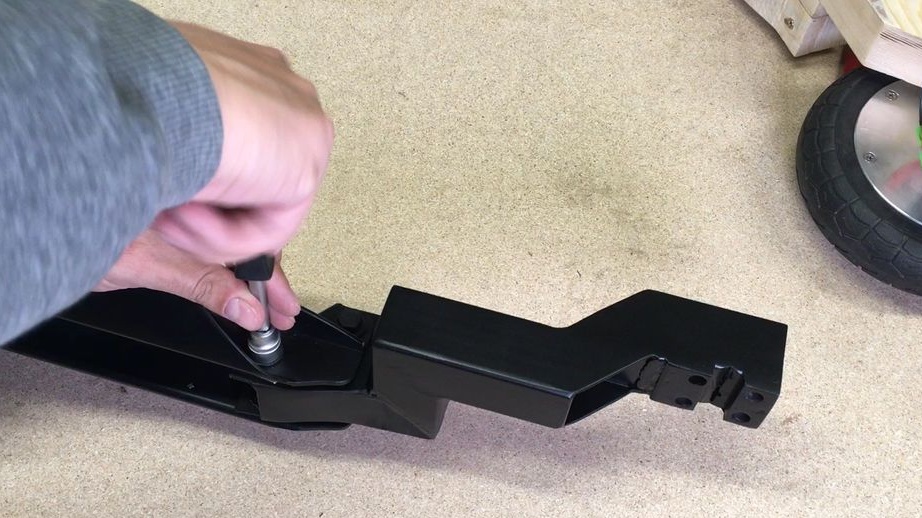
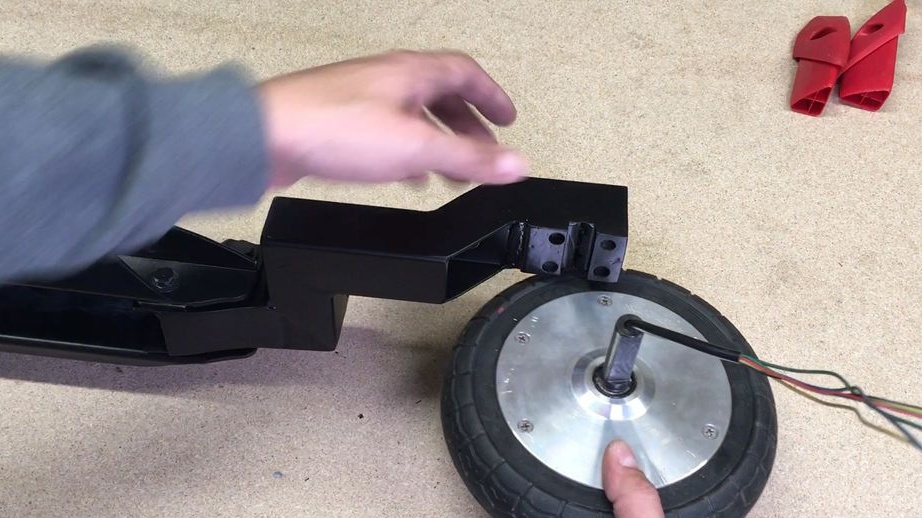
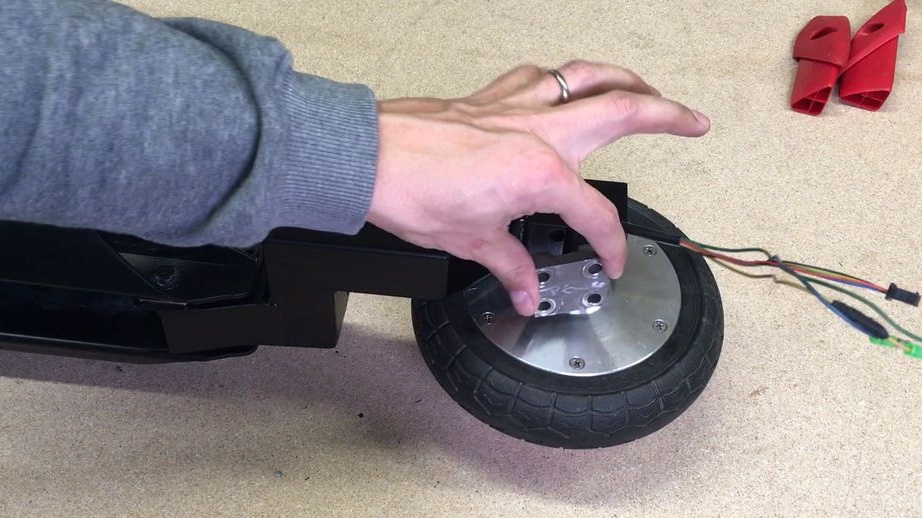
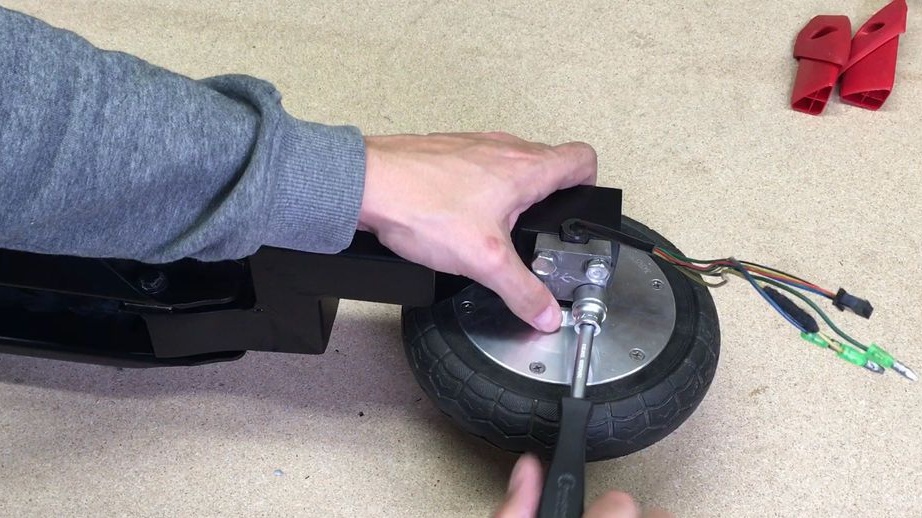
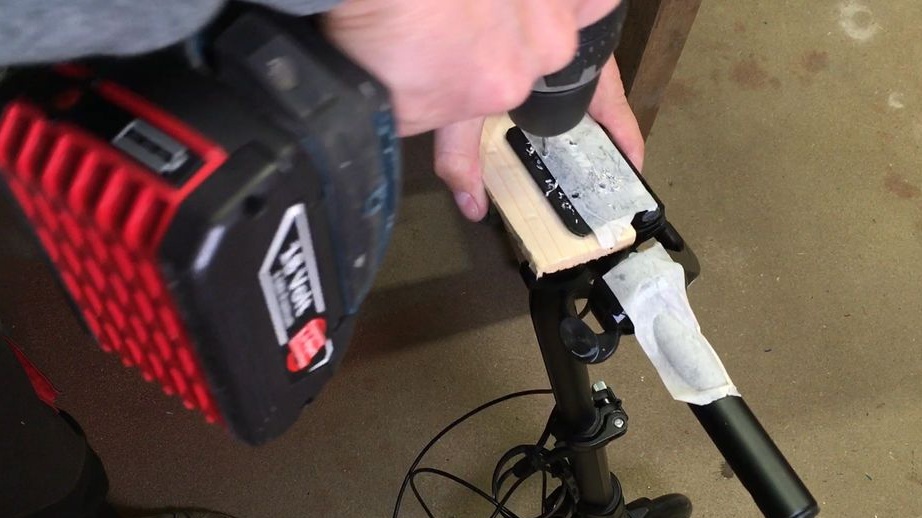
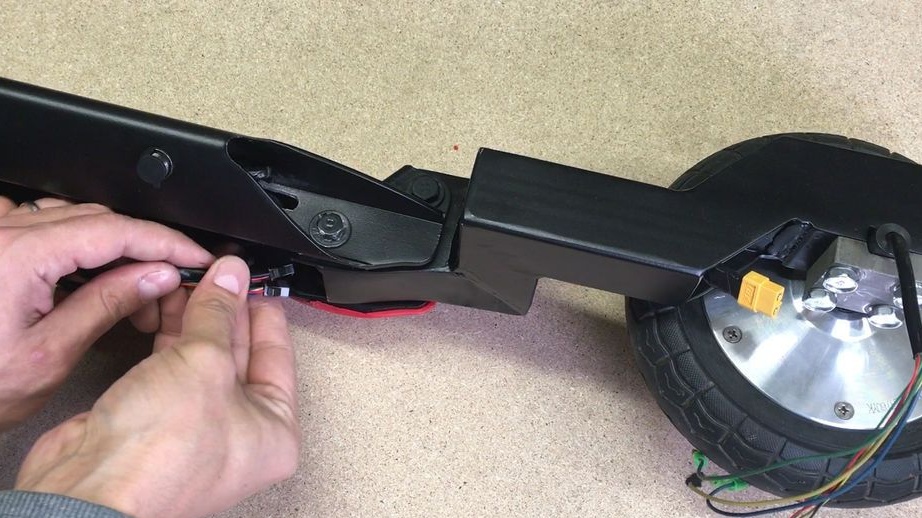
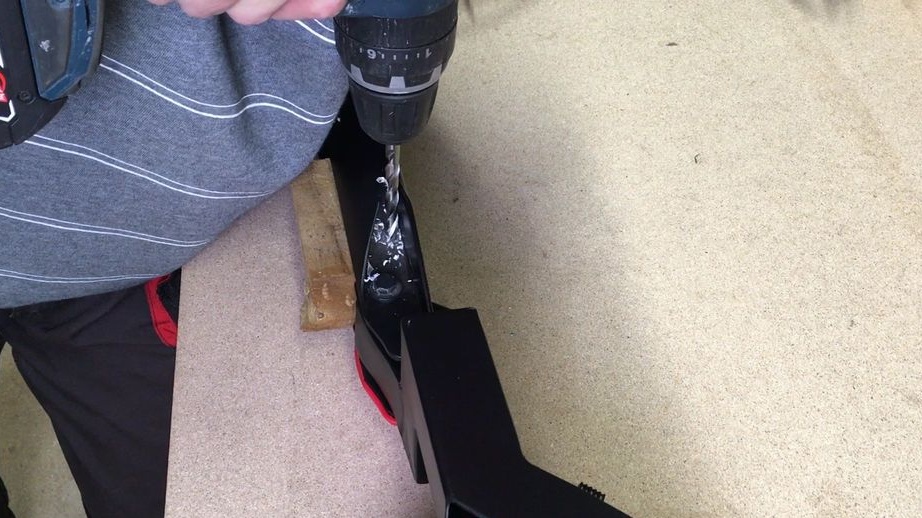
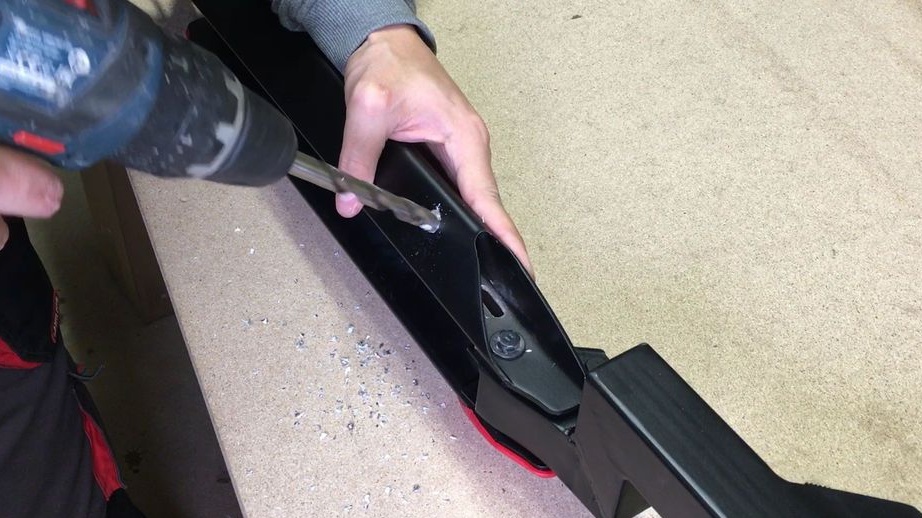
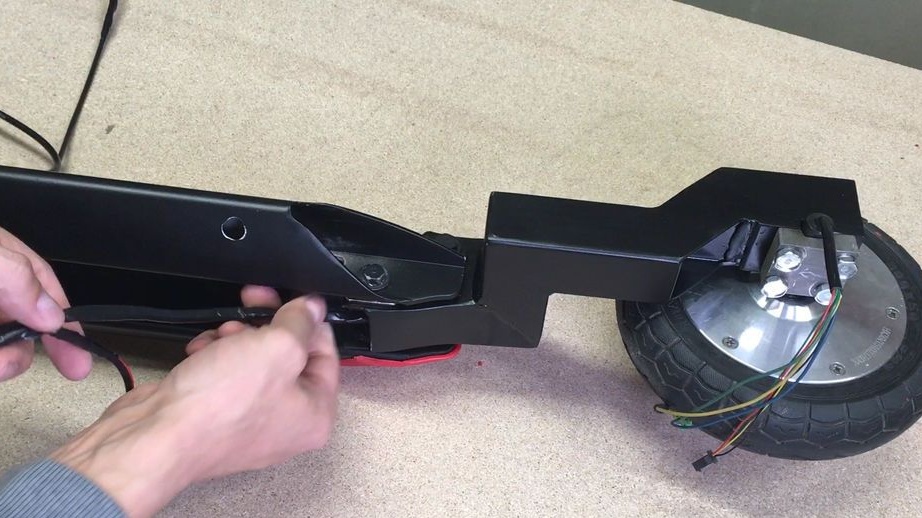
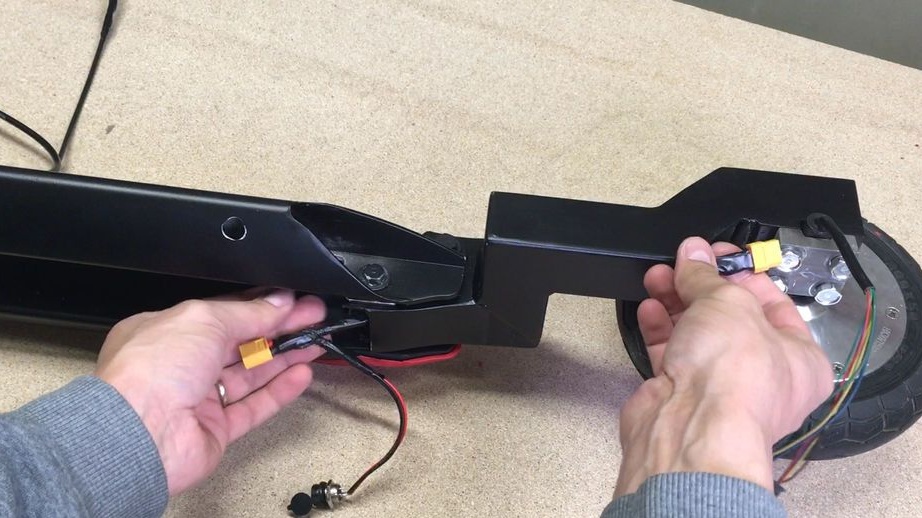
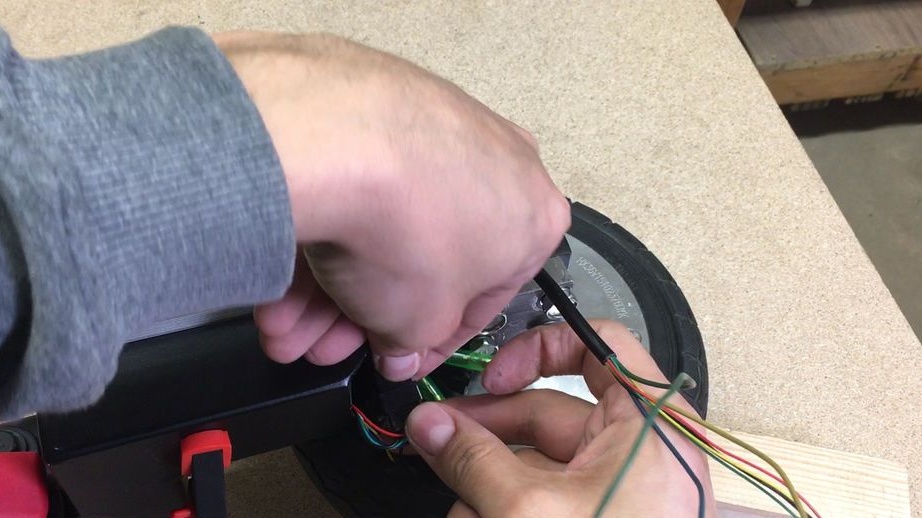
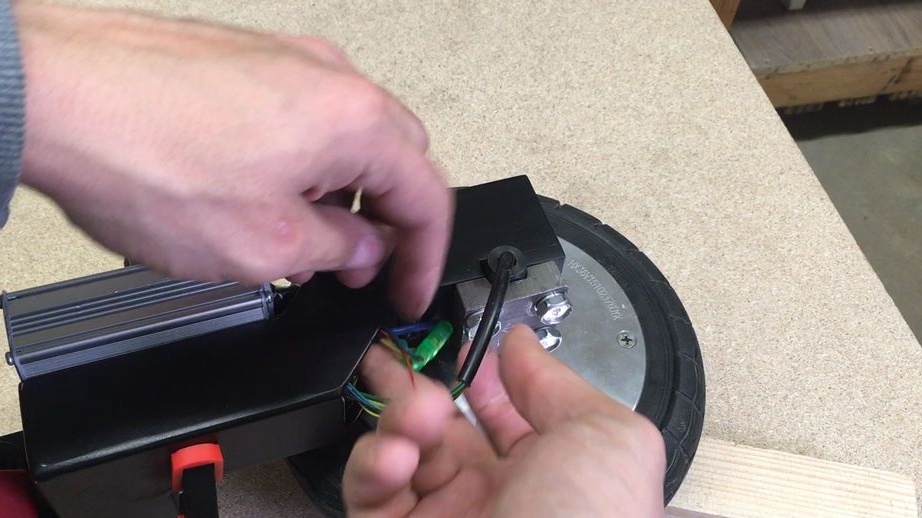
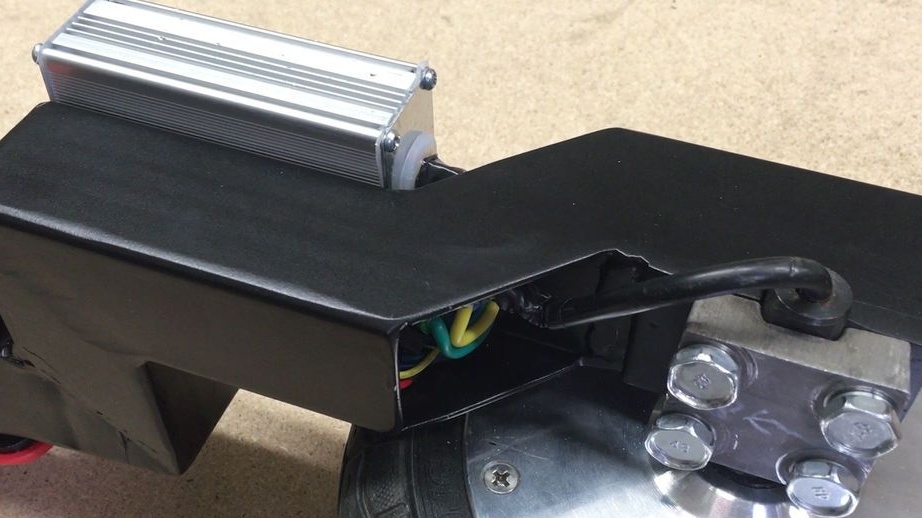
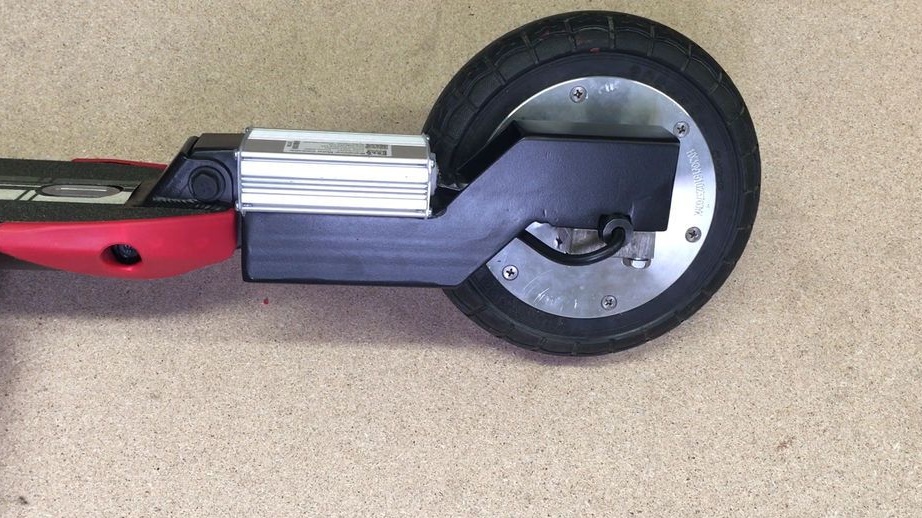
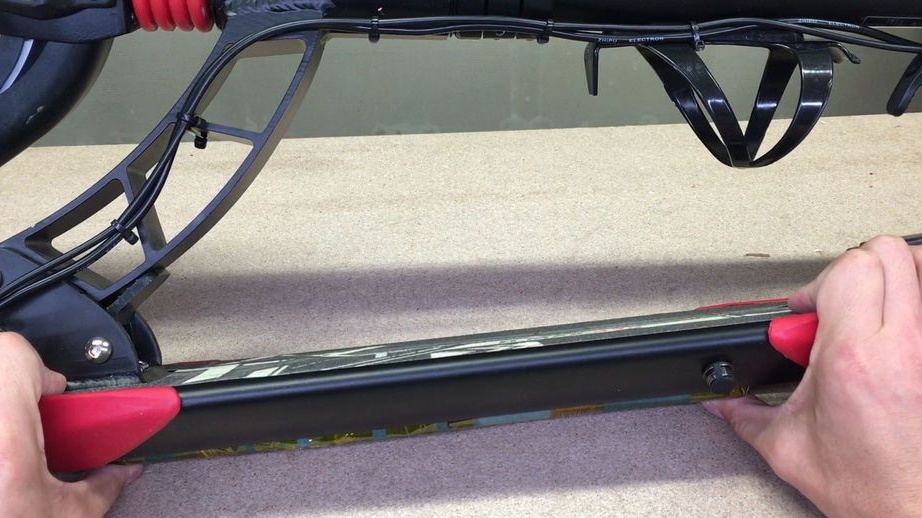
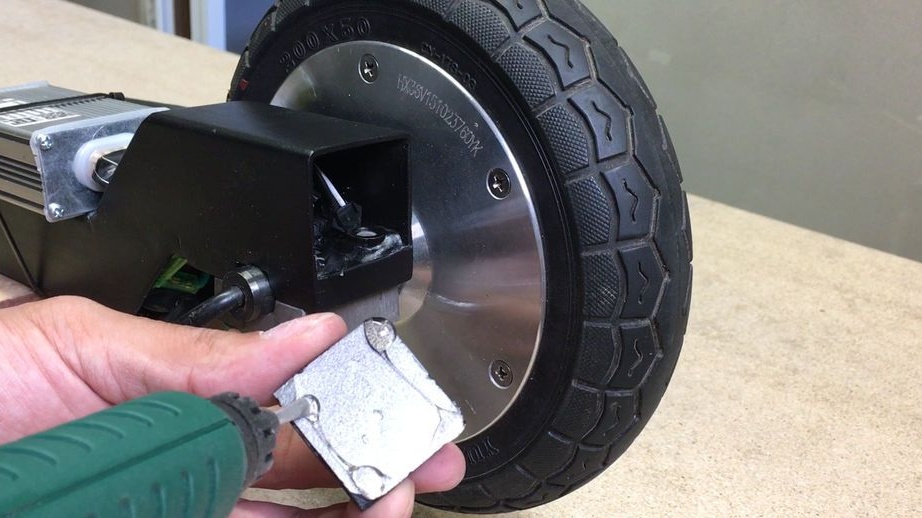
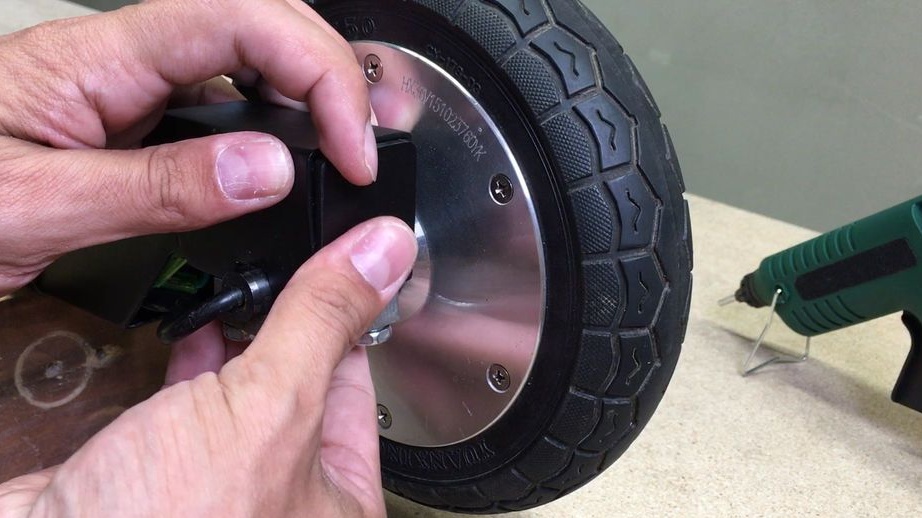
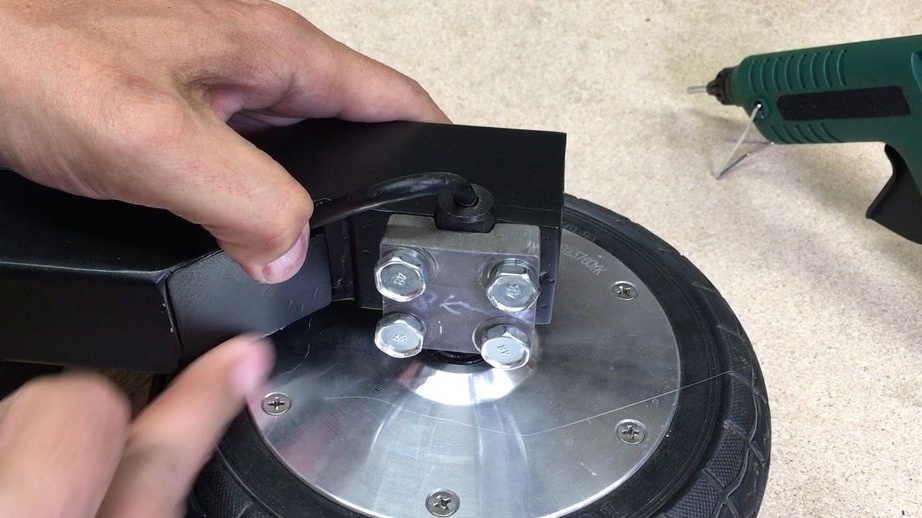
Step Two Making the rear fork
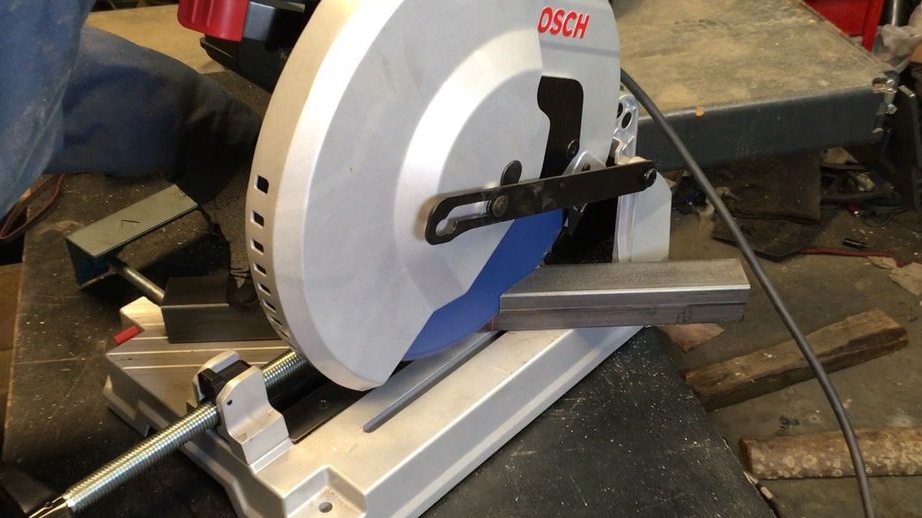
Next, we need to fix our new motor wheel on a scooter. To do this, you need to make new fasteners. To understand what this bracket should be like, first it can be made of wood, as the author did, and the layout can even be made of thick cardboard. After that, you can make the desired bracket from a suitable material. The square tube is suitable for these purposes. We cut, weld, grind, and also drill holes in the right places.
That's all, after that, install the wheel and bracket using bolts with nuts.

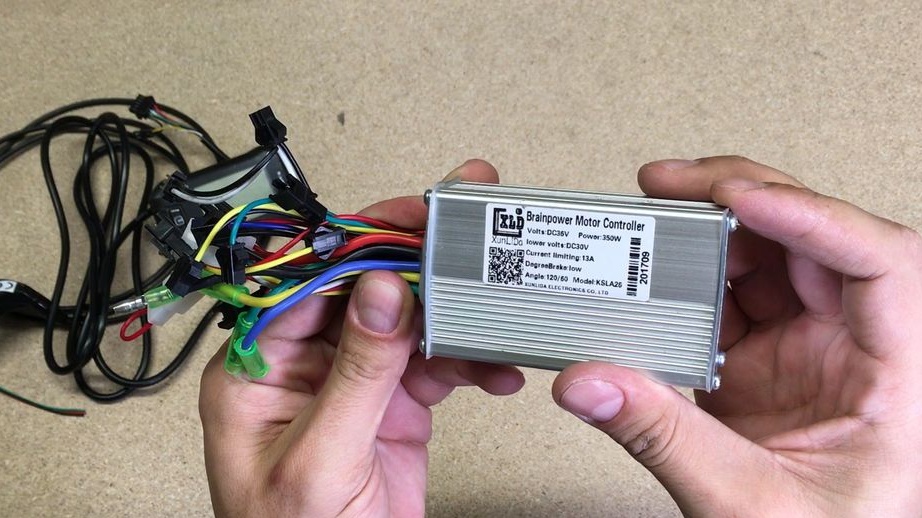
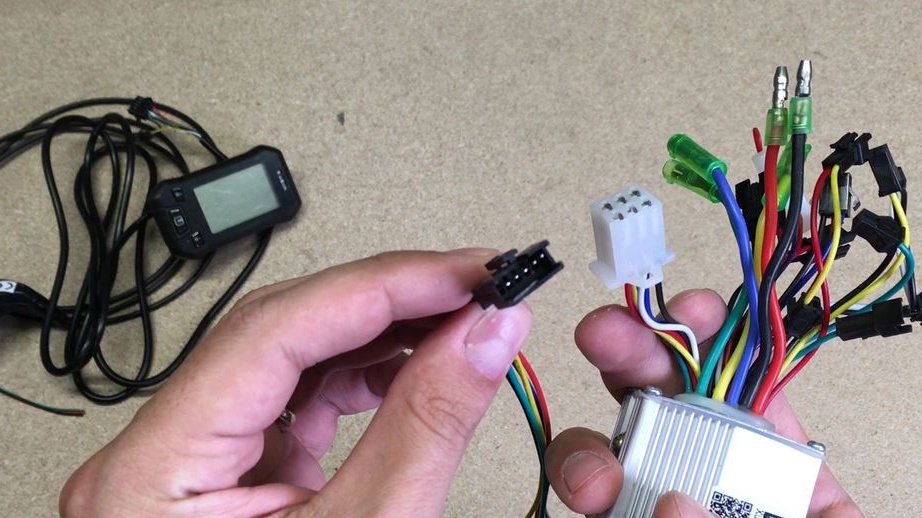
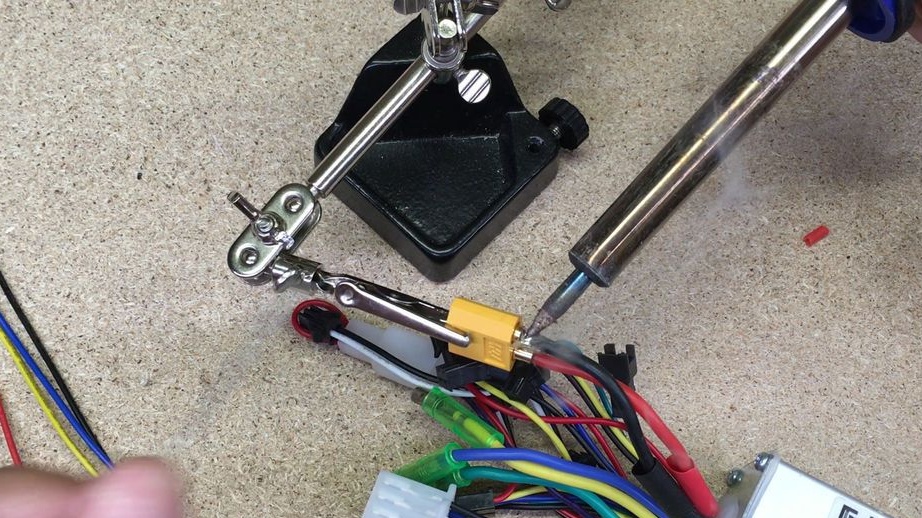
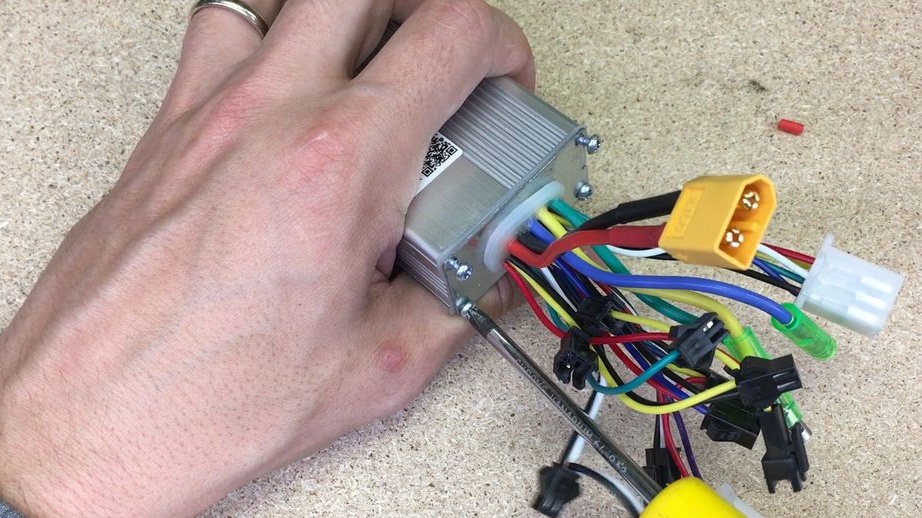
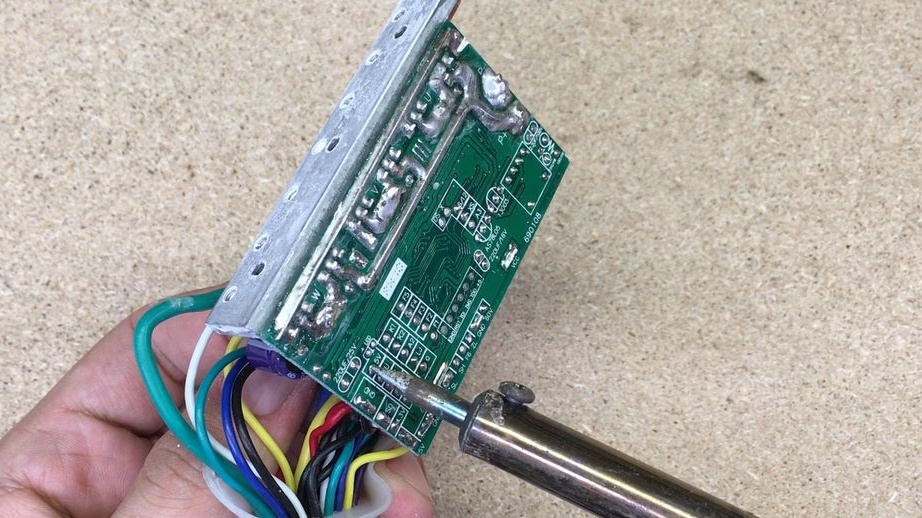
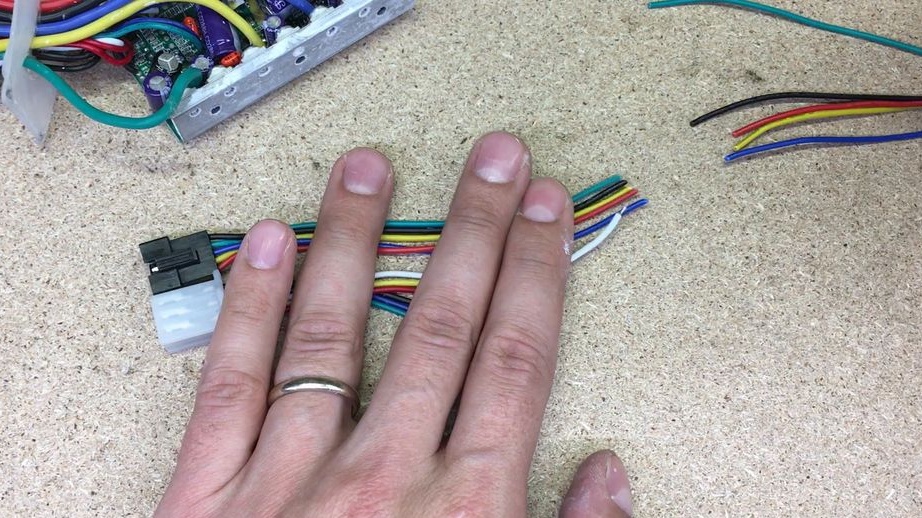
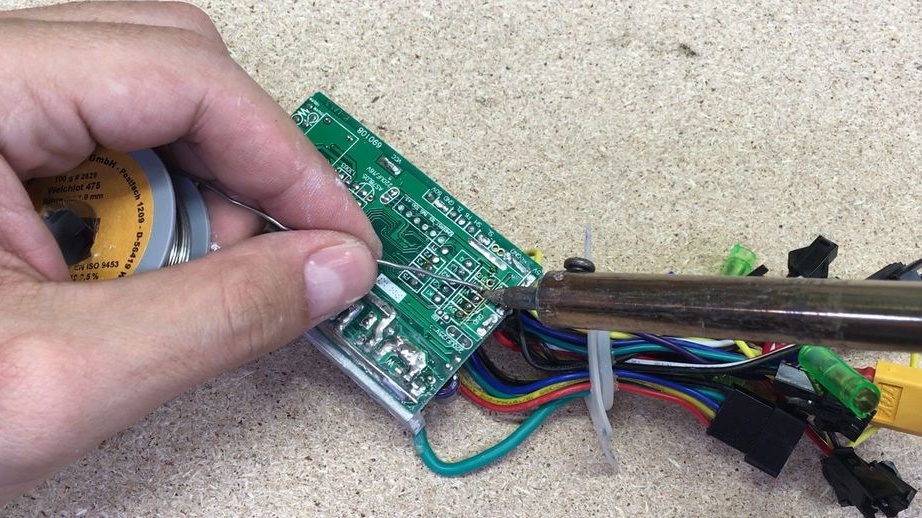
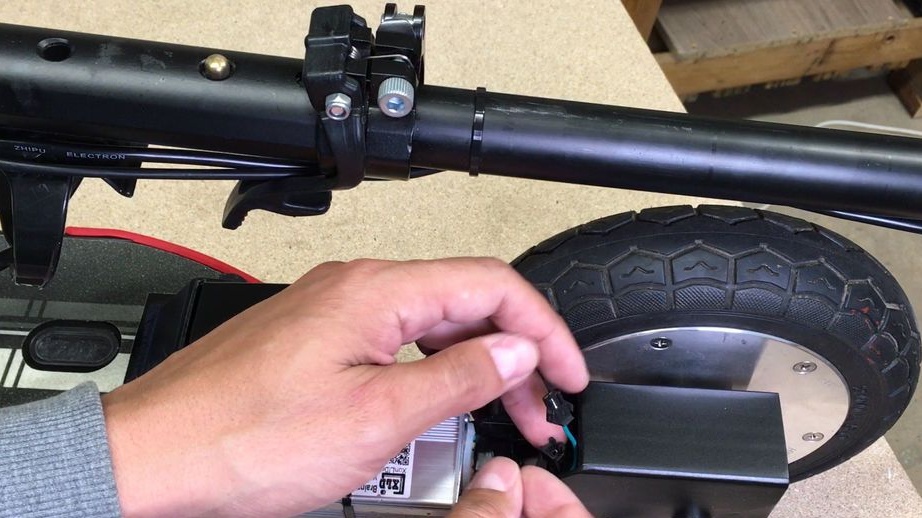
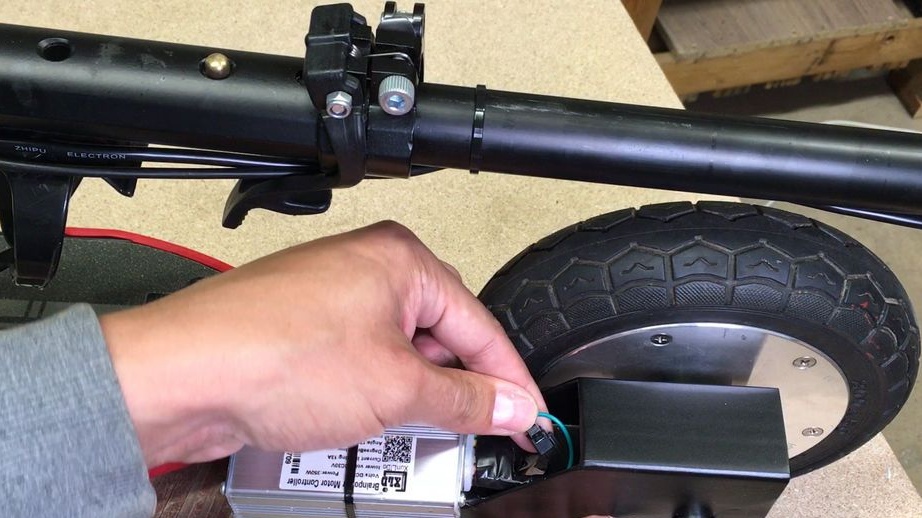
Step Three Motor controller
In order for the brushless motor to work, voltage must be applied to it in a special way. The controller copes with this task perfectly. The controller is needed for the 350 Watt engine, the author picked up the right controller and upgraded it for himself.
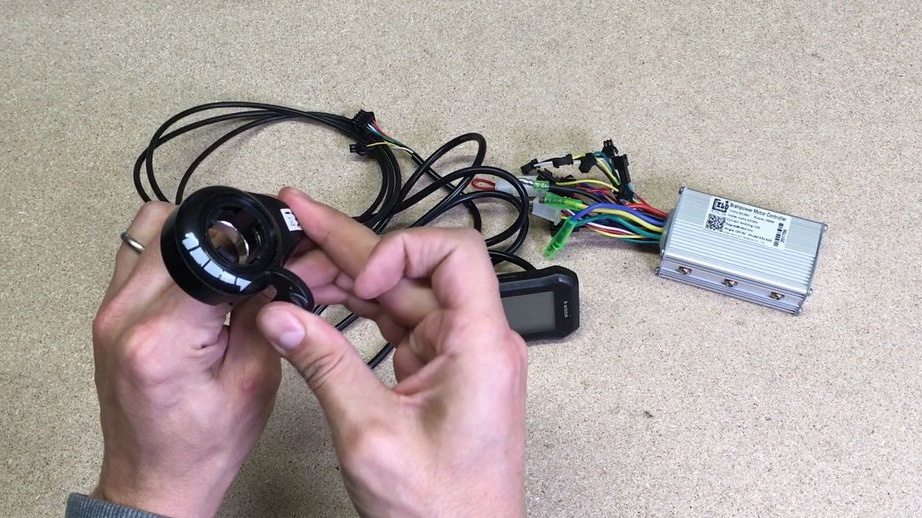
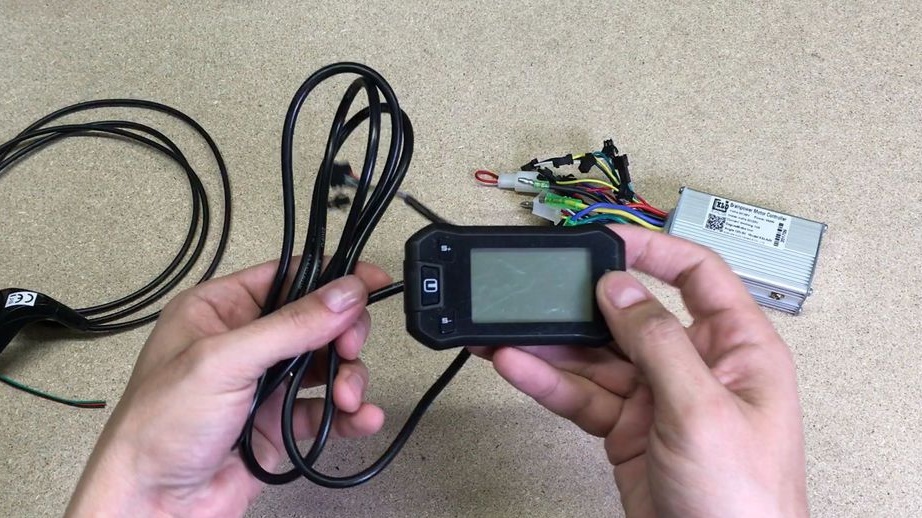


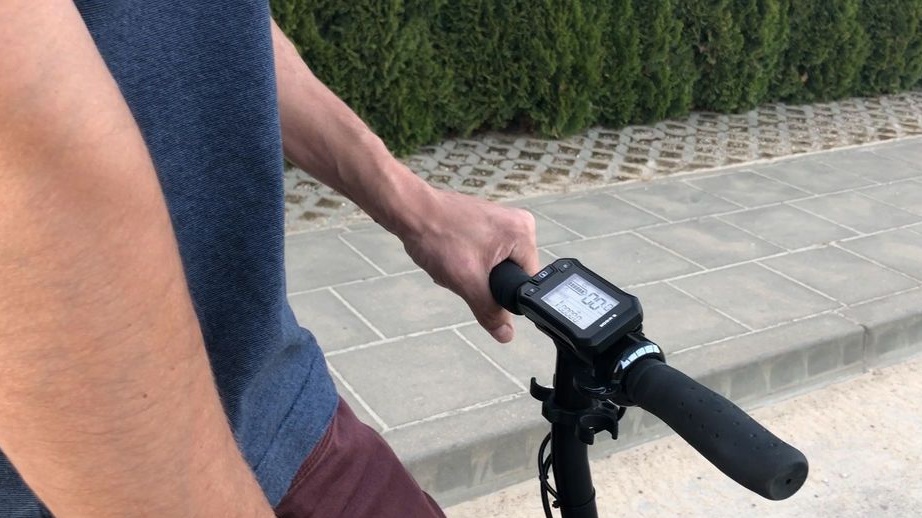
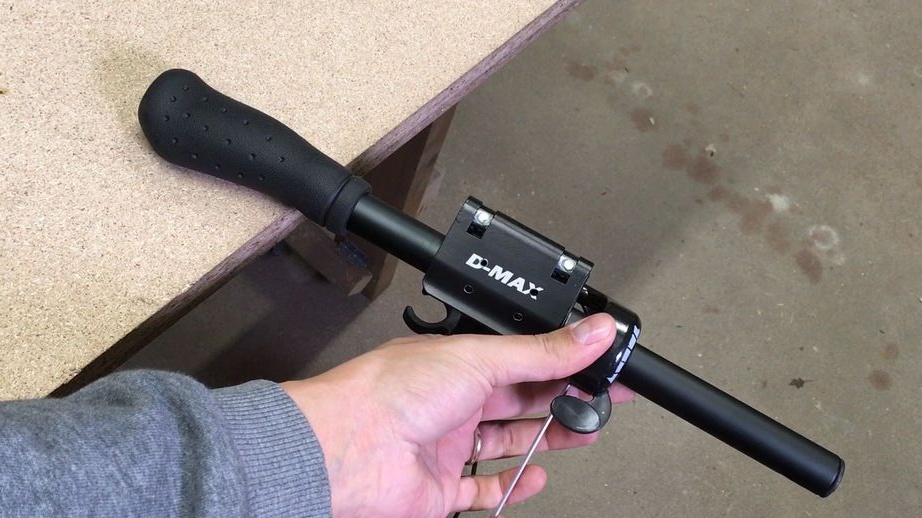
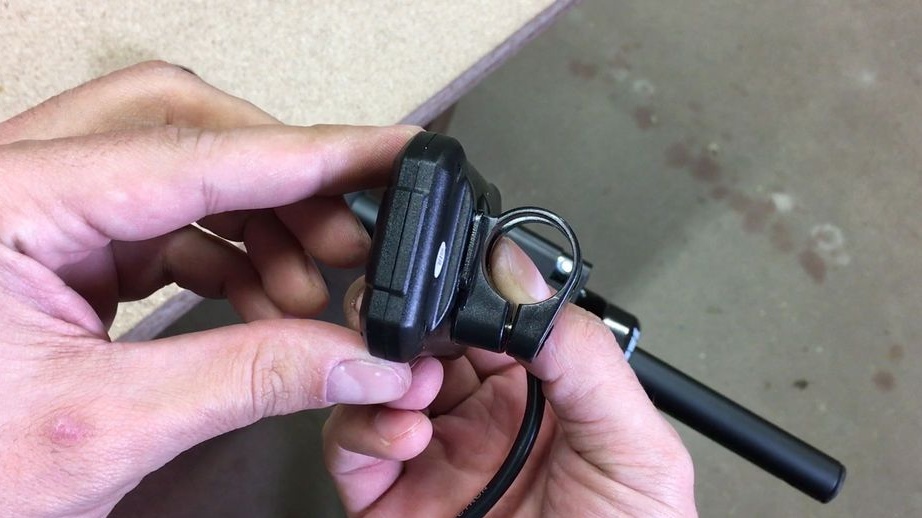
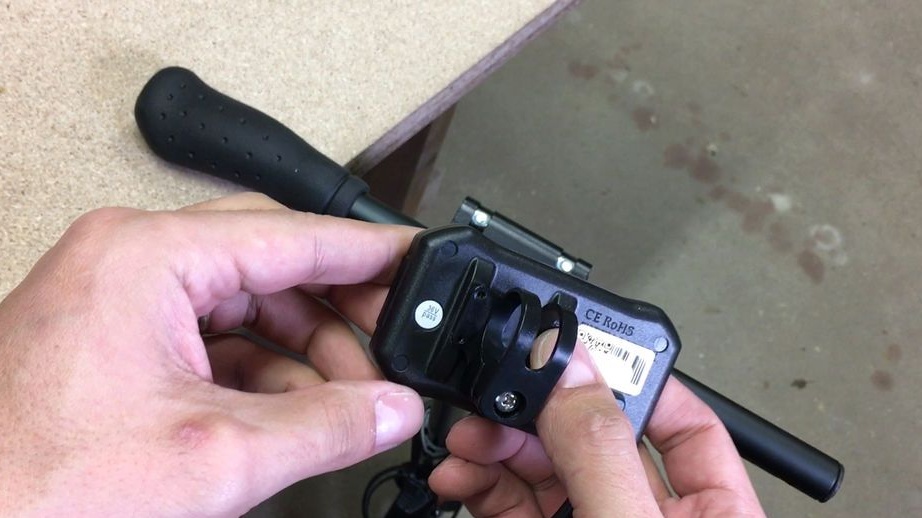
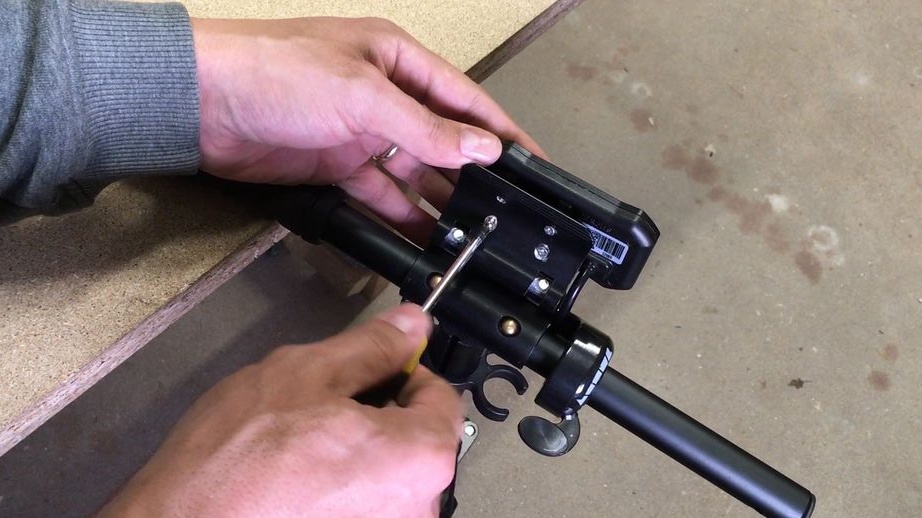
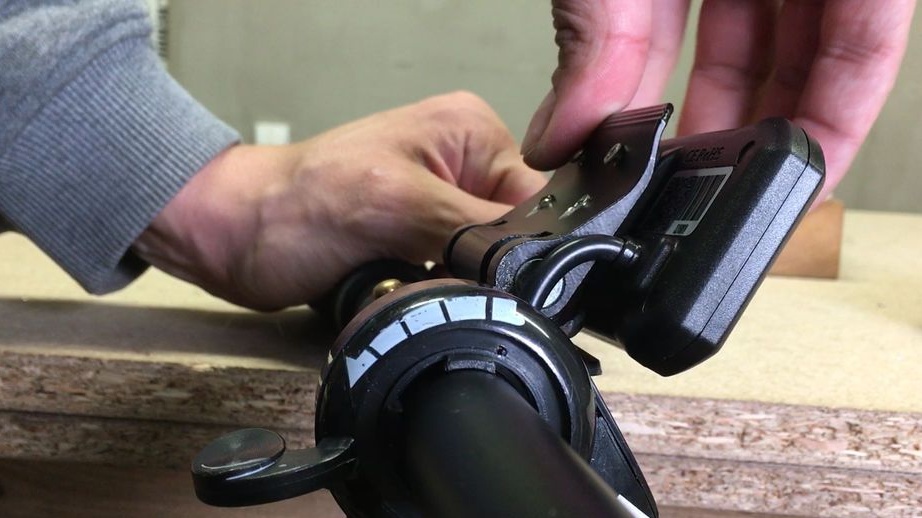
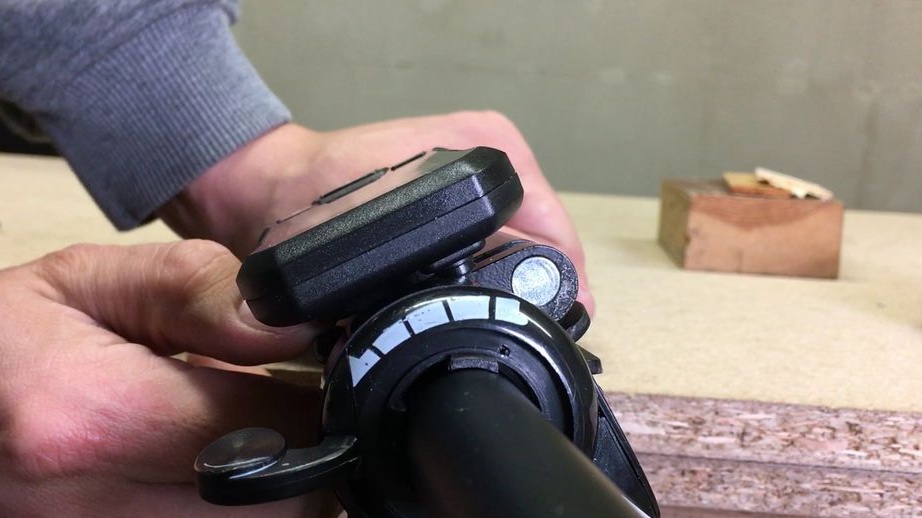
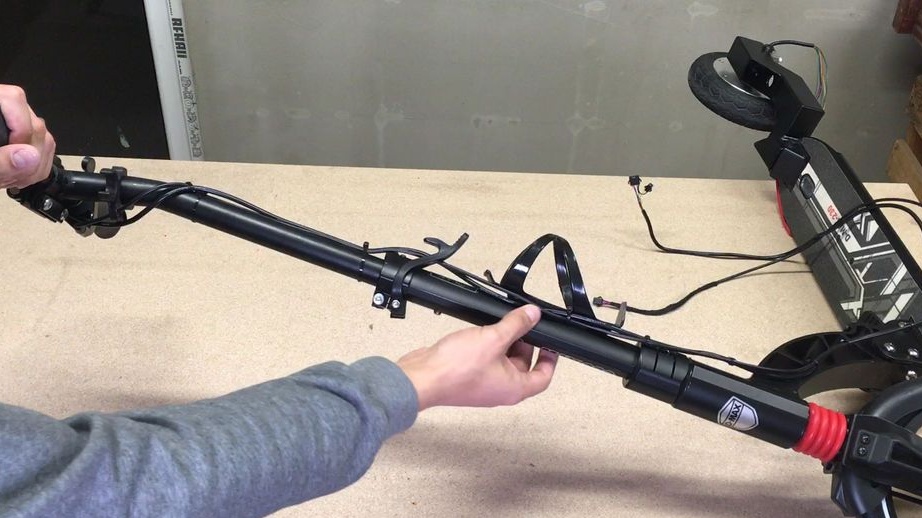
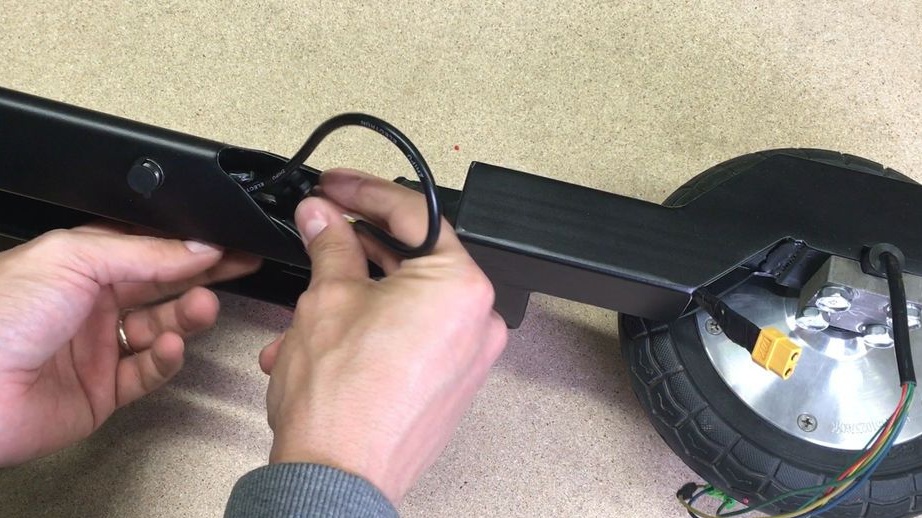
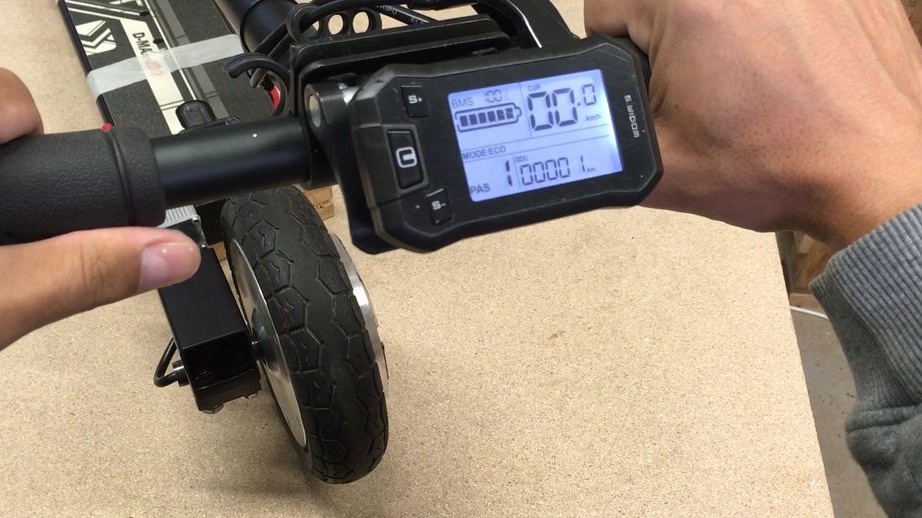
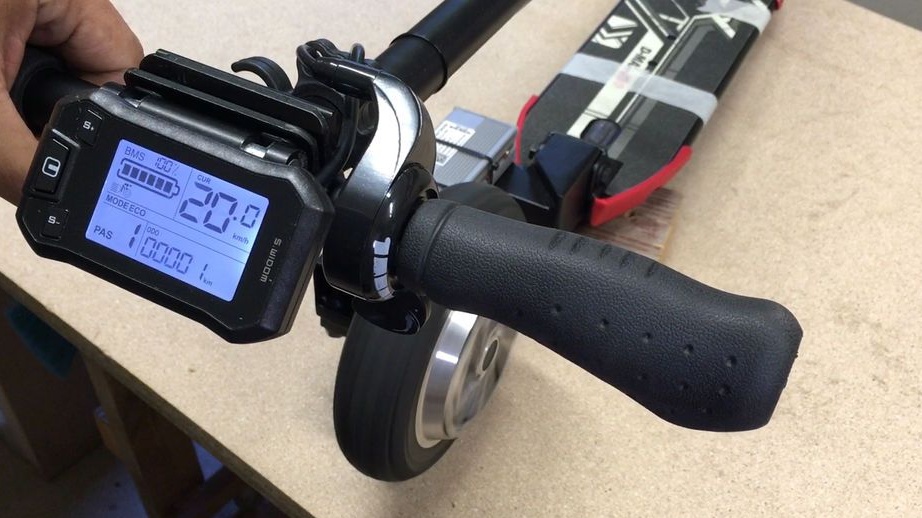
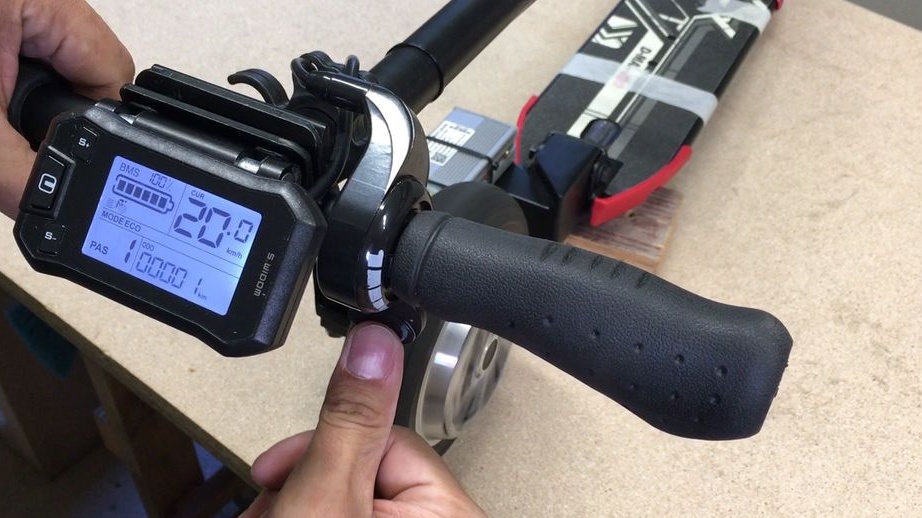
Step Four Throttle and speedometer
Gas handle with us electronic, fix it on the steering wheel, like an LCD. We connect everything as the author. We lay the wires along the frame and fix with plastic ties.
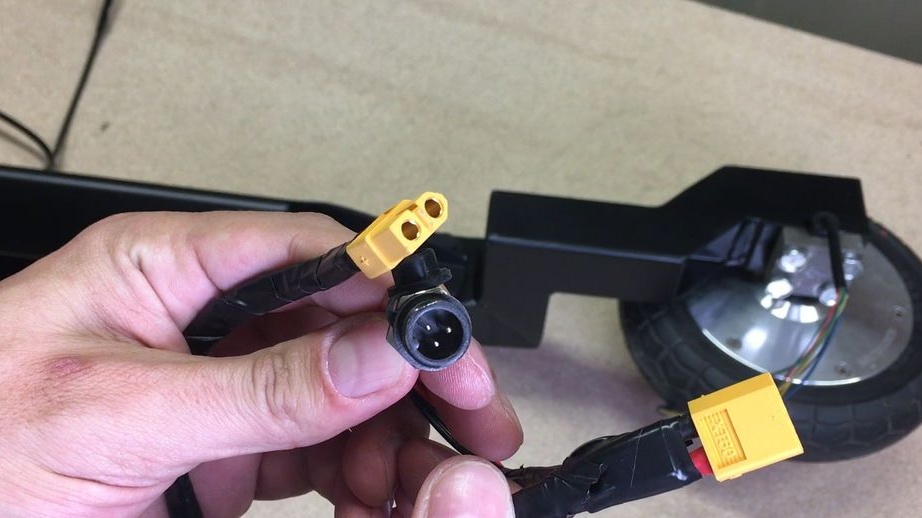
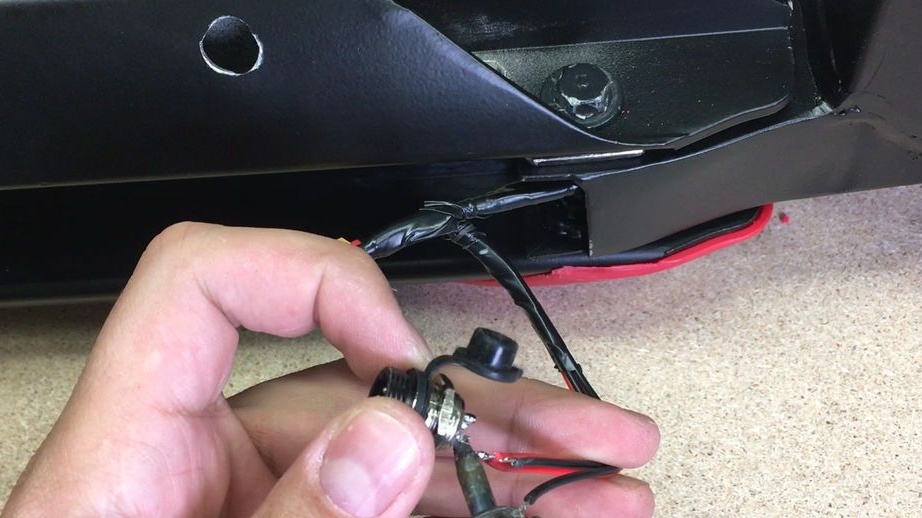
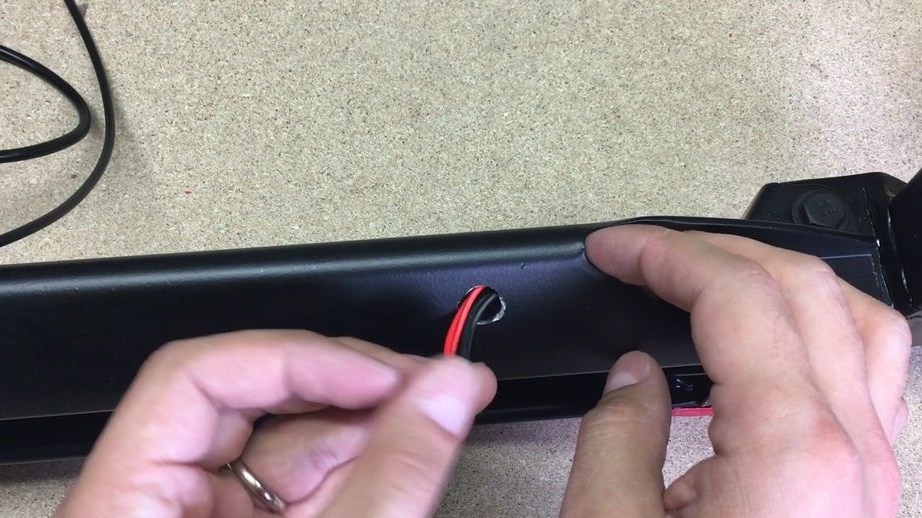
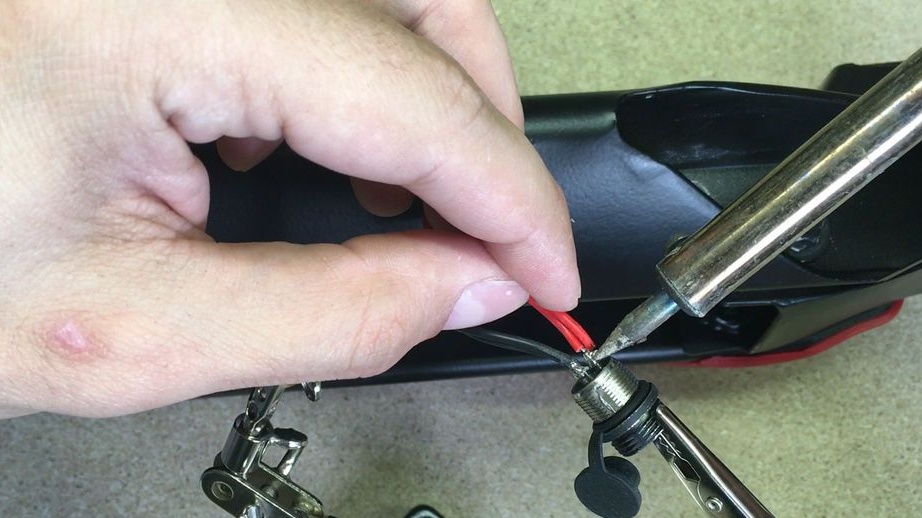
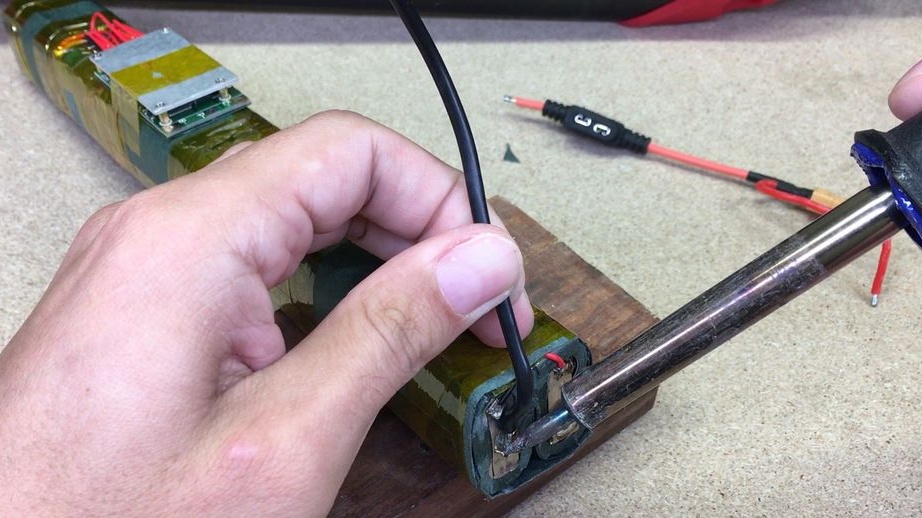
Step Five Charging socket
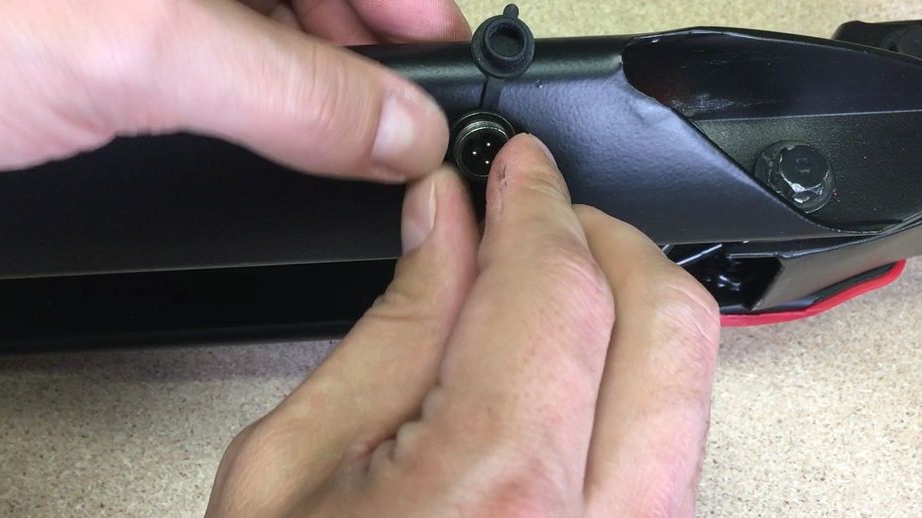
Choose a suitable place on the frame and drill a hole for the charging connector. Well, then install the connector, usually it is attached with a nut.

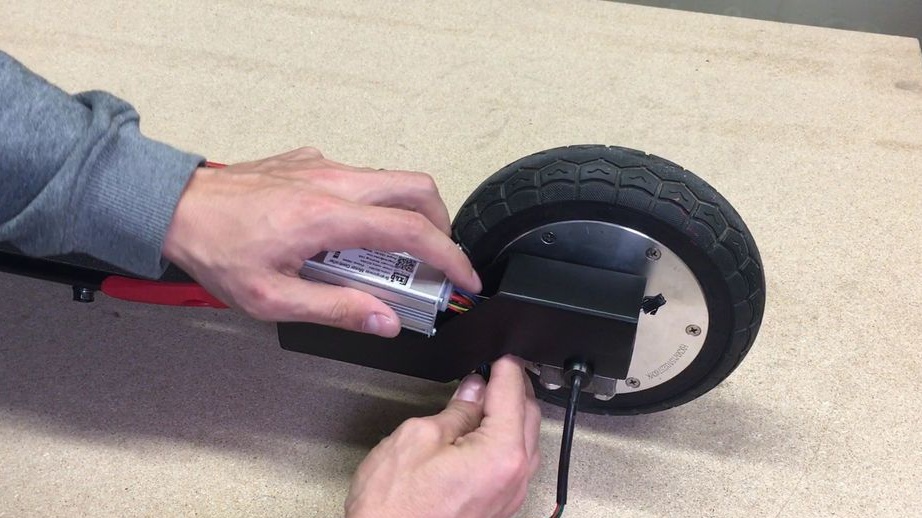
Step Six Installing the speed controller
The rev controller itself is located in a protective housing. The author decided to install it on the rear fork. We connect all the necessary wires, and fasten the controller with bolts or screws.

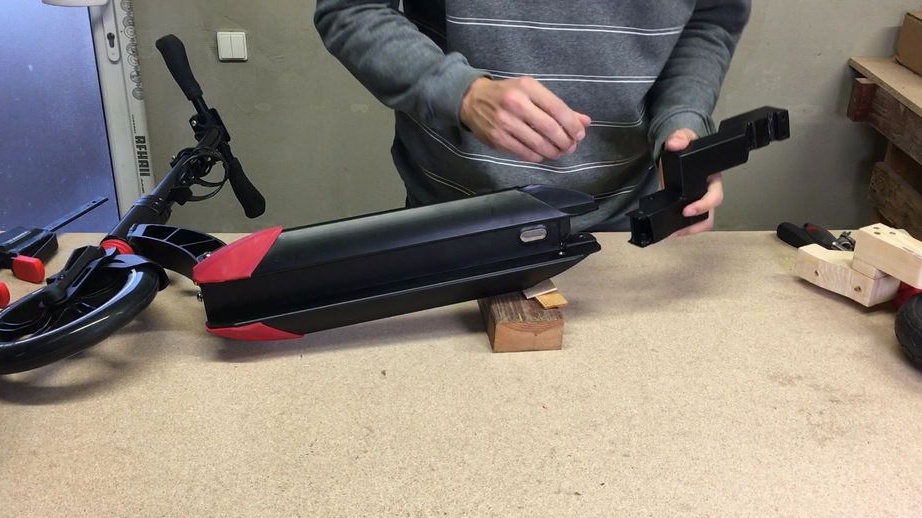
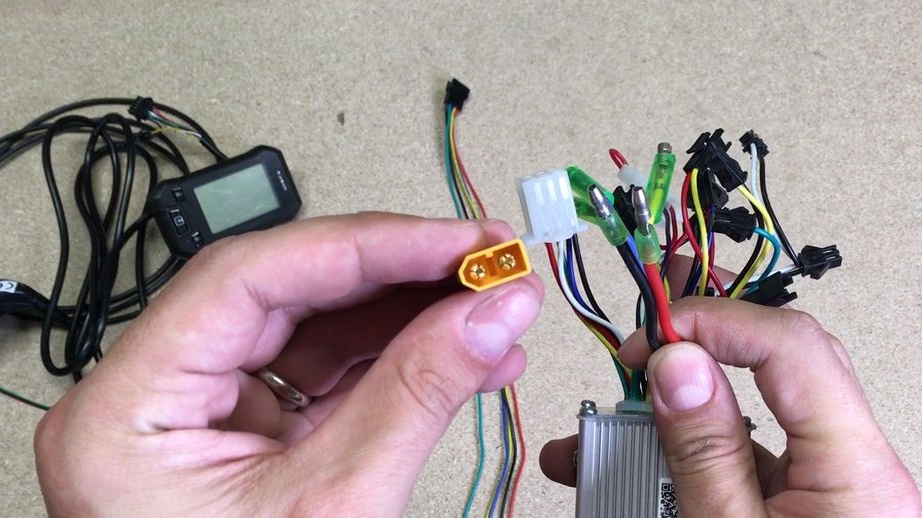
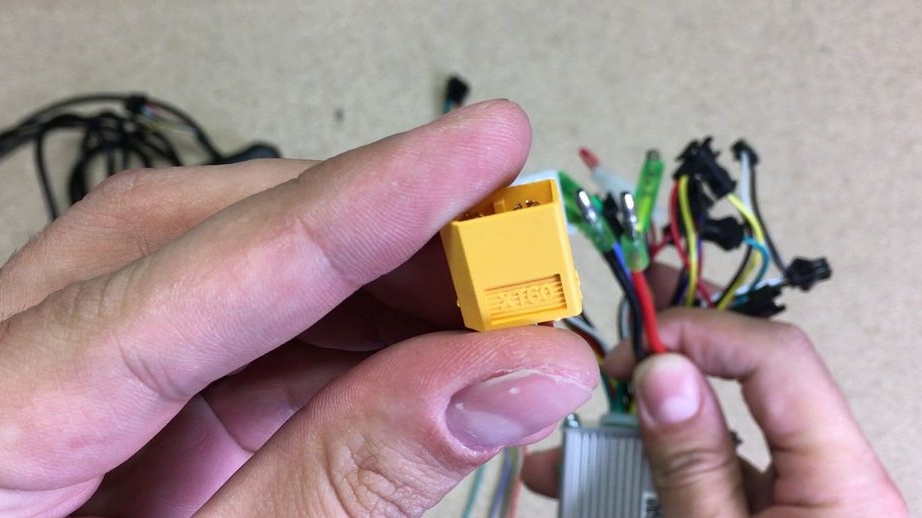
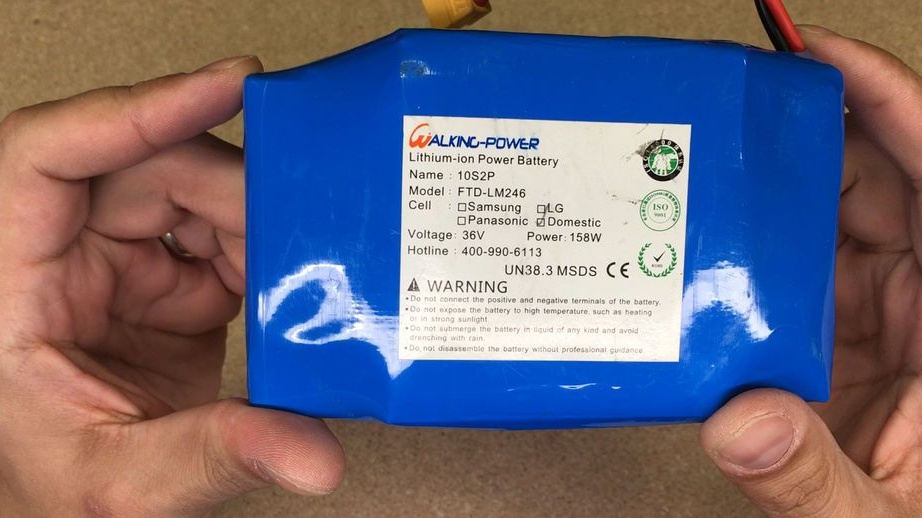
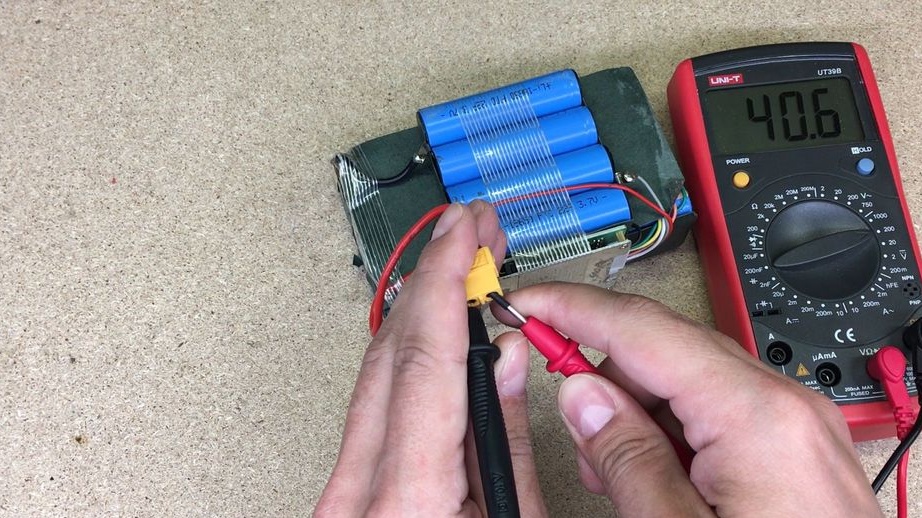
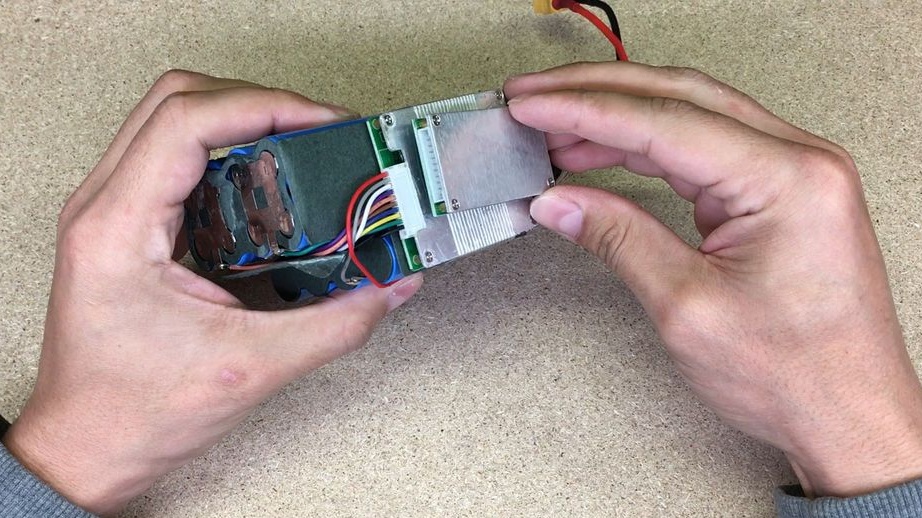
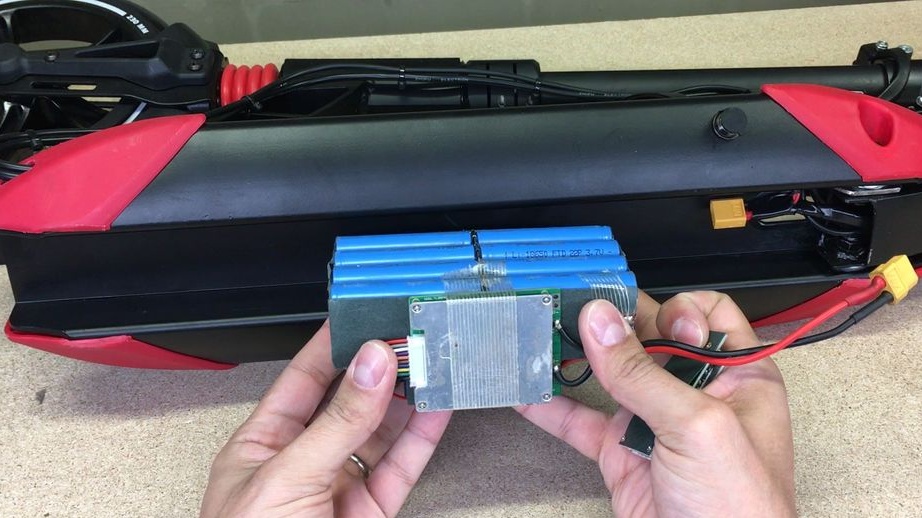
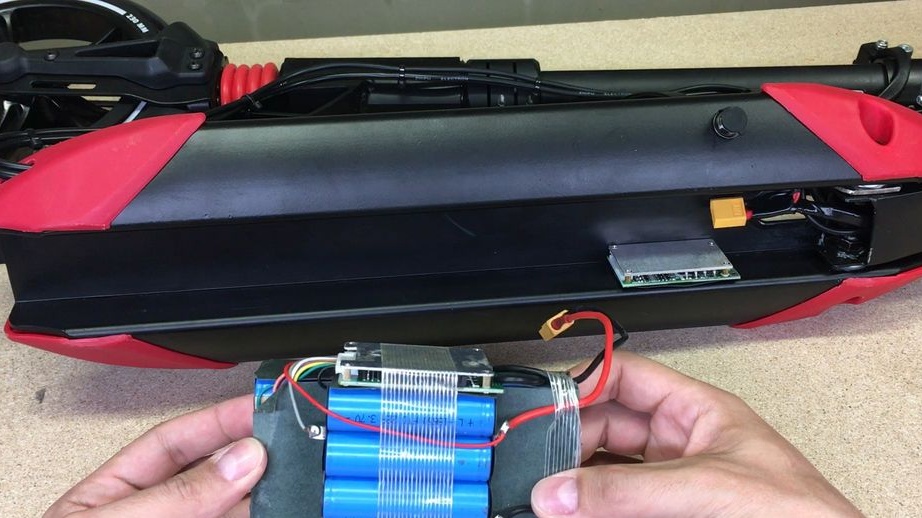
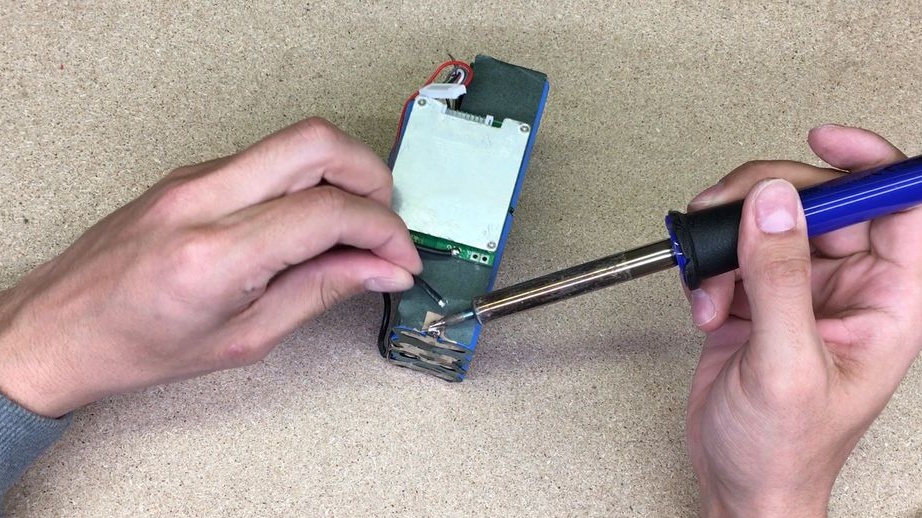
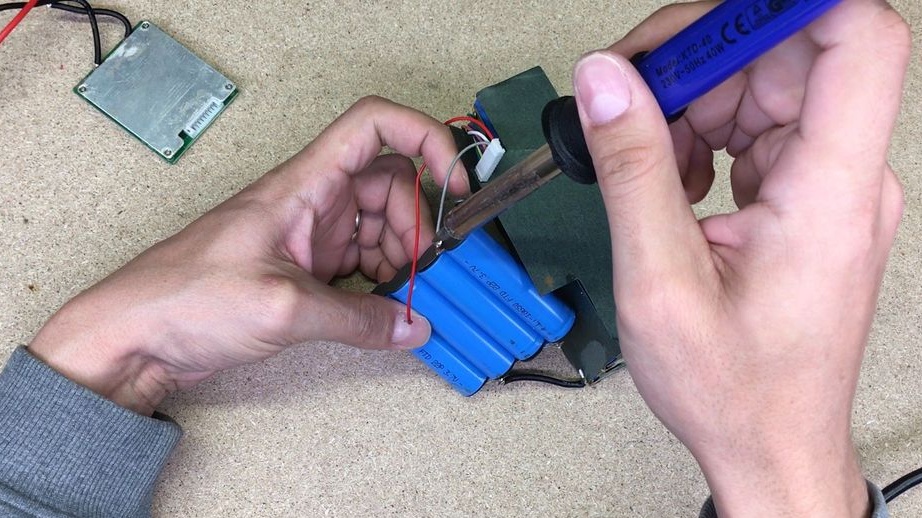
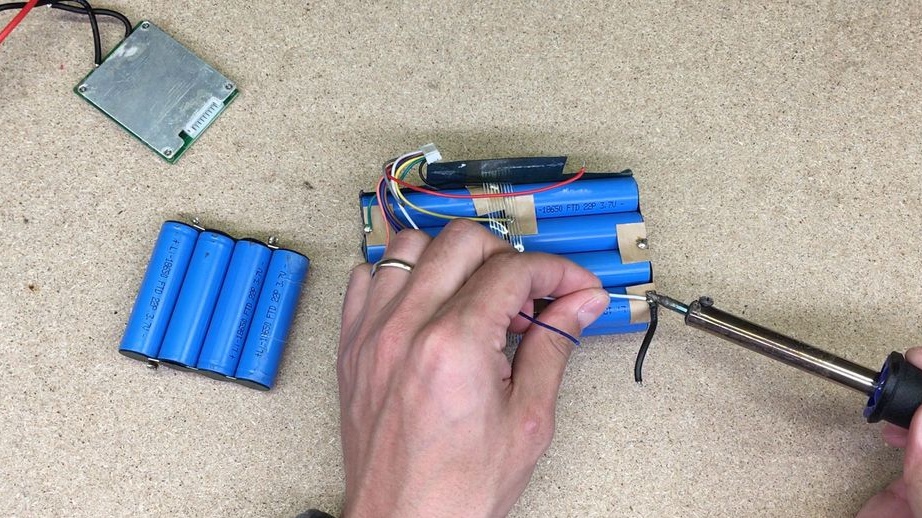
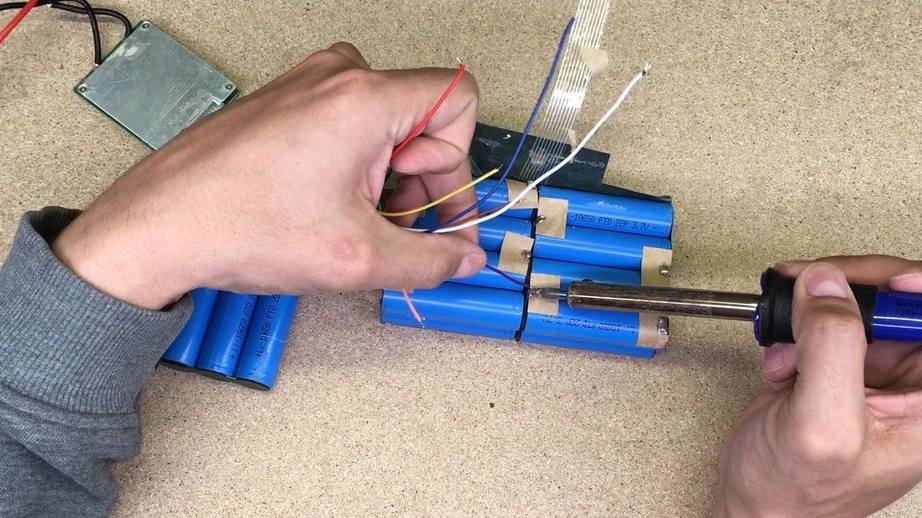
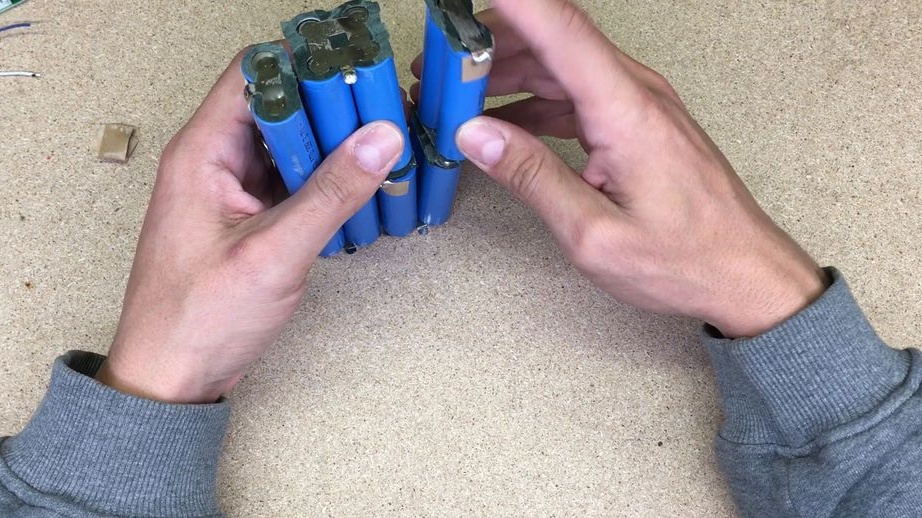
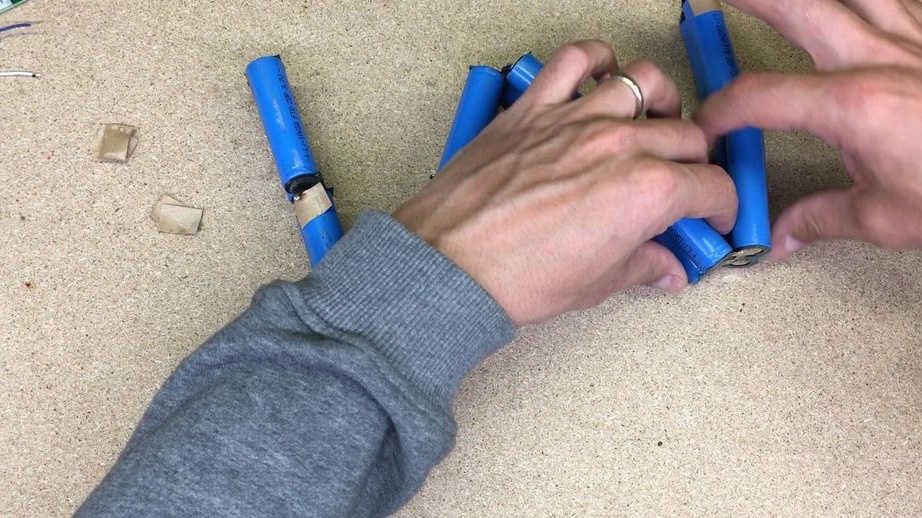
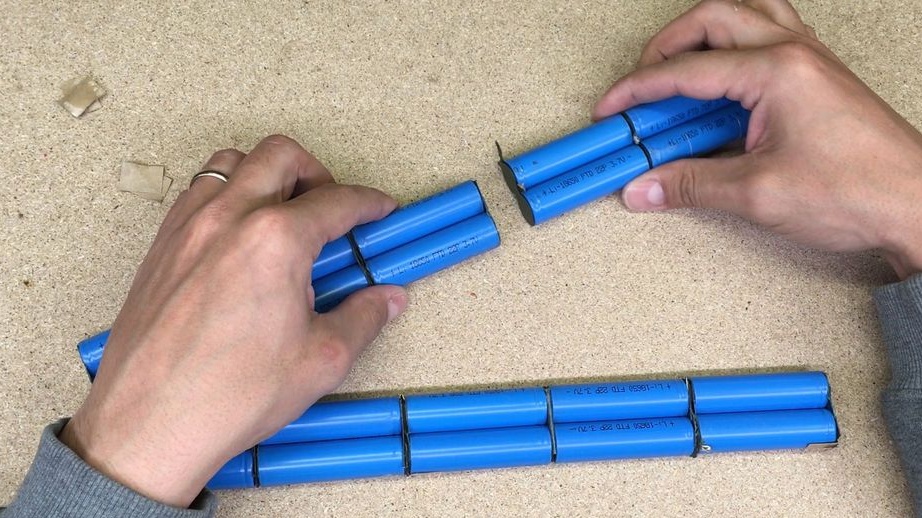
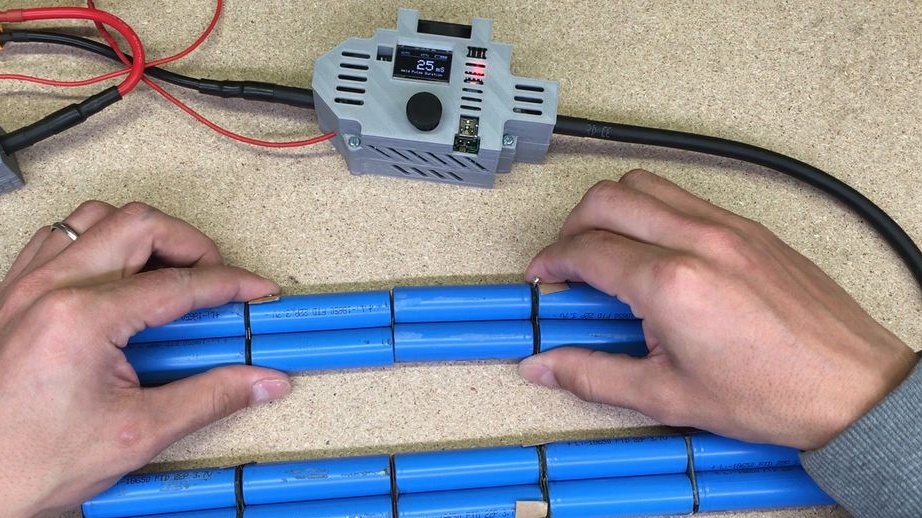
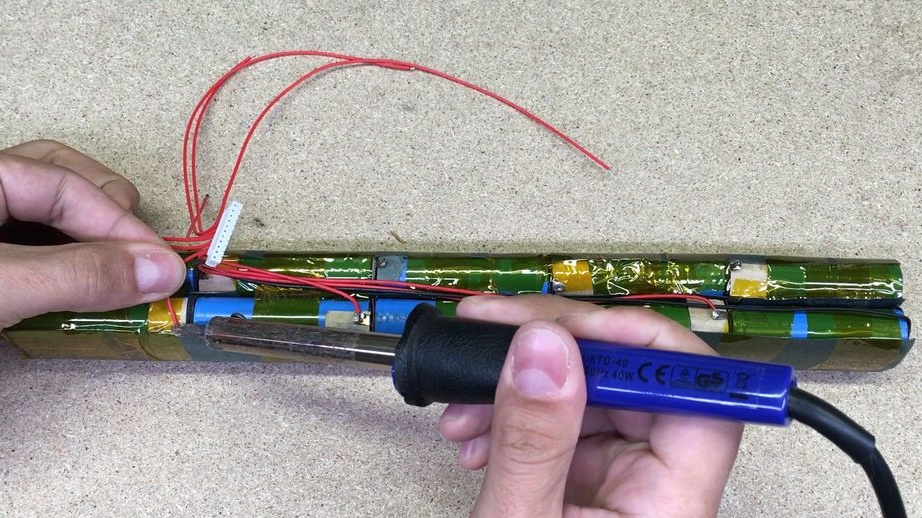
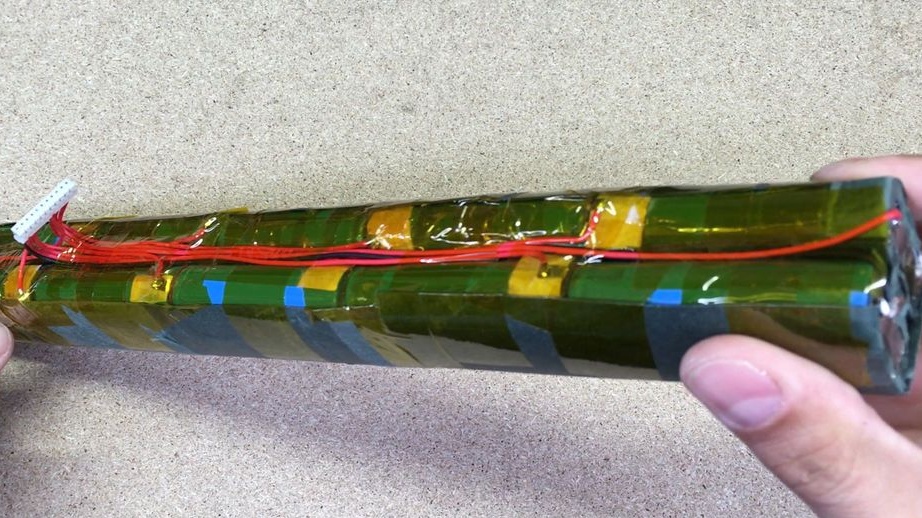
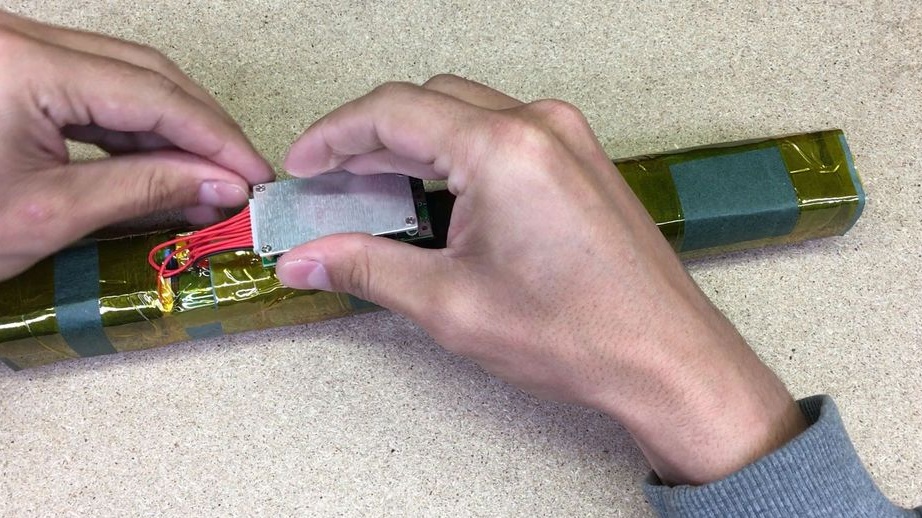
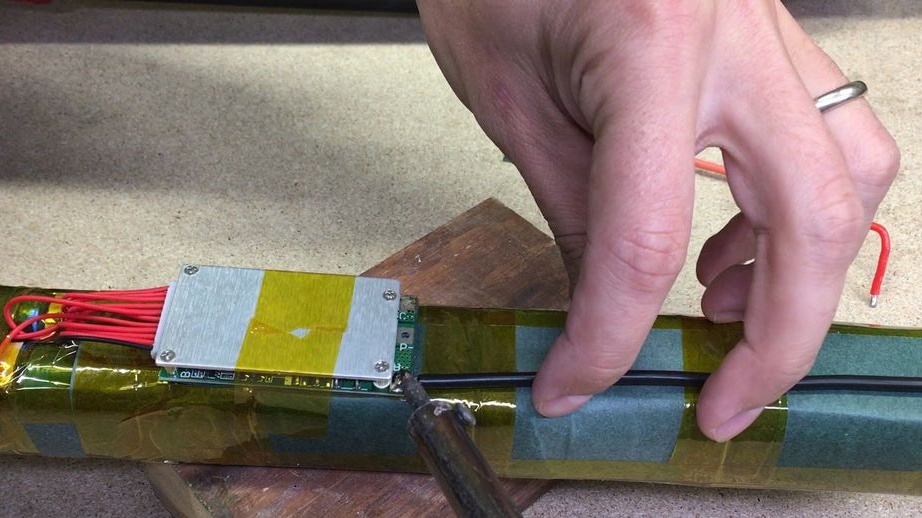
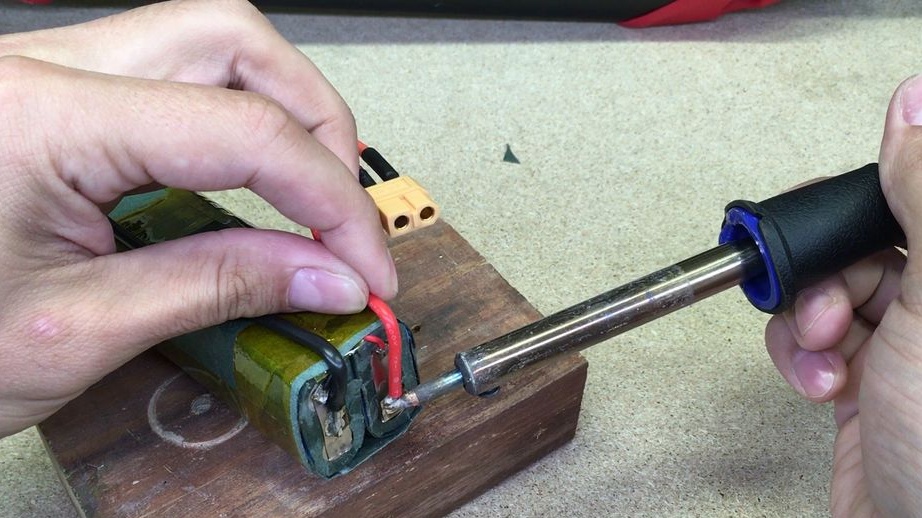
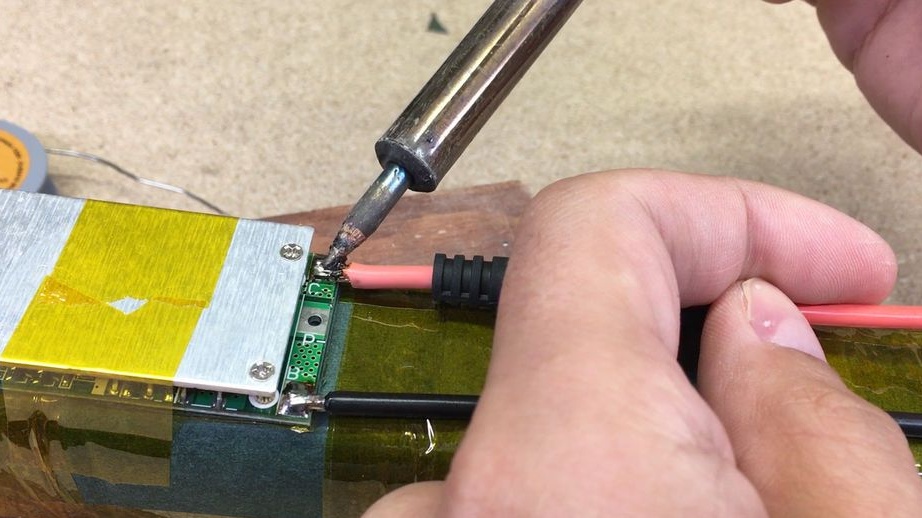
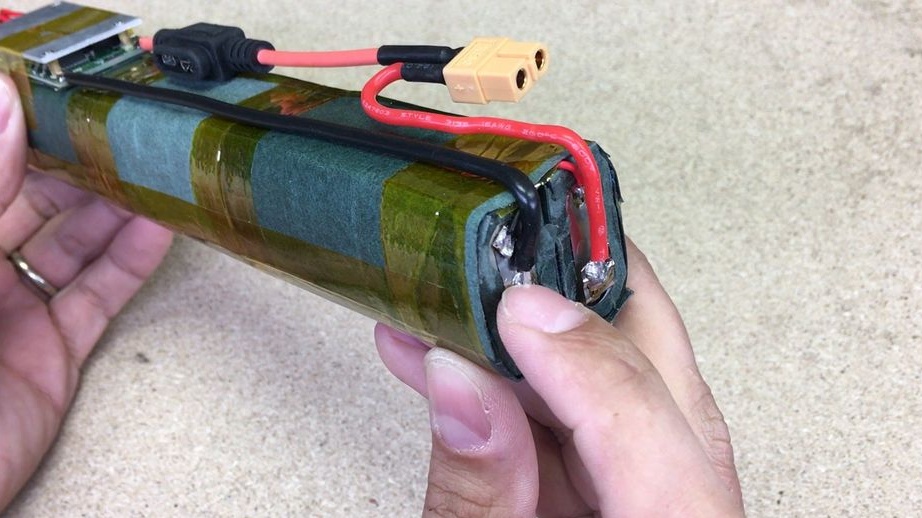
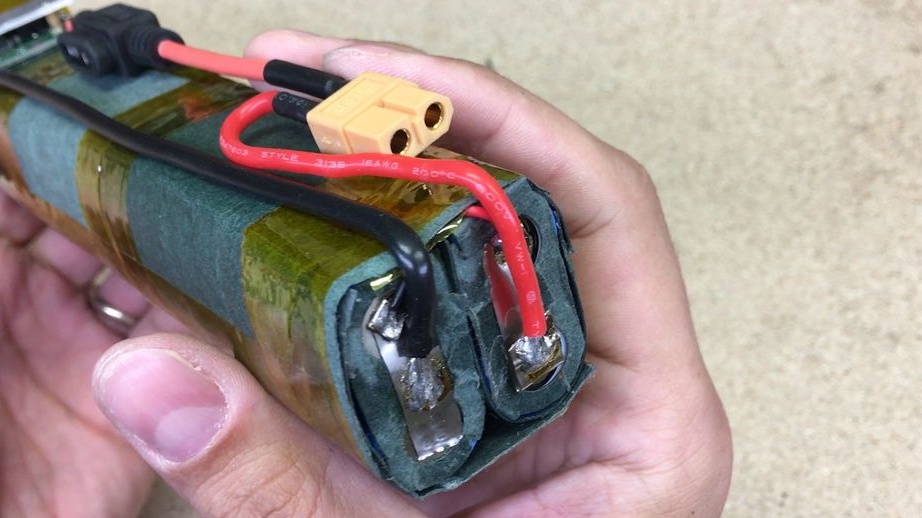
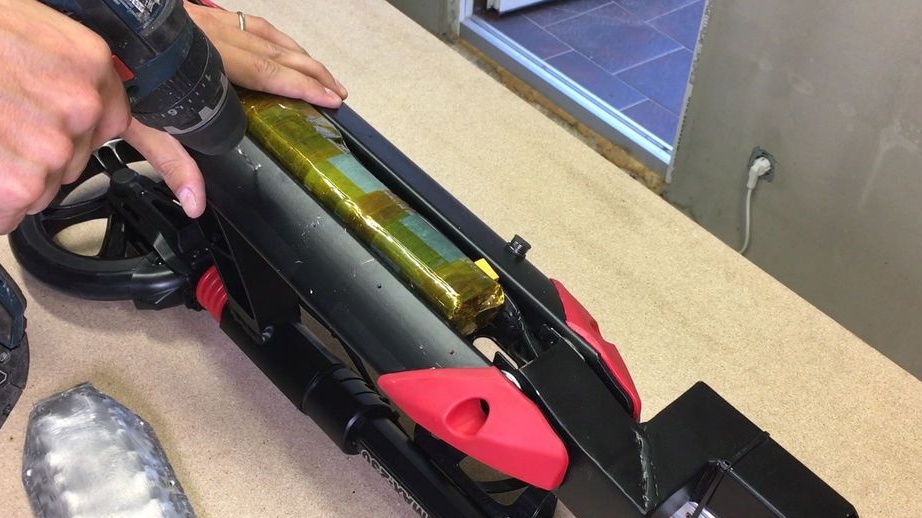
Seventh step. Battery pack
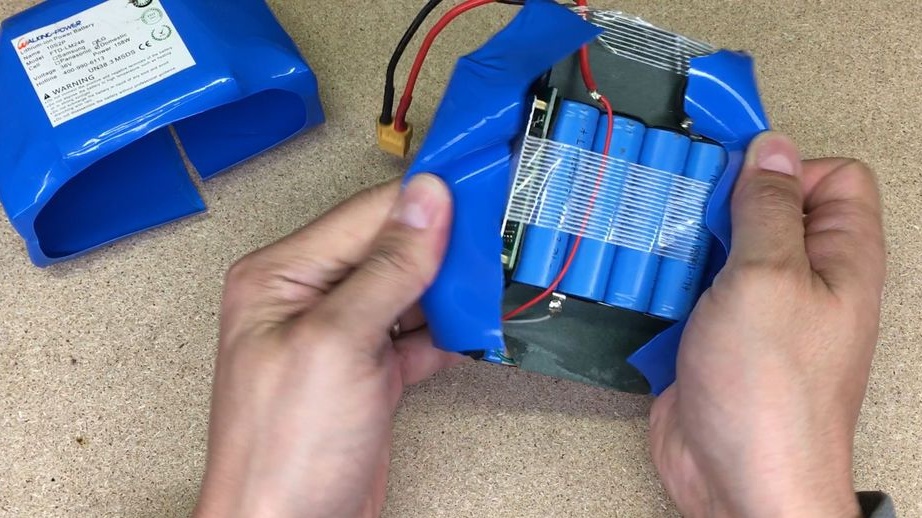
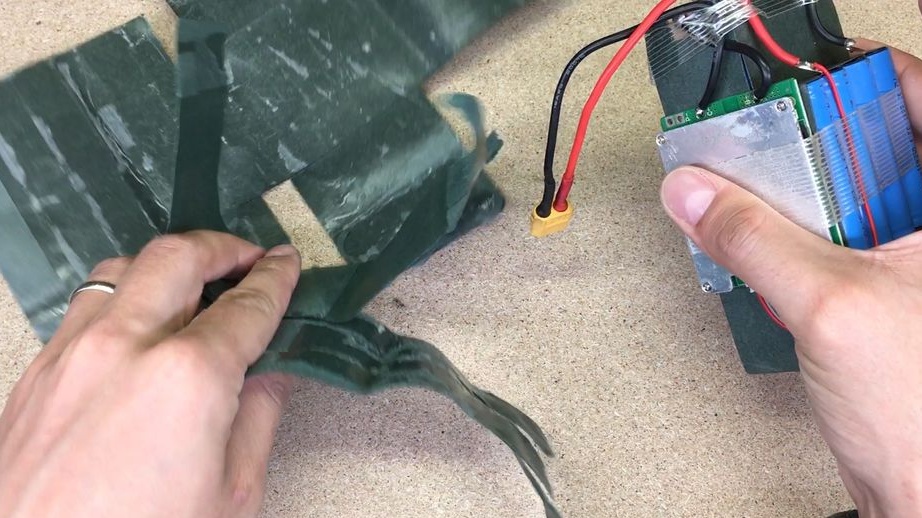
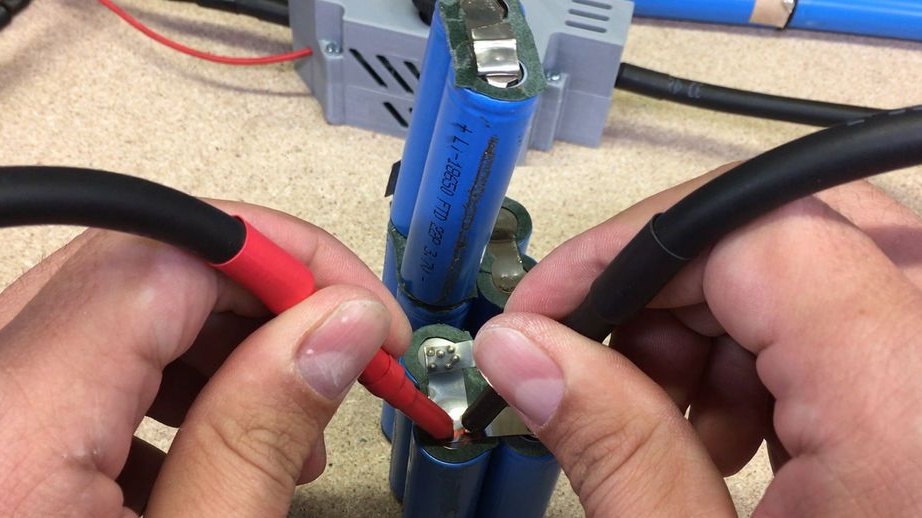
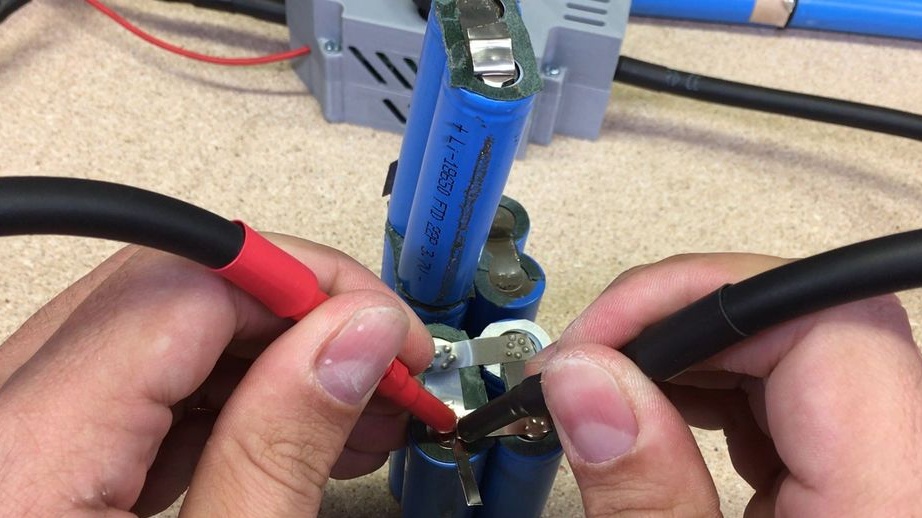
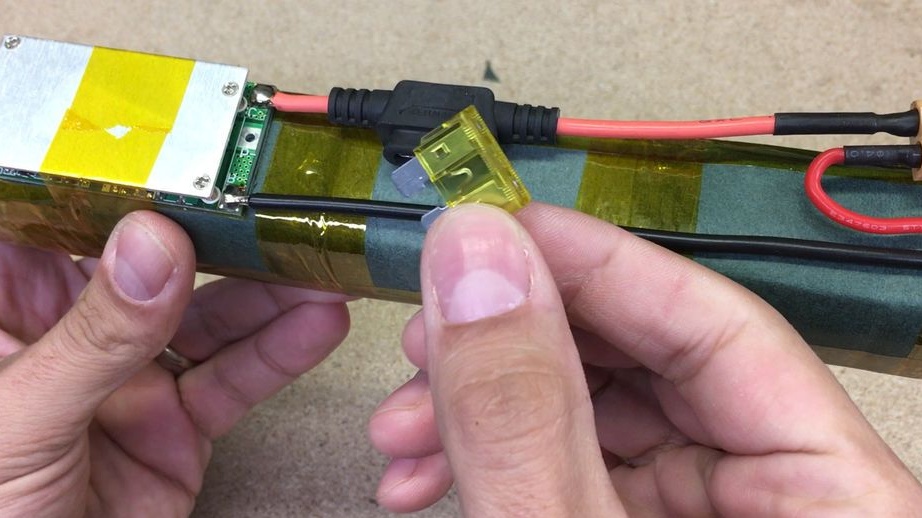
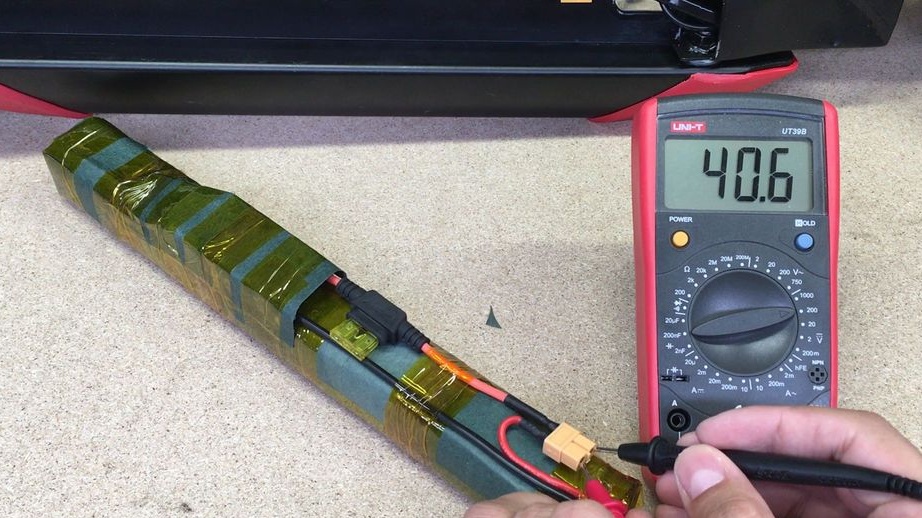
The author used lithium batteries as a power source. We connect them in series or in parallel to obtain the desired voltage. Necessarily a similar battery must have protection against overcharging, this controller is called BMS. If you charge the battery without it, it will recharge and deteriorate, in some cases they explode or even ignite. Also, such batteries are afraid of deep discharge, and for these purposes, you will also need an appropriate controller.
If you need to connect a certain number of cells, it is convenient to use spot welding for this.
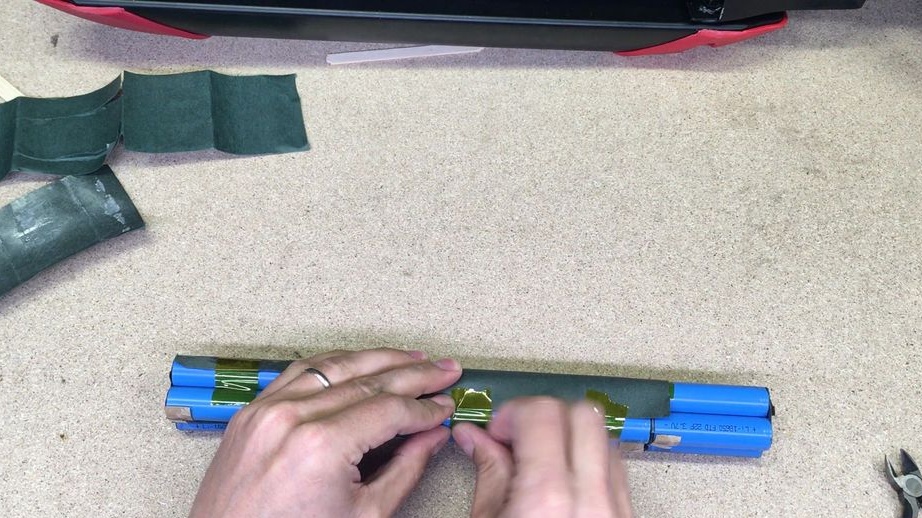
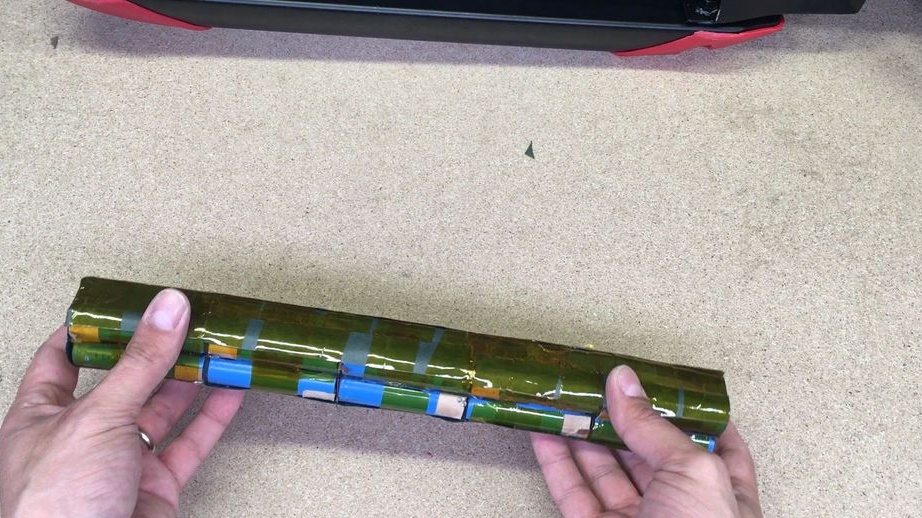
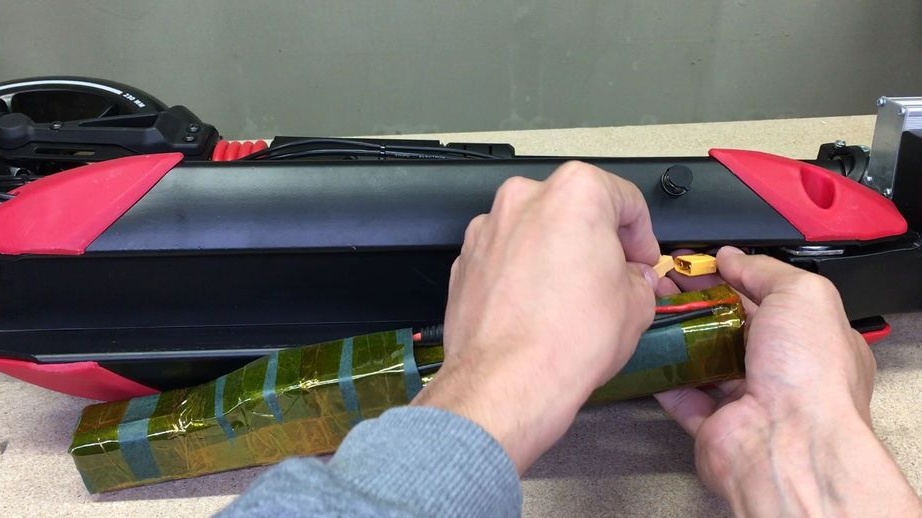
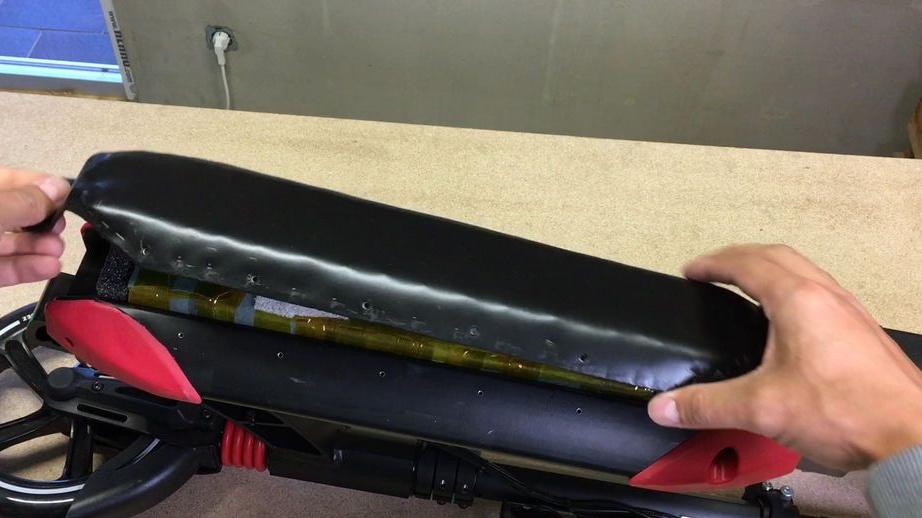
As a result, the author made a battery pack, which became convenient to fix on the frame of the scooter.


Step Eight. Checking the performance of the circuit
Connect power and RPM to the engine. Use the throttle to turn on the wheel. The most important thing here is that the wheel rotates in the right direction. Also, the engine must respond to the angle of rotation of the handle, increase or decrease speed. If everything works, fine, now almost everything is finished, the finishing touches remain.
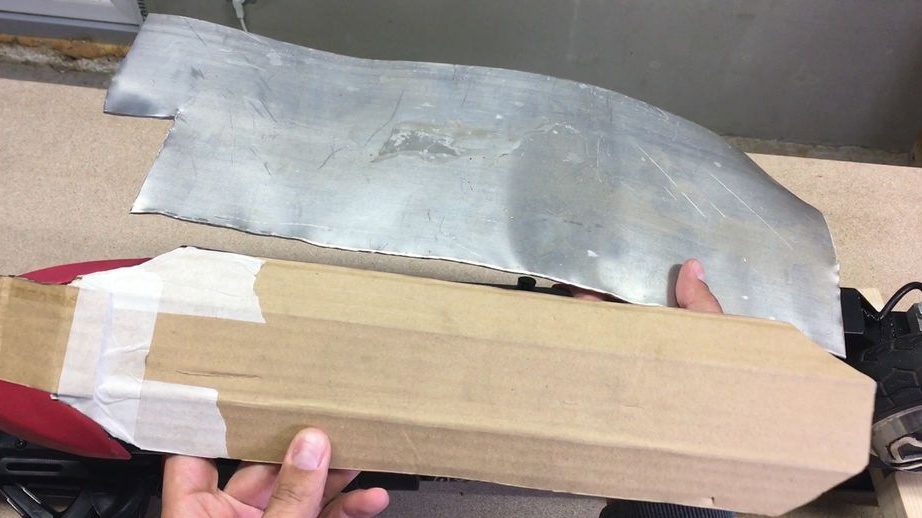
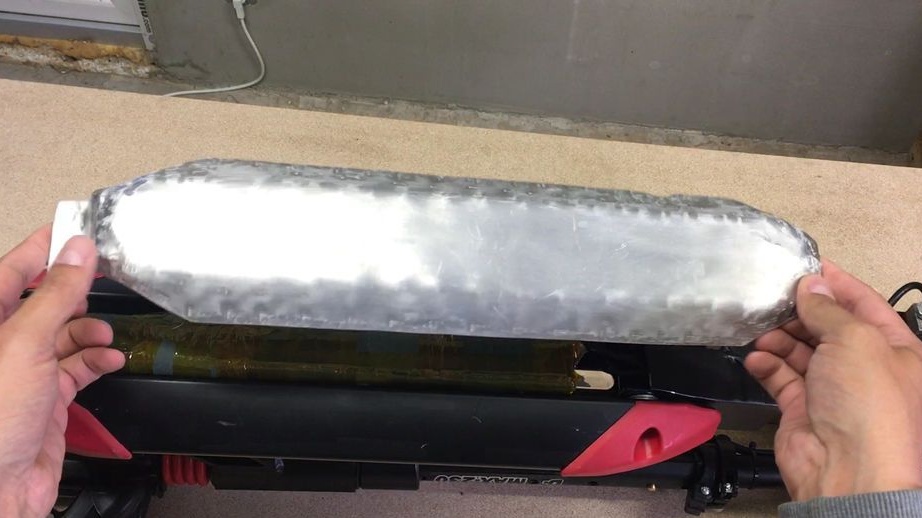
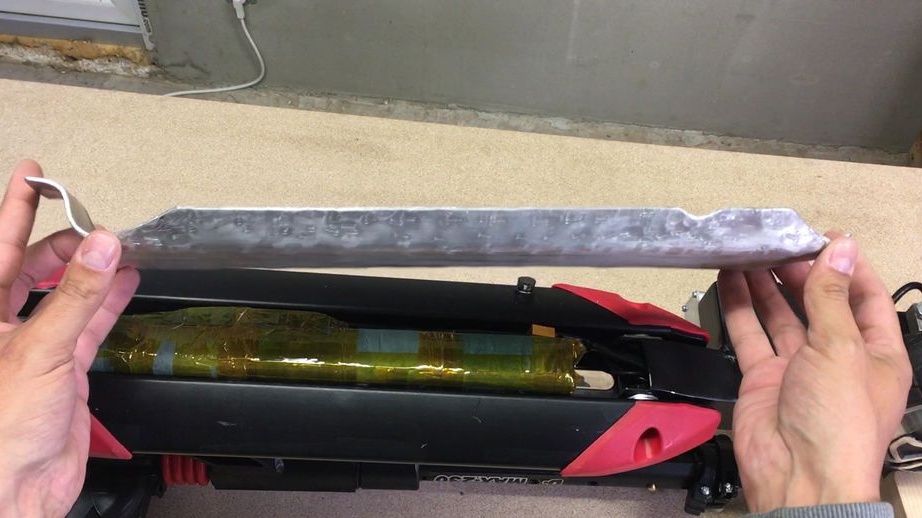
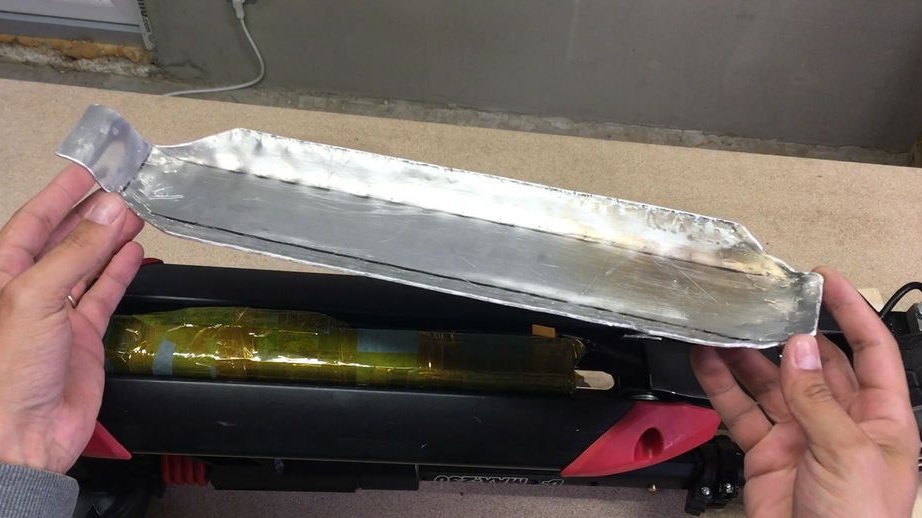
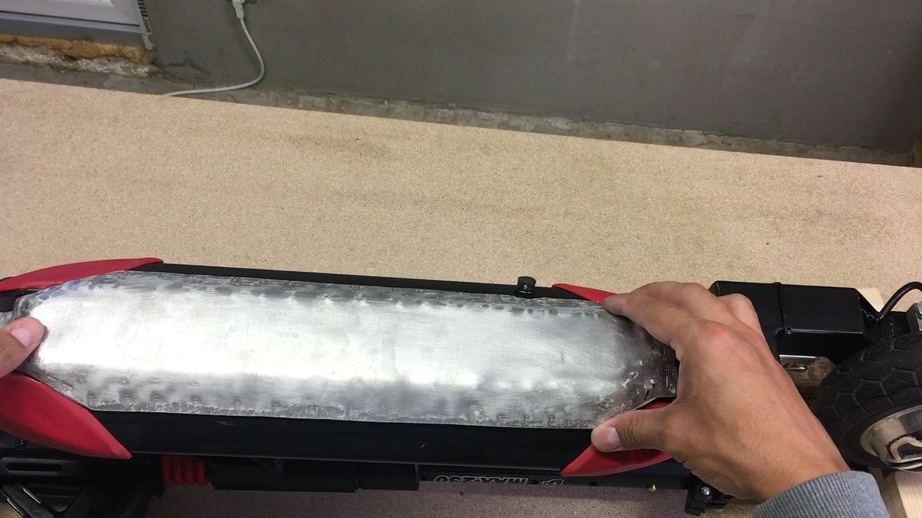
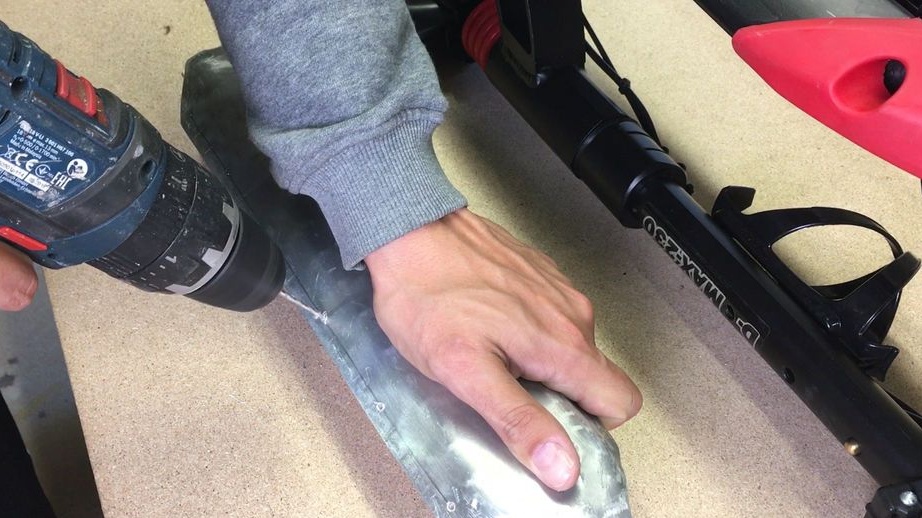
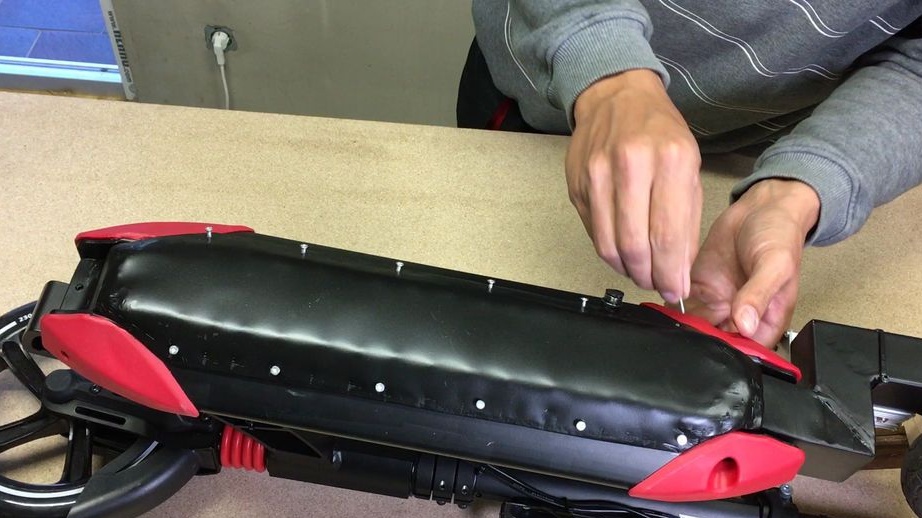
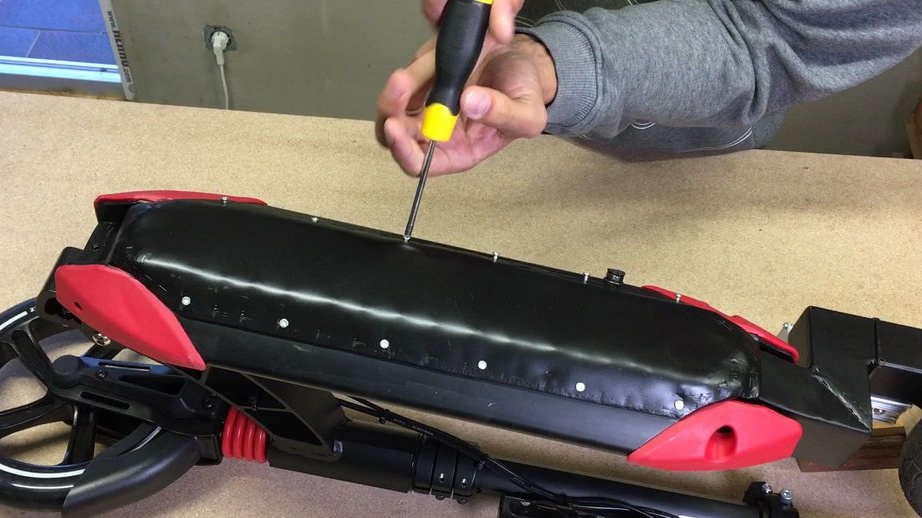
Step Nine. Protecting batteries
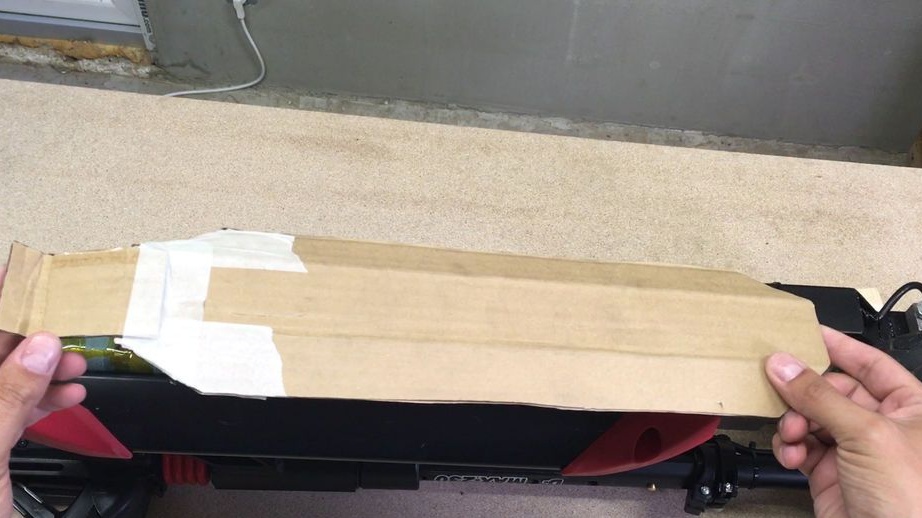
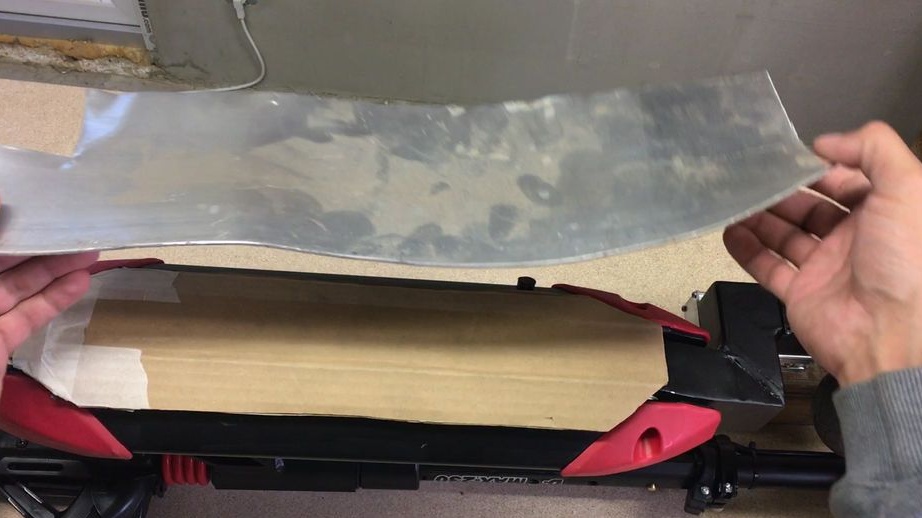
It is important for us to protect batteries from mechanical shocks, as well as from direct water ingress. To do this, you need to install a cover over them. First of all, take cardboard and create the desired template. Well, then cut out and install the lid from a suitable material for this. A material such as aluminum is best suited for these purposes, the author used a sheet 2 mm thick. To fix the cover, the author used self-tapping screws. And to make everything look beautiful, paint the cover in matt black.

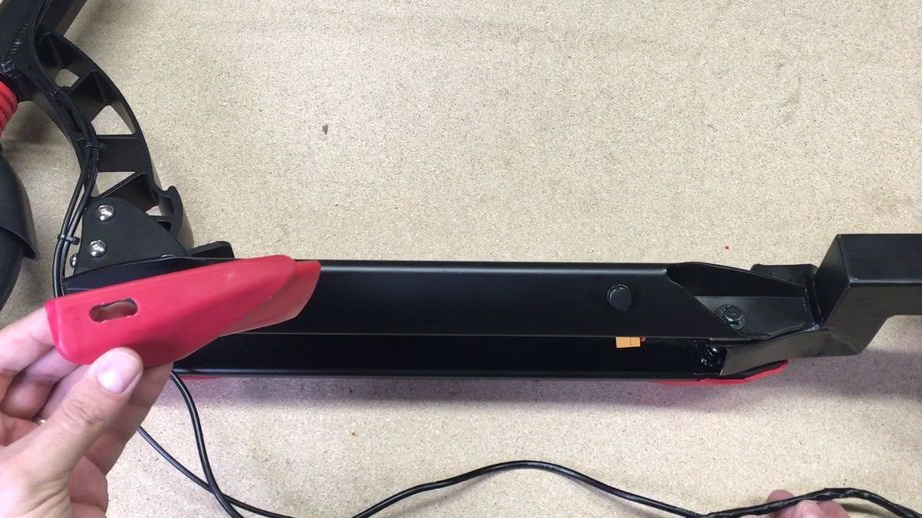
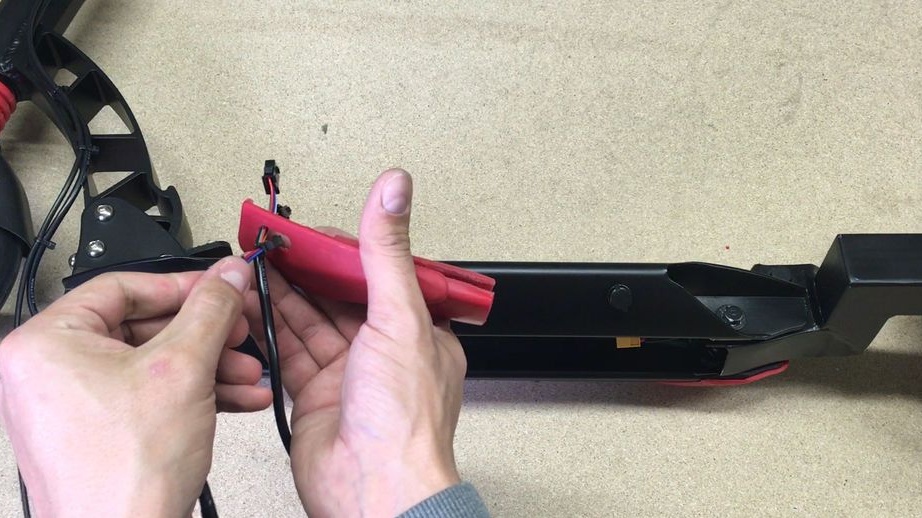
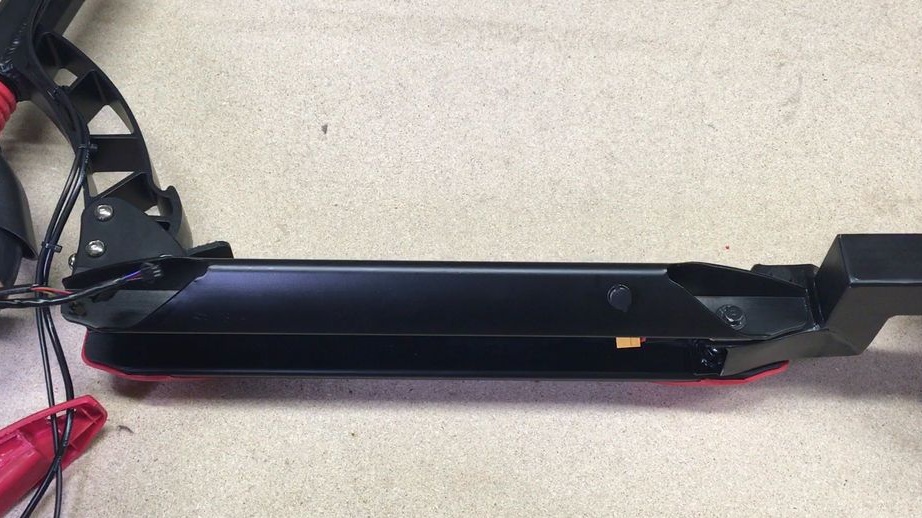
Step Ten Finishing touches
At the end, the author installed plugs on the rear bracket so that everything looked beautiful and dirt did not get inside the structure. For these purposes, hot glue was used.
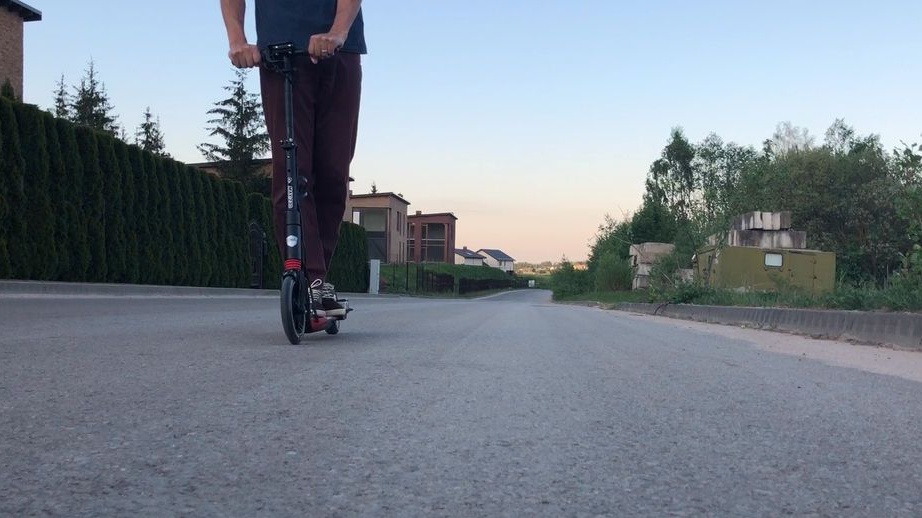
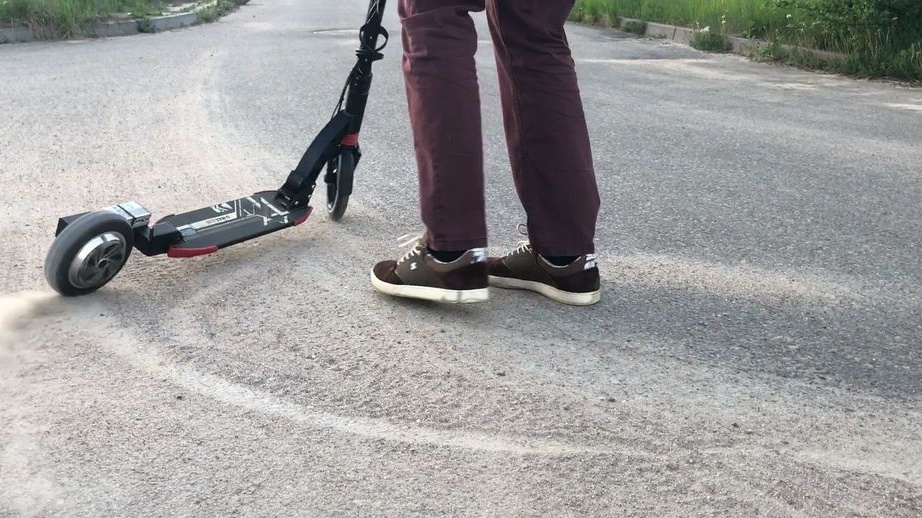
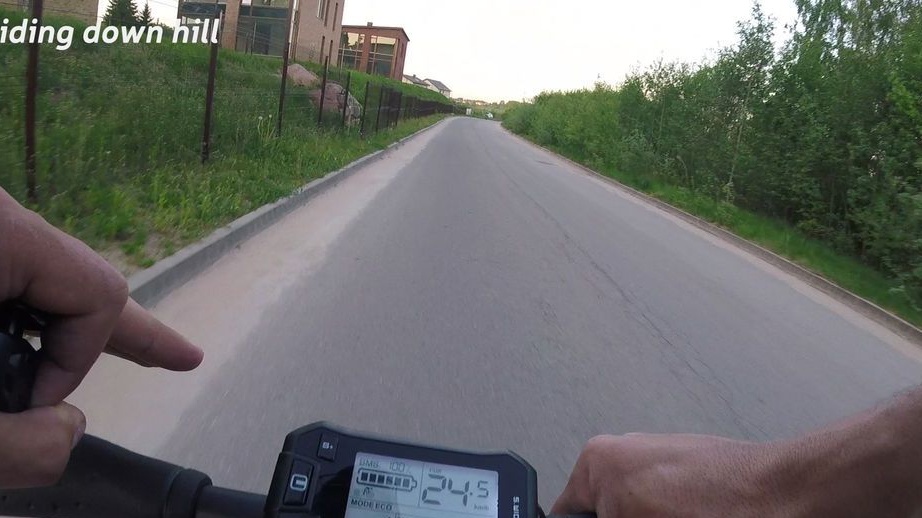
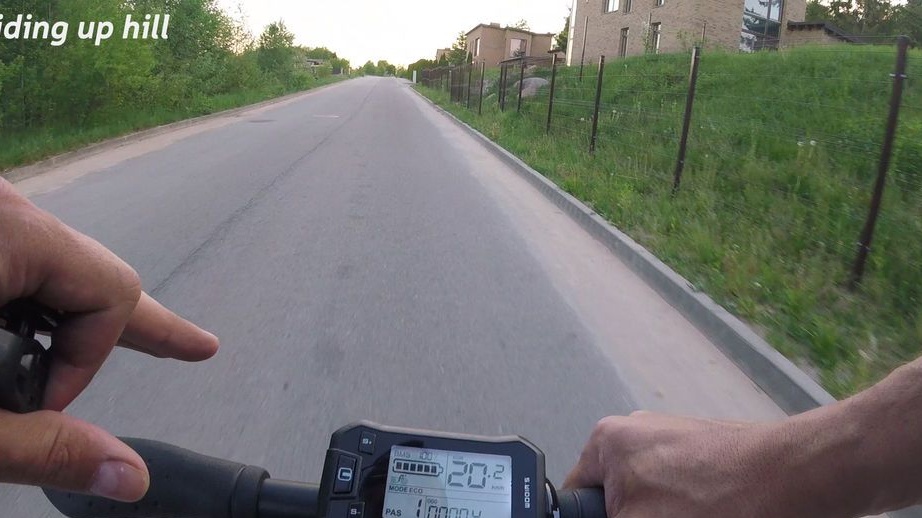
Step eleven. Test results
With the author's weight of 90 kg, the scooter accelerates to 22 km / h, which is quite a good result. As for the mileage, before charging the scooter runs 15-18 km, it all depends on what speed it is planned to ride.
In general, the homemade product was successful, despite the fact that everything was done for the sake of the experiment.