
Hello everyone, in this instruction we will discuss how to make a powerful electric bike based on the BBSHD engine. For these purposes, the author used a set of 1700 watts, which are achieved at a voltage of 58V. The peculiarity of the engine is that it does not require significant changes in the design of the engine. It is an electric motor on which the same axis is installed with connecting rods and pedals, like a bicycle. That is, if necessary, you ride an electric motor, and if the charge runs out, you can switch to normal muscle traction. If you wish, you can also help the engine with pedals, thereby saving battery power.
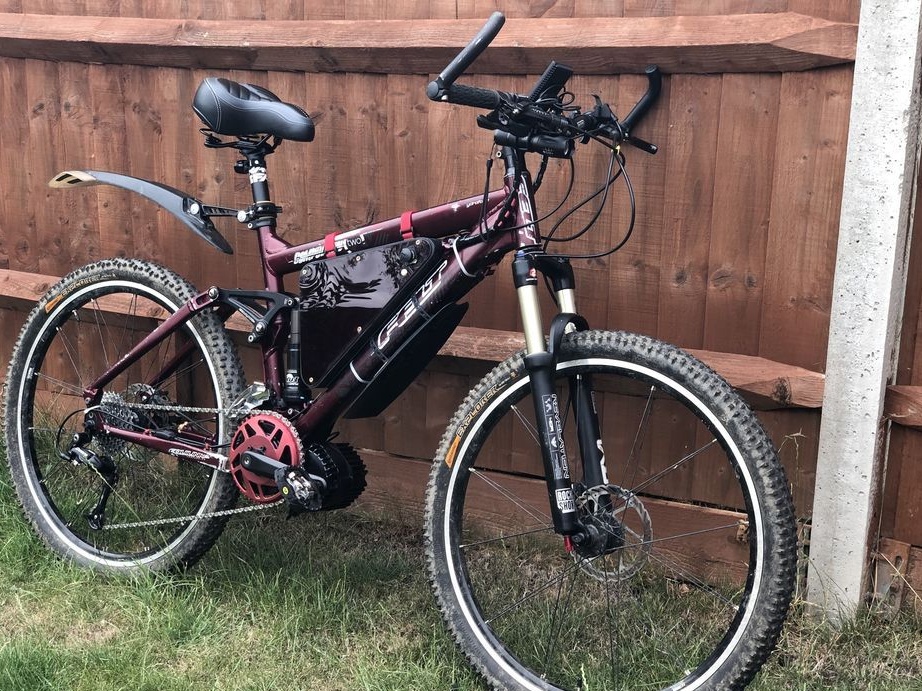
The author refitted his mountain bike. The idea is to ride in the mountains, off-road, dirt and so on. The engine is installed very powerful, when compared with the classic purchased electric bikes. Another plus is that you still have 7 or more gears to function, depending on the number of stars on the rear axle. This means that you have enough torque to drive into any mountain. So, let’s take a closer look at how to convert your bike.
Materials and tools used by the author:
Material List:
-;
- a suitable bike;
- (not less than 75 pieces);
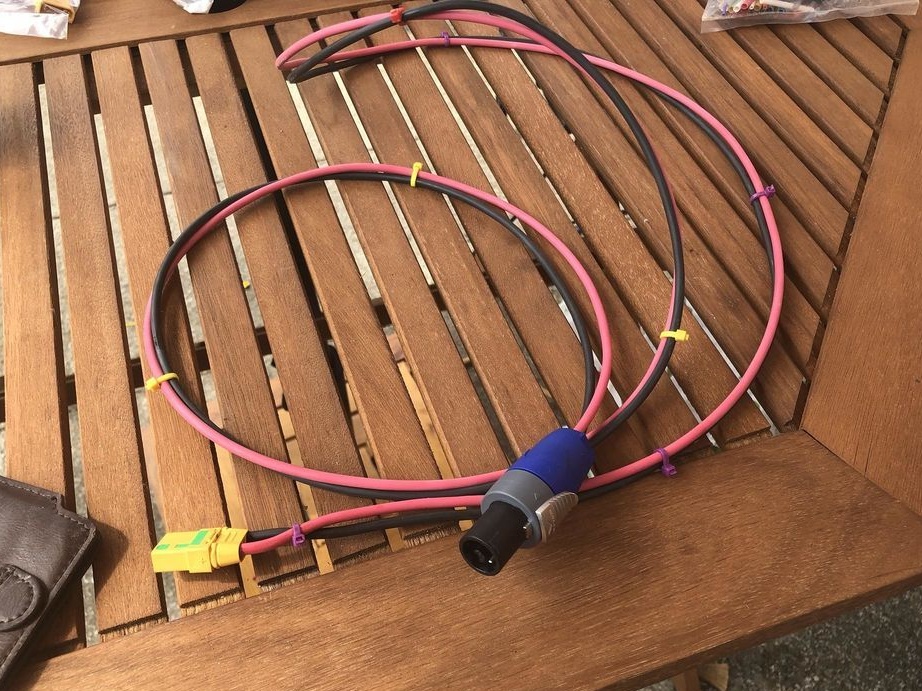
- 12AWG cable about 4 m black and as much red;
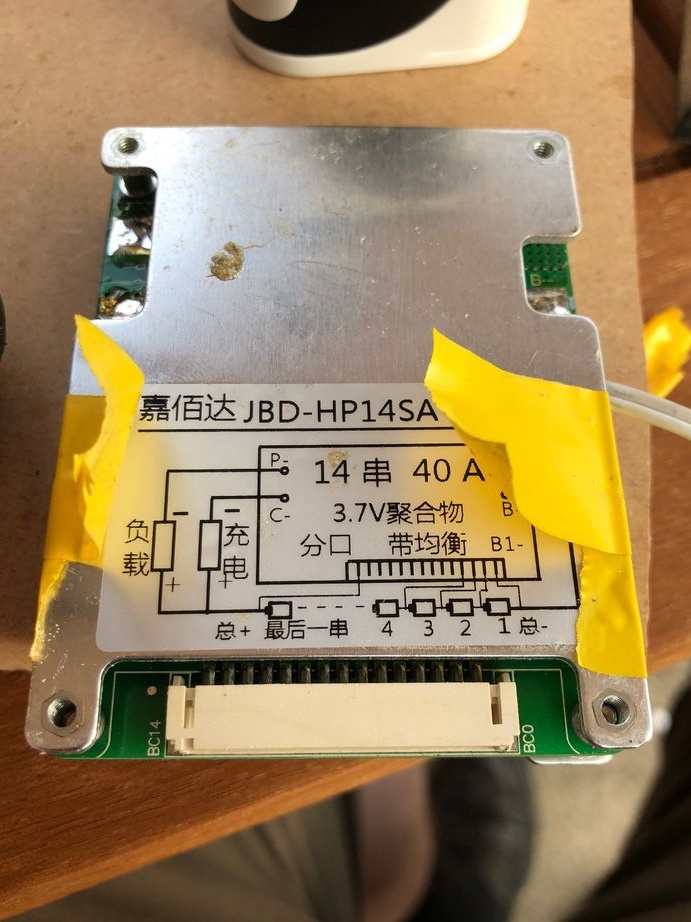
- (the author used JBD-HP14SA);
- acrylic sheet and plywood;
- XT90SA connectors;
- screws, bolts and nuts;
- power supply 60V 5A;
- cable ties;
- heat shrinkage of 4 mm and 250 mm;
- sewer pipe 2.5 inches;
- power meter, power switch BBS sensor (and more optional).
Tool List:
- screwdrivers and wrenches;
- spot welding machine;
- a hacksaw;
- glue gun;
- hot air gun;
- soldering iron with solder.
The process of manufacturing an electric bike:
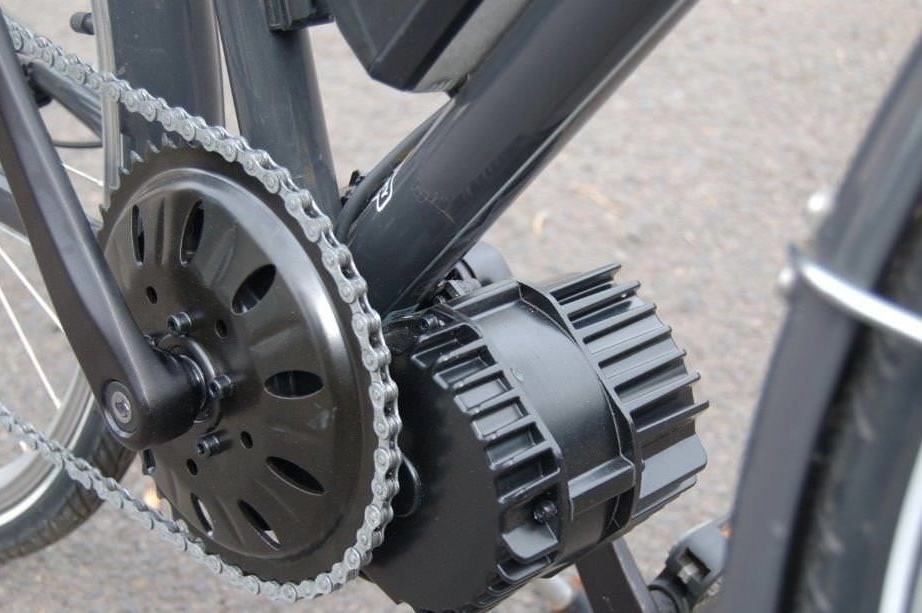
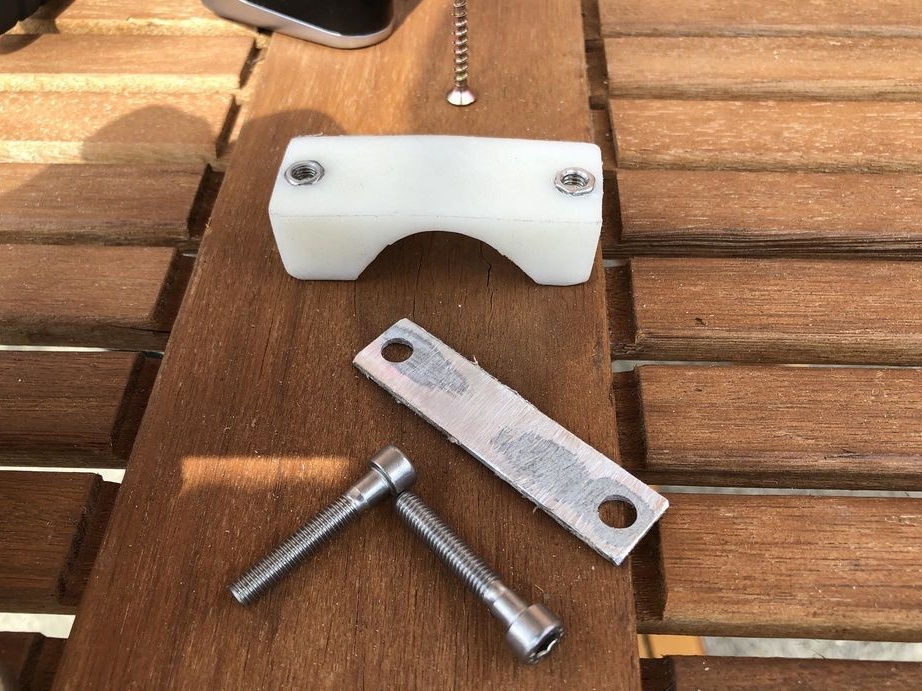
Step one. Engine installation
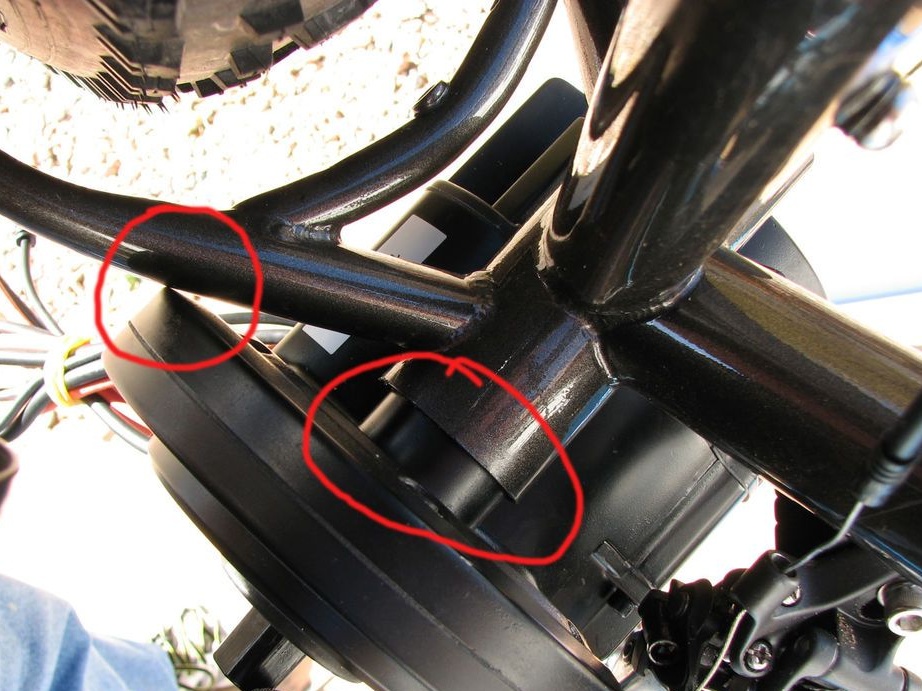
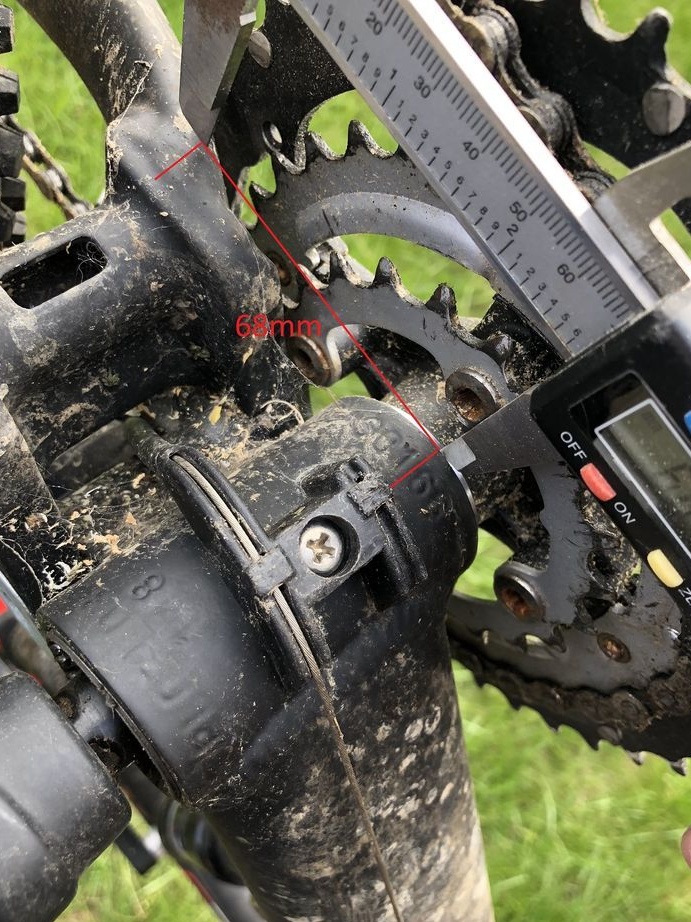
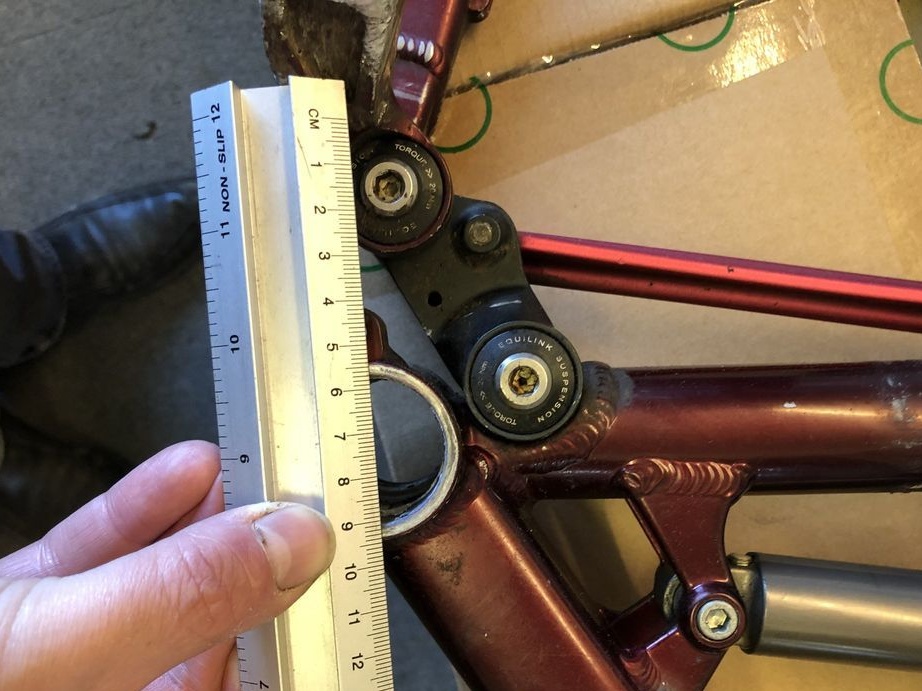
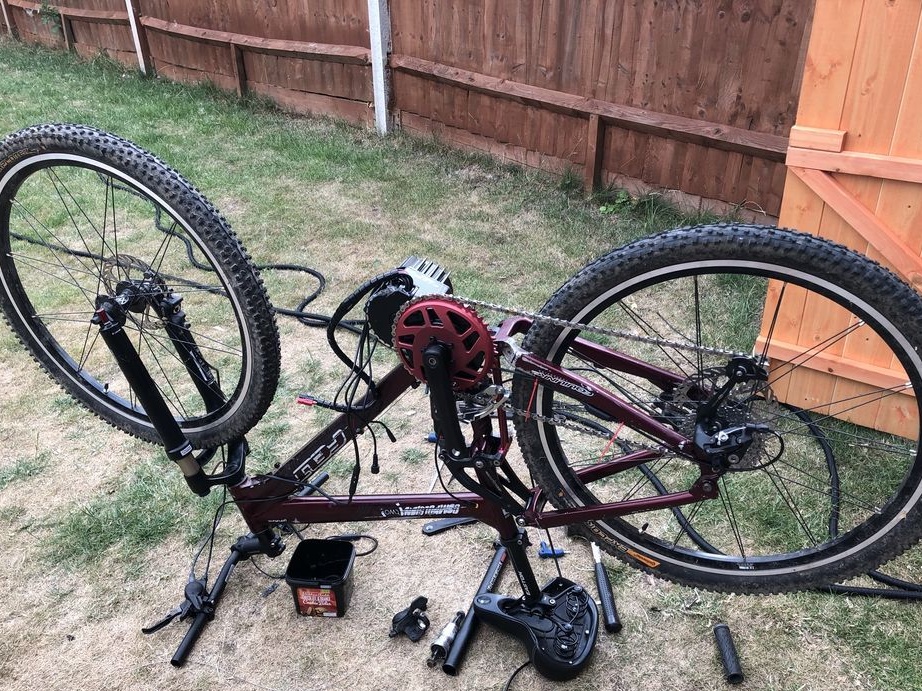
BBSHD engines are made for a variety of bike designs. If your bike is not branded, then there is a risk that the engine will not be installed on the bike without alterations. Make all the necessary measurements and choose the right one for yourself model engine. On such motors a rather large gearbox is installed, it is he who sometimes prevents the unit from being installed, as it rests on the frame. But if you do not mind the bike, then you can install any engine on it.It will take a little work as a grinder and a welding machine, but all this can be solved.
Step Two Motor power supply
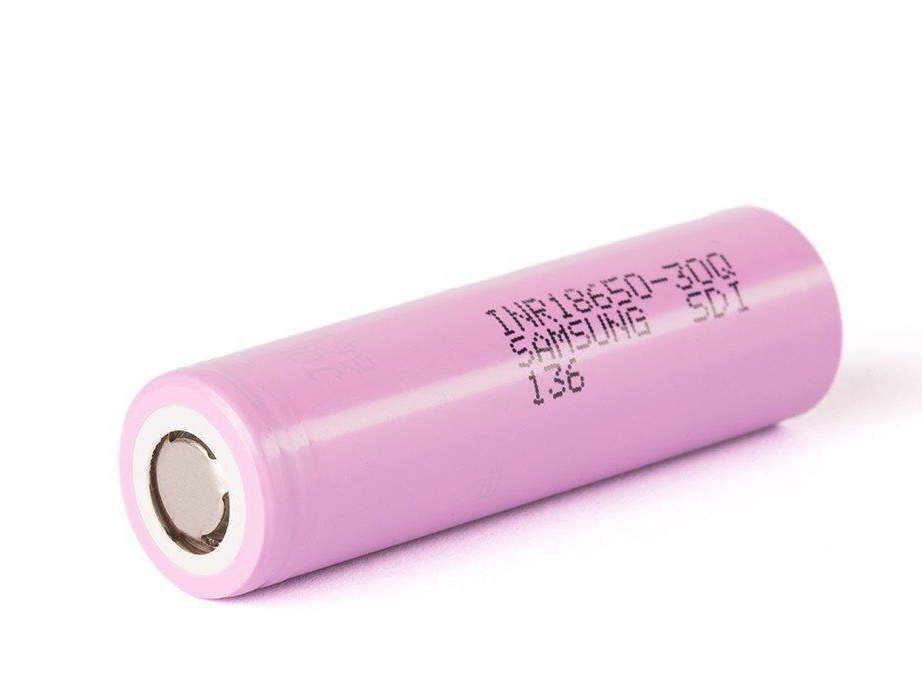
The author feeds his bike, collecting the battery pack from 18650 batteries. When handled correctly, these batteries last a long time and have a large capacity. You can find such batteries in laptop batteries, even if they are old, these batteries last a long time. The most important thing is that the 18650 cells are not swollen or leaky, this indicates that they are out of order. But it’s better, of course, to buy new cells.
In general, the selected engine can be powered by a voltage of 48 volts, the power source must provide power up to 1000 watts. But the author feeds his engine with a voltage of 52 V, and maybe more, so the full potential of the motor is revealed.
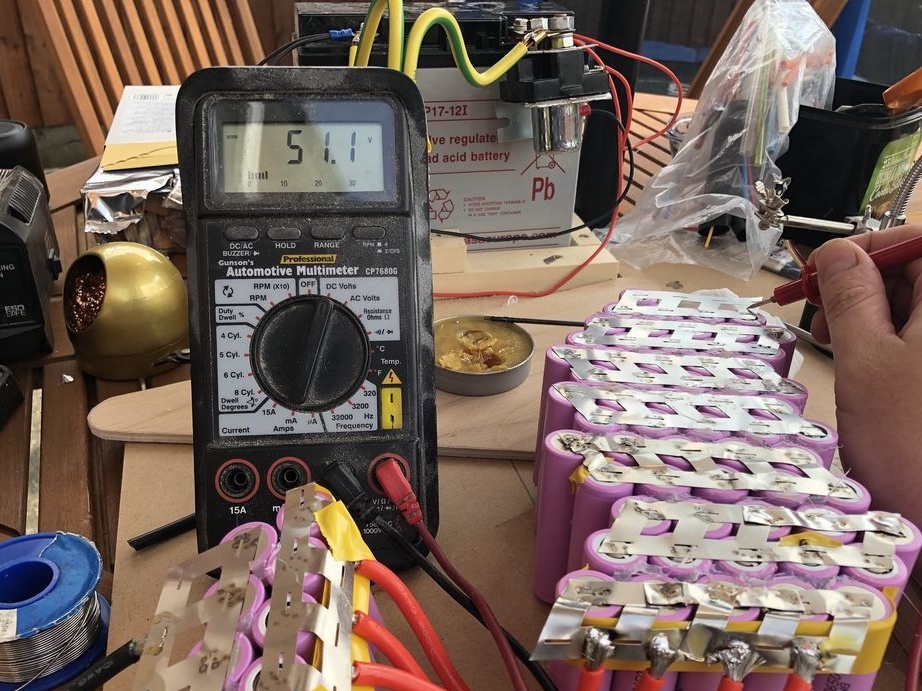
Each 18650 cell produces a voltage of 3.7V-4.2V, that is, to get the voltage we need, we need 3.7V x 14 = 51.8V. However, it is not possible to simply connect the batteries in series, they will give the required Volts, but they will not be able to give the necessary current, and the capacity of such a battery pack will be small. As conceived by the author, the battery pack should produce 80A / 12000mAh, or 100A / 15000mAh, respectively.
Step Three We make the case for batteries
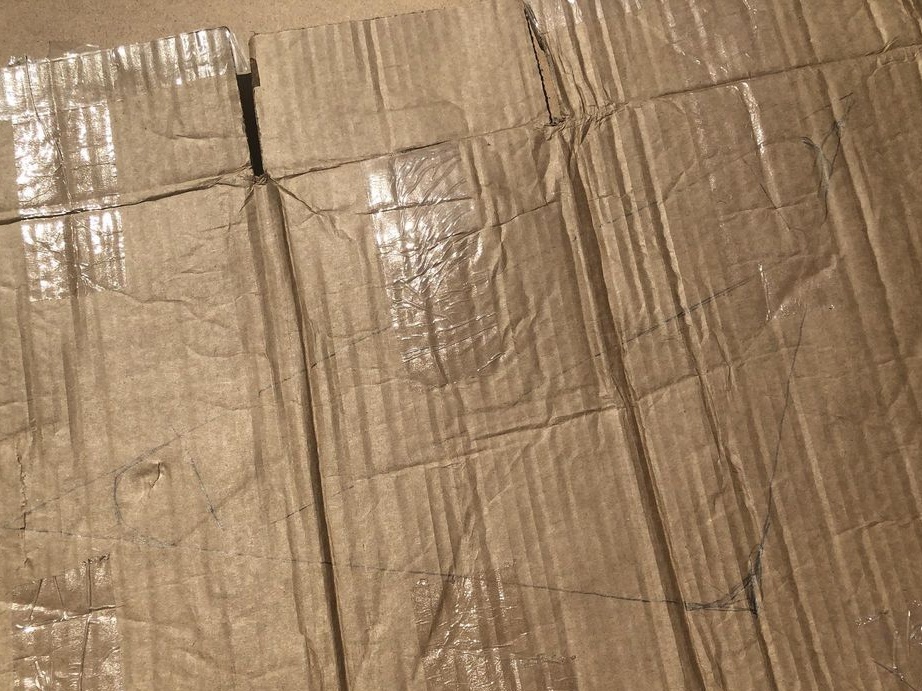
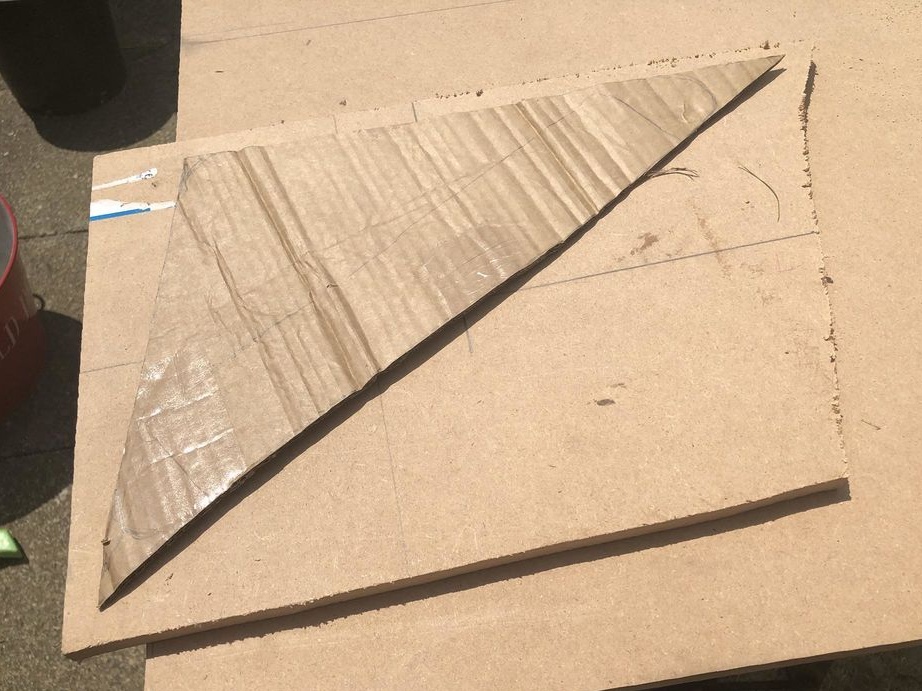
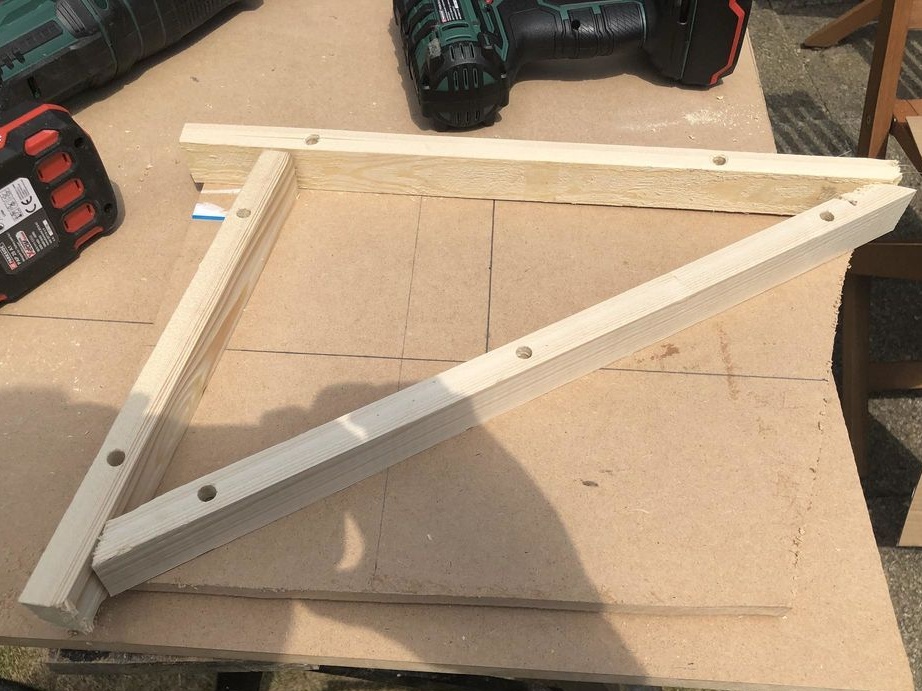
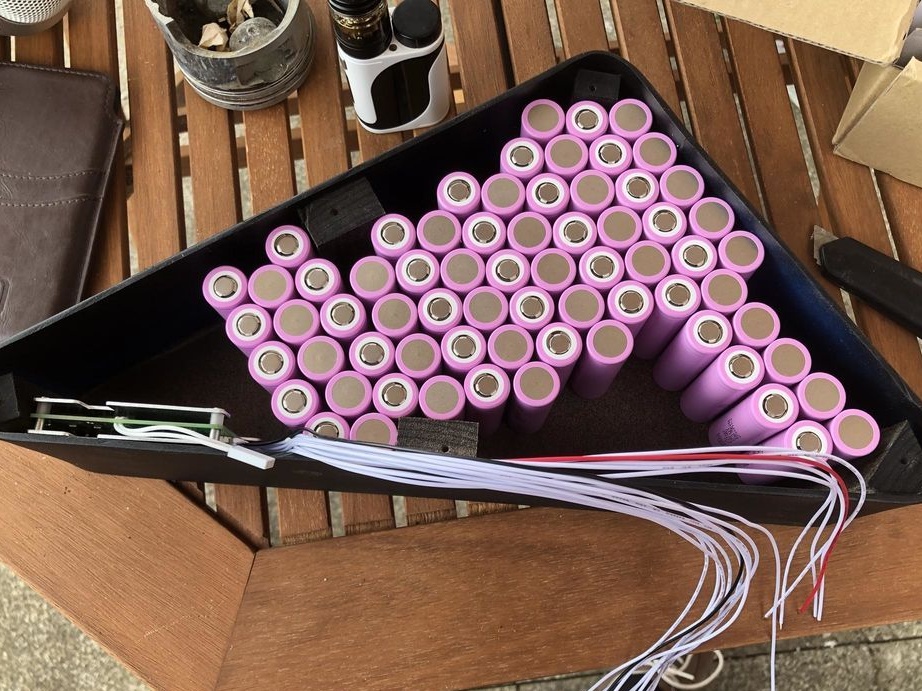
The author decided to collect his battery from 70 cells of 18650. To arrange this whole thing on a bicycle, we select a suitable place inside the frame and create a template. The author makes a template from a sheet of cardboard and then cuts it out. According to this template, we make another template from wooden bars or similar material.

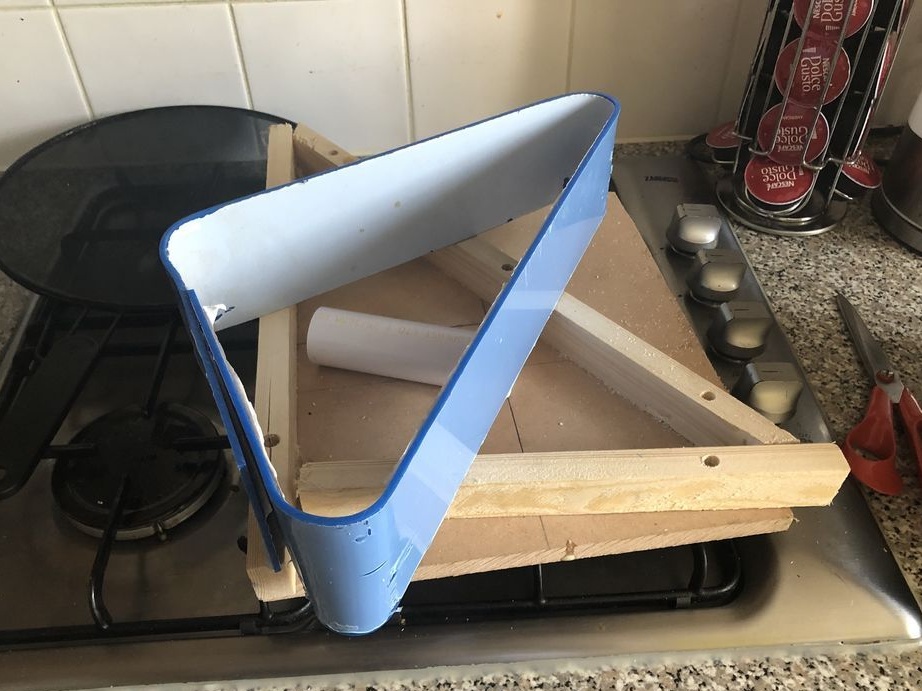
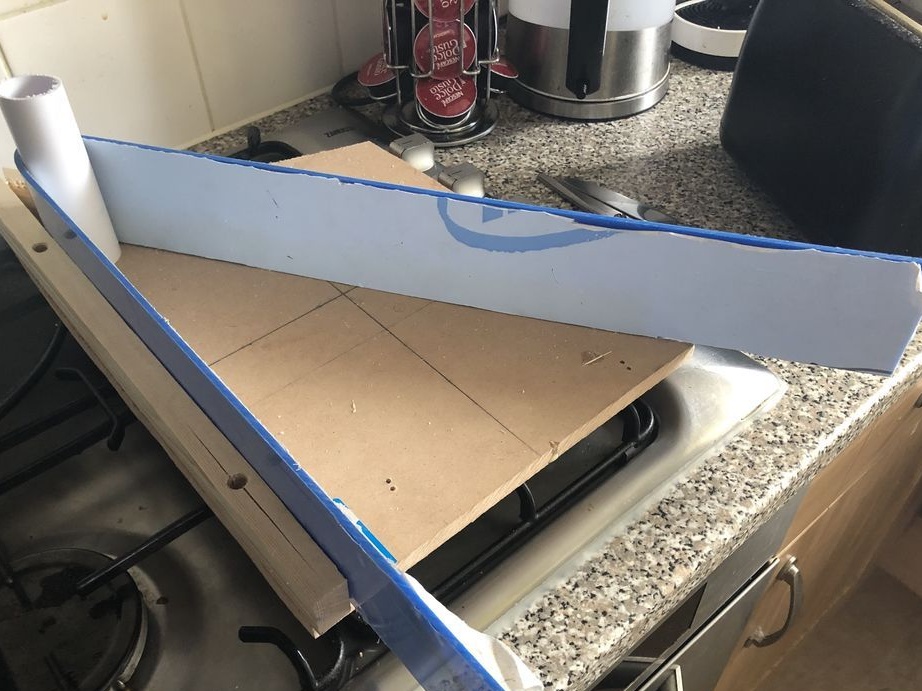

The author forms the body itself according to the previously made template from an acrylic sheet. Other similar material is also suitable. Acrylic easily bends if you heat it in the right places with a hot air gun. And then the author glues the ends of the case with gorilla glue. Instead of glue, they can be twisted with self-tapping screws and so on.
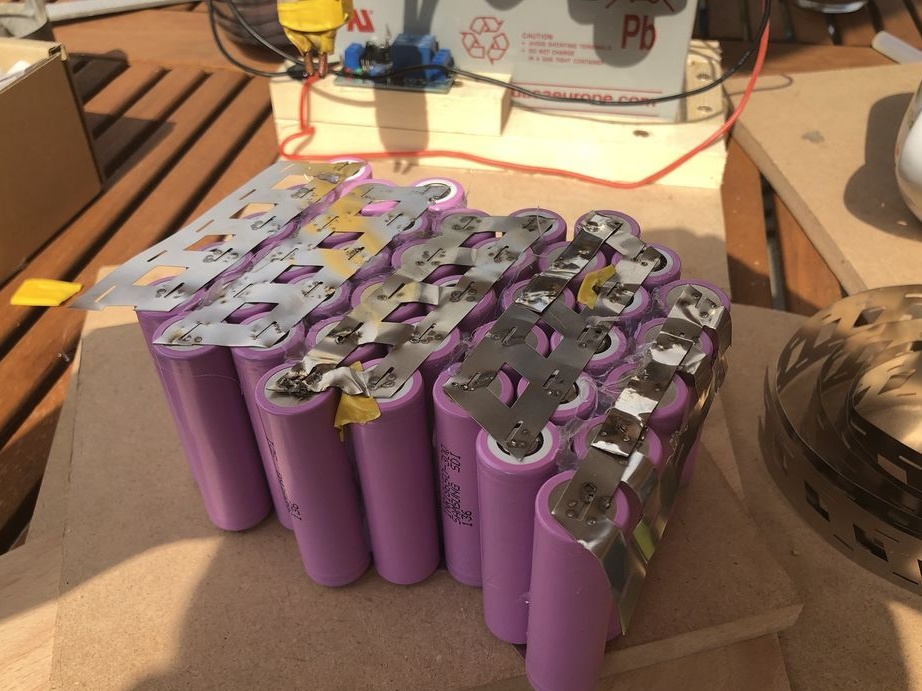
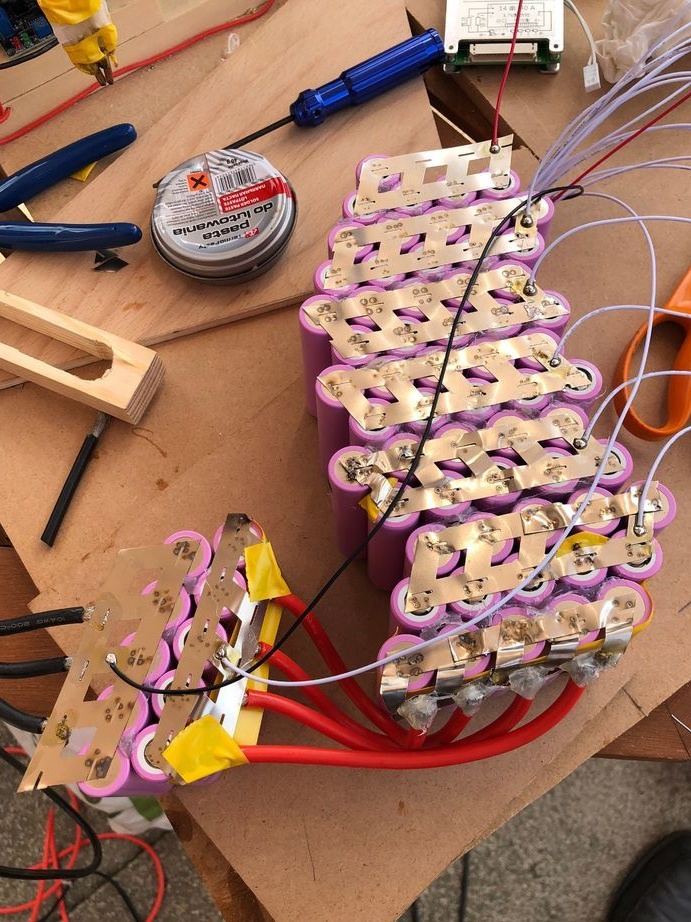
Step Four We install cells in the case
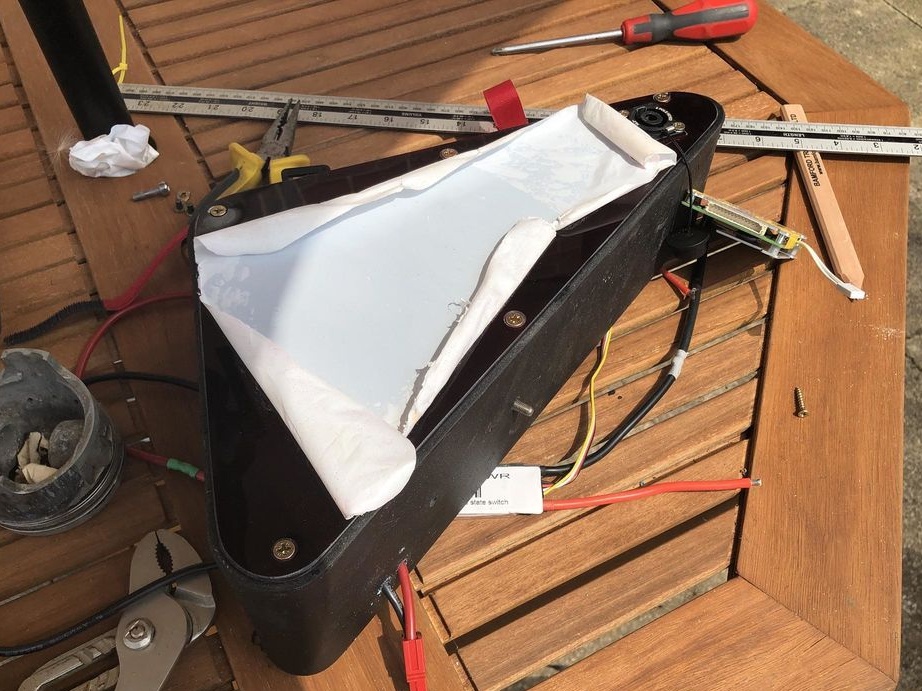
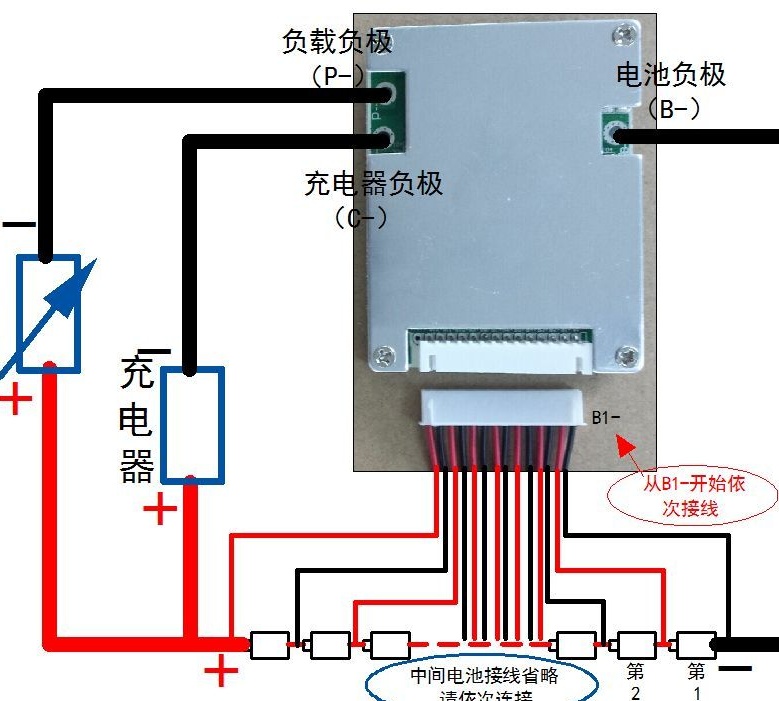
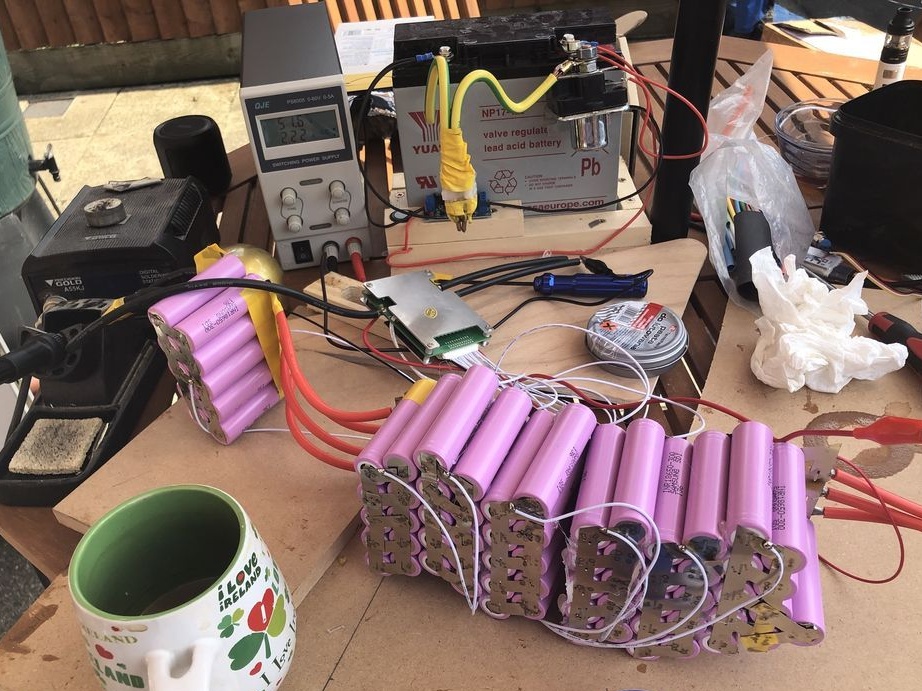
We’ll finish the case, for this we attach a sheet of plywood, a board or other similar material to one side of it to make a wall. That's all, now we install 18650 batteries in the manufactured case. The author installs them according to the 14S / 5P scheme for 52V. 100A, 15,000 mAh. Be sure the batteries must be connected through a BMS controller, which will not allow deep discharge or overcharging. The author for this purpose chose the JBD-HP14SA controller, which works with 40A and 14S.
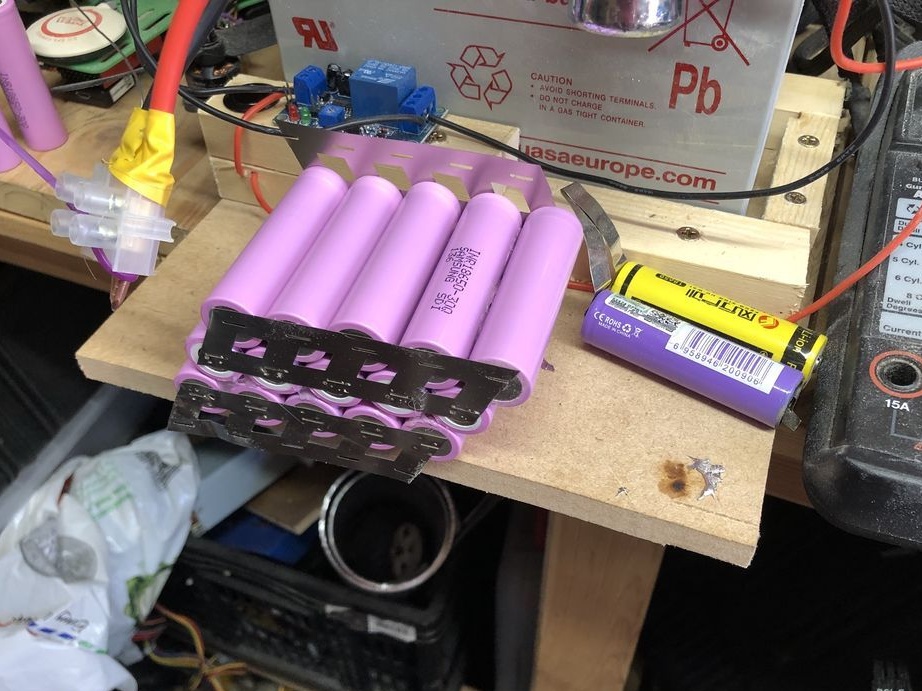
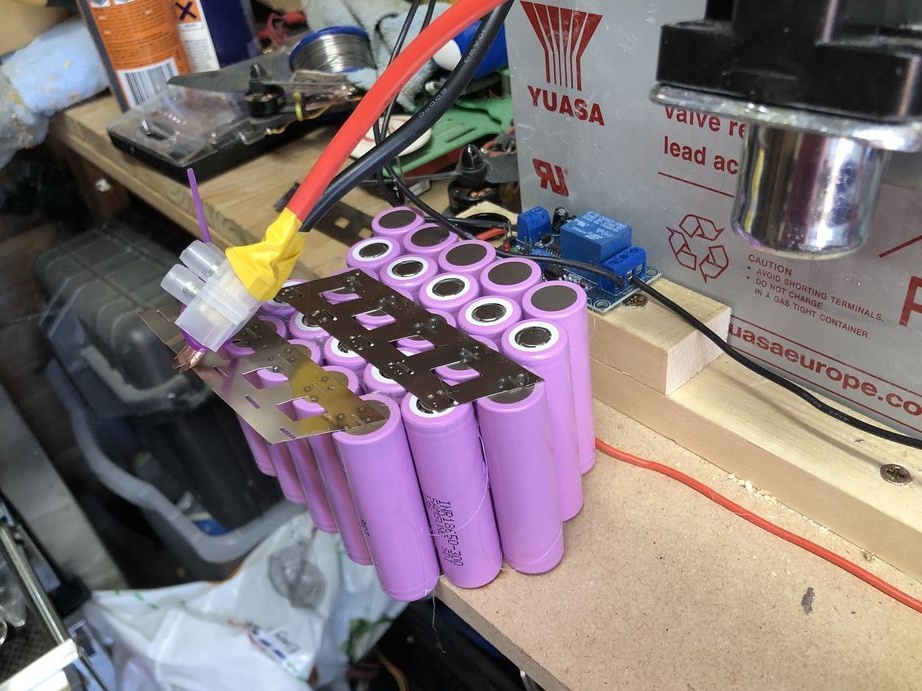
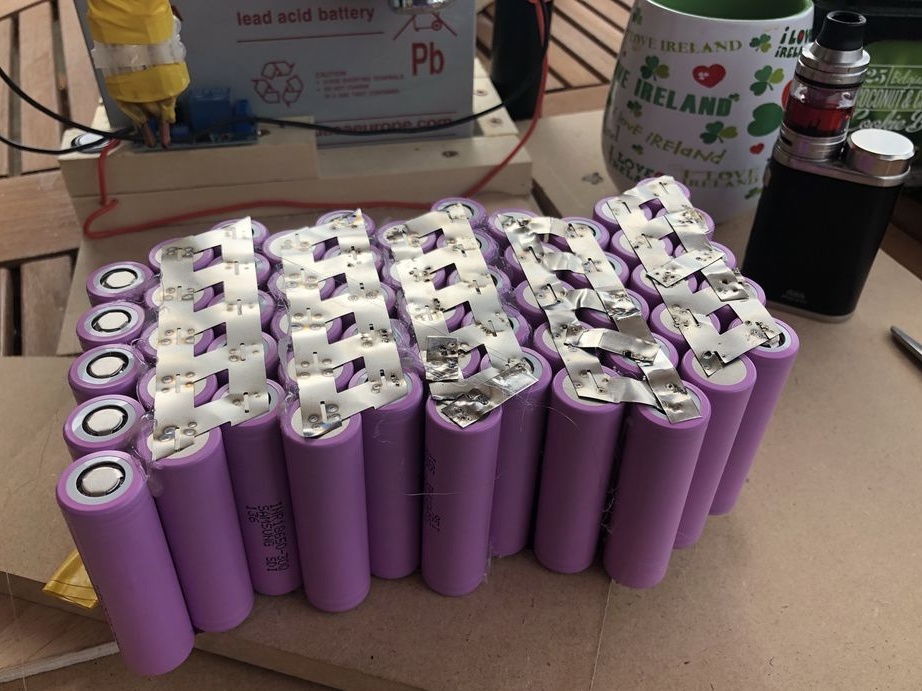
Step Five We connect cells
All cells must be connected in series and in parallel to obtain the desired characteristics. Be careful when working with these batteries, even one cell can form non-weak sparks when shorted and heat the wires red. And with a voltage of 52V, you can get quite serious injuries. Wear glasses and protective gloves. Avoid shorting the batteries, as they will fail. Each battery must be checked before installation, otherwise one problem cell may lead to the inoperability of the entire circuit.
A spot welding machine is great for connecting cells. You can work with a powerful soldering iron, but it will be much longer.
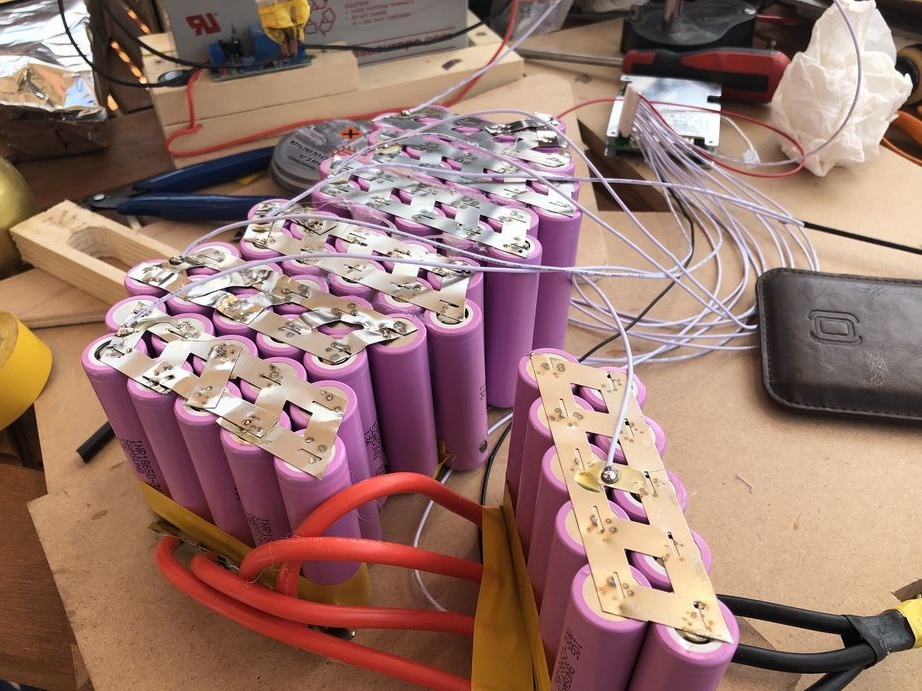
Step Six Install BMS
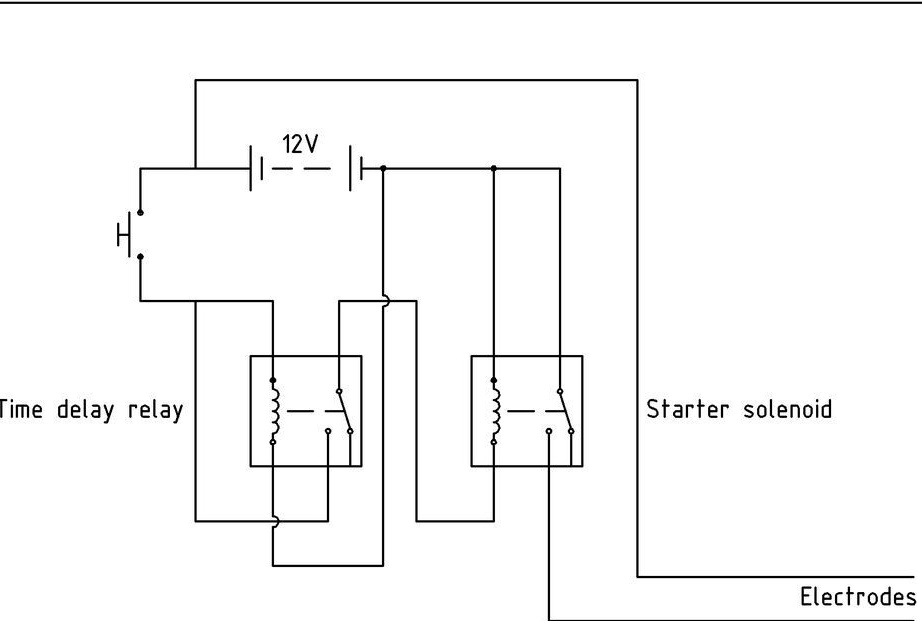
Do not use 18650 batteries without a BMS controller, as they will quickly fail. These batteries are afraid of deep discharge and overcharging. The controller is needed in order to turn off the batteries when the voltage reaches above or below the threshold. Solder the controller as indicated in the diagram.
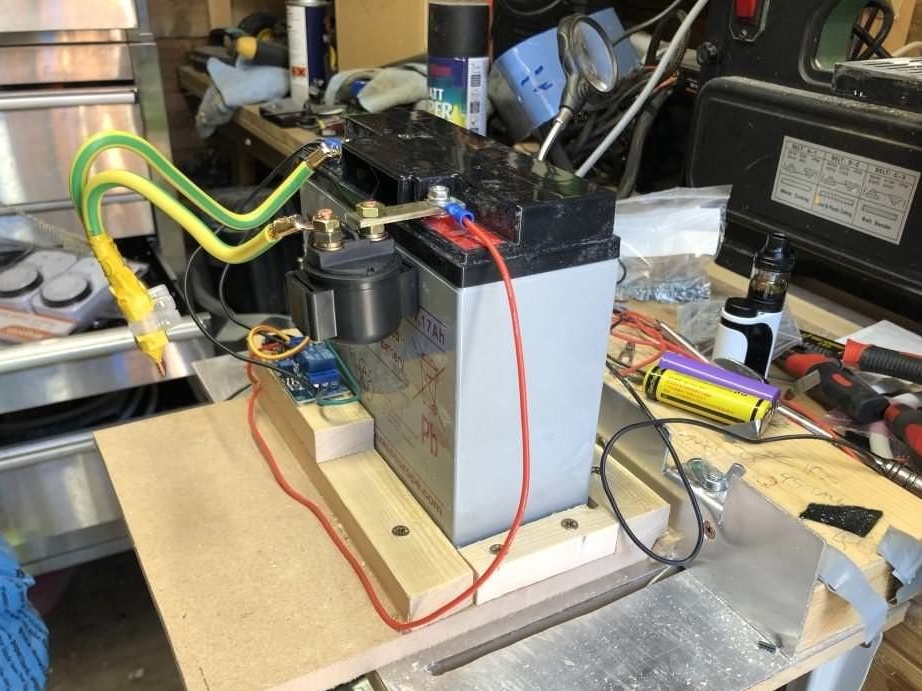
Seventh step. First charge
The first charge is done only after installing the BMS controller. When charging the battery, it should always be in your sight, because if something is done wrong or the battery is defective, it may explode or leak. In this case, you need to quickly turn off the power source. Be careful, as vapors escaping from the battery in an explosion are very toxic. The author charges the battery pack with a 58.8V power supply with a current of 2A.
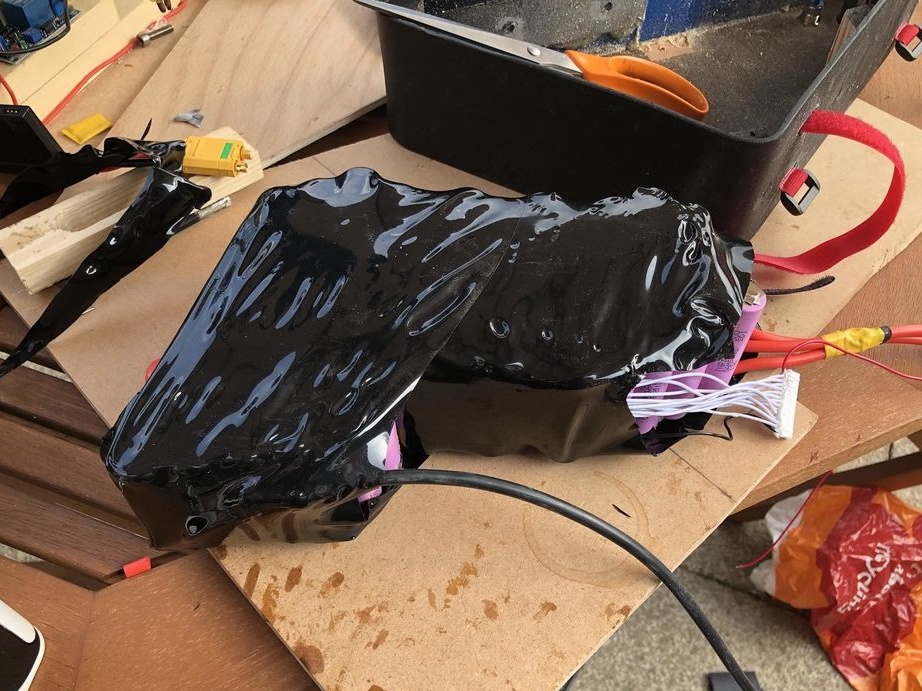
Step Eight. Battery isolation
Insulate the battery pack well. To do this, you need a special shrink film. We wrap batteries in it and then heat it with a hot air gun. That's all, now our cells are reliably protected from moisture, dirt and dust.
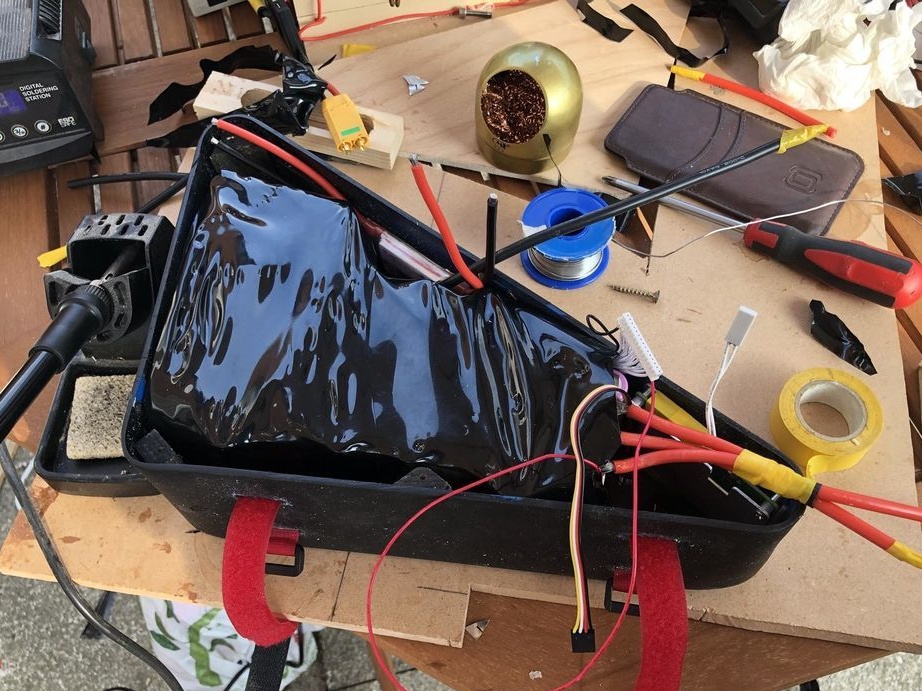
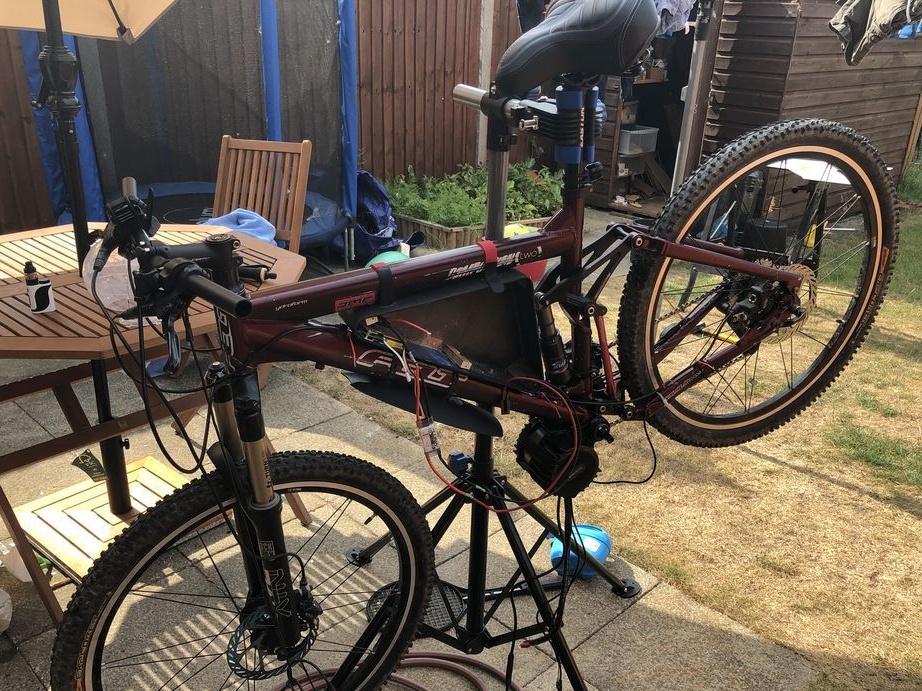
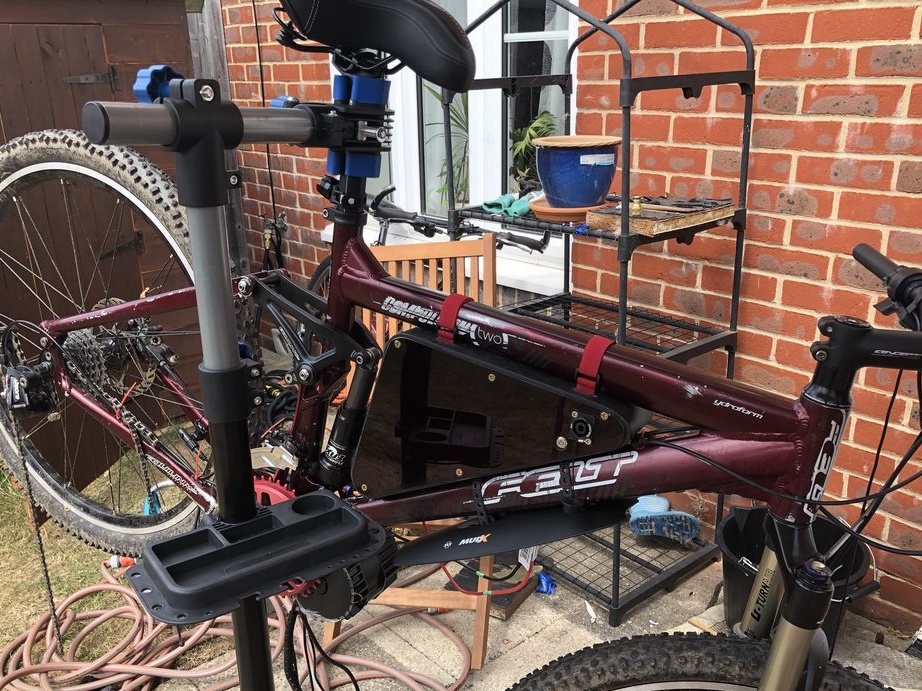
Step Nine. Build a bike and test
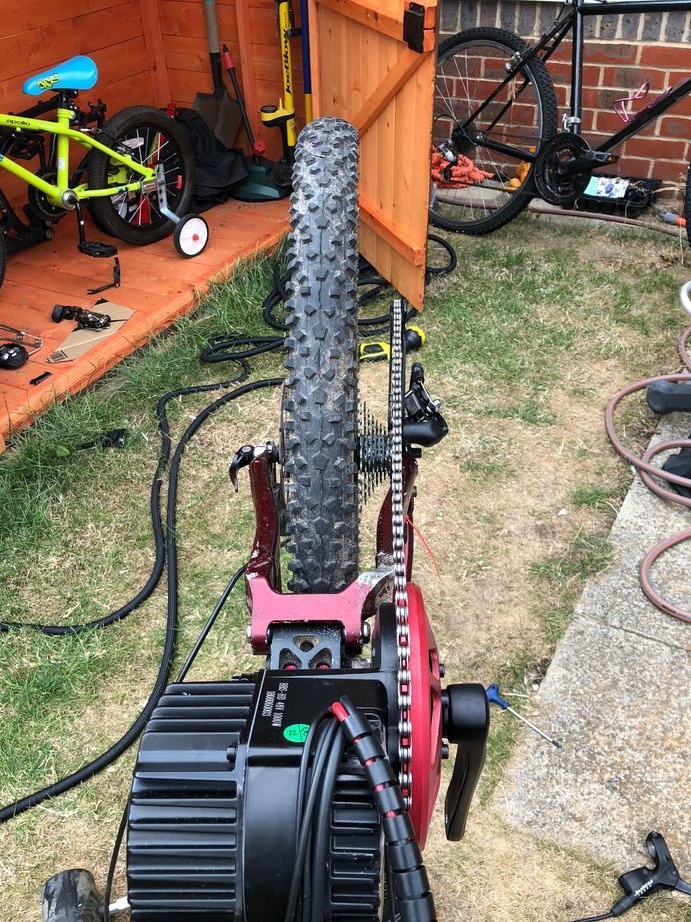
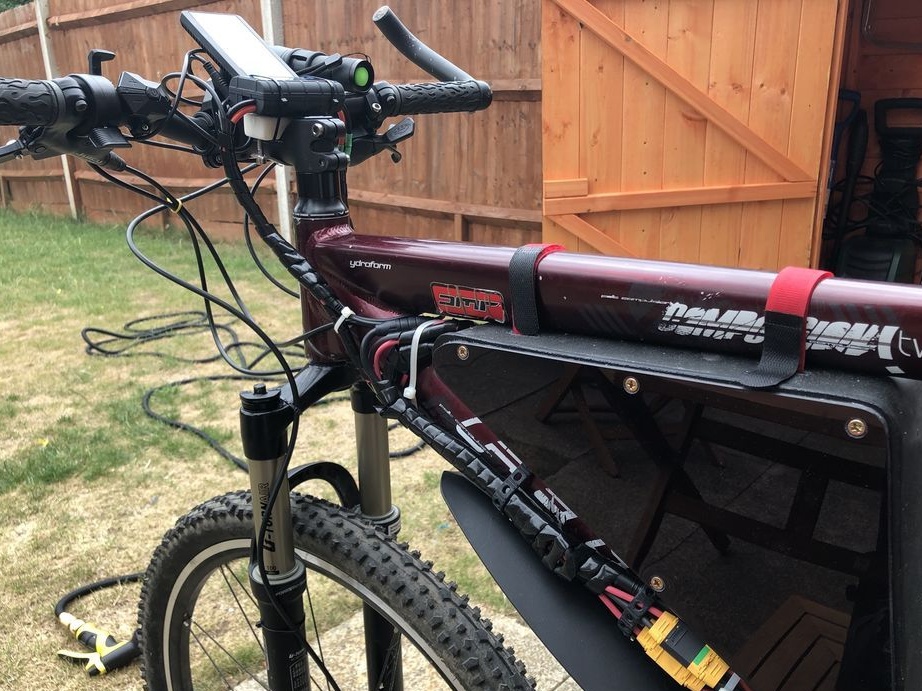
We install on the frame the engine, as well as the battery pack, which is attached to the frame using belts. A switch is recommended between the batteries and the motor. It is not necessary, as there is a switch on the engine, but this is an additional safety measure. We hang the wheel and try to turn on the engine. If everything works fine, you can try switching gears.
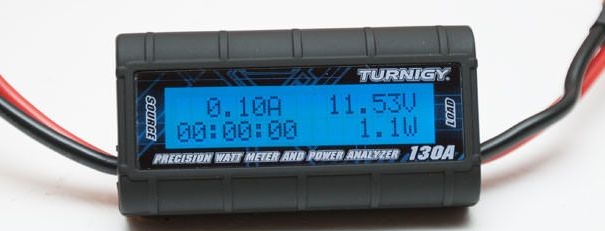
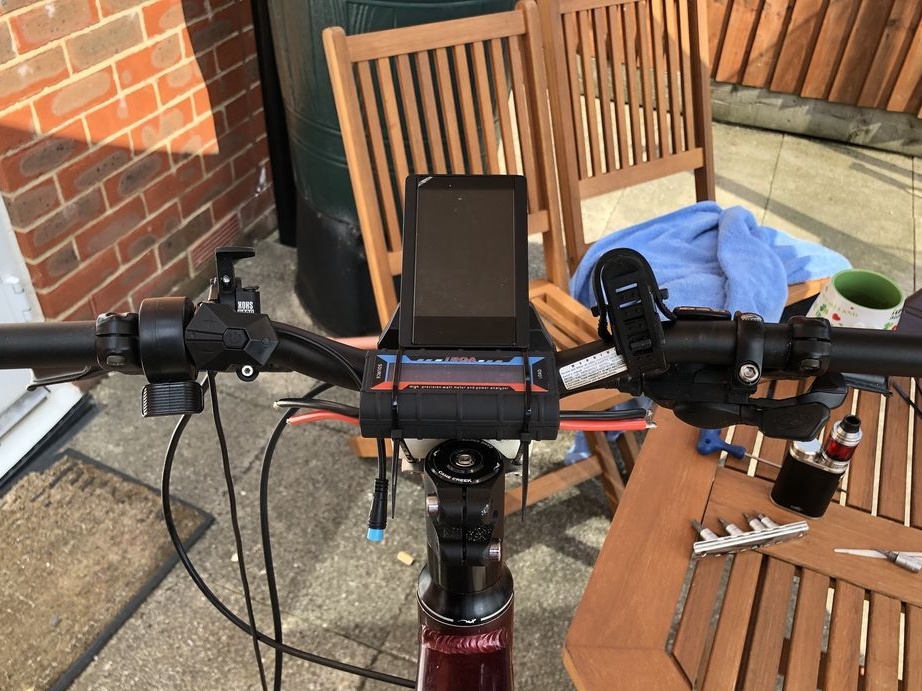
Step Ten Power meter
The author installed an additional Turnigy display, it is inexpensive and allows you to monitor energy consumption indicators. This step is not required.
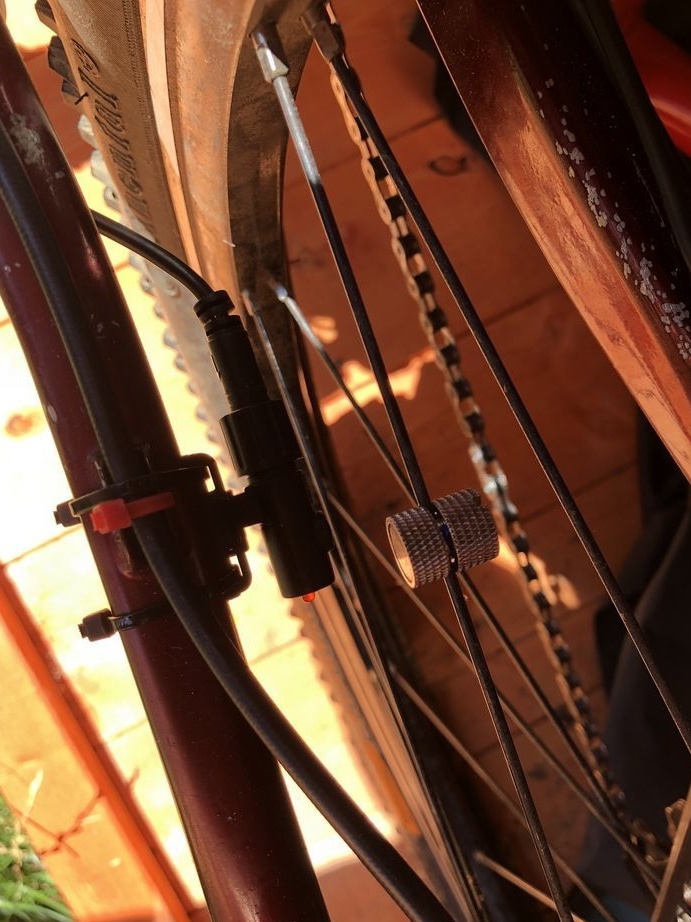
Step eleven. Wiring
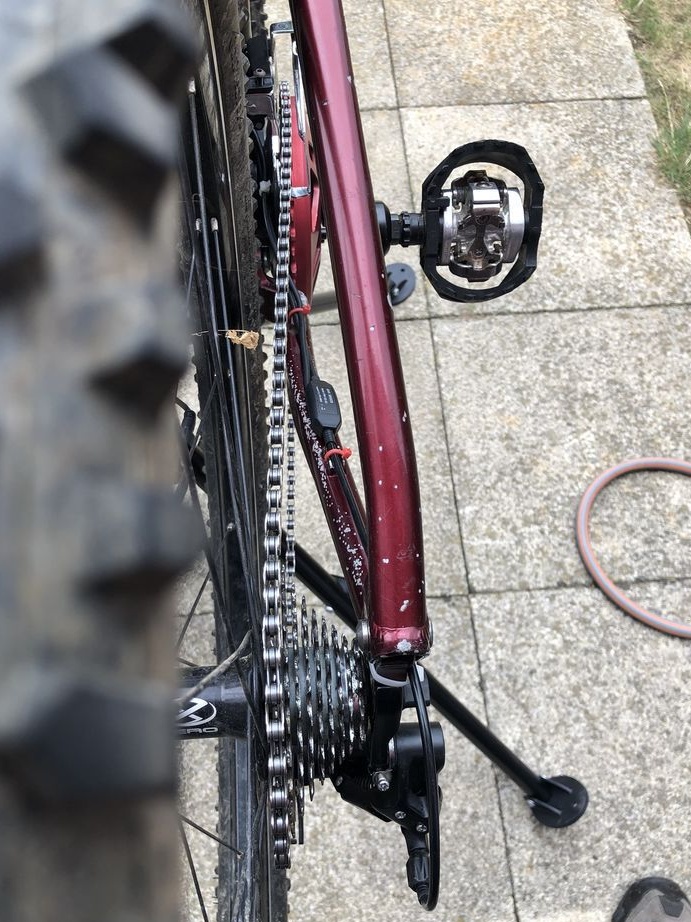
We lay wires on the frame, fix them with plastic ties. For convenience, install the XT90AS in the right places.

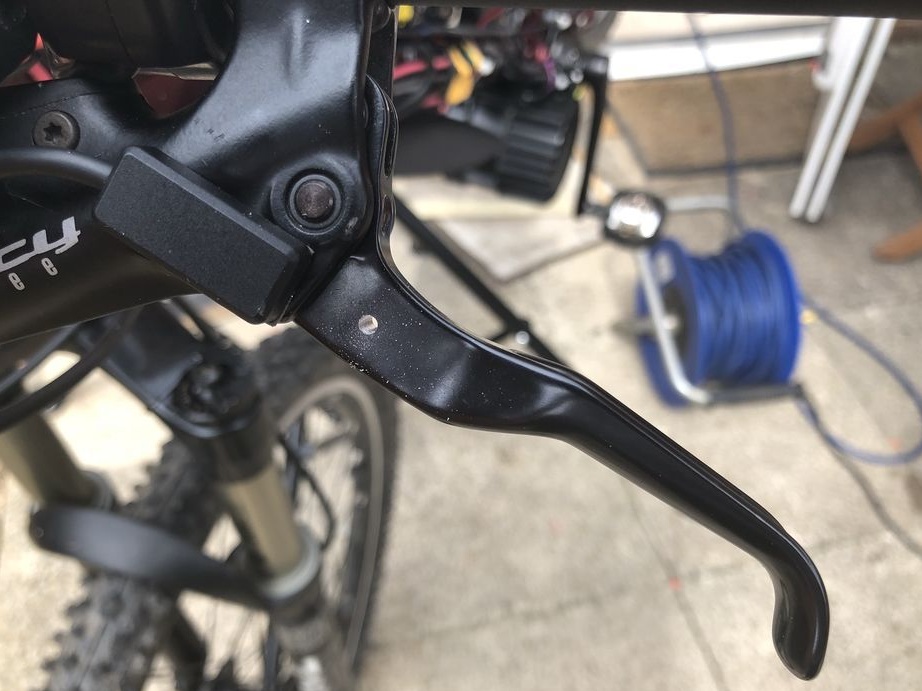
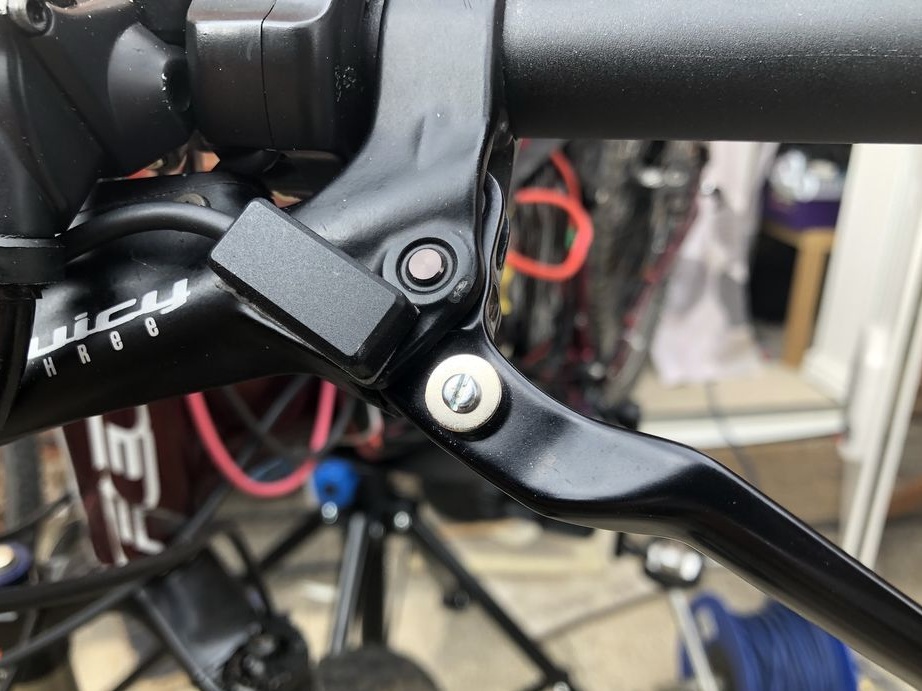
Step twelve. Brake system
With such a powerful engine, make sure that the brakes are very powerful. The author installs hydraulics on his bike. The brake handles must have switches, due to which the engine will be switched off during braking.
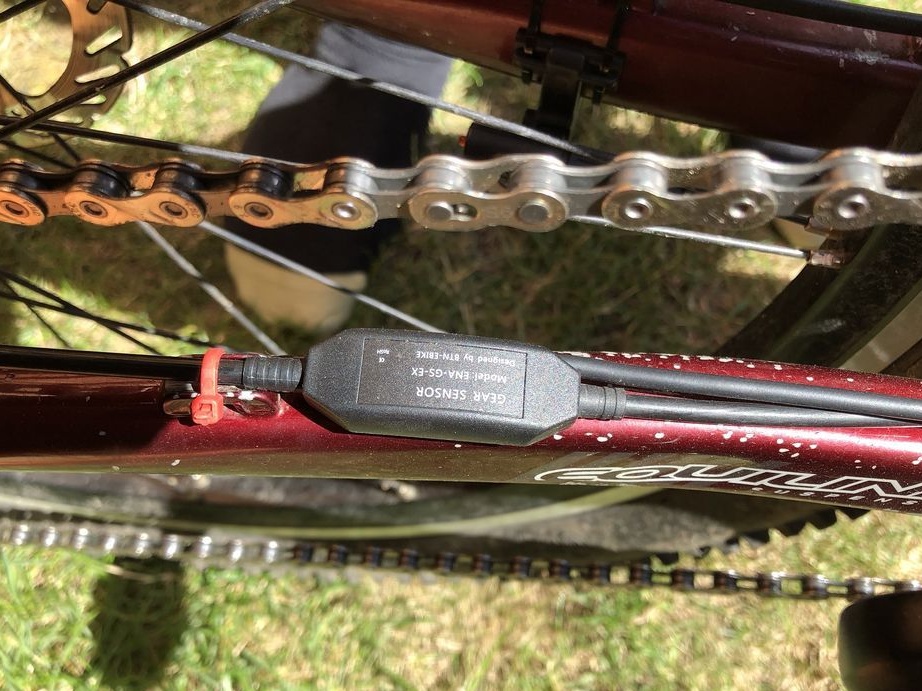
That's all, the bike is ready. If you wish, you can install a speedometer and a sensor on it, which will show what speed is on. But all this is not necessary. This is the end of the project.

