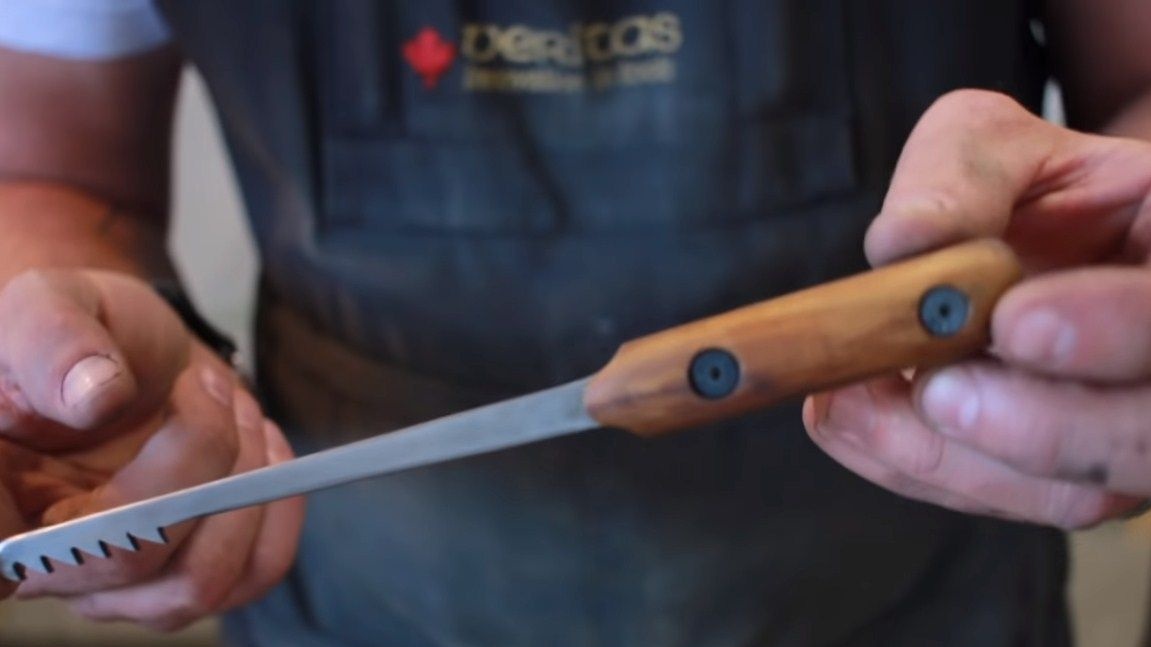
Greetings to all those craftsmen who work with wood. Certainly in the manufacture of furniture and other products you need a tool such as a small file. With this tool, you can make various small grooves, bore and clean holes and much more. In this manual, we will look at how you can easily and simply make such a tool yourself.
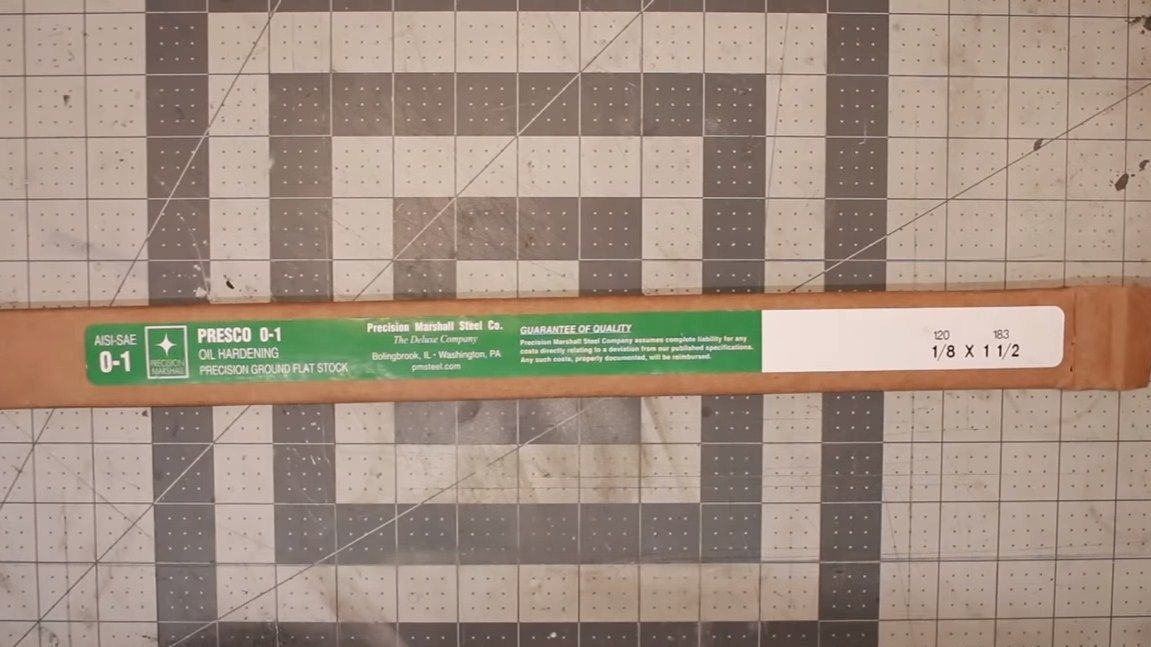
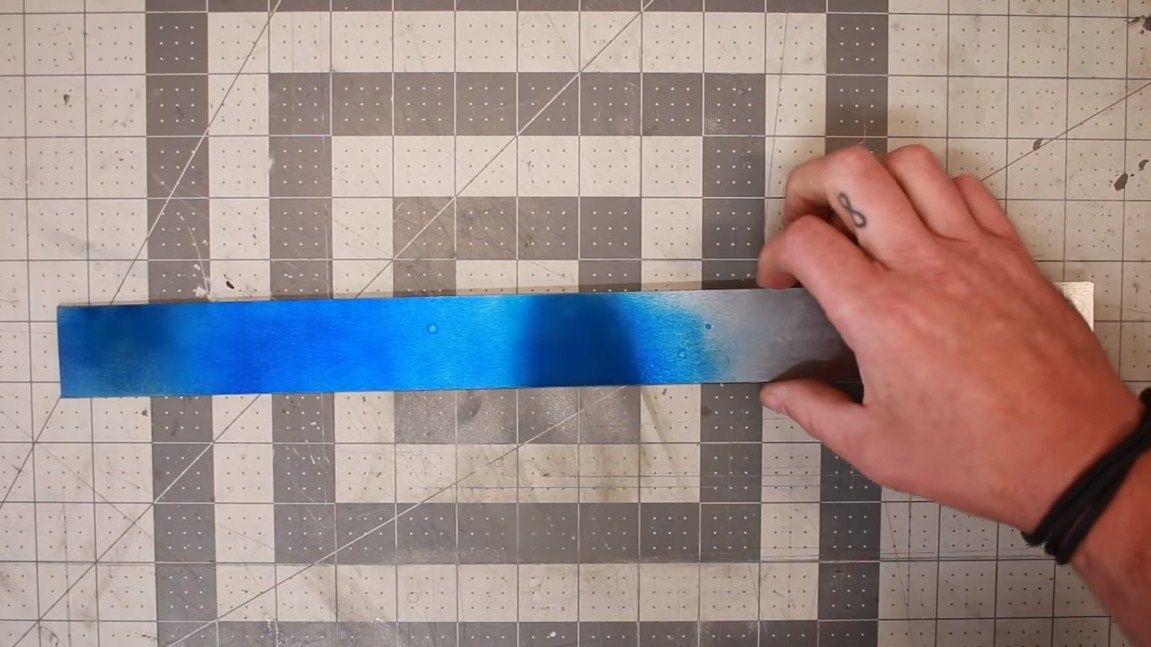
The tool is made quite simply, its manufacture is much simpler than making a knife, although in fact it is also a kind of knife, only with teeth. The most important thing is to choose high-quality steel, otherwise ordinary metal will quickly become dull and you will get tired of working with a tool, because it will have to be sharpened endlessly. Author for his homemade I chose steel grade 01, this steel is easily and well hardened, and it is also resistant to rust due to the presence of chromium in the composition. If you do not want to buy the source material, a similar tool can be made from a flat file. But the file will need an old, Soviet-style one, in it all the metal is of uniformly equal quality, and in modern files only the outer part is cemented. So, we will consider in more detail how to make such a tool.
Materials and tools used by the author:
Material List:
- carbon steel;
- wood for linings;
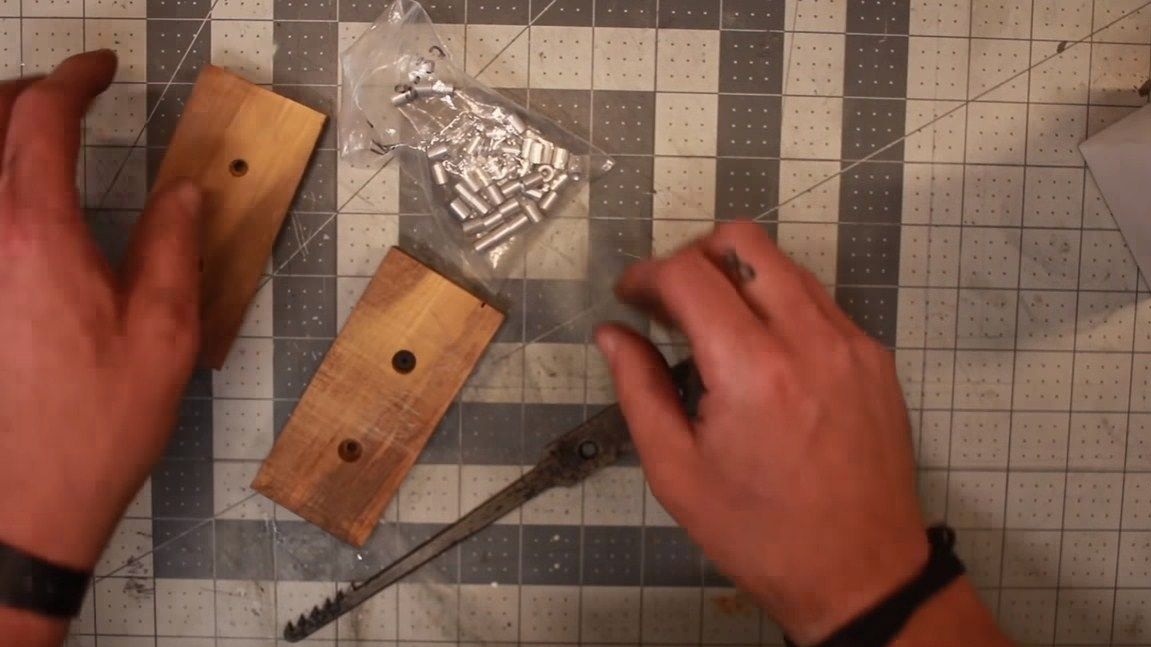
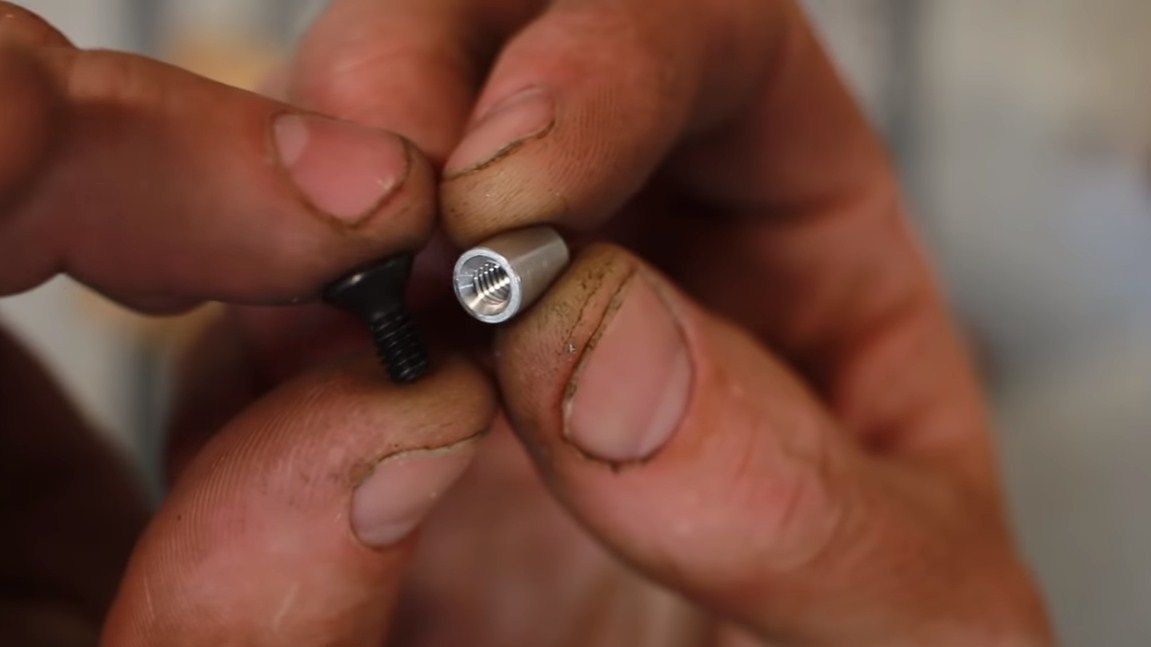
- bolts with "internal" nuts (the author has instead of pins);
- Danish oil (or alternatively linseed).
Tool List:
- tape cutting saw for metal;
- belt grinding machine;
- drilling machine;
- sandpaper and files;
- blacksmith oven and oven;
- a vise.
Tool manufacturing process:
Step one. Cut the main profile
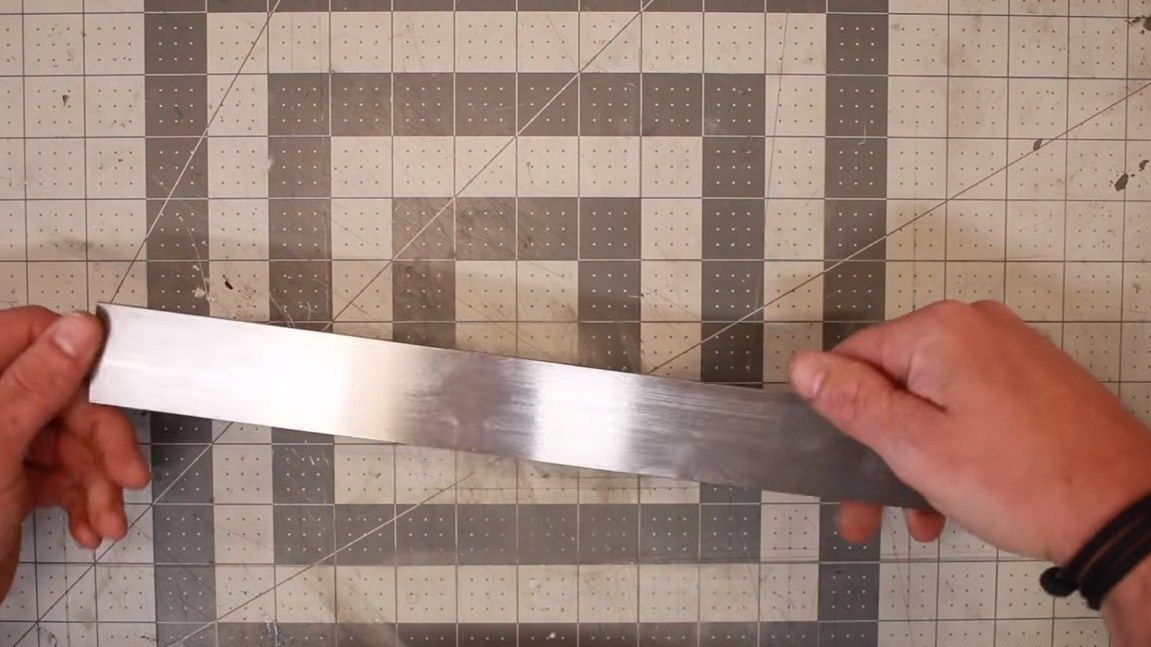
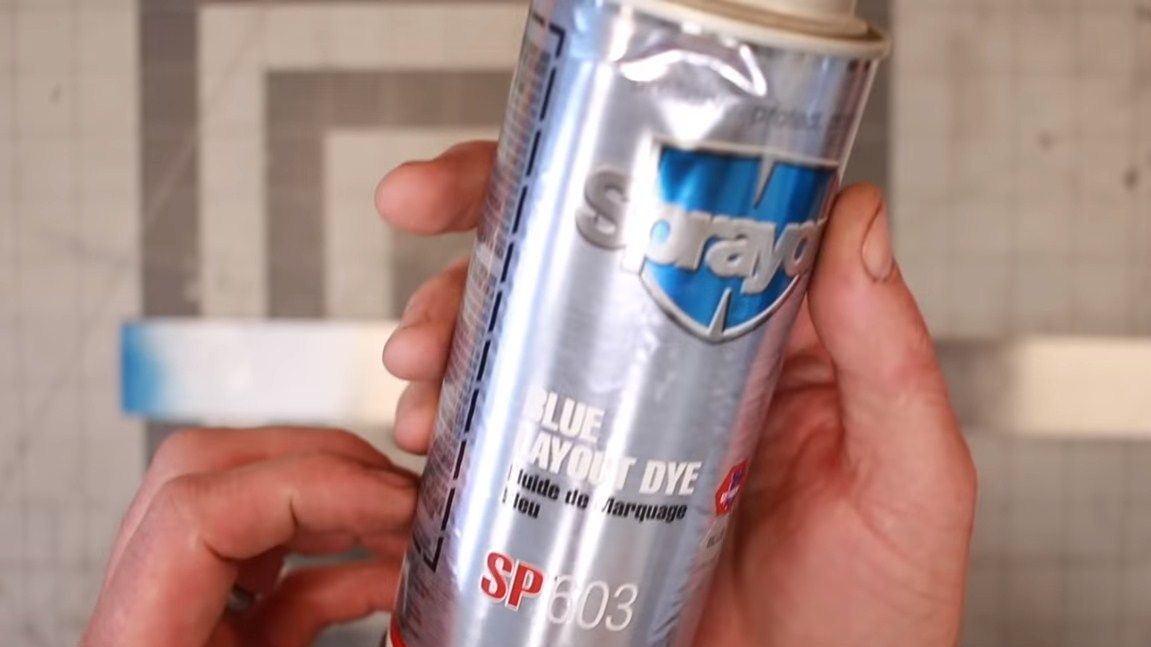
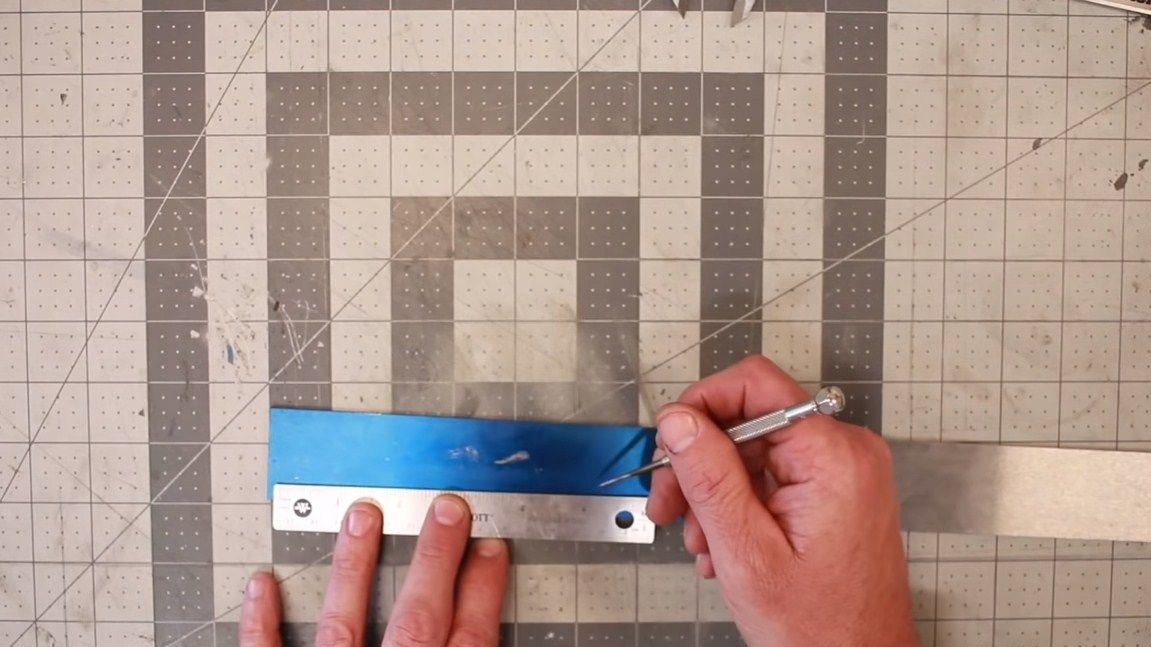
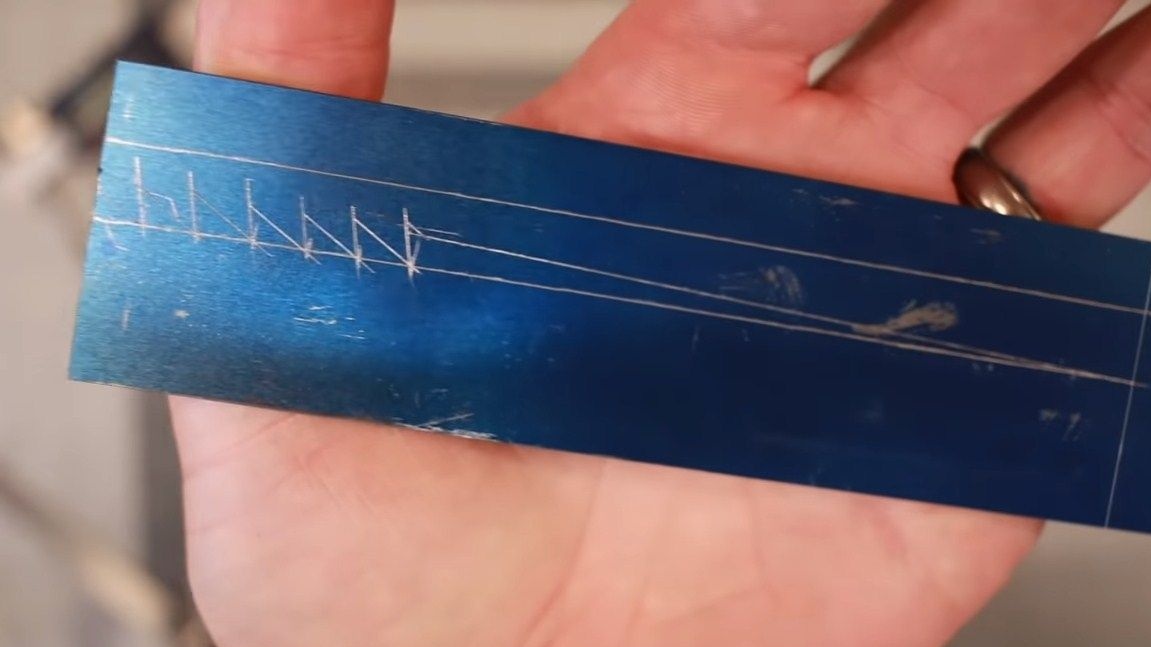
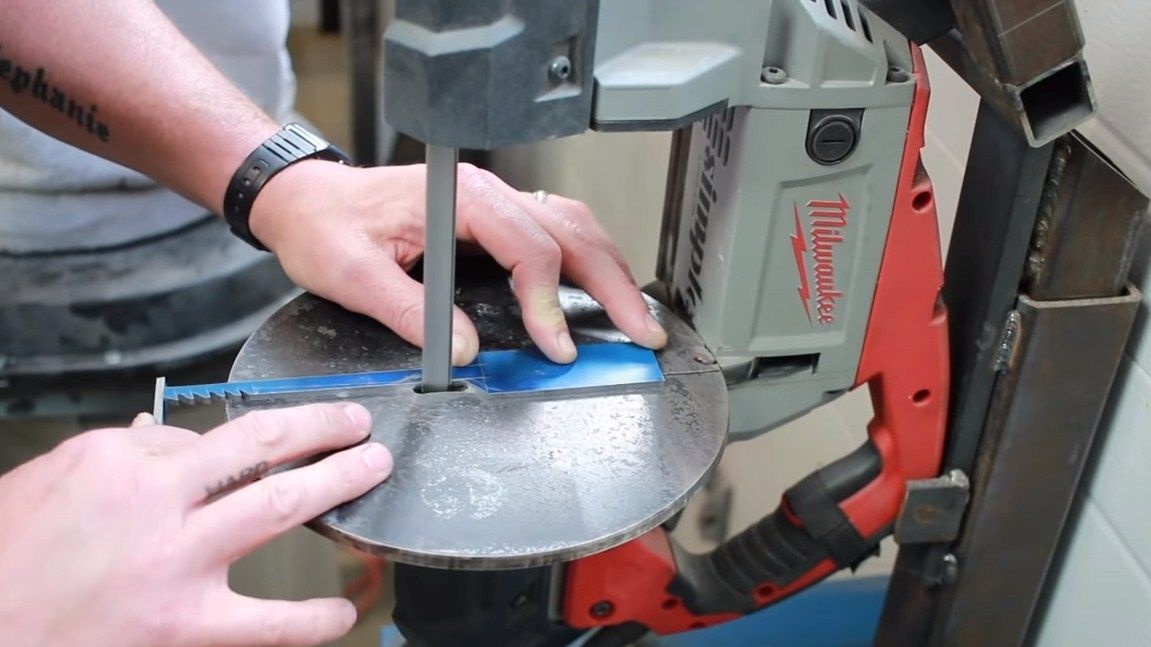
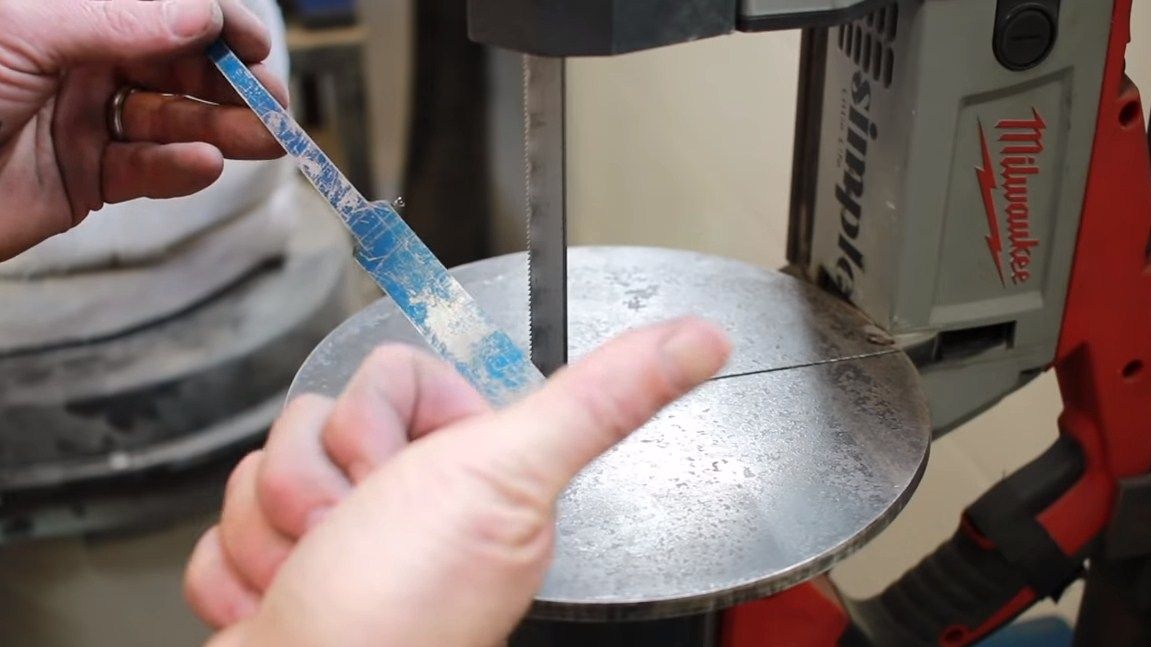
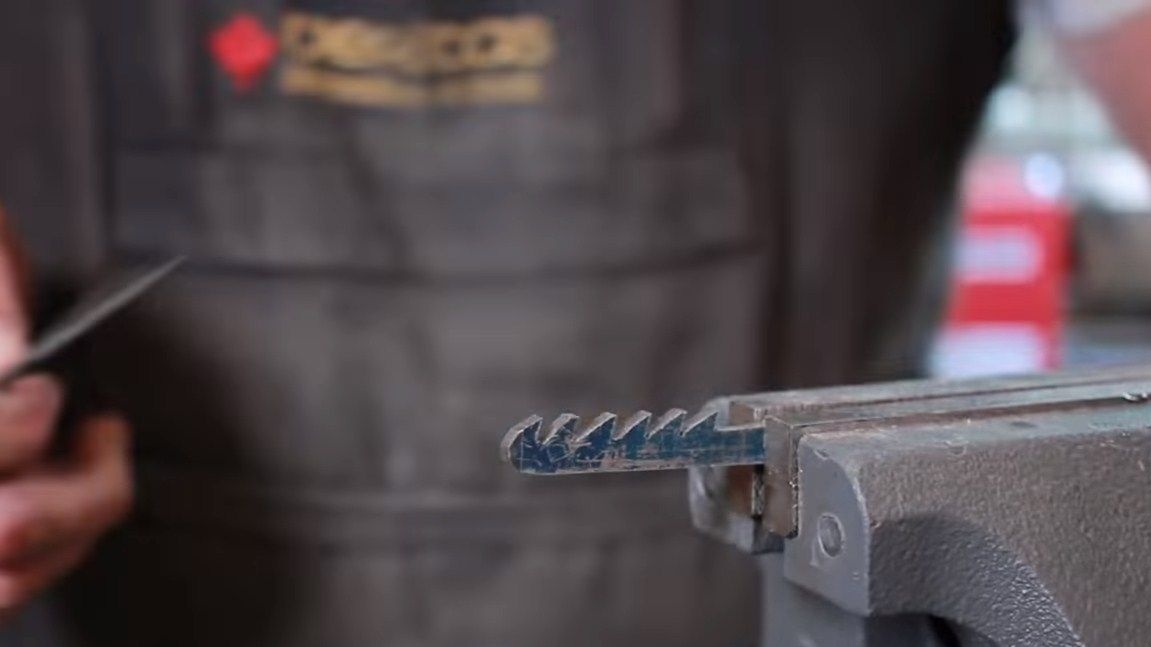
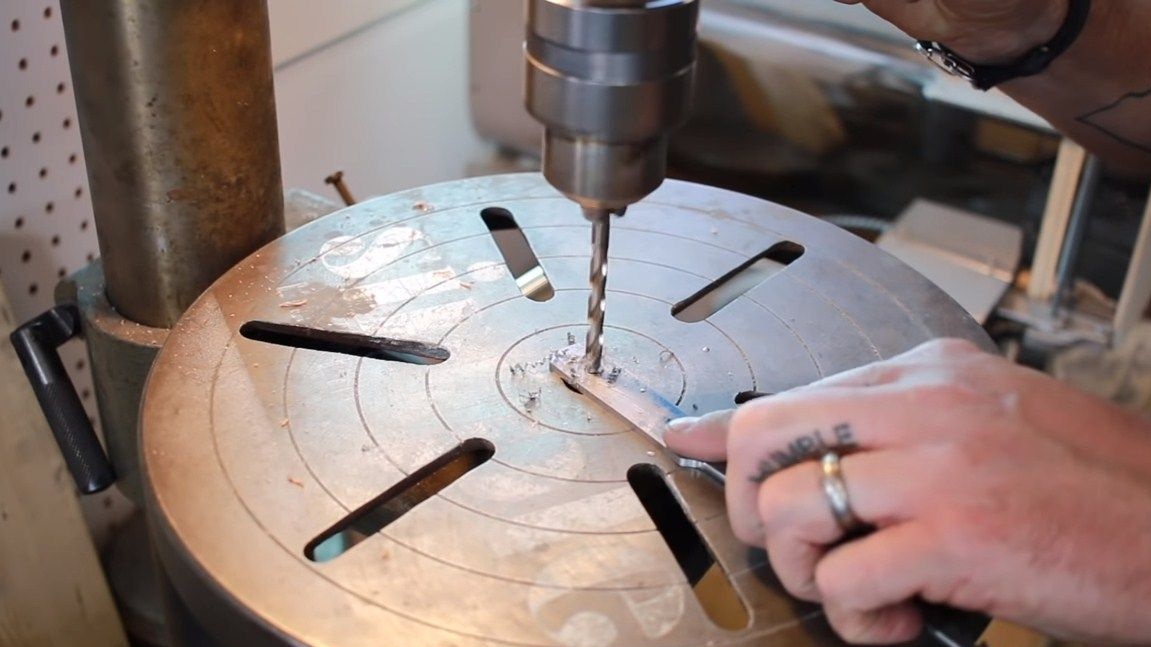
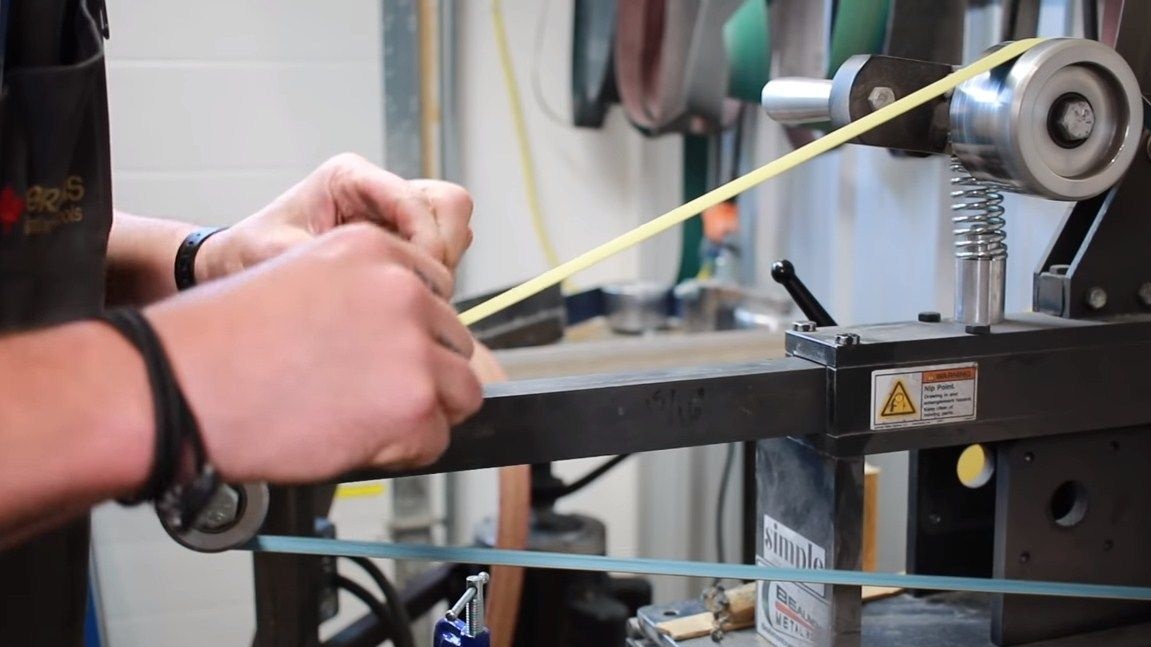
First of all, the author makes markings directly on the metal, draws the desired profile of the knife. Instead of a marker and a pencil, the author simply paints metal from a spray can, and then draws a drawing on it with a sharp object. You need to draw clove profiles, they should all be the same.
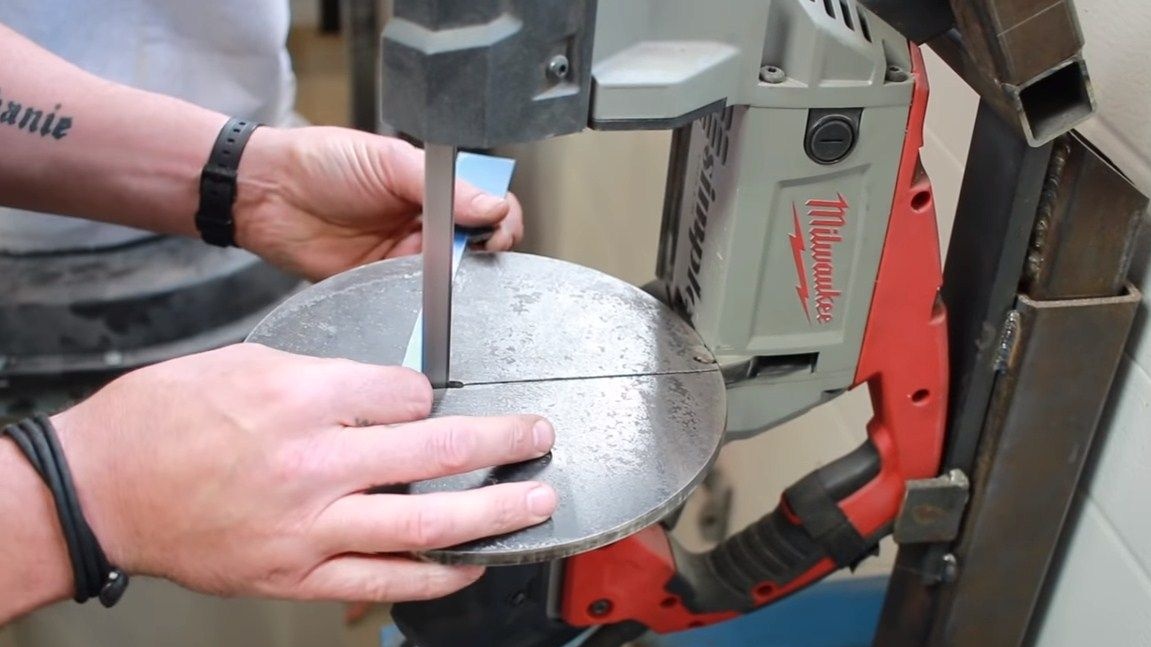
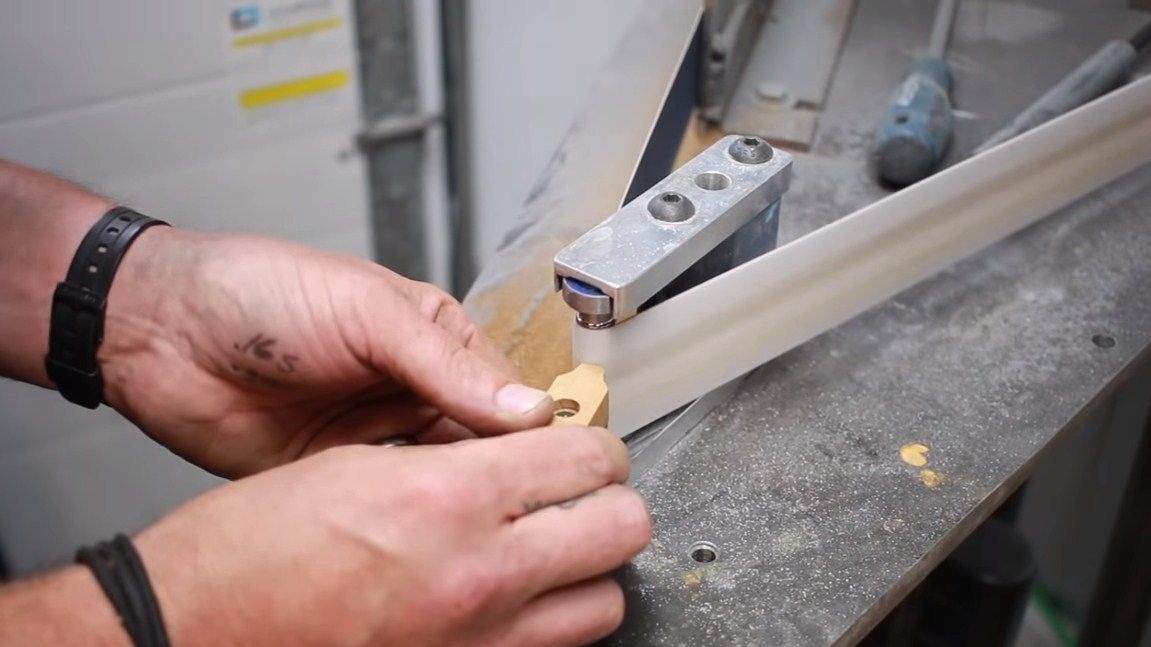
Well, then you just have to cut out this drawing. This is quickly and easily done on a belt cutting machine. But you can tinker with the grinder, though then there will be a lot of polishing.
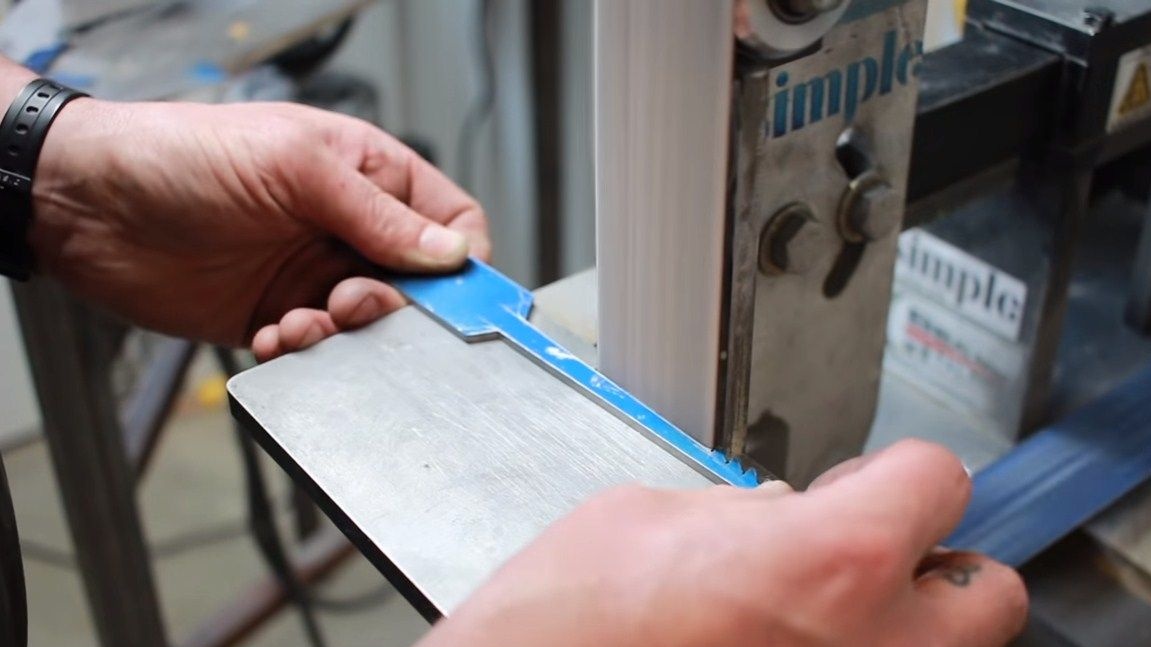
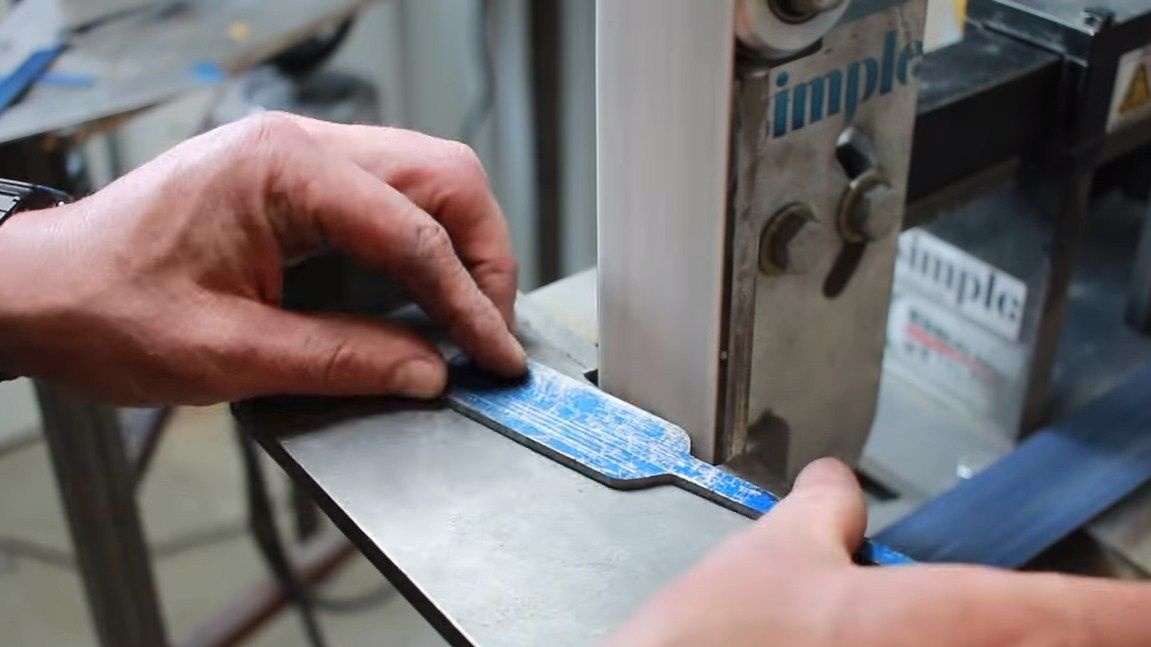
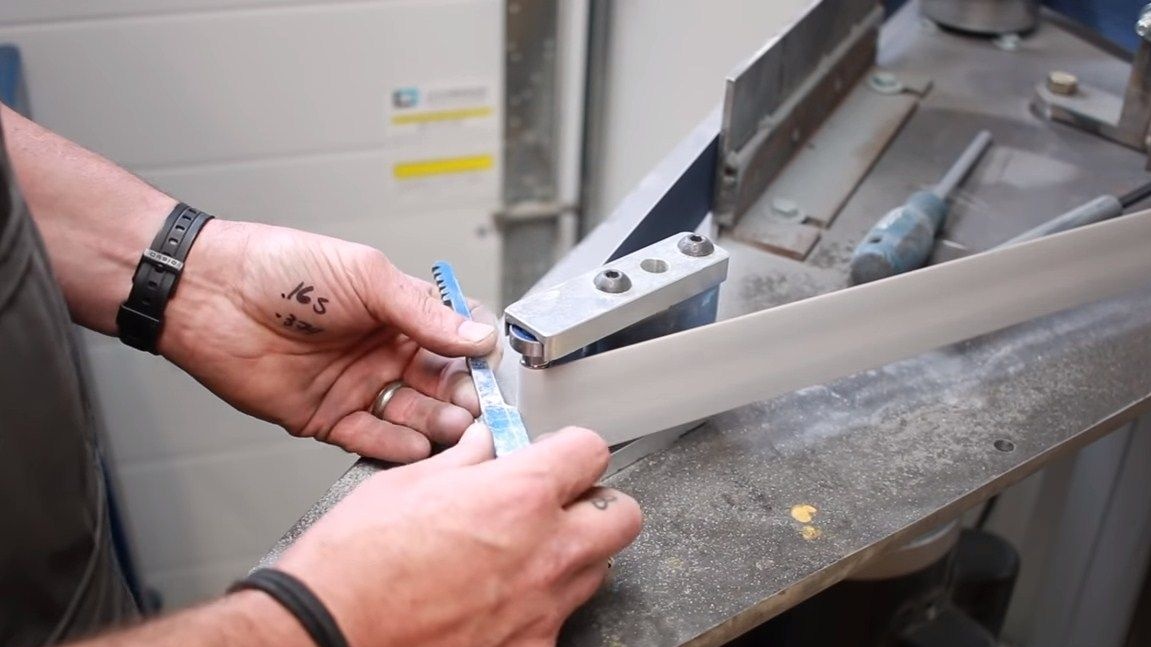
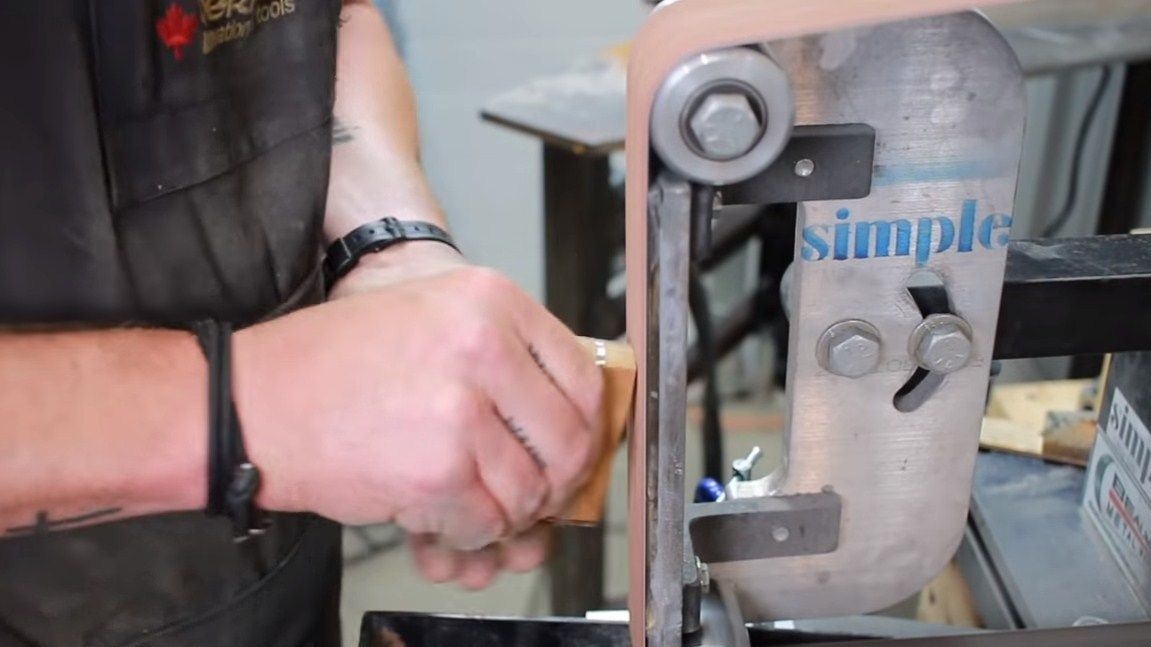
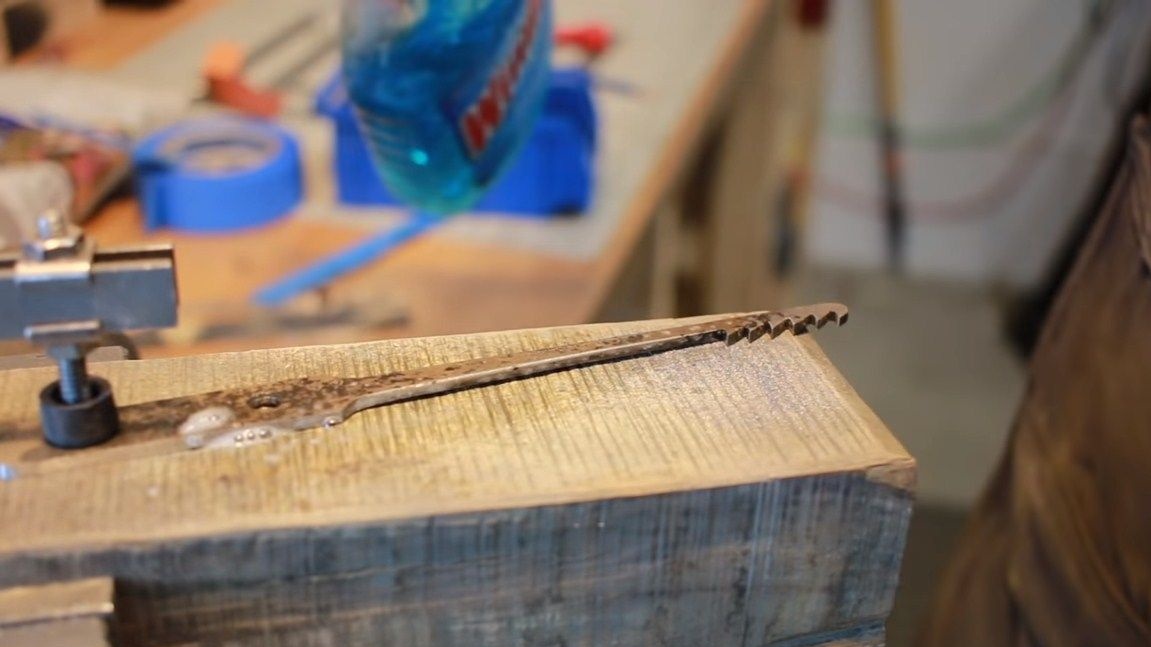
Step Two Grinding
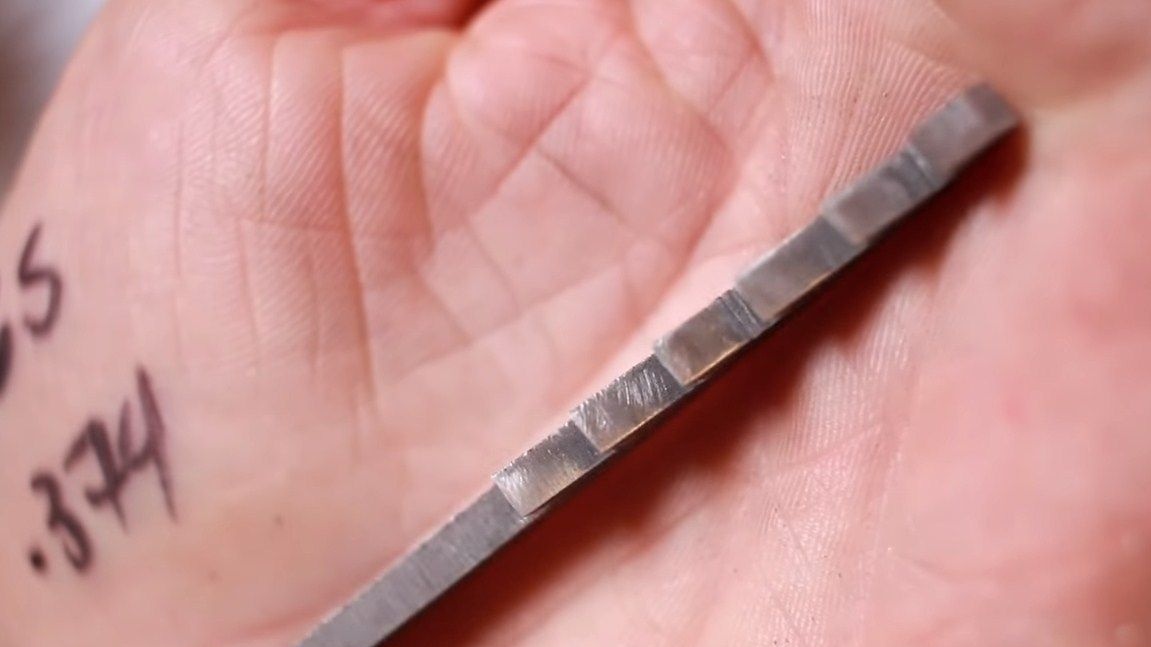
After cutting, we carefully grind the homemade product along the contour, here the author uses a belt grinder. After polishing, the author took the knife in his hands and noticed that the handle turned out to be too wide, in the end it was decided to trim it.Then there was a little more grinding, and as a result, the profile of the tool was completed.
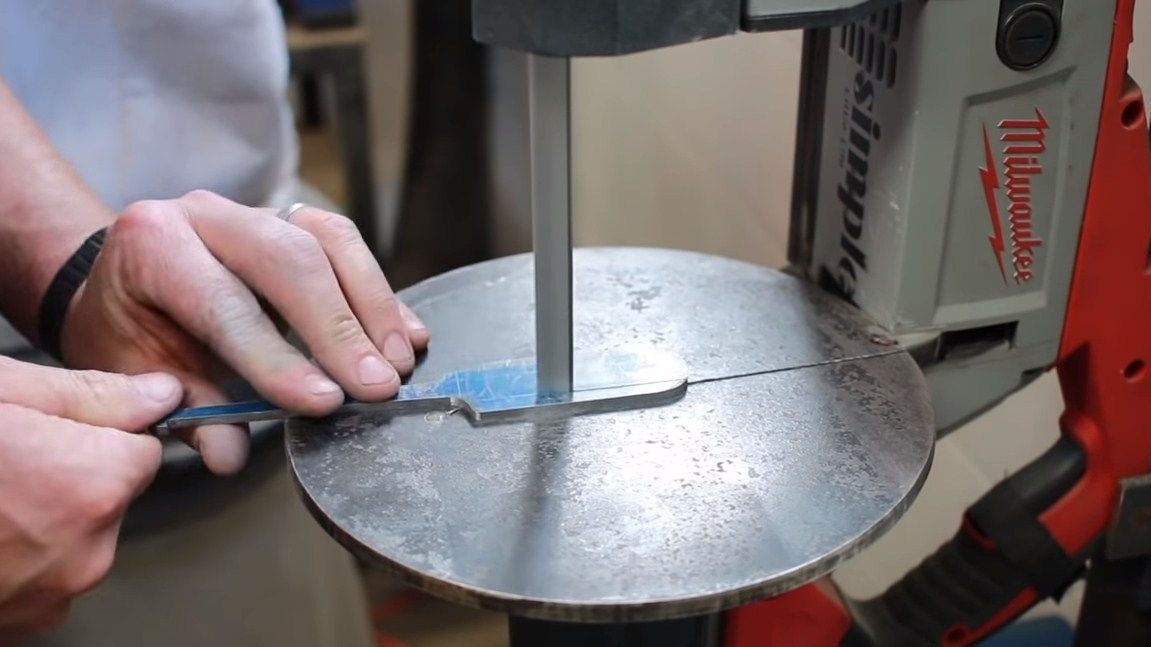
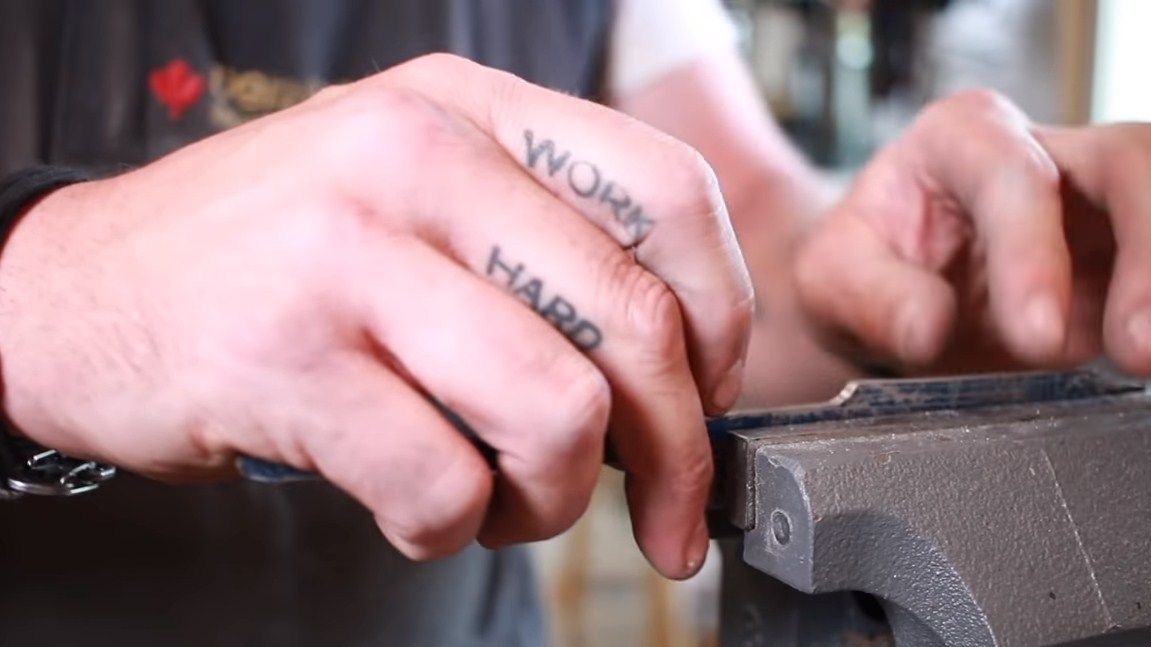
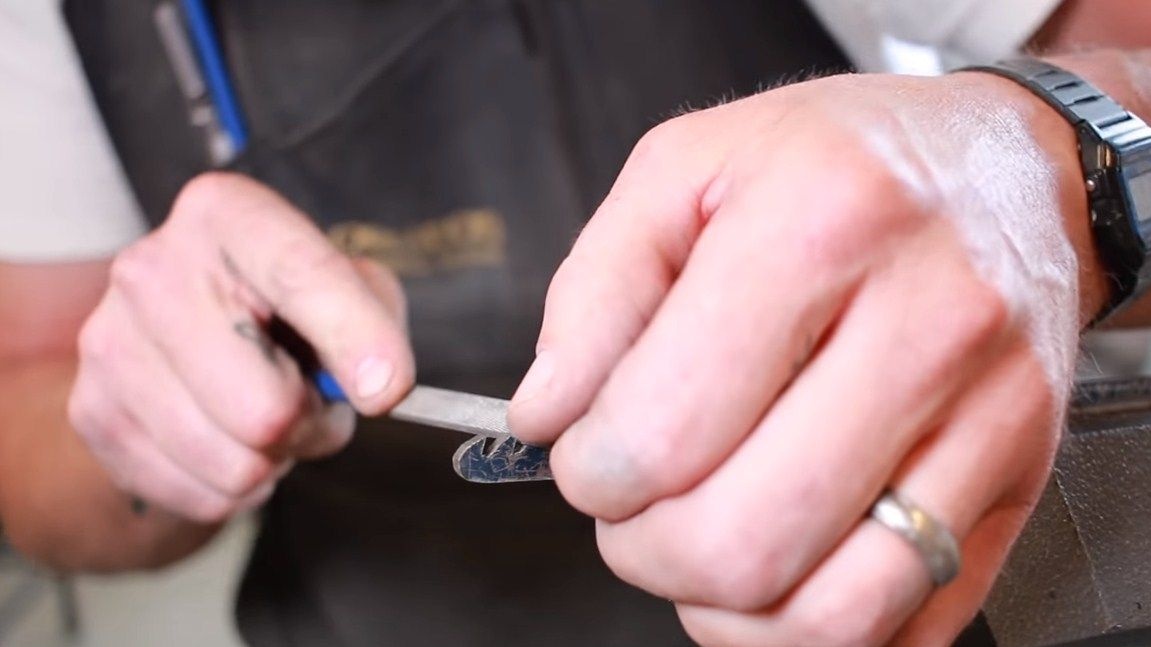
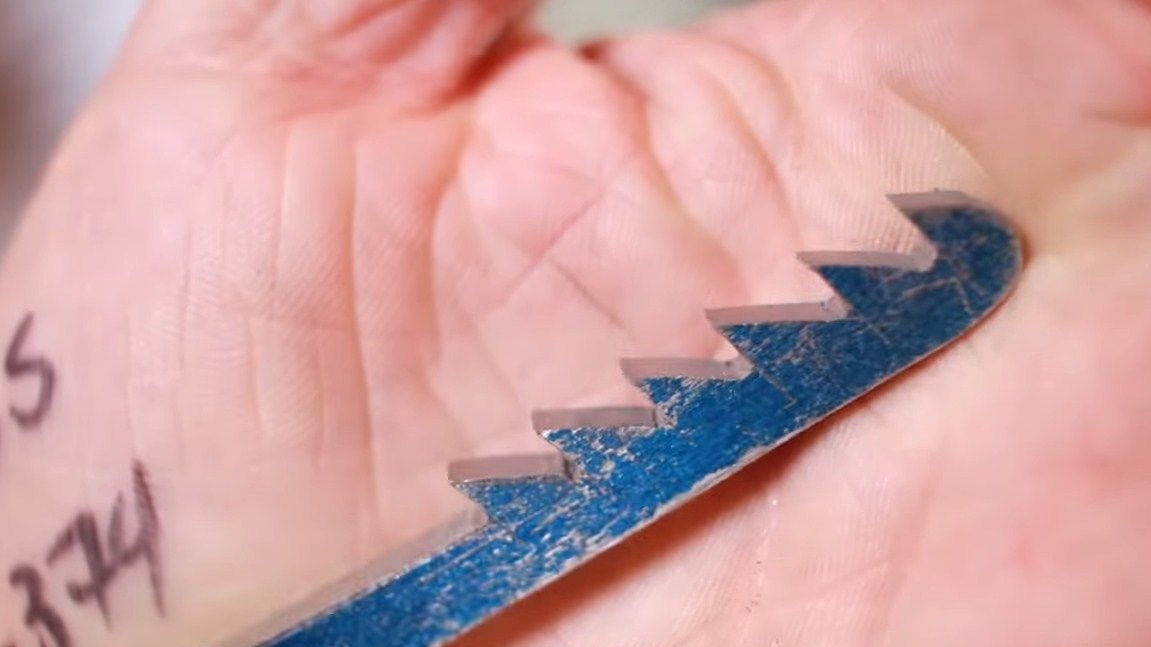
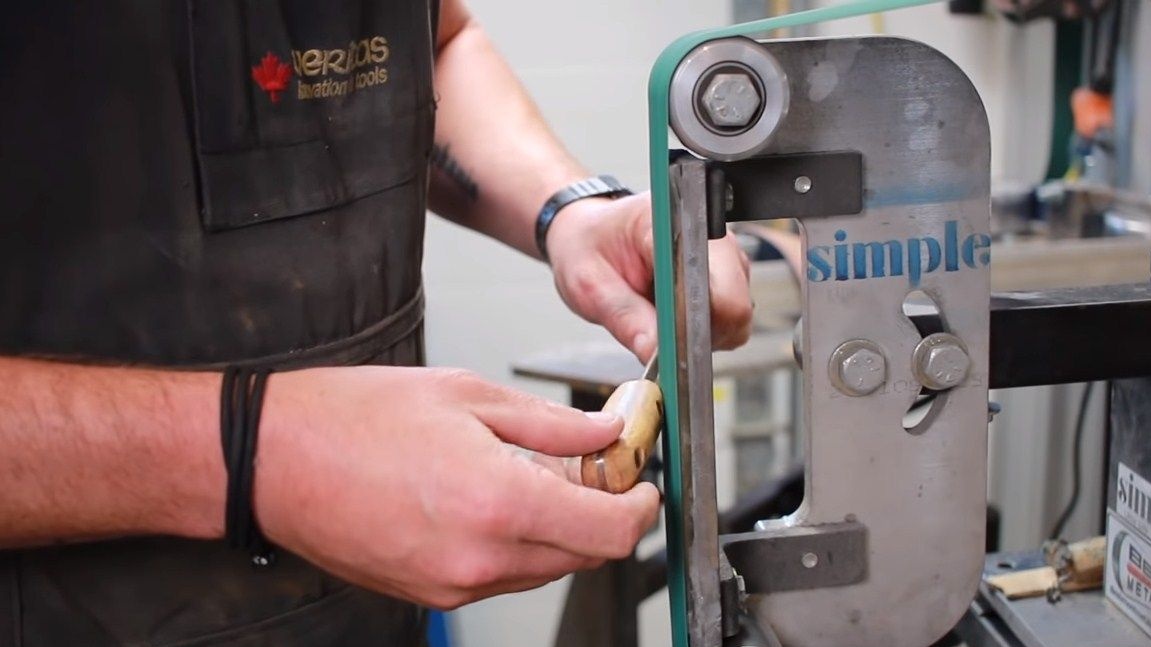
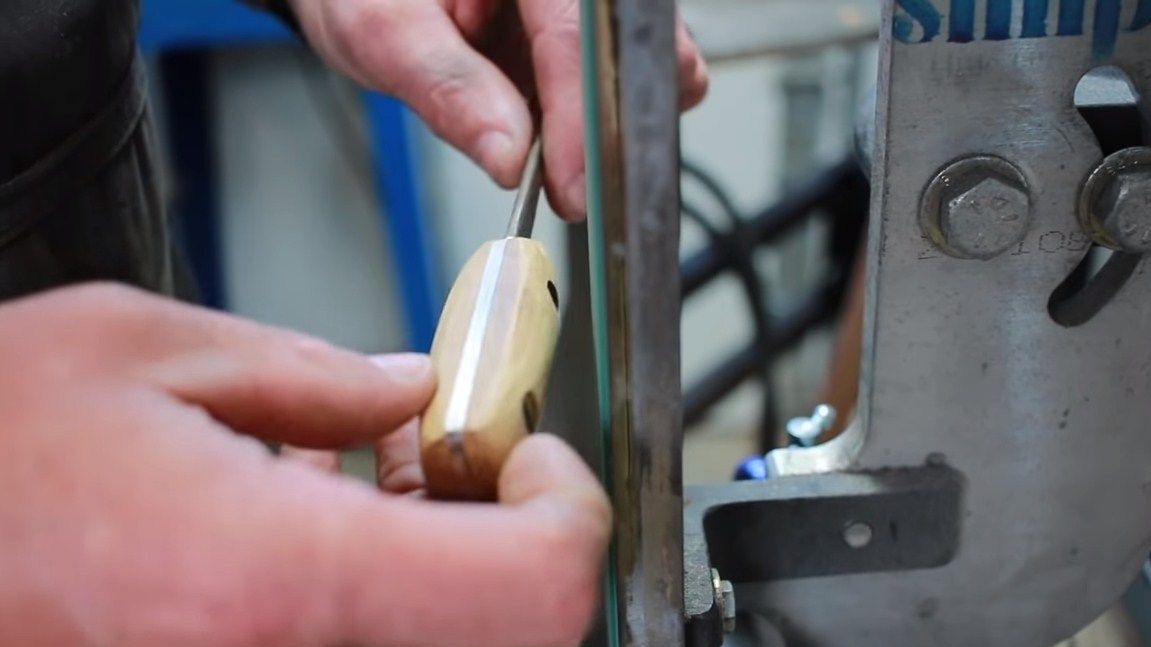
Step Three Manual processing
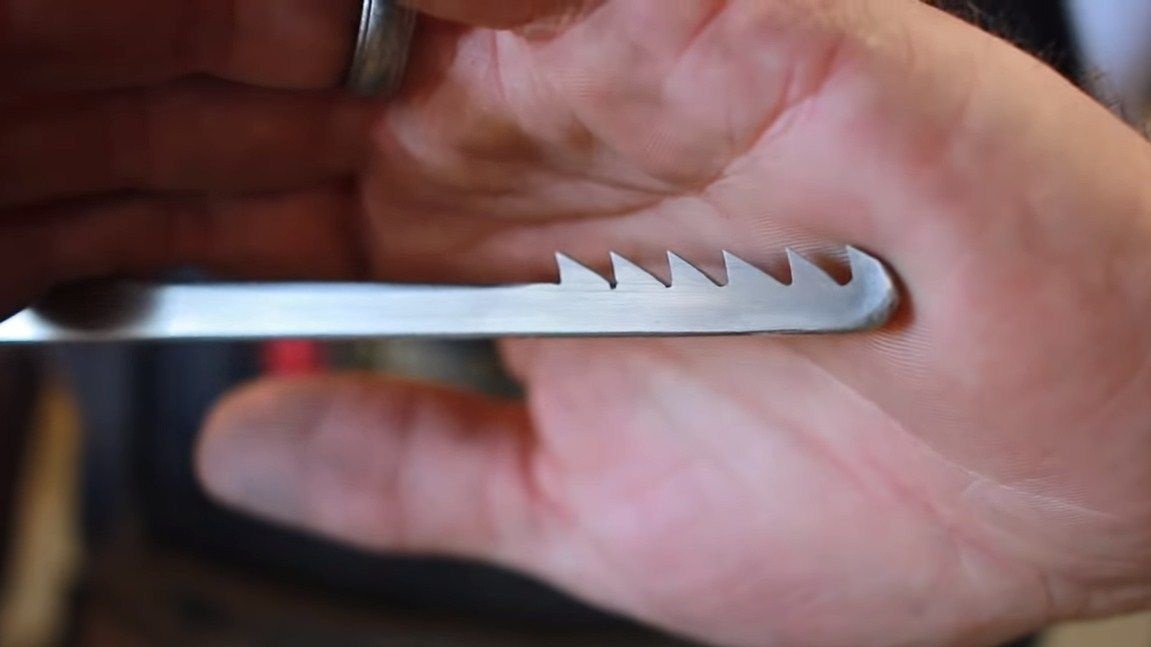
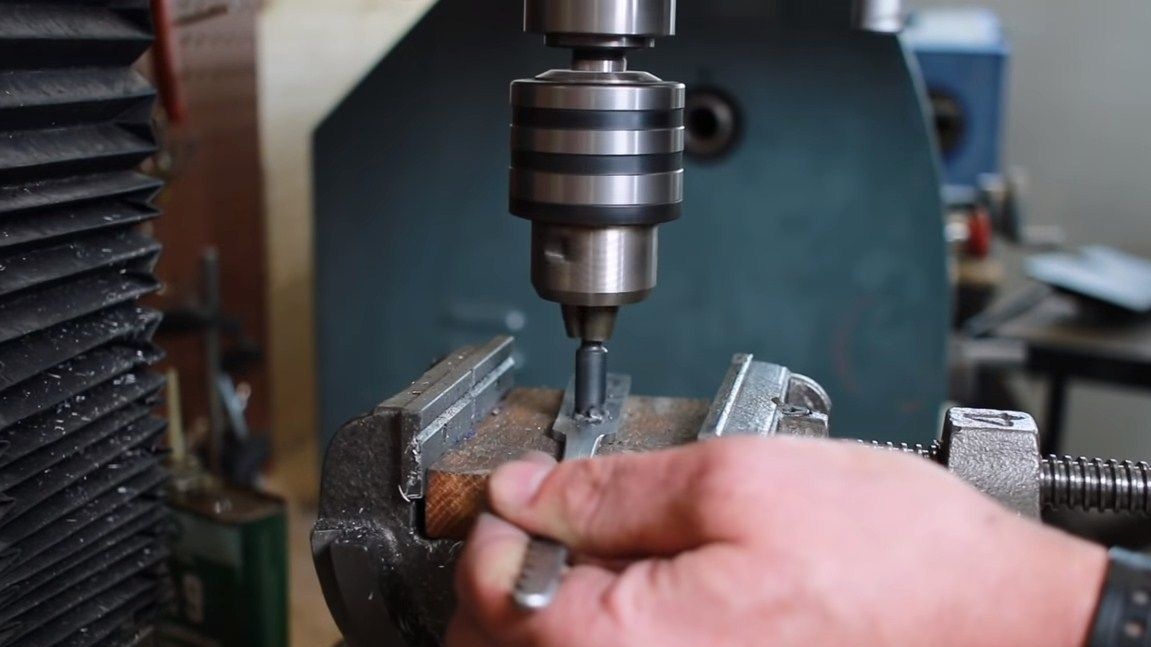
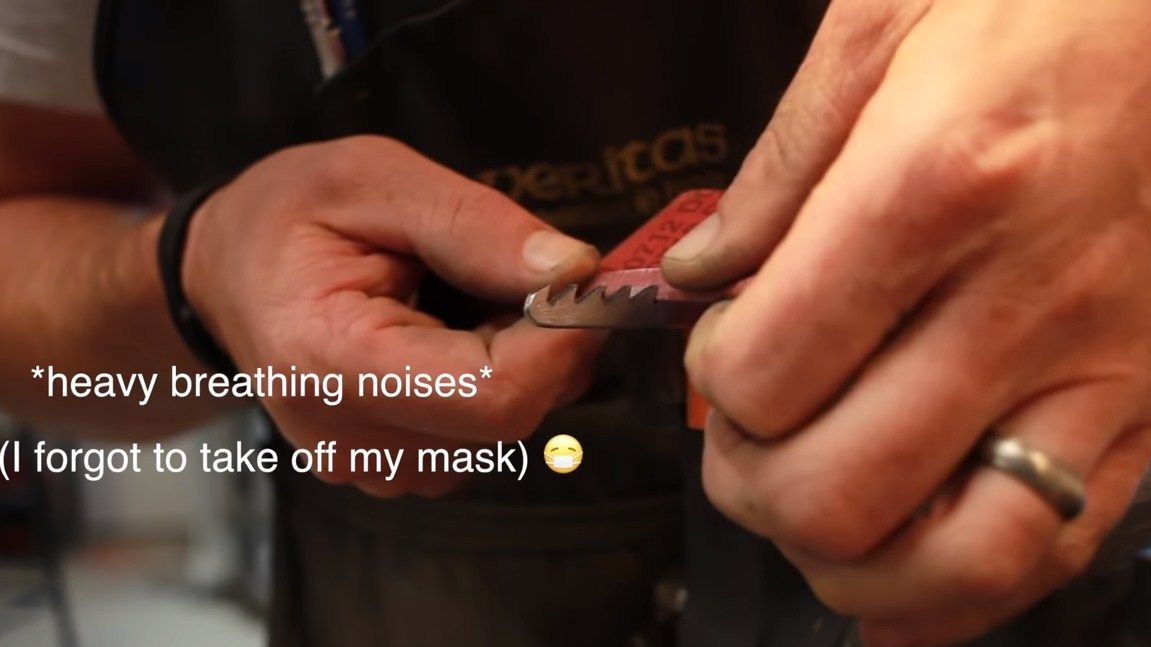
We have to do the most important thing - to finish the teeth on the instrument. For this, the author uses a flat file for metal. For finer processing, we wind onto something suitable fine emery paper and go through the cloves of it. Sharpen heavily while the cloves are not needed, since further hardening still remains.

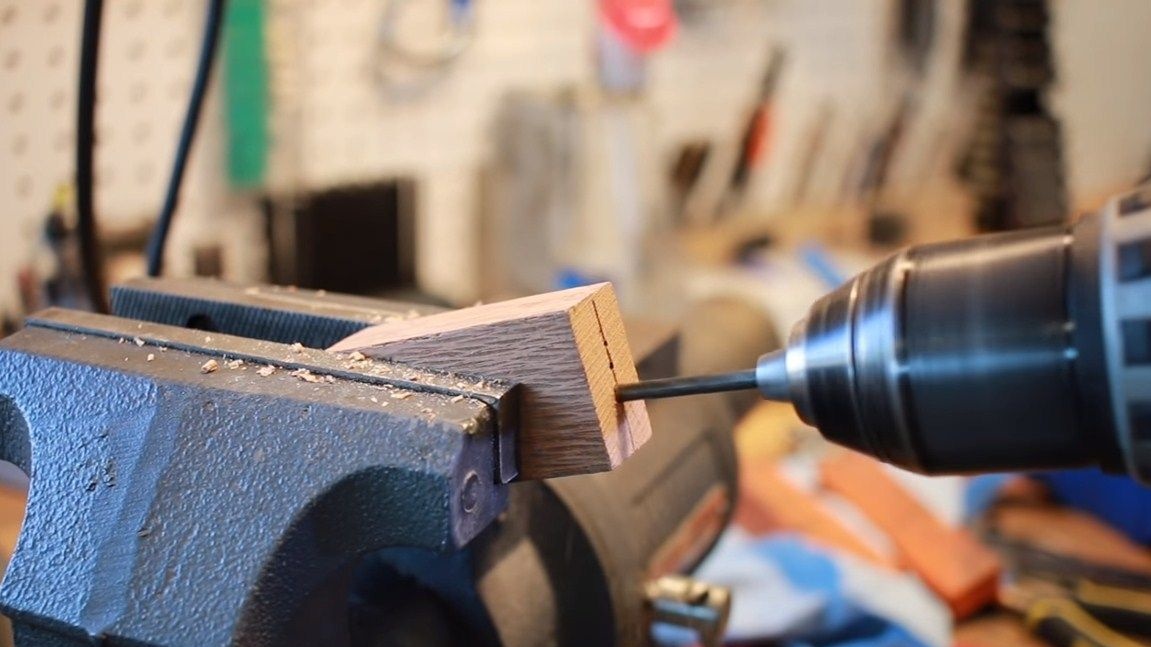
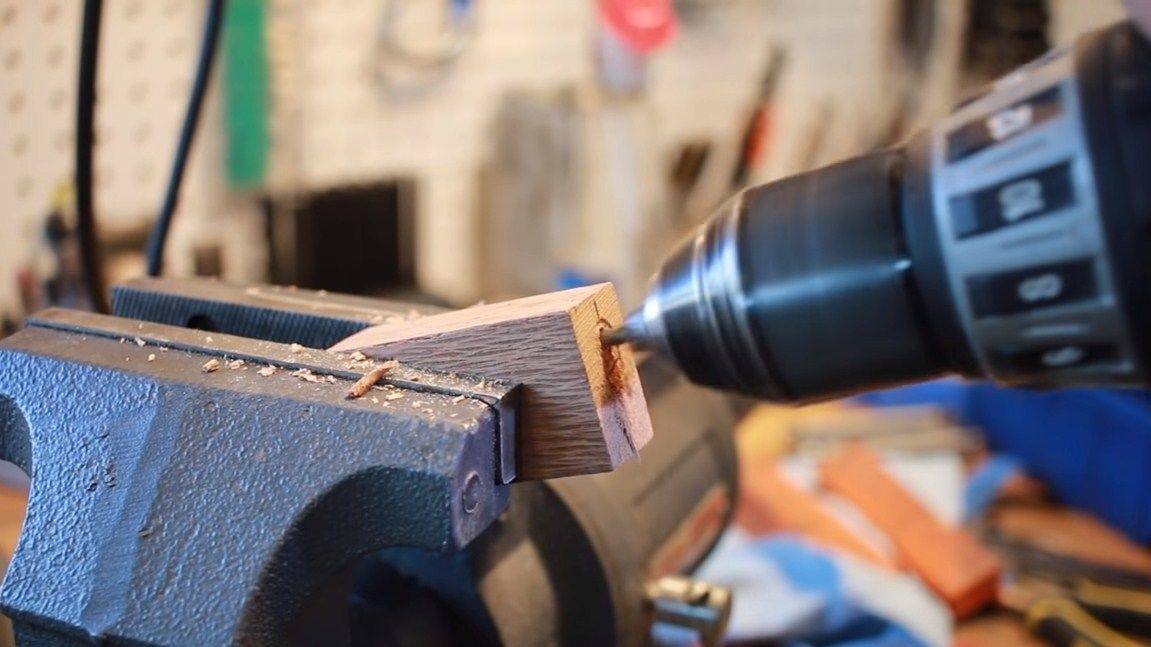
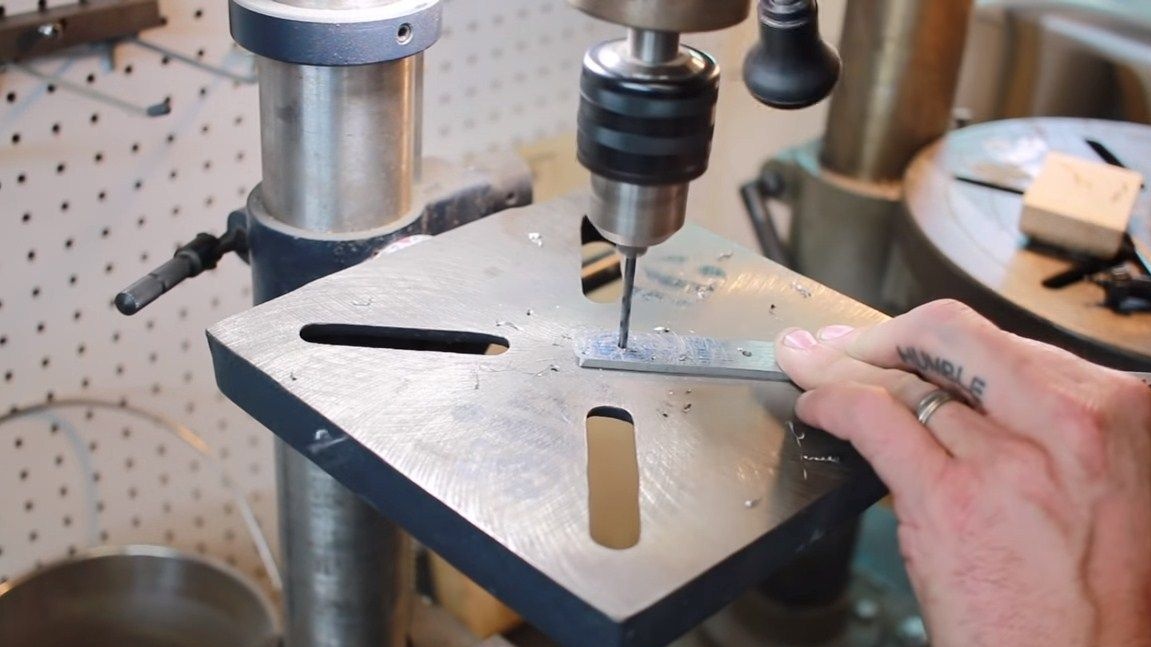
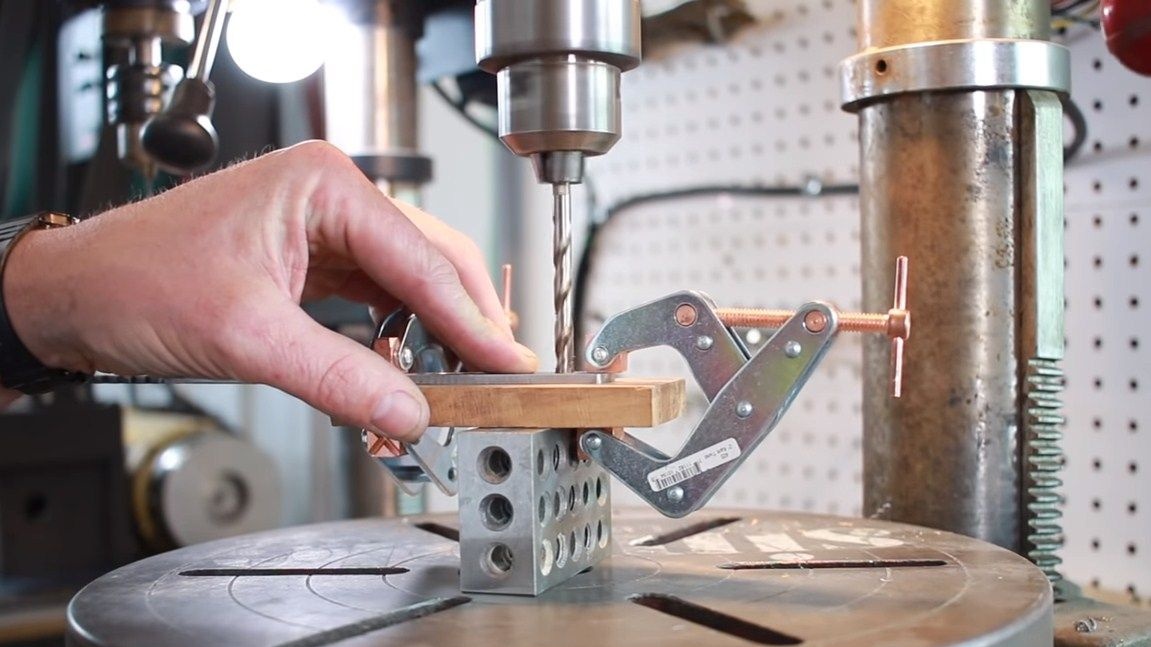
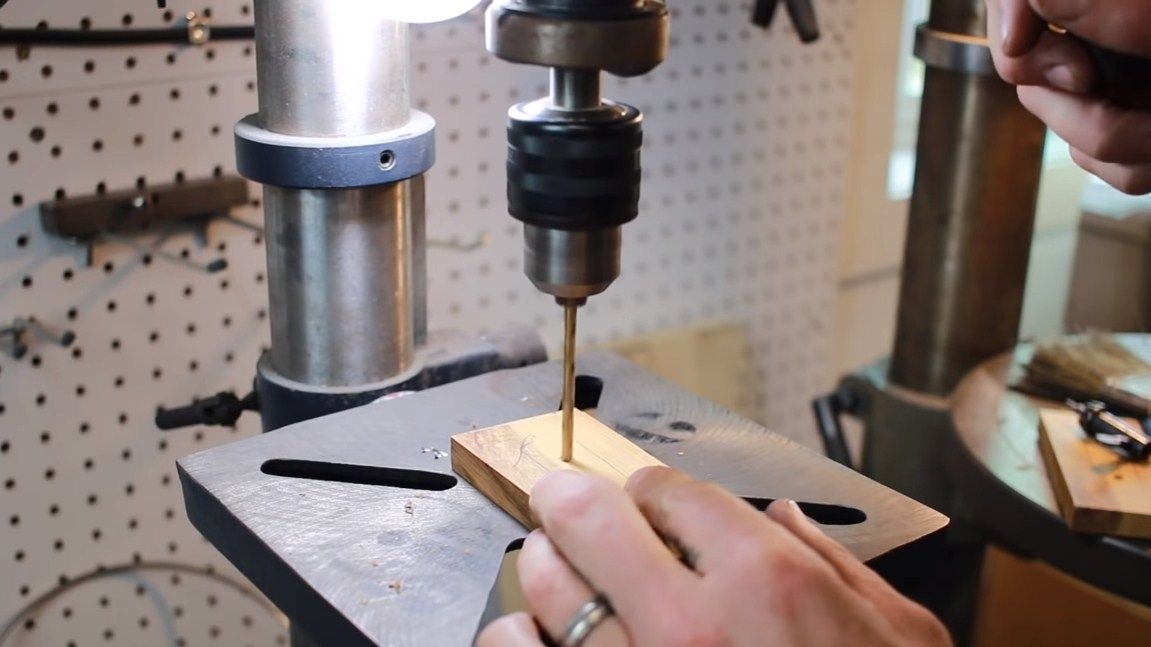
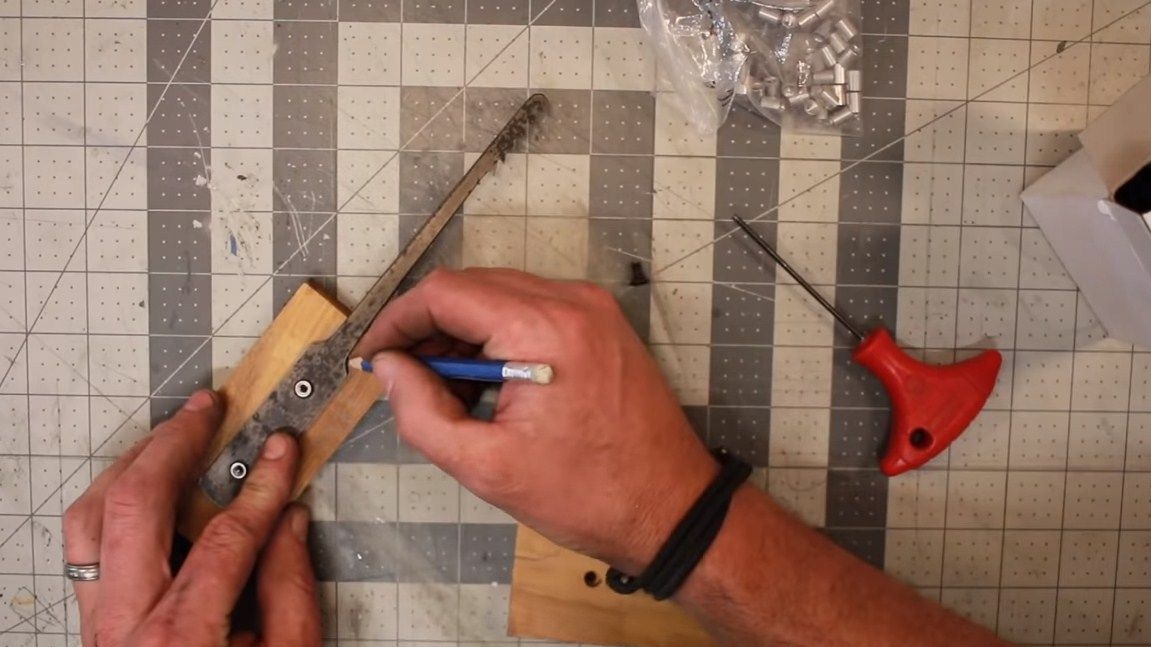
Step Four Drill holes
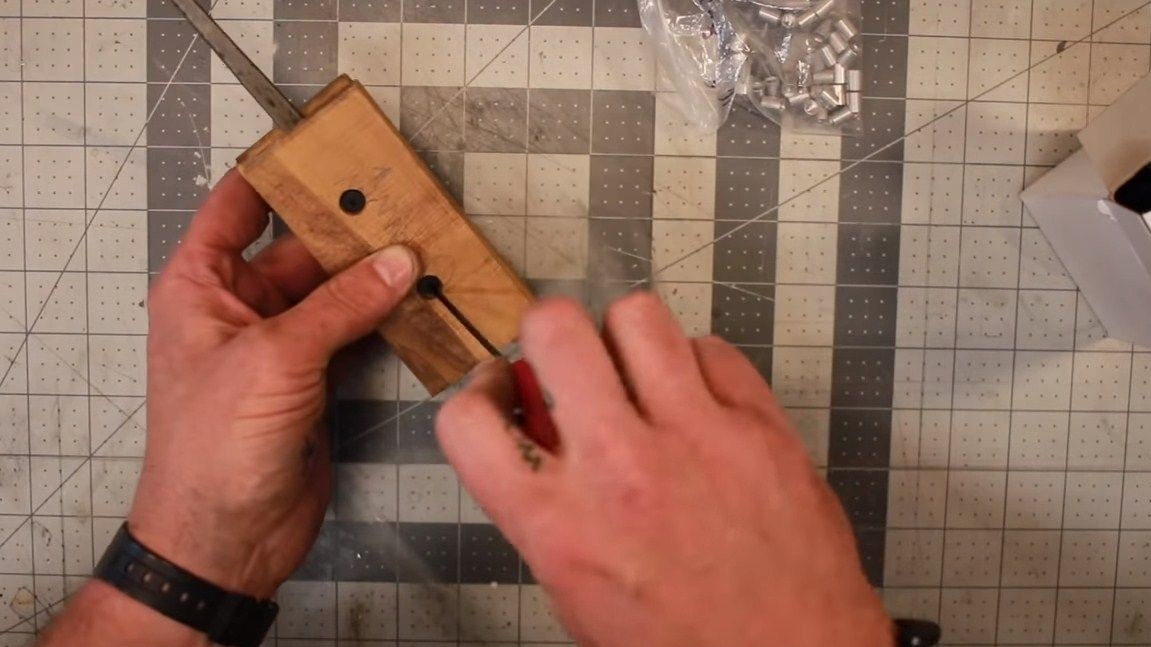
The author secures the handle pads with screws and nuts. The nuts here are cylindrical, they are countersunk, located inside the handle. Under them we need to drill holes that are suitable in diameter. First, drill small holes, and then drill them to the desired.
At the same step, you can draw a contour of future overlays and outline places for drilling holes.
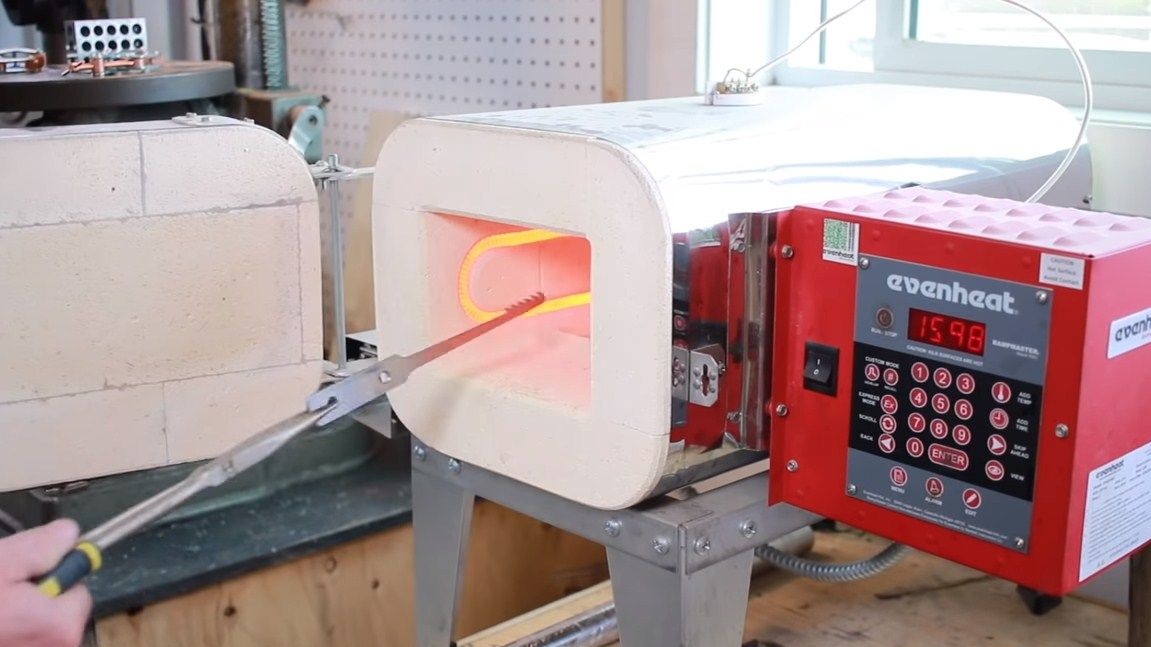
Step Five Quenching and vacation
For steel hardening correctly, you need to know its brand, each steel grade is hardened in special conditions. In our case, this is grade 01 steel. It is quite easy to process and harden steel, so many craftsmen choose it. Steel 01 is tempered in oil. To begin with, we heat the steel and check whether it is attracted by a magnet. If hot steel reacts to a magnet, then it needs to be heated further. After that, we cool the metal in oil, it is desirable that it is clean. Mineral or vegetable oil is suitable.
At the end, we check the hardening, for this we try to scratch the product with a file. There should not be scratches, only a small amount is allowed.
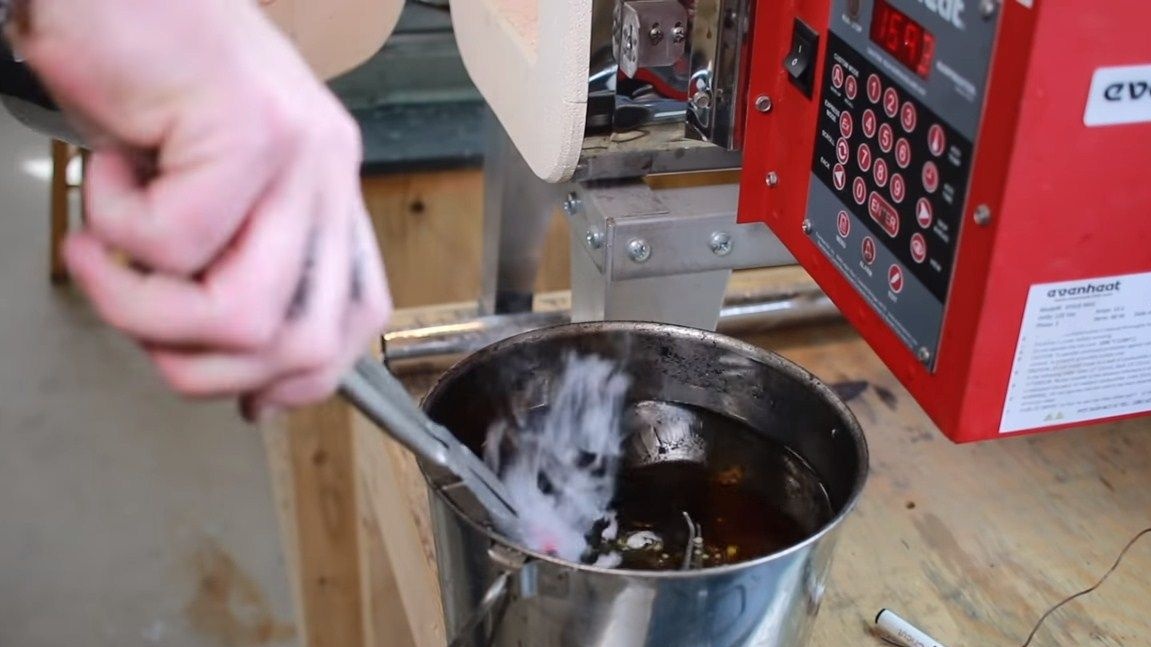
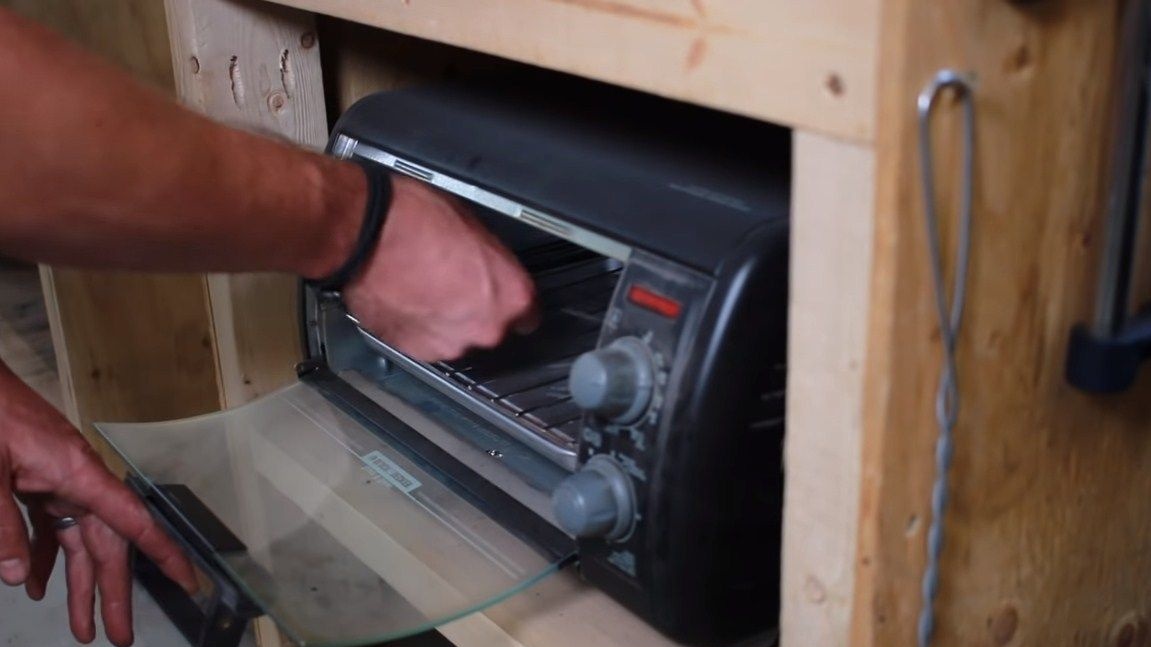
Next, the metal must be released, because after quenching it will be very fragile. Here you will need an oven, we heat the knife in it for about an hour at a temperature of 200 ° C, more accurate numbers can be found in the description of this steel grade. Next, turn off the oven and let it cool with the knife. Now the tool will spring and will not break under heavy load. As a result, we have a tool made of steel of excellent quality.
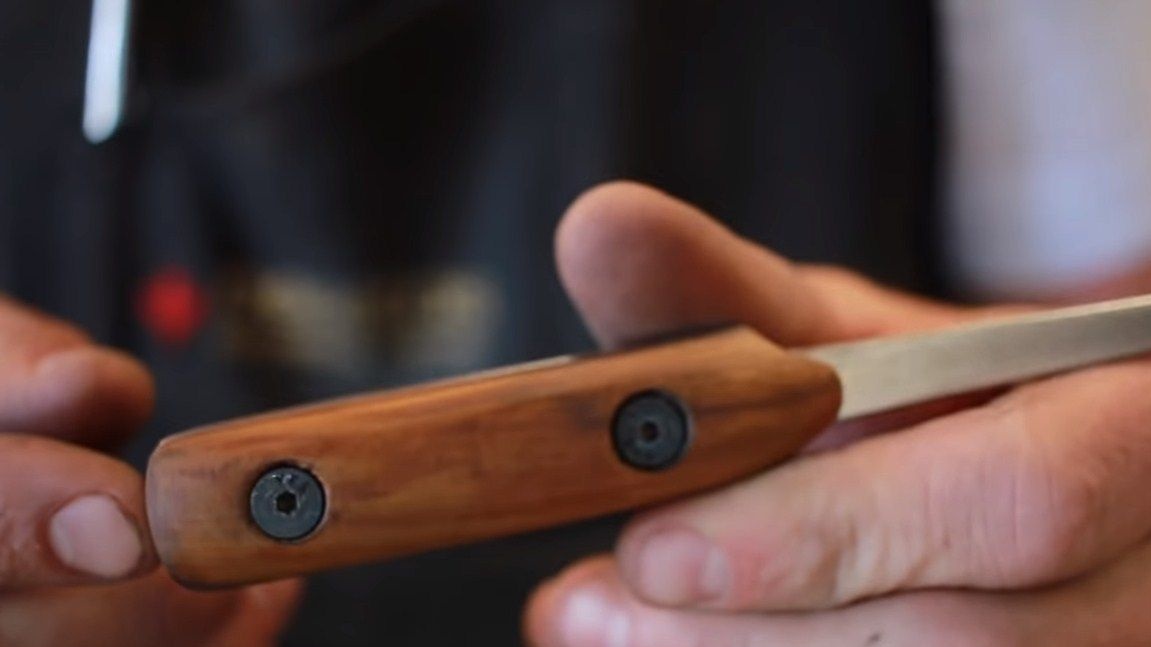
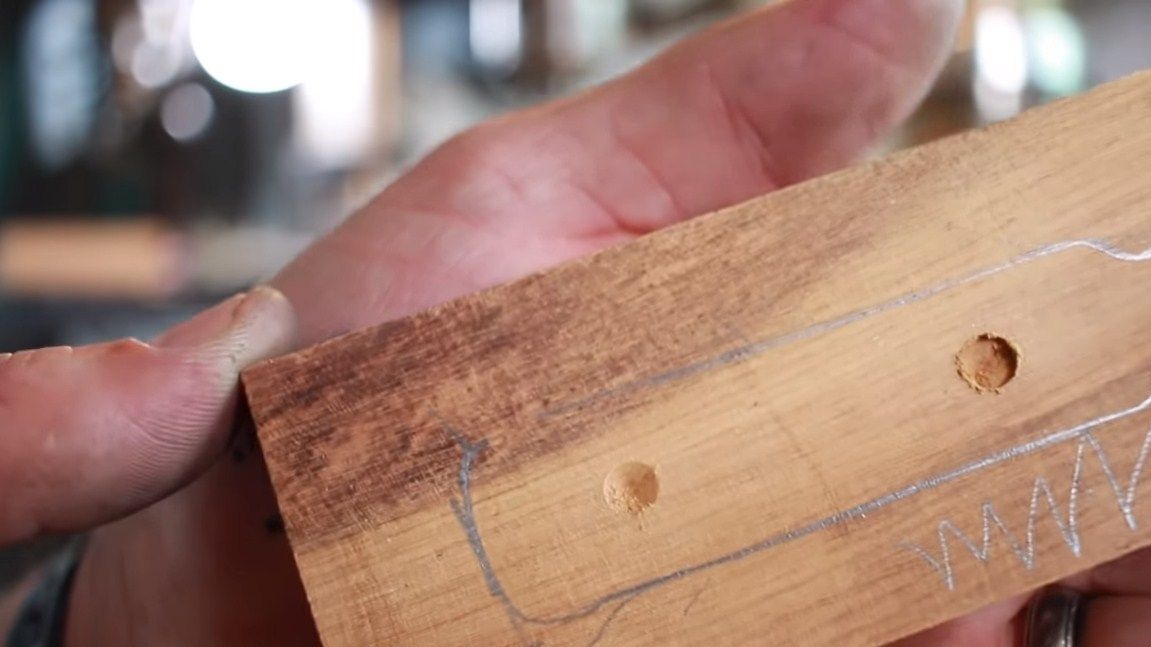
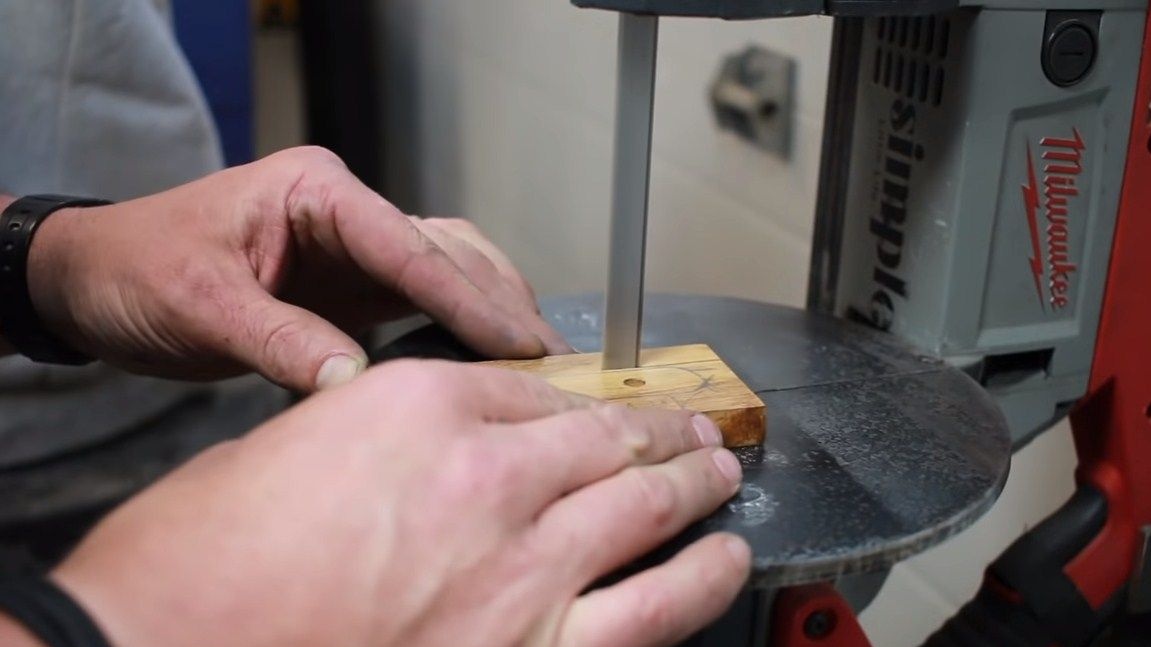
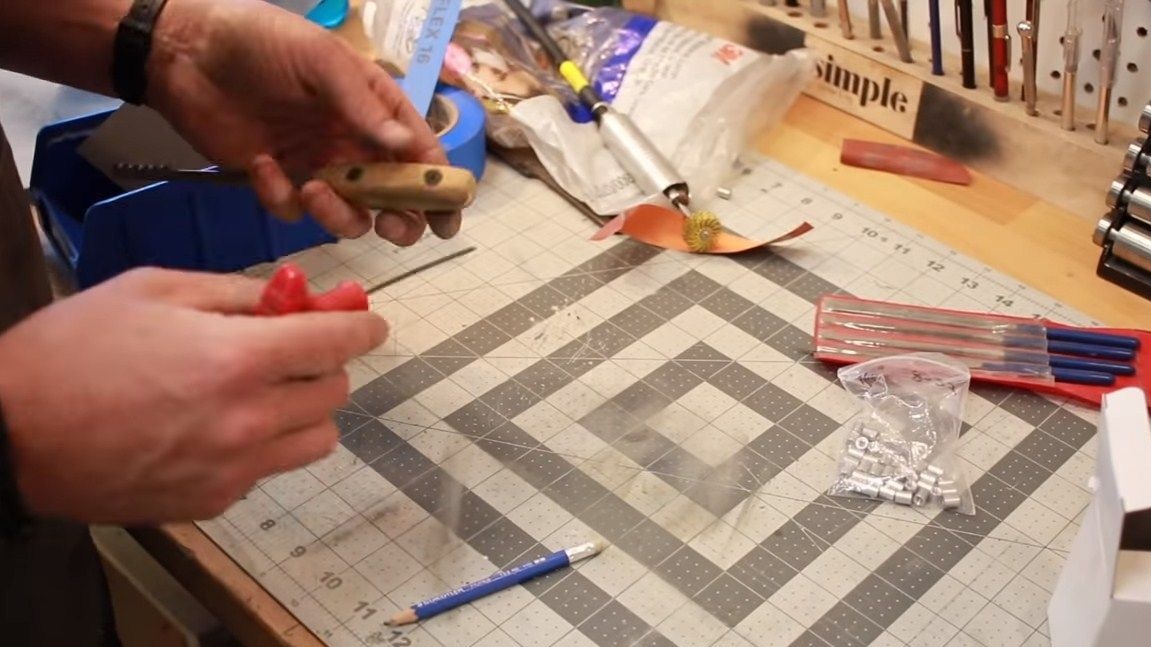
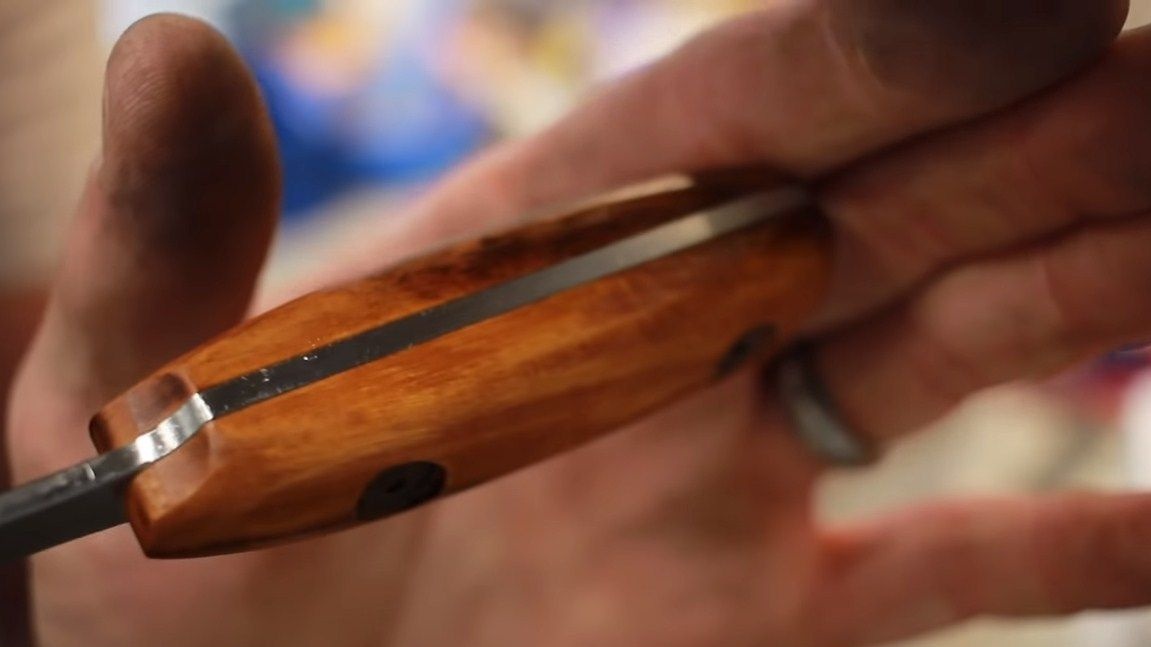
Step Six We make pads
The author makes overlays of wood. To begin with, we drill holes, in our case, the holes have grooves for the heads of the screws, they will hide there. When the holes are ready, we outline the handle along the contour of the knife and cut it with a jigsaw machine, an ordinary jigsaw, or on a tape machine.
In the end, you will have to polish each of the pads. When everything is ready, install the pads on the handle.

Now we need to finally grind and polish the entire handle. Here the belt sander will help us. First we put a ribbon of fine grain and go through the handle. At the end, we take a polishing tape and make the handle absolutely smooth.
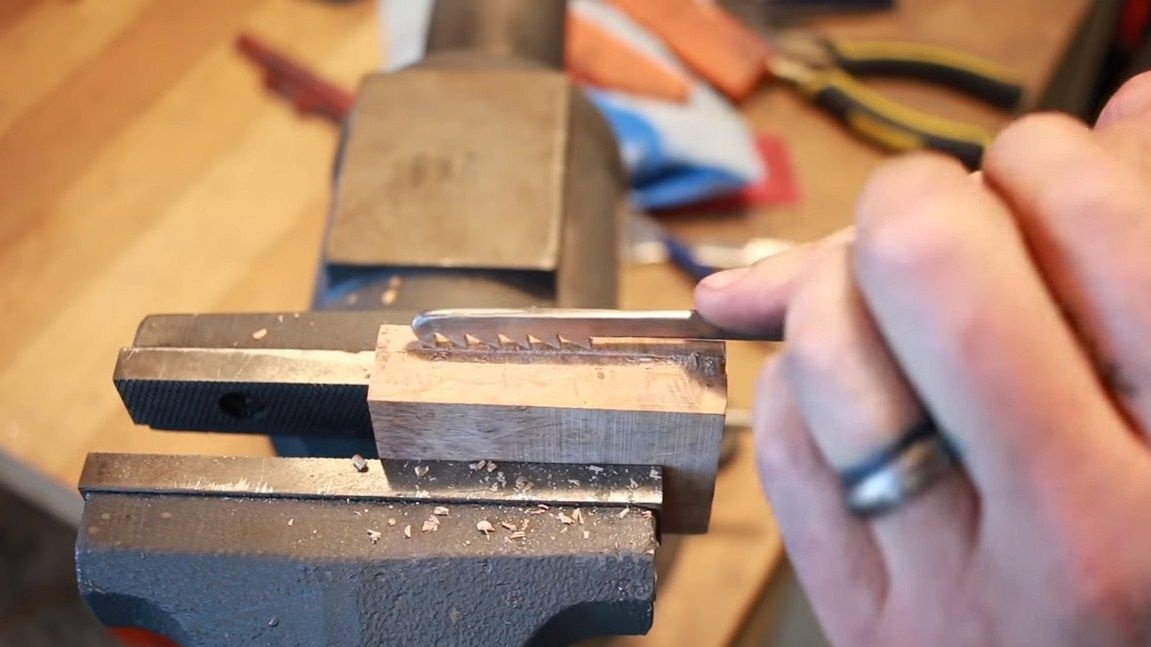
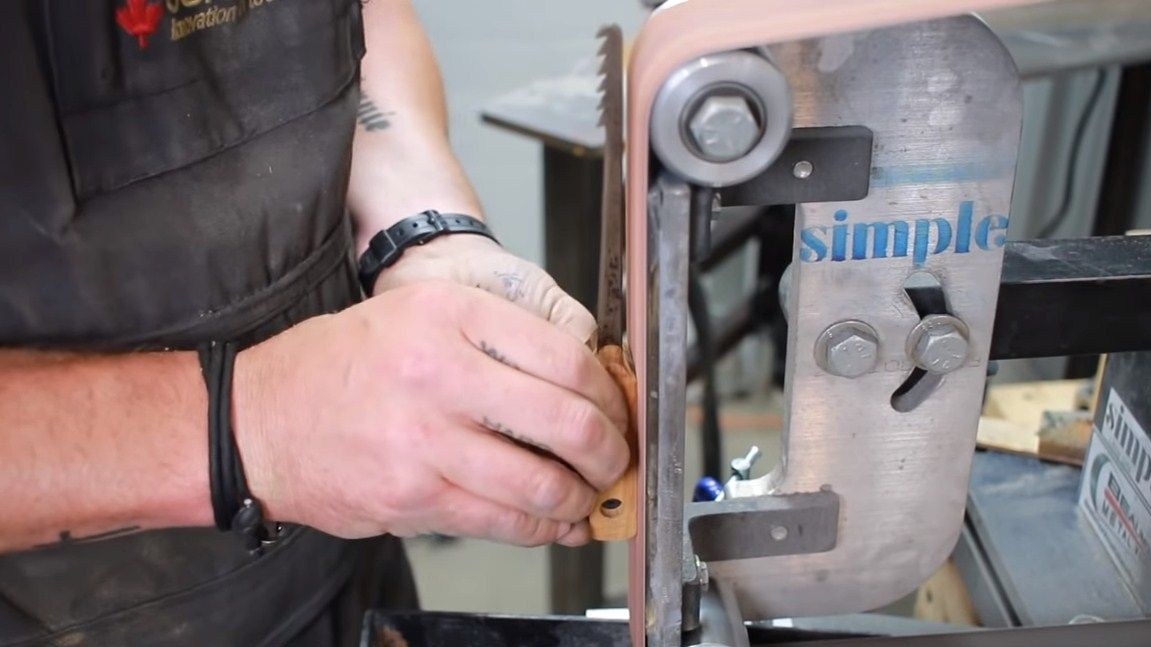
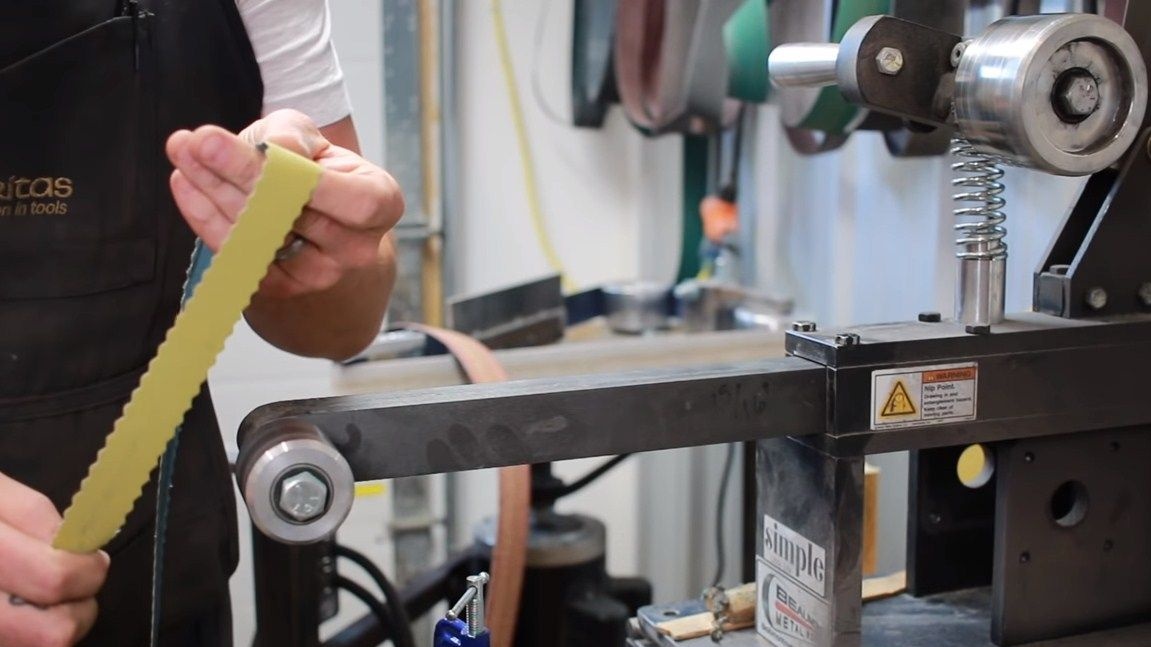
Seventh step. Grinding and sharpening
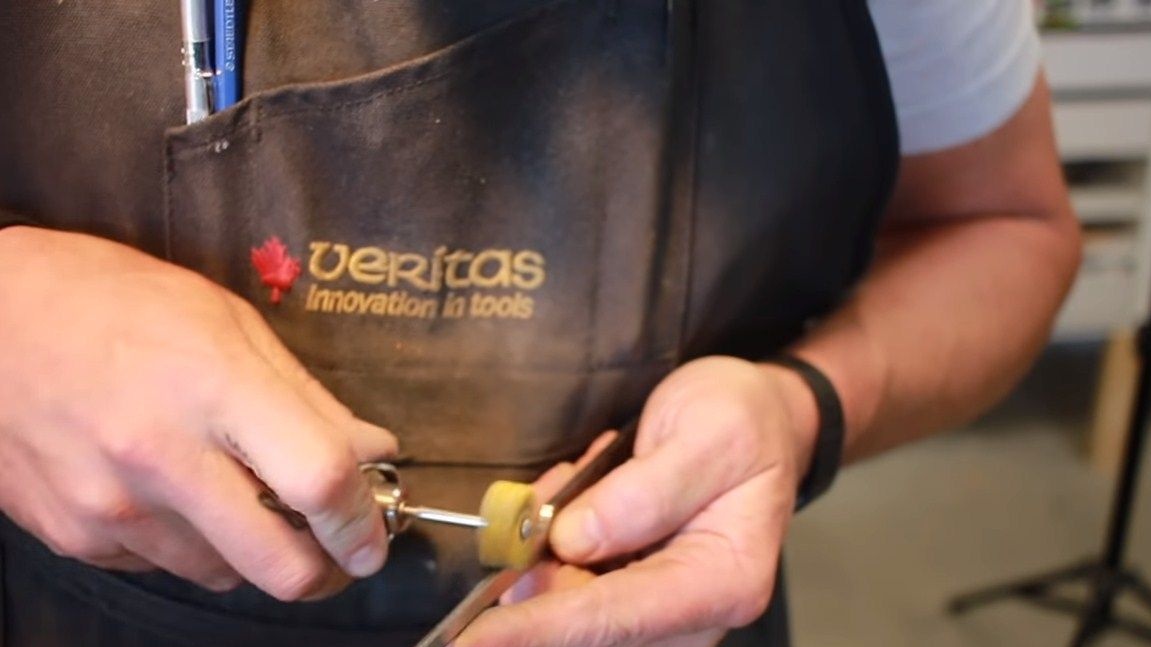
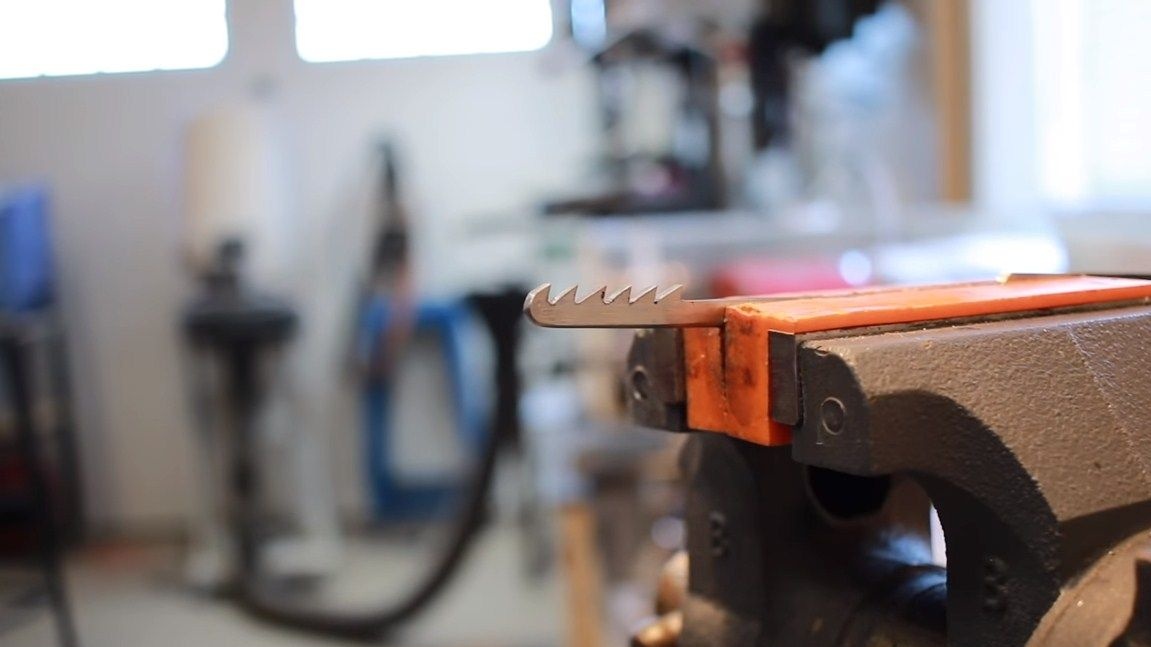
The saw teeth can be ground to the state of the blade. For these purposes, take sandpaper and wrap around a flat object, getting a kind of file. With a little effort we get very sharp teeth that will easily bite into the tree.
You will also need to polish the tool, as there will be traces of oxide on the metal after quenching. For these purposes, we take fine sandpaper and grind the product. The paper will take better if moistened with water, and some craftsmen practice WD-40 and similar means.
At the end we make polishing, for these purposes we use a polishing machine or a drill. Now our tool will look very beautiful.
Step Eight. Tool assembly
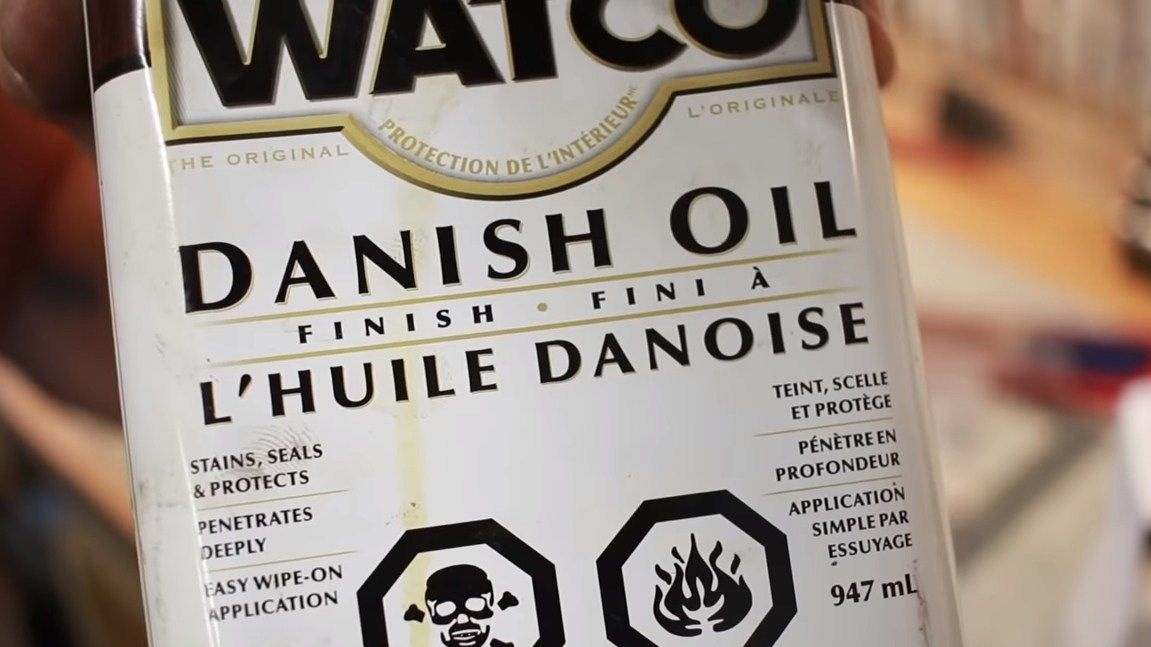
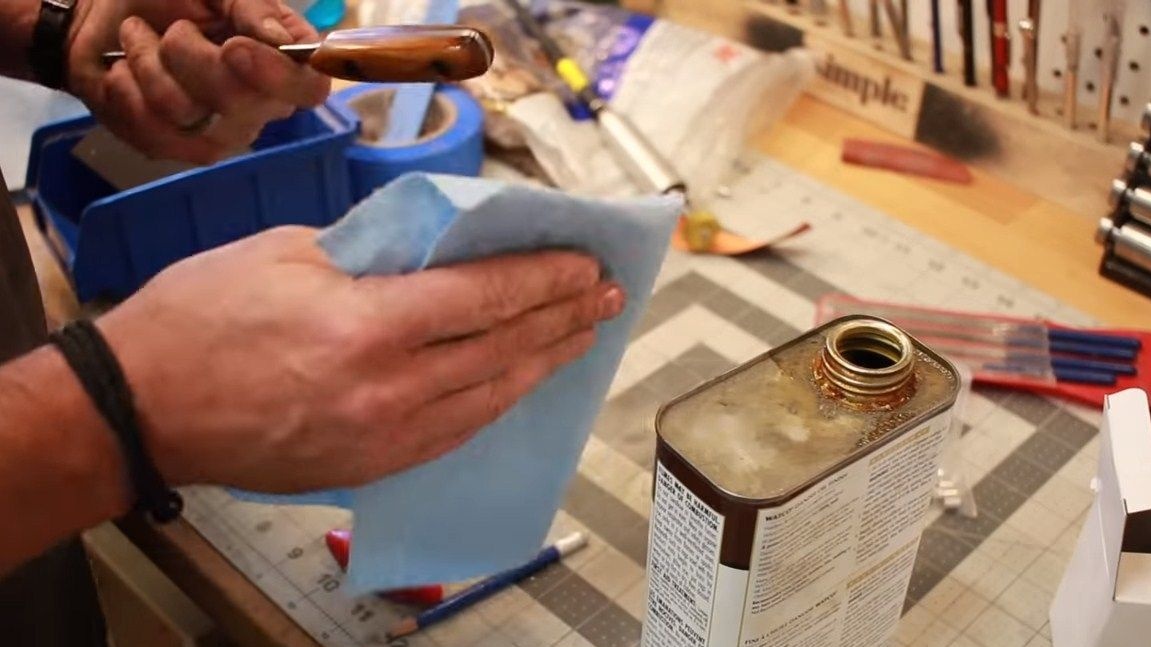
We collect our knife saw, for this we twist 4 screws. If you wish, you can make pads on the pins, but then the handle will be difficult to repair if something happens. Another point concerns the processing of wood, it must be impregnated with oil or varnish. Otherwise, all the dirt will stick to the tree, it will absorb moisture and so on.For these purposes, the author decided to use Danish oil, under it the tree looks very beautiful. This oil is absorbed deep into the tree and solidifies, forming a reliable protection. But you can use publicly available flaxseed oil.
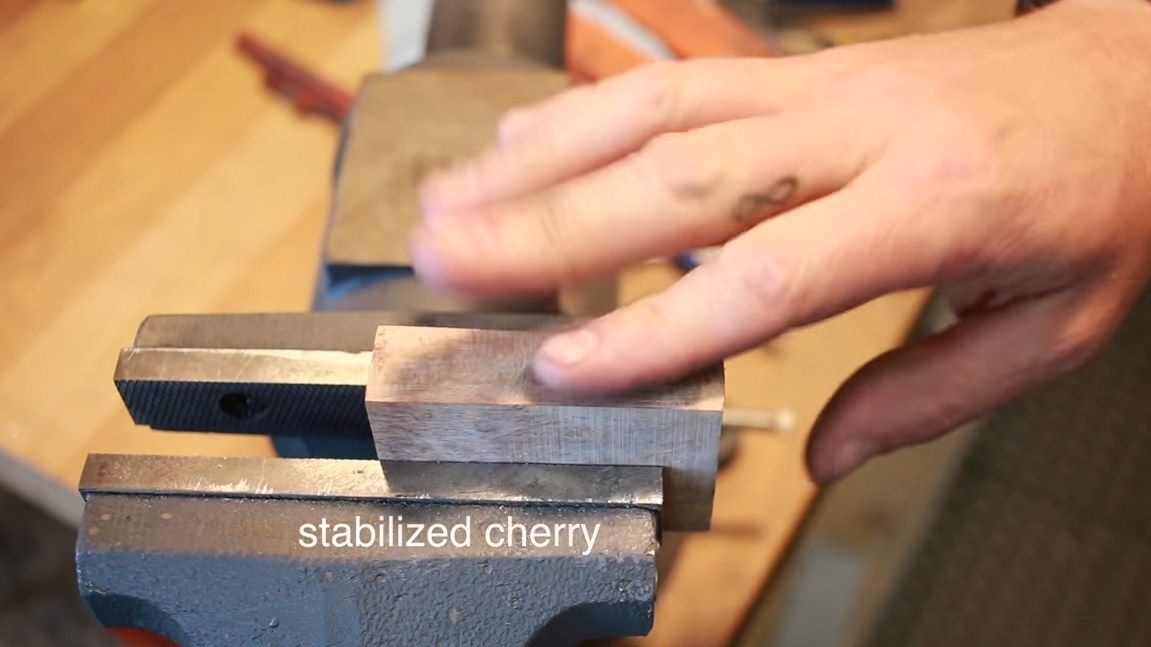
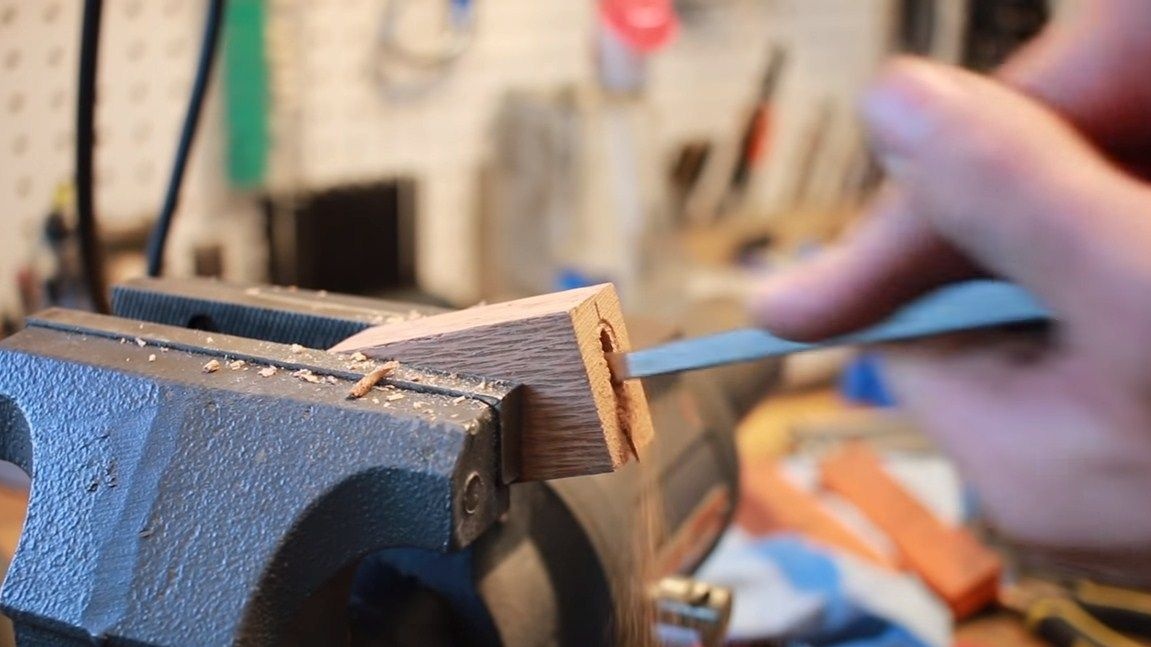
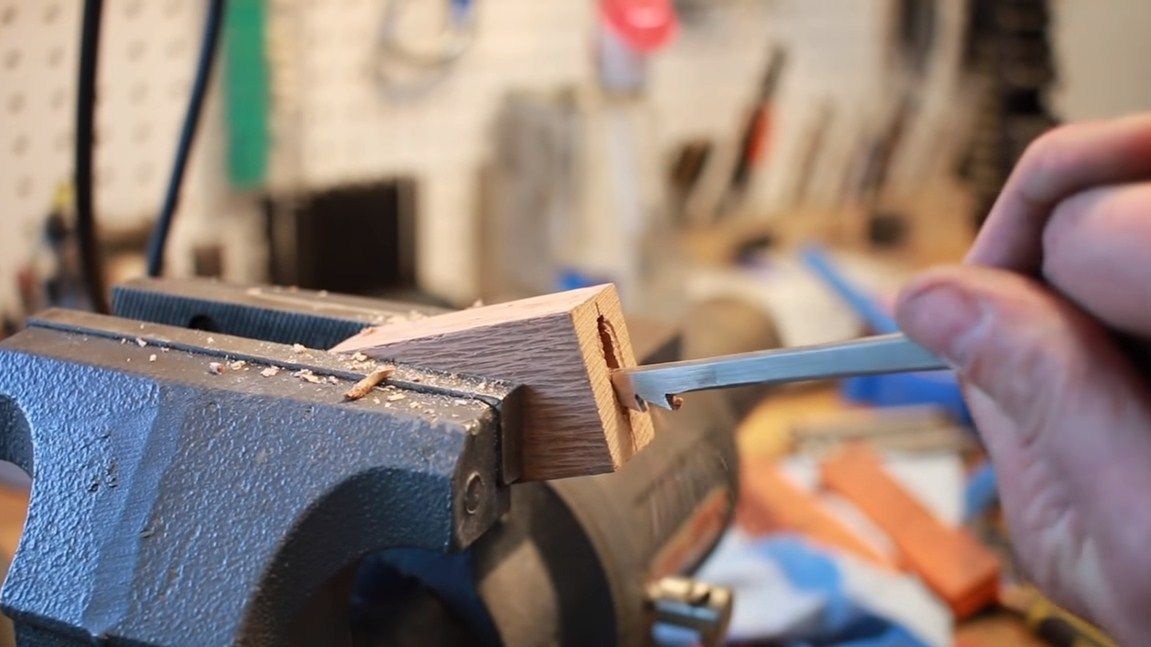
Step Nine. Testing tool
As a test, the author first made a groove in a piece of board and dried cherries. This wood is quite hard, however, the tool copes with this task without any problems.
Another example was a slot hole in the same bar. To begin with, the author drilled a hole with a drill, and then cleaned it and finalized it with the help of his miracle saw. It has become much faster and more enjoyable to work with such a tool.
That's all, the project on this can be considered completed. I hope you liked the homemade product, and you found useful information for yourself. Do not forget to share your homemade products or even ideas with us. Good luck and creative inspiration, if you suddenly want to do something similar.