
In this article, Kirill Shvalev, the author of the channel "Good Joiner", specially for the channel "WORKS of Masters", will show how to make a large wall-mounted cabinet, or a large hanging cabinet. How to properly name it, the author has not decided.
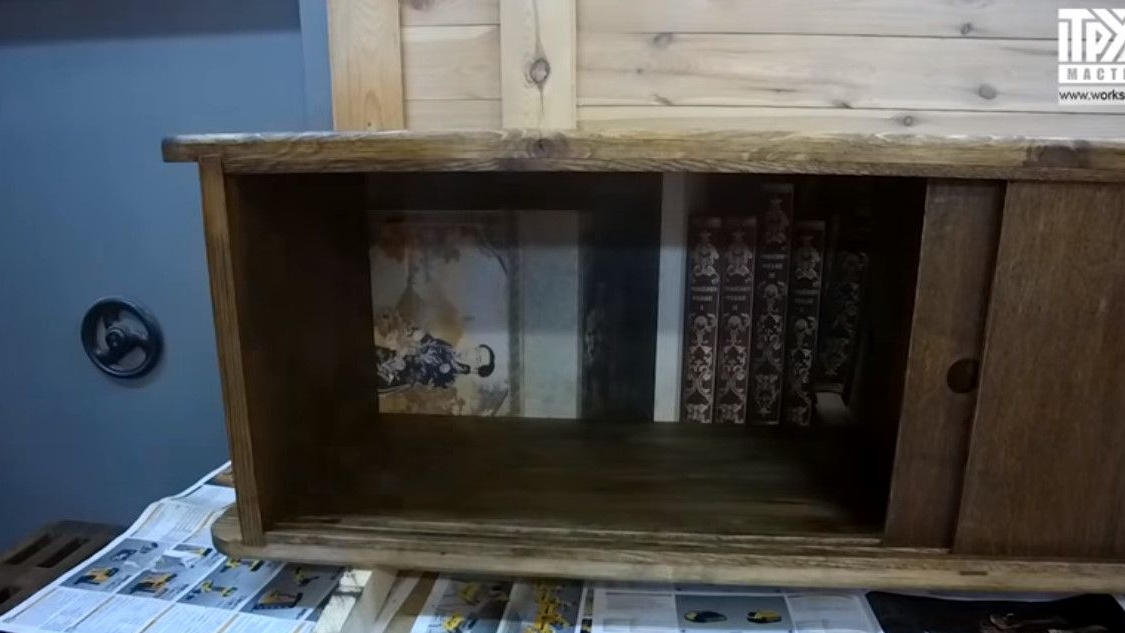
The thing is very relevant for Cyril, he decided to bother with this matter, he plans to hang a closet in his summer gazebo. It will be a cupboard for tableware, there will be cups, spoons and all that. And since in the summer it very often dines on the street, and cooks there, that’s a rather relevant topic.
What is needed for this.
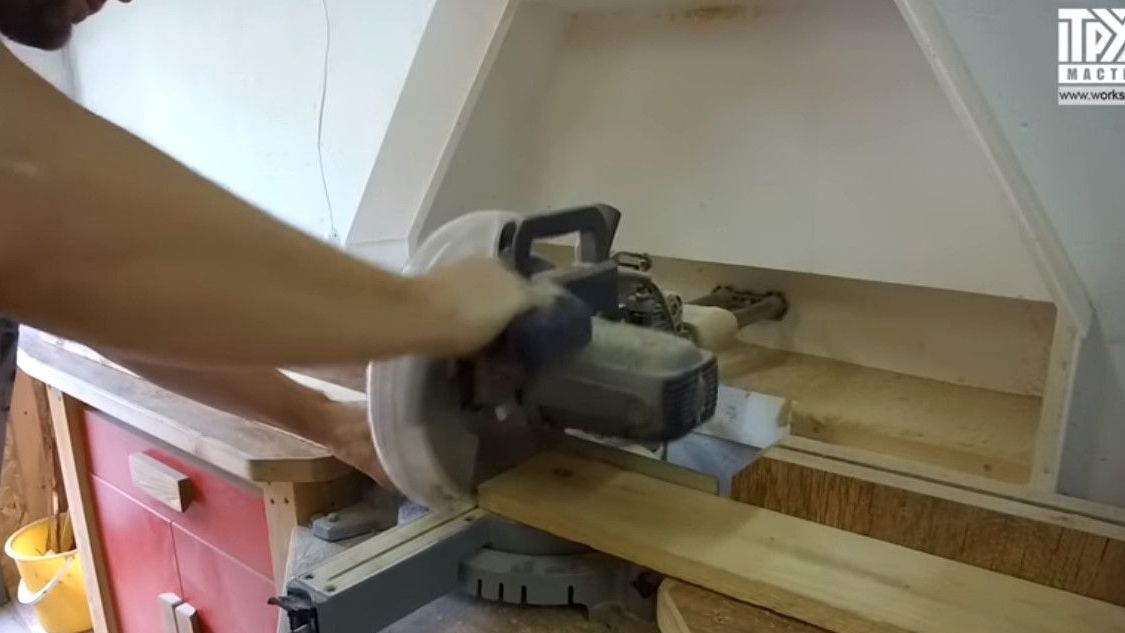
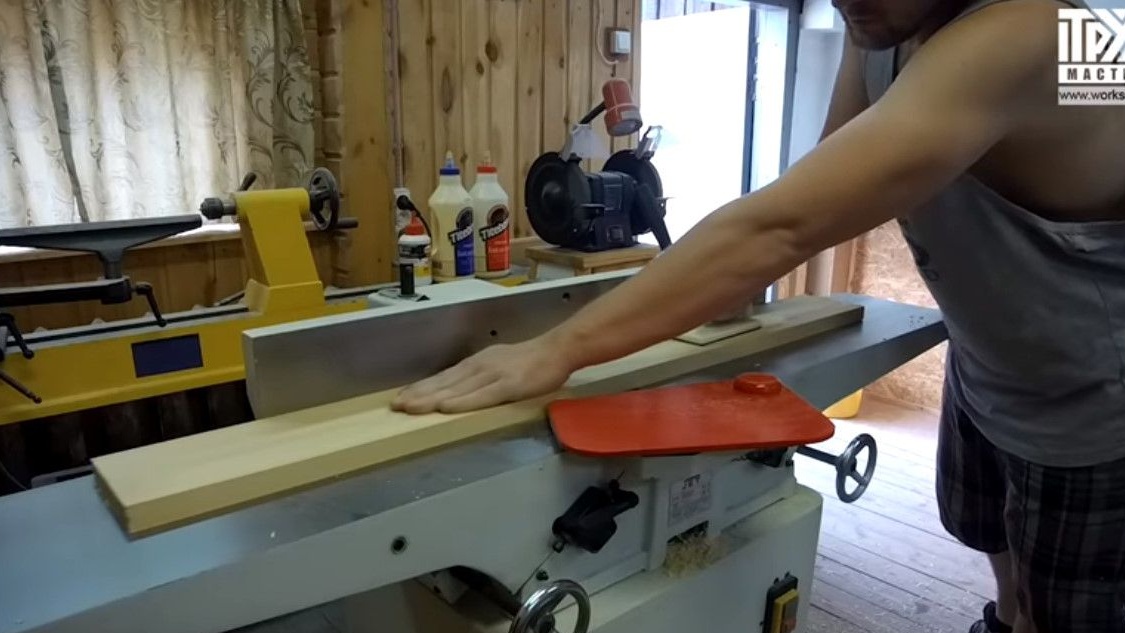
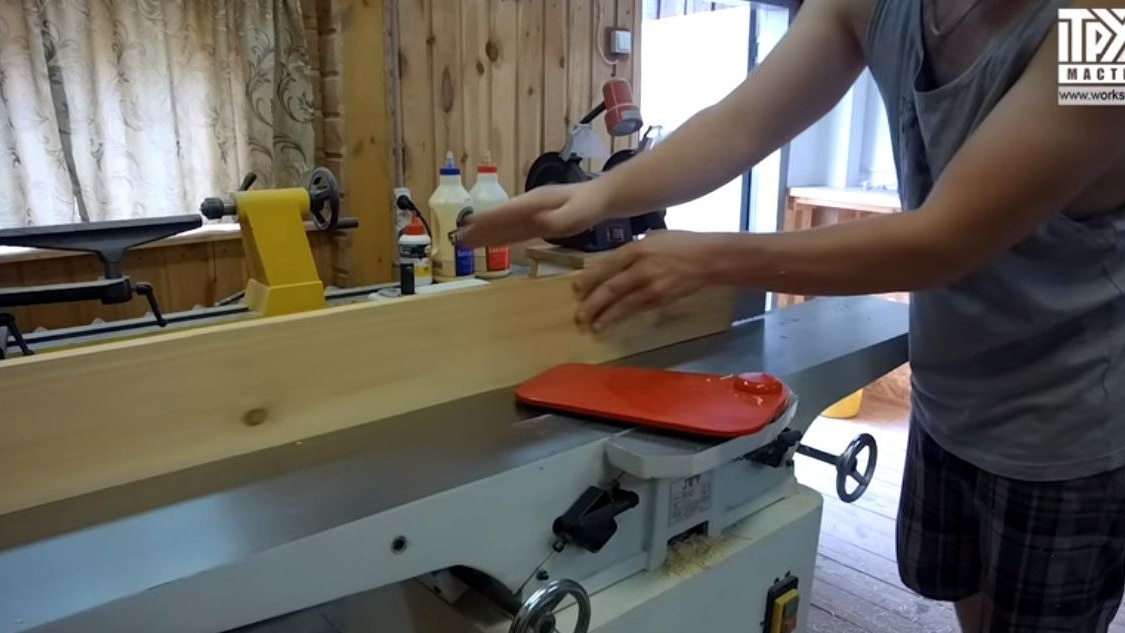
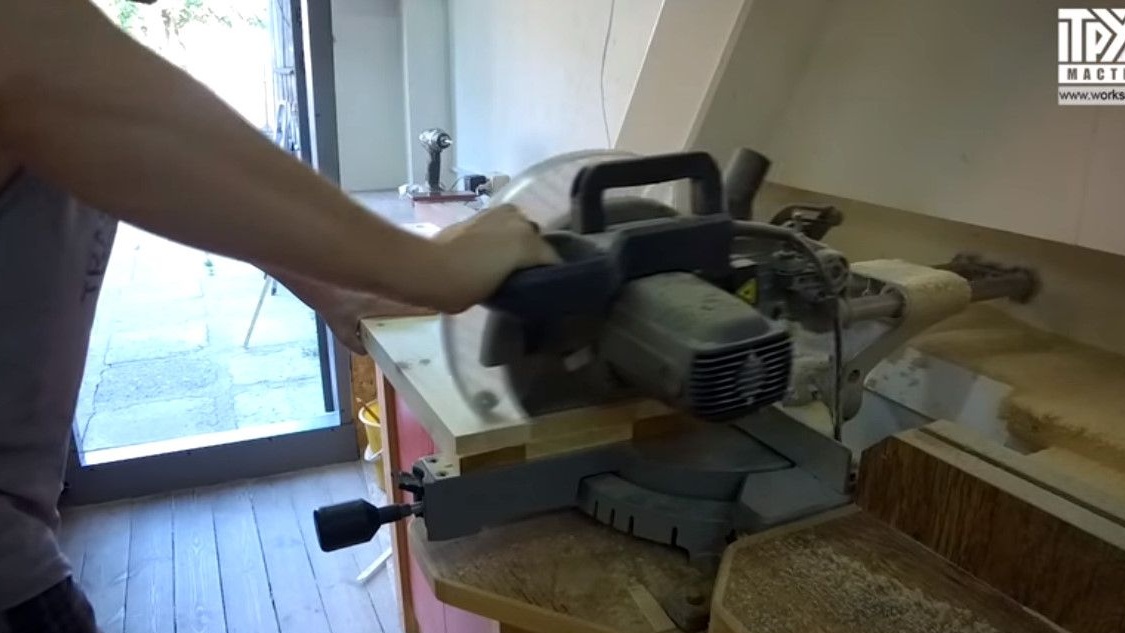
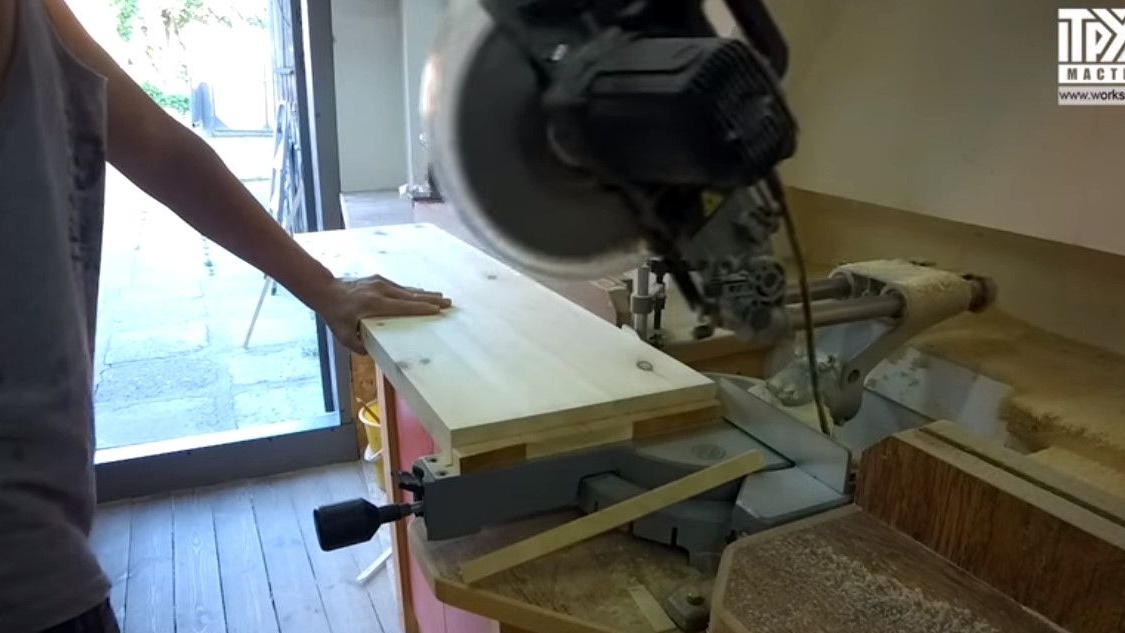
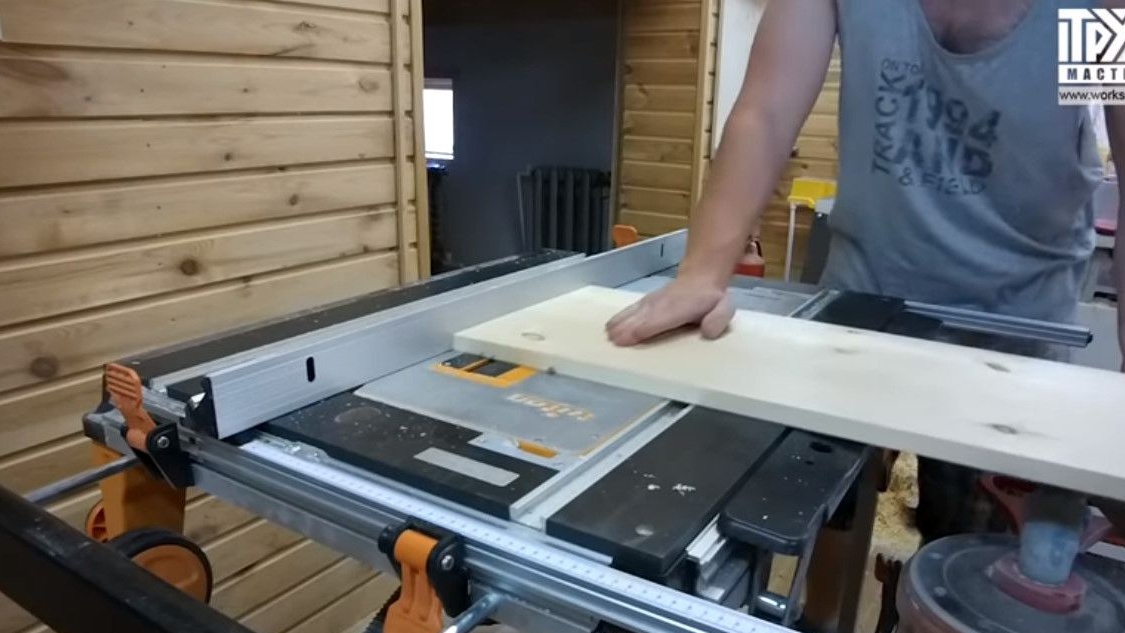
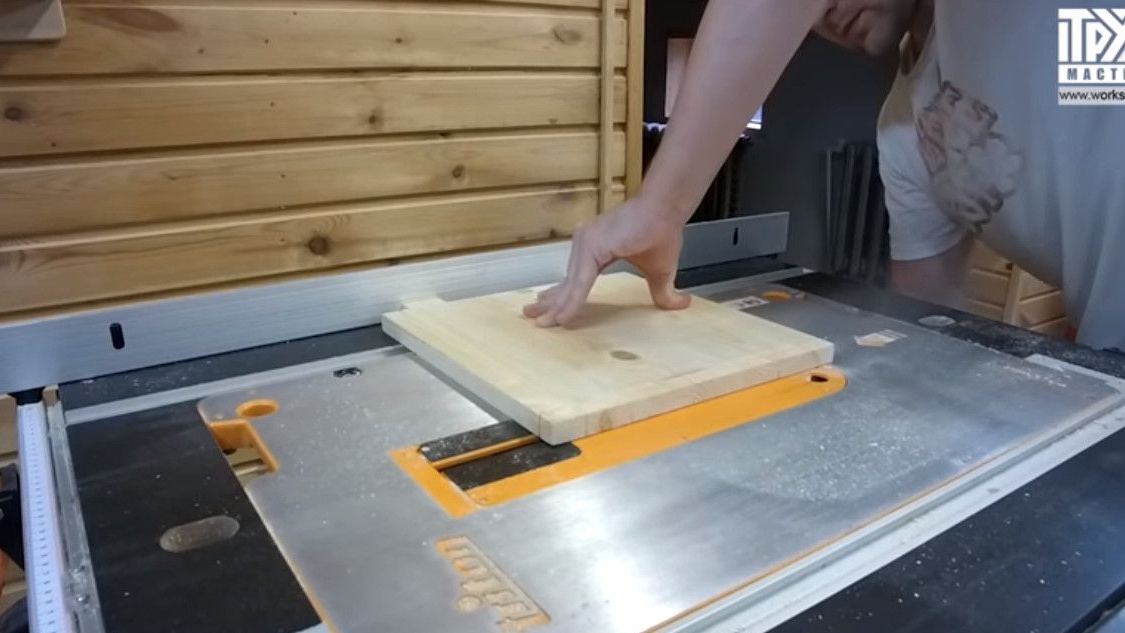
Firstly, you need pine boards, it does not make sense to use more expensive material here, since the project is quite walk-through, and will be used in the courtyard almost under the open sky. It cuts the boards with a miter saw and aligns it on the jointer.

The author needed to glue small pine shields. Coats edges with glue.
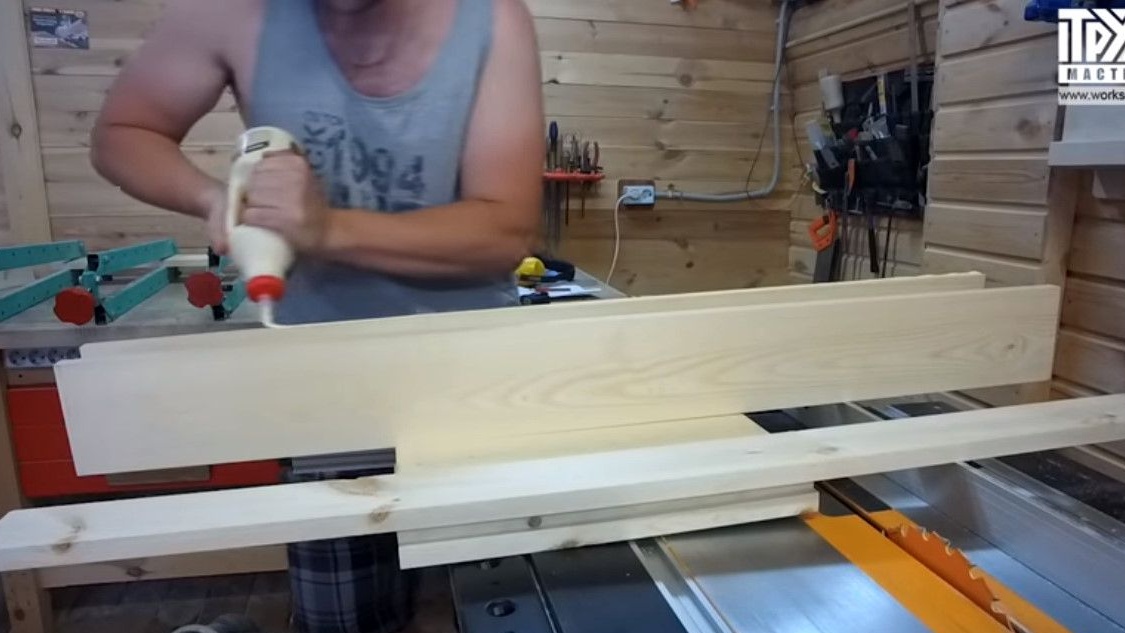
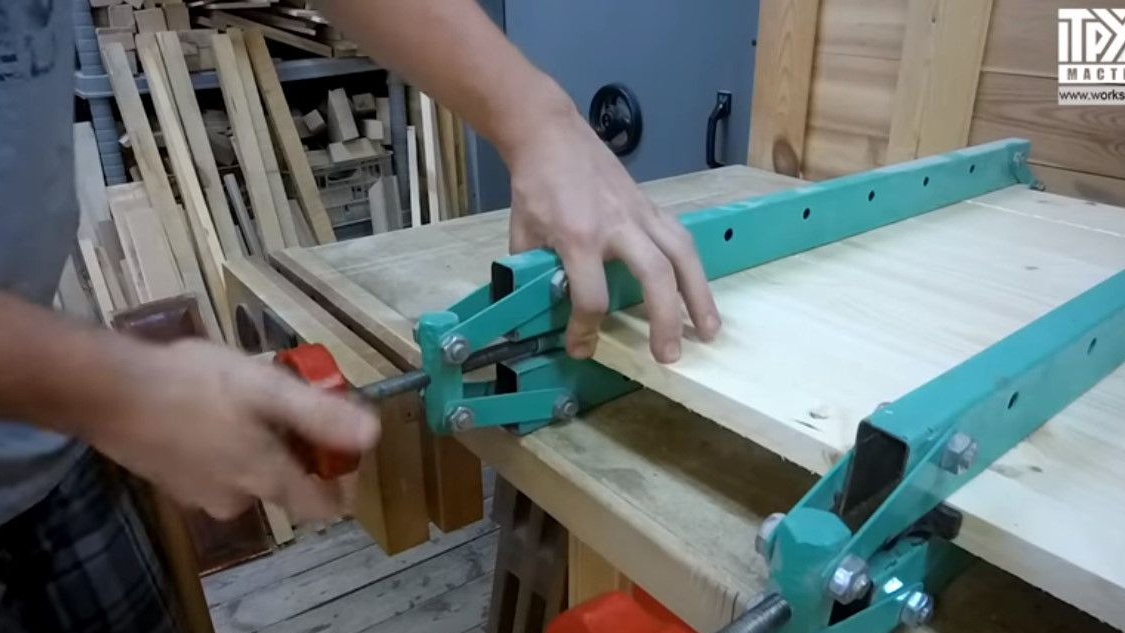
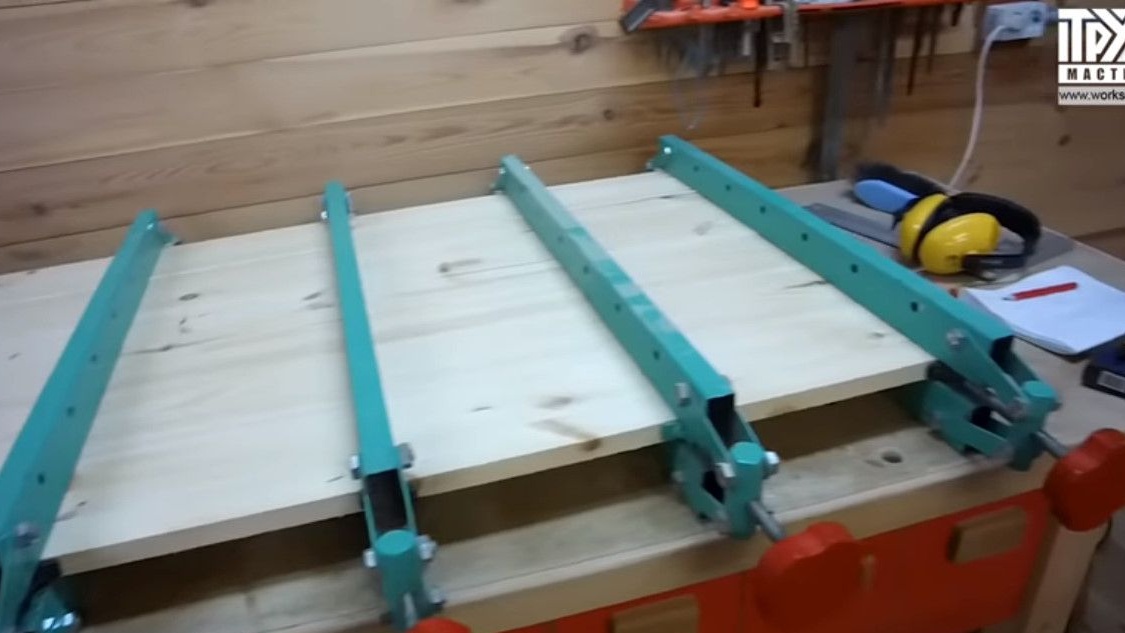
The difficulty now is to glue the shield itself. He did this with the help of his wimes, they do not allow the boards to swell to the sides, in contrast to clamping with clamps or ribbons.
Gaining shield assembly.
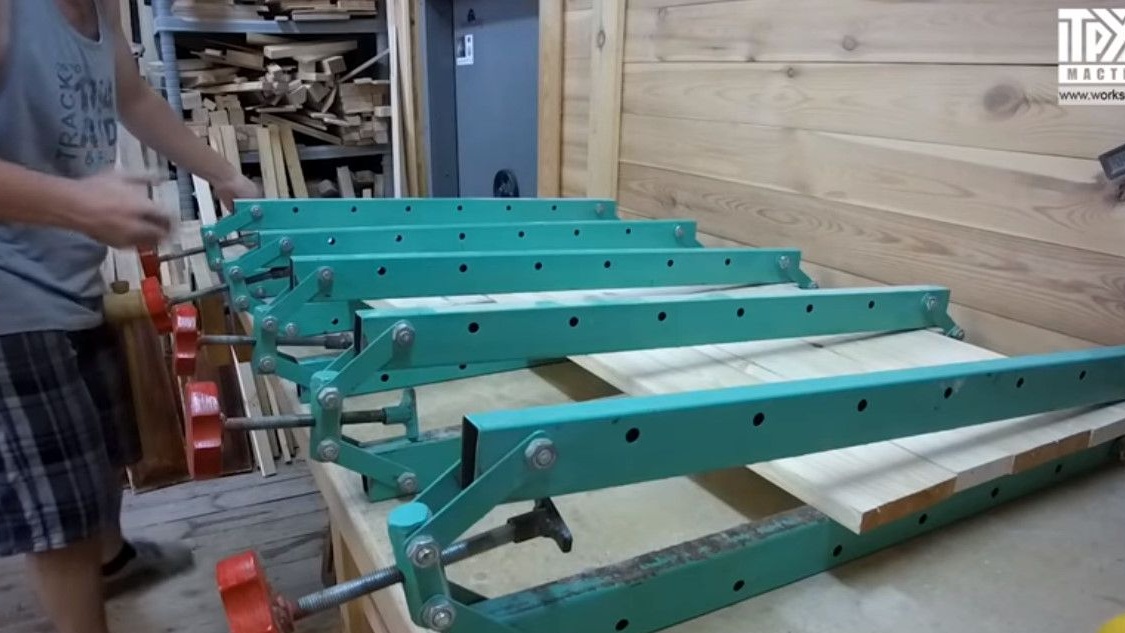
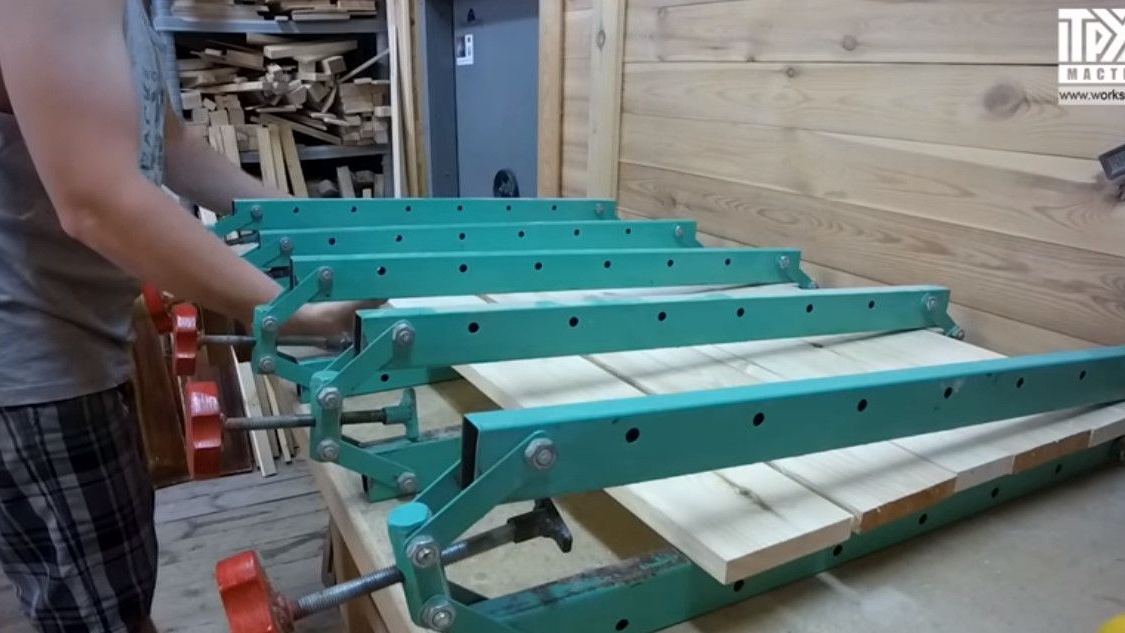
And pinches in wimes.
Leaves to dry.
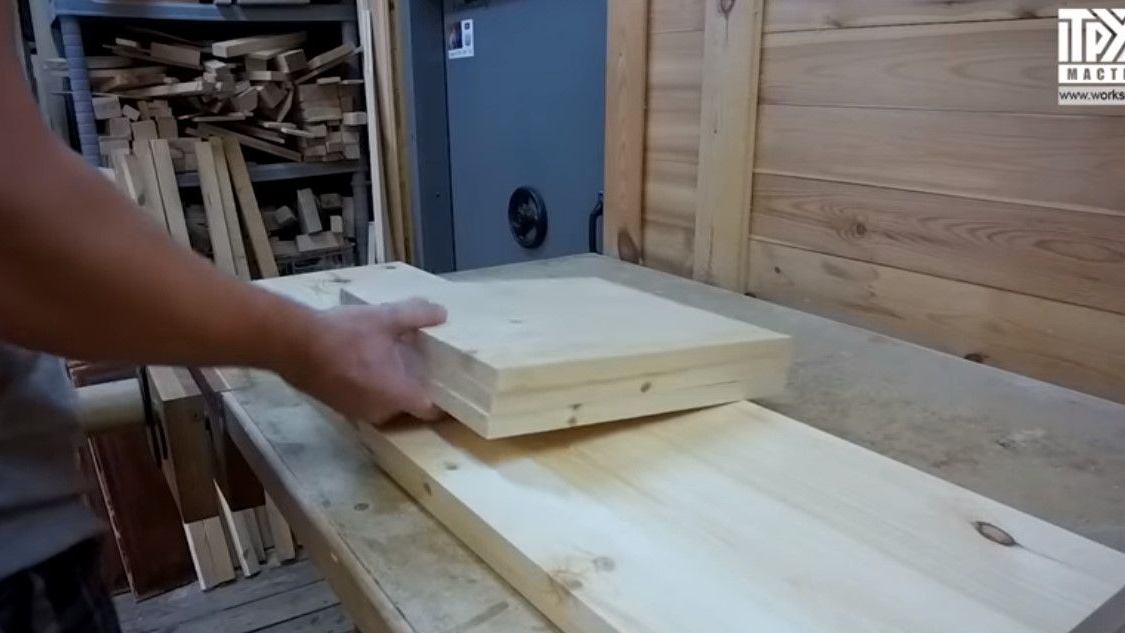
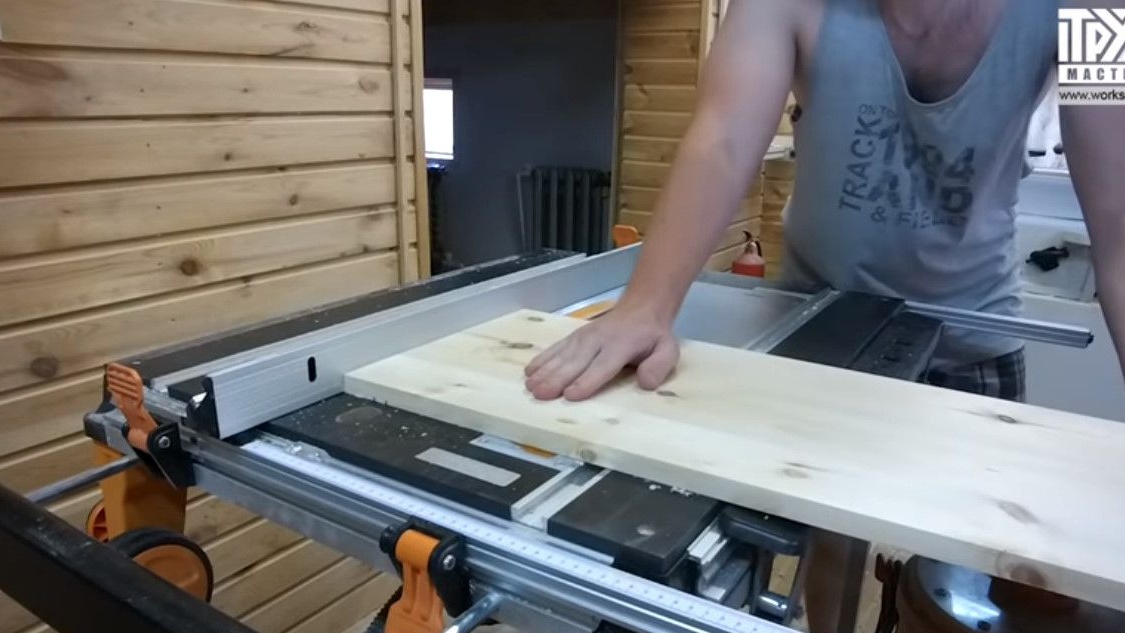
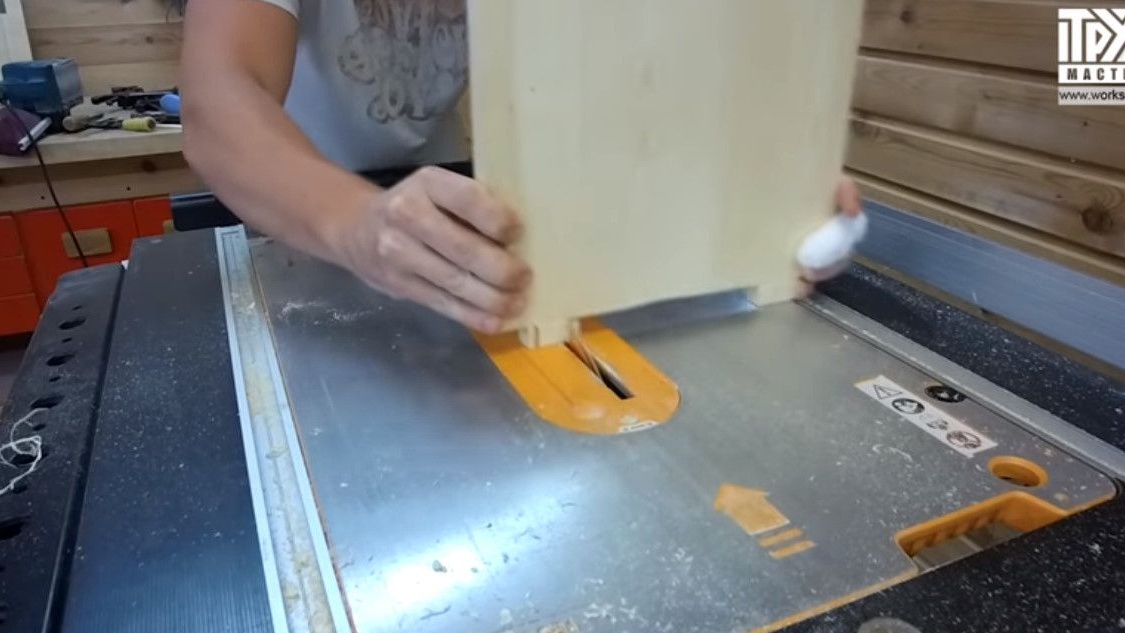
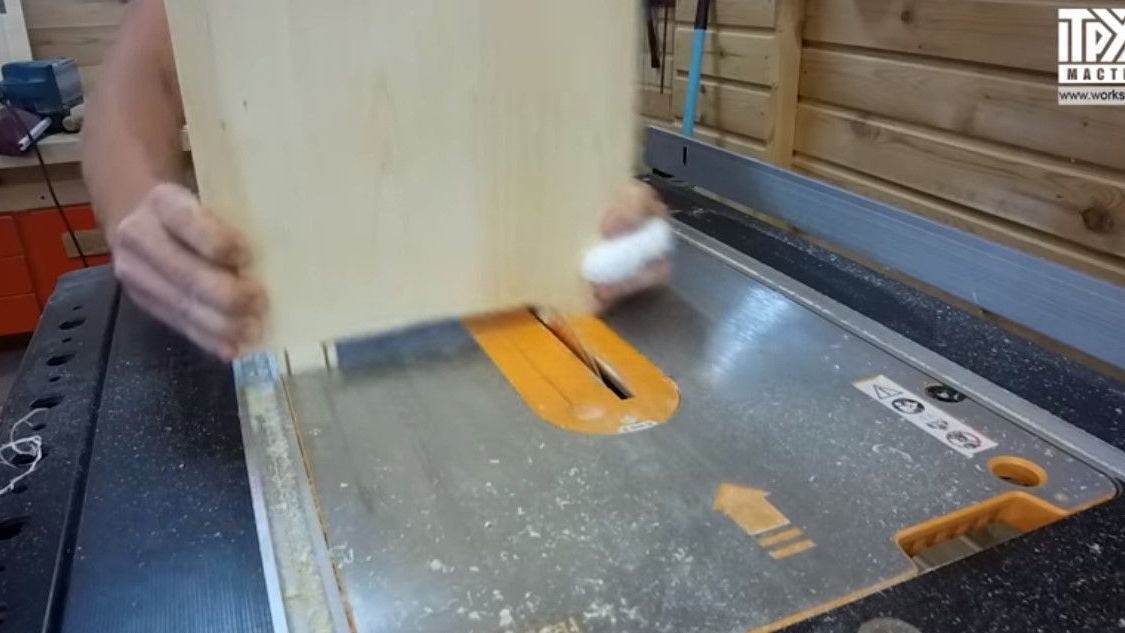
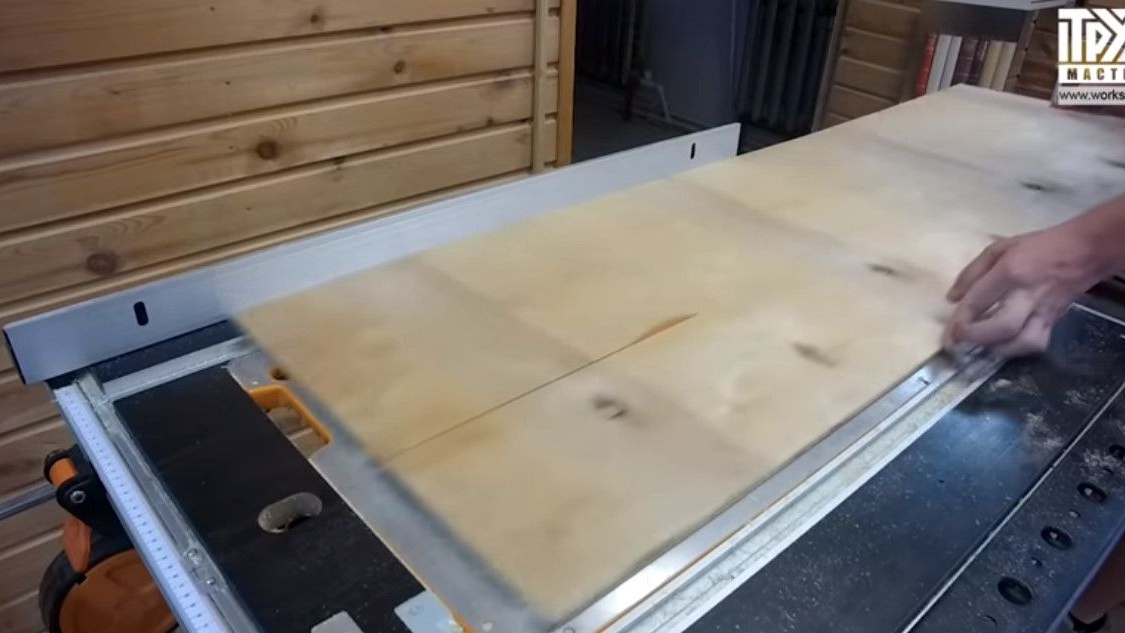
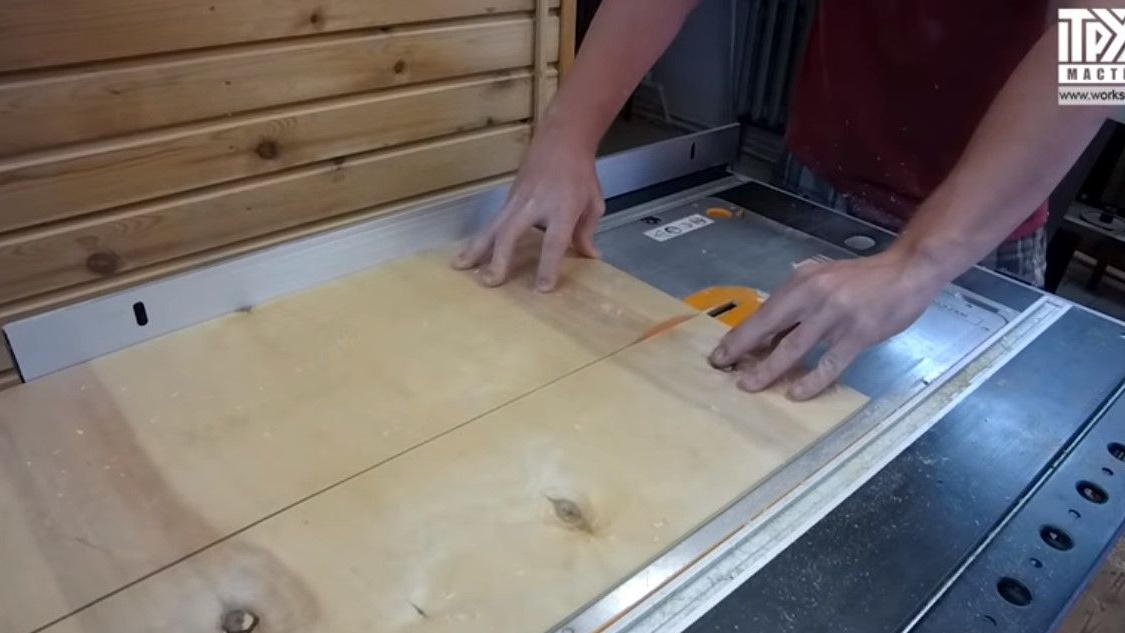
After the glue dries, it cuts the panels to size.
There will be two wide panels, three short panels, also plans to saw a couple of blanks that will be used as doors.
In principle, in the method of joining parts, one could do with little blood here and use black self-tapping screws. Screw it all in a few minutes and forget it.
But, the more often the author uses classic carpentry joints, oddly enough, he less wants to resort to the services of the same black screws.
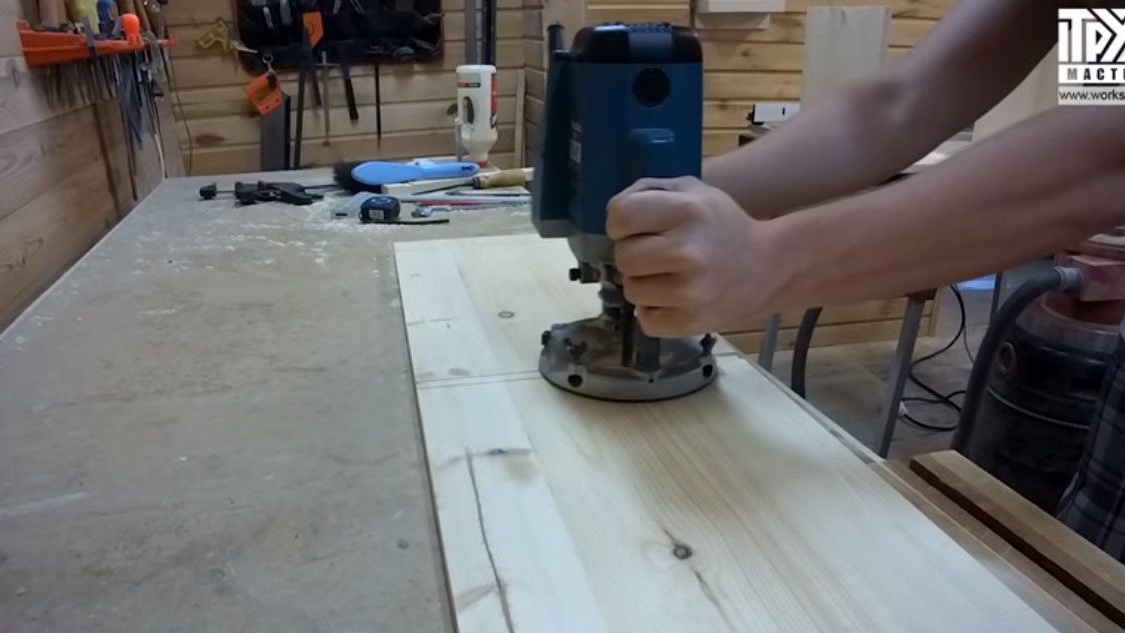
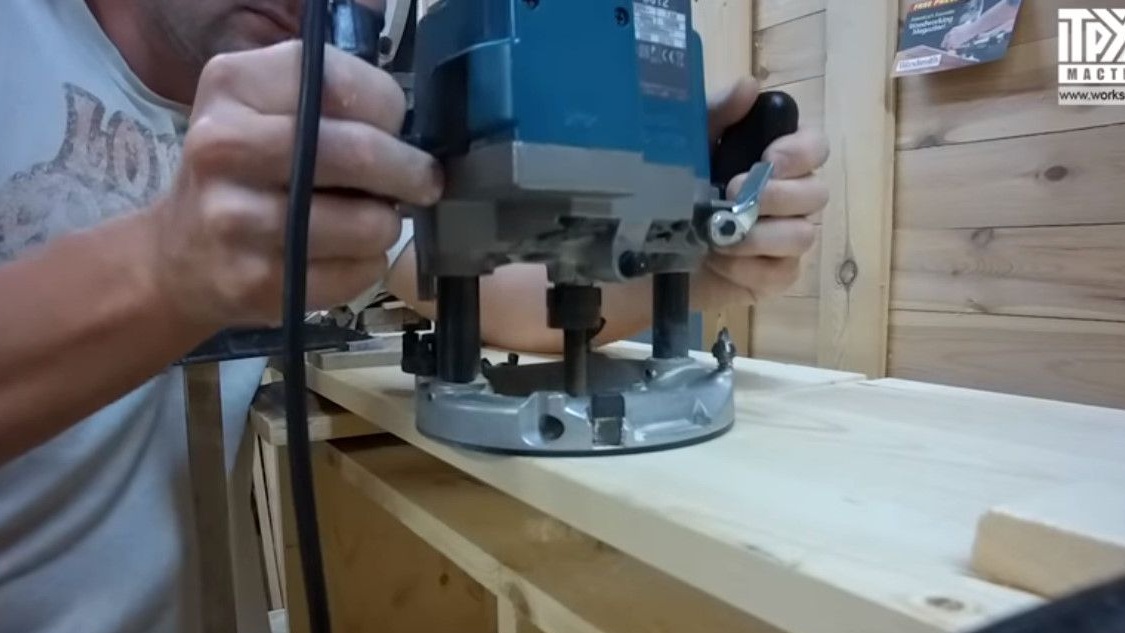
First, I made the grooves with a milling cutter so that the vertical walls entered there.

Then he cleaned it with a chisel.
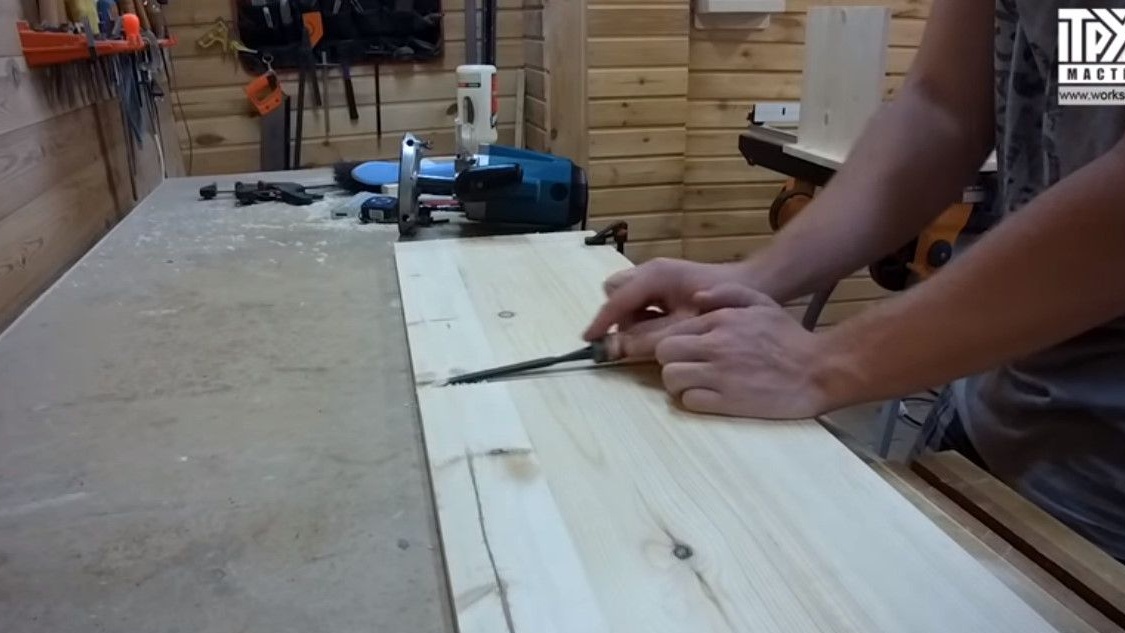
Now six through grooves for spikes. First milling cutter.
And completely chisel.
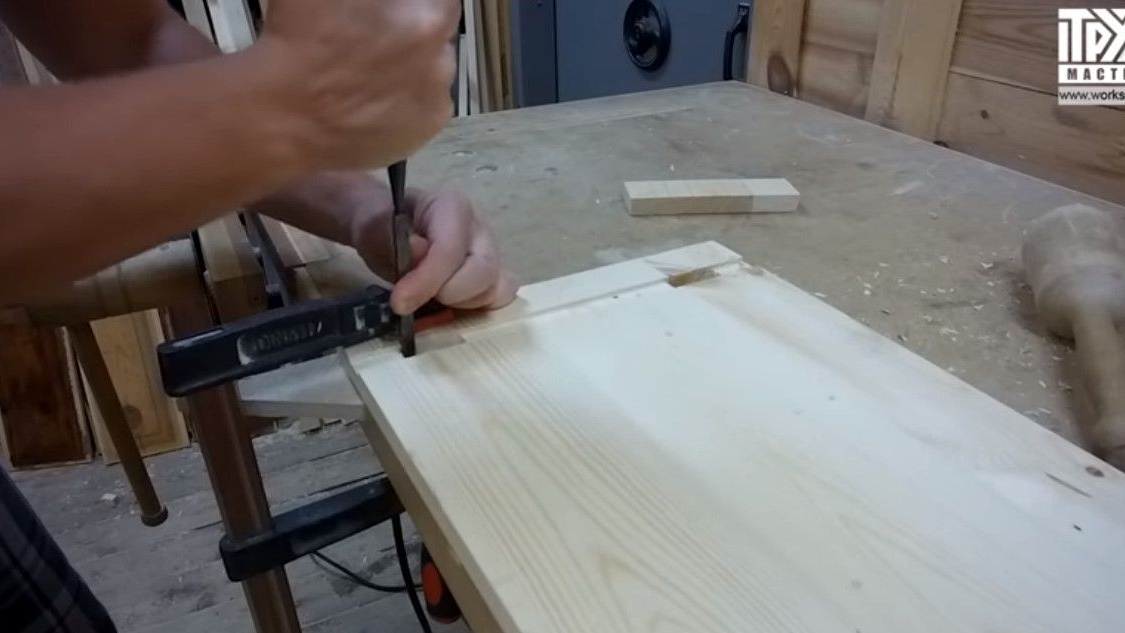
Then, already on the vertical walls, he made two spikes on both sides.

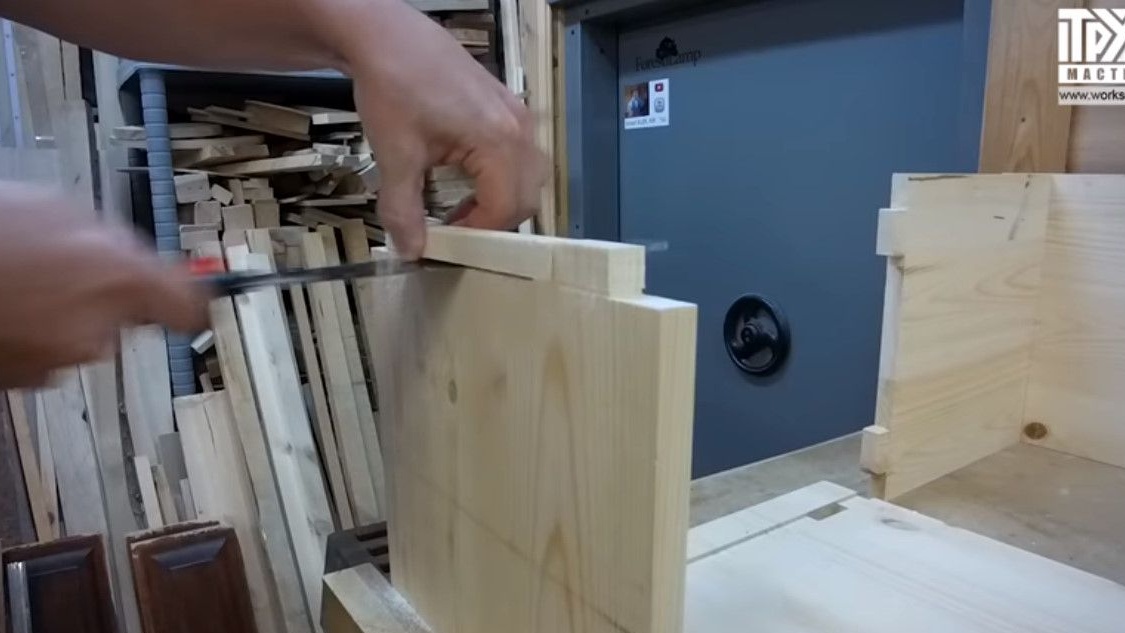
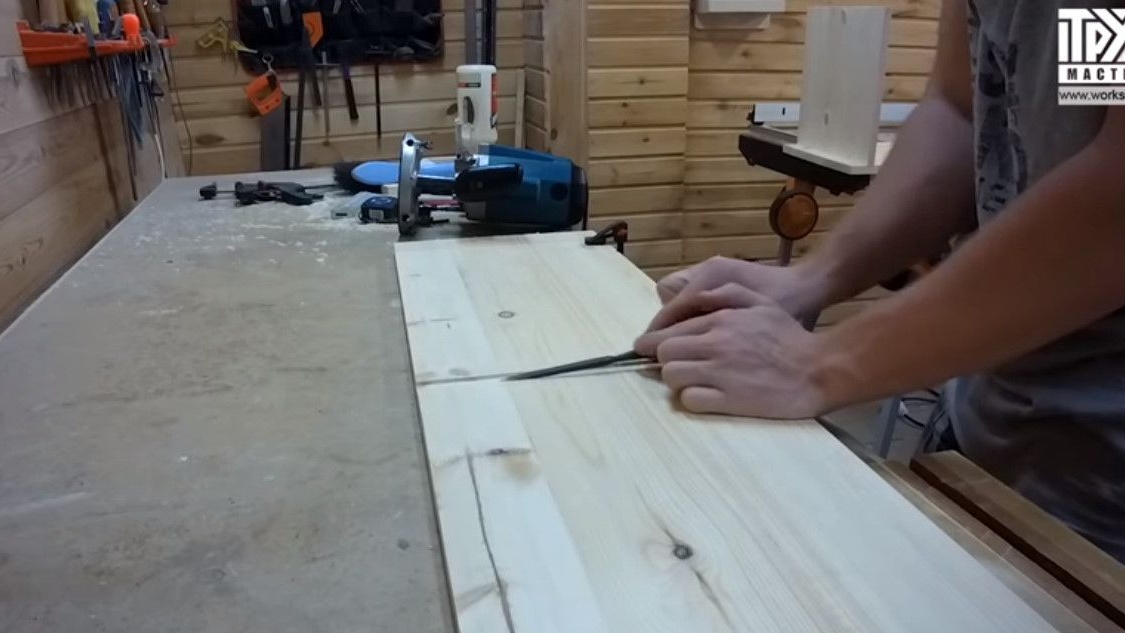
He chamfered a bit with a file to make it easier to enter.
Slots for wedges cut through the spikes, which will be wedged by small ash-shaped wedges.
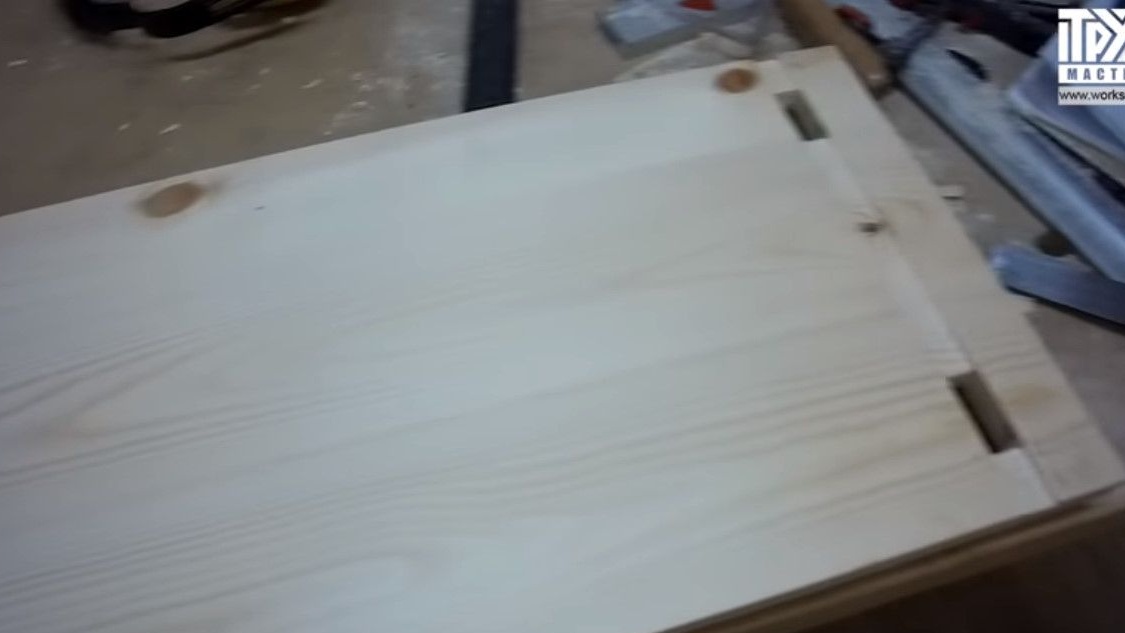
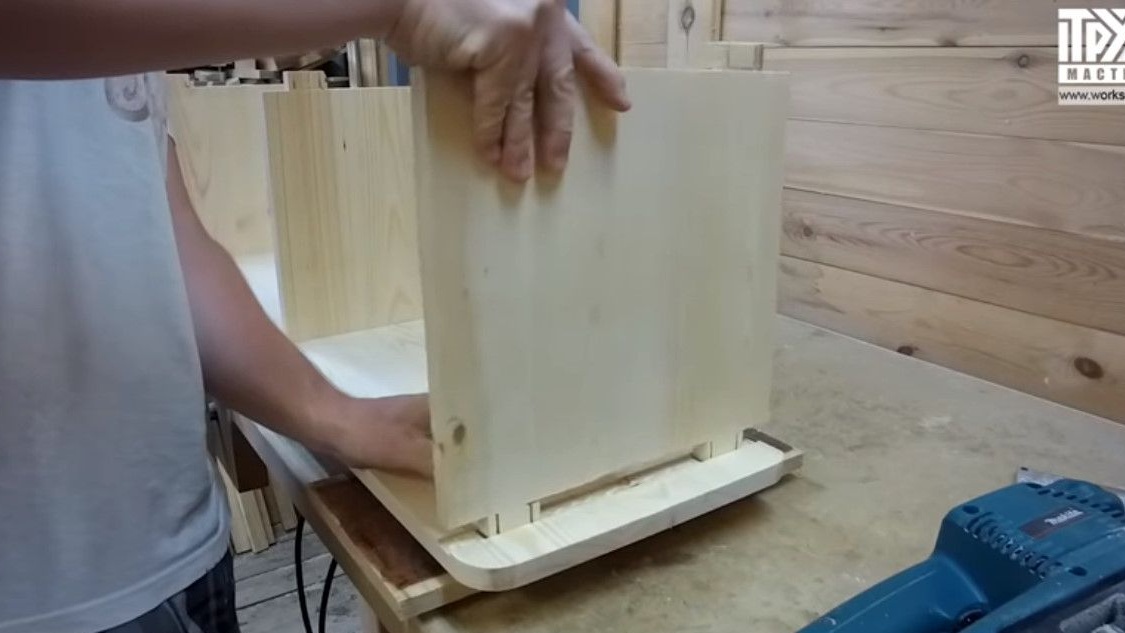
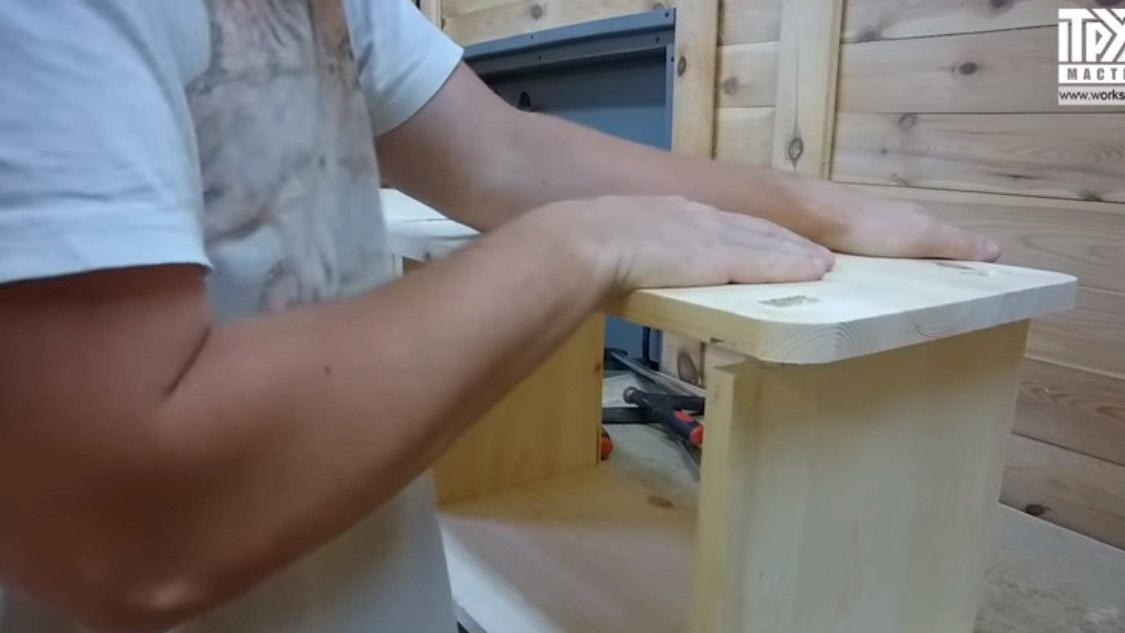
Rounds the corners of the bottom and top panels.
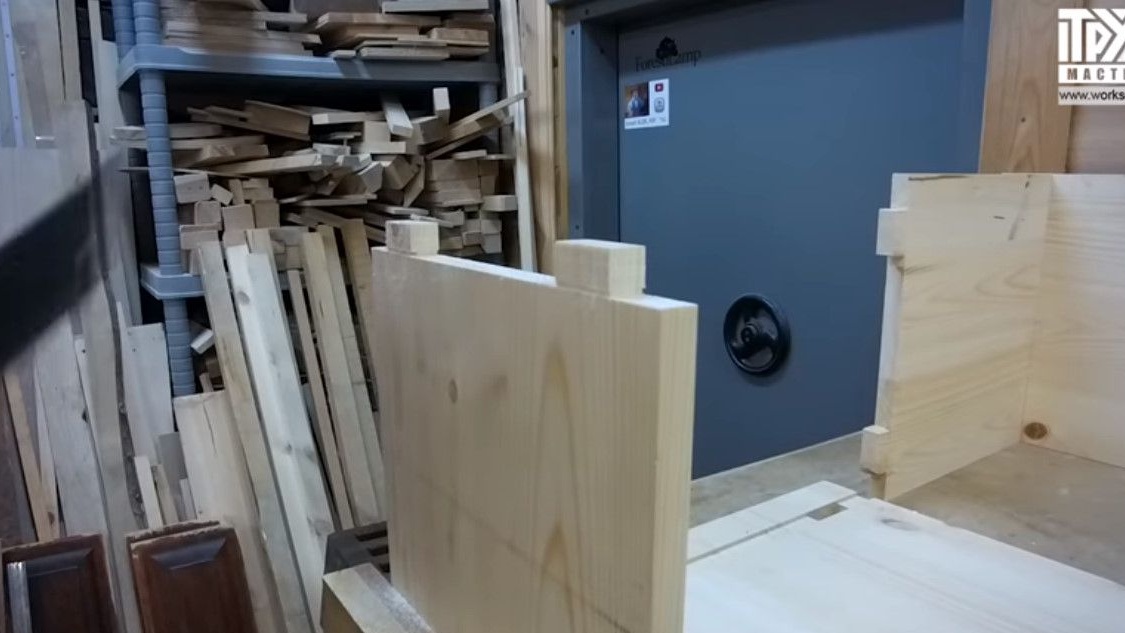
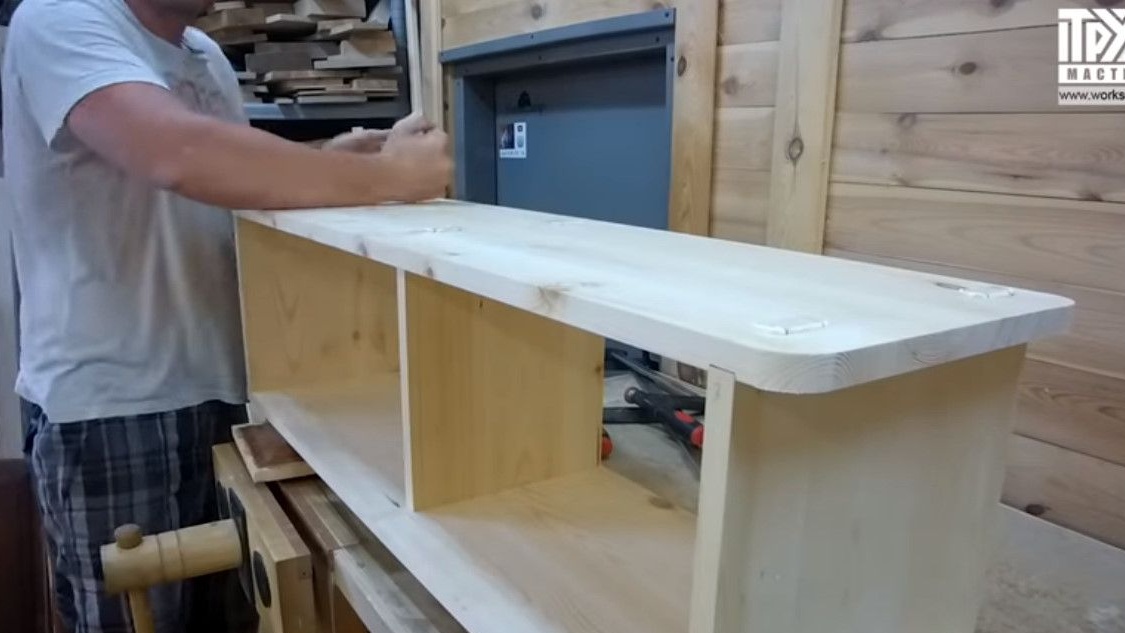
Now the main panels are ready for assembly.
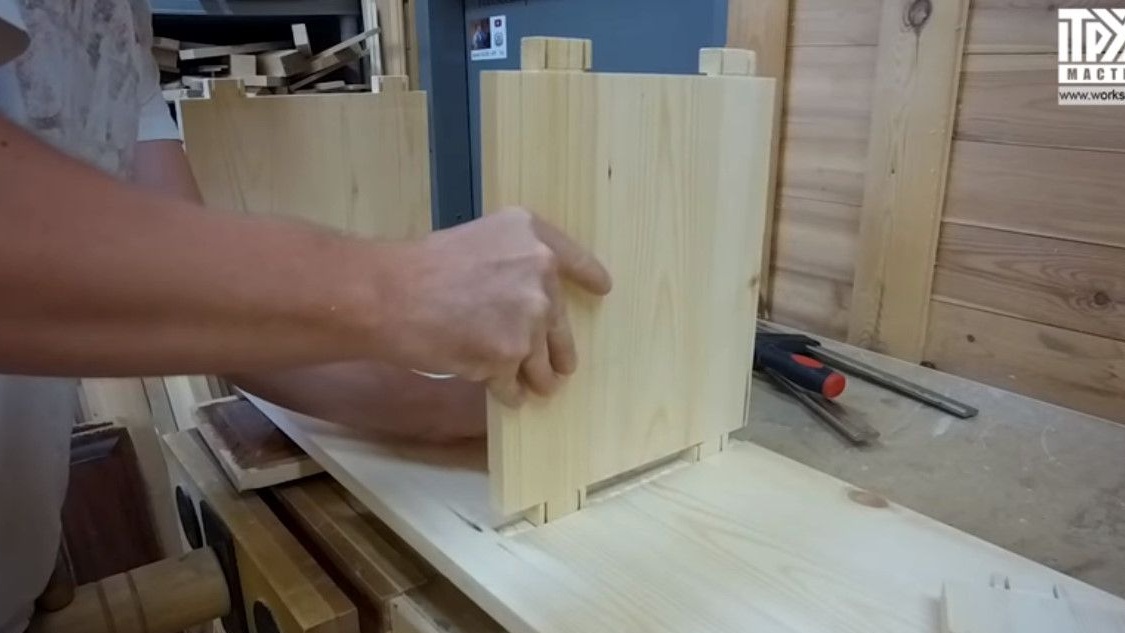
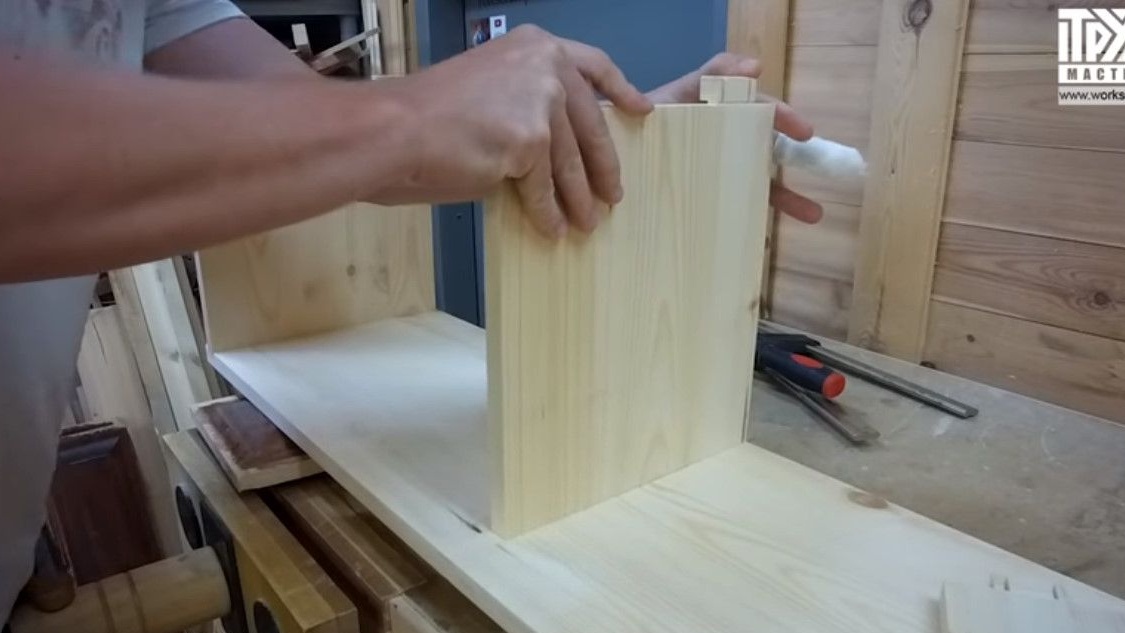
All spikes fell into place.
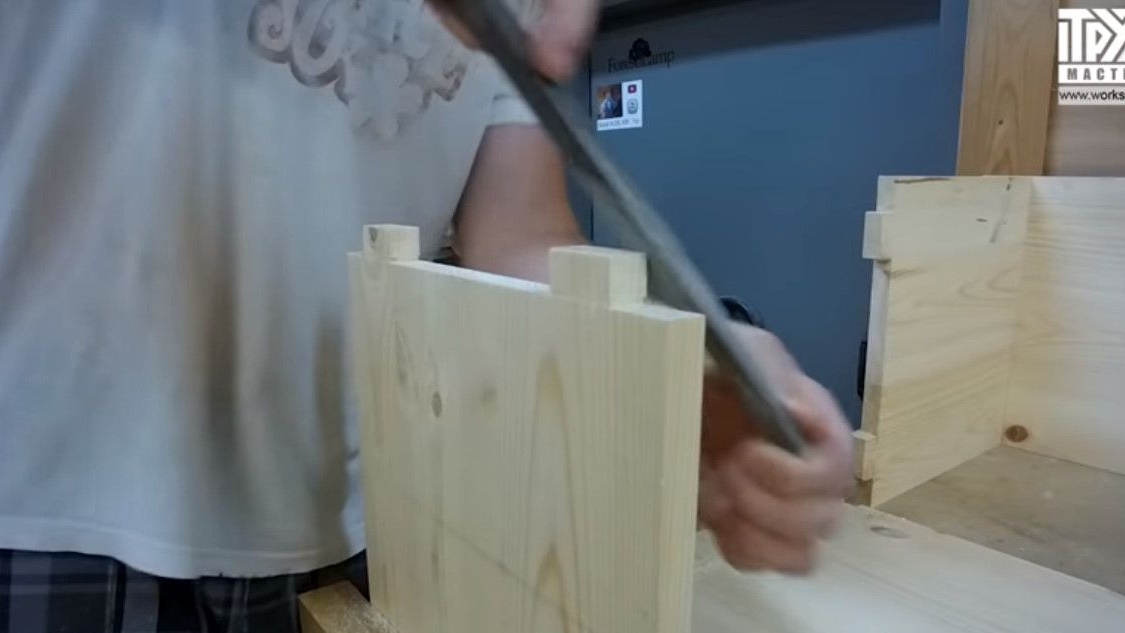
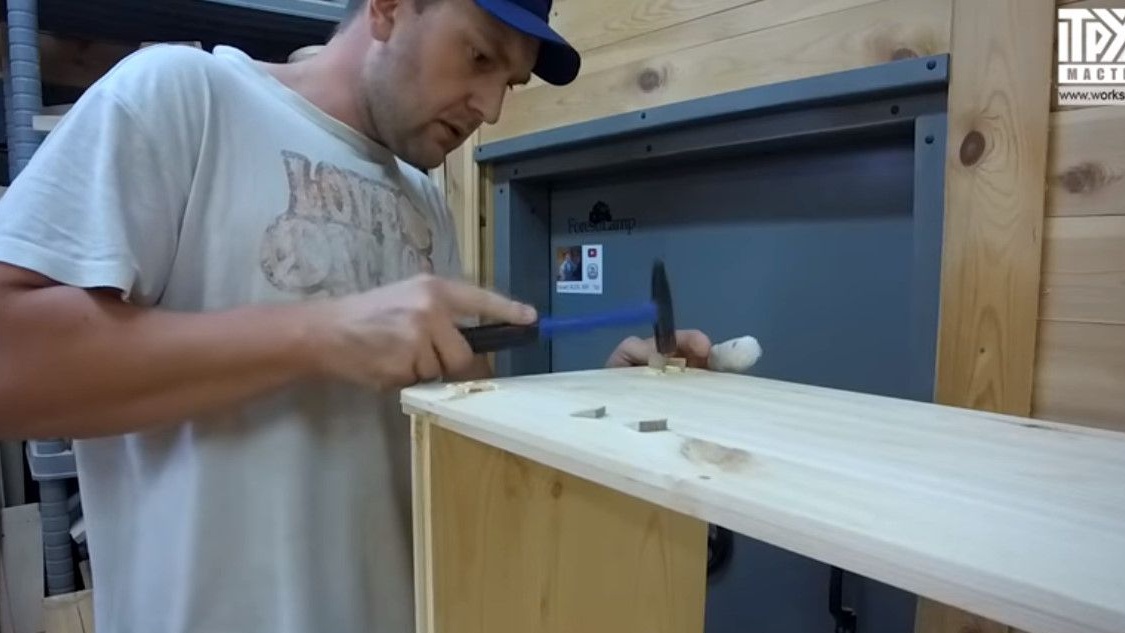
It's time to wedge. I do not recommend making wedges of soft wood, because I have already found out empirically that they can crack when you hammer.
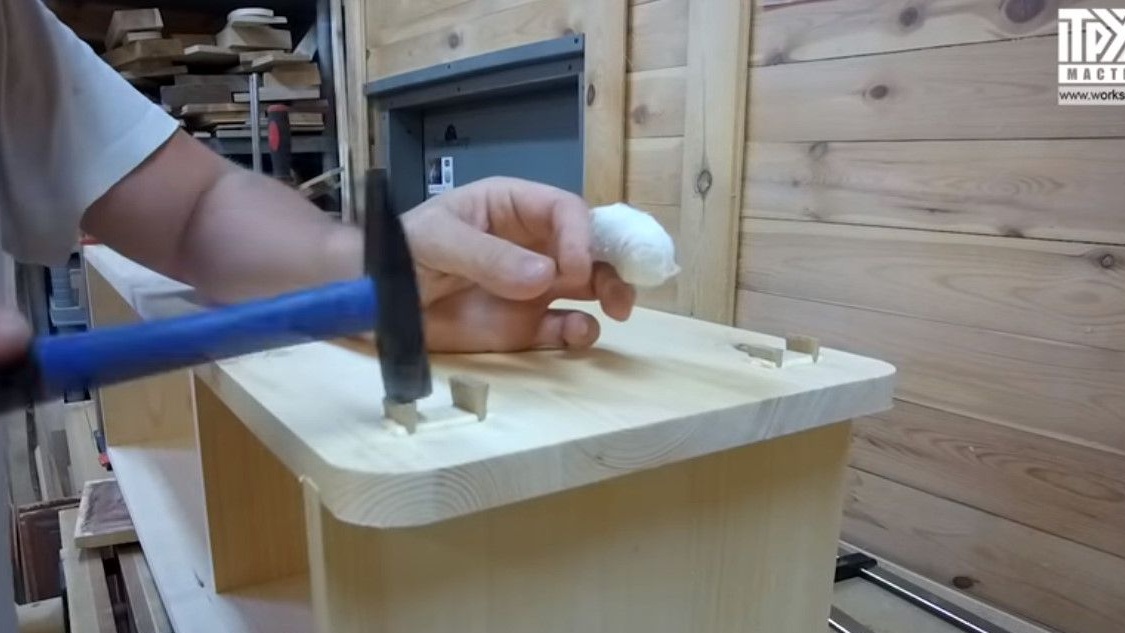
And the most unpleasant, they can crack when you have already beaten the wedges. That is, there will be a crack inside, which is also not entirely good. Therefore, Cyril advises the use of solid varieties of wood.
The author acknowledges that such compounds do indeed take a very long time. At some point, I even want to quit it all, but the result is always pleasing at the very end.
Meanwhile, it is clear that some processes can certainly be improved and optimized here.
For example, the same swotting would be very welcome.
Everything cuts down the wedges with a Japanese saw.

In this project, instead of her, Cyril used a router with a slotted mill. In principle, the method is also working, but whatever you say, you hold the milling cutter with your hands, and irreparable from wobbling can happen irreparable.
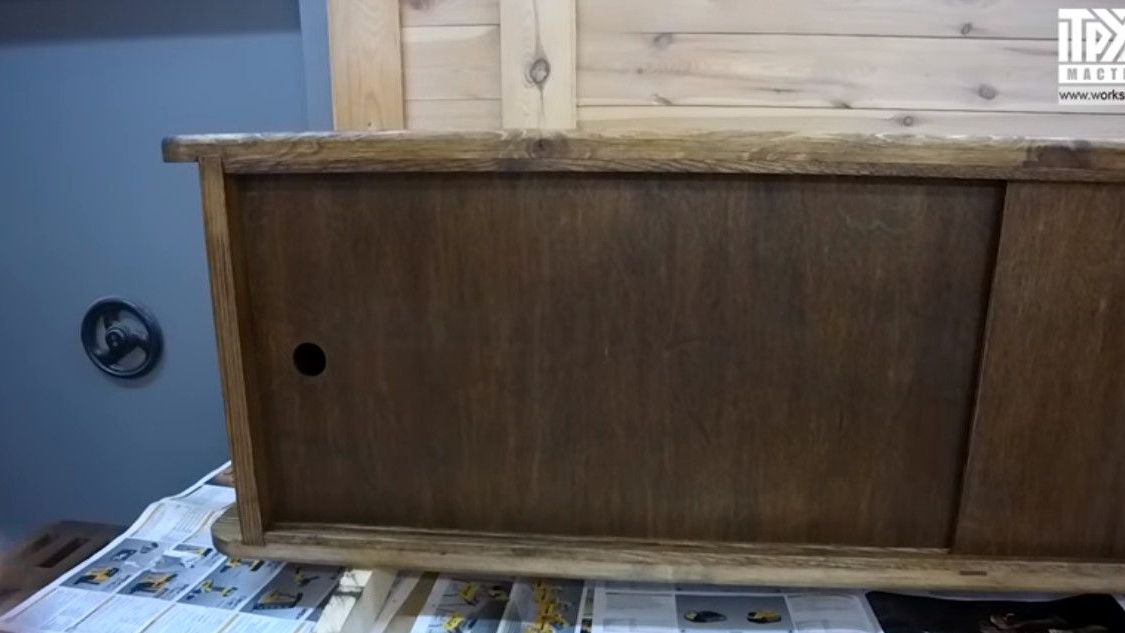
In this project, just two pieces of plywood are used as a door.
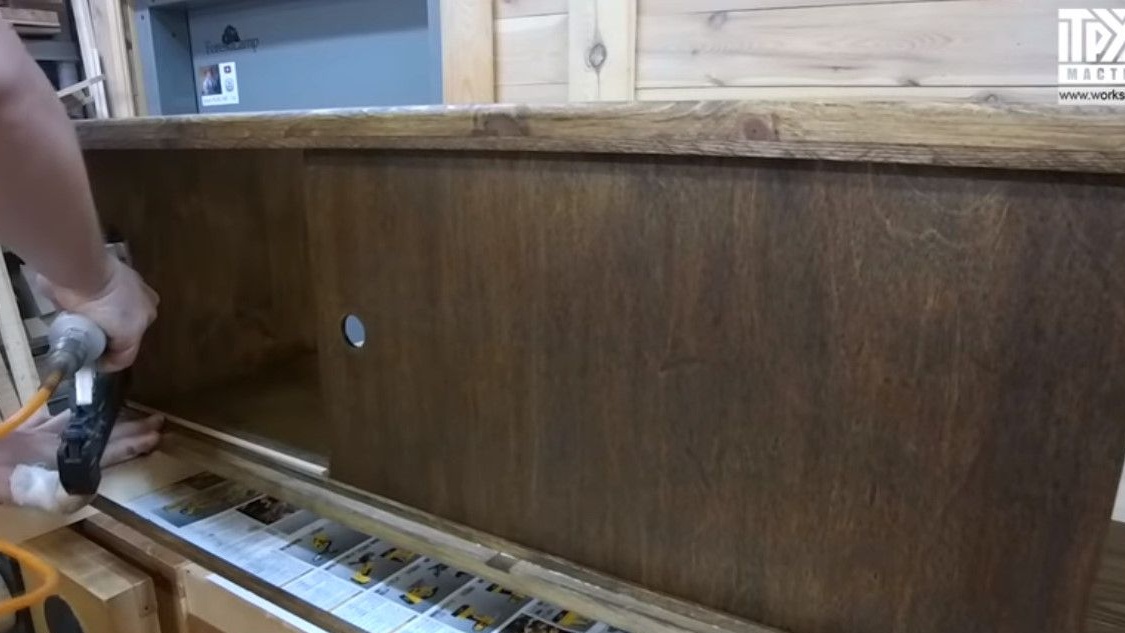
A Forstner drill makes a hole for opening.
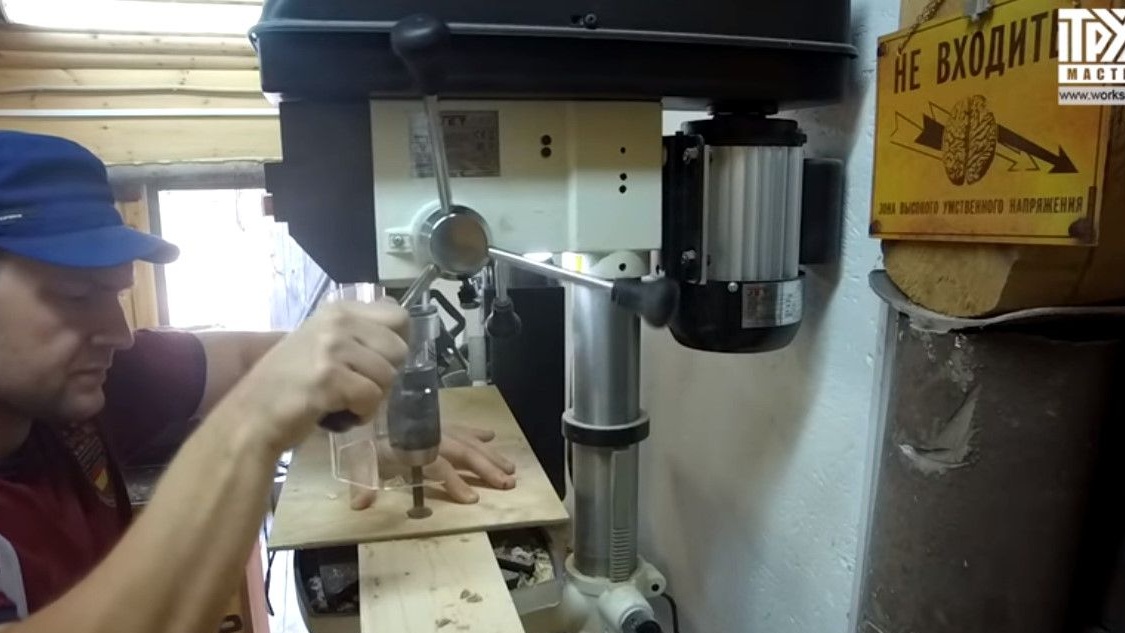
The author at first wanted to make some more or less full-fledged doors, but did not want to bother with hinges and awnings. And he will simply make sliding doors that will shift to the sides. Like glass in Soviet shelves. According to the author, you simply can’t imagine any easier way.
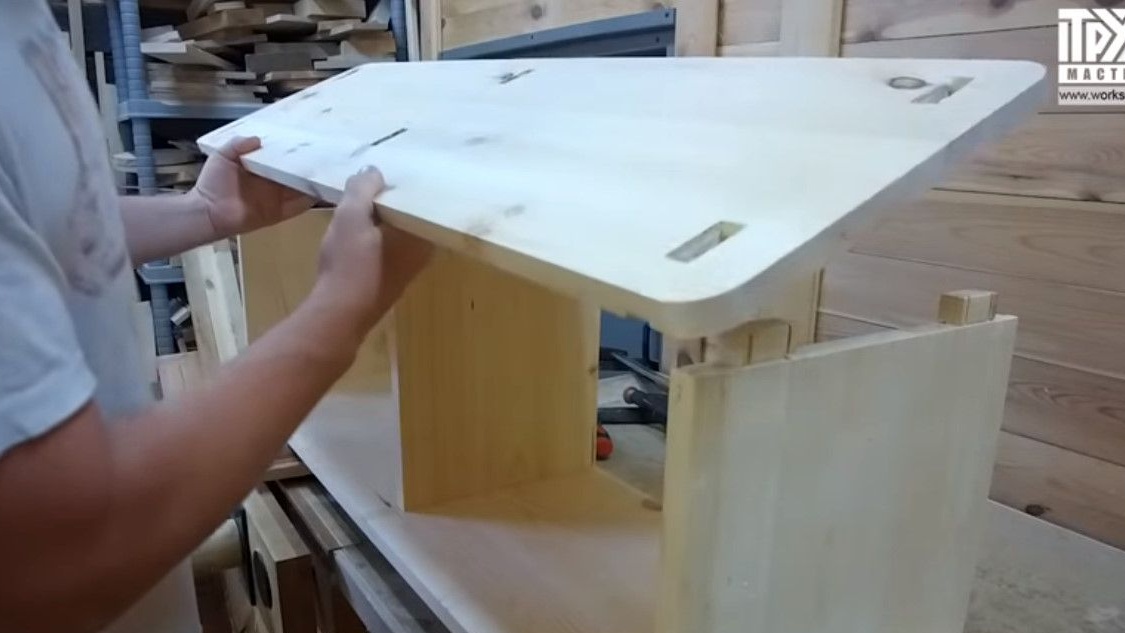
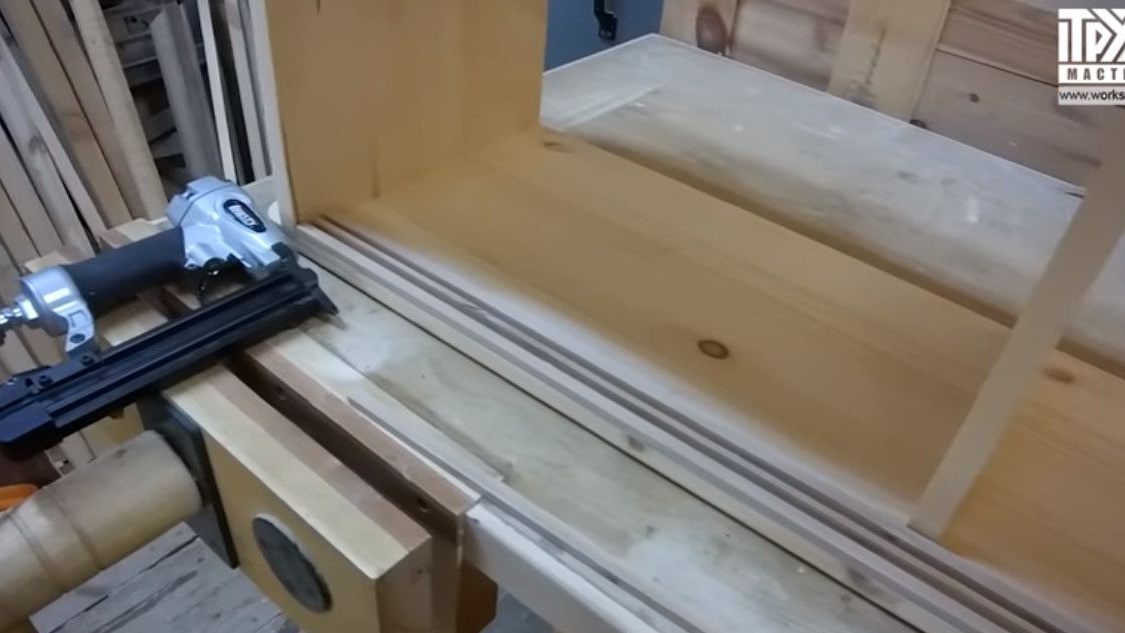
The milling cutter rounds the edges of the upper and lower panels.
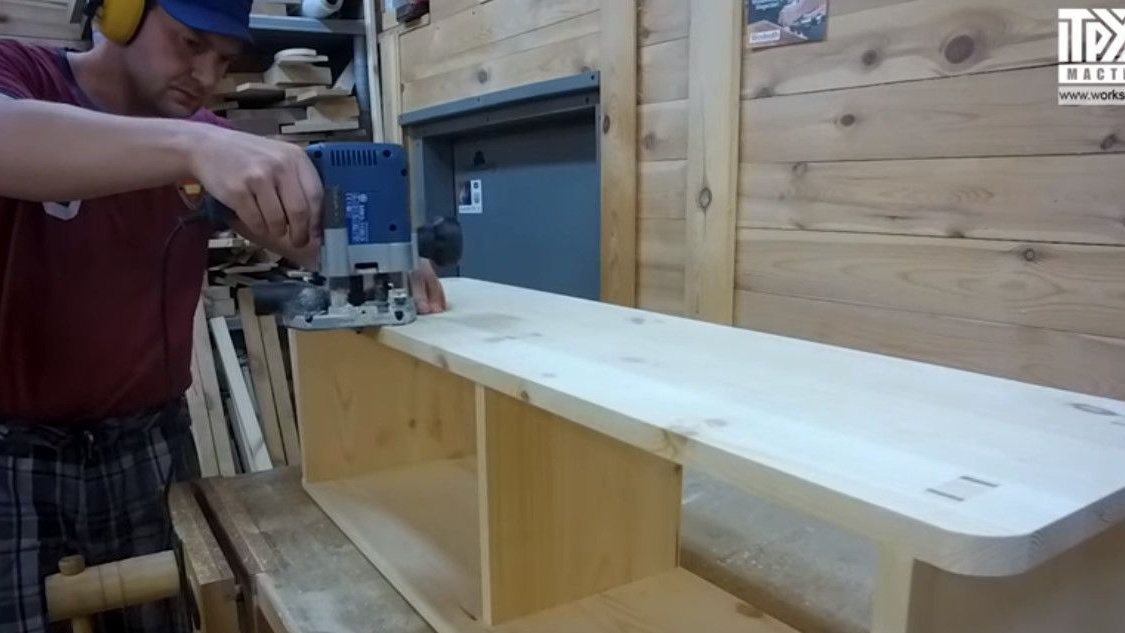
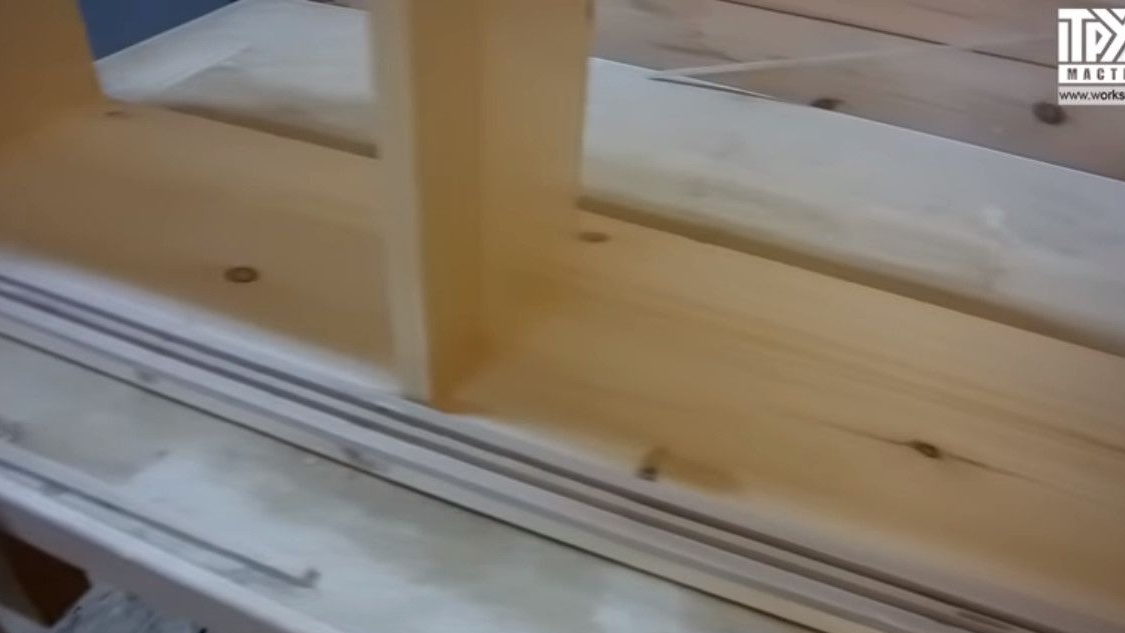
By the way, these runners, or guides, are also made of ash. This will be much more durable.
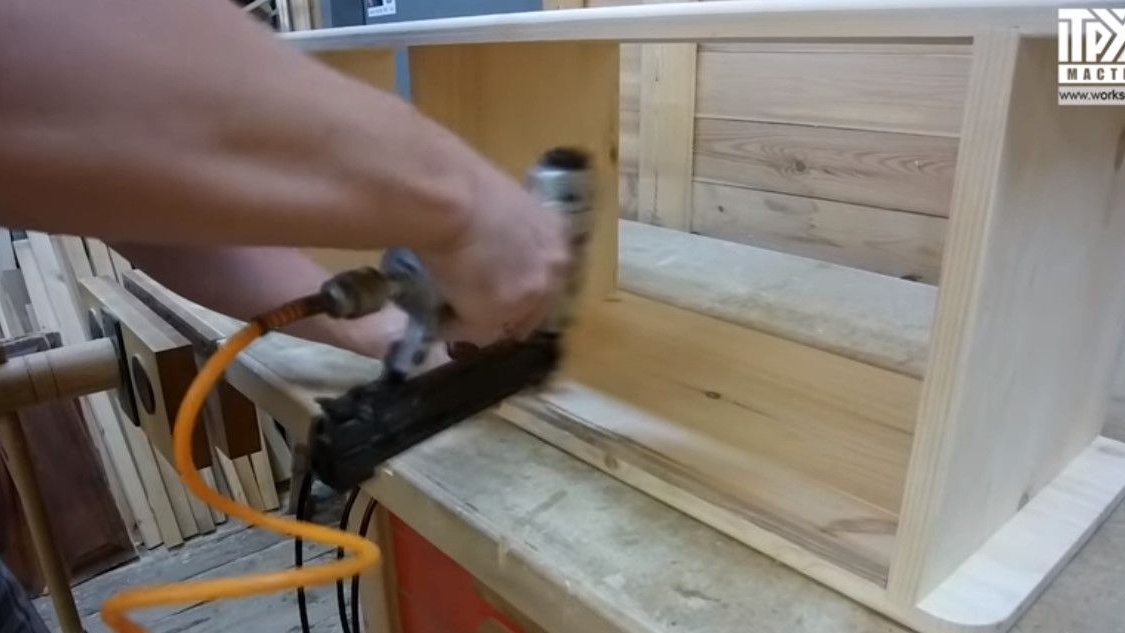
Fastens them with a hairpin, and does not even imagine how he would do it with a hammer and cloves. Firstly, fingers would suffer, and secondly, would flatten all the runners that had been made earlier.
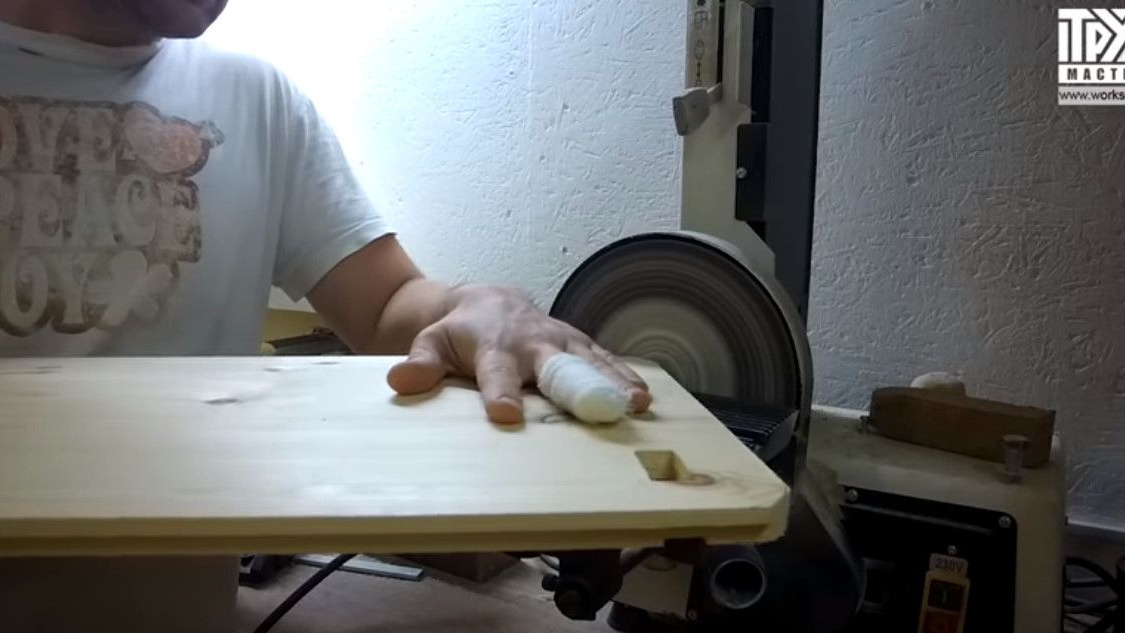
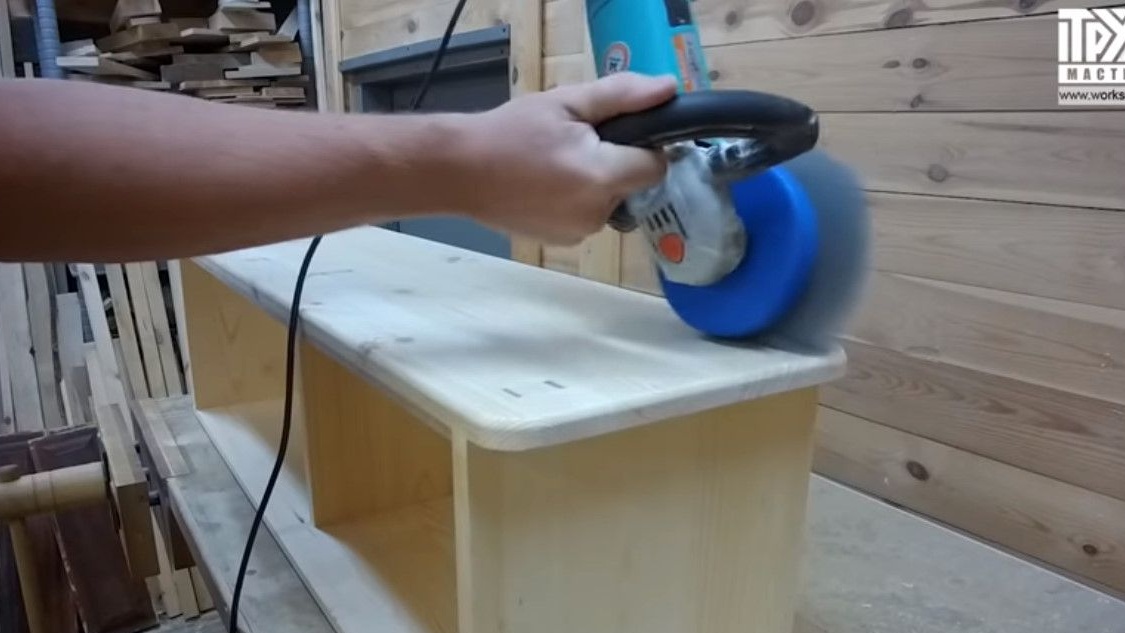
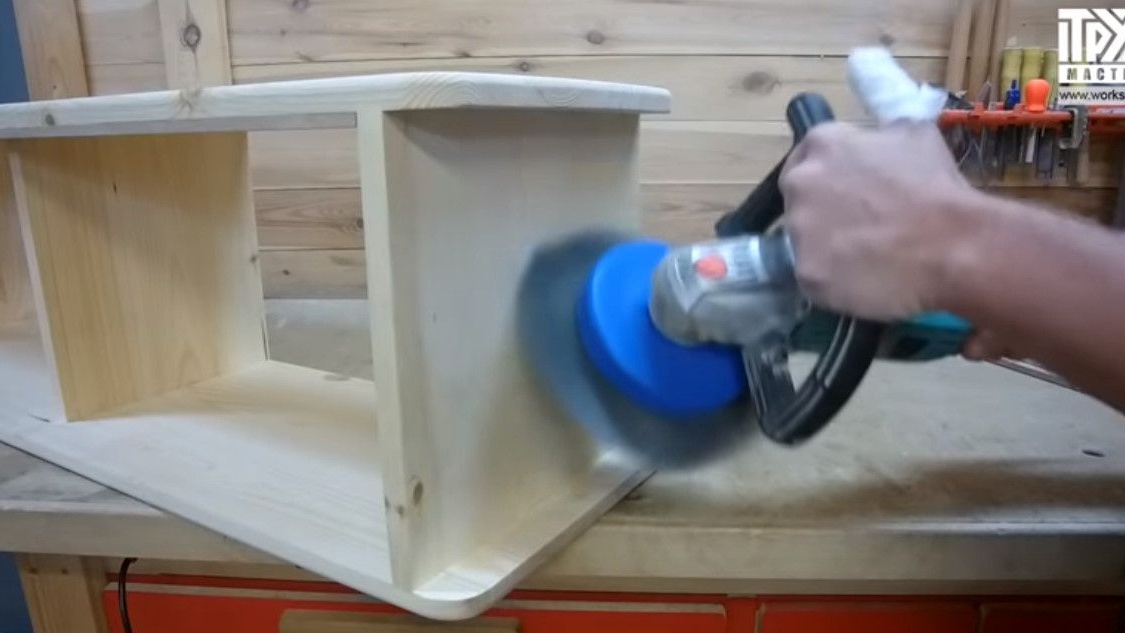
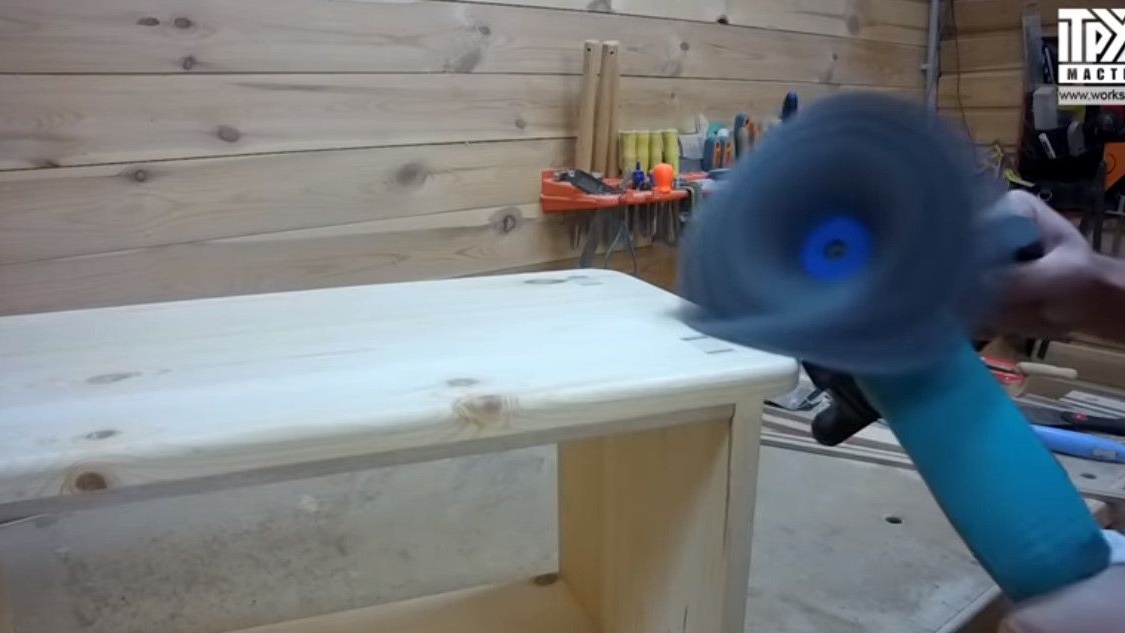
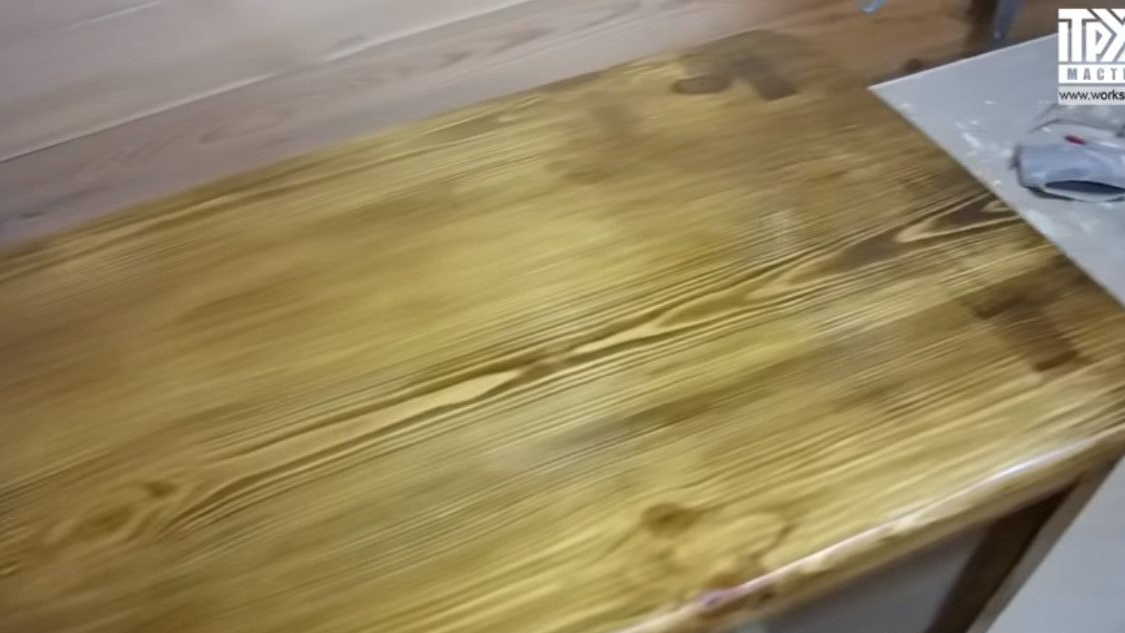
To emphasize the relief on the cabinet, you need an osborn brush.
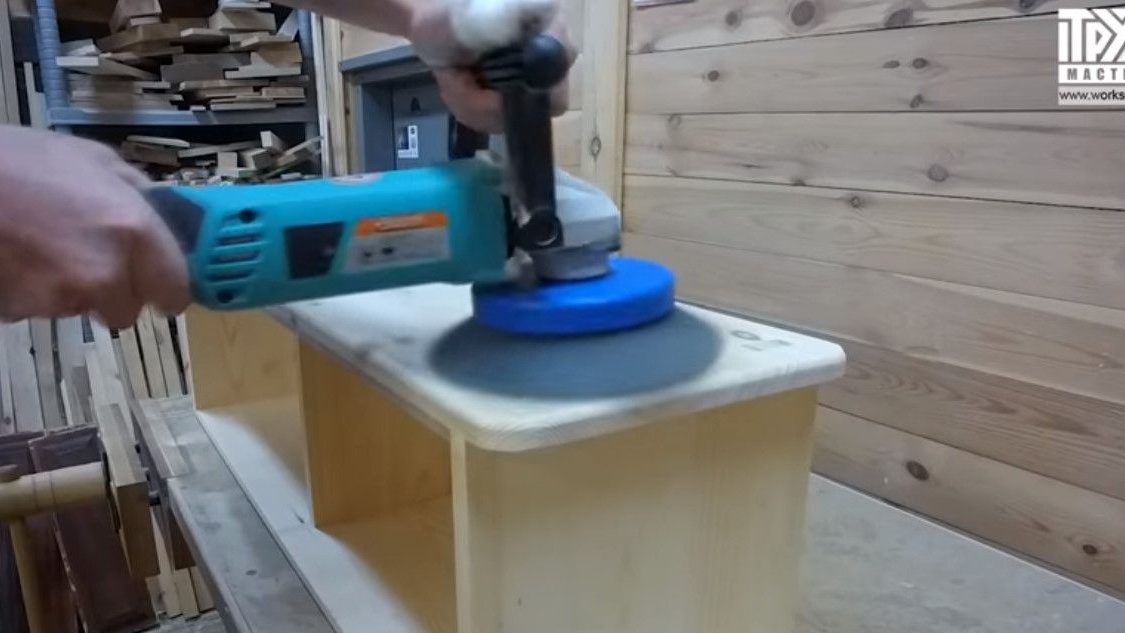
Cyril likes to work with these brushes, especially with such soft materials as pine.
Despite the fact that the pine is relatively cheap, the terrain doesn’t just swing, and the texture also.
Therefore, processing is required quite a bit in order to directly feel this relief.
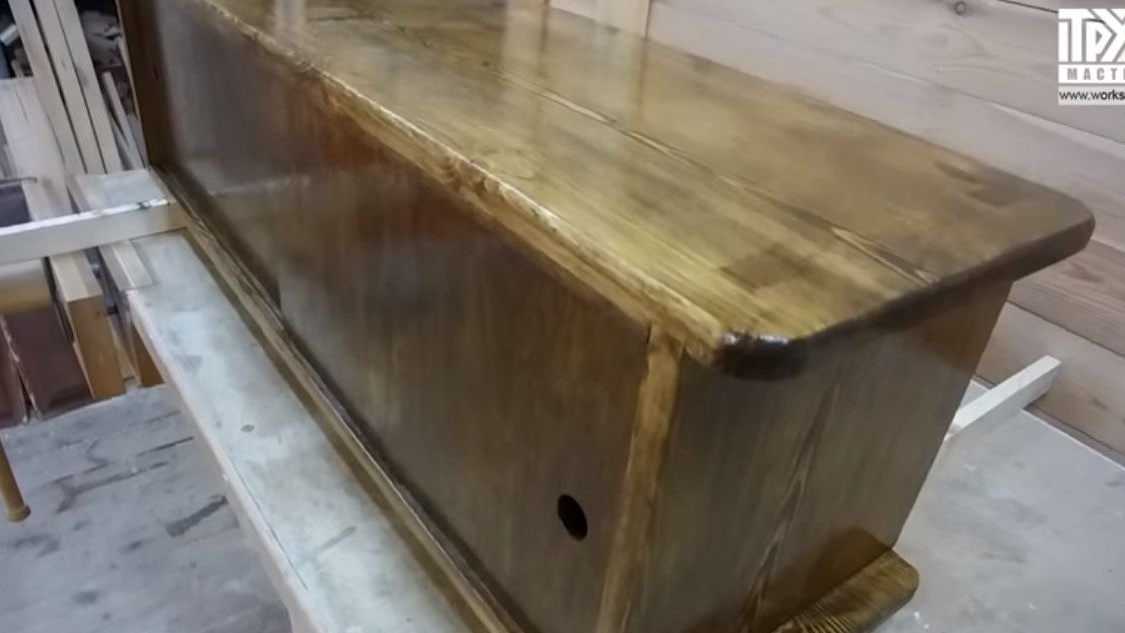
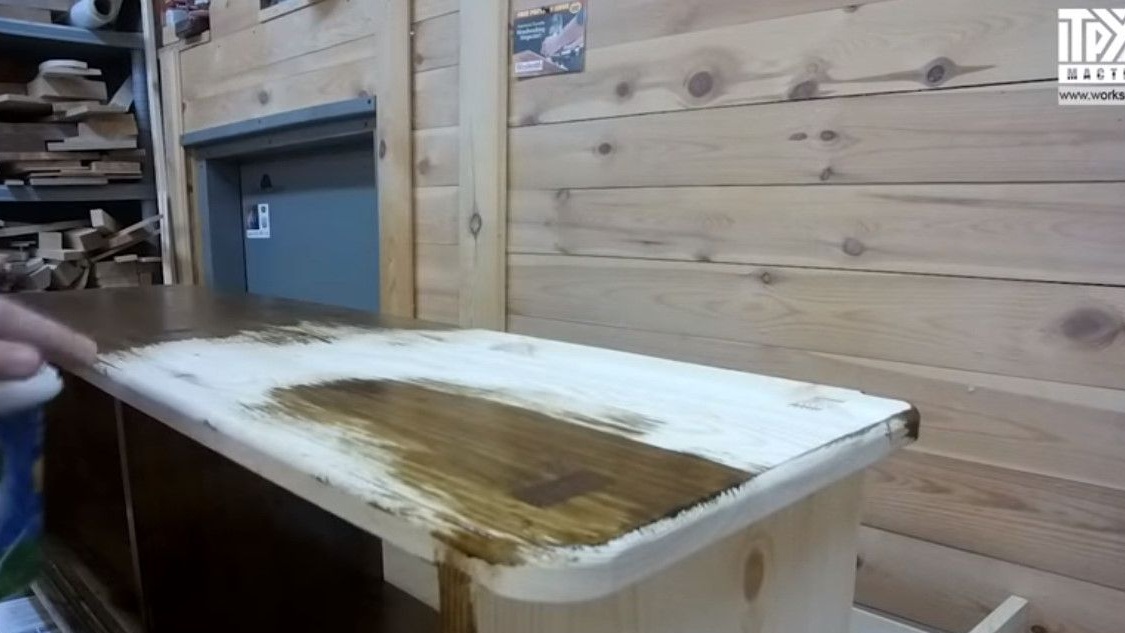
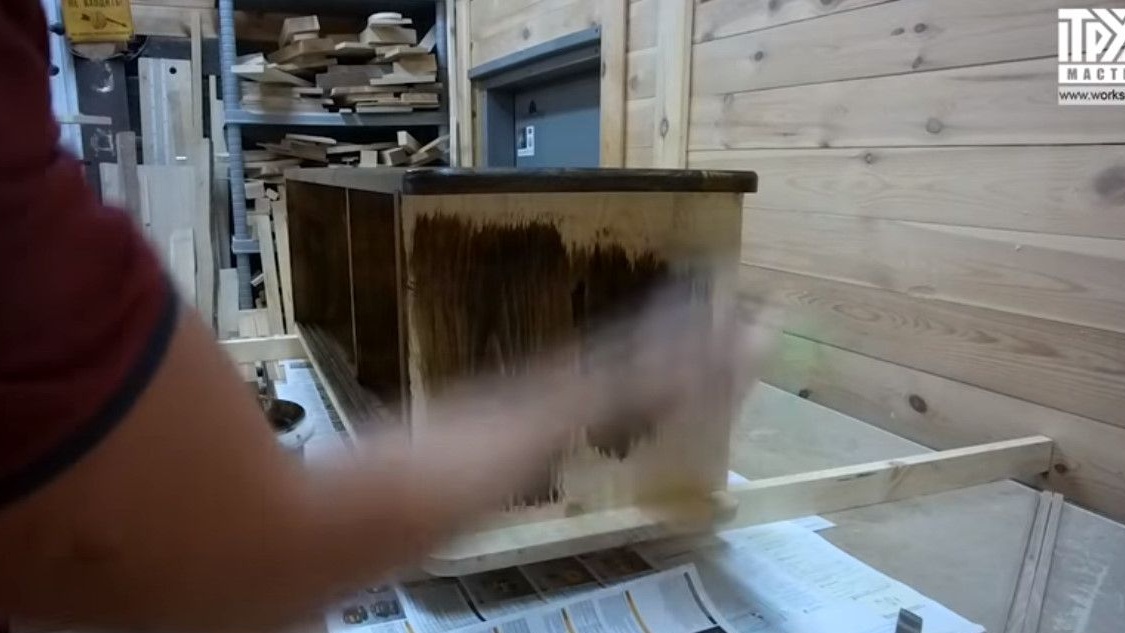
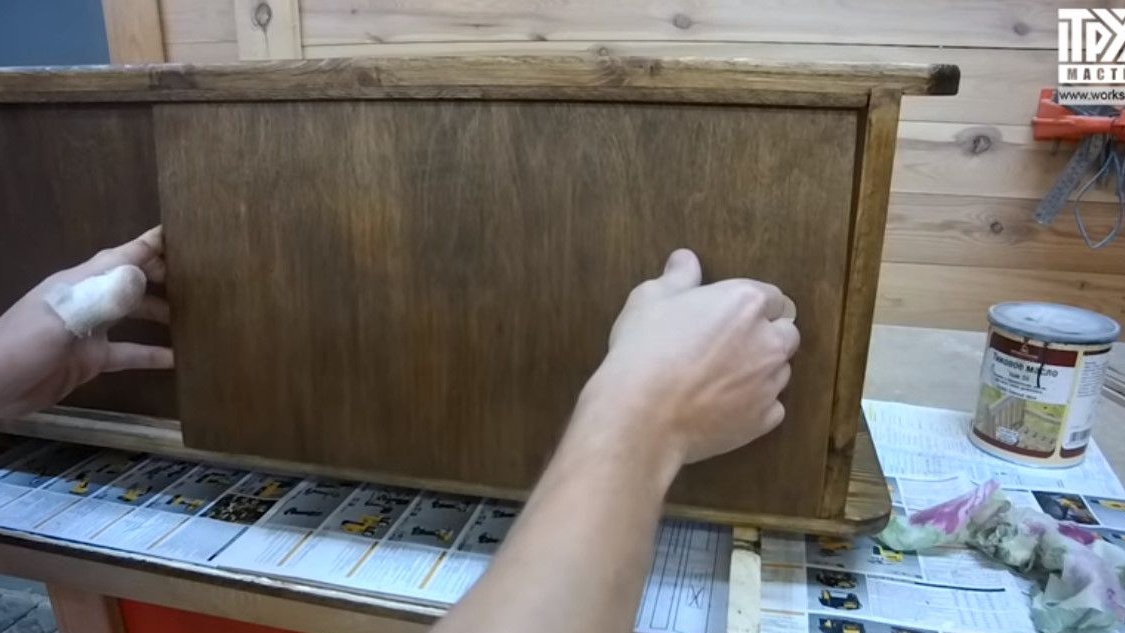
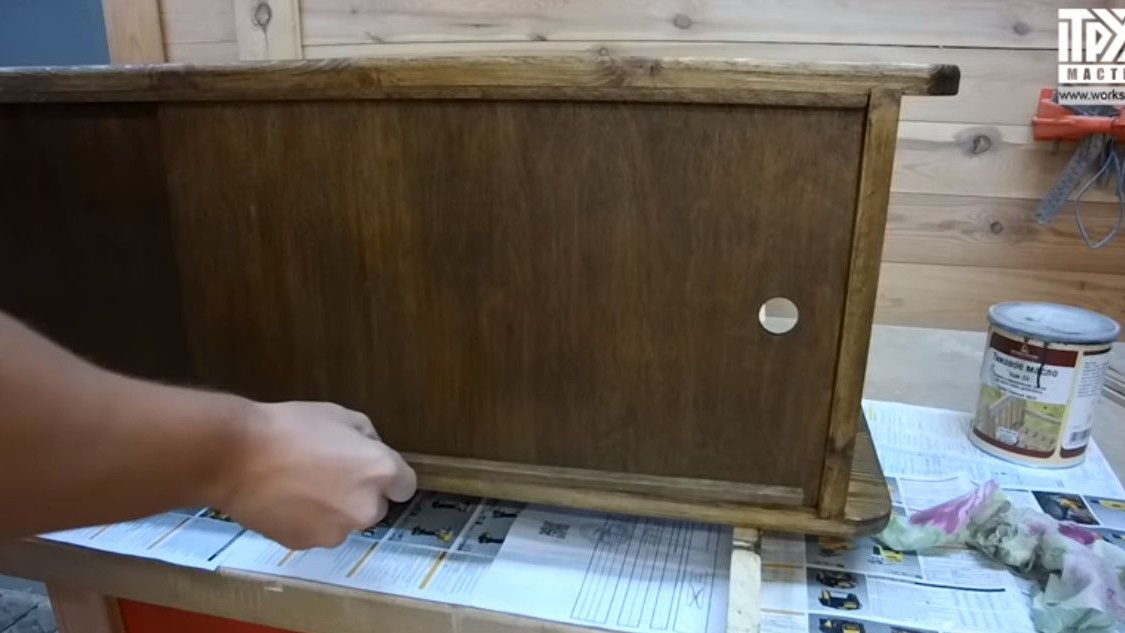
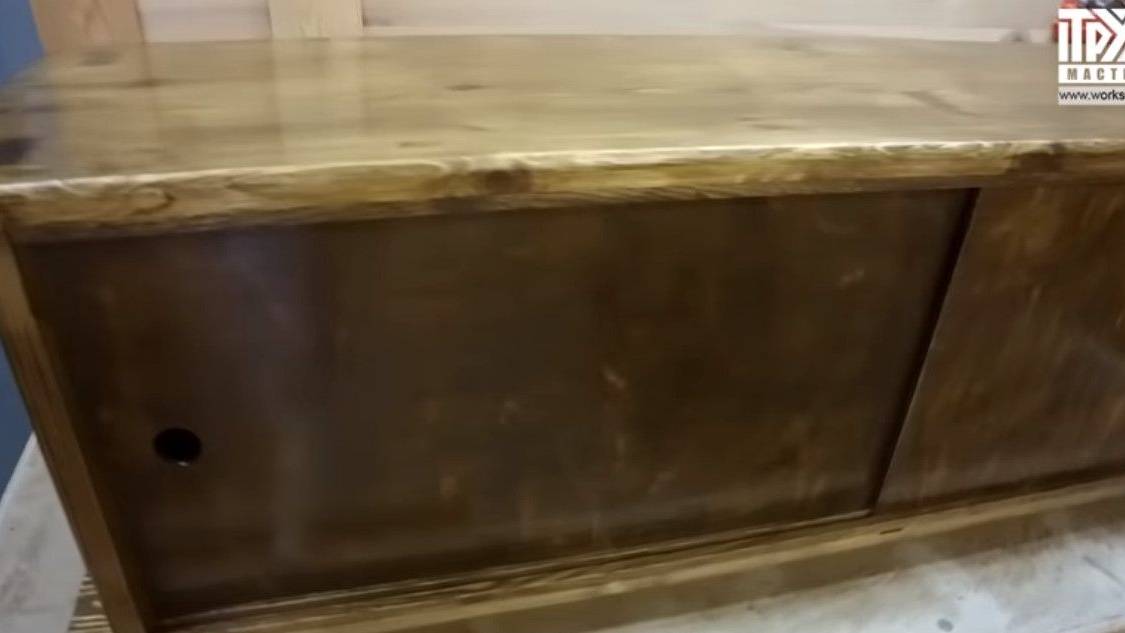
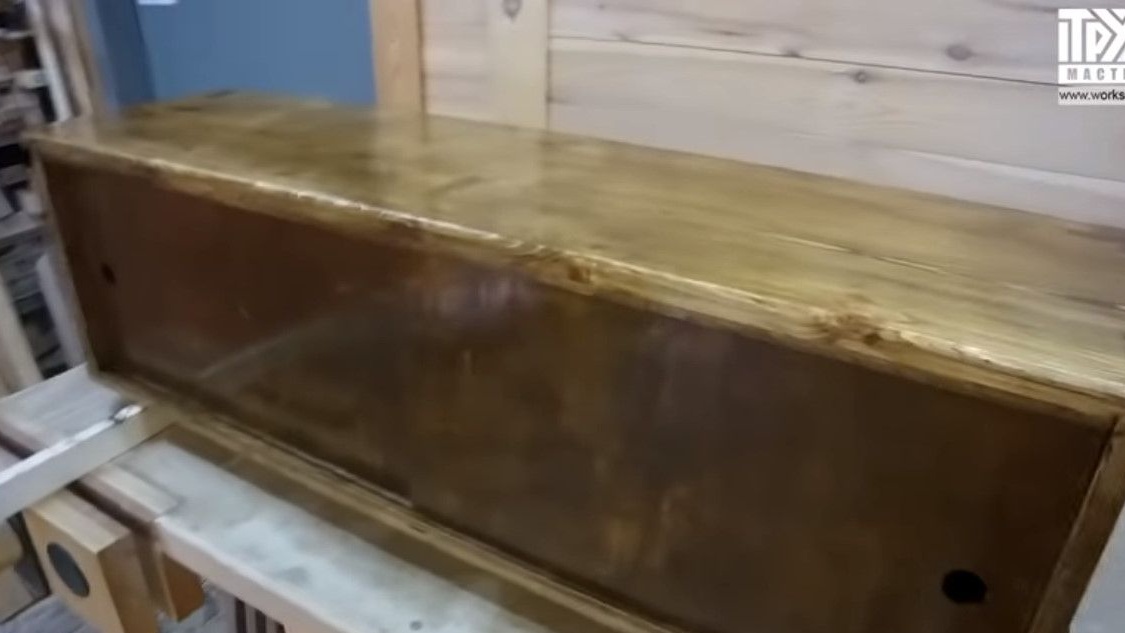
As a finish, borm oil, dark walnut color, is used.

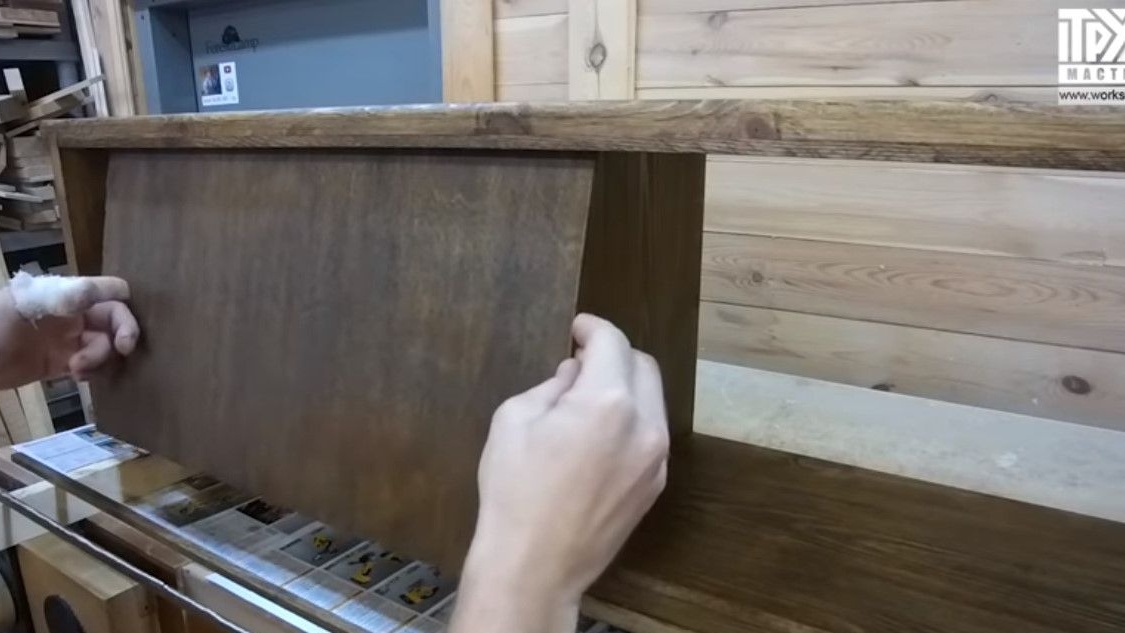
After the finish has dried, it finishes its doors.
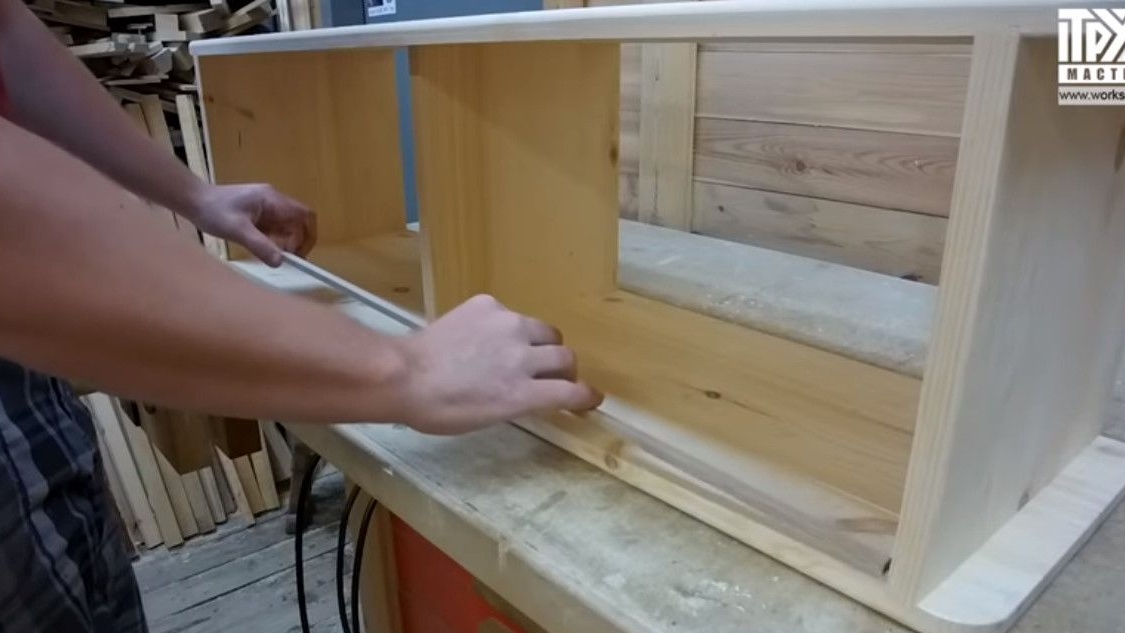
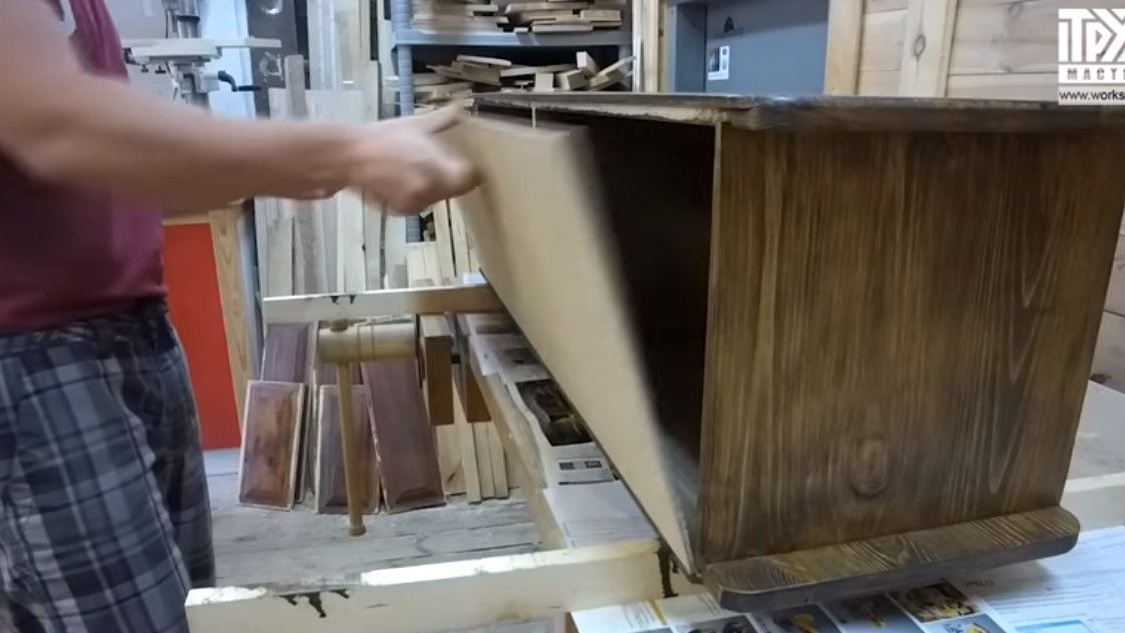
Here the problem is that the skids could not be done on both sides at once, otherwise the doors could not be inserted.

Therefore, the bottom of the runner Cyril already installed after finishing.
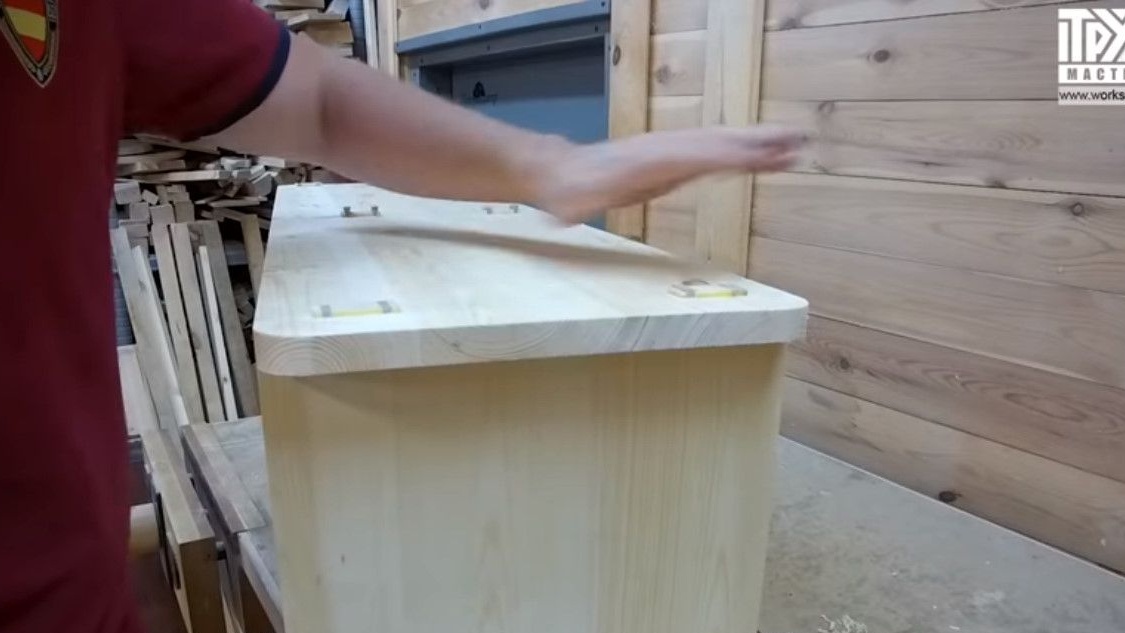
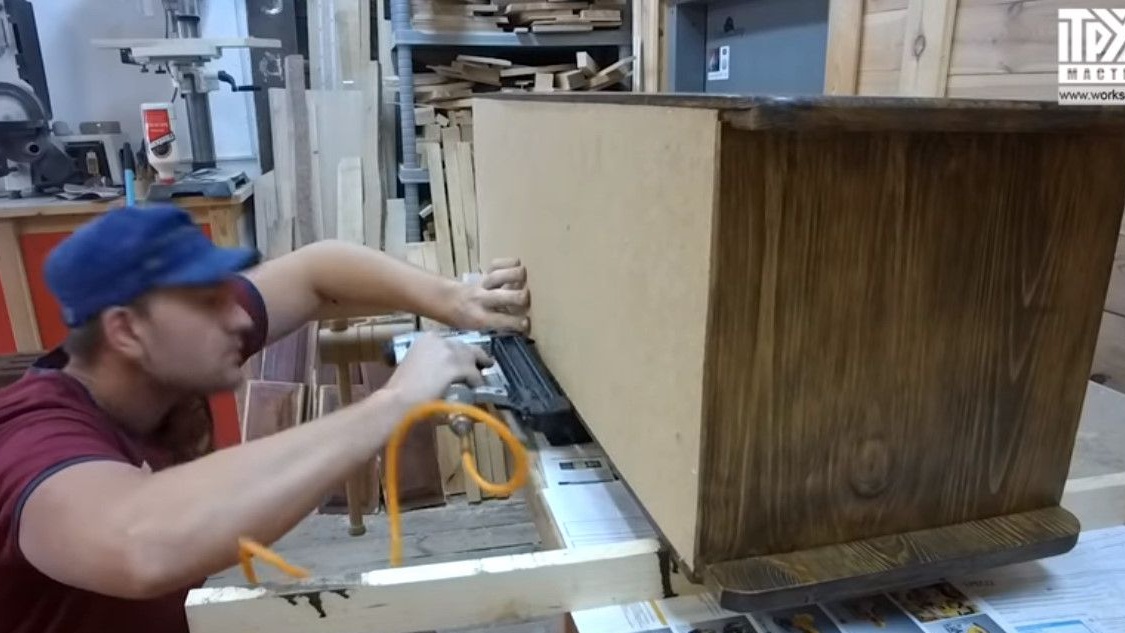
The final touch to this nightstand was the closure of the back wall.
This was done using a sawn chipboard sheet.
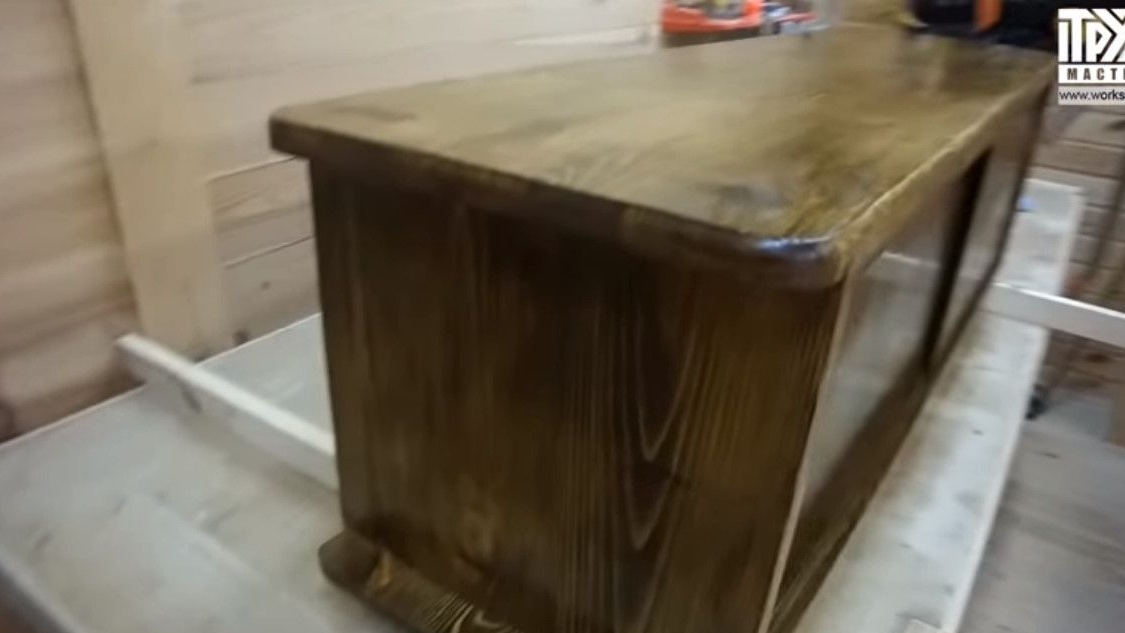
Before the final touch, the appearance is like that.
And opens with varnish.
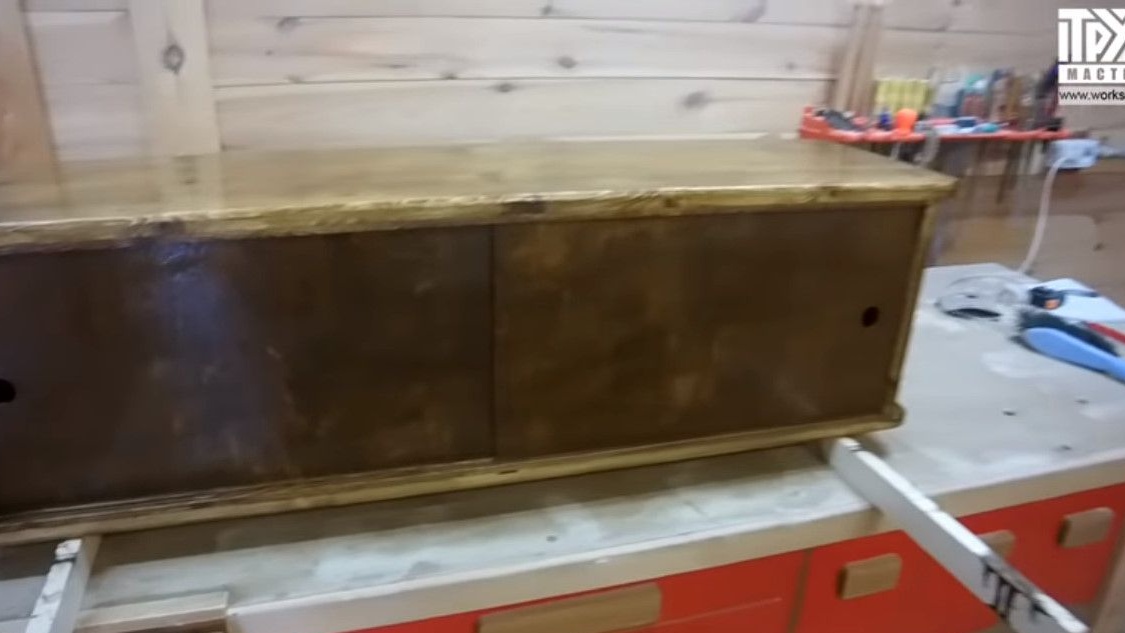
And that's probably all. It only remains to figure out what mounts on the back to install in order to hang it on the wall, and everything will be ready for one hundred percent.
Thanks to the author, Kirill Shvalev, for the excellent presentation of his work!
All good homemade!