Hello everyone, if you have old cracked axes, do not rush to throw them away or put them in scrap metal, as is usually the case. You can still give them a second wind and make an amazing tool. Even a rusty and cracked ax can easily be polished to a mirror shine, and if it is well brewed, it will not be any worse in reliability from the whole.
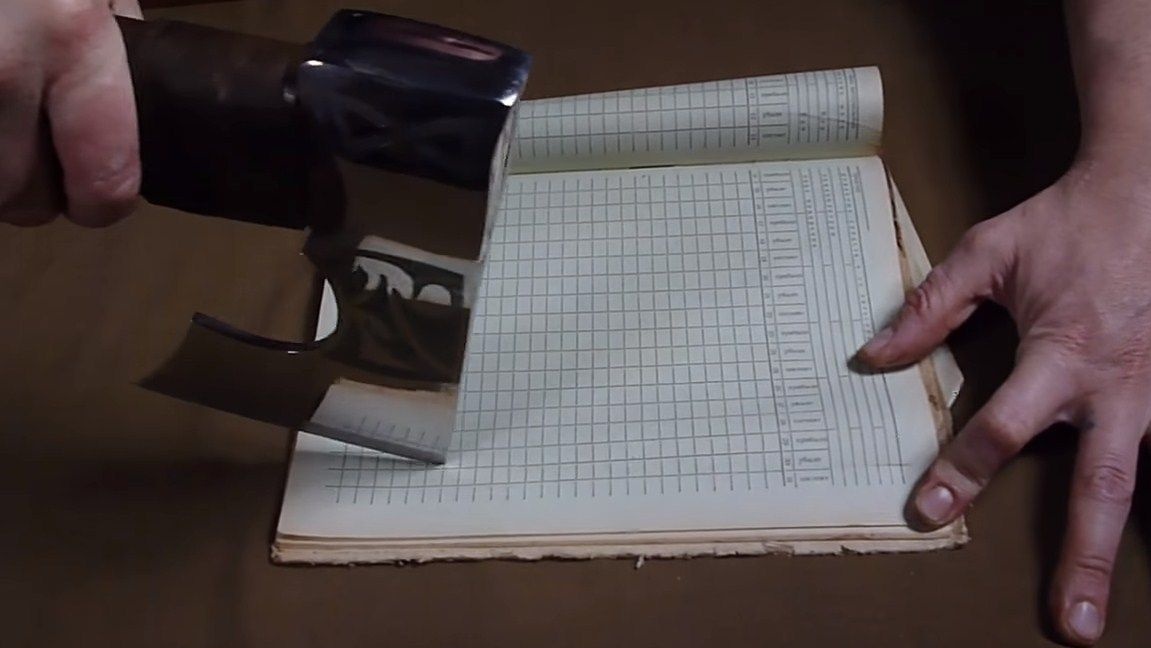
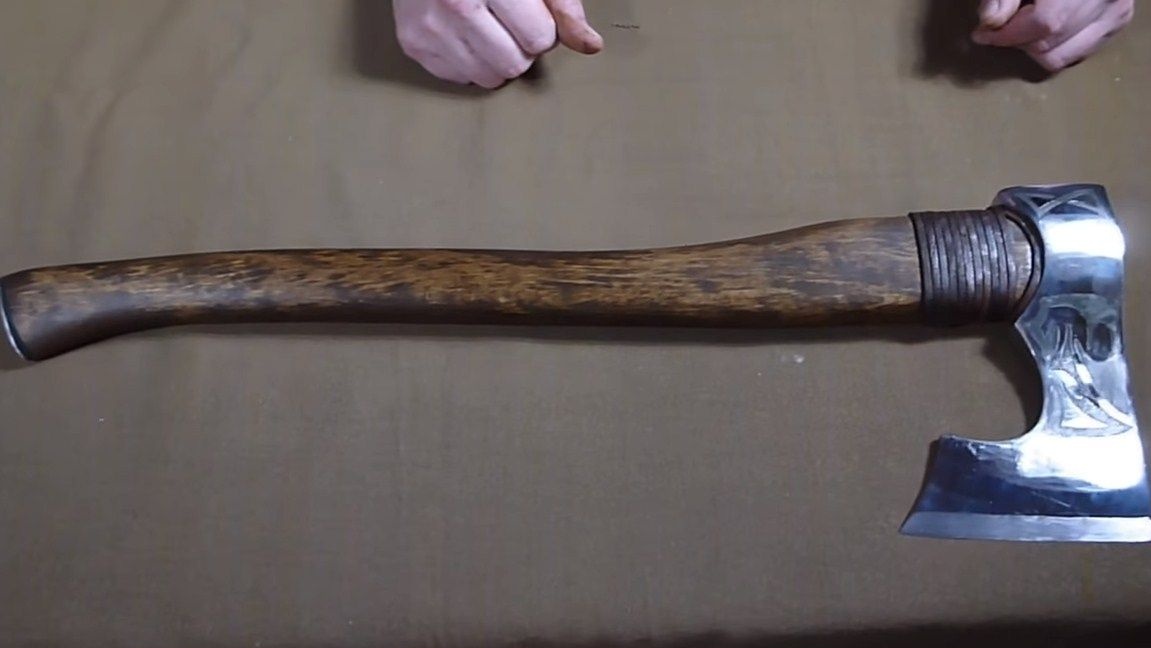
In this instruction, we will discuss how to make an interesting hatchet from an old ax. You can take such an hatchet with you to nature, surprise them with friends, especially girlfriends. The weight of the ax is enough to chop not thick logs, sharpen a log or chop branches. It is made very simply. As a cutting part, the author welded a piece of spring. This steel is strong, it can be sharpened to the state of the blade and it will keep sharpening for a long time. So, we will consider in more detail how to make such an hatchet!
Materials and tools used by the author:
Material List:
- old ax;
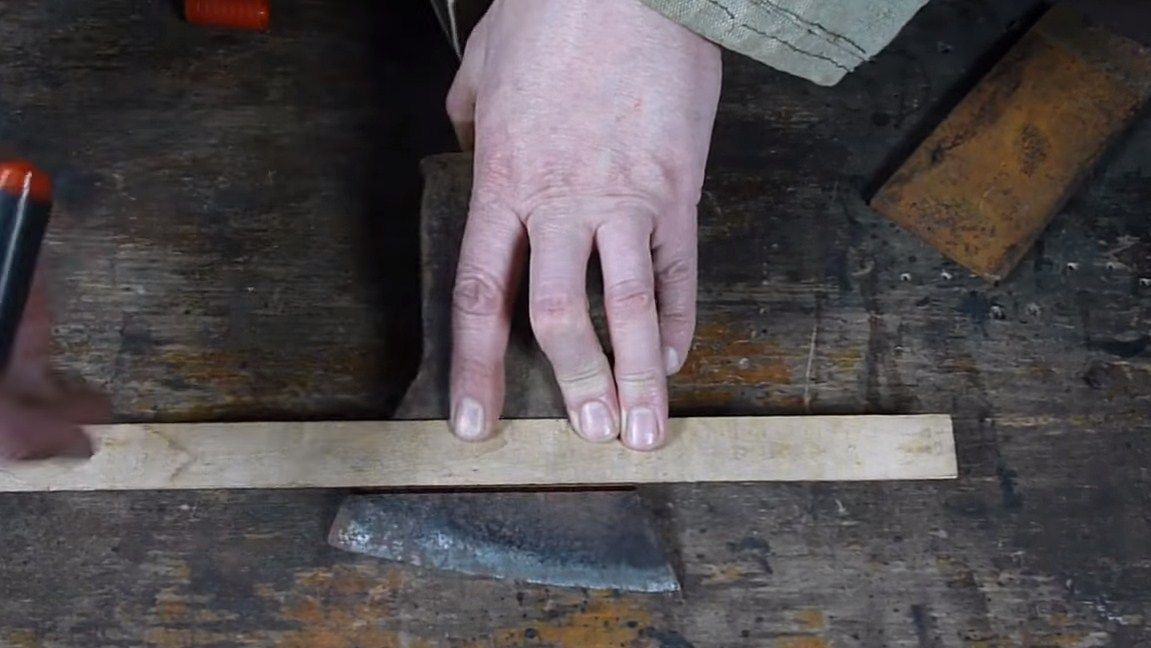
- a piece of spring;
- hatchet (the author of the birch);
- stain (under the oak).
Tool List:
- power supply unit, cotton wool, salt solution, varnish (for etching);
- vise;
- grinder;
- welding machine;
- polishing machine;
- sandpaper;
- a brush for cleaning metal and more.
Ax manufacturing process:
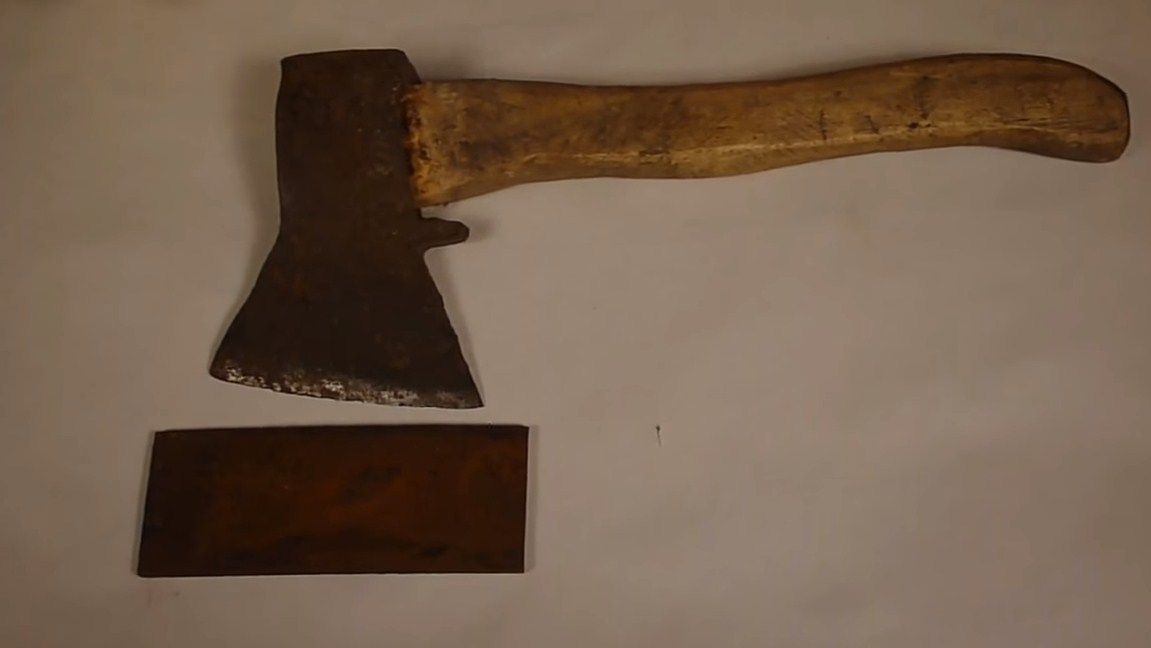
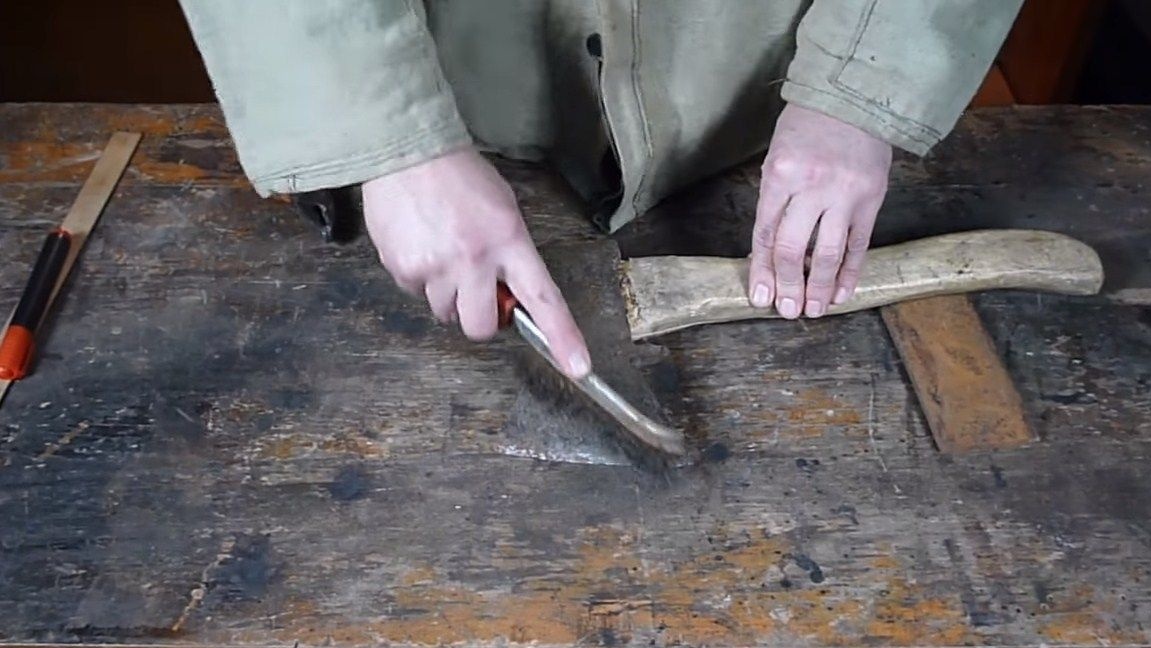
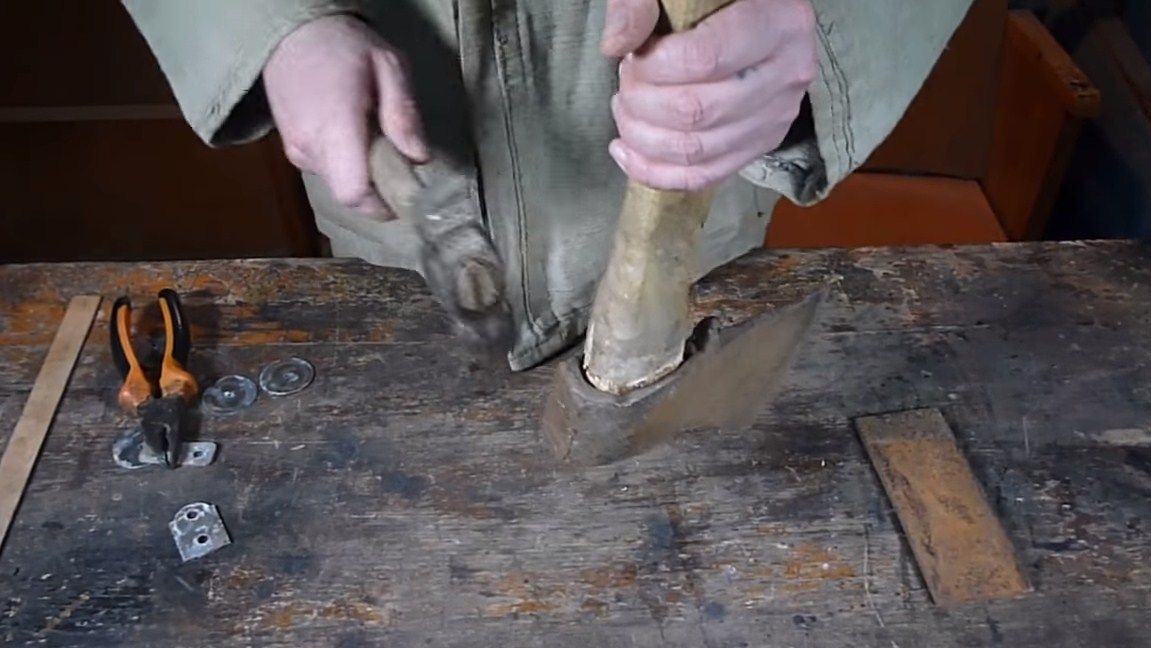
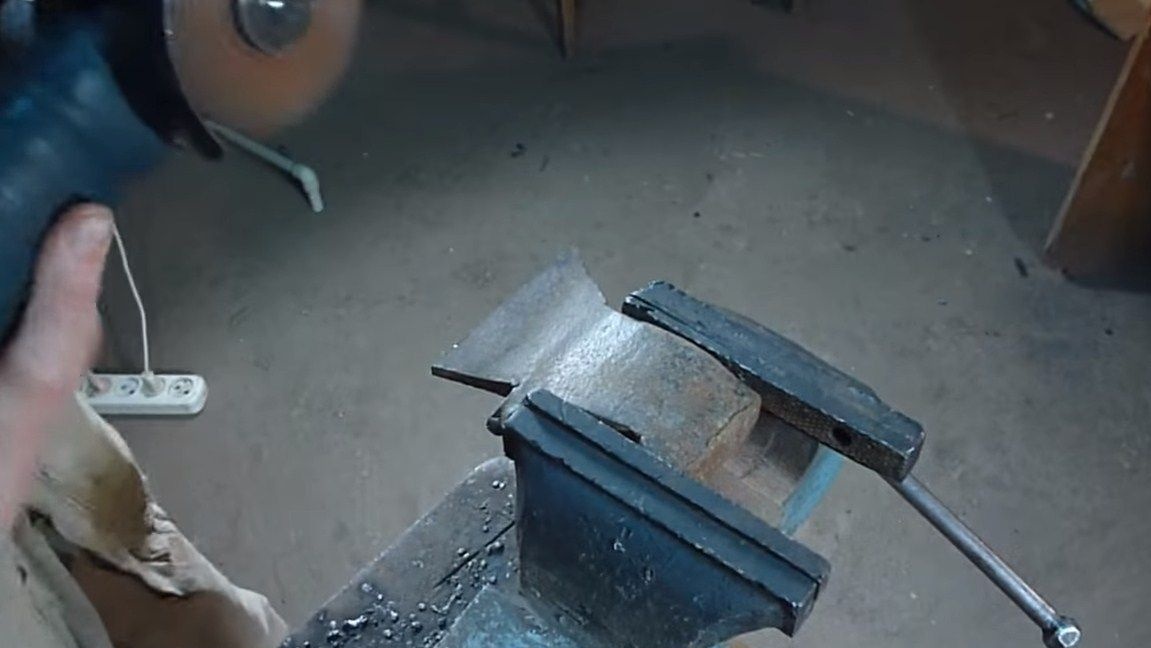
Step one. Prepare the ax
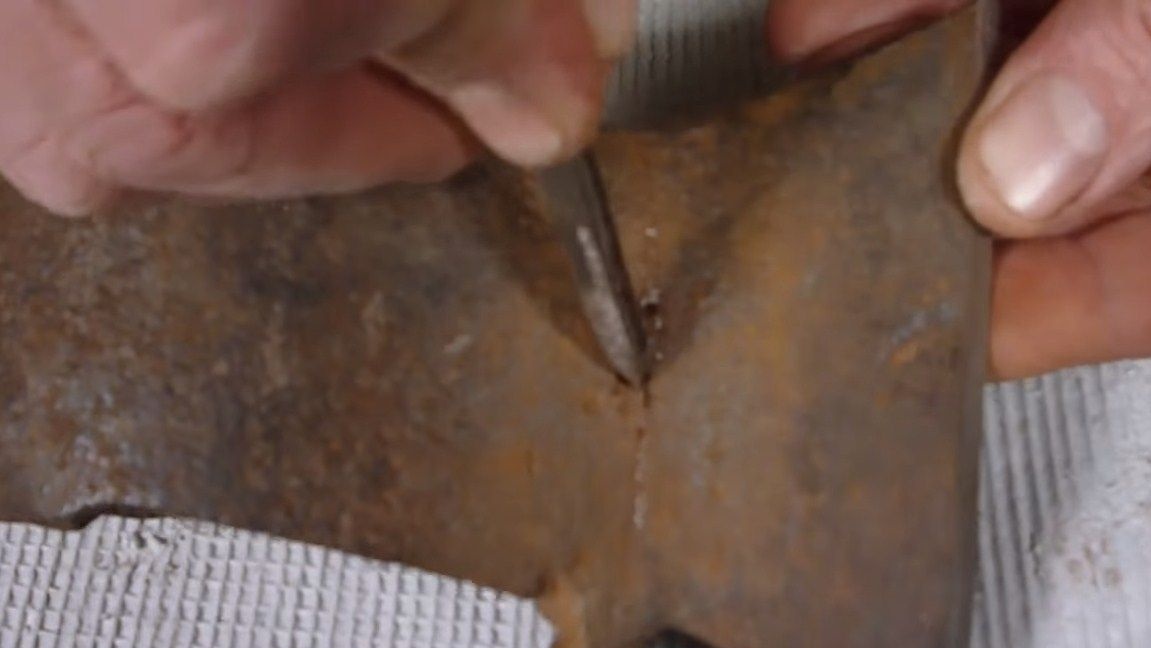
To begin with, we will clean the ax from rust, for this the author used a metal brush. And then we need to remove the ax, we do not need it. We remove the wedges, and then knock the ax off the ax. Inspect the ax for damage. After cleaning, the author found a weld on it, which was of poor quality. Such defects must be cleaned and digested again.
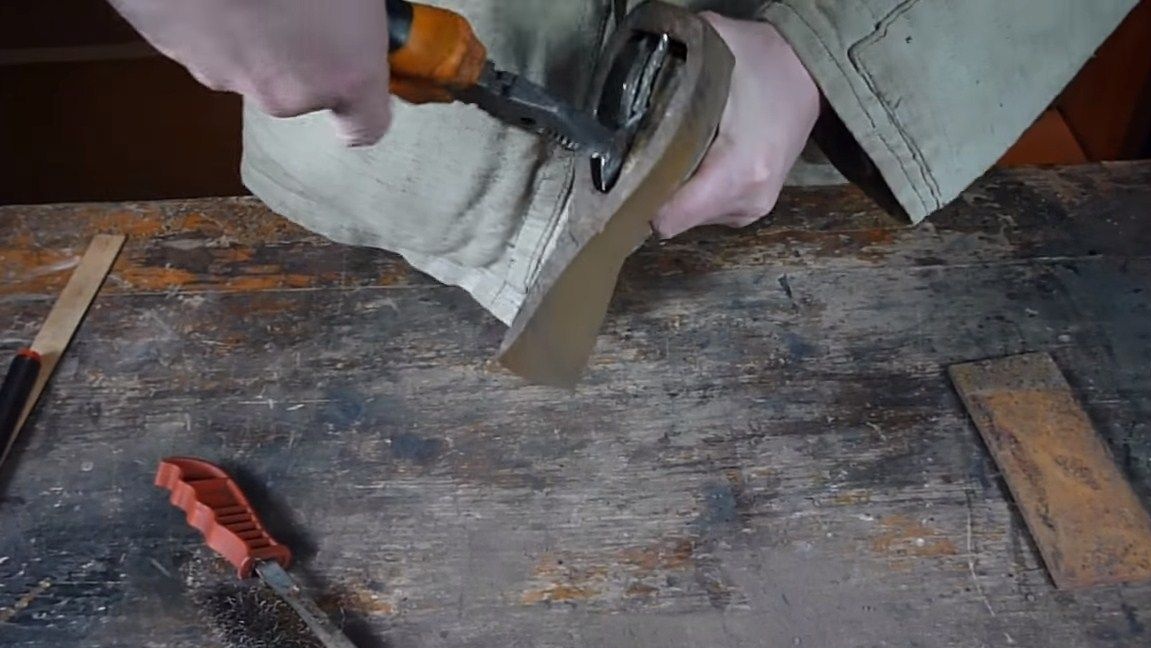

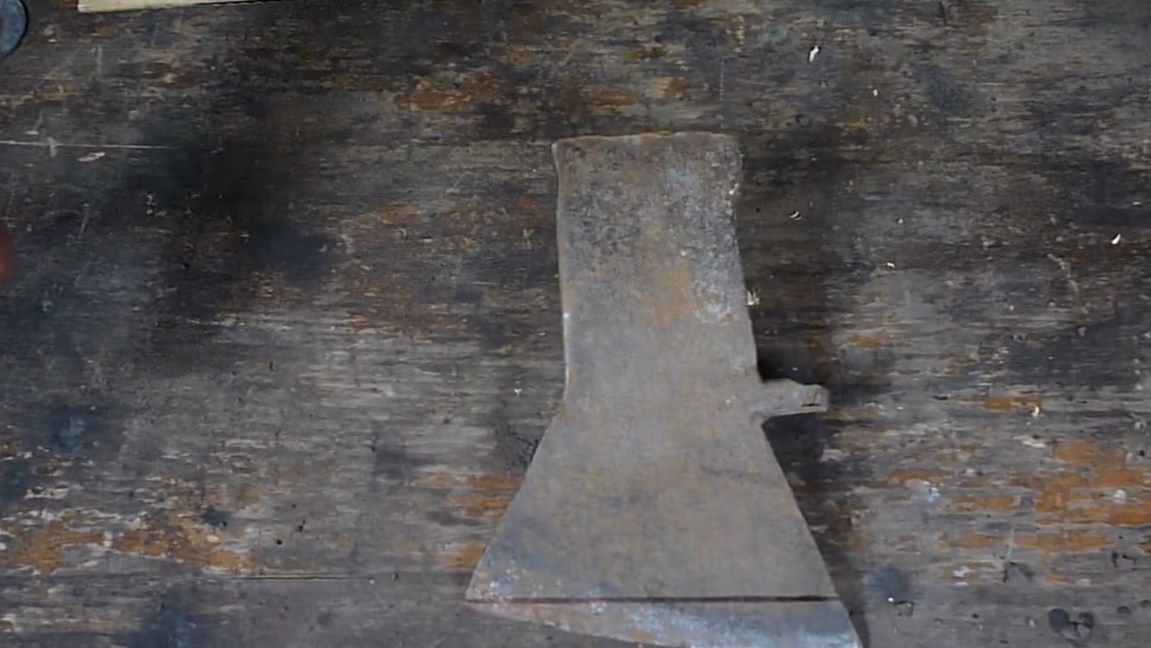
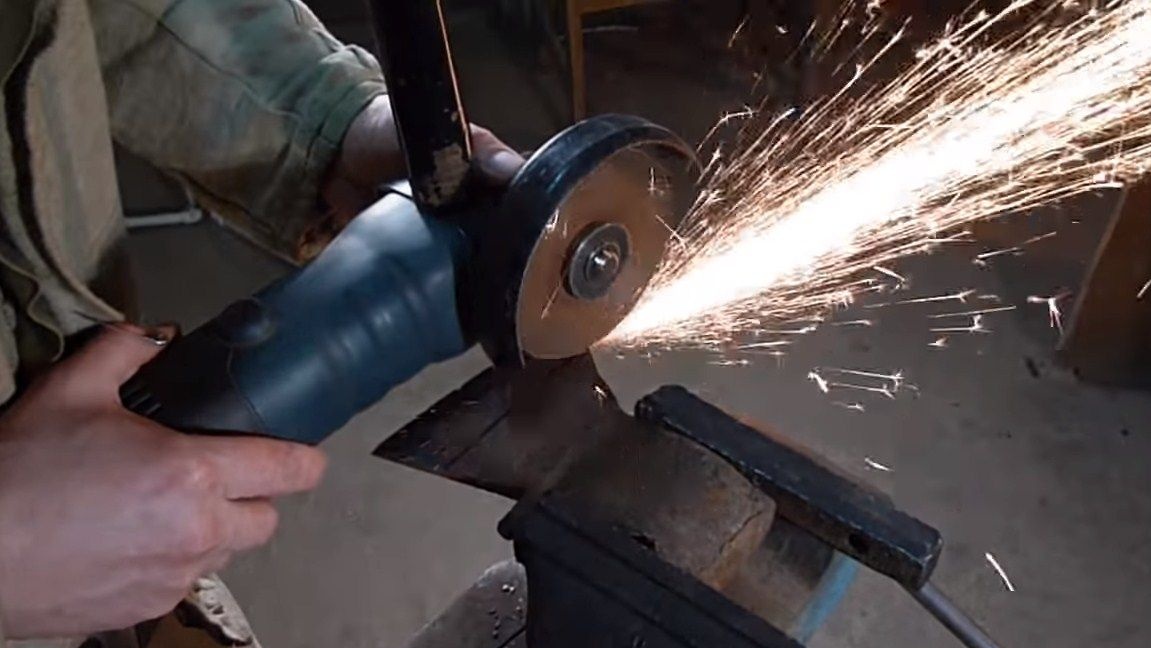
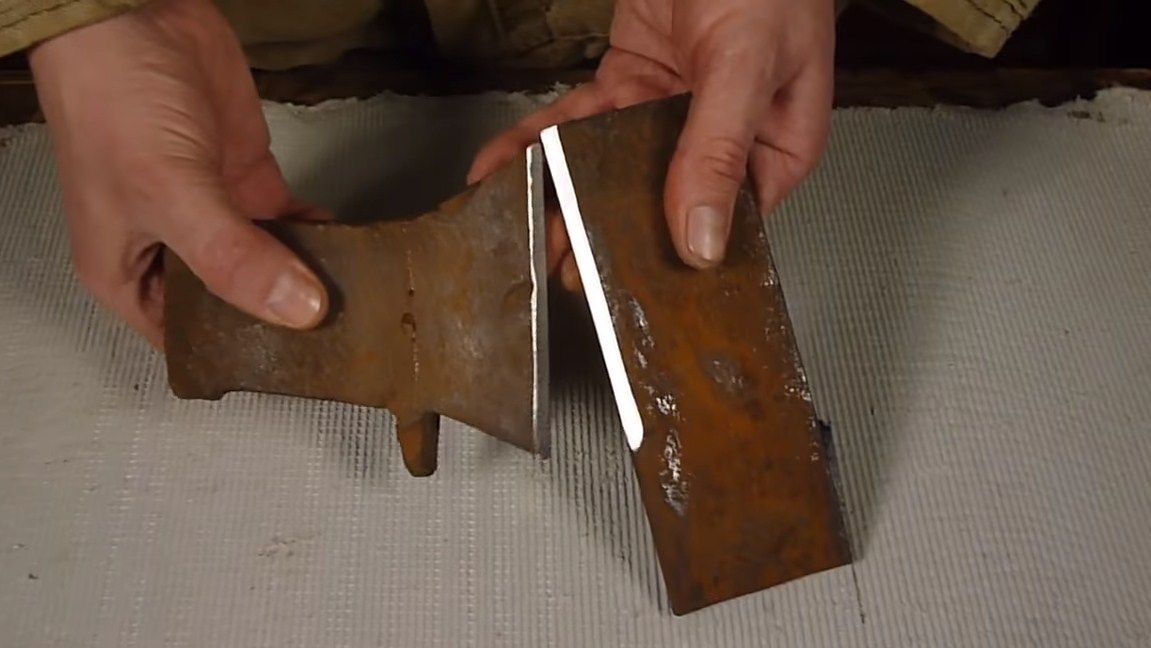
Step Two We cut the ax and prepare for welding
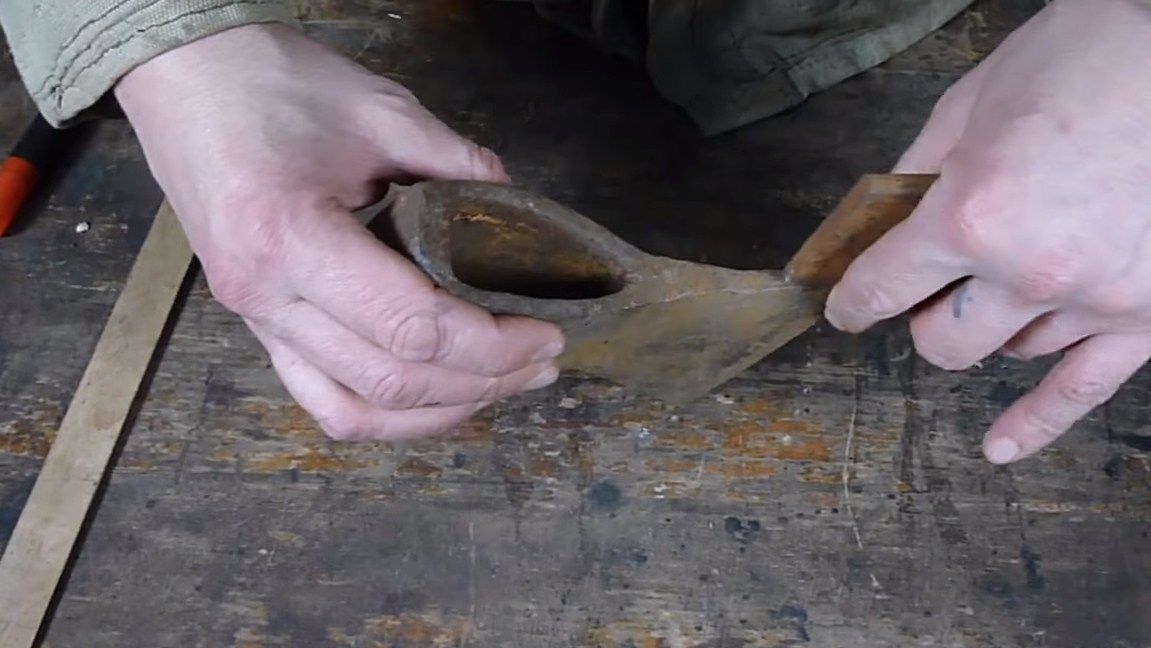
First, mark on the ax the part that needs to be cut. The author’s blade was quite curved, so after cutting it from the ax there would be nothing left. The author decided to weld a piece of the plate onto the ax, which was the spring. This will be the new ax blade.We mark and cut off the excess using a grinder. Well, then we need to remove the chamfers, this will allow us to weld workpieces well with each other. We remove chamfers using a grinder.
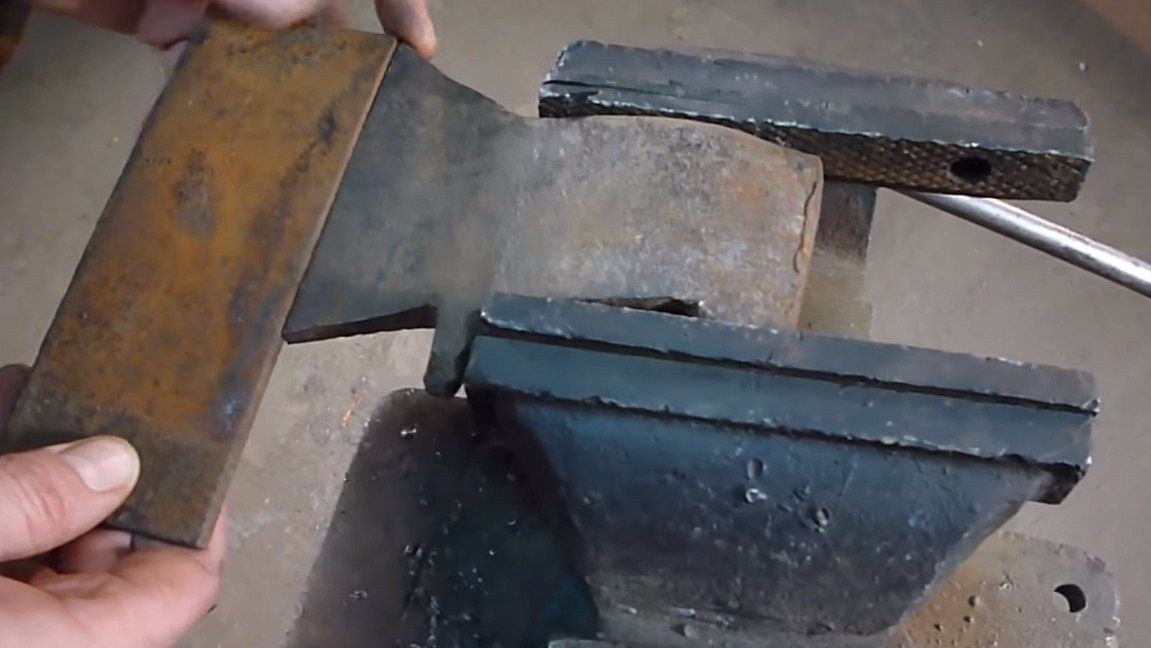

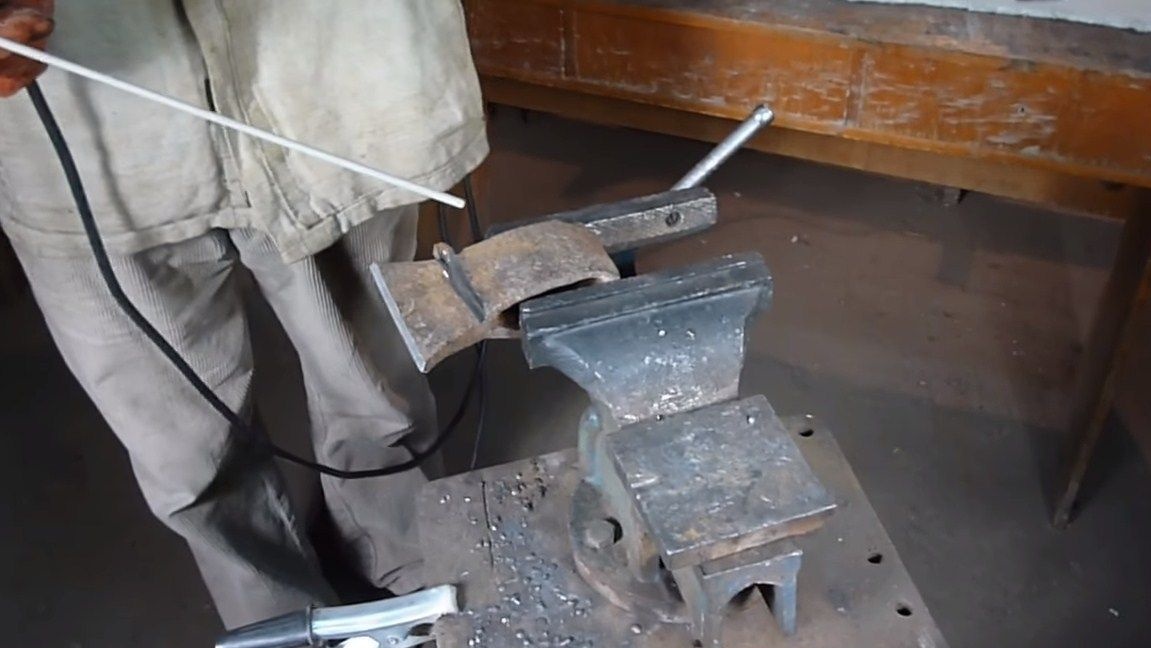
Step Three Welding and stripping
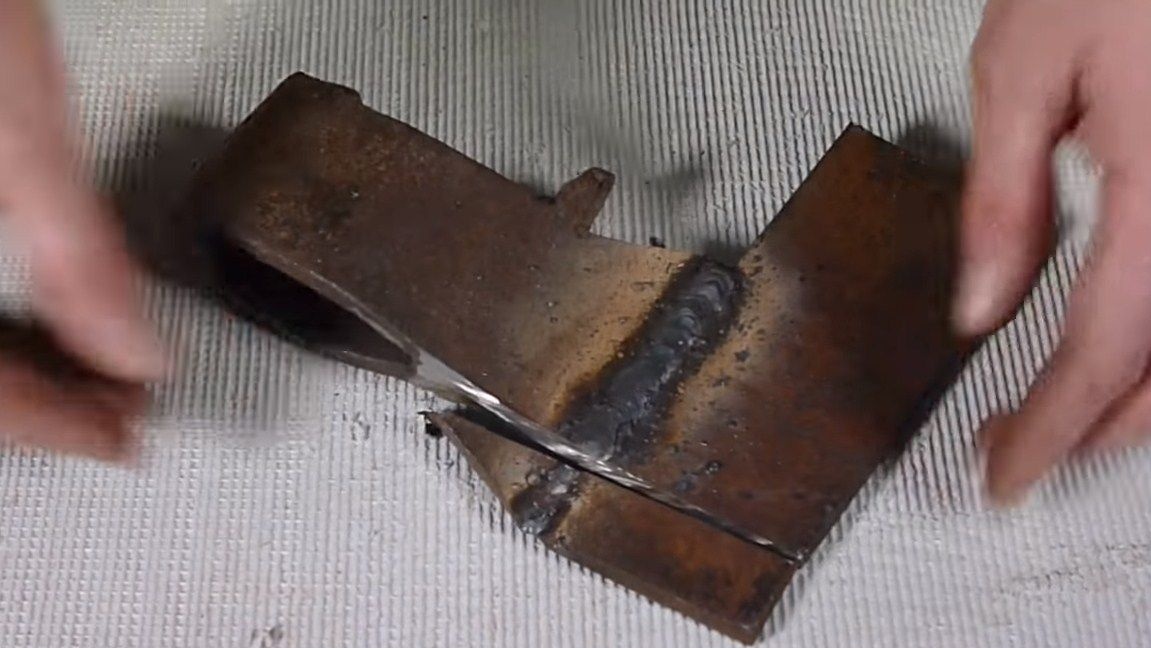
Getting to welding. First we grab the details and check that everything is smooth. Well, then we thoroughly boil the details. Ideally, the metal should become monolithic, then everything will hold on very tightly. The author, as a demonstration, cut off a piece of an ax to show how the items were boiled.

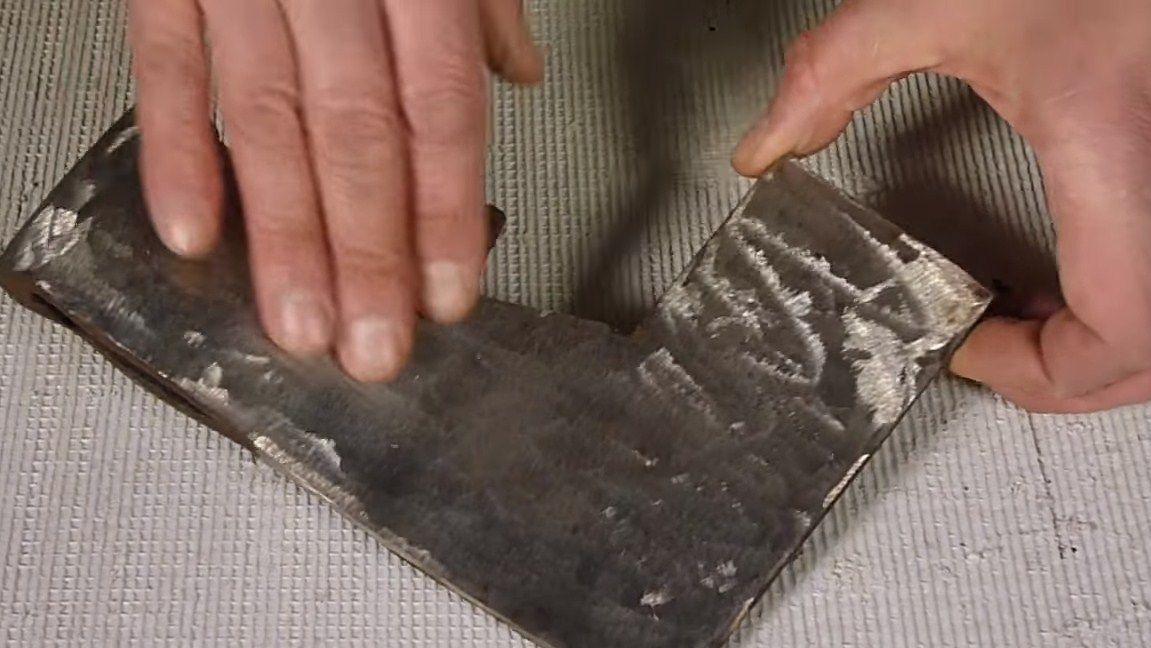
When everything is ready, we proceed to the cleaning of welds. We work as a grinder, on a grinder and so on. We need to hide all the irregularities, the metal should become homogeneous.
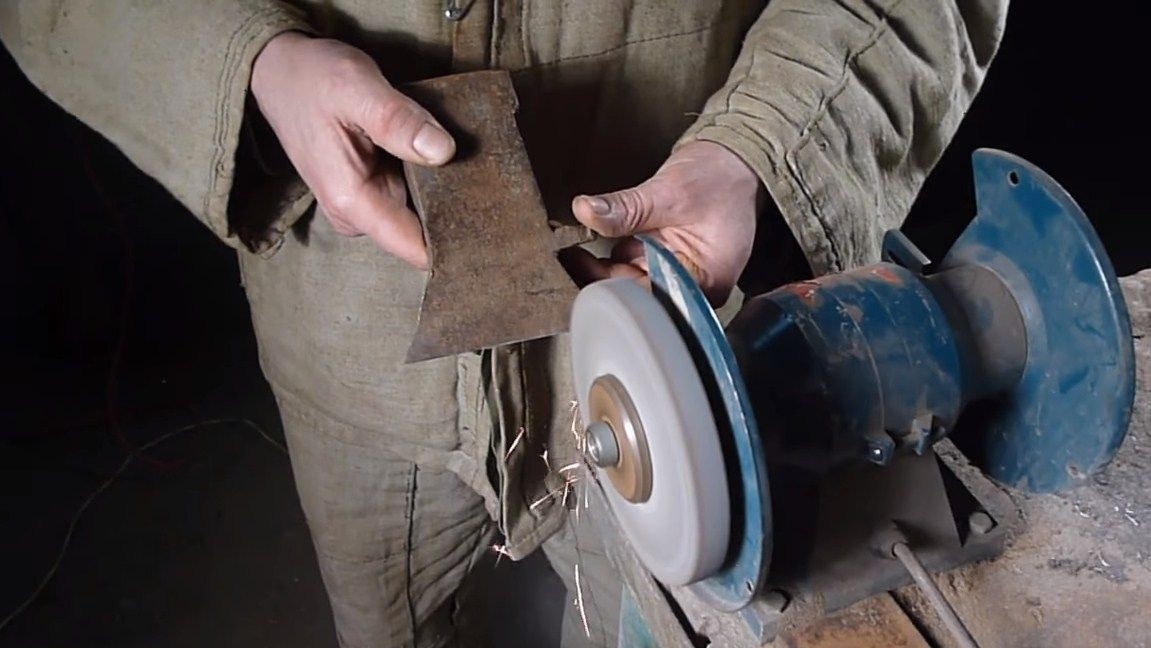
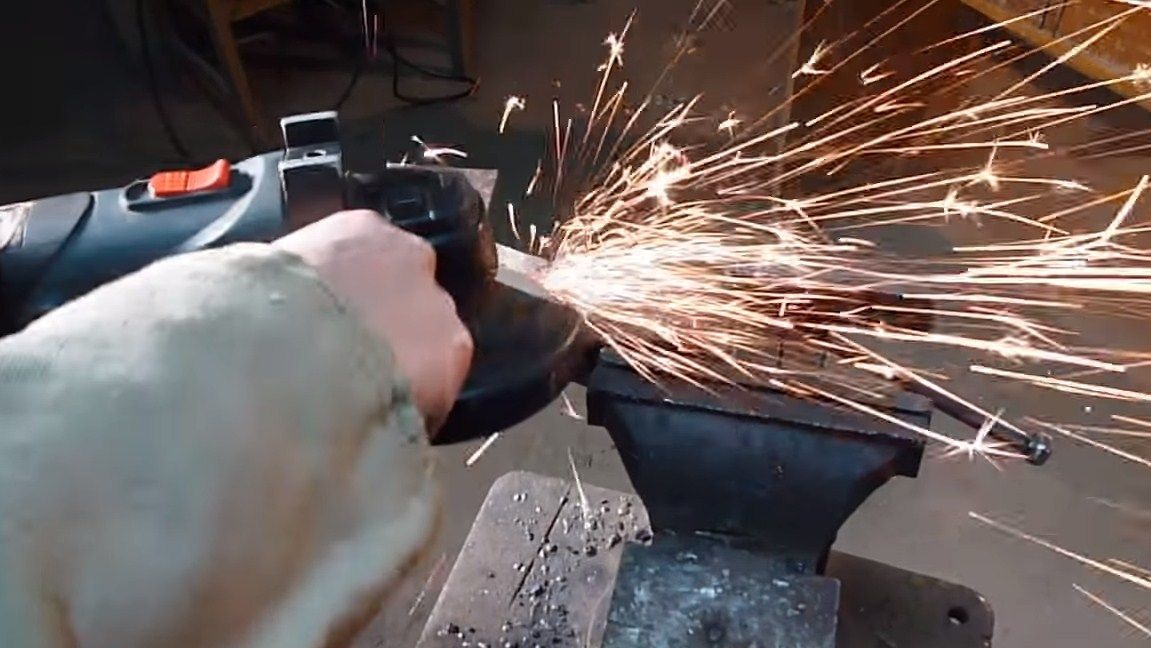
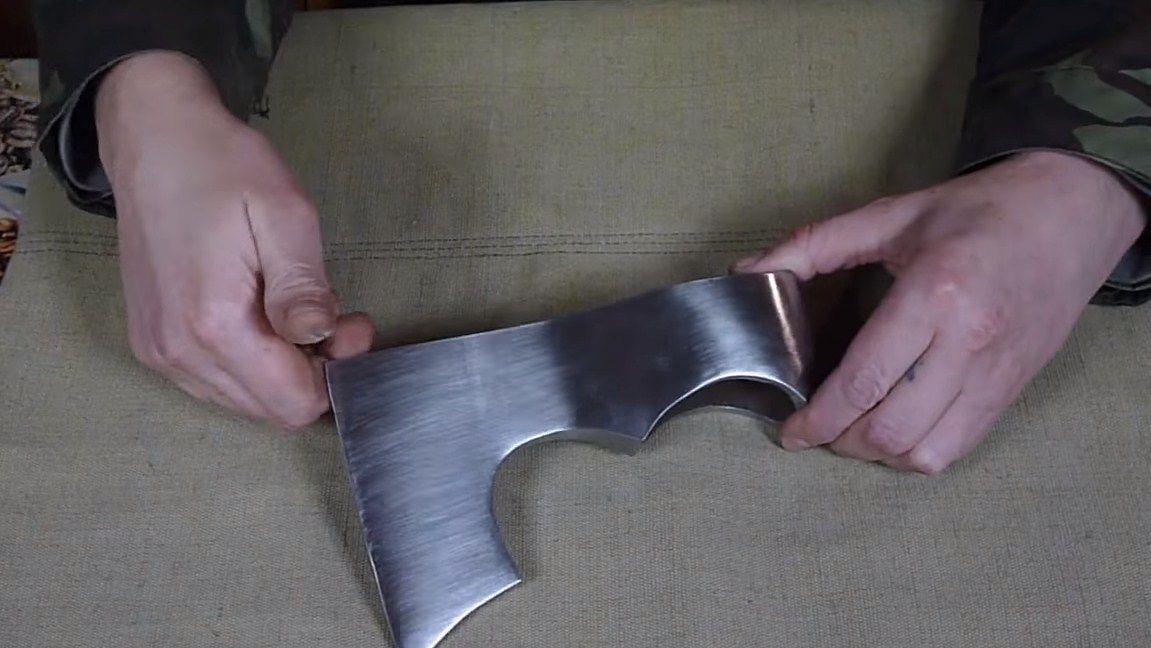
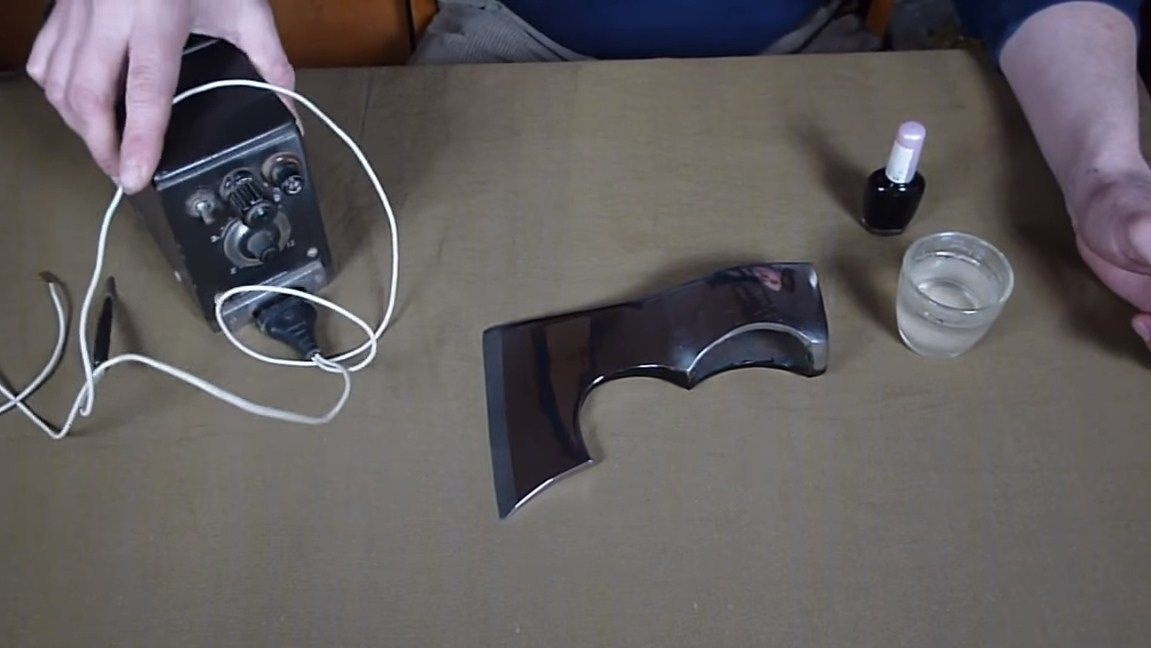
Step Four Grinding and polishing
We proceed to grinding, the author does it manually using sandpaper. Of course, it’s so hard to work, it would be nice to have a belt sander. At the end, we work with fine sandpaper, and as a result, we polish the hatchet on a polishing machine. The author managed to bring it to the state of a mirror.
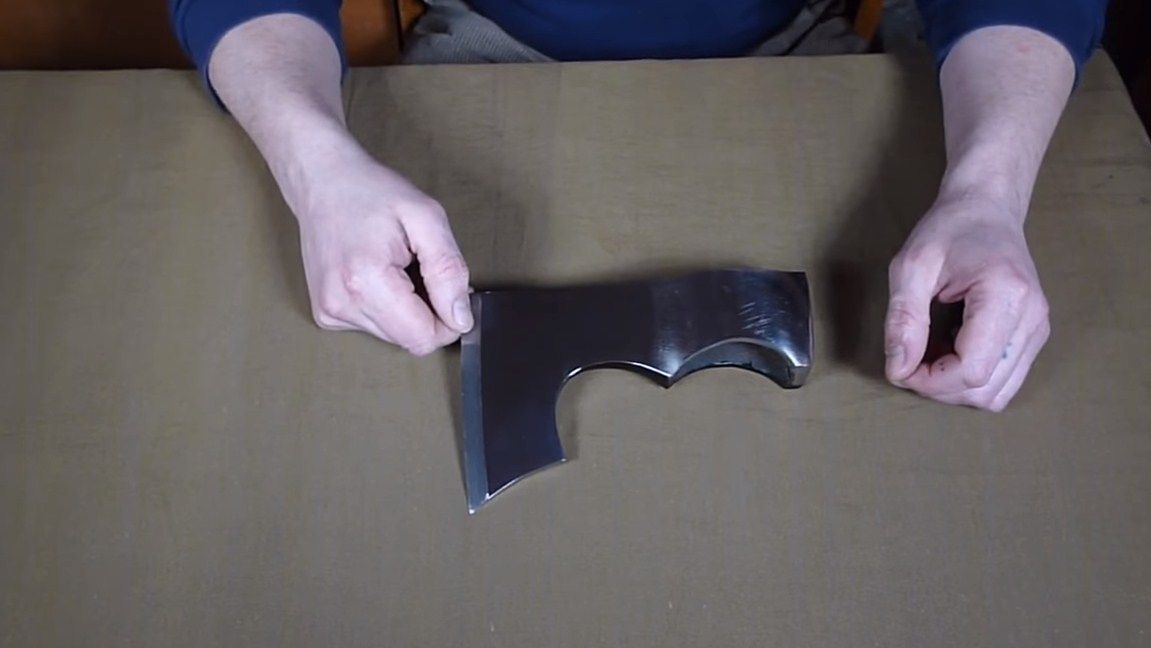
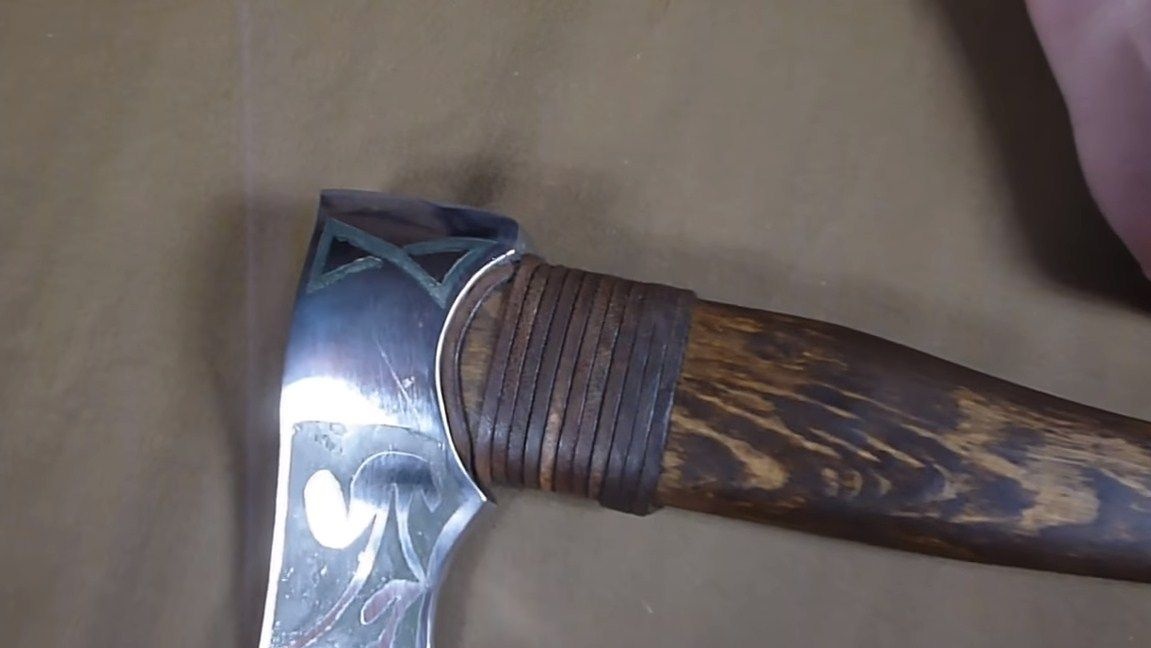
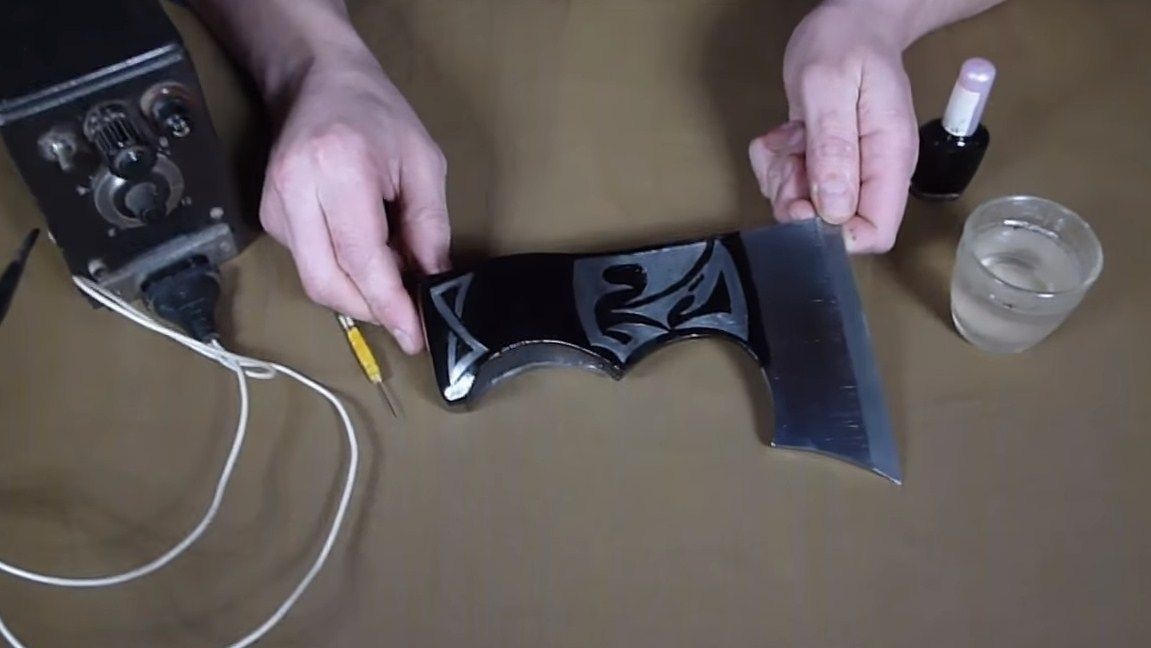
Step Five Etching Pattern
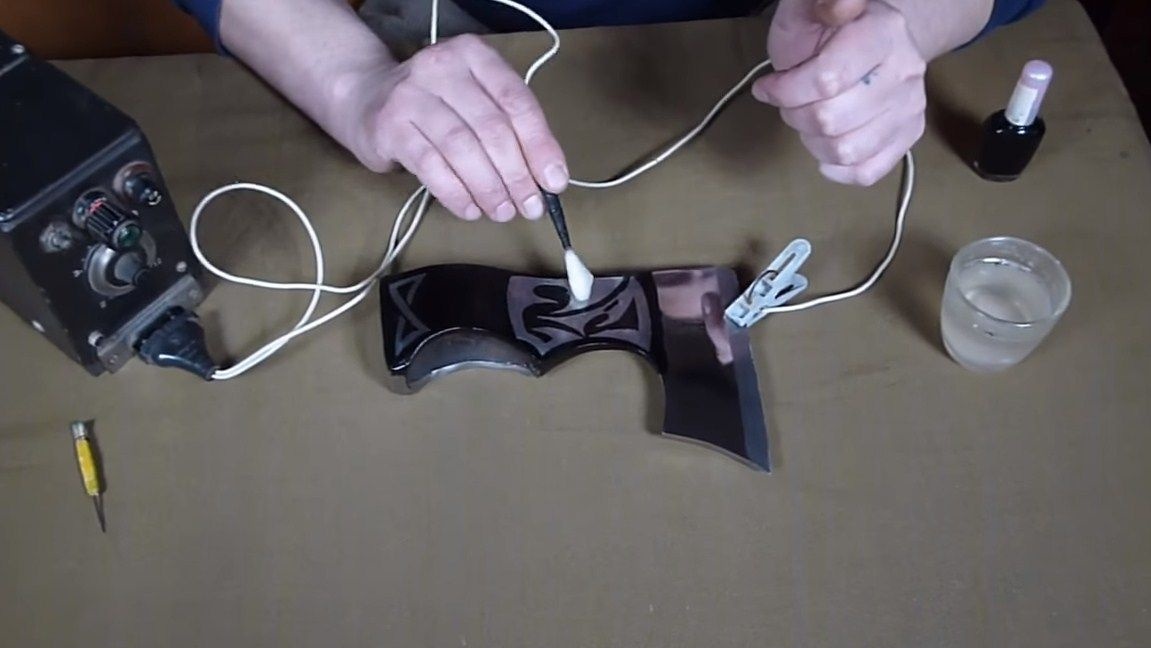
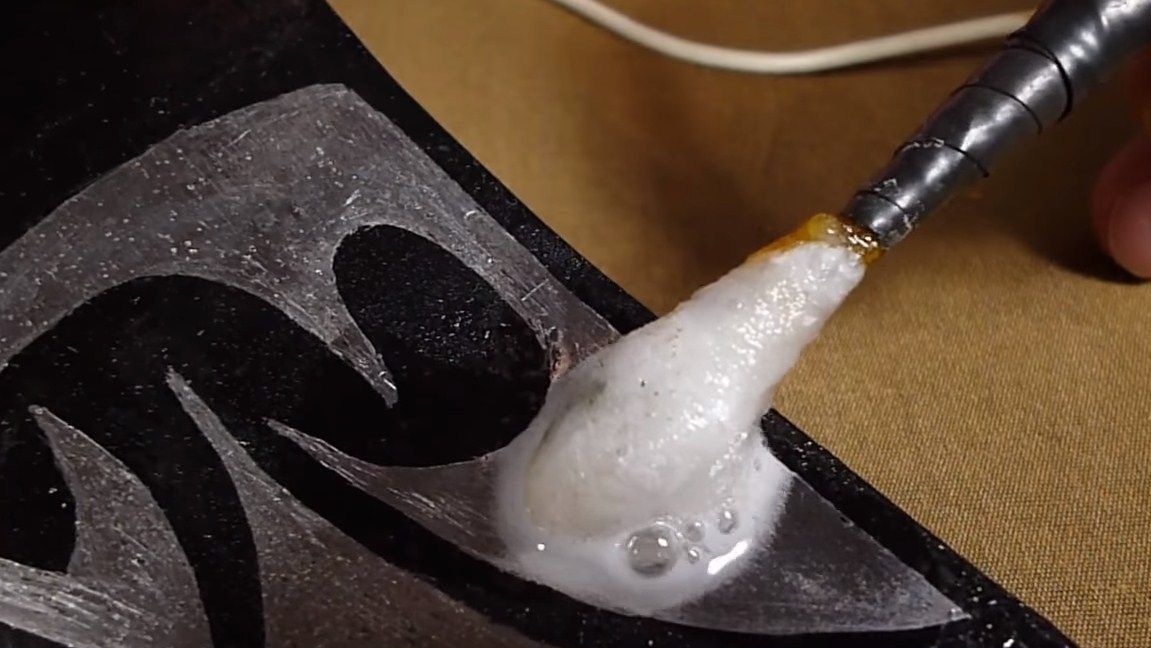
To make the hatchet look interesting, we apply an etching to it. First, paint the surface with varnish; etching will not occur in these places. And then with the help of a needle we scratch the varnish, thereby applying a drawing. Where the metal is without varnish, etching will occur. Next, we take a 12V power supply or similar, and we also need cotton wool and a solution of water with salt. The minus is fed to the ax, and on the second contact we wind the cotton wool and wet it in salt water. The salt concentration should be maximum. Carefully drive with a cotton swab along the ax, etching occurs at the point of contact. Vata will need to be changed from time to time. Do not breathe these vapors, they are toxic and plus explosive.
Step Five Collect hatchet
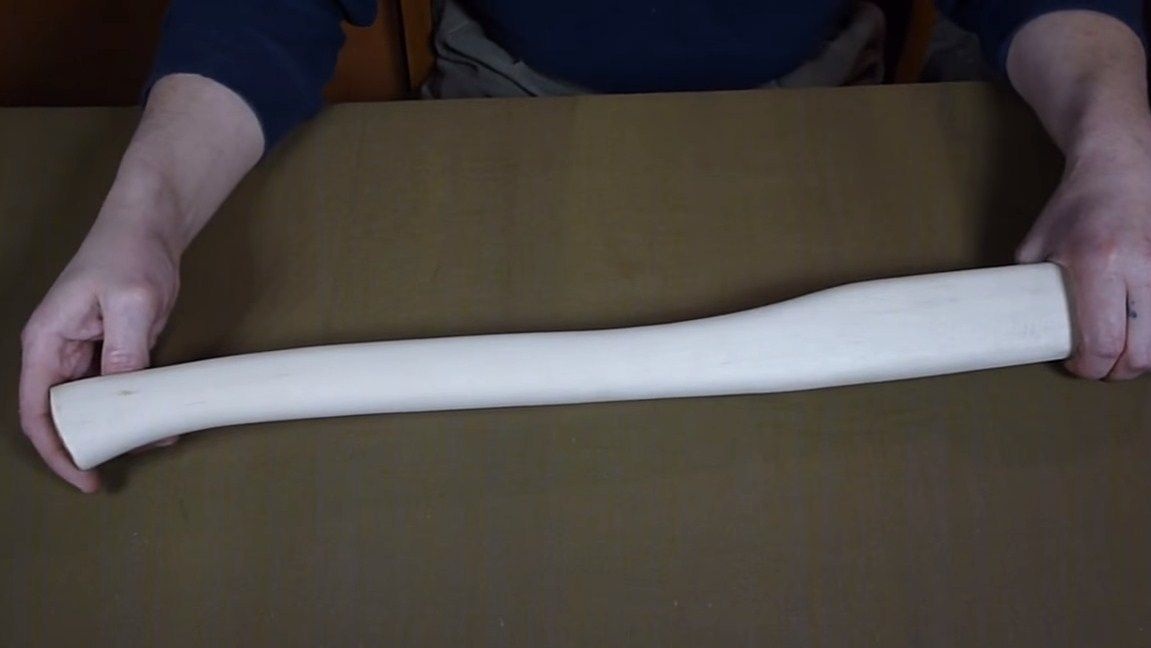
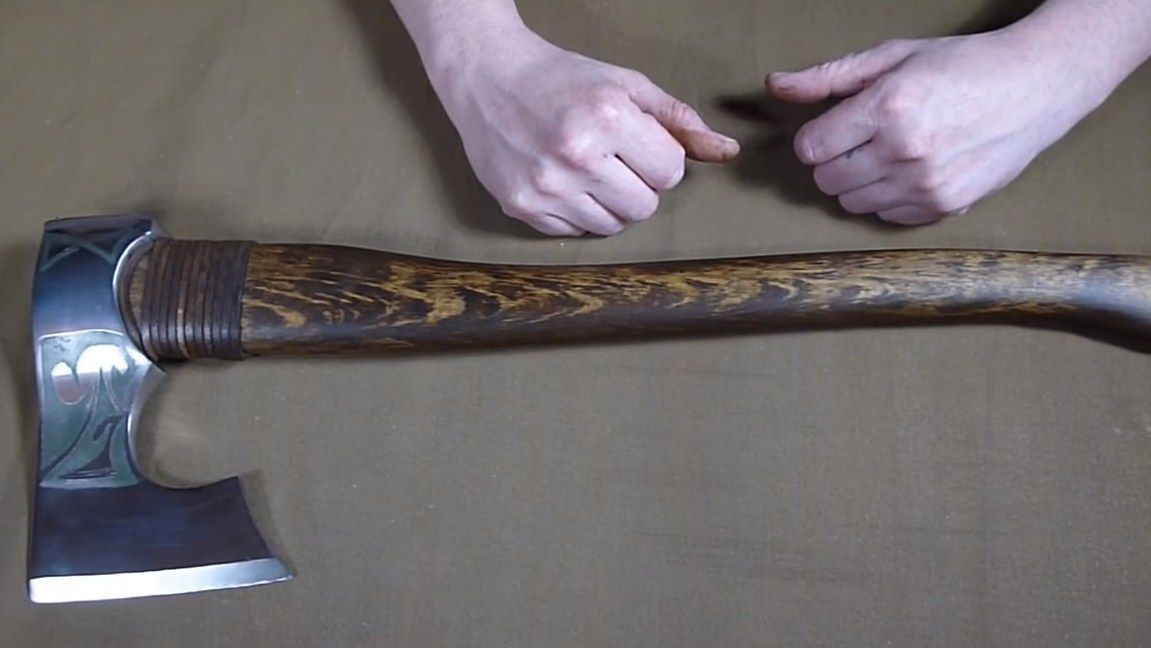
The author used an ax made of birch as a pen. Of course, an ax made of oak would look good, but this wood is fragile and does not fit. To mask snow-white birch wood by oak, the author impregnated it with stain. Everything turned out pretty pretty. If you wish, you can also thread on the handle or decorate it in some other way.
Hammering the handle is best with PVA glue or any other carpentry. Experience shows that the pen lasts much longer.
That's all, the project is over, I hope you liked it. Good luck and creative inspiration, if you want to repeat it. Do not forget to share your homemade with us.