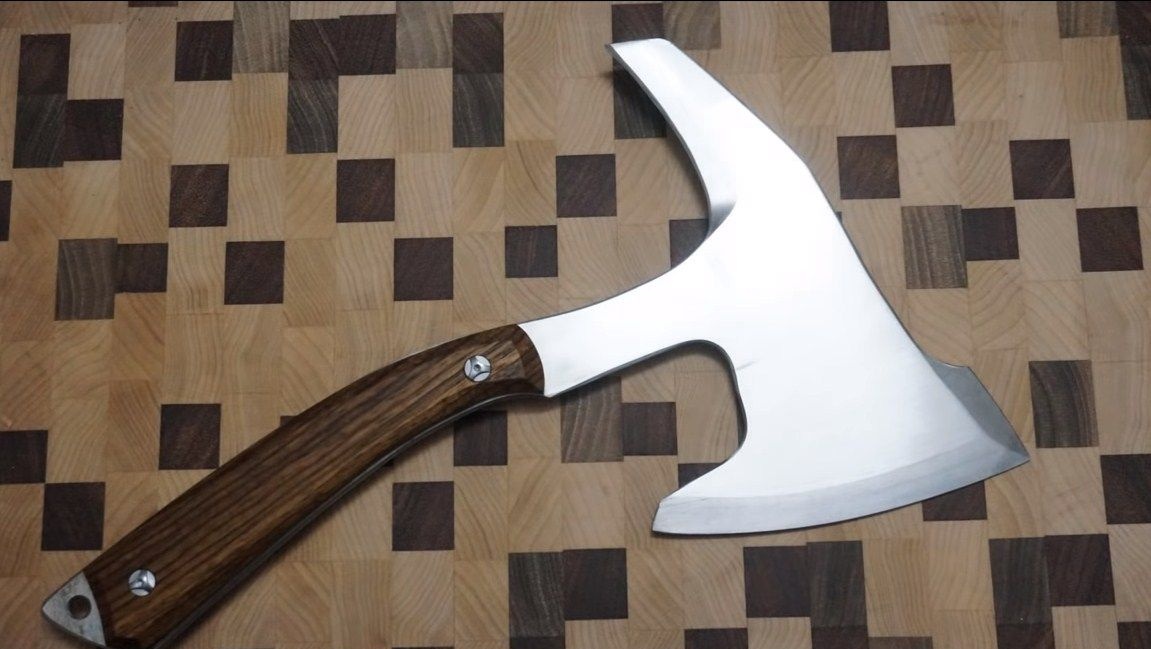
Hello everyone, I present to you an interesting tactical hatchet that you can make do it yourself! With this ax, you can chop, cut or even plan, thanks to three cutting planes. With this hatchet you can chop bones, engage in woodcarving and much more. Looks homemade quite beautiful, such an ax is useful in everyday life, and on fishing, and hunting, as well as in tourism.
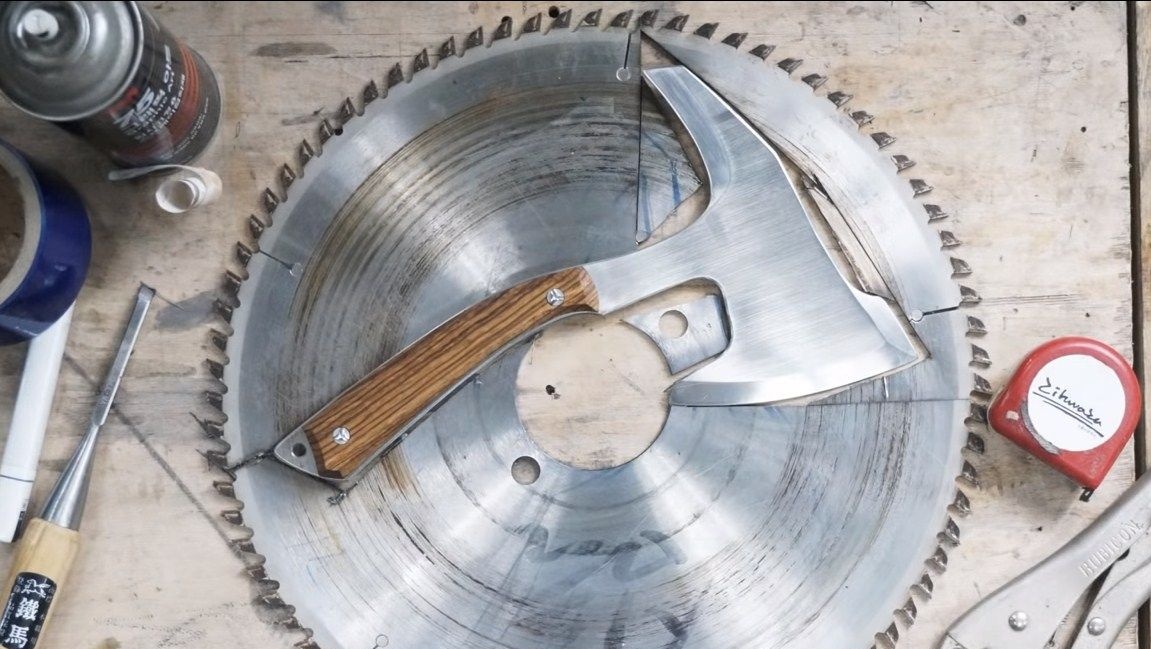
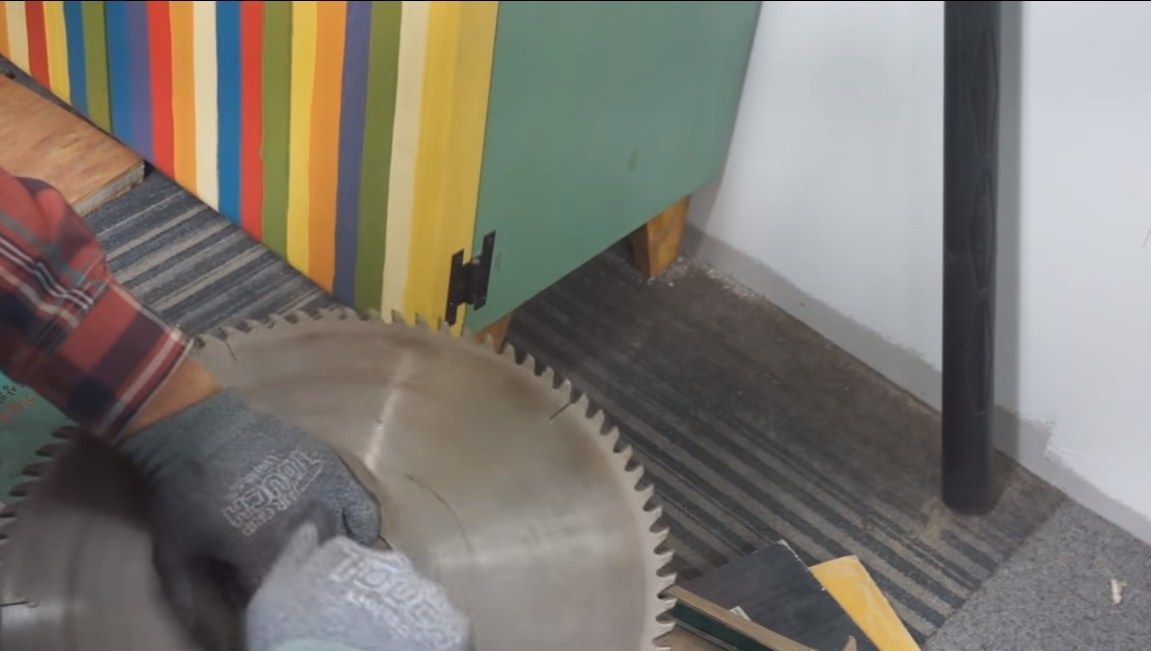
For the manufacture of homemade, the author used a saw blade. The peculiarity of this metal is that it is already hardened and has a fairly high strength, which is enough to make a hatchet. We will make an ax without hardening and heat treatment in general. In manufacturing, the most important thing is not to overheat the cutting zone of the ax, otherwise the metal will become soft here and it will have to be tempered again. So, we will consider in more detail how to make such an hatchet!
Materials and tools used by the author:
Material List:
- saw blade;
- wood for linings;
- screws with nuts (instead of pins and glue).
Tool List:
- grinder;
- tape cutting saw;
- belt sander;
- drill;
- clamps;
- sandpaper;
- a drilling machine (with a drill for hard steel);
- paper, scissors, drawing accessories.
Hatchet manufacturing process:
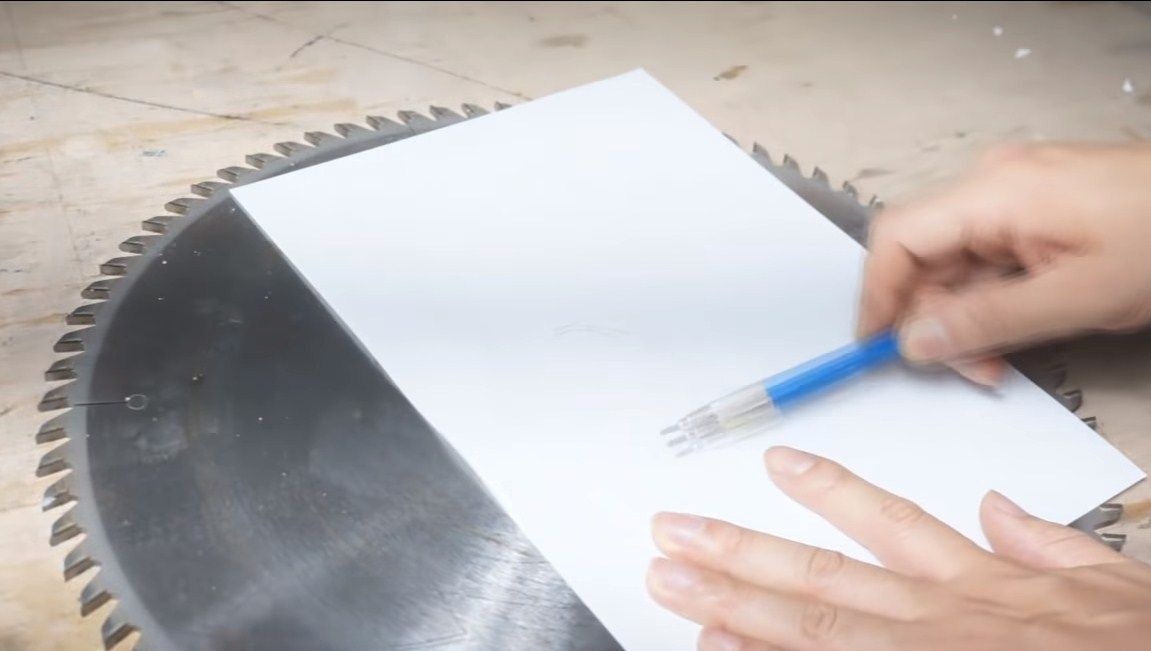
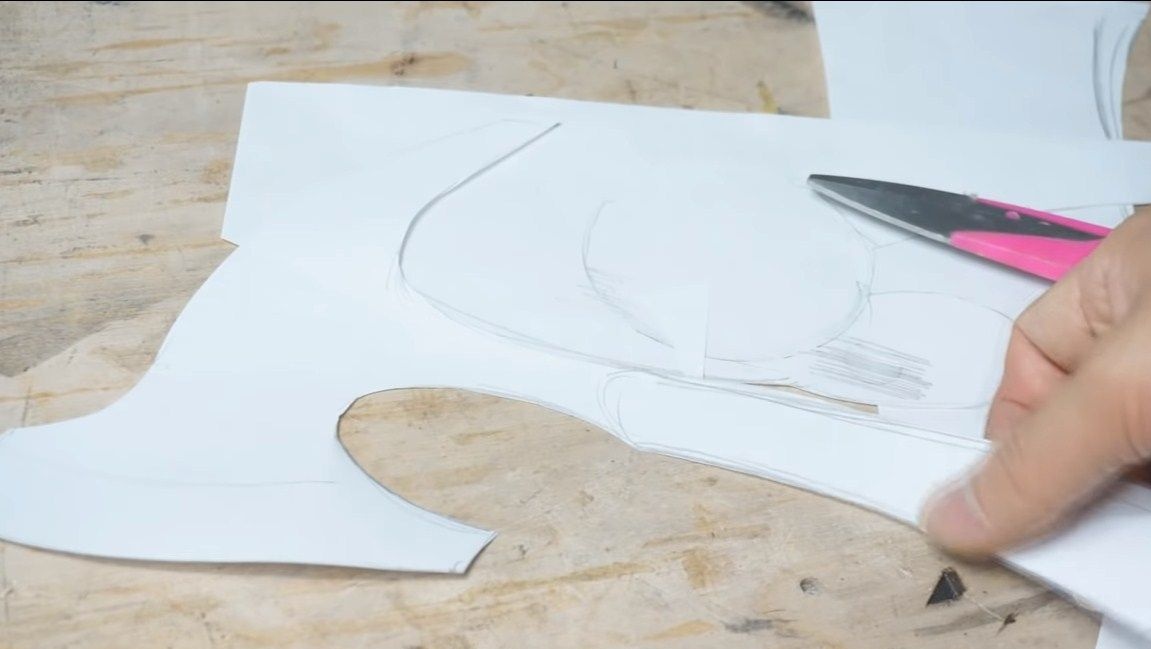
Step one. We make a template
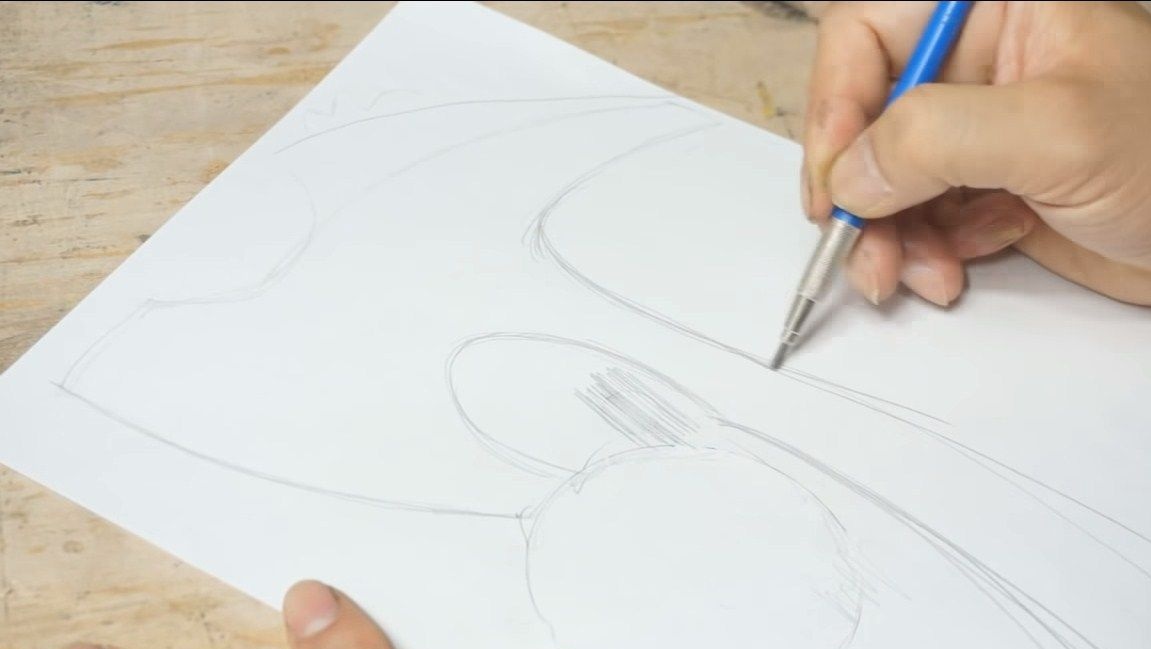
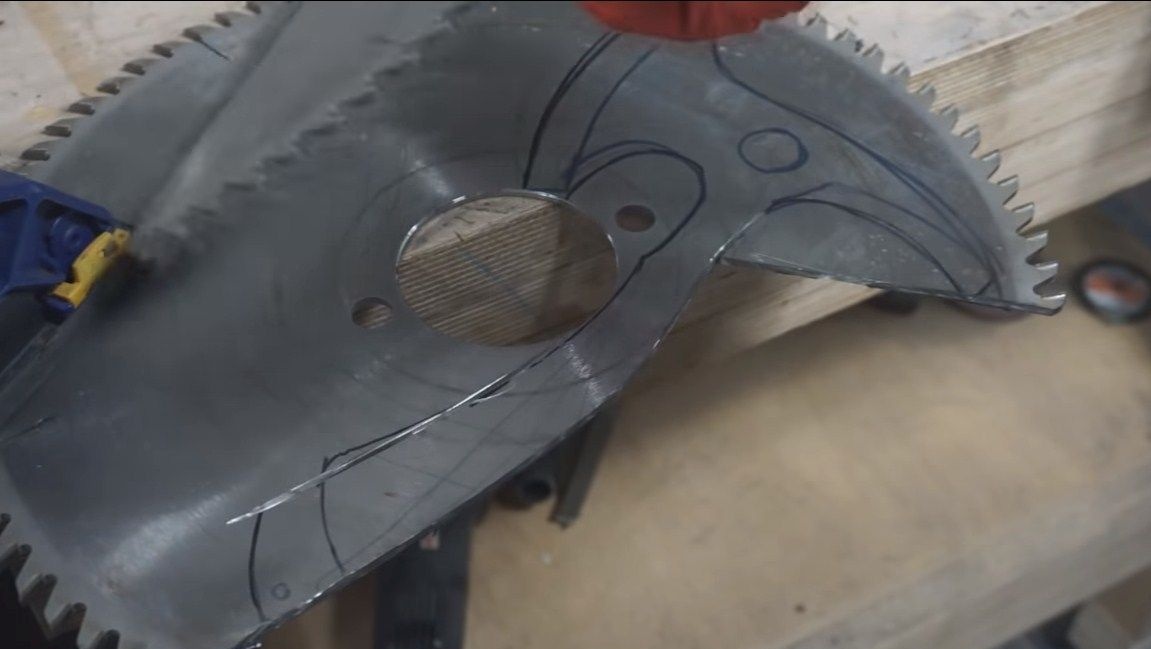
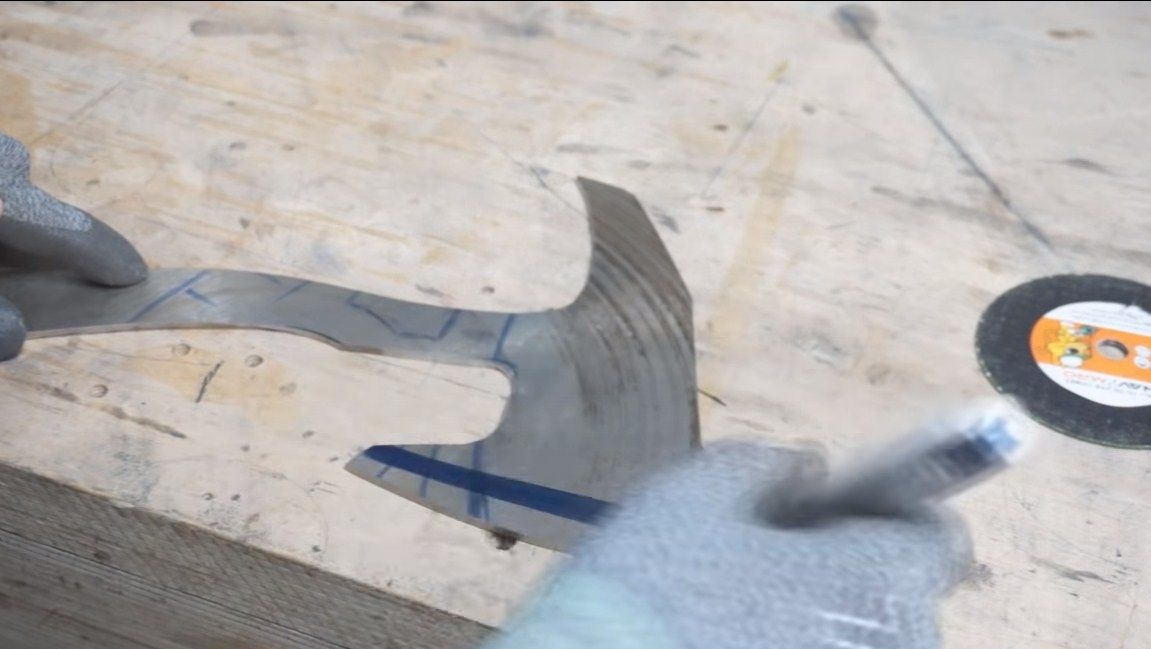
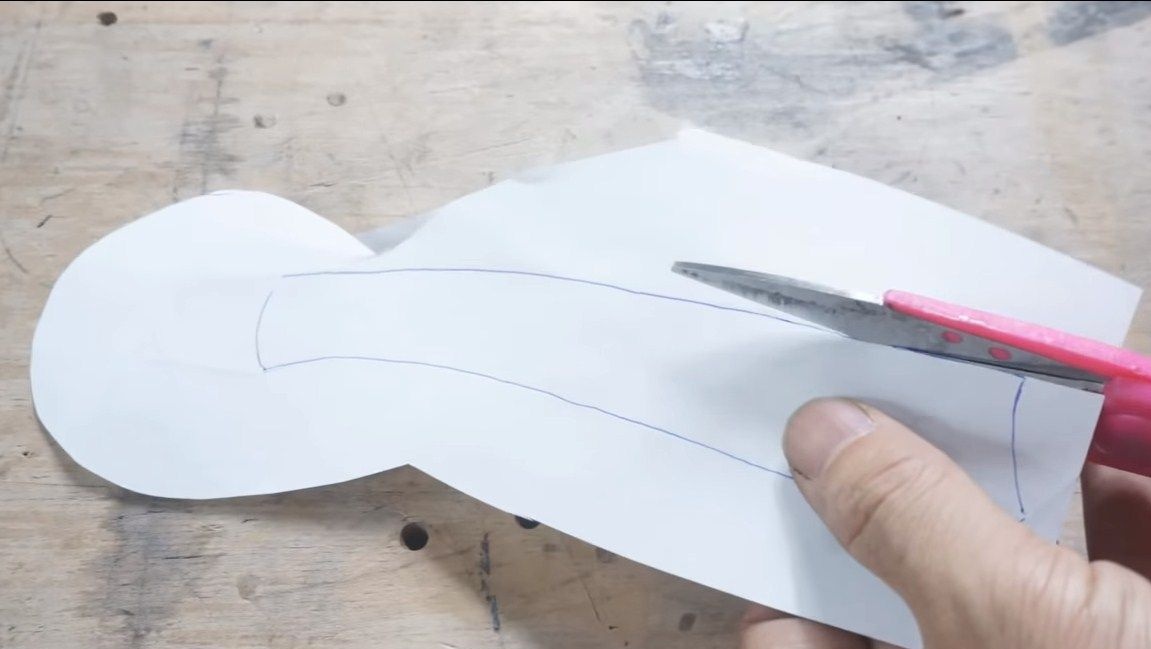
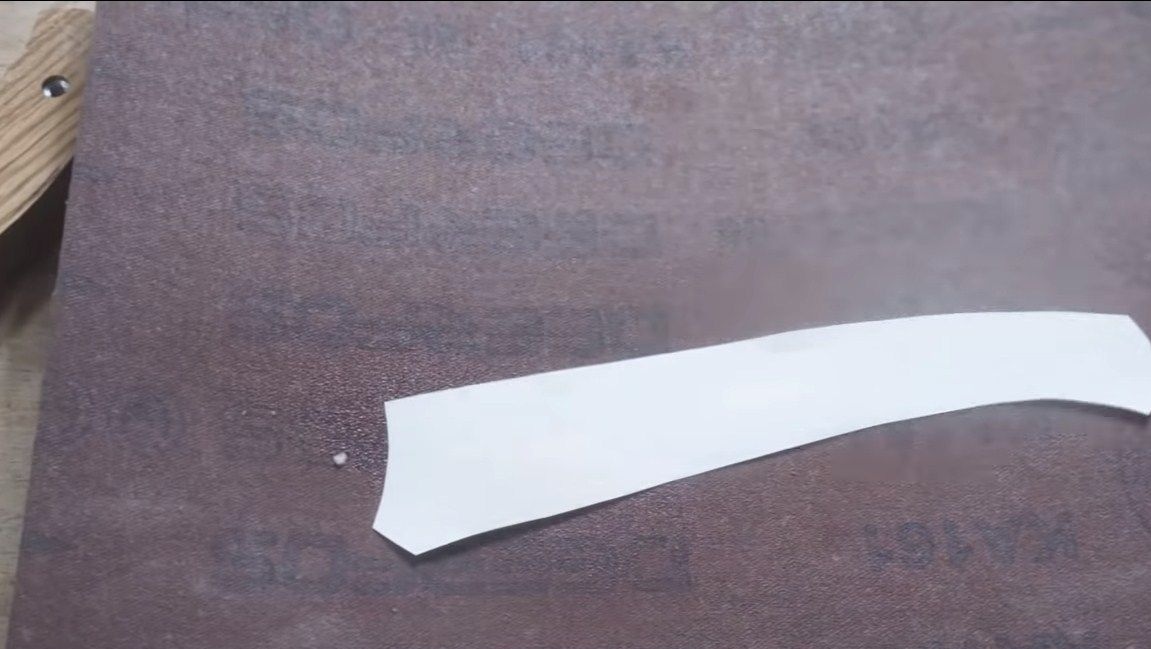
To begin with, we will deal with the design of the hatchet, for this we need paper. The author applies paper to the saw blade and draws an ax model on the eye. You can come up with your own unique design. Remember that the hatchet must be heavy, then it will be good to chop. The author has three cutting parts on an ax.
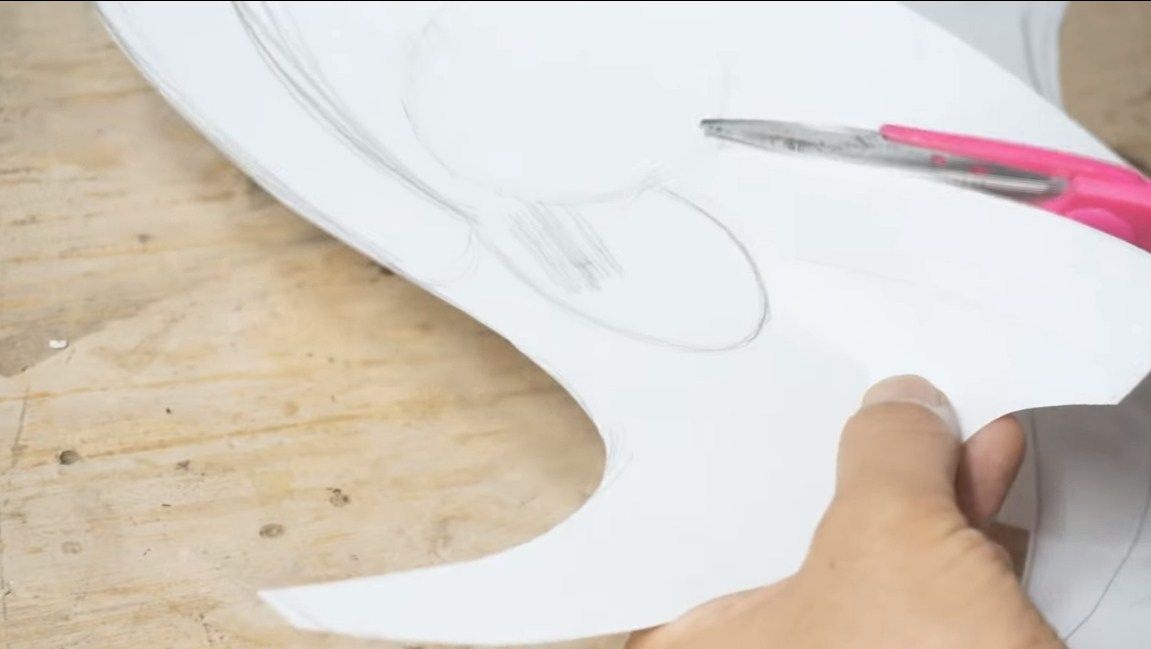
When you are finished with the drawing, the project can be cut with scissors, as a result, we have an excellent template.
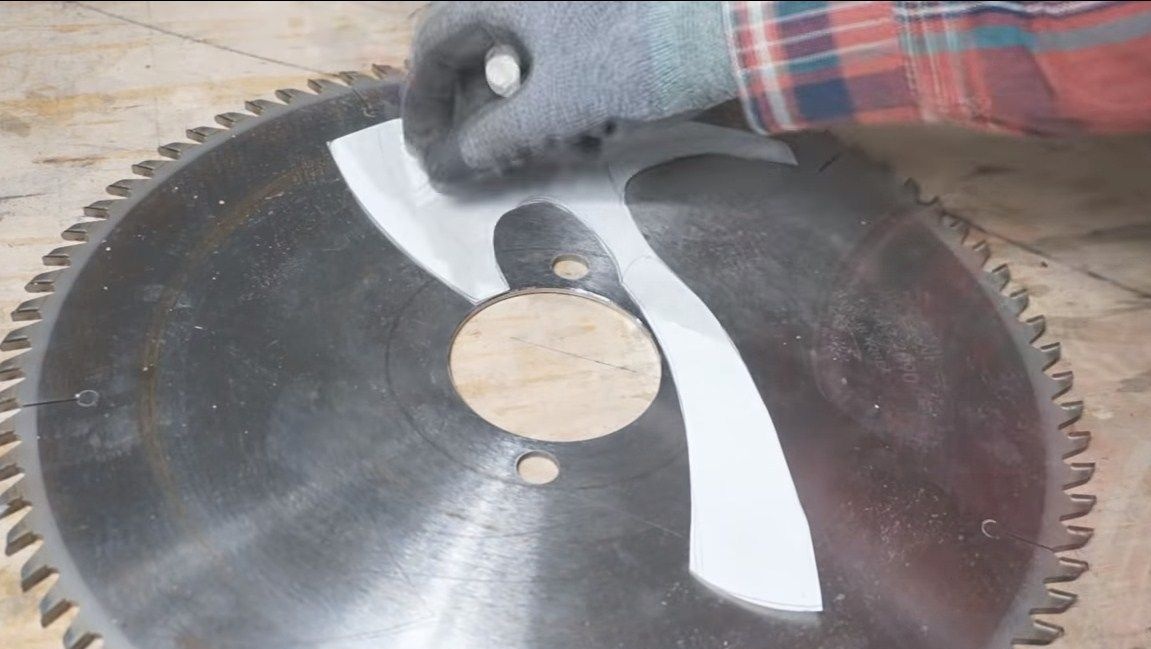
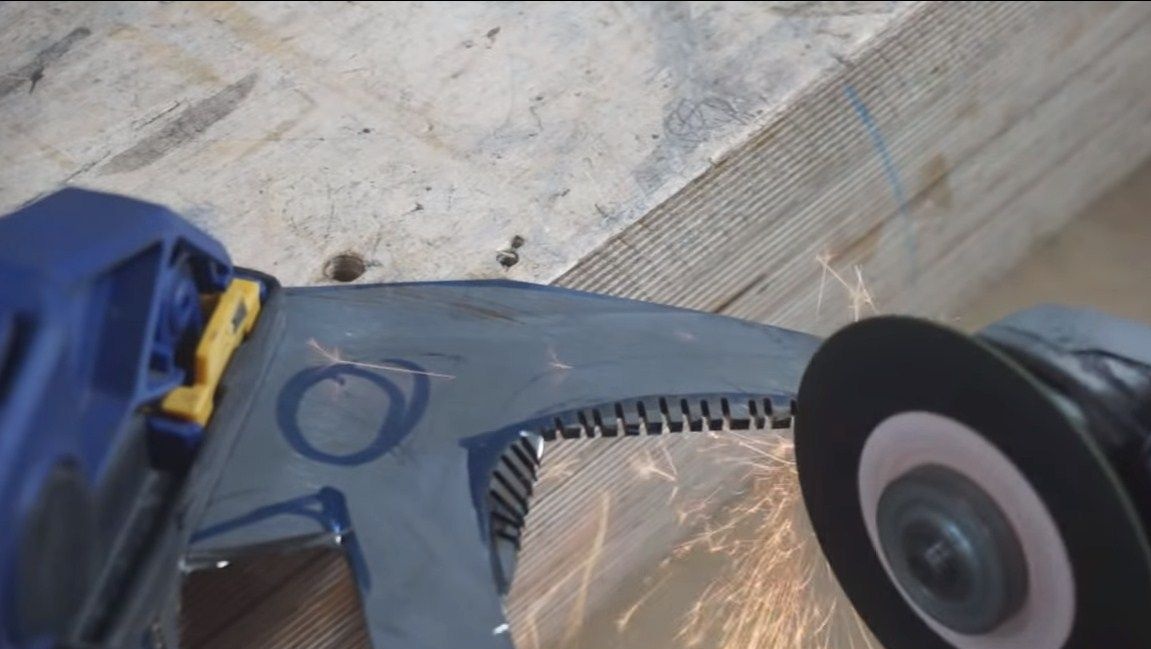
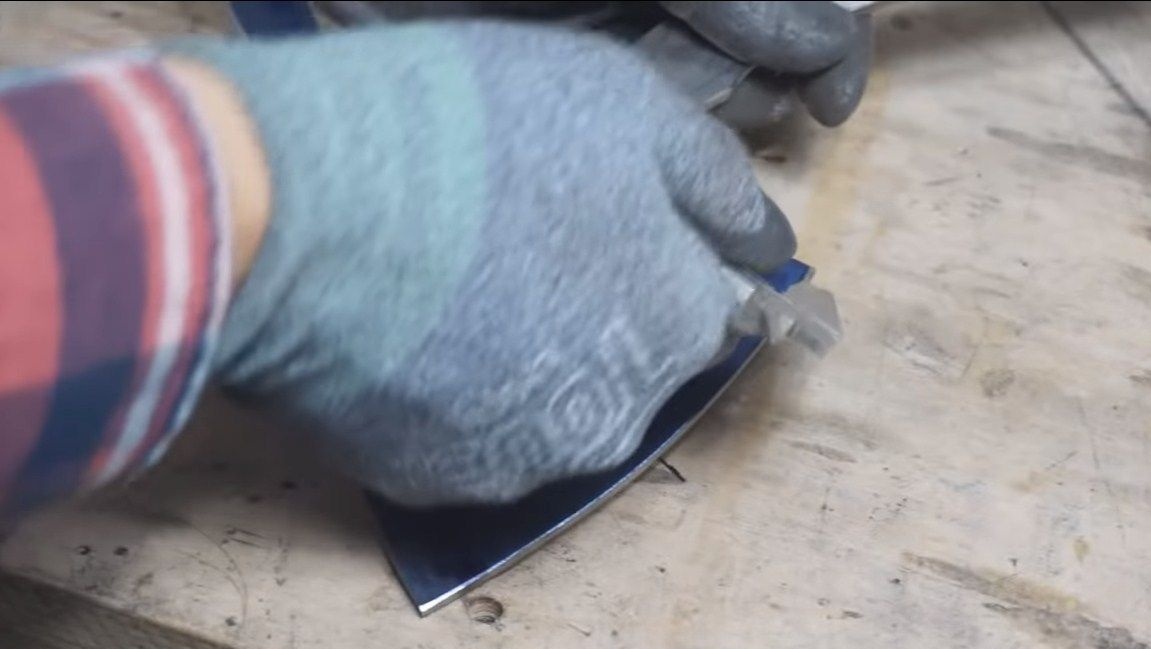
Step Two Cut the main profile
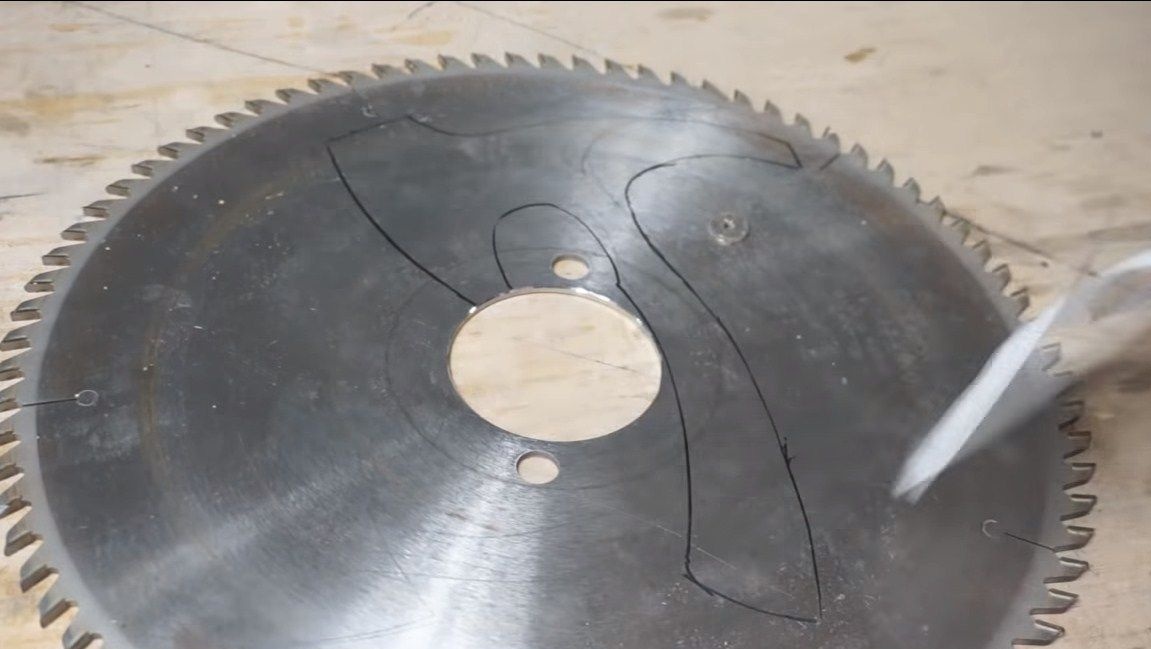
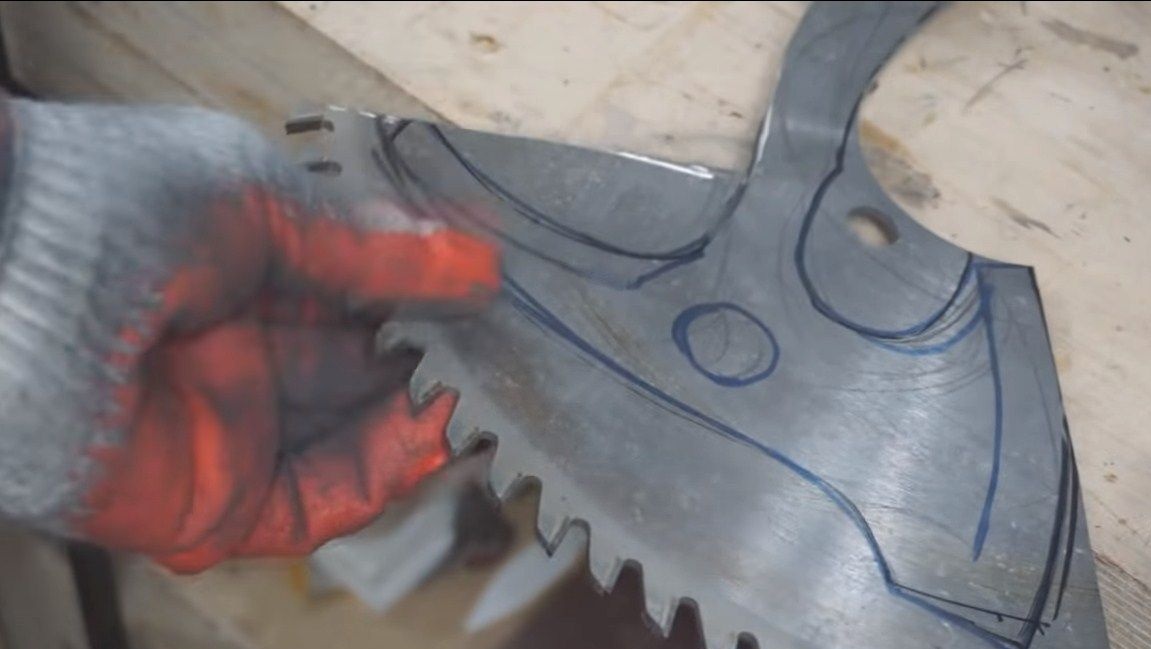
You can cut the main profile of the hatchet, for this we apply the template to the saw blade and draw a marker around it. It is much more convenient to do this if the template is made of cardboard.As for ordinary paper templates, it is customary to stick them to the product.
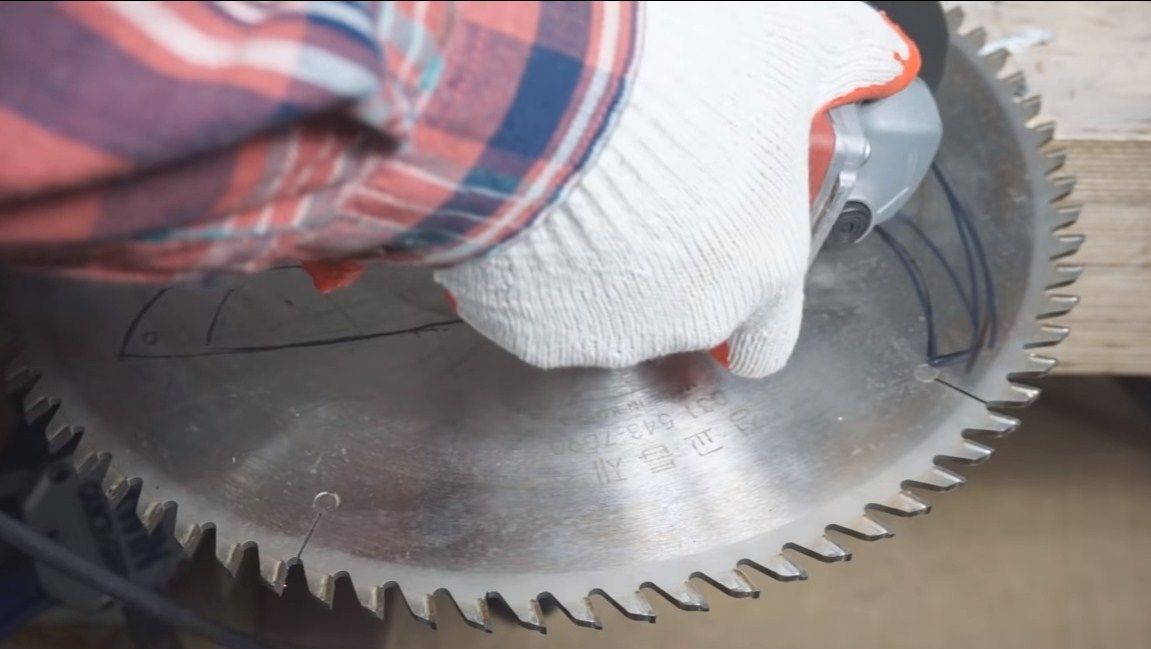
You can start cutting, then a grinder comes to our aid. When cutting, we try not to overheat the metal very much, since its tempering will occur. From time to time we wet the disk with water. First we cut off the main pieces, and then cut off the smaller parts. As for bends and other hard-to-reach spots, we cut them out in pieces. We make a series of cuts, and then cut these pieces with a grinder.
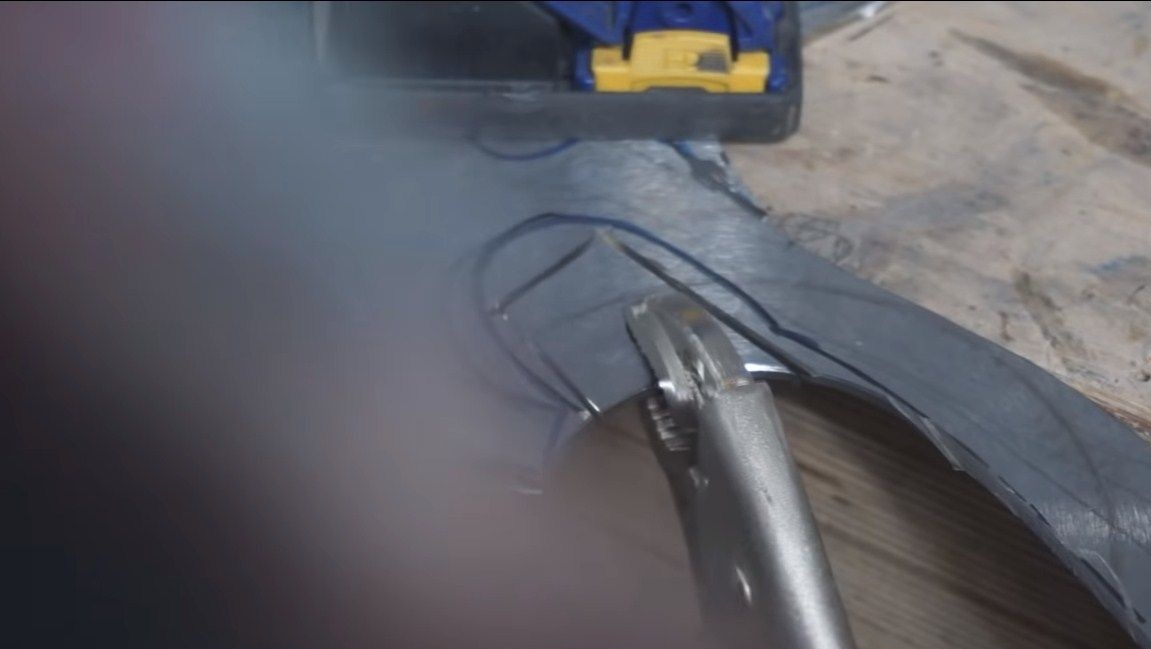
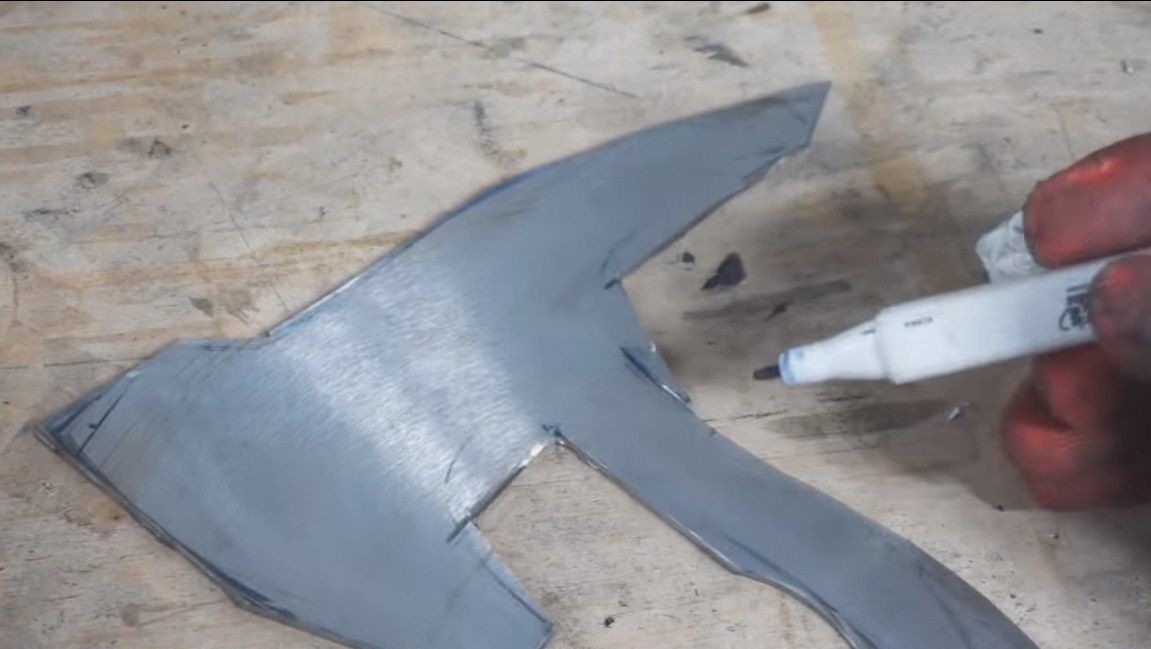
When everything is ready, process the ax along the contour. For hard-to-reach places, a drill is well suited, but you can also cope with files.
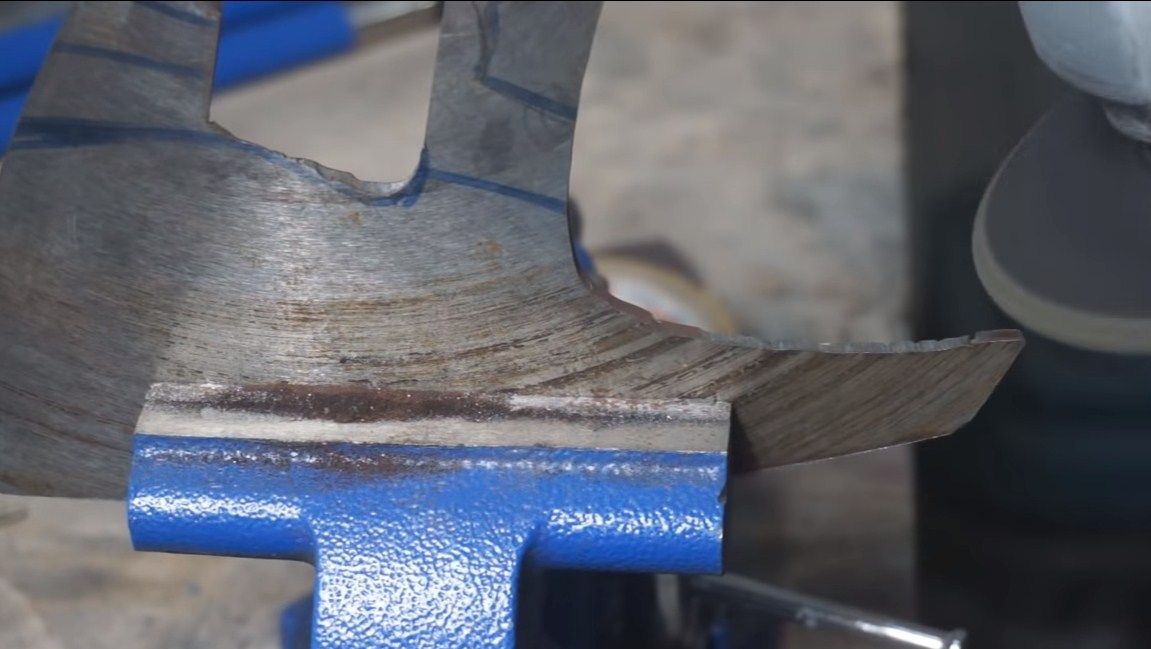
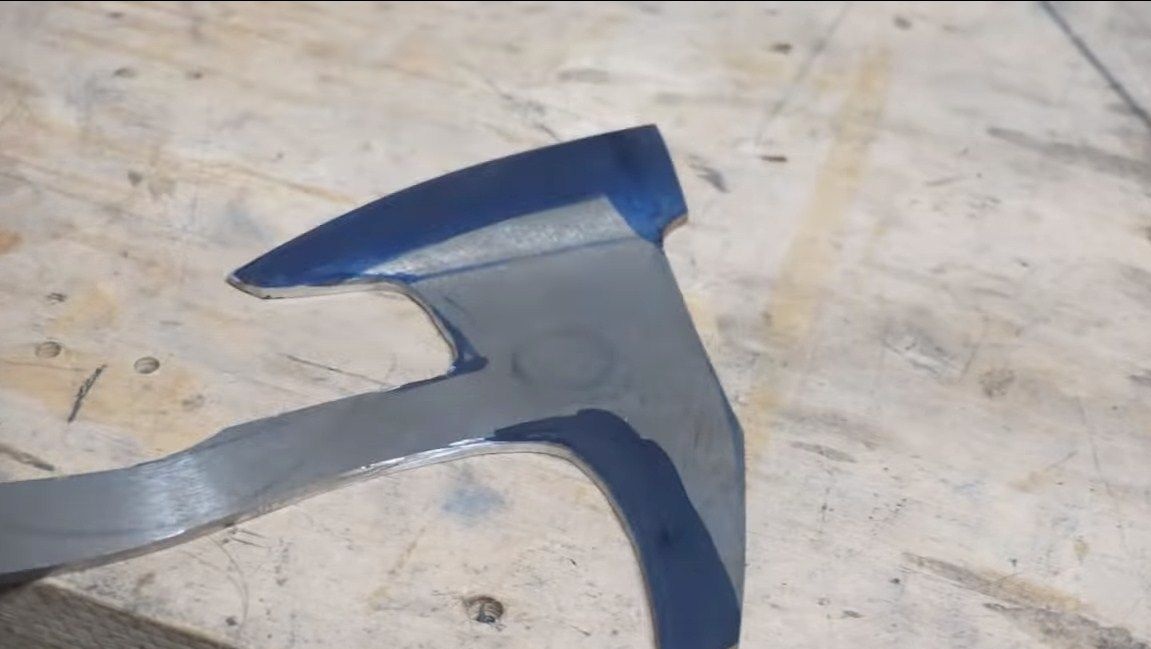
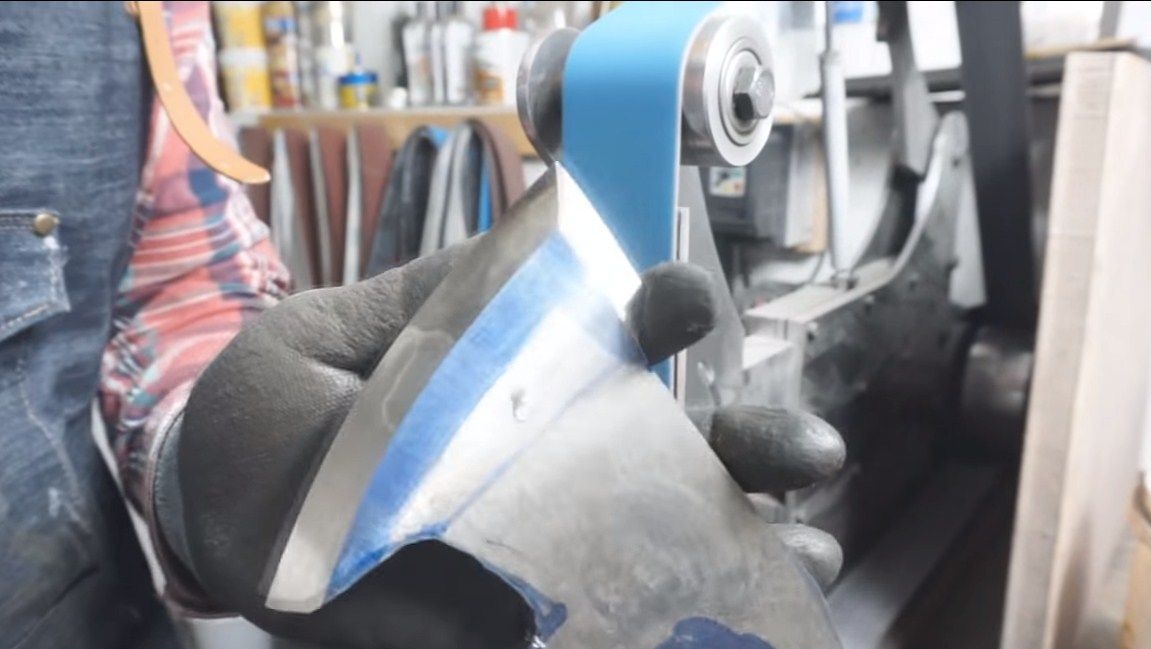
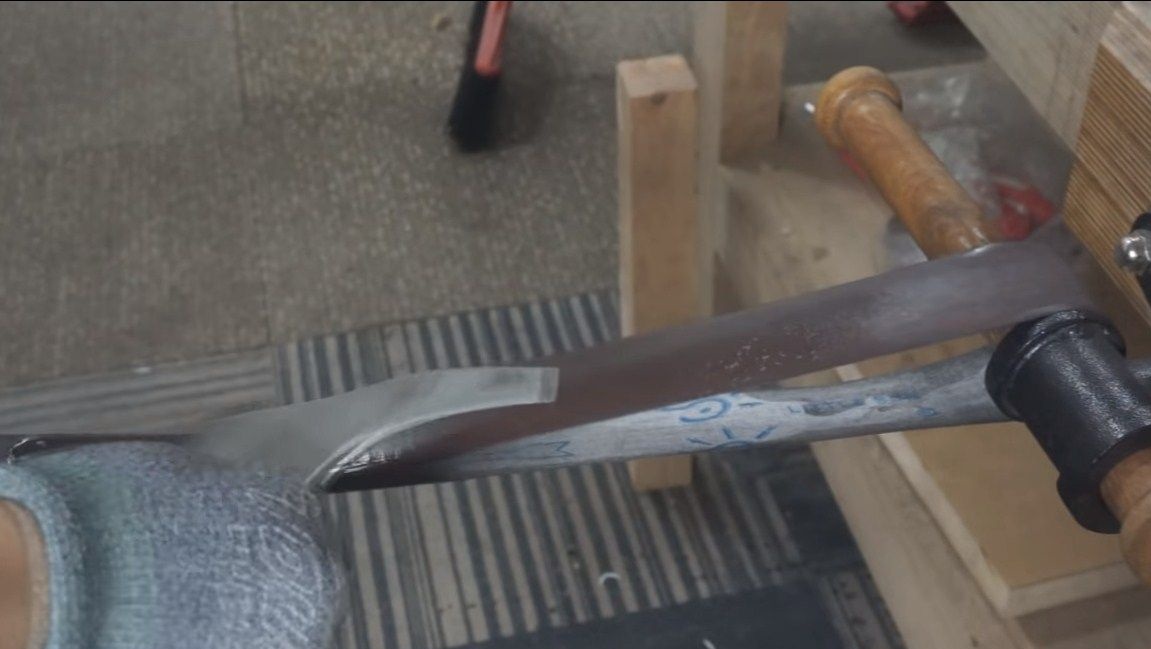
Step Three Getting to the formation of bevels
You can start beveling the hatchet, for this we take a marker and paint over the places where they will be. And then the author takes a caliper and draws lines on both sides, scratches are clearly visible on the paint. After that, you can start grinding. For these purposes, the author used a belt sander. It is very important not to overheat steel, since the metal will become soft due to tempering, and if it overheats strongly, alloying elements will burn out altogether. Constantly wet the treated surface in water.
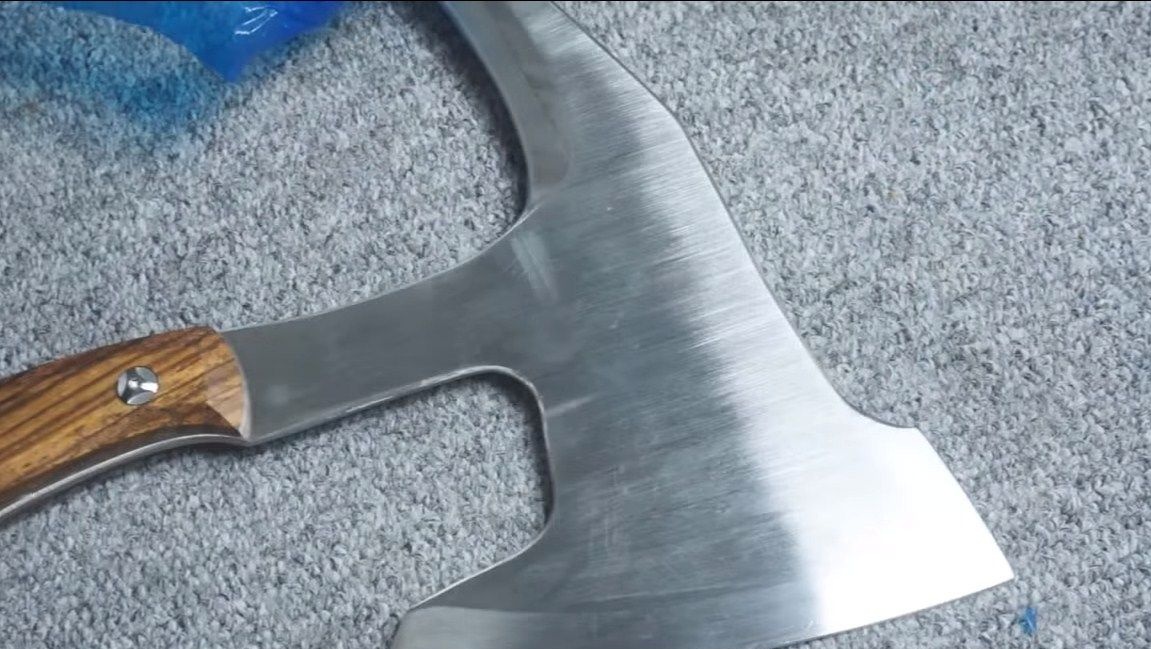
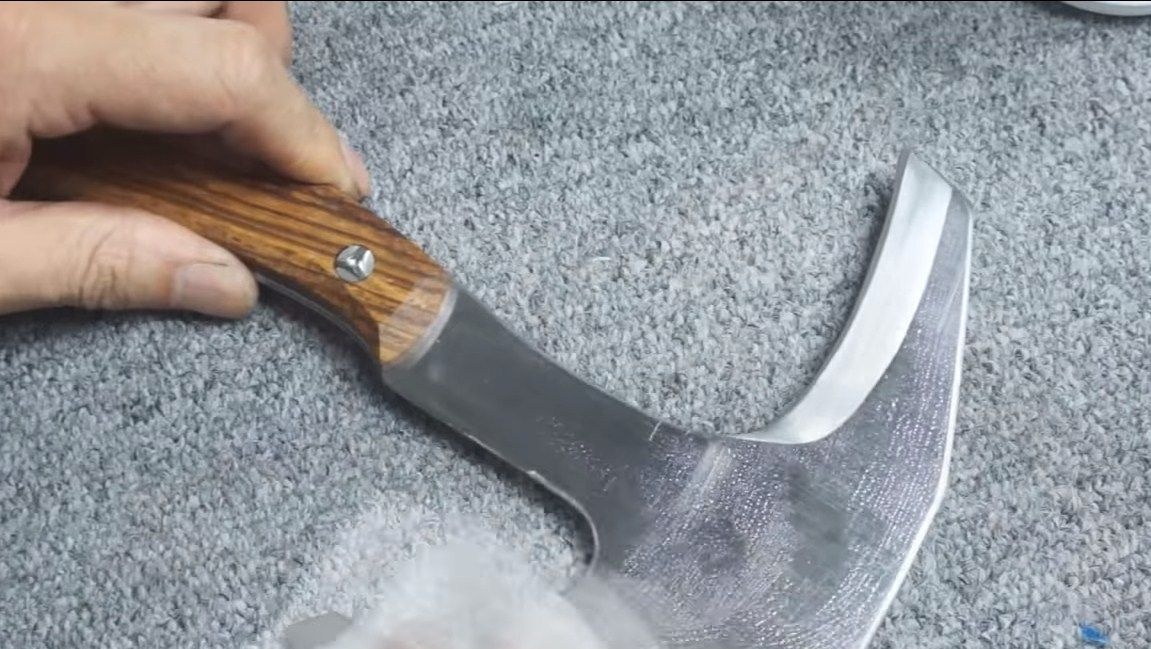
The author forms three cutting parts, one is the usual part of the ax, the second in the tail part works like a brace, and one part has a small length, located in the upper part.
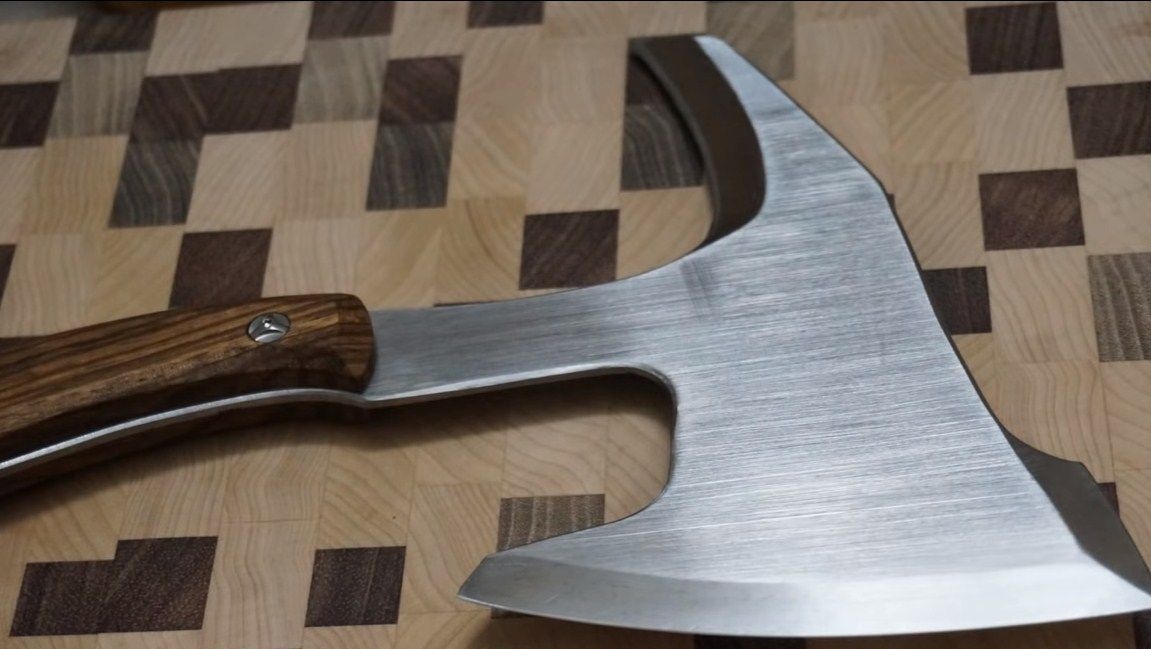
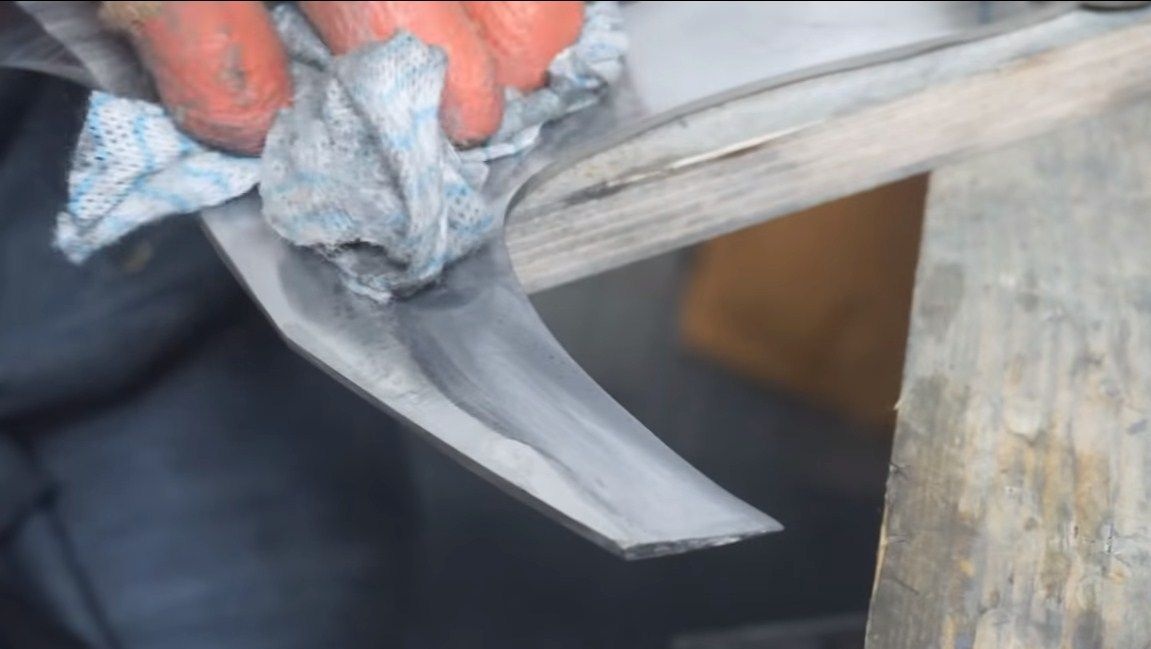
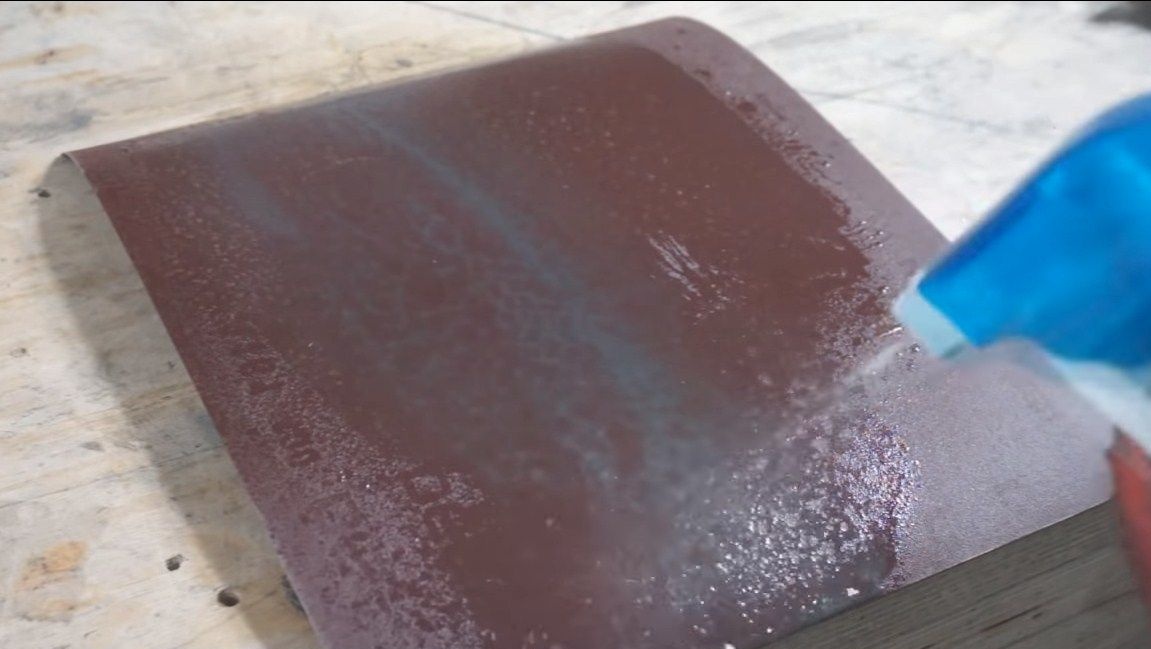
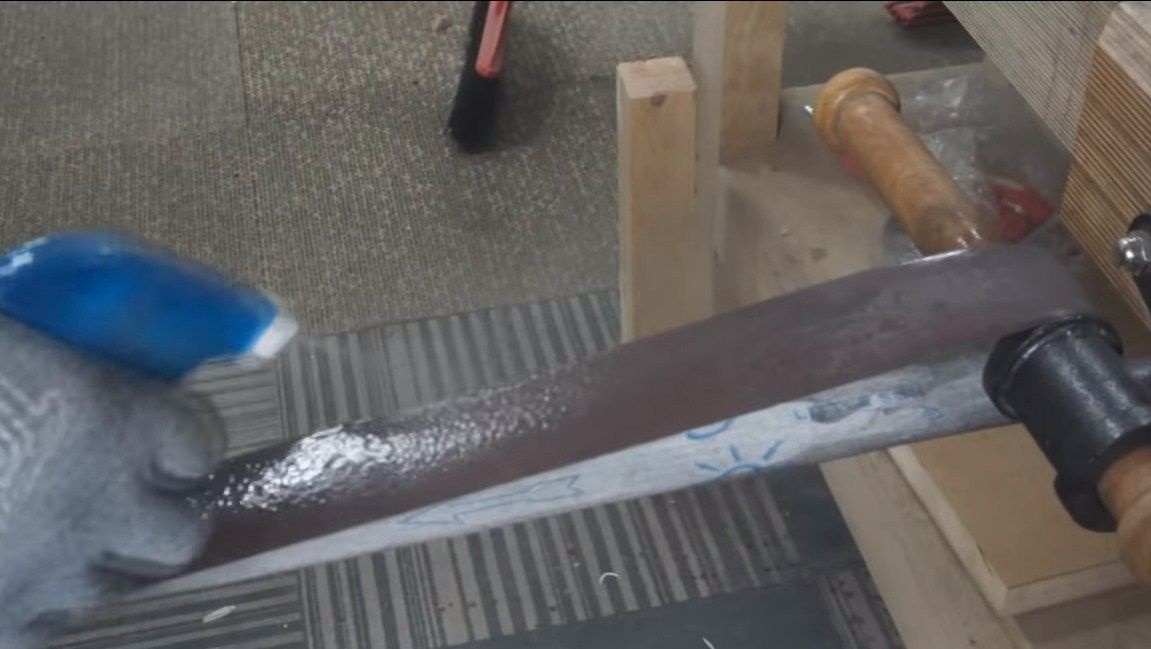
Step Four Grinding
We proceed to grinding the hatchet. For these purposes we use sandpaper dipped in water. Sandpaper should be on a fabric basis, water contributes to faster and better grinding. If you wish, you can also polish your hatchet on a polishing machine. That's all, we have an excellent hatchet, it remains only to make overlays!
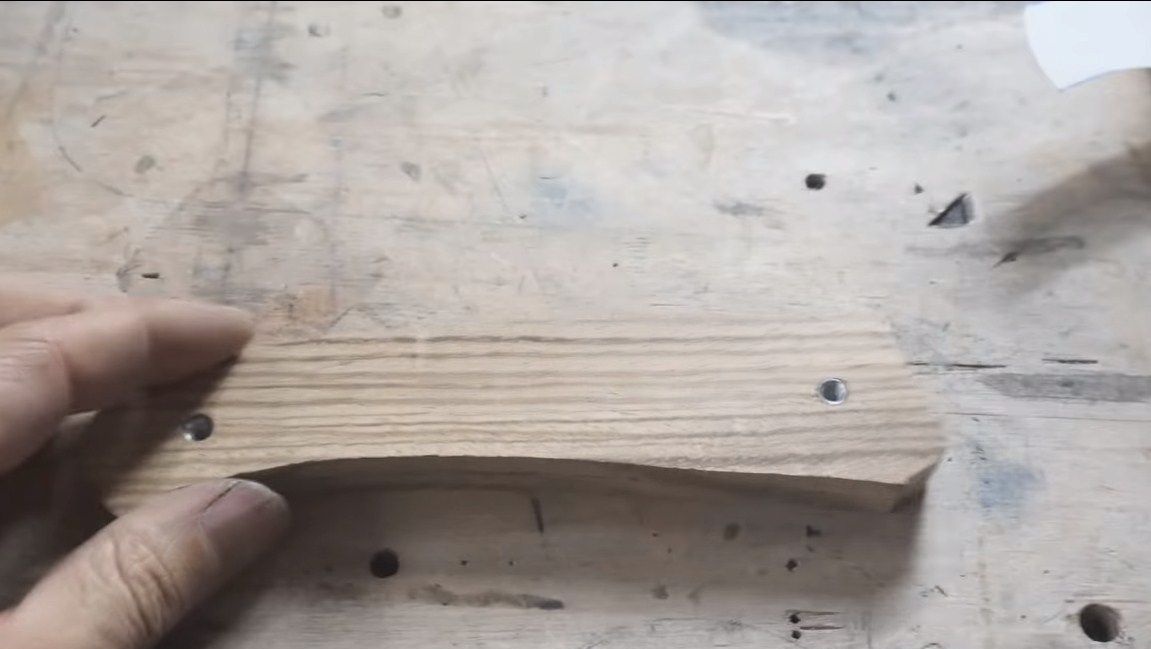
Step Five Blanks for linings
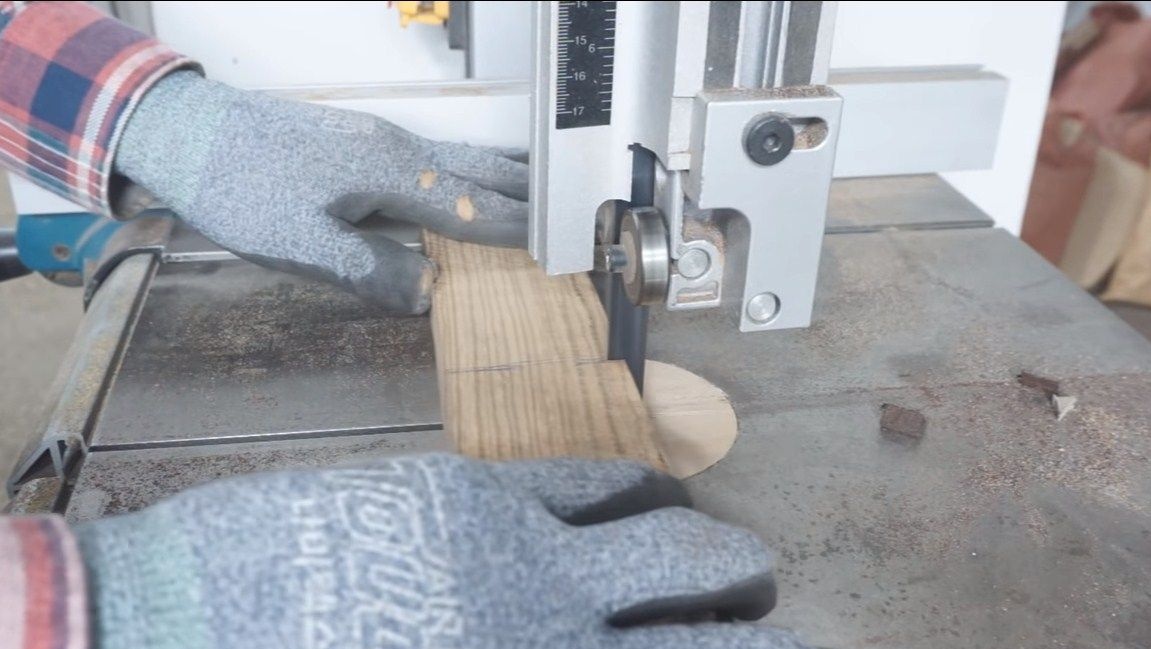
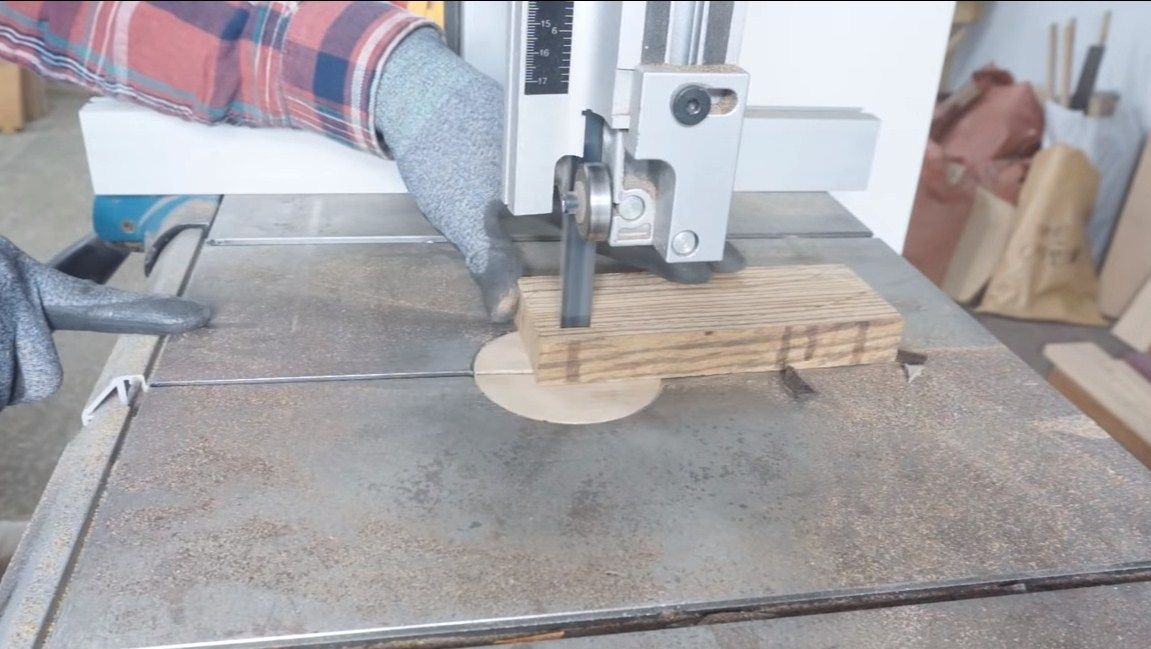
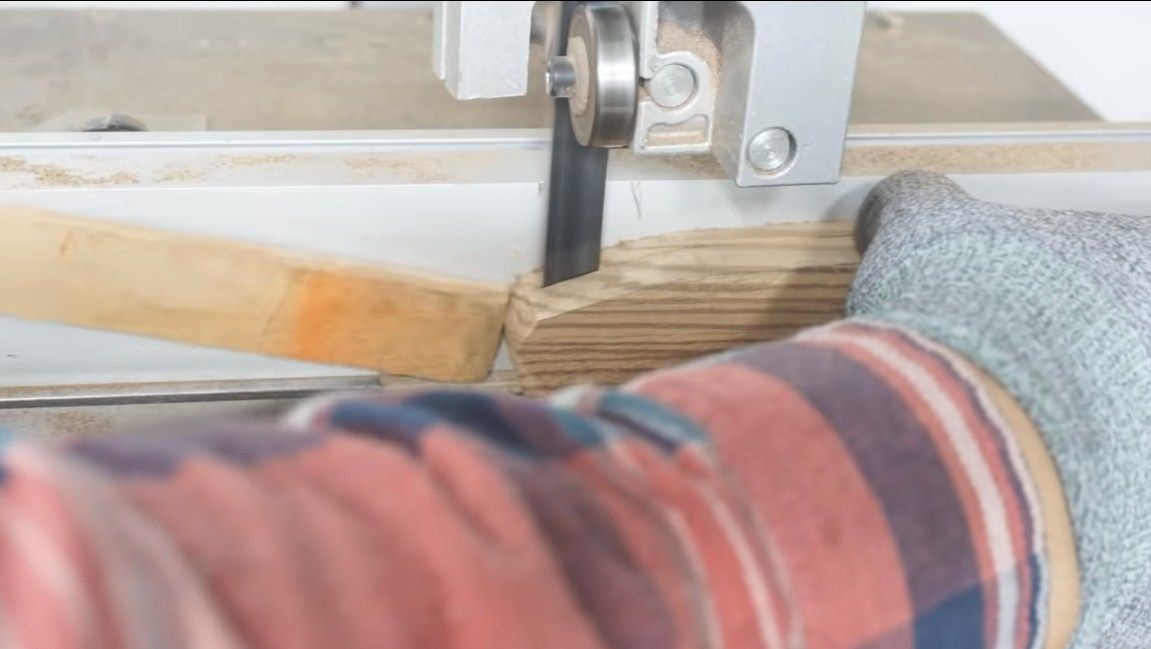
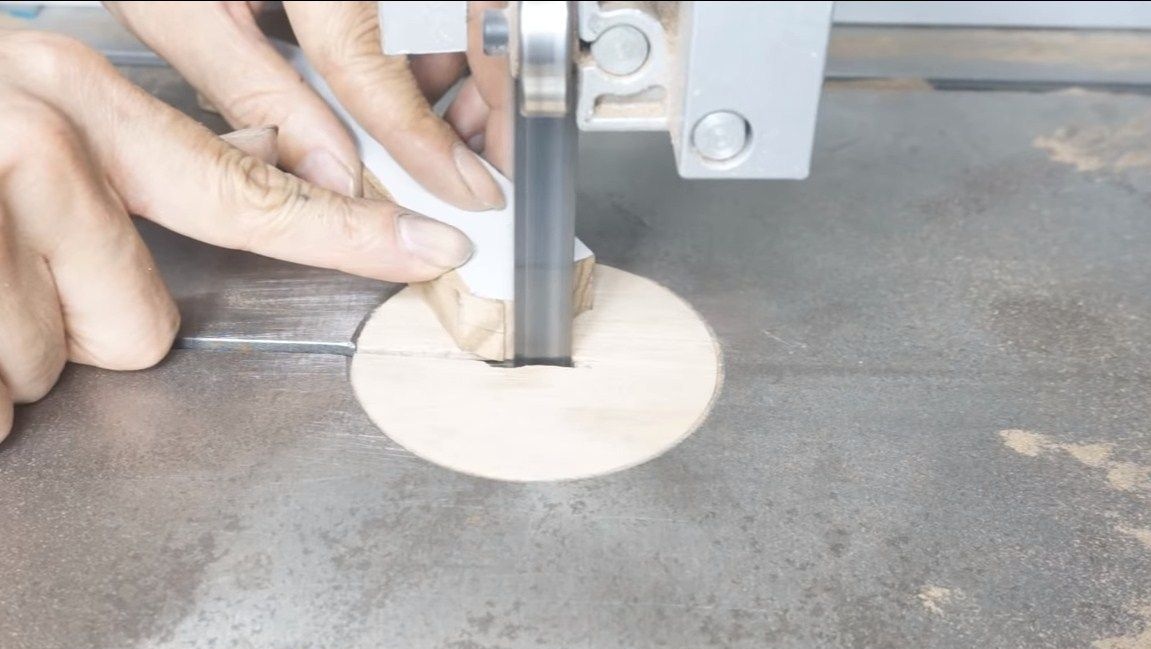
For linings, we choose wood with a beautiful texture. Maple, oak, beech and so on are well suited. Cut off the desired stitch and then cut it lengthwise into two halves. For cutting, the author used a band saw.
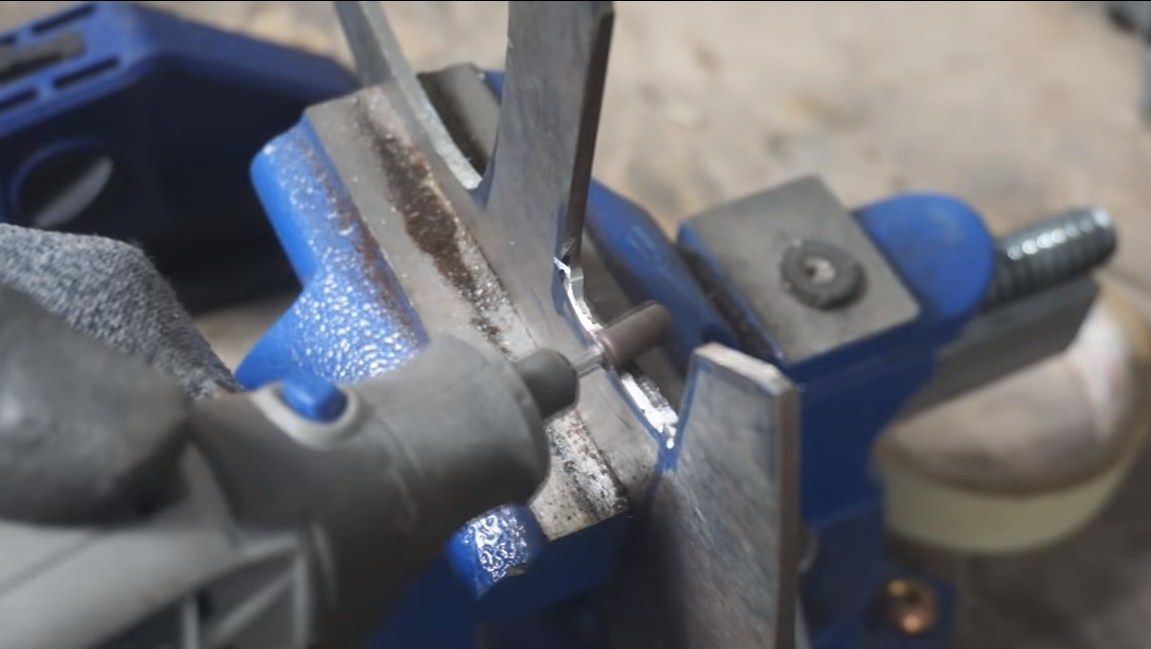
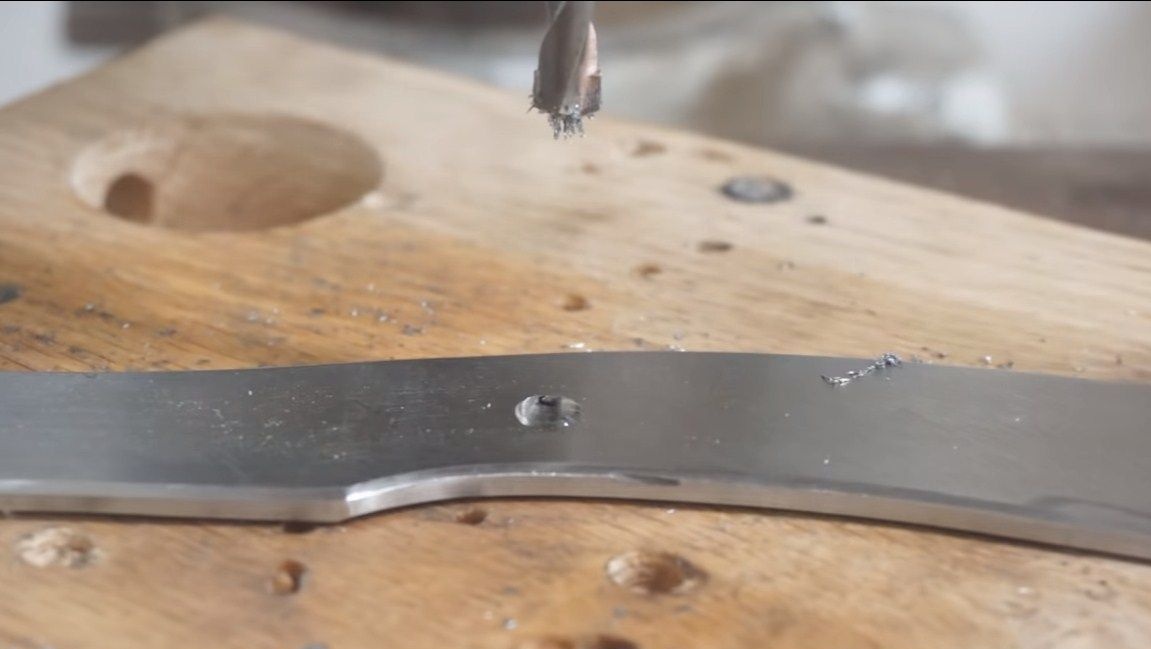
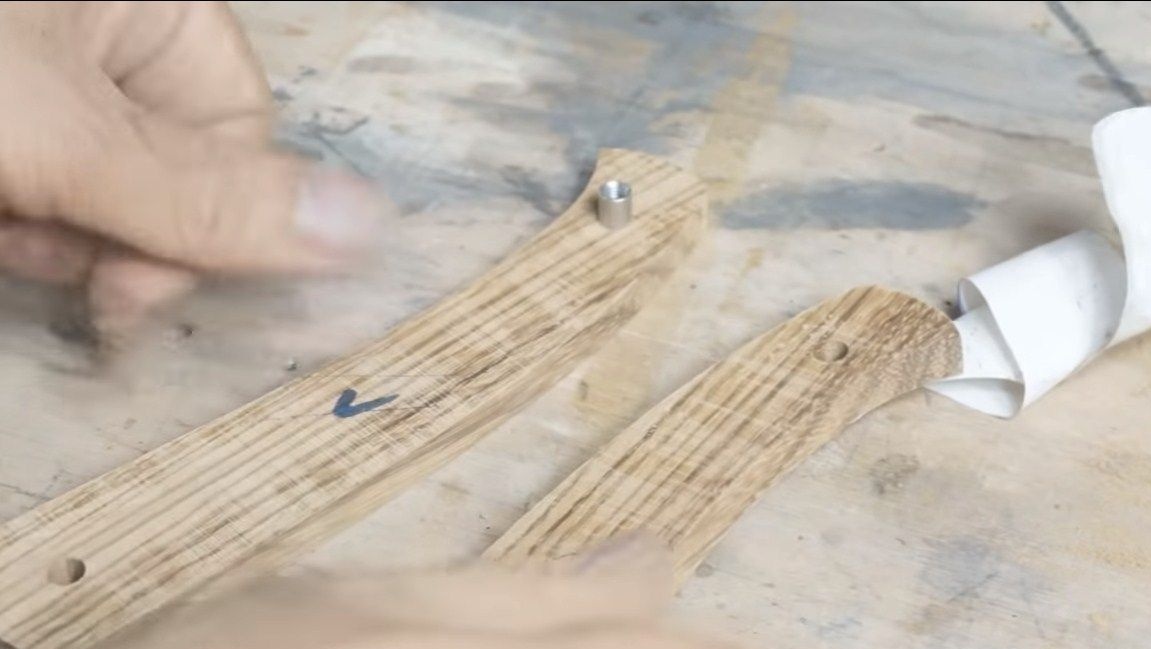
Step Six Drill holes
Holes need to be drilled in the handle, they will be needed for the screws that will hold the linings. Such fastening will make it easy and quick to replace the linings in case of damage. It will be quite difficult to drill holes in such steel, since it is hardened. For these purposes, we need a special drill with carbide tip. And you can simply let go of the metal in the handle area by heating it with a gas burner. We drill similar holes in the pads.

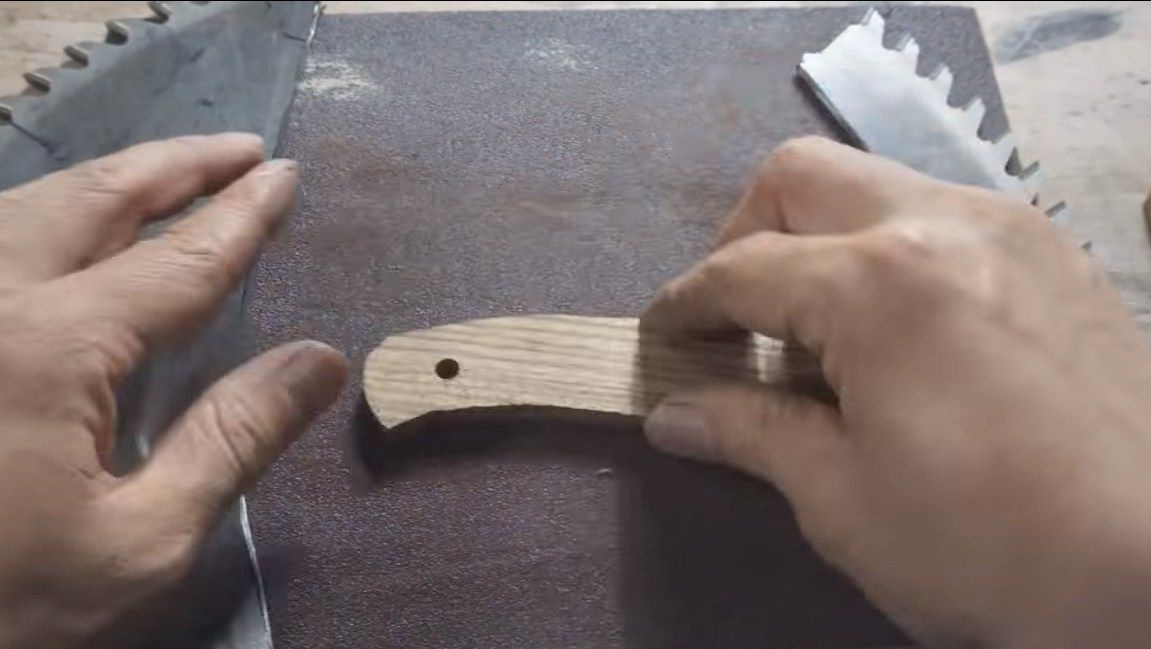
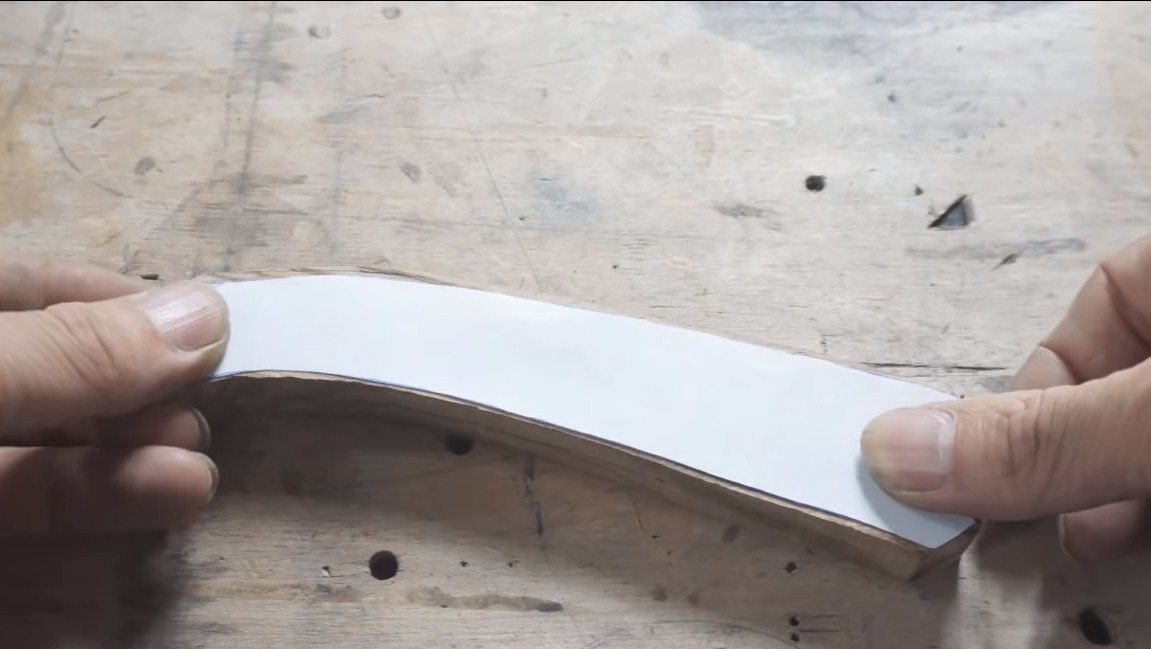
Seventh step. Modify the lining
We proceed to finalize the linings. We make a paper template for them and glue them on the lining. Well, then we cut off the excess on a tape cutting machine and proceed to grinding. Grinding can be performed on a belt grinder, but the author does it manually using sandpaper.
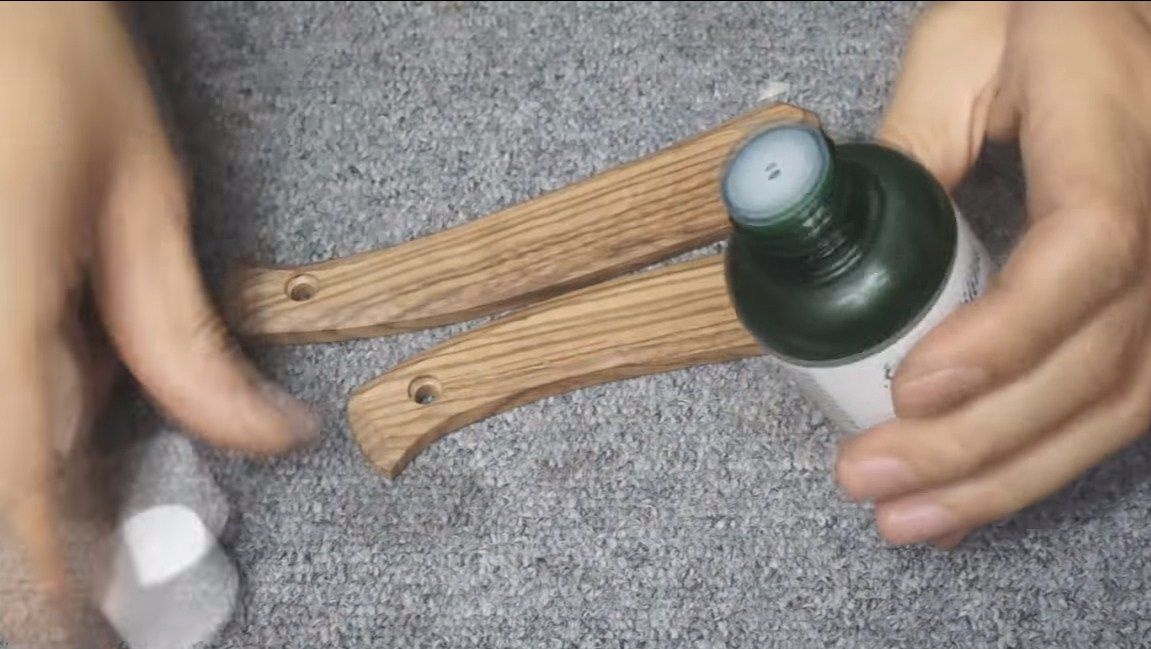
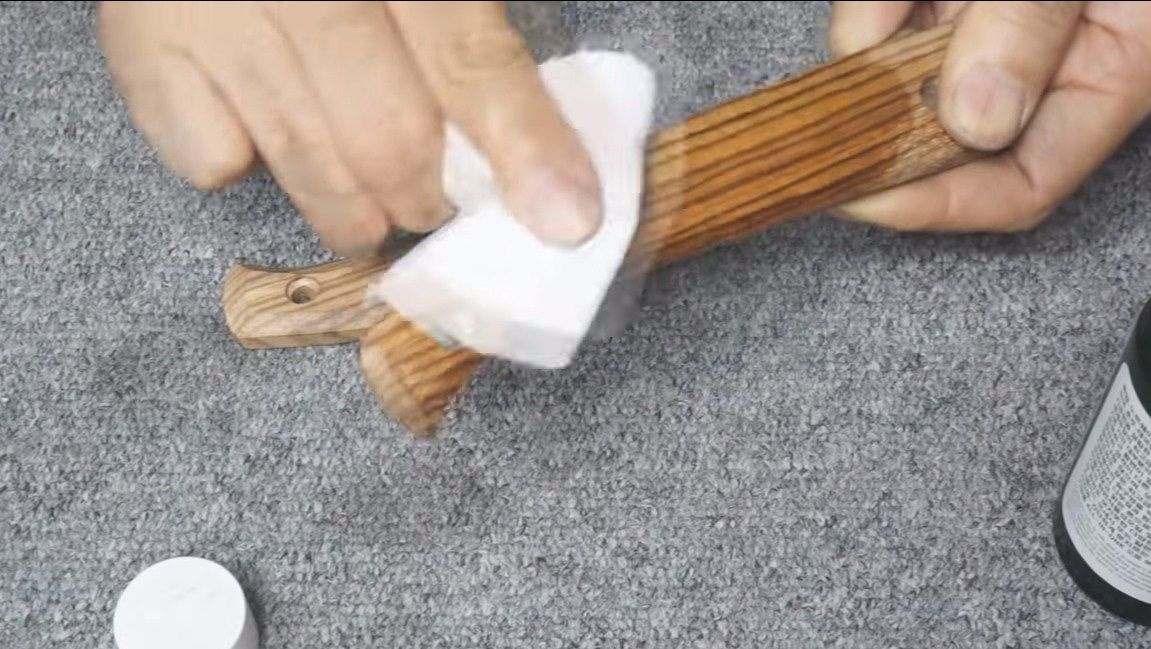
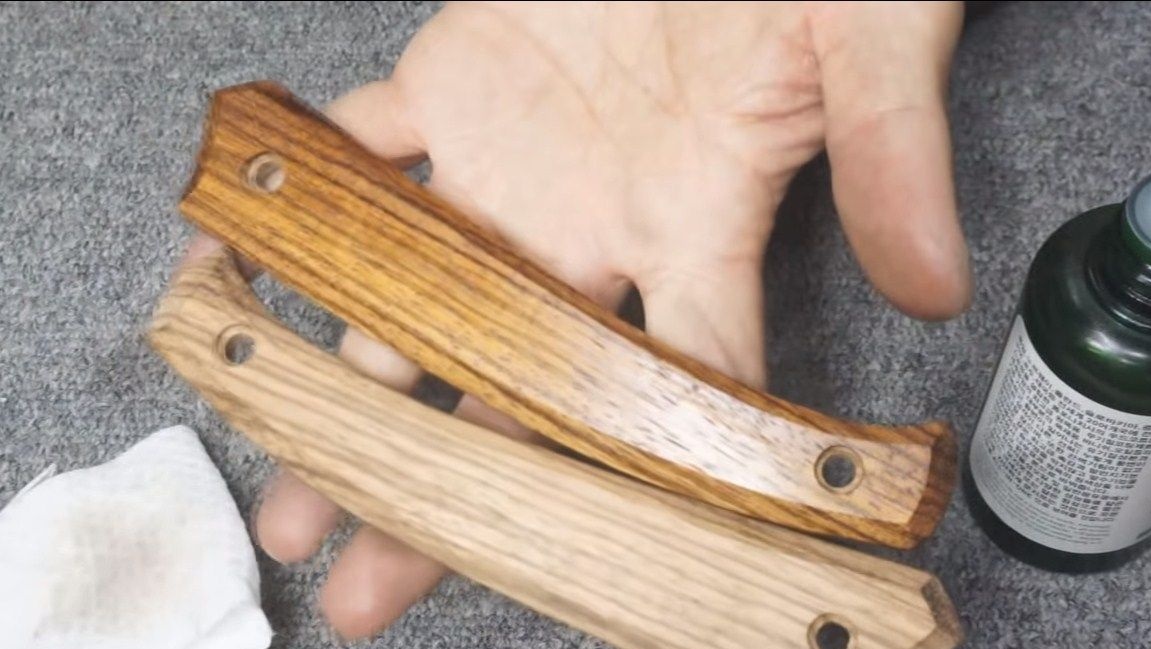
When the linings are finalized, they must be impregnated with oil or varnish. This will protect the wood from moisture absorption and quick spoilage. Oil best emphasizes the texture of wood and is well absorbed, unlike varnish.

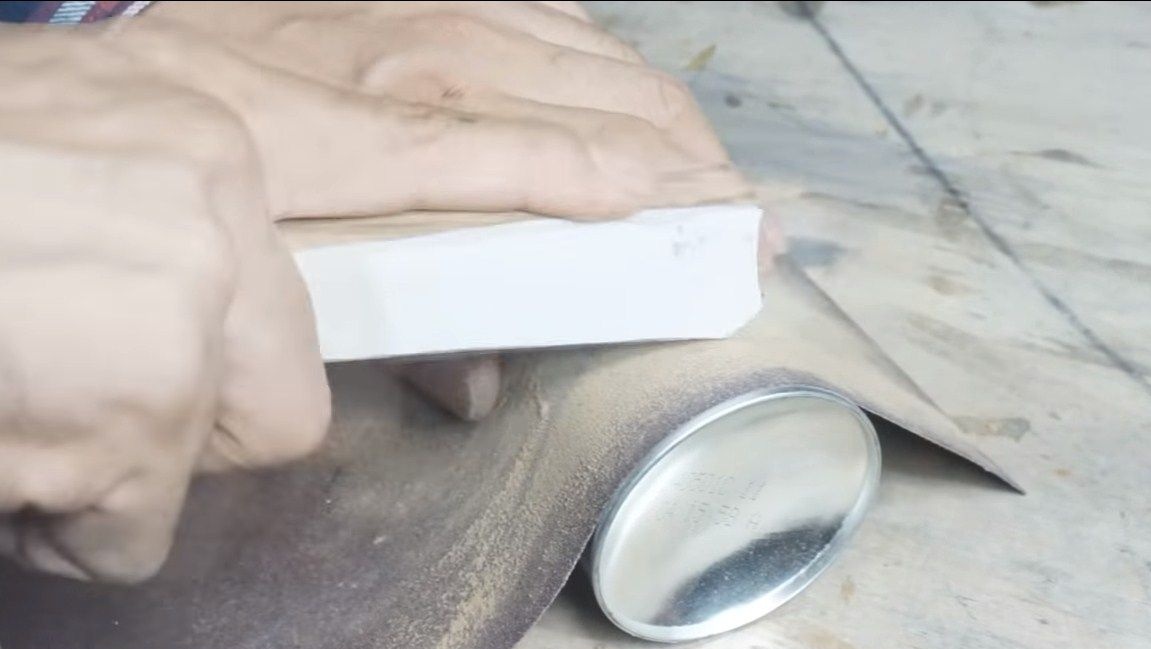

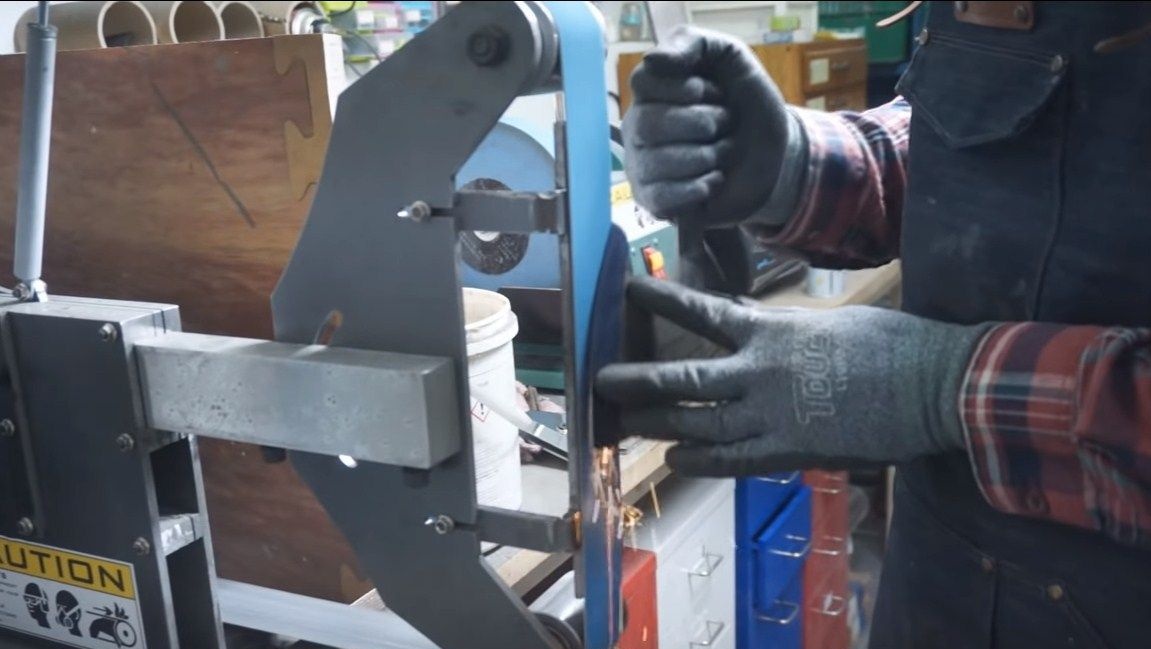
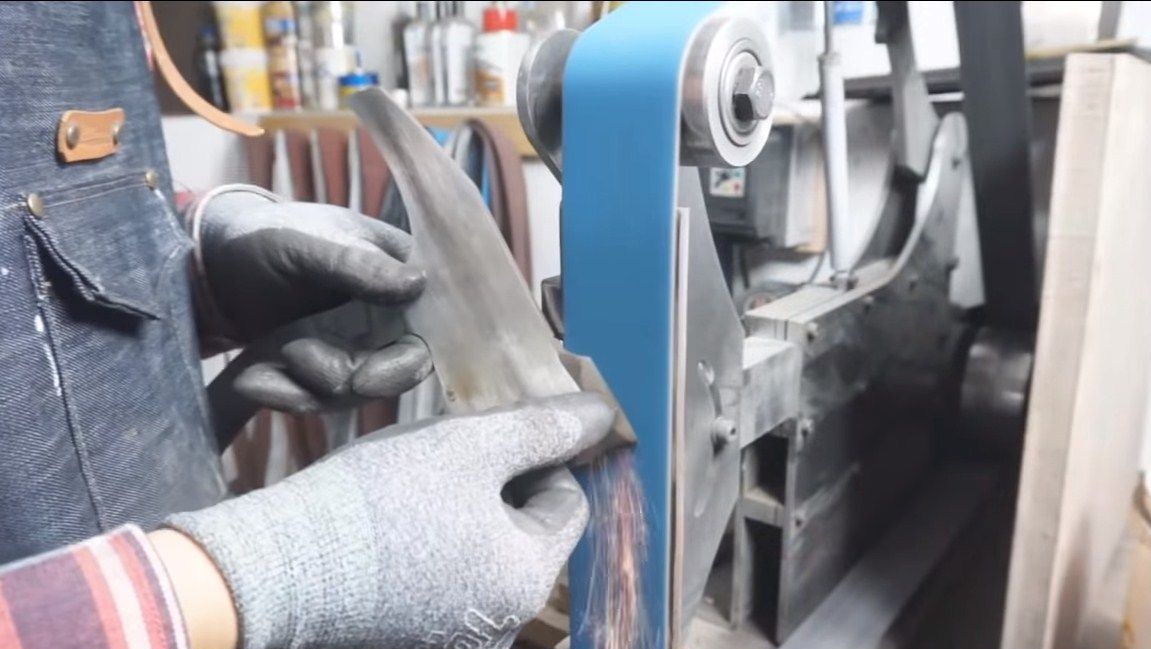
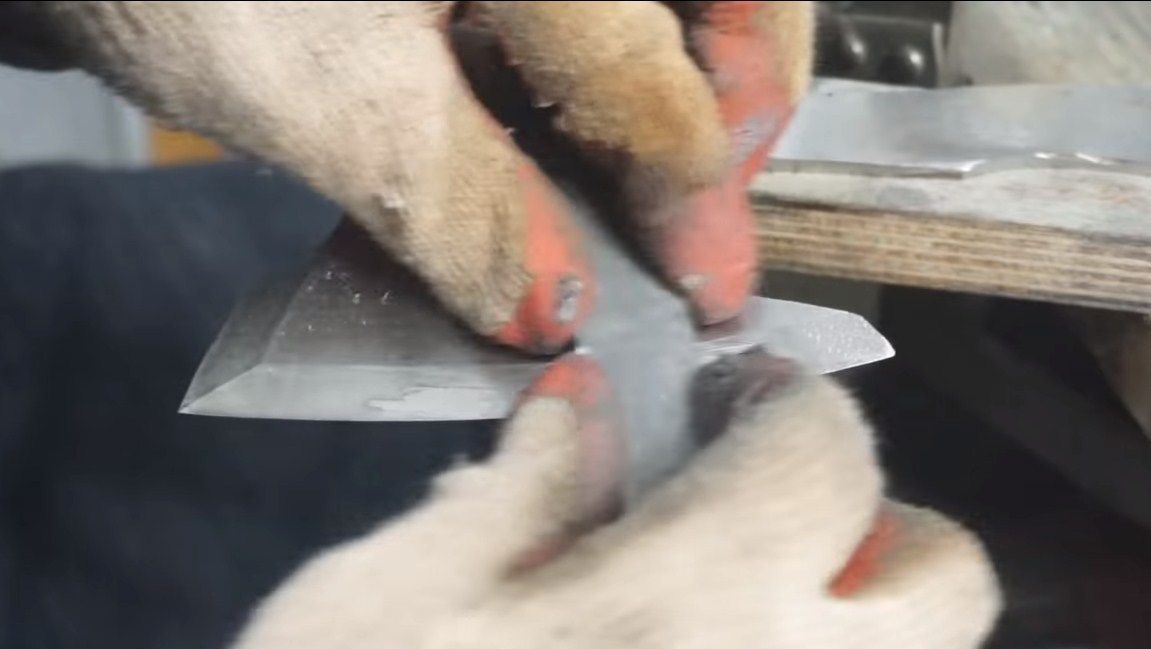
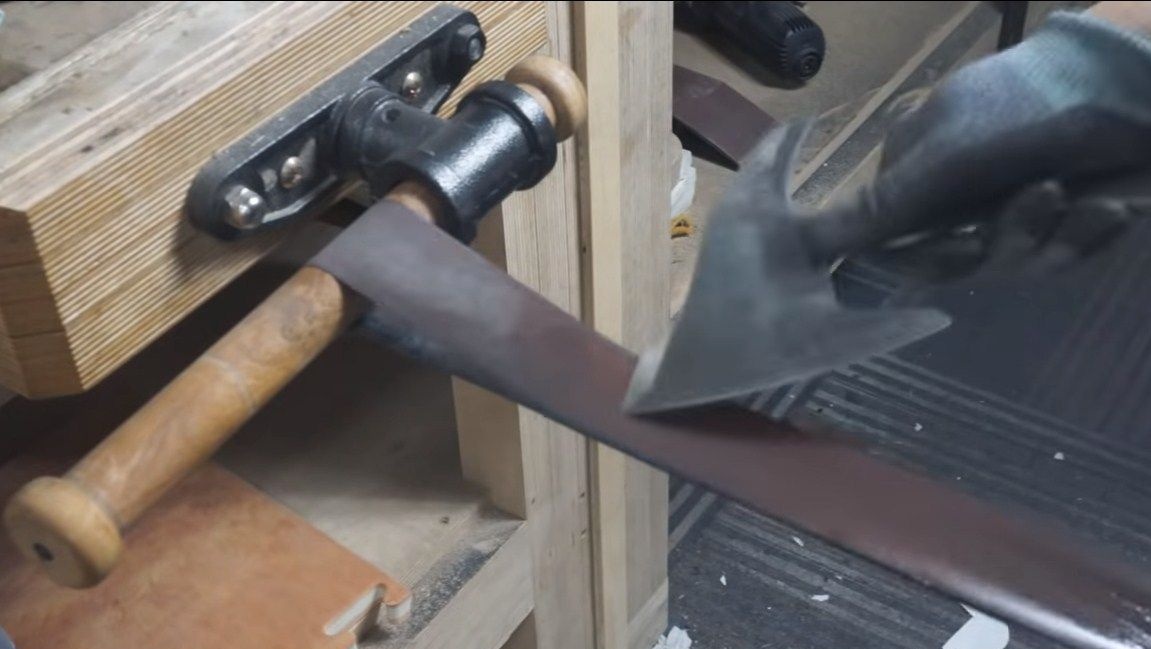
Step Eight. Sharpen ax
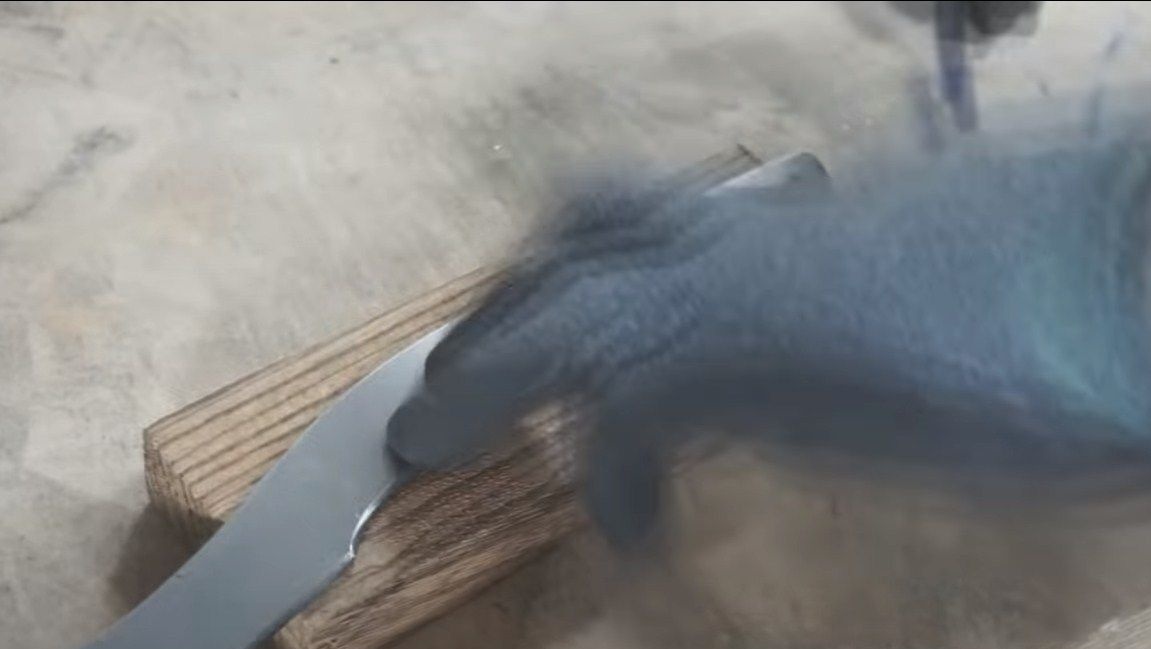
You can start sharpening the ax. To do this, the author uses an emery tape dampened with water. With this method, the author sharpens the ax to the state of the blade. You can also use various fixtures for sharpening. Immediately after sharpening, glue the sharp edges with tape or other material so as not to cut yourself in the process of assembling the hatchet.
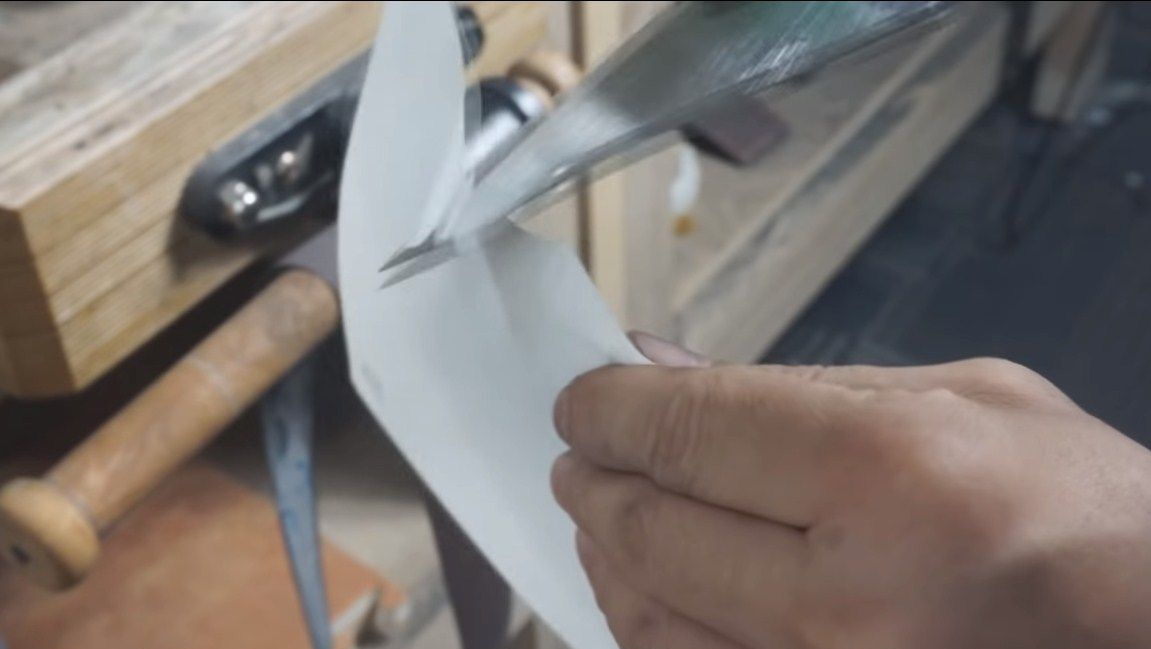
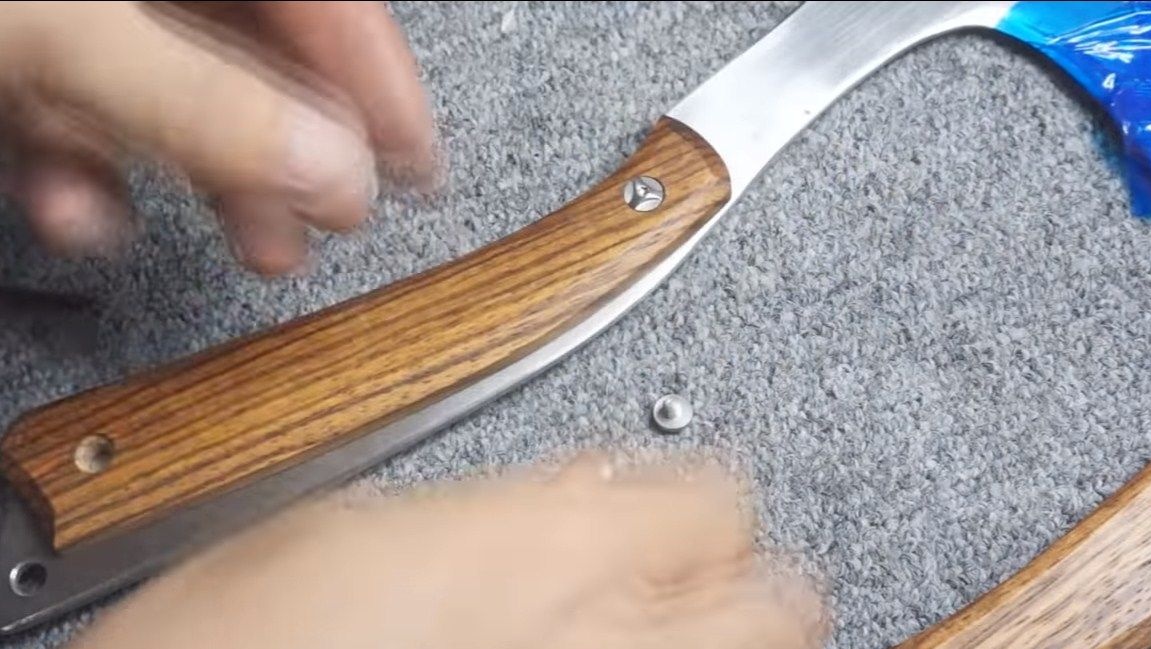
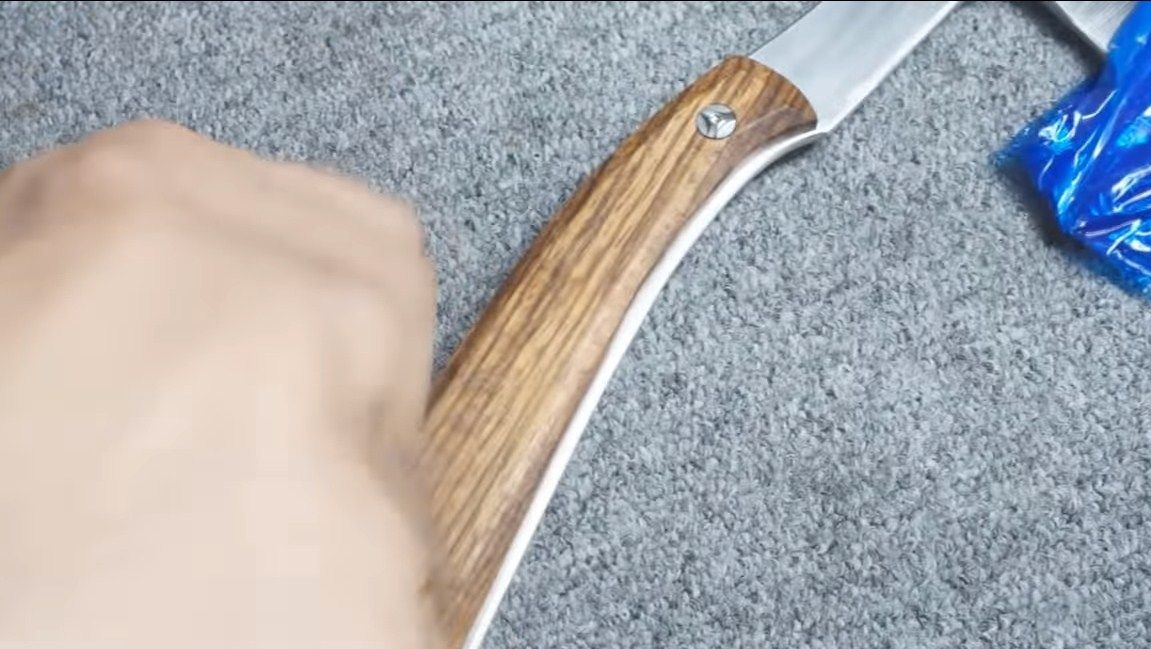
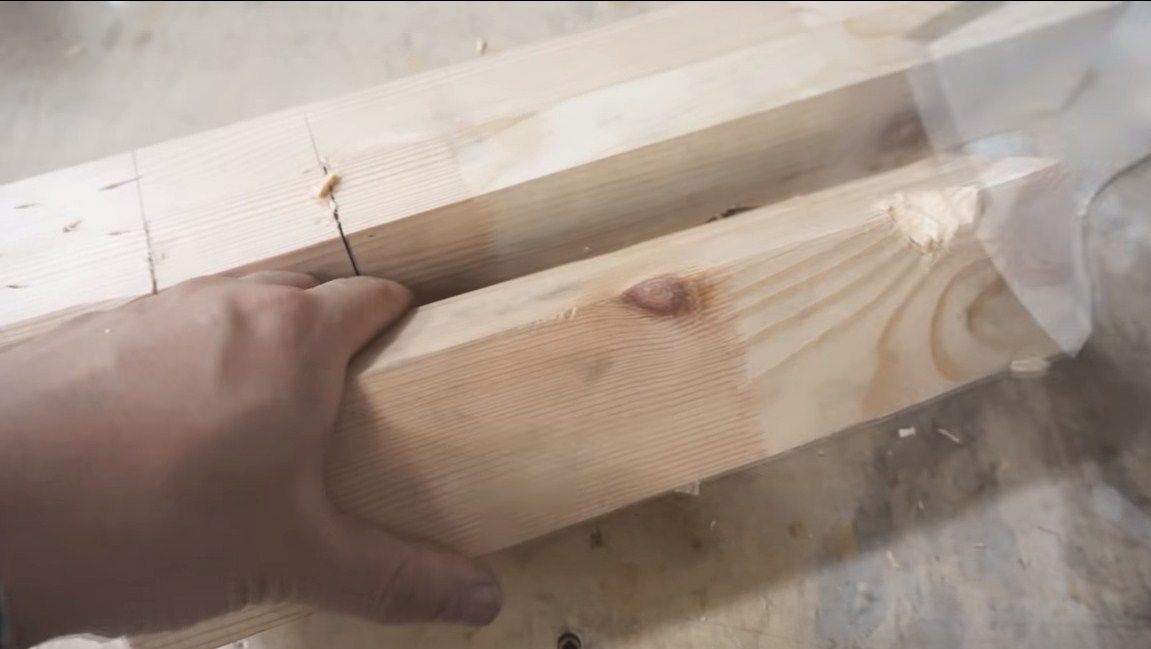
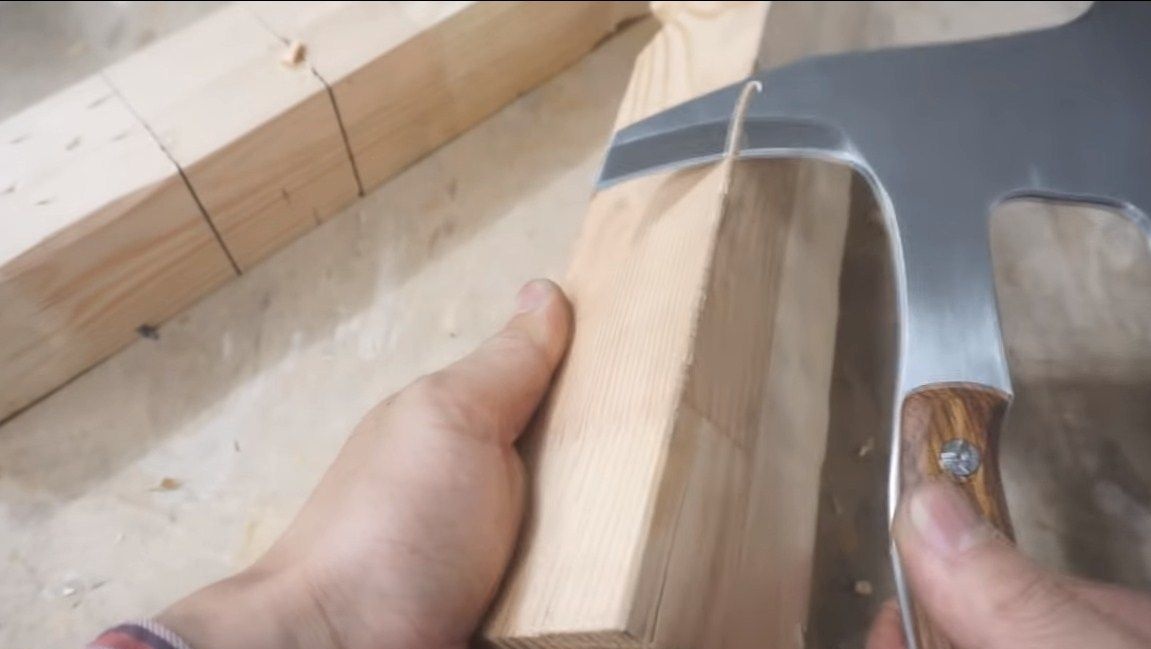
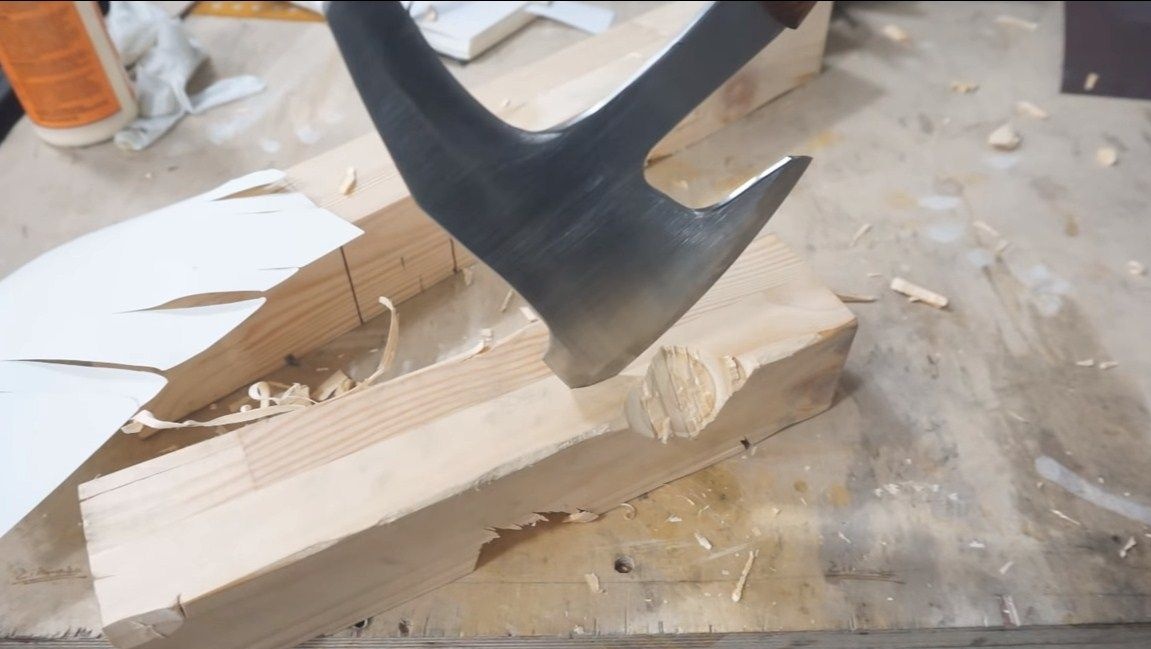
Step Nine. We install linings and test the ax
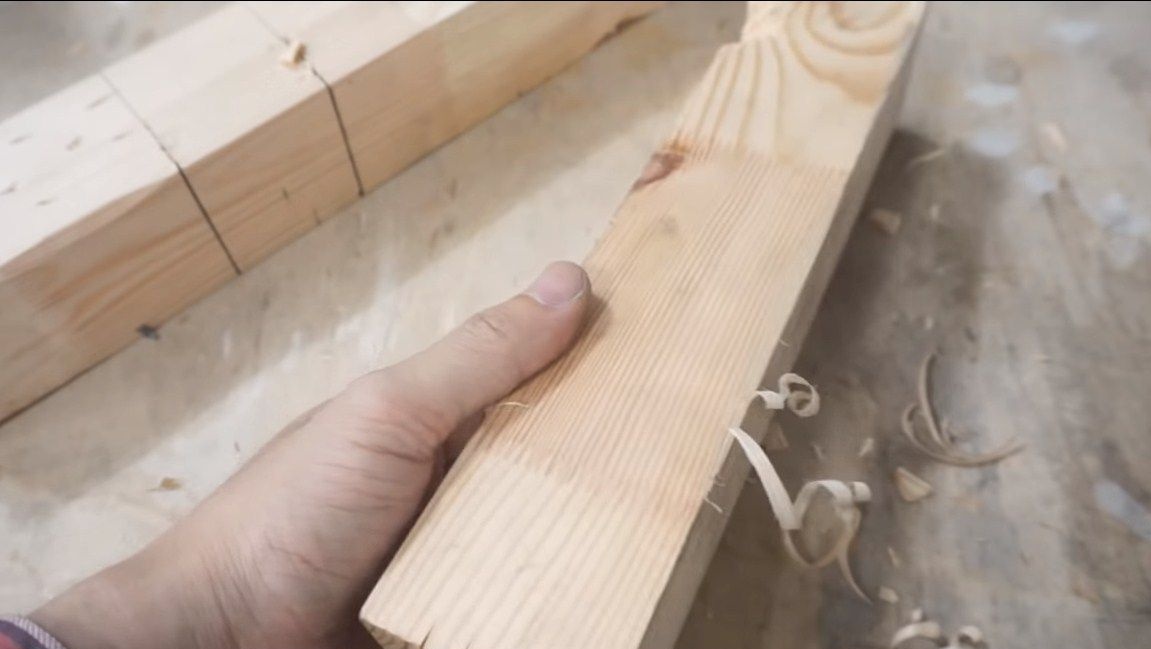
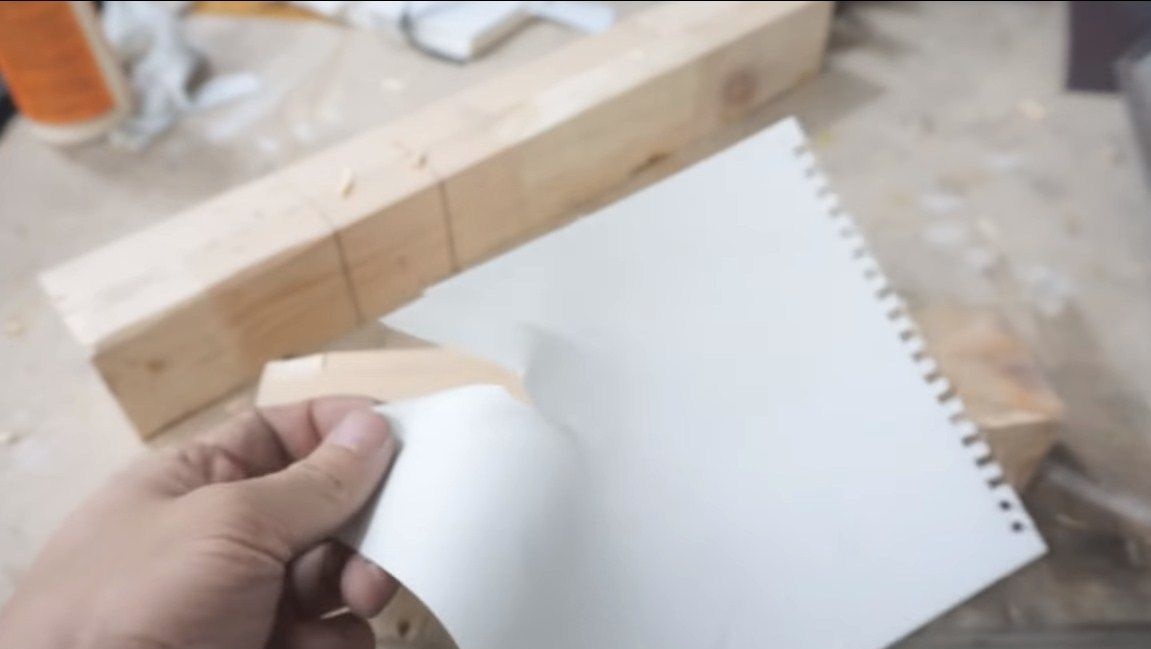
You can install the axle on the ax, the author screws them with screws. That's all, the job is done, the wonderful hatchet is ready. The author easily cuts a wooden block with them, and then cuts paper with an ax. That is, our steel is quite strong and does not blunt against wood. Also on the ax the brace proved to be excellent.
That's all, the project is over.I hope you liked the homemade. Good luck and creative inspiration, if you want to repeat it. Do not forget to share your homemade products with us!