
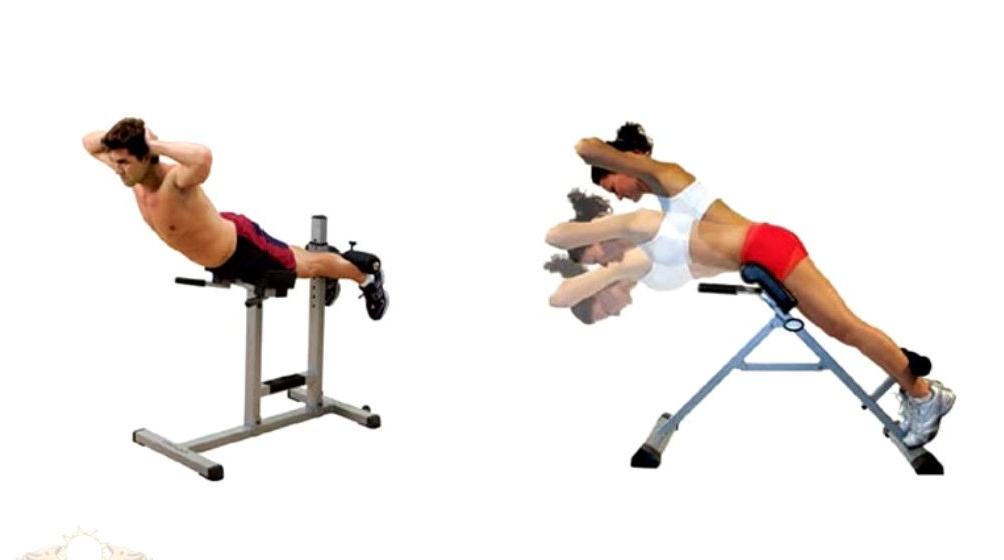
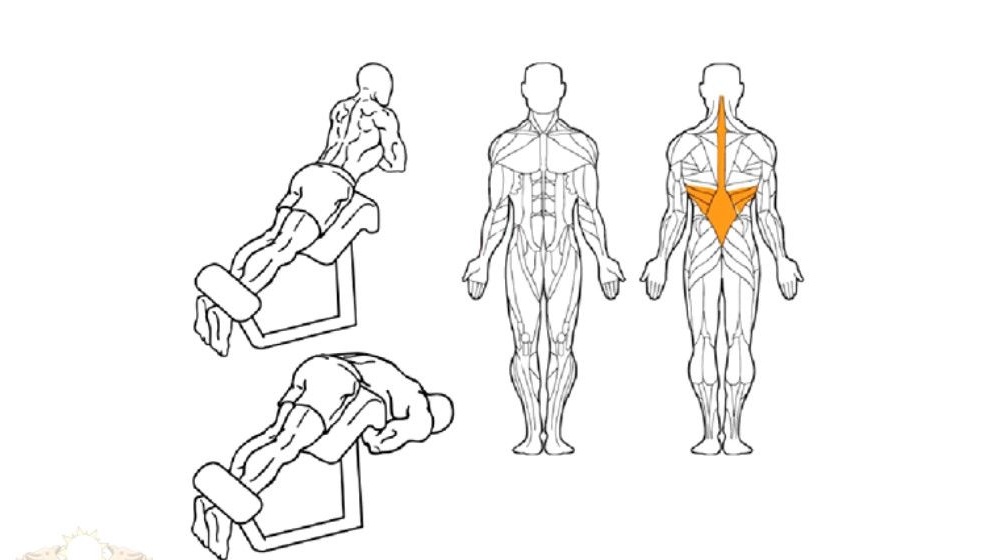
Most of our time we spend in static poses, sitting or standing. As a result, the muscles of the spine weaken with age, gradually atrophy, and back and lower back pains appear.
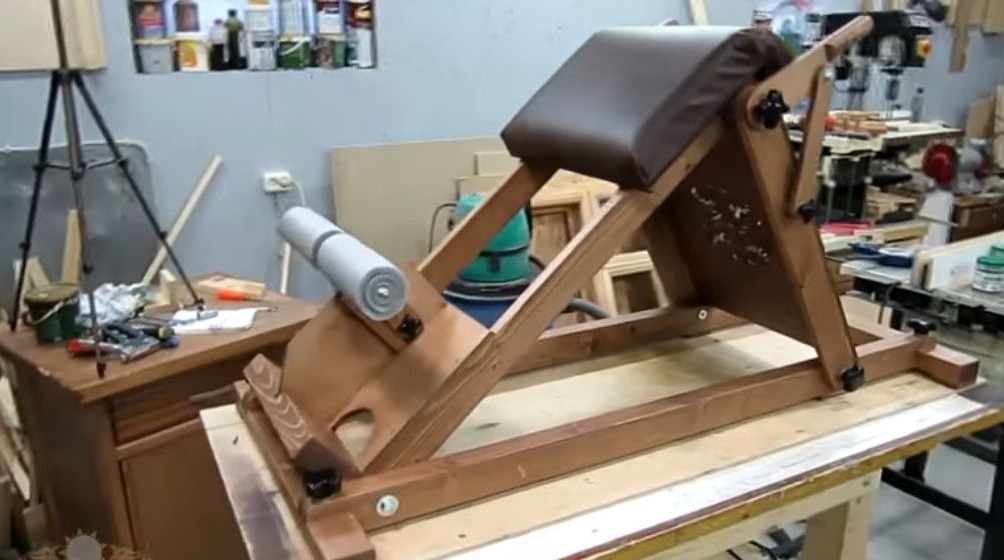
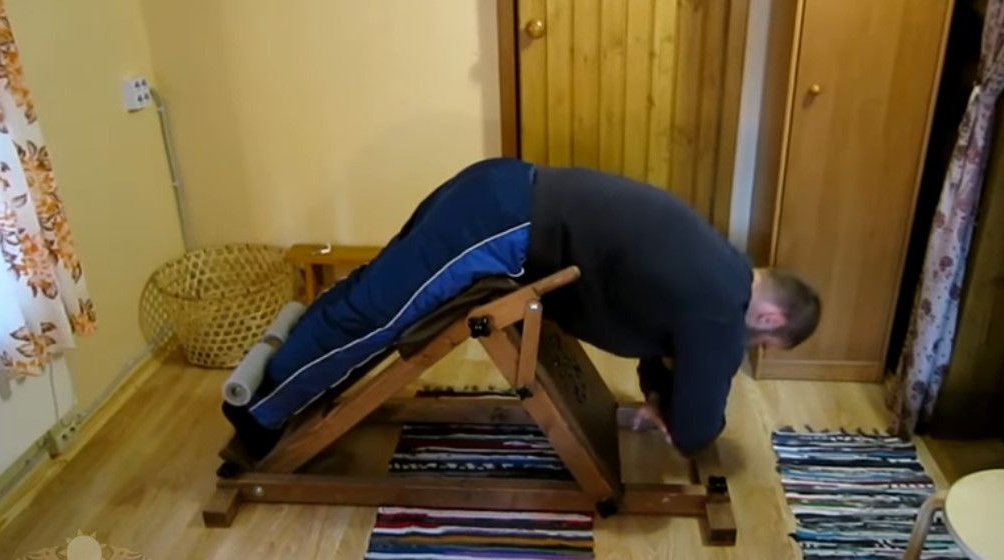
For the prevention of diseases of the spine, there is a simple and at the same time extremely effective exercise - hyperextension. Hyperextension is performed on a special simulator.
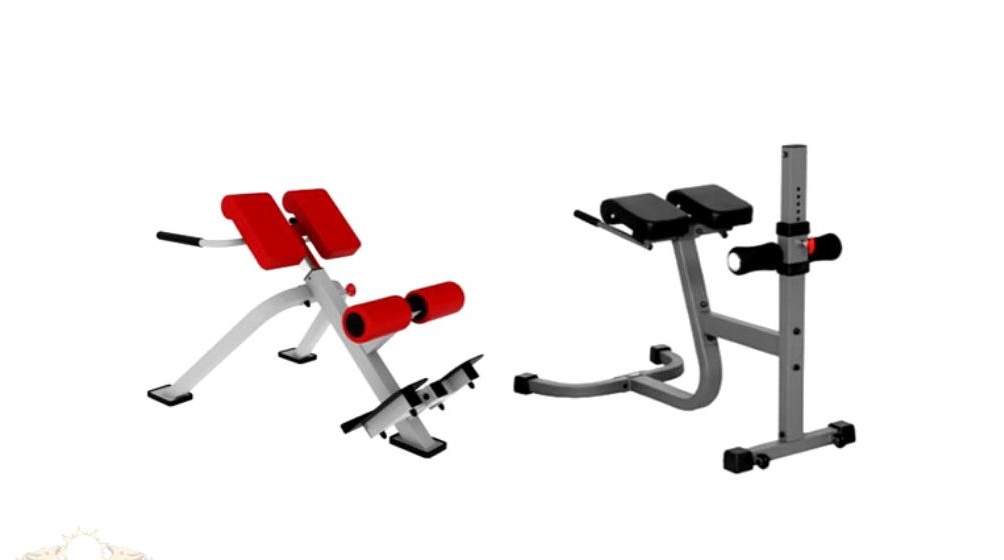
The simulator has the ability to change the angle of inclination. The legs are fixed with soft rollers in a stationary state.

The position of the central part of the simulator, on which the hips rest, is regulated according to the height of the person. Attending a gym, Oleg notes, is impermissible luxury for many people living in shortage of time. Therefore, the author proposes to make such a simulator ourselves. And Oleg decided to make it out of wood, since in the house he should also be an object of furniture.
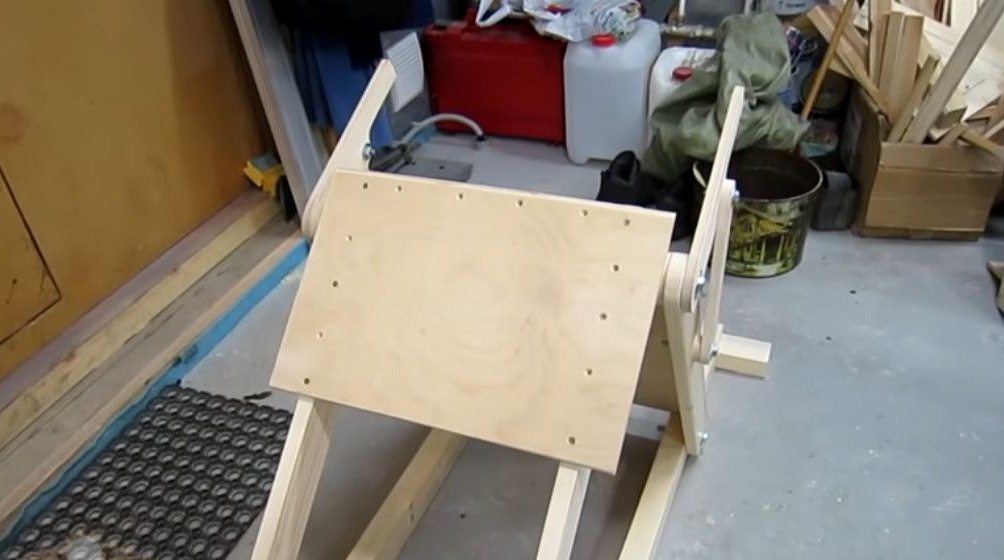
Oleg offers you a personally simulated drawing of a future simulator. The simulator consists of a base frame. An inclined frame is attached to the base, on which a support board for the front surface of the thighs and an emphasis for fixing the legs are fixed.
A cushion of dense foam is put on the support board. The emphasis for fixing the legs consists of the actual emphasis for the feet, for them the slots are made at the base.
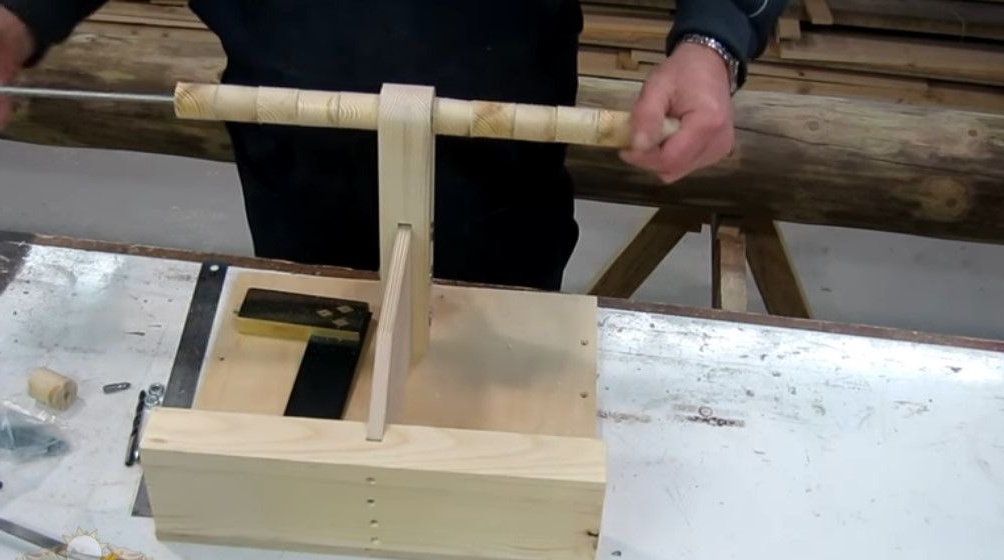
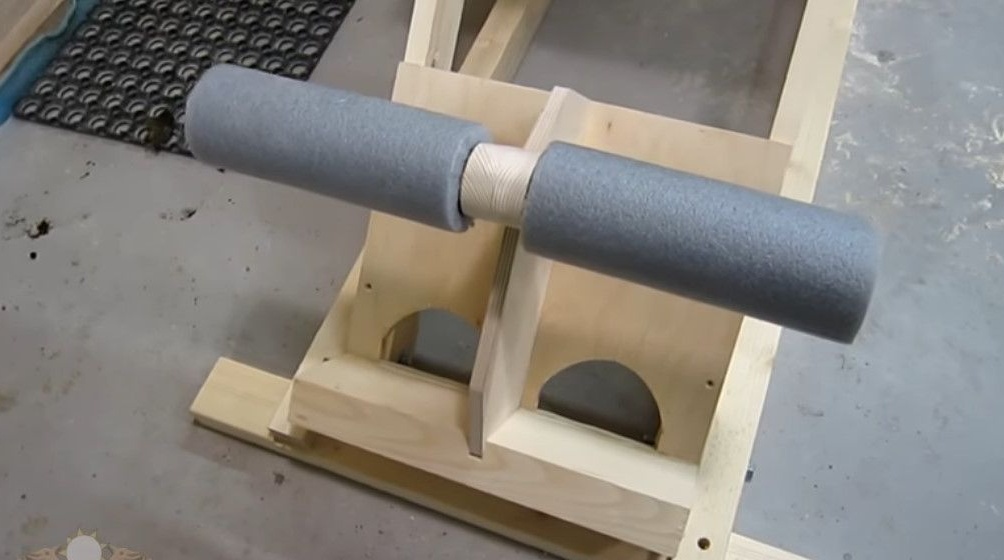
And a T-shaped leg retainer, on the crossbar of which rollers made of expanded polystyrene foam are put on.
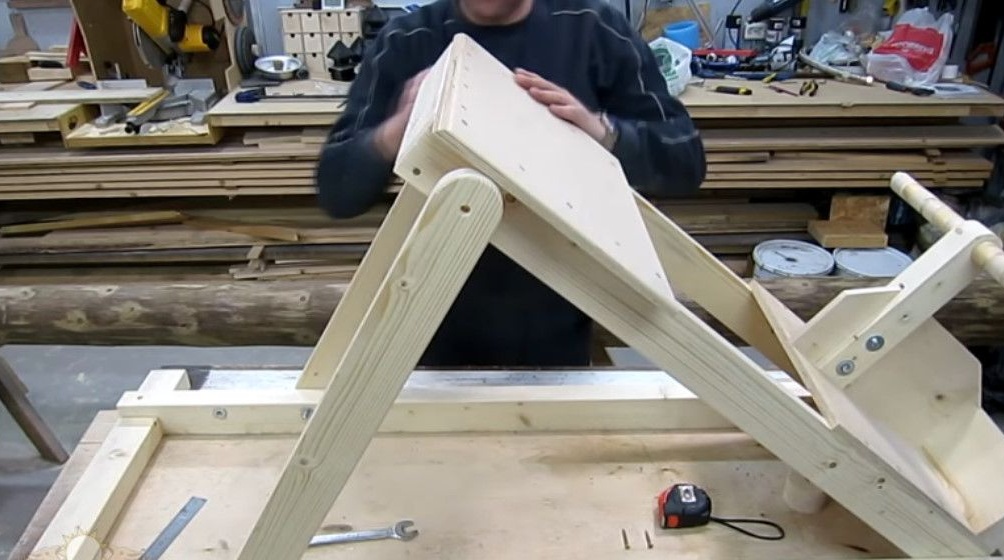
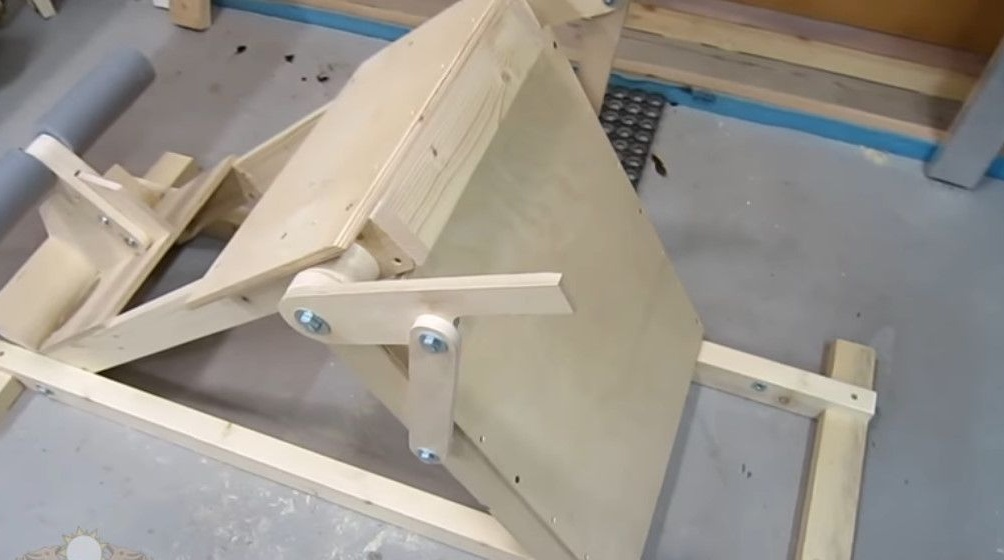
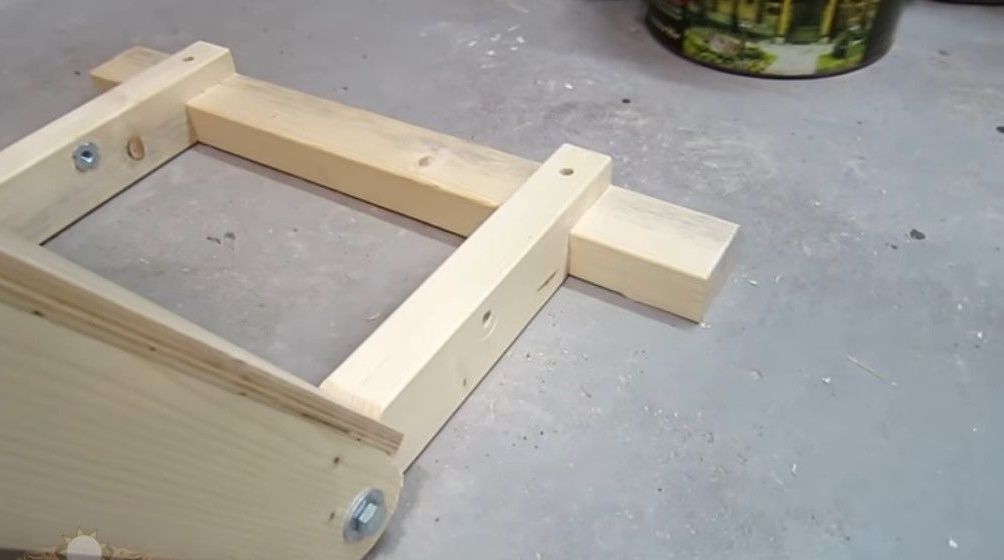
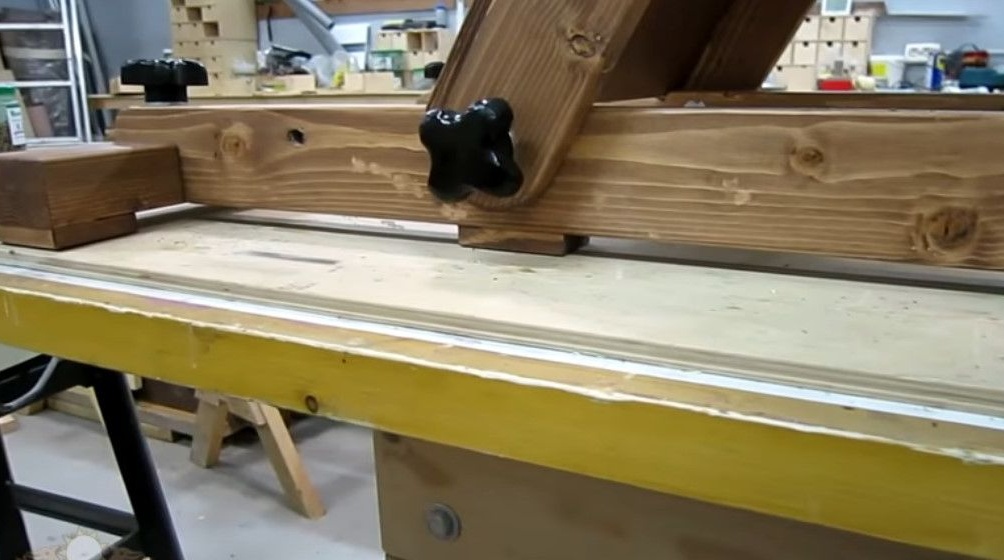
The inclined frame is supported by support rails, bolts attached to it and the base frame.

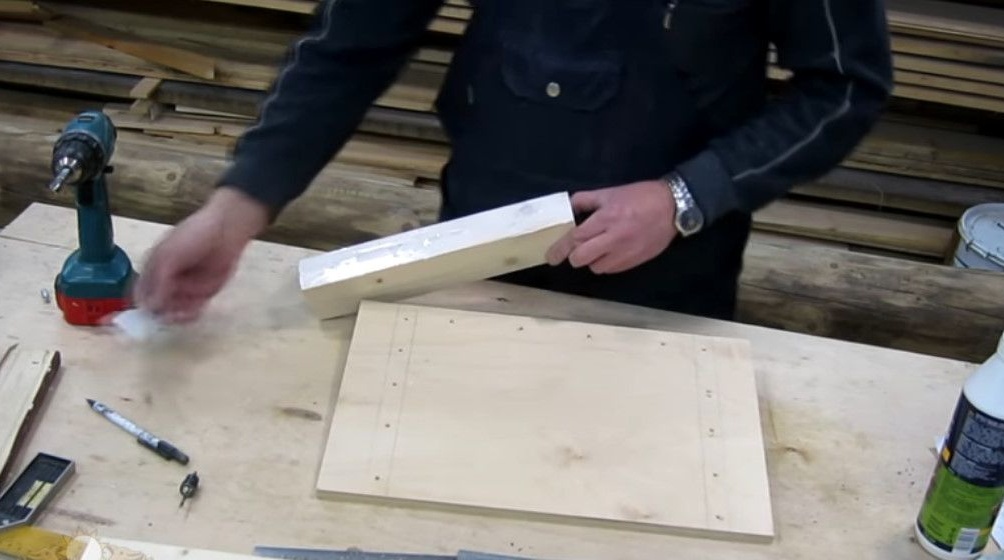
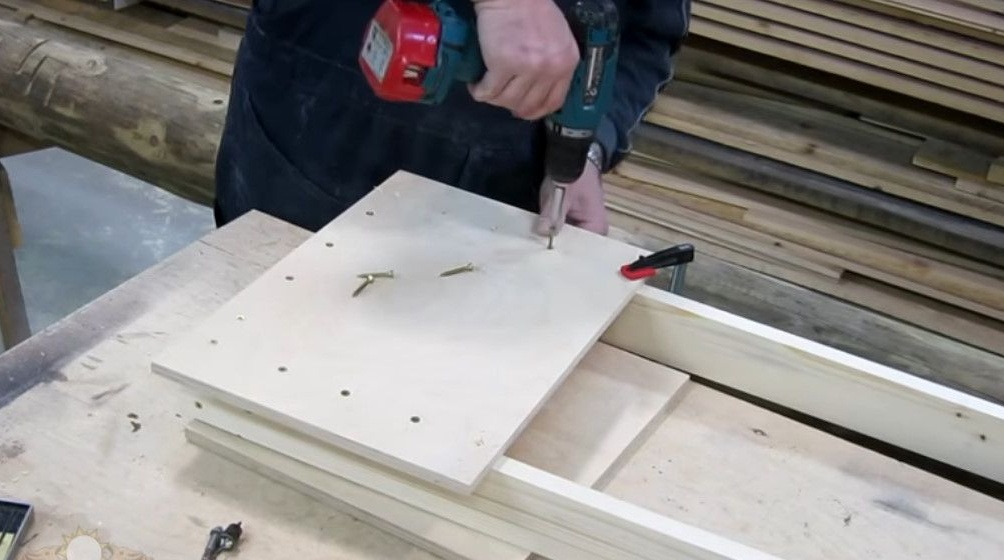
For reliability and stability of the movable frame, the support rails are connected to each other by a piece of plywood, resting on the longitudinal bars of the base frame. On both sides of the support board are mounted palm rests.
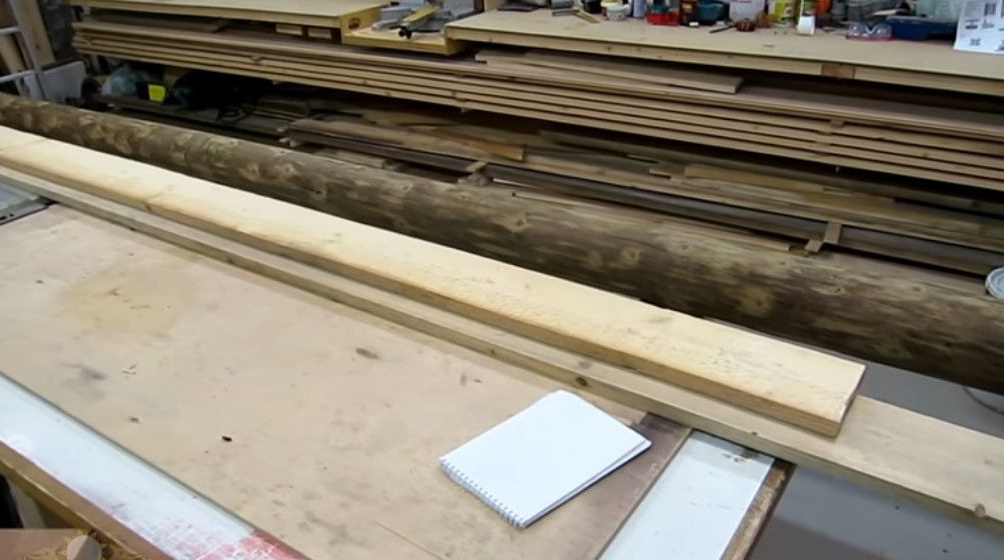
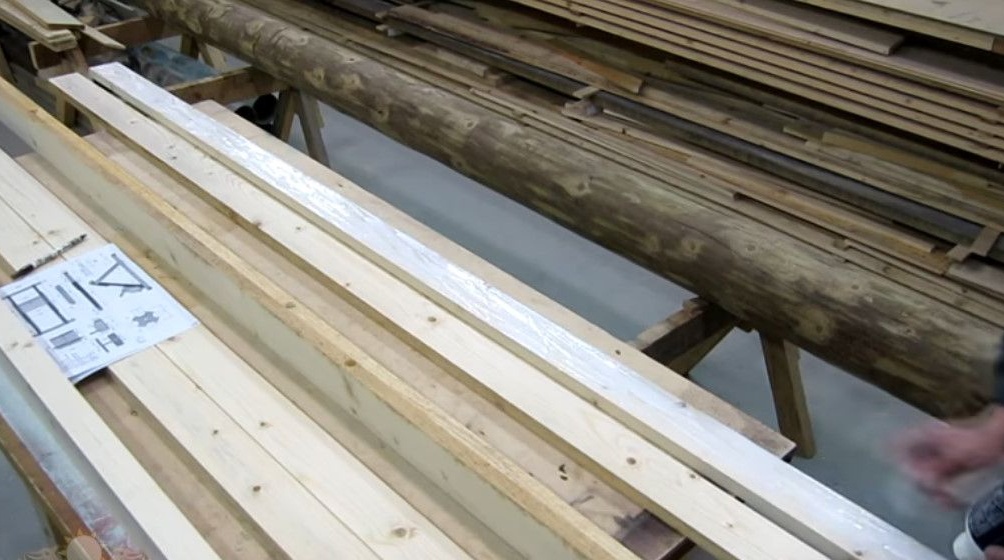
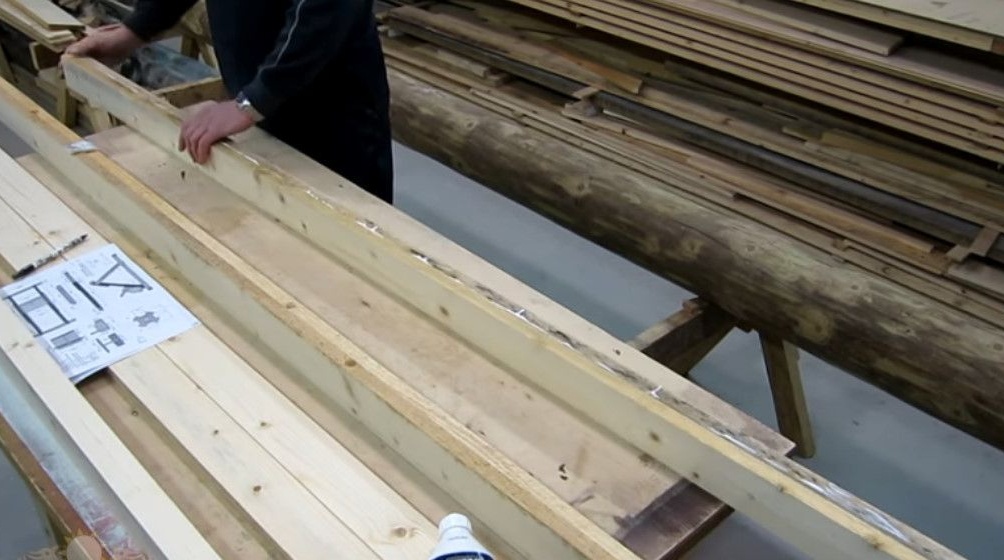
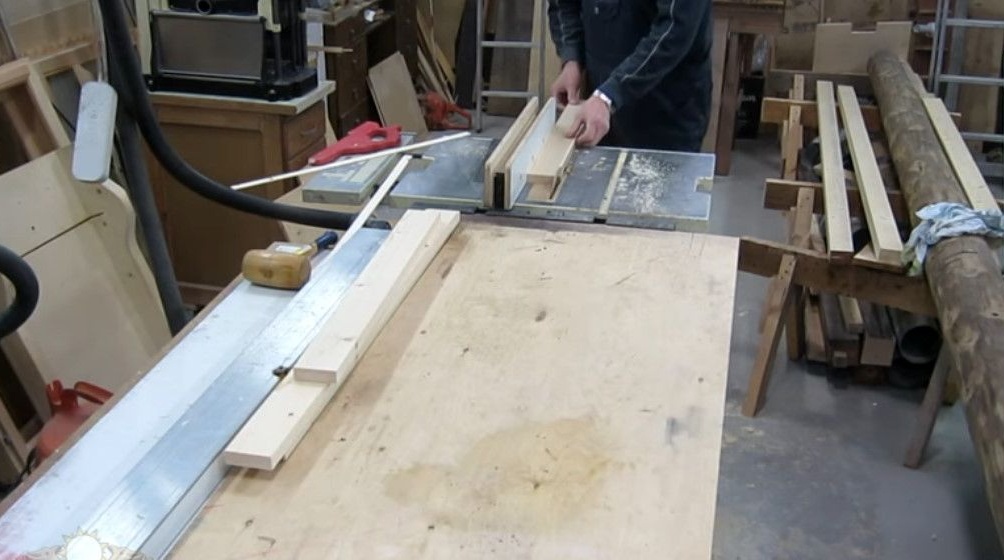
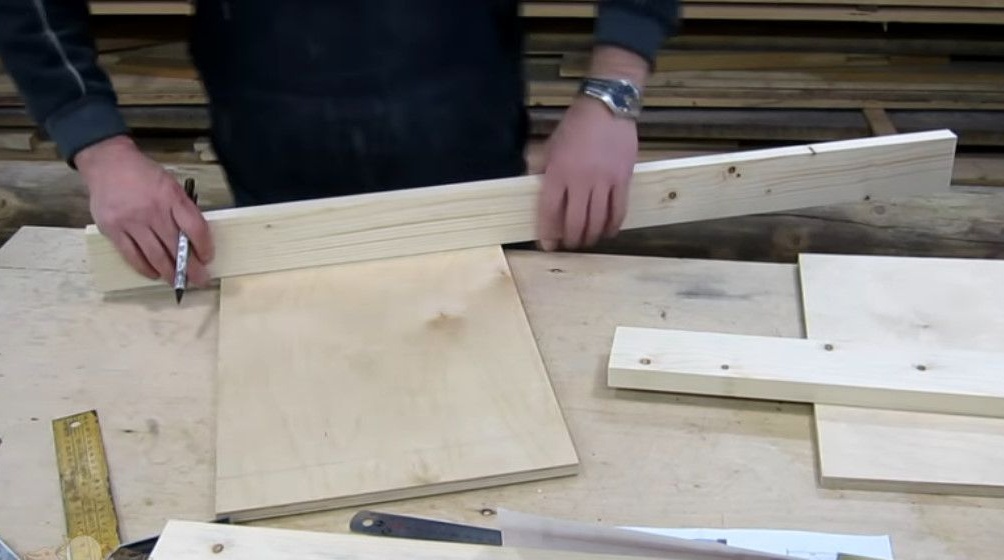
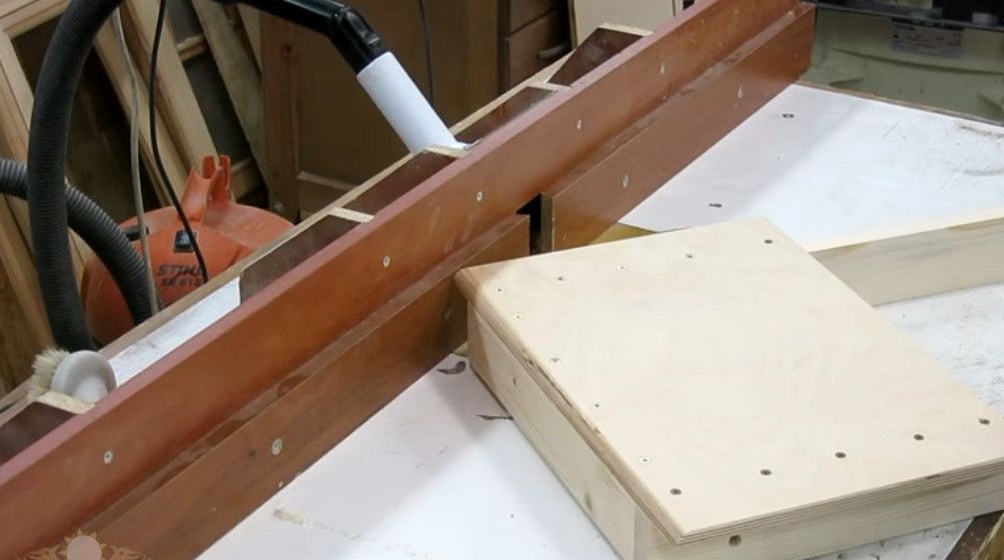
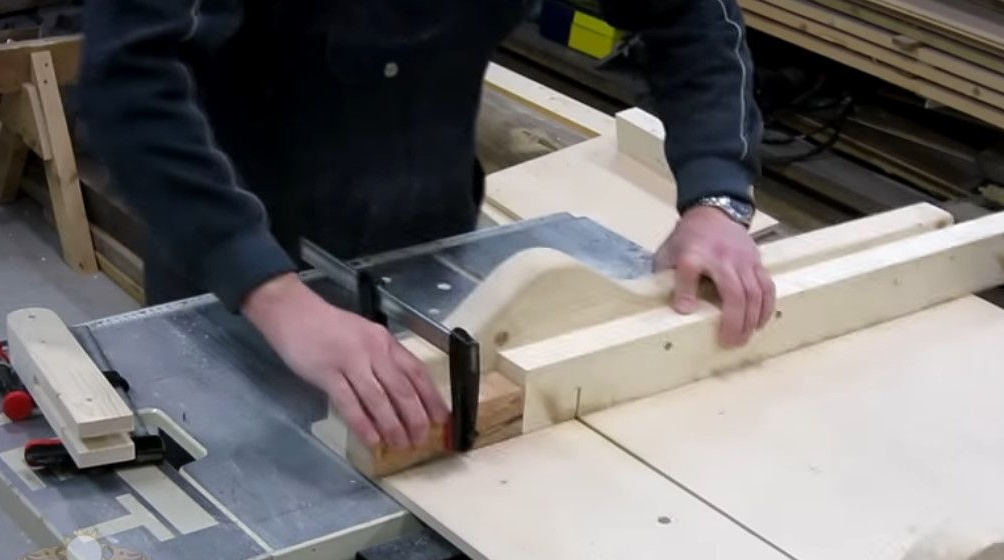
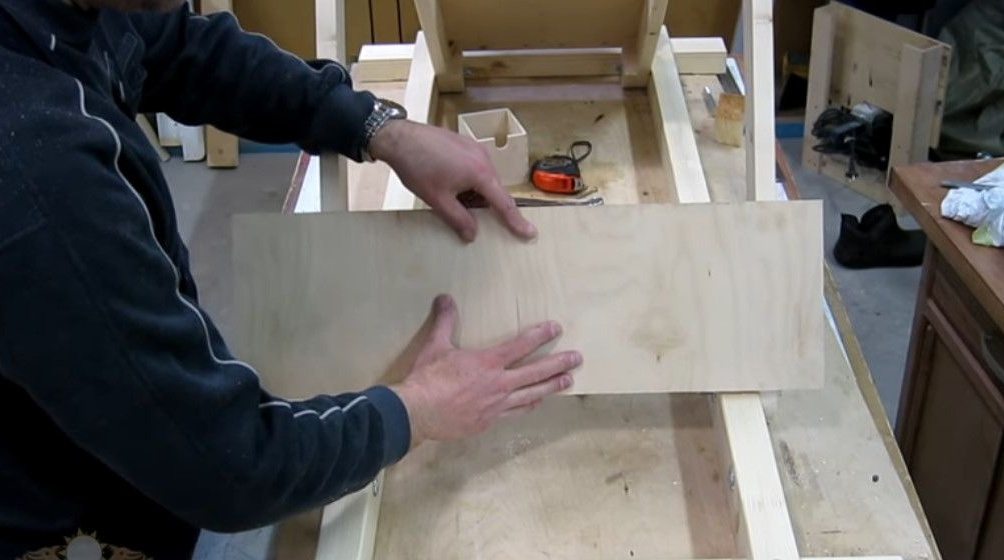
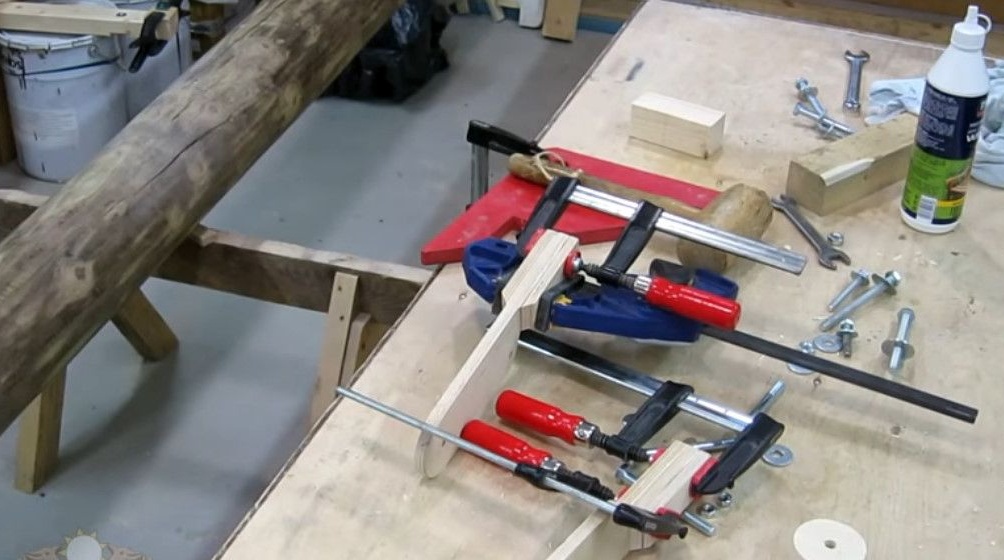
The simulator Oleg will make of these two boards. One is six meters, the other is 4 meters long.According to the plan, he first sawed them in size with a small allowance.

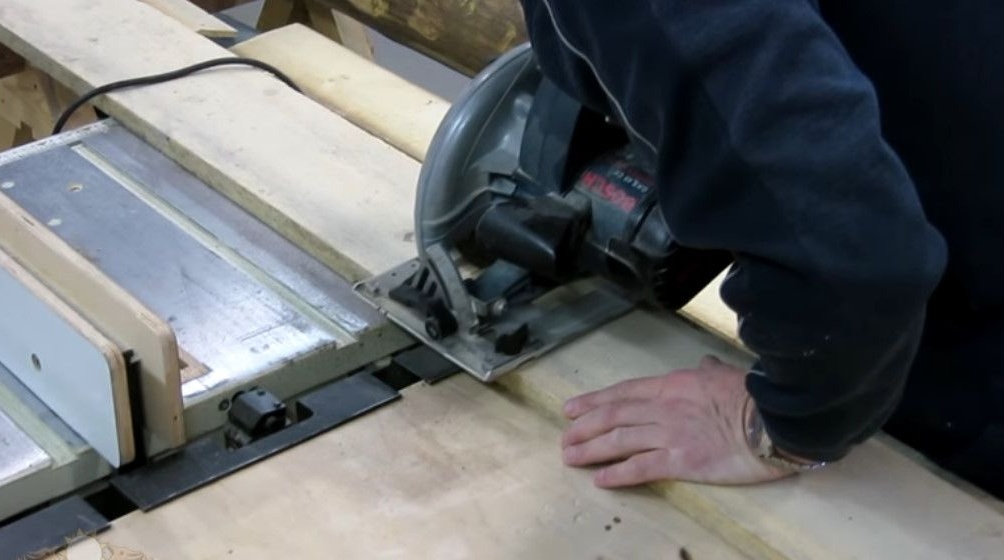
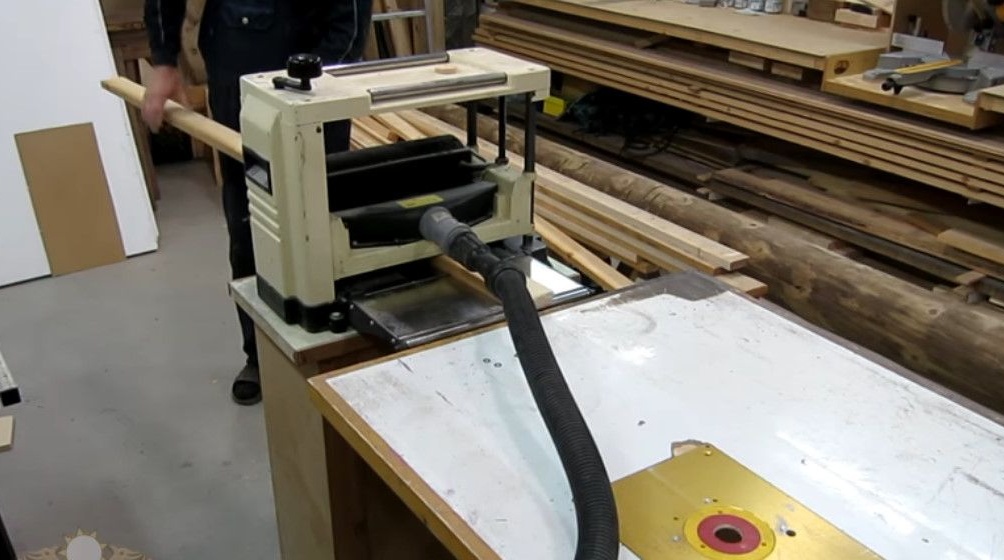
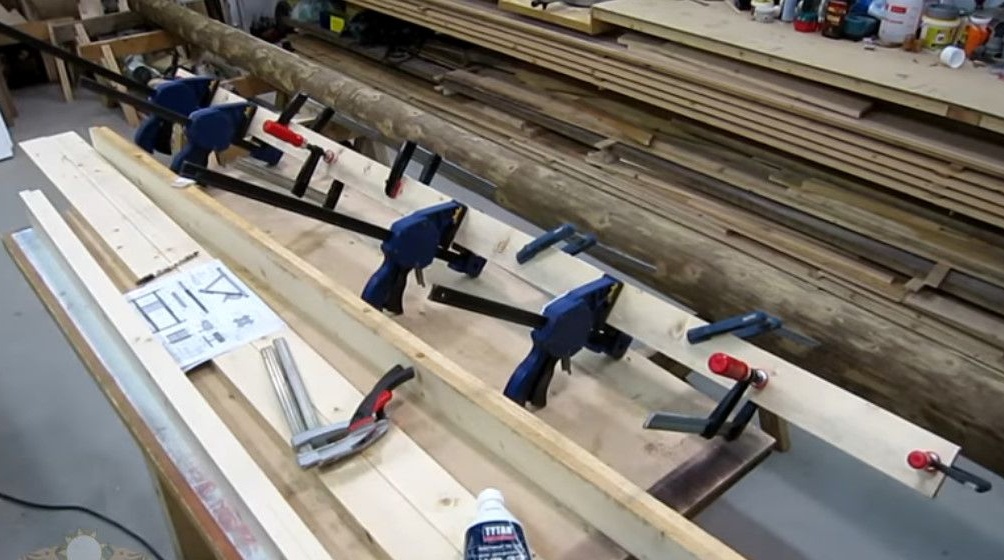
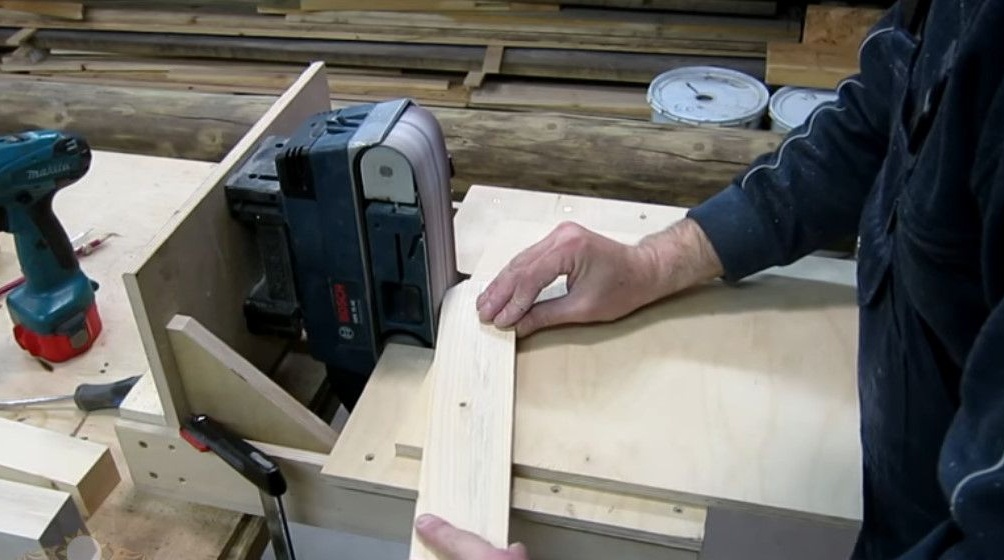
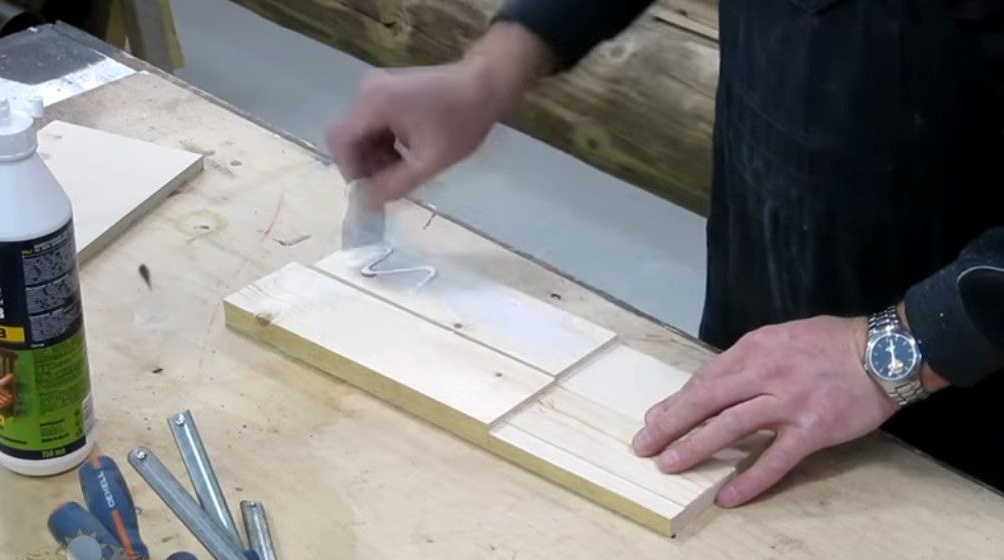
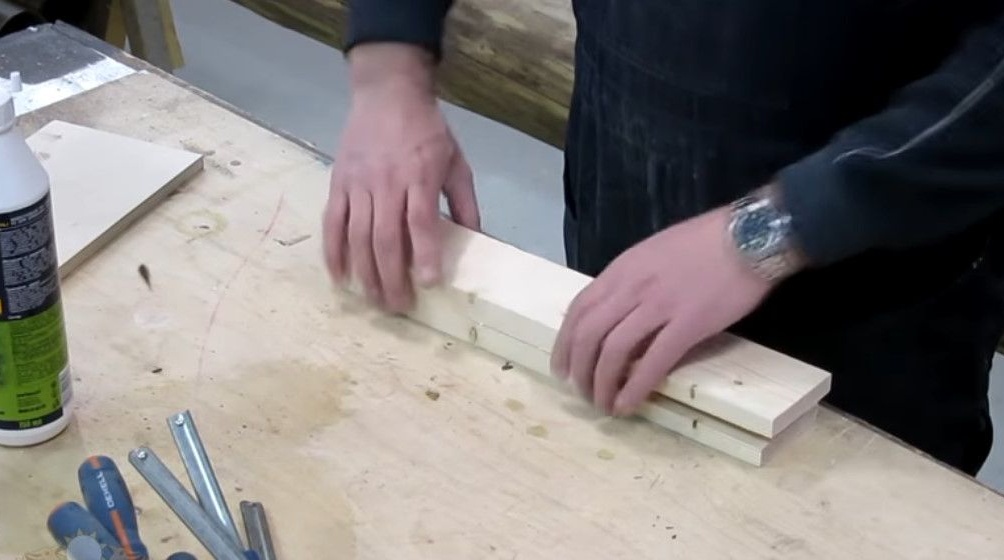
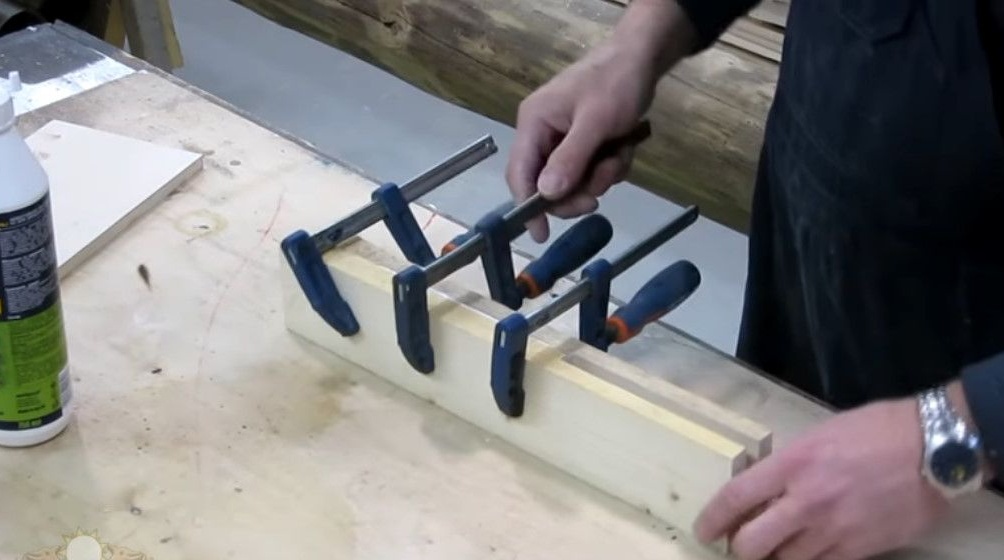
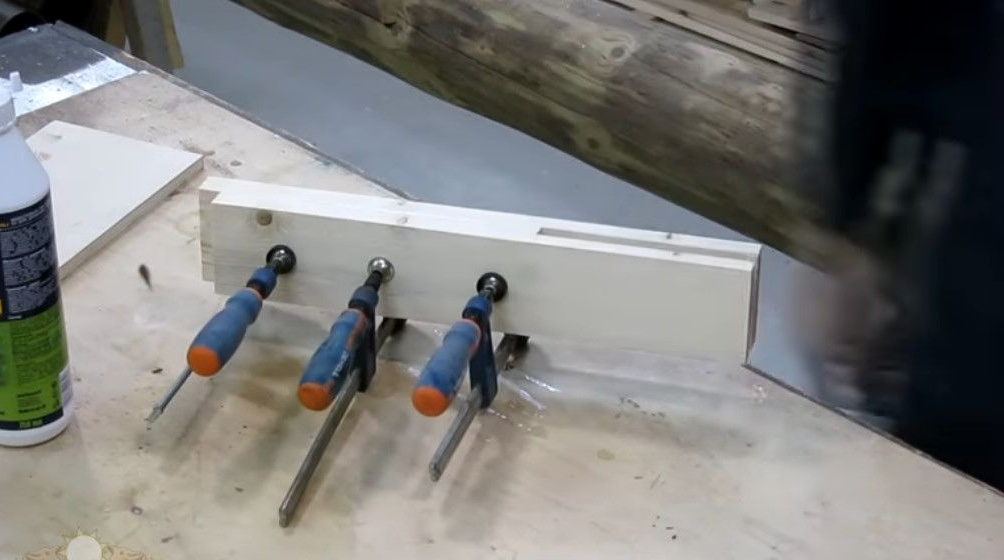
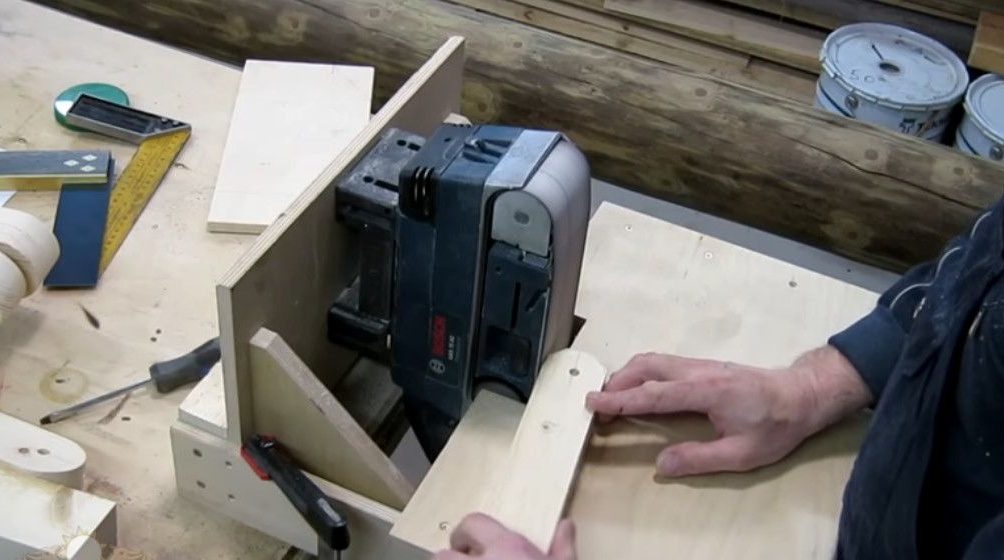
Then he will plate off the plates, glue the bars for the base frame, he will edge off the edges.
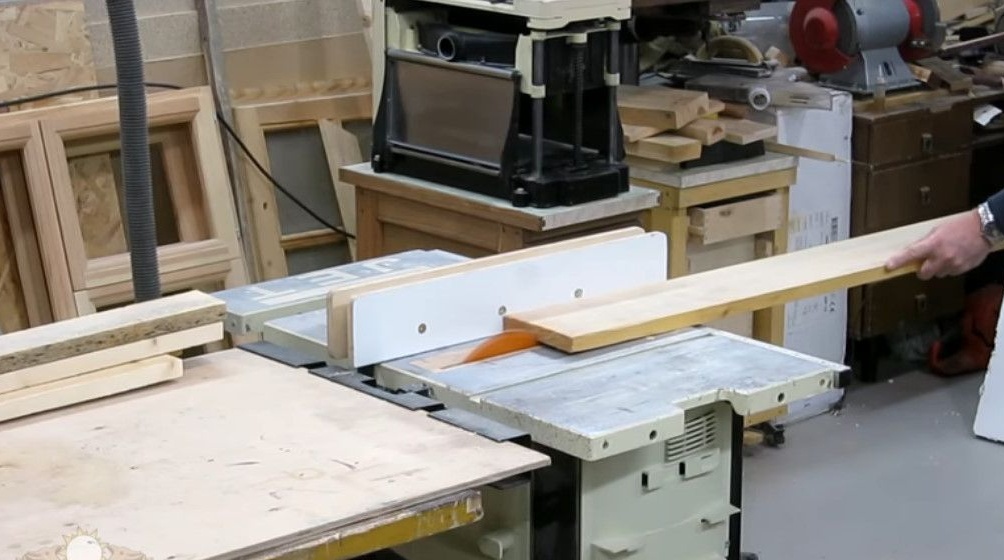
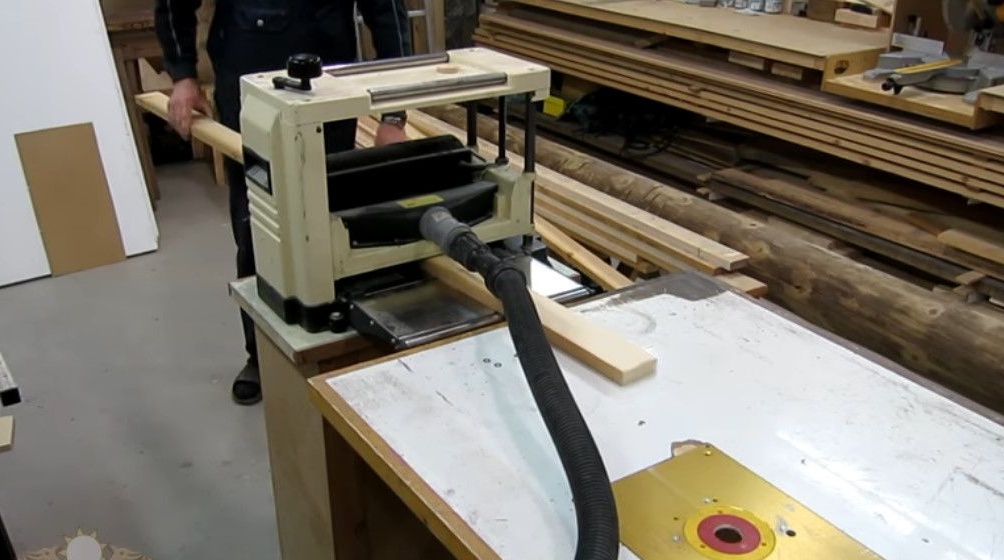
And finally, all the workpieces are finally cut to size in width.


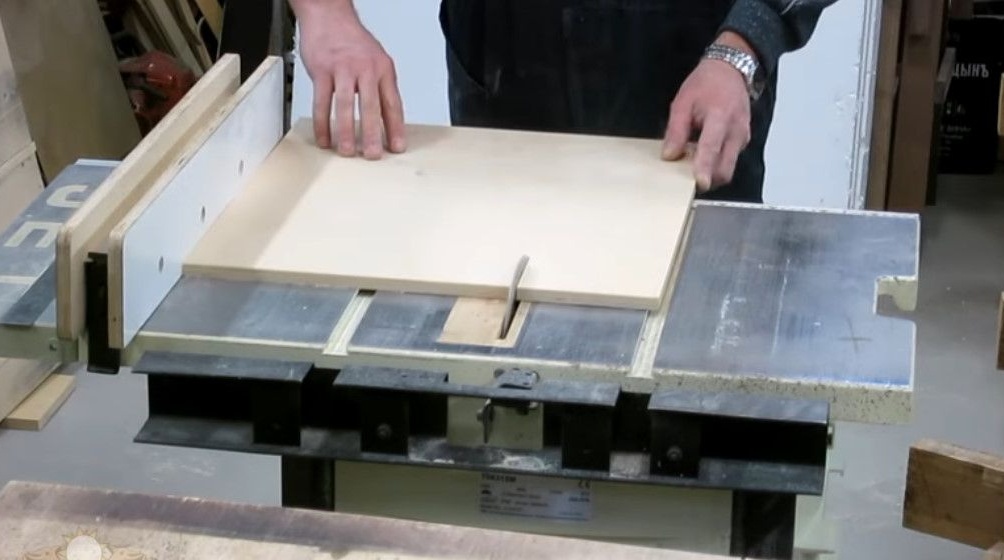
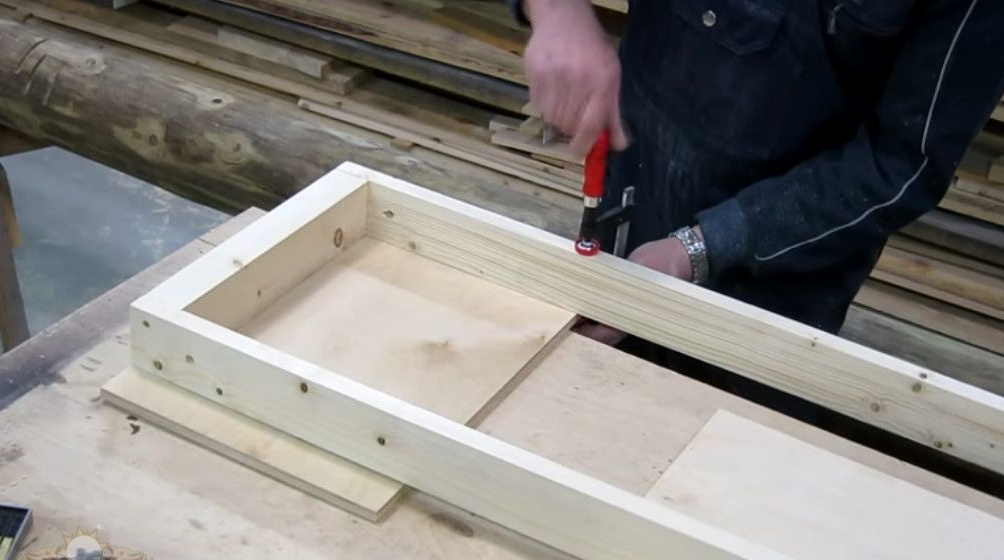
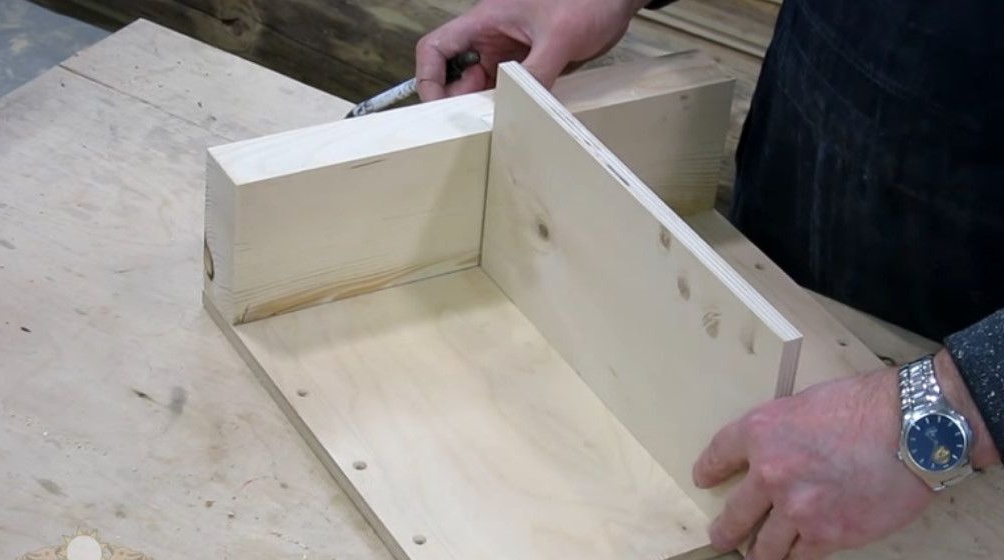
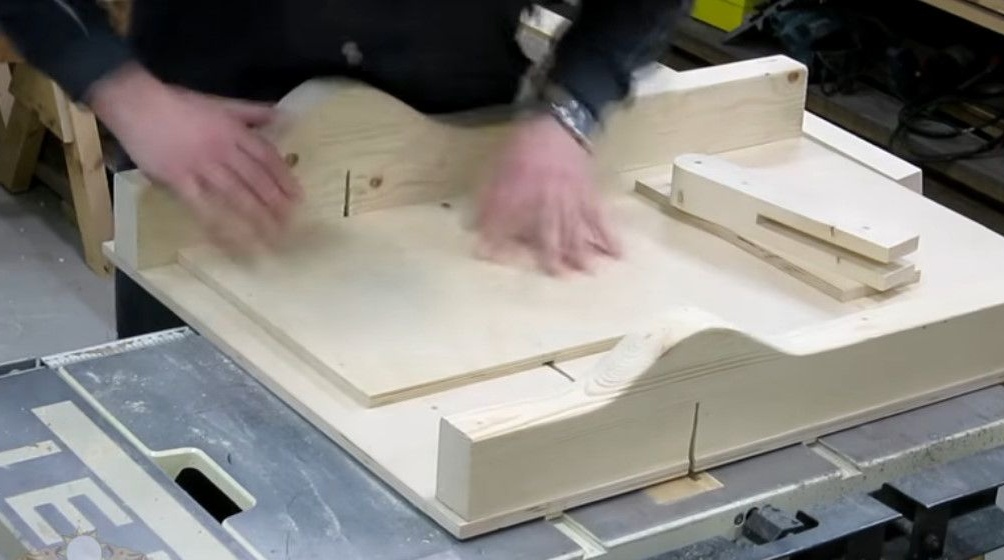
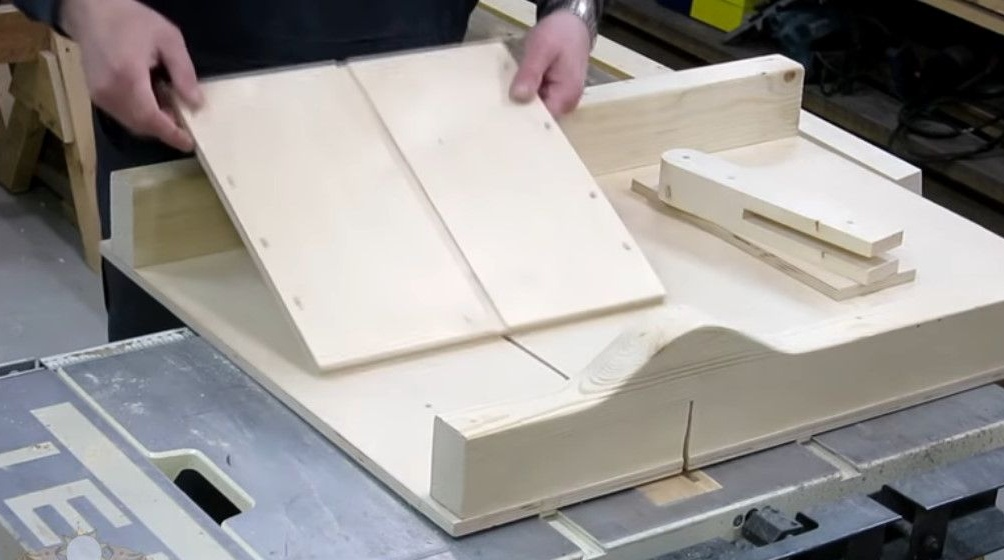
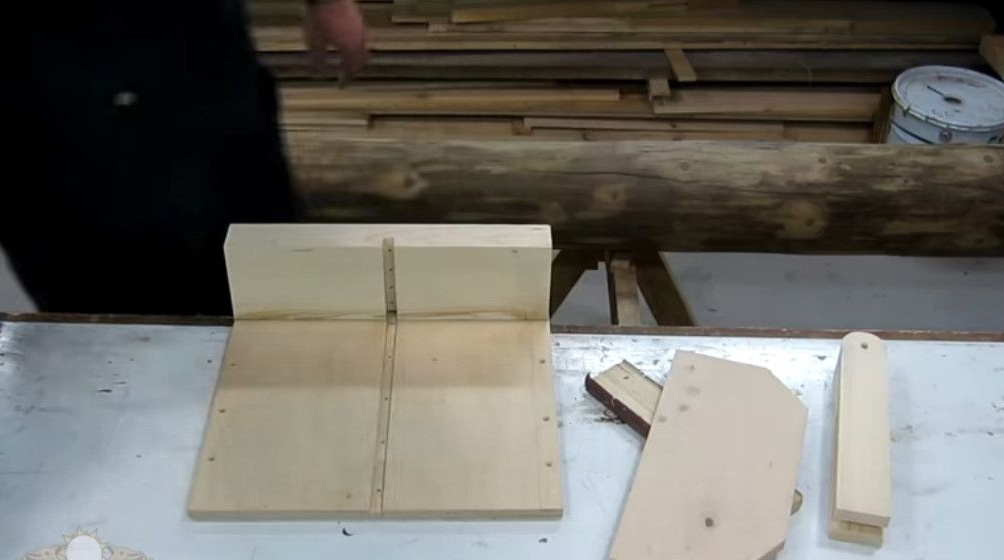
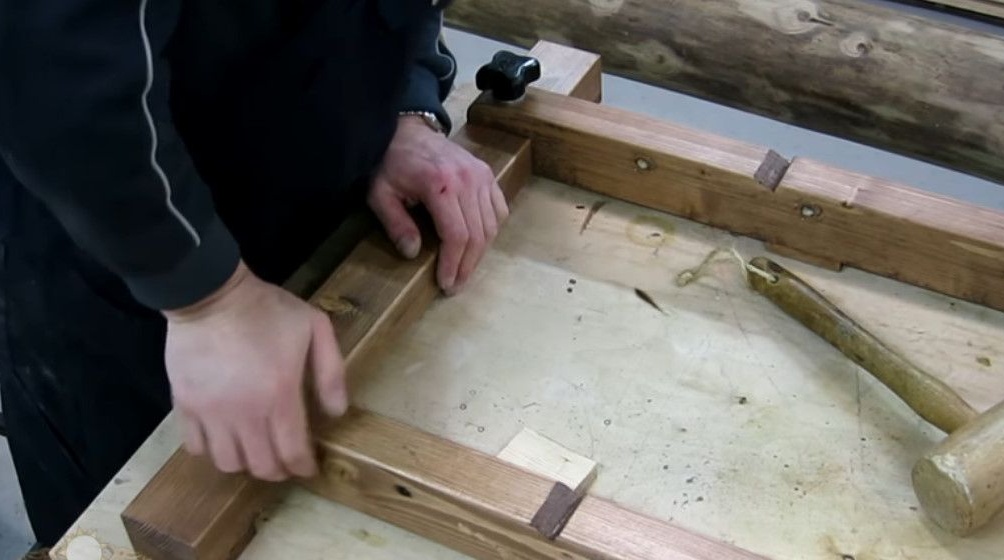
Now, according to the drawing, Oleg makes parts of an inclined frame. And he begins with a support board and support rails.

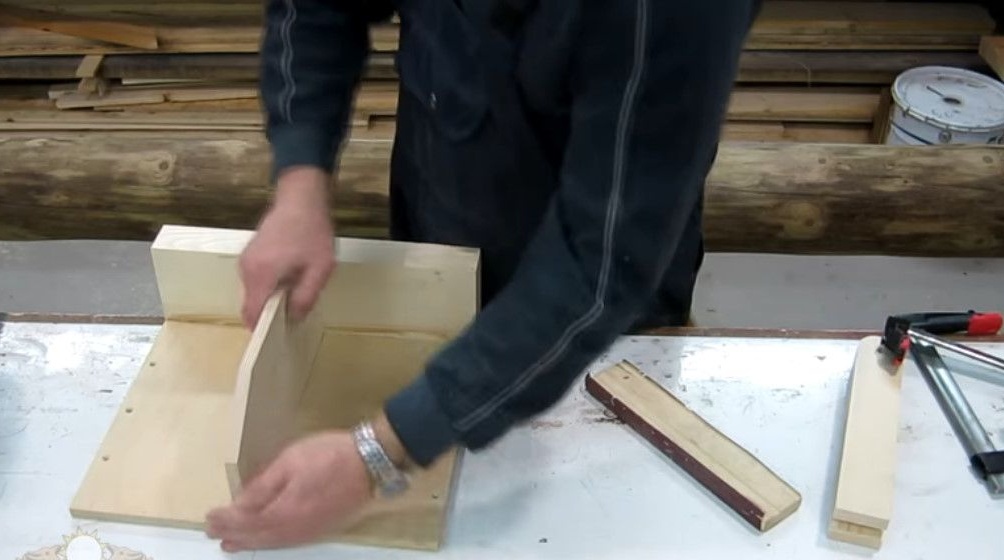
Then he assembles an inclined frame.

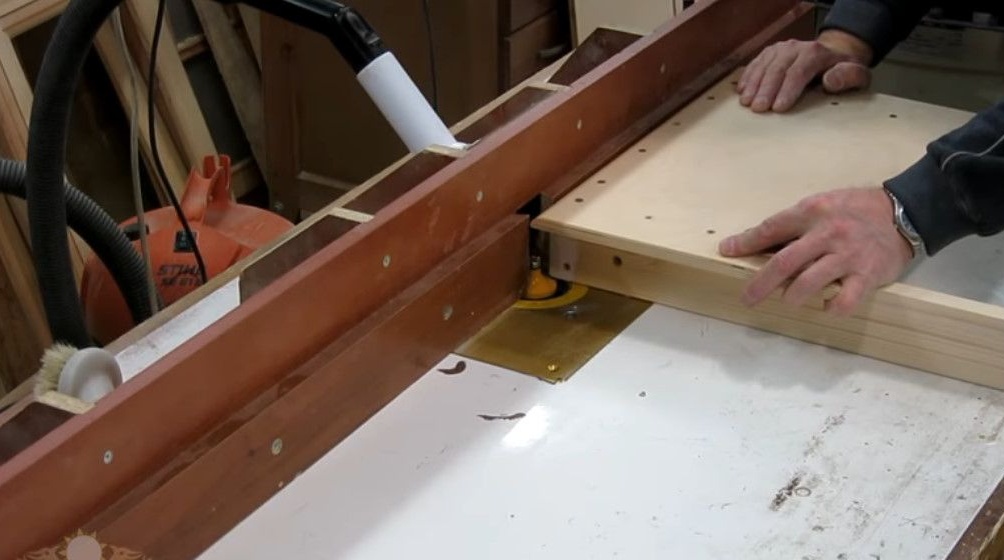
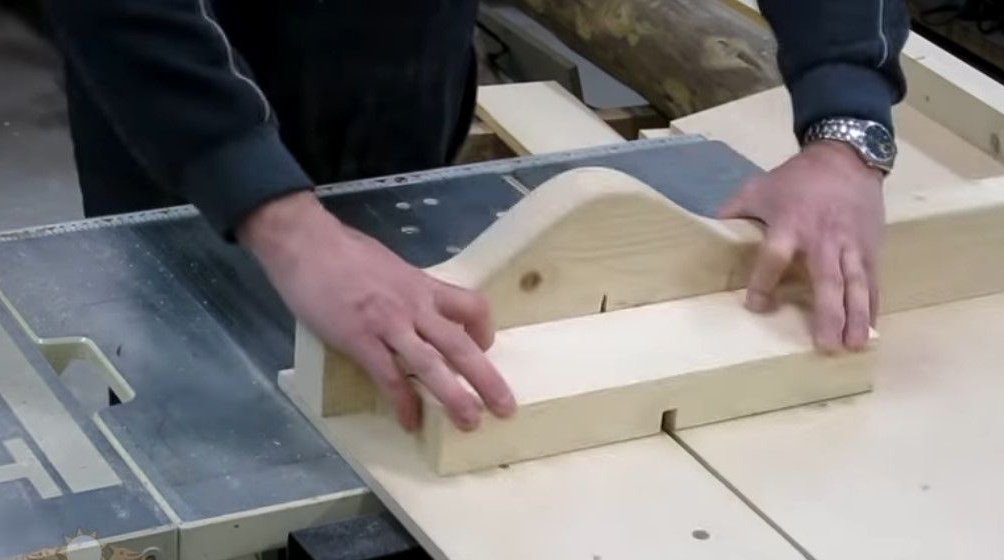
And rounds its cutting edge.
Now he makes parts for the footrest.
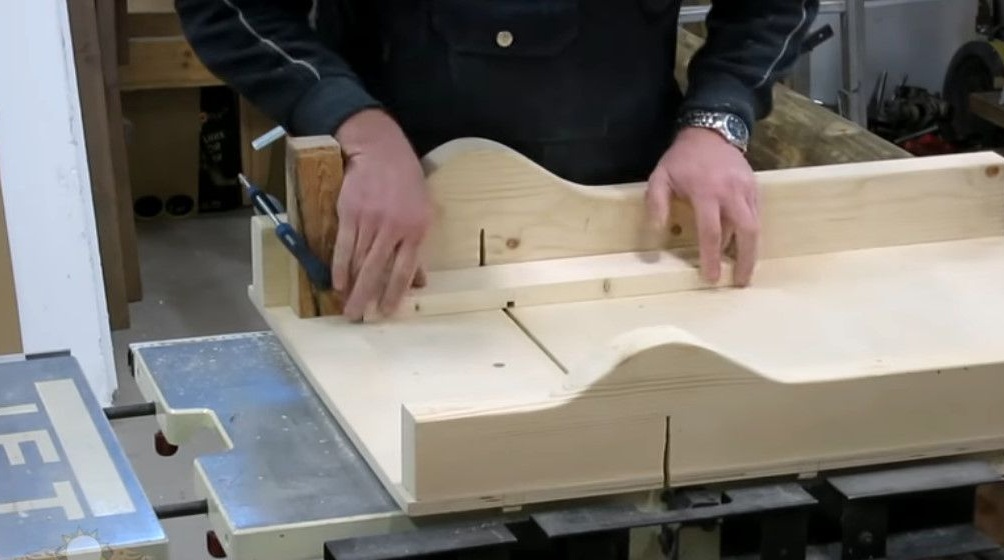
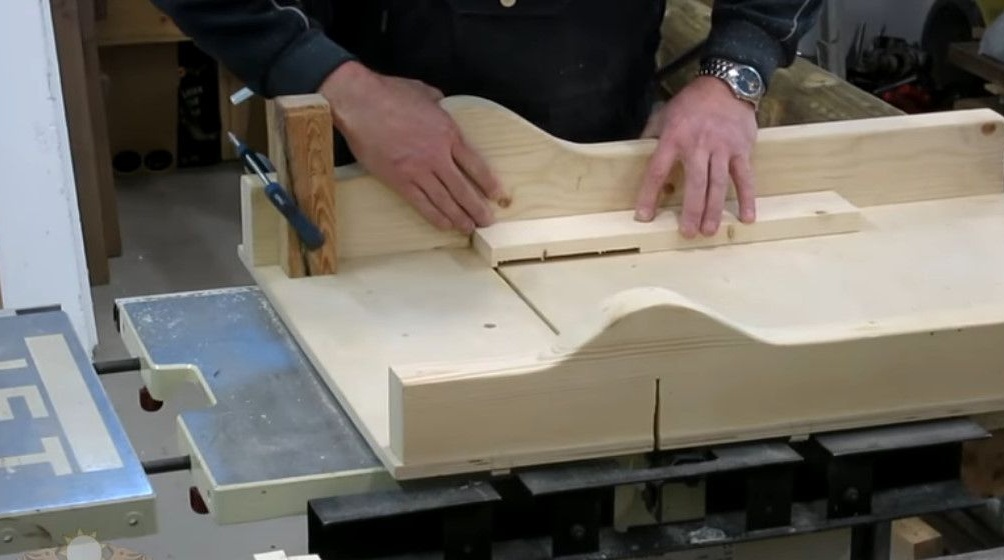

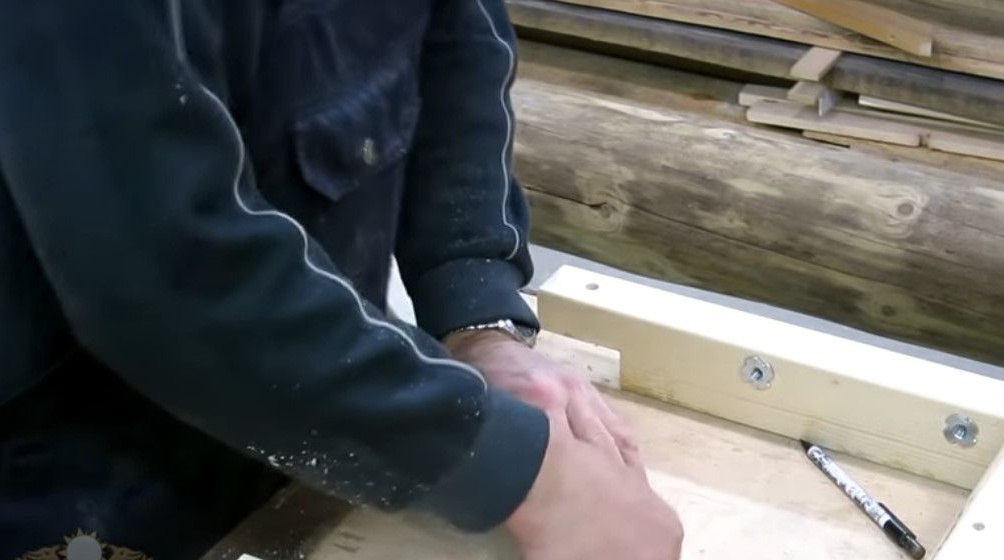
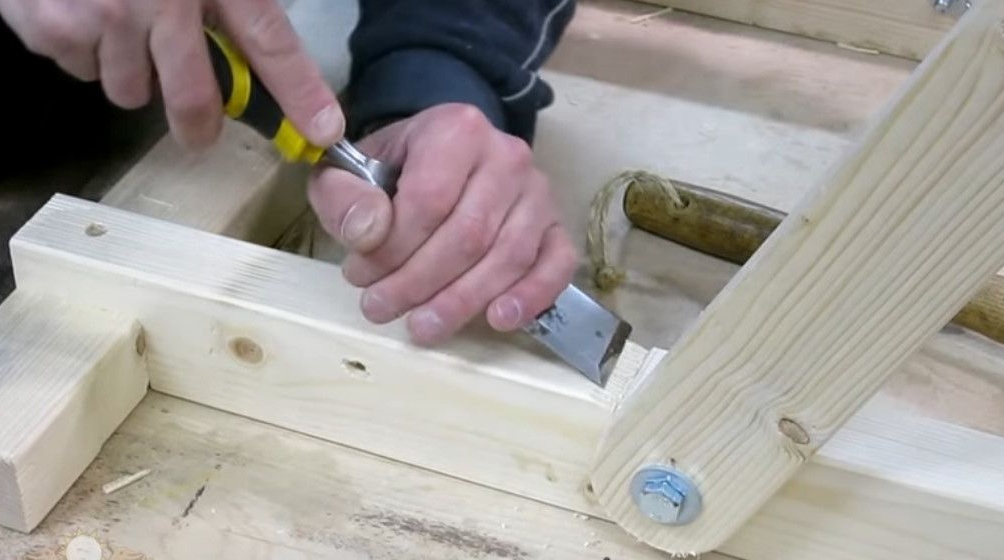
In the details of the emphasis, the author selects a groove in width of this jumper.

A jumper is needed to secure the forks of the T-shaped leg clamp, ”Oleg explains.

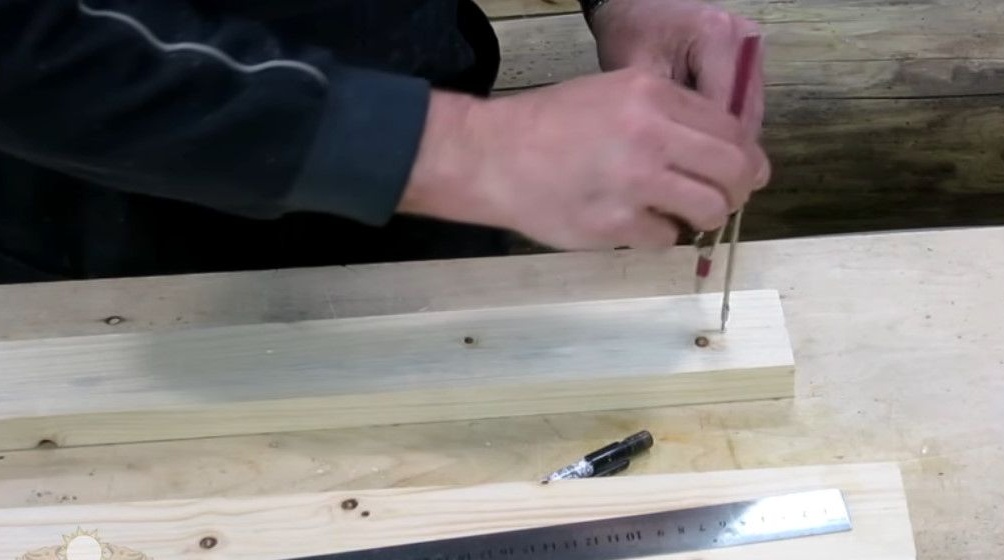
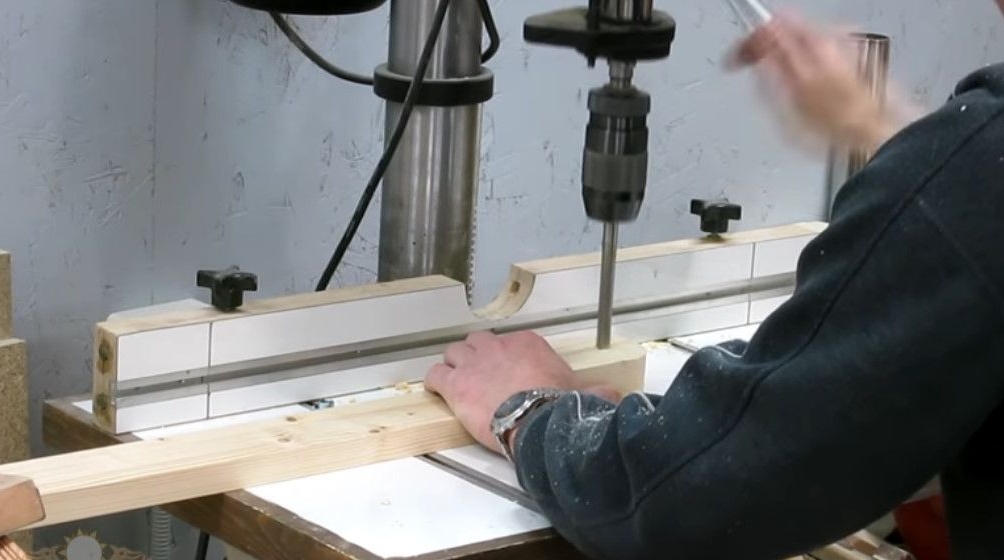
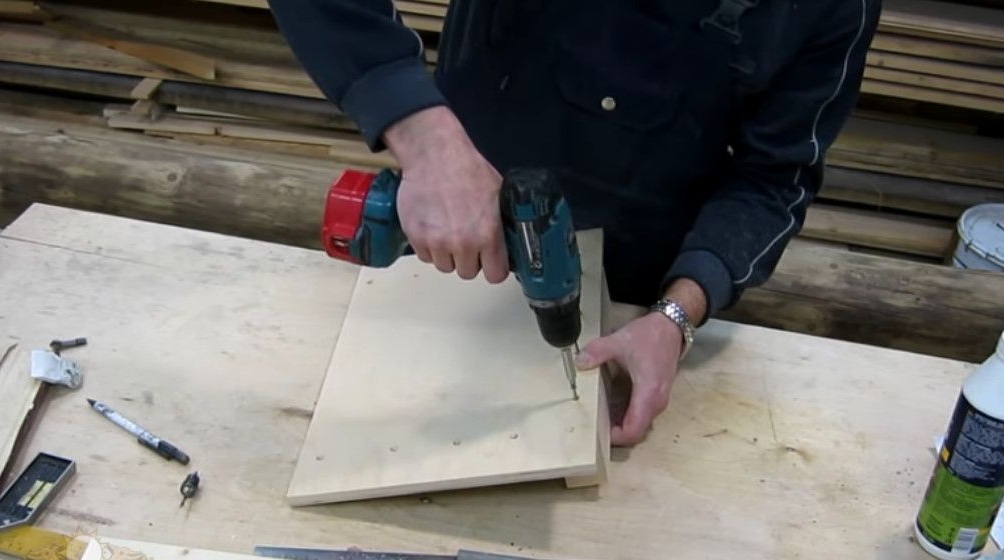
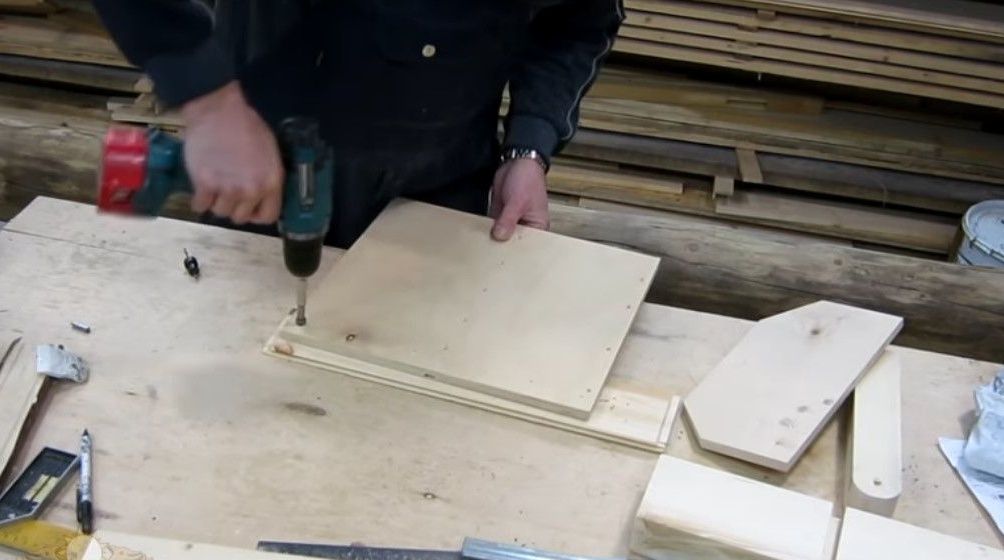
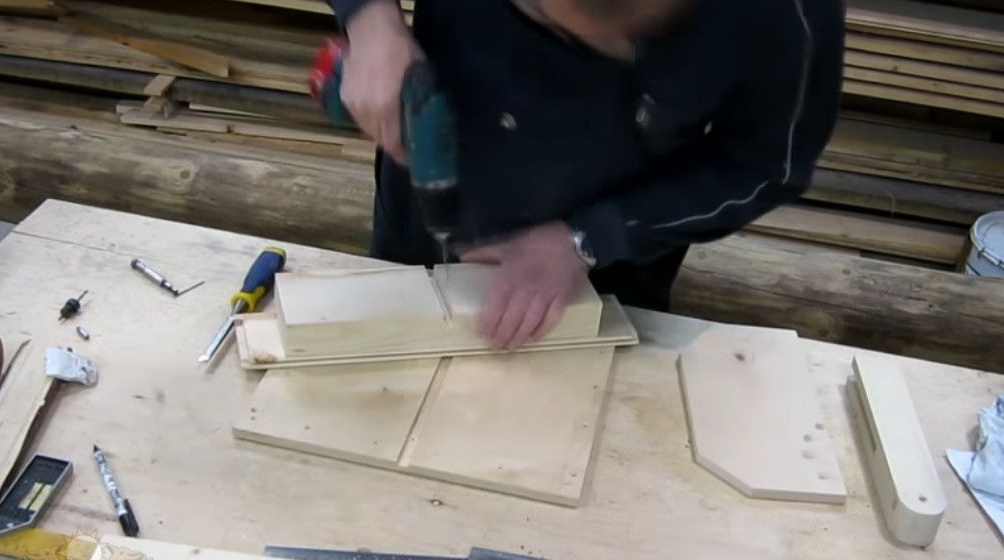
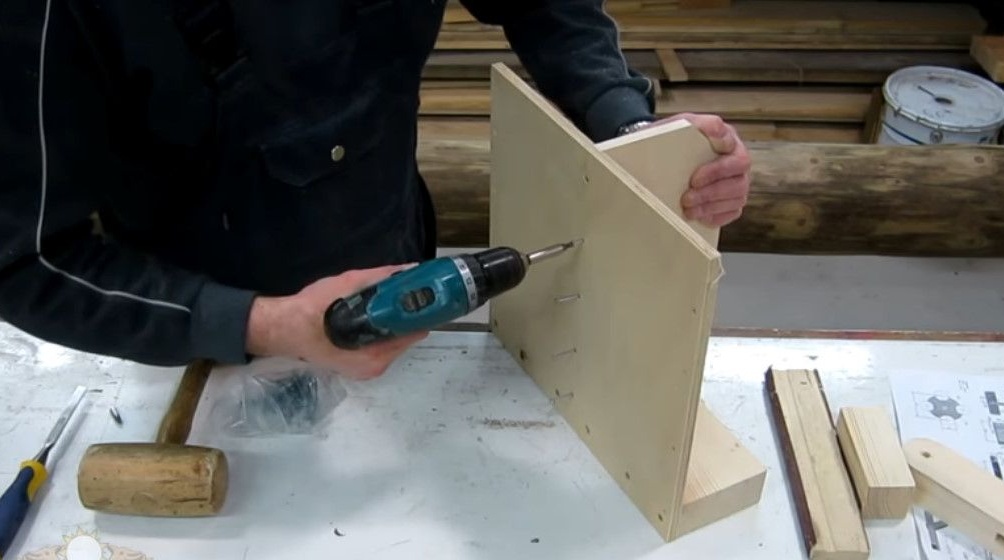
Drills mounting holes and collects dry foot rest.
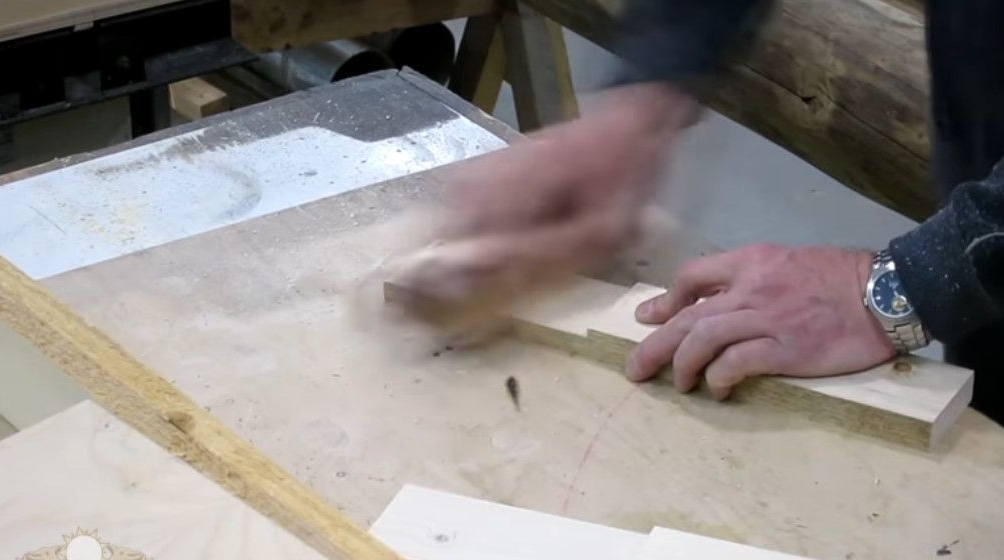
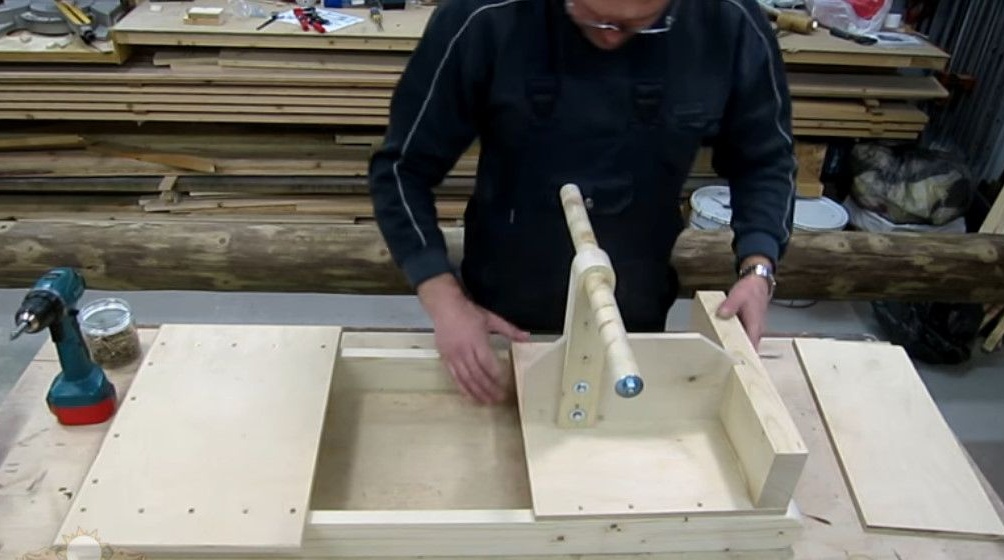
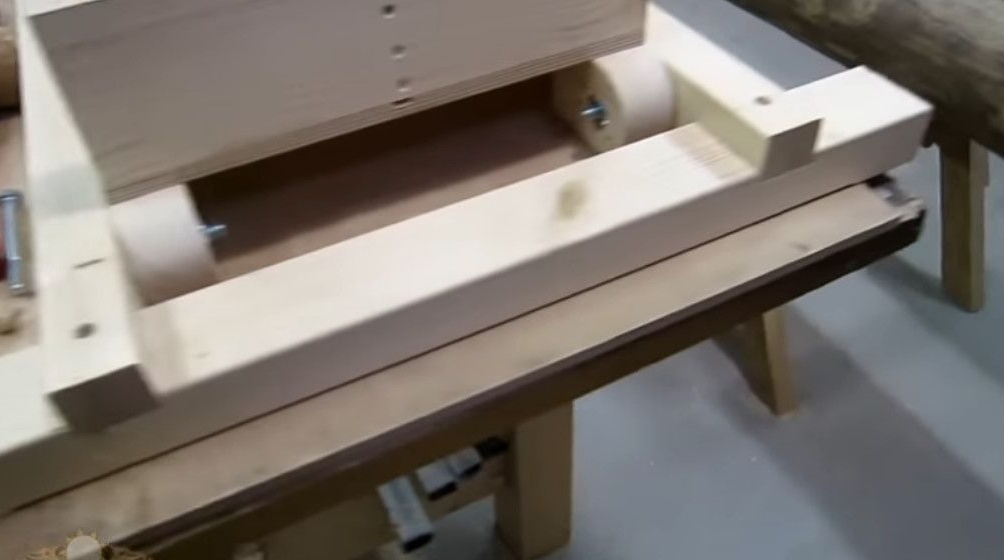
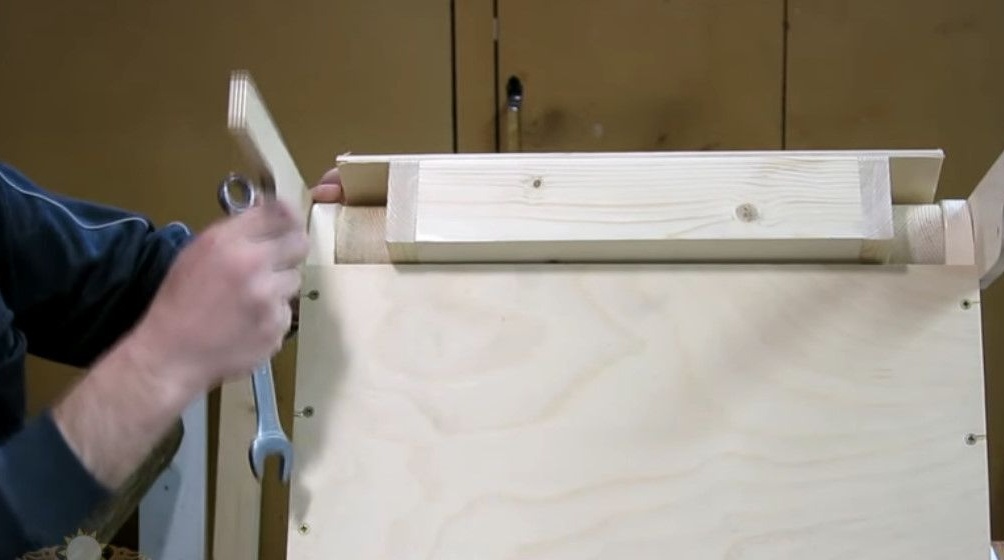
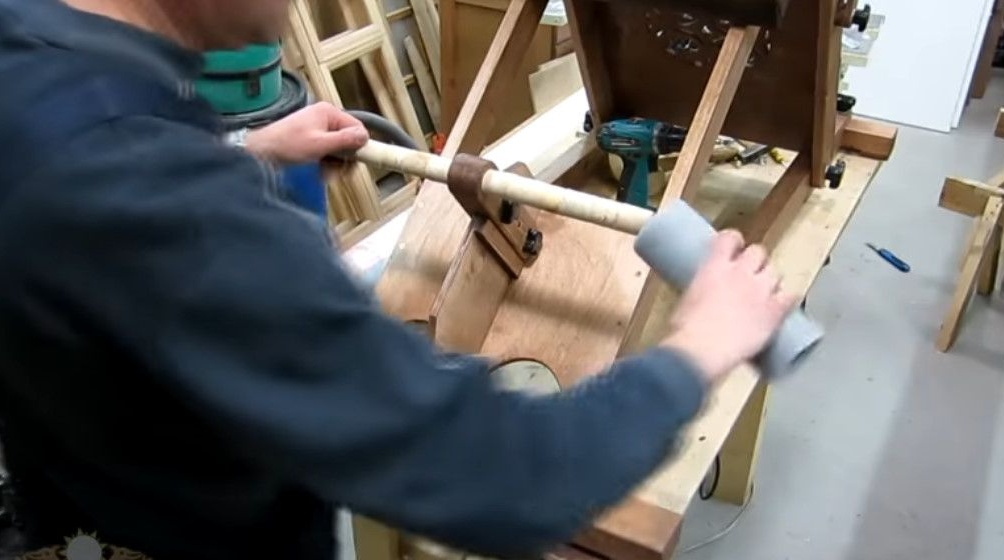
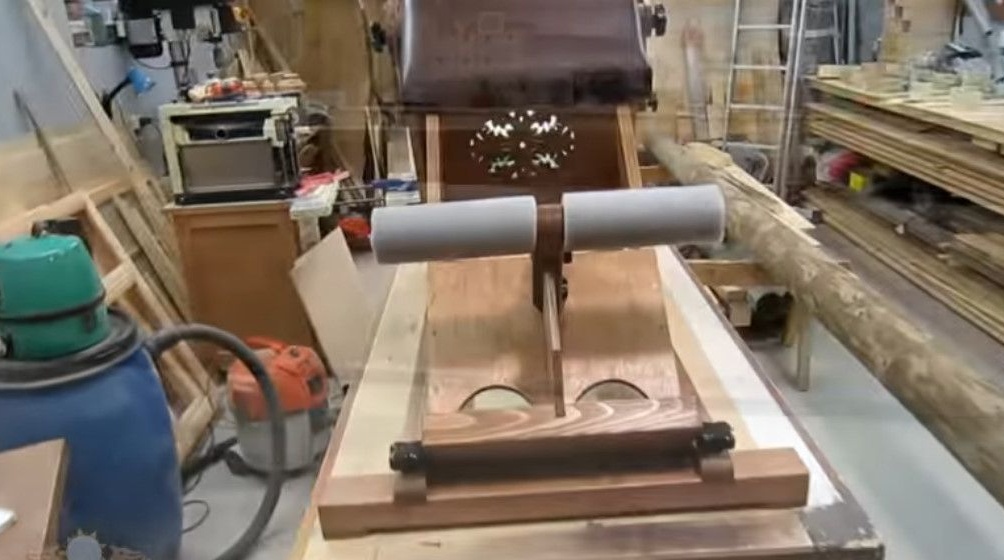
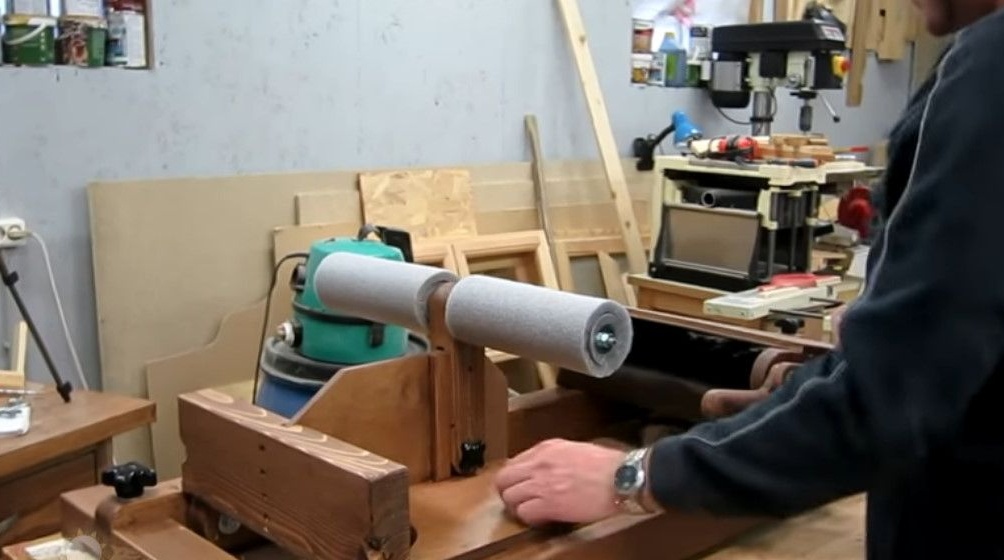
The next stage is the crossbar of the T-shaped clamp of the legs.
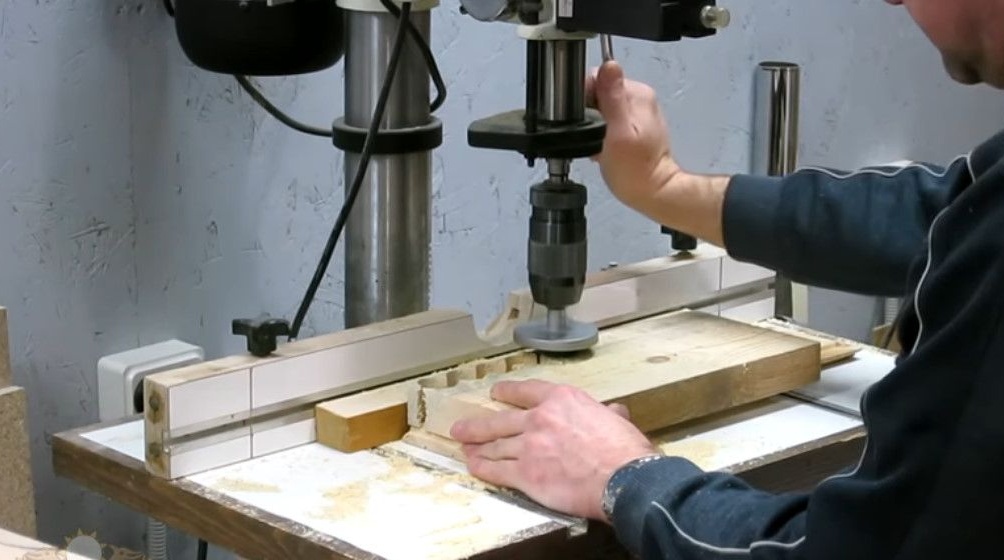
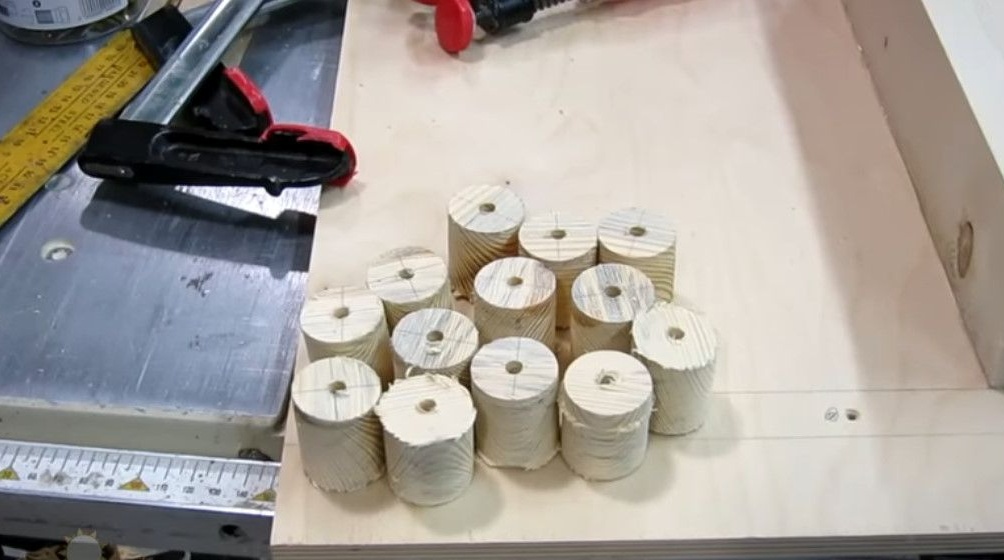
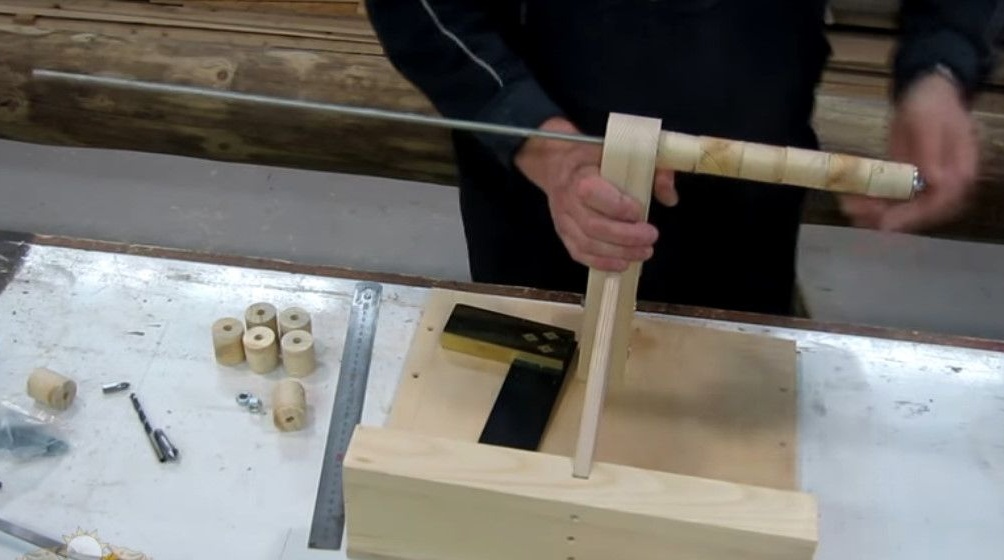
As rollers, the author uses insulation for pipes.

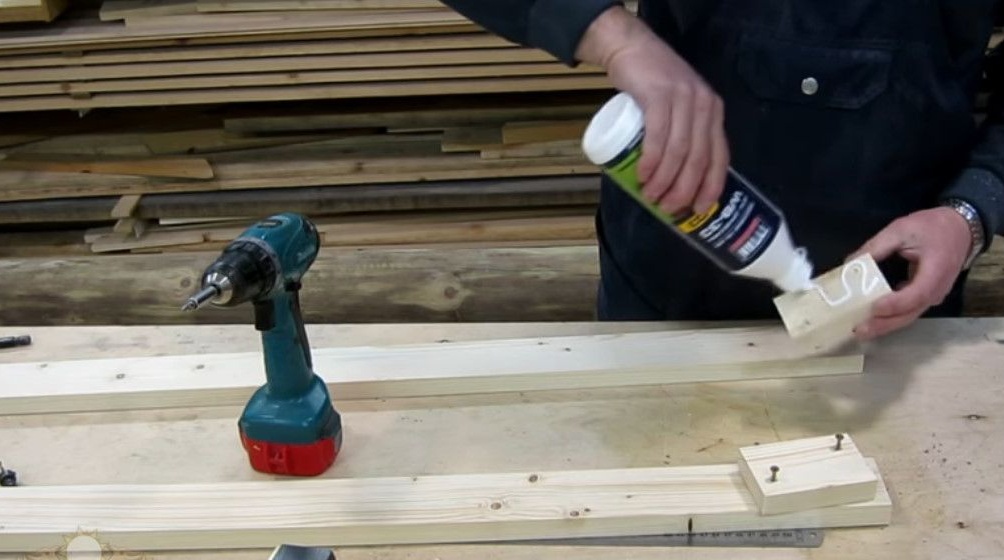
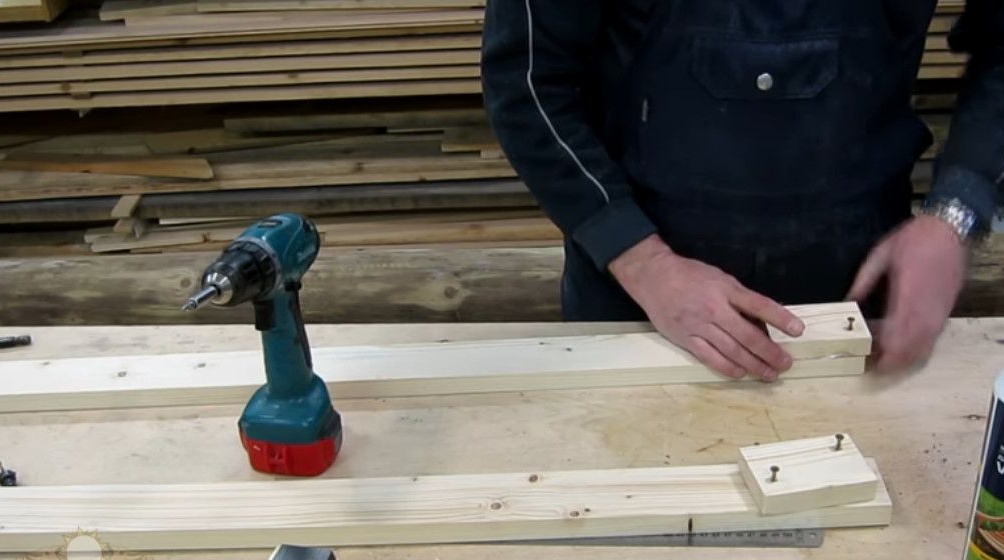
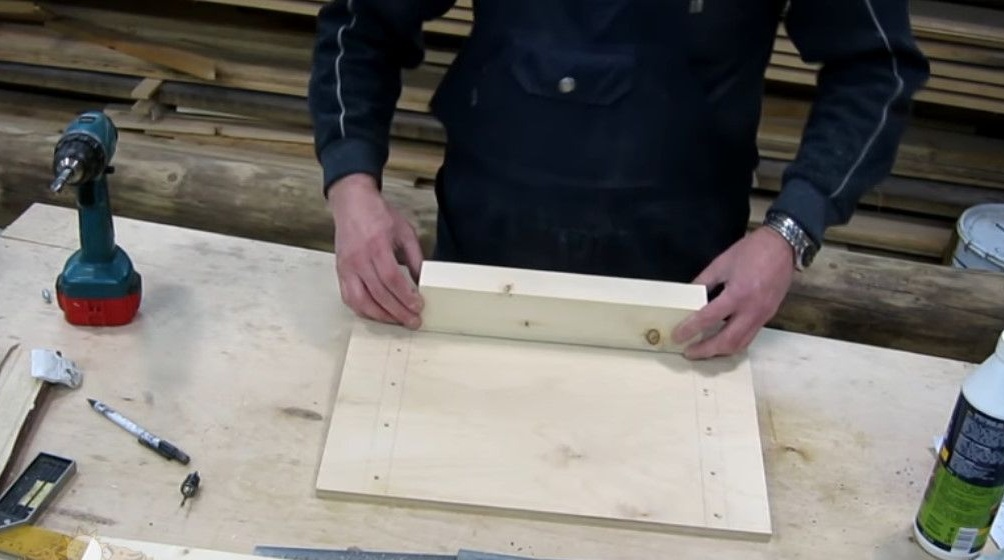
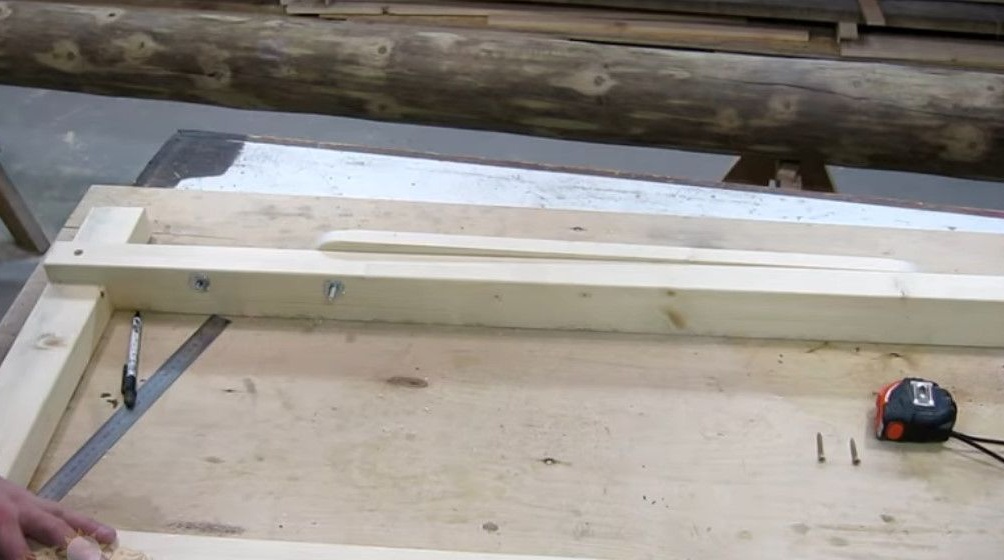
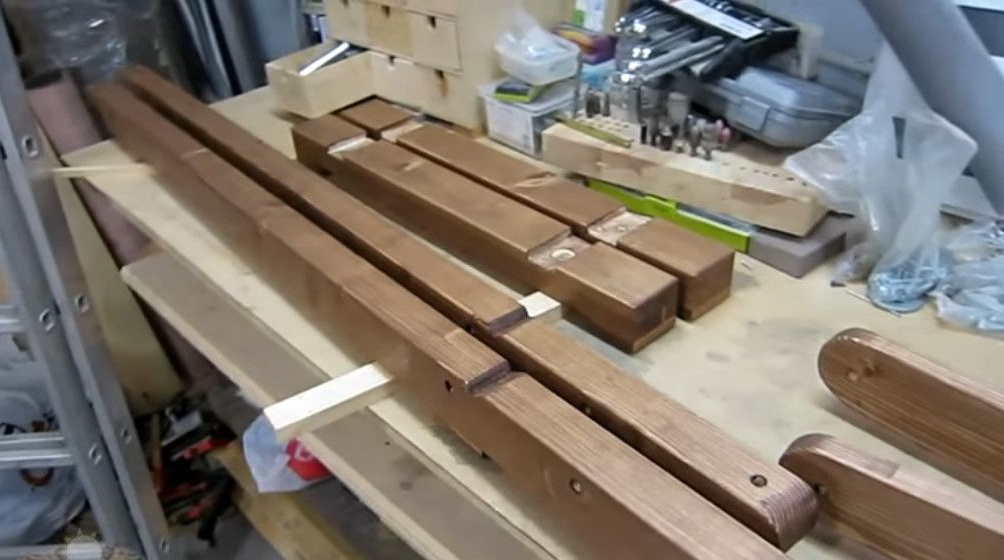
Then he makes the longitudinal bars of the base frame.

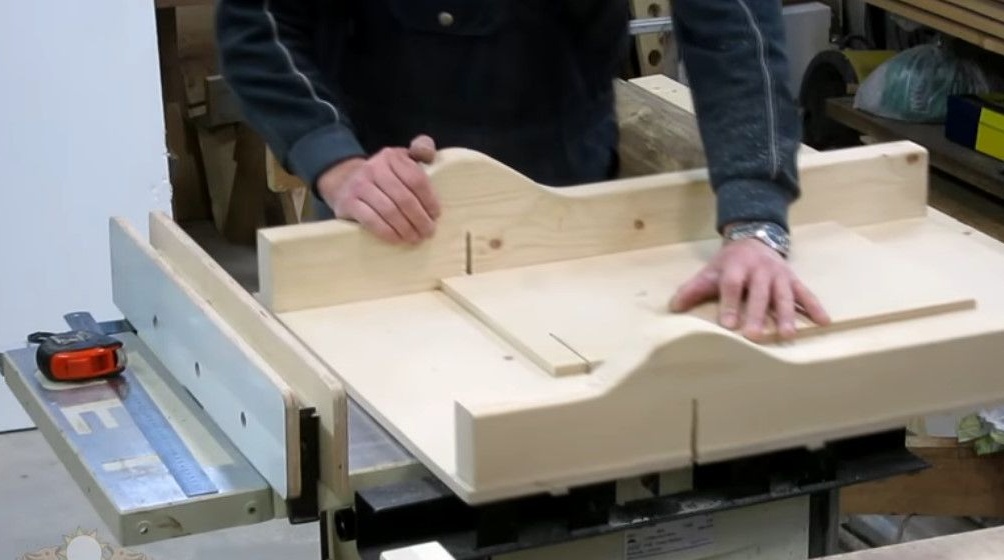
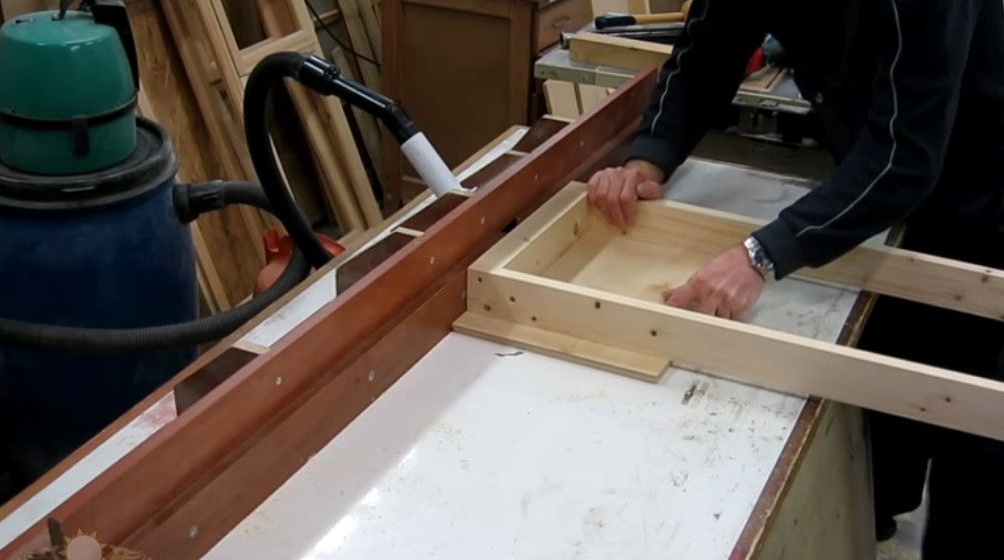
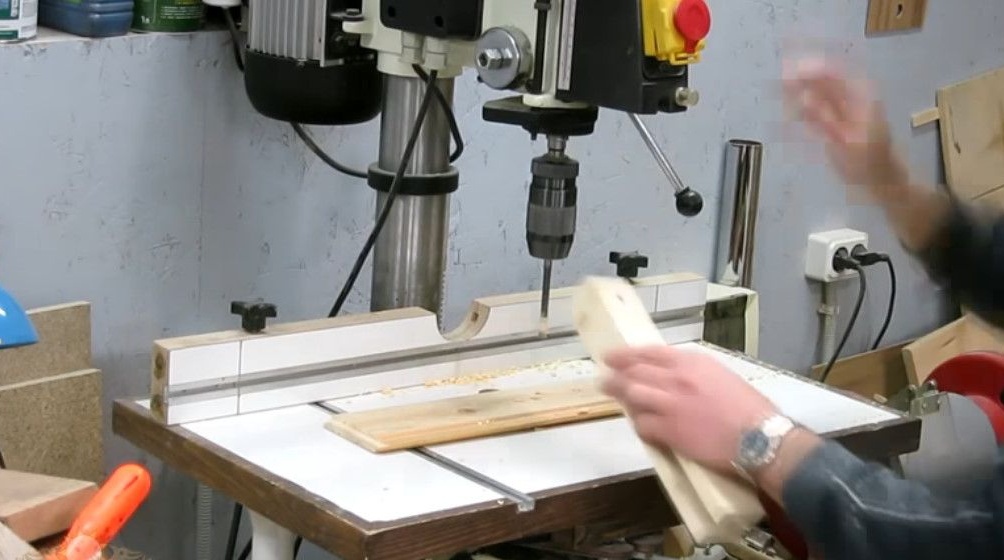
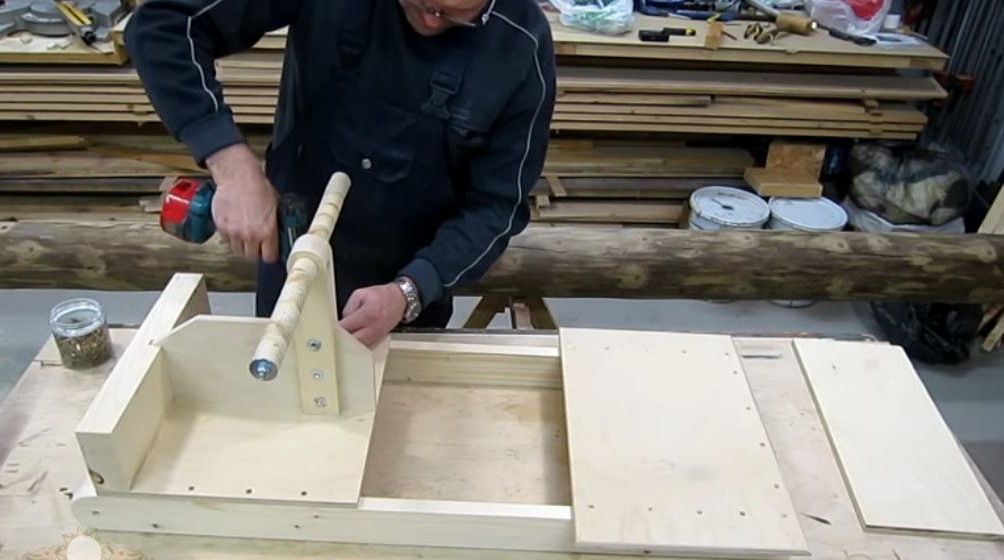
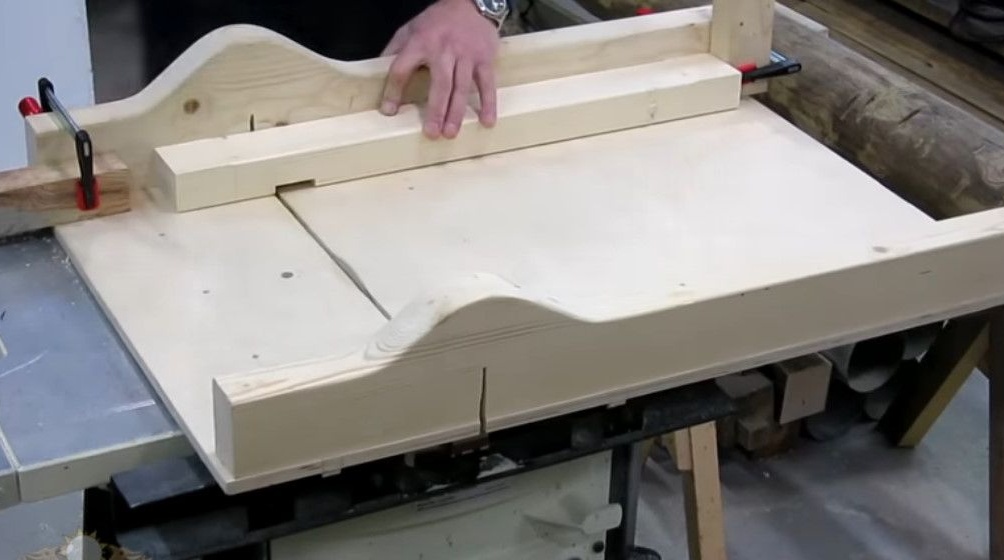
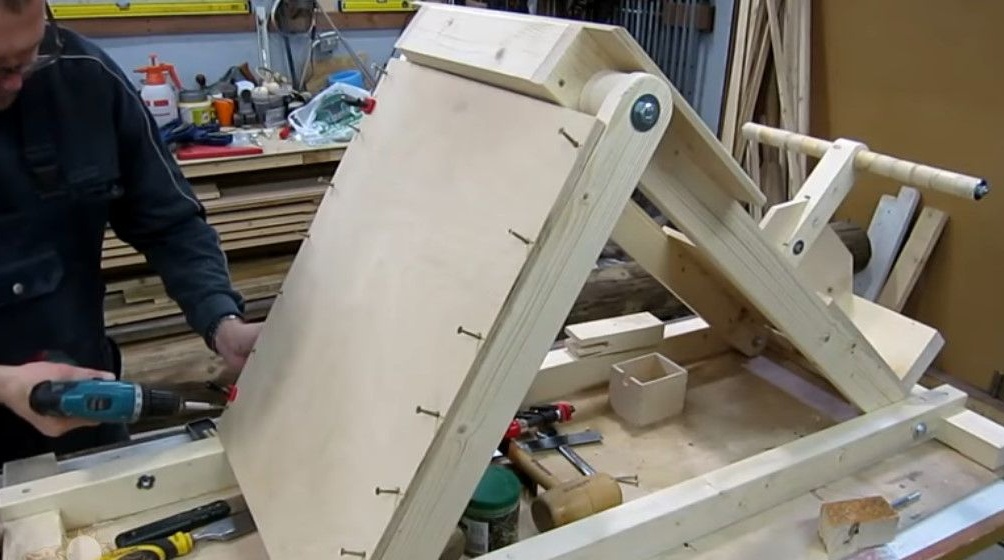
Before the trial assembly of the simulator with a shape mill, 3 mm in diameter, it rounds off the faces of all the workpieces.
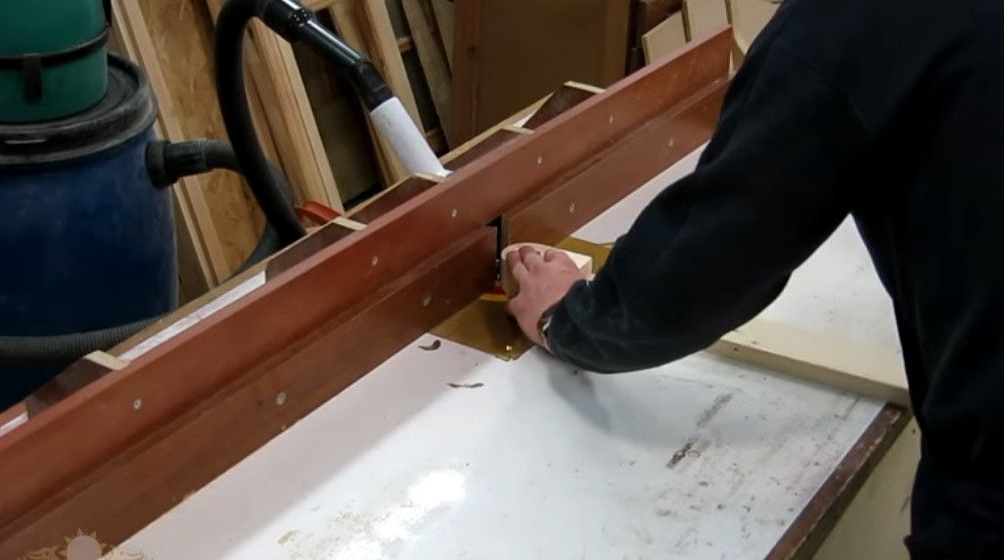
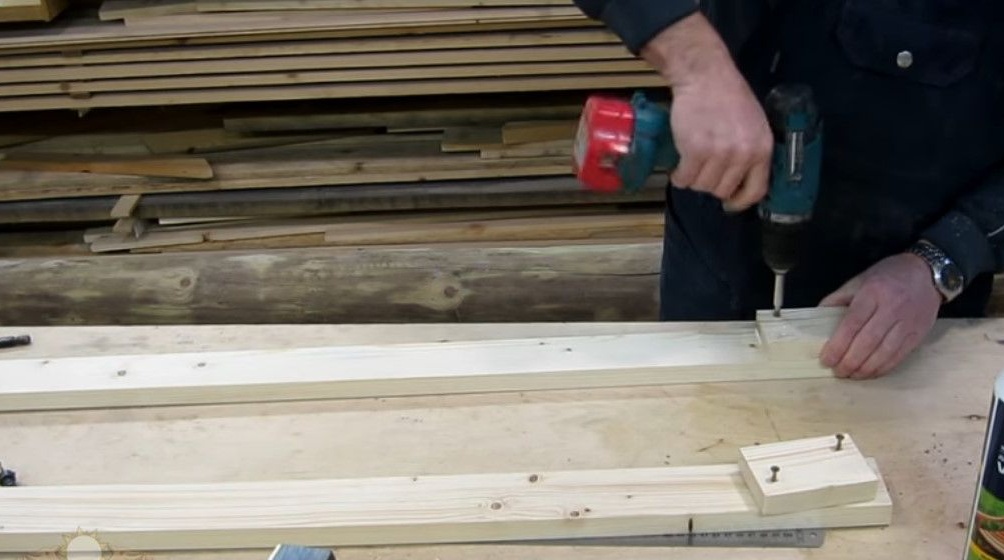
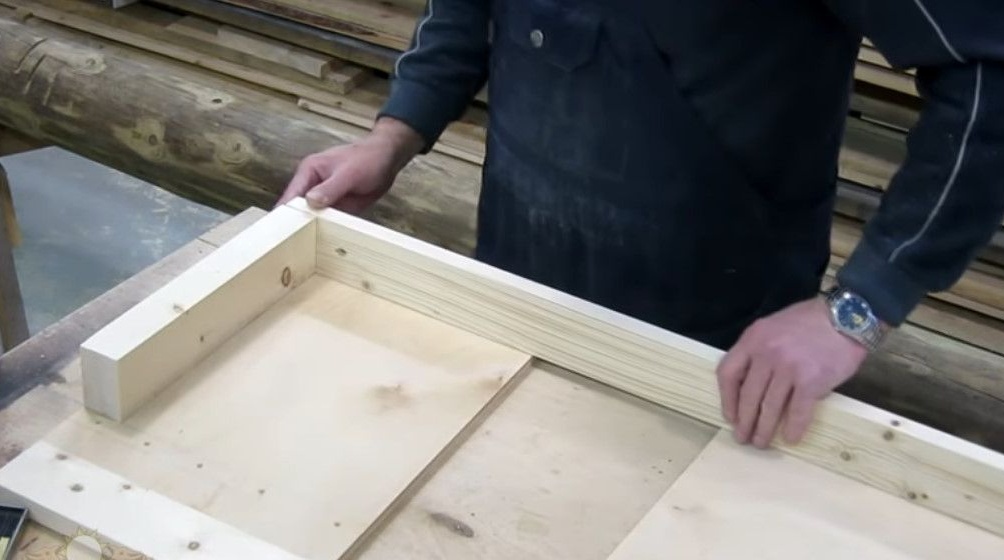
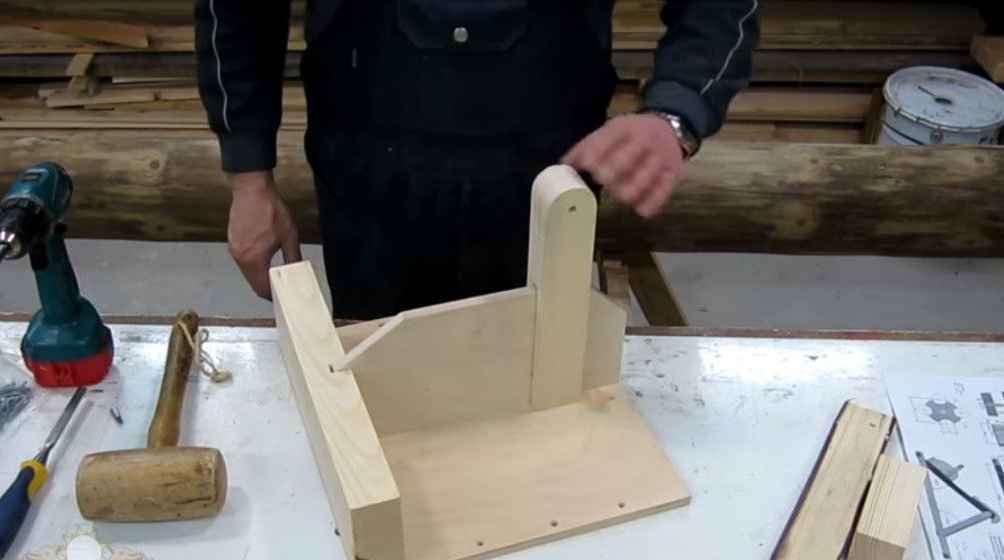
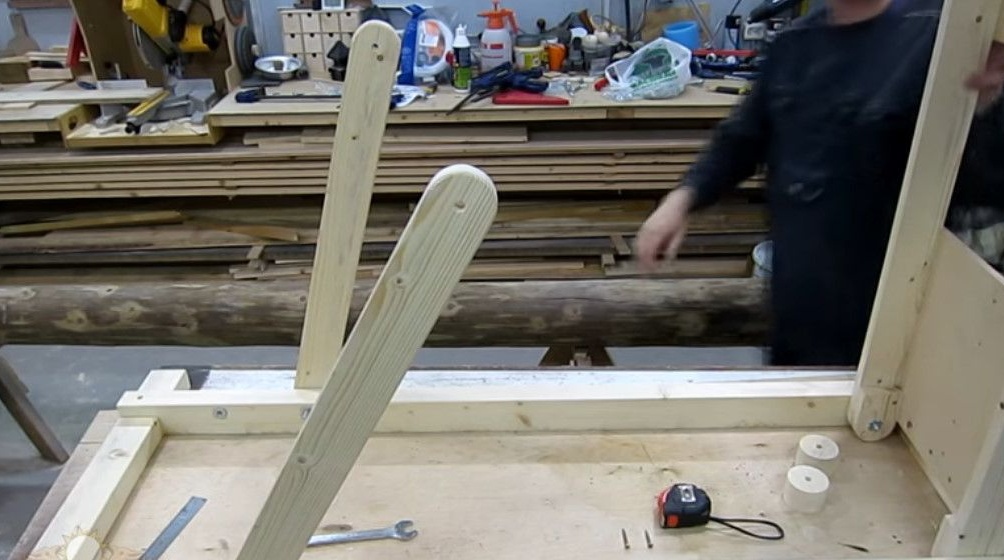
Then it collects the inclined frame and attaches it to the longitudinal bars of the base frame.
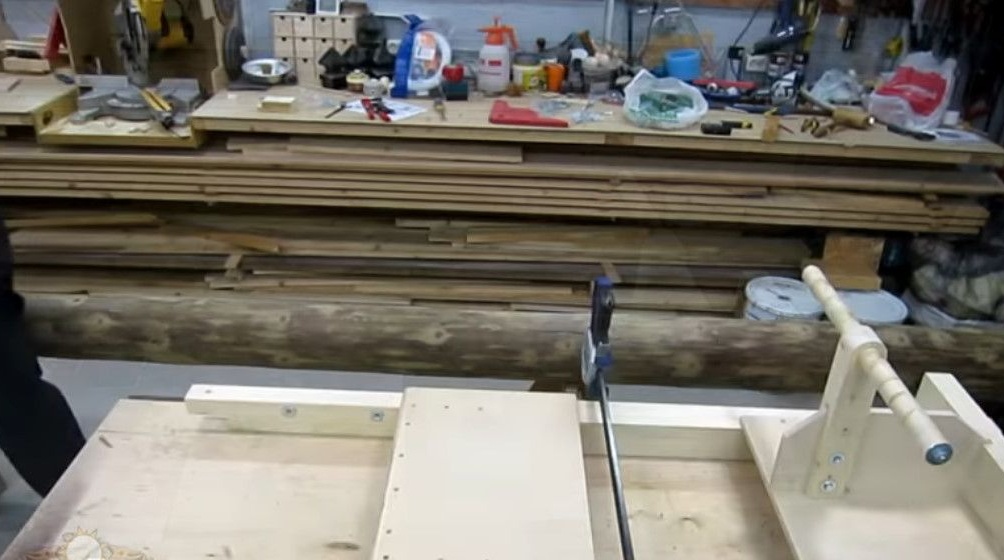
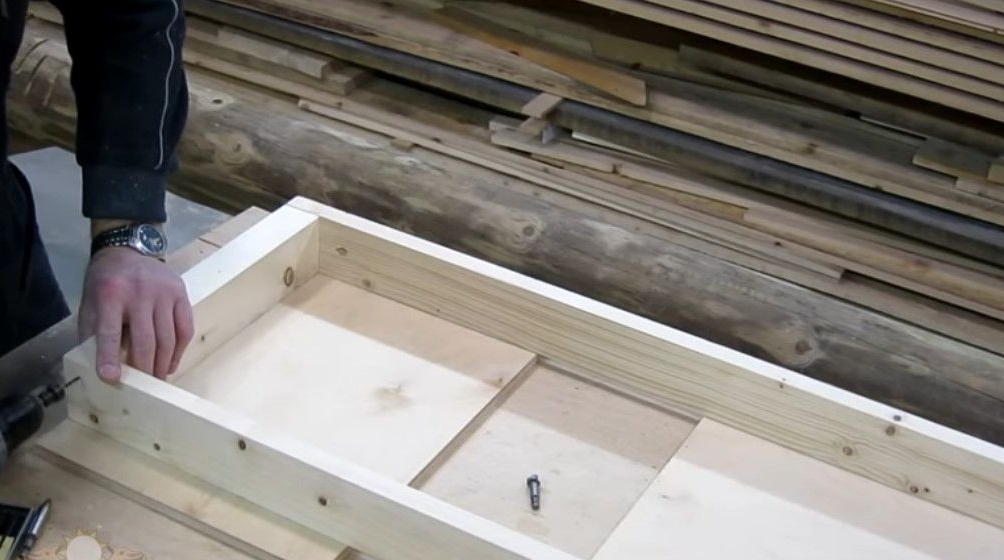
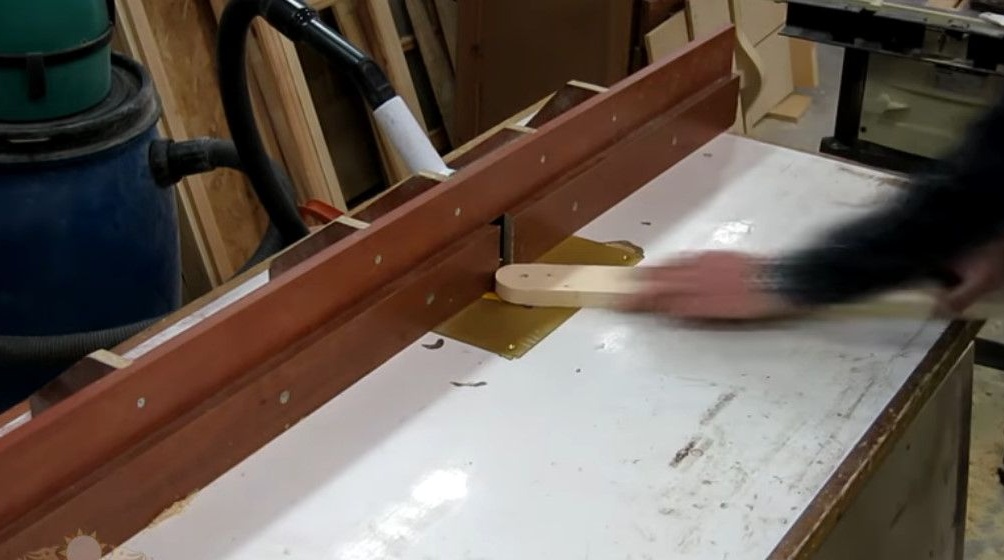
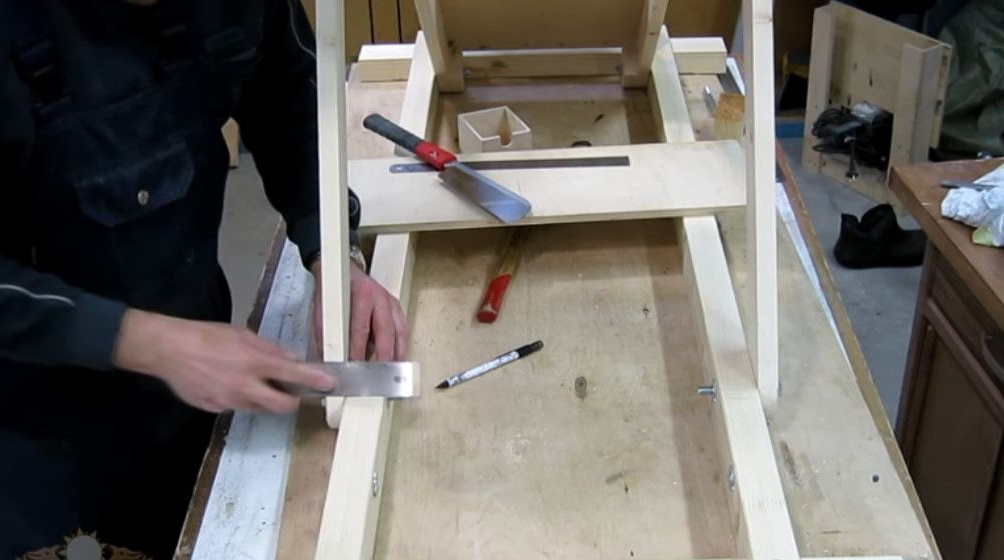
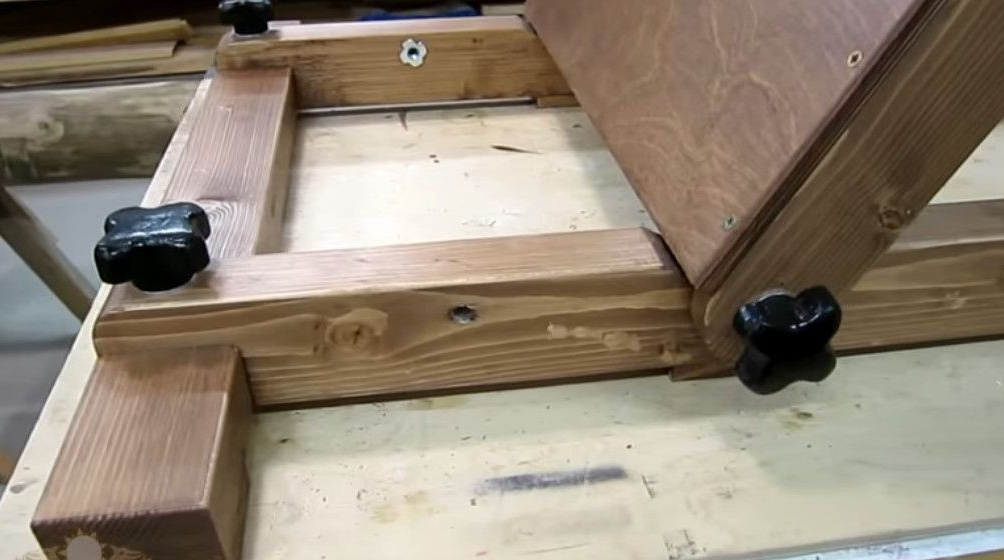
Now, in place, he marks, cuts out the grooves and sets the transverse bars of the base frame.
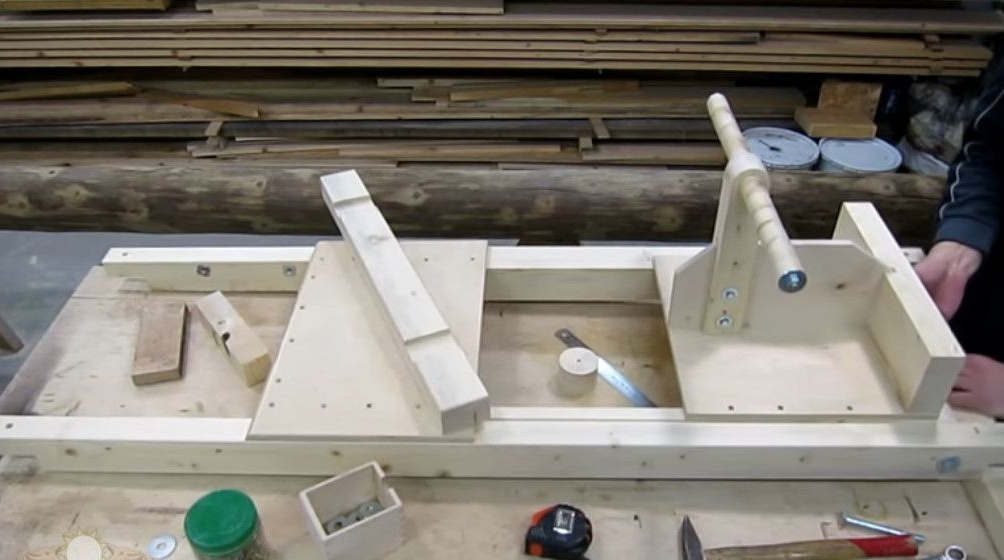

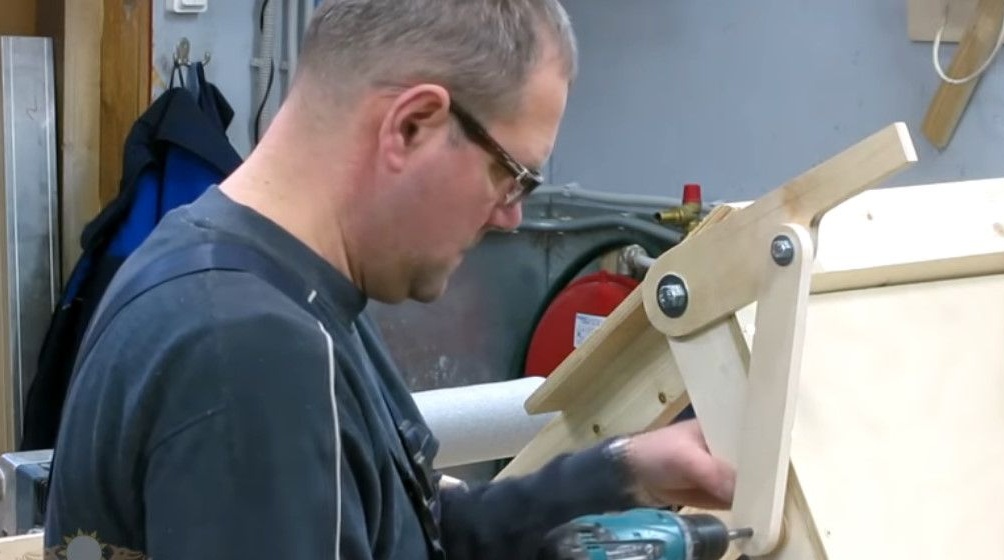
Installs support rails.
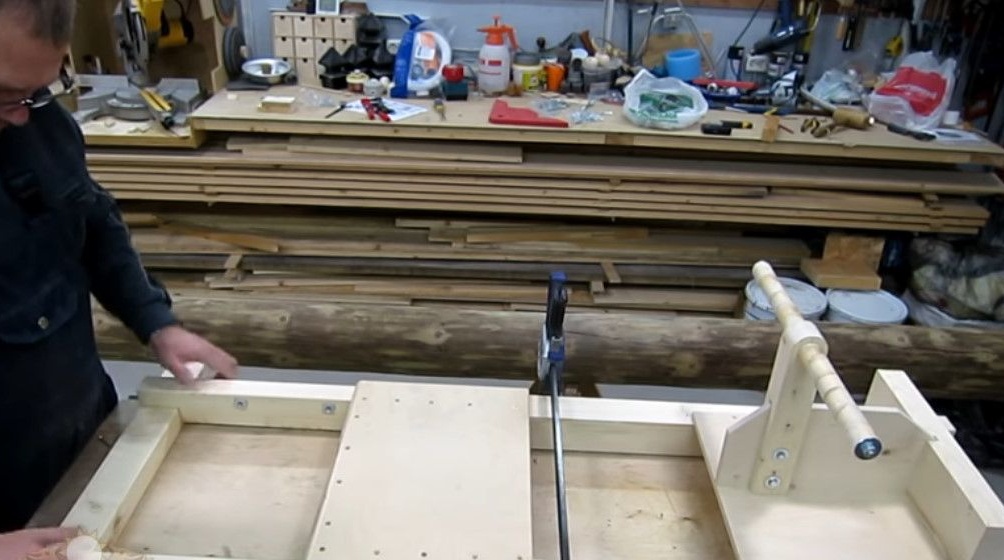
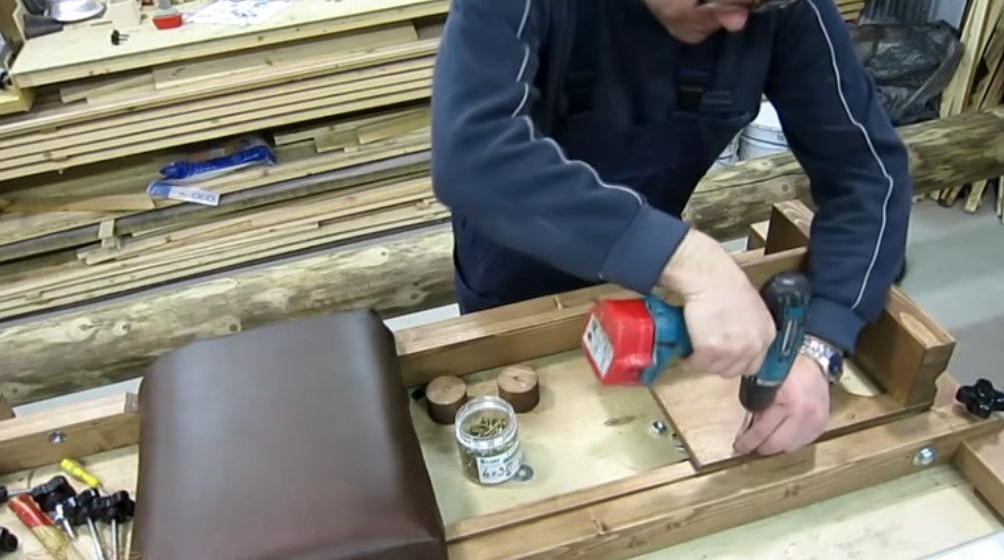
Marks and cuts out grooves for an emphasis of the segment of plywood connecting the support rails, and fixes it with self-tapping screws.
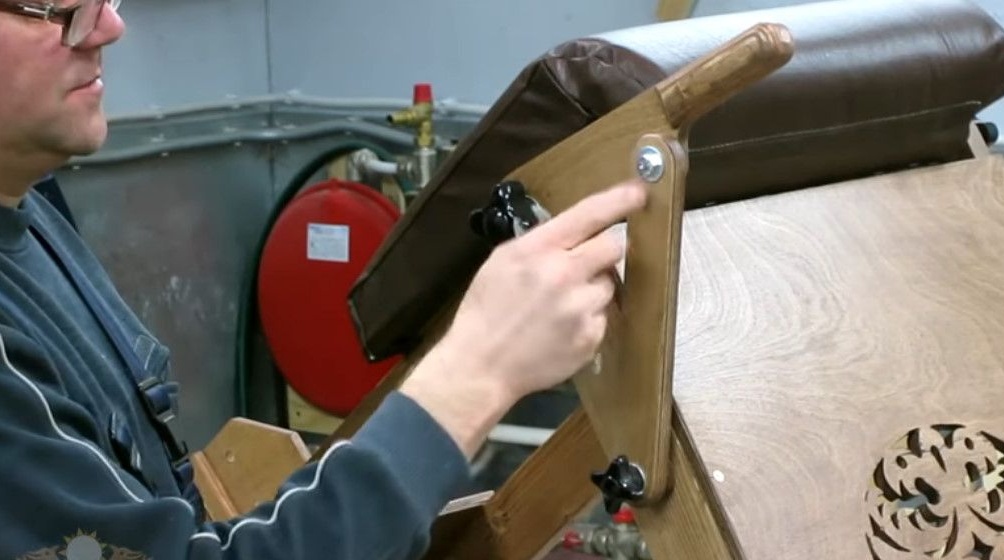
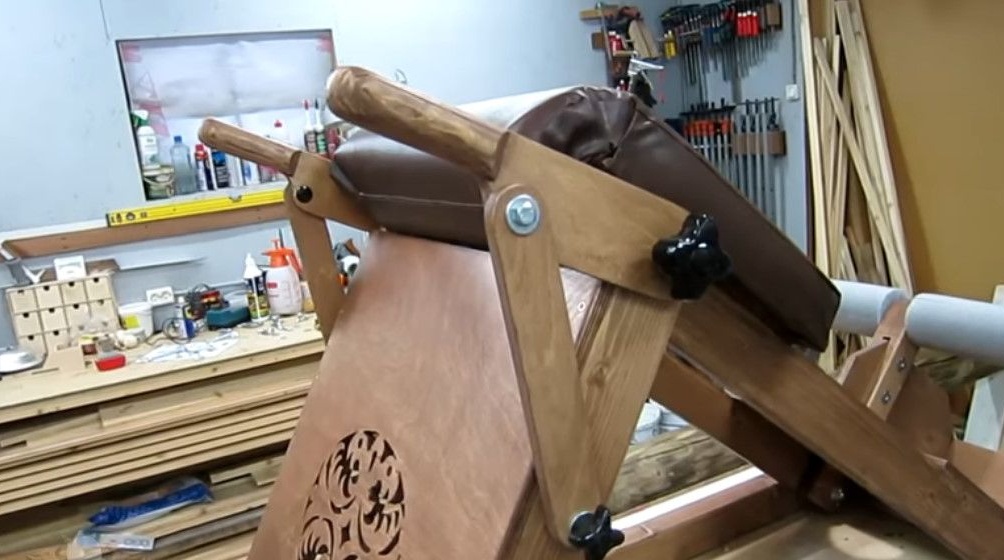
The next step is the installation of palm rests.
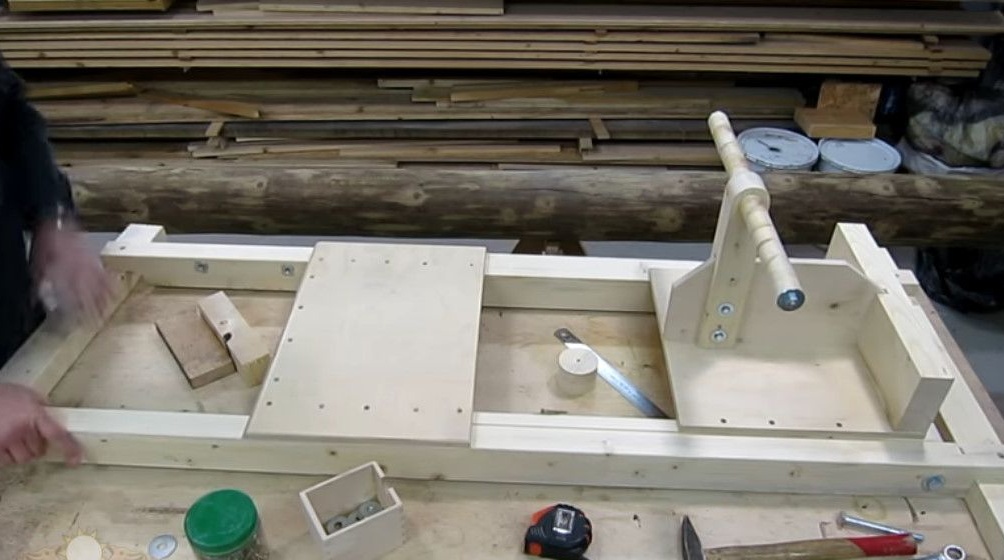
Here is a draft of this simulator.
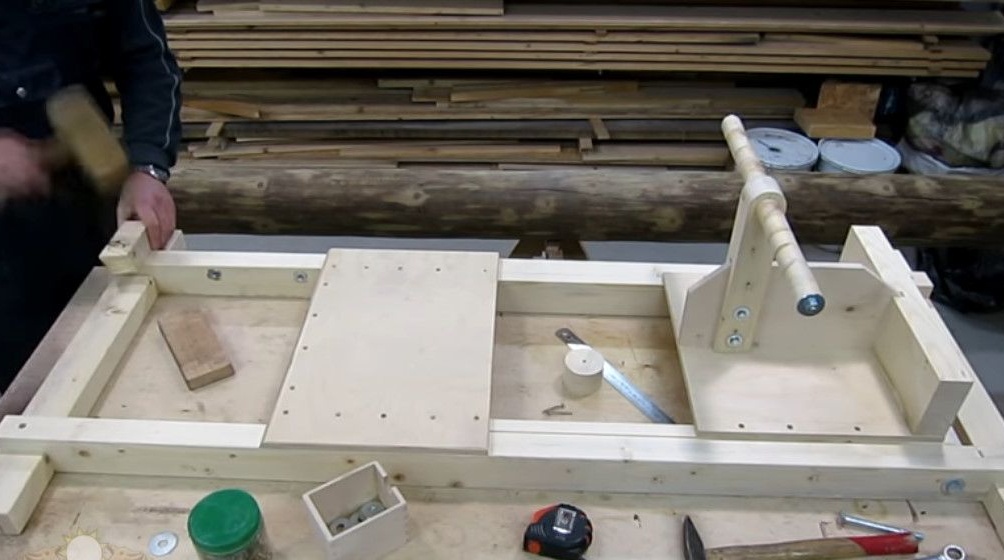
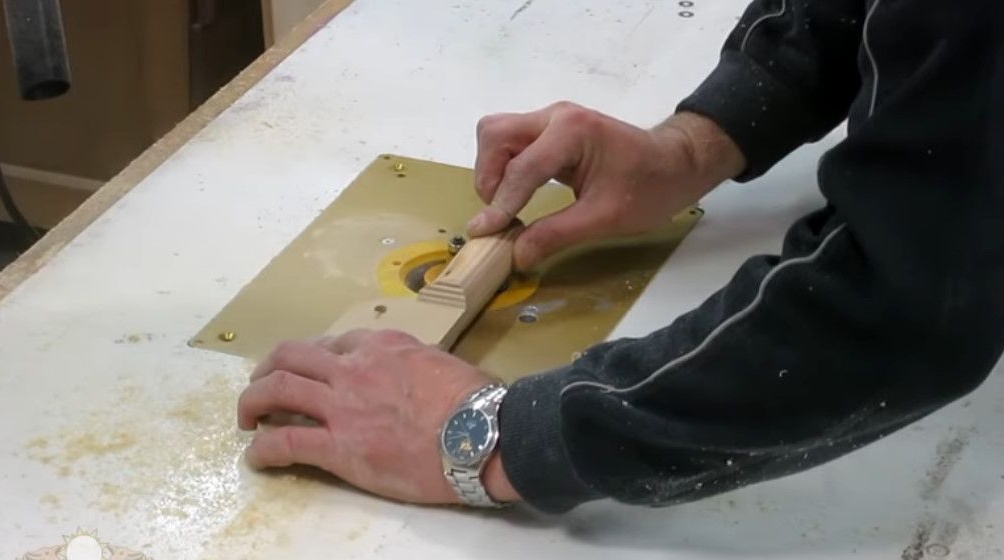
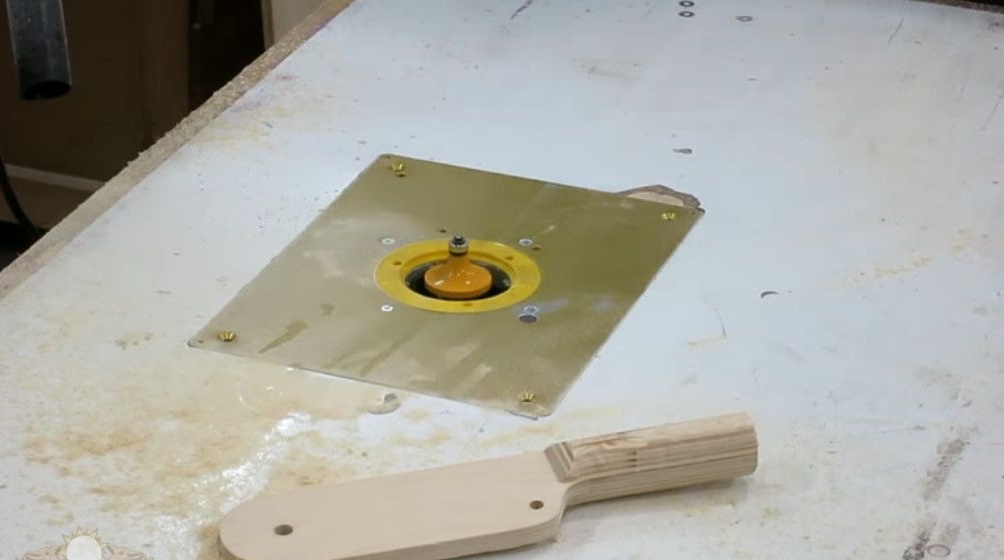
It remains to finish the handles of the palm rest. The author sticks to them on both sides of the lining and mills with a figured mill.

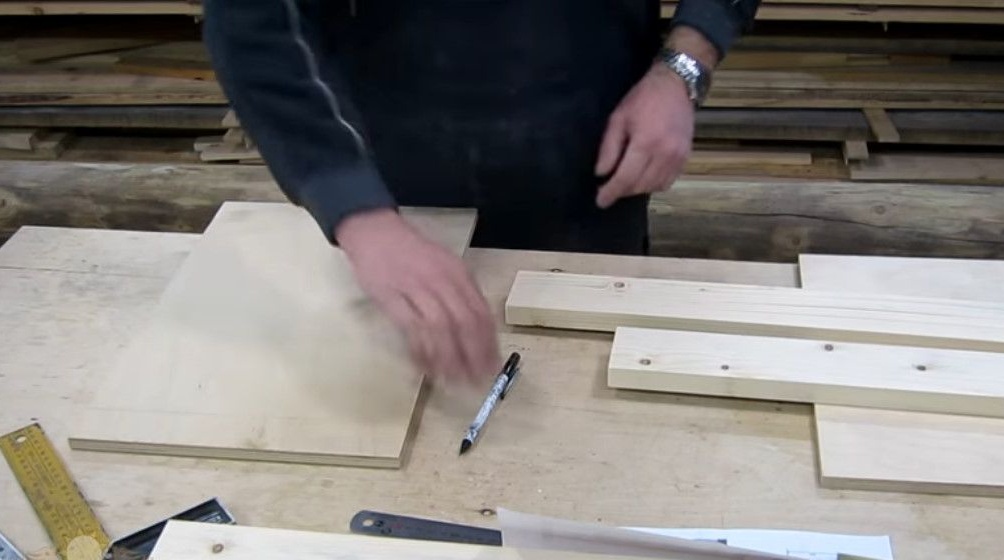
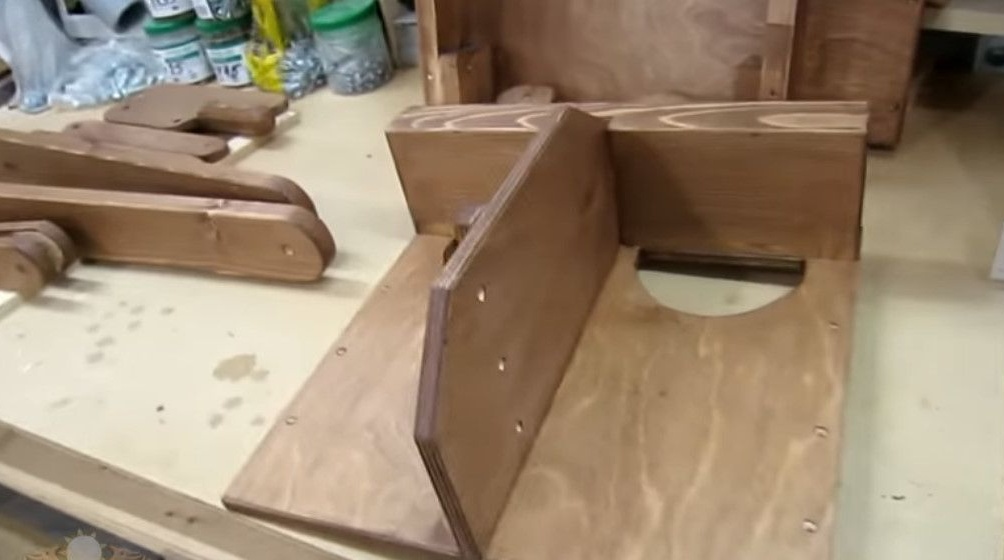
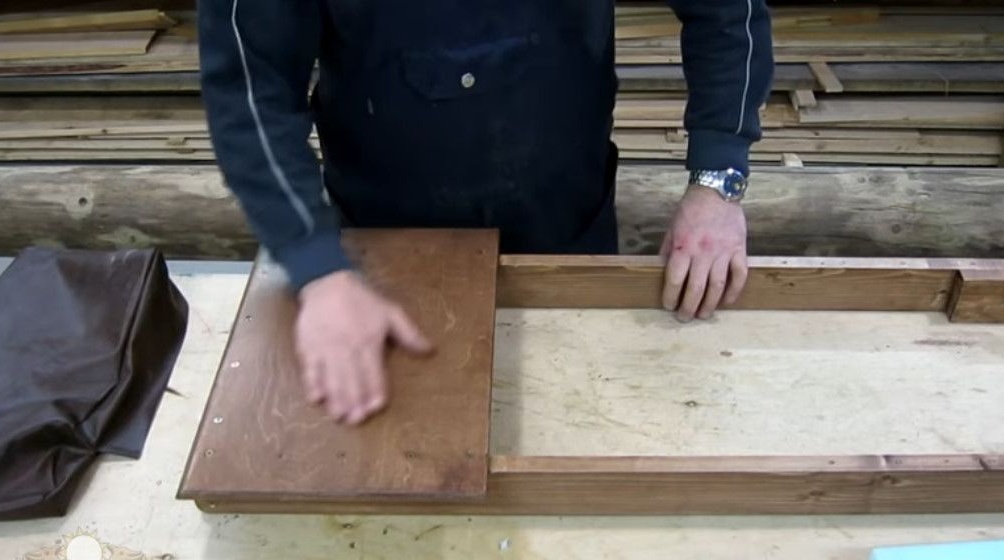
At the base of the foot rest, Oleg made cutouts for the feet.
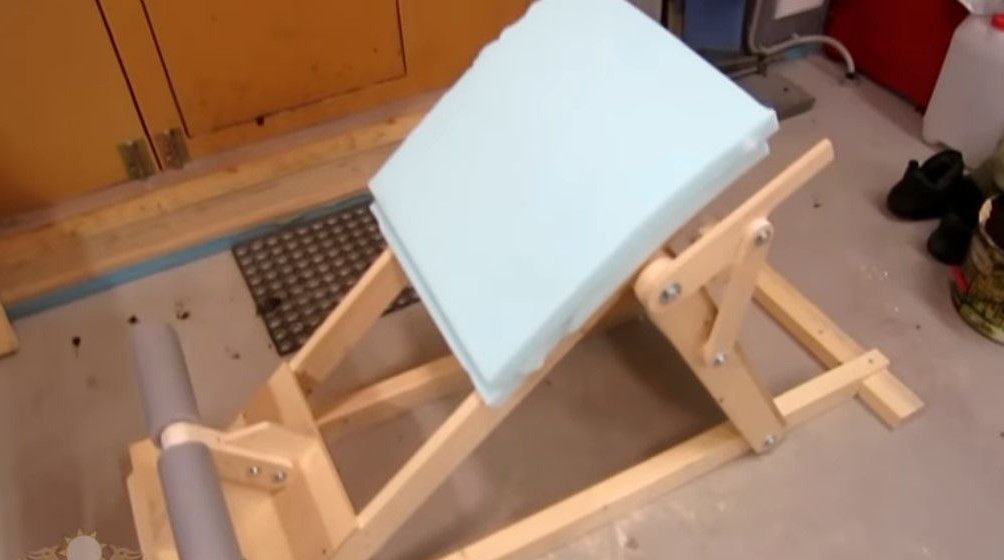
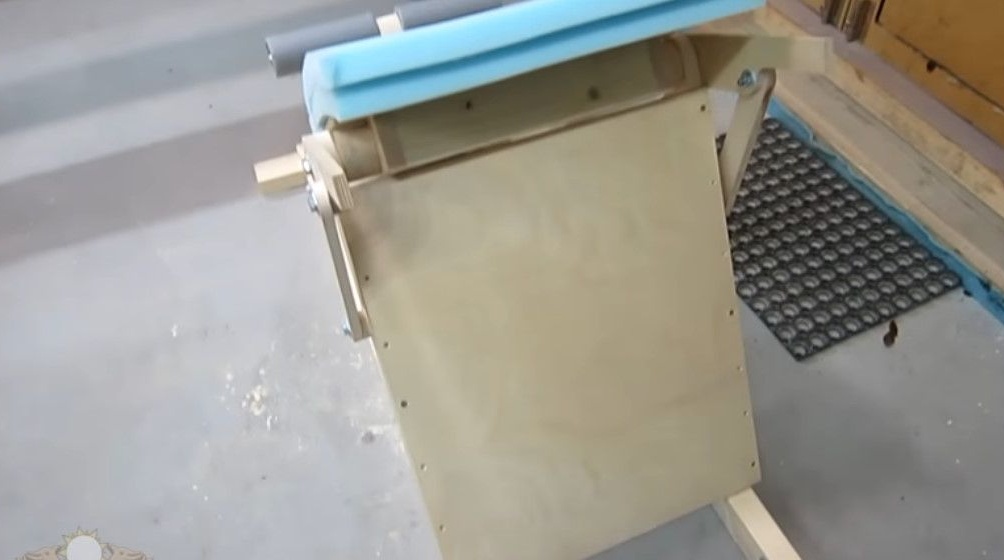
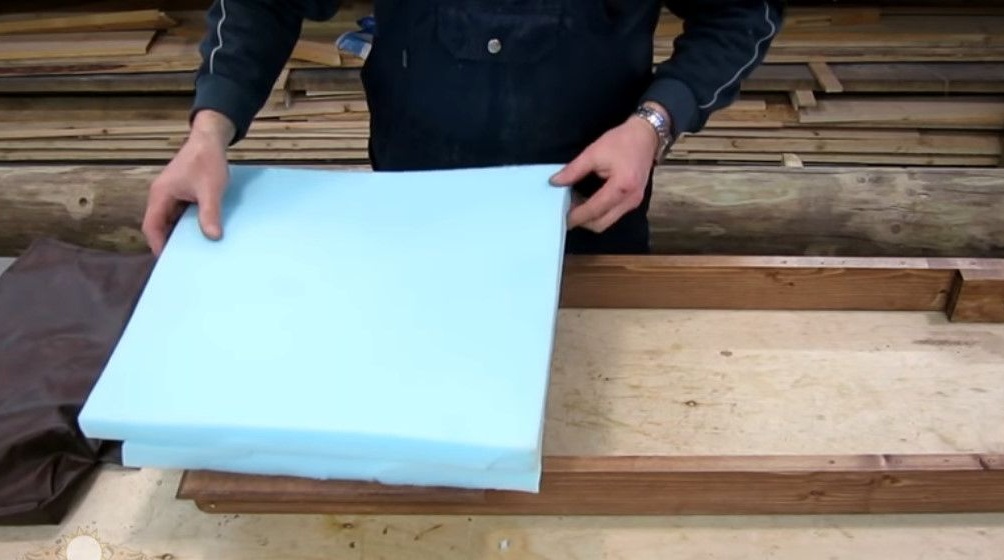
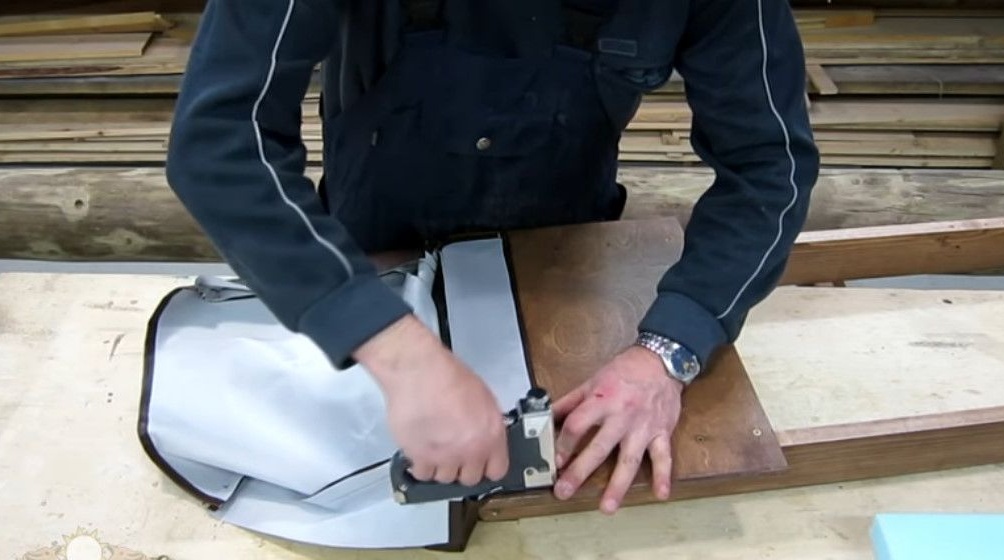
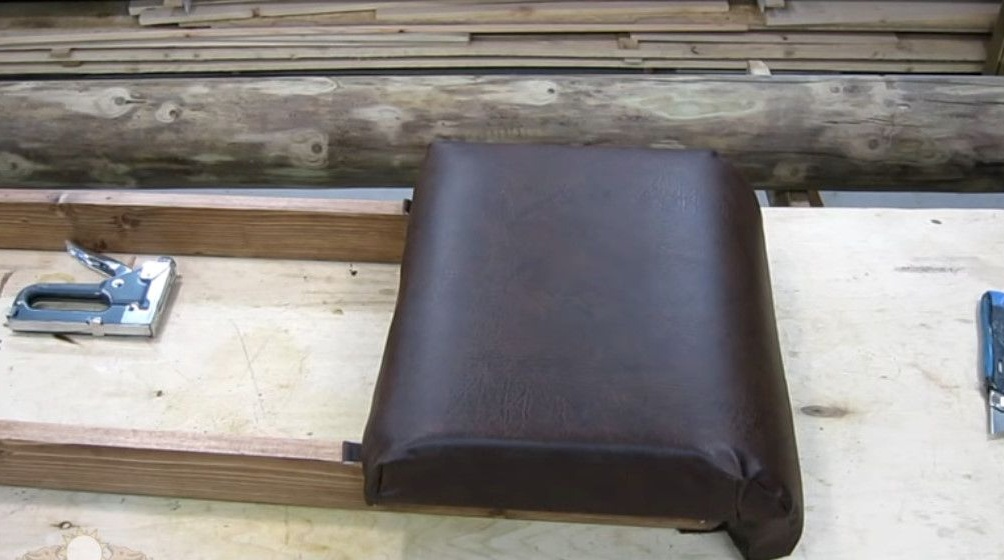
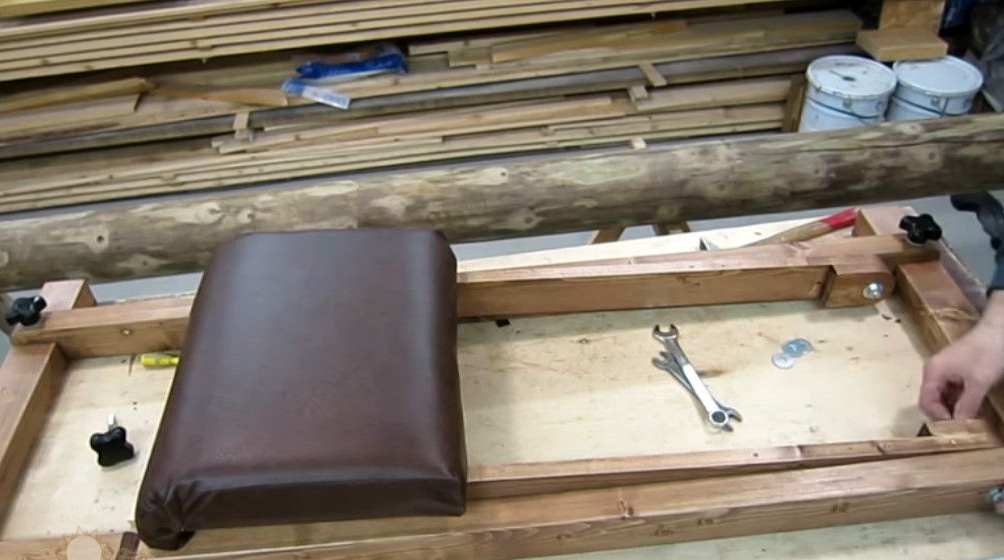
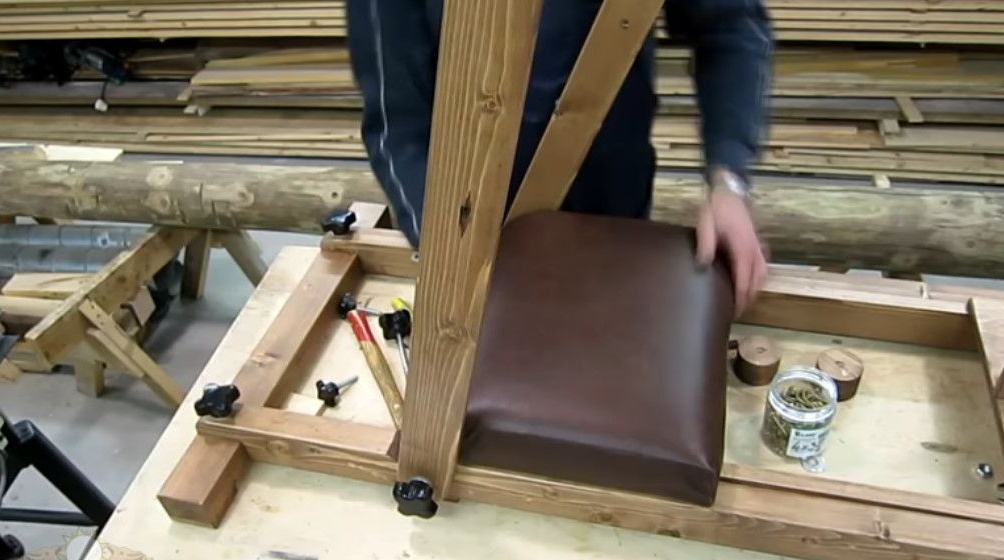
From above, on a support board, a pillow made of dense foam rubber, 30 mm thick, will be installed in a case made of artificial leather.
From below, on the transverse bars of the base frame, he glues supports 10 mm thick.
Front and rear, and also here so that the frame does not bend.
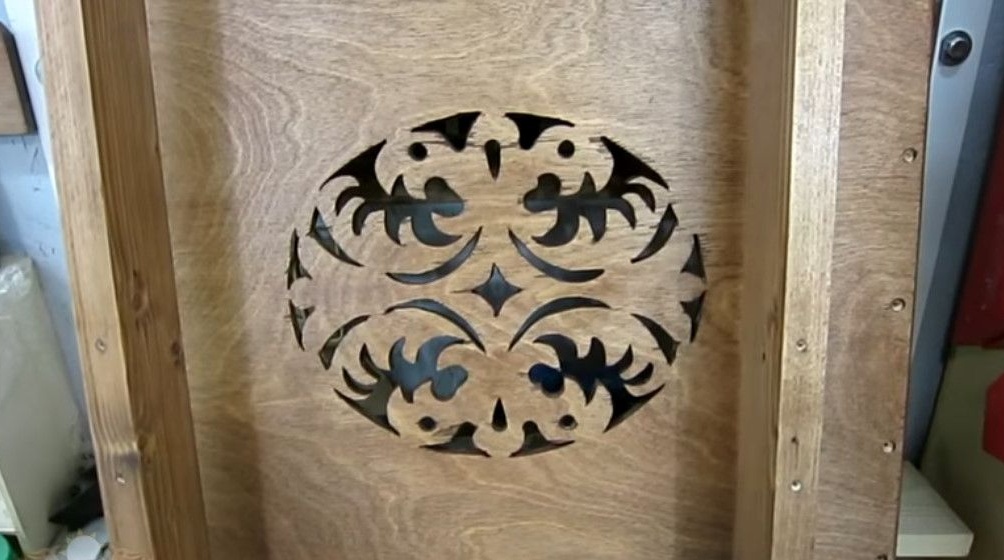
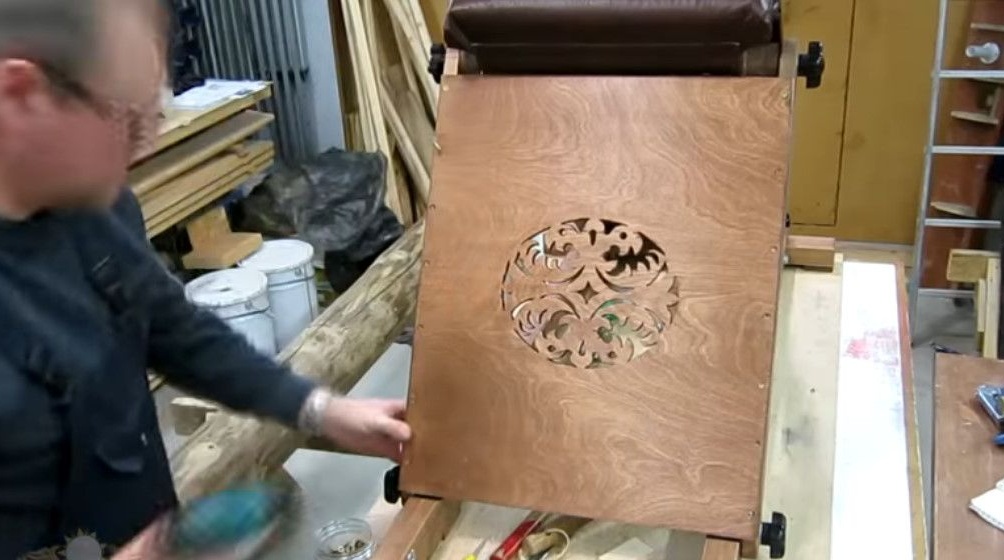
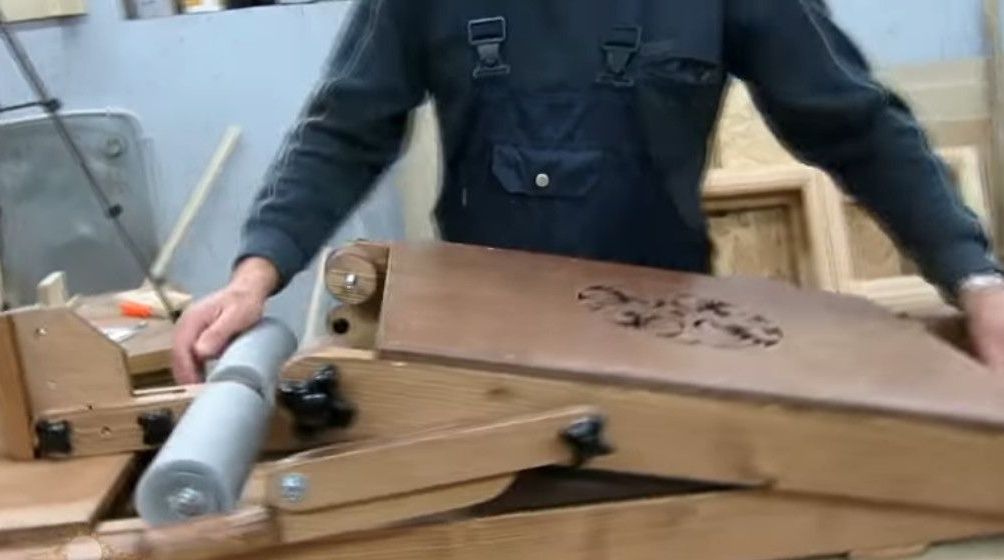
And on this surface will cut a decorative ornament.
Next, Oleg disassembles the entire structure and covers it with a tinted antiseptic. Now all the details of the simulator are ready for assembly.
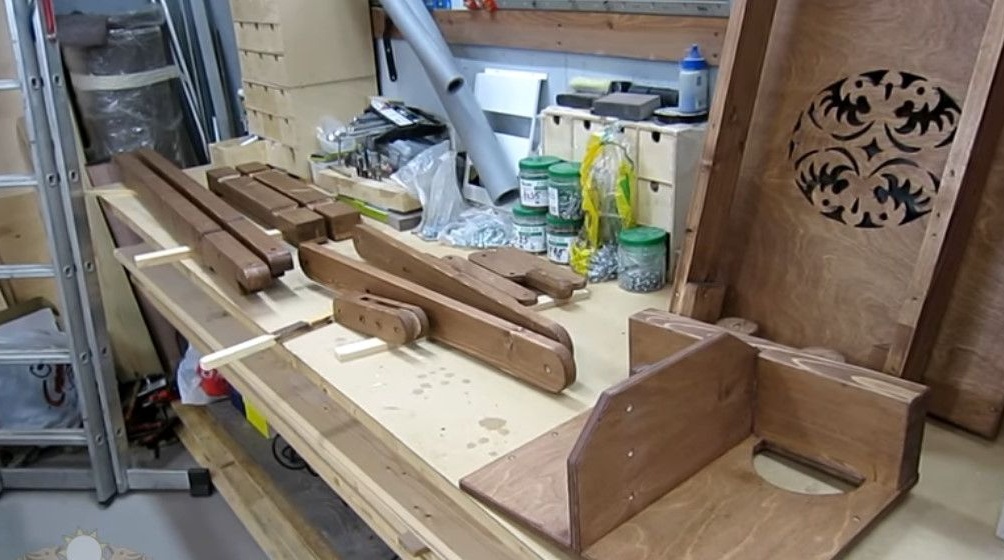
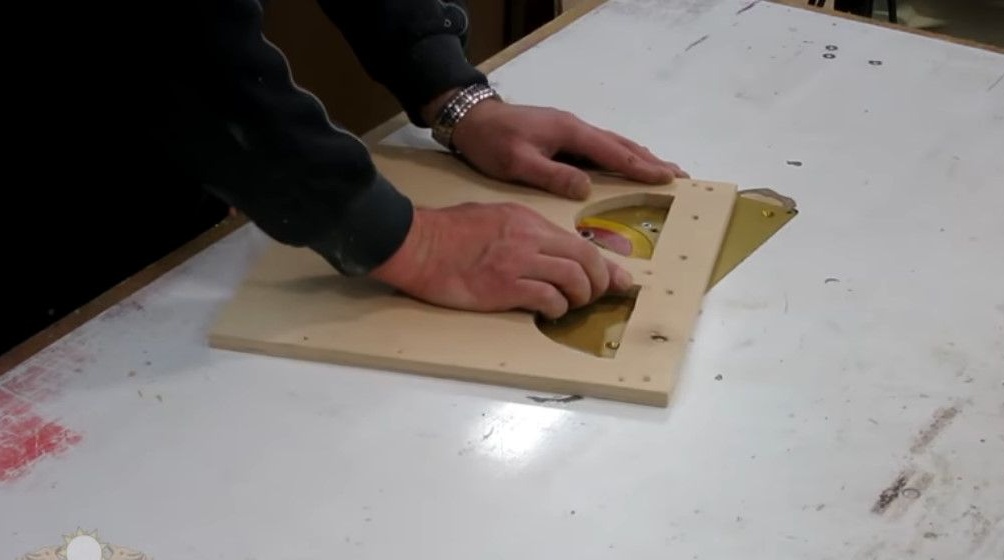
On plywood, he carved a decorative ornament.
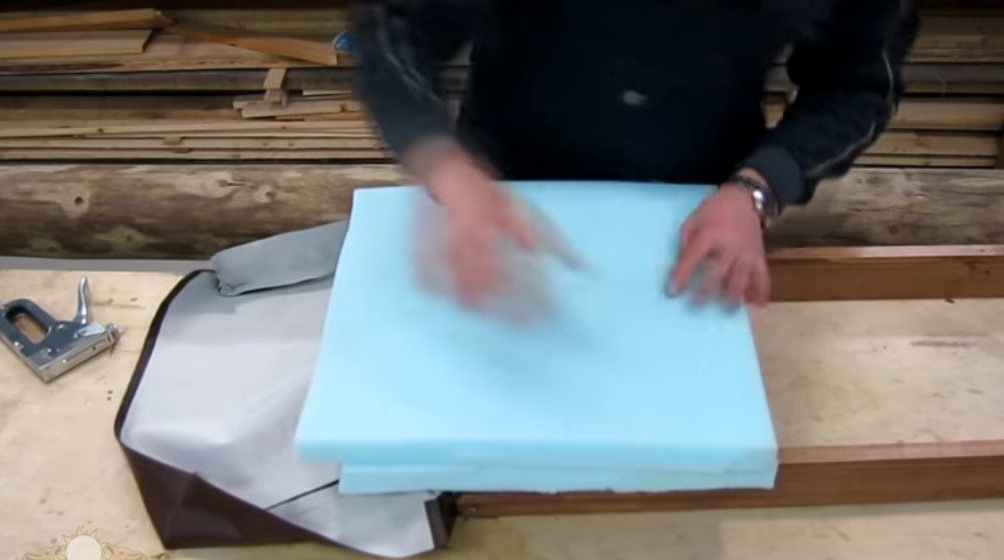
Starts to build. Installs a pillow on the backing board.
There will be two layers of foam, each 30 mm thick.
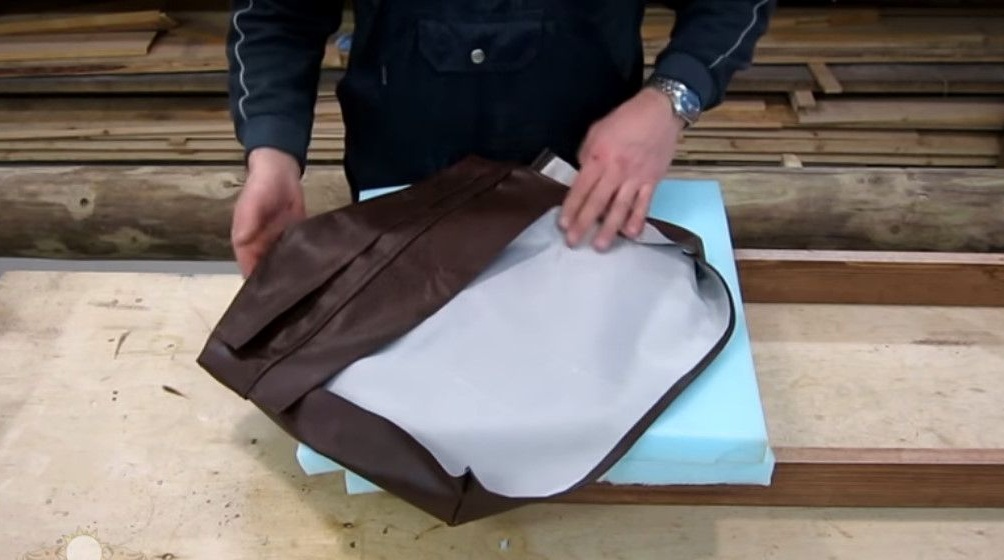
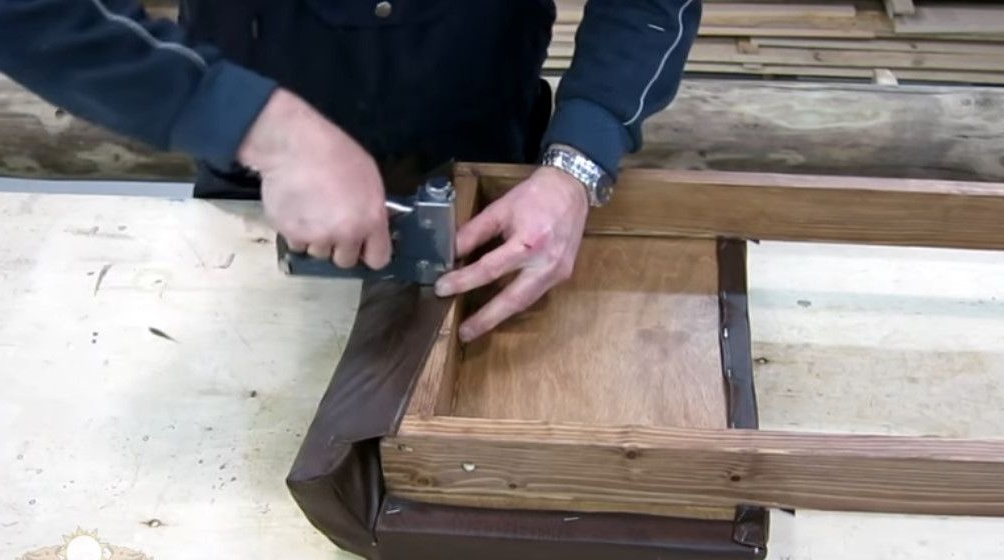
On top of the foam wears this artificial leather cover.
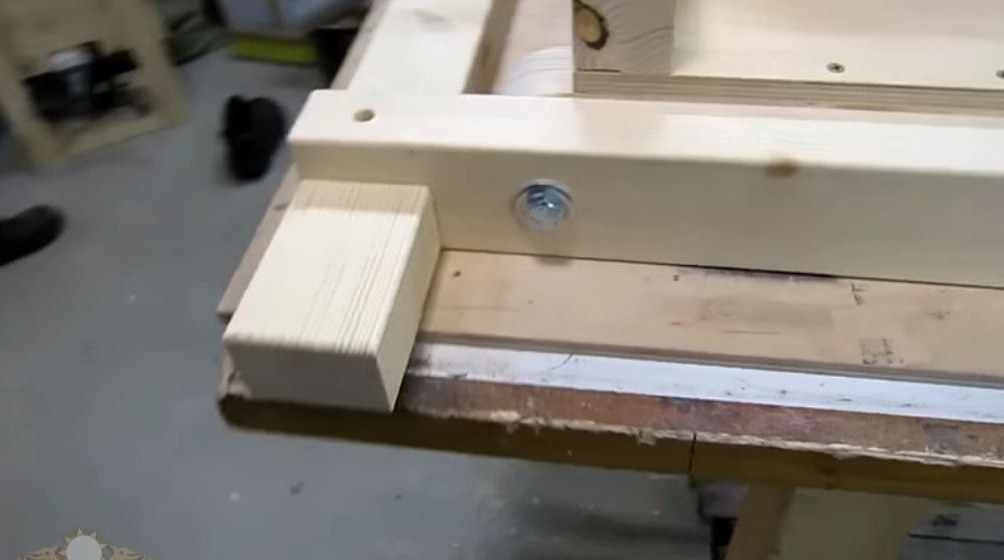
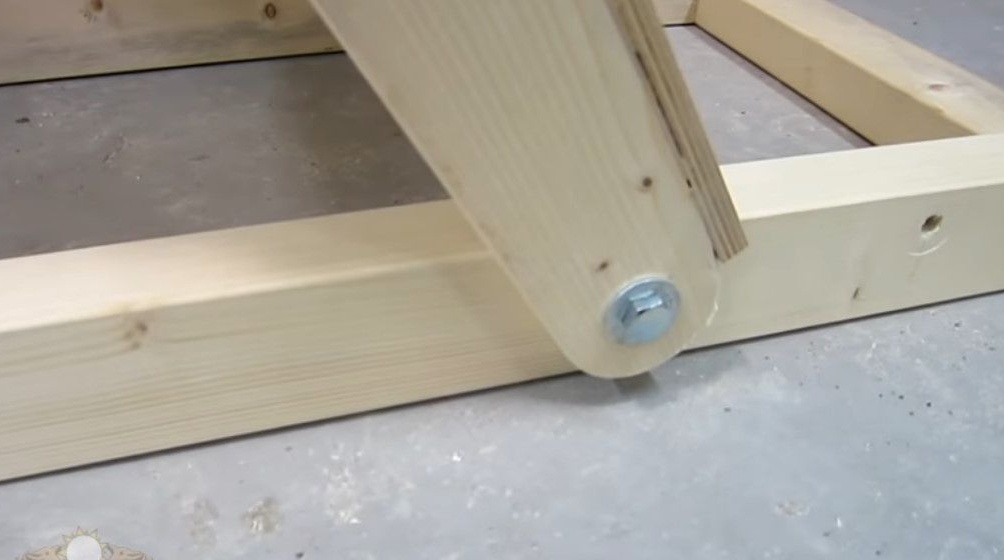
Assembles the base frame and installs an inclined frame on it. All the author’s handles are homemade.
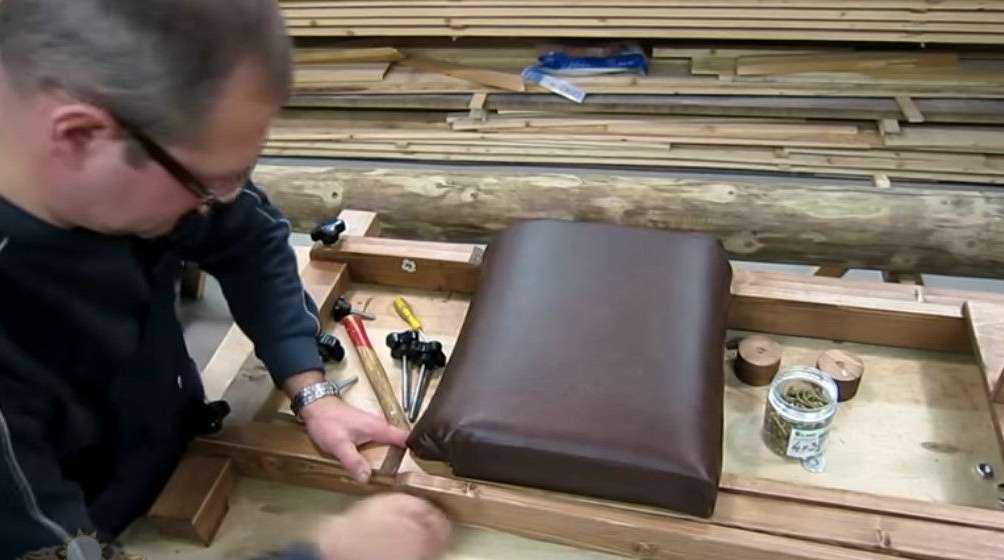
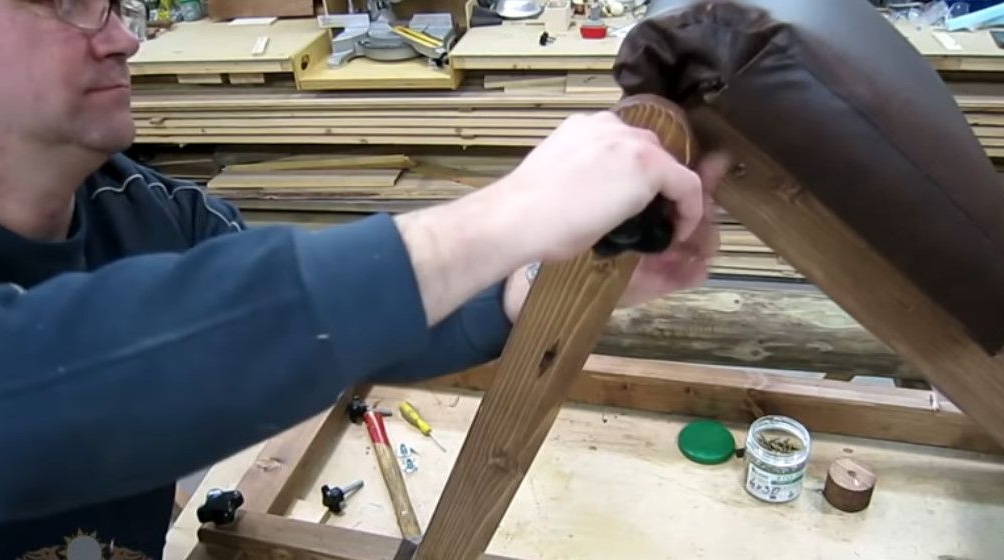
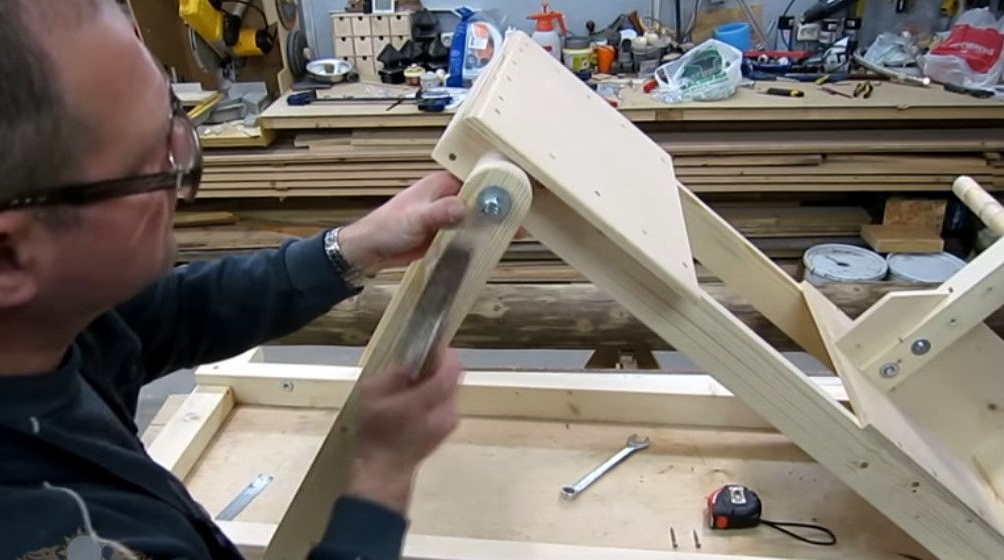
This bolt will then be replaced with a short furniture bolt, and its head will be painted black.
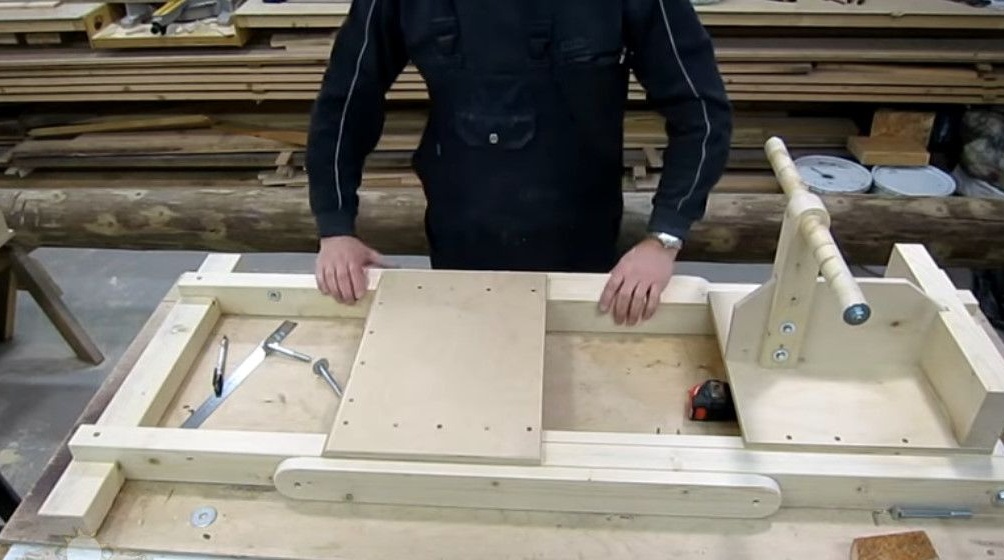
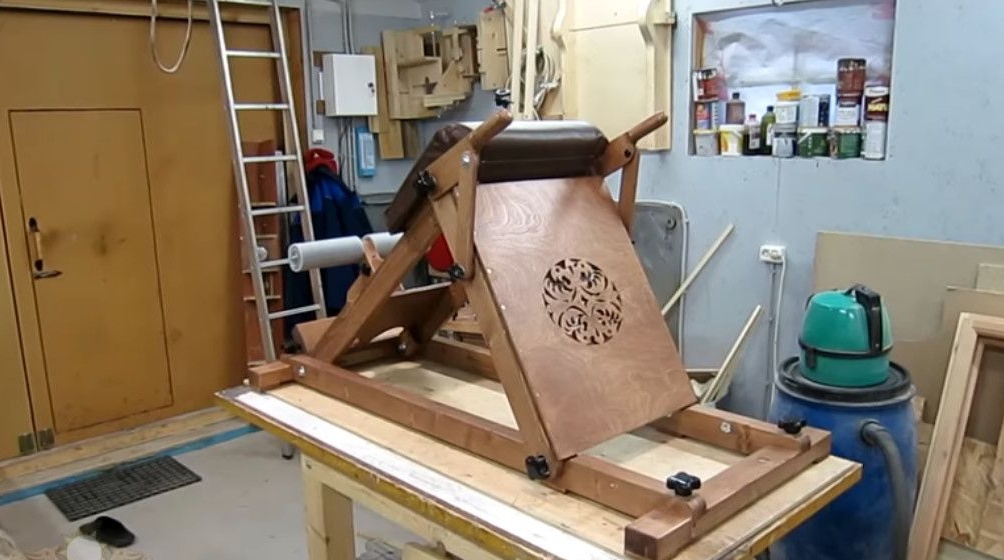
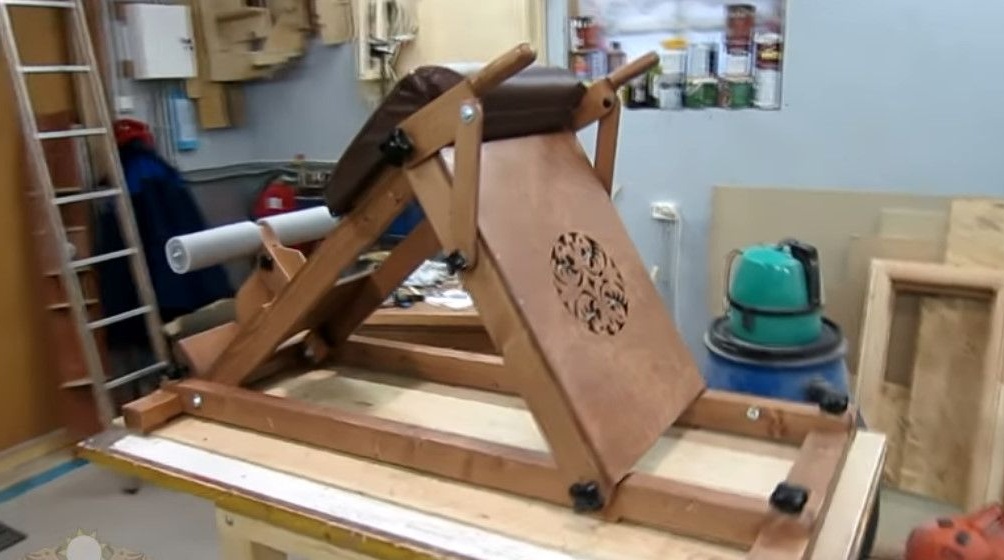
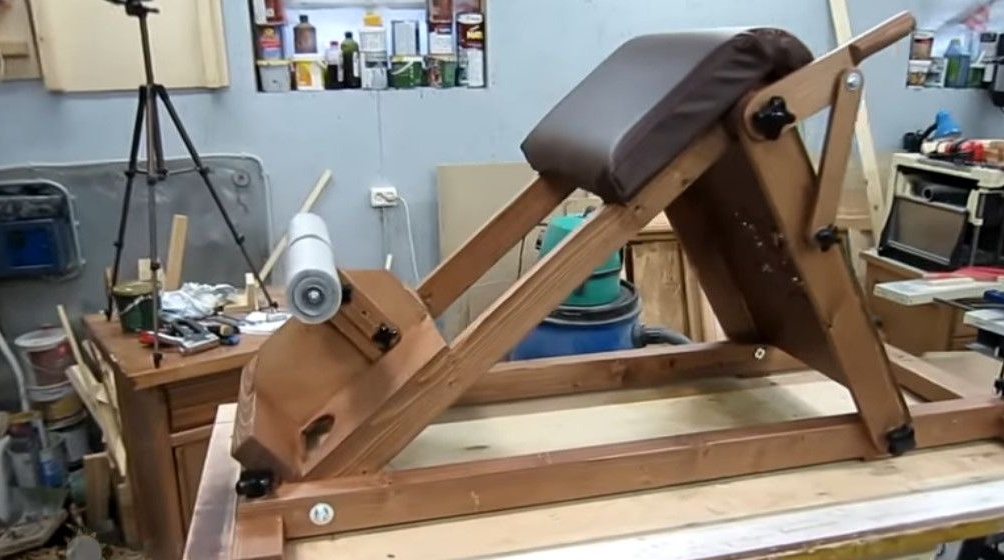
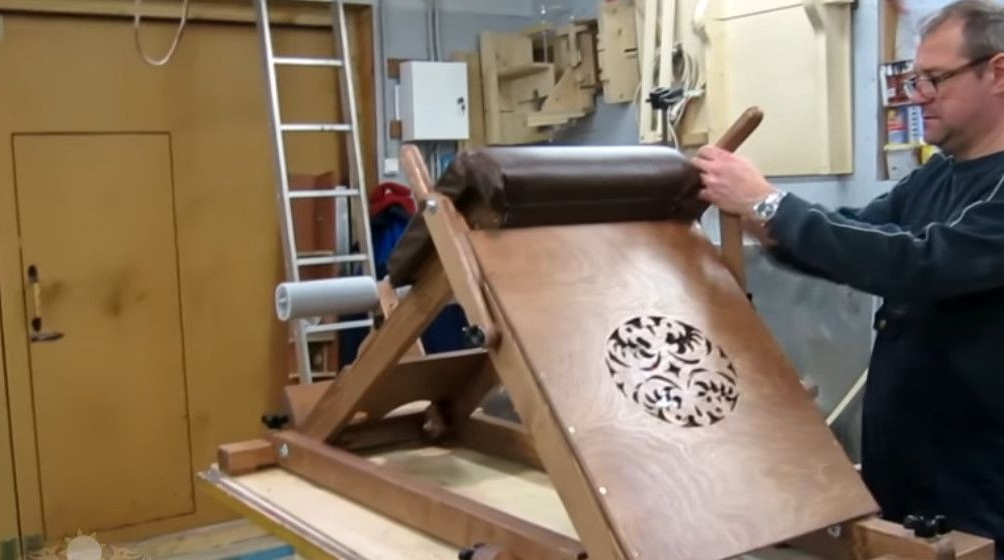
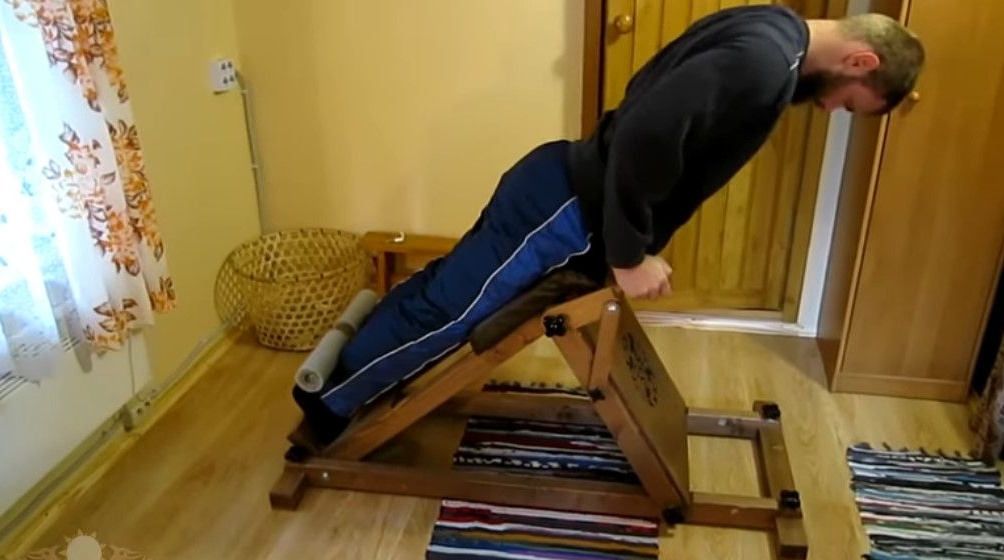
This turned out to be a simulator.
Here are the coasters.
Palm rests.
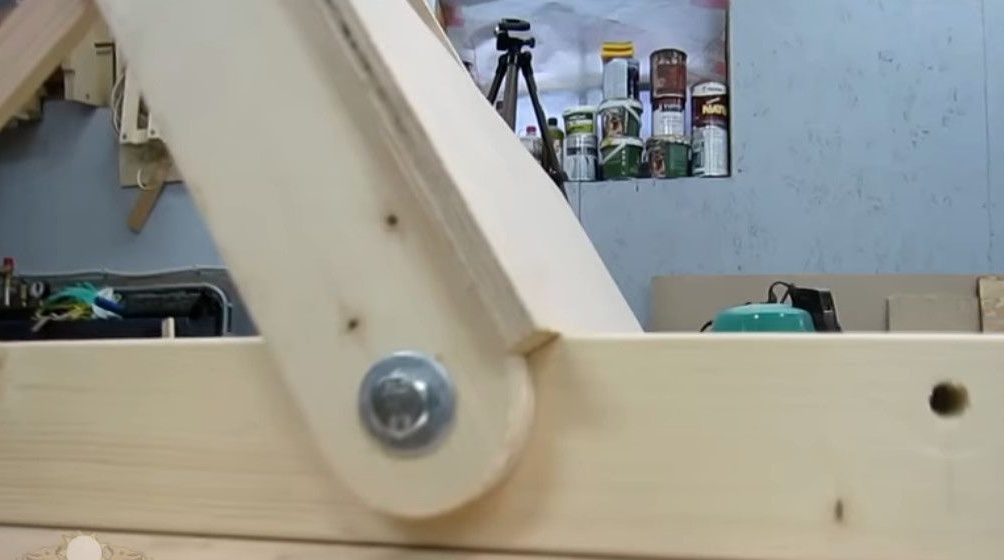
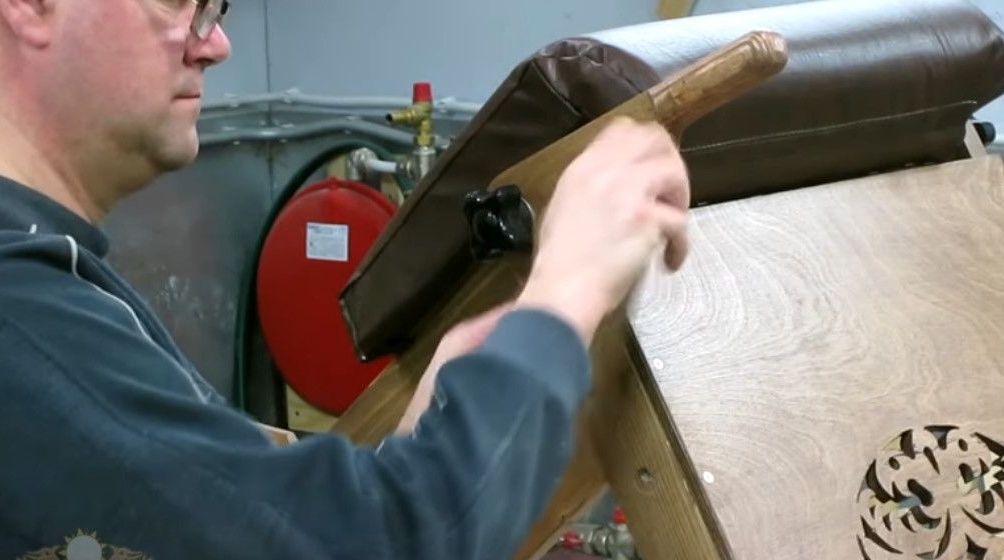
It is very convenient to use the simulator with them. These holes are designed to rearrange the support rails and change the angle of the inclined frame. Now the angle is 40 degrees.
By rearranging the slats here, the angle of inclination will be 30 degrees.
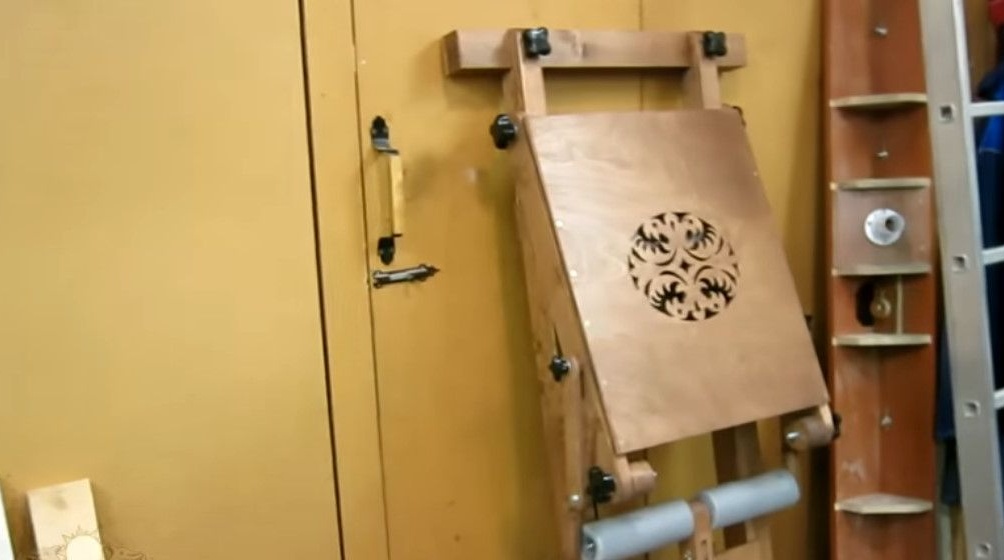
If necessary, this design can be assembled and set aside so that it does not take up space.
And finally, Oleg wants to remind. If you already have back problems, it is best to start exercises after consulting a doctor! That's all. Thanks for attention. All the best.