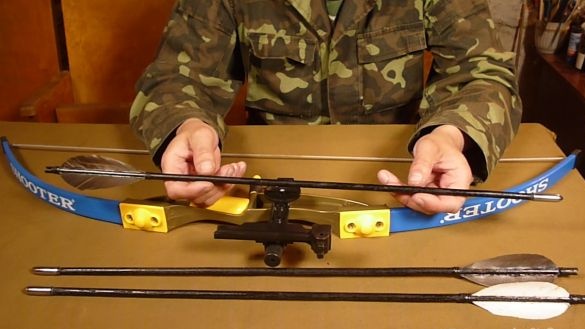
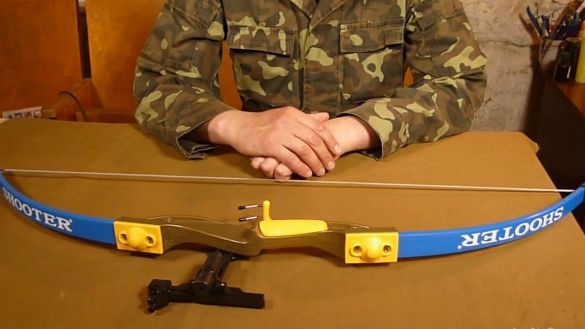
Greetings to all lovers of crafting something from nothing. Parents presented our nephew with such a bow.
Despite the fact that this is a children's toy, the bow is quite powerful and naturally the arrows that came in the kit, the nephew quickly broke. We will make new ones, we will please the child.
Tools needed.
1. Electric drill
2. Hacksaw
3. Hacksaw
4. Sharpening machine
5. Vise
6. Lerka M10 and M8
7. Bulgarian
8. Drill
9. Scissors
10. Knife
11. Tap M8
12. Nippers
13. File
14. Sandpaper
15. Felt circle
16. Pasta GOI.
Materials required.
1. Wooden rail
2. Steel tube with a diameter of 8 mm
3. Bolt M8
4. Fly feathers of a bird
5. Thread
6. Glue
7. Paint
8. Thick cardboard.
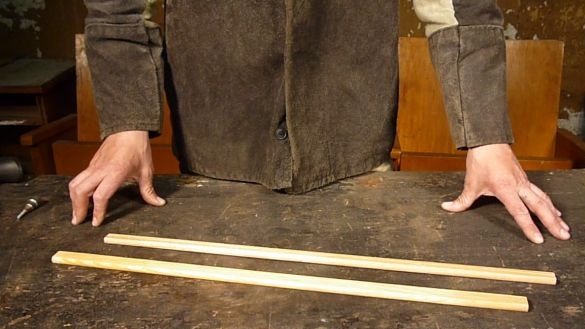
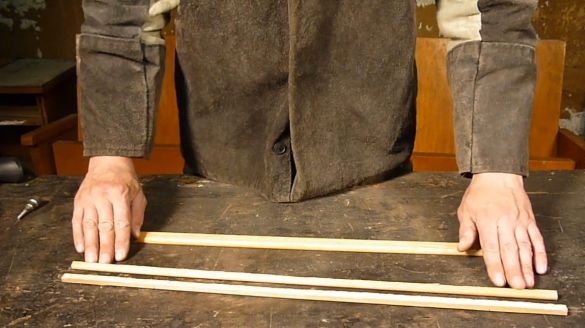
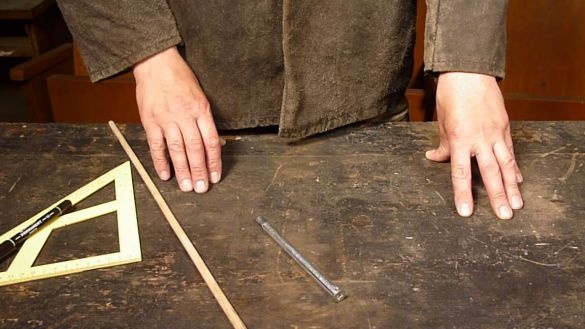
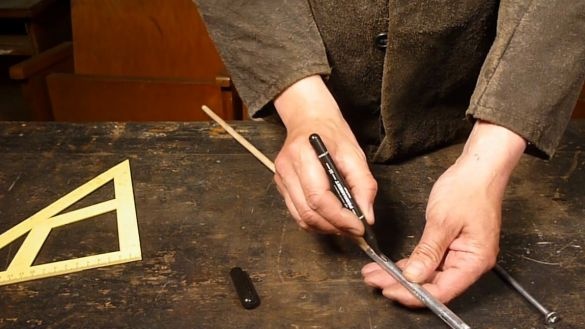
To make the arrow shaft, we used a dry pine rail from an old crib. Cut it along and got two blanks for the pole.
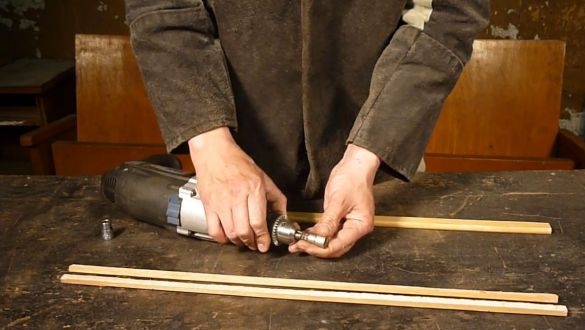
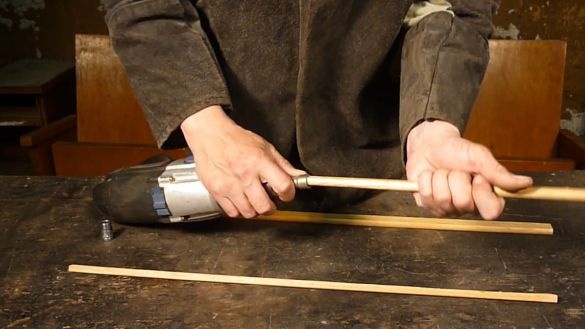
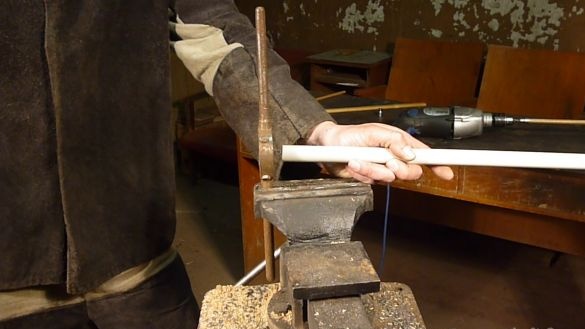
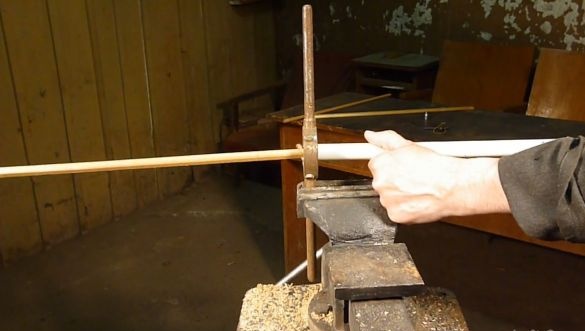
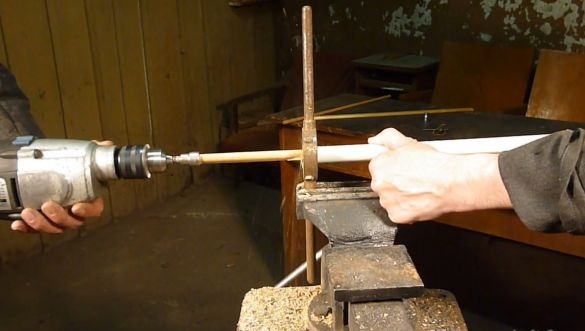
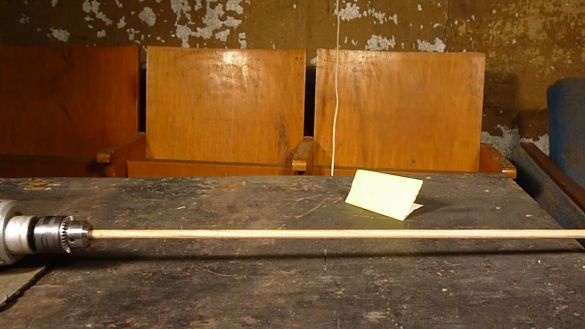
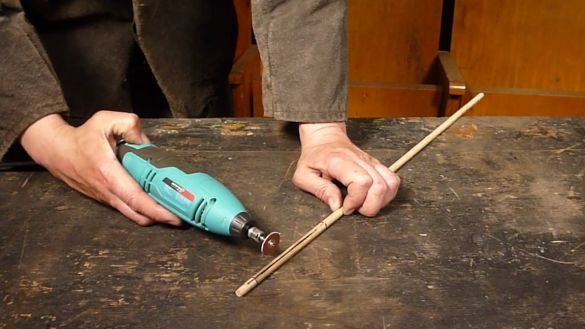
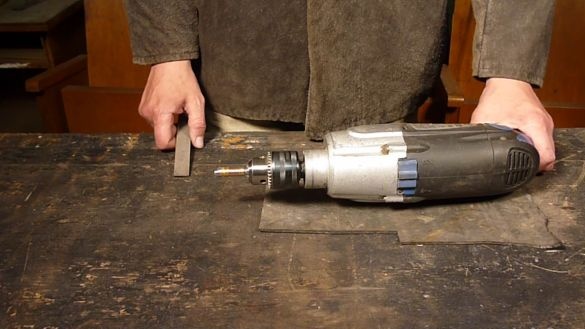
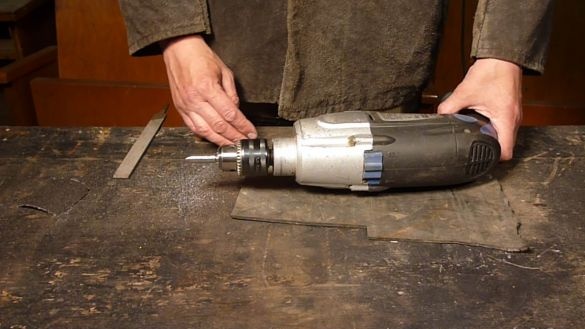
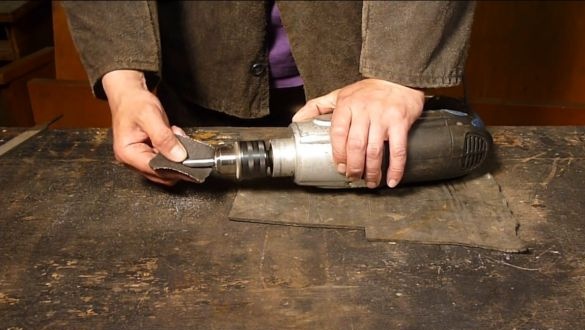
To give the workpiece a round cross-section, we clamp it into a drill and drive it through the handle. To center the workpiece in the drill chuck will help the socket head mounted on the bolt.
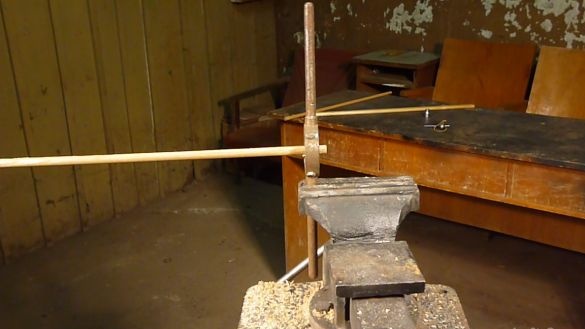
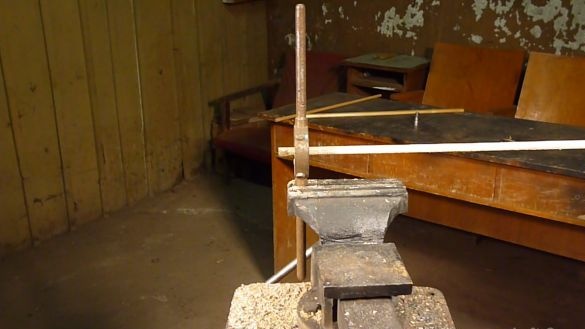
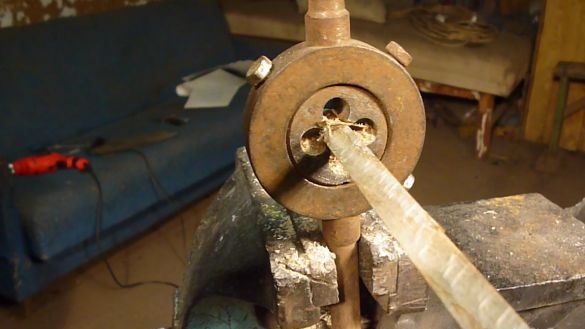
First, we drive the future shaft through the lehr M10.
In order for the protruding part of the workpiece not to vibrate, we place it in a segment of a polypropylene pipe.
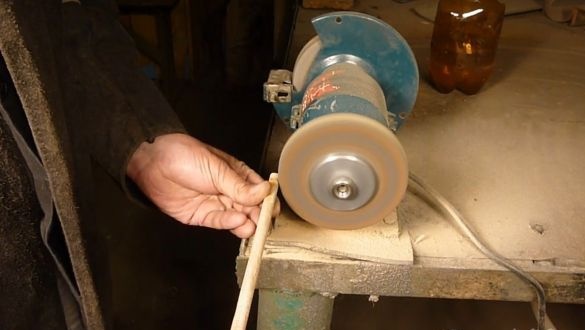
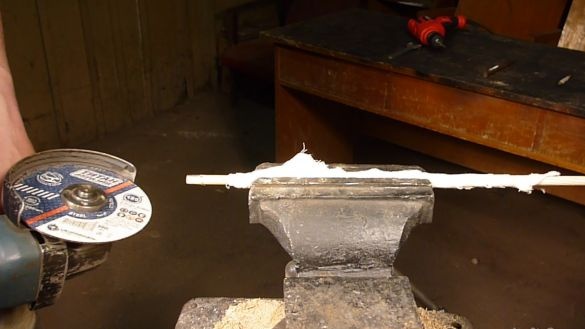
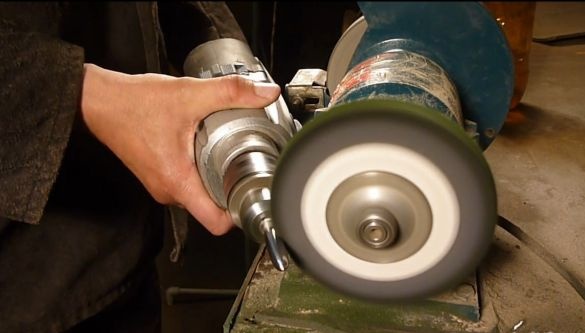
The part of the shaft that was in the cartridge is processed on a grinding machine.
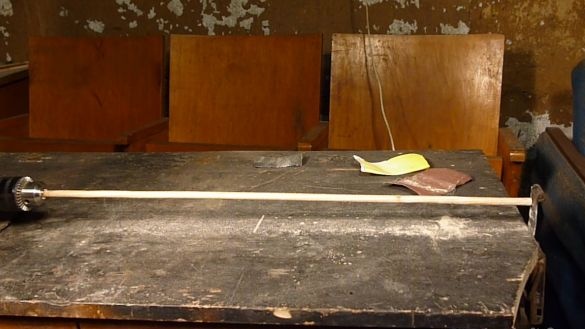
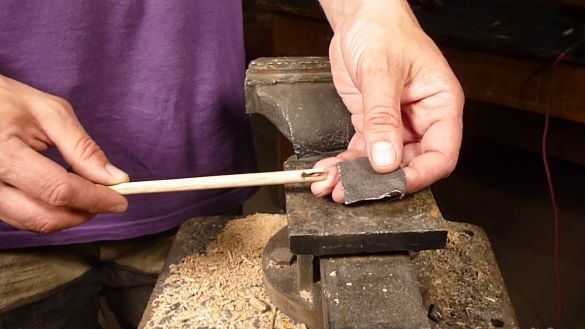
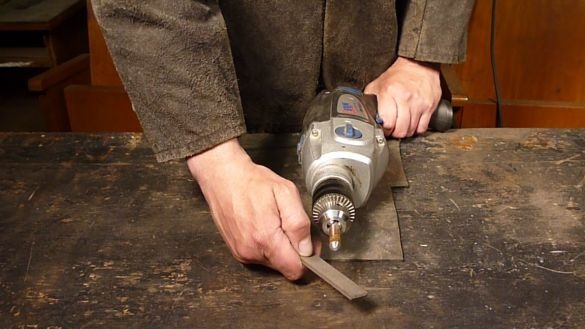
We clean the notches remaining after the lehr with sandpaper. To do this, we rest on the free edge of the shaft in something sharp, for example, center a drill on a nail and get an impromptu lathe.
We drive the workpiece through the M8.
And finally we process with sandpaper.
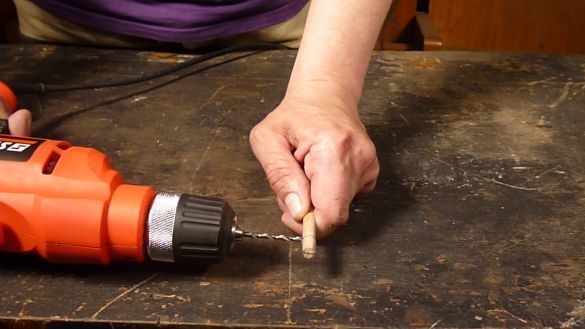
At a distance of 1.5 cm from the edge of the shaft, we drill a hole with a diameter of 2.5-3 mm and make a cut for the bowstring. The hole is necessary in order to prevent the bowstring from breaking the shaft.
Mark the cuts for plumage. For this, it is convenient to use an installation dowel, in it there are just three cuts at the right angles.
We make small cuts with a drill.
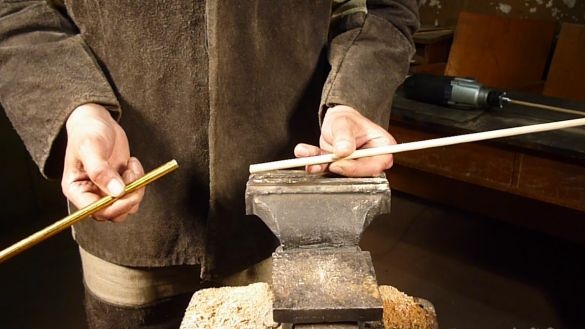
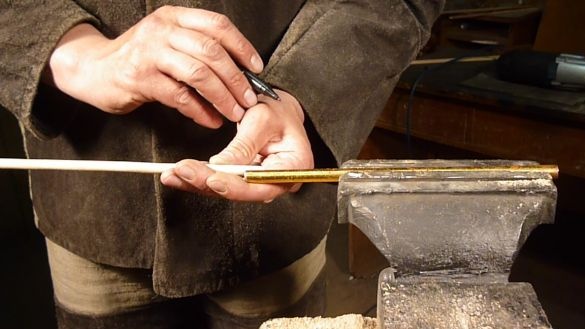
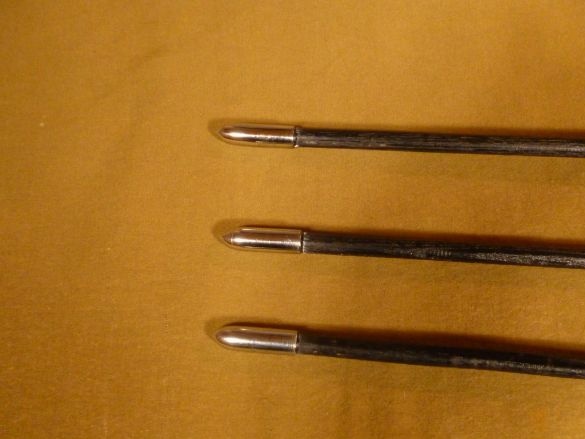
For the arrowhead, we took a steel tube with a diameter of 8 mm from the old Soviet chandelier and an M8 bolt.
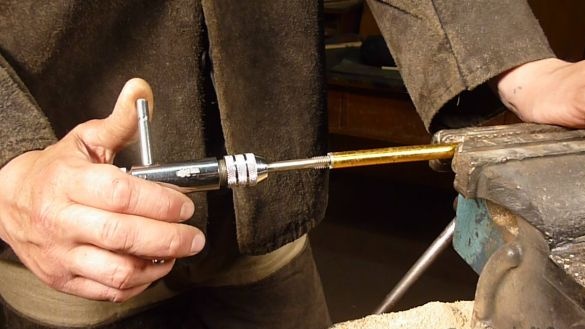
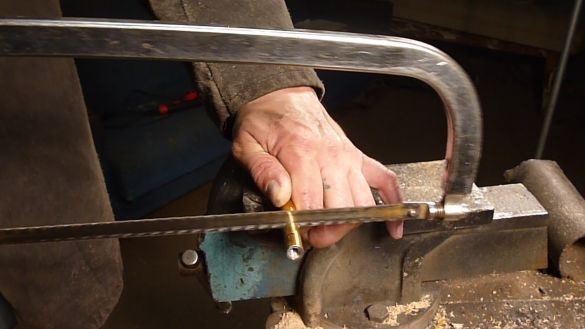
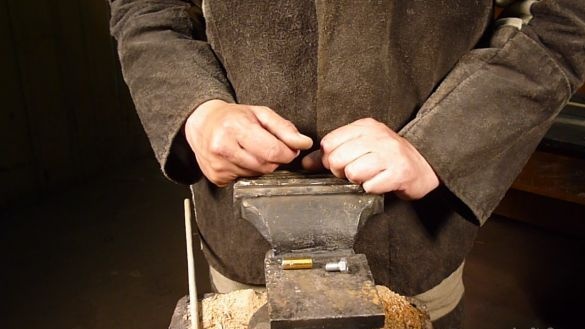
We cut the thread in the tube and cut a length of 2 cm. 1 cm will be screwed onto the shaft, and a bolt will be screwed into the remaining shaft.
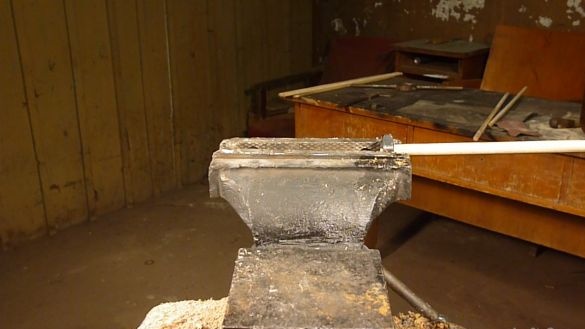
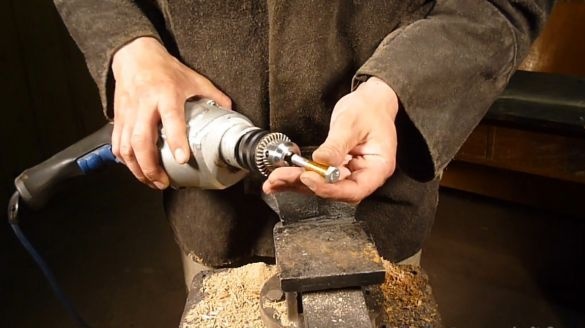
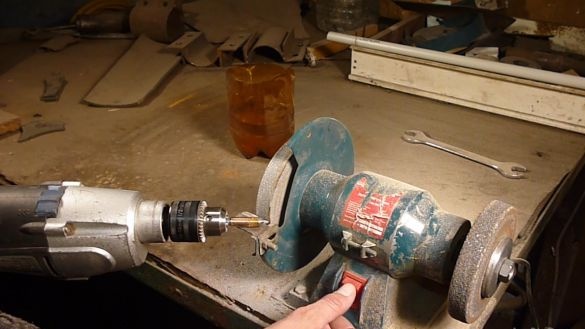
It is better to cut the thread on the pole not with a lerka, but with the resulting thread on the tube, so a denser fit is obtained. We wind the blank of the tip onto the segment of the hairpin and squeeze it into the drills to give the desired shape with the help of a sharpening machine, file and sandpaper.
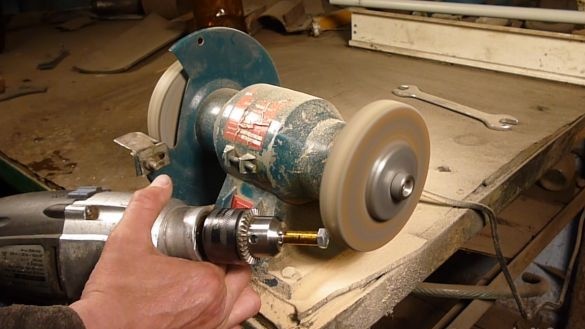
After shaping the tip, polish with a felt circle and GOI paste.
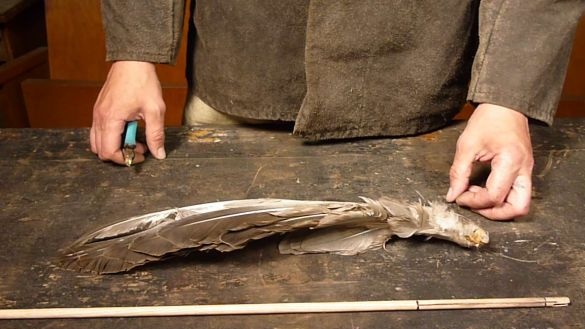
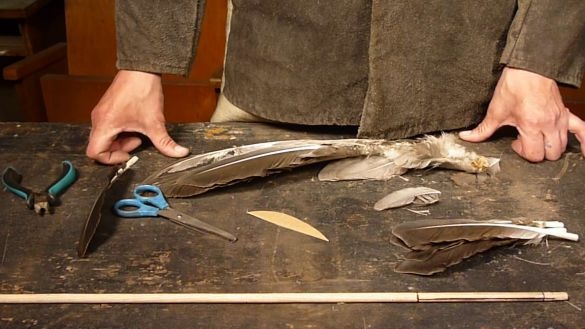
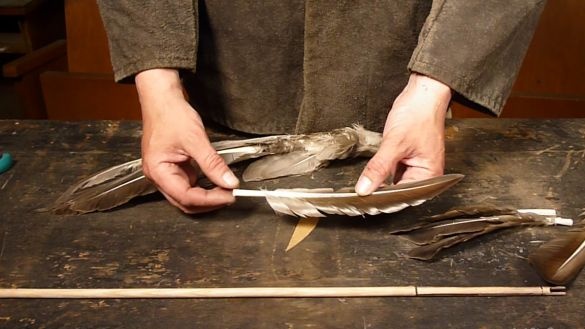
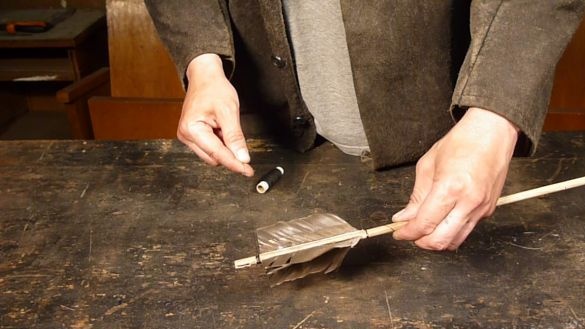
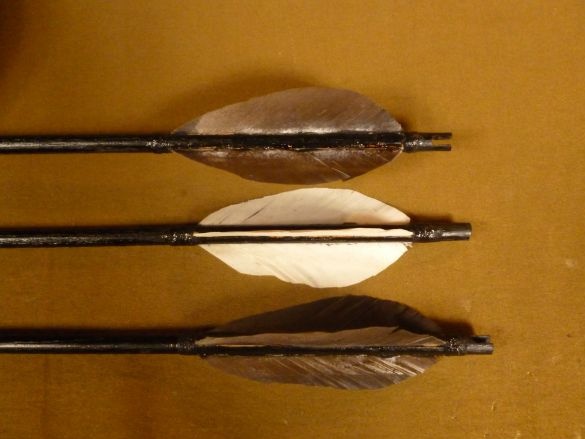
To make the plumage of the arrow, we used goose feathers.
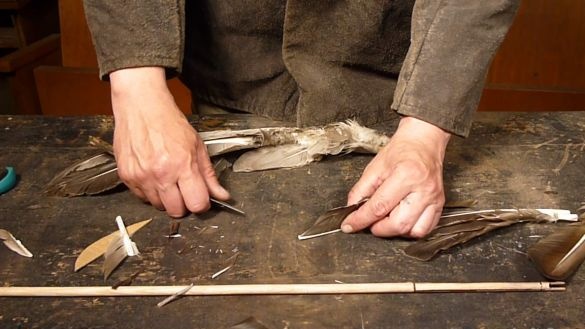
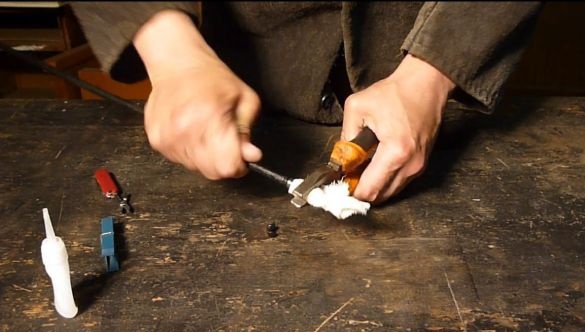
With the help of nippers, we bite off the size of the pen we need.
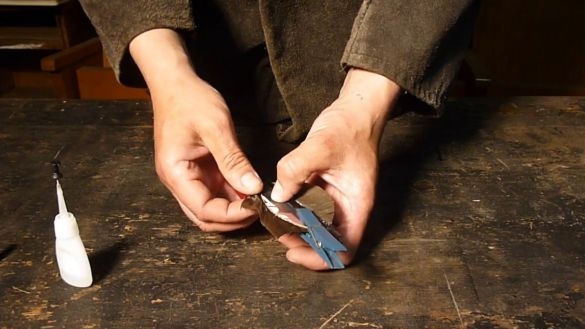
On the sides we trim with a knife.
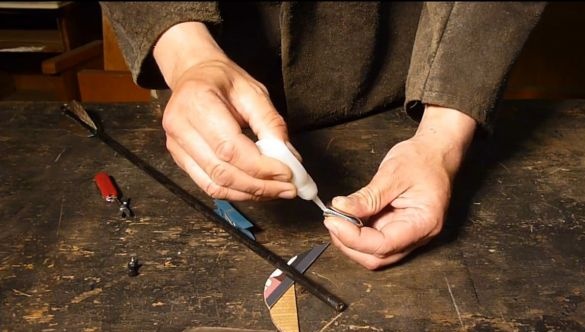
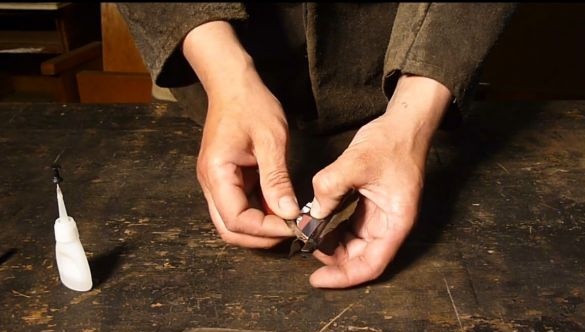
Now glue the plumage into the slots. For this, we used cyanoacrylate.
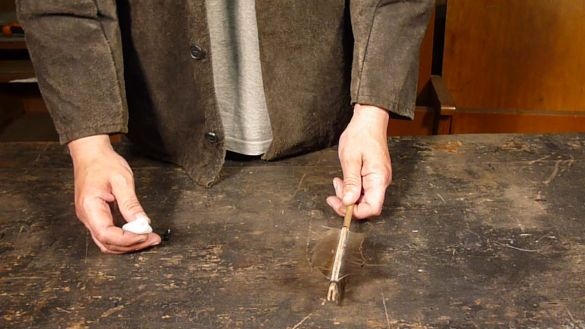
In addition, we tie the edges of the feathers with a thread and impregnate it with glue.
We paint or impregnate with a water-repellent composition of arrow shafts.
We glue the thread of the tip with glue and wind it on the shaft.
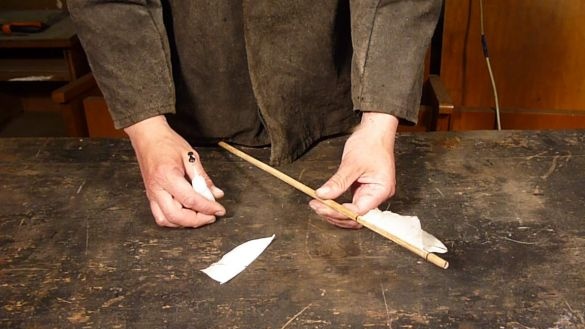
From thick cardboard we cut out plumage patterns and with the help of nail scissors cut feathers.
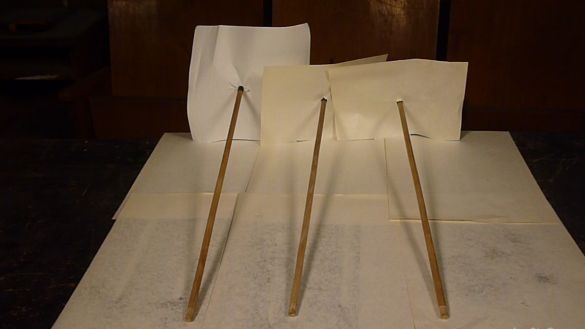
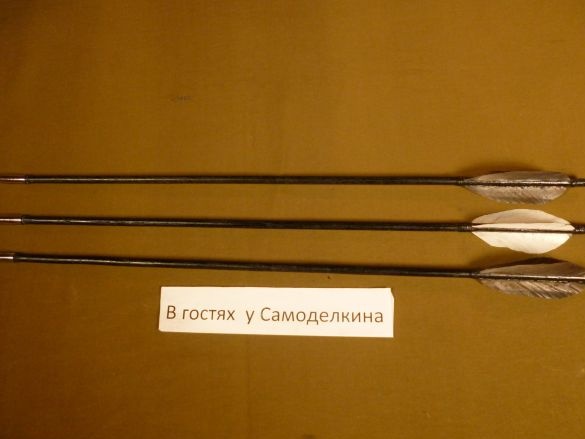
Arrows are ready.
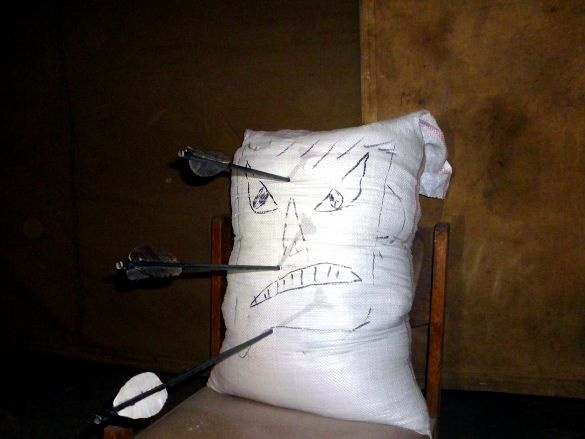
When tested, these arrows showed good results.
Nephew was satisfied !!!
Good luck and success in work !!!
You can watch a video on making arrows here.


