Greetings the inhabitants of our site!
For this project, first of all, you need a little knowledge of the Sprint Layout program or some other program with which you can create an accurate drawing of special parts called a template.
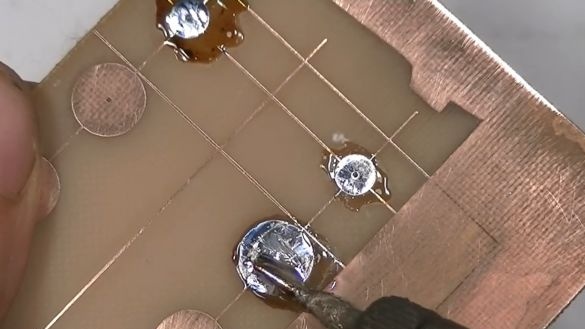
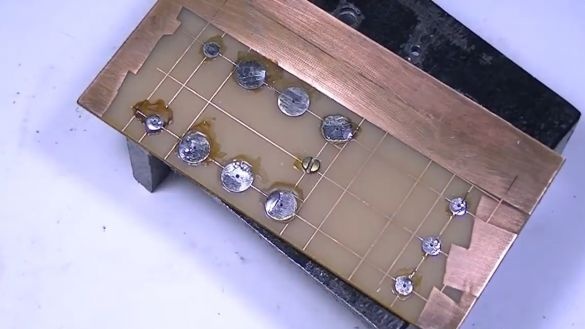
Having printed and etched the drawing on a suitable stretch of foil-coated fiberglass, we tin the copper spots, the tinning process is mandatory, because otherwise this template is useless like a goat’s milk, as Vladimir Semenovich Vysotsky sang.
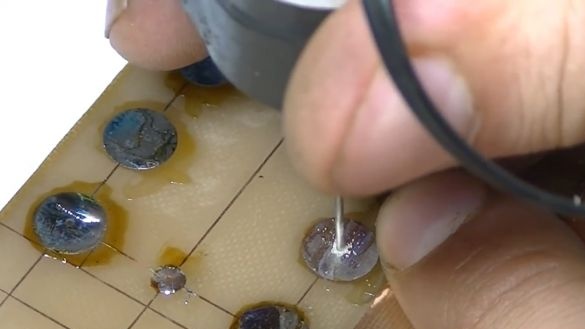
Using a motor with a collet chuck, drill holes with a diameter of 1 mm in the patch. I think everyone has already guessed that the tinning of the spots was made precisely with the aim of ensuring the highest possible accuracy of drilling.
In addition to the above, in the central patch you need to drill a hole with a diameter of 3 mm - this is very important. Using a screw m3 with a nut, we fix the template to the segment of the steel channel left by the author after the manufacture of one of the previous home-made products - a drilling machine. This element (channel) will serve as a kind of bed.
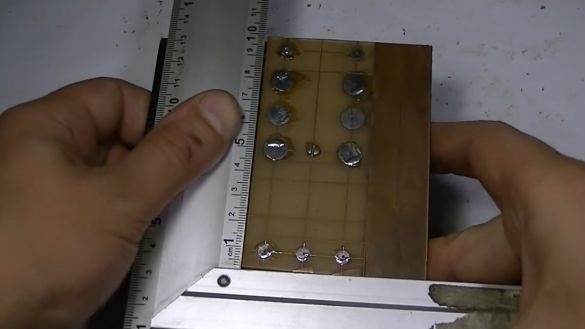
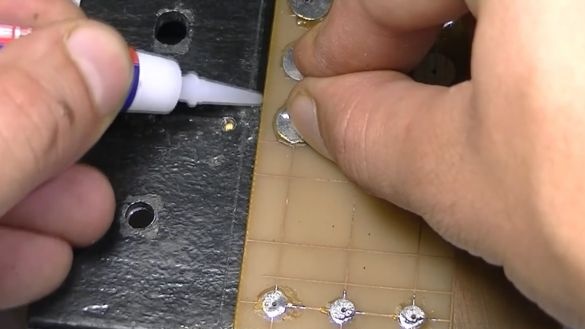
We expose the template to the square and gently fix it with superglue. Of course, this event could be quite successfully carried out using clamps, but for some reason the author thinks that superglue is faster, well, and easier.
We drill a hole through the template. Drilling is carried out gradually. What is meant by this is simple: first we drill one hole with a diameter of 3 mm, screw an m3 screw with a nut into it, and so on until the procedure is complete.
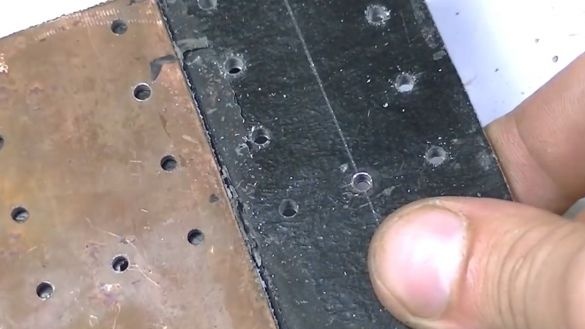
Then, removing the screws and applying certain efforts, we dismantle the template from fiberglass. As a result, we get a series of holes drilled strictly according to the dimensions that we just need.
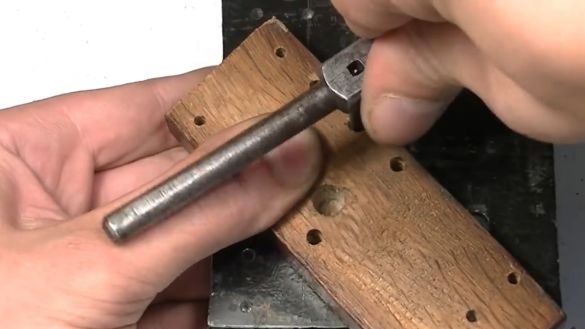
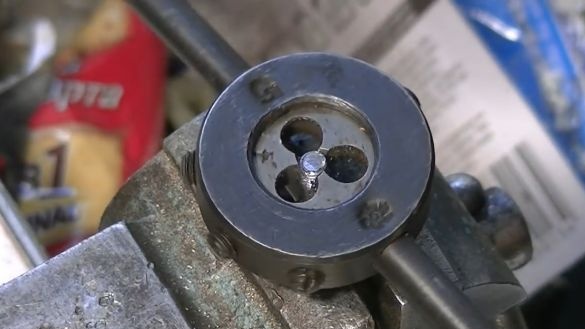
Also using a textolite template, we produce another similar template, but from wood. The diameter of the holes in the tree is 4 mm. Through a wooden template, we cut the m4 thread in the bed. Such a method, which is called “with a beard”, but the author does not yet know the other way to eliminate the skew of the tap.
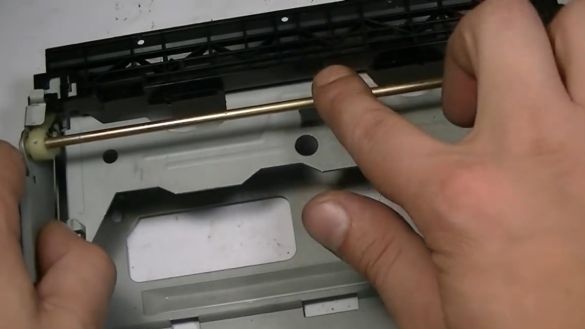
Next, we need to find a rod with a diameter of exactly 4 mm. A simple m4 screw will not work, why, you ask, but later you will understand, a little patience. After scouring in his reserves, the author found a tray for receiving a video cassette, once torn by a VCR.There is a 4 mm shaft in this tray, and we use it in today's homemade product.
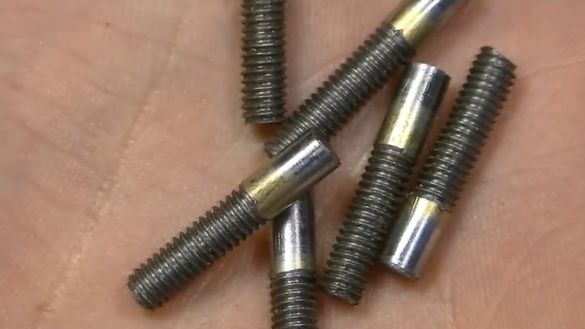
We cut a length of 20 mm from the shaft. Then, to about half the length, we cut the m4 thread. And after all the manipulations we get as many as 6 pieces of such threaded bushings.
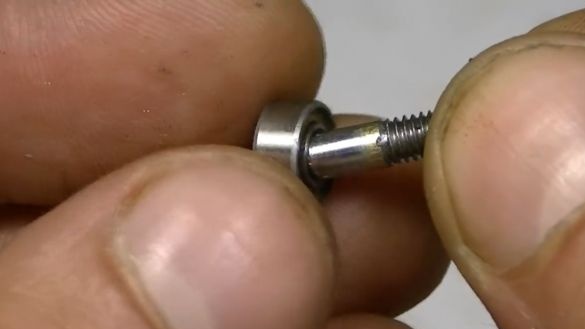
Why was it simply impossible to use an M4 screw of the same length? Well, in fact, everything is simple. The thing is that these bushings will be used as holders for miniature bearings.
The inner diameter of the bearing is exactly 4 mm, therefore, as you might guess, the m4 screw is not suitable, because its diameter is about 3.5-3.6 mm.
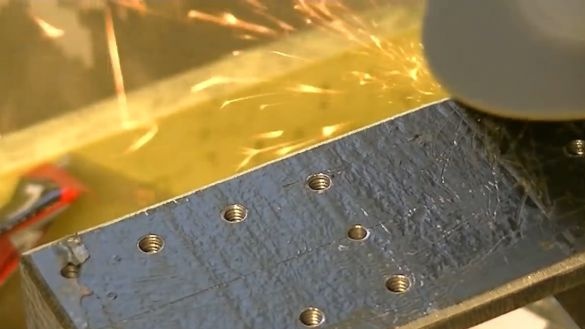
Saw off the excess channel. Of course, this could have been done earlier, but with a more massive workpiece it is much easier and more convenient to work with. It is obvious.
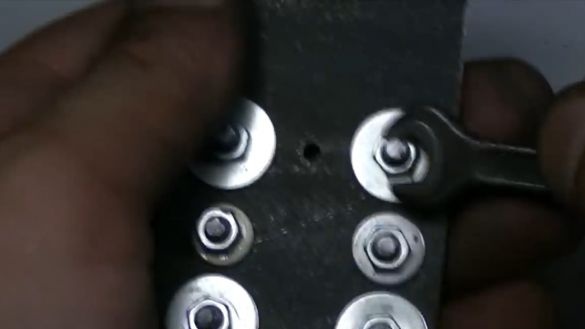
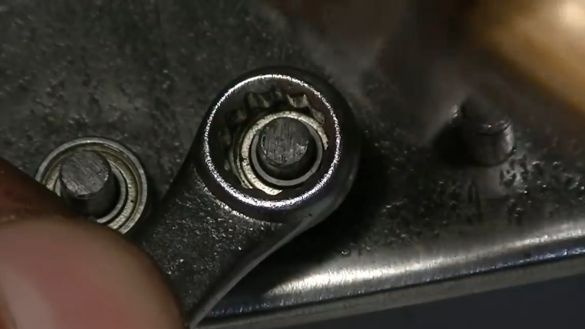
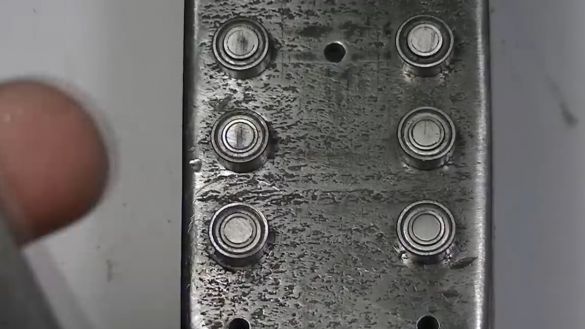
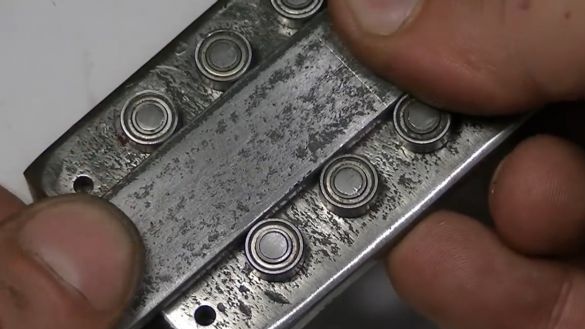
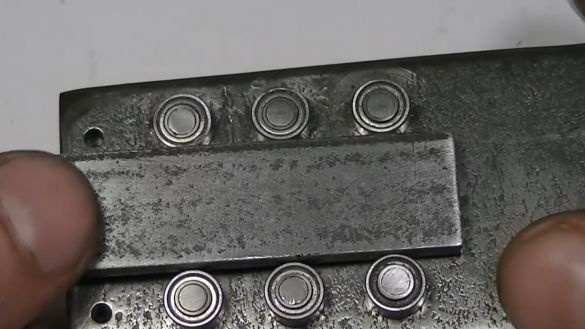
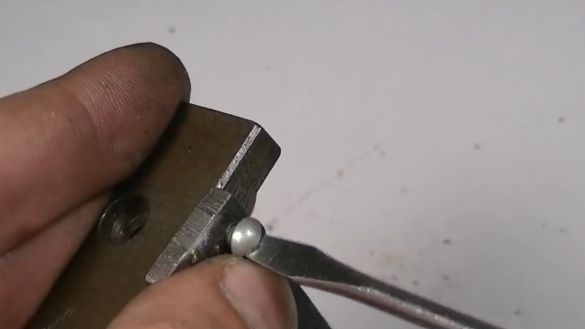
The author makes a cut with a grinder, in the apartment it is certainly difficult, dusty and not hygienic, but he really didn’t want to bother with a hacksaw, he really didn’t want to. Screw the threaded rollers into their seats. We install washers on the reverse side and tighten the locknuts. After the activities indicated above, we mount bearings on the rollers. The landing is quite tight, so the author uses a mini sledgehammer and a cap key.
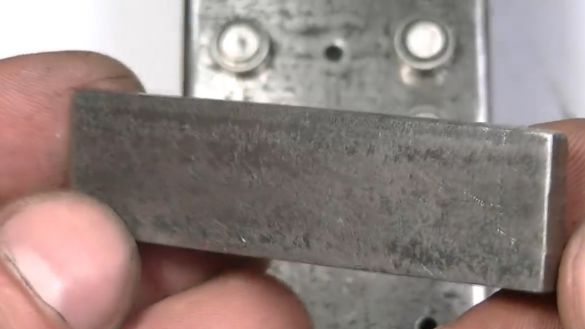
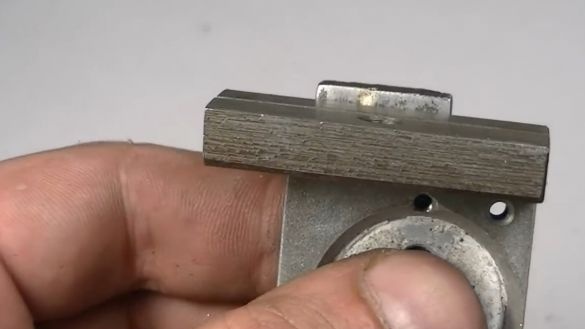
The bearings are tiny, you can even say very gentle, so you should not use them with special force, we do everything very carefully and gradually. Next, we need a piece of steel plate. Initially, this plate had a width of 19.5 mm, although, by the way, this material is positioned on the metal base, like the “twenty” strip. But come on, we’ll write this off to the production error. In general, by gradually and uniformly manipulating the file, the width of the plate was reduced to 19 mm. Thus, the strip enters between the rows of bearings without backlashes and strong distortions.
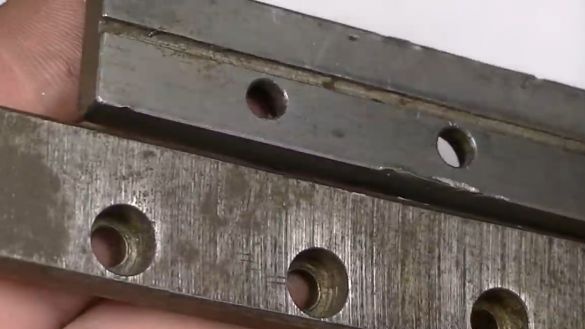
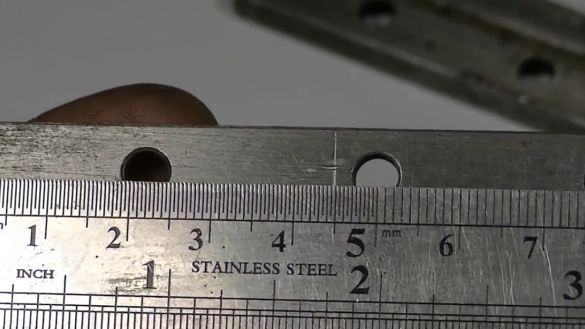
Then you need to drill 2 holes in the plate. Then the author went to the territory of the king of all trade, that is, to the market in order to purchase 2 pieces of vice from the vice. Thanks to the established cooperation with local dealers, he managed to acquire these parts for only 10 hryvnias (as of 08.24.18 about 24 Russian rubles) I think this is a very profitable, very profitable deal.
Then it is necessary to saw off part of the parts. In particular, a segment with a length of 46 mm and drill a hole with a diameter of 3 mm in the end part. In the resulting hole we cut the m4 thread.
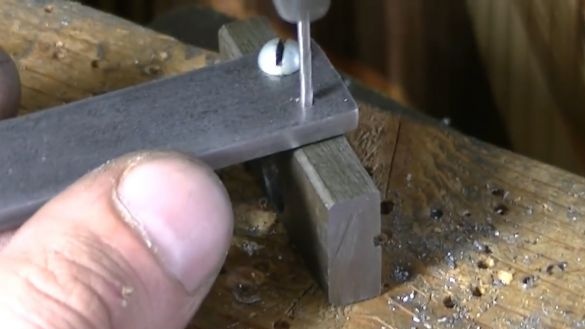
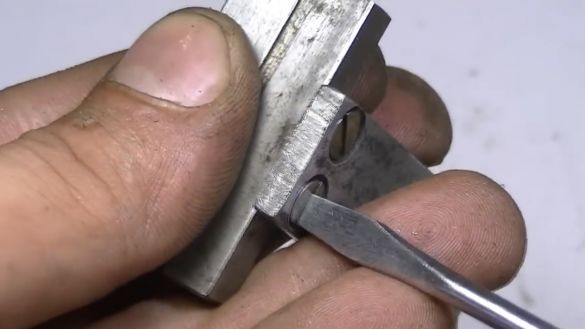
Having drilled a hole in the plate up to 4 mm, with the help of a short screw we fix the vice sponge to it. Using a small corner, set the lip to an even position and apply a small amount, again, of our favorite superglue. Having waited until the glue has completely set, we drill a second hole. Due to this “high-tech” solution, the most accurate drilling is ensured. In our case, this is very important, the true master knows that the hole is much more accurate when it is drilled, as they say, in place.
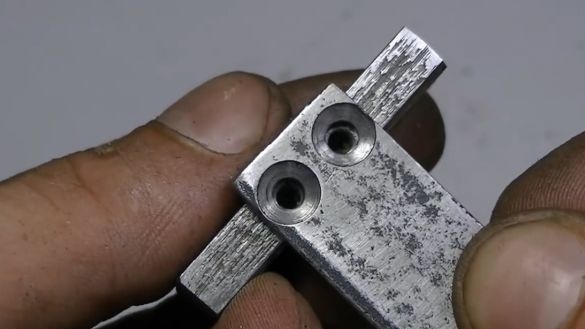
Using two countersunk head screws m4, we fasten both parts, namely, the plate and the sponge of the vice. Bazaar is zero, as they say, but it would be better to use welding, but so far the author does not have it. Next, we need a piece of hairpin m10. In addition to the studs, we still need a special conductor; its author made it on his own.
The jig is a square in which a through hole is drilled with a thread cut to half. We screw the pin into the conductor and drill a hole on the back. In the resulting hole, cut the m4 thread.
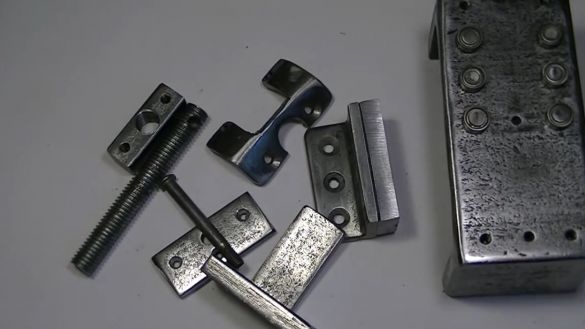
That's all. All details of the future vise are ready.
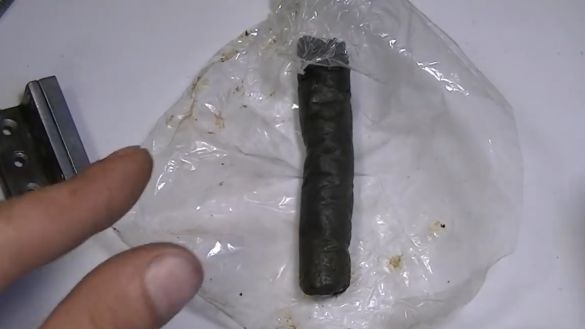
Let's assemble the device. First of all, install the first bracket on the base. We mount using m4 screws. Without fail, we use a special substance, popularly referred to as cold welding.
Despite the not quite presentable appearance, the substance perfectly replaces the traditional thread lock, and in some cases completely surpasses it in a number of characteristics and operational qualities. The material is odorless and has excellent ductility; it can be called universal. We fix a segment of a square to the bracket, in the center of which a hole is drilled and a m10 thread is cut.
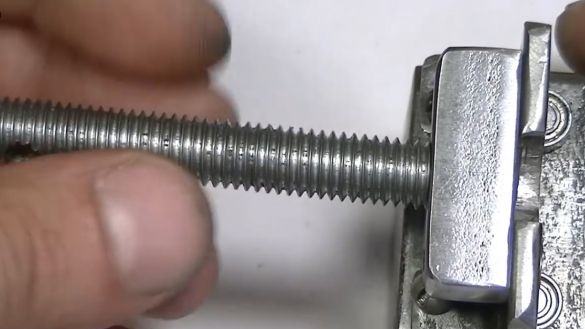
With confident rotational movements, we screw into the square nut the screw made earlier. By the way, it’s very interesting, are these studs that are sold in our stores, are products of Shaolin manufacturers (Chinese), or are they still produced in our homeland? No, they’re probably doing them all the same. We screw the m5 screw into the end of the stud, and install the screw through a piece of steel plate with holes with a diameter of 2.5 mm. The screw is tightened tightly, but not completely, but in such a way that the steel plate has a certain free play.
Screw the plate to the sponge using m2.5 screws. We establish and fix a motionless sponge of a vice.
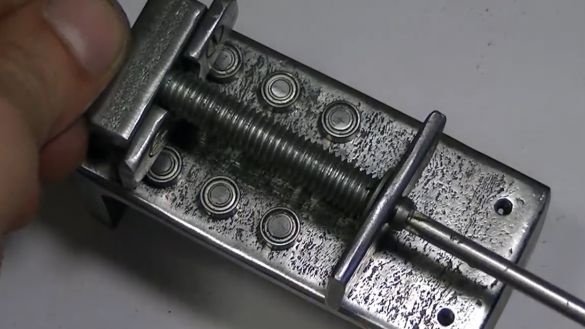
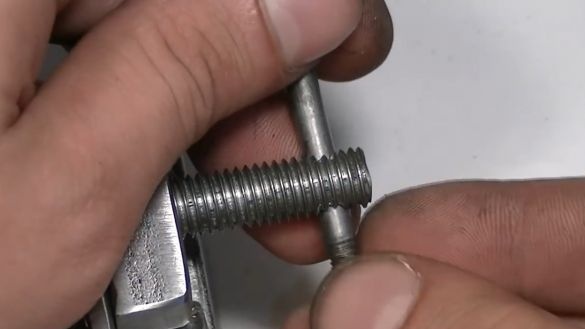
Well, the last touch is the handle for convenient rotation of the spindle. The handle is an ordinary 5 mm diameter pin with a thread partially cut into it.
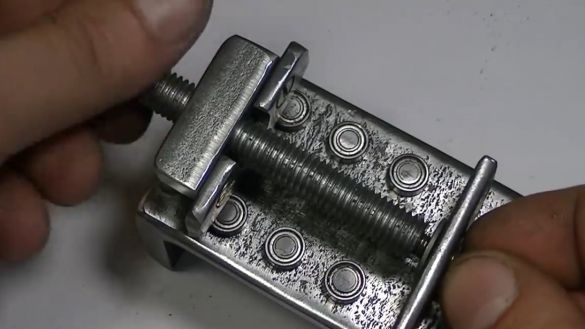
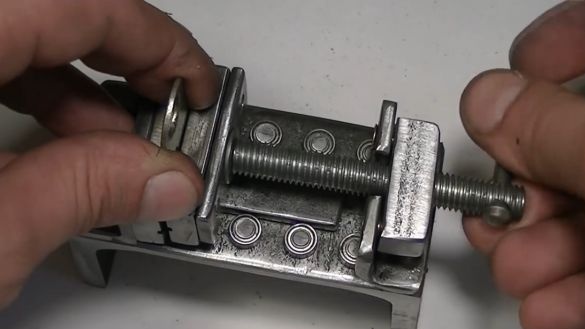
Here is what we have in the end:
In general, the main requirement that was originally presented was the ability to work on the table, that is, without the need to fix the vise to the table with a clamp. Well, as you can see - the goal is achieved. That's all. Thank you for attention. See you soon!
Video:


