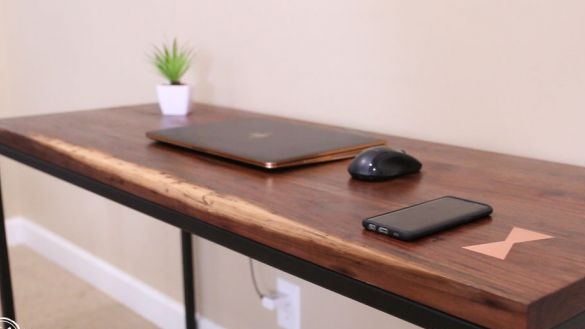
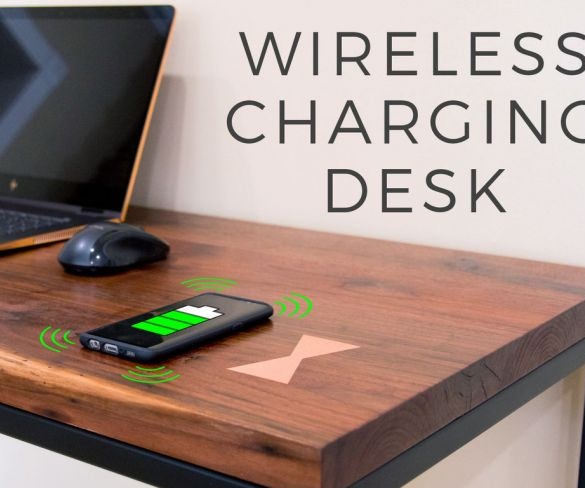
A short article with an interesting idea. The master made a table, and built in a countertop wireless charging for the phone.
Tools and materials:
-Welding machine;
-Miter saw;
-Manual milling machine;
-A circular saw;
-USHM;
Epoxy resin;
-Profile;
-Boards;
- Clamps;
-Chisel;
-Hammer;
-Aerosol paint;
-Grinder;
-Polyurethane coating;
Step One: Countertop
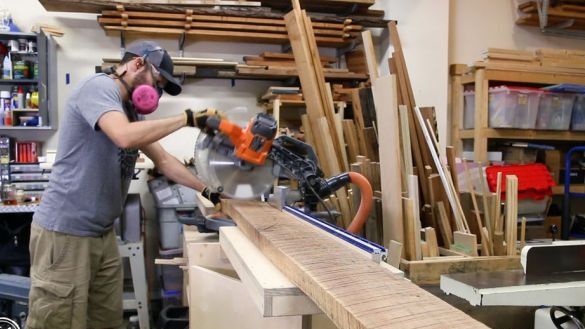
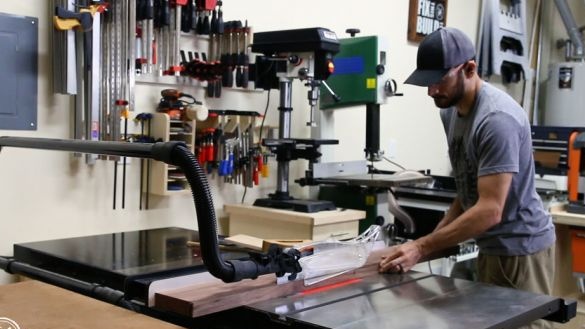
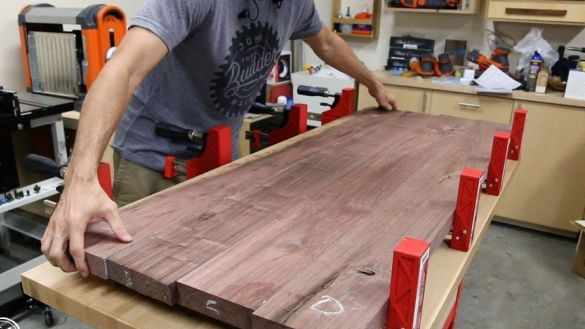
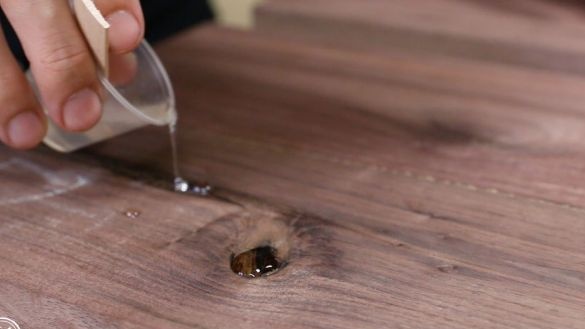
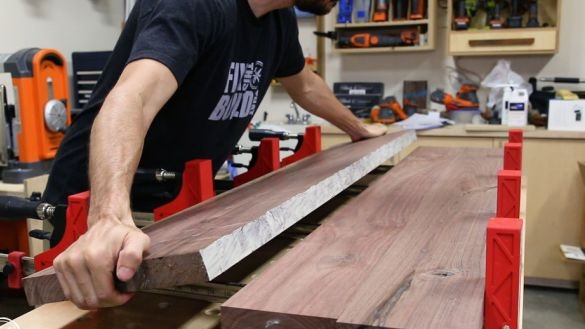
The master decided to make a countertop of walnut. It cuts the boards to the size, trims. Glues four boards together with epoxy. The seams between the boards are also filled with epoxy.
Step Two: Wireless Charger
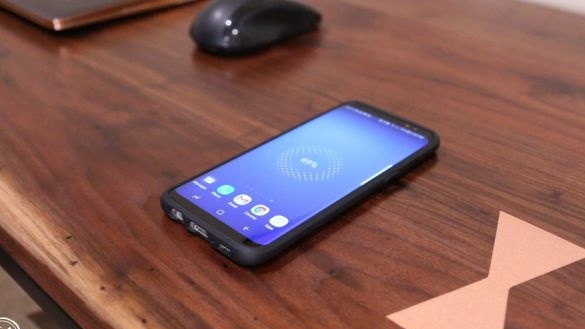
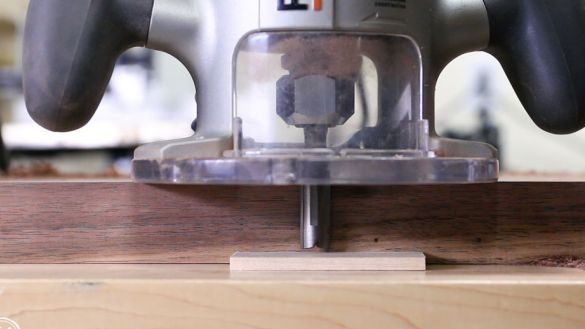
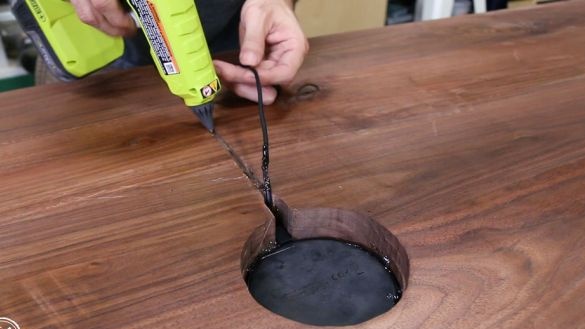
On the bottom of the countertop marks the place for the device. A frezoy carves a niche, leaving a small layer of wood at the top of the niche. Cut groove for wire. Glues the device into a niche, and the wire into the groove.
Step Three: Inlay
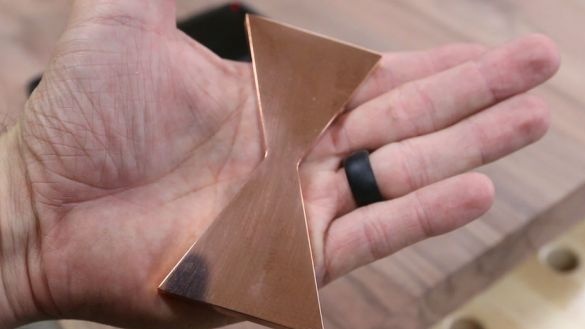
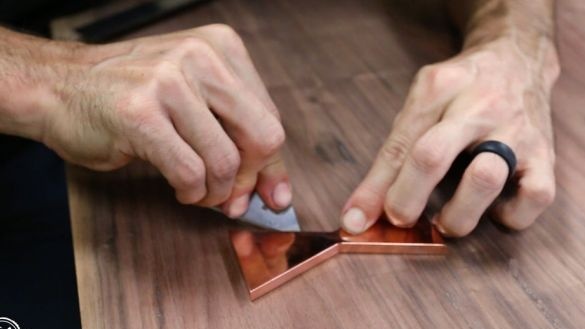
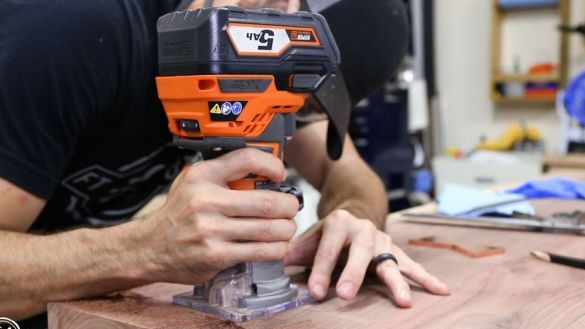
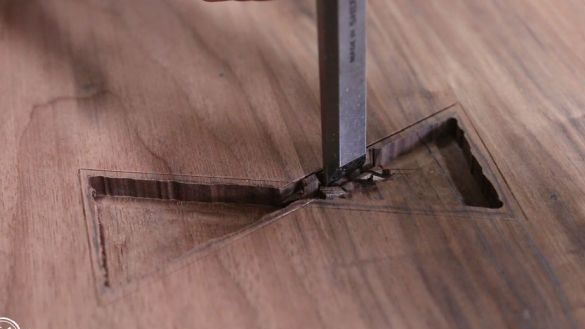
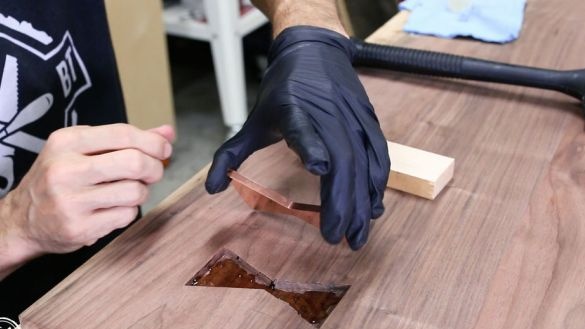
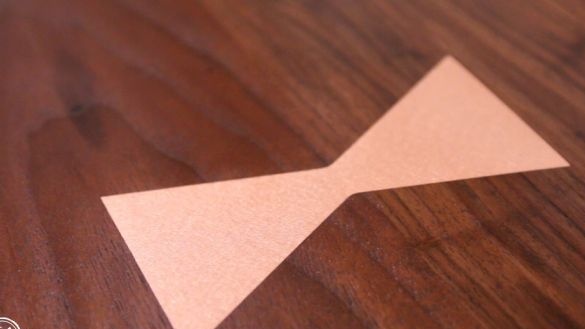
To mark the installation location of the charger, the master decided to install a copper sign next to the device in the countertop. Using a cutter, I cut out the recesses. Pasted a sign into the countertop.
Step Four: Foundation
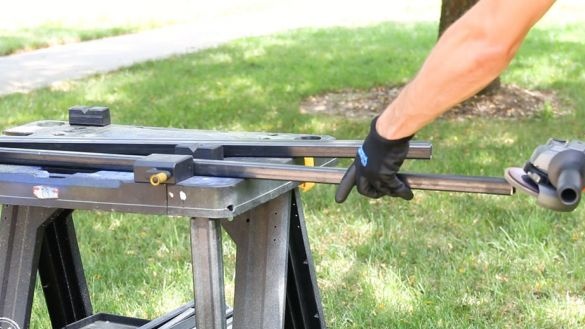
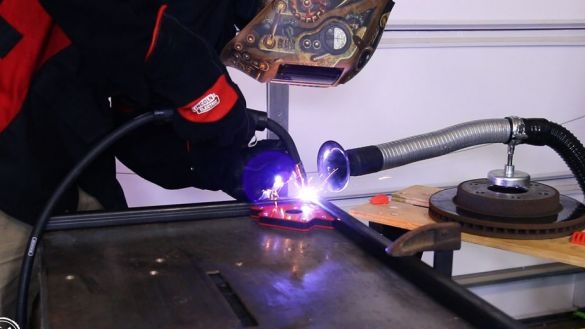
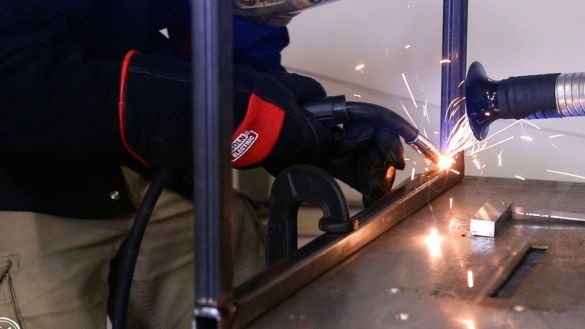
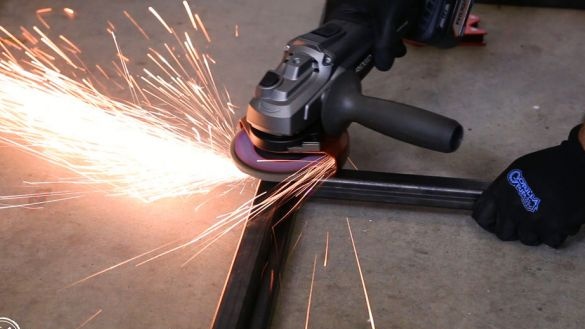
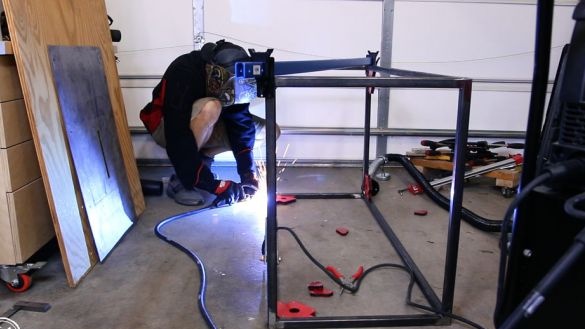
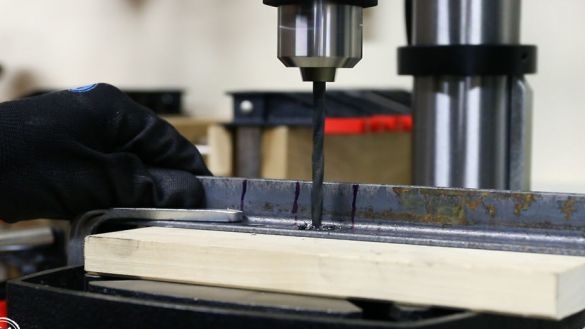
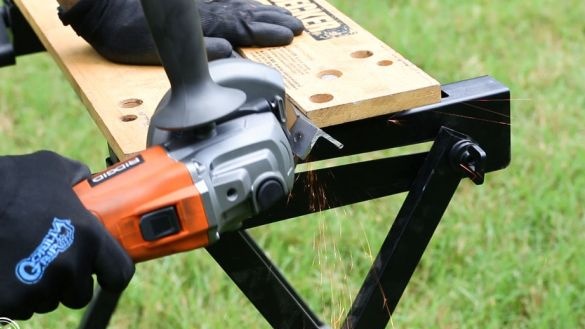
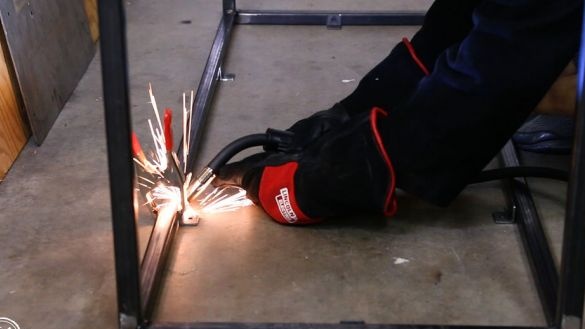
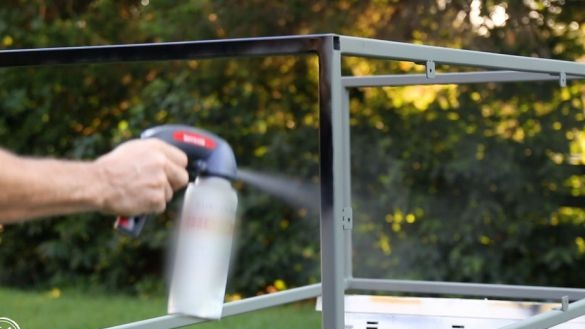
The master made the base from a metal profile. Welded the frame. Welded fasteners. Painted.
Step Five: Sanding and Coating Countertops
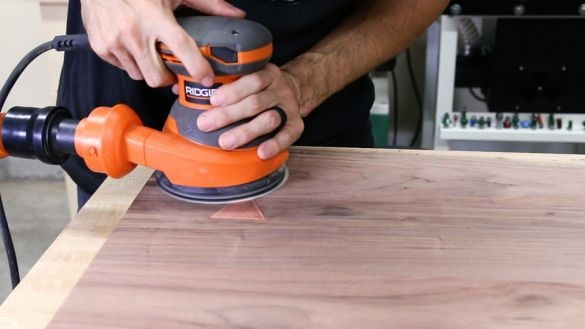
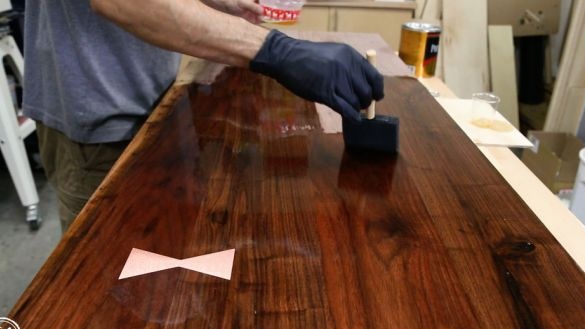
Then the master polishes the surface and covers it with polyurethane and oil.
Step Six: Assembling the Table
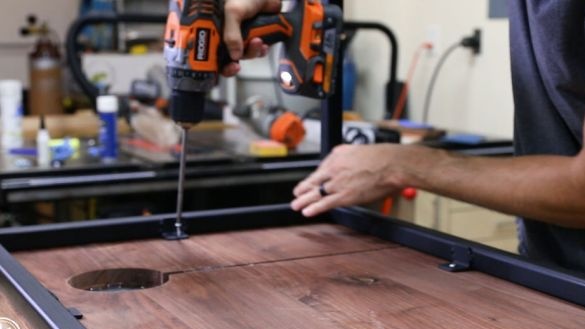
Attaches a countertop to the base.
A table with built-in wireless charging is ready. Tests have shown that charging works great.
The whole process of its manufacture can also be seen in the video below.

