
Good day to all. Today we’ll talk about how to assemble a brooder or, as it is also called, a nursery for young animals.
In this article, we will consider only one of the options that is so useful for poultry farmers. homemade. And the master of this home-made Alexander will help us in this. Many can say you can buy ready-made and not bother, you can buy of course, only they are not very cheap. And many poultry farmers, especially beginners, do not always have the opportunity to buy it. The plus is that you can collect it, of a size that will fit exactly your number of young animals, and also with the thing collected do it yourself use is much nicer.
For the manufacture of this homemade product, the author required the following materials:
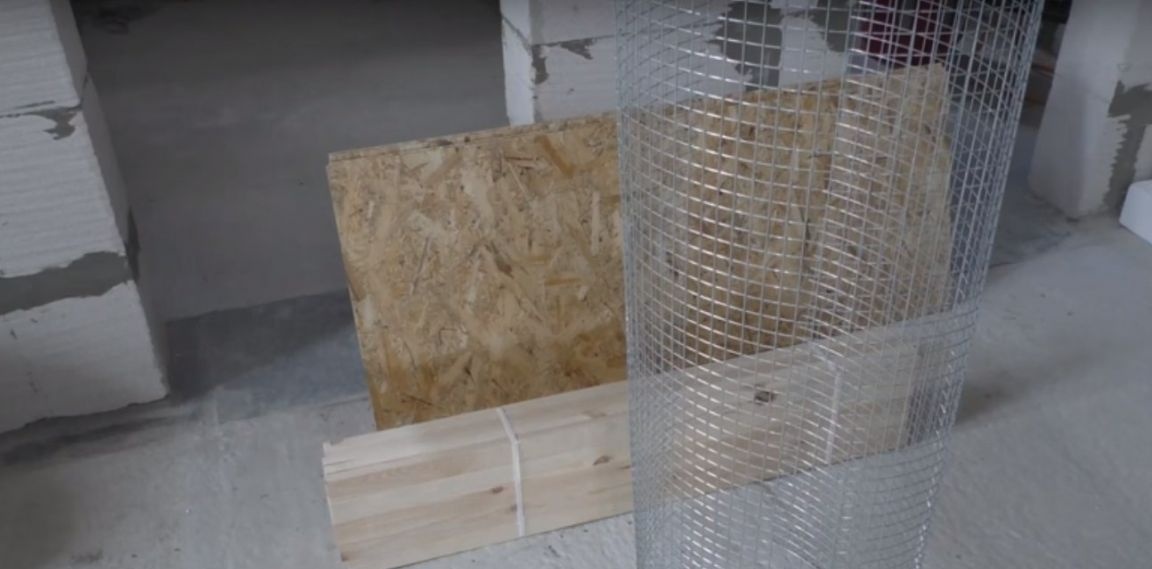
1 m2 net with 20 mm by 20 mm mesh
Galvanized hinges 4 pcs.
Furniture handles 3 pcs.
Espagnolette 2 pcs.
Dimer
Wire 2x0.75 3 m
Wood screws
Plexiglass
Skirting board
Podrozetnik
Cartridge 2 pcs.
1 pc lamp (Infrared)
Electric plug
Rail 40x20 mm - 15 m
Mounting angle 8 pcs.
1 pc lamp (5 Watt LED)
OSB plate thickness 9 mm
First, the author unfolded the grid.

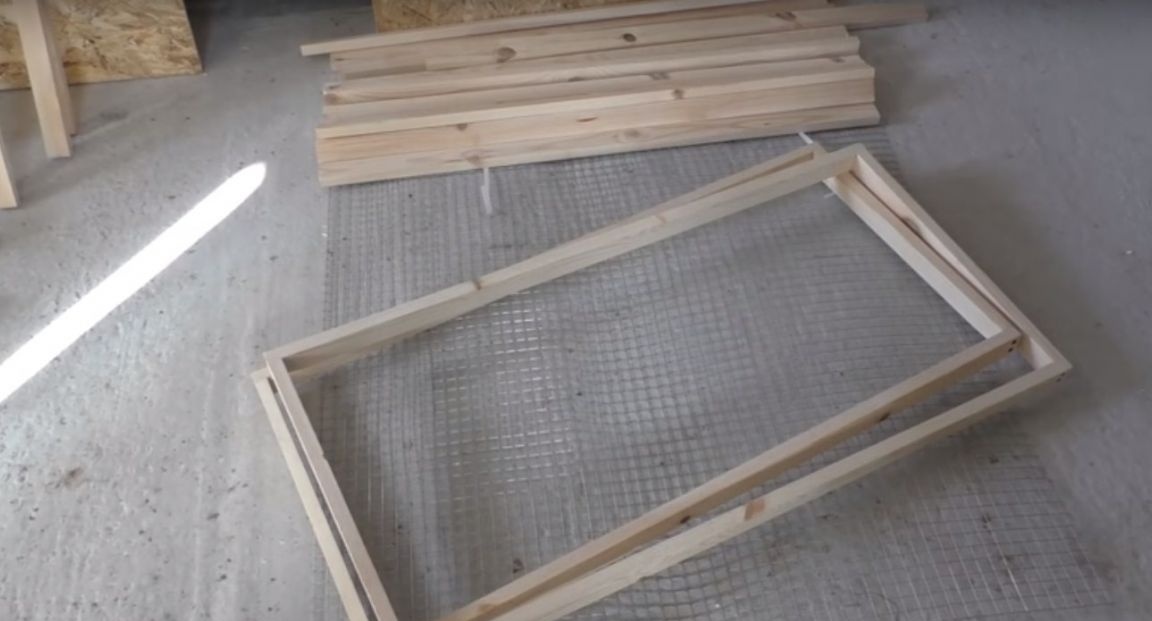
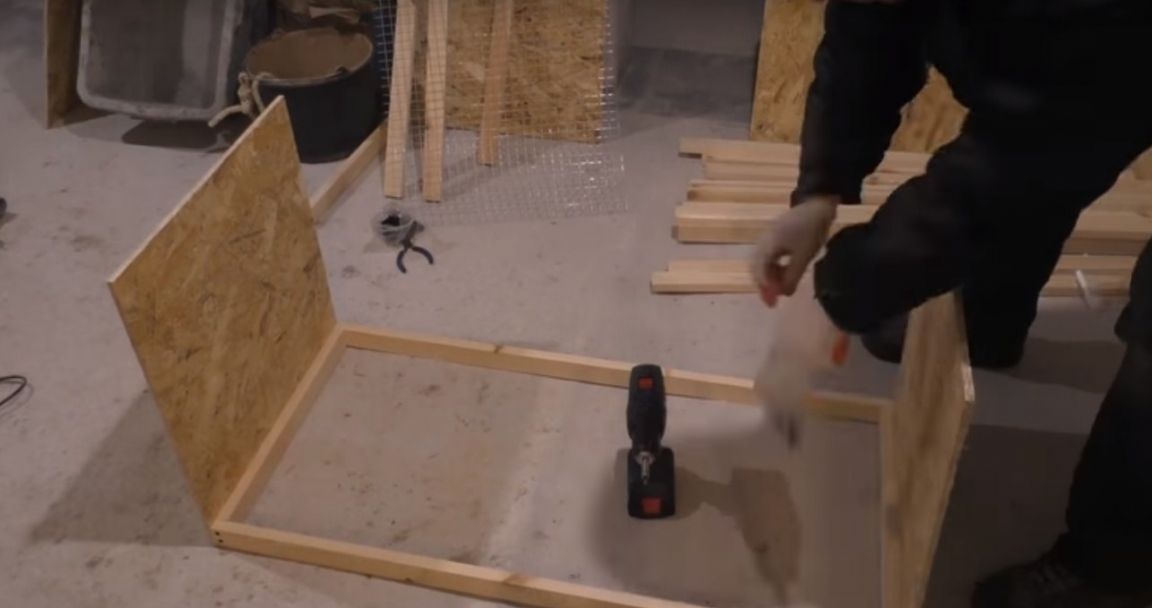
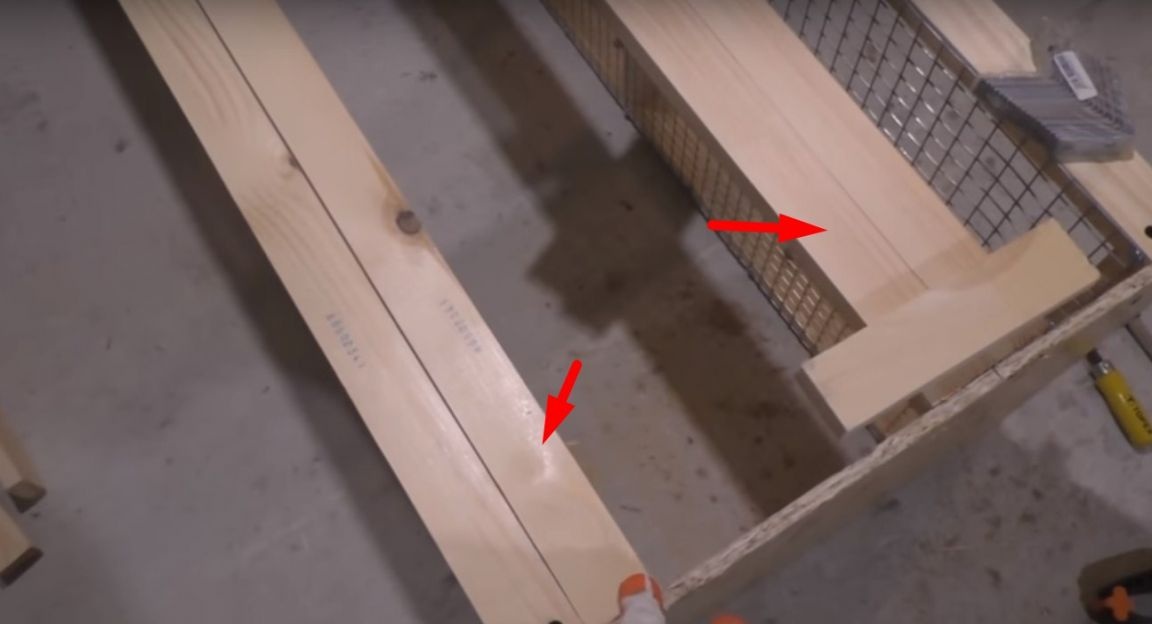
Then he assembled two frames of 100 cm by 50 cm from a timber.
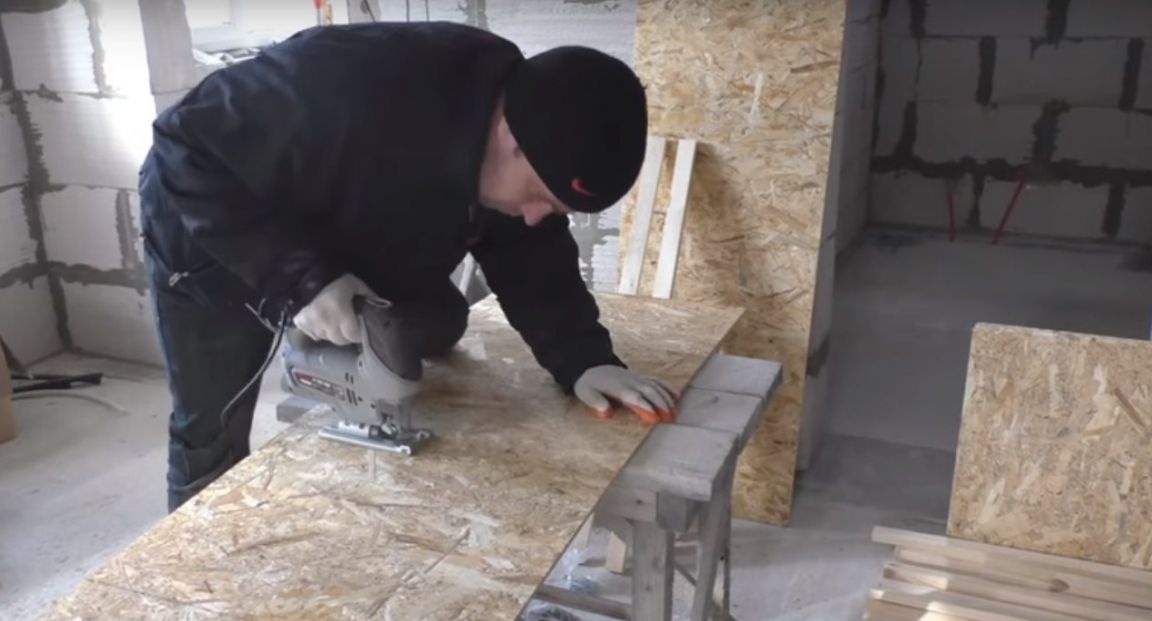
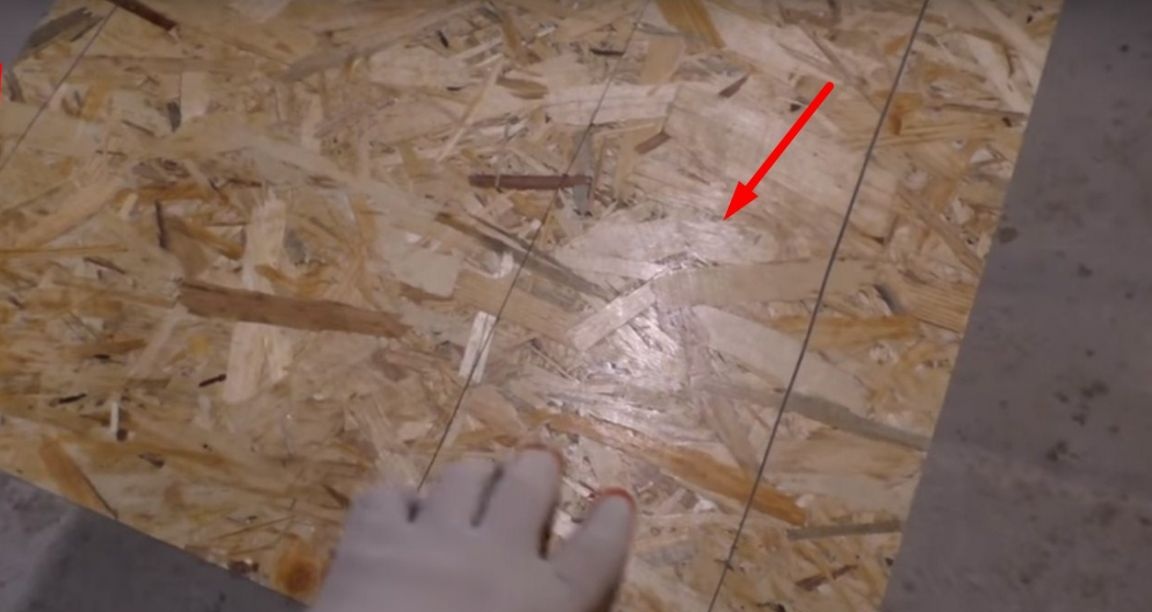
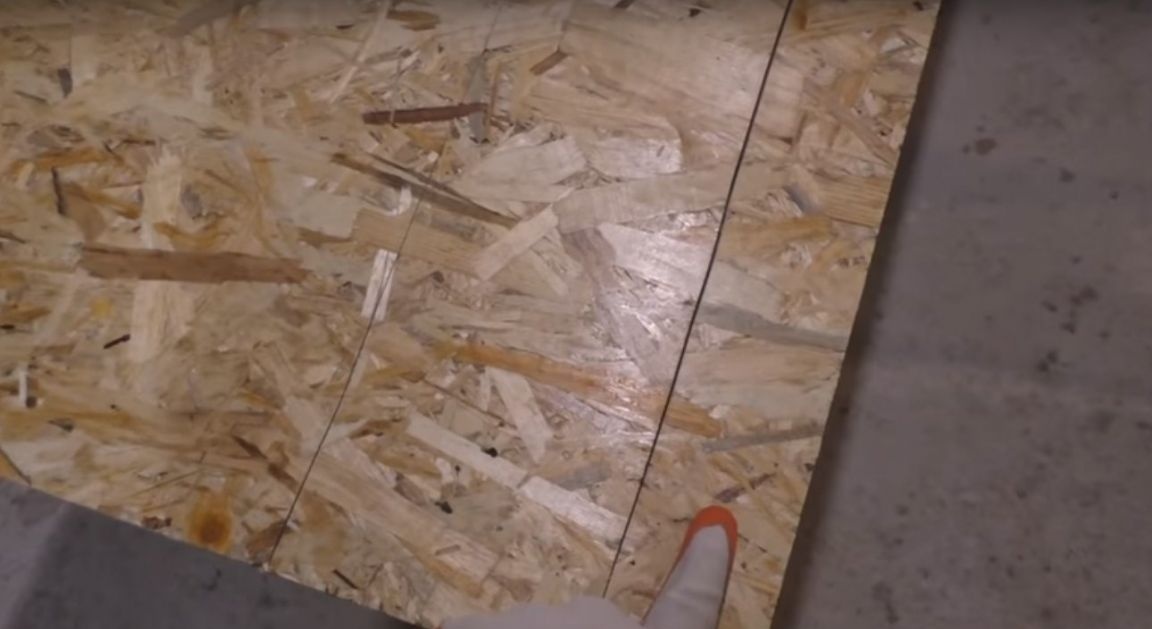
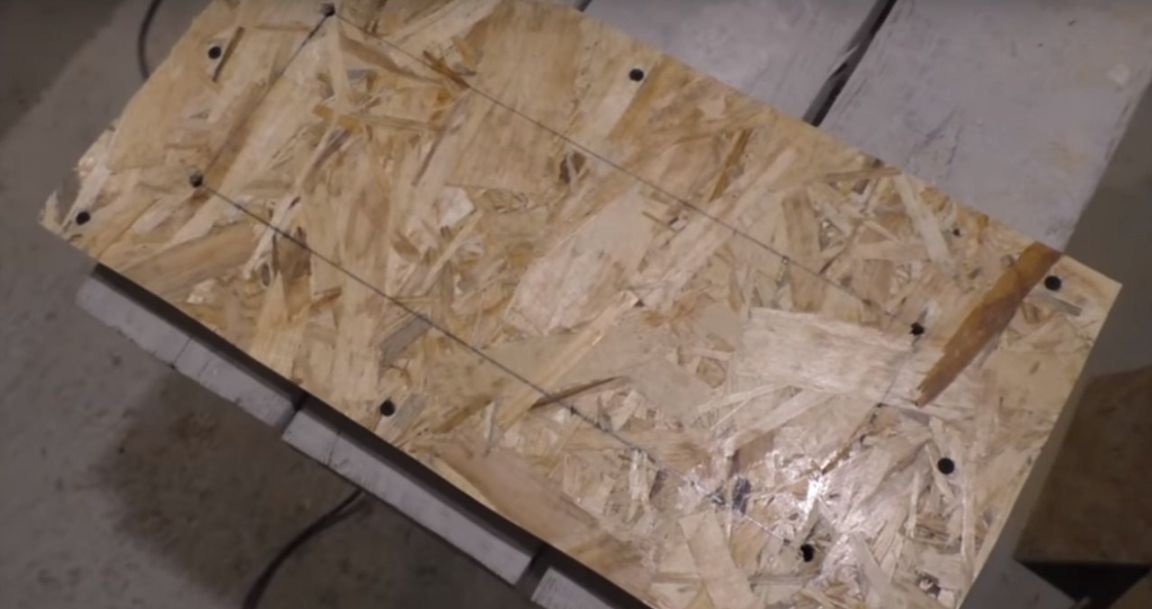
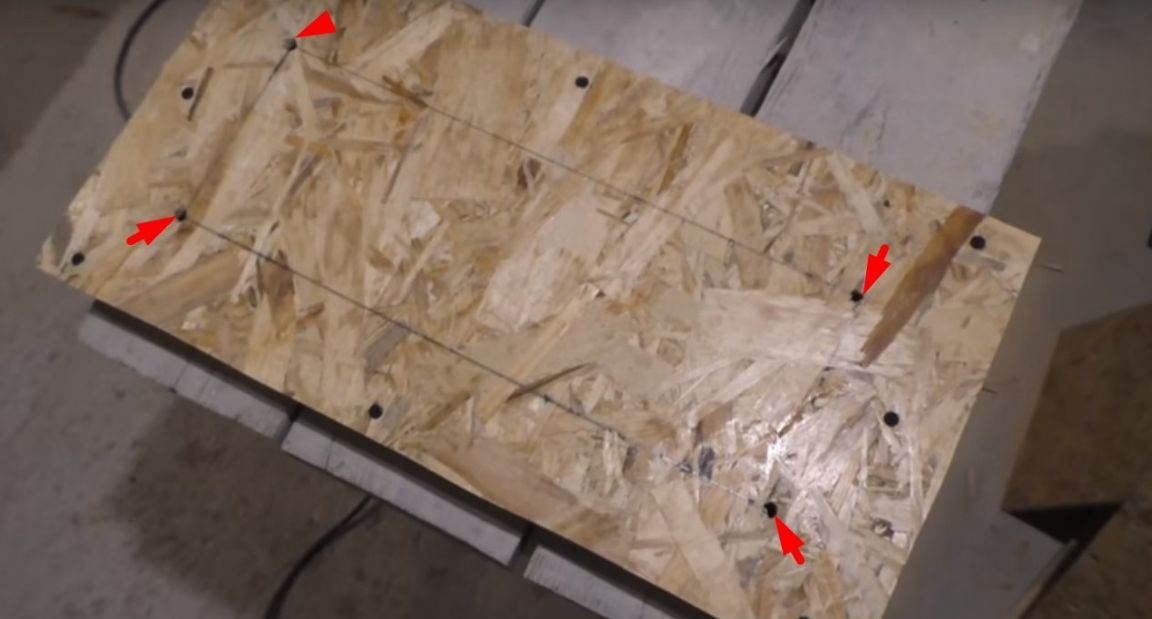
Further, the author marked the OSB plate.
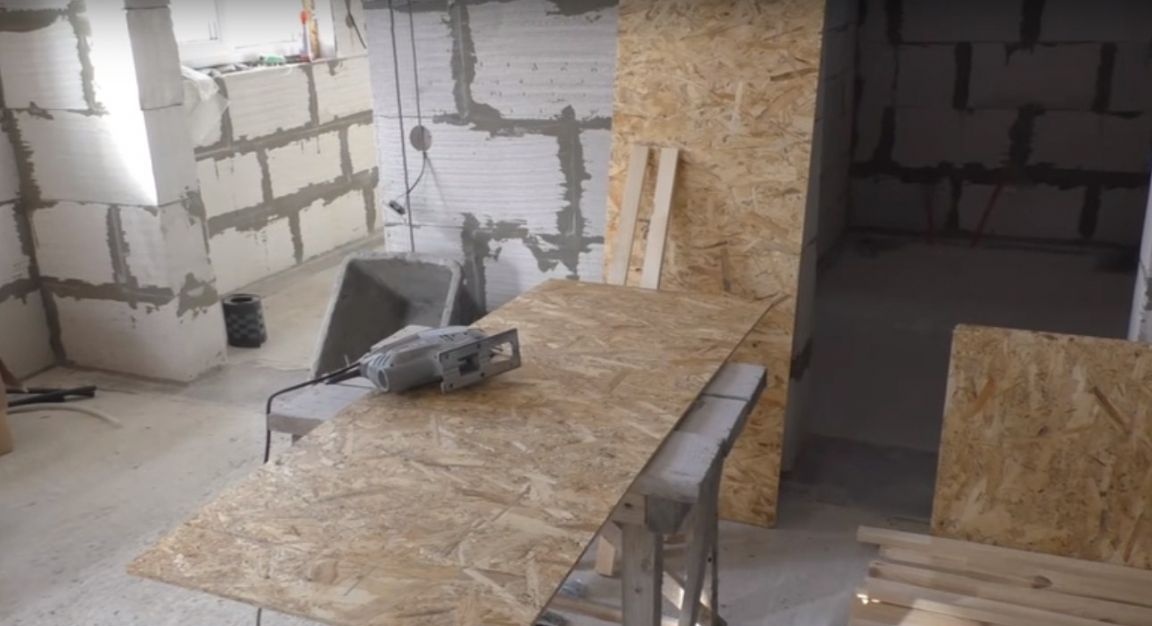
And with the help of a jigsaw, I cut it according to the markup.
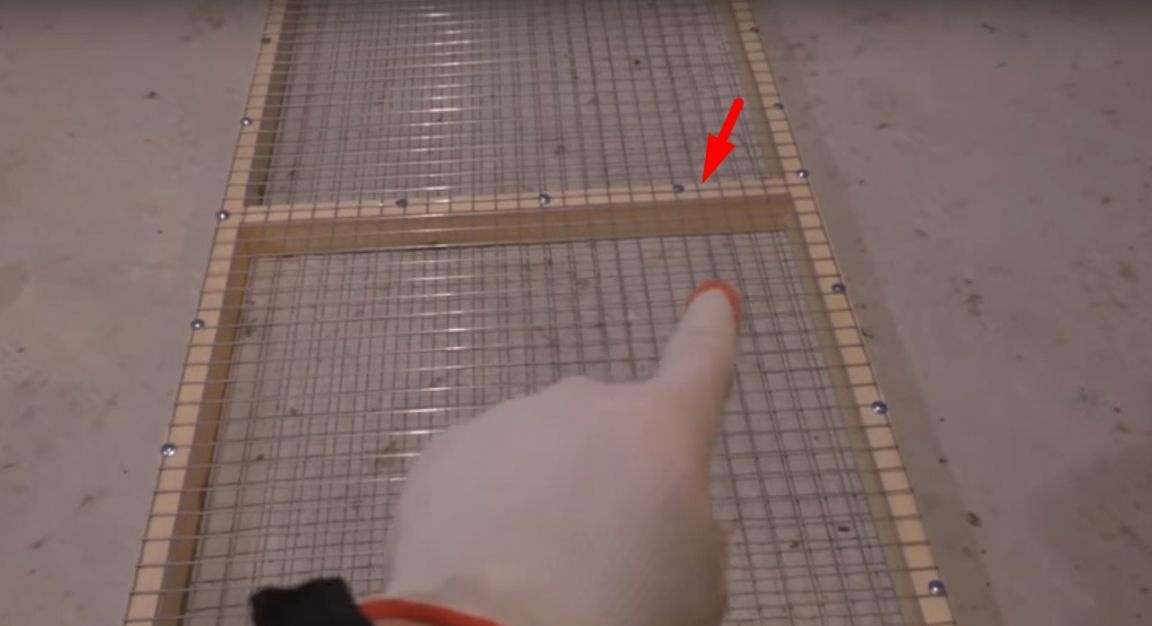
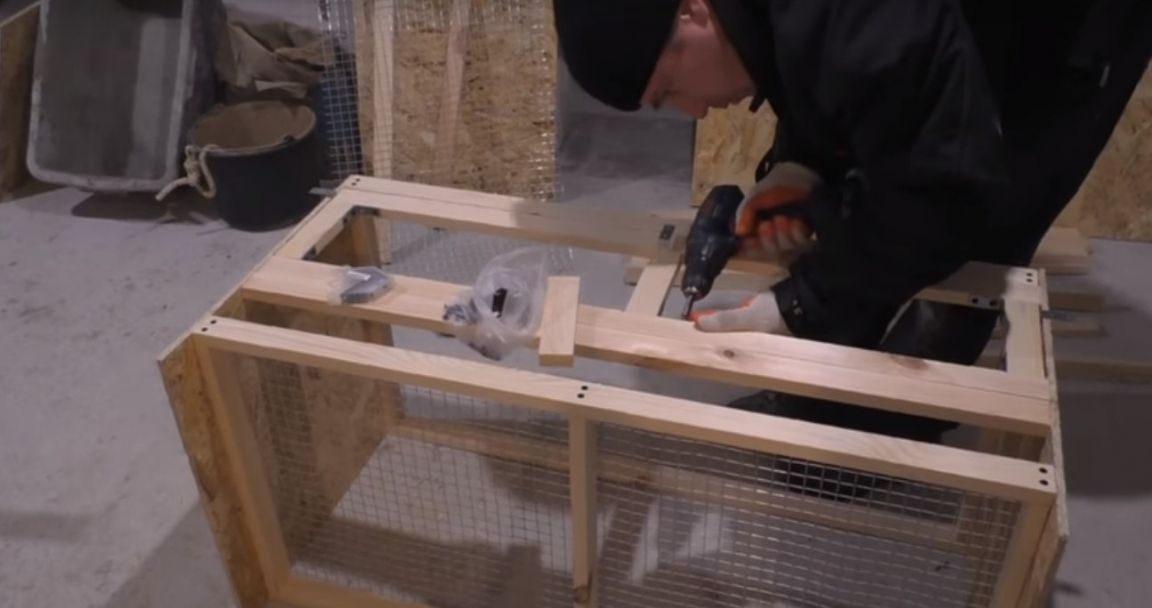
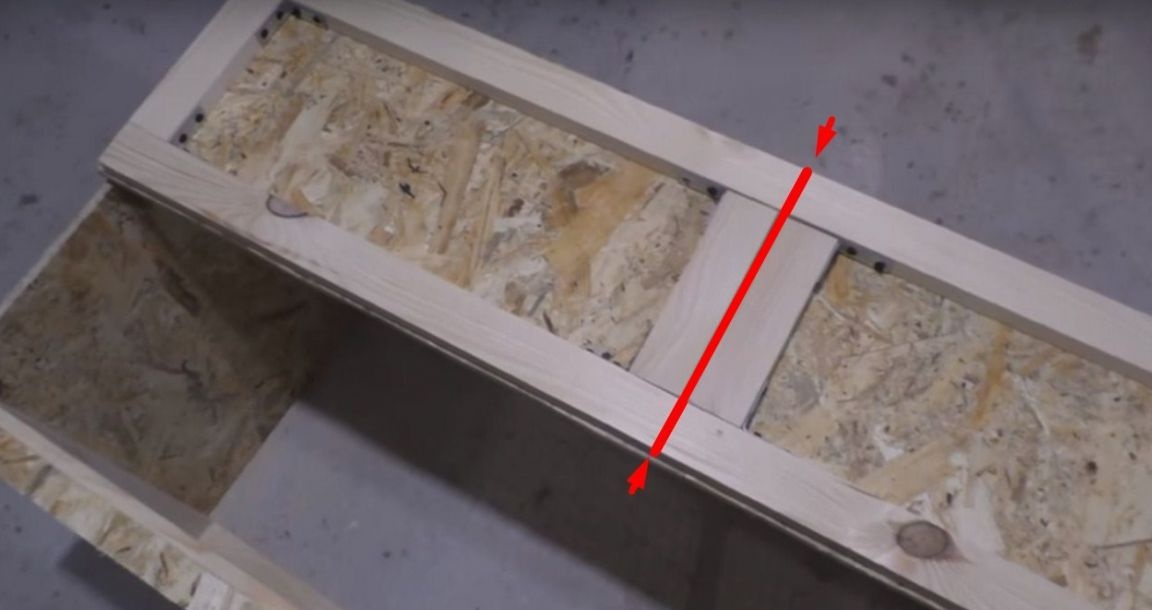
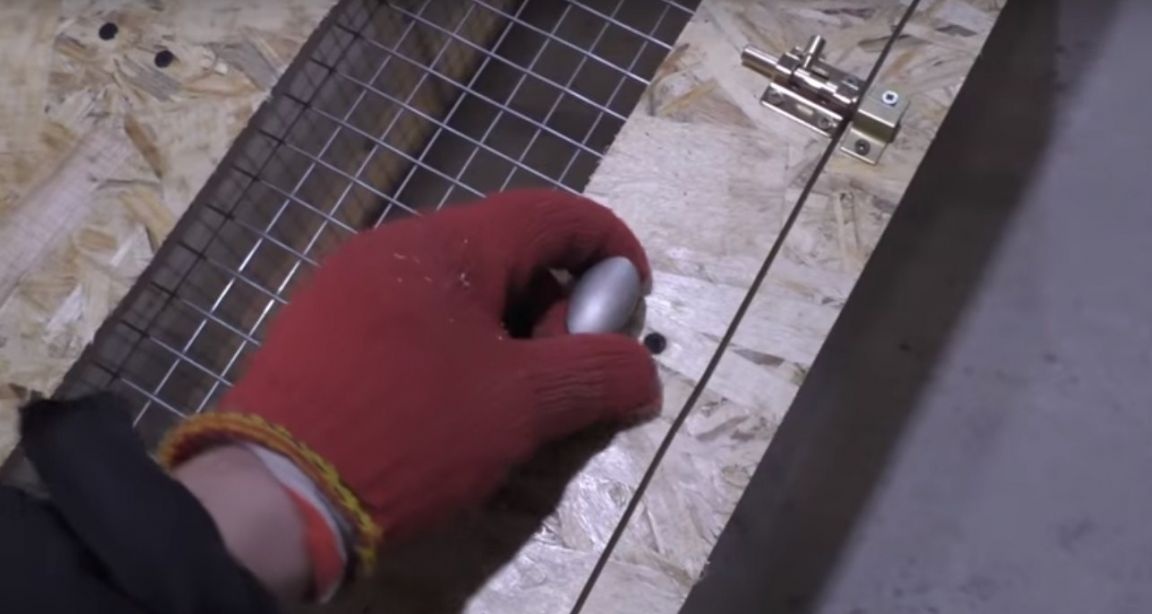
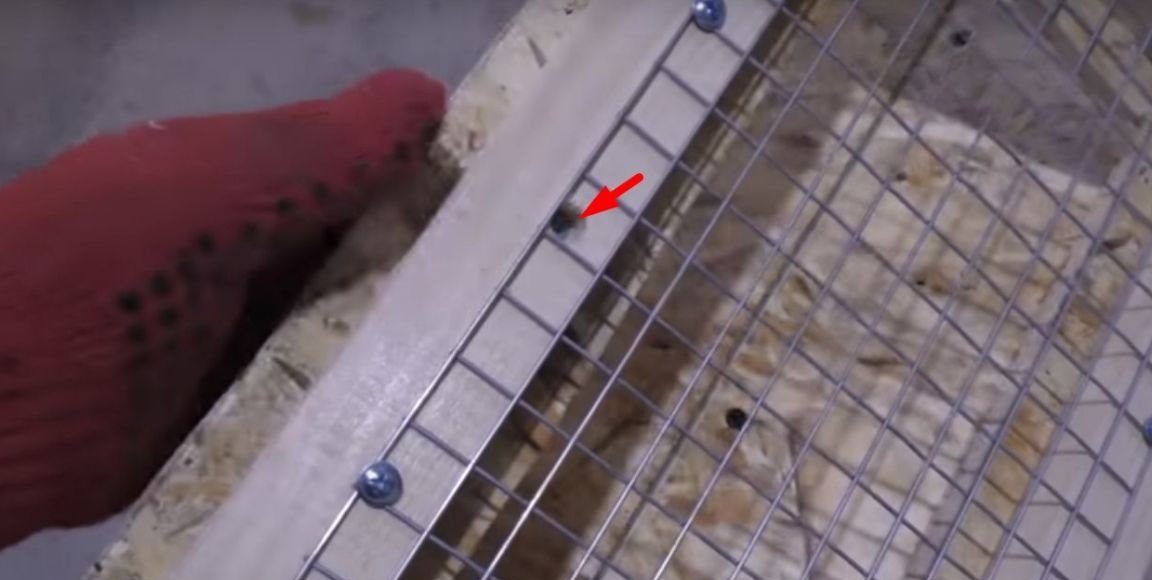
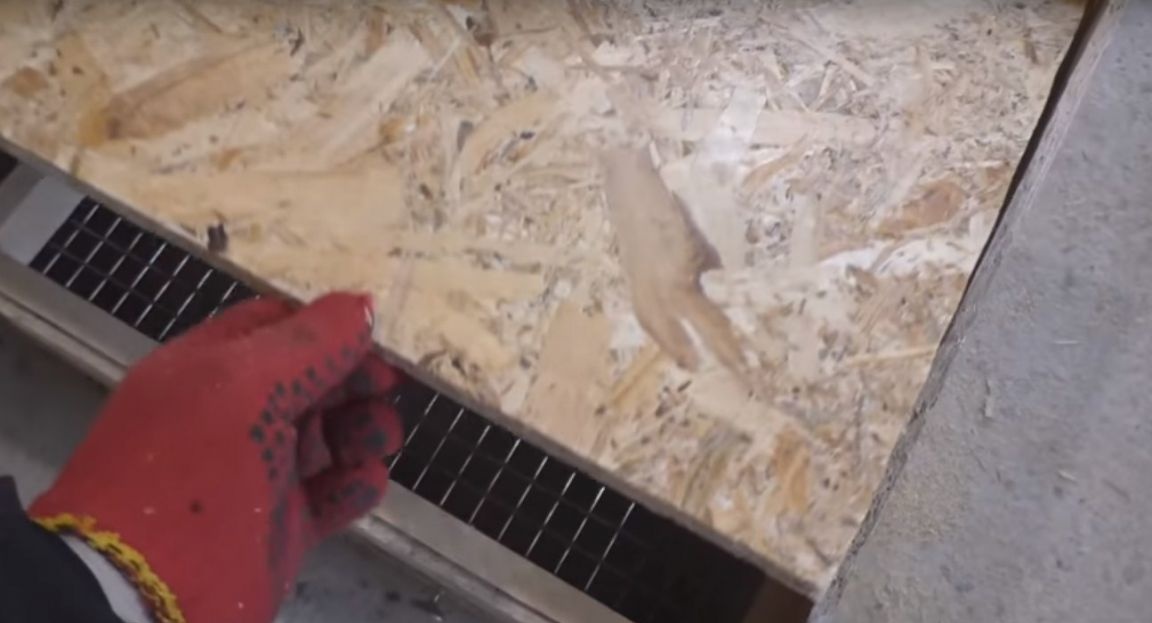
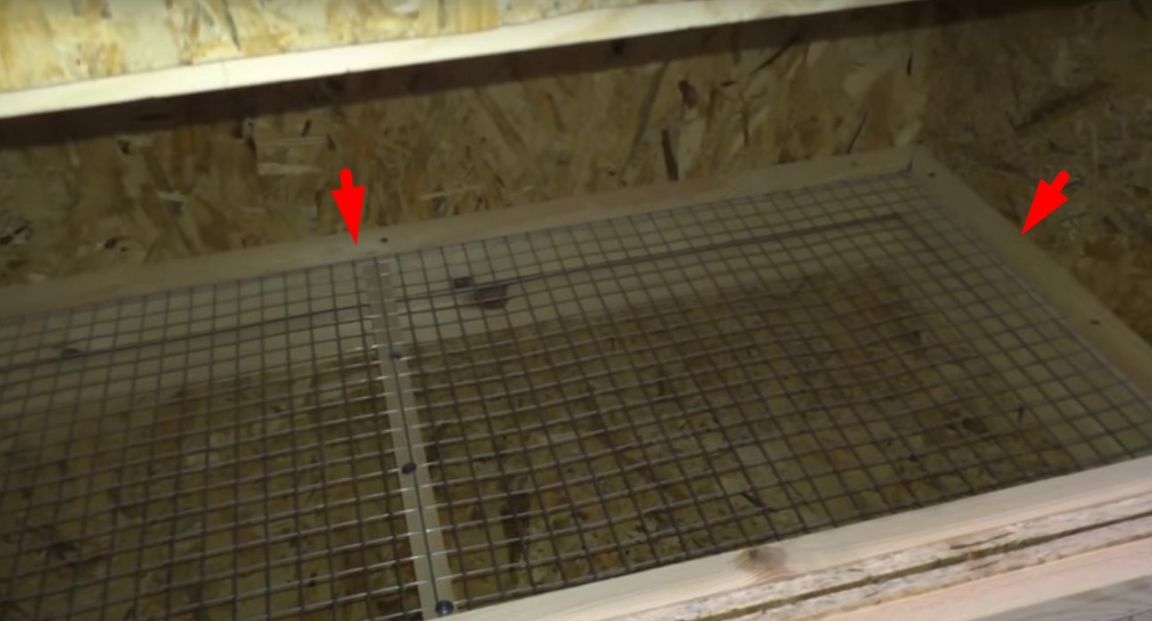
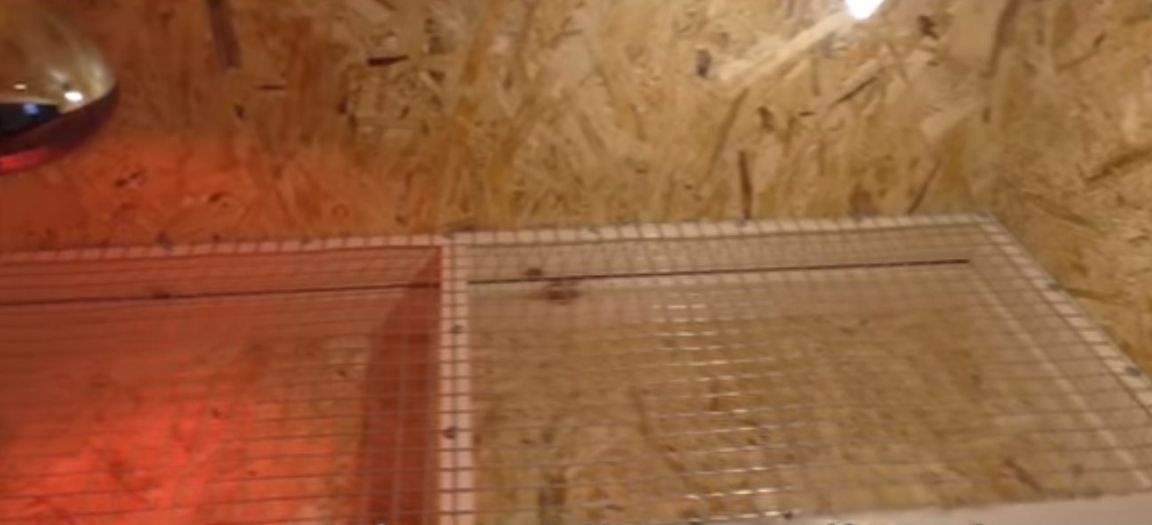
Further, on one of the frames made earlier, the author secured the grid using self-tapping screws with a large hat.

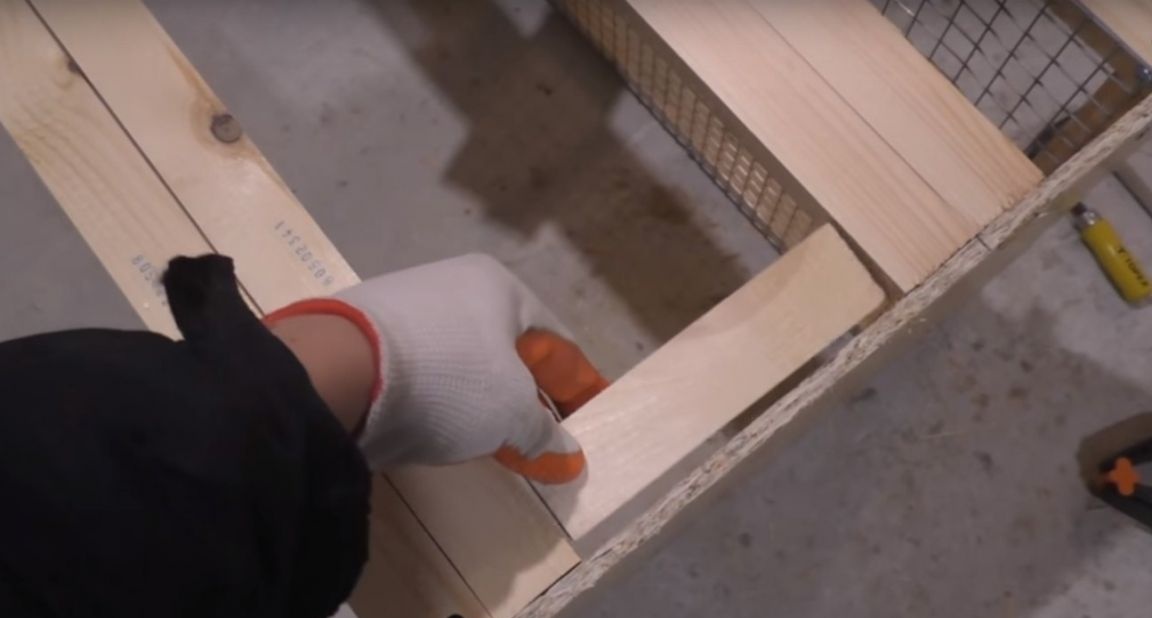
Also, on this frame, the master installed a transverse rail so that the grid does not bend.
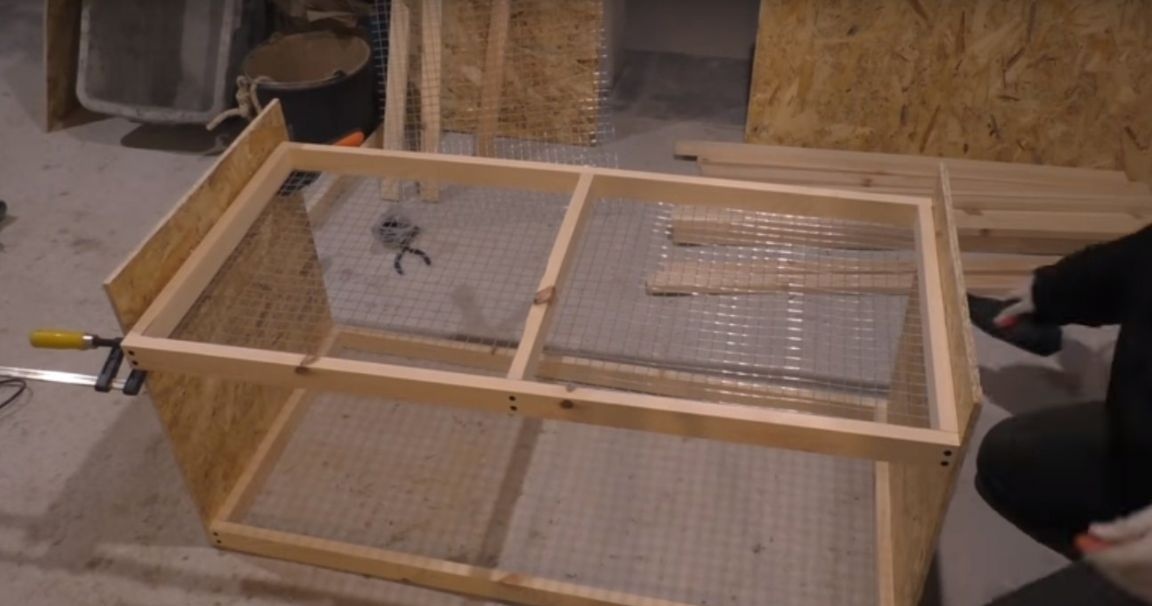
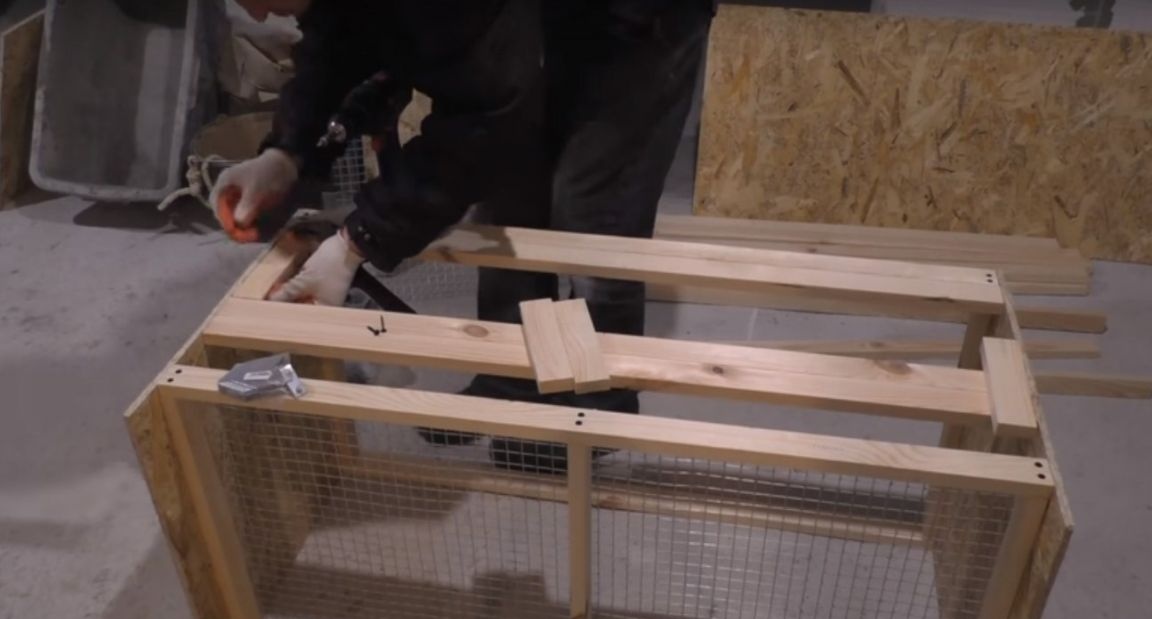
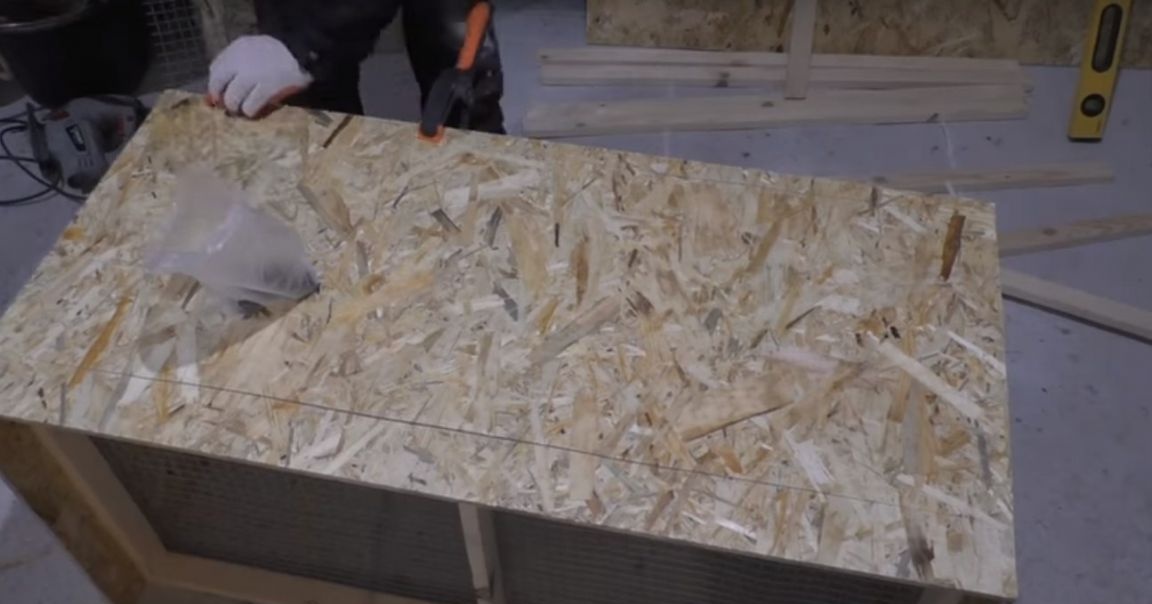
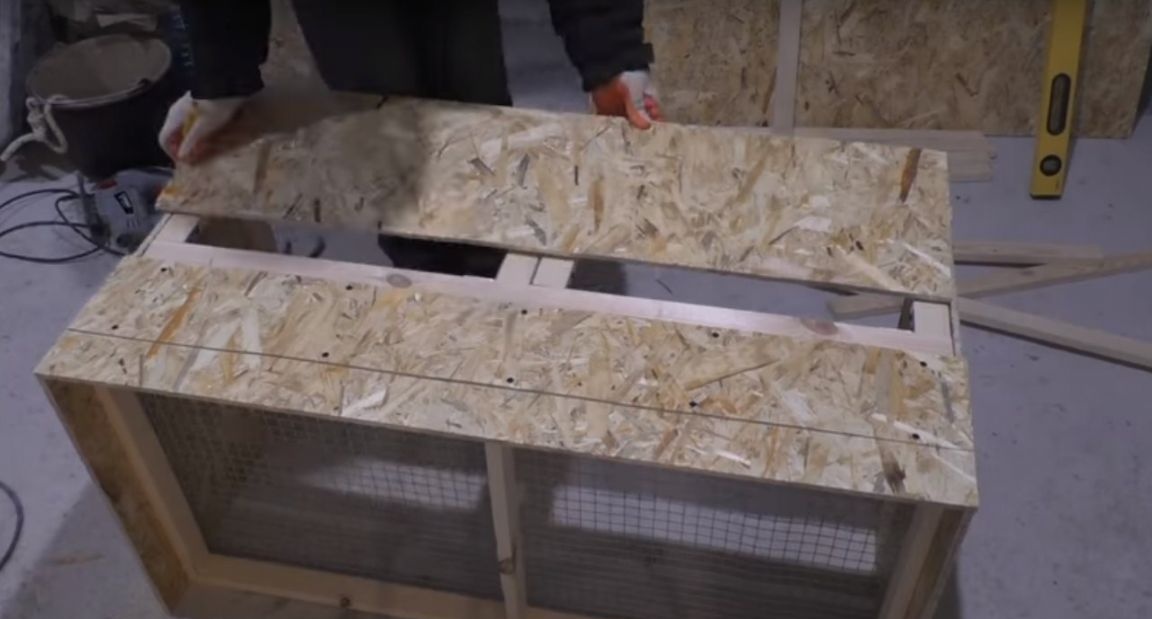
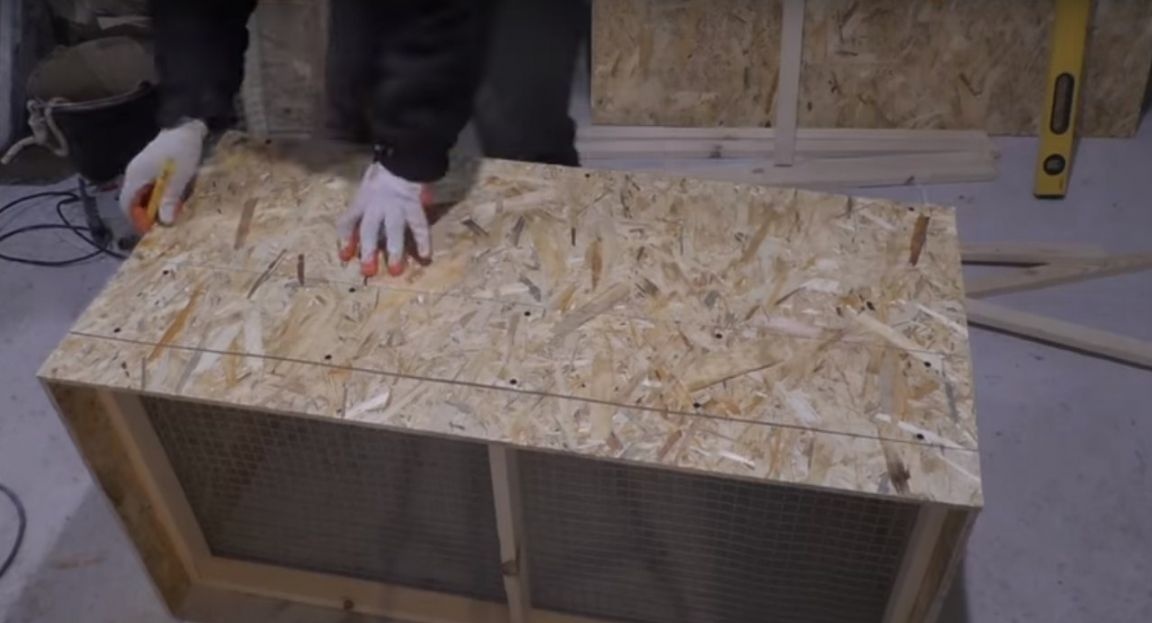
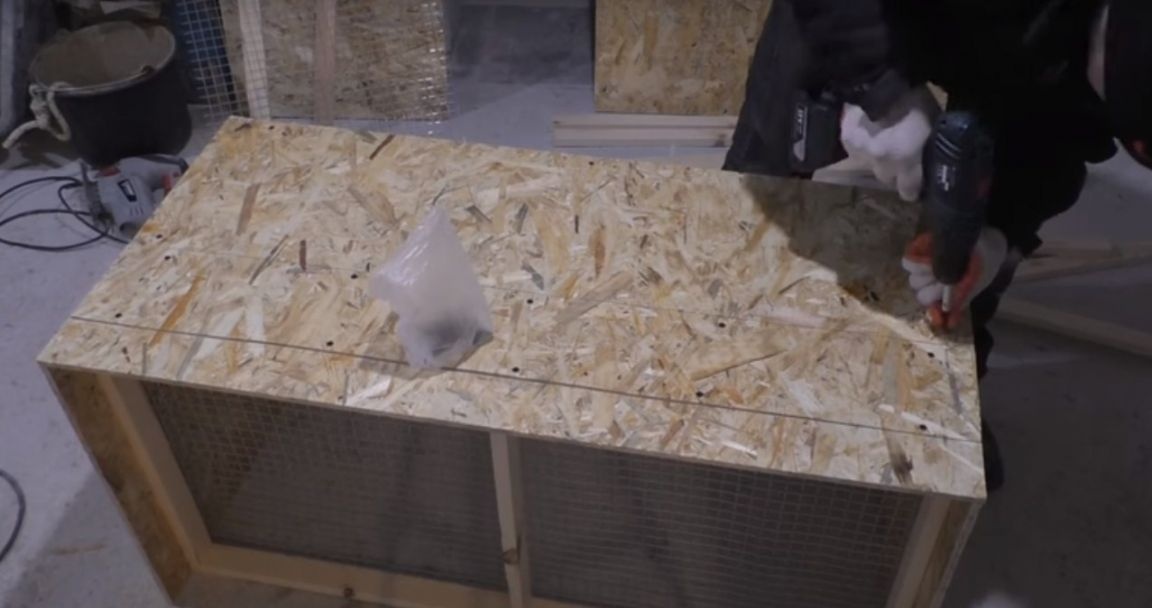
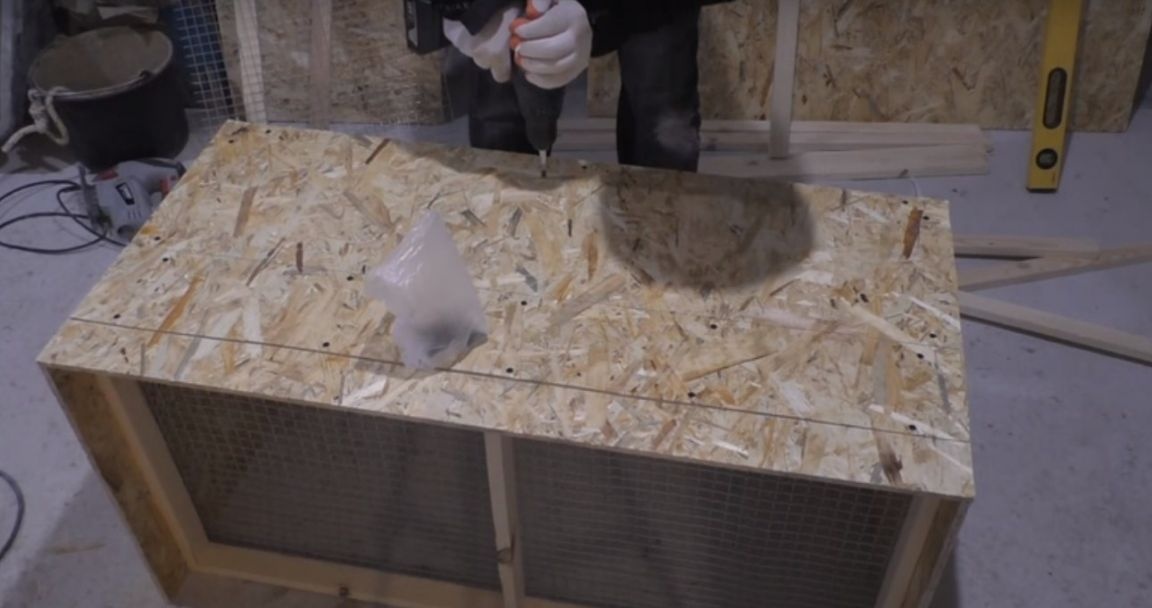
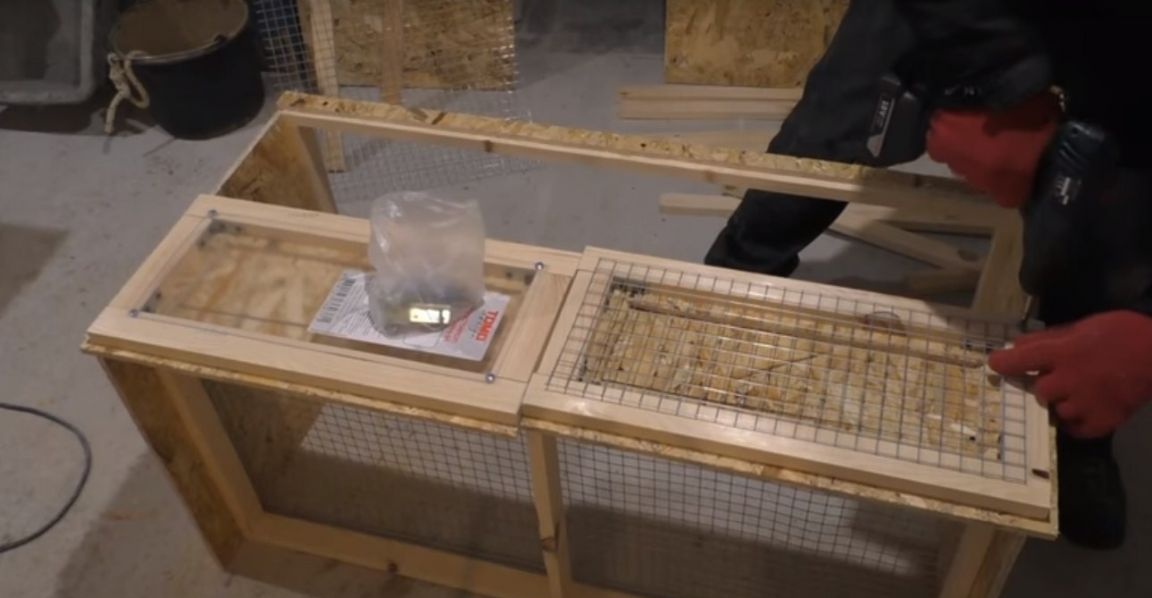
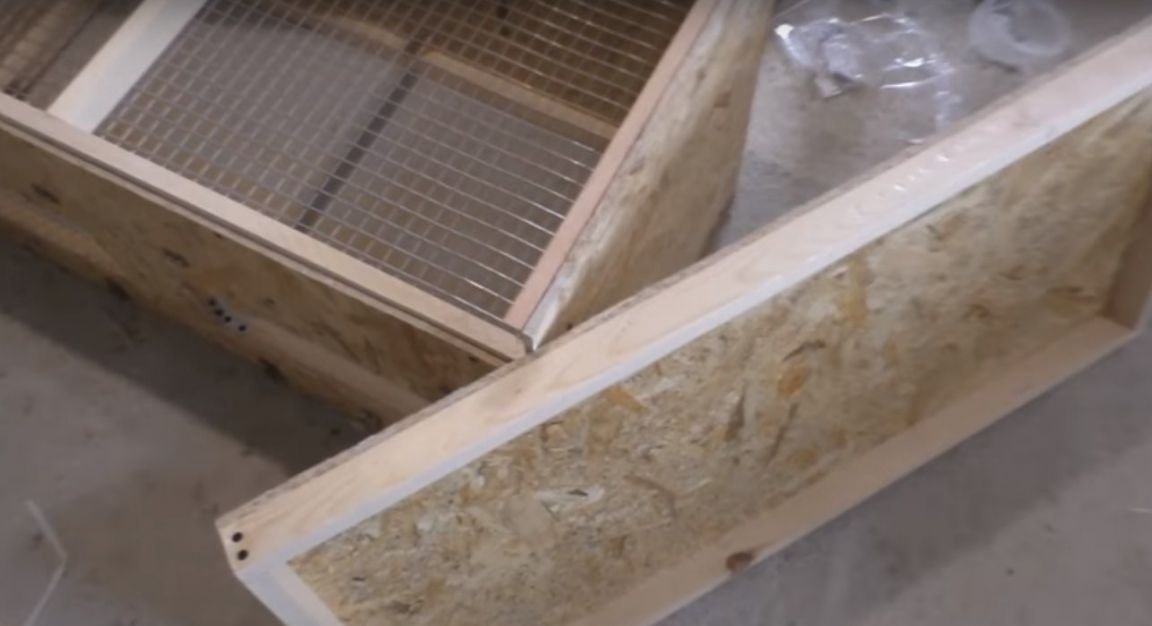
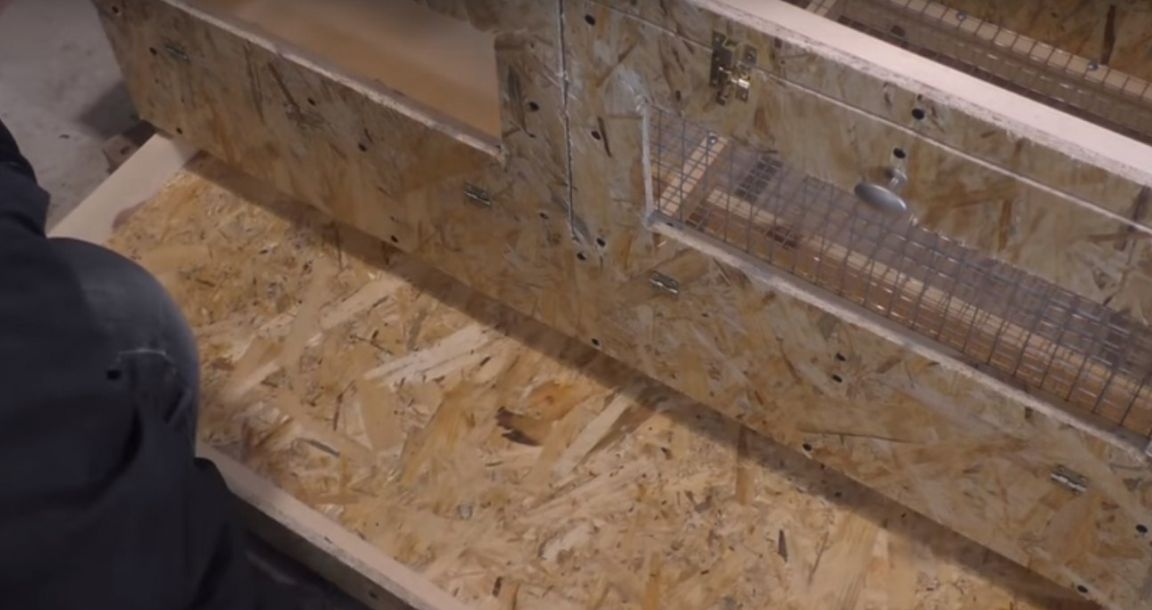
After I installed and fixed with screws the side walls of OSB, to the upper frame (which is without a grid).
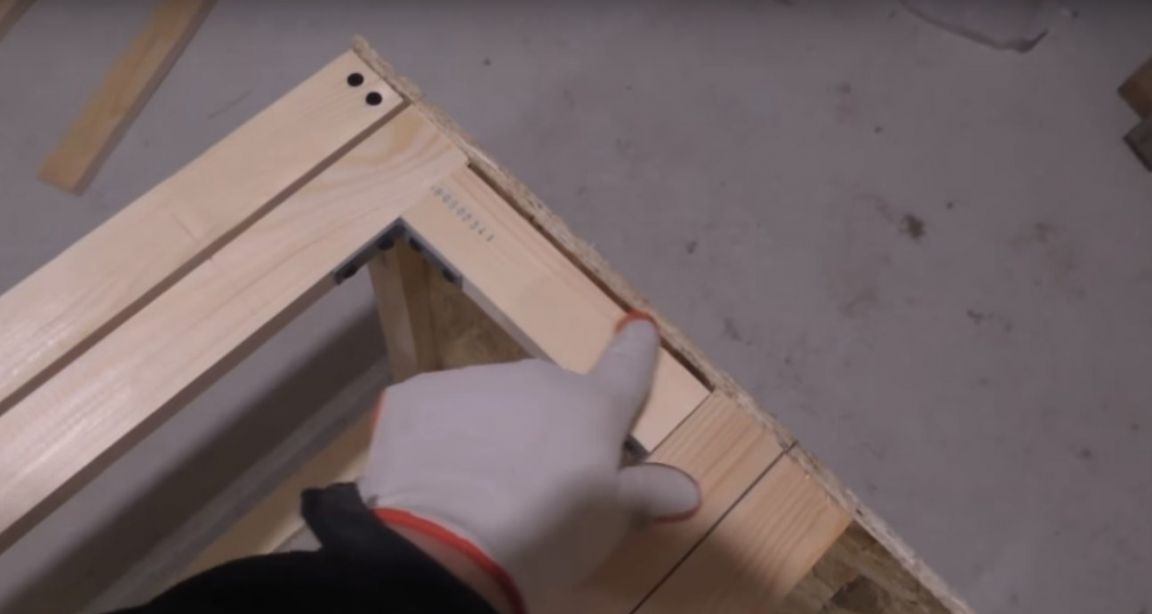
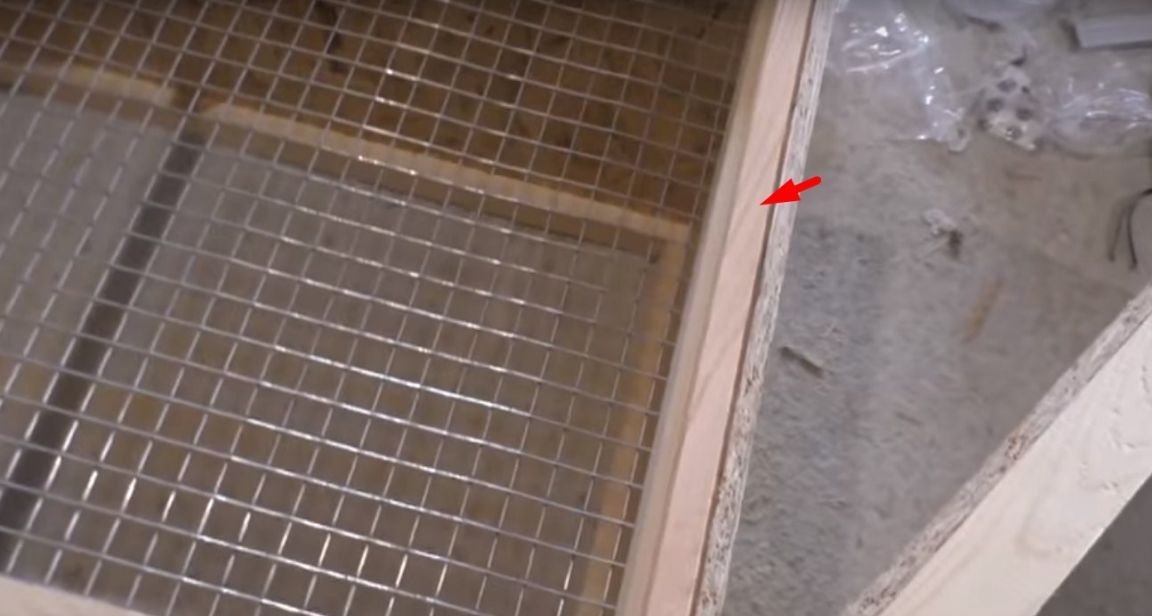
The master set the lower frame (with the net) to the side walls, with a slight indentation from the edge of the walls. By temporarily securing one side of the frame with clamps.

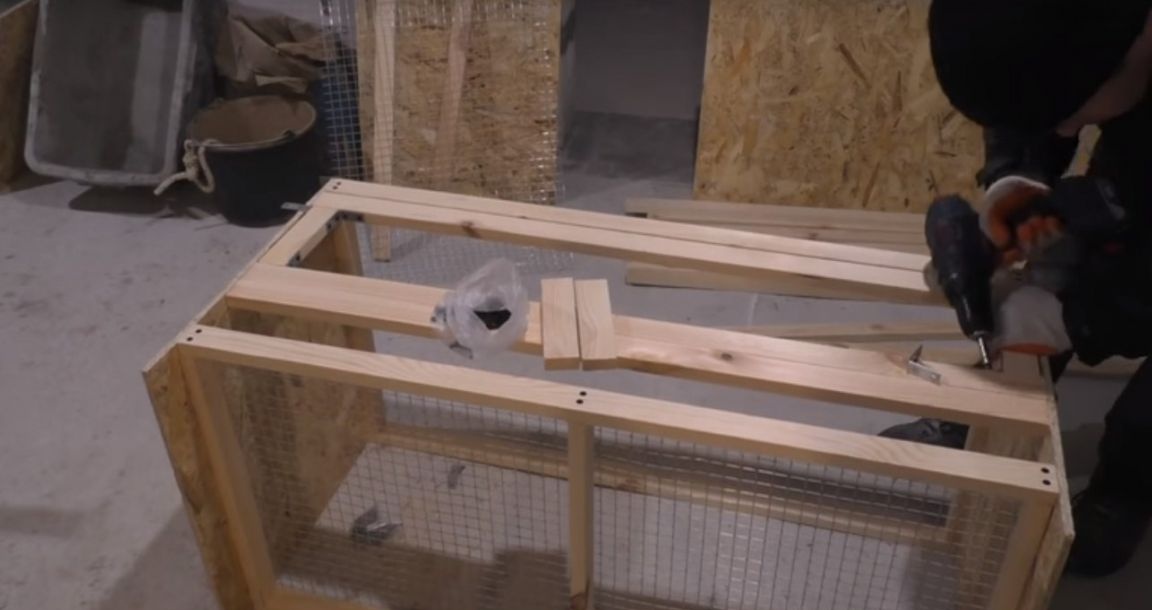
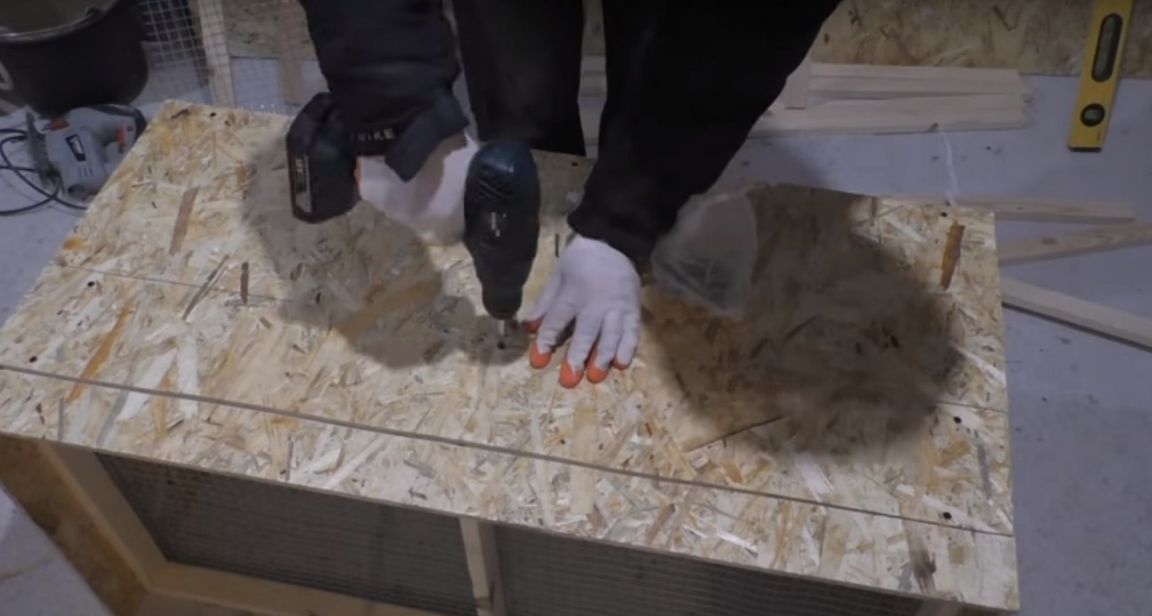
And secured the second side of the frame with screws. After he removed the clamps and also fixed this side with screws.
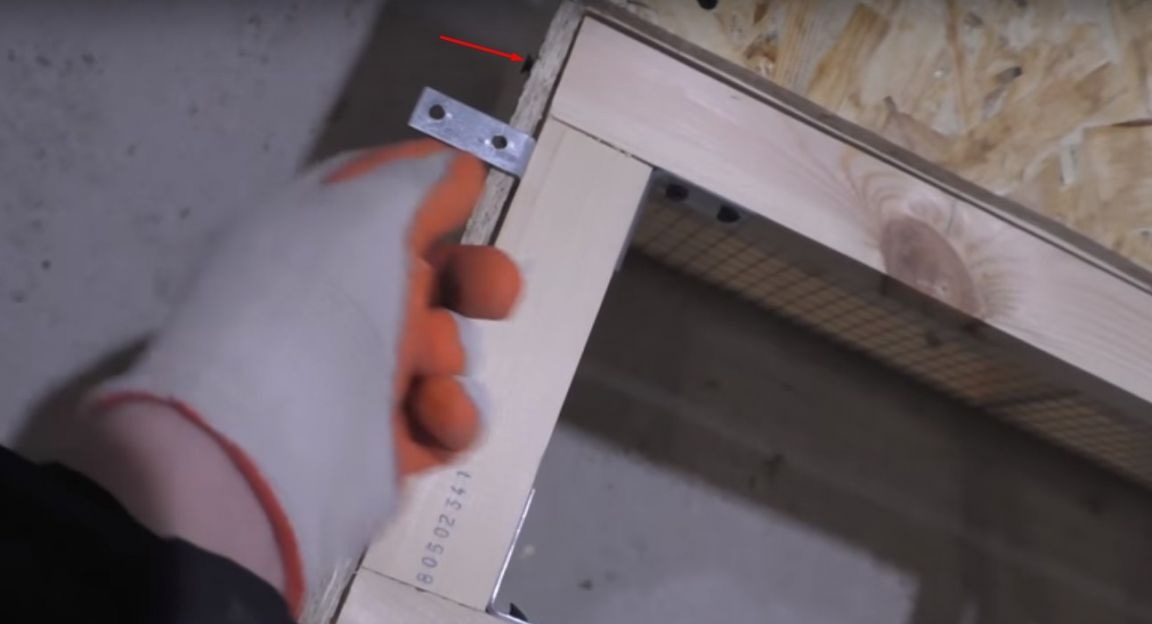
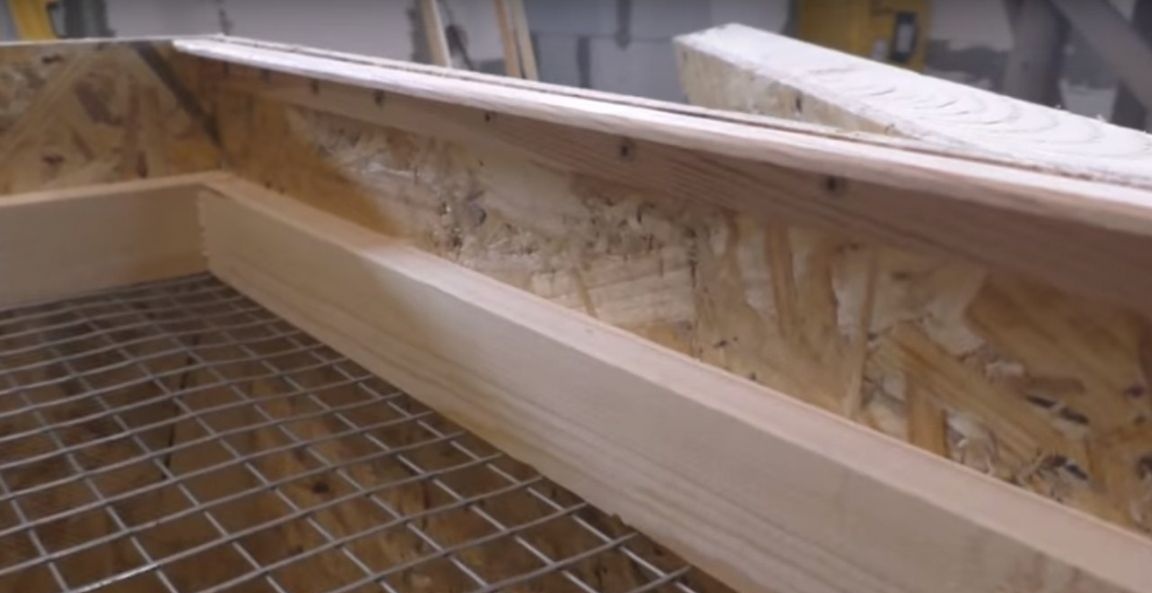
On the front side of the future brooder, he fixed an additional rail, which will serve as a barrier so that the chickens do not pop out when the doors open.
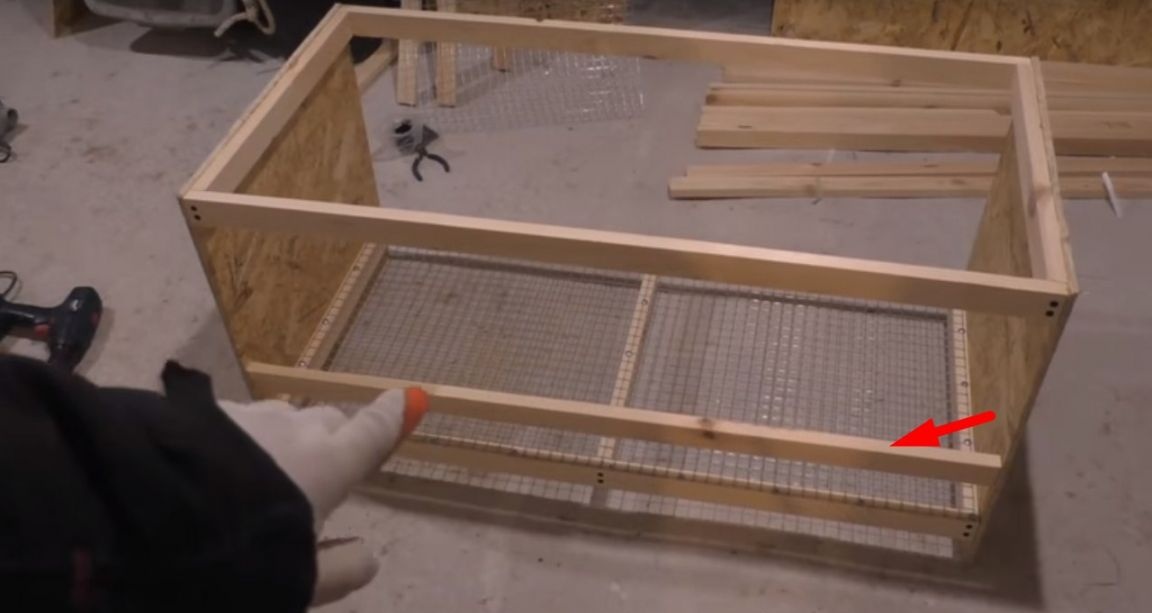
He will also attach door hinges to this rail.
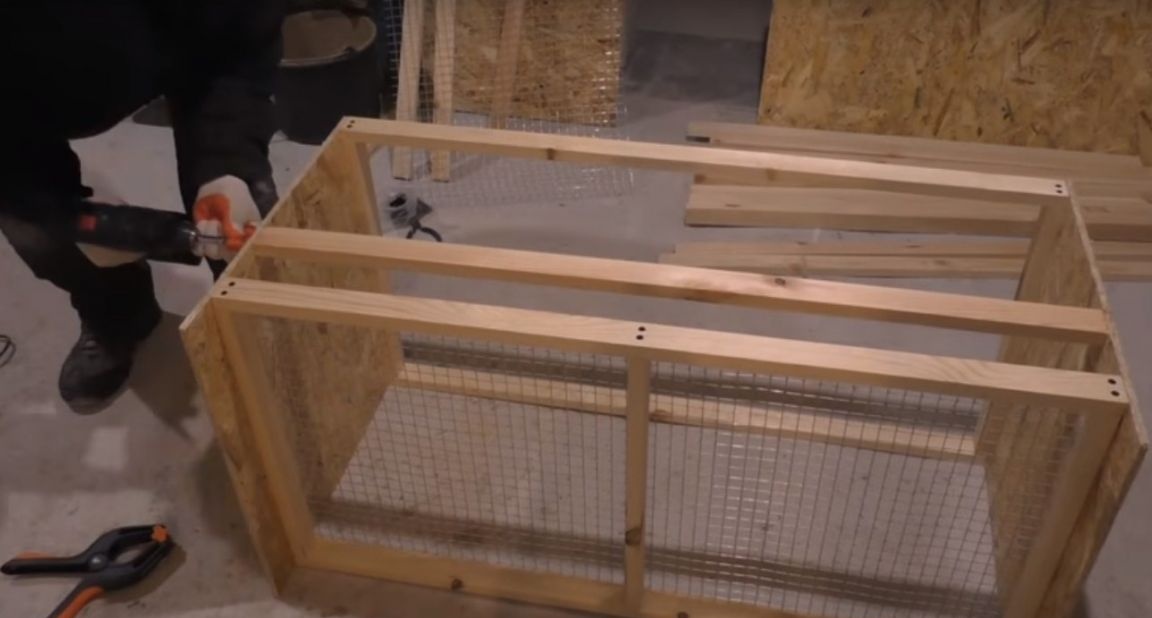
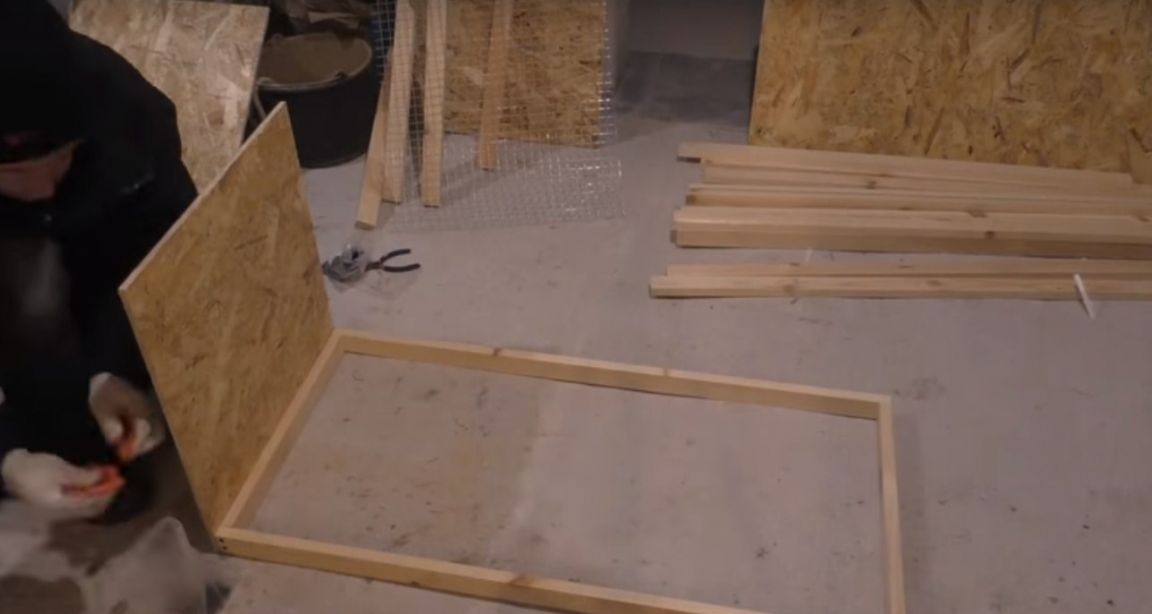
Further, the author began to manufacture doors. To do this, he installed two slats in the strut.
Further, measuring the distance between them, the author cut four pieces from the bar, so long.
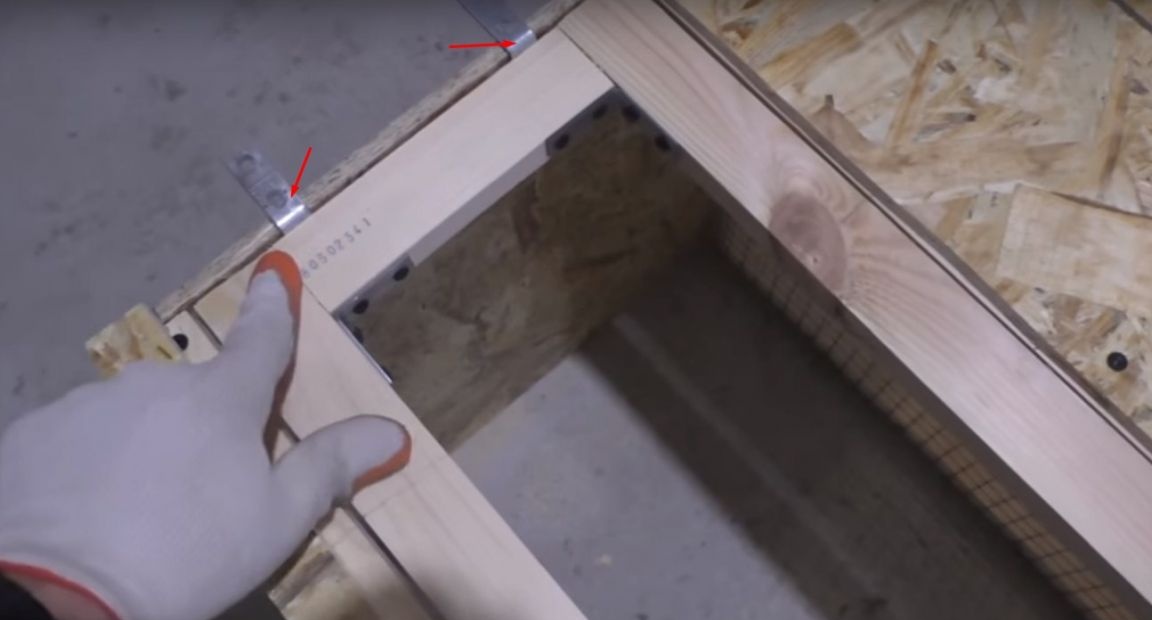
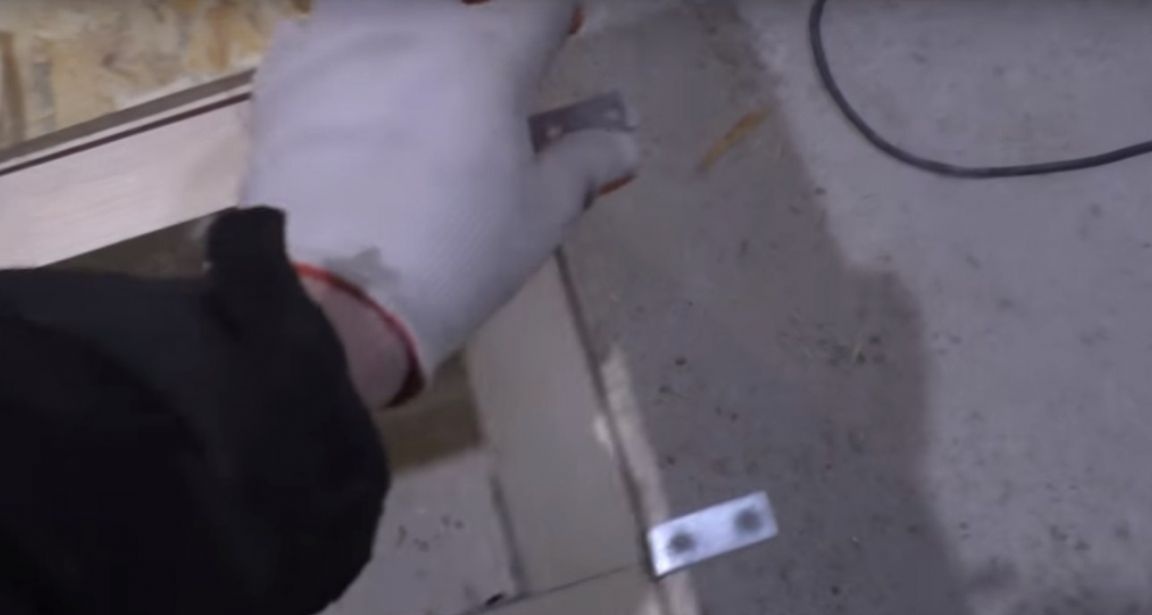
And with the help of metal corners and screws.

Set them in their place.
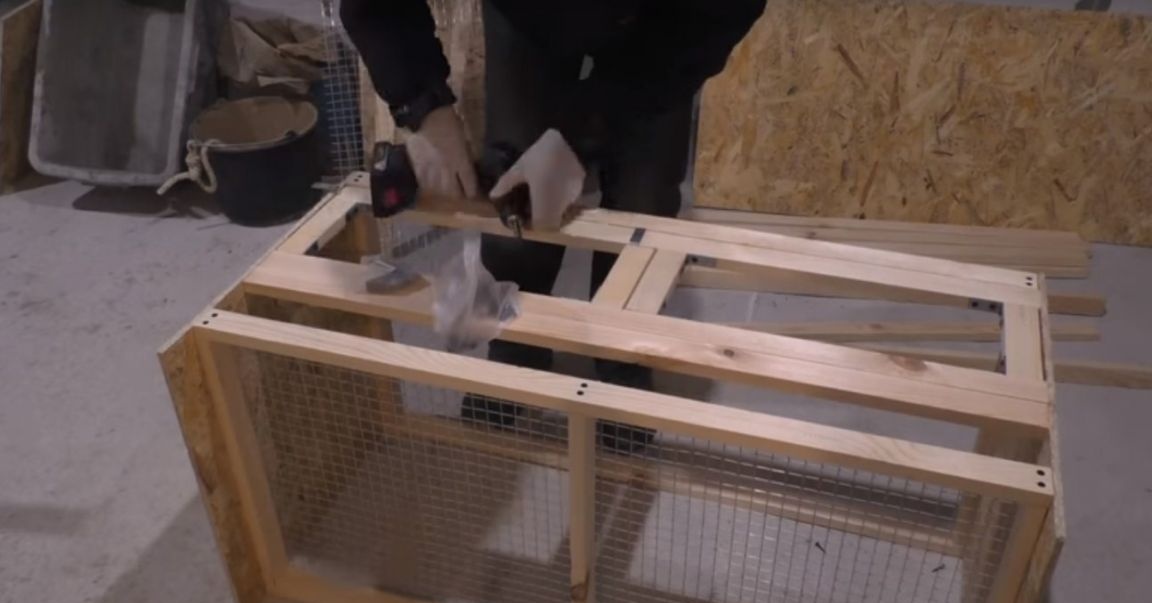
The door frame is ready.
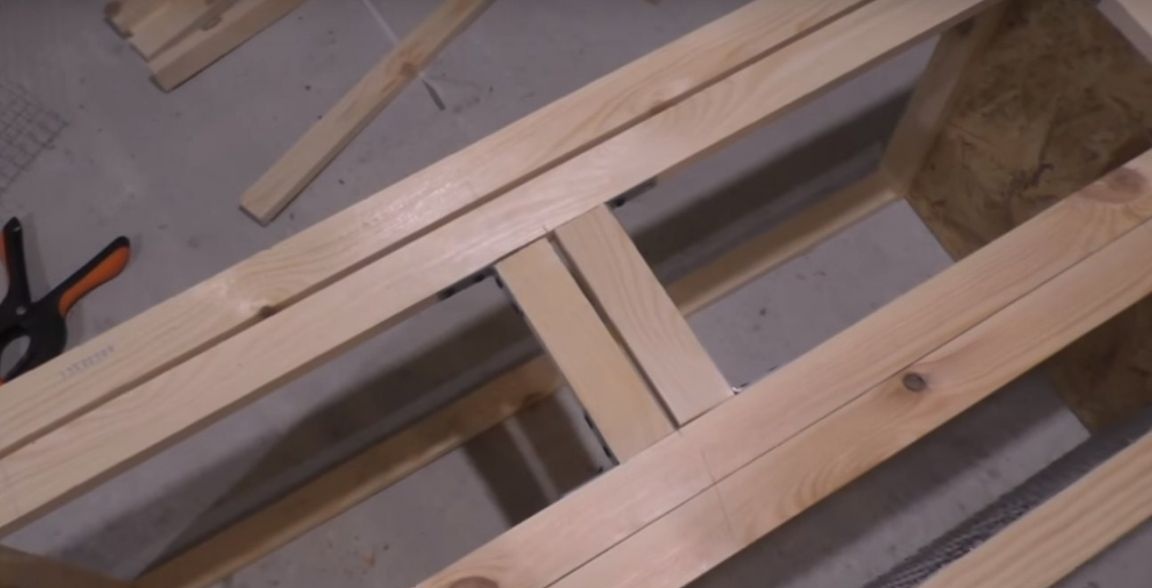
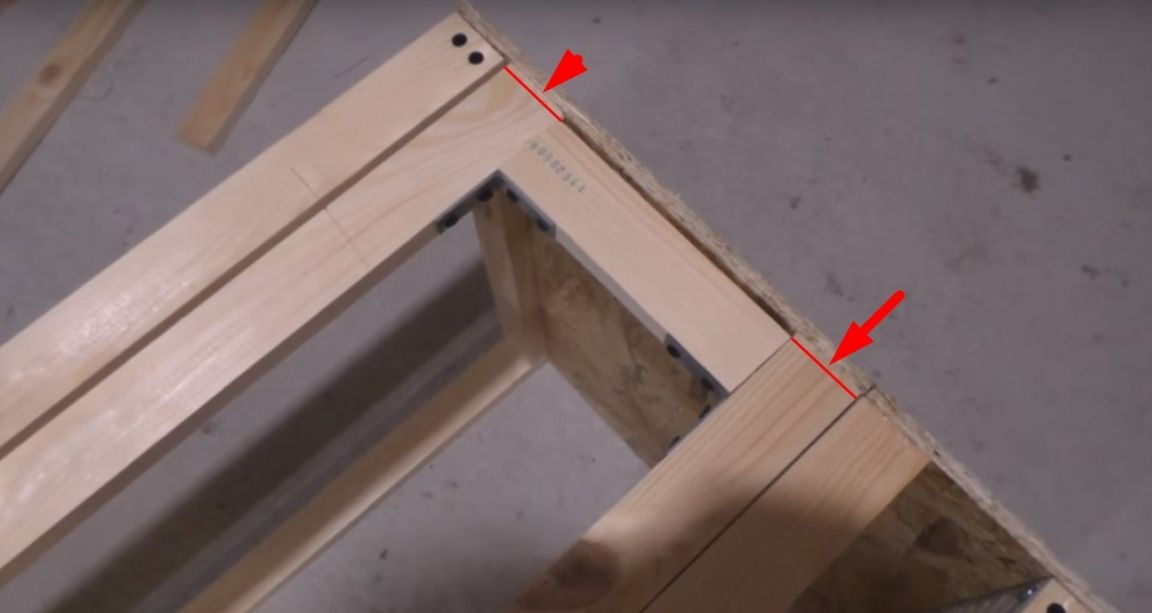
Leaving a gap of 5 mm. So that after installing the finished doors on the hinges, they could freely open.

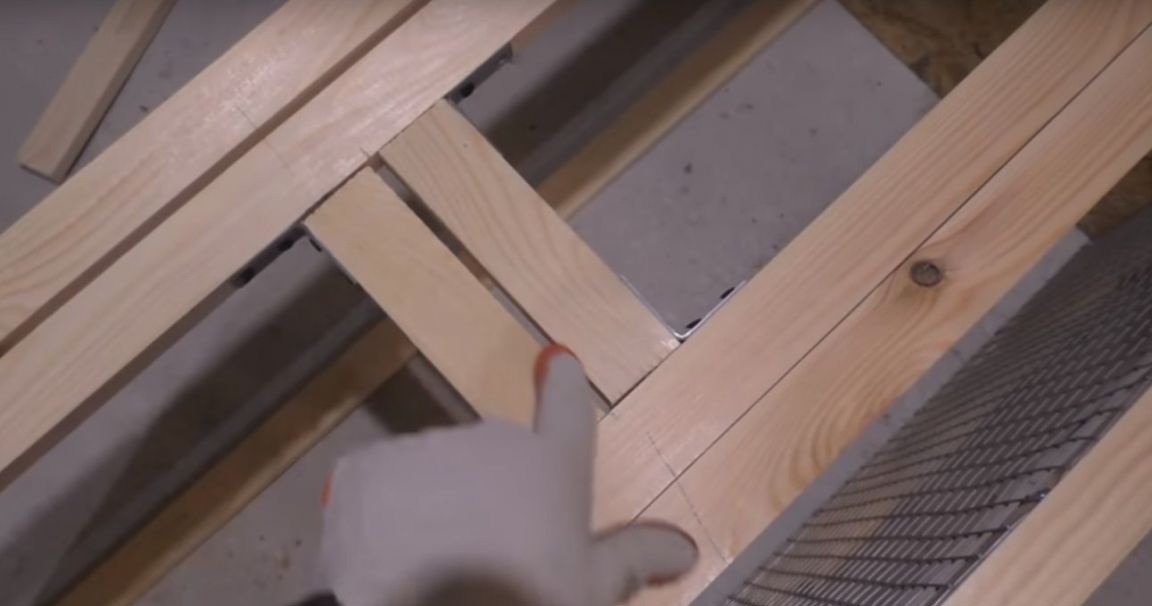
In these places, the author will cut off the excess.
After he again made markings on the OSB. And cut four stripes on the front side, two of which will be stationary.
This part will go to the door.
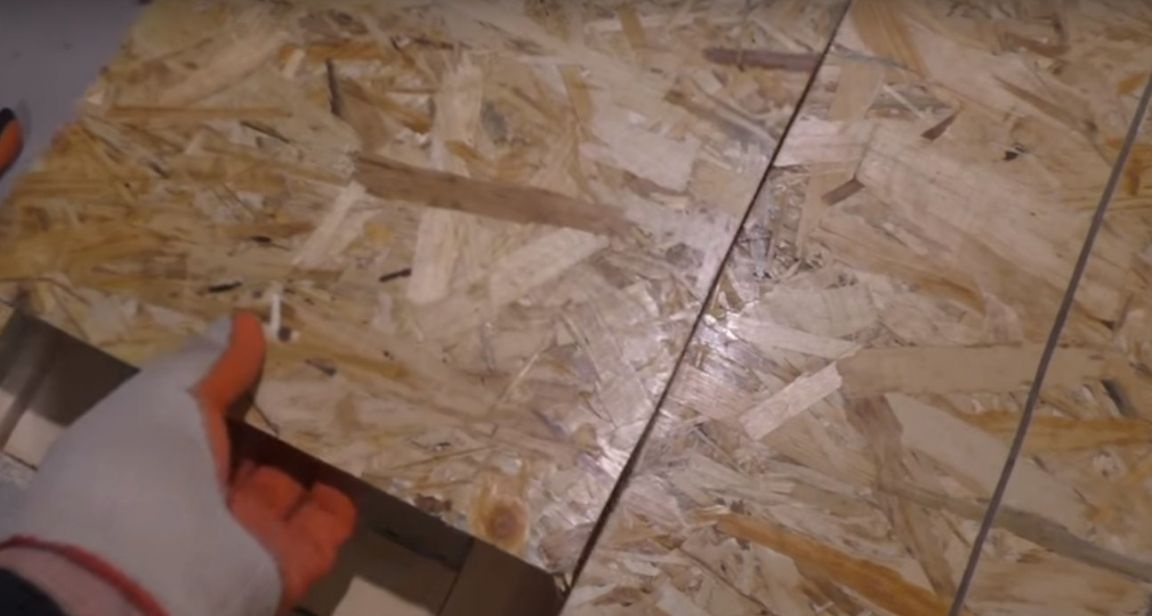
And this one is on the pallet.
The foreman fixed the stationary parts first.
After removing excess from the door frame. The master opened it with metal corners and pressed it with a clamp.

Then, temporarily attached the frame to the base with self-tapping screws in four places.
And removing the clamp and the corners.
Established a strip of OSB.
I fixed it to the frame with screws.
After cut in half.
It turned out two doors. In each of them, the author made the markup for the windows.
Then he made holes in the four corners of the marking. And cut windows with a jigsaw.
After on one of the windows, the author will install plexiglass.
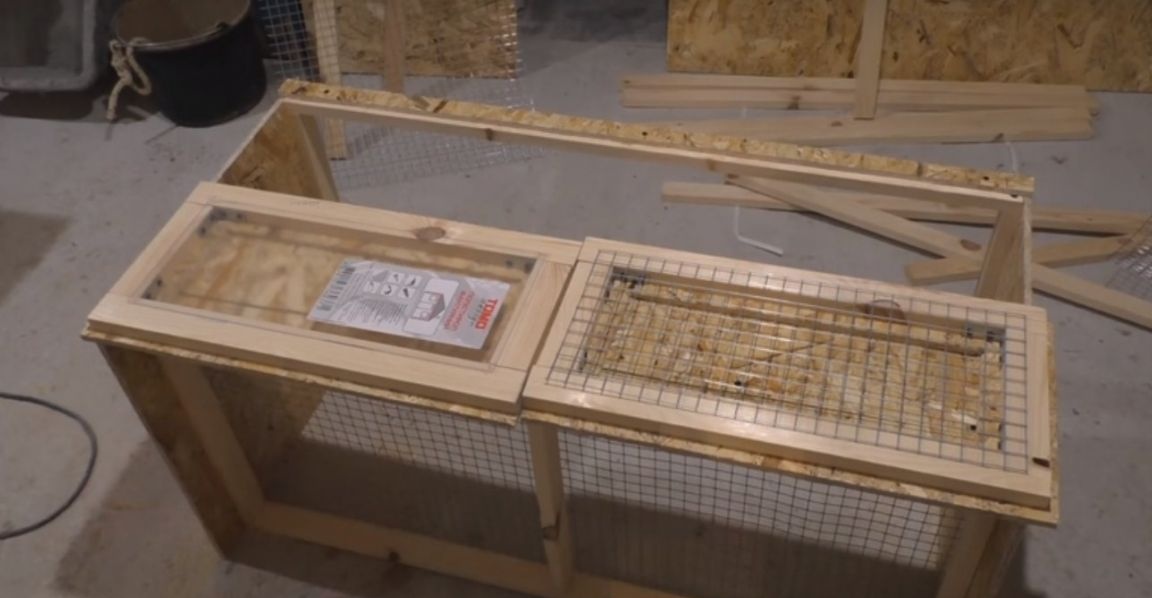

And on the second grid.
Next, he will install the loop.
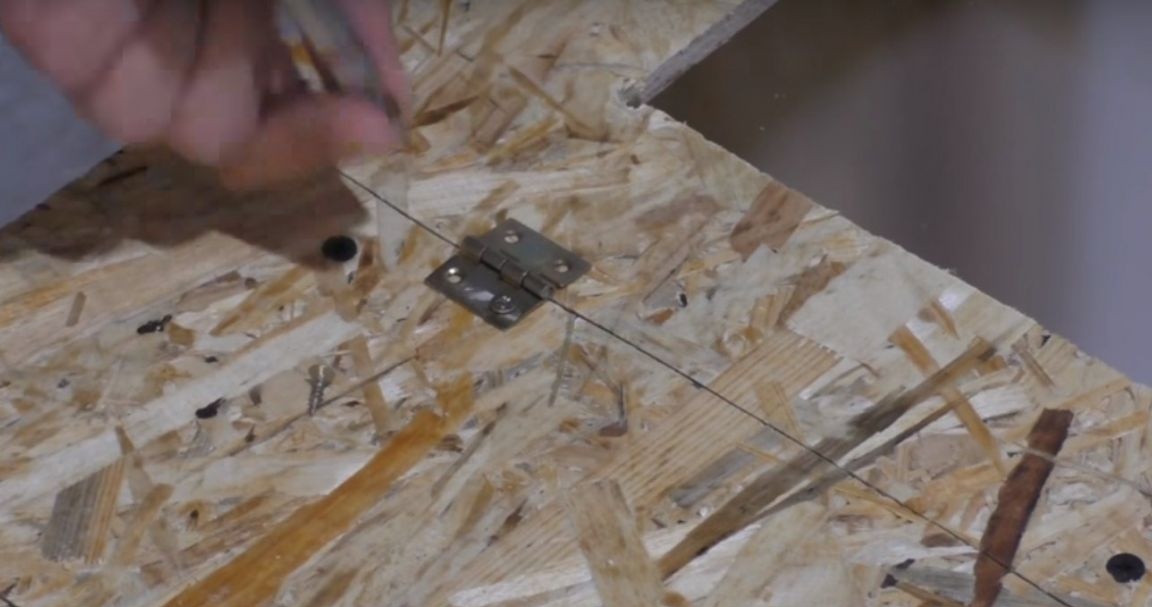
Espagnolette.
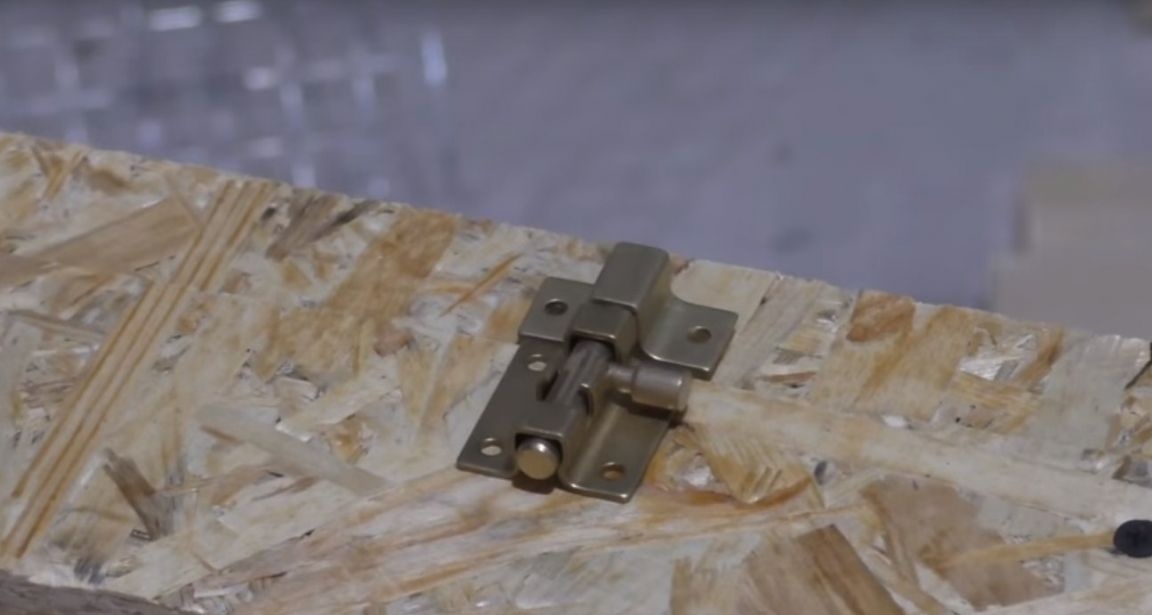
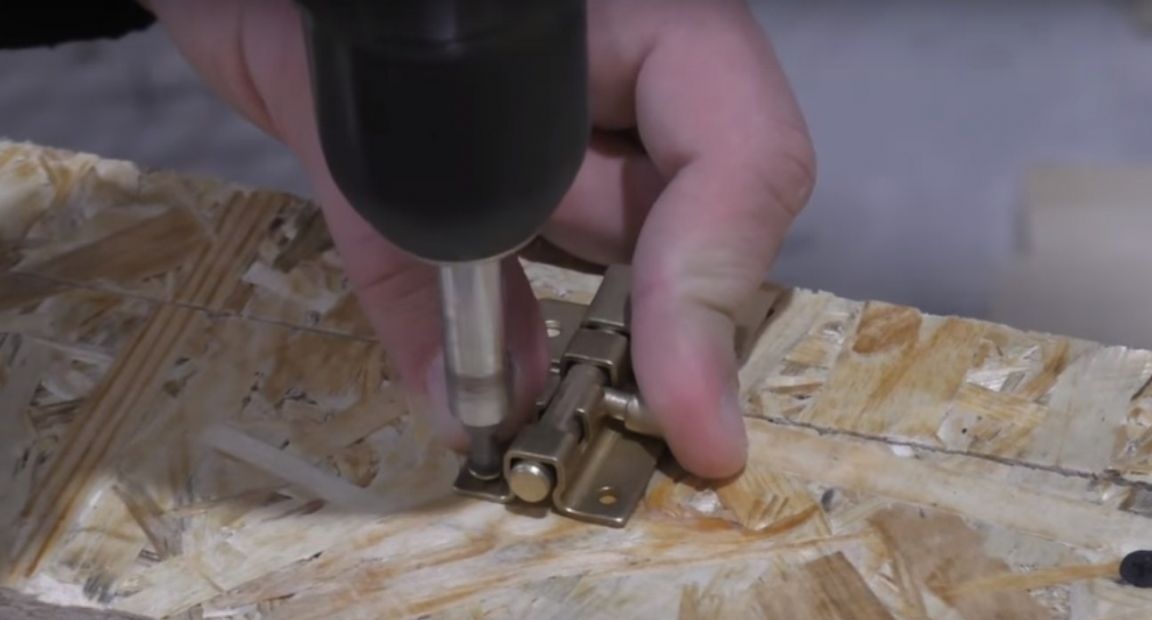
And pens.
Since the fastening screw for these handles turned out to be short, the author drilled a hole a little.
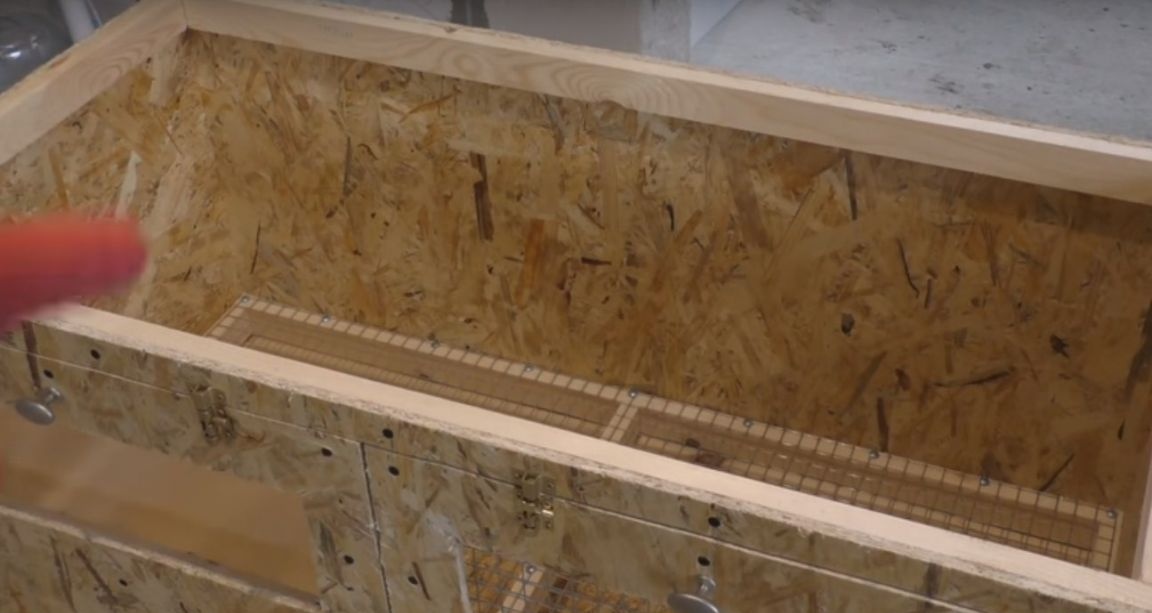
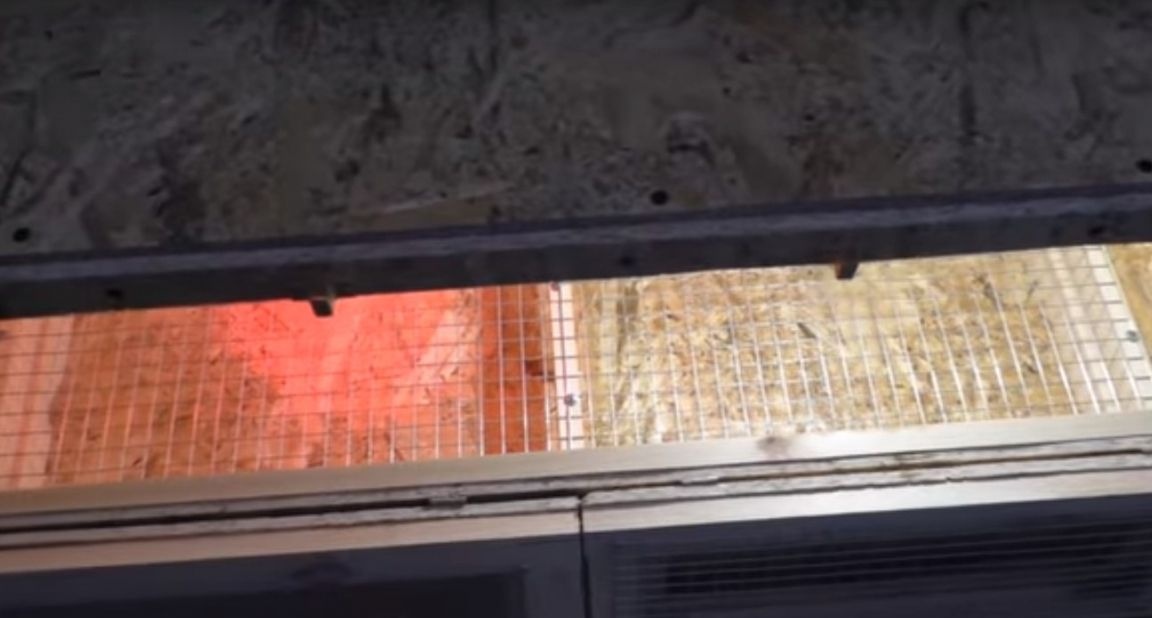
Further, the author, according to the internal size of the brooder, cut out a piece of the OSB plate. (For the pallet.)
And making a frame of timber, secured it to the pallet.
Then he made guides from a wooden baseboard. And fixed them on the side walls of the homemade product.
Then he fixed the front strip to the pallet. In the future, the author will install a pair of handles on this strip. (For more convenient extraction of the pallet.)

Set the back wall.
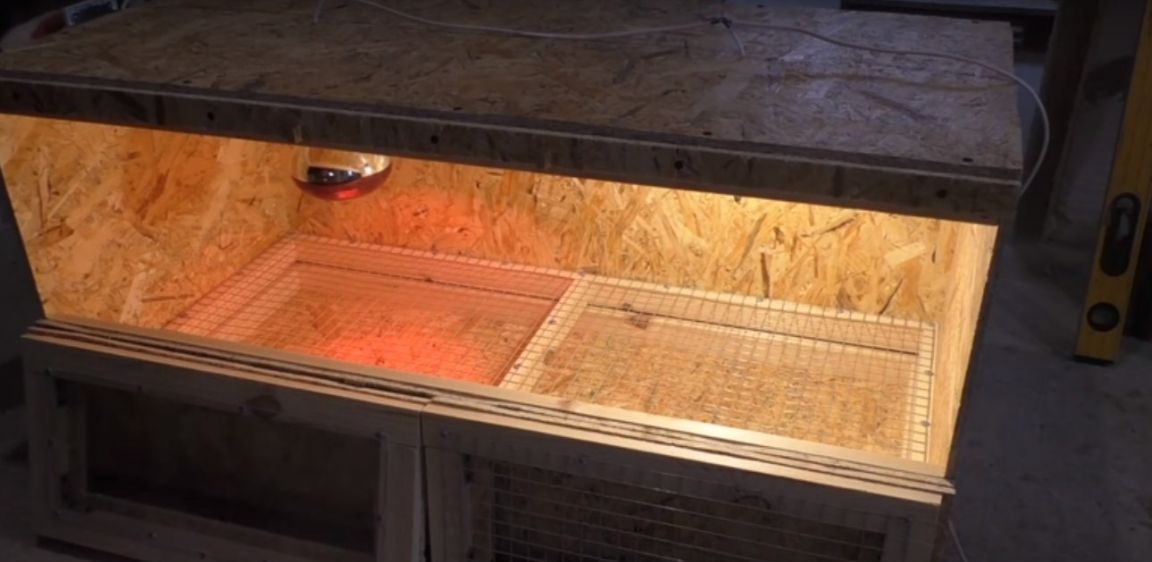
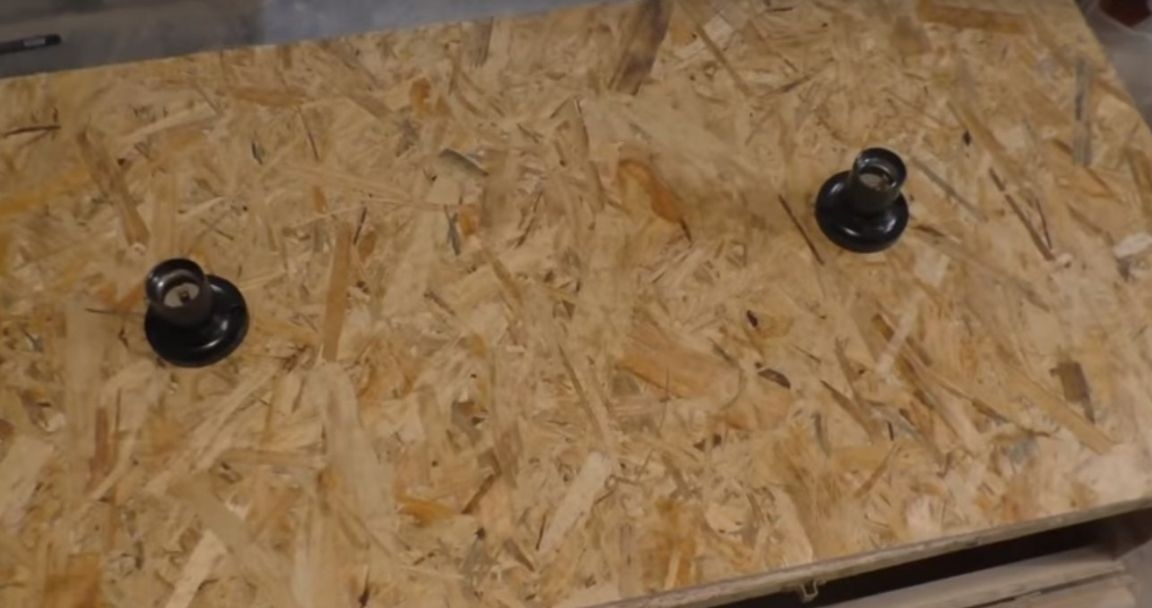
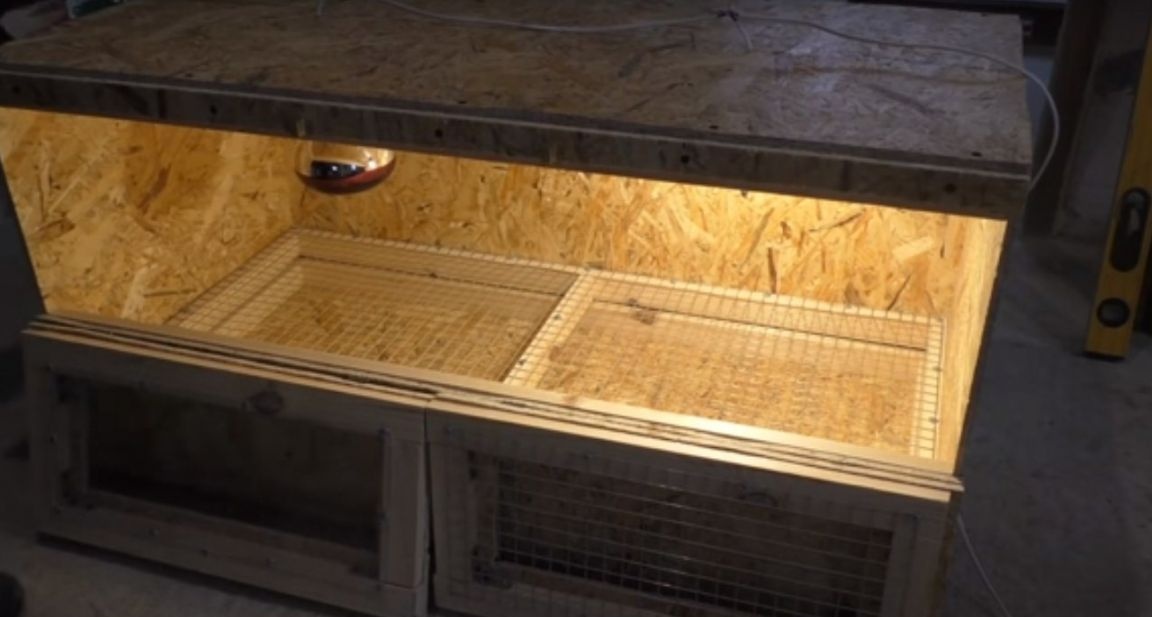
On the lid on the inside, the master installed two cartridges. (One for the lighting lamp and one for the brooder heating lamp.
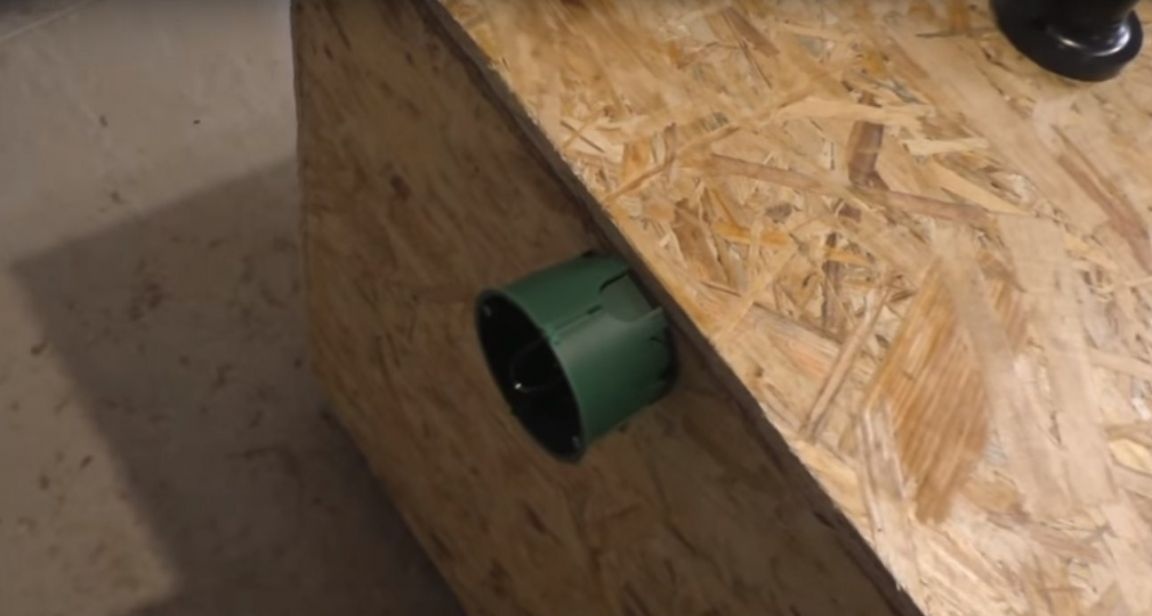
On the side wall by the author was fixed a sock. (A dimer will be installed in it.)
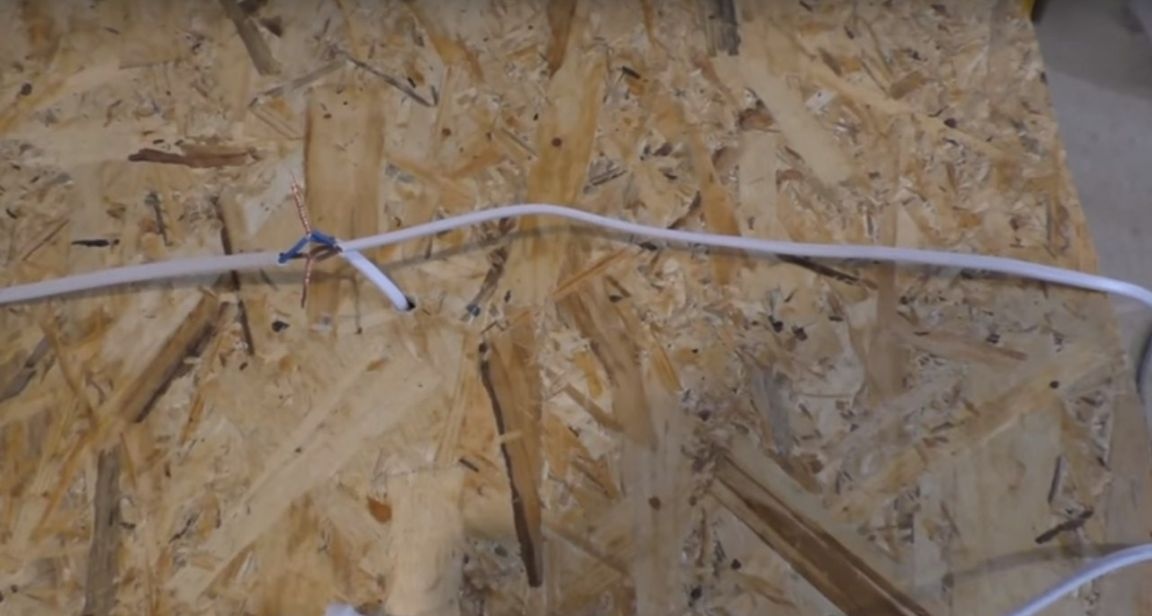
From the cartridges, he brought out the wires.

Ammunition connected in parallel. The electric plug is connected to the cartridge in which the lamp for lighting will be installed.
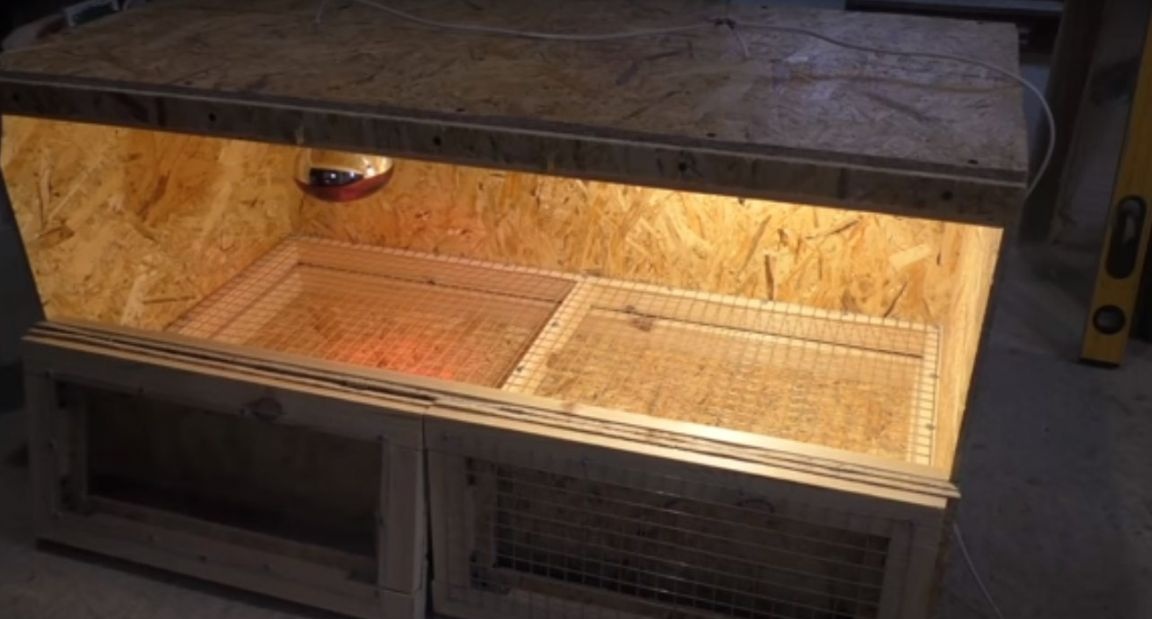
To the cartridge in which the lamp for heating will be installed, a dimer is connected.
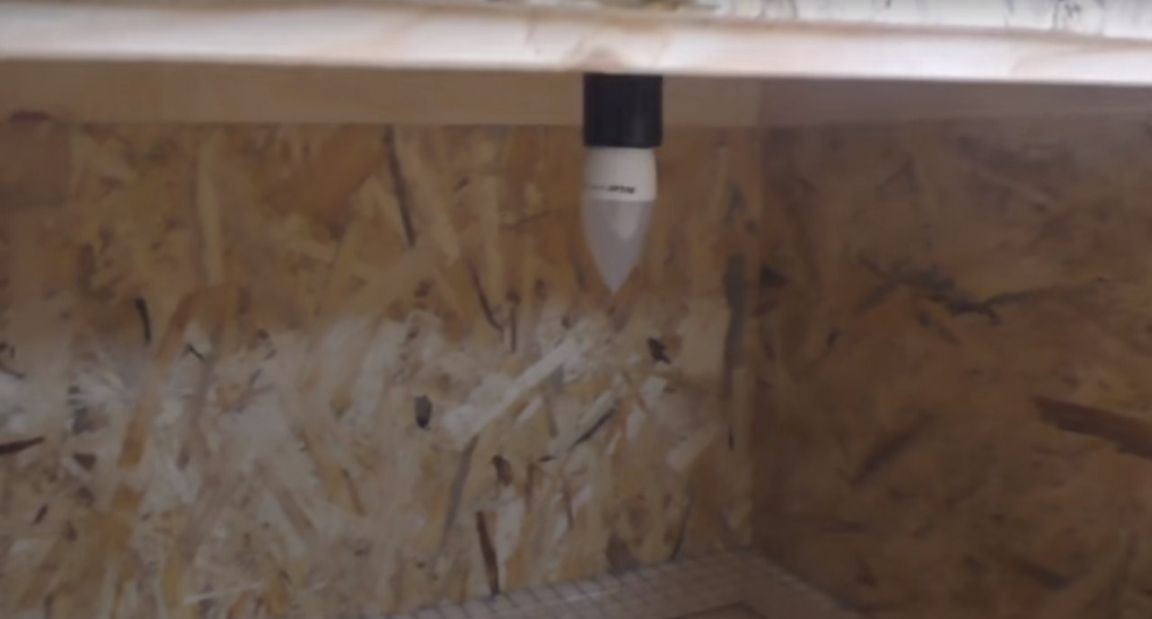
Lamp for heating.

Lamp for lighting.
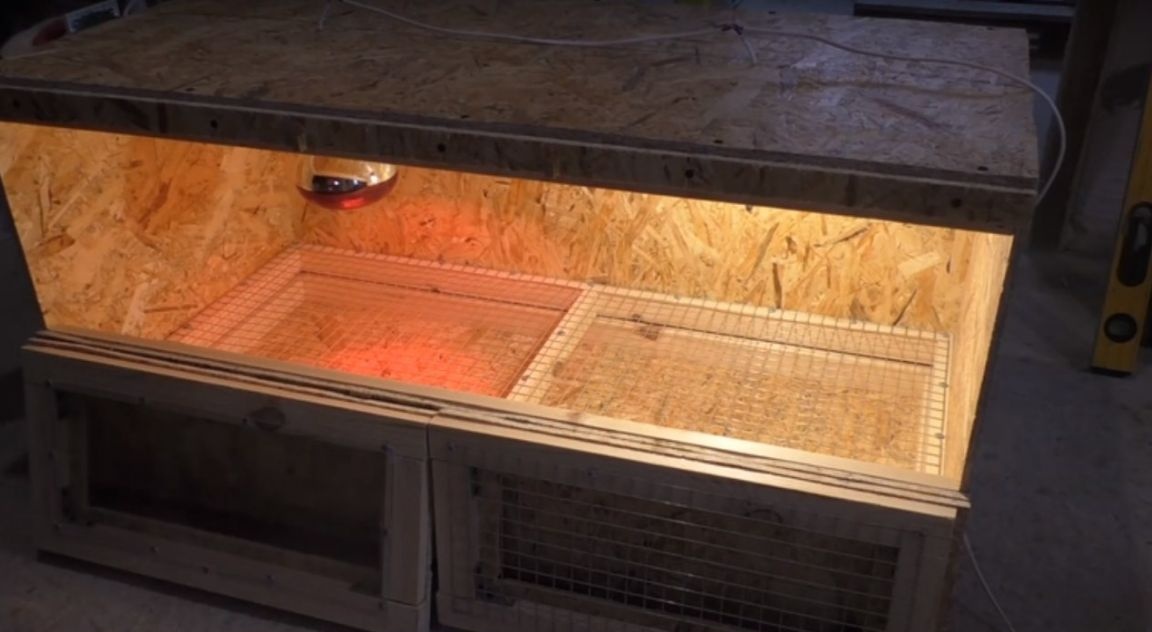
Verification
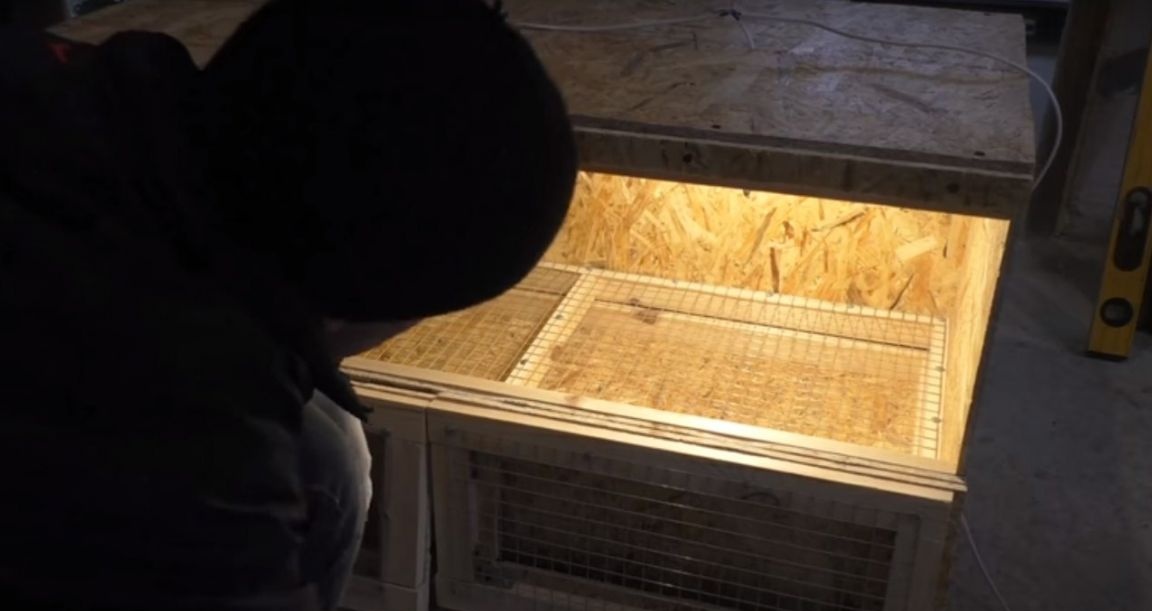
According to the author: 5 W lamps, for lighting a brooder of this size too much a 3 W lamp is quite suitable.
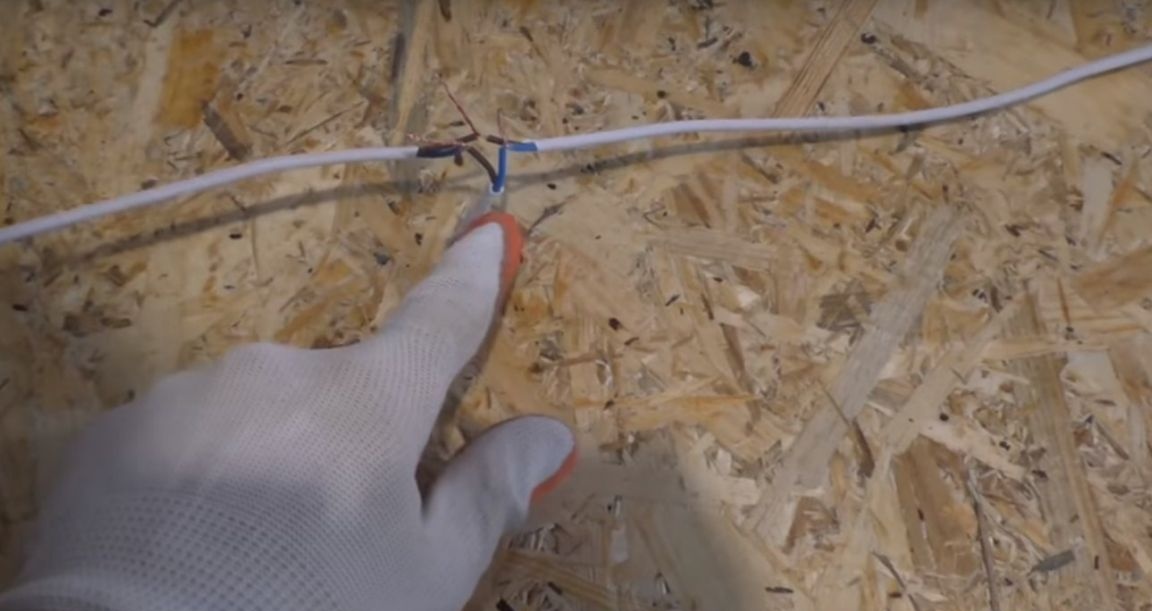
Further isolation of all compounds.

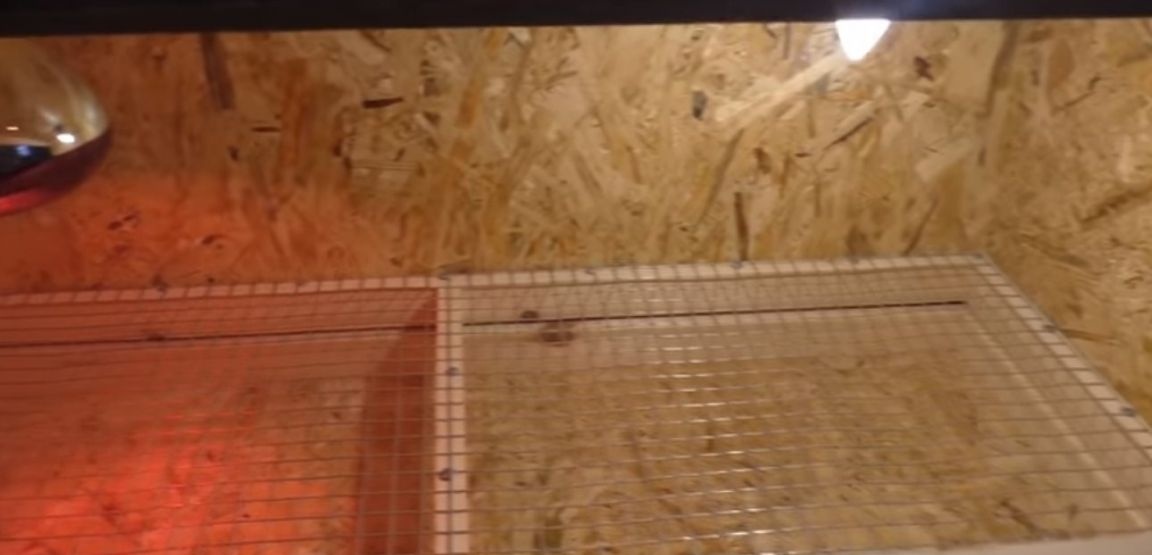
And the installation of the beam inside the brooder, to close the sharp edges of the grid.
Such a home-made turned out by our hero, today's article.
That's all. Thank you all and see you soon.