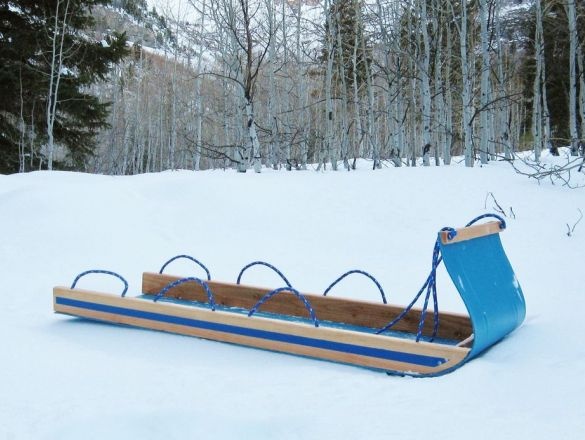
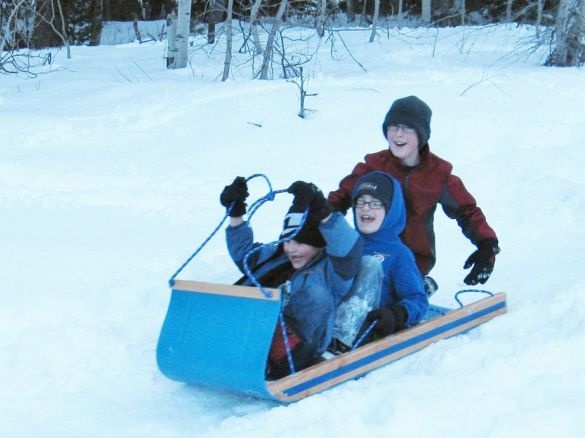
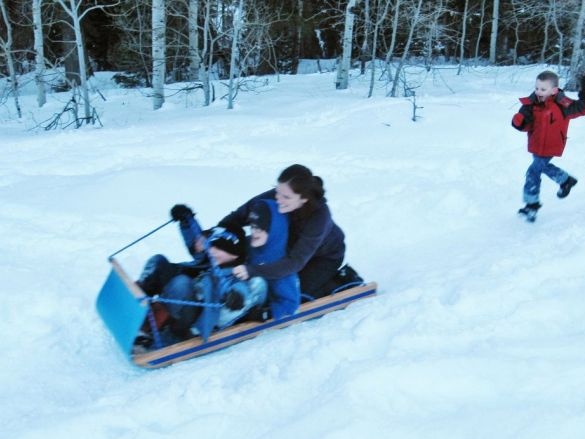
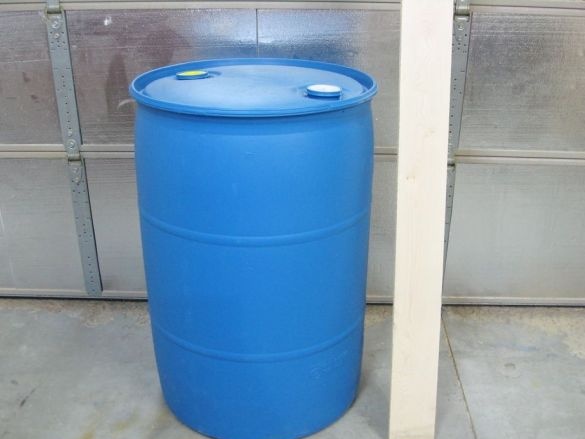
As the saying goes, "Prepare a sleigh in the summer, and a cart in the winter," and although it’s not summer in the yard, but a golden autumn, it’s not too late to prepare the sled. More precisely sledges. And we will make sledges from a plastic barrel under the guidance of a master.
Tools and materials:
-Plastic barrel;
-Rope;
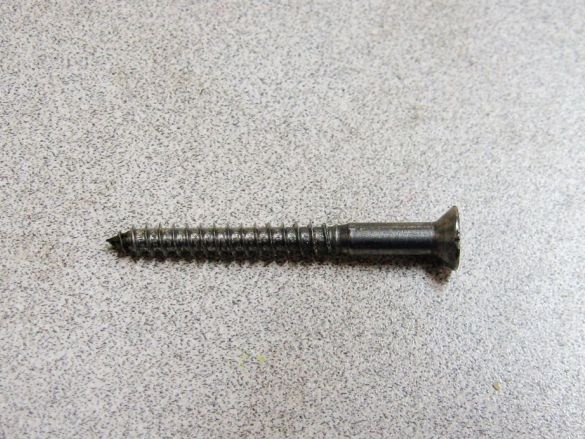
-Fasteners;
-Wax;
- Electric jigsaw;
-Marker;
-Boards;
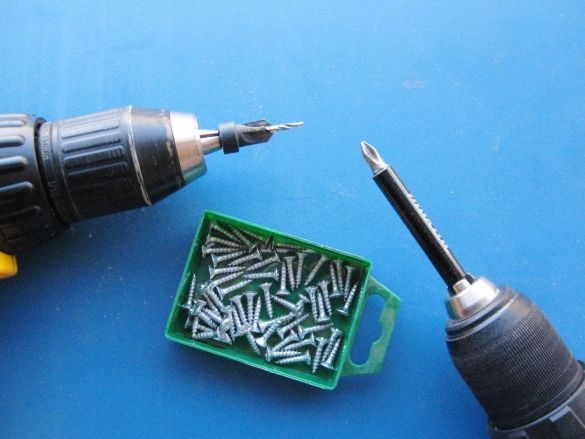
-Drill;
- Feather drill;
-Gon;
-Varnish;
- brush;
-Insulating tape;
-Blue spray paint;
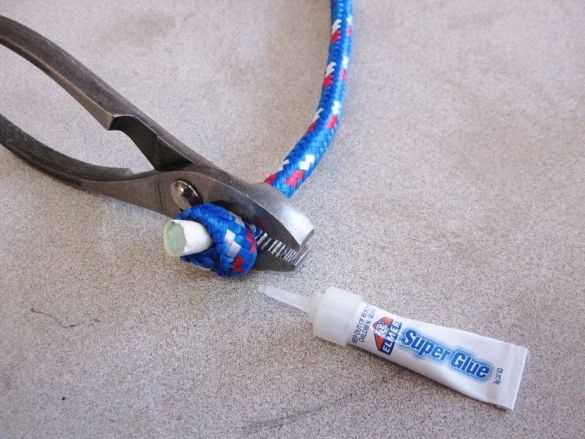
-Super glue;
-Knife;
-A screwdriver;
- Clamps;
-Burner;
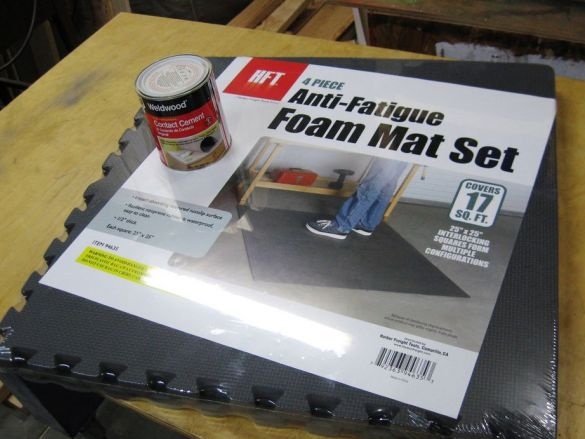
-Mat;
Step One: Cutting
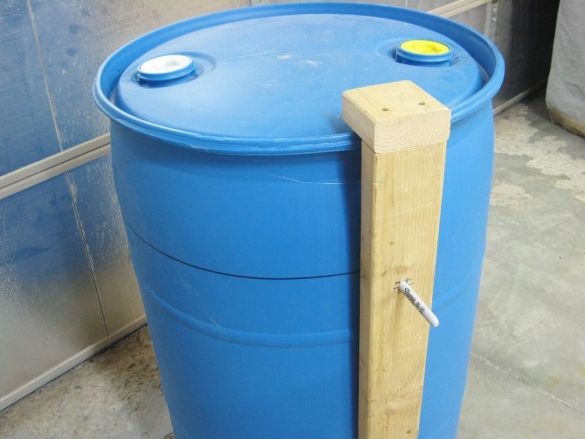
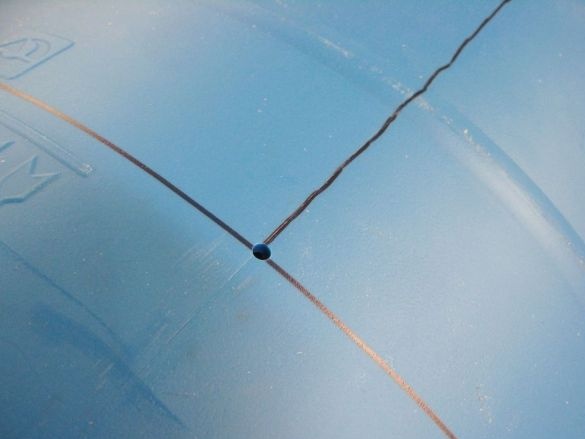
Using a simple markup tool made in haste, he draws a cut line from the bottom and top of the barrel. Connects them in a straight line.
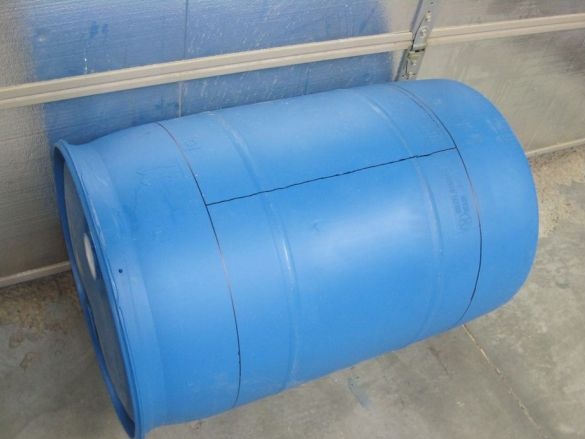
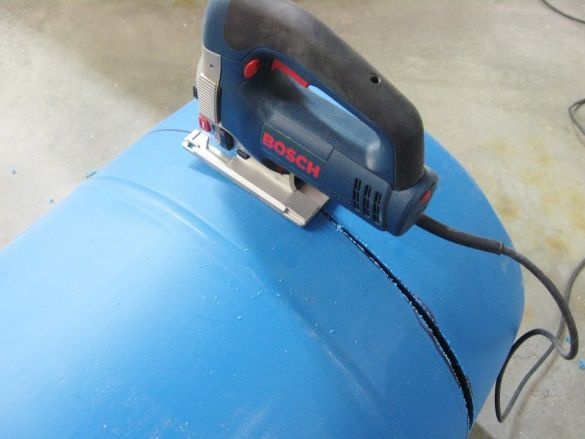
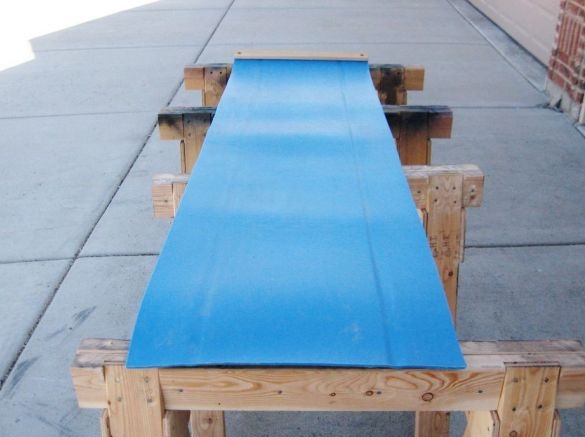
An electric jigsaw cuts the barrel according to the marking. For the sled, you need the middle part.
Step Two: Boards
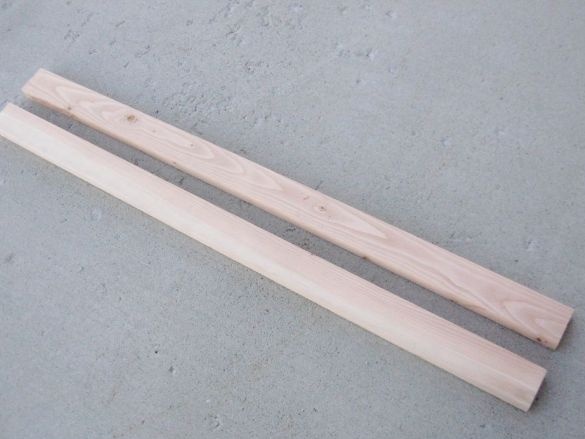
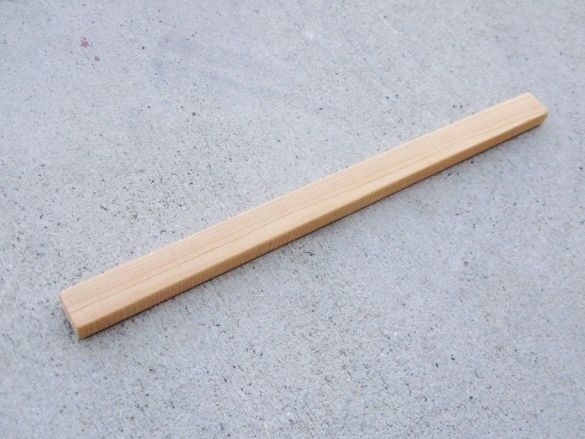
For the sled, the master took three boards. Two for the side and one for the front.
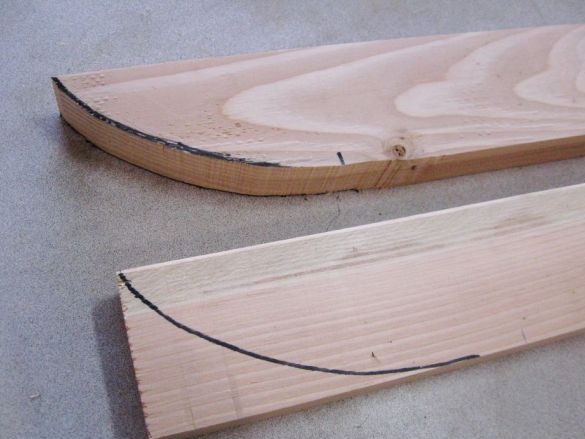
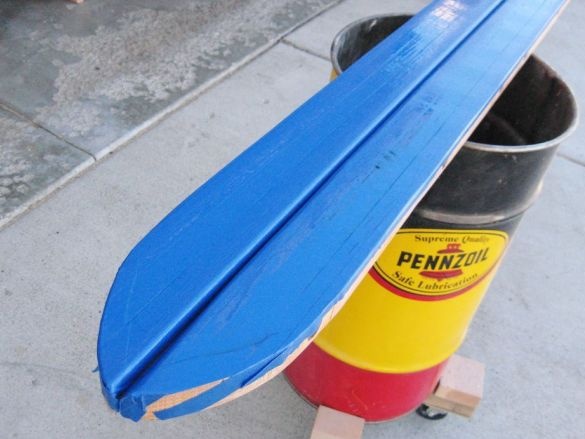
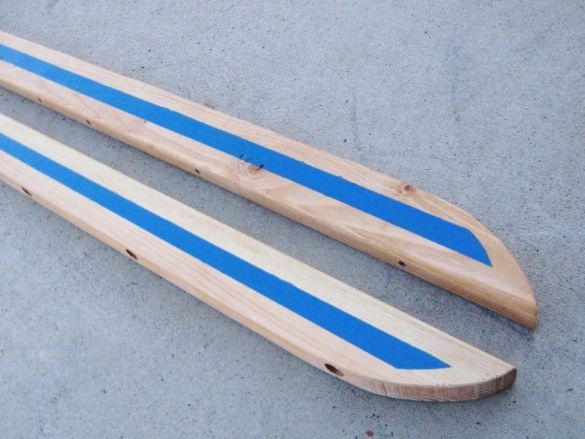
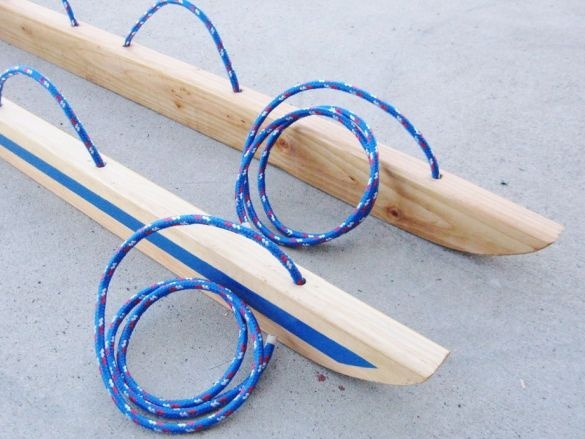
The front of the side strips is cut in a semicircle.
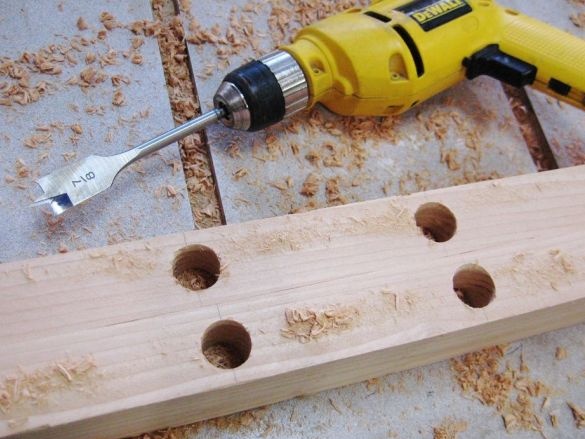
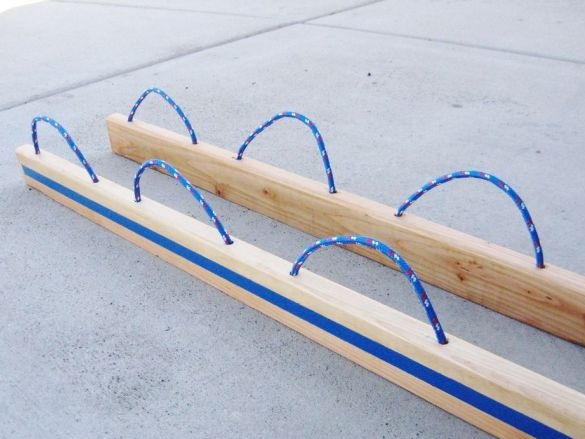
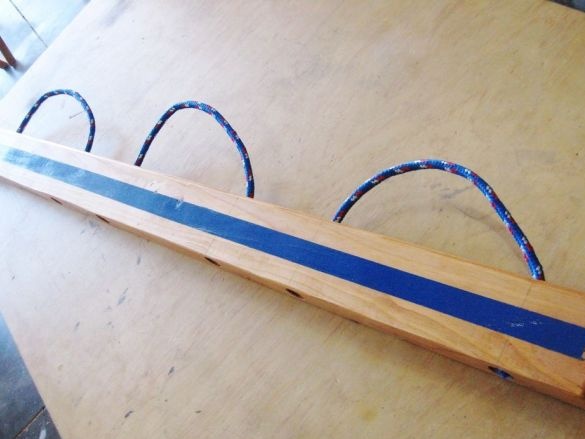
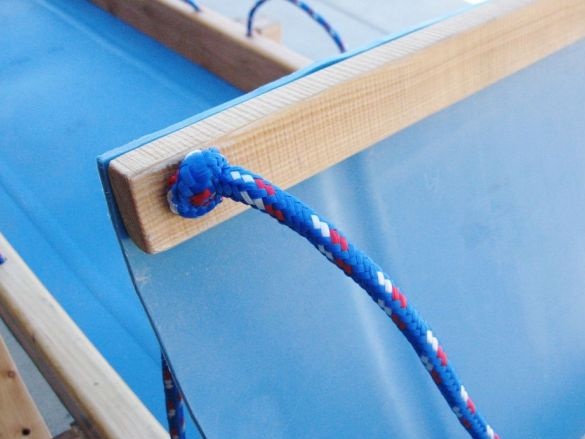
Drills holes for rope handles into the board.
Step Three: Cover
Covers the boards with varnish in several layers. Sand between 220 layers with sandpaper.
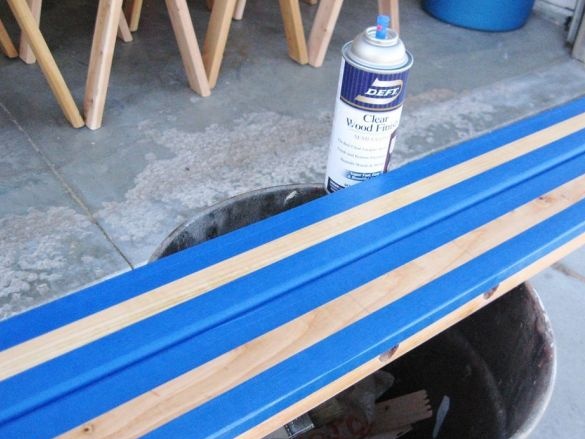
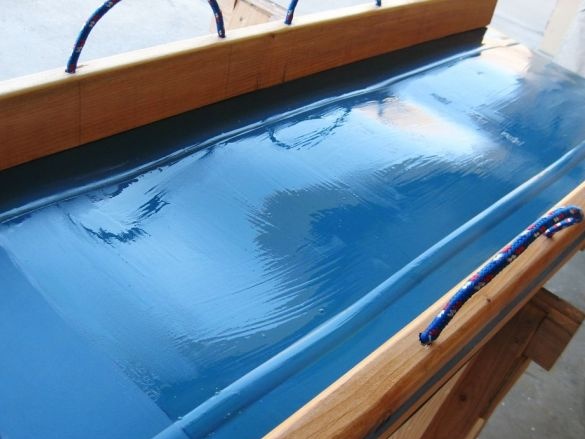
Tape one side of the boards with electrical tape (at the edges). He paints the open middle part with blue paint. Peel off electrical tape.
Step Four: Rope
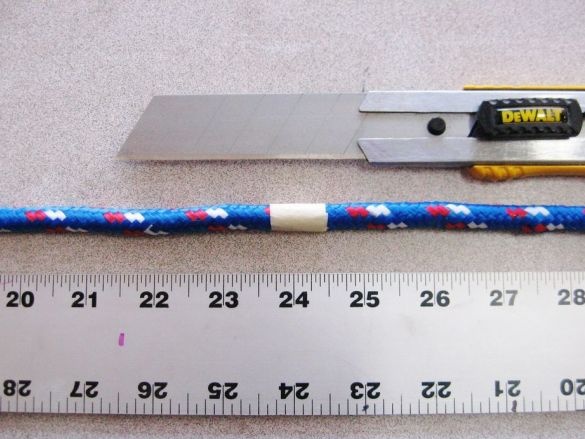
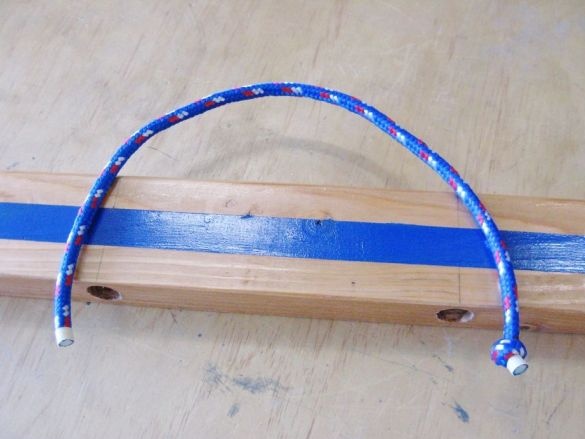
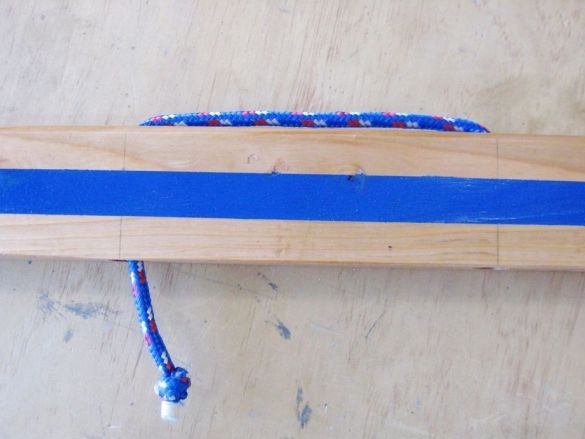
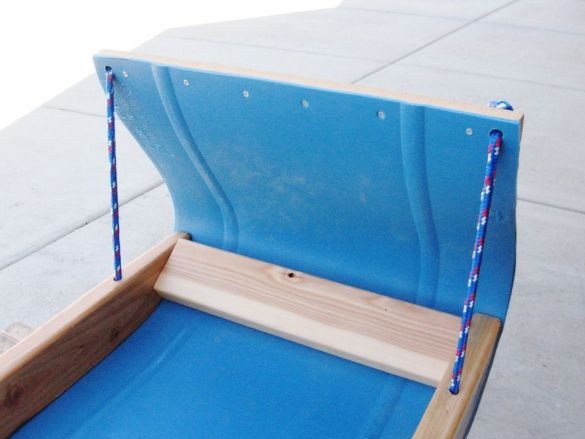
Slices six pieces of rope. Threads through holes and knots at the ends. These will be pens.
Pulls the rope into the front holes of the boards.
Step Five: Build
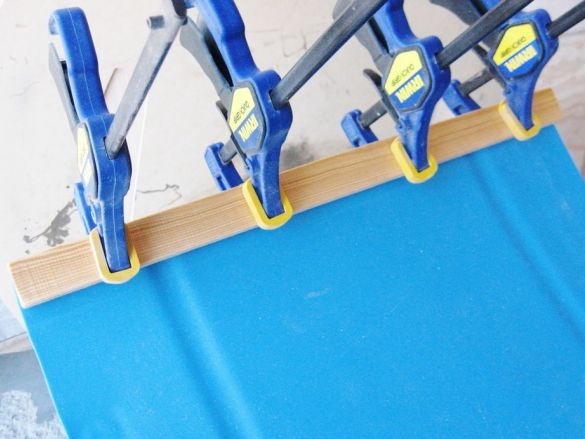
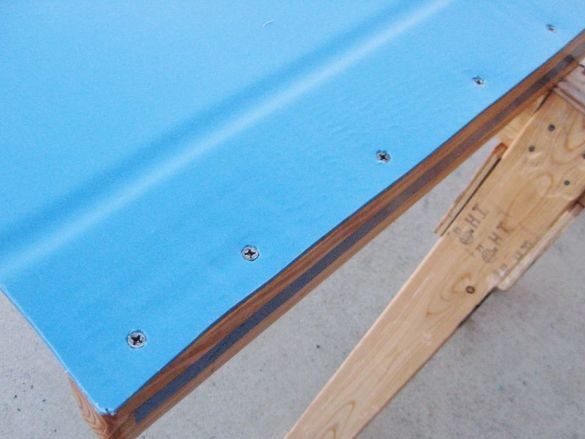
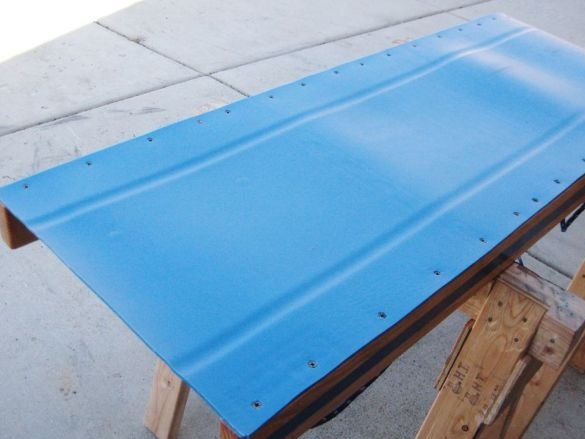
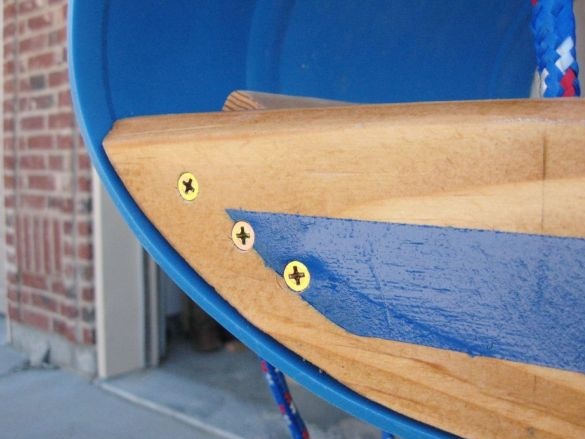
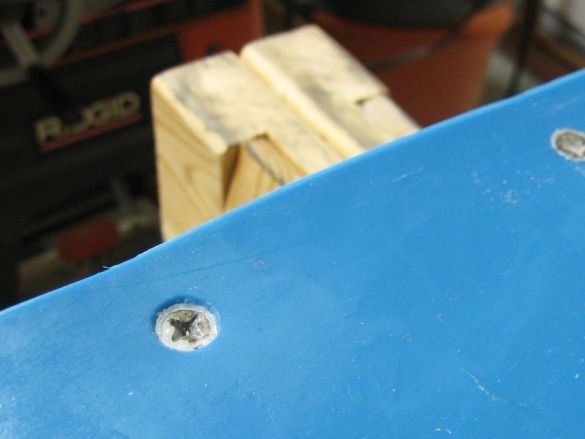
Screws the bar to the edge of the plastic.
Screws the side boards.
Secures a spacer between the boards. It bends plastic, fixes it with a rope.
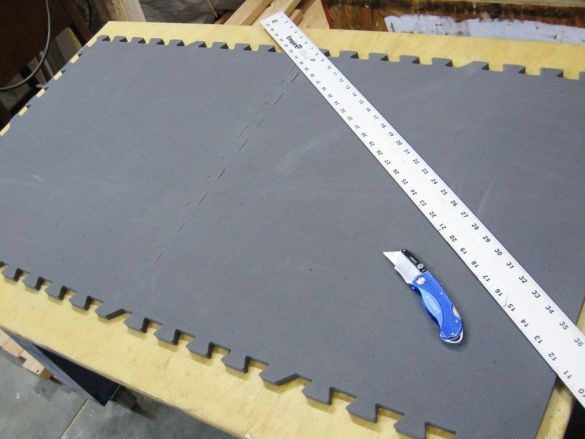
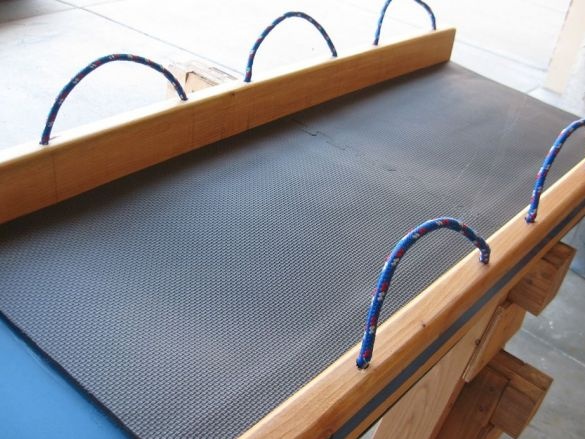
Cut and paste the mat.
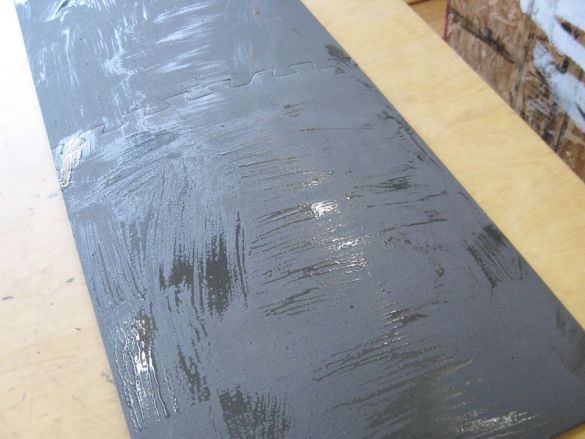
He waxes the bottom of the sleigh. In places of fasteners melt the wax with a burner to fill the hole.
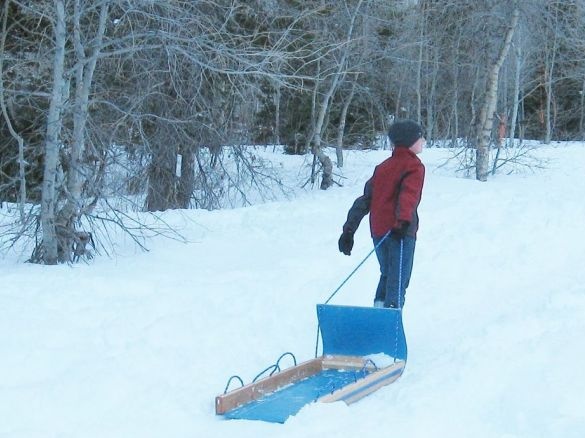
The sled is ready.
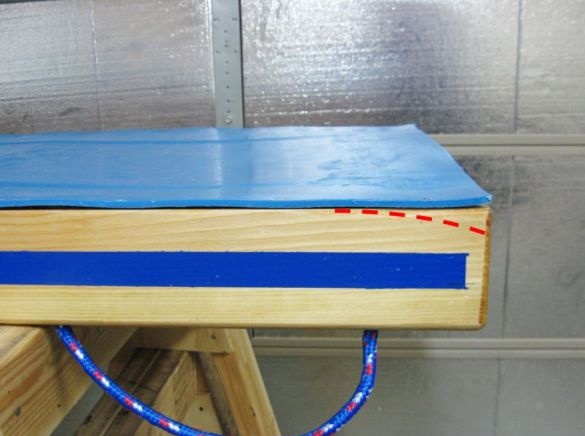
For those who want to repeat the manufacture of the sled, the master advises making several improvements. The master advises rounding the boards at the back of the sled.
For fasteners, it is better to use stainless screws.

