» Topics » Advice »How to put a hammer on the handle without a wedge" tightly "

How to put a hammer on the handle without a wedge "tightly"

Usually, for a more reliable placement of a hammer or sledgehammer on a wooden handle, its upper end in the hole of the tool is simply wedged. However, there is a less troublesome method of putting a hammer on the handle, which does not require a wedge.
how to plant a hammer without a wedge

What is needed
In order to quickly and reliably put a hammer on the handle you will need:
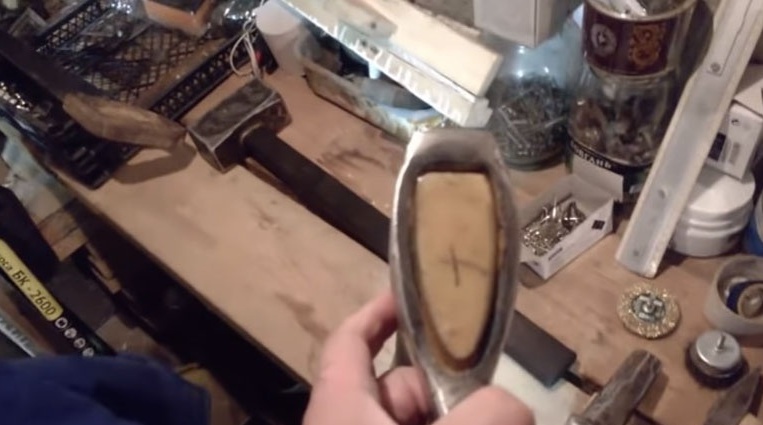
1. A piece of rubber having a length slightly larger than the length of the end of the handle designed to fit the hammer, and a width equal to the length of its perimeter.
what is necessary for a hammer nozzle 1

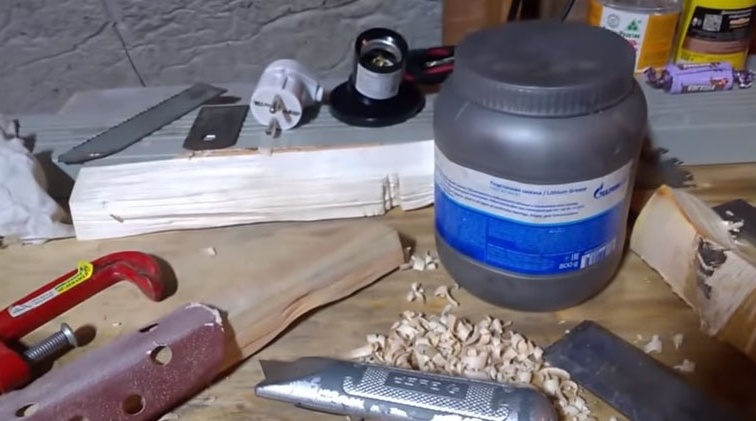
2. A small amount of any plastic lubricant, such as lithol.
what is necessary for a hammer nozzle 2

3. PVA glue.
Rubber can be cut off, for example, from an old bicycle camera, but not of Chinese manufacture, which contains plastic.
what is necessary for a hammer nozzle 3

How to plant
Attaching the tool head to the handle is as follows:
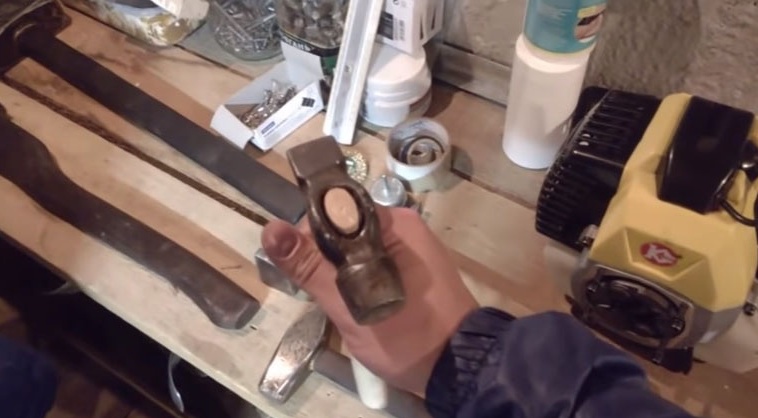
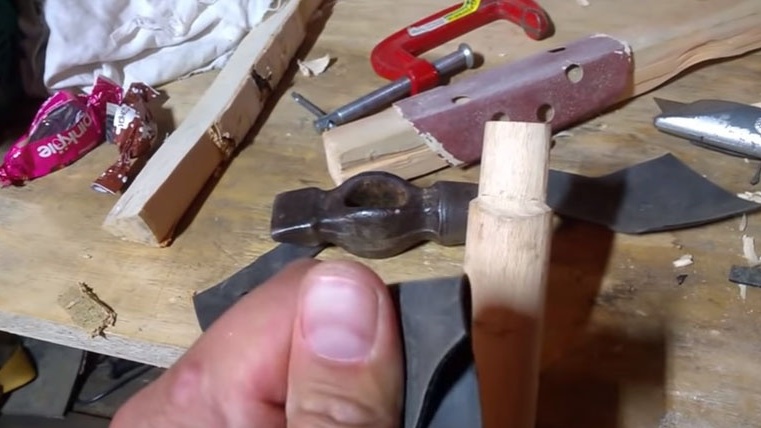
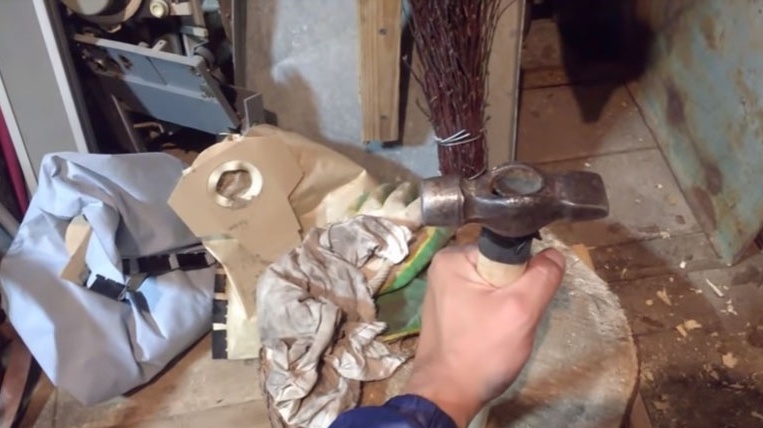
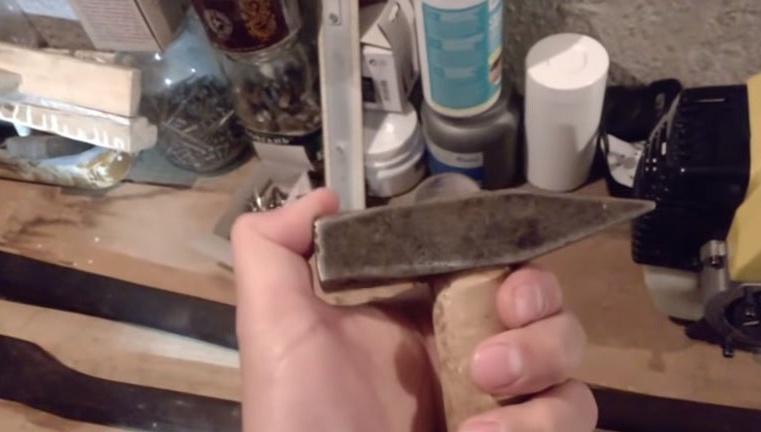
1. The upper end of the handle is treated so that it easily, without pressure, enters the hole of the hammer.
size of the handle for hammering 1

the thickness of the handle required to fit the hammer

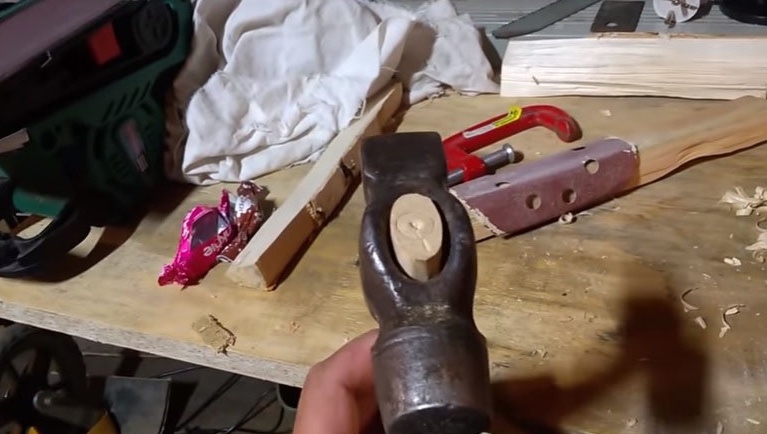
2. Rubber is wrapped around the end of the handle.
how to wrap the handle rubber

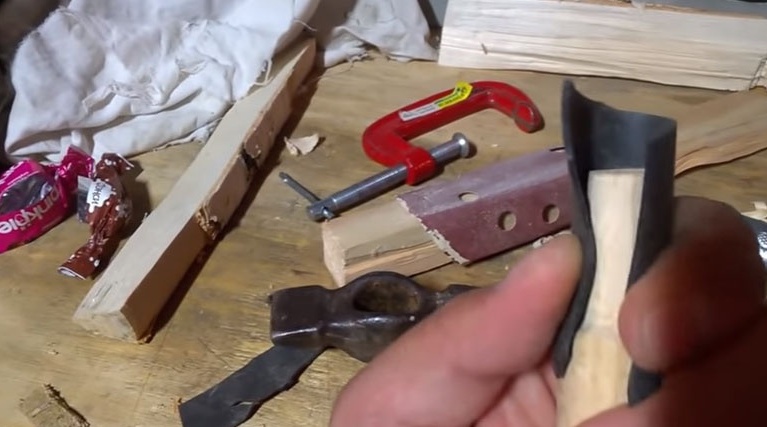
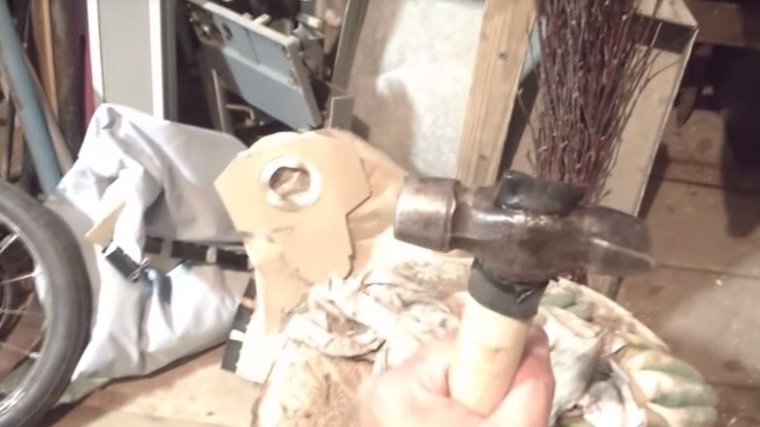
3. Lubricate the outside of the rubber with grease and put a hammer head on it.
putting the hammer on the handle 1

hammering on the handle 2

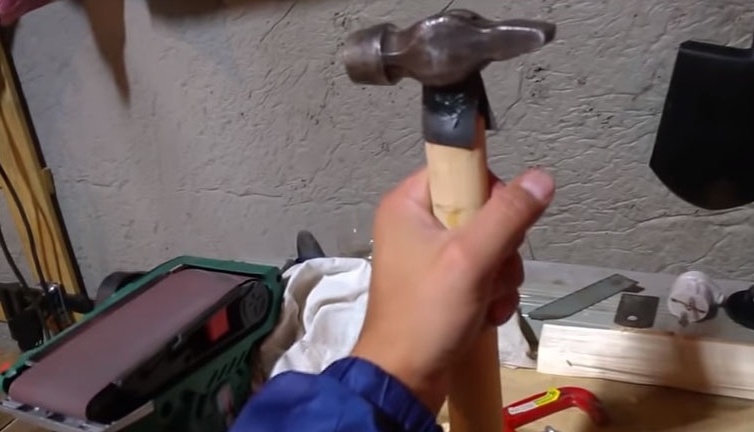
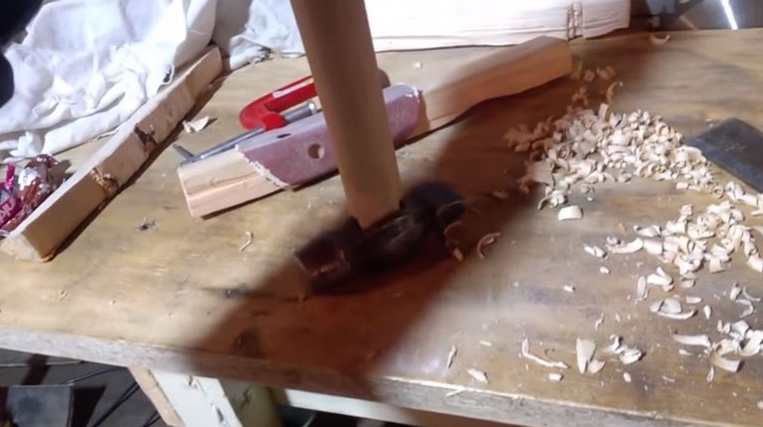
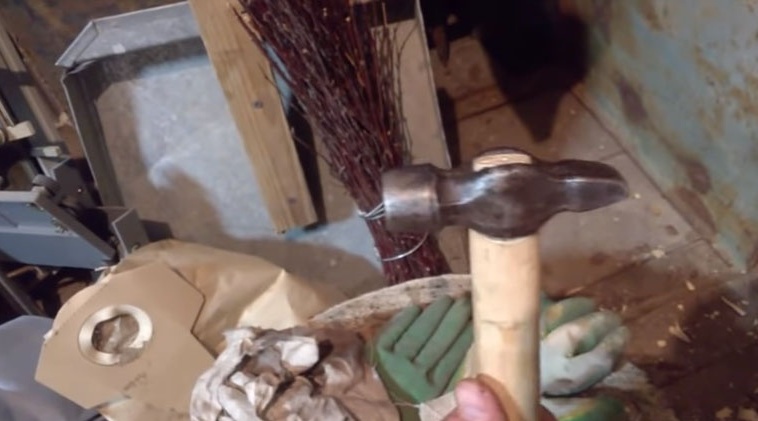
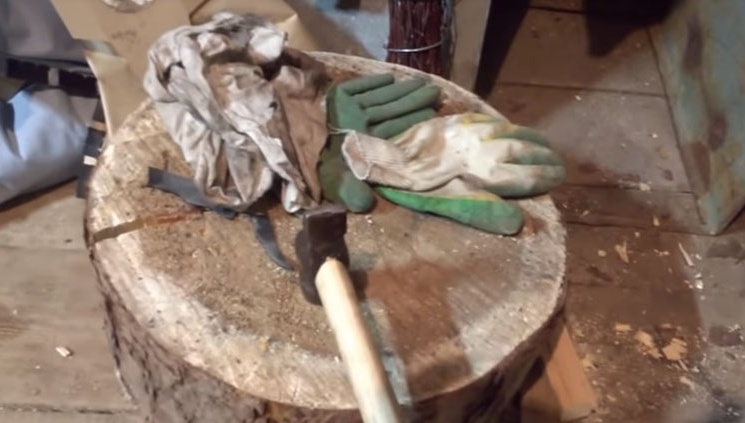
4. Drive the hammer deeper into the handle, holding it vertically and tapping it with its free end on any surface.
putting a hammer on the handle 3

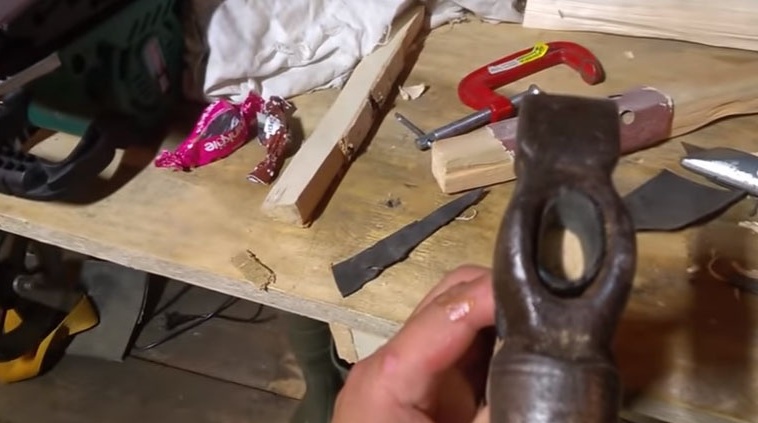
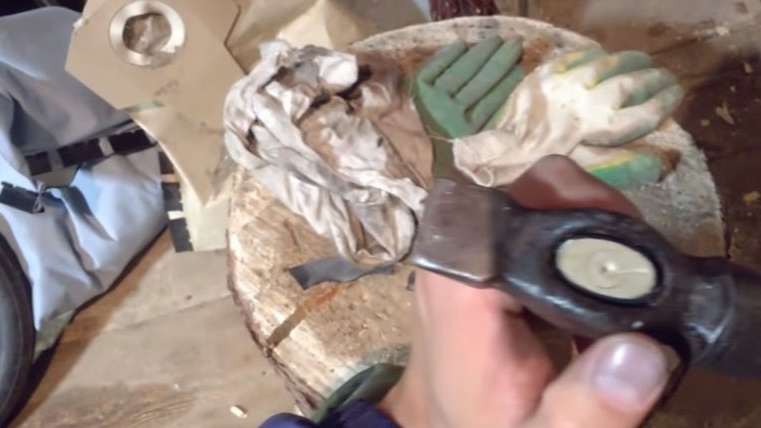
5. Cut off excess rubber.
putting a hammer on the handle 4

putting a hammer on the handle 5

6. Coat the gap between the head and the handle with PVA glue. This is necessary so that subsequently they do not get water.
glueing the mounted hammer

As a result, the hammer head fits onto the handle so firmly that it almost never flies when using the tool.
hammer handle

The advantages of such a hammer nozzle
In comparison with the traditional wedging of the handle, this method of hammer attachment has two very important advantages:
1. The wood of the handle of the hammer remains intact, its structure is not weakened by driving a wedge.
2. When working with such a hammer, the rubber “gasket” between the head and the handle absorbs and does not allow transmitting the force of blows directly to the handle, which significantly prolongs its service.
work advantages

In this convenient and quick way, you can plant not only a hammer, but also a heavy sledgehammer or ax, the tool will hold on the handle reliably and firmly, regardless of its size and weight.
mounted ax

impaled sledgehammer


Video clip how to firmly put a hammer on the handle without using a wedge:

Suitable for topic

Related topics

Add a comment

    • smilesmilesxaxaokdontknowyahoonea
      bossscratchfoolyesyes-yesaggressivesecret
      sorrydancedance2dance3pardonhelpdrinks
      stopfriendsgoodgoodgoodwhistleswoontongue
      smokeclappingcraydeclarederisivedon-t_mentiondownload
      heatirefullaugh1mdameetingmoskingnegative
      not_ipopcornpunishreadscarescaressearch
      tauntthank_youthisto_clueumnikacuteagree
      badbeeeblack_eyeblum3blushboastboredom
      censoredpleasantrysecret2threatenvictoryyusun_bespectacled
      shokrespektlolprevedwelcomekrutoyya_za
      ya_dobryihelperne_huliganne_othodifludbanclose
23 commentary
Pyatunin Joseph
Not bad, but the pen will rot quickly.
Guys, why are you rolling each other? Handling a percussion instrument is a whole tradition. Even different nations have different ways of not only nozzles, but even the pens and instruments themselves are different. Different ways of sharpening. The axes are different. There is a tesla for gouging boats. There are axes for chopping off heads. So, no need to swear. A lot of humor.
This method is unconditionally suitable for a sledgehammer and cleaver. Because we do not use them often at home, and the strength and reliability should be absolute. The classical method is more acceptable for everyday work. Our ancestors were no worse than us. An ax or a hammer is mounted on the handle from the narrower side. Then, along a wide hole, hammer a wooden wedge. It is advisable to glue. And so that the wooden wedge does not fall out, cross the hole with metal wedges, as if we lock the wooden wedge. later, if the tool is loosened, you can add more wedges. Some, so that the ax does not fall, on the ax from the top and on the ax from the bottom, under the butt, make a metal plate with a width equal to the internal width of the ax hole. Then one end is attached to the ax with a self-tapping screw , and the second is bent to the ax butt. There are a lot of tricks, it would seem in a simple device.
You and fellow travelers probably had a "3" or a "2"
And you have the logic. Geologists soaked, dried and wandered for weeks, and every day they put the railwaymen into a barrel. pulled out in the morning. The tree is swollen, the hammers do not fly off and the handle with moisture does not break from strong blows.
Again about physics ... Uh ... And what salt? Sodium?))))
Although ... This is already chemistry ...))))
Especially for the "BORDER".
The hammers are soaked in a saturated solution of salt, when the water dries, the salt fills all the voids in the swollen handle! You and fellow travelers probably had a "3" or "2" in PHYSICS in high school!
Try my advice and ... you will not regret it!
In the village, axes only in tubs and "slept" always ...
Yes, just plain water. So the travelers soak their hammers. In a barrel of water until the next day.
In, another "master +"
I, once in my youth, “wandered around” with geologists. So ... the hammer is "taken" ... the handle is like a cane, and the "work area" is lowered into the "supersaturated" saline solution ... for 10-12 hours and ... that's it! The wooden part of the guys often broke (they hammer on stones like gnomes), the workshop in the "field" ... no, but the salt, well ... just heaps! Not a single "blank" has flown even once, but ... the pens flew apart - constantly. "Zae @ alsya" then ... new plan!
Everything is fine, only the size needs to be adjusted more precisely and PVA glue from water is completely impossible. PVA dissolves when interacting with water. In short, they will learn how to press buttons on the computer and they’ll climb into the bloggers, but in fact they’ll drive you all the bullshit.
better old methods with a wooden wedge. Experiments will not lead to a good one. A hammer or an ax will fly off, remember for a long time about stupidity.
Lord-and-and-and-and! - How many tricks! There is the simplest solution to this problem - a suitable metal tube is taken in diameter, flattened, inserted into the hole in the hammer head and welded on top and bottom of the head. - And that’s it! - the problem is solved for you, your grandchildren and great-grandchildren and further, unless, of course, they lose. For very clean ones - lower the polyvinyl chloride tube of a suitable diameter into hot water, let it warm up and soften, then pull it onto the handle of the hammer. Having dried, the tube will tightly clasp a metal handle.
Everyone knows that the rubber in contact with the lubricant, lithol swells and falls apart. Castor oil or silicone would be advised.
And why do you all so do not like the "classic" wedge? Make it easy. Holds securely ...
I saw this in industrial design. Only not "ears", but, as it were, an oval pipe cut along the "narrow part" along both sides. And in the "wide" - two holes for screws, or bolts (if thoroughly drilled).
to drill and screw in self-tapping screws - not an exit / cm. Sopromat course! /, But the rubber class!
If you bend it, it will cling. It must be riveted
I saw the "ears" welded to the hammer, down, along the handle, with holes for the screws.
Well, he piled up 33 Chinese, you just need to stupidly wrap a couple of three screws instead of a wedge
And I recently use a more severe method)))). I will drill (before casing) with a long “eight on a tree” the handle axially for the entire length, or two-thirds ... Then I tightly wrap the handle itself with electrical tape (anyway, I do this to make the handle bright yellow, or red)))) I stuff the hammer, and drive the eight-pin, lubricated with PVA. When I stuff the hammer, I also dip the planting in liquid PVA and let the tree get wet a little - when I stuff the hammer, the tree flattenes a little and the hole in the tree becomes smaller in diameter. And when I hammer the pin - at the same time it wedges ....
"Invented" this method after every day I had to change the broken handles on hammer-nails. (I then took apart the old extension). If on the ordinary it is not particularly relevant, then on the nail-nail - a little stronger attached, and crunch under the very head! ...
And so - they go and go ...
It is better to drill without a handle and screw a self-tapping screw with a countersunk head through the handle. Break off the protruding tip.
If you bend it, it will cling. It must be riveted.
and you can also drill through the already mounted hammer head (along with the handle) and insert a nail into the hole. On one side, the hat will not fall out, and on the other hand, the end of the nail is simply bent.
Well, depreciation is good, but it does not rest on anything. It is necessary to gum and wedge then with glue, then just like iron.

I gathered a cleaver and two hammers on wood glue, before they broke constantly, but right now it doesn’t even move. Glued a tree, and knocked on top with a hammer, it turned out a kind of "riveting on a tree." Then the whole thing withered and turned into stone.

We advise you to read:

Hand it for the smartphone ...