Hello everybody. In this article I want to show how you can make an LED bulb for a car, which can be inserted, for example, into a ceiling. You can certainly go to the store and buy a finished product, but such a lamp made do it yourself It will cost an order of magnitude less, and using a thing made by yourself is much more pleasant.
As a light source in this lamp, an ordinary LED strip will be used that can be bought in almost any market and is not expensive. In addition, from one meter of such a tape you can make several bulbs.
For those who are too lazy to read, watch the video.
Materials and tools:
- LED Strip Light
- Plastic card (not needed)
- scissors
- soldering iron
- Car light (donor)
- Thermogun
- Wire (enough 10cm)
- Crown battery for testing (or any other 9-12V power supply)
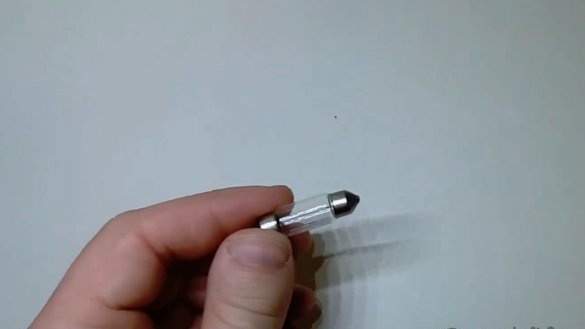
Well, let's start. First you need to take a car light that will serve as the basis for us. You can take a non-working lamp, but if it does not work, fix :)
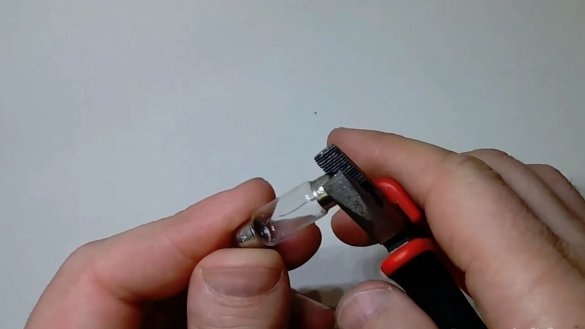
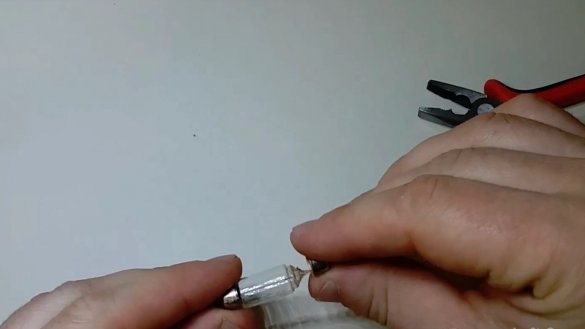
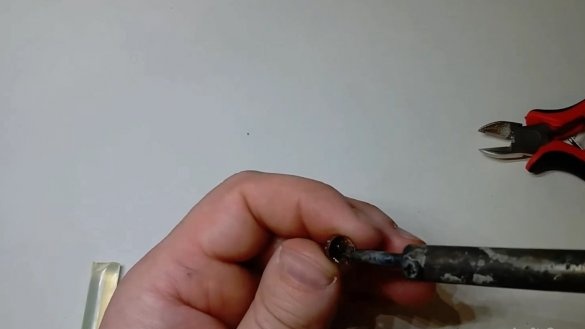
So I have a whole lamp, and this needs to be fixed. To do this, remove one of the contacts.
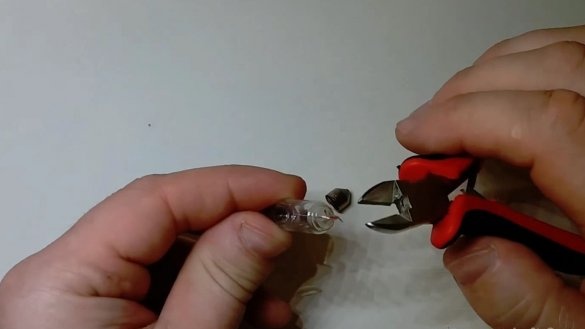
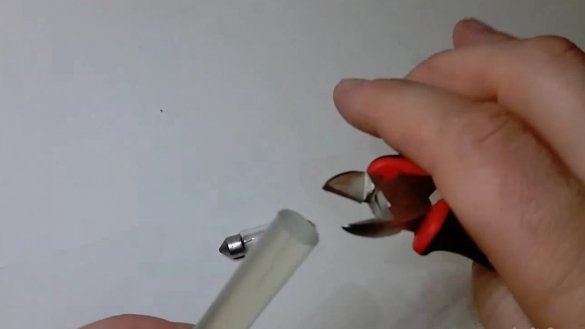
Bite off the remaining wiring from the lamp.
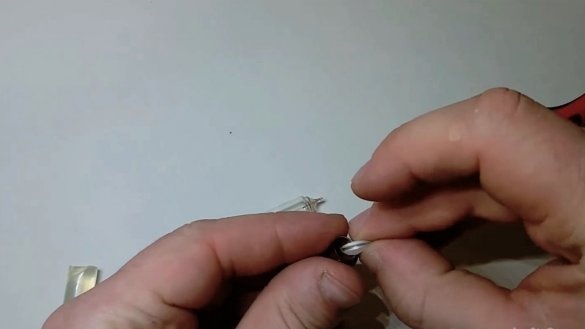
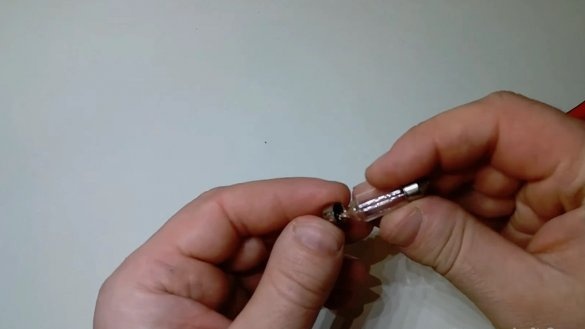
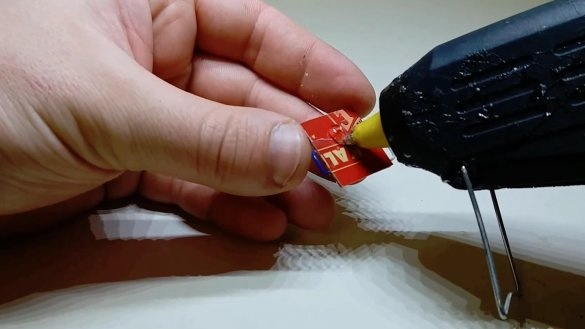
Put a little hot glue in the cap of the cap and melt it with a soldering iron, or just drop it from the heat gun if it has already warmed up)))
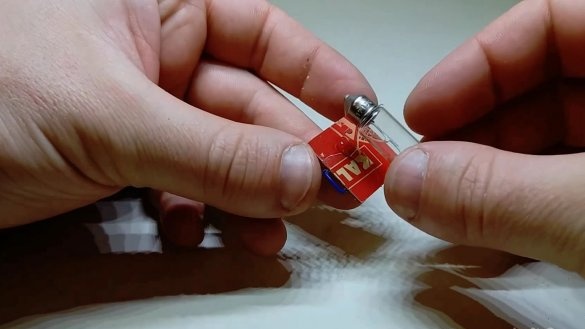
Now quickly put the cap in place.
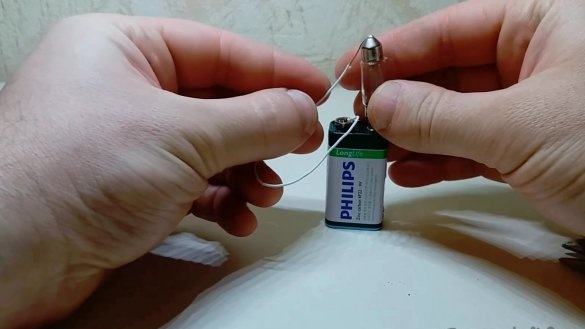
Next, you need to check that we did everything right, the contact disappeared, and the lamp does not work.
Does not work?? Excellent! Breaking does not build)))
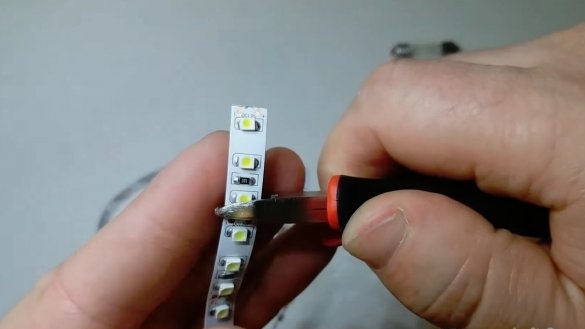
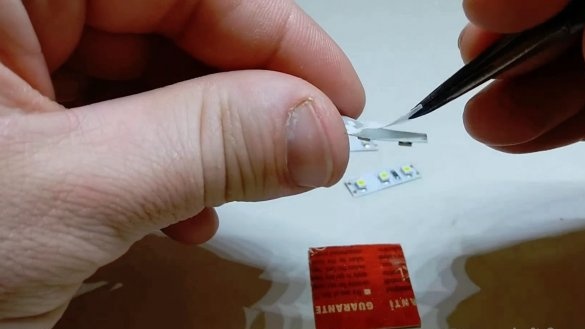
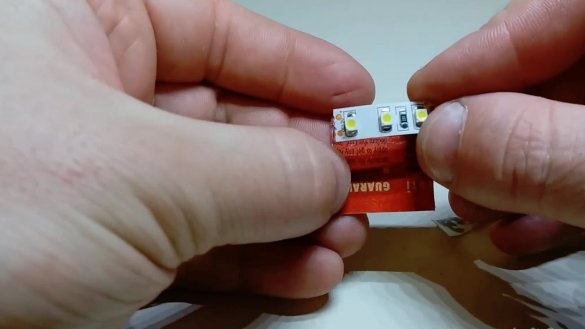
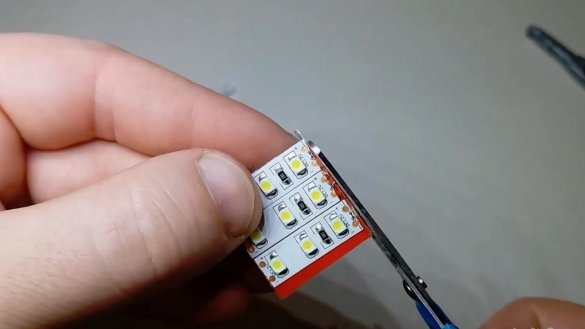
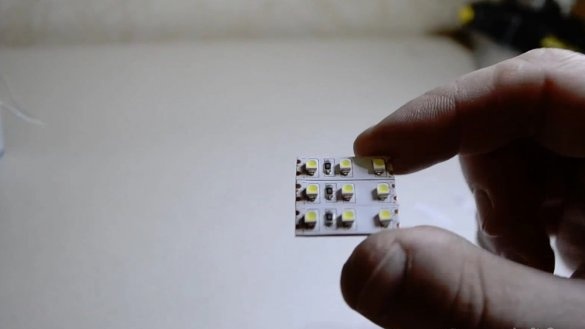
We continue. Now you need to cut a few pieces of the LED strip, the brightness of the future lamp and its size will also depend on the number of pieces. I cut three segments, quite enough in brightness for the interior.
Remember that the tape should be cut only in specially marked places.
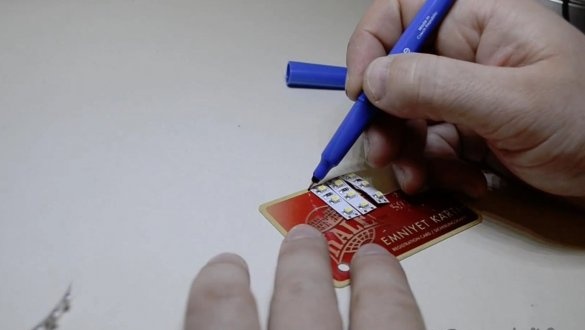
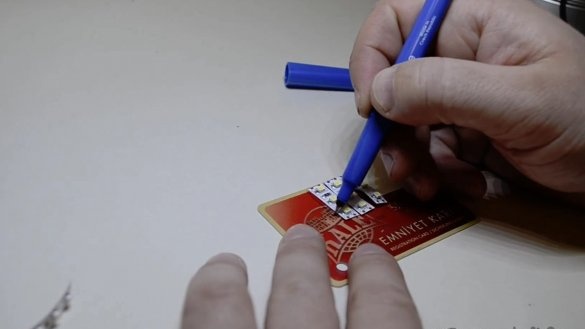
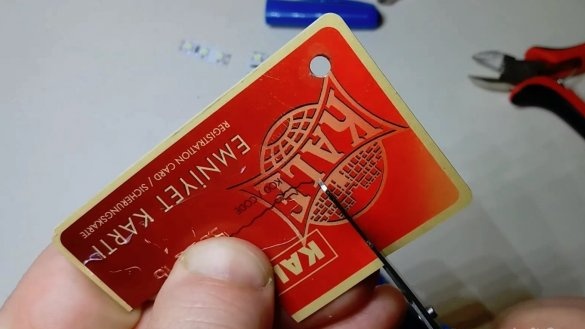
Now you need to make the basis for the LEDs, I made it from an unnecessary plastic card.
Glue pieces of LED strip on the base.
Cut off the excess.
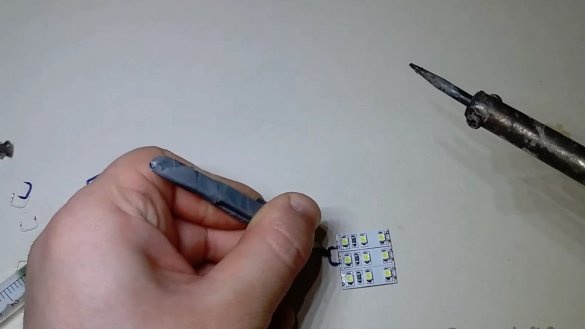
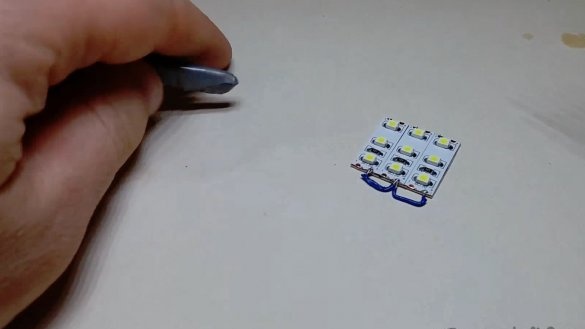
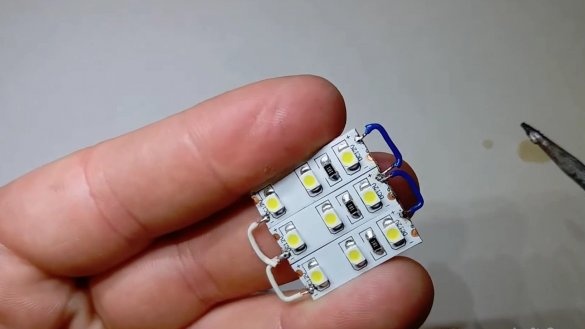
The next step will be to connect the electrical parts of the lamp (as wrapped)
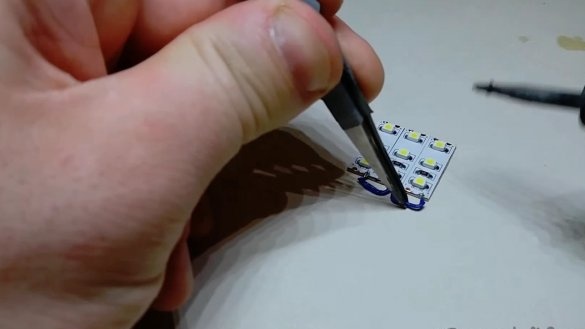
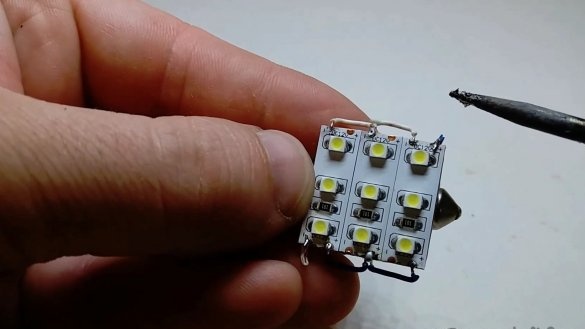
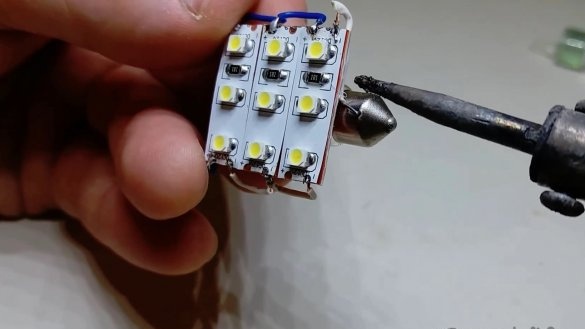
To do this, take small pieces of wiring, connect the plus contacts of the Lena on one side.
On the other hand, negative contacts.
Apply hot melt adhesive to the back of the base and glue the light bulb.
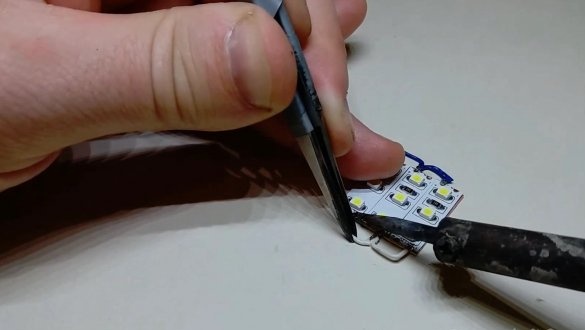
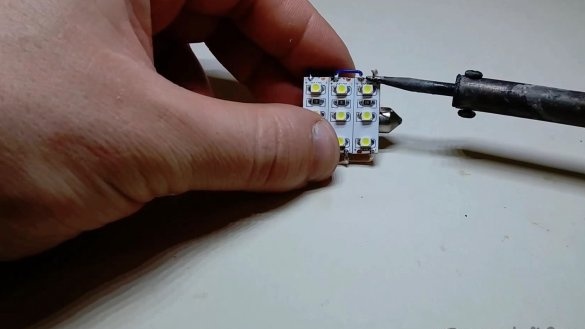
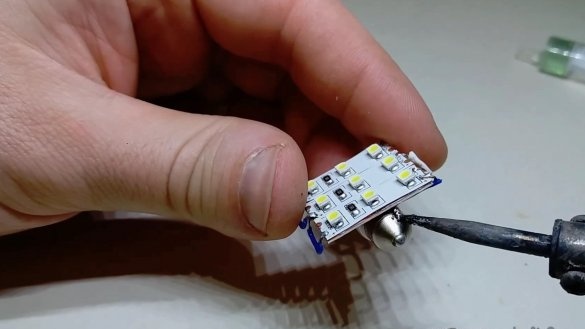
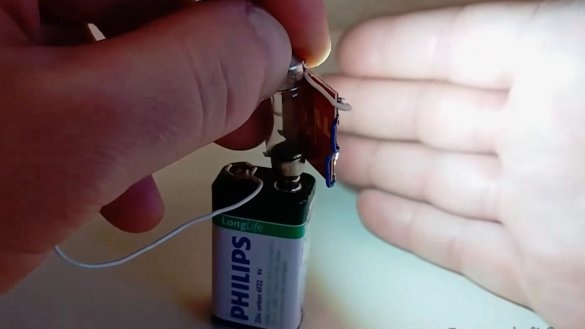
Now you need to solder the conclusions from the base with the LEDs to the lamp, minus to one side plus to the other.
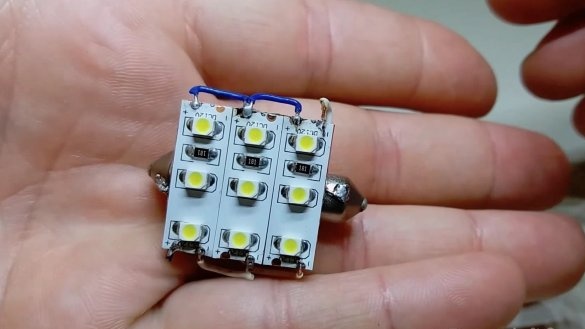
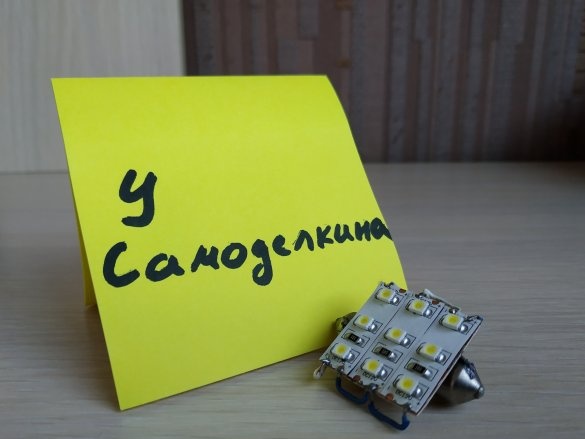
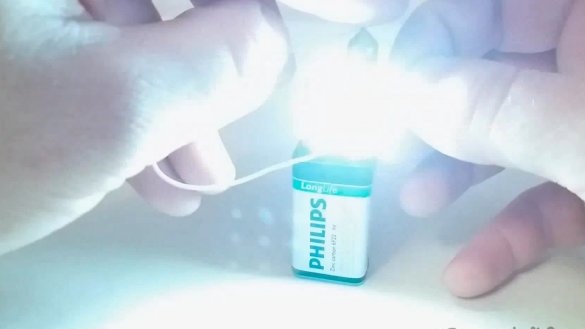
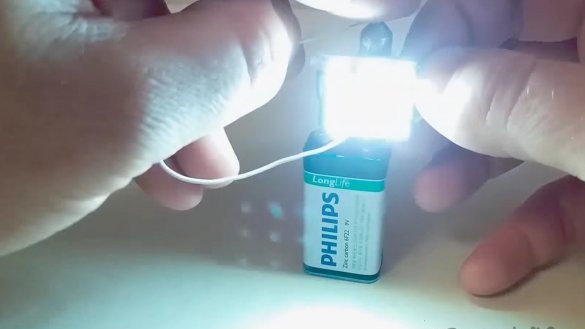
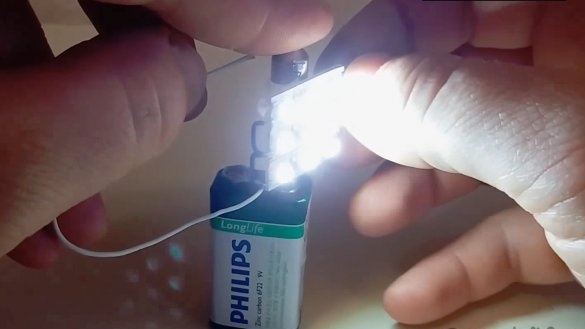
Here is a lamp turned out, it remains to check.
For verification, I took the usual crown.
The lamp shines very brightly, you can run into the car for installation. Remember that now the lamp has a plus and a minus, if it is not inserted correctly, it will not work.
Thanks to everyone who read my article to the end.


