

Hello to all lovers homemade. Each motorist has the necessary set of keys, which he usually stores in his car. A large number of tools is not always convenient, for this reason, adjustable wrenches are created that make it possible to adjust the size of a screwed nut or bolt in a certain range. In this article I will tell you how to make an adjustable wrench do it yourselfwhich is sure to come in handy motorist. Materials for this tool are found in everyone who owns a car. And special skills for assembling homemade products are not required, everything is quite simple.
Before you start reading this article on assembling a homemade adjustable wrench, I suggest watching a video showing the entire manufacturing process, as well as a little testing in the finished product.
In order to make a homemade adjustable wrench, you will need:
* Wrench
* Angle grinder
* Drilling machine
* Bolt with nut
* Kern
* Clamp
* Cutting and grinding wheel for angle grinder
* Drill for metal 3 mm, 4.2 mm and 8 mm
* Grinder
* M4 tap
* Screw M4
* 8 mm thick metal plate
* Metal plate
* Welding machine
* Personal protective equipment, mask, welding gaiters, respirator and headphones
* Screw
* Workbench
* Heat-shrink tubing
* Construction hair dryer
There are all the parts and tools necessary for assembly, you can start manufacturing.
Step one.
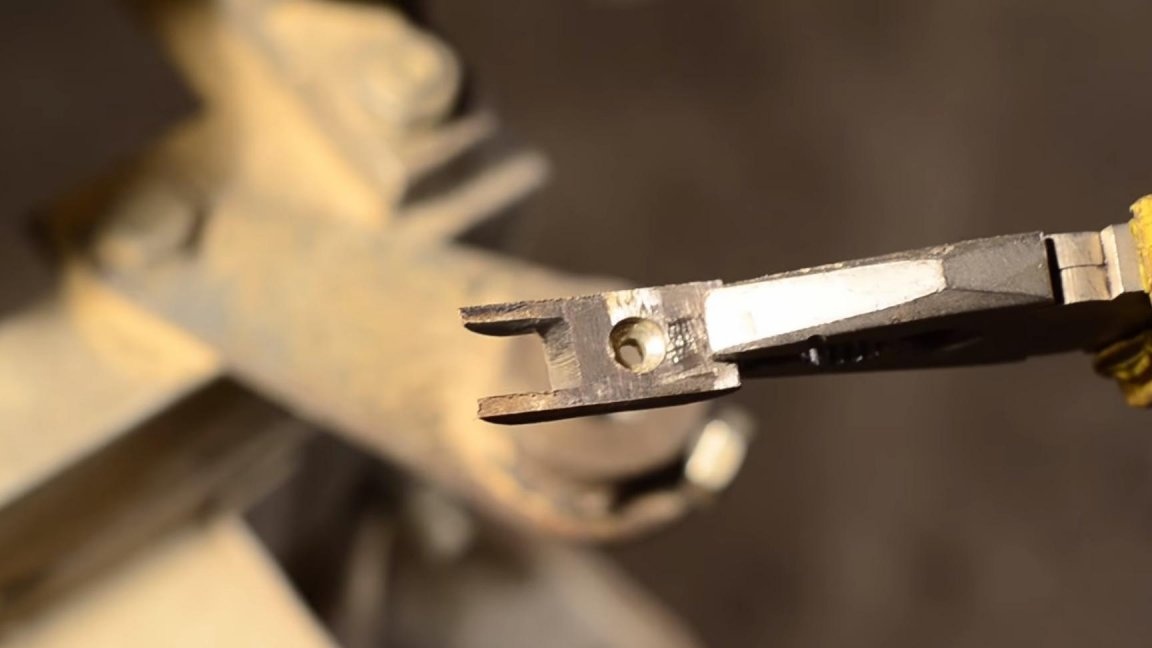
To get started, you need to shorten the wrench a bit. The fact is that its second part will not be needed, and in our case it will only interfere and spoil the aesthetics of the instrument. We fix an unnecessary wrench on a workbench with a clamp.
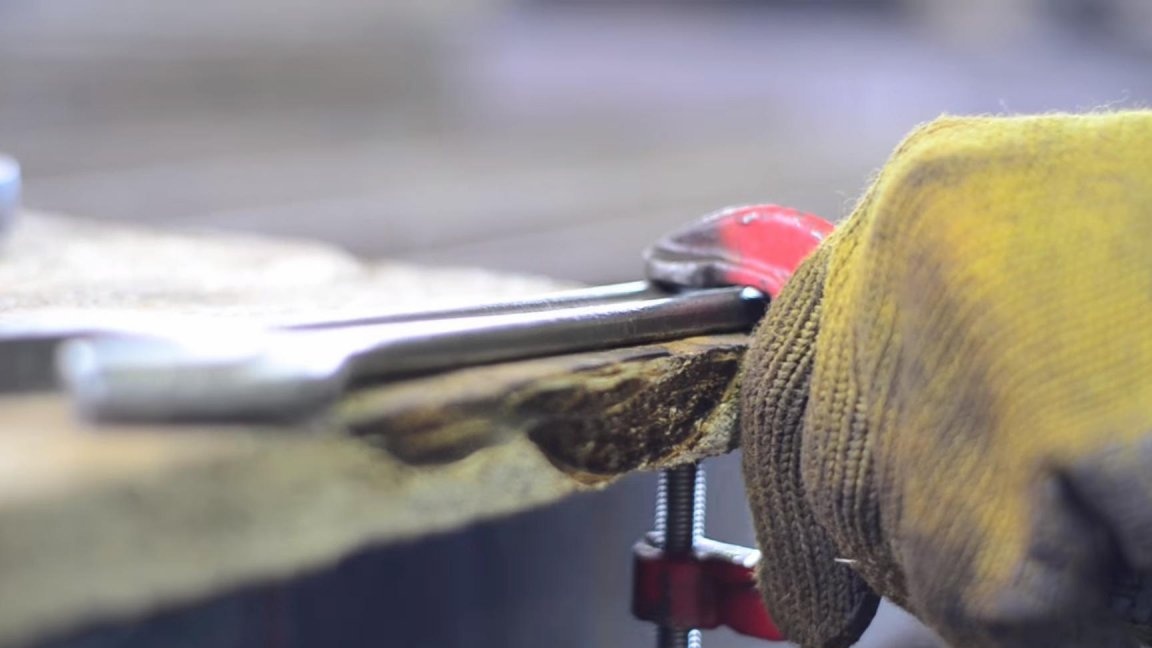
Be careful, fix the wrench so that it does not pop out when finalizing it, we act for security purposes and with the greatest accuracy. After fixing the key on the workbench, we proceed to the process itself. We take the angle grinder and set the cutting wheel, twist it as tight as possible.
Then saw off the lips of one of the sides of the key to the very edge at the bend. When working with the angle grinder, be careful, observe safety measures, wear a mask or glasses, earphones, and gloves.

Step Two
All sawn corners are sharp enough, which of course is unacceptable and traumatic for the tool. We grind the sharp edges at the saw cut on a grinding machine, in this case the graininess of the stone will need medium. Attention, all work with the grinding machine should be carried out strictly in goggles or a mask, without gloves and in a respirator, since in the grinding process a lot of fine dust from stone and metal is generated.

Step Three
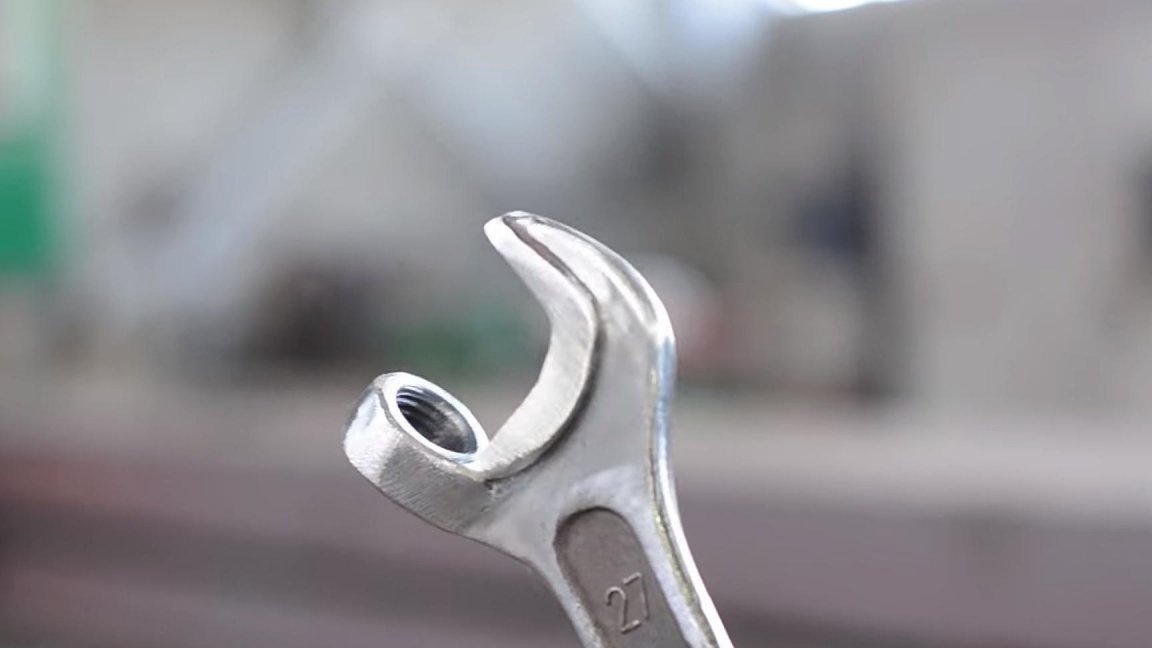
Now you need to remove one of the legs of the wrench from the back side, we will not need it. We fix the wrench on the workbench with a clamp and with the help of an angle grinder and a cutting disc we begin to cut off the excess part. Do not forget about safety measures and personal protective equipment. The result should be something like this.
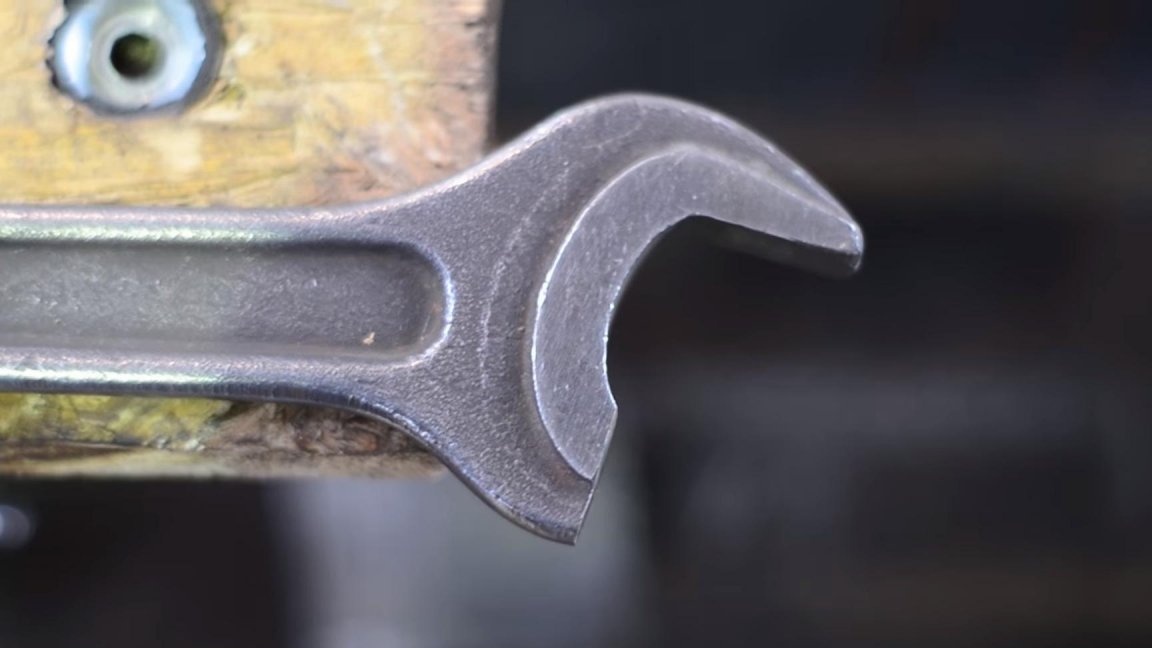
Next, you need to grind the adjacent surface of the key so that it becomes perpendicular to the plane of the sponge, we do this using an angle grinder and a grinding wheel. When working with angle grinders, observe safety rules and use personal protective equipment, and also remember that working with an angle grinder without a protective cover is prohibited.

Step Four
Next, we drill a hole strictly in the center of the bolt with a diameter of 3 mm. In order for the hole to turn out exactly in the center, it is necessary to make a small punching. We clamp the bolt in a machine vice and with the help of a drilling machine we get a perpendicularly even hole.

Next, we cut the thread in the previously made hole with a M4 tap. For better threading, as well as reducing the chances of breaking and blunting the cutting edge, add a little technical oil to the place of the future thread.
After the thread is ready, we proceed to the manufacture of a movable sponge.
Step Five
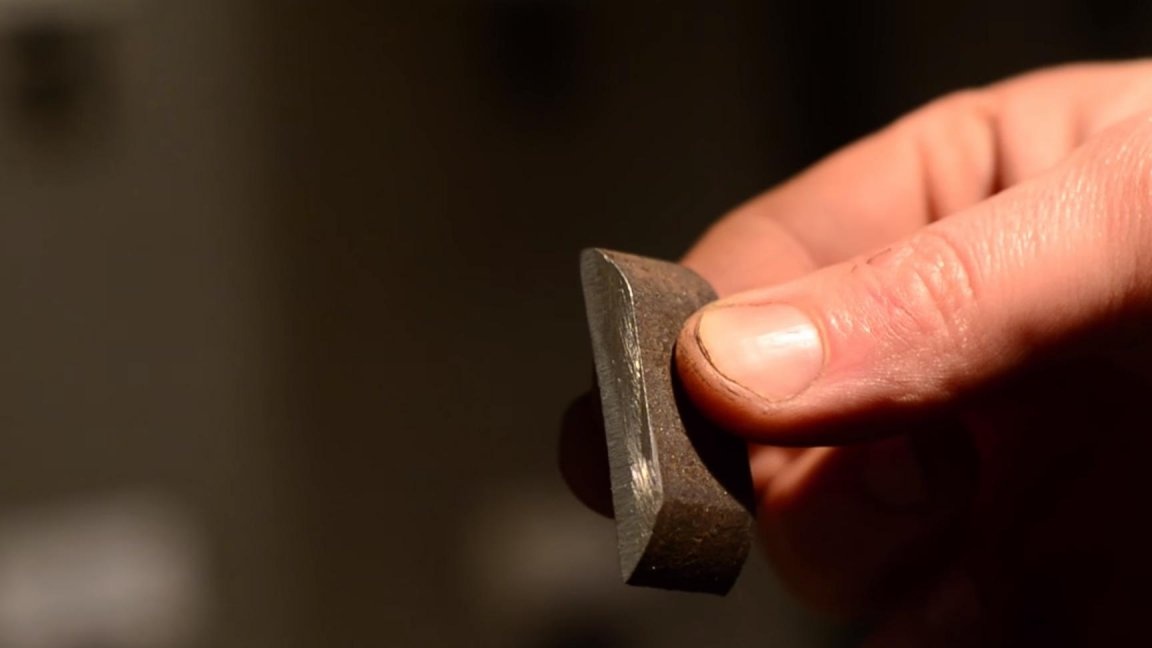
The role of the movable sponge will be performed by a metal plate, its thickness is 8 mm. The strength of our homemade key will depend on the thickness of this plate, as well as the quality of the metal from which it is made, since it will bear the main load when unscrewing (twisting).
First, we drill a hole in it, stepping back from the edge a distance equal to the length of the fixed jaw, with a diameter of 4.2 mm using a drilling machine, and on the back of the plate we make a hole under the screw head with a drill with a diameter of 8 mm.
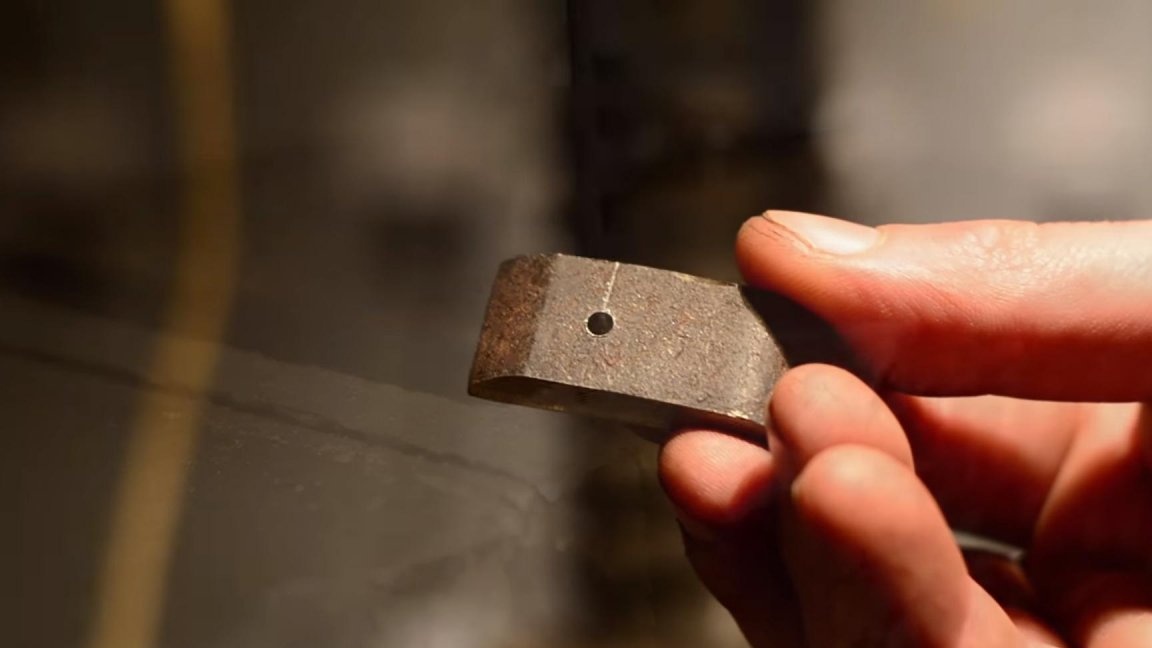
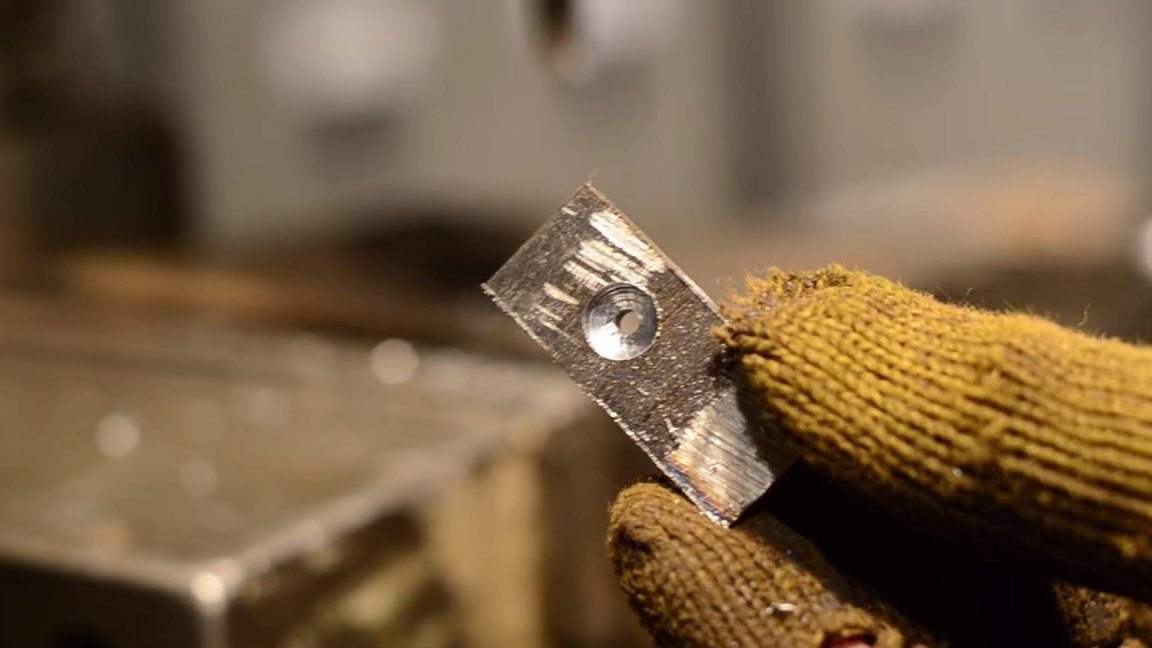
In the process of drilling, add a drop of technical oil to the drill to increase the service life of the cutting edge. In the same plate we make a groove equal to the thickness of the key, this can be done on a grinder or a angle grinder with a cutting disc. But at the same time you need to be extremely careful, and it is better to hold the workpiece itself with pliers or a manual vise in order to avoid personal injury.
Step Six
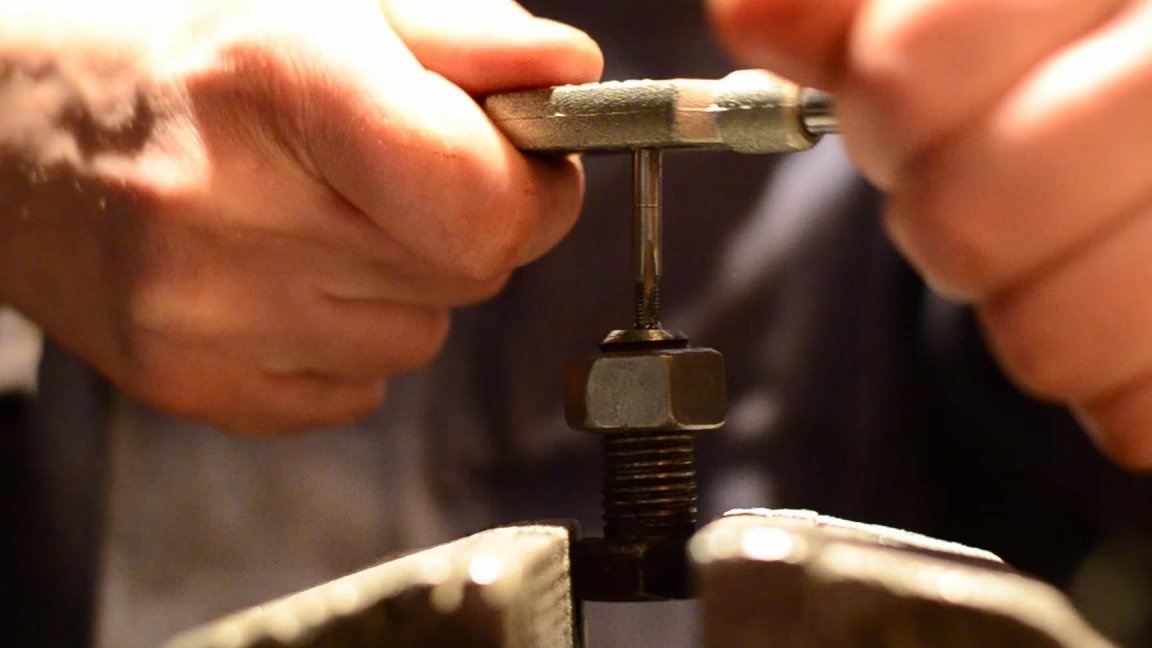
Now you need to weld the nut so that its plane is parallel to the plane of the sponge. All welding work is done by electric arc welding. It is also important to weld the nut together with the bolt to avoid damage to the thread during the welding process. When working with the welding machine, be careful, observe safety measures and use welding gaiters, a protective mask.

After we welded the nut to the key, we remove the formed slag and grind the irregularities of the weld to give the key aesthetics. It is always more pleasant to use a beautiful tool than a rusty and plain one. Grinding is done by an angle grinder with a grinding wheel mounted on it. Do not forget to use safety glasses, gloves and a respirator, a lot of harmful dust is released during the grinding process.
Seventh step.
All parts for assembling the tool are ready.
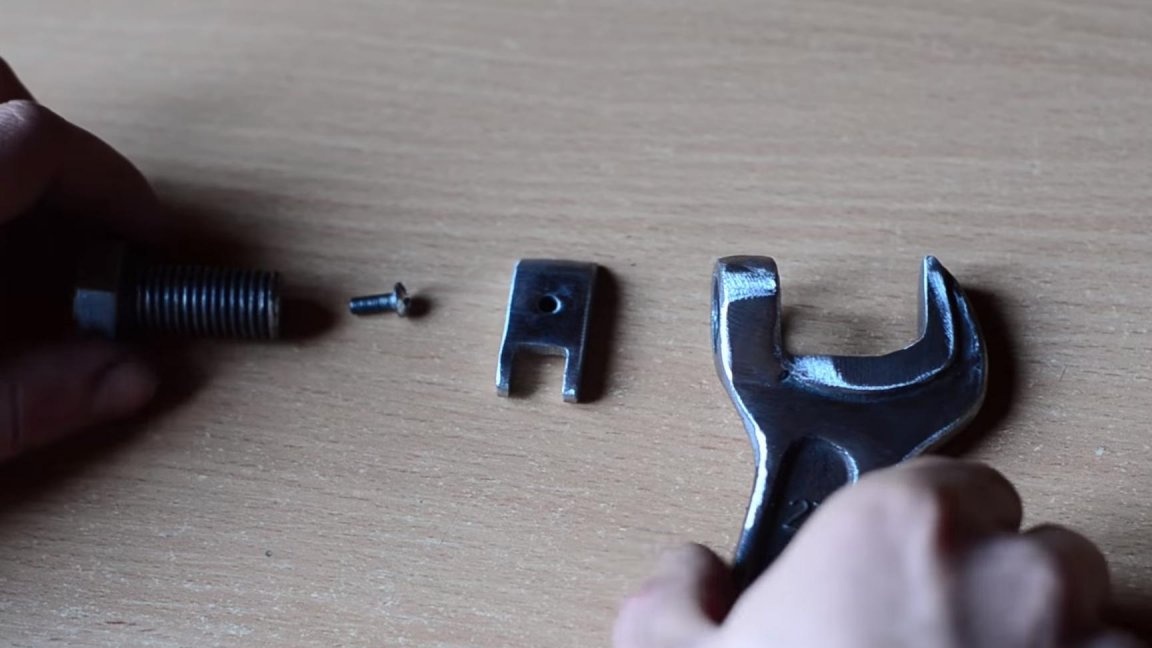
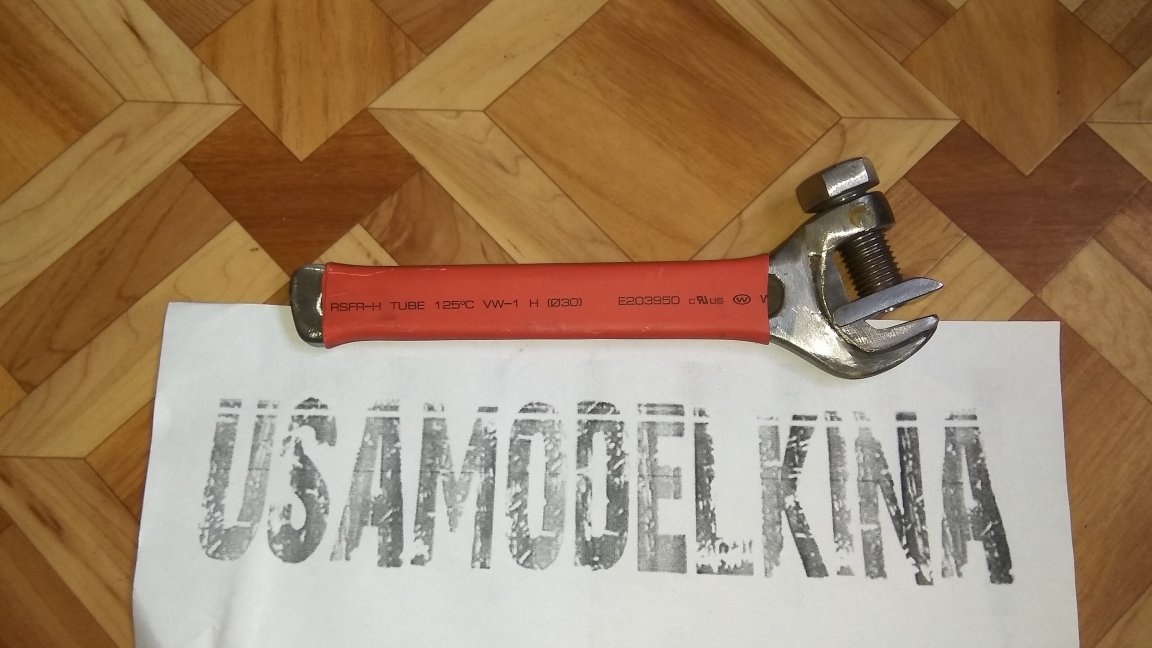
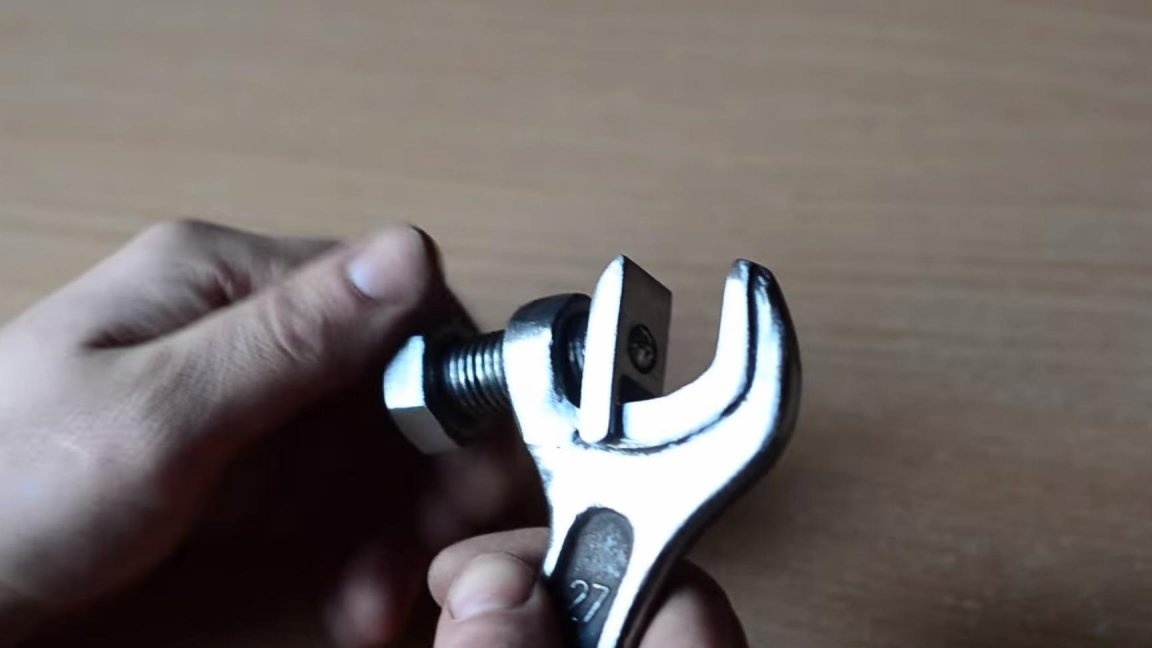
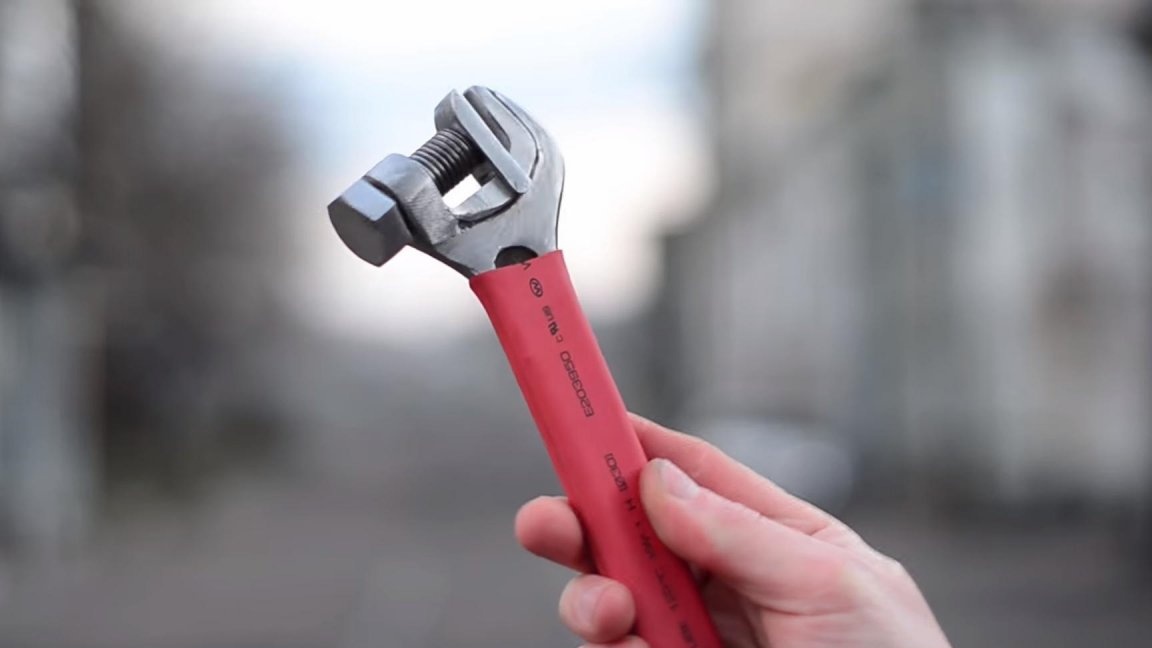
We screw the bolt into the nut, install the movable sponge and tighten the screw. At this stage, the homemade key is almost ready, but for ease of use it is necessary to make a handle, because it is much better to hold on to the non-slip handle.
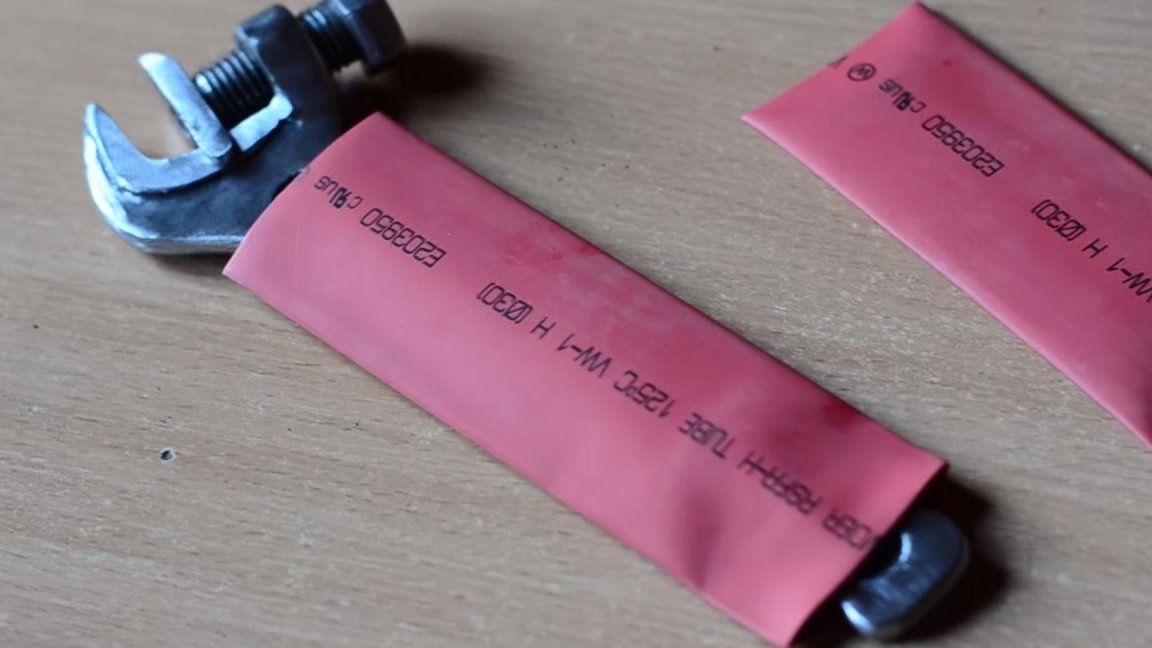
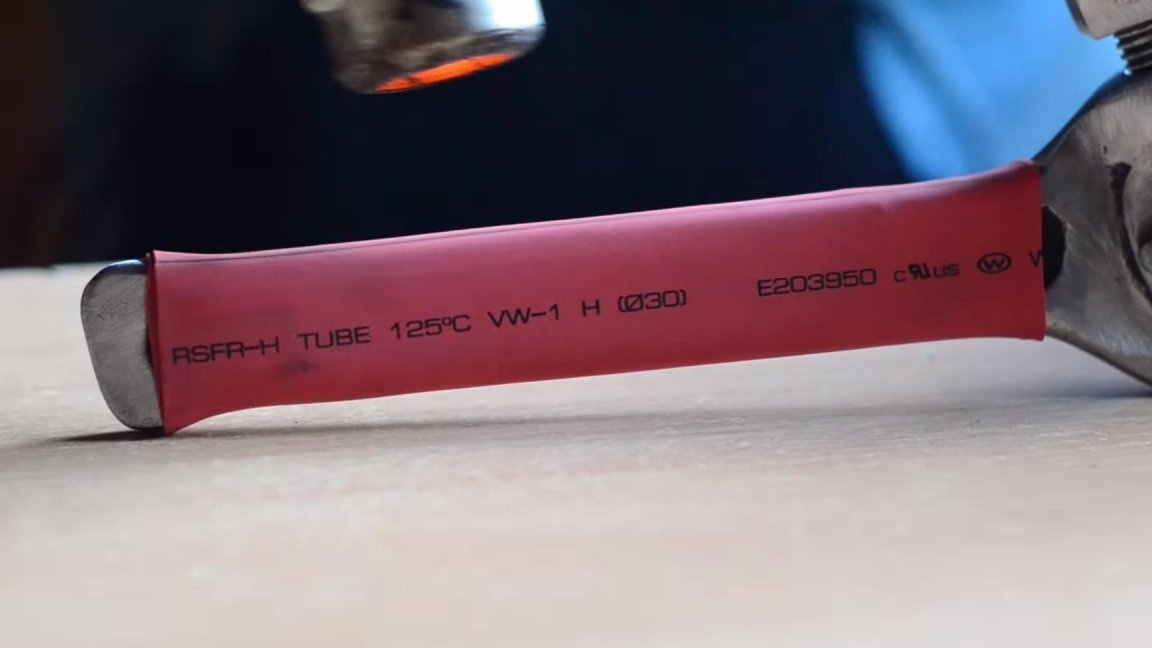
The handle in this case will be made of ordinary heat-shrink tubing of large diameter, which can be purchased at any radio store. We put the heat shrink on the handle and heat it with a building hairdryer so that it shrinks well, then we make the second layer in the same way.
Step Eight.
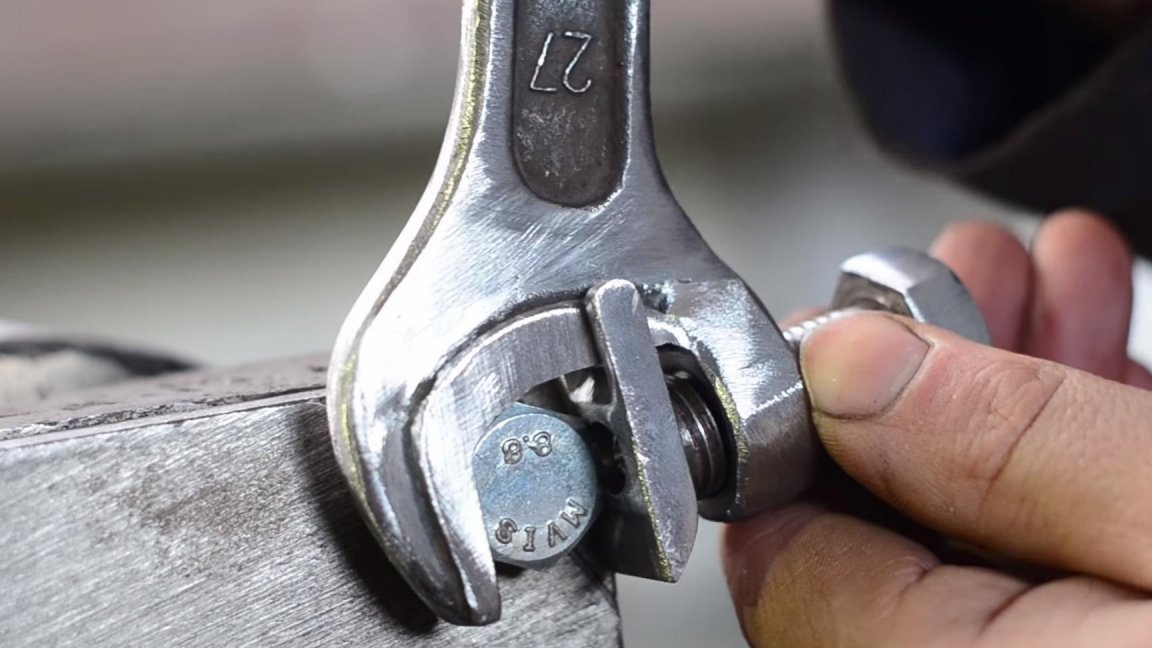
It's time to check out a homemade adjustable wrench in action.
The principle of operation of this key is simple enough to adjust the size of the head of the bolt or nut that you are going to unscrew or tighten, you will need to tighten the bolt, which moves the movable sponge, after which you can safely use the key for its intended purpose.
Such a homemade key will also help you save space, time and money, as it is a very budget option among those purchased. Of course, such a key will not withstand the enormous loads that you will place on it, due to the fact that its movable sponge is made of a bolt and nut, which consist of other alloys than the key itself.
That's all for me, thank you all for your attention, creative successes and new ideas.