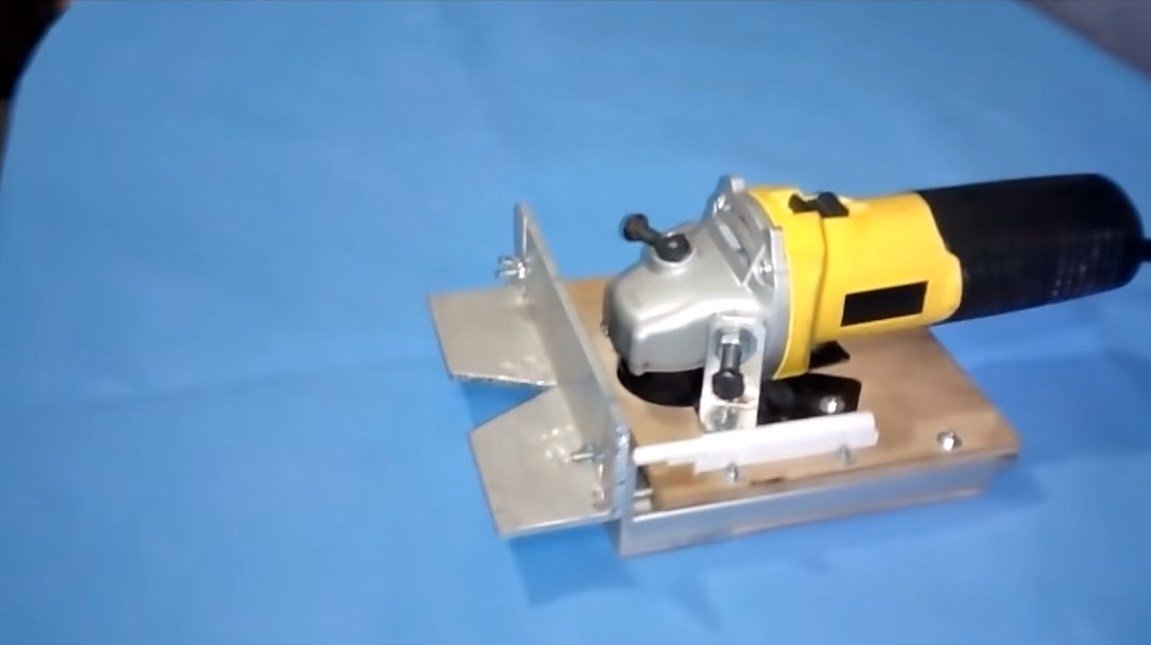
Hello everyone, in this instruction we will consider very useful homemade for the manufacture of of furniture. Using the device, you can make slotted cuts in bars or boards to connect them later with the help of spikes.
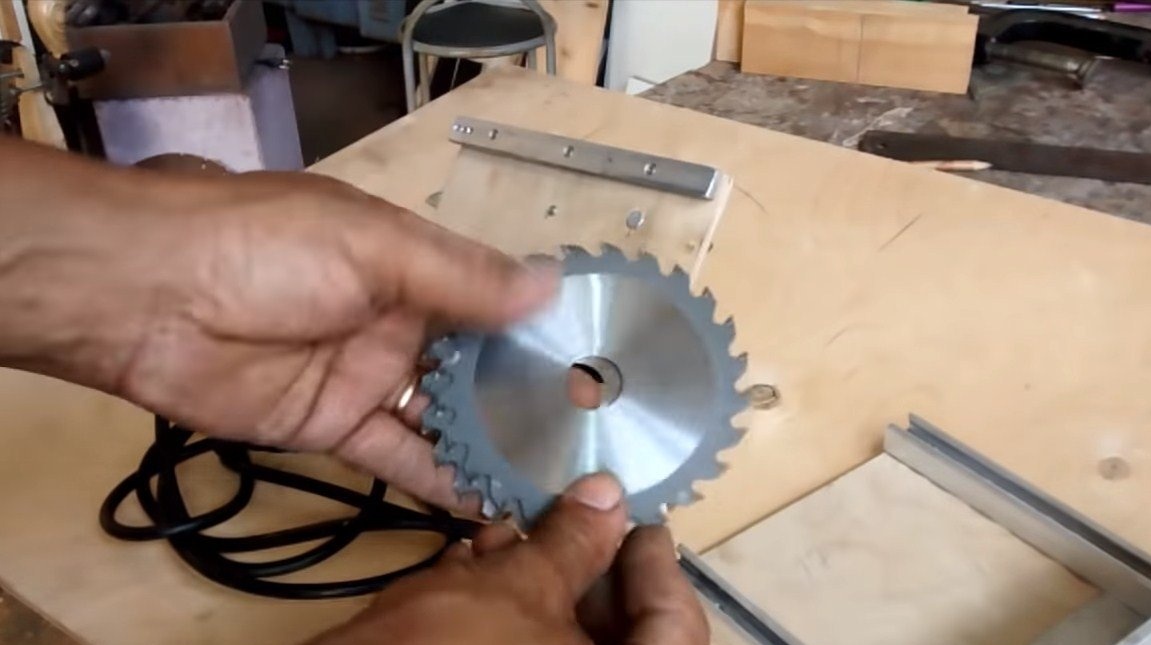
Everything is done on the basis of a grinder, the device is very convenient to use and quite safe. The author used a cutting disk circular, with a large number of teeth, many consider such disks unsafe. But in our case, this is permissible, since the grinder is securely fixed, and the disk is hidden in the case. Homemade assembly is also quite easy, the design of the grinder does not change in any way, and the cost of materials is minimal. If you are interested in the project, I suggest that you familiarize yourself with it in more detail.
Materials and tools used by the author:
Material List:
- Bulgarian with a disc on wood;
- a guard for the grinder;
- plywood;
- ;
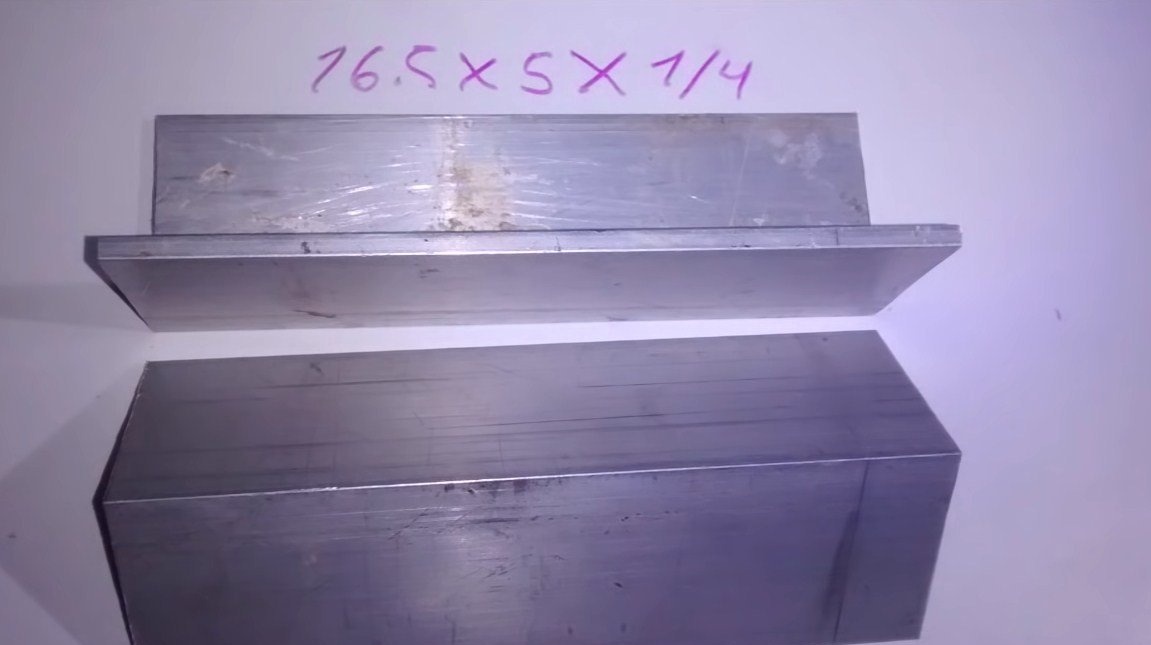
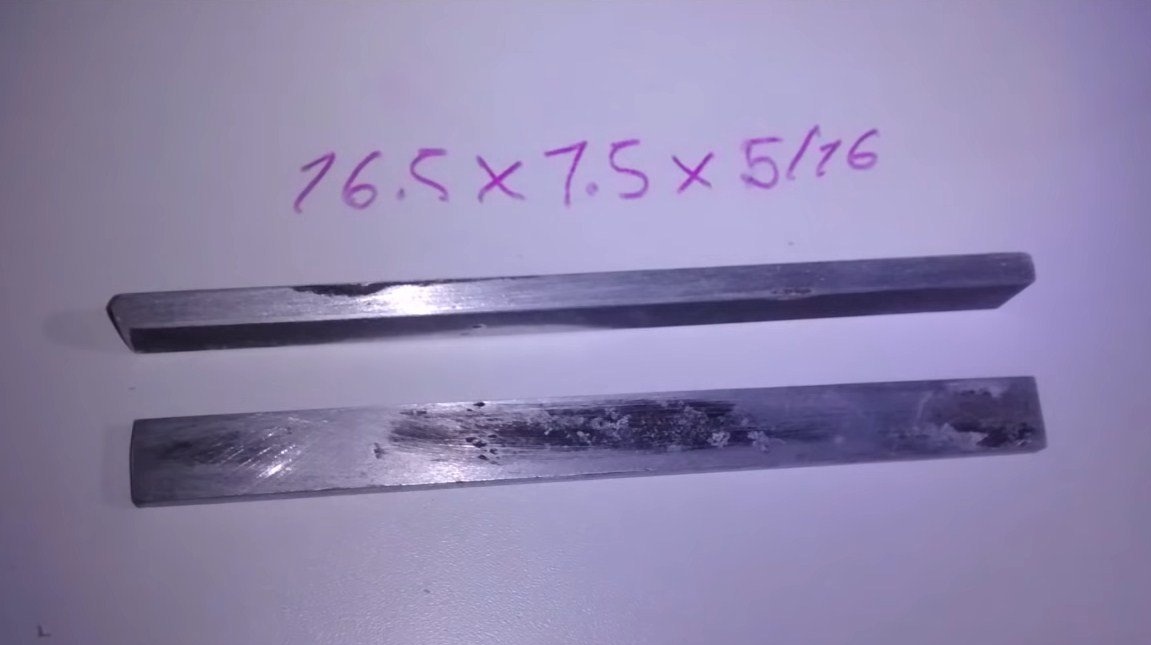
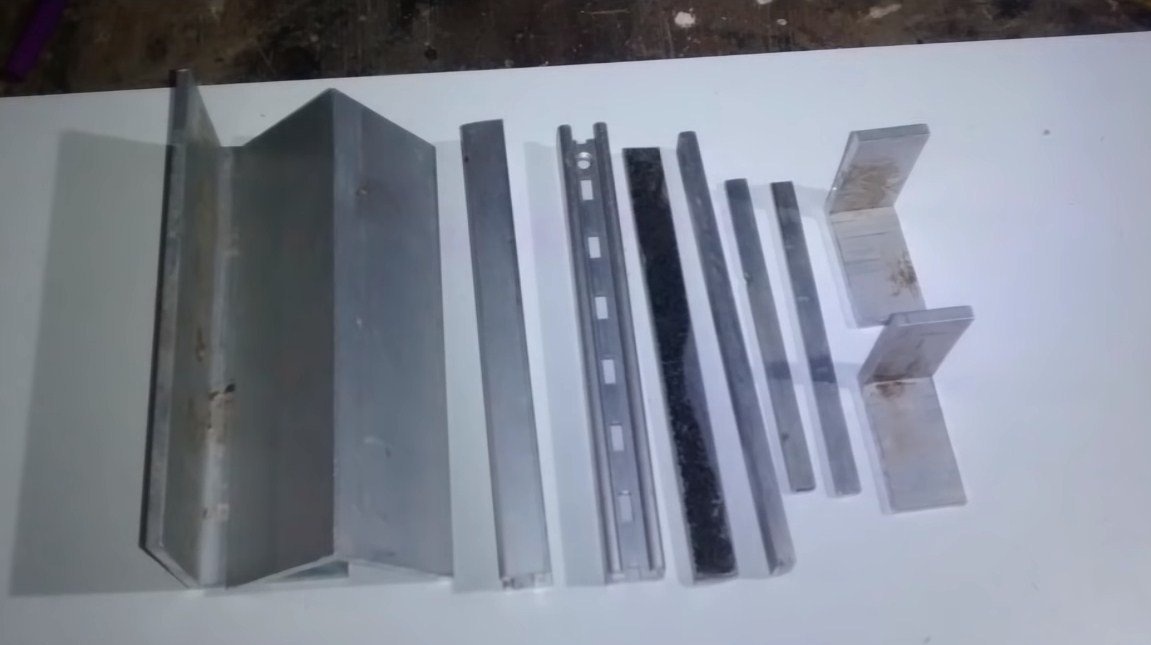
- aluminum corners;
- self-tapping screws;
- Super glue;
- bolts with nuts;
- furniture spring or the like.
Tool List:
- drill;
- screwdrivers and wrenches;
- a tool for cutting plywood;
- grinder;
- clamps;
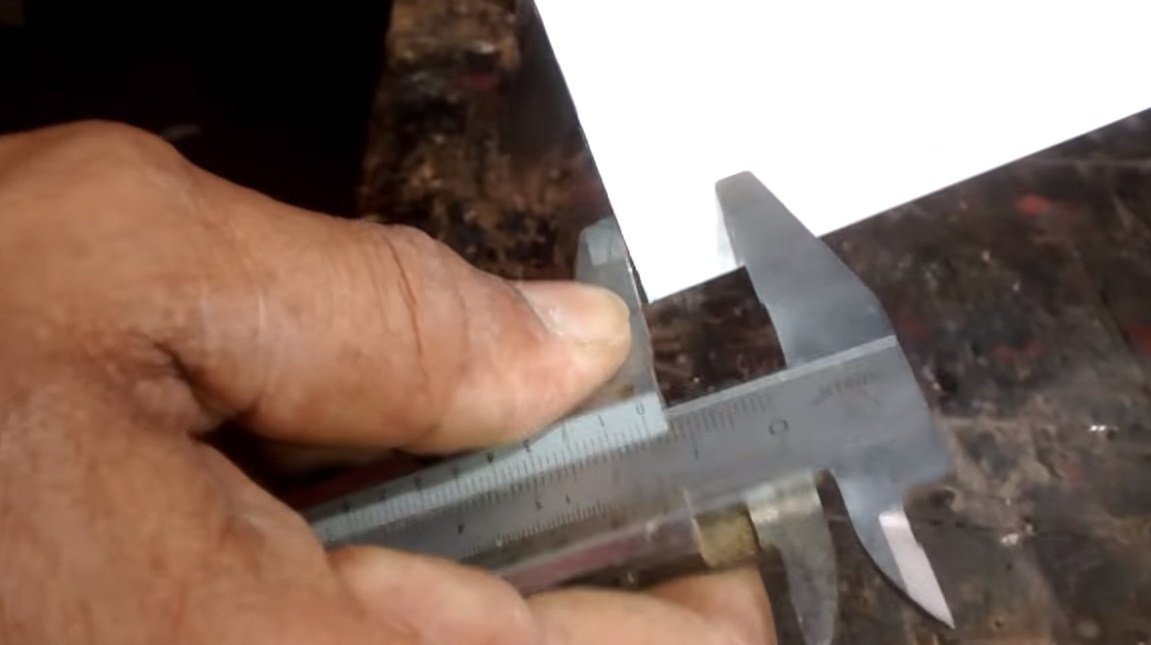
- square, ruler, vernier caliper, pencil.
Homemade manufacturing process:
Step one. Bracket for grinder
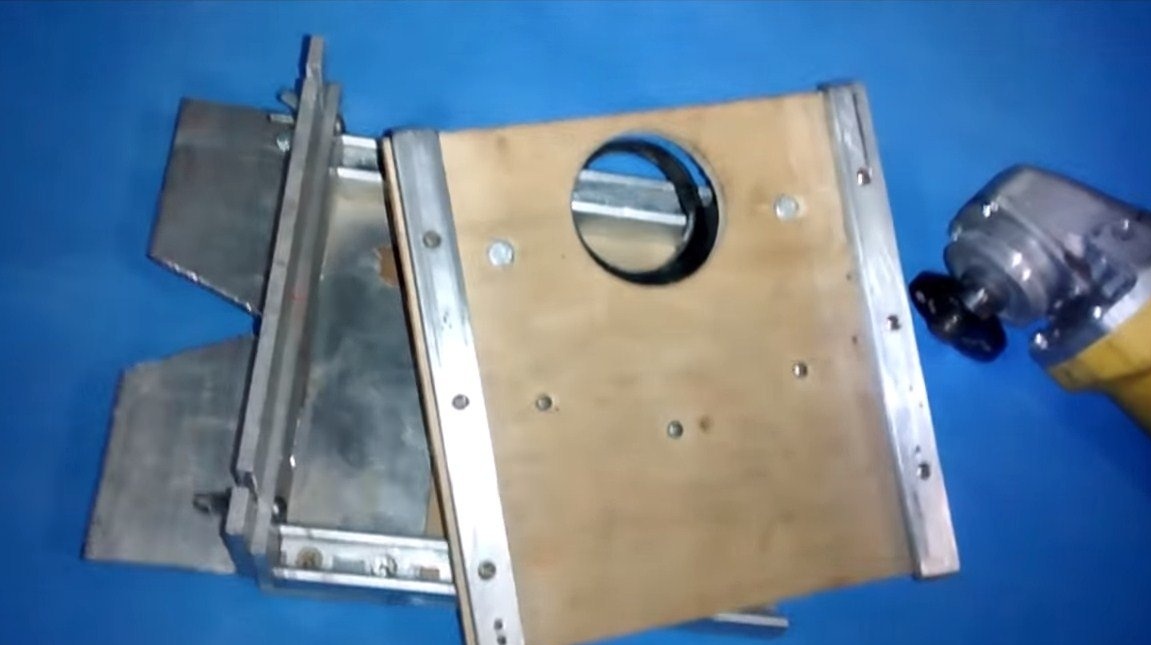
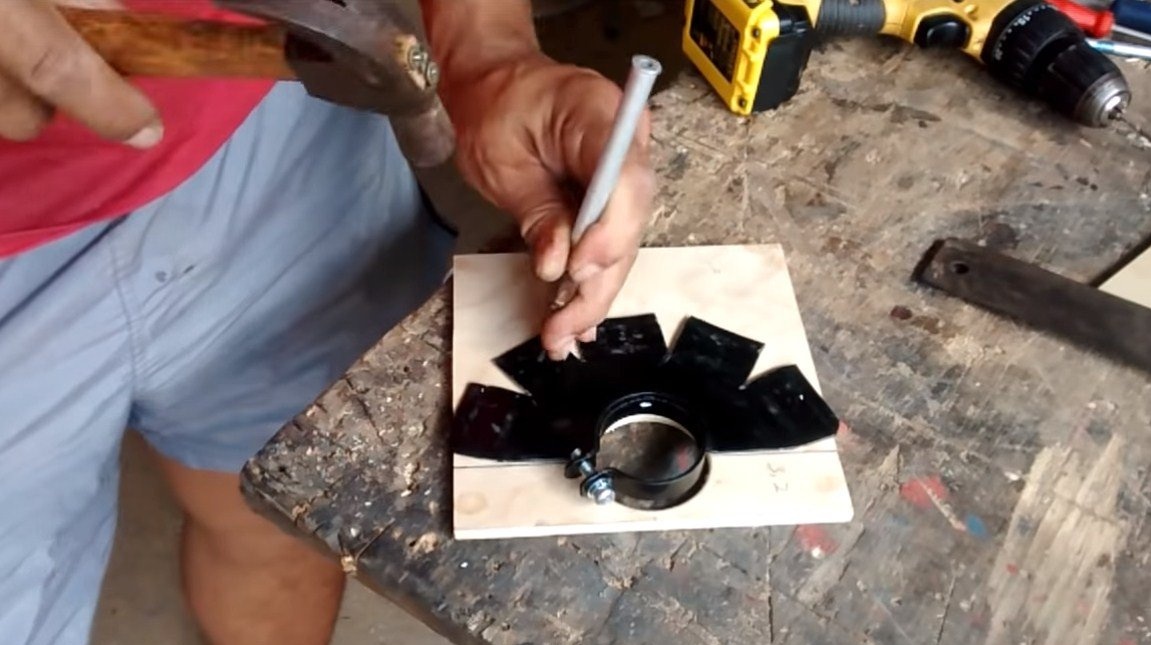
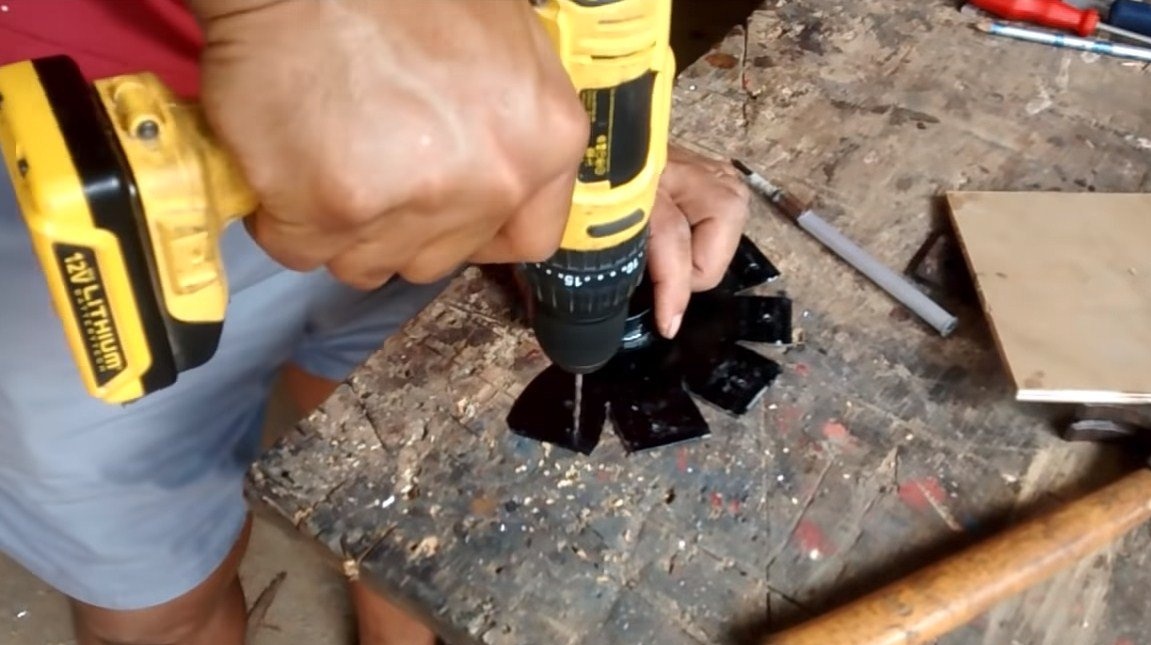
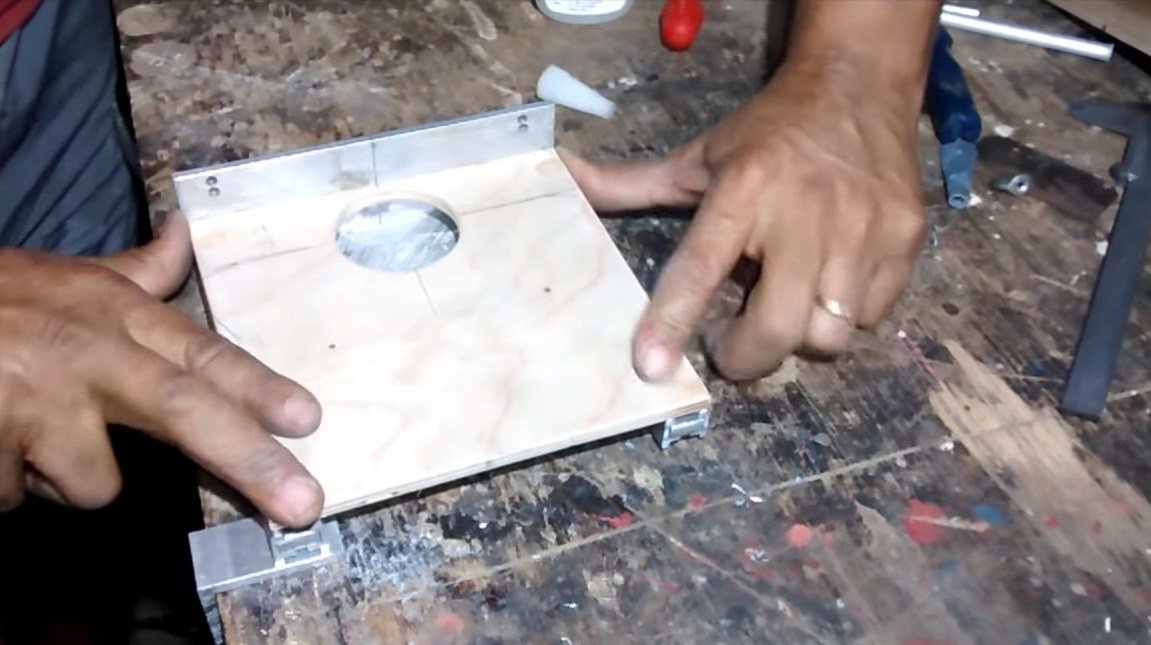
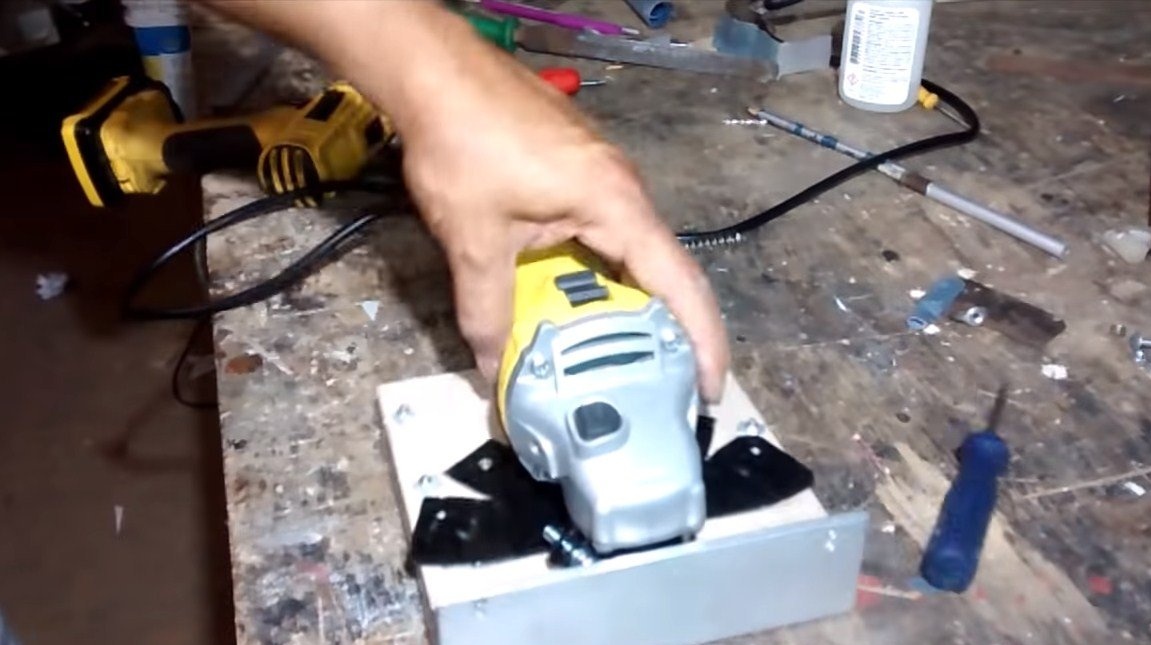
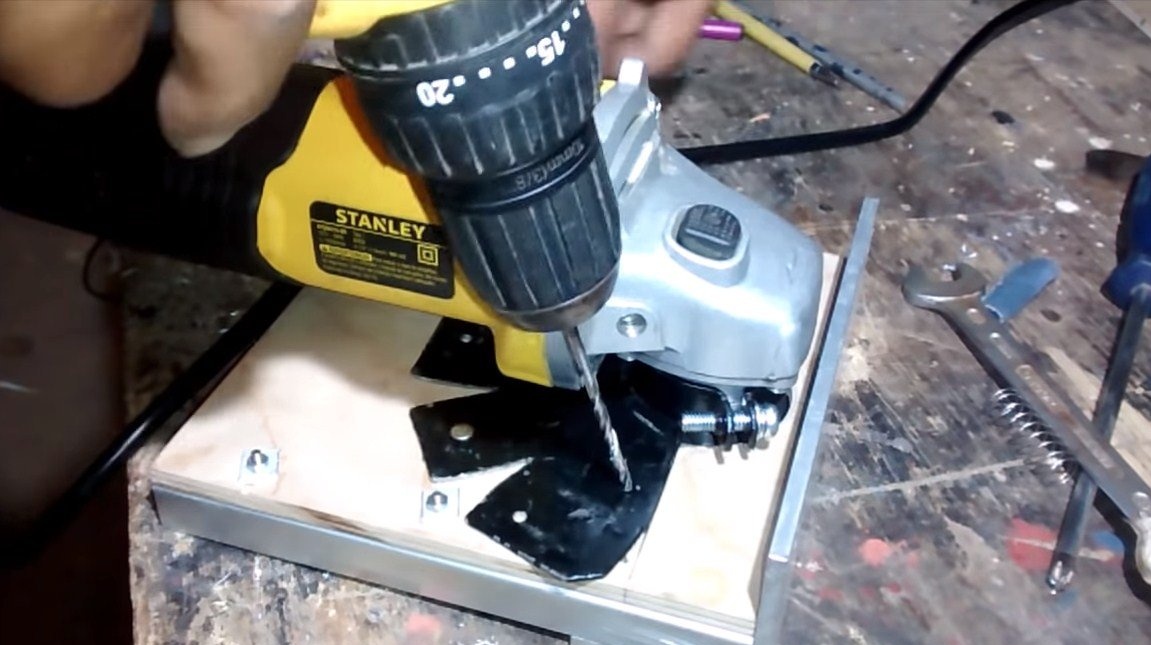
First of all, we will make a bracket for the grinder. The Bulgarian is attached to the platform from plywood, for this we cut off the desired piece and drill a hole in it with a crown.
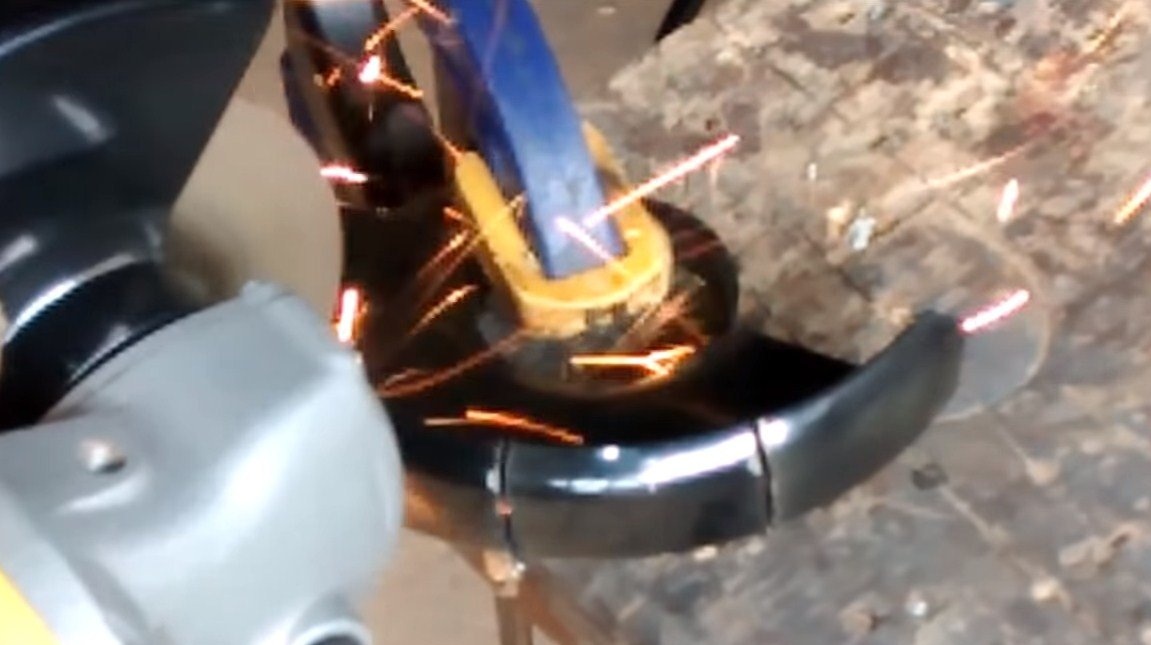
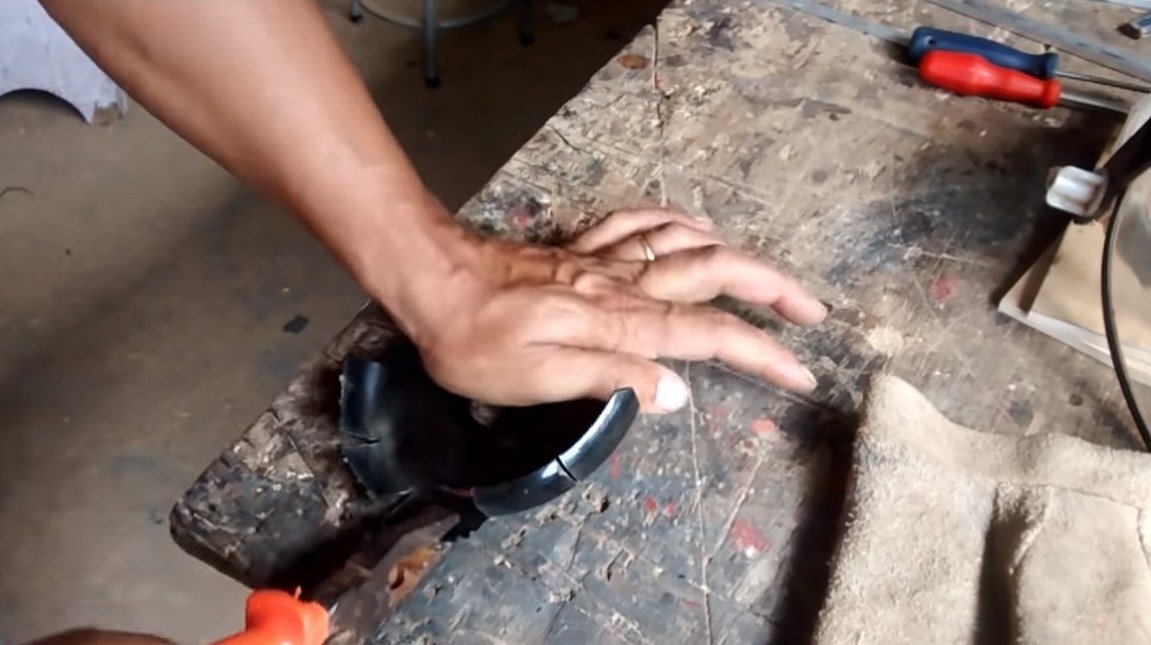
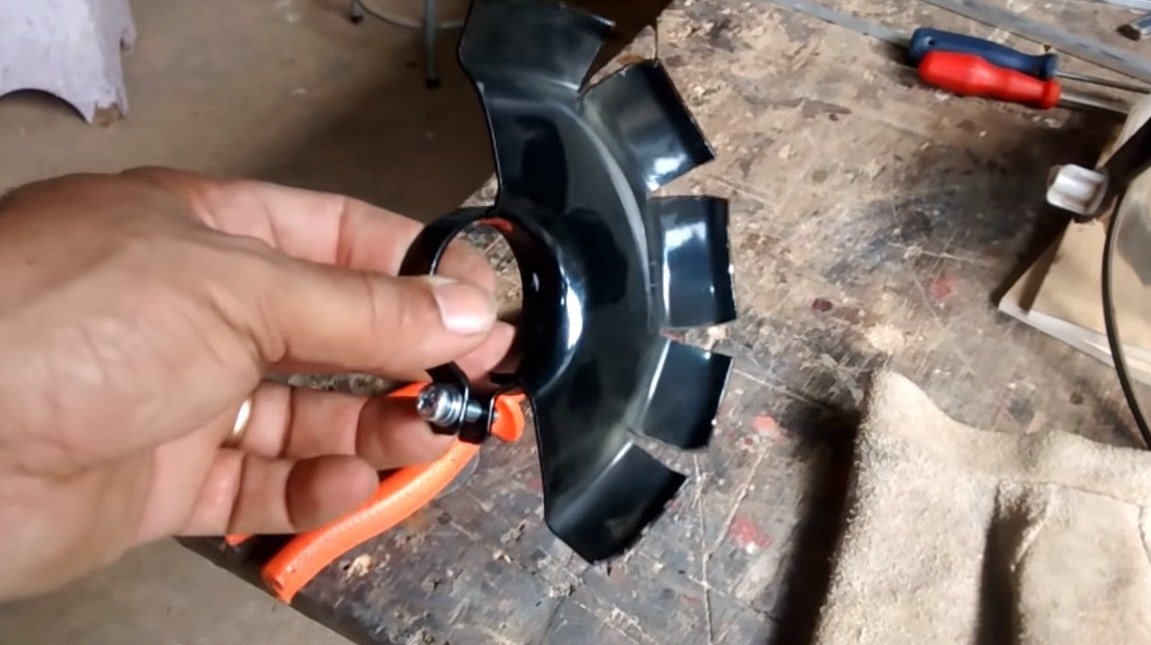
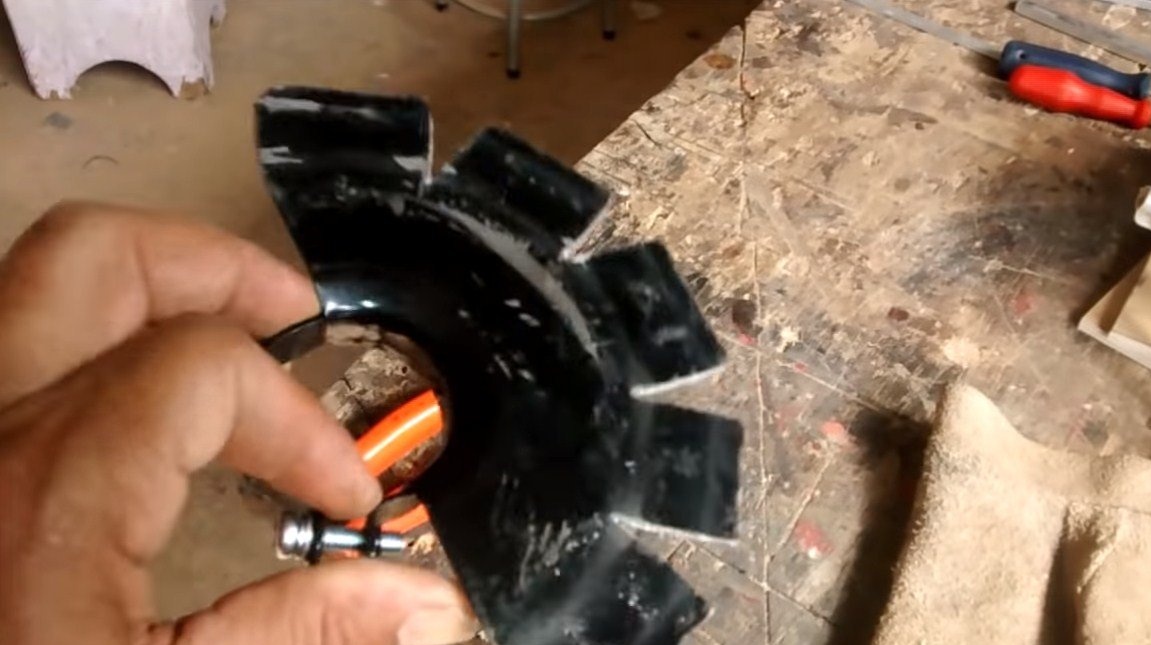
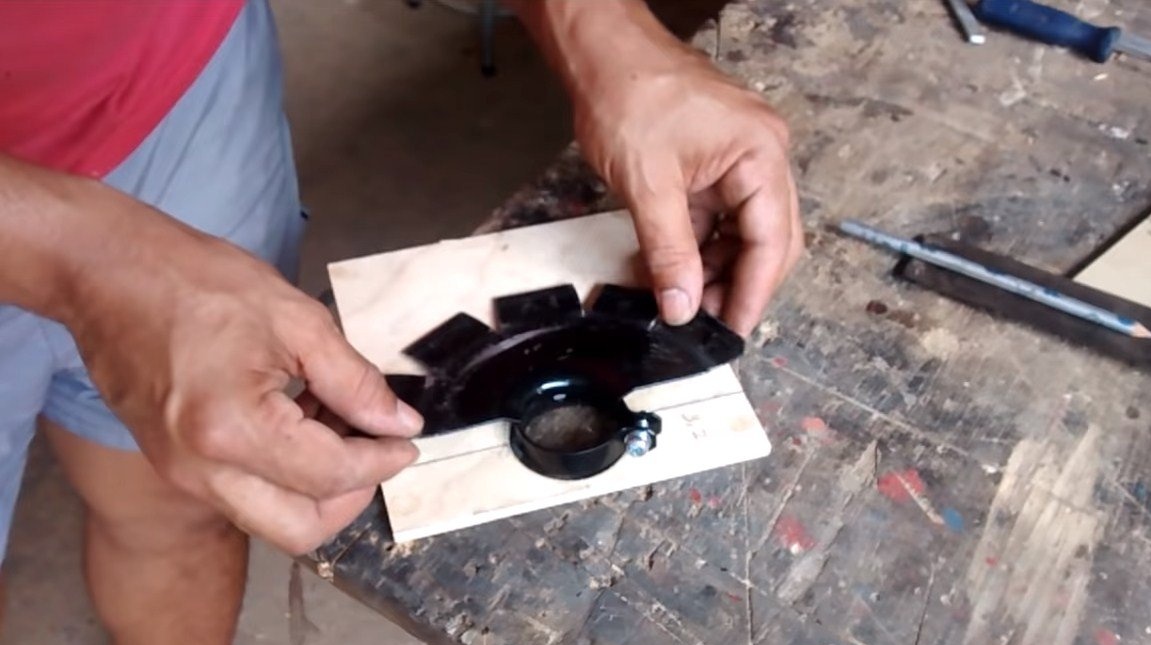
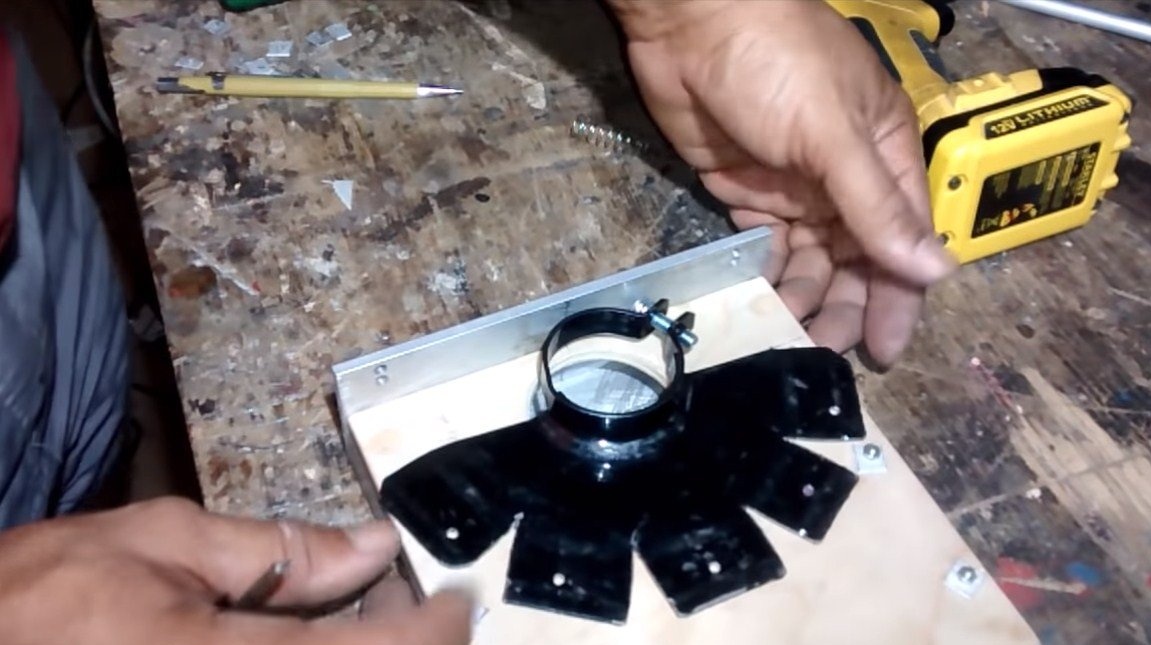
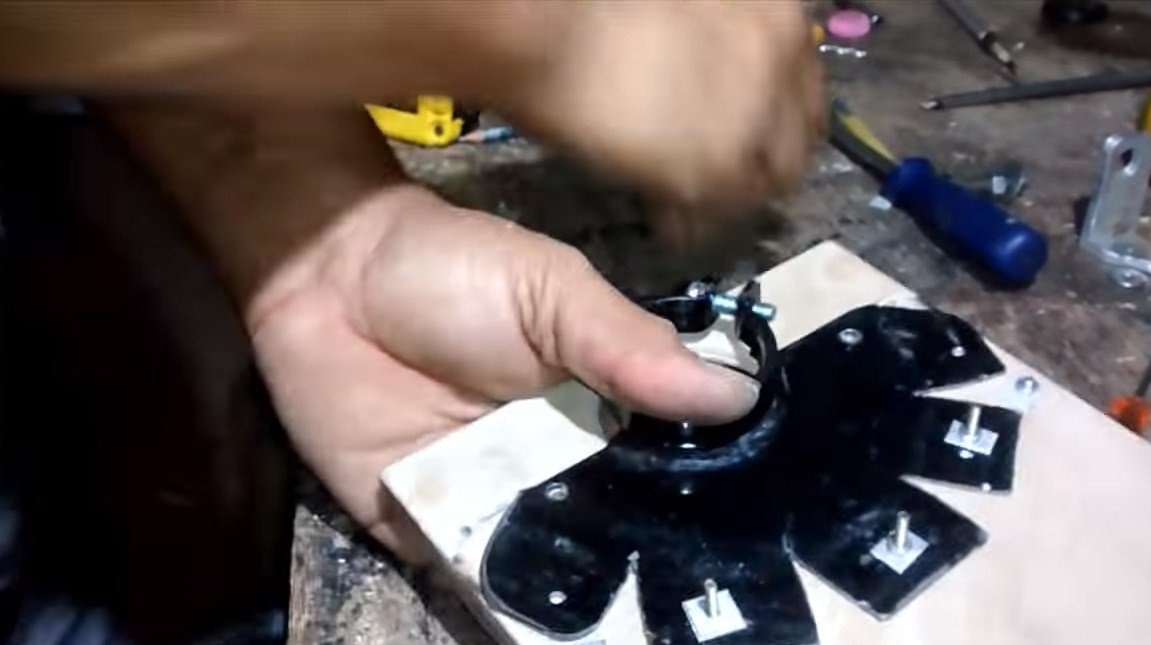
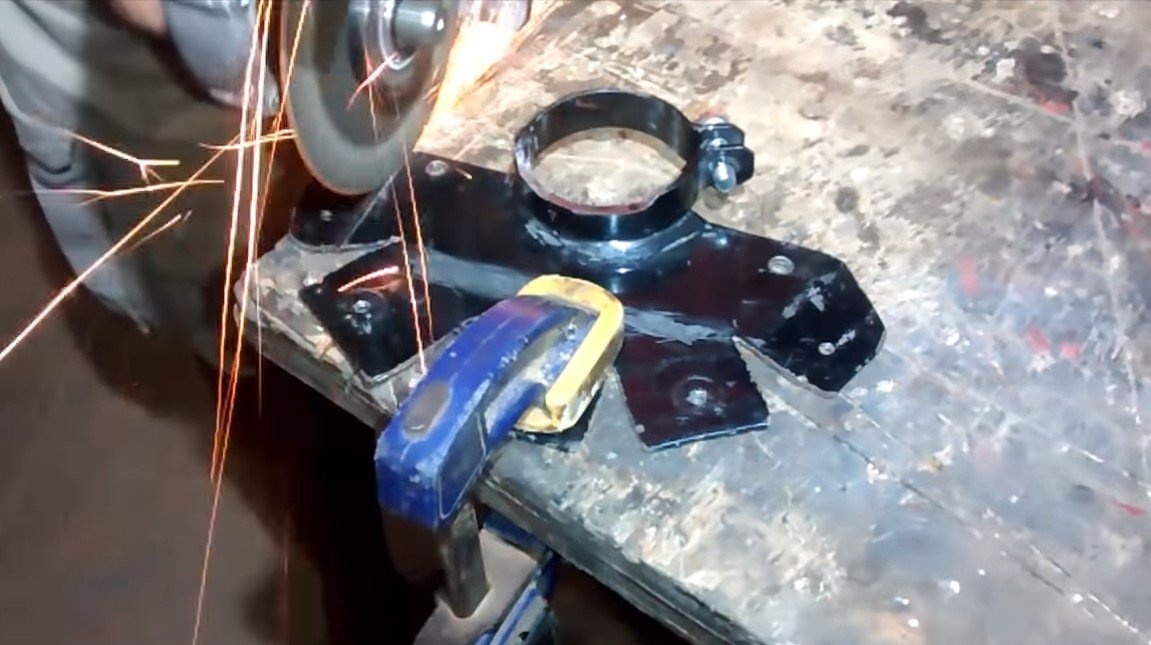
Next, we make the bracket itself, for these purposes the author decided to use a protective shield for the grinder, you will need to buy another one. It needs to be cut as the author in the photo and straightened. As a result, we will get plates in which we then drill holes and tighten the screws.

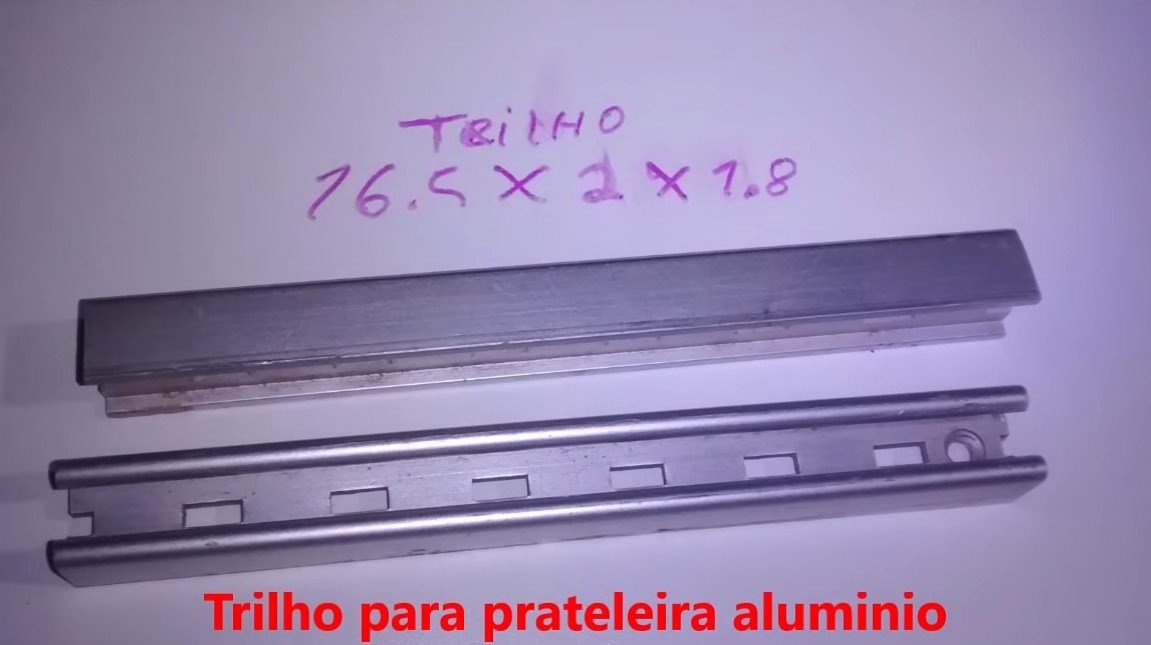
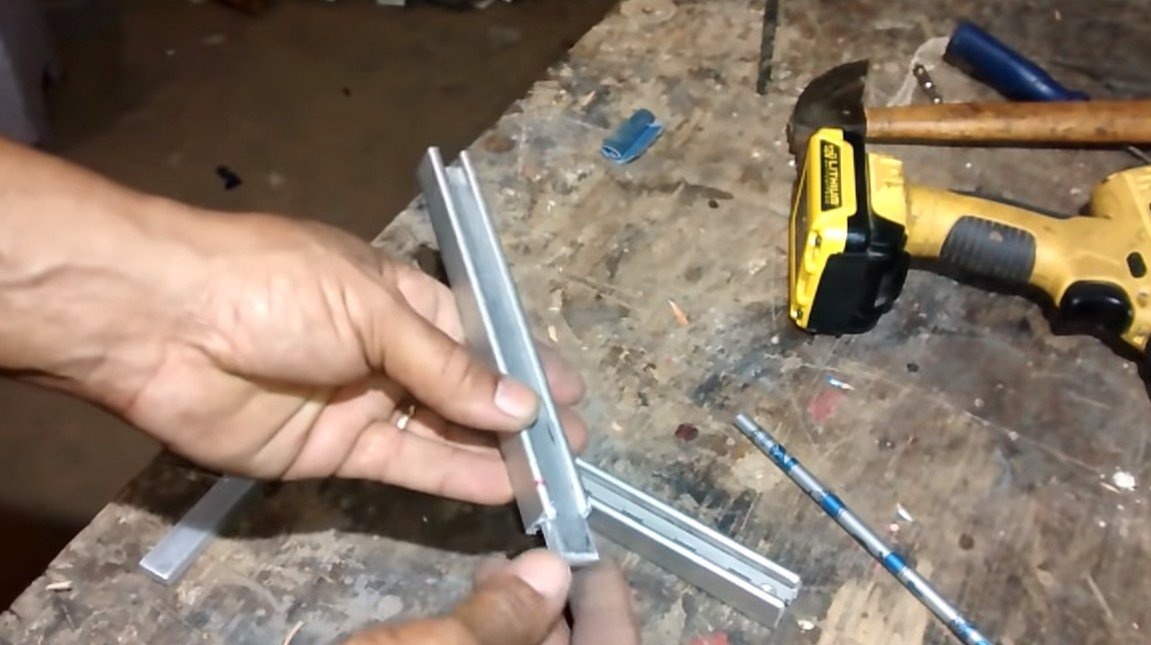
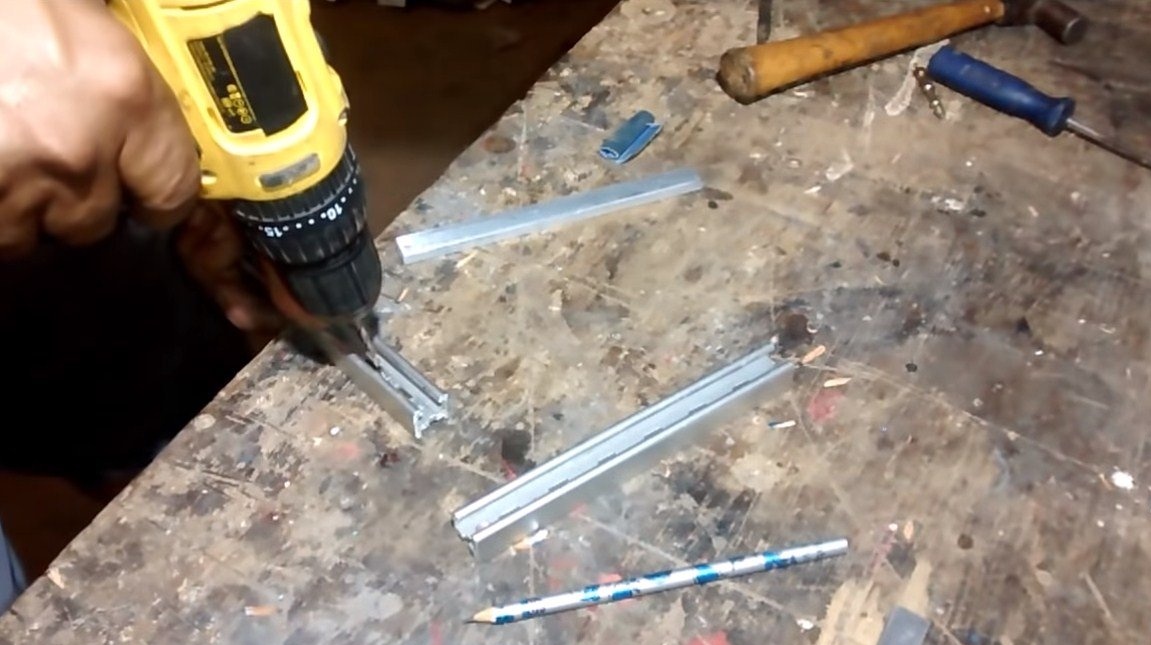
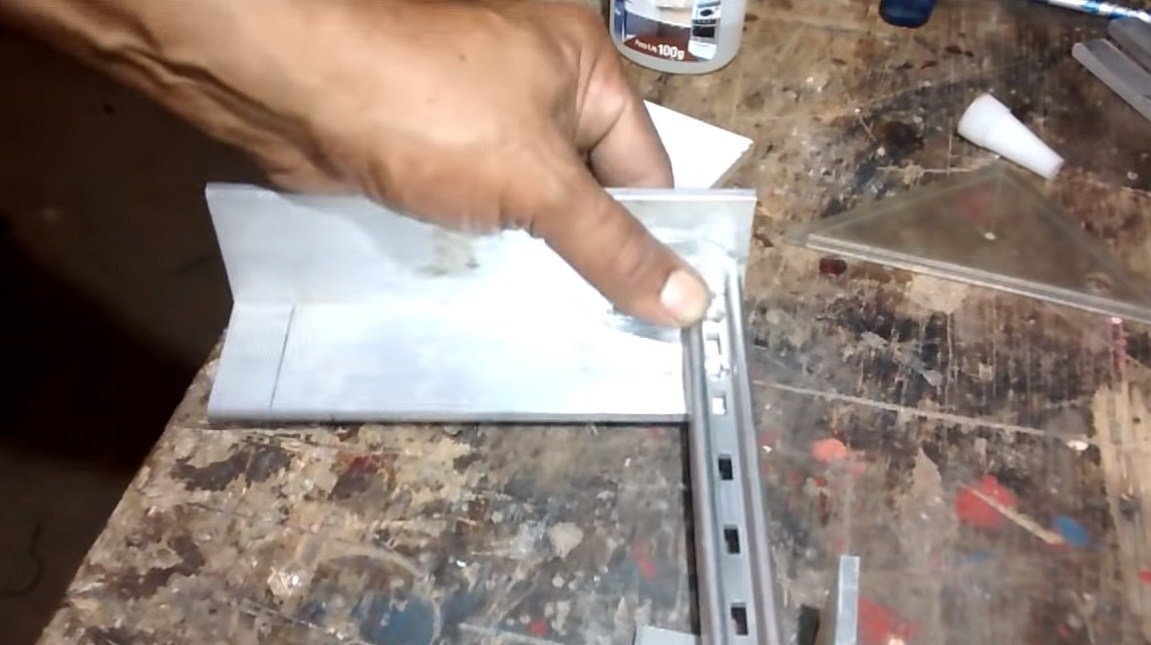
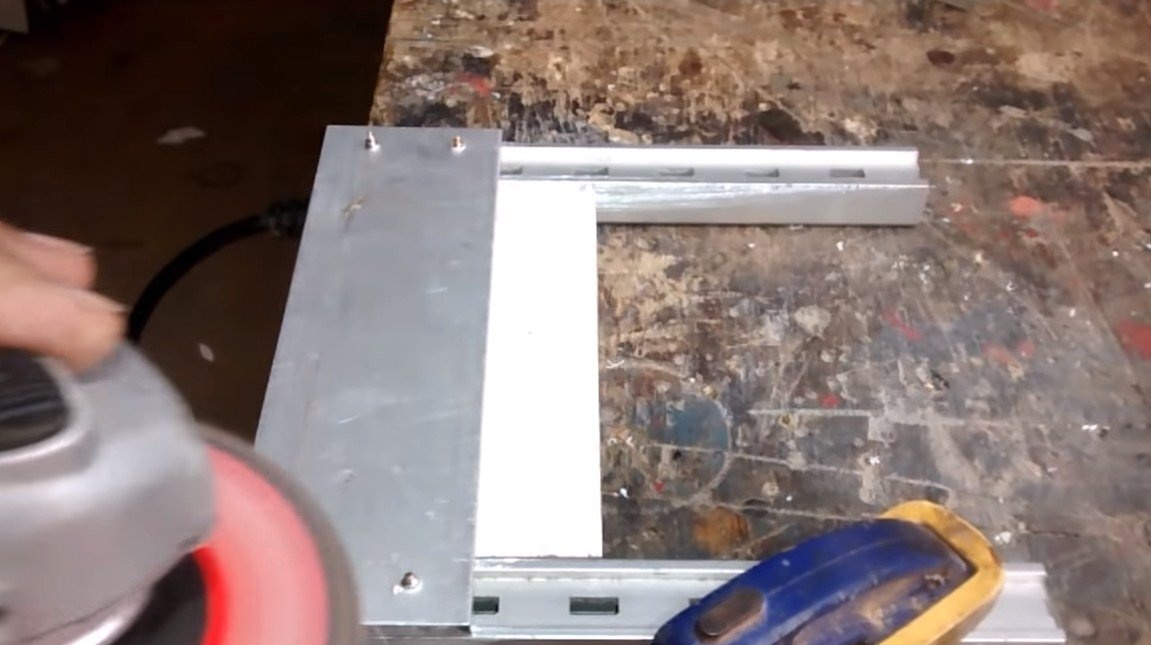
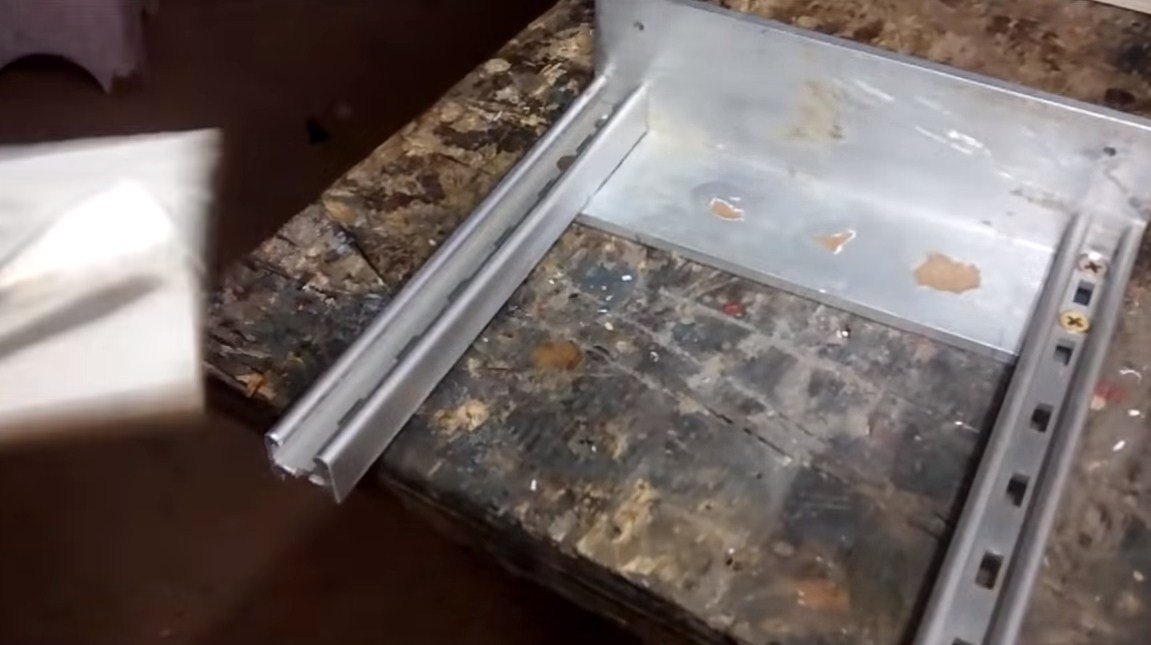
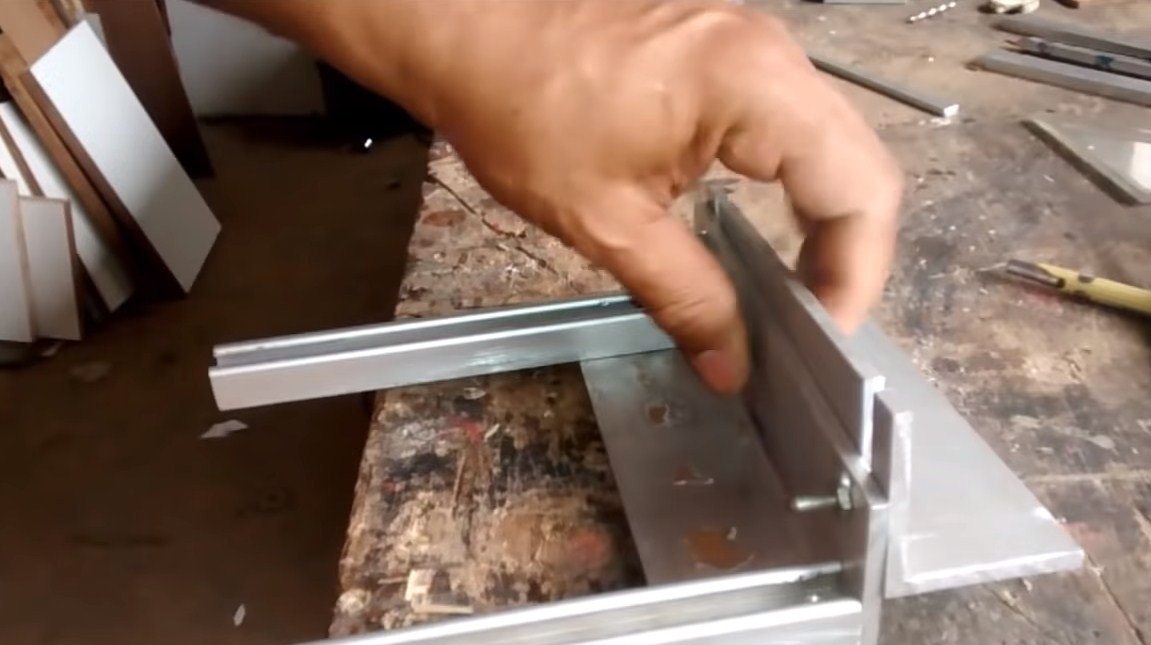
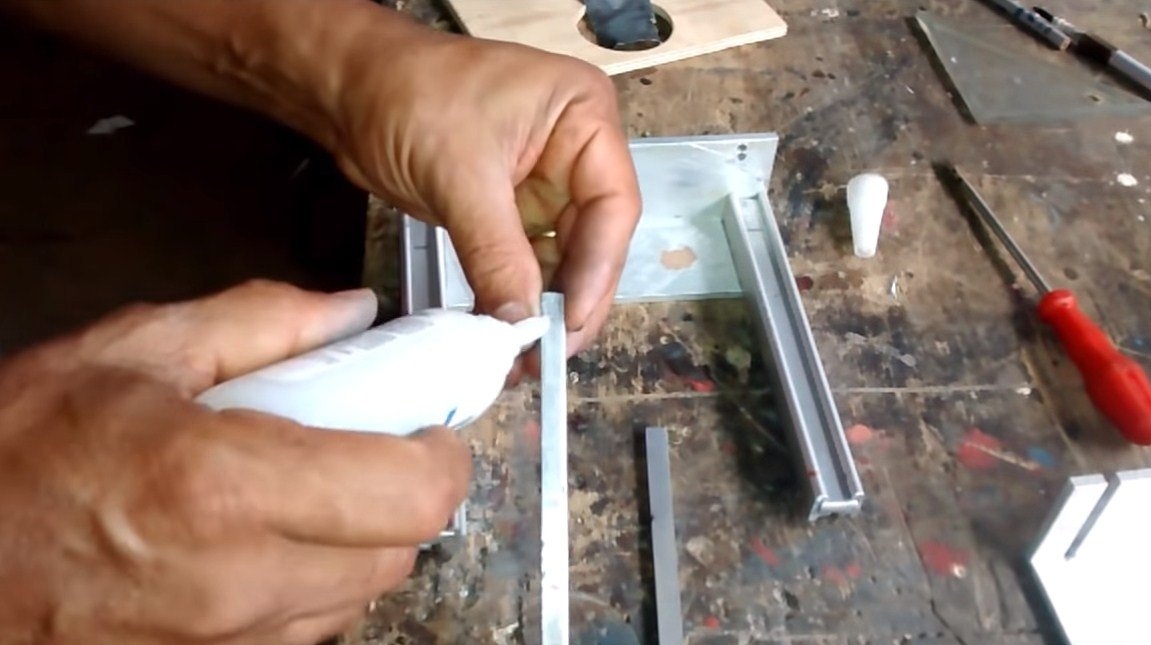
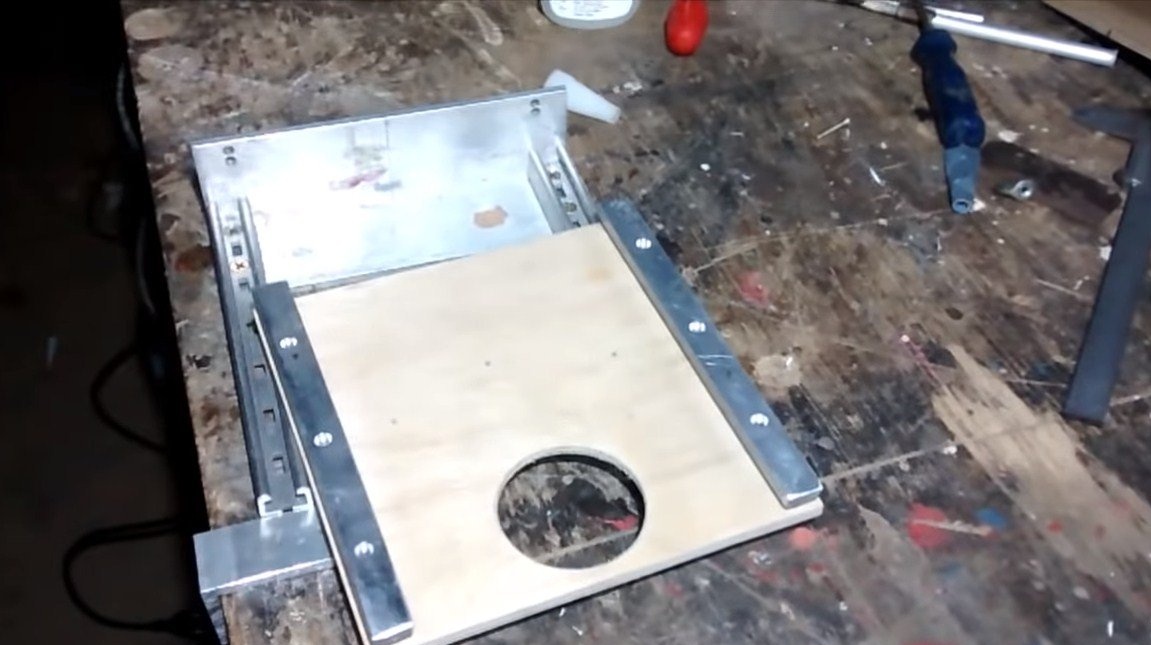
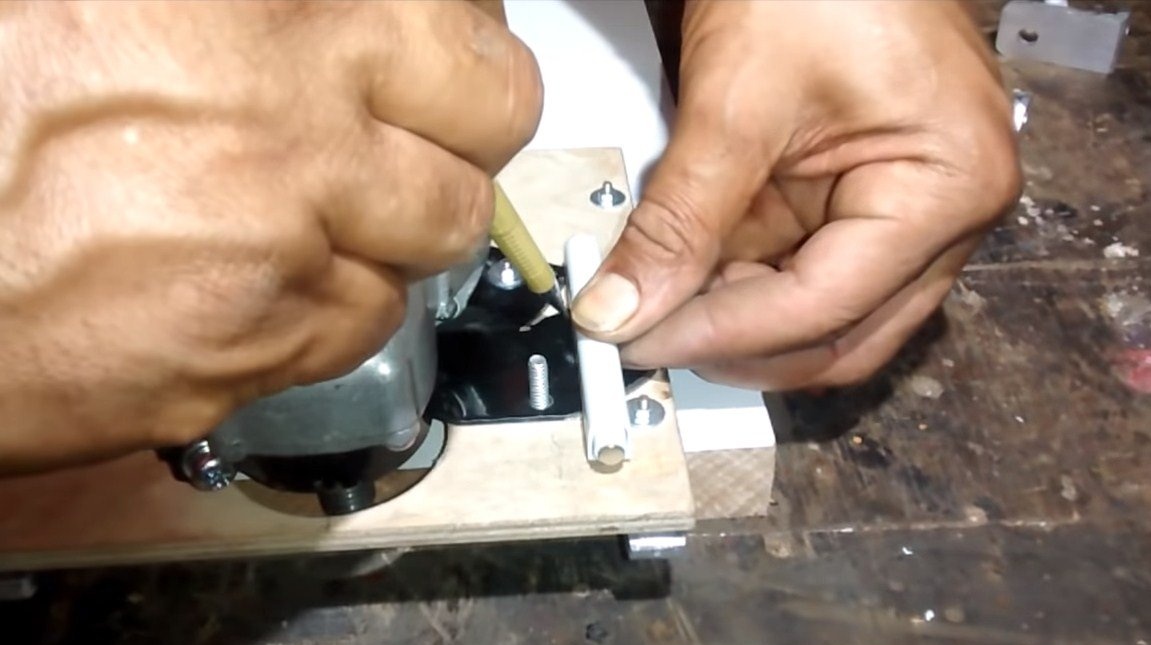
Step Two Install Sliders
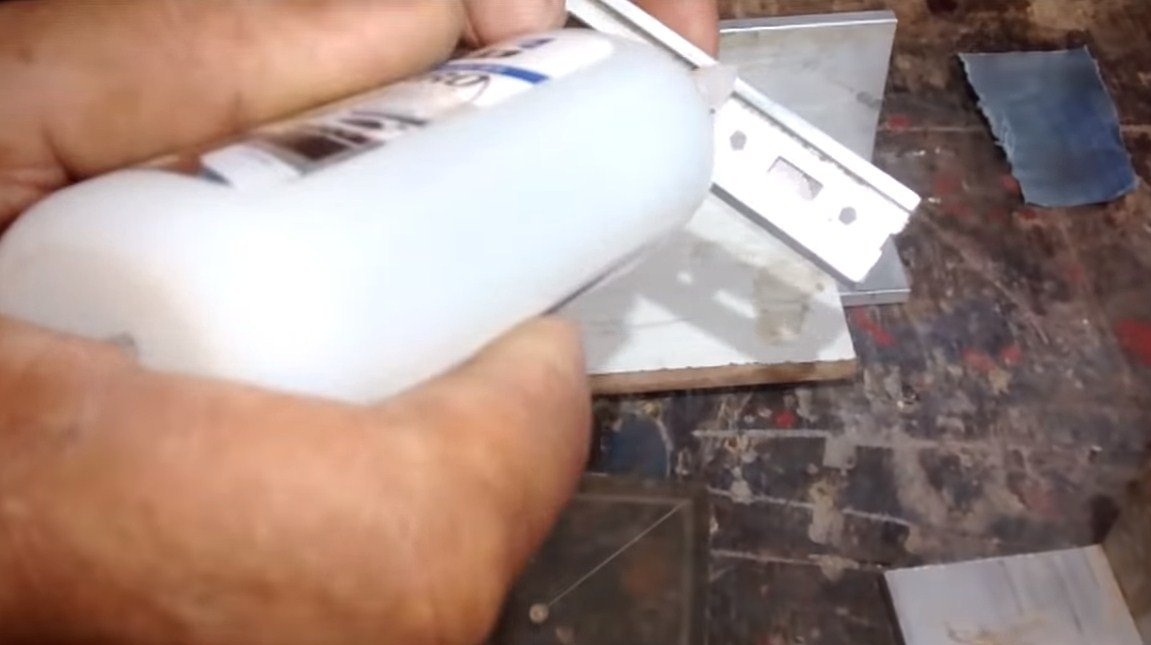
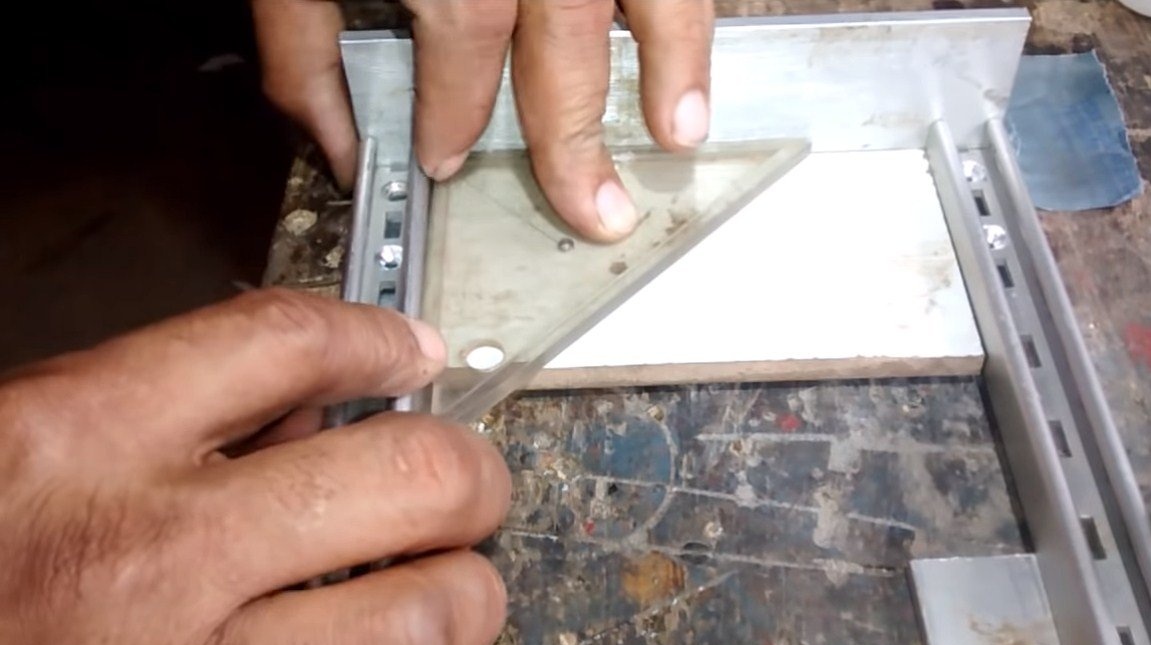
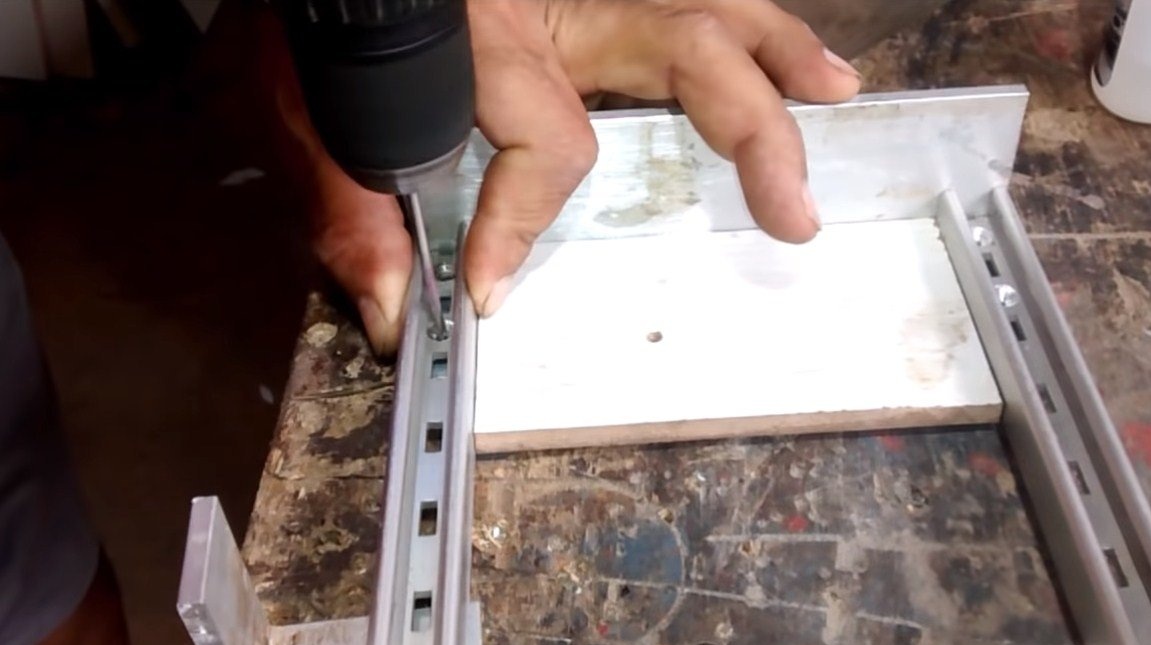
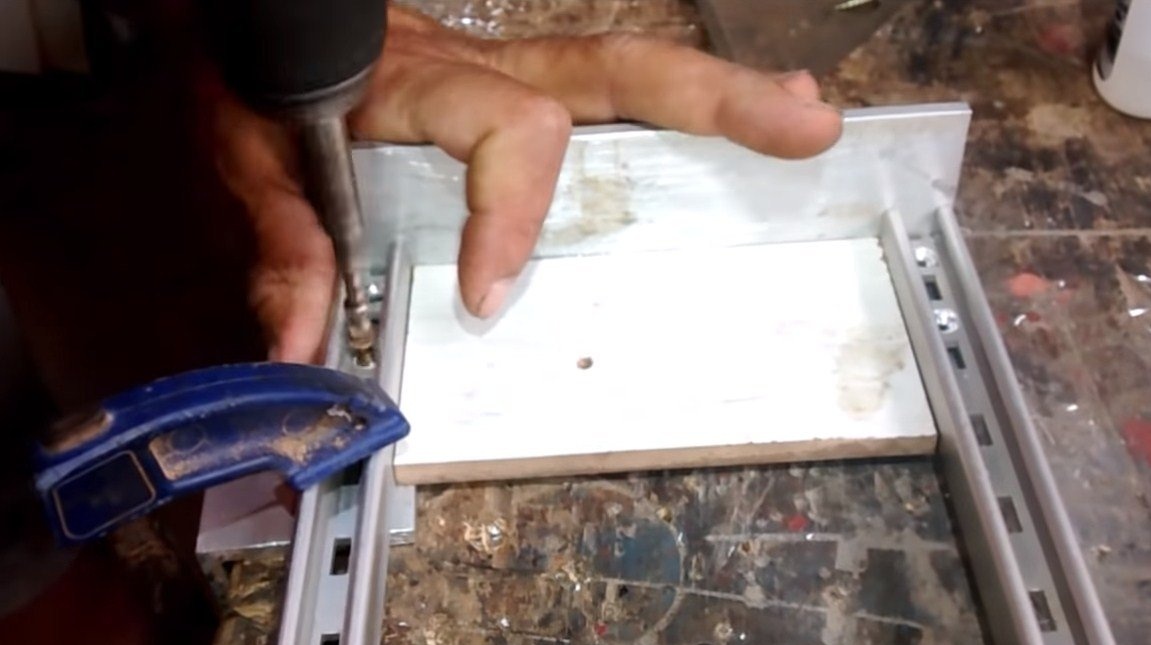
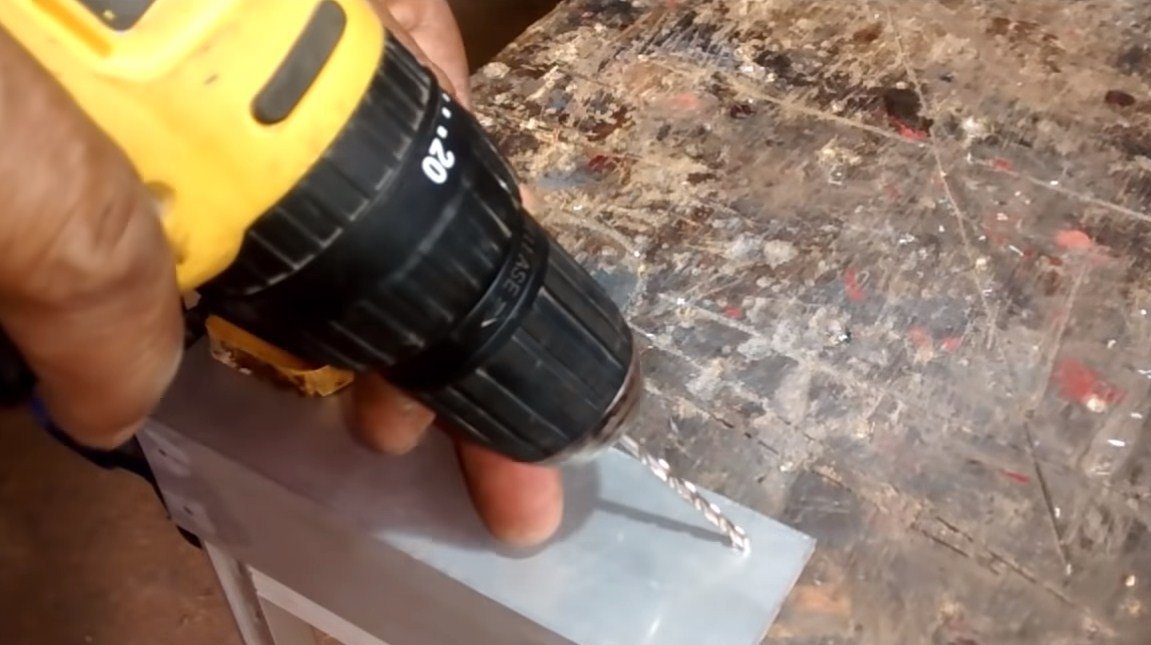
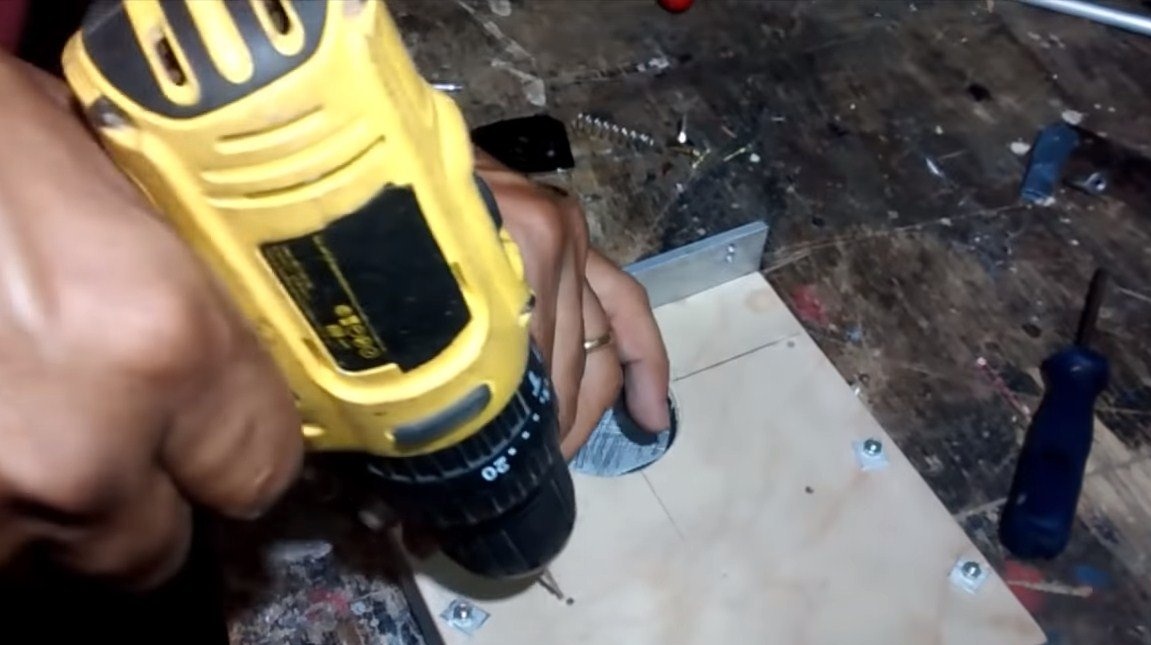
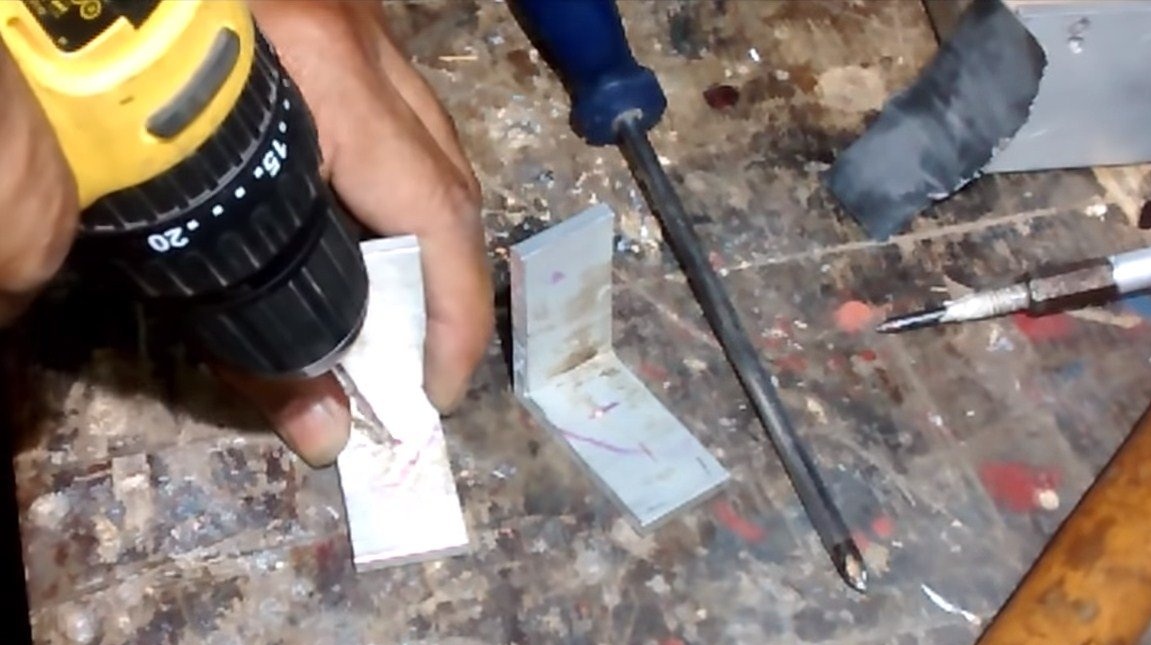
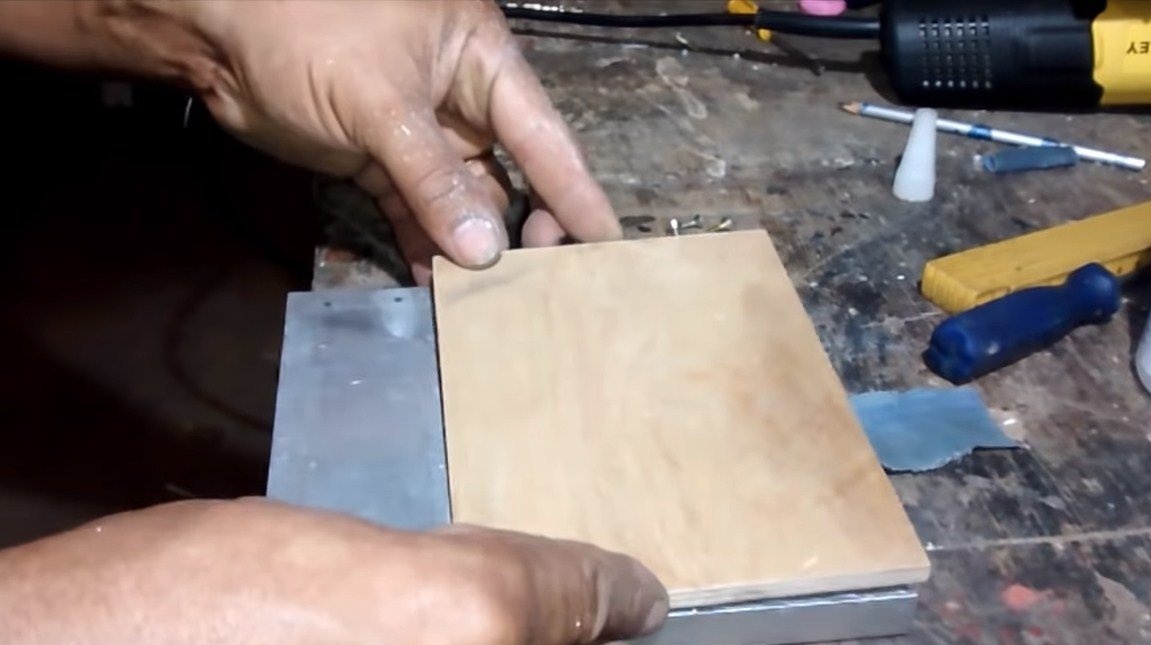
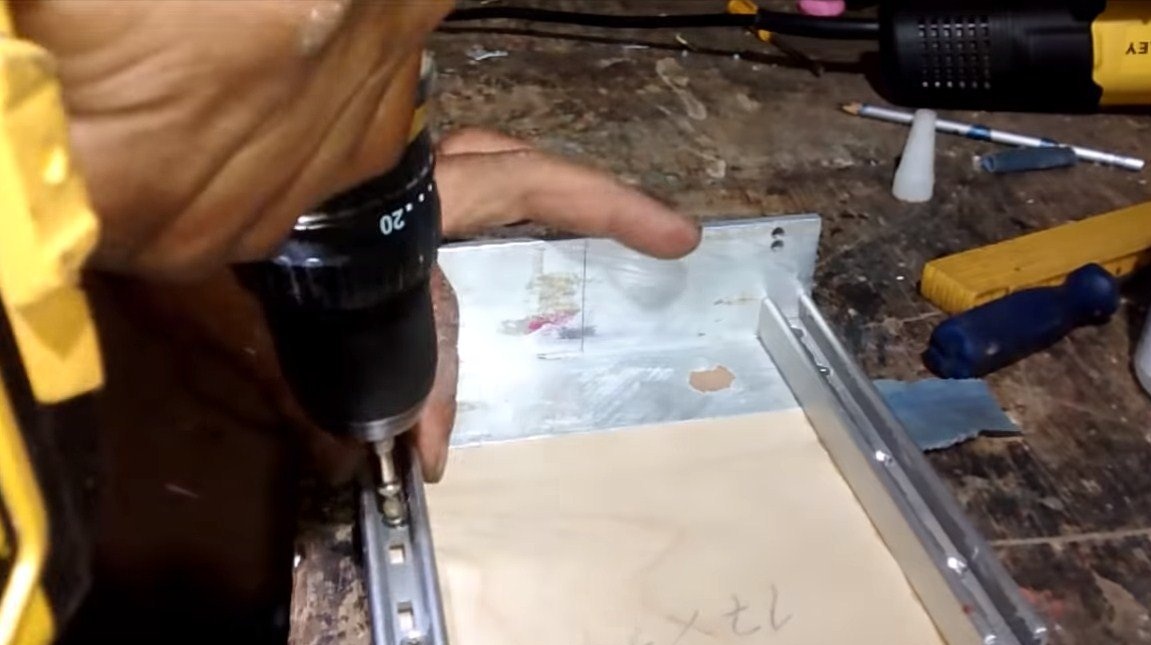
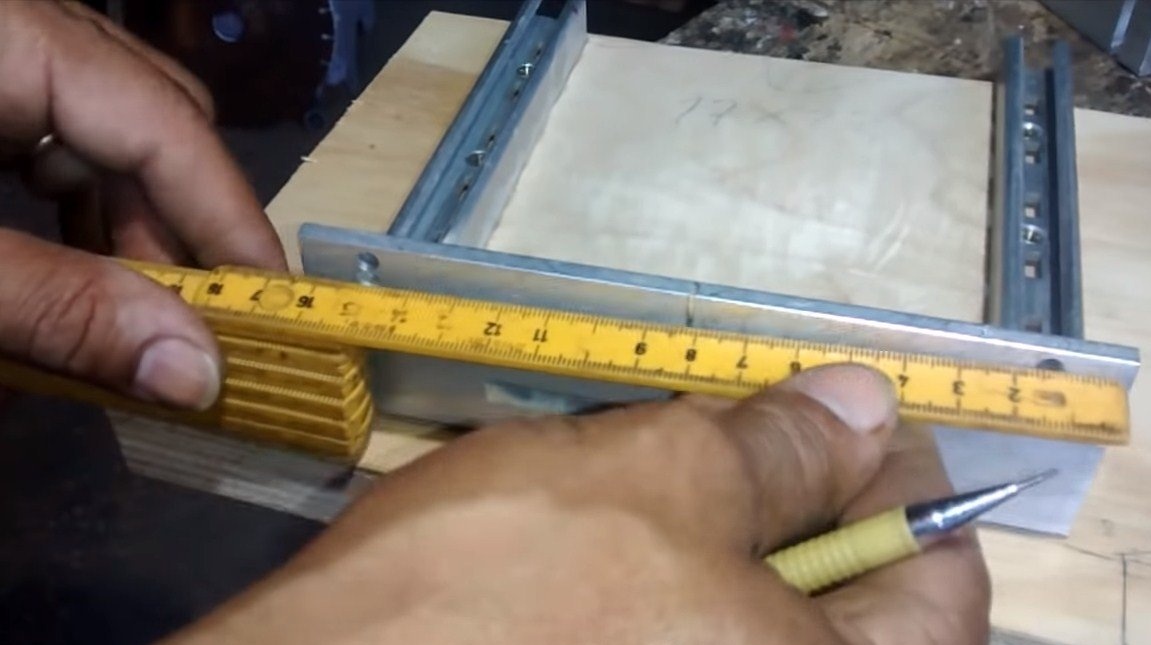
The platform with the attached grinder should be movable, it is installed on furniture sliders. We need to fix them on one side on an aluminum corner. Sliders should be fixed strictly parallel to each other and at right angles to the corner. Carefully measure everything and attach the sliders to superglue.After that, you can safely drill holes and wrap the screws. The ends of the screws that come out on the other hand, cut and grind.
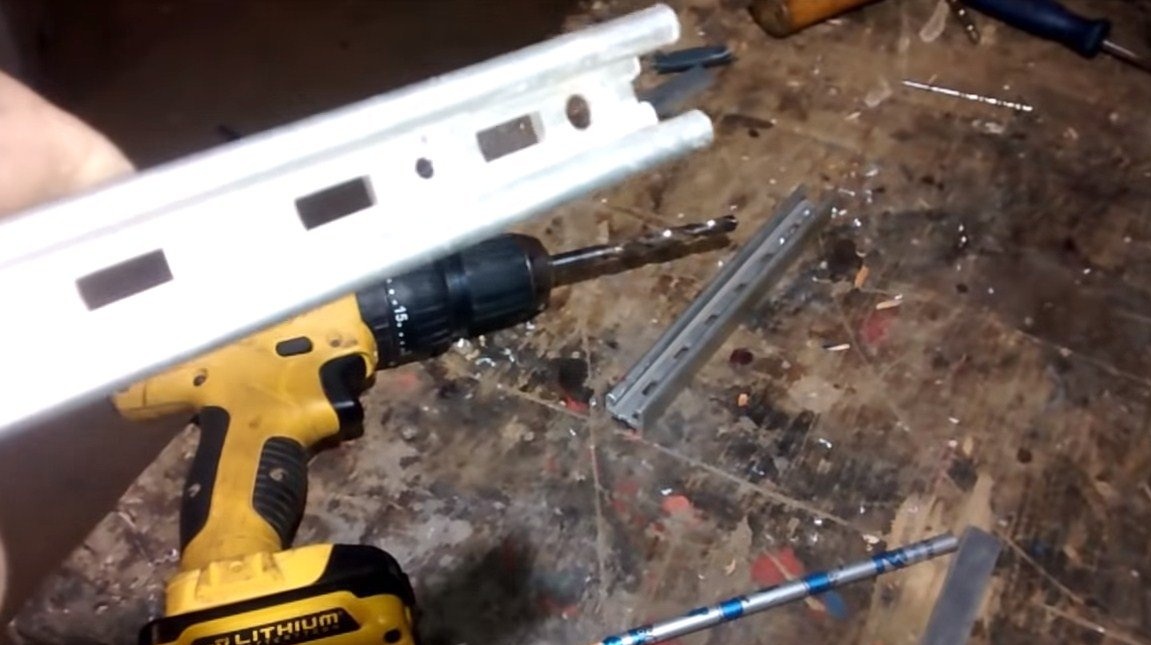
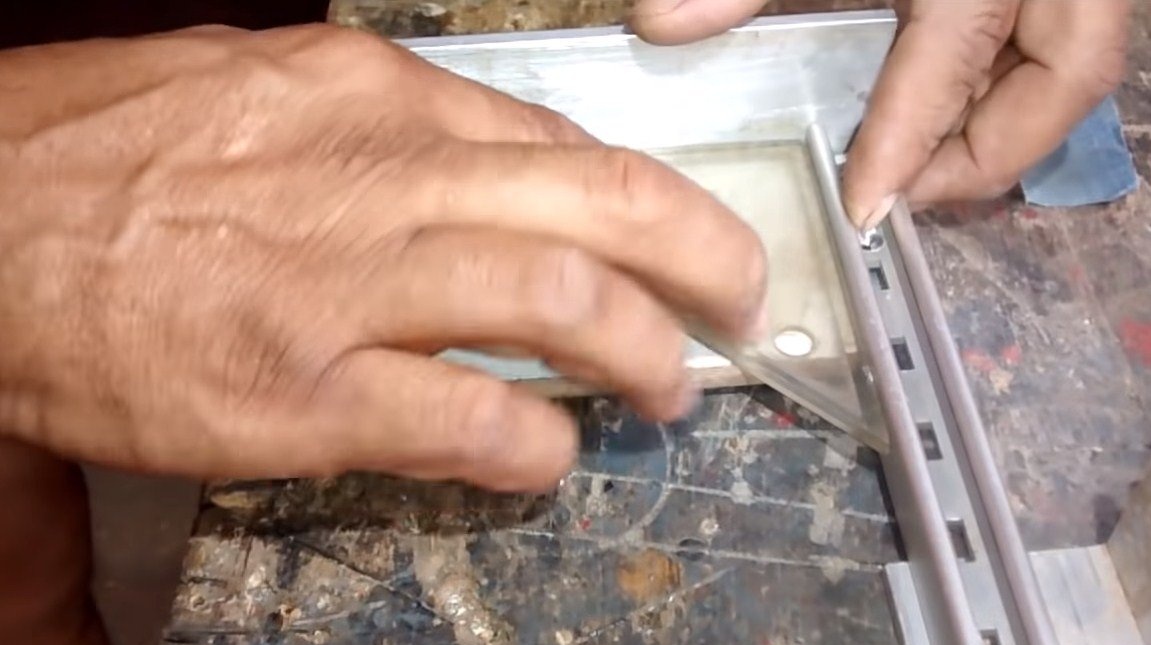
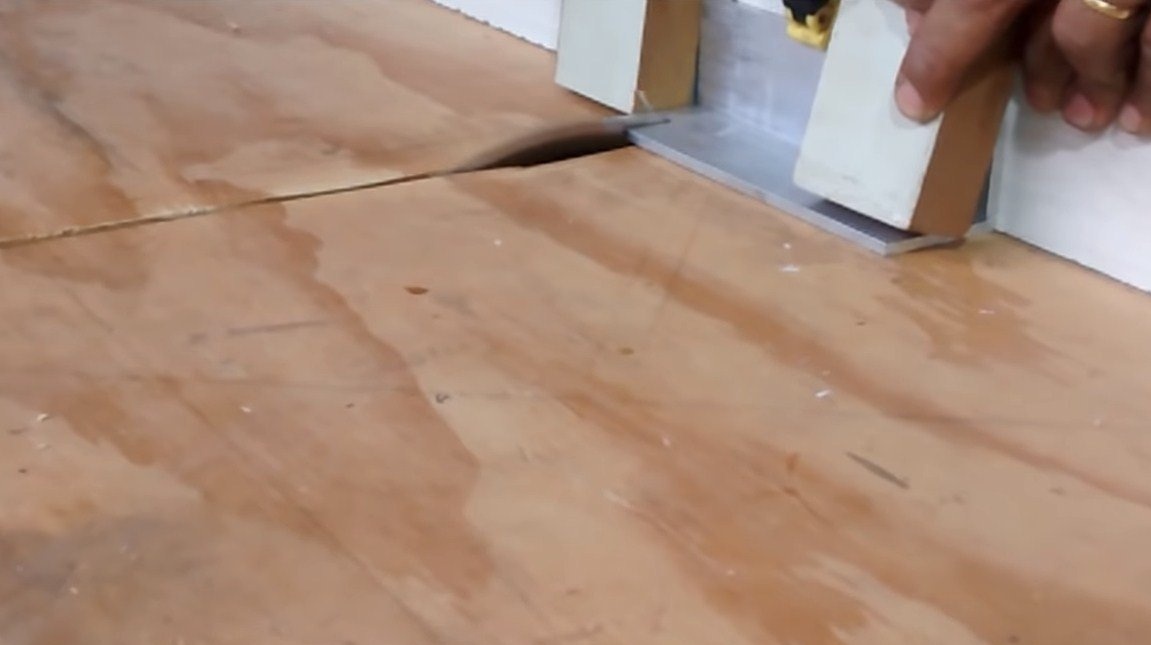
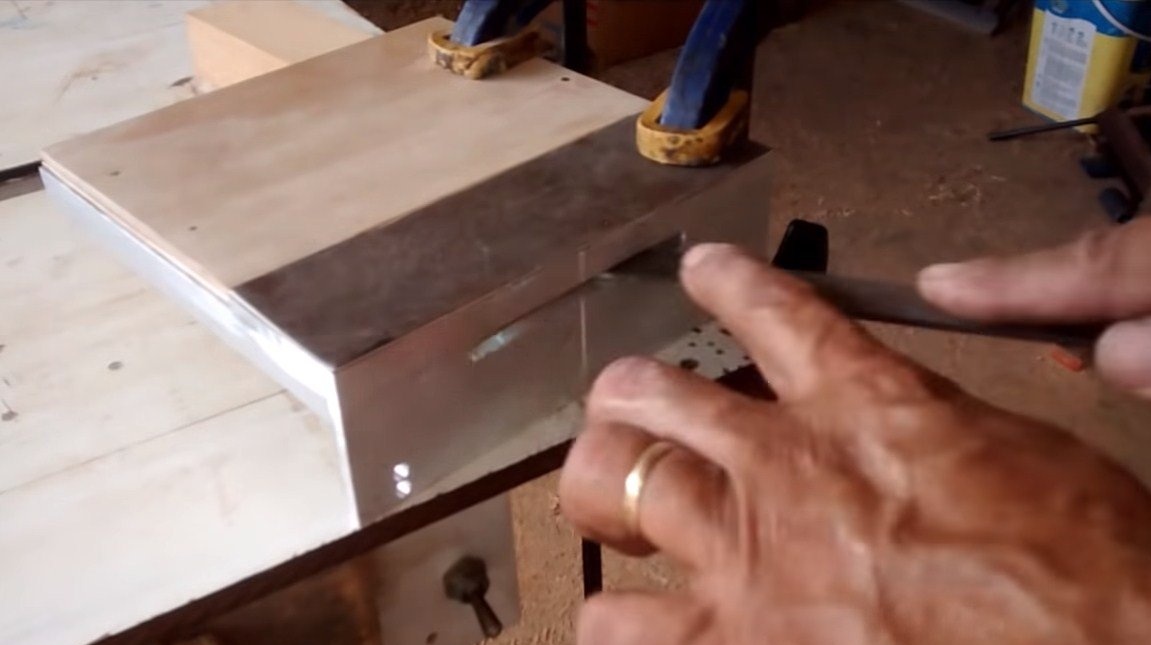
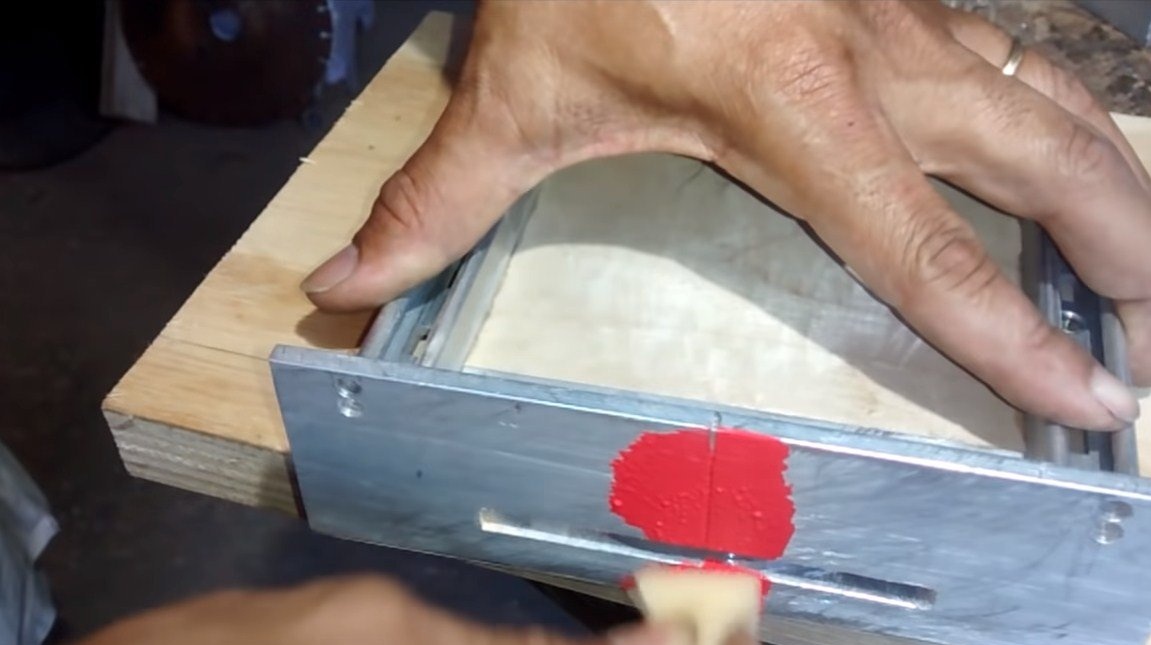
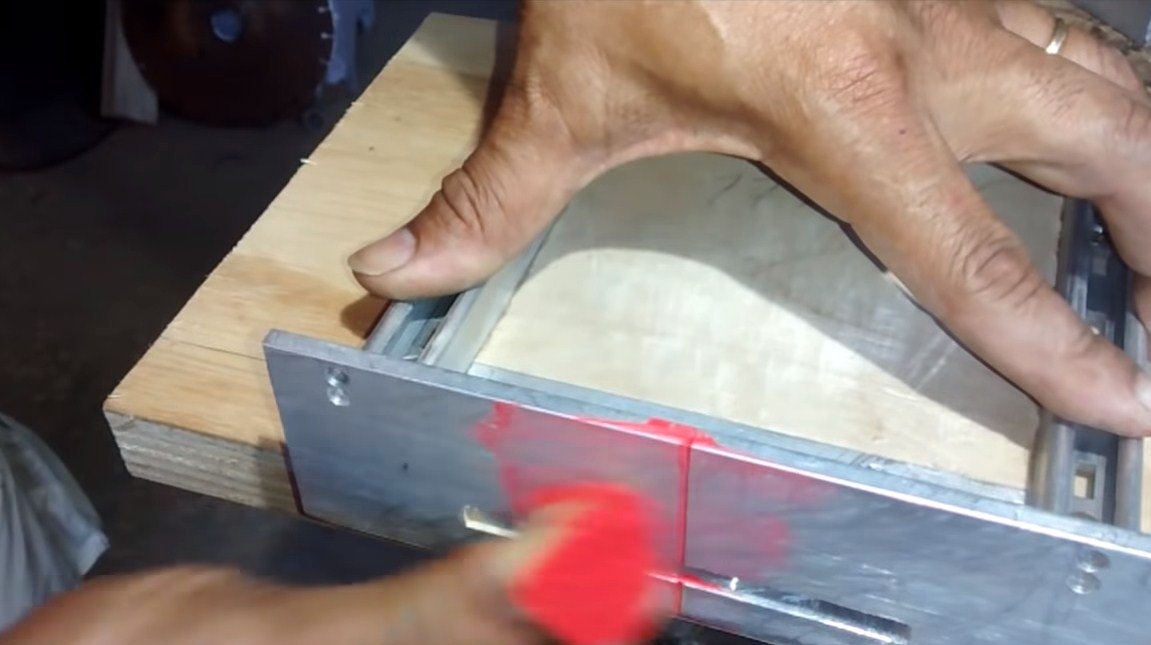
Step Three Adjusting support
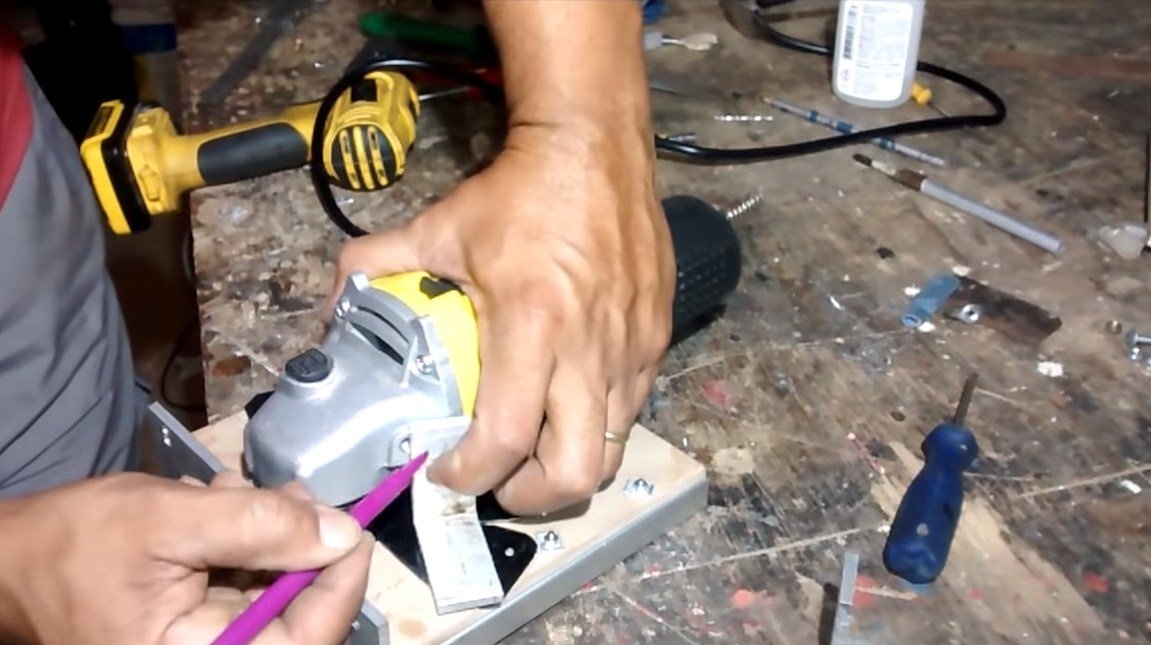
In the bow of the device is a movable platform necessary for adjusting the device. Thanks to it, you can lower or raise the disc of the grinder, choosing the right place for cutting in the end part of the material.
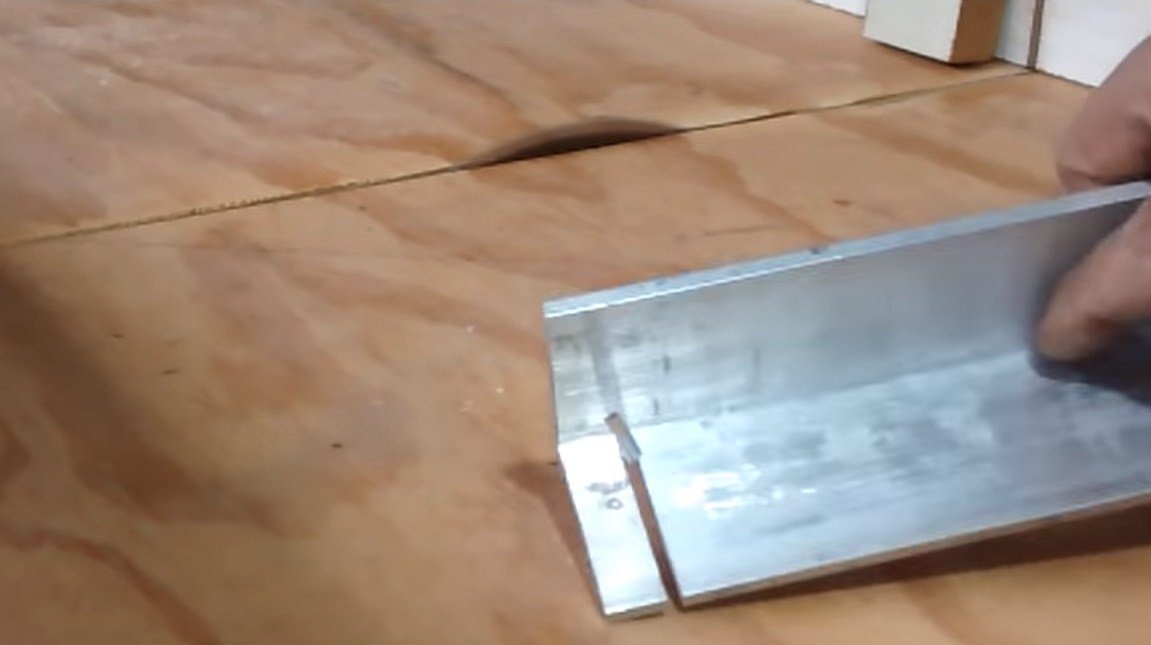
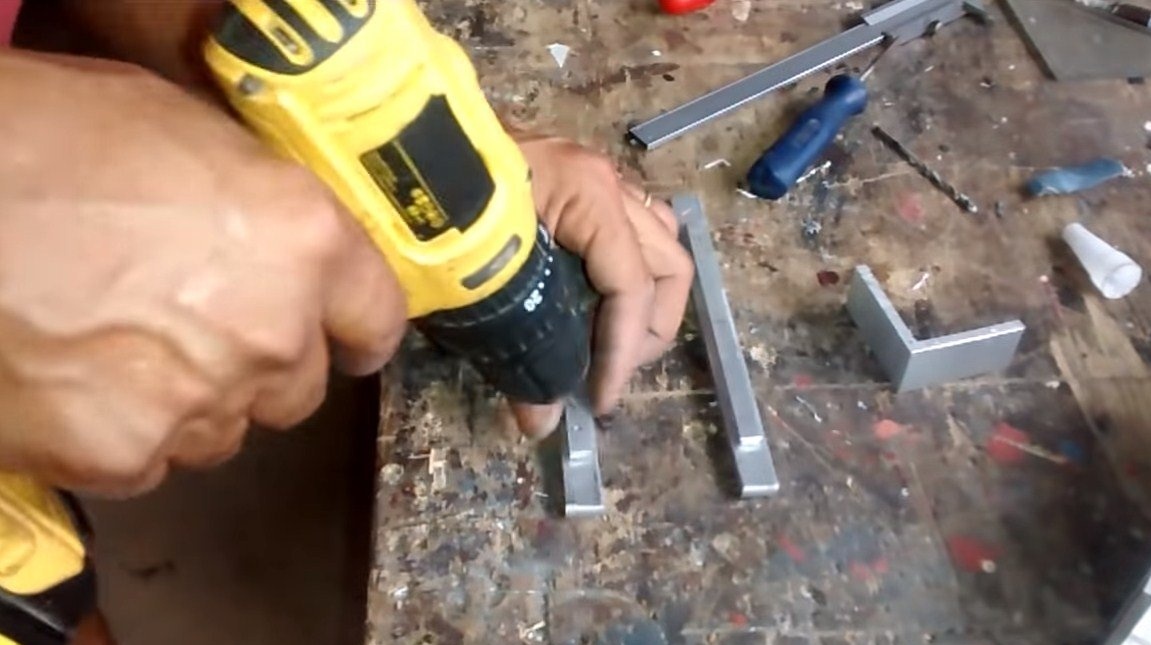
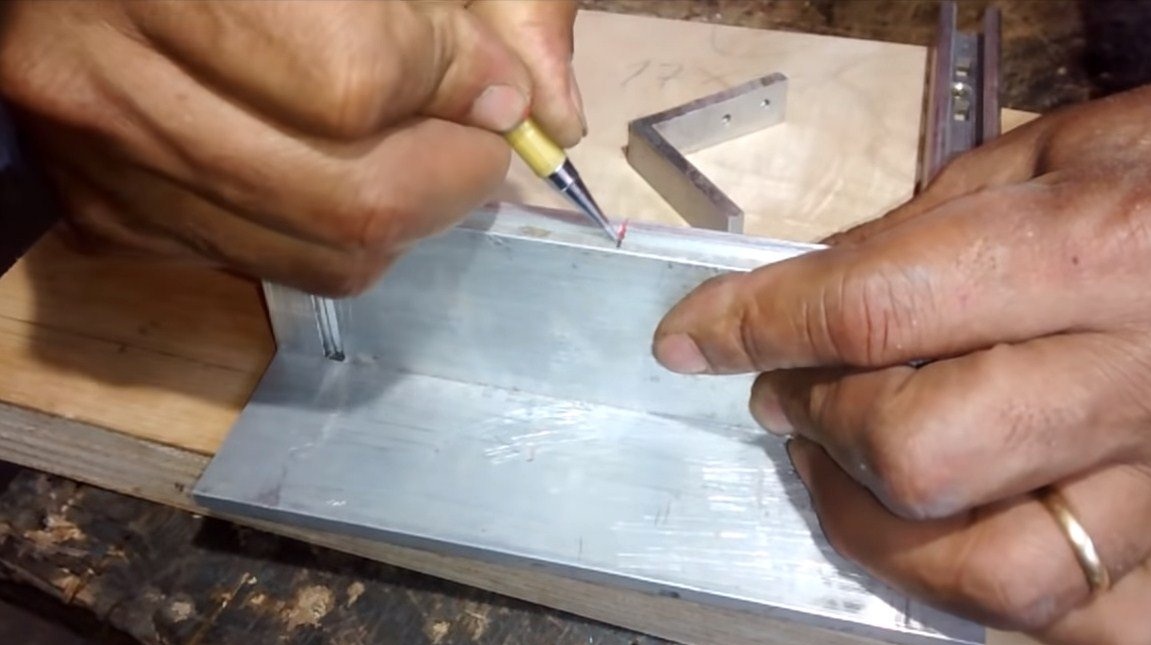
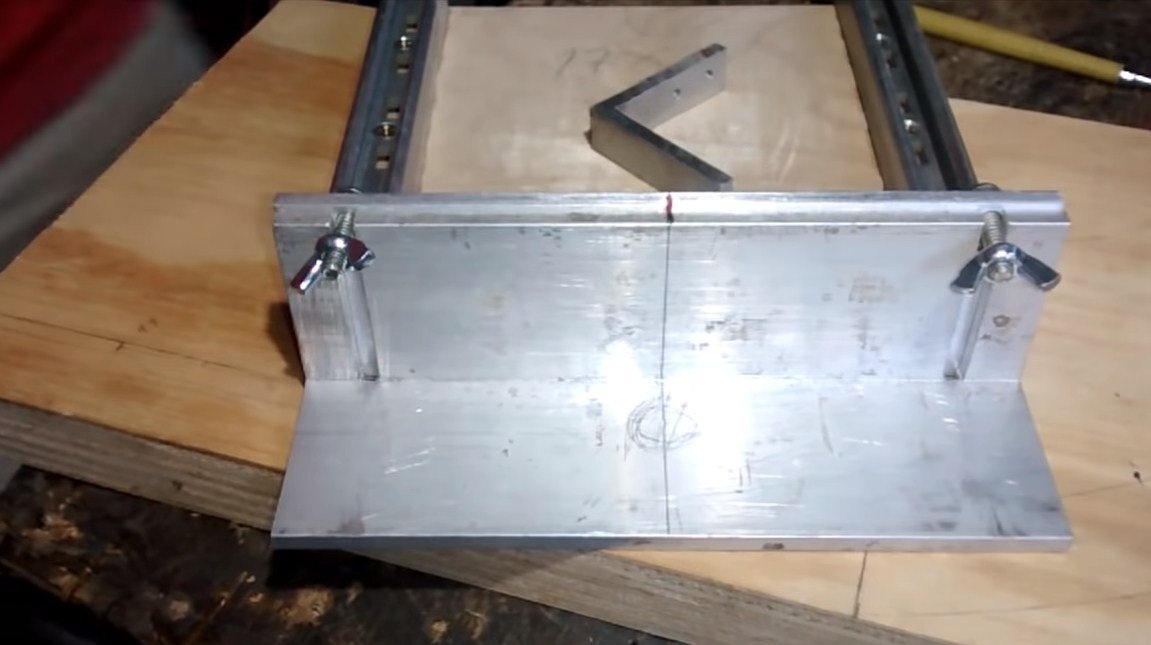
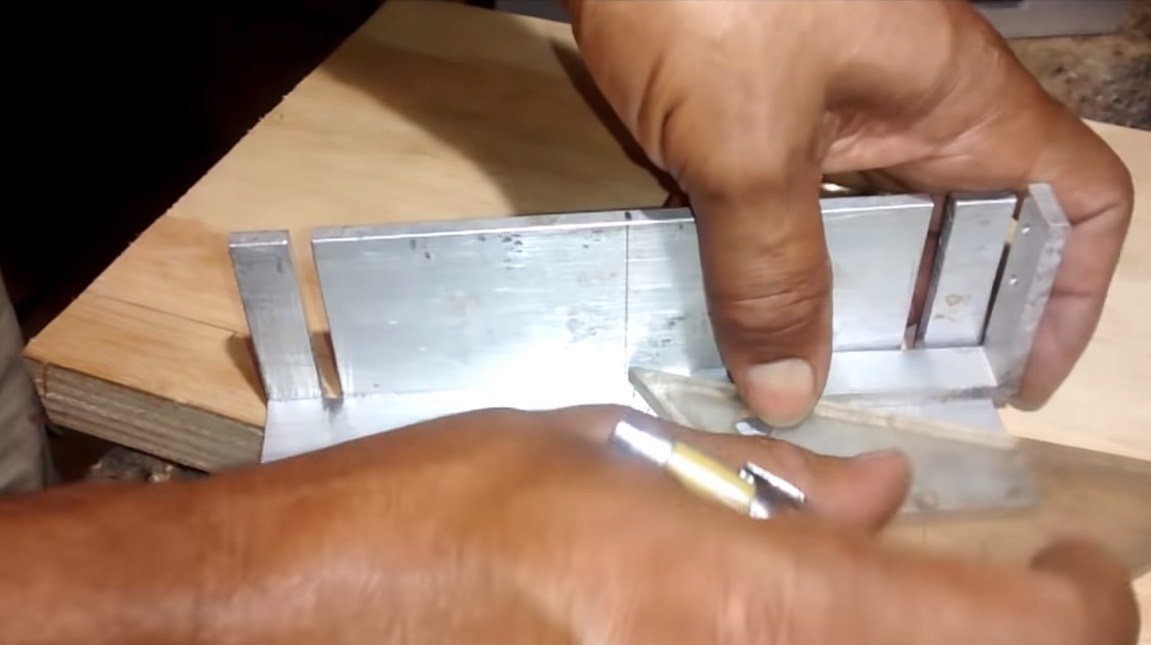
Here we need one more aluminum corner, we need to make cuts in it, as in the author. Thanks to these slotted holes and bolts with nuts, we can fix the platform in the right position.
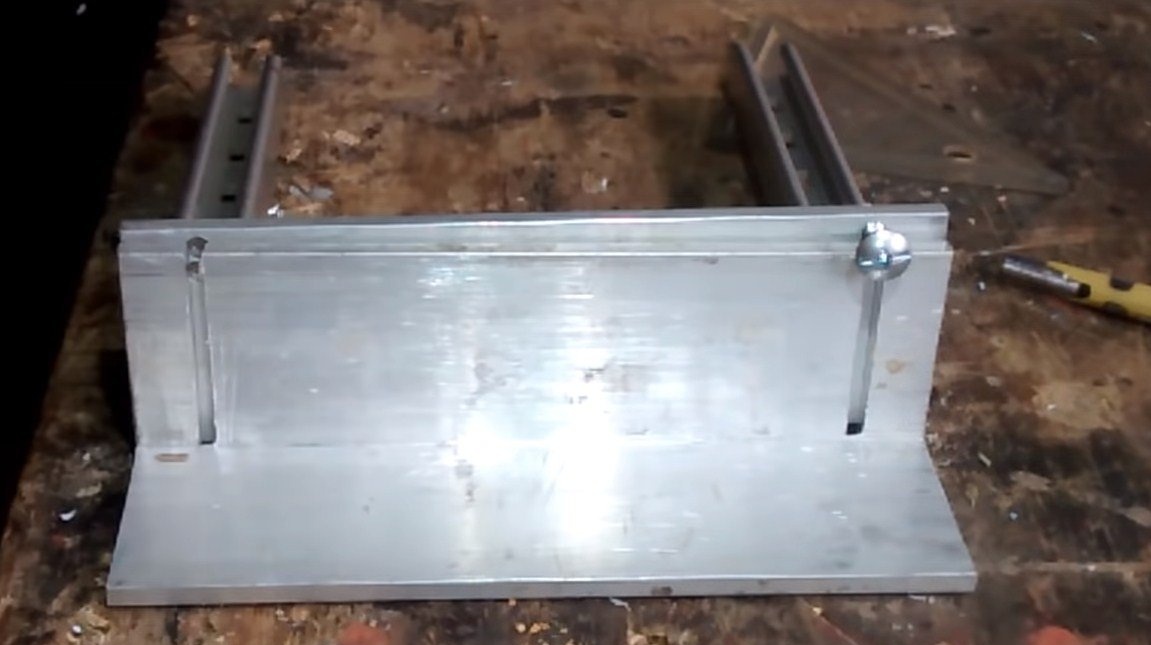
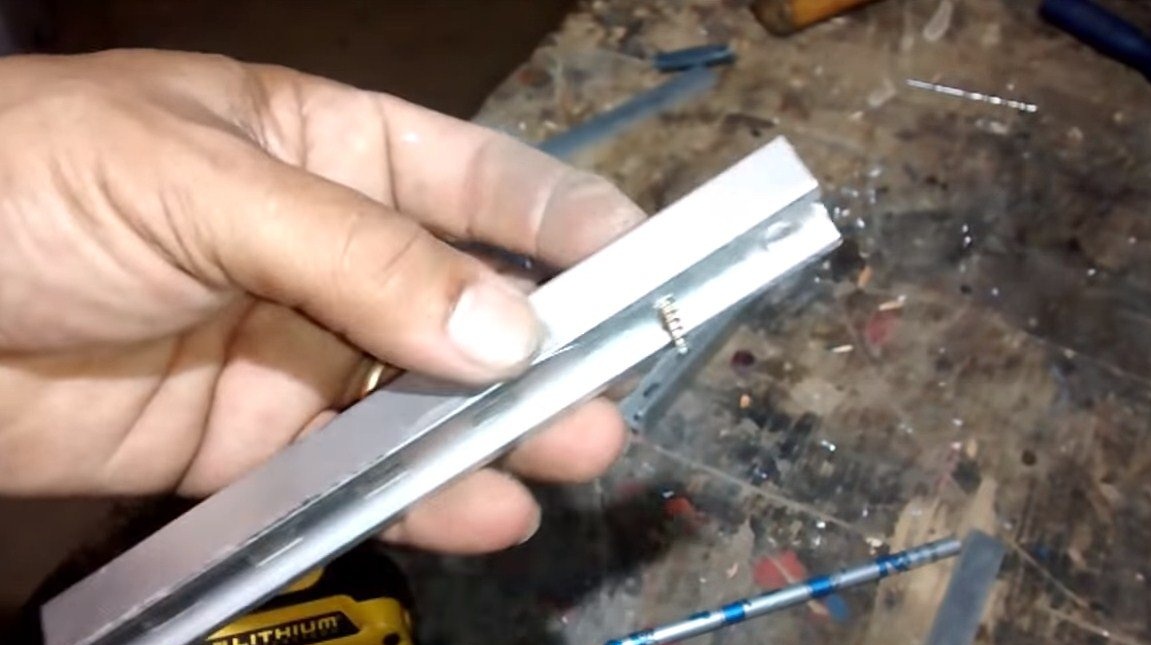
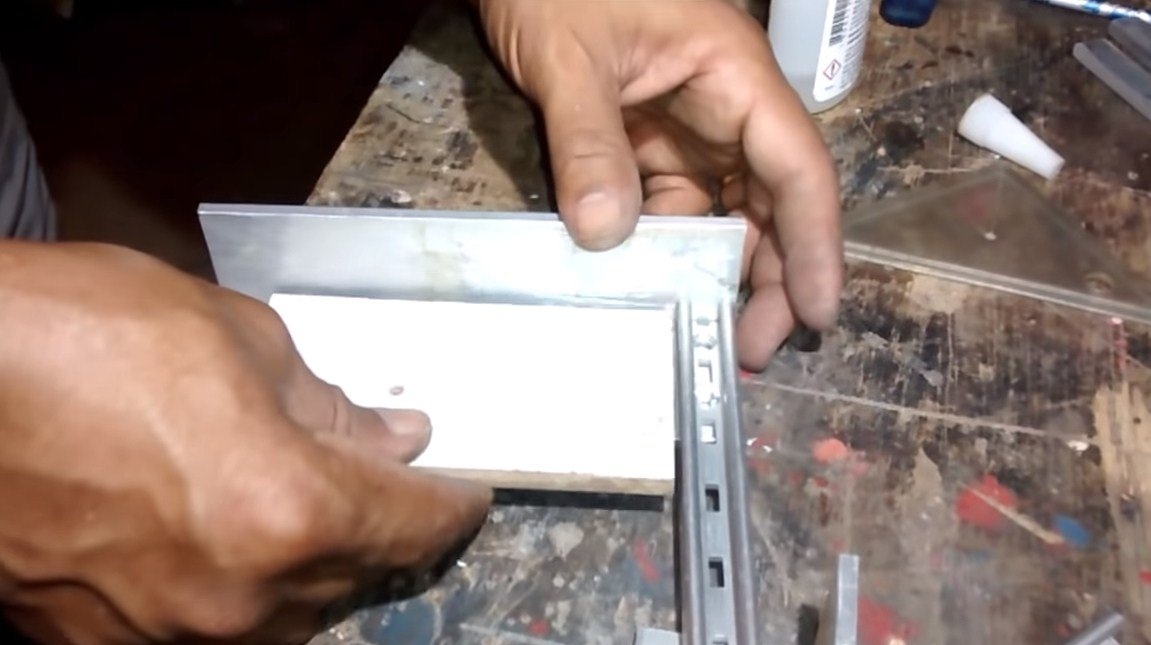
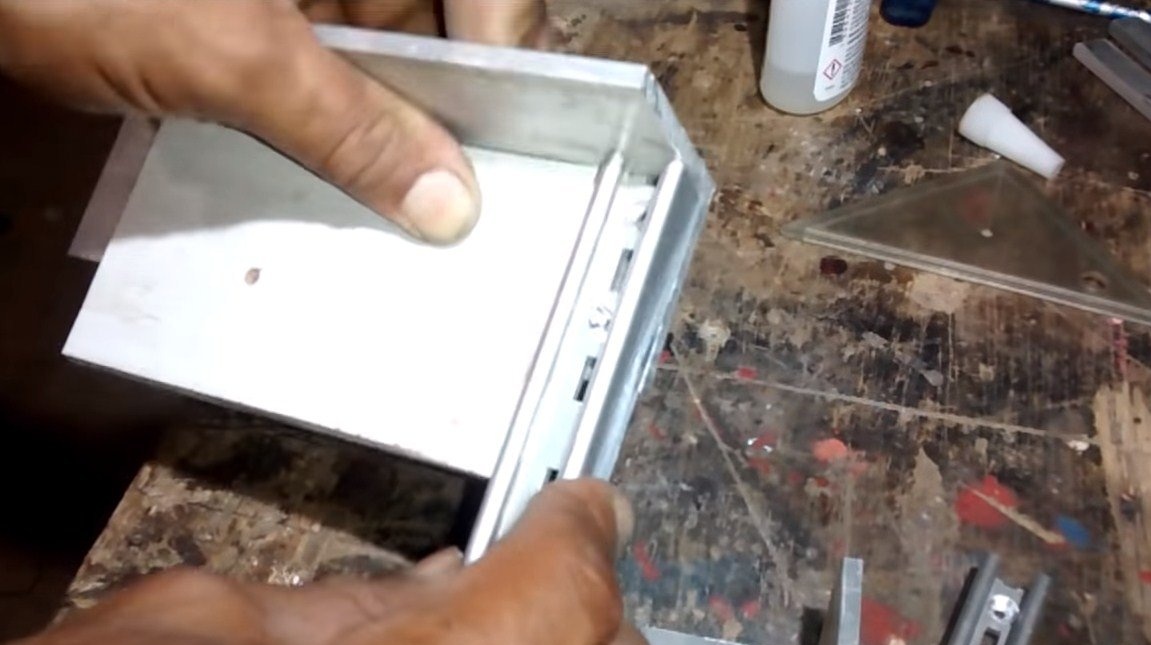
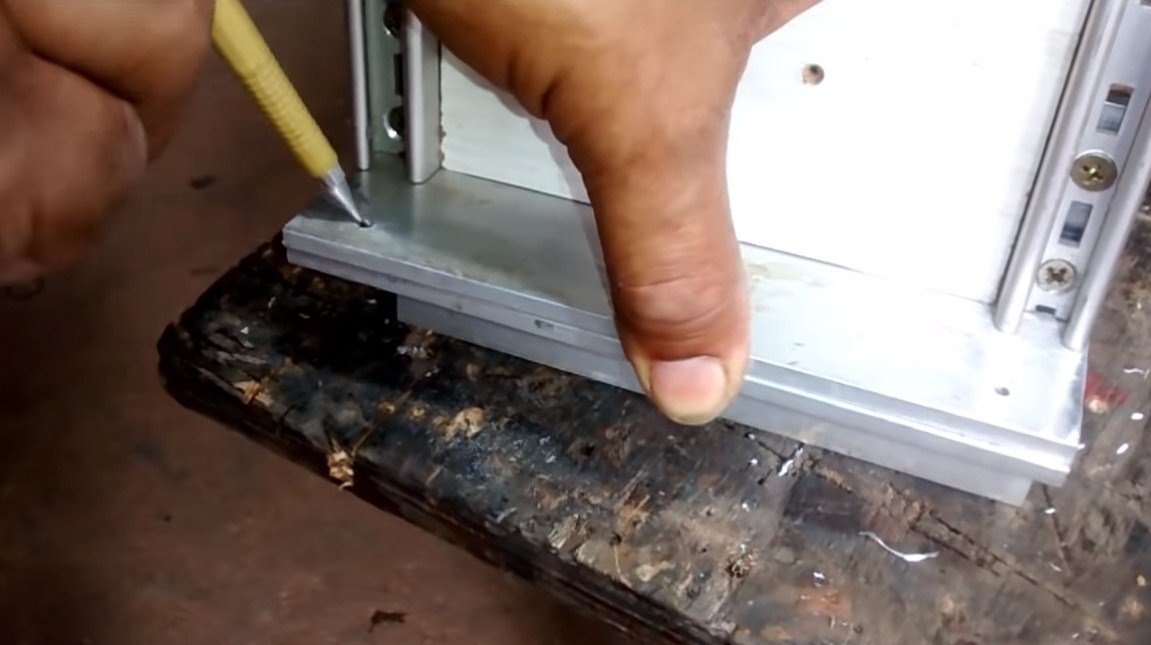
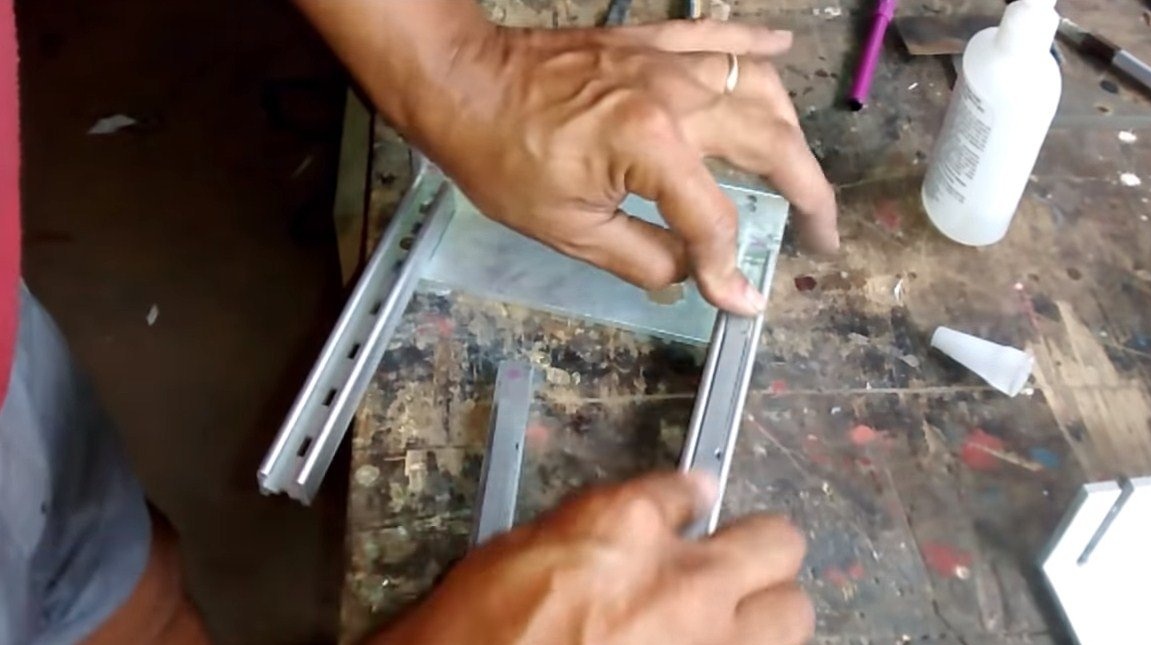
Step Four Mobile platform assembly
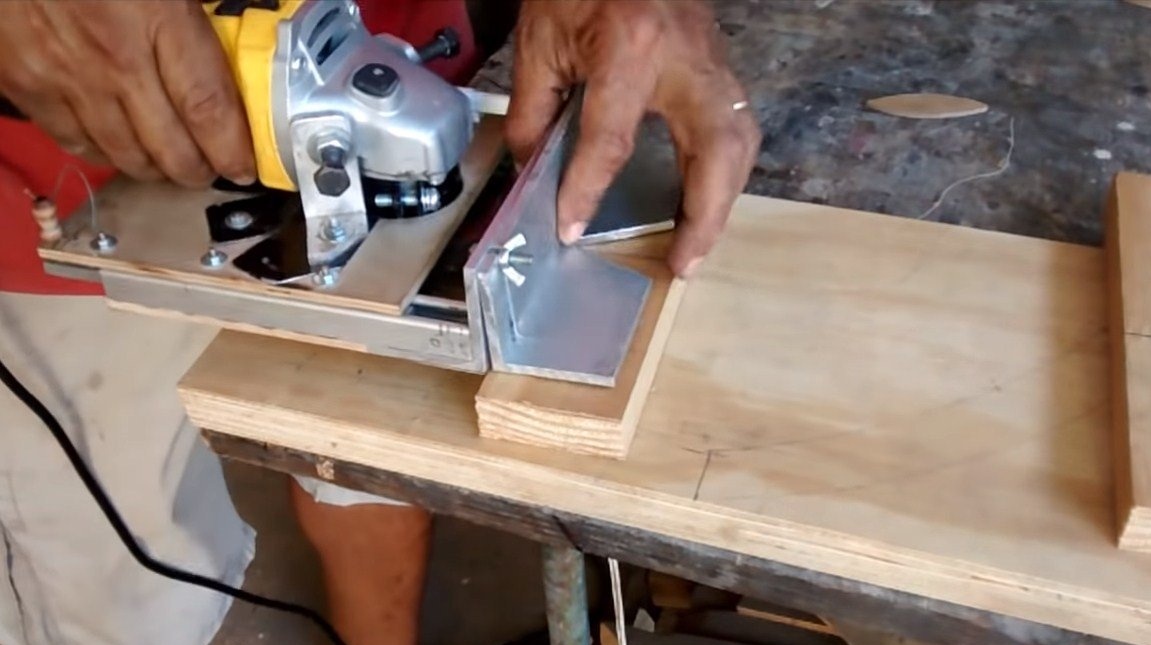
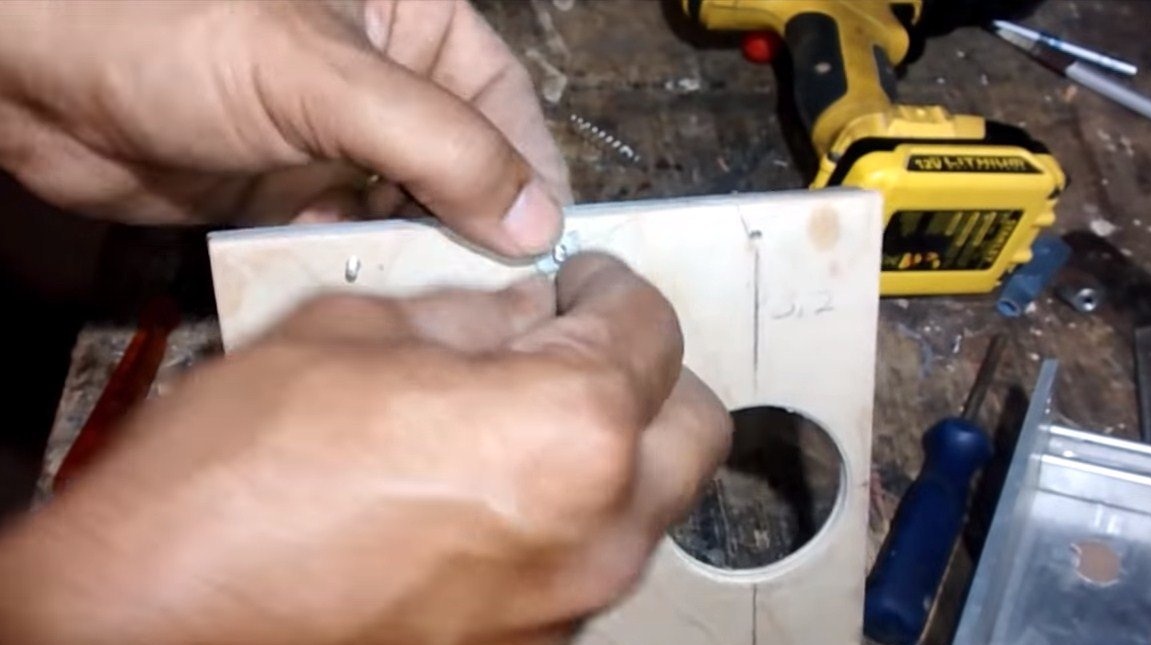
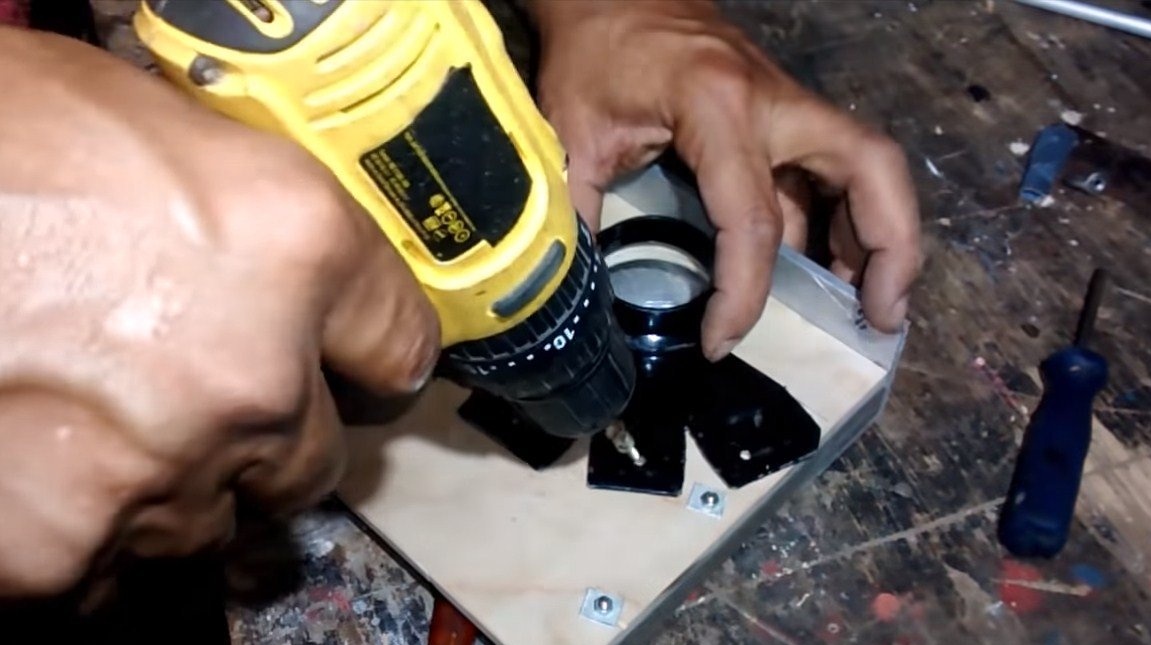
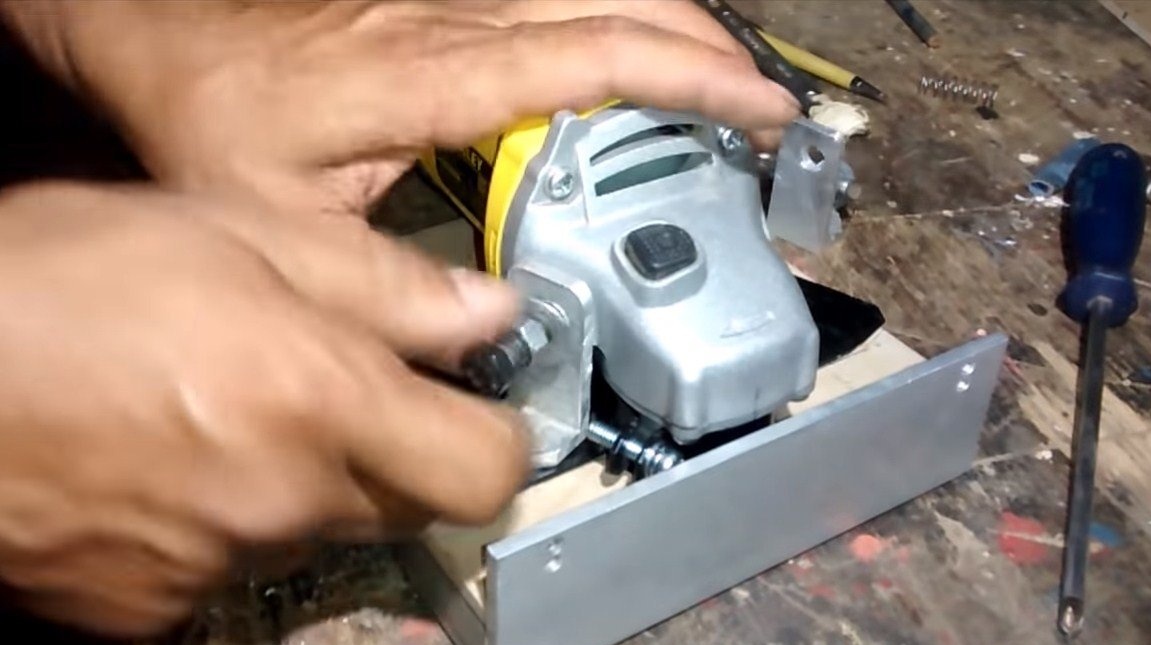
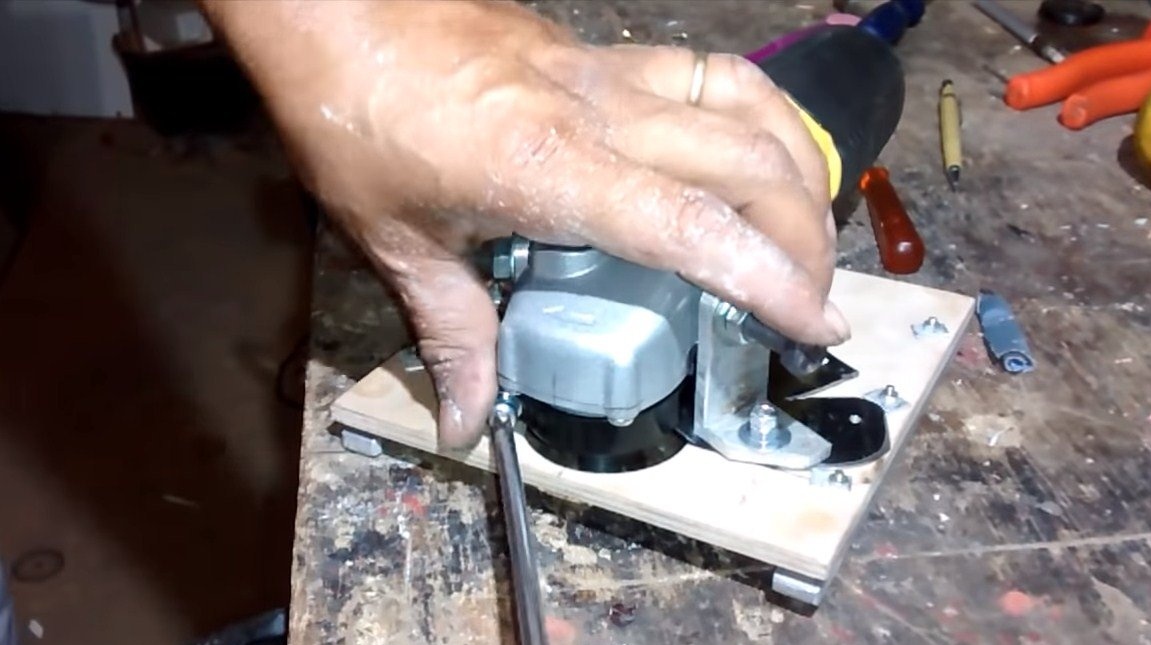
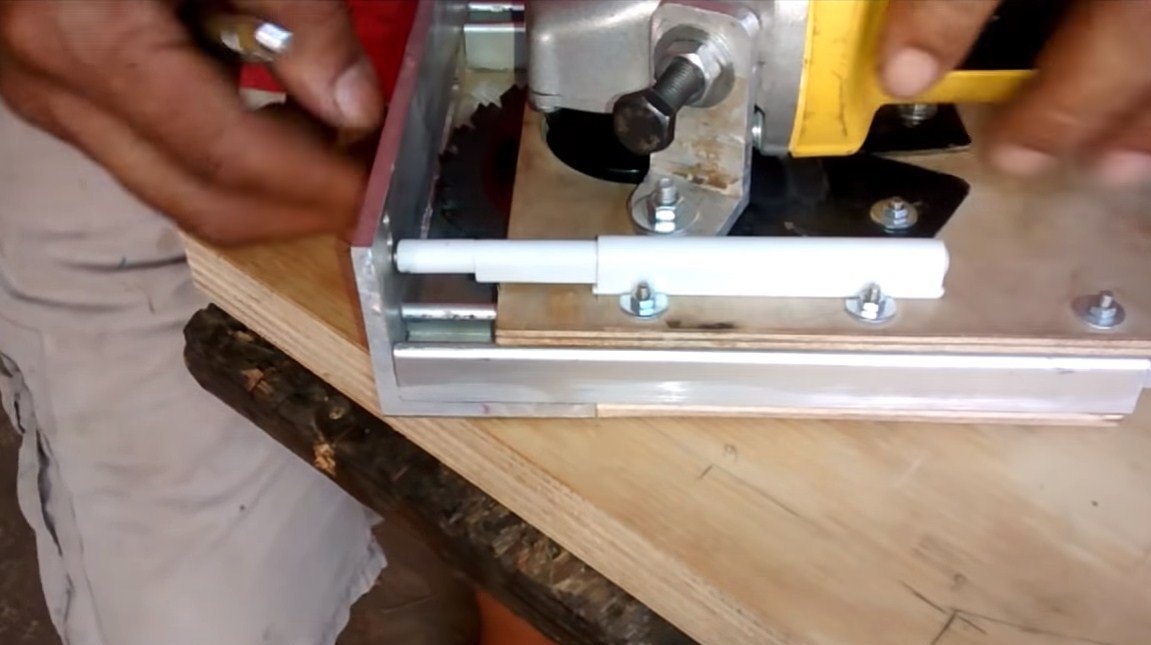
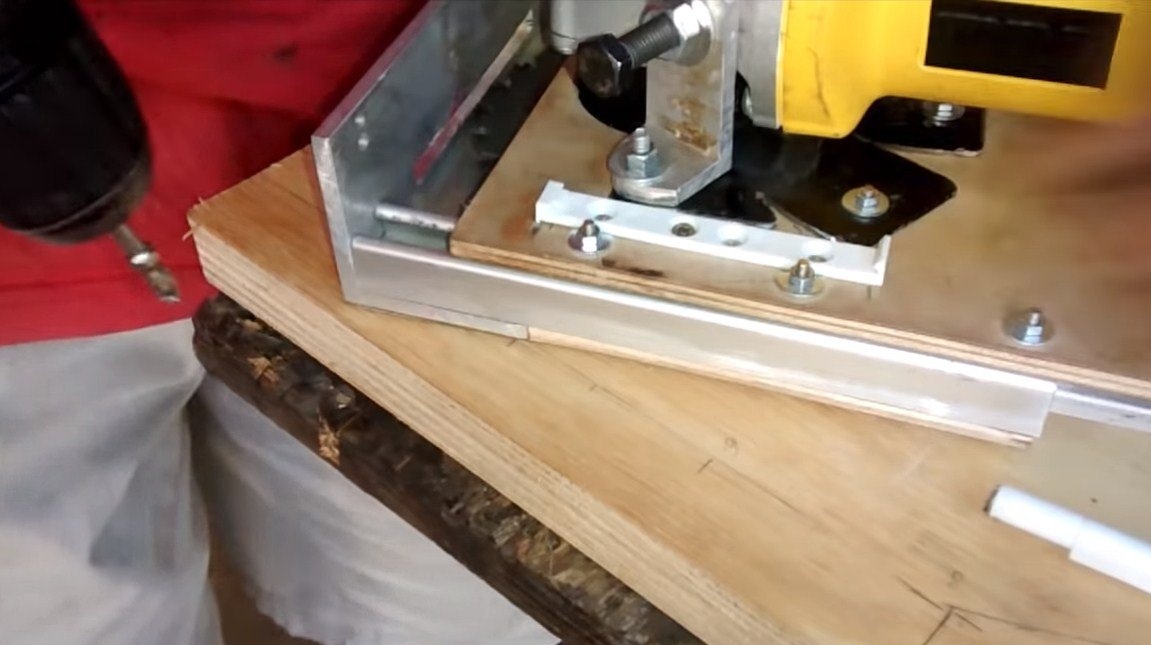
Getting to the assembly of the movable platform, we need to install it on the sliders. To fix the platform to the sliders, the author had to make special aluminum inserts. If the platform moves without problems, excellent, you can fasten the bracket for the grinder to it. We need to fix it as securely as possible, here we need bolts with nuts and washers. This moment is responsible for the safety of using homemade products.
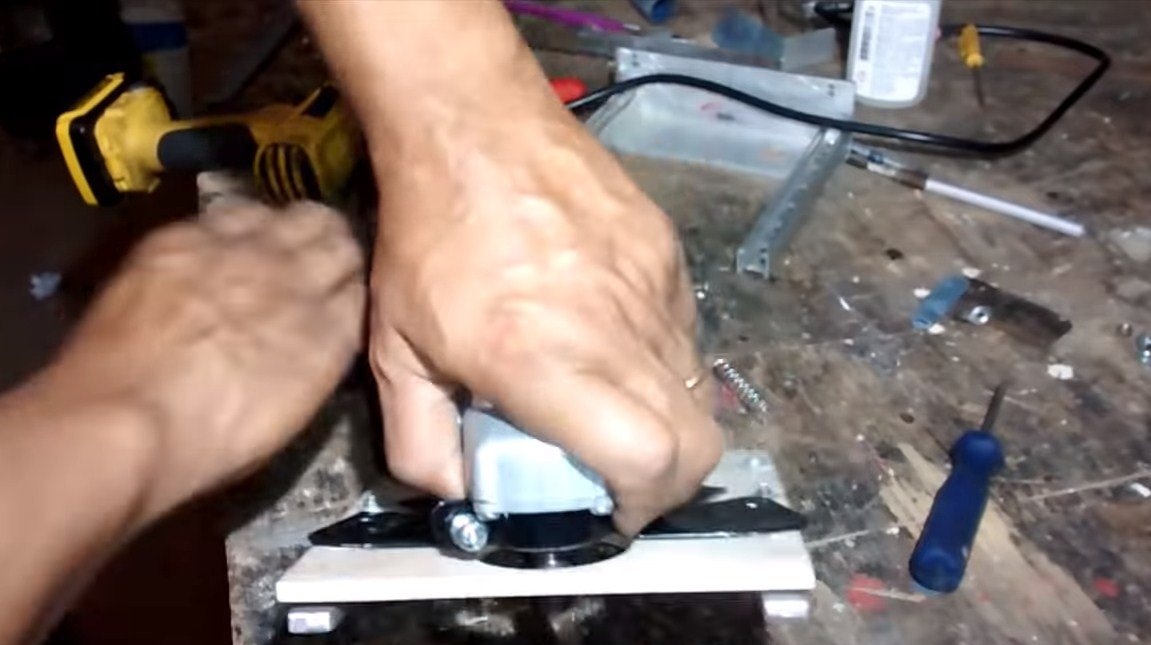
As an additional fastener for the grinder, the author made two more brackets from two aluminum corners. Using them, you can screw the grinder to the device using the holes for fixing the handle.
Step Five Final touches
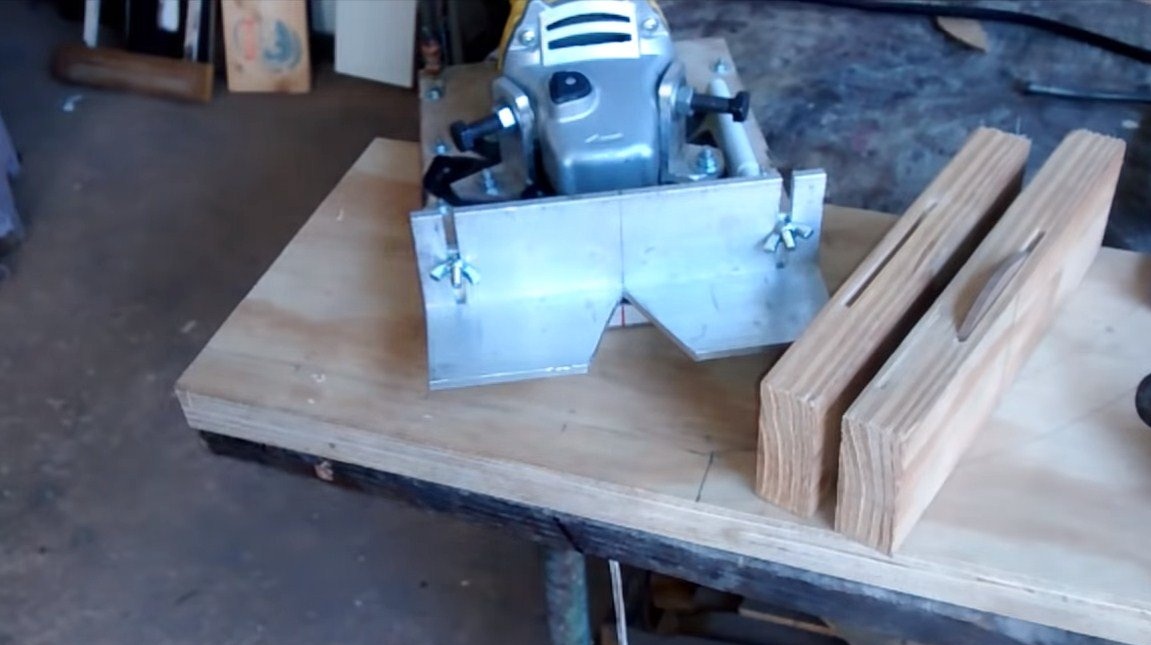
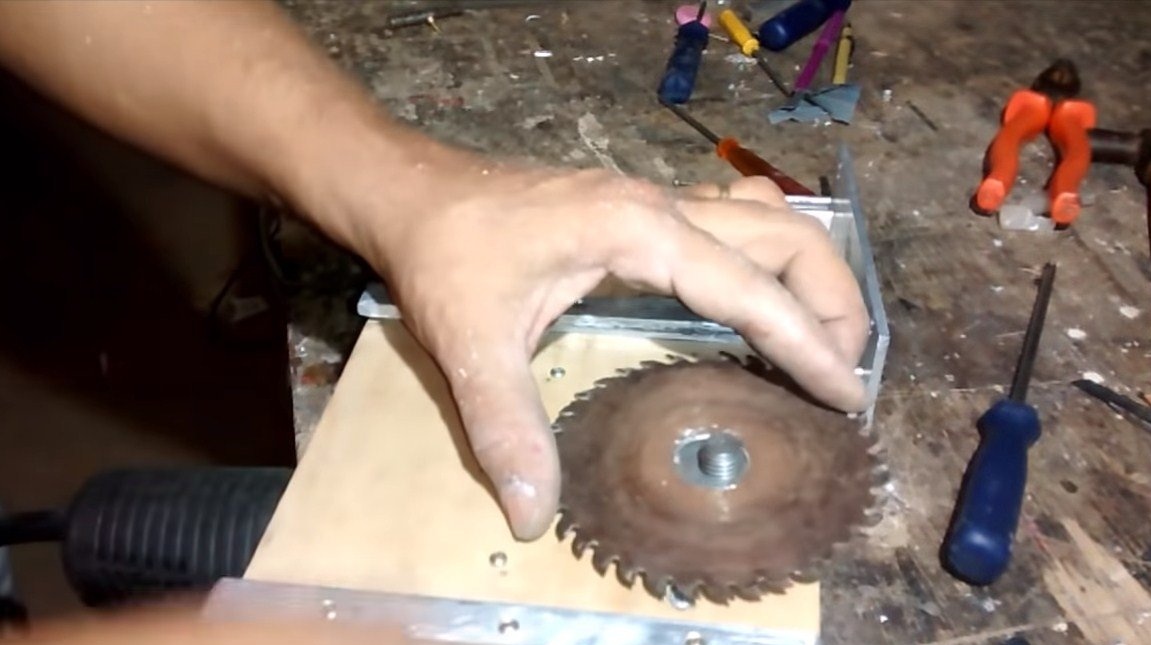
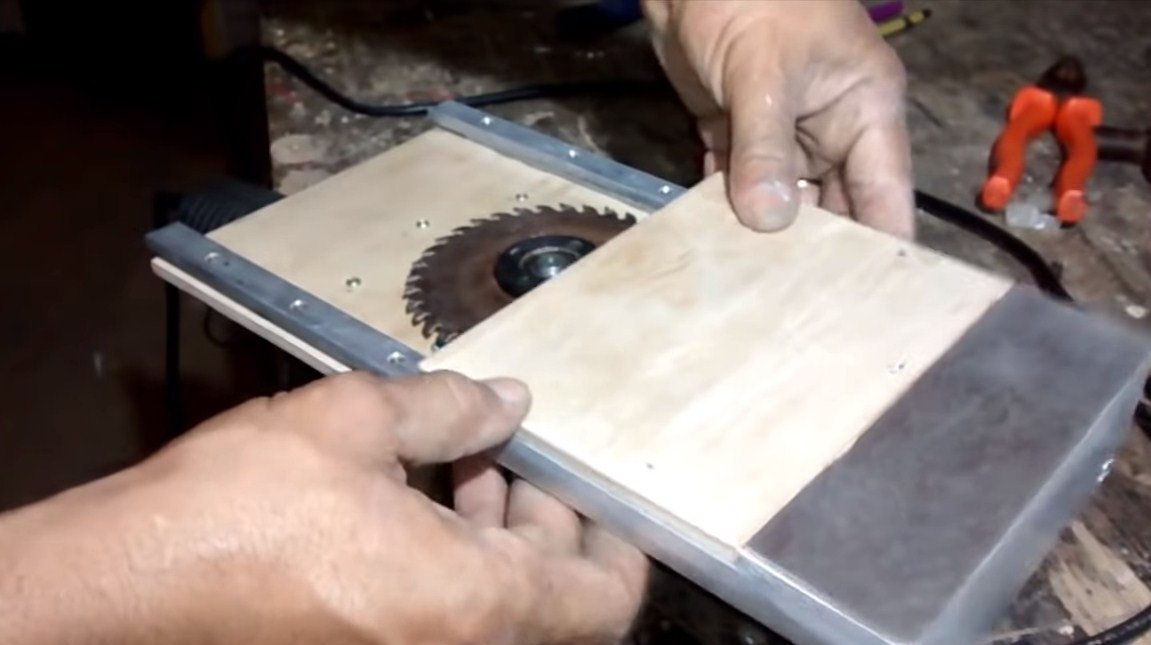
To the fixed part, to the sliders, we also fasten a sheet of plywood as a base. After that, install the grinder and mount the disk on wood or metal. We turn on the grinder and make a slotted hole for the disk in the bow. At the end, its author completes the files.
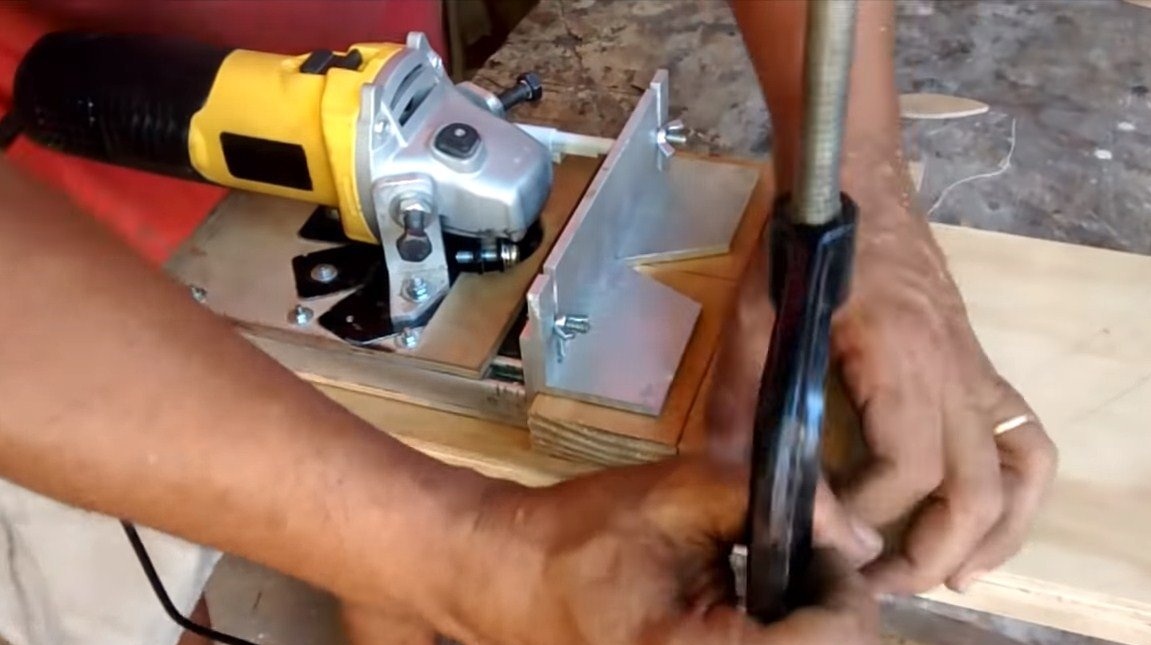
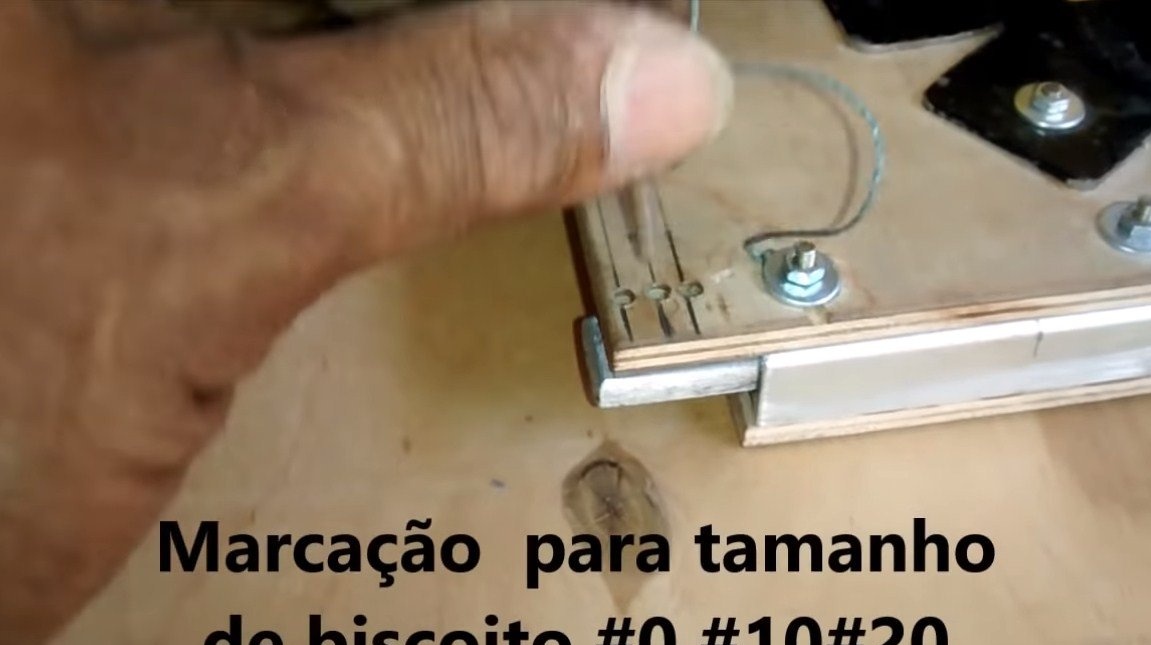
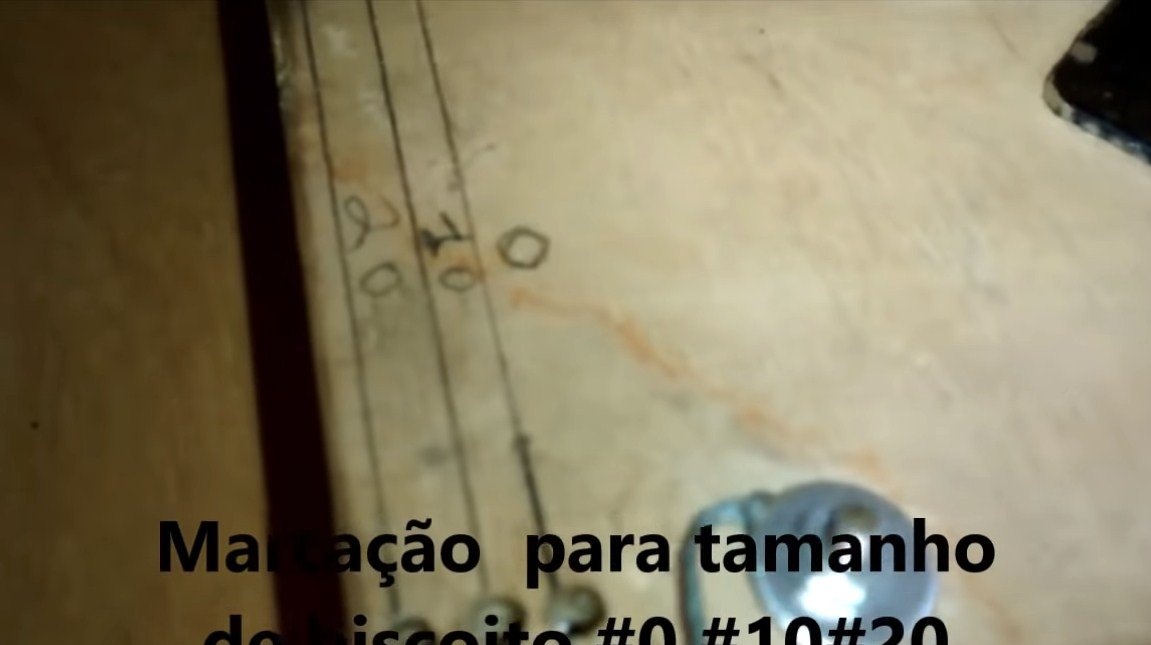
We also need to install a spring that will push the platform with the grinder to its original position. The author used a furniture spring or something similar. Everything is almost ready, it remains to cut a triangle in the corner in front of it, through this cutout we will observe the cutting line.
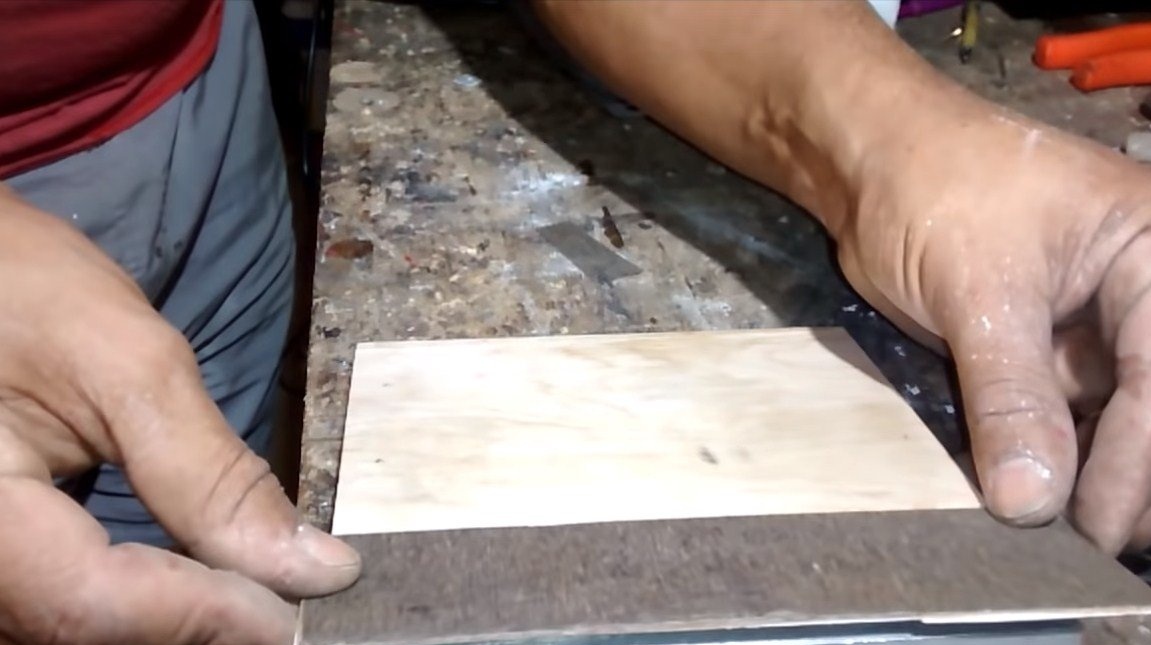
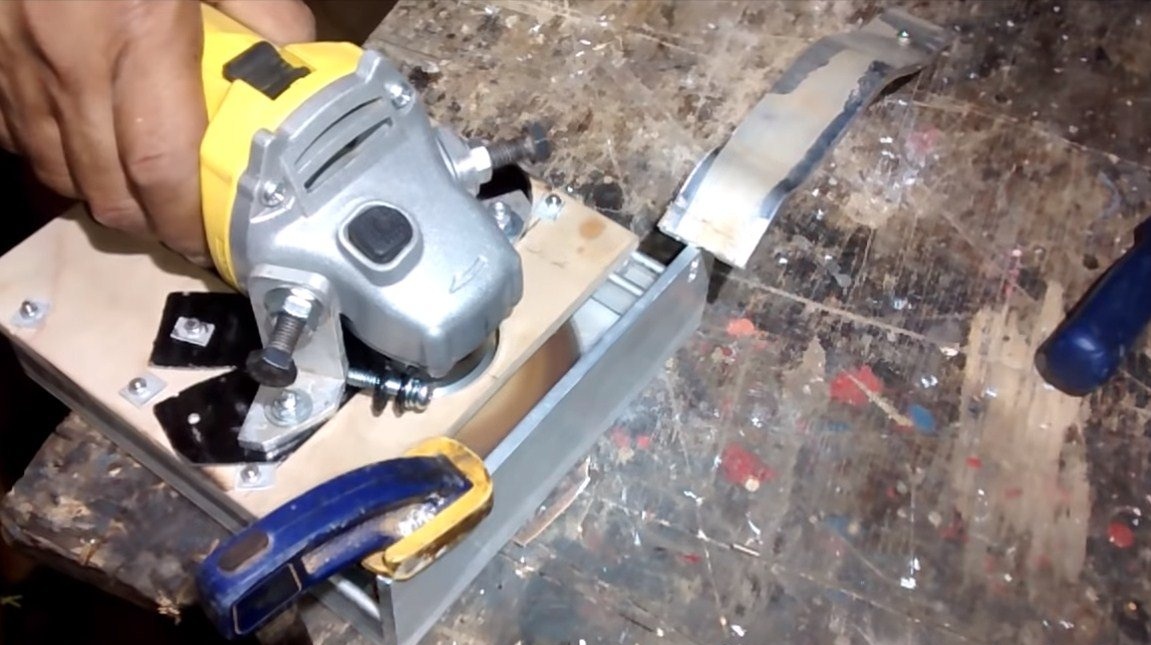
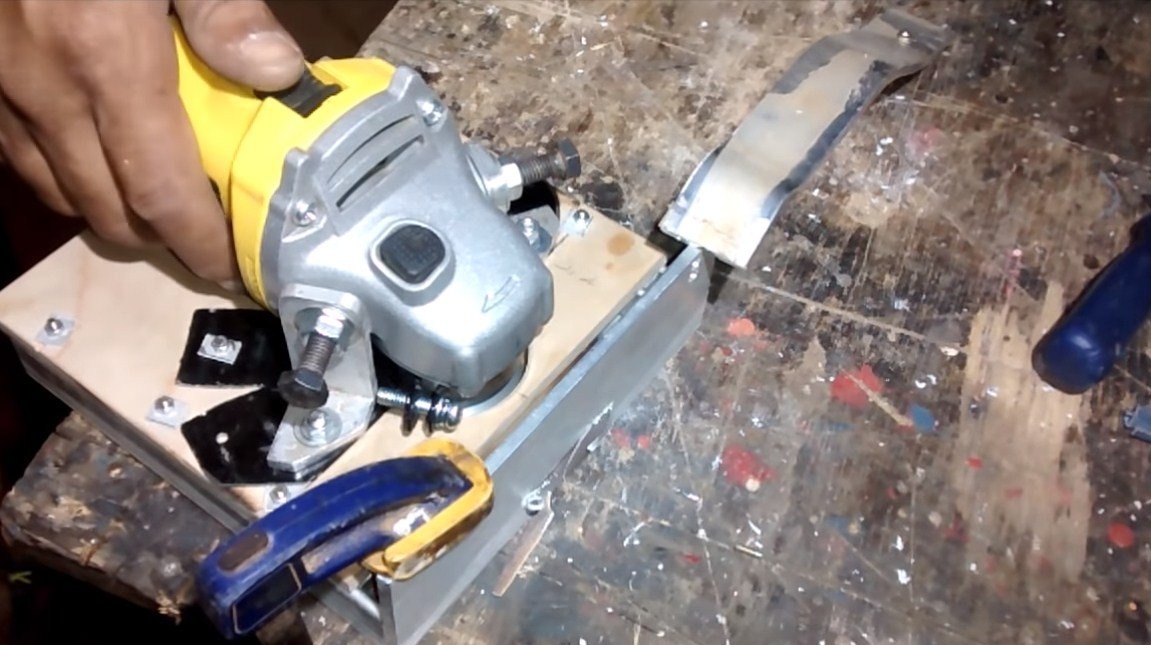
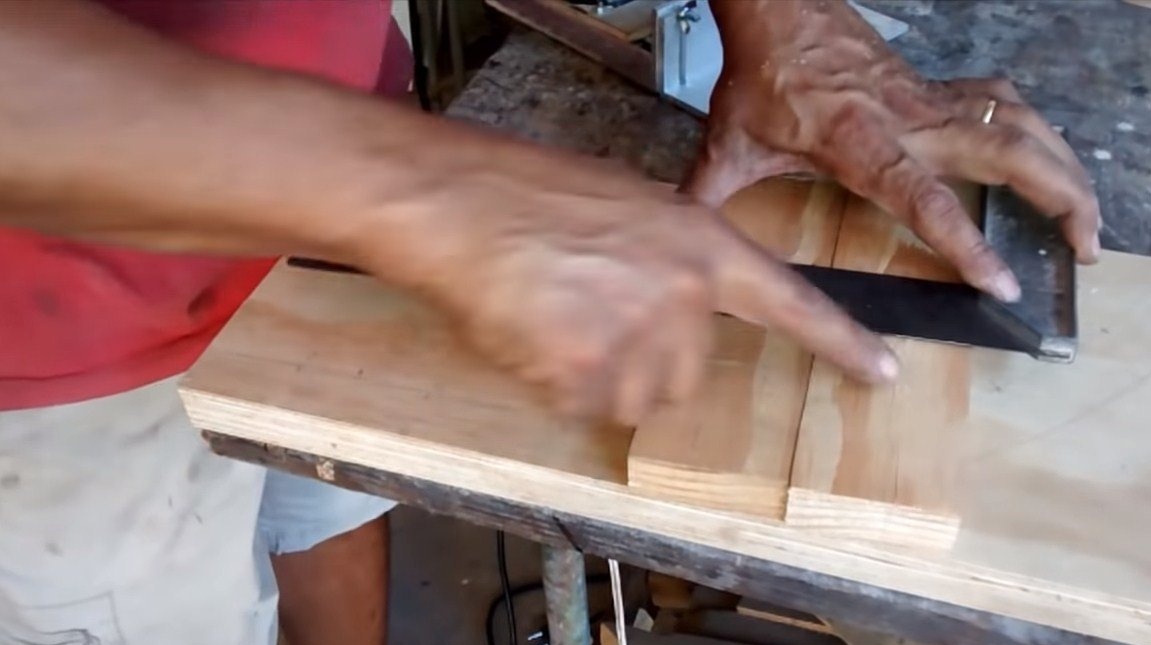
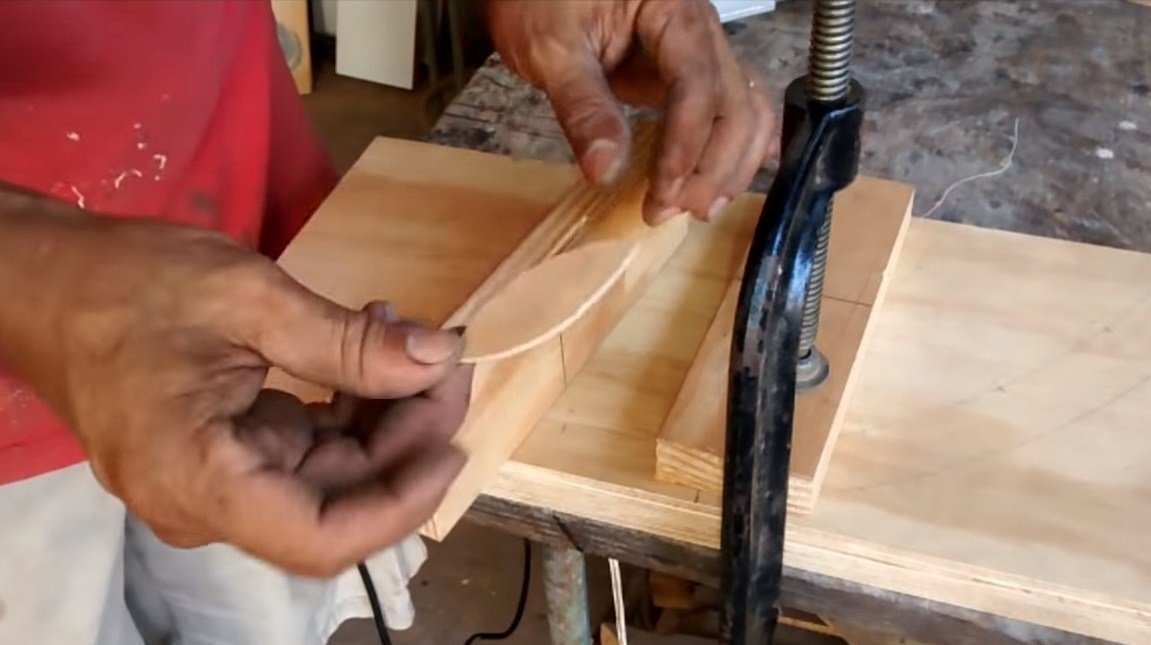
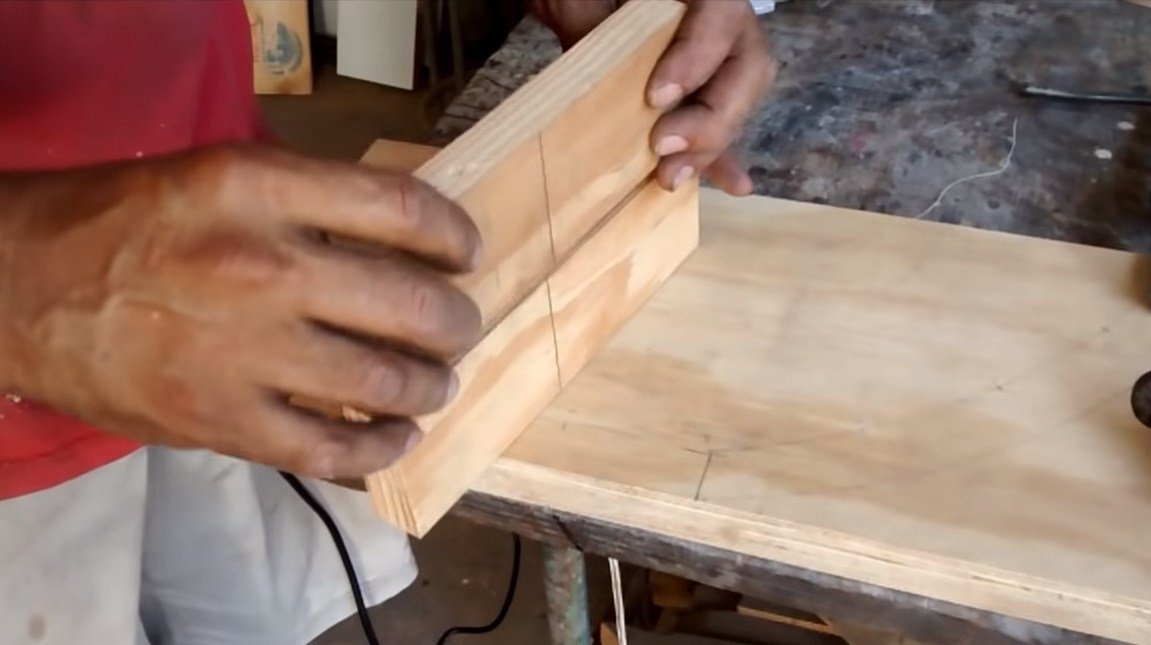
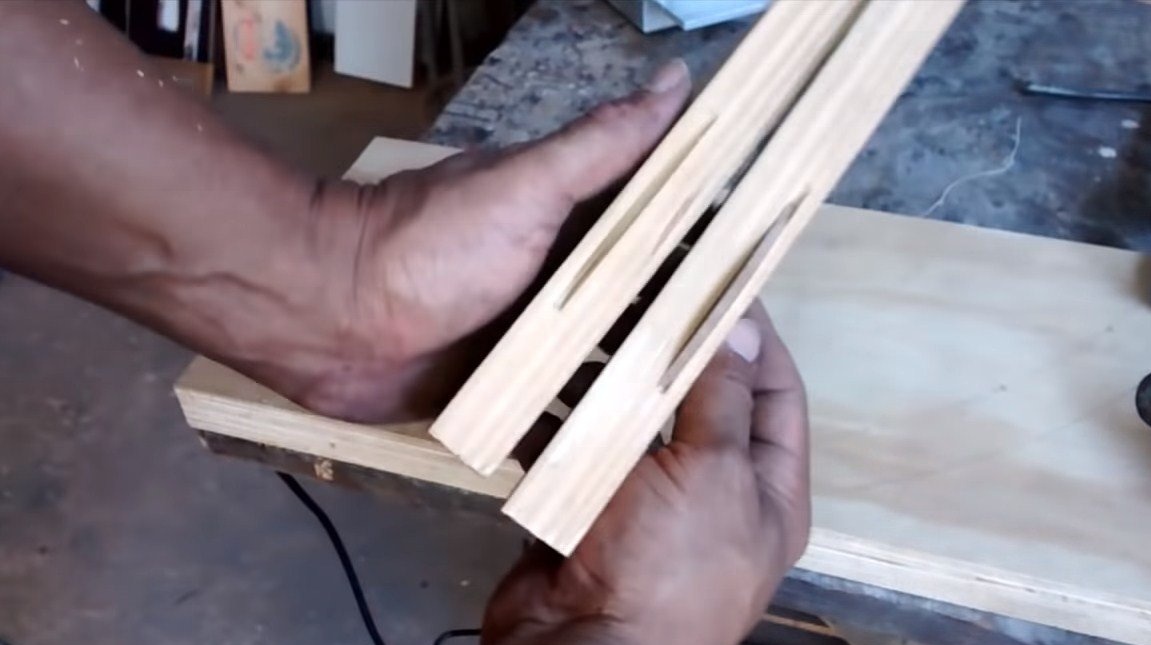
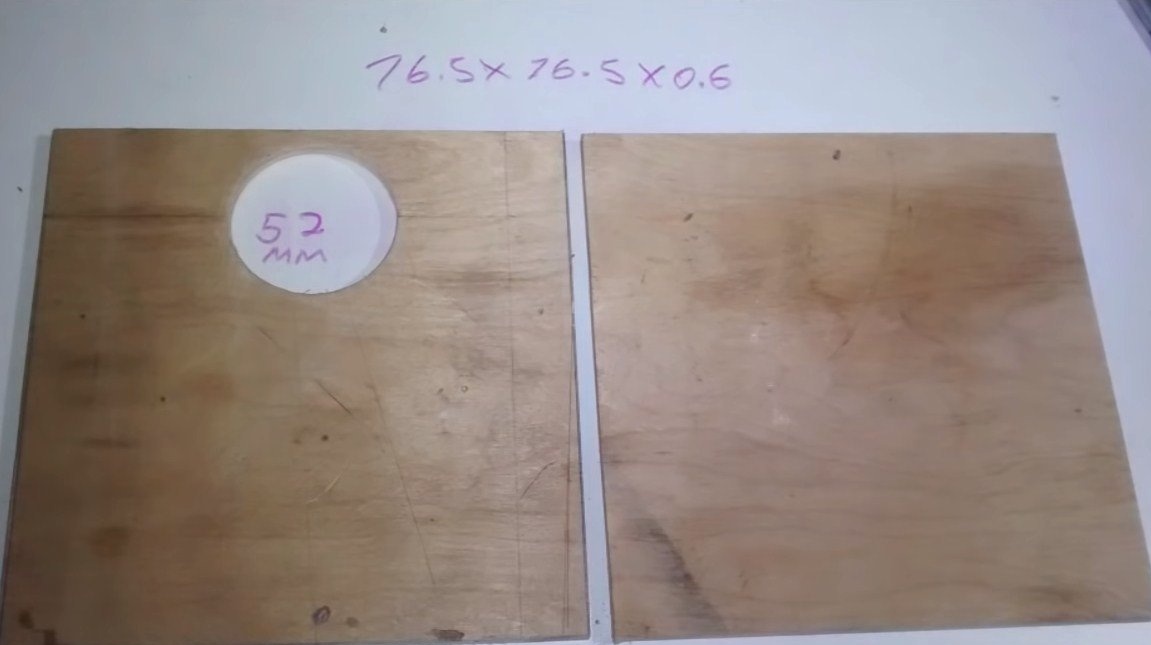
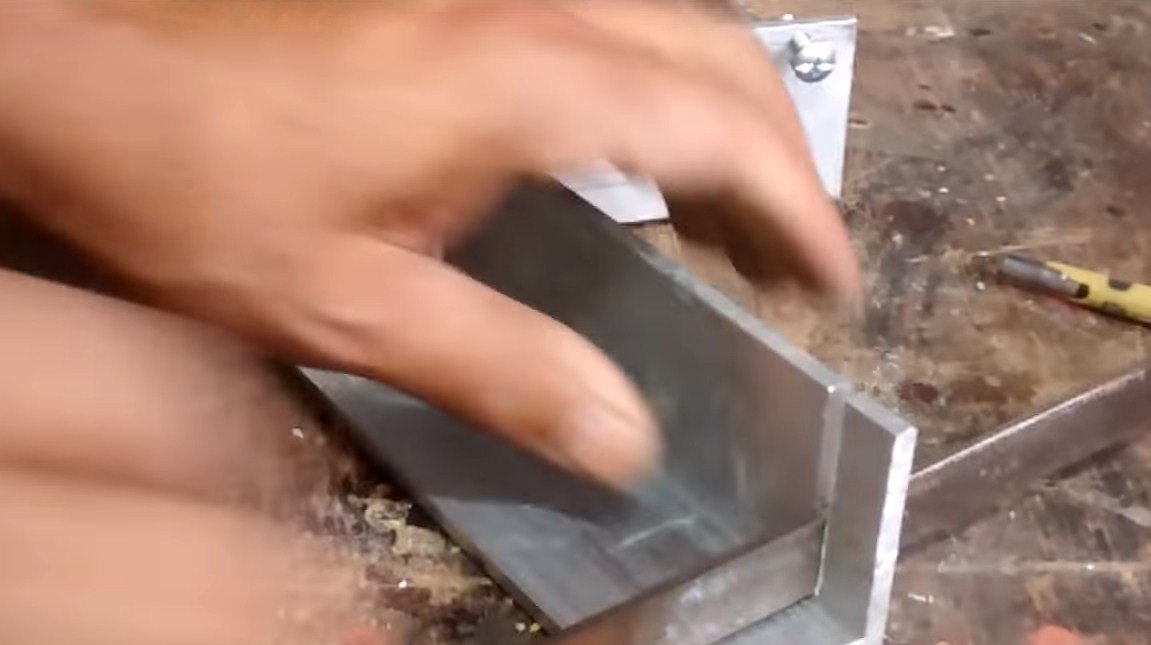
The machine is ready, you can proceed to the tests. We take a board, we adjust the necessary place for a cut, and with a flick of the wrist we cut a slot hole. The author made a similar cut in the second board. As a result, then they were securely connected with a spike. And if you also glue it, the connection will be very reliable.
To obtain a larger cut width, the author sets two circular disks at once.
That's all, the project is over, I hope you liked the home-made. Good luck and creative inspiration, if you want to repeat this. Do not forget to share with us your ideas and homemade products.