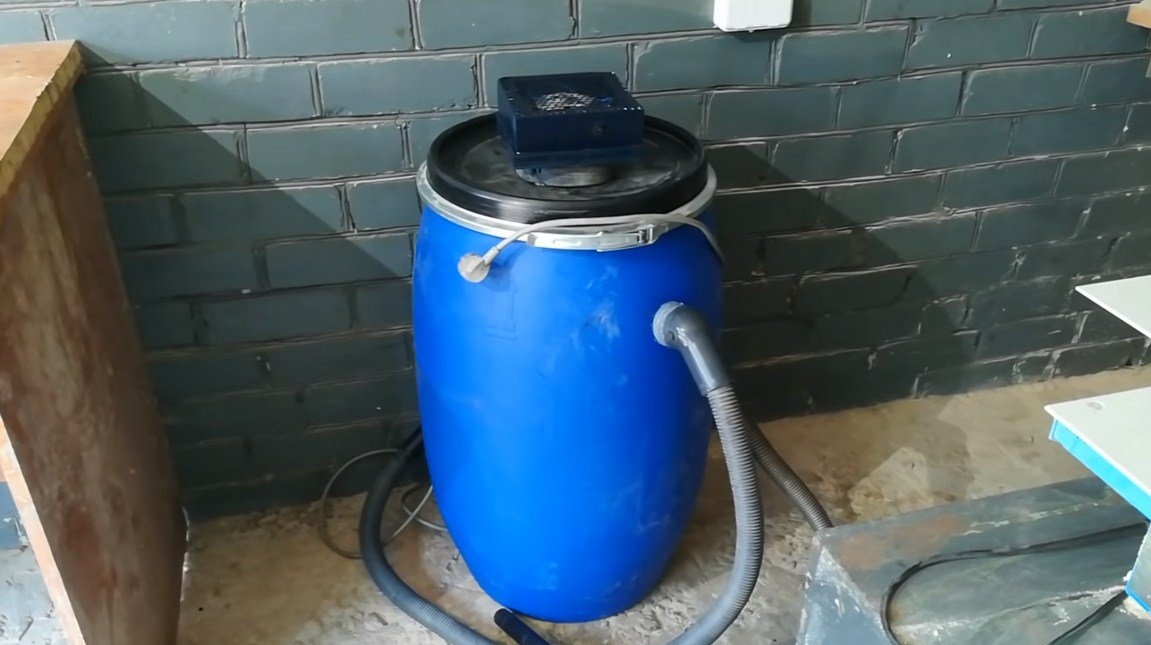
After construction or the slightest repair there is always a lot of garbage. This sawdust, and dust, residues of materials and other trifles. It’s quite problematic to clean this whole thing; a construction vacuum cleaner comes to the rescue in this matter. The design feature of such a vacuum cleaner is that it is not afraid of large debris and is able to collect it, also the vacuum cleaner is equipped with a large chamber for collecting garbage.
Any master should have such an assistant, namely in this instruction we will consider how to assemble it. To make such a vacuum cleaner, the author used almost trash. Finding such parts should not be difficult for you, and the assembly process is quite simple. The vacuum cleaner easily copes with the tasks, now he is a faithful assistant to the master. I propose to consider in more detail how it is going homemade!
Materials and tools used by the author:
Material List:
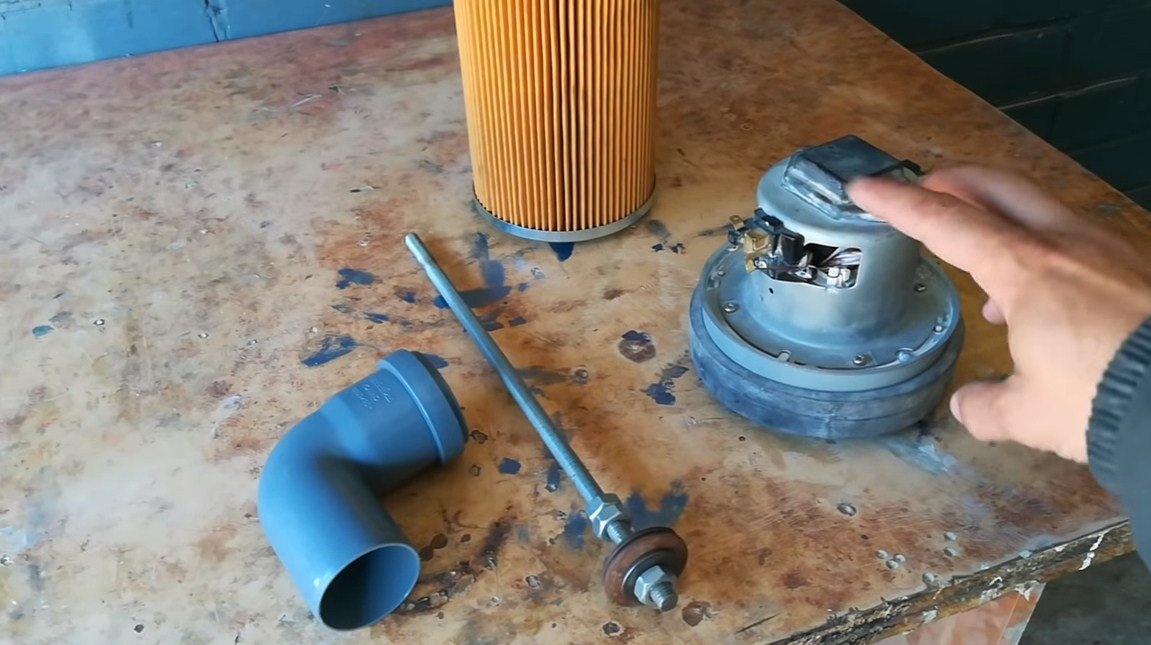
- engine from a vacuum cleaner complete with an impeller;
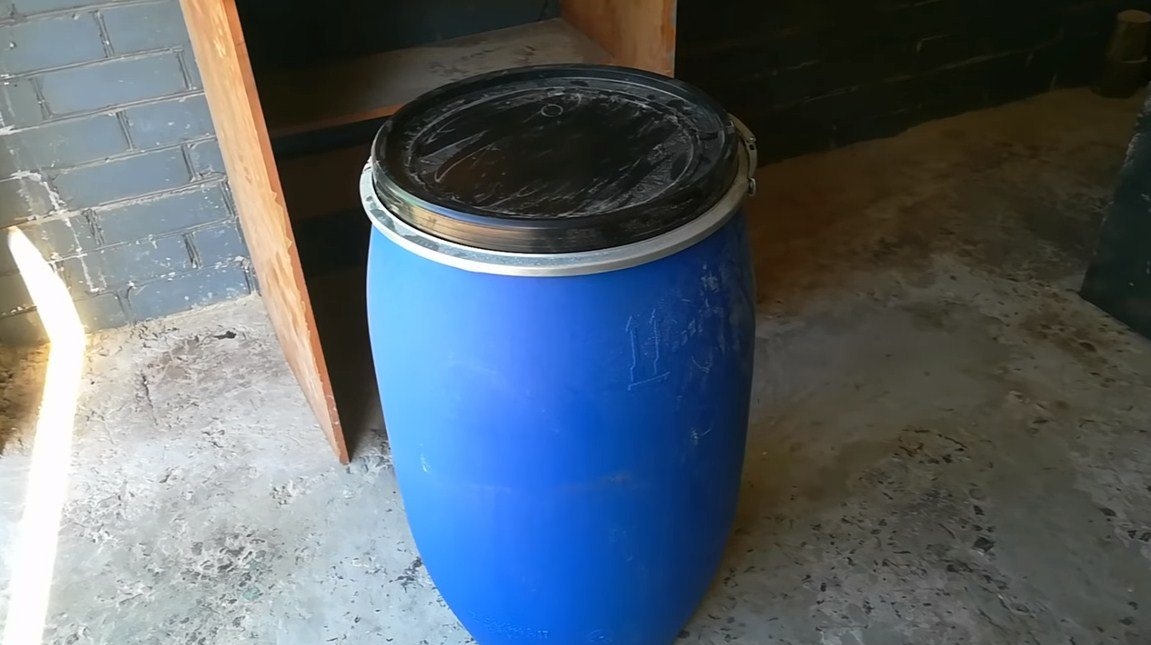
- a plastic barrel;
- a hose for the vacuum cleaner;
- plywood;
- plumbing pipe;
- bolts, nuts, washers;
- carpentry glue;
- threaded rod, nuts, washers (for attaching the filter);
- filter (automobile or similar);
- silicone sealant;
- switch;
- silicone sealant;
- metal mesh (to protect the engine);
- epoxy adhesive;
- paint.
Tool List:
- drill;
- stapler;
- ;
- circular saw is another tool for cutting plywood;
- spanners;
- clamps.
Vacuum cleaner manufacturing process:
Step one. Engine installation
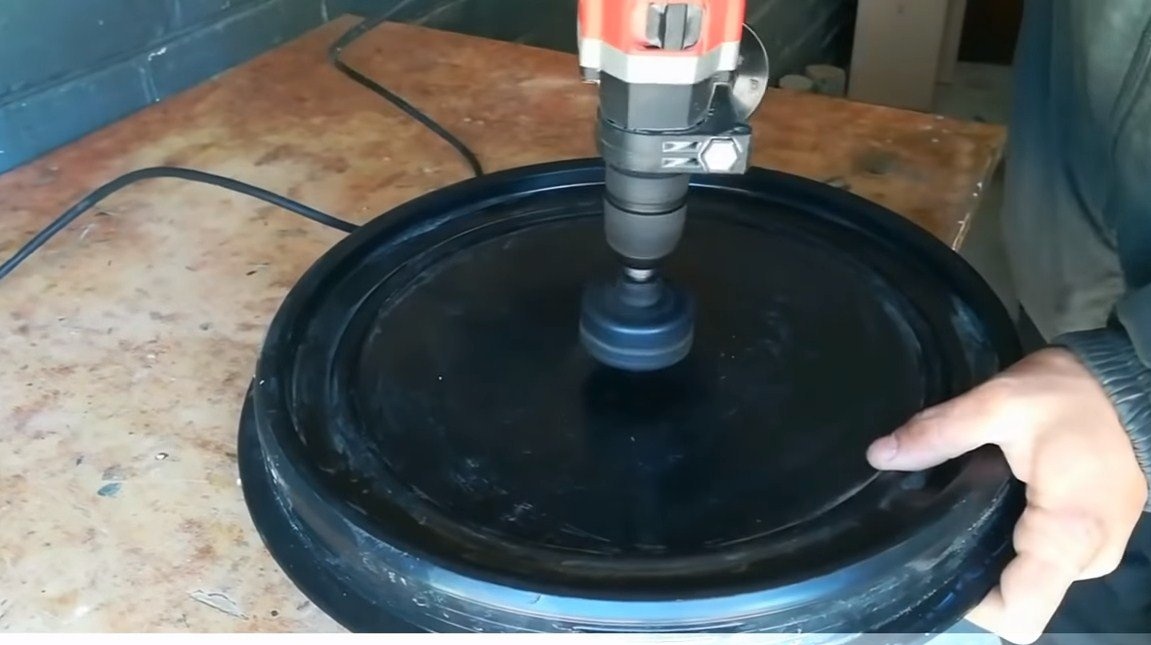
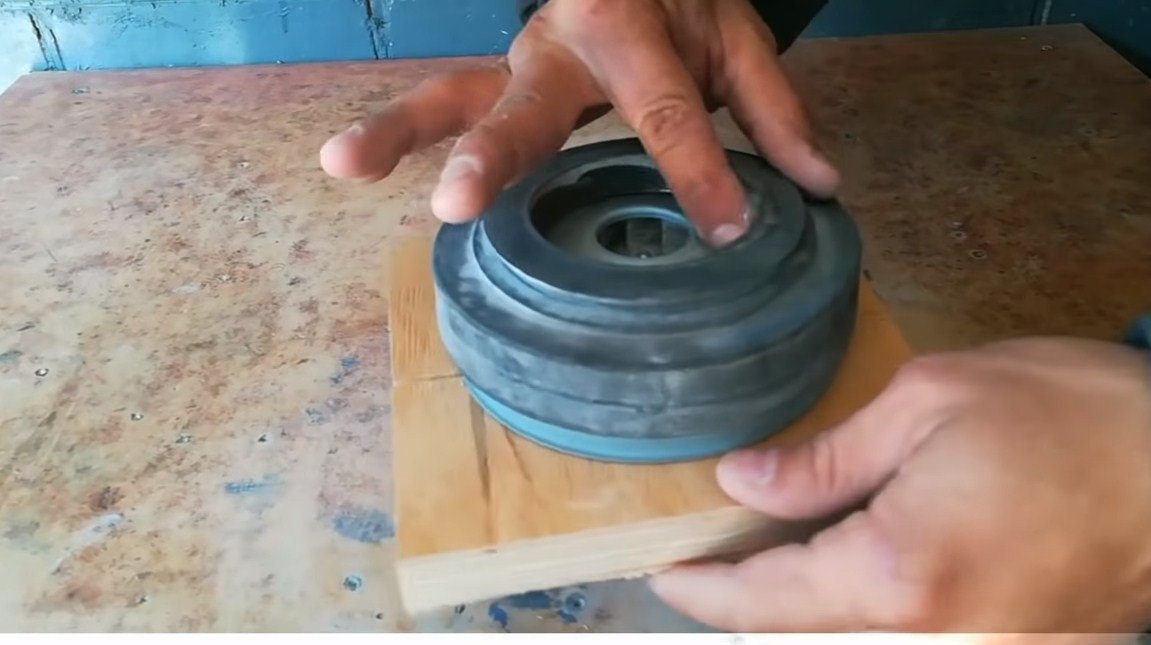
The most important task in this homemade product is to securely and tightly install the suction device on the barrel lid. The author used the old engine, it had to replace bearings, but it works fine after that.
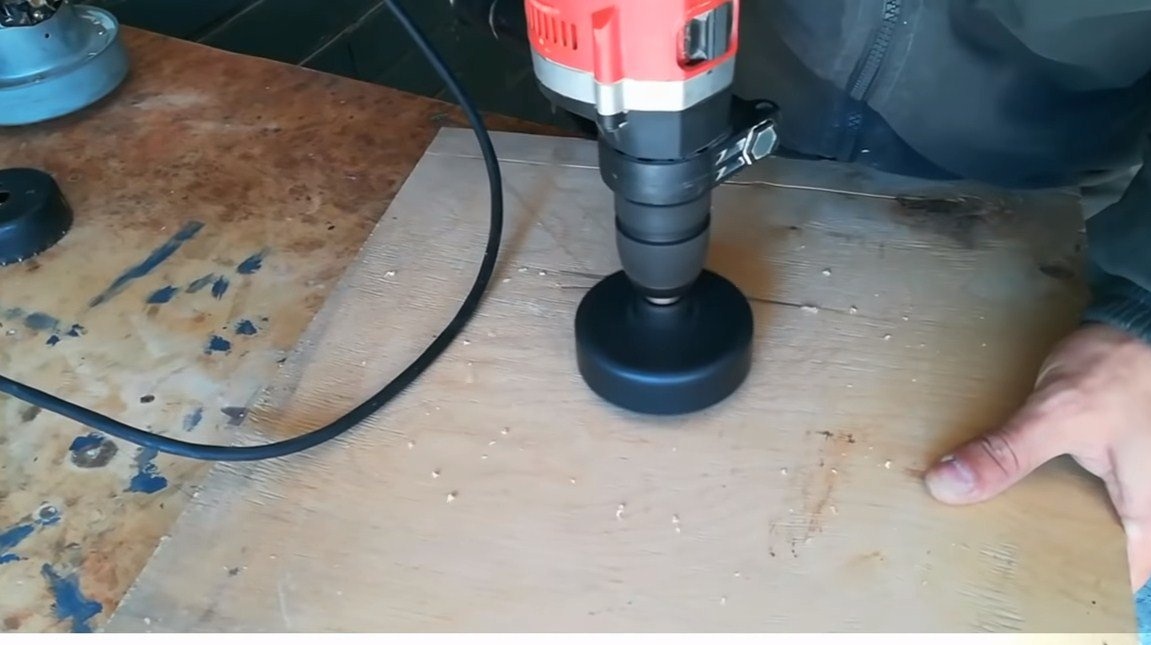
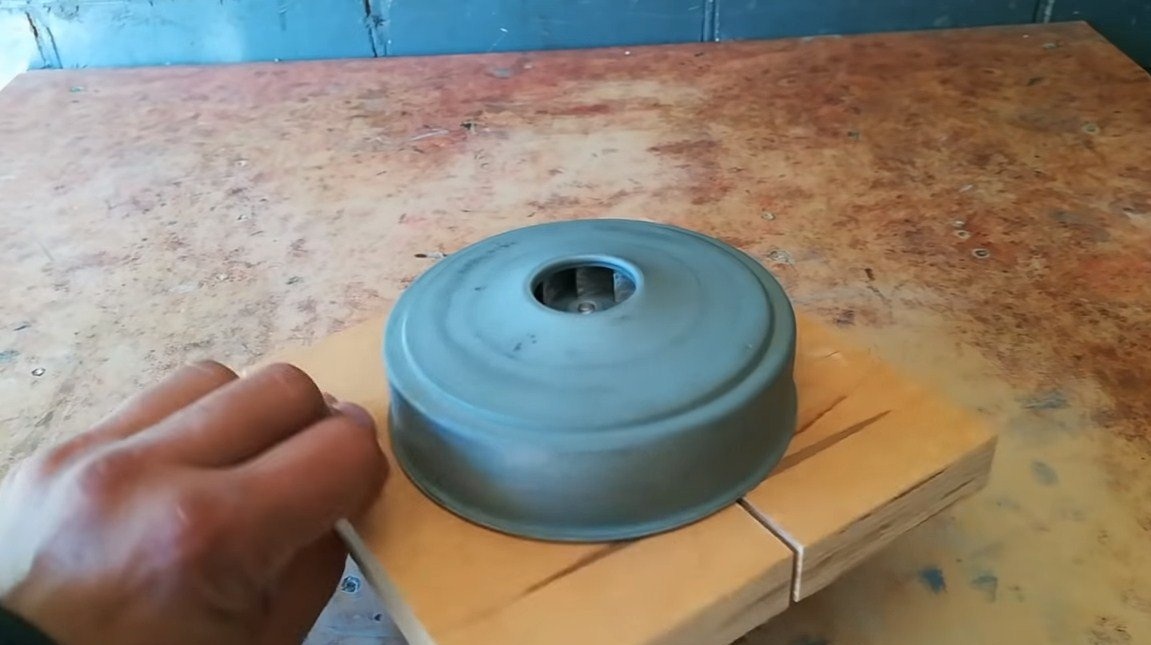
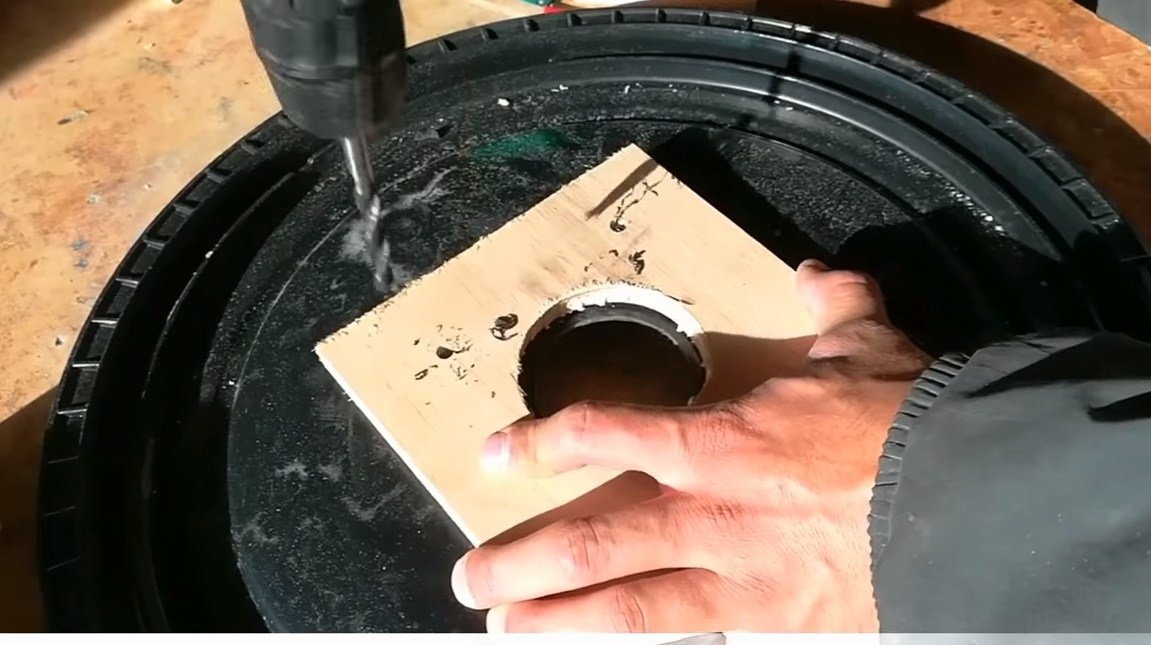
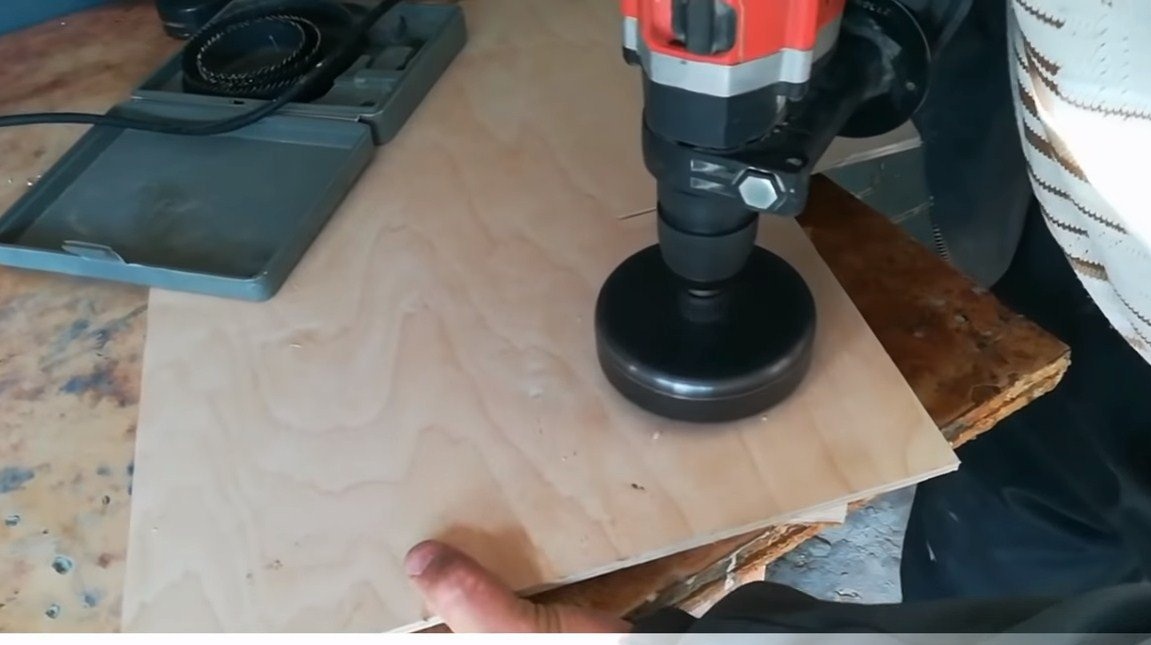
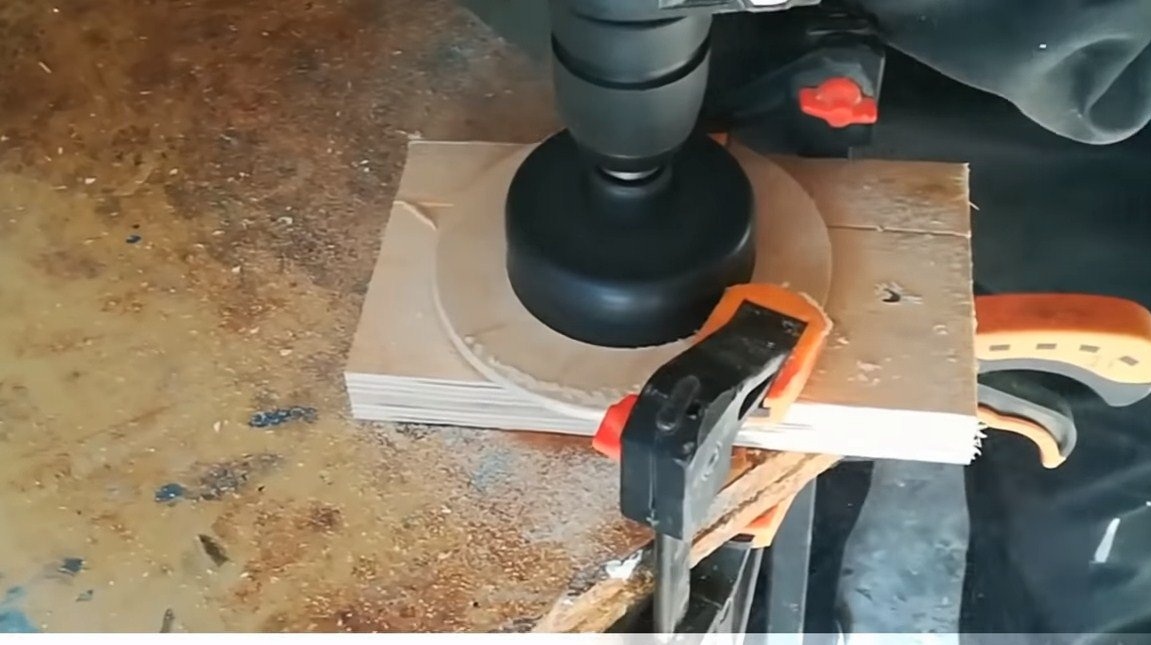
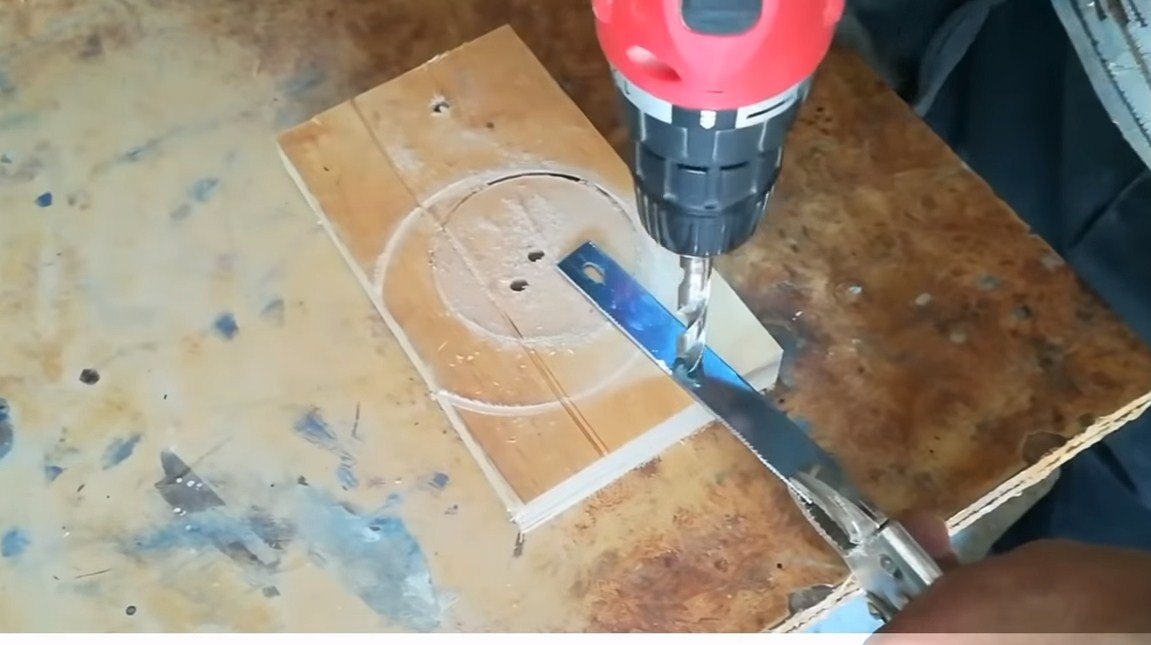
We take a crown and drill a hole in the lid, it is necessary so that the engine can suck in air from the barrel.
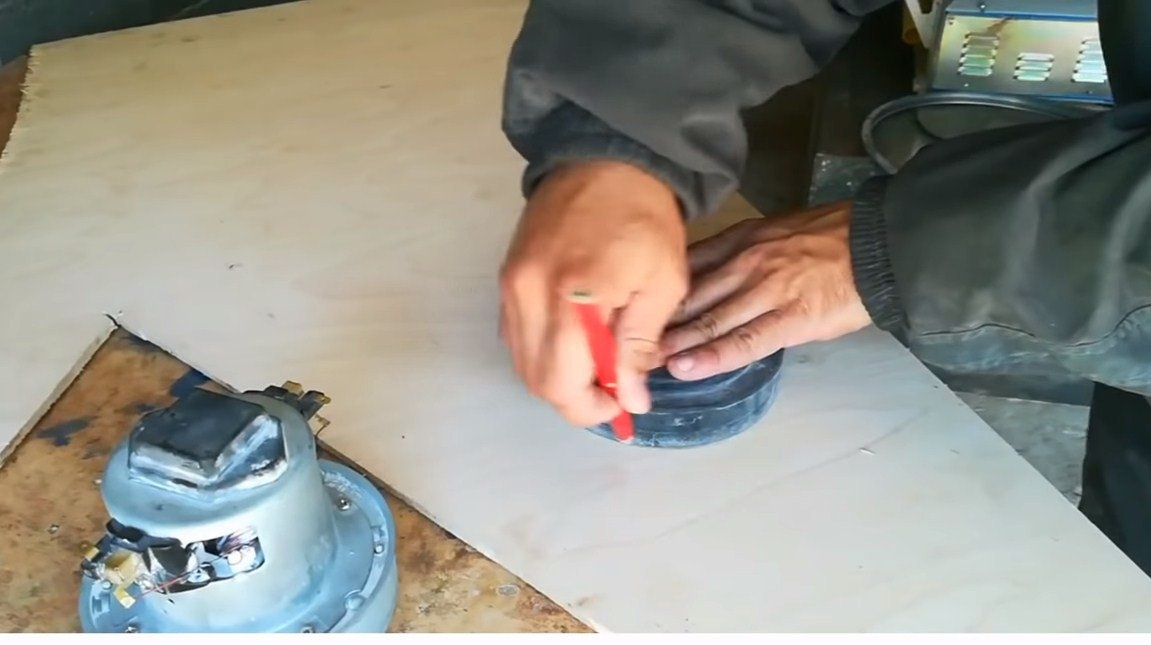
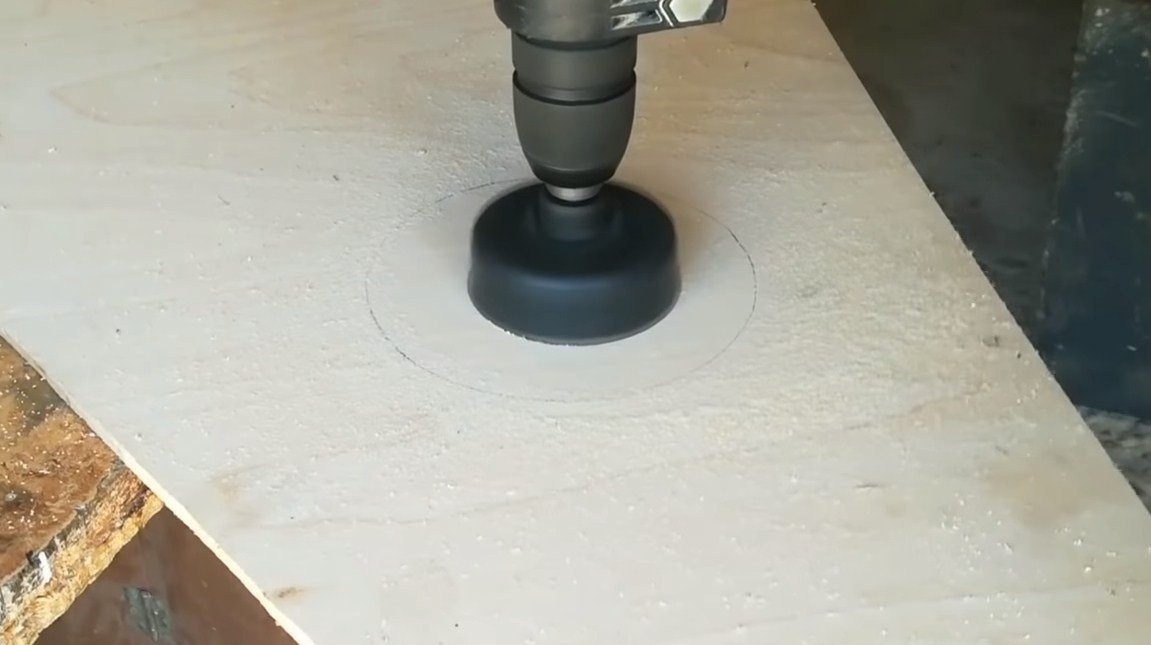
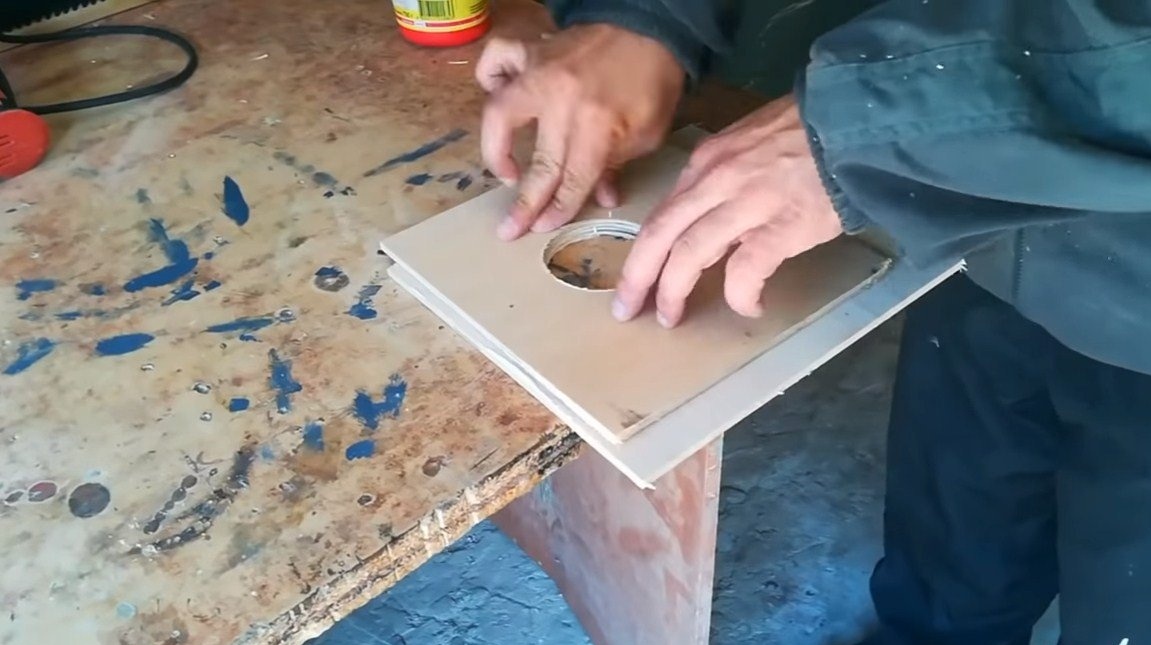
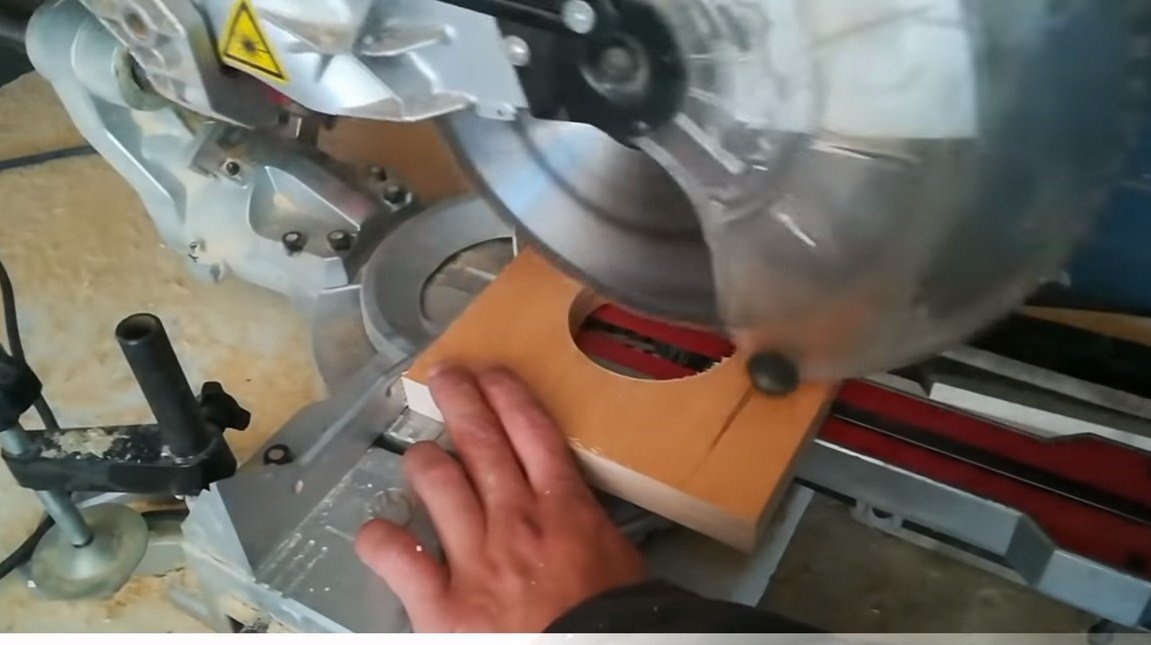
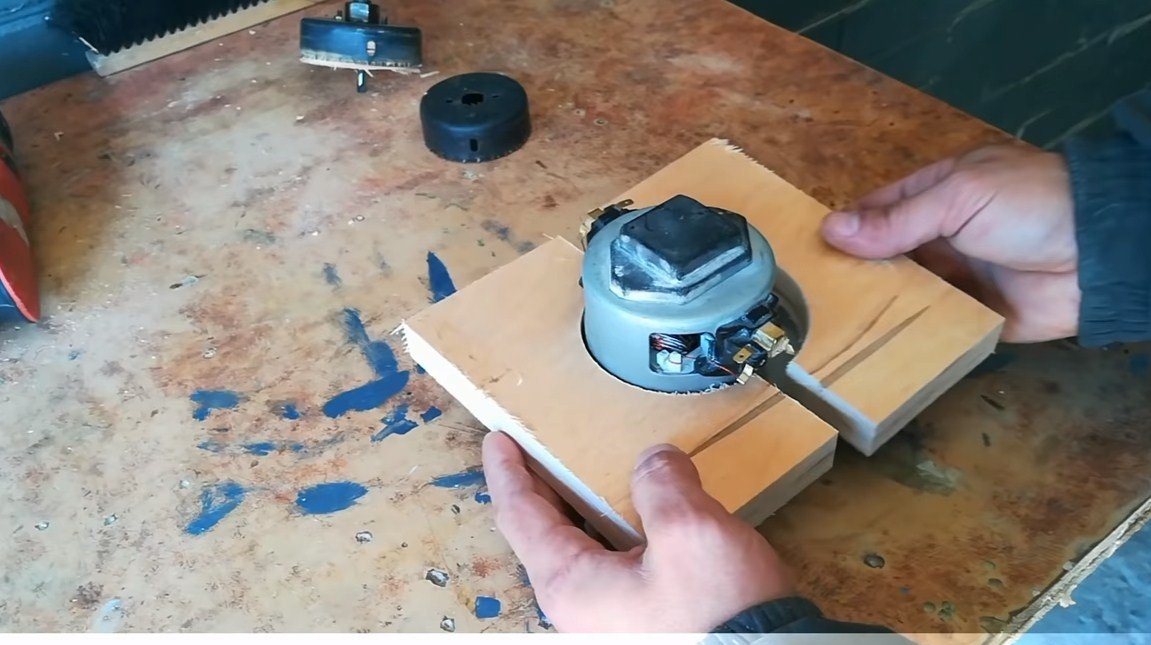
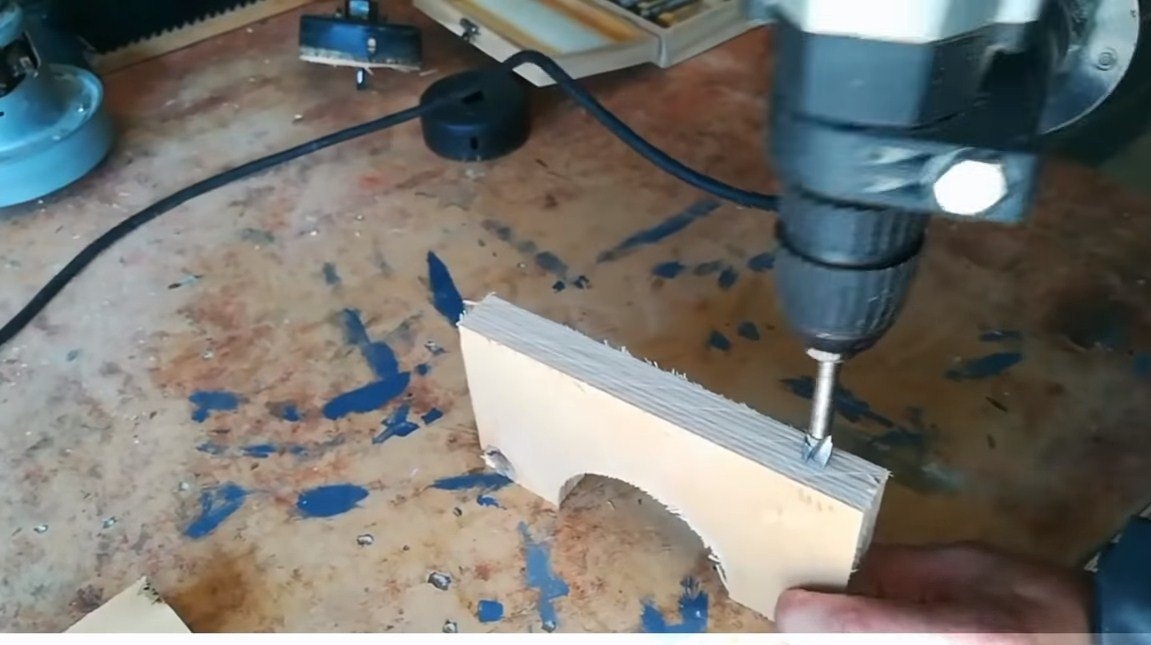
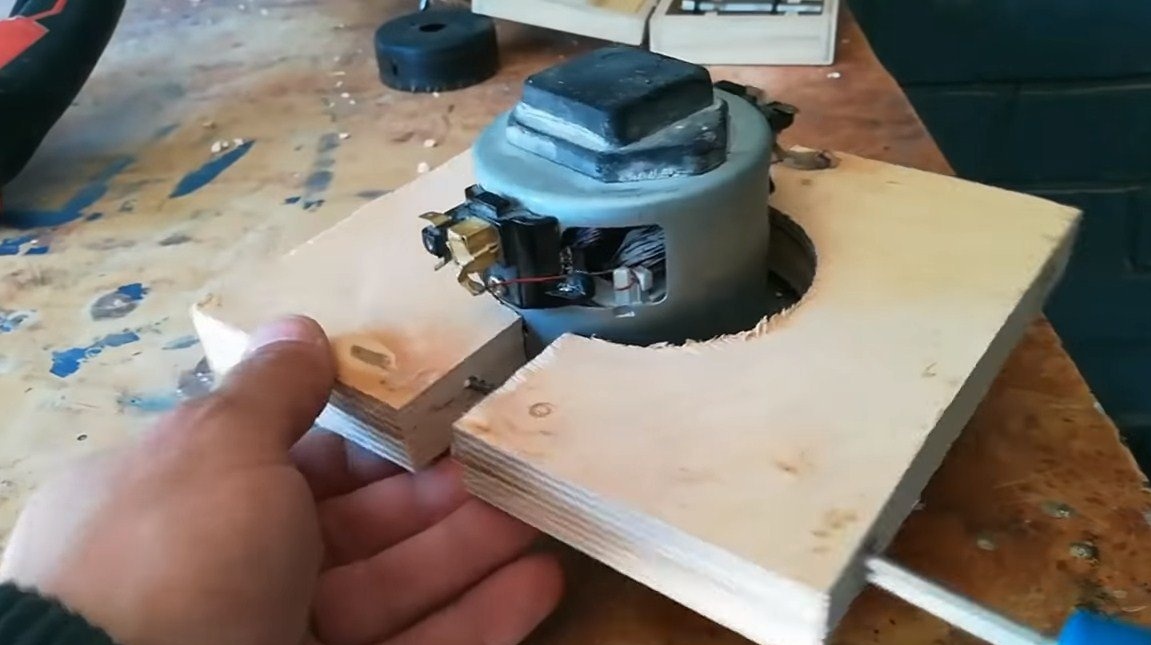
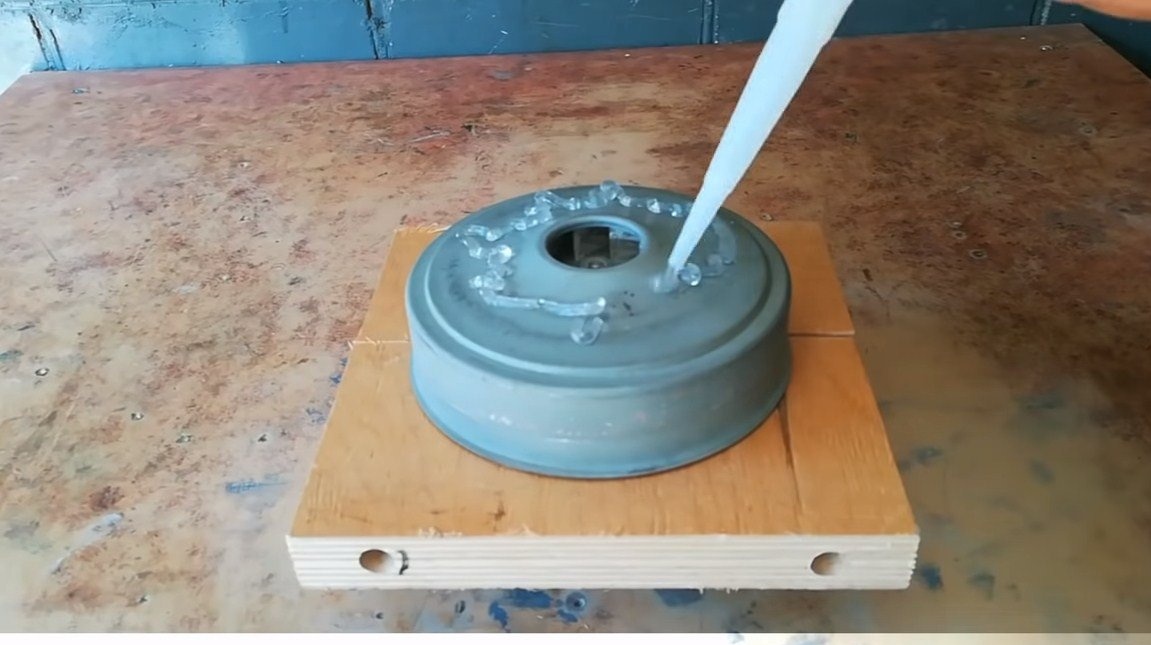
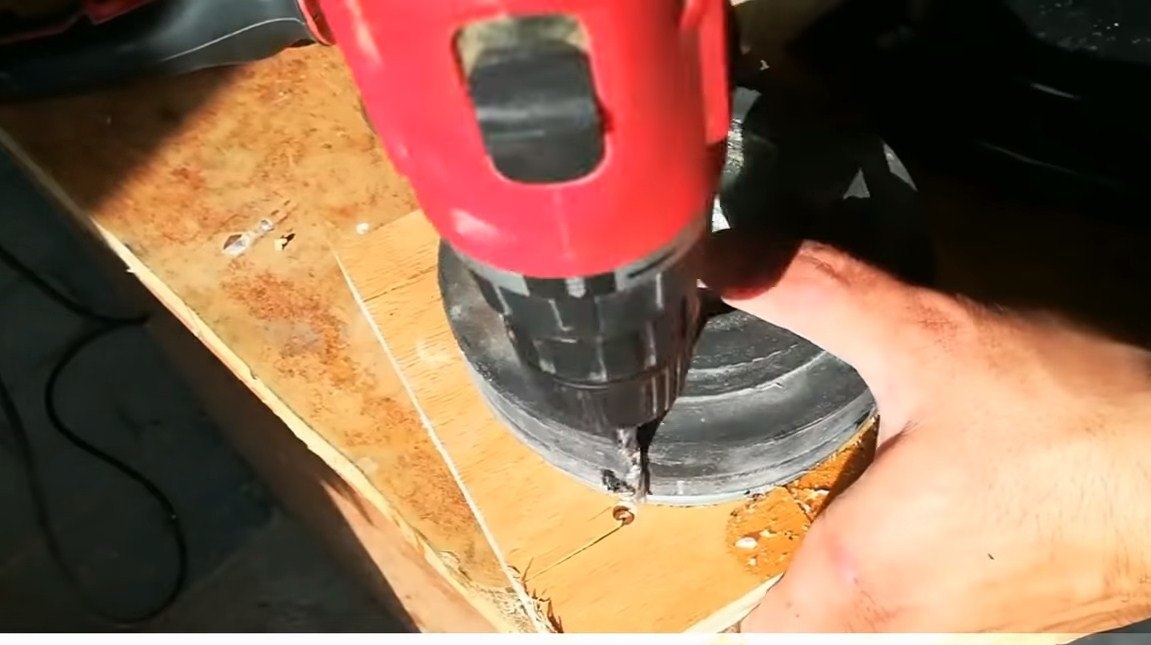

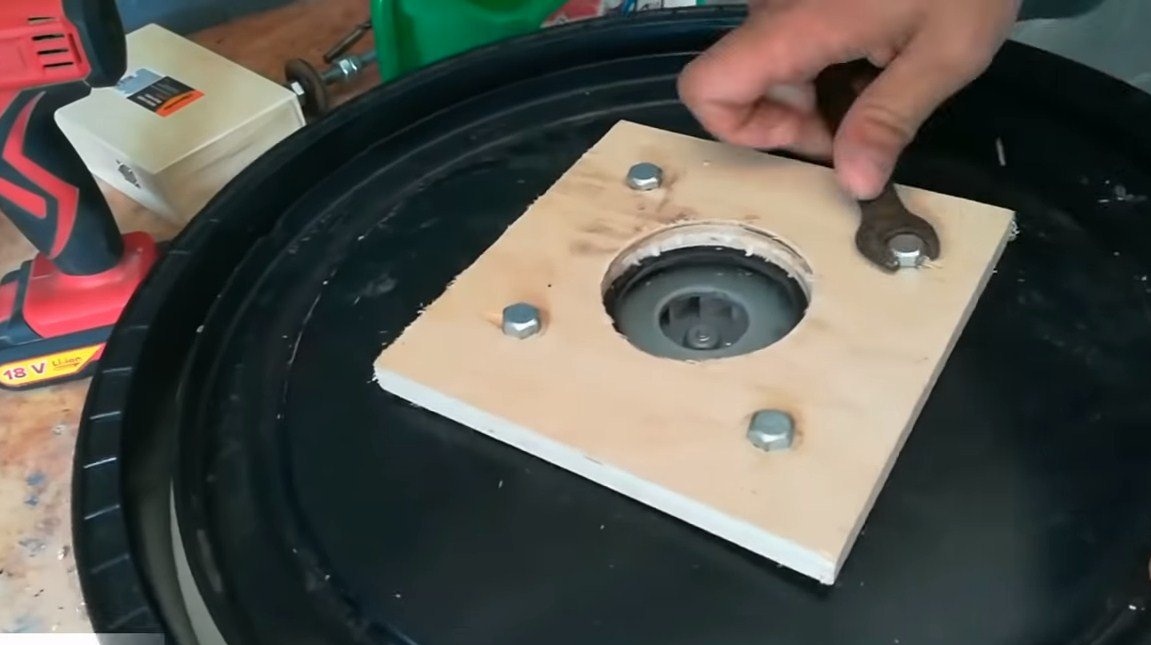
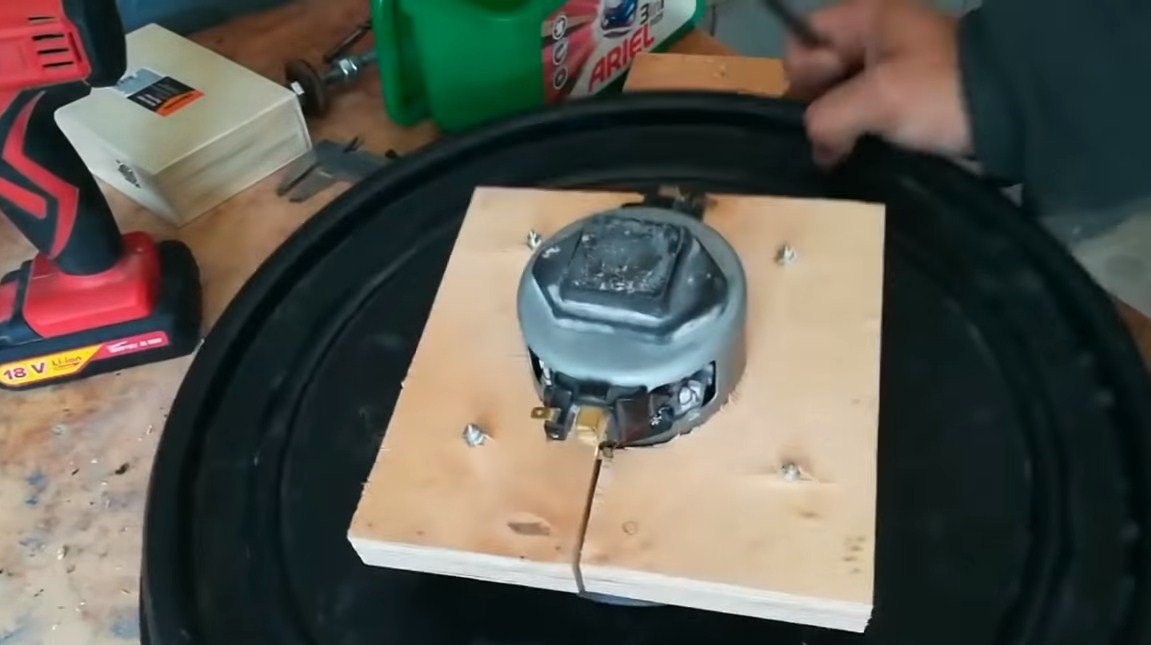
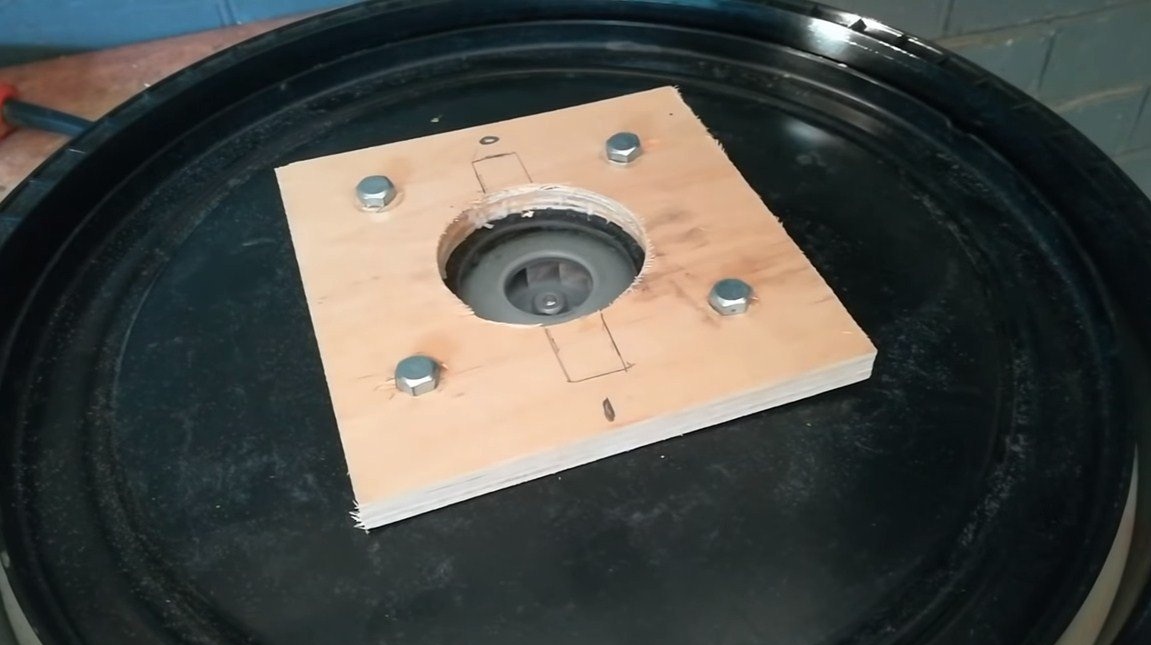
Next, we need to make parts with which we will mount the engine. They are made of plywood. We need to make a bracket that needs to be mounted on the engine. It is made of two glued sheets of plywood to increase strength.A hole is drilled in the center, and then the part is cut into two parts and holes are drilled. As a result, we get a strong clamp, which we tighten on the engine with screws.
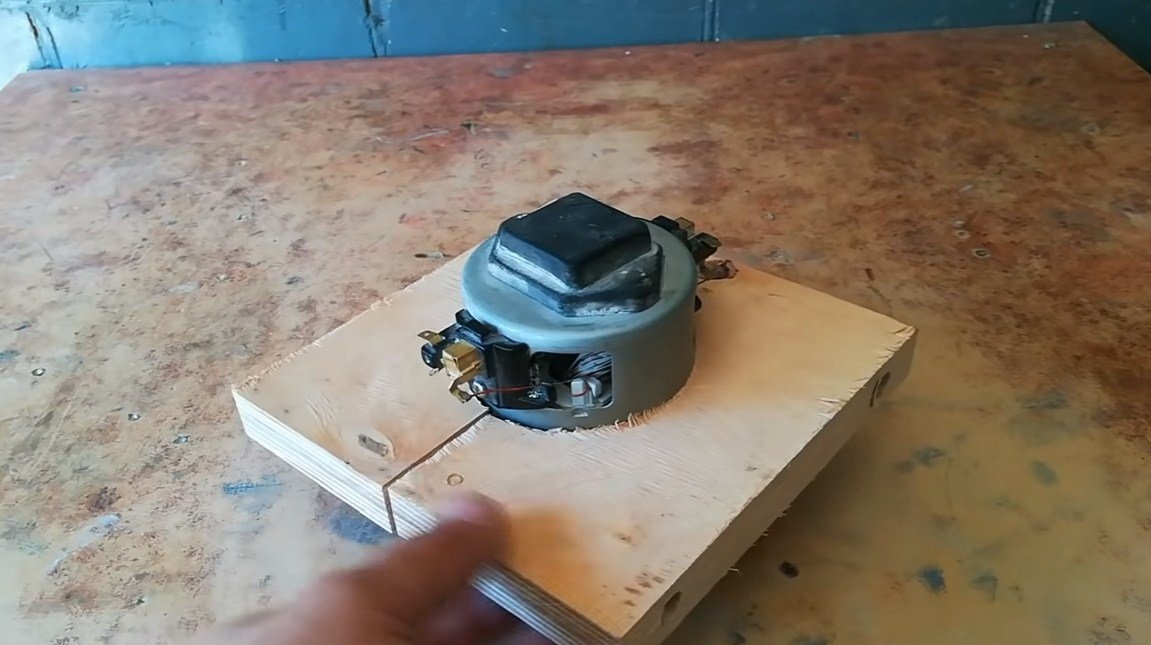
A plywood plate is also installed on the inside of the lid; we will wrap the wood bolts through the upper part of it. For tightness, all adjacent surfaces are treated with silicone sealant. After tightening the bolts, everything holds rather reliably and tightly.
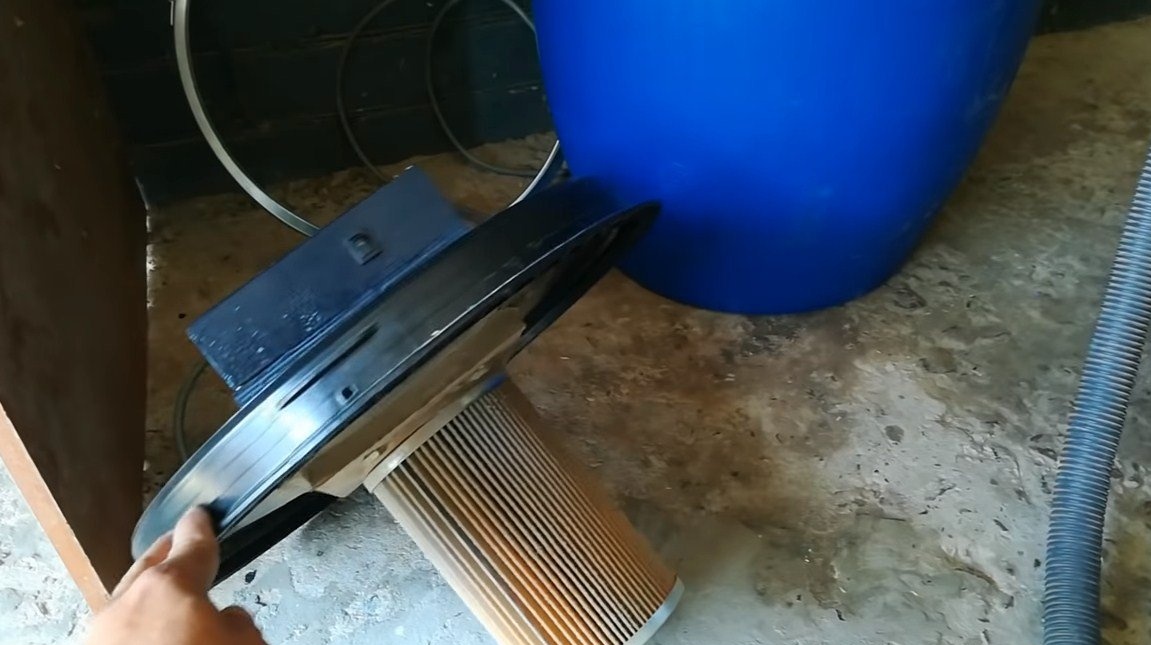
Step Two Filter setting
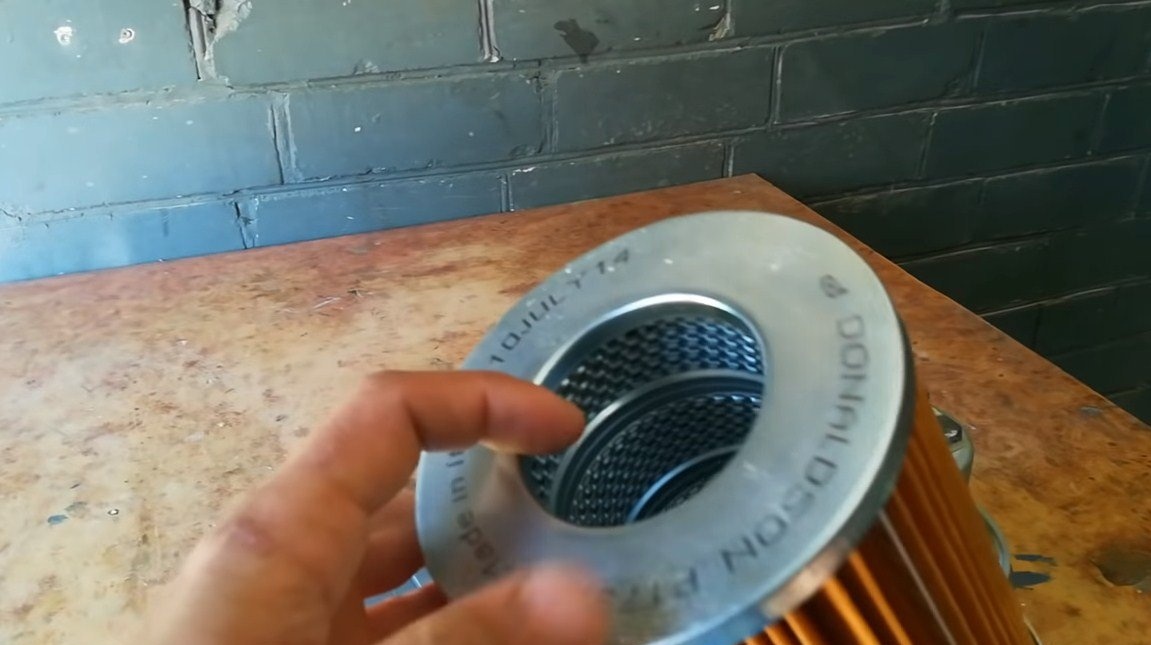
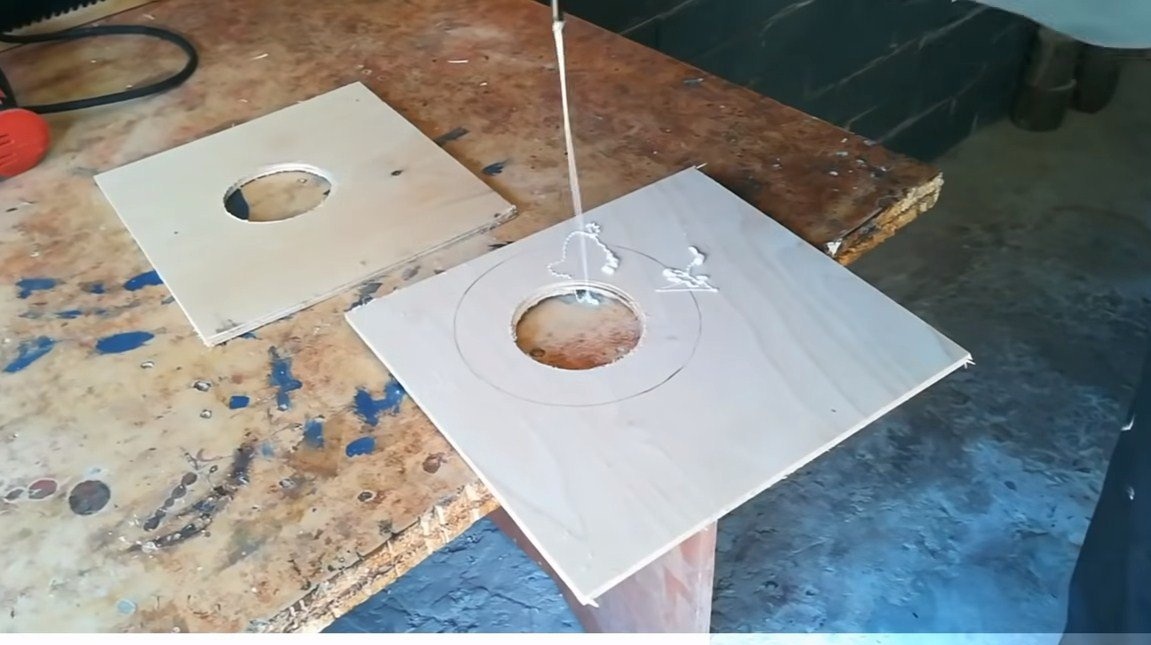
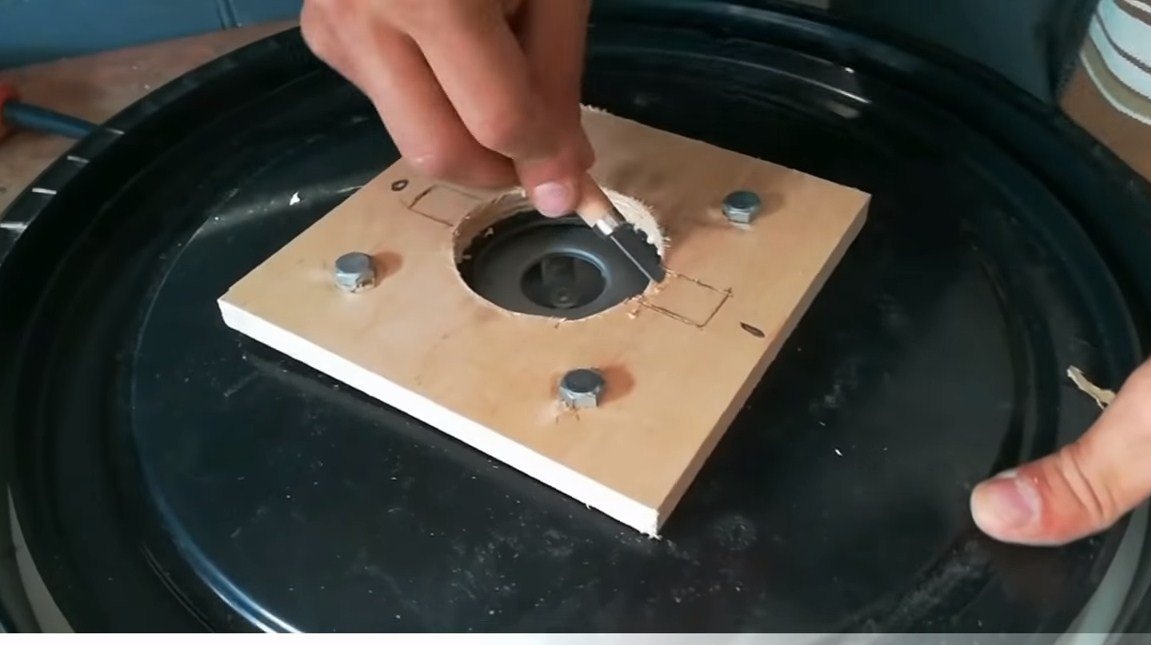
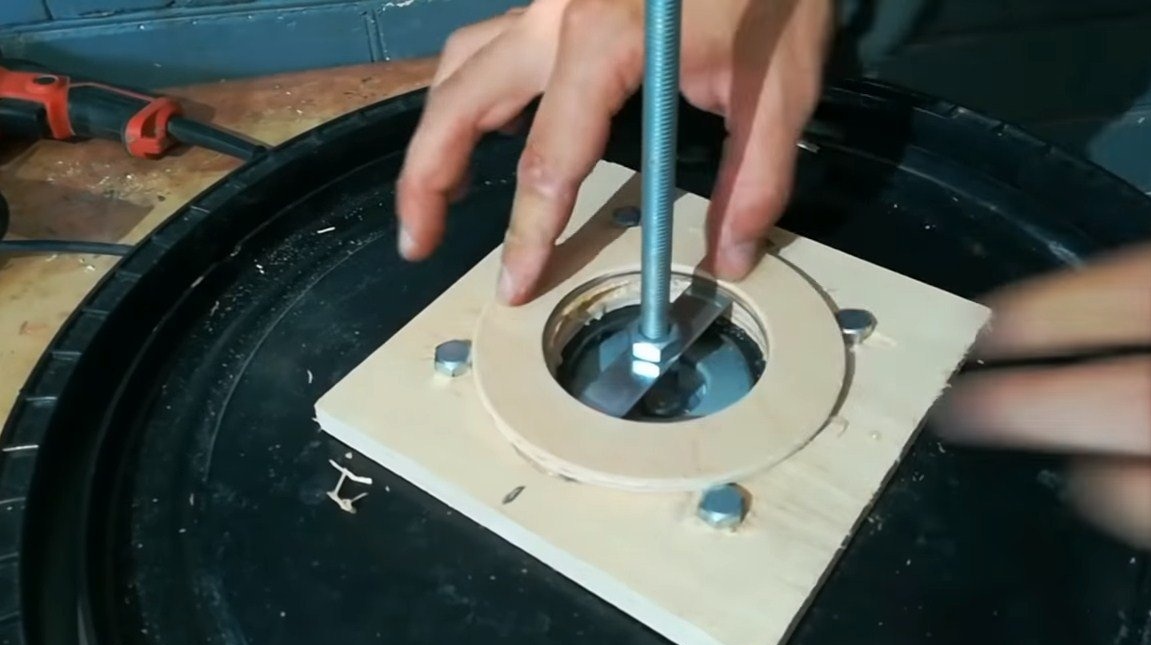
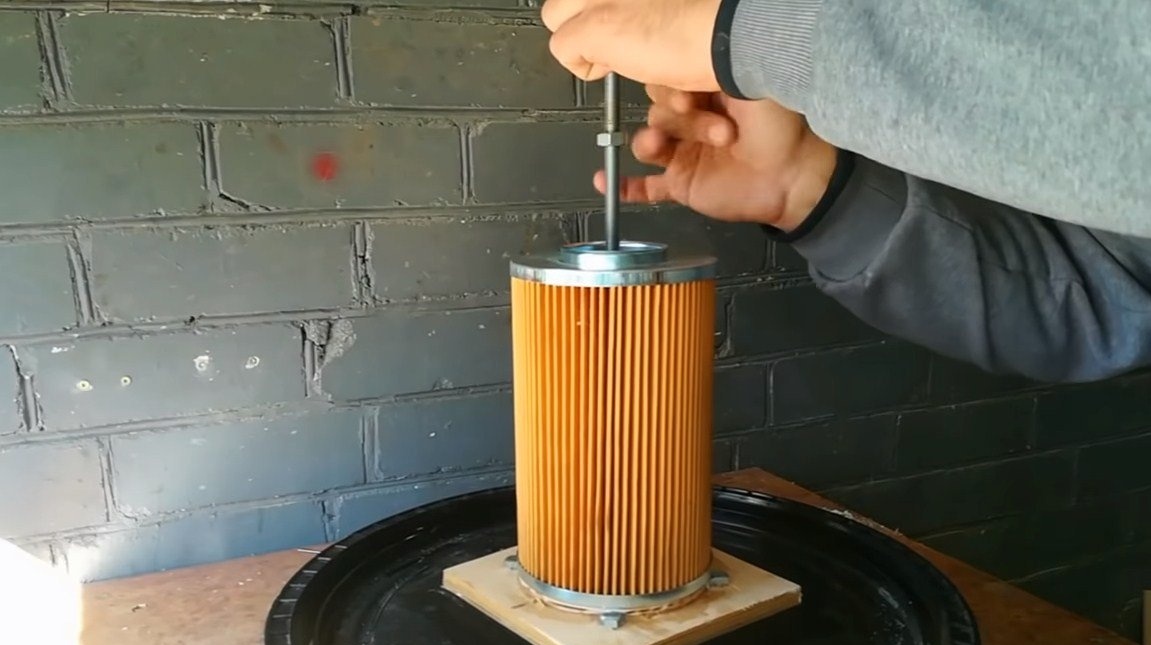
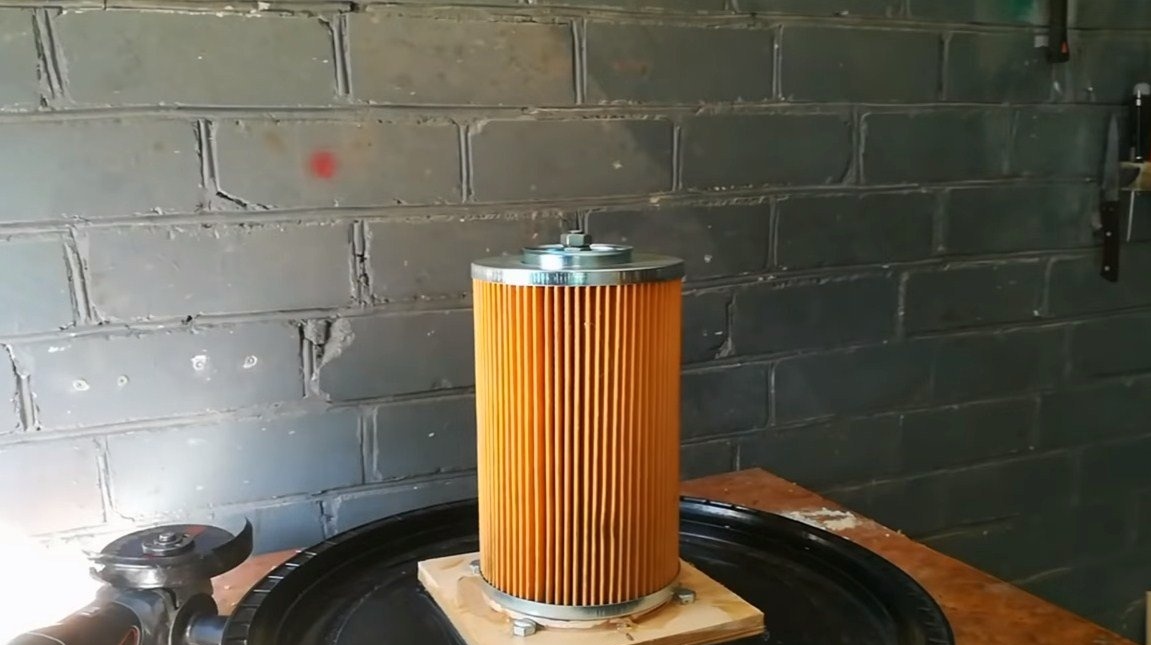
Next, we need to install a filter, it will separate the outside world from the garbage that will fall into the barrel. To begin with, we will make a spacer ring from plywood, as in the author's photo. There will be a filter on this “washer”, and thanks to it we will securely fix the filter.
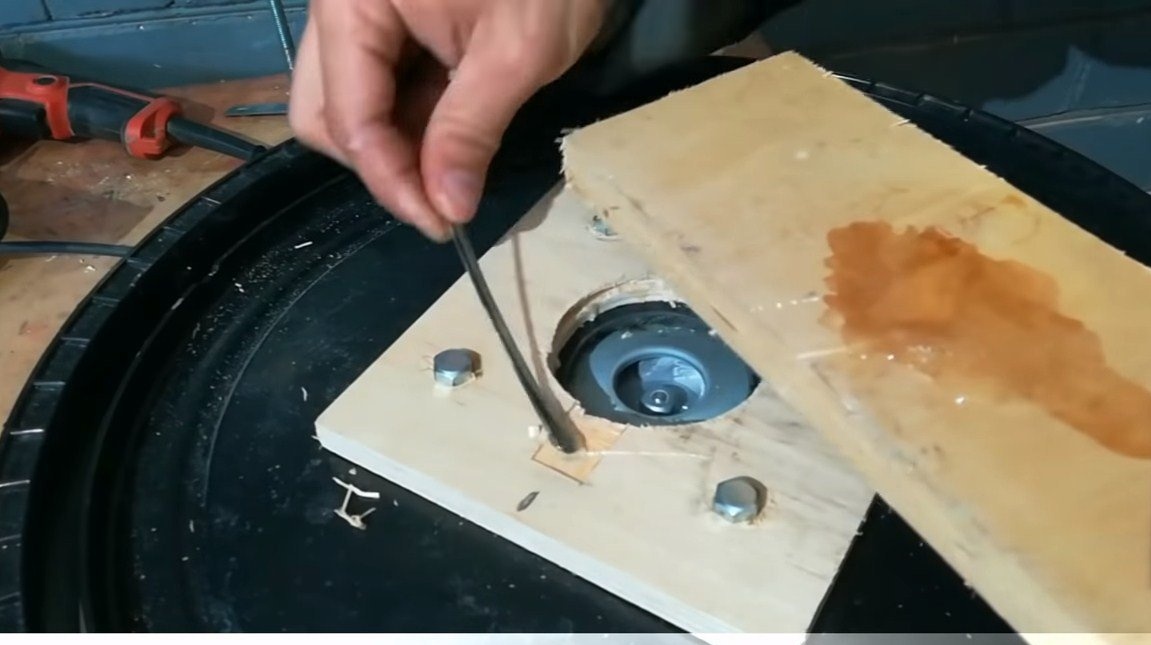
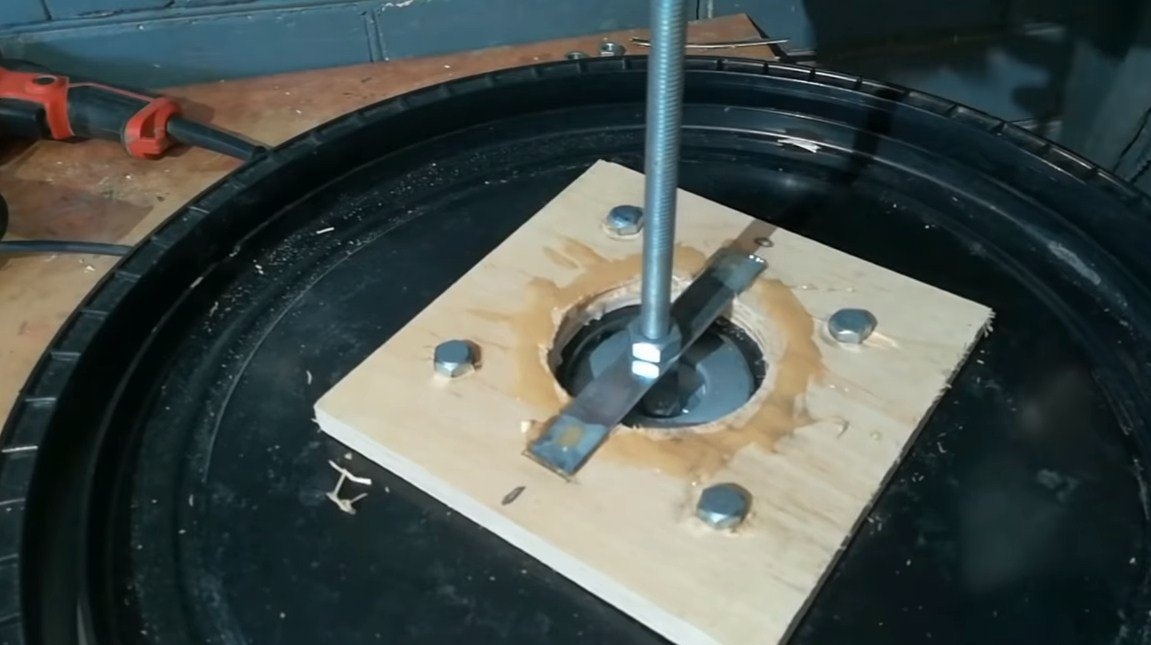
The mount for the filter is a threaded rod to which the plate needs to be welded perpendicularly. We glue this plate to the plywood with an epoxy, and install a spacer ring on top.
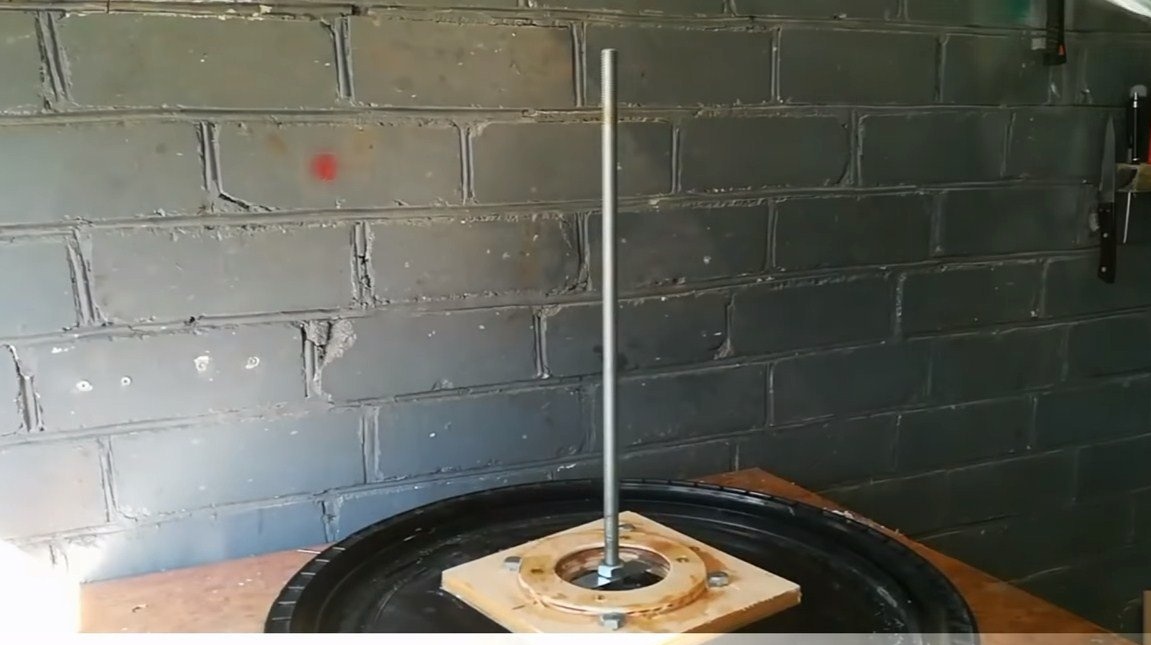
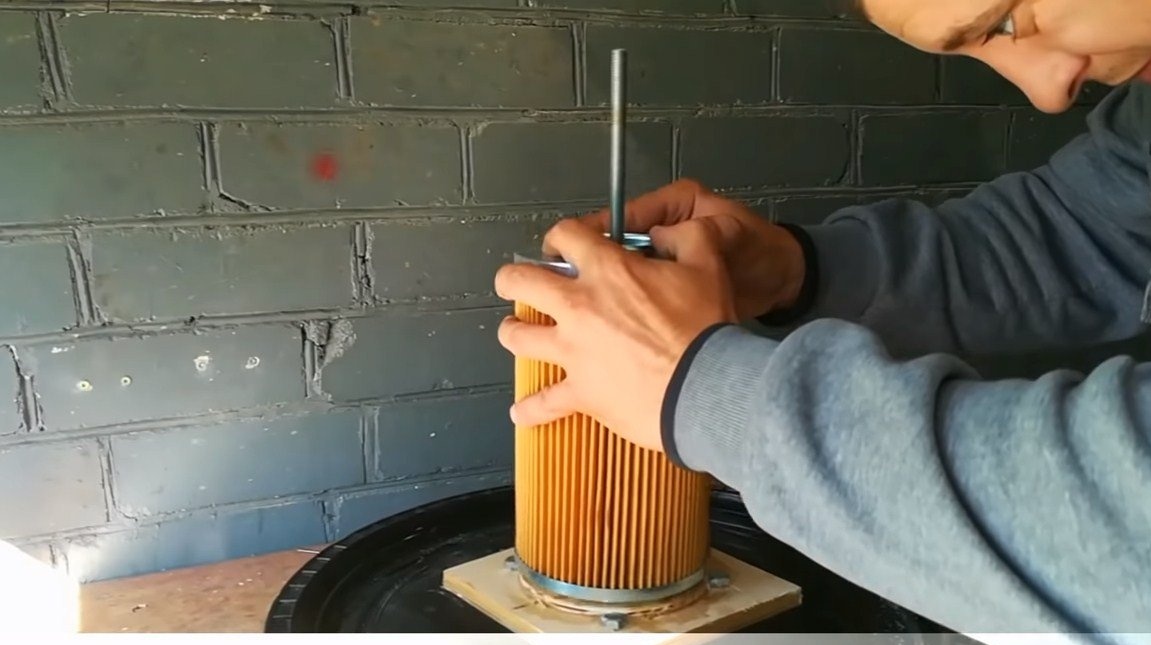
Well, then the filter is securely screwed with washers and nuts. When the vacuum cleaner is operating, the compressor will attract it to itself, so that it is fixed more than securely.

Step Three Inlet
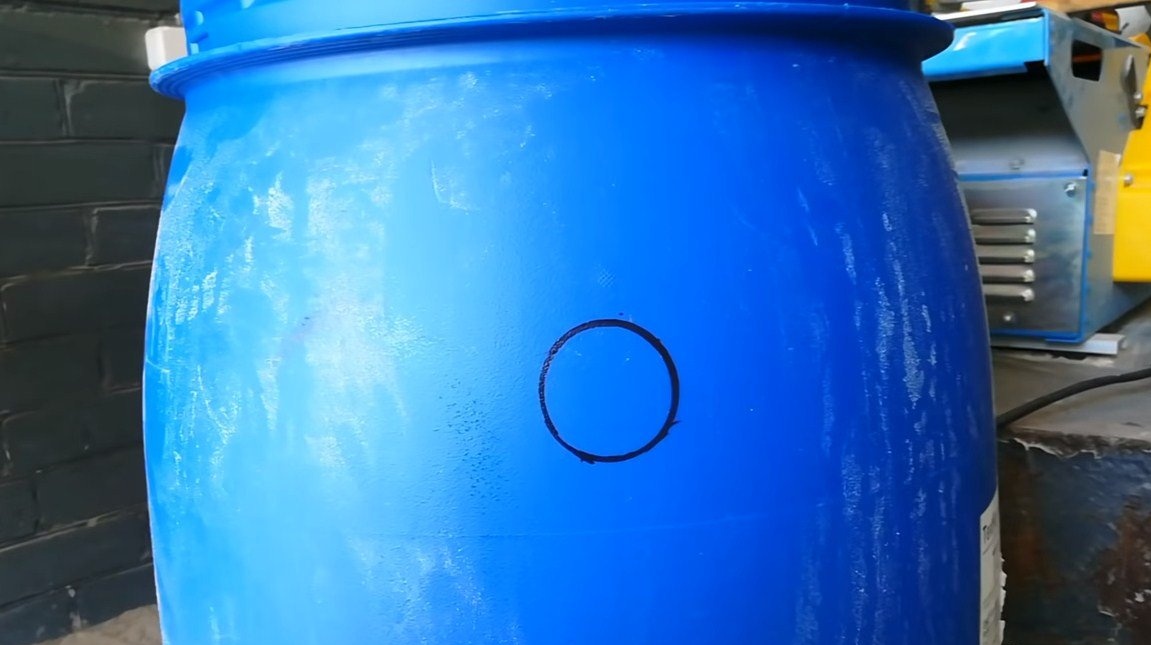
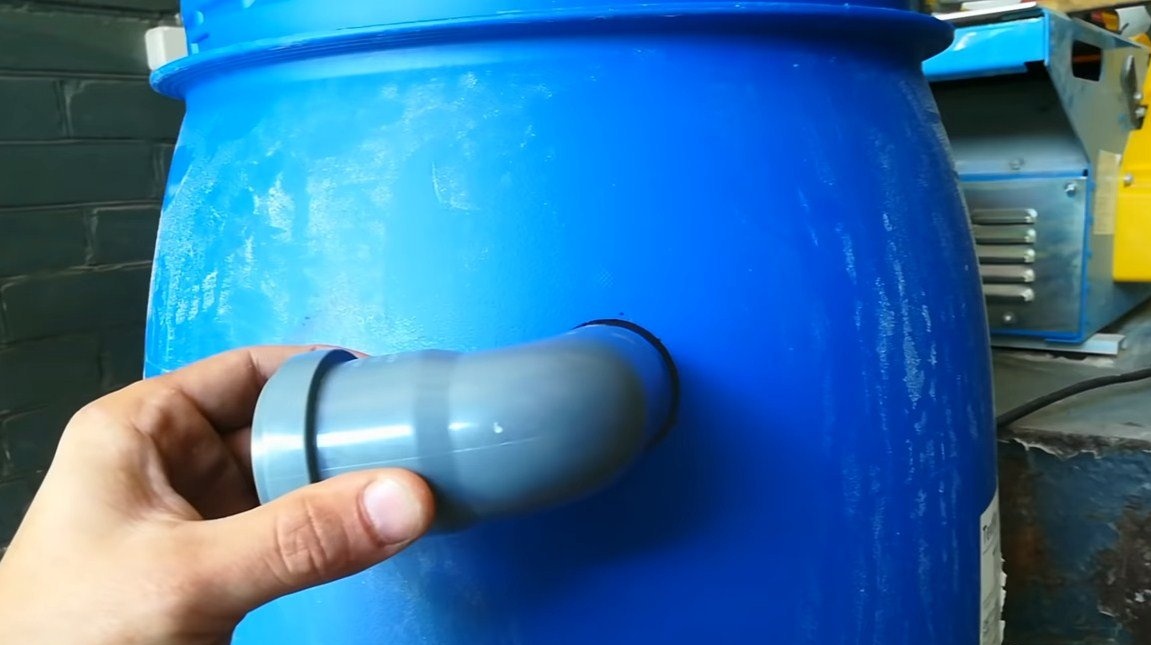
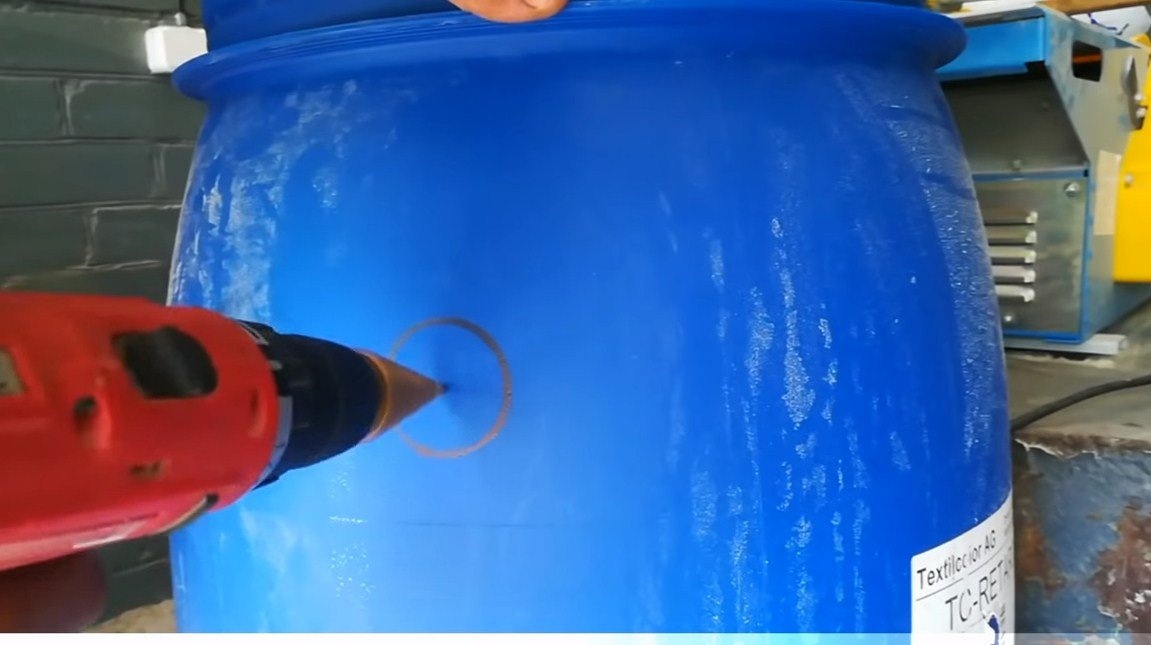
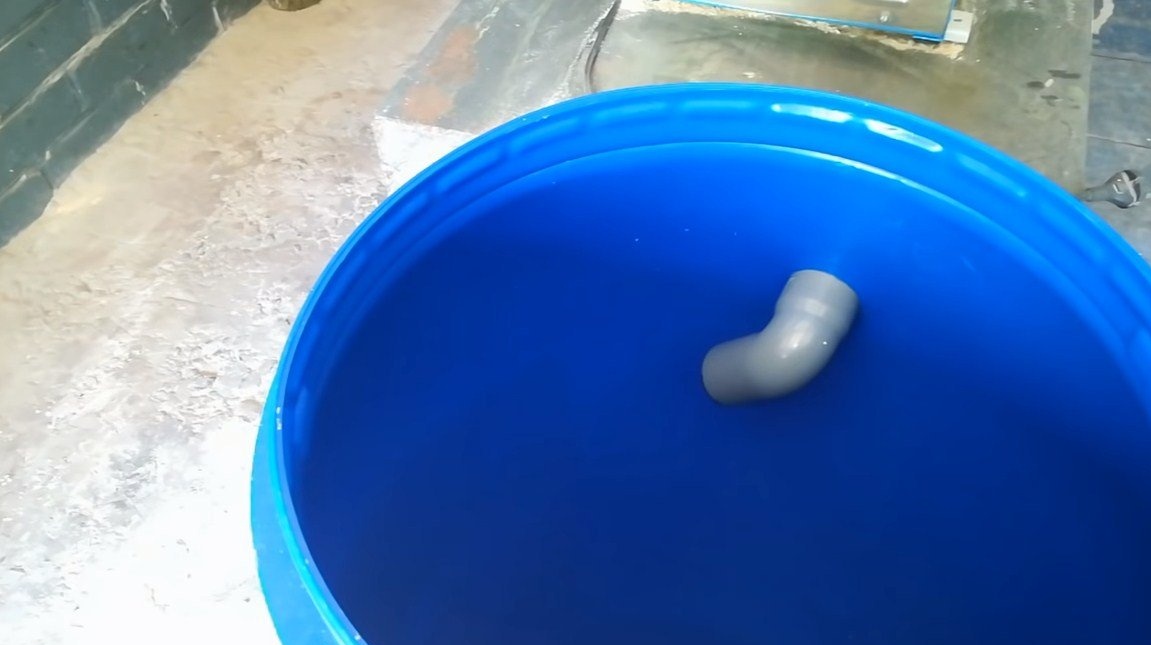
We drill an inlet in the barrel, while taking into account the level at which the garbage will be. In the hole, the author installs a piece of the plumbing pipe in the form of a corner. We glue the pipe with epoxy, not forgetting the tightness.

Step Four Finishing touches
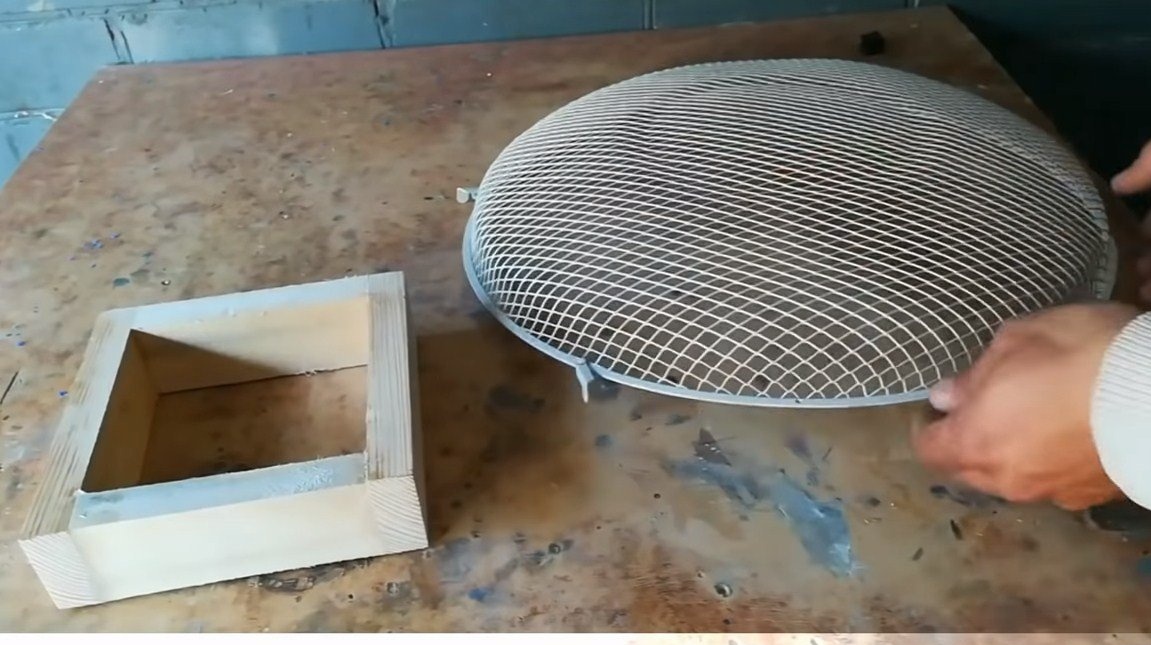
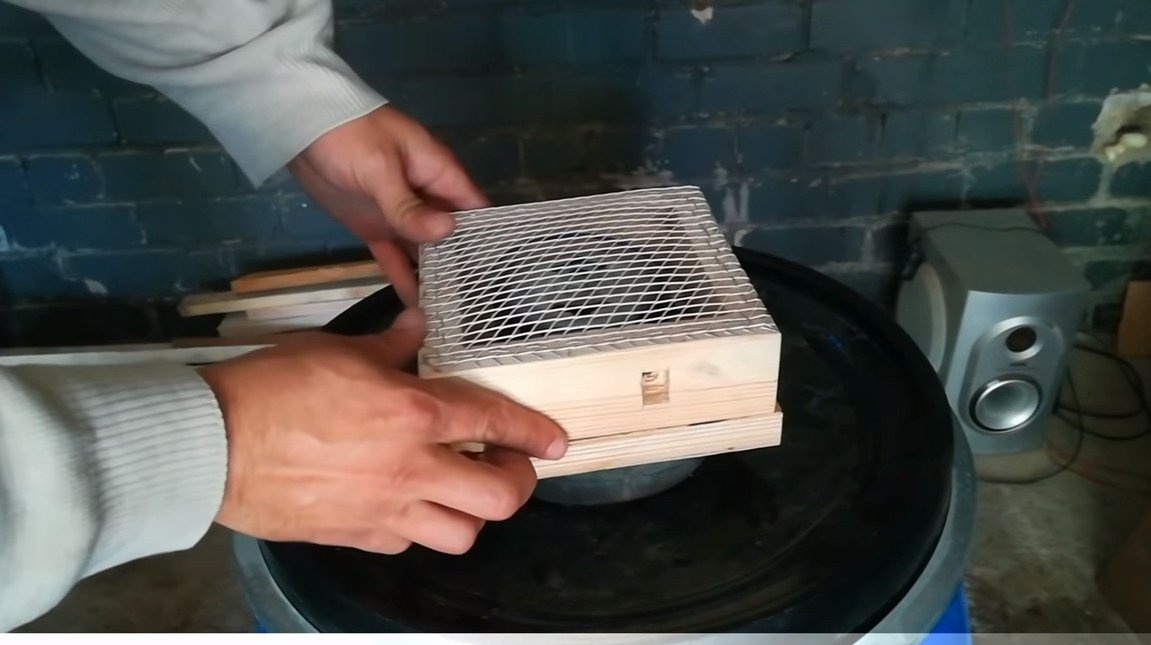
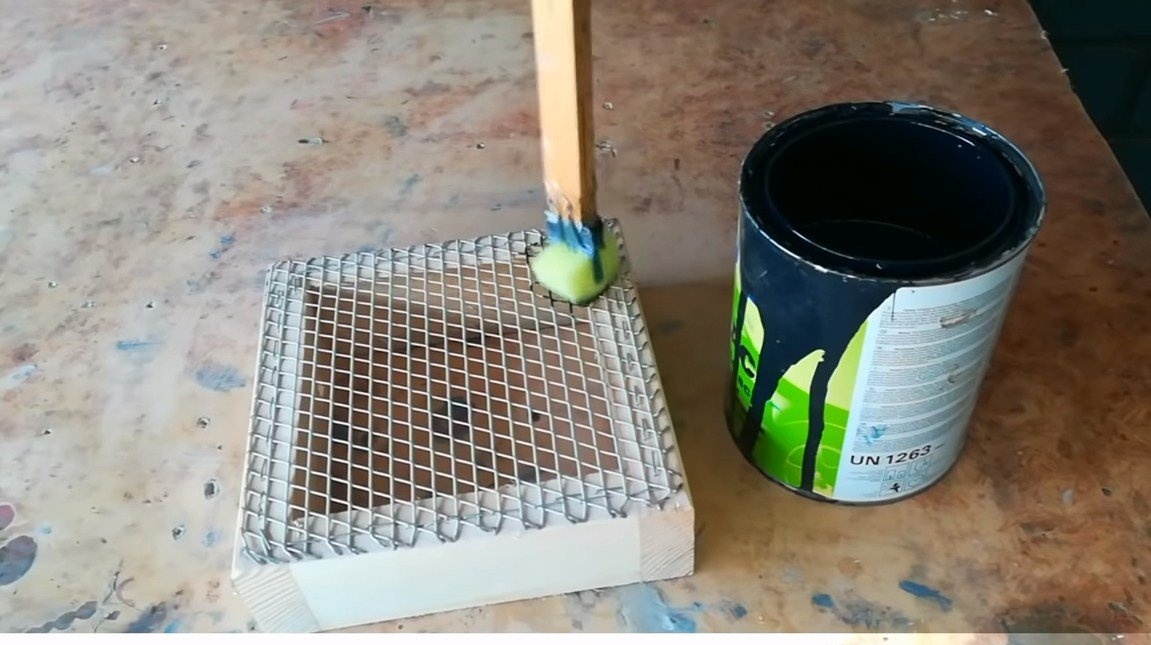
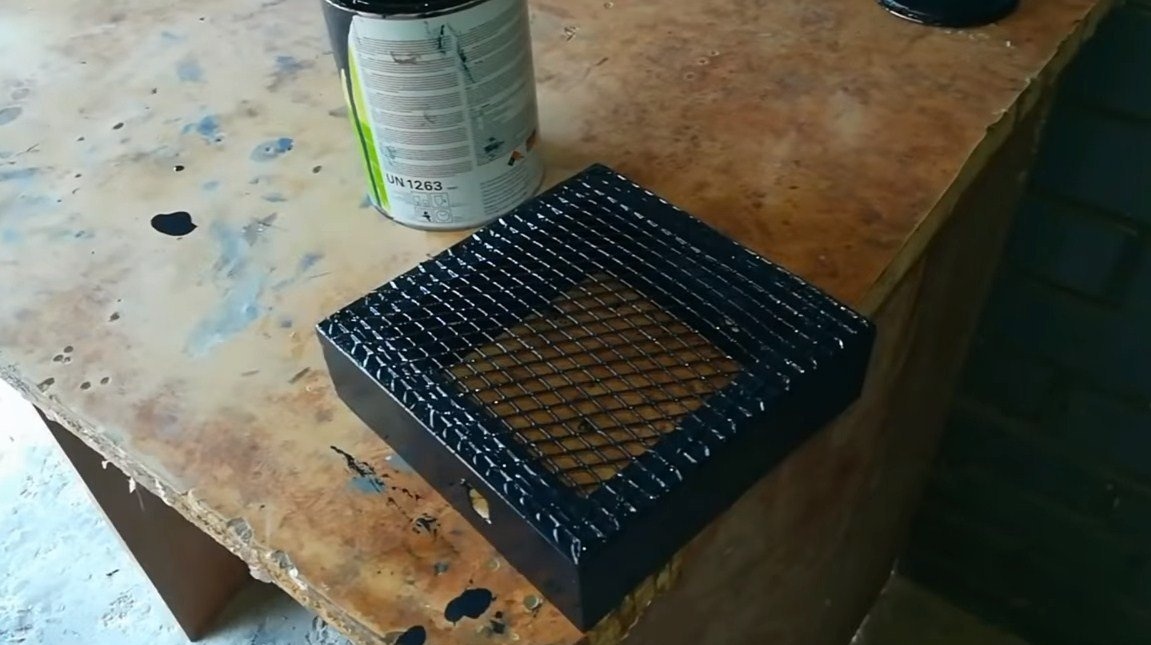
In conclusion, we need to make protection over the engine so that nothing gets there. We assemble the frame from plywood and fasten a metal mesh to it. The easiest way to fix it with a stapler. We paint the design so that everything looks beautiful. We also install a switch for the vacuum cleaner.

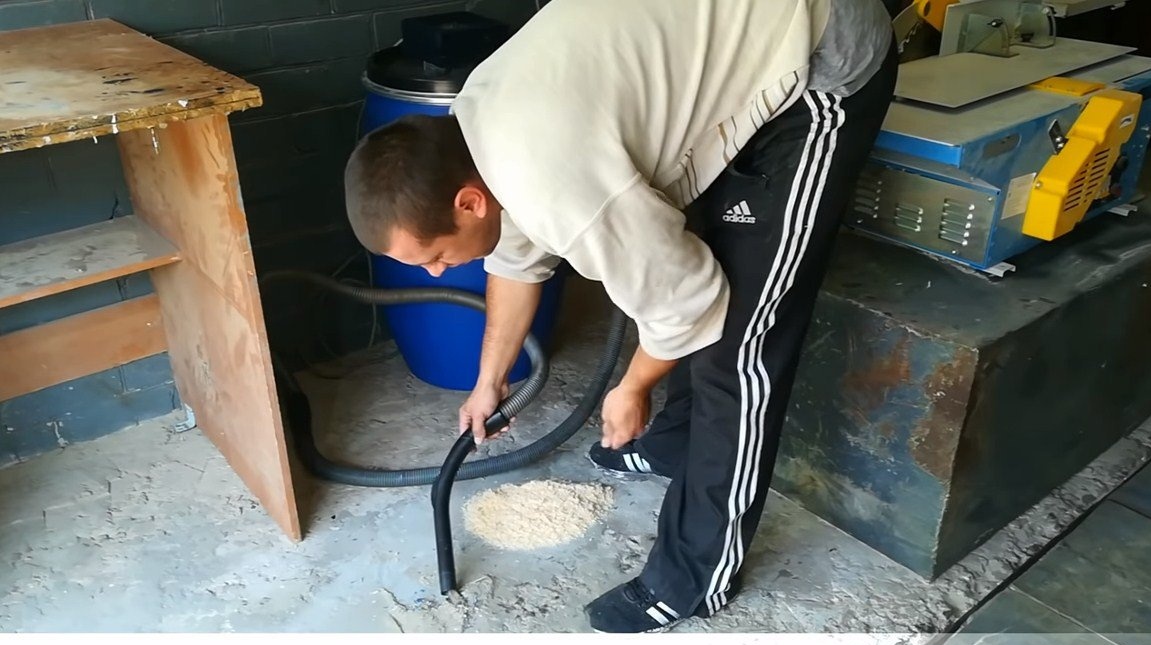
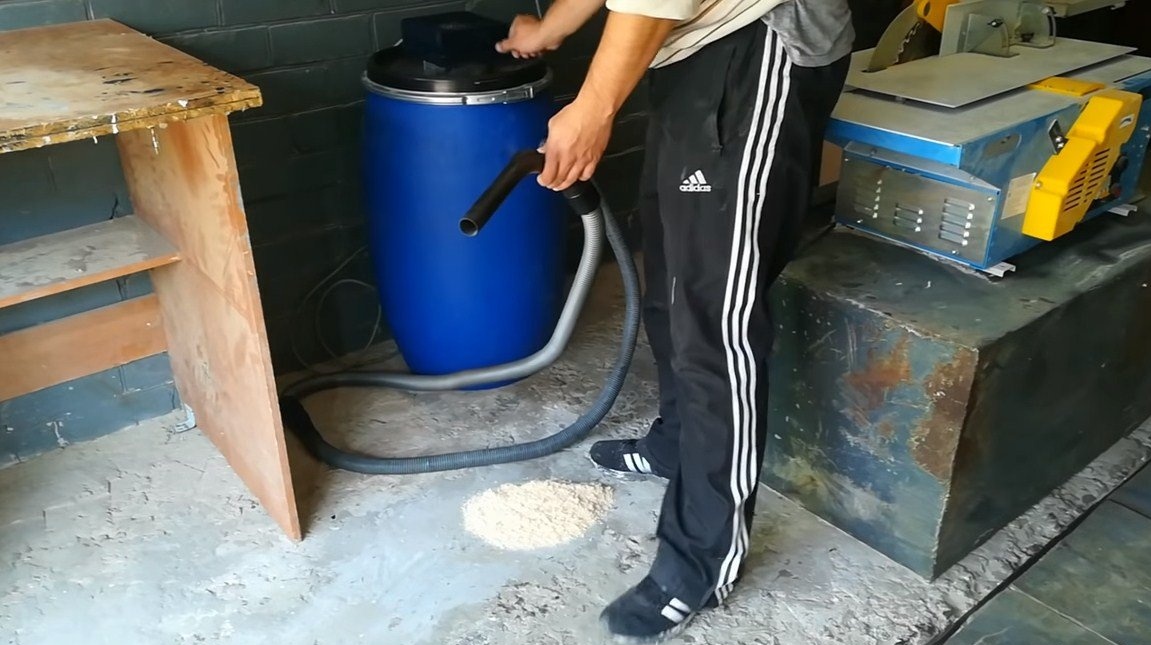
Step Five Test
Homemade ready, you can experience. The vacuum cleaner sucks in the garbage quite quickly, although the diameter of the inlet pipe is small and it sometimes clogs with large debris. But this problem is solved by replacing the pipe with a larger diameter. As for chips and other small debris, the machine sucks it in without problems.
That's all, the project is completed, the homemade work turned out to be working and useful, I hope you enjoyed it. Good luck and creative inspiration, if you decide to repeat it. Do not forget to share your ideas and homemade things with us!