

Hello to all lovers homemade. This article will be useful to those who often go camping, as well as fishing with an overnight stay. Of course, it is best to go camping with a tent in which you can hide from rain, mosquitoes and midges, rather than build a hut, although I consider this activity to be very fascinating and interesting. But what to do if you have already set up a tent, placed in it, but the temperature inside is clearly low, which is why it is simply impossible. Just for such cases, there are special fixturesIt’s very dangerous to make a fire in the tent itself, but to make a heater do it yourself it is quite possible, as I will discuss in this article. The assembly does not require certain skills in self-construction from you, and all the necessary materials are easily accessible.
Before reading this article about assembling a homemade heater, I suggest watching a video showing the detailed process of making a homemade product, as well as a little testing.
In order to make a homemade heater in a tent, you will need:
* Car oil filter
* Electric drill, drill 4 mm and 8 mm
* Four M6 screws with nuts
* Grinder
* Personal protective equipment, glasses, gloves
* Four metal corners
* A piece of galvanized metal sheet
* Kern
* Pliers
* Metal scissors
* Paraffin candle or dry alcohol
Step one.
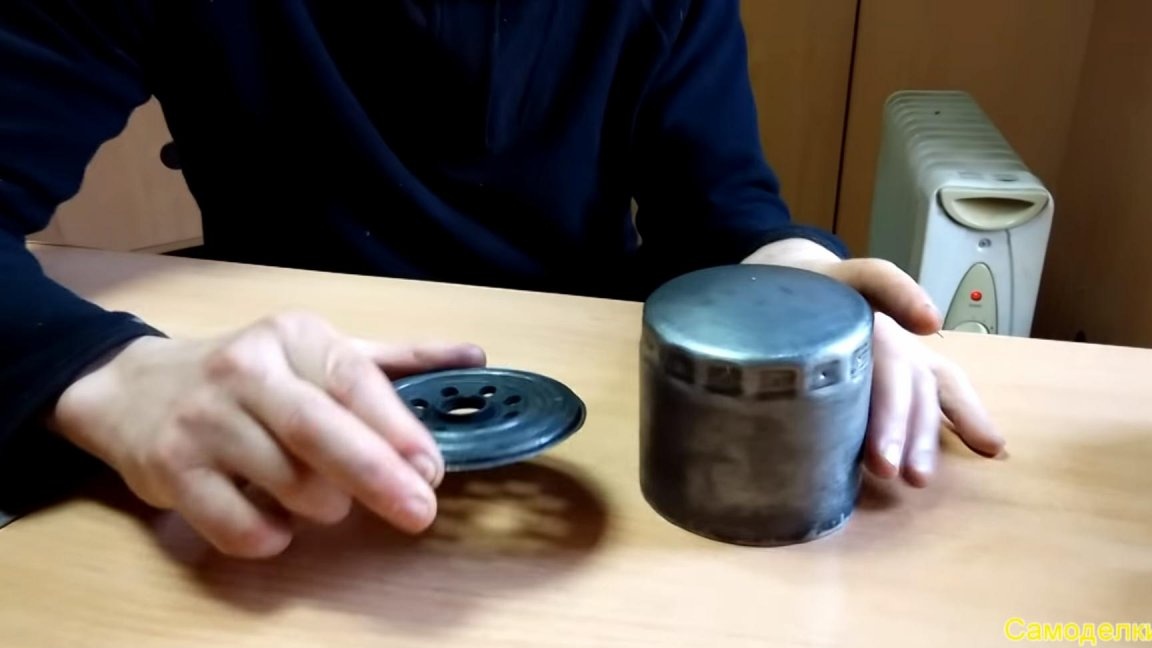
First you need to decide on the choice of the oil filter from the car, they are long and short, with a large heat filter it will be possible to get more due to the possibility of installing a massive candle or dry alcohol.
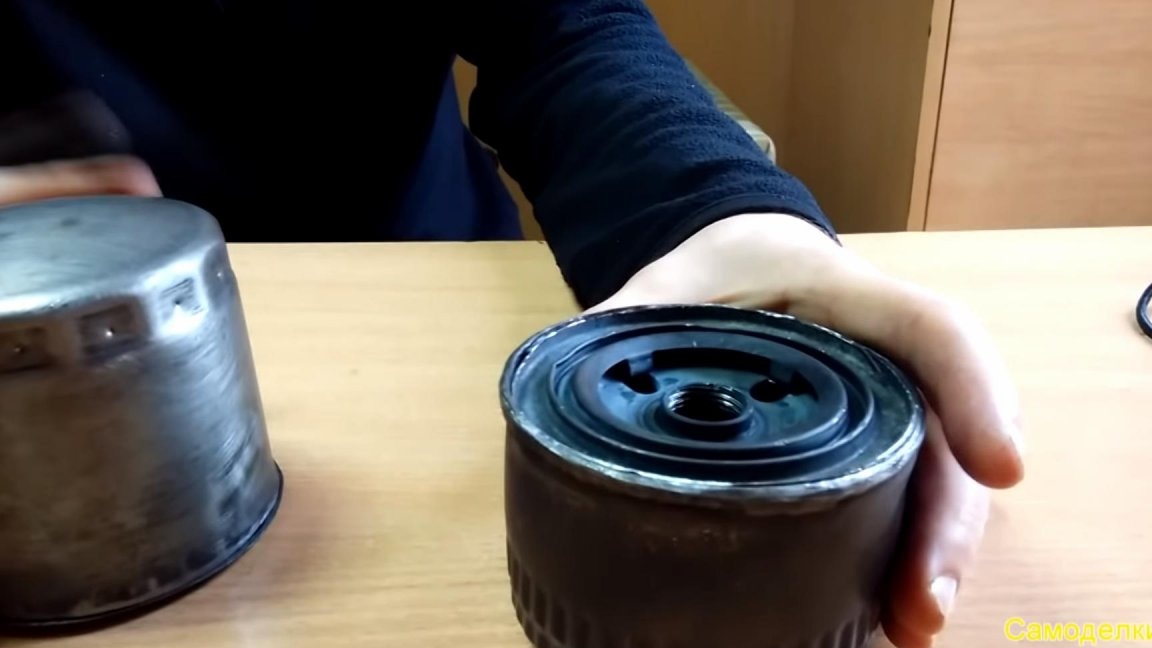
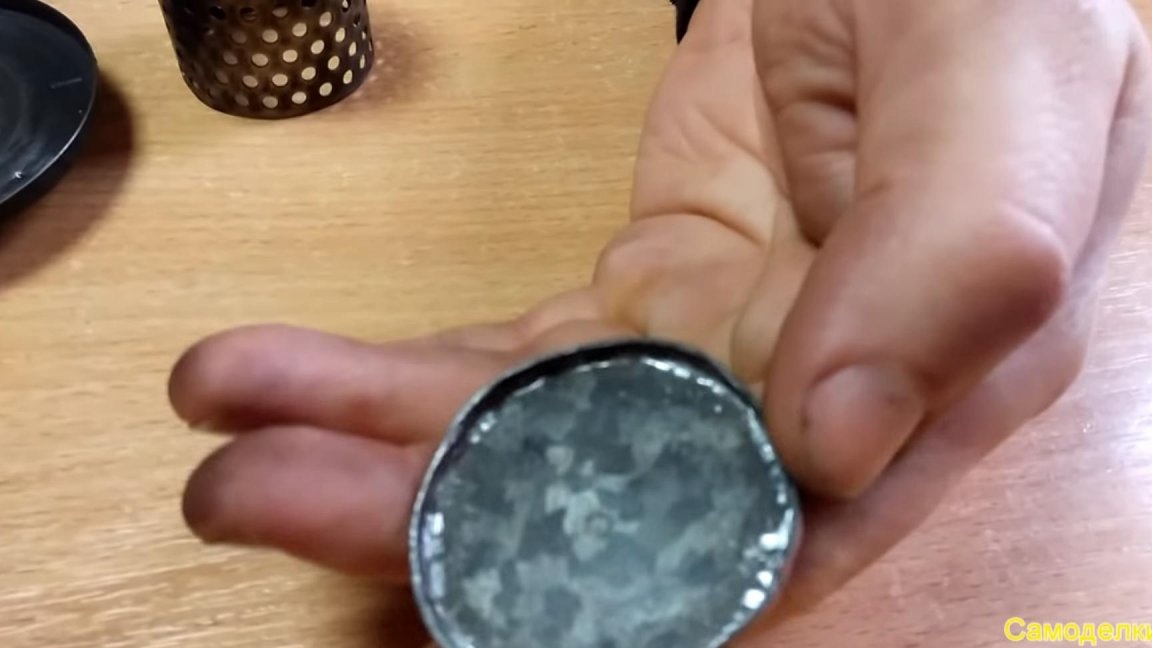
Next, you need to open the filter housing to remove all internal parts from it. We disassemble the case using a grinding machine, grind the sealed edge, while the filter itself holds tightly with two hands.
When working on the grinder, be careful, observe safety measures, and also use safety glasses and a respirator. As a result, the bottom should be disconnected from the case, if the parts are still holding, we help with pliers, bending the sealed edges of the case.
Step Two
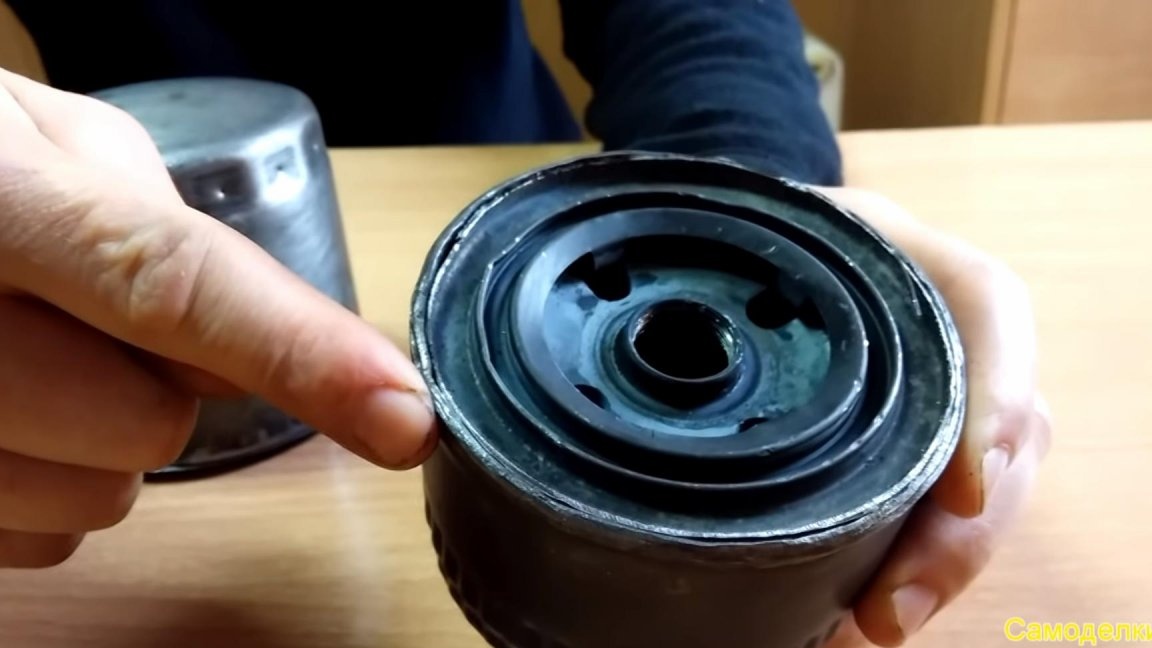
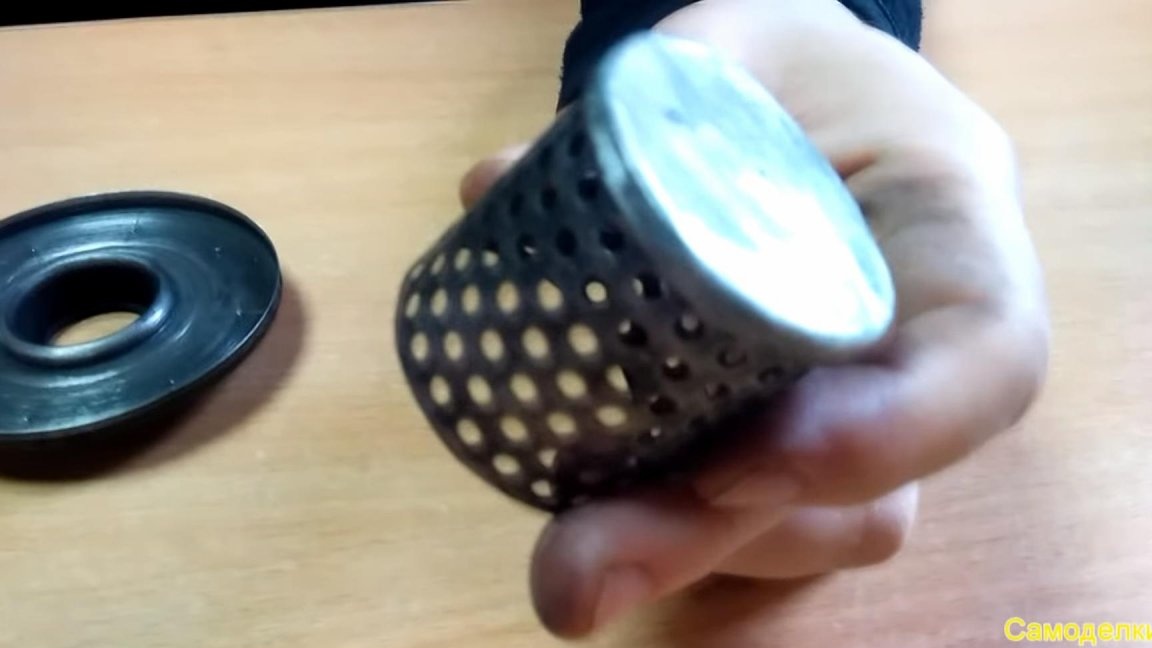
Now you need to clean the inside of the oil filter from oil and other residues. The advantage of the heater assembly is that the filter itself already has all the necessary parts in it, it only remains to correct them.
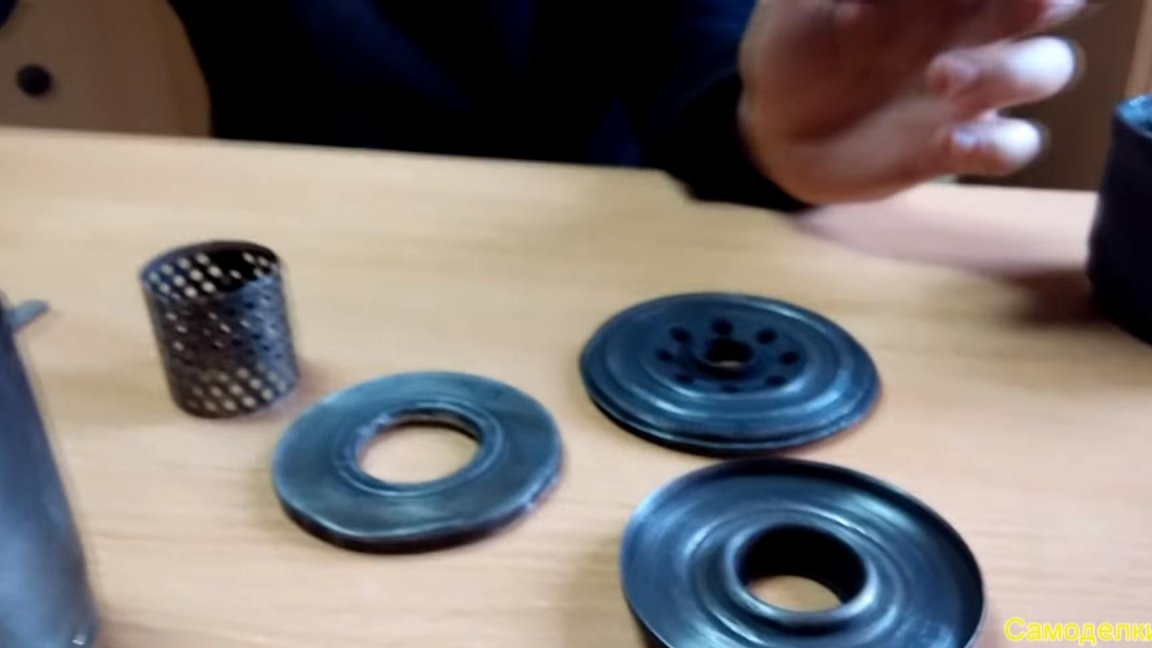
First, we’ll make a case, it consists of two parts, a bottom and a cover.
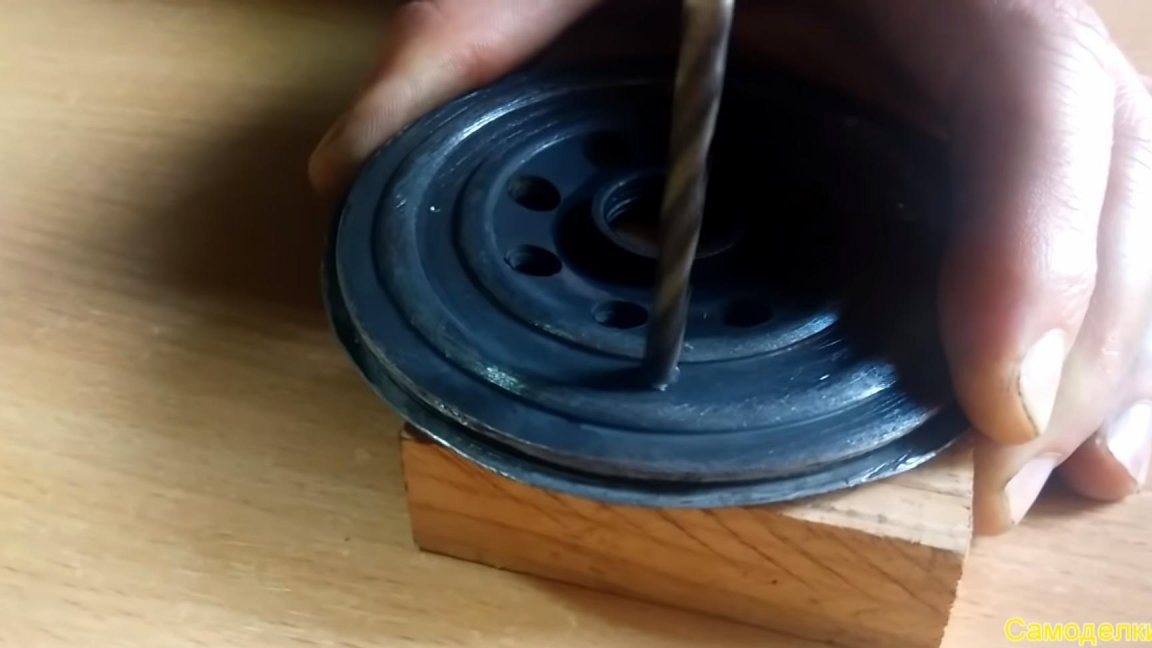
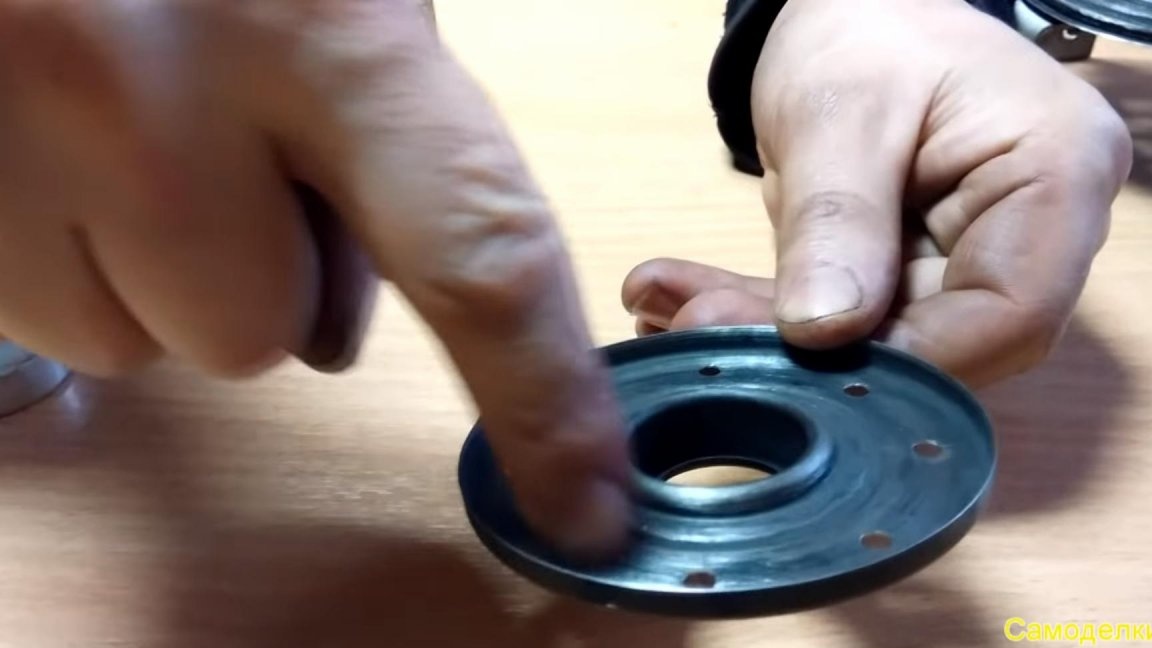
The bottom at the initial stage is almost ready, it has openings for air intake and combustion, you need to make only four holes into which the M6 screws will be screwed and legs installed on them. Before drilling holes, we make a core using a core, and then we drill with an electric drill, while we put a drop of technical oil on the drill, so its cutting edge will last longer and will not jam in the process. When working with a power tool, be careful to wear safety glasses and gloves. We make holes in the bottom with an electric drill and an 8 mm metal drill, and in order not to drill through the workbench we put a piece of wood.
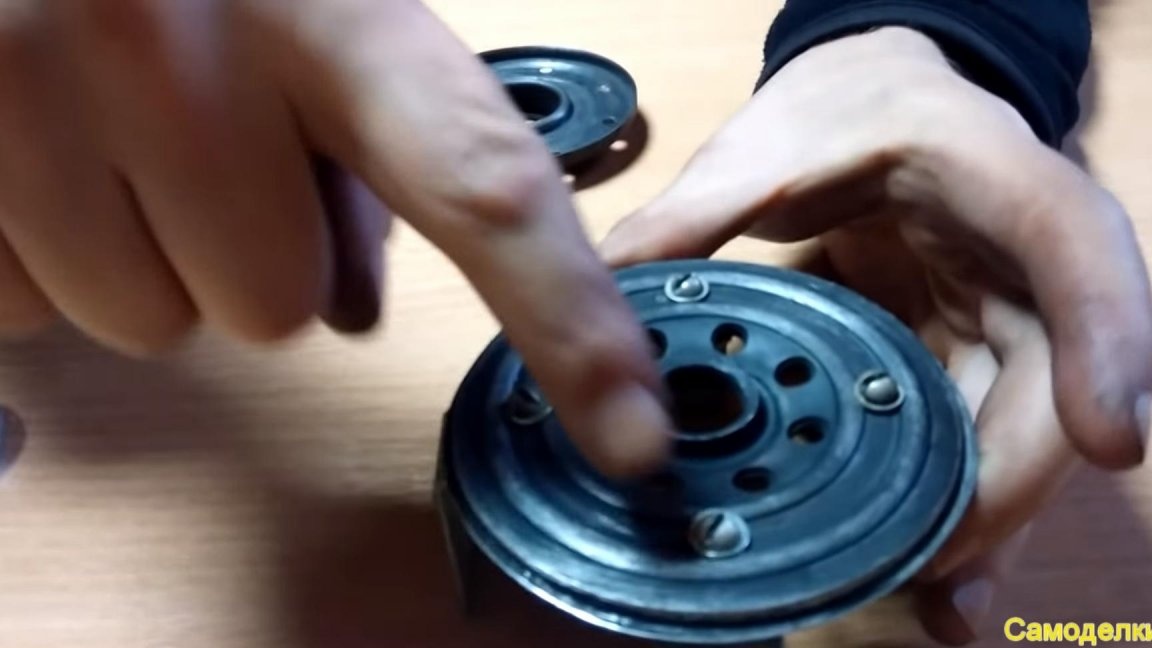
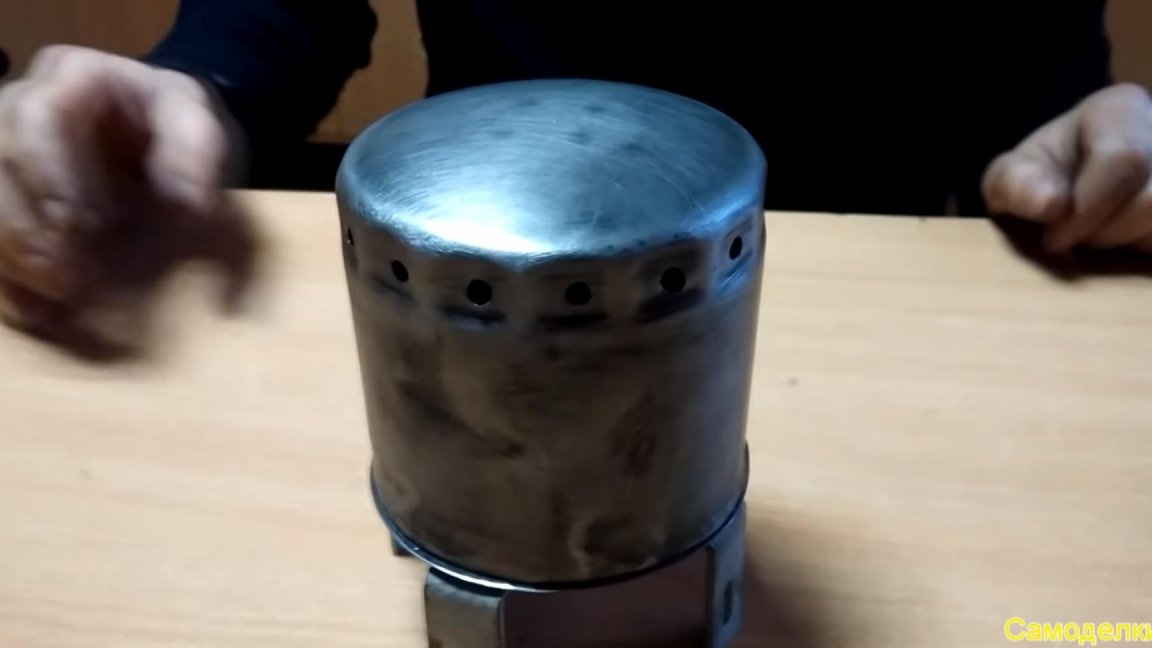
In the lid in the same order we make holes, only their number will be increased, also do not forget to screw.
The holes in the lid will ensure proper convection inside the heater.

Step Three
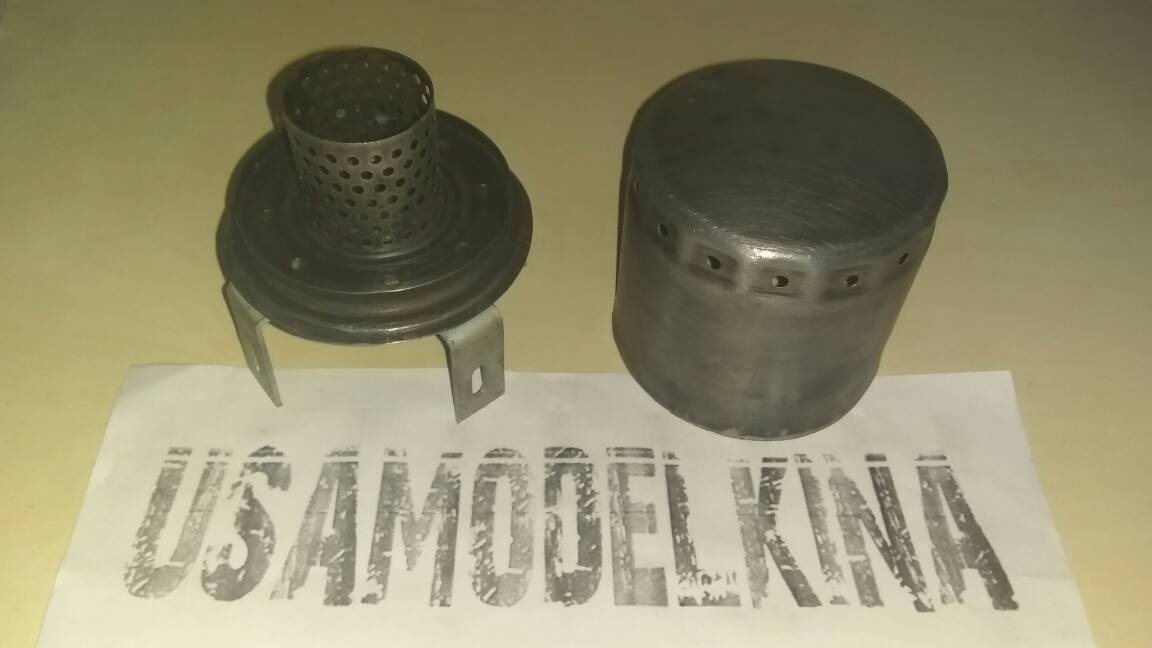
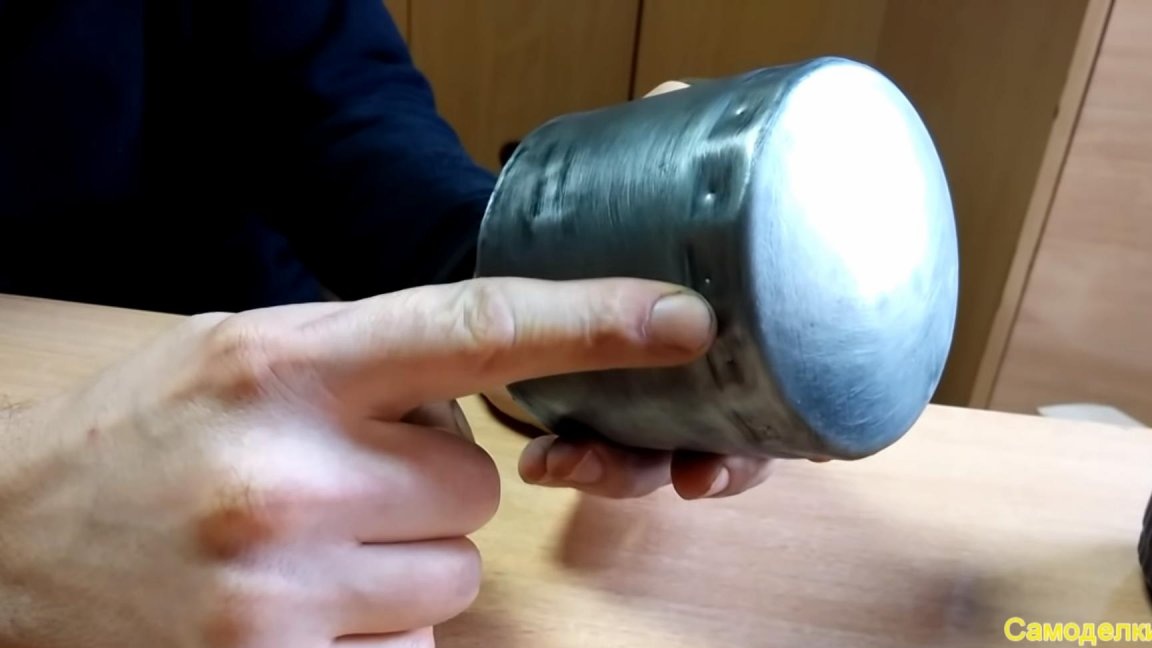
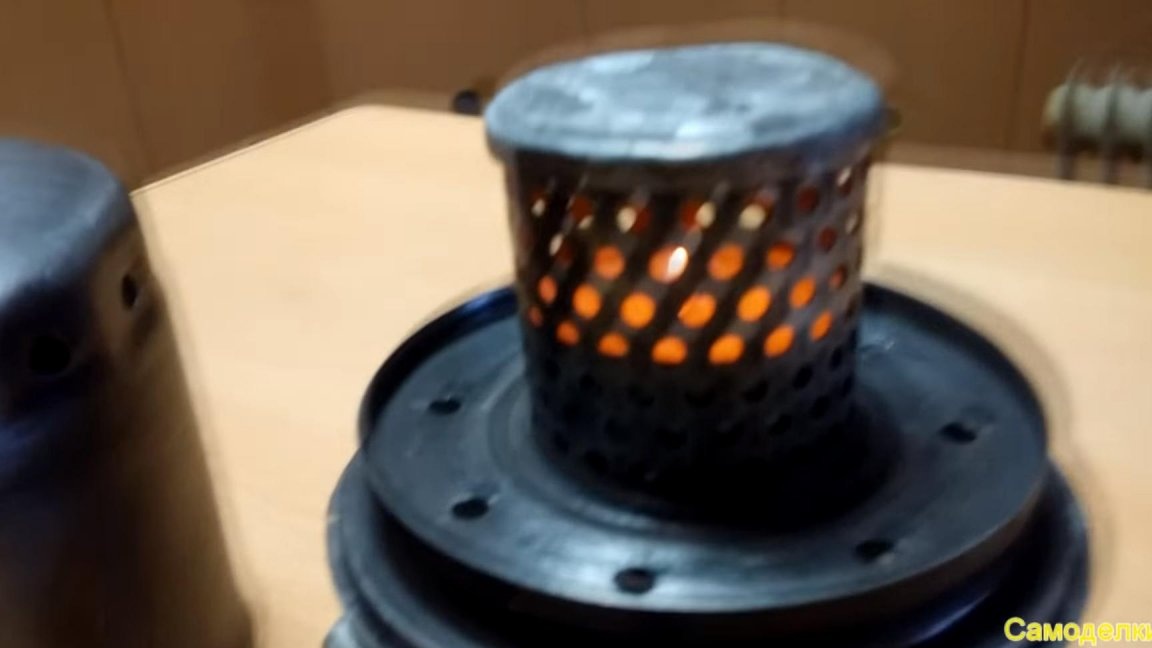
In principle, all the components of the heater are ready, it remains to make a cover on the mesh and screw the legs. We make the lid from a piece of galvanized metal, using scissors for metal, we cut out a circle with a small margin under the side and use the pliers to bend the edges so that they fit snugly against the grid. Also, such a detail can be made by tapping the edges of the workpiece on a round log of a suitable diameter.
The lid itself is necessary in order to close an open flame from a candle or dry alcohol.
The oil filter has a second bottom, but without holes, so they need to be made in the image and likeness, as in the first.
A candle (dry alcohol) will be installed in its place and covered with a grid with a lid, which we made earlier. We fasten the metal corners to the bottom with four holes on the M6 screws with nuts.
Step Four
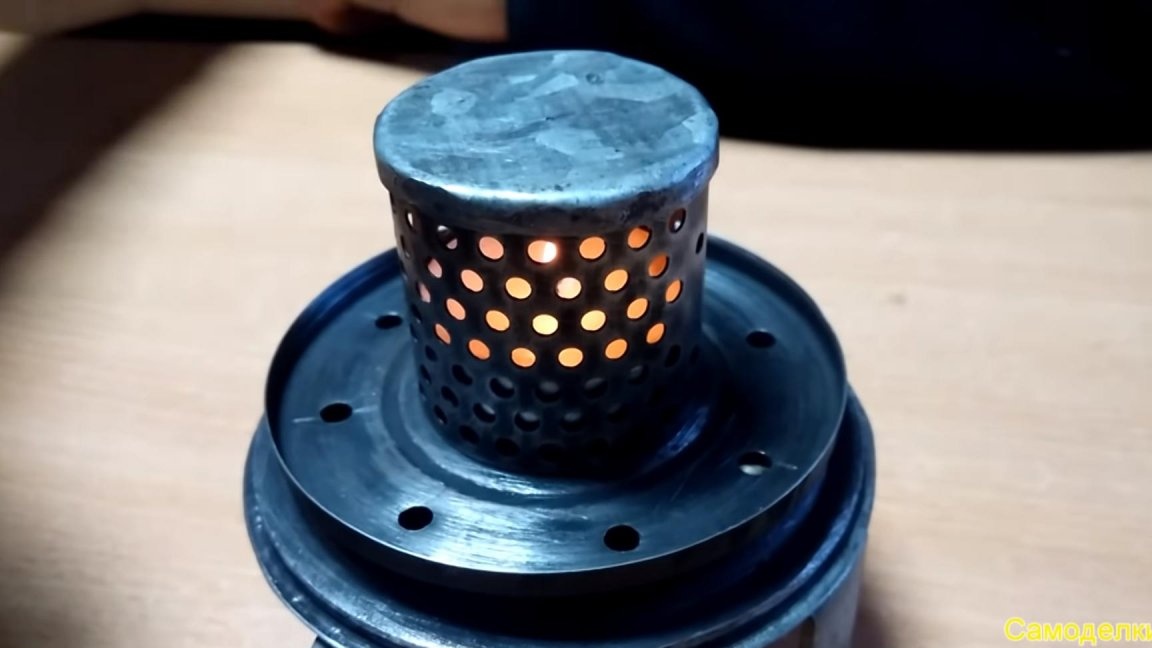
At this stage, all the parts for the heater are ready, now it remains to assemble them together and check this improvised device in action. On the stand with legs from the corners we install the second bottom to place a candle or dry alcohol on it, then put a candle (dry alcohol), set fire and cover with a net with a small lid, then close the entire structure with a large lid-case.
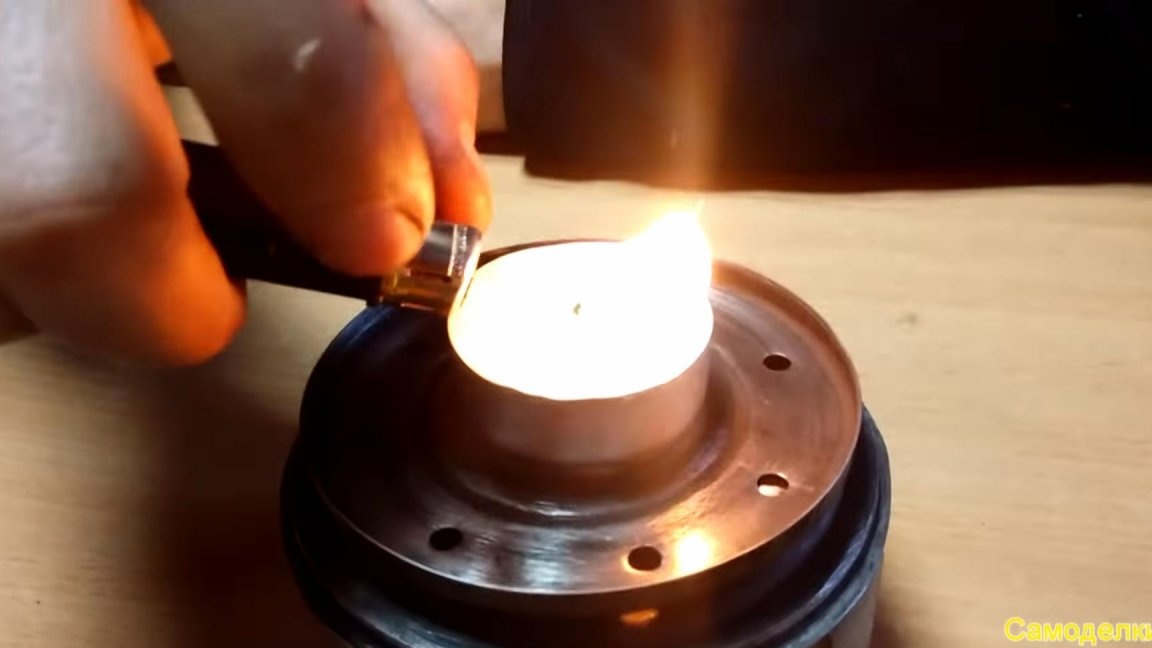
The candle inside burns, the combustion itself is supported by the presence of holes in the lid and bottom, for better heating, I recommend using dry alcohol, the heat from it is several times more than from a small candle.
Also during testing, it was found that using a small cap on the grid is a bad decision, since all the paraffin of the candle melted and as a result the candle went out, in the case of dry alcohol, this cover must be installed in safety measures. The homemade product itself, I think, is quite useful and useful to those who like to spend time in nature, go fishing overnight and just go camping.
That's all for me, thank you all for your attention, creative successes.