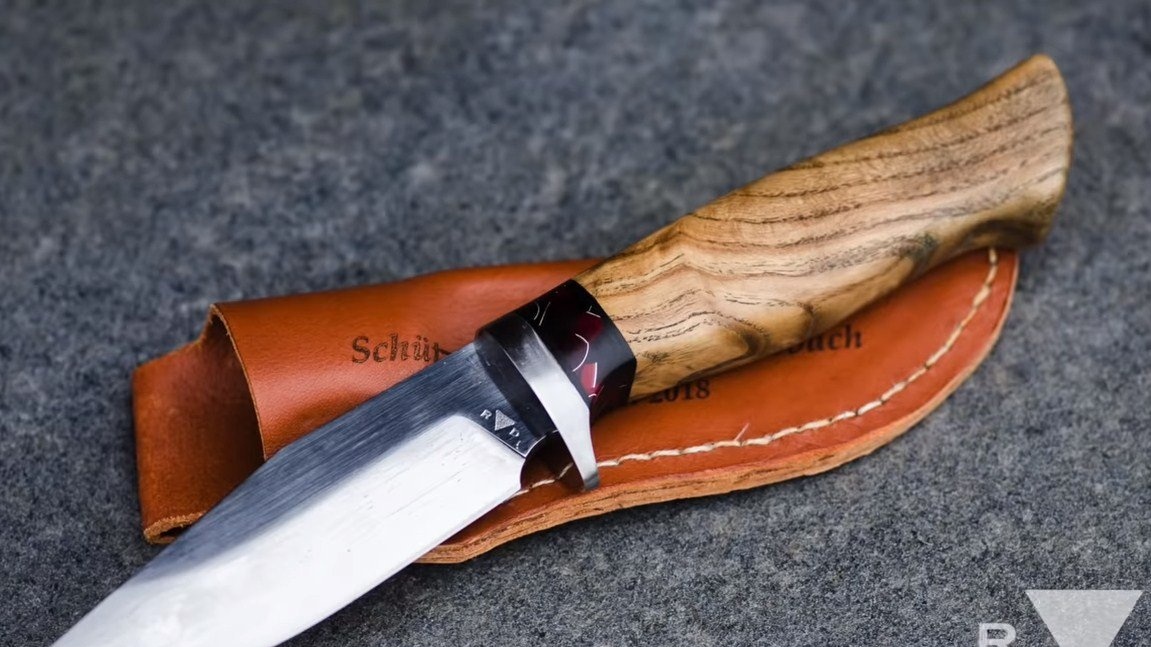

Hello to all lovers of craftsmanship. I propose to consider an article on how to make a high-quality, beautiful, sturdy knife using only hand tools! The only thing the author allowed himself in the manufacture of this knife was a drilling machine, all other work was carried out with files, a hacksaw and sandpaper. The author made the knife of small sizes, since the larger the knife, the more time is needed for its manufacture. In principle, in most cases a large knife is not needed, and it is inconvenient to carry it.
The author made a blade of high-quality steel; it went through hardening. The better the raw materials, the less work and the better the knife will be. Of course, work is being done with tempered metal. If the project interests you, I propose to study it in more detail!
Materials and tools used by the author:
Material List:
- steel for a blade;
- sheet steel, textolite, plexiglass, wood (for a pen);
- oil for wood impregnation;
- epoxy glue and dark dye.
Tool List:
- vise;
- clamps;
-;
- drilling machine;
- A good set of files (rectangular, round, flat and others);
- sandpaper;
- a manual machine for sharpening knives;
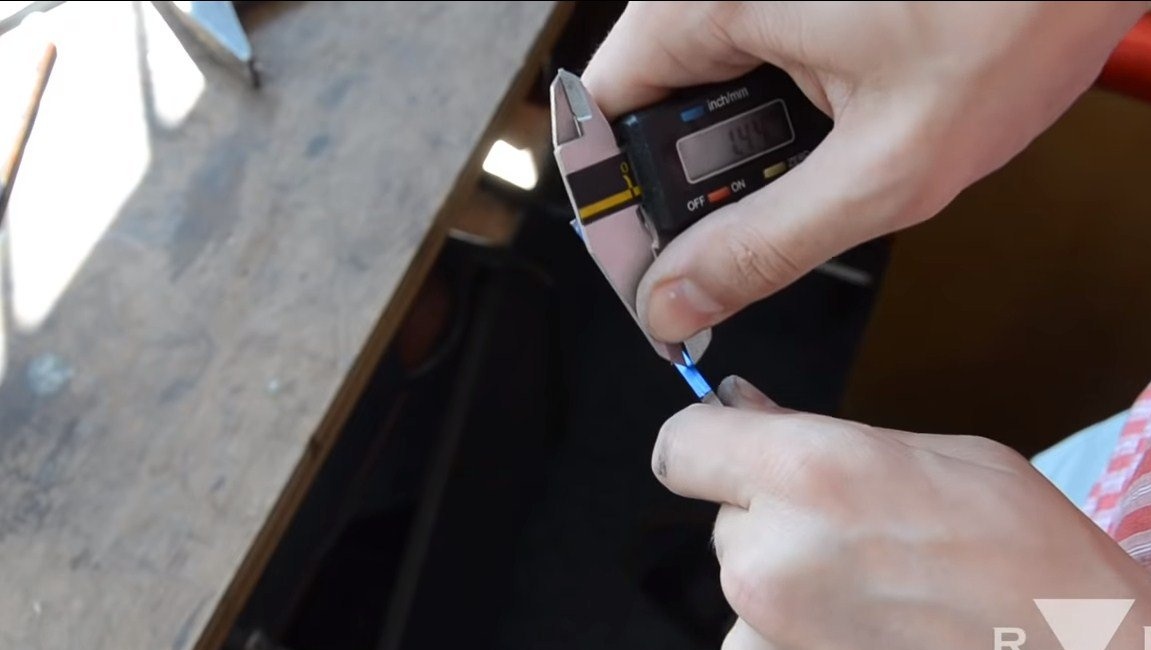
- vernier caliper;
- marker;
- a hacksaw for metal;
- muffle furnace and oven (for heat treatment);
- polishing machine.
The manufacturing process of a hunting knife:
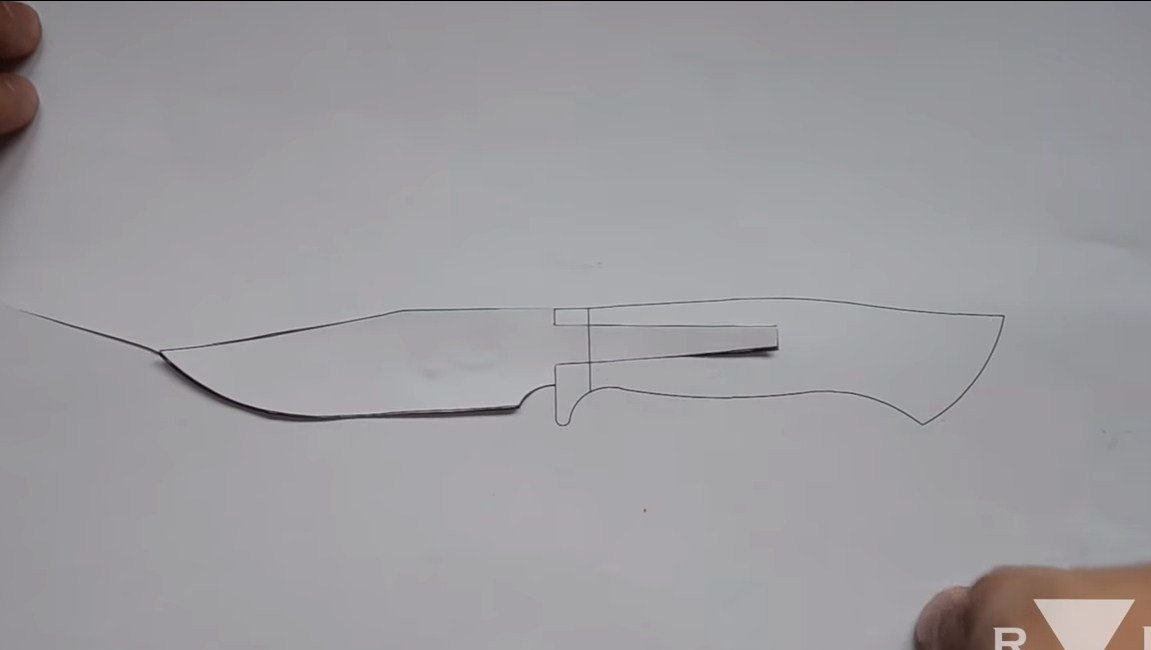
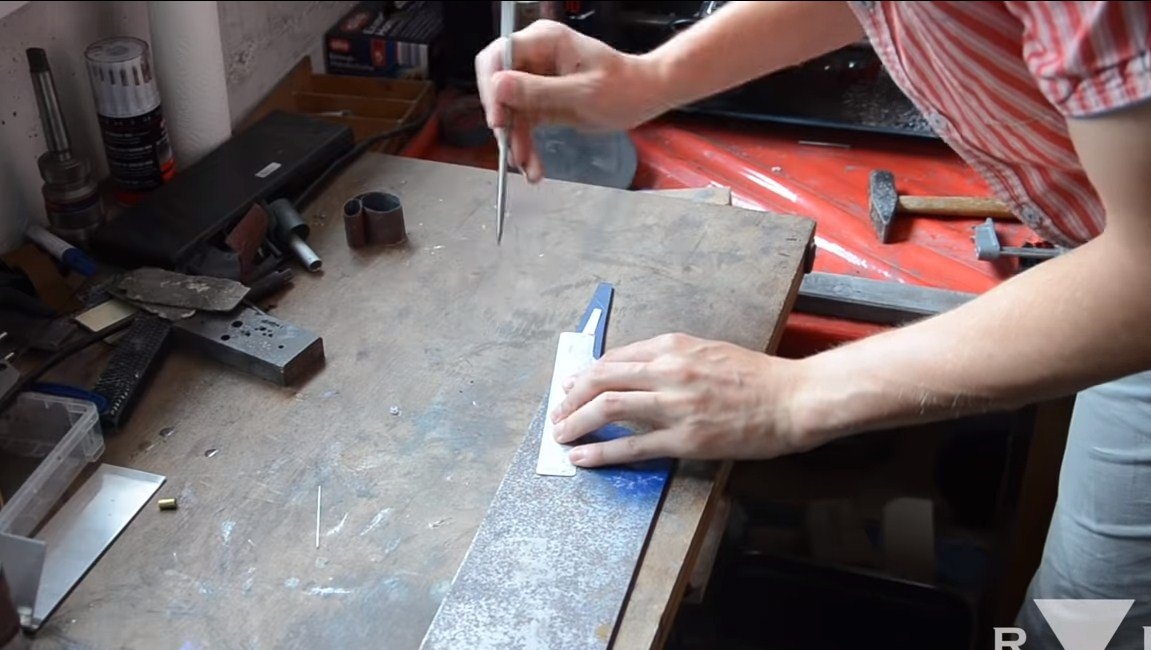
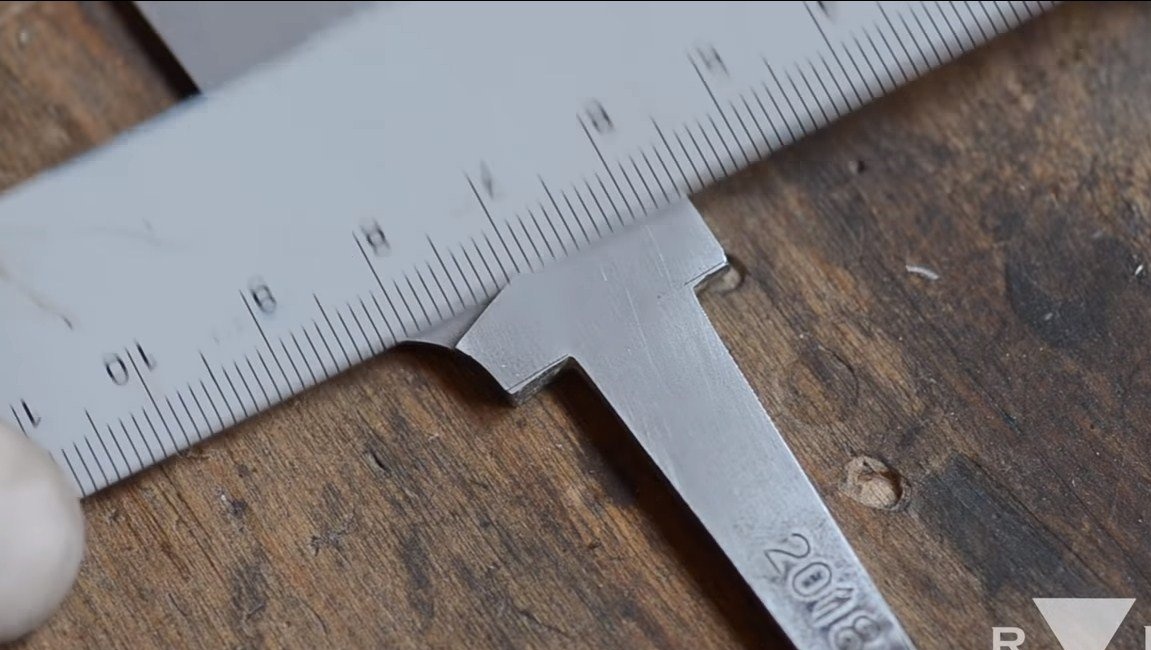
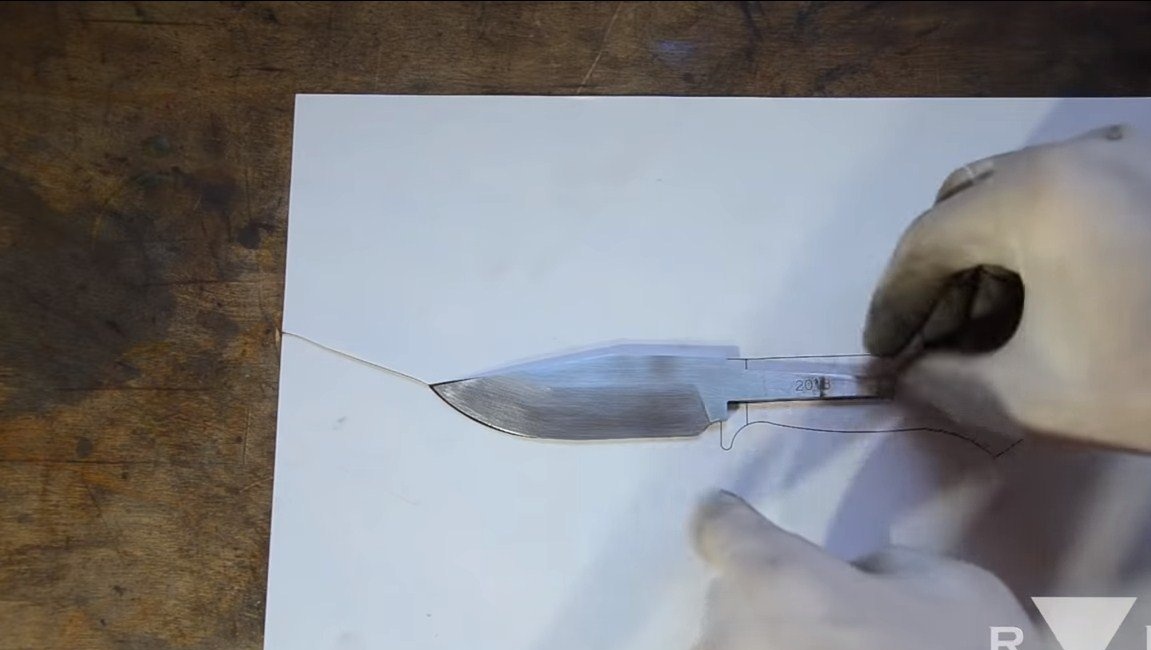
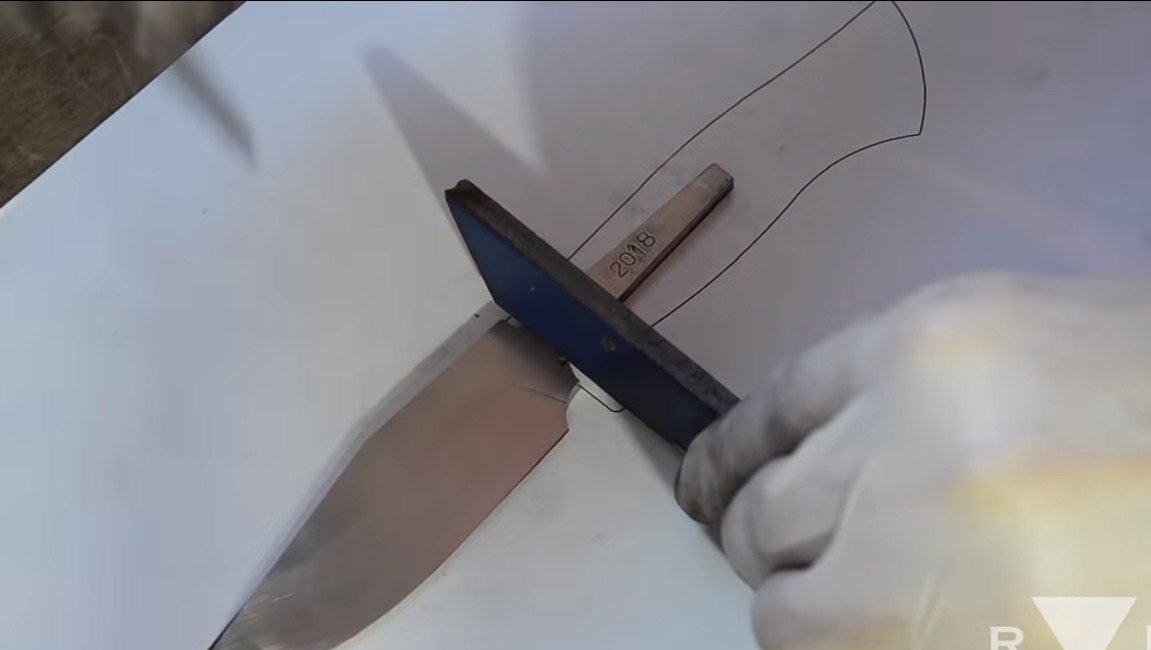
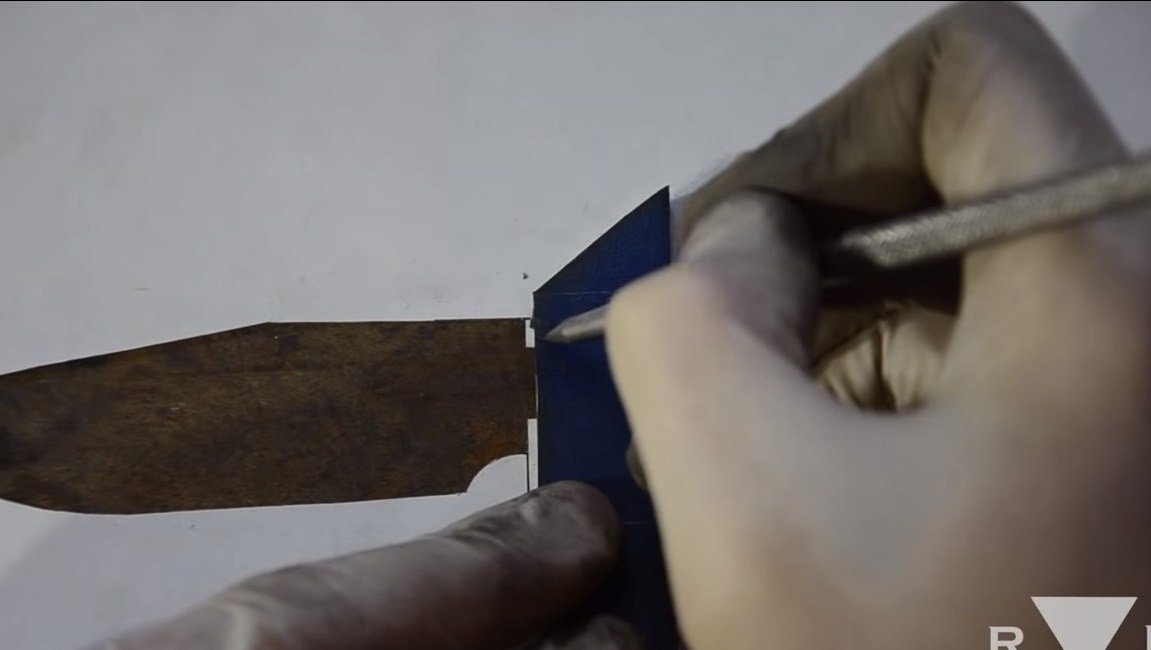
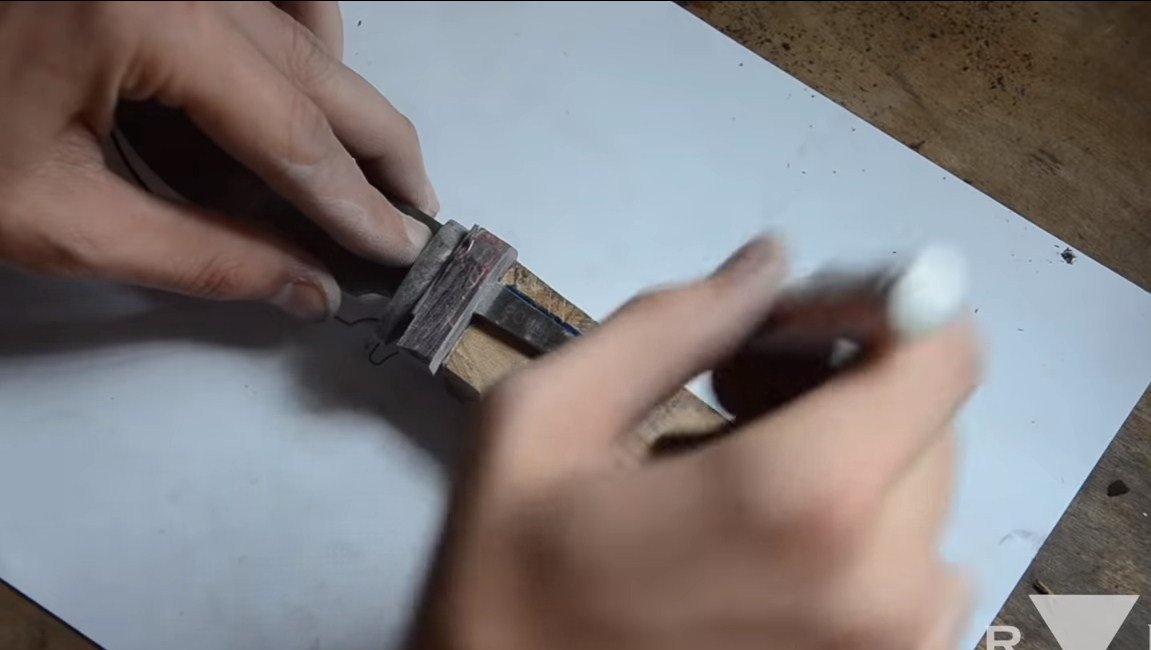
Step one. Cut profile
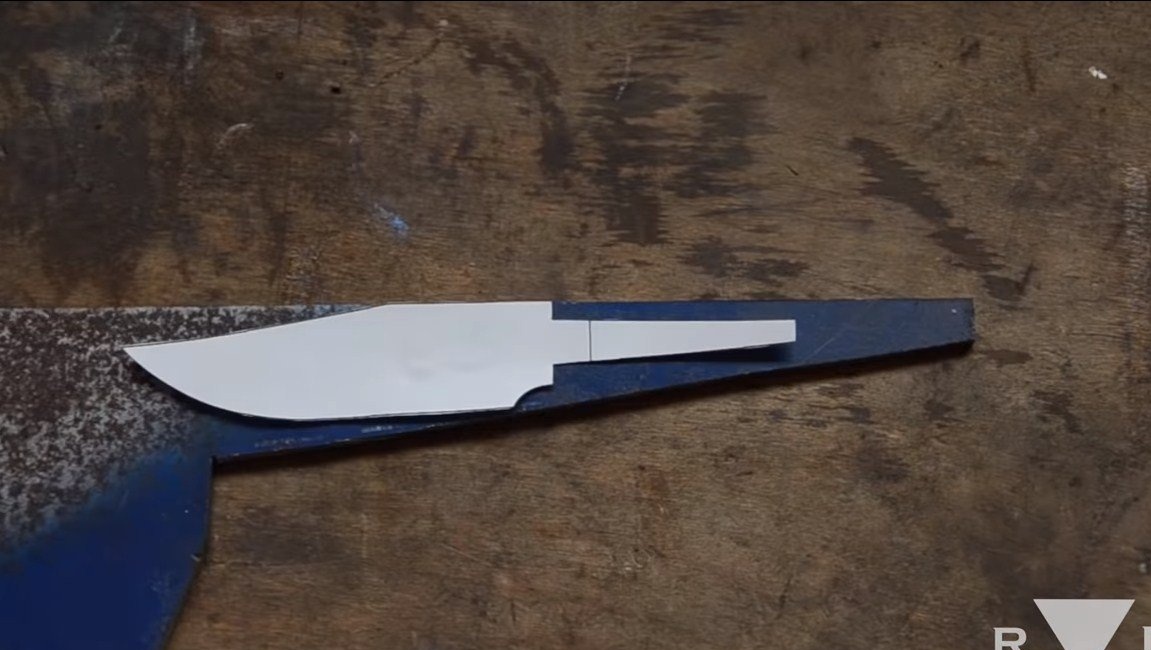
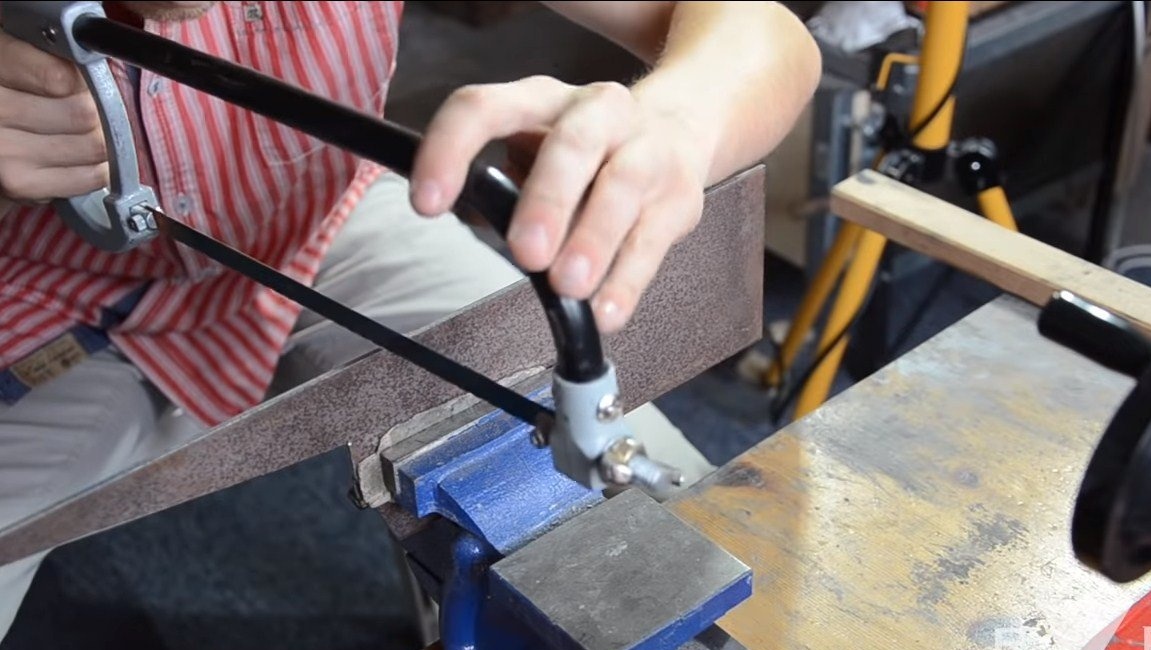
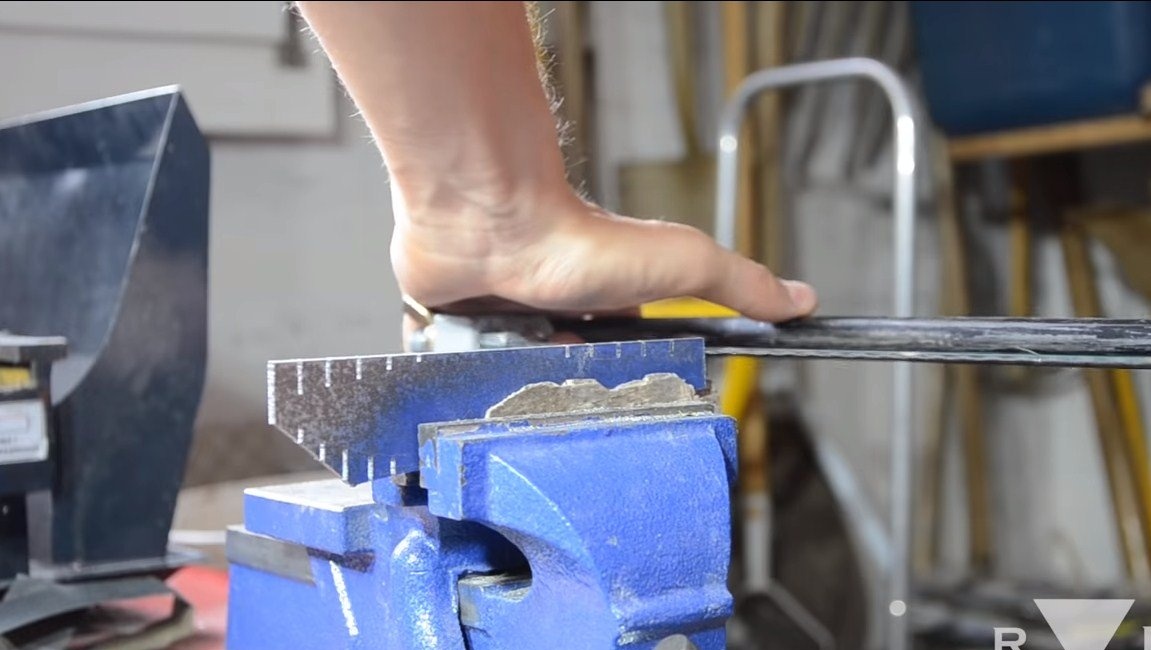
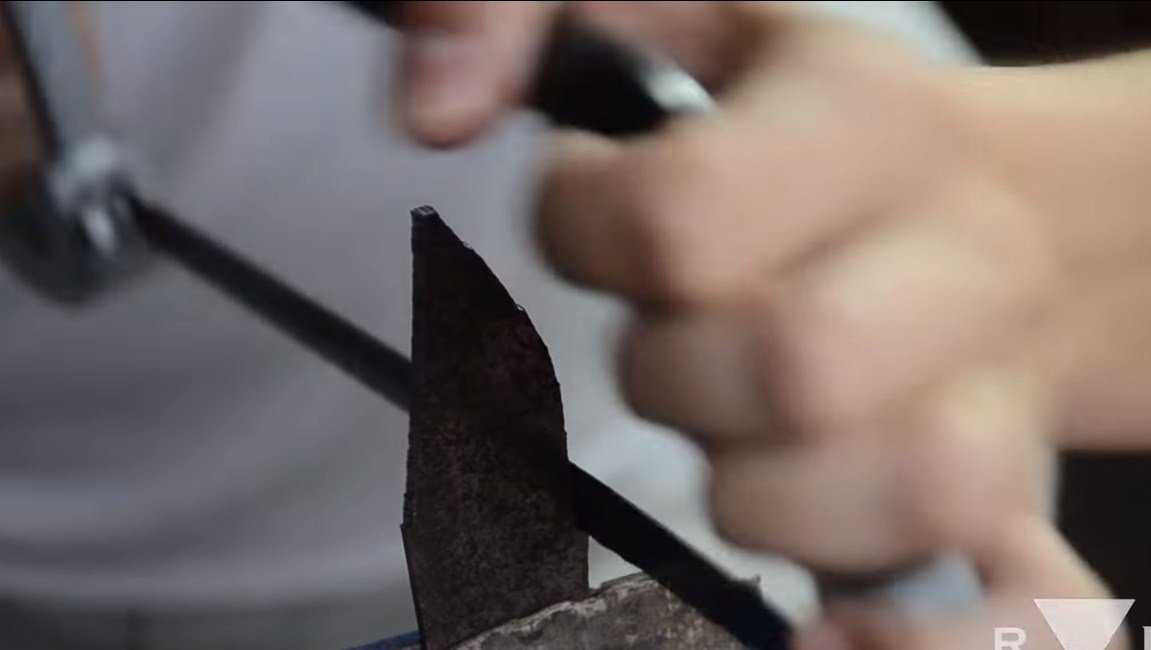
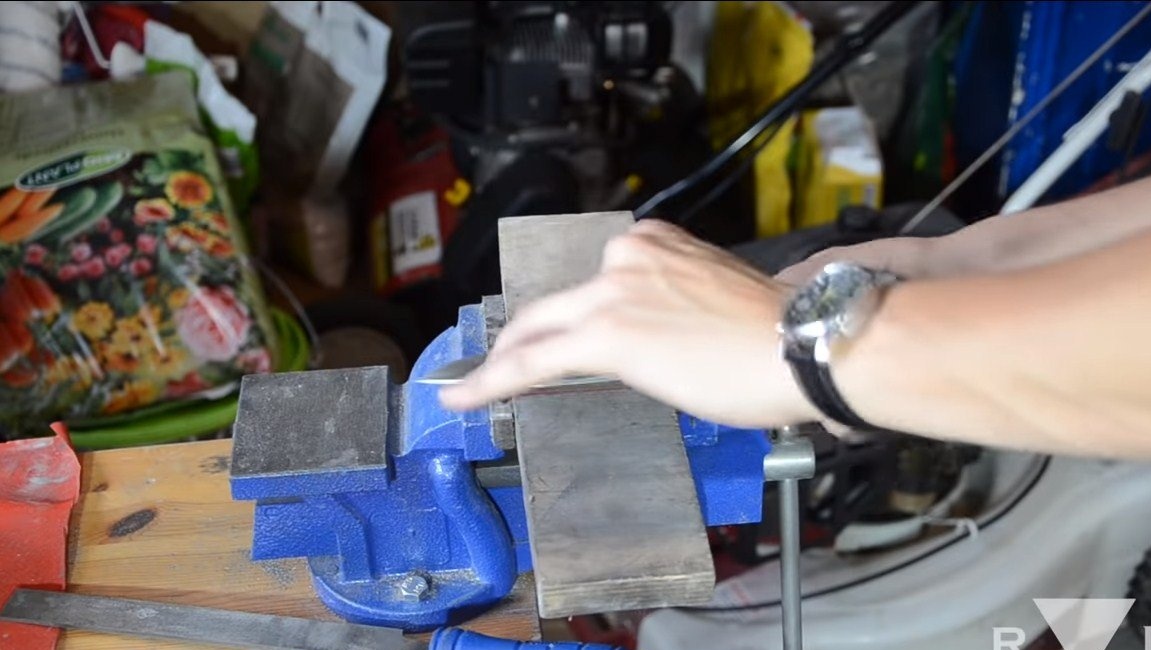
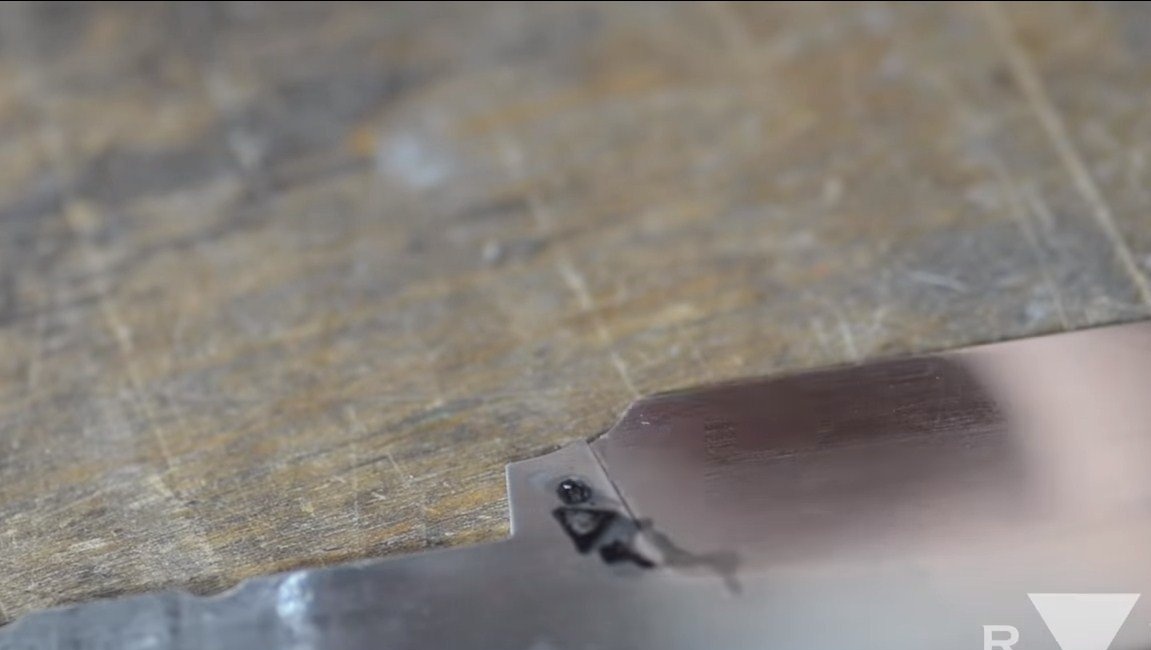
We print the profile of the blade on the printer or draw it ourselves, we should get a paper template, but it is better that it is made of cardboard. We transfer it to metal and proceed to cutting. The author cut out the profile manually using a hacksaw. Some sections are cut into pieces. A little time and now a piece of iron has become similar to the silhouette of a knife.
We bring the cut profile to mind with a flat file and now we have already received a knife blade.

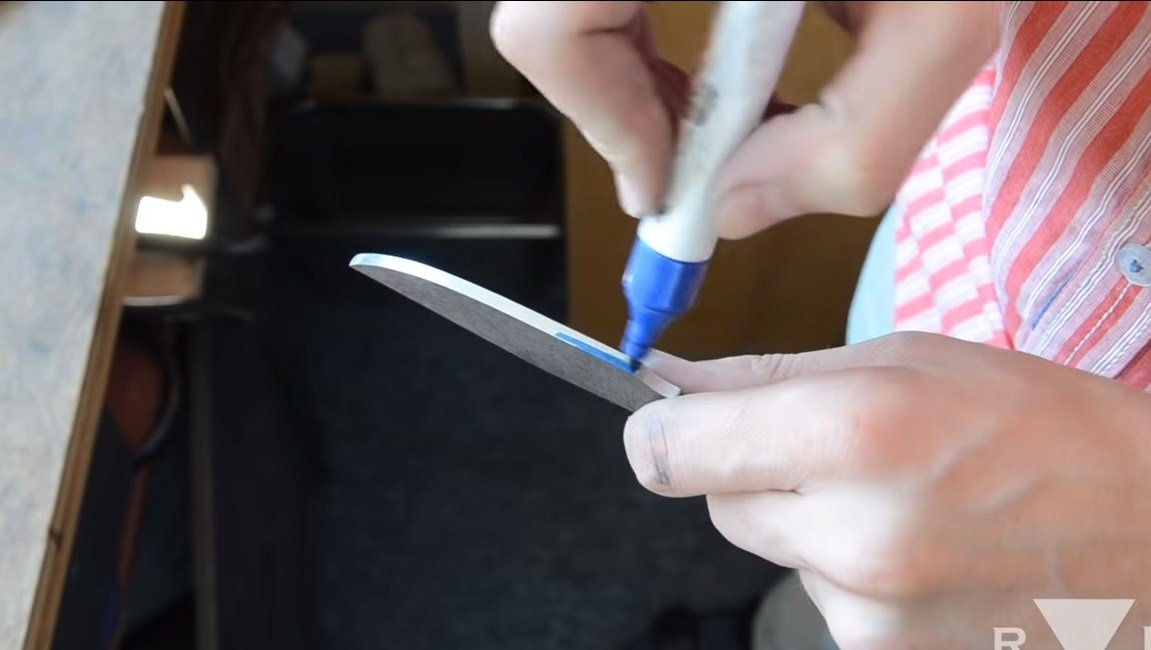
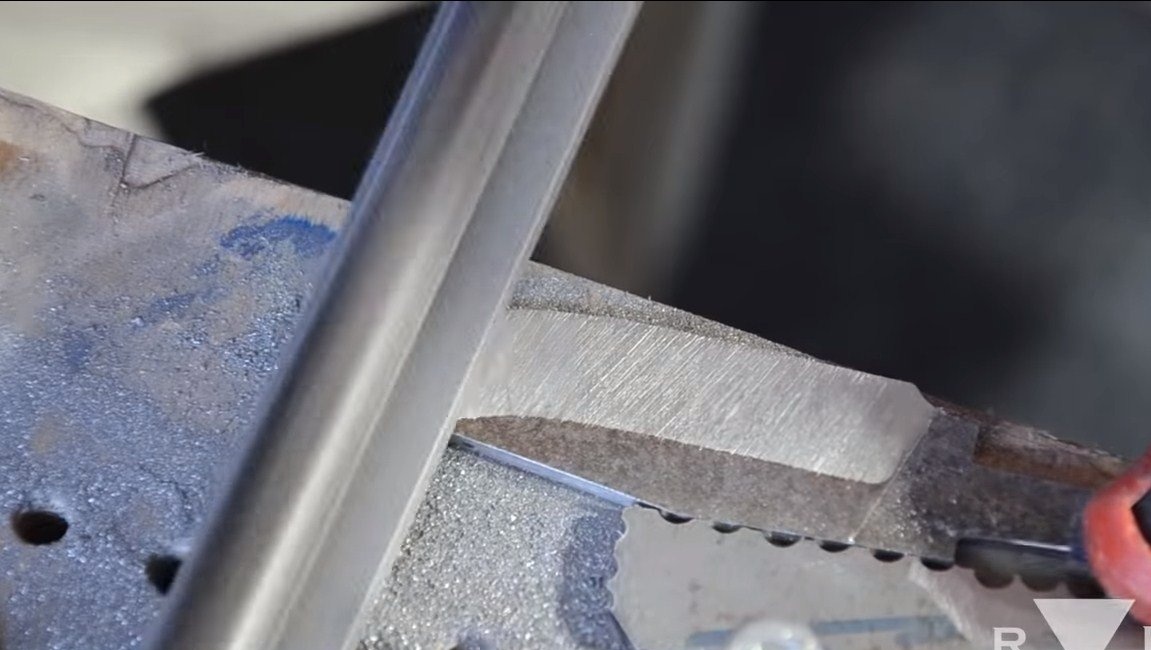
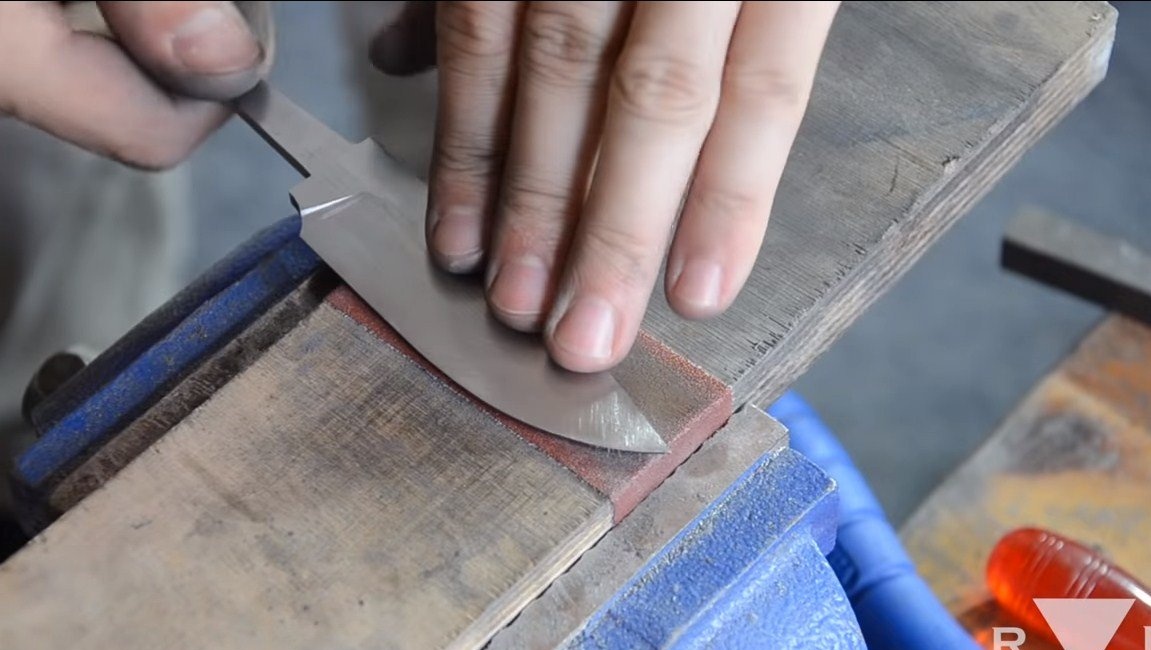
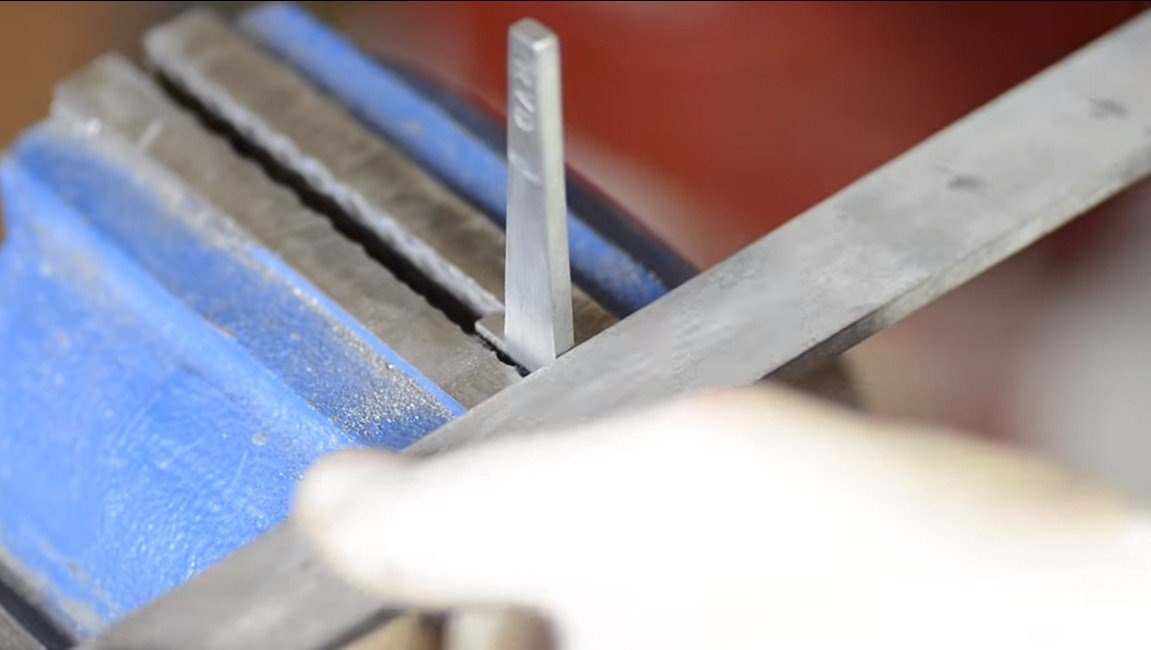
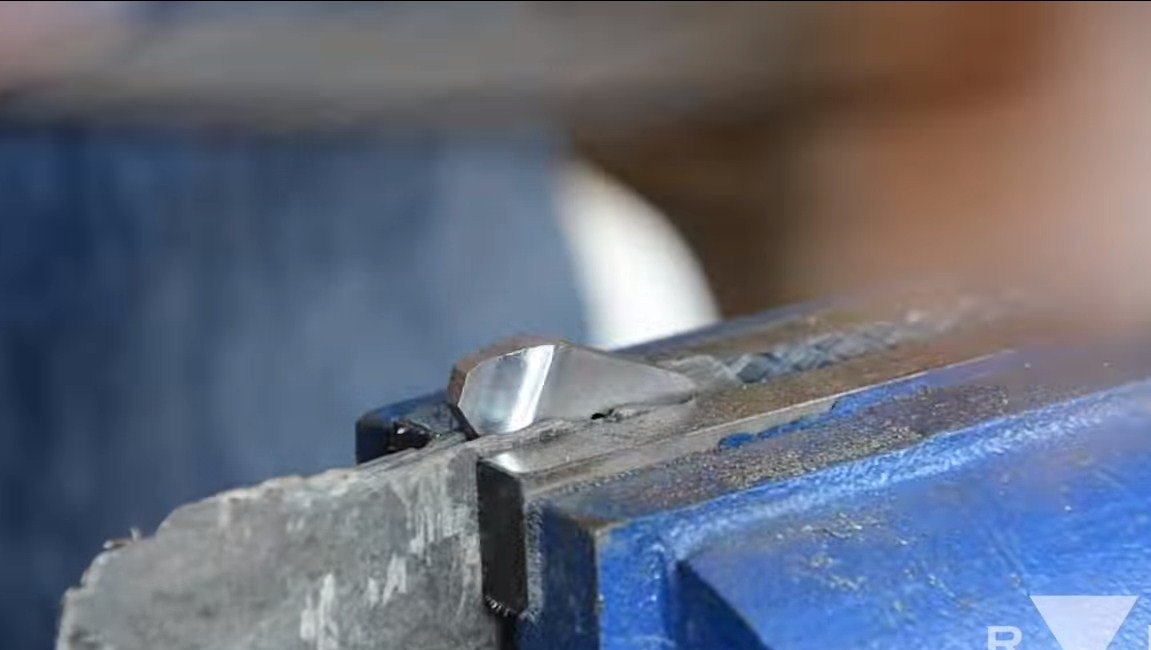
Step Two Bevels
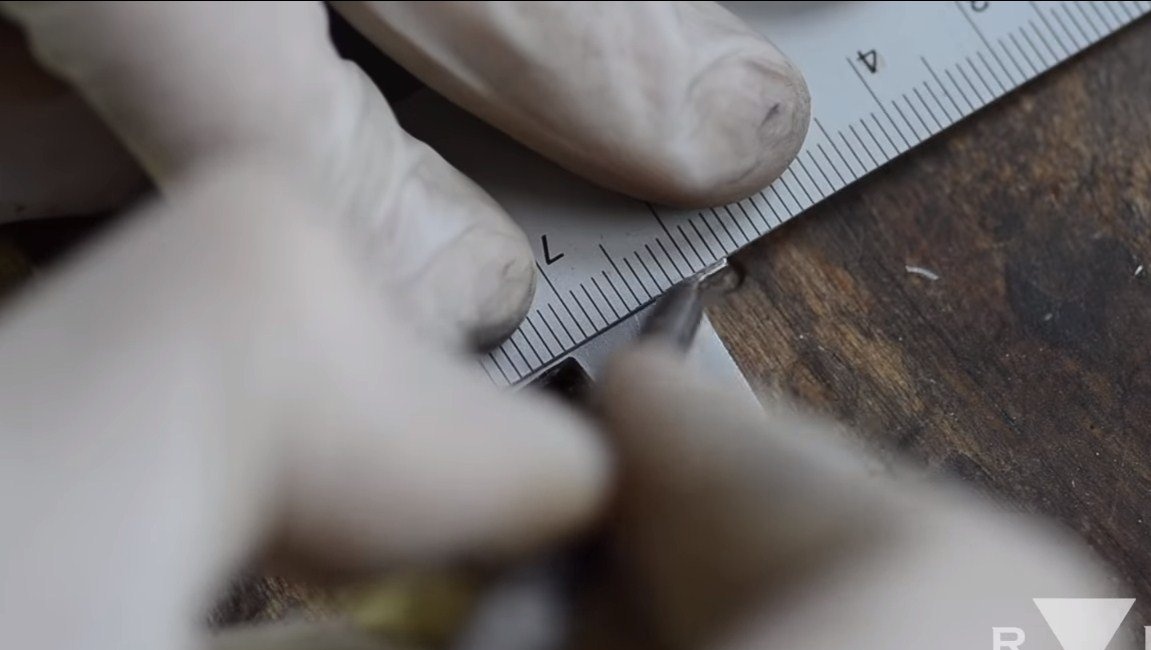
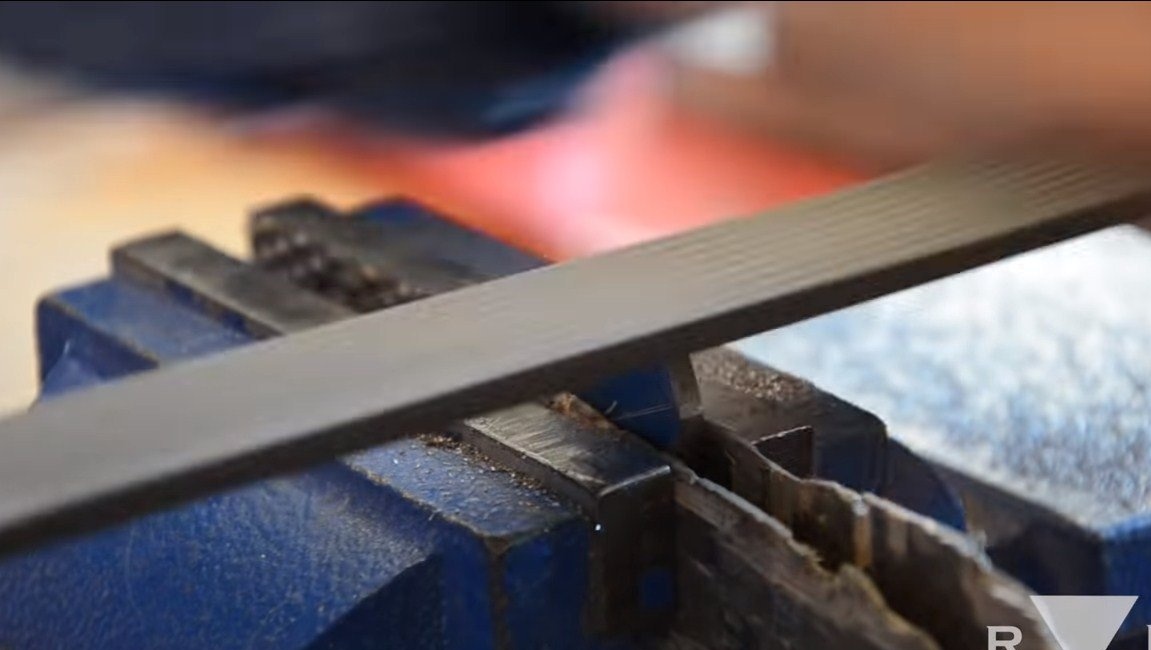
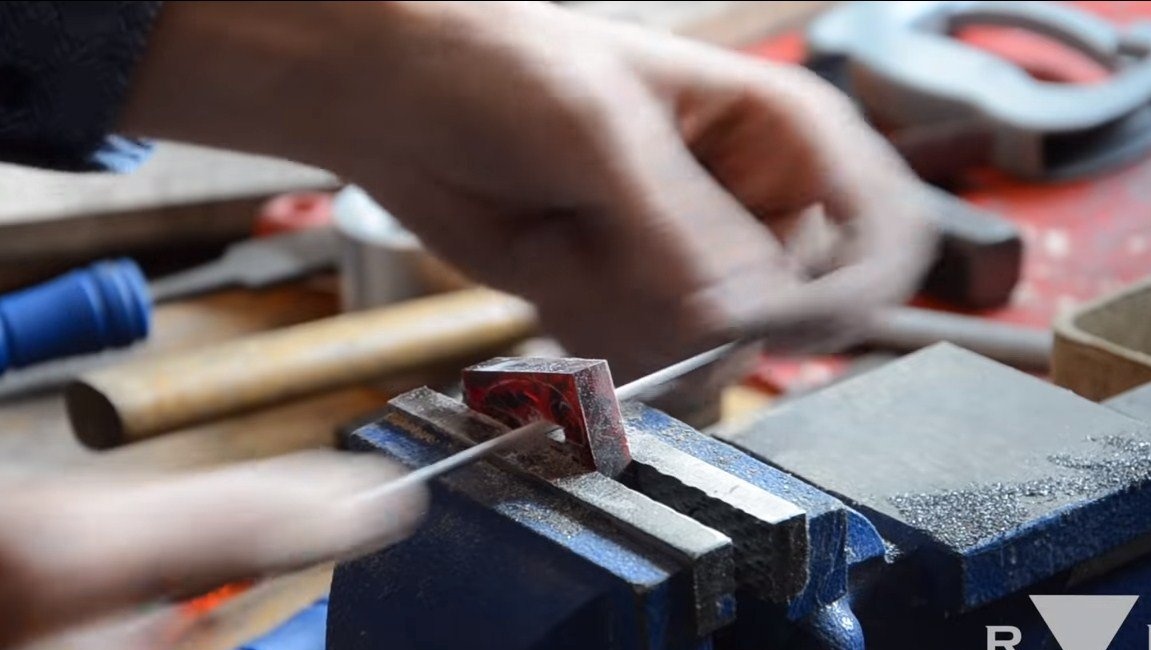
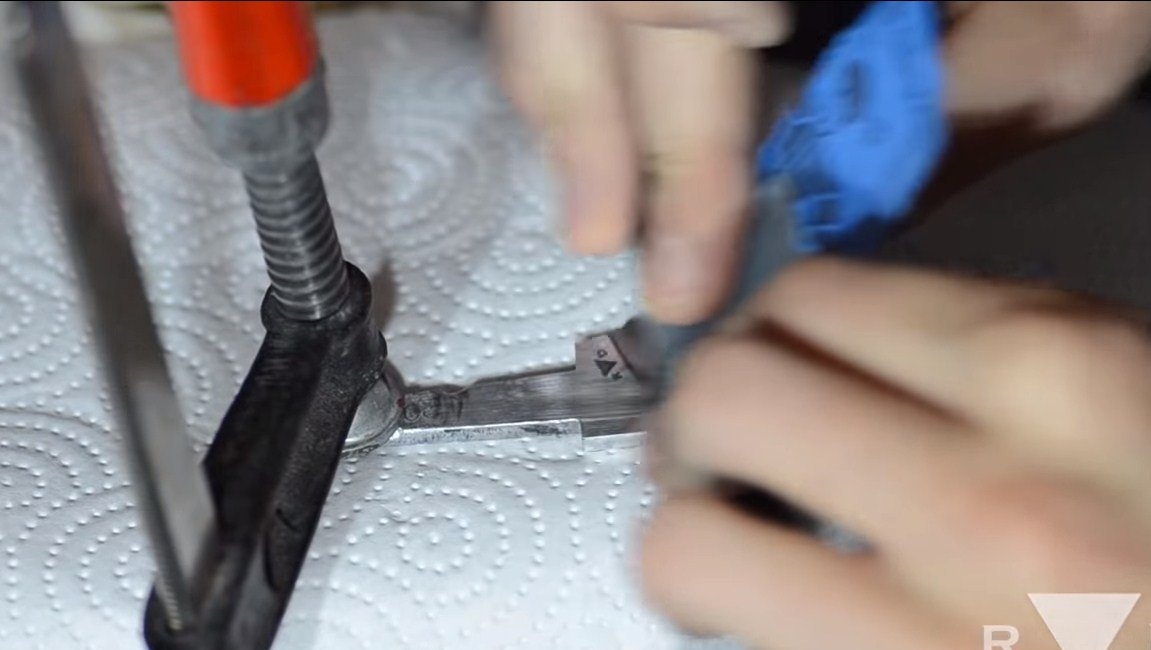
We make bevels on the blade or descents, as they are also called. First, we need to draw a line along the blade that we will be guided by. We paint over the blade with a marker, and then draw a line with a vernier caliper or drill.
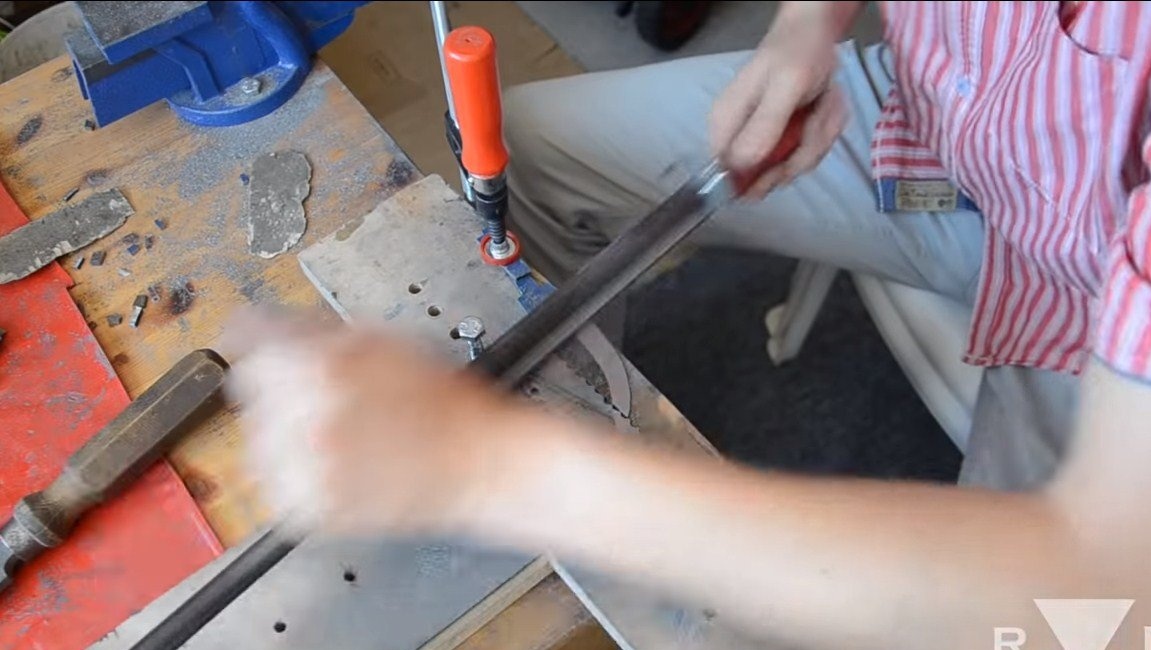
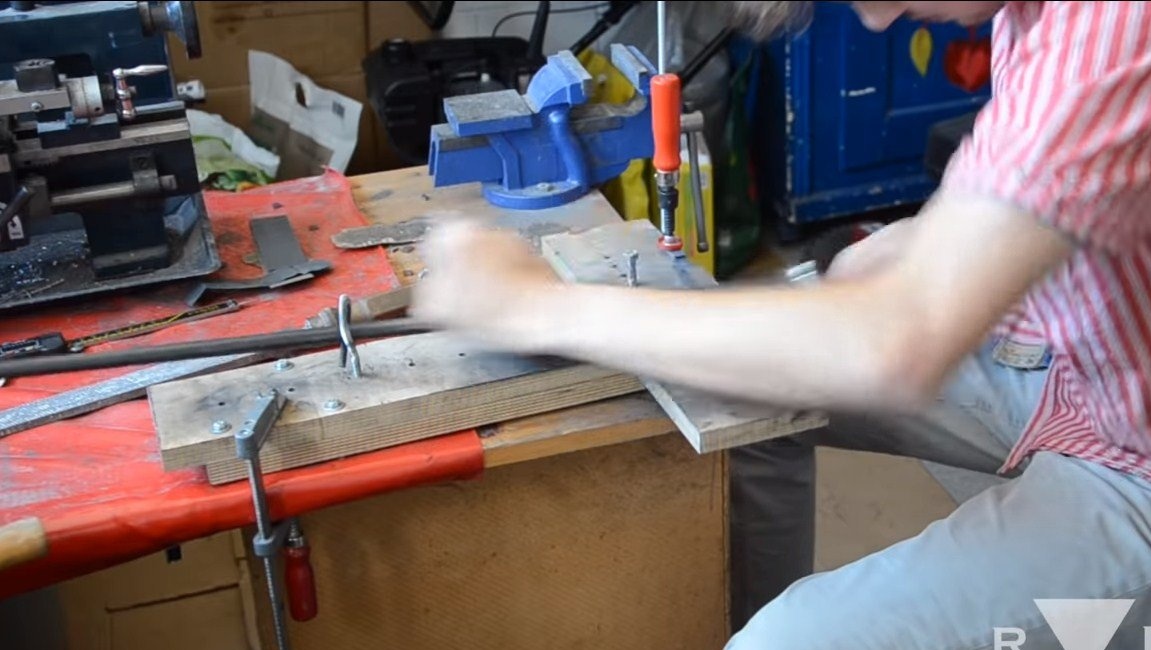
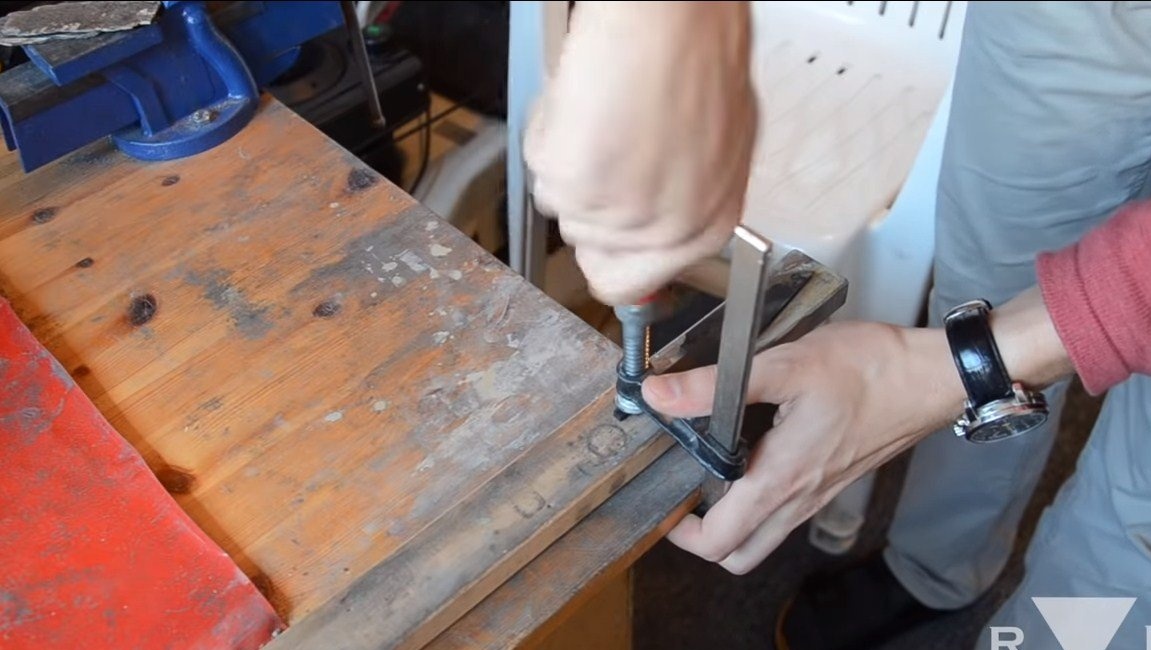
The author makes bevels with a file, using an improvised machine that allows you to hold the file at a certain angle, you can collect this from the trash.
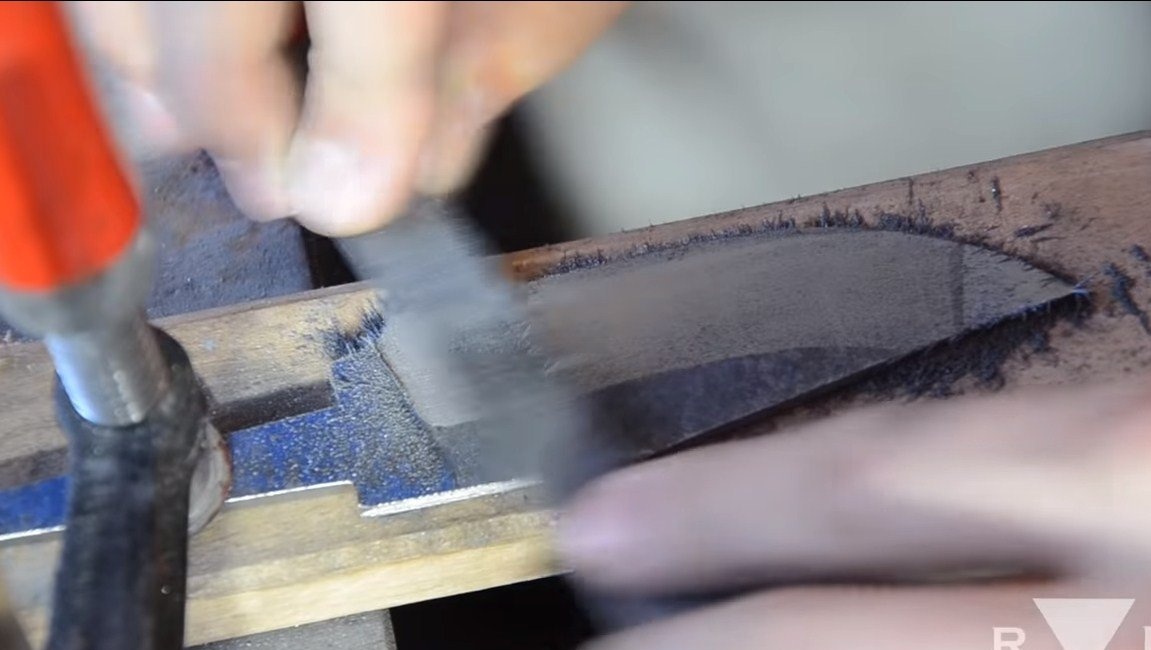
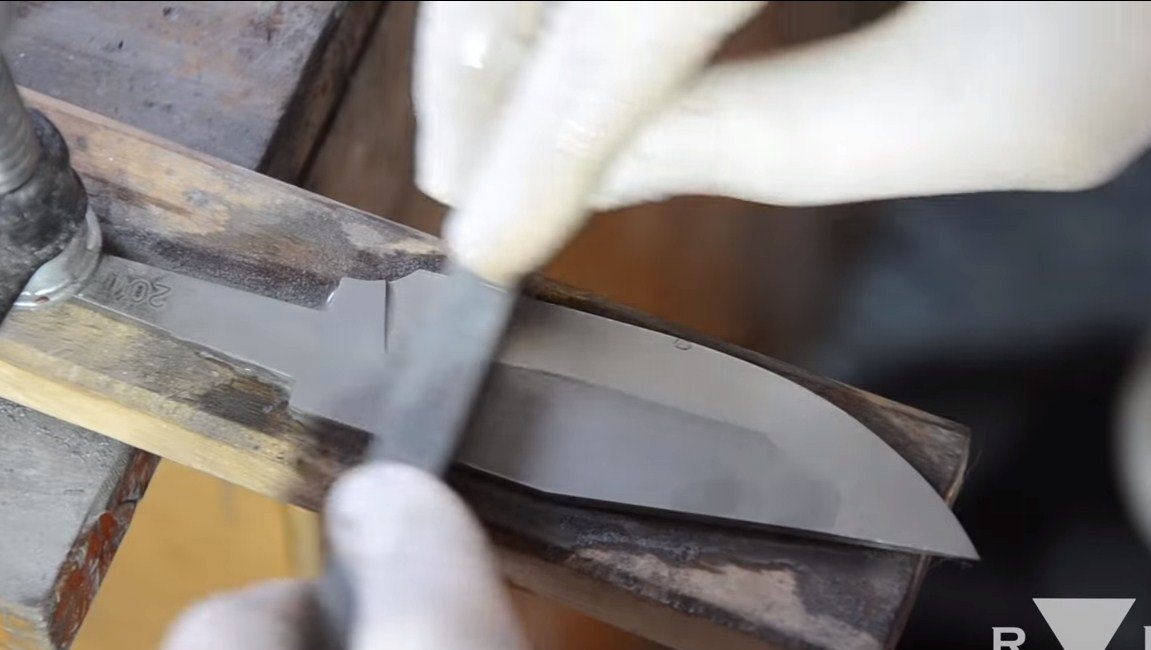
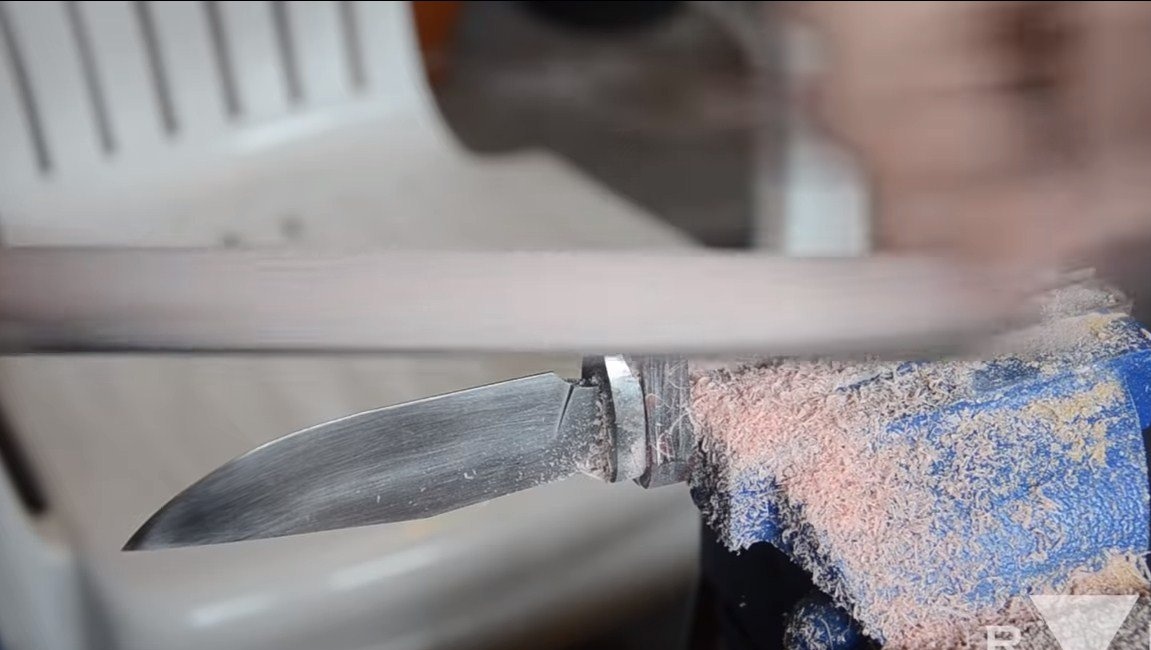
Step Three Grinding and refinement
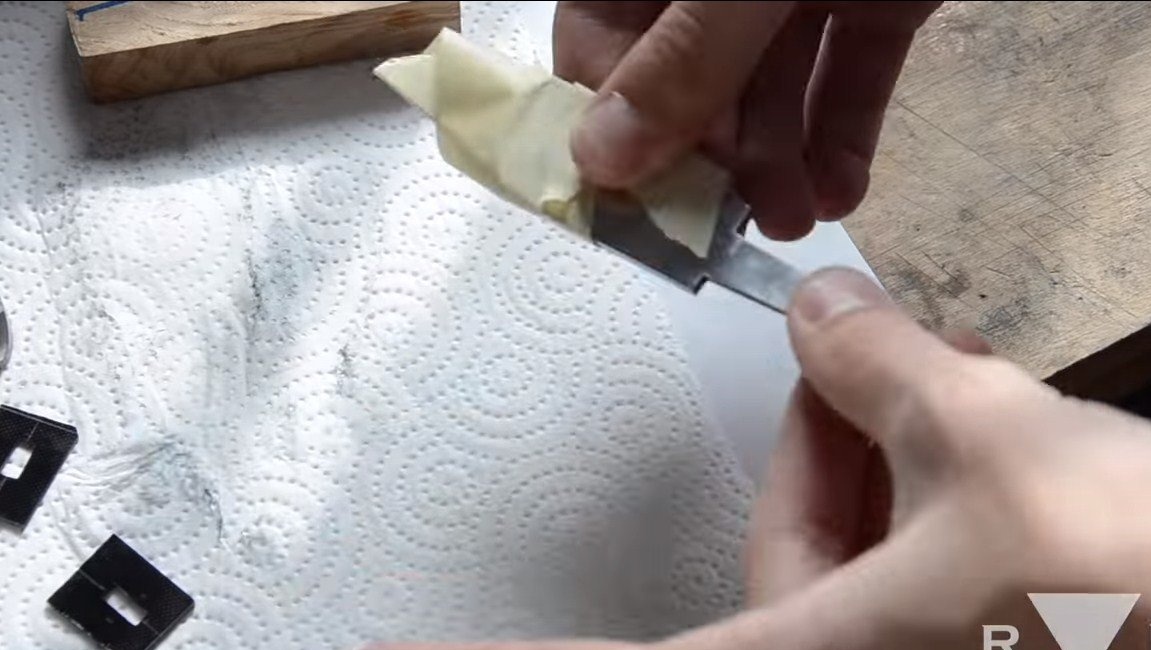
We grind the plane of the blade, first we work with sandpaper, we bring the blade to shine. The author also walks through the blade with grinding stones.
We are finalizing the back of the blade so that the handle can be installed evenly and tightly.
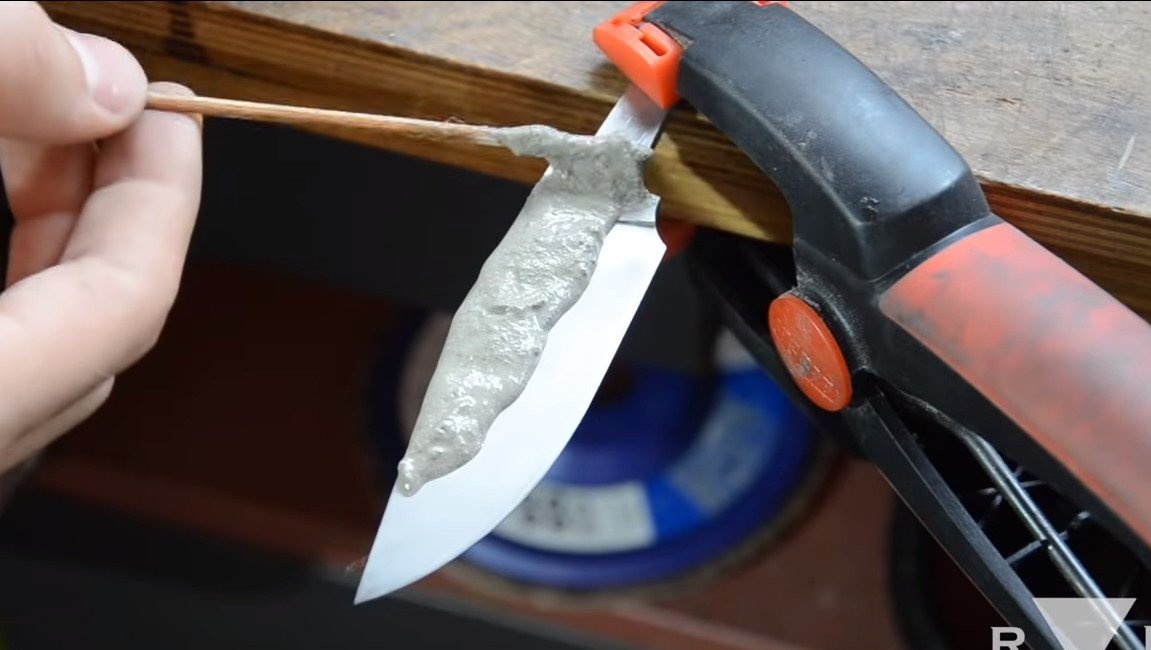
Step Four Heat treatment
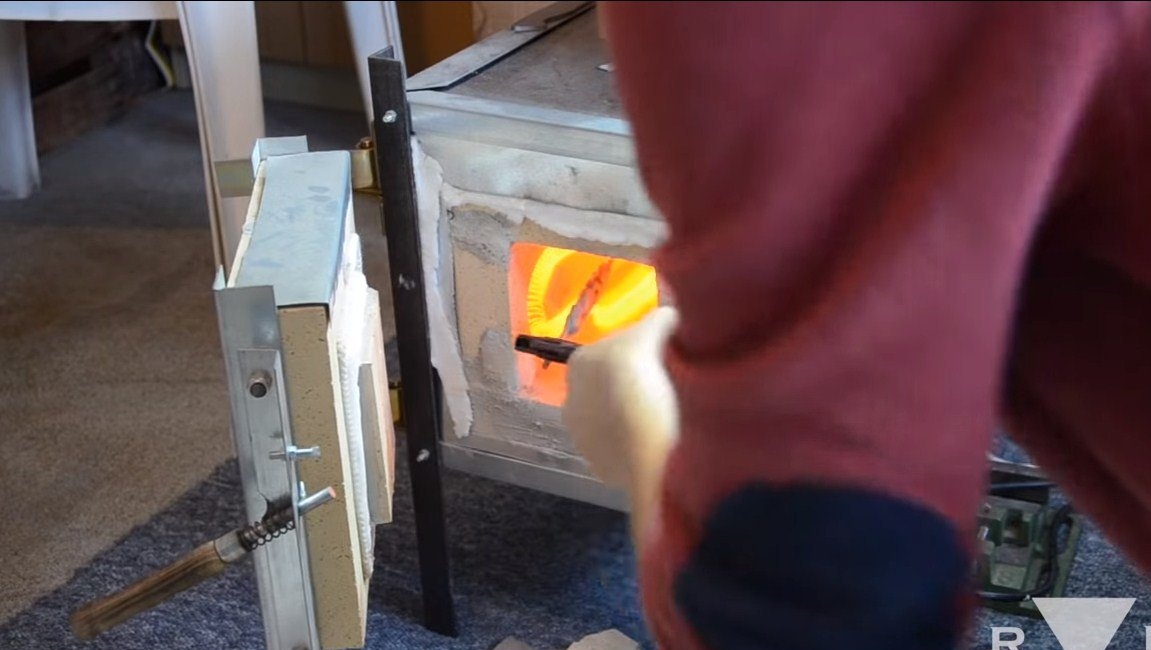
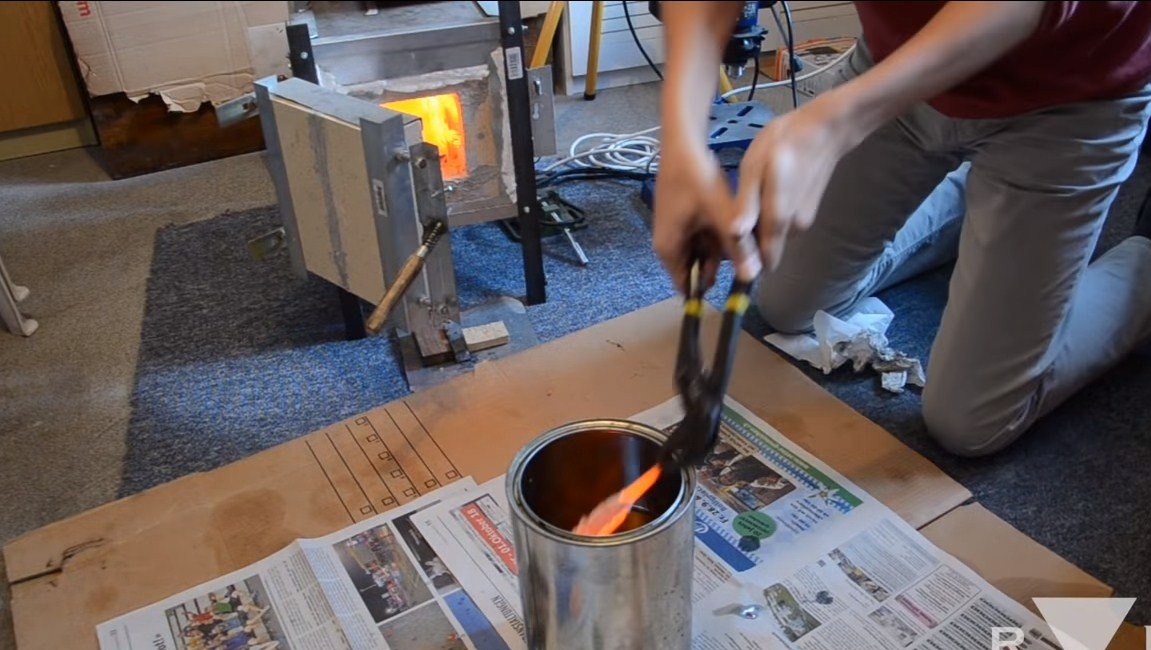
We temper the blade, for this you need a muffle furnace or another with a suitable heating temperature. The author applies a heat-resistant composition to the butt so that the blade is more hardened. Heat the blade to a red glow and dip in oil. But to temper the metal correctly, you need to know the grade of steel.
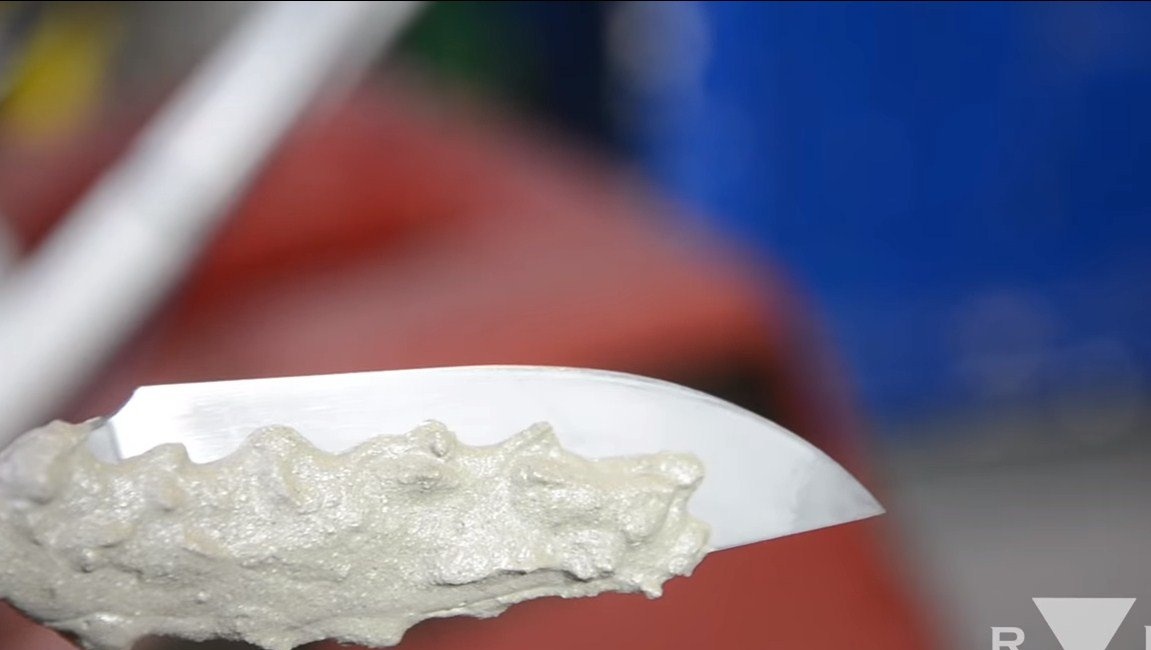
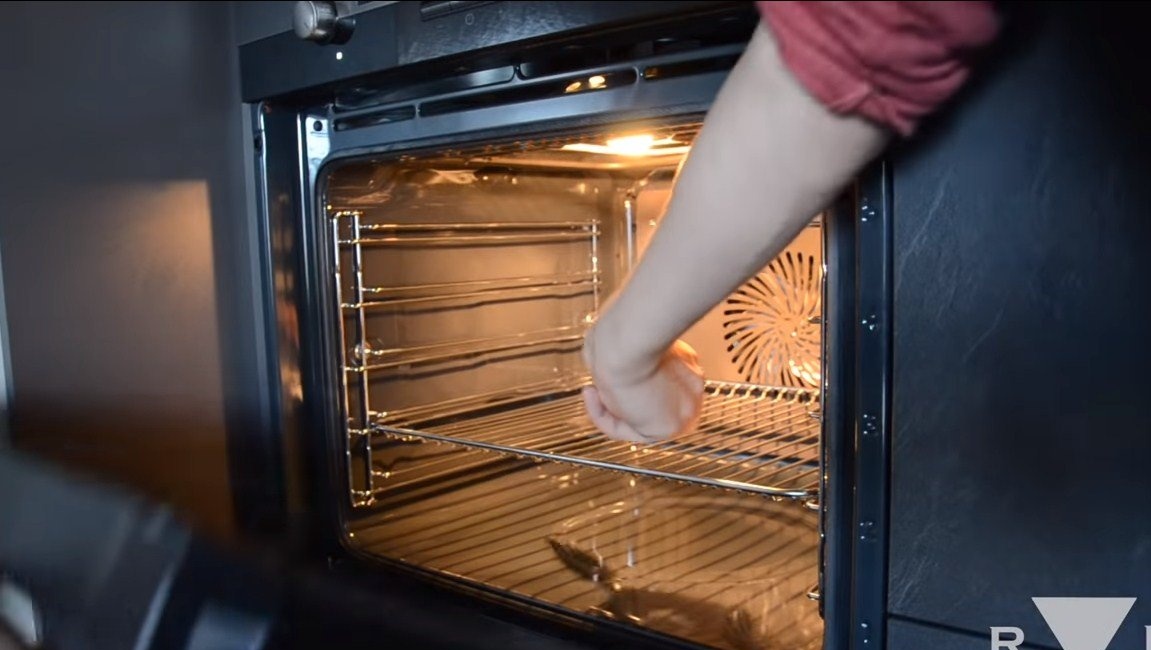

After hardening, we necessarily make steel leave so that it starts to spring and the blade is not fragile. We make a vacation according to the classical scheme - with the help of an oven. Usually this temperature is around 200 ° C, and the blade is heated for about an hour.
After heat treatment, we grind the blade with sandpaper to a shine.
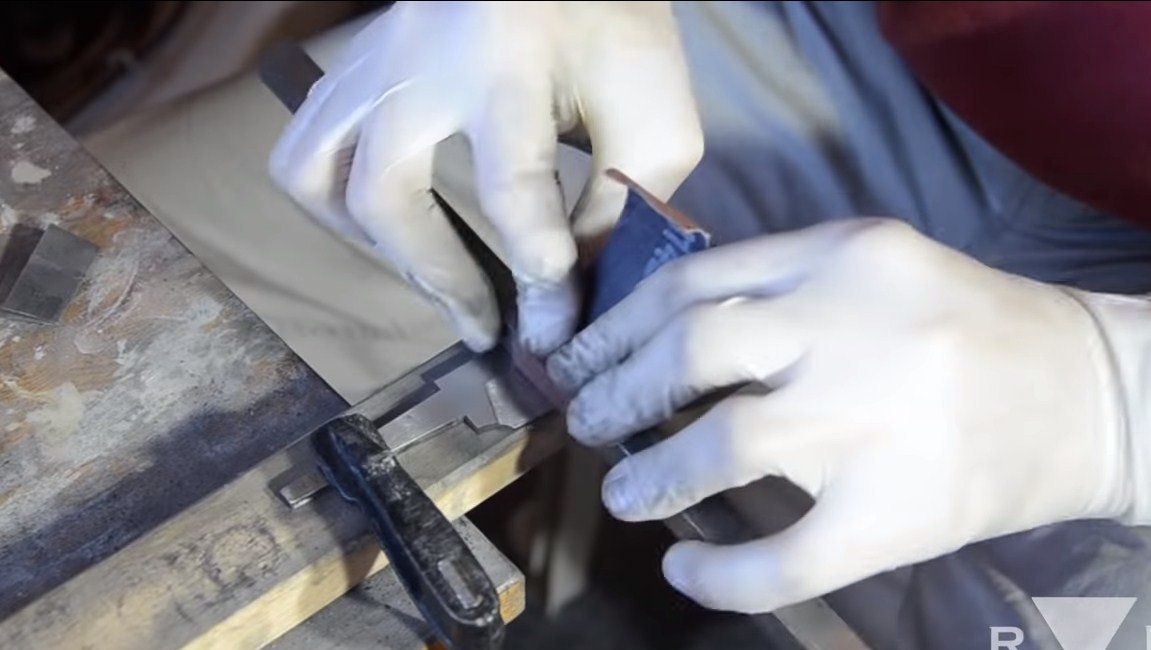
Step Five Pen making
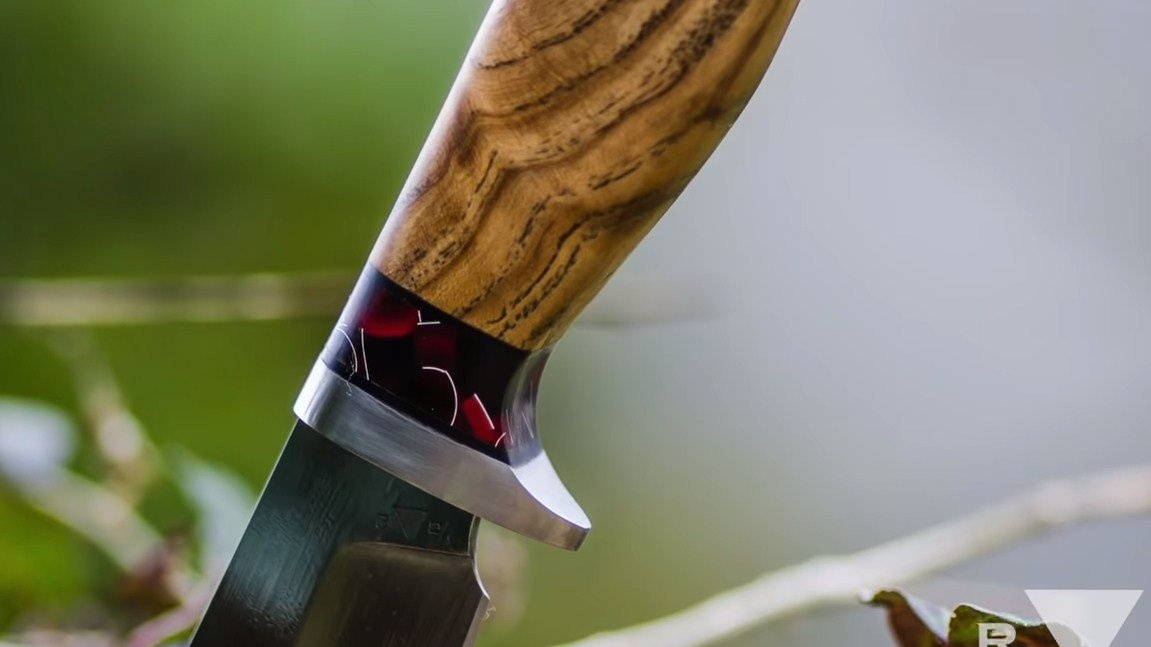
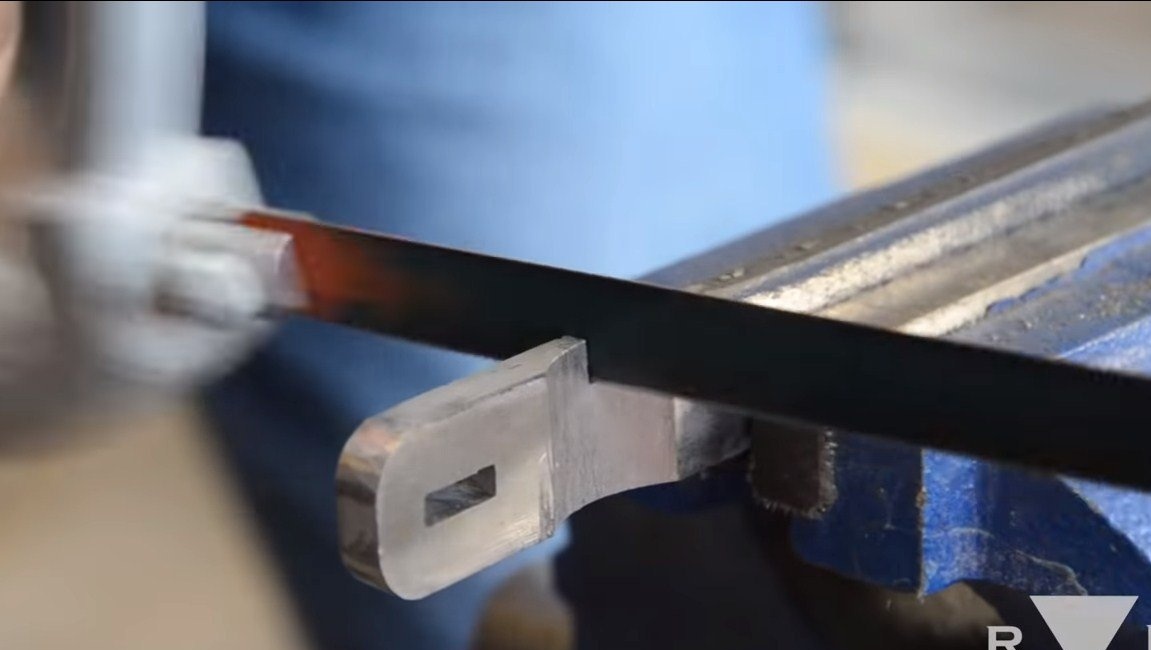
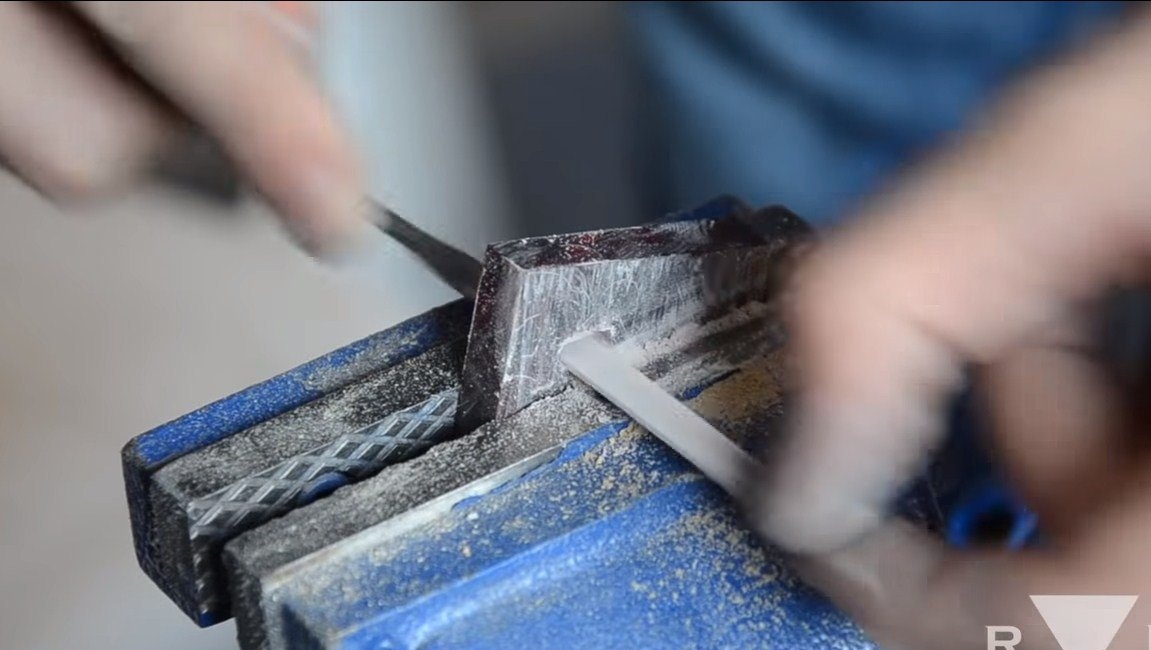
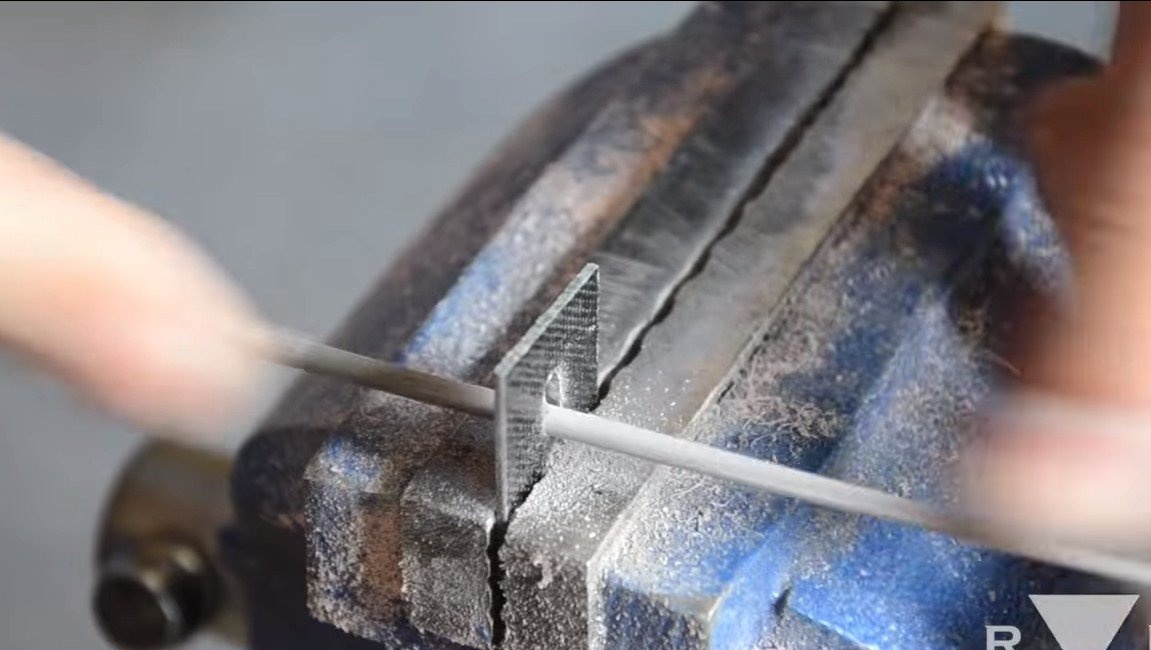
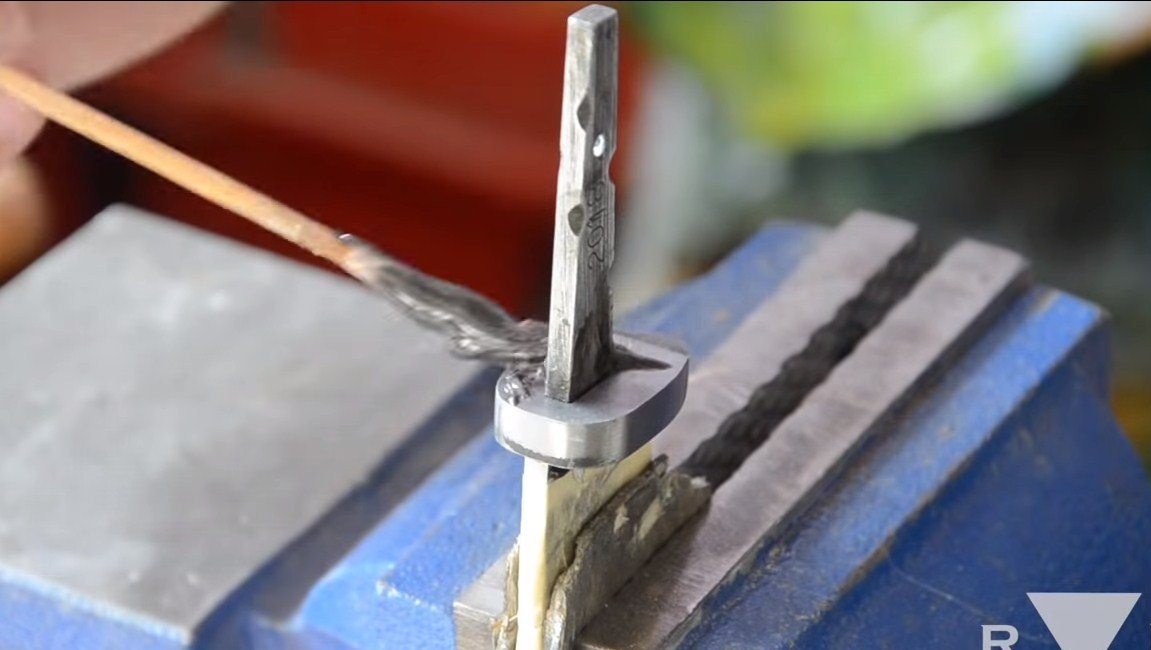
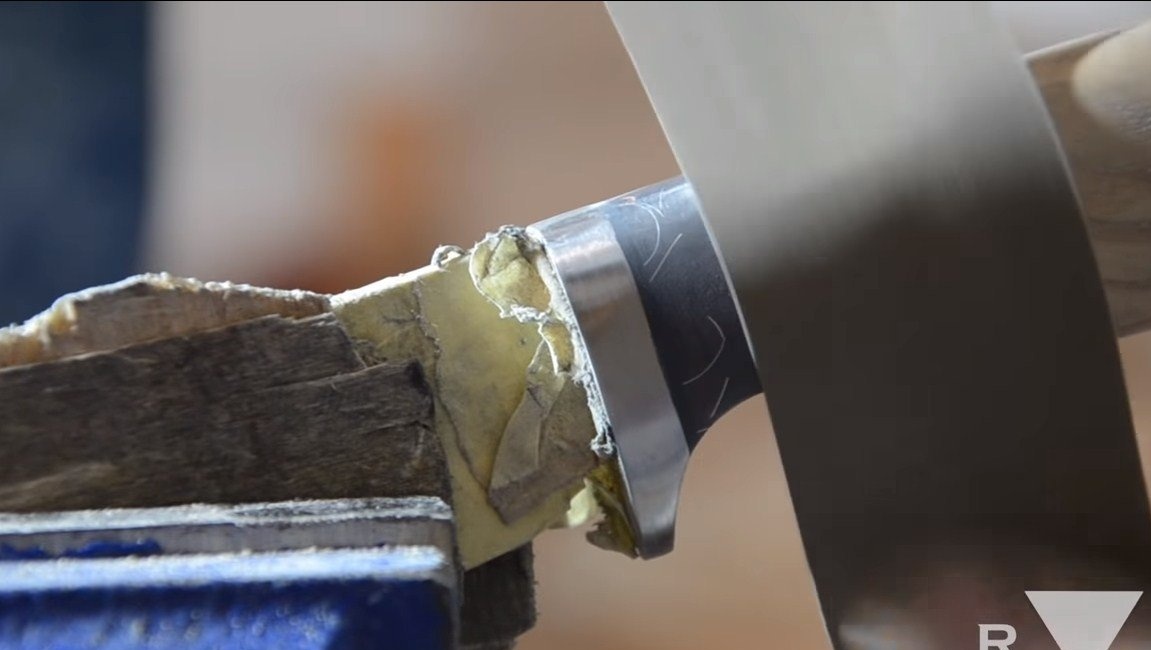
We make all the necessary parts for the handle. In the front part there is a guard, its author made of sheet steel. We drill holes in the metal and bore them to a rectangular shape so that the part can fit on the knife shank. We form the necessary guard profile with files. We cut the excess with a hacksaw for metal.
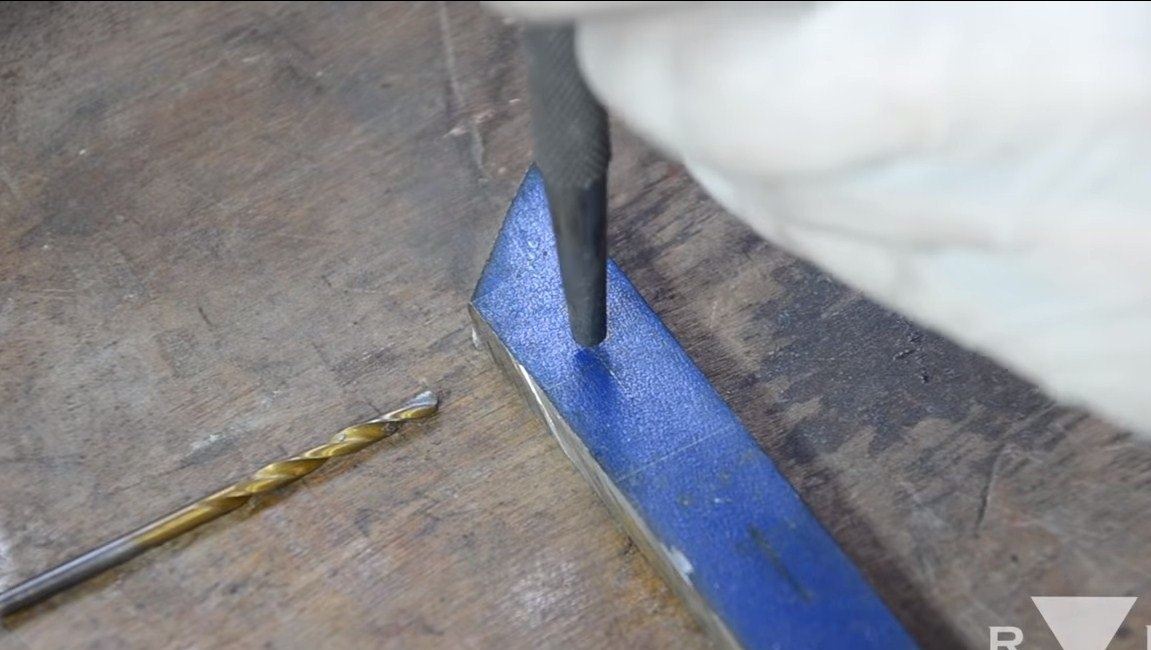
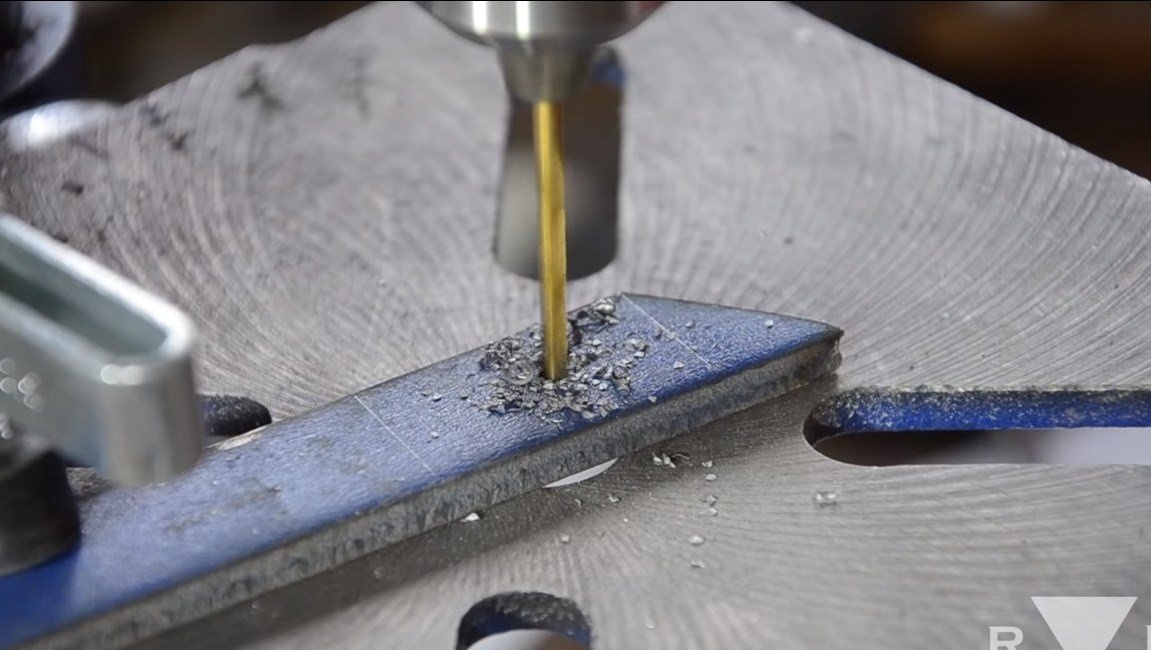
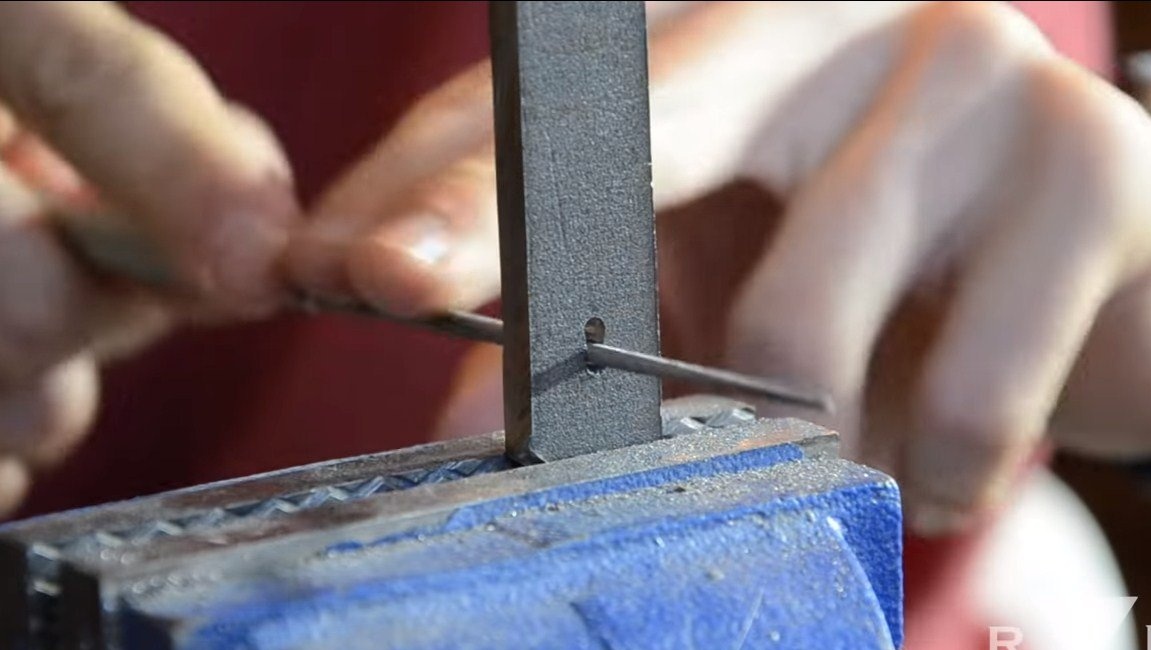
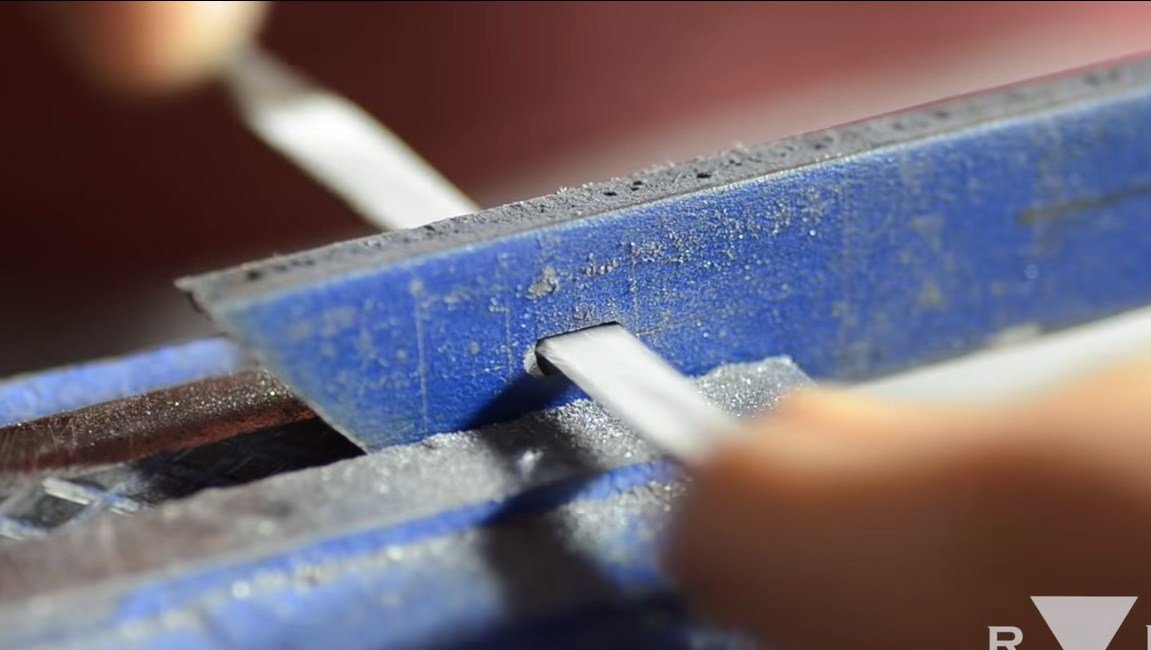
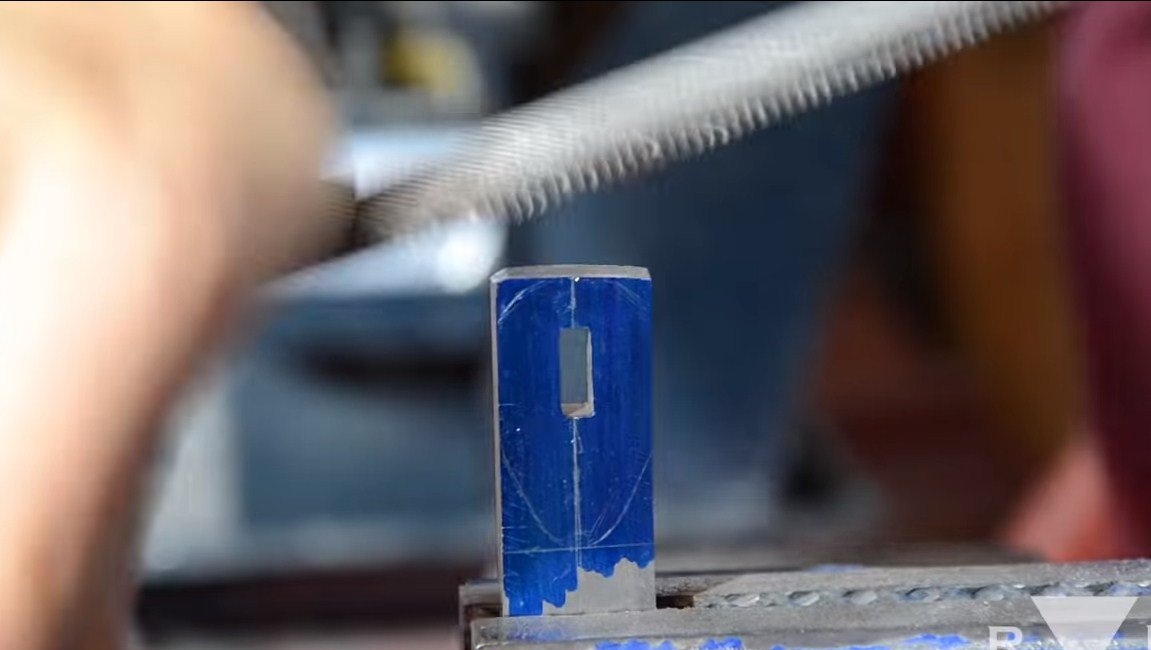
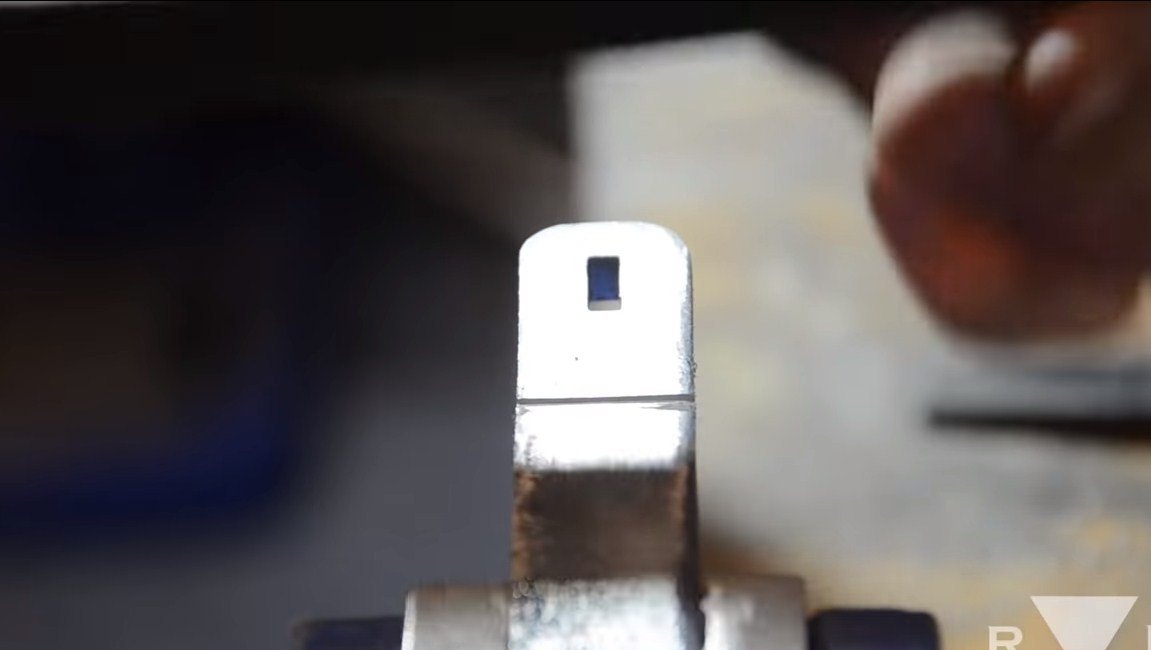
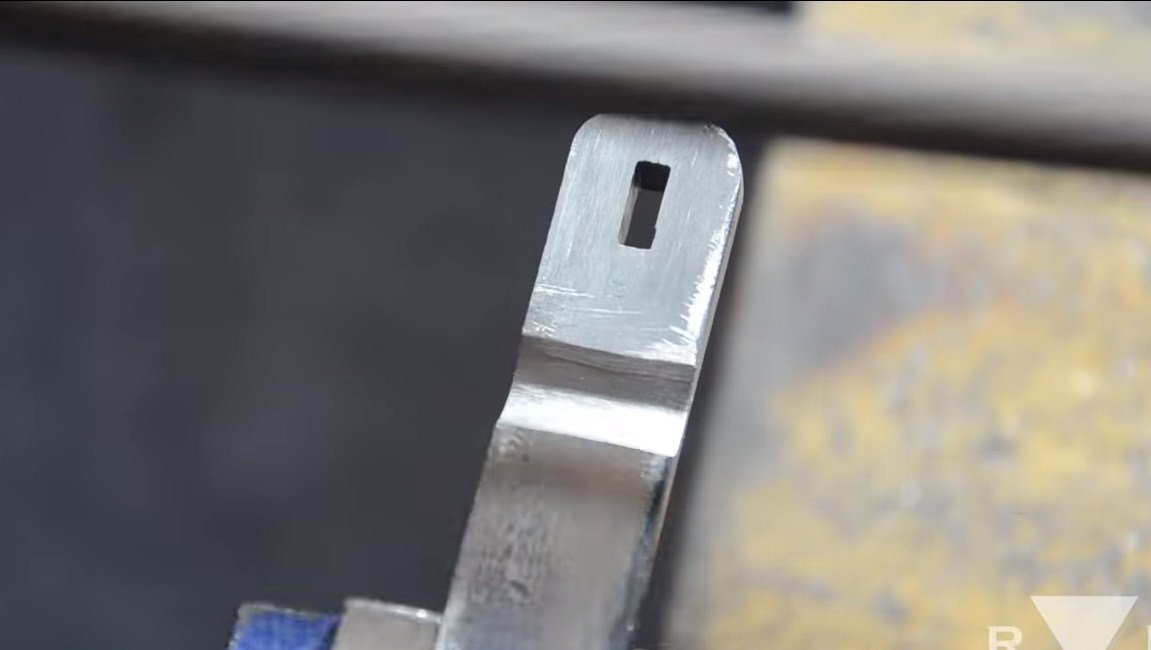
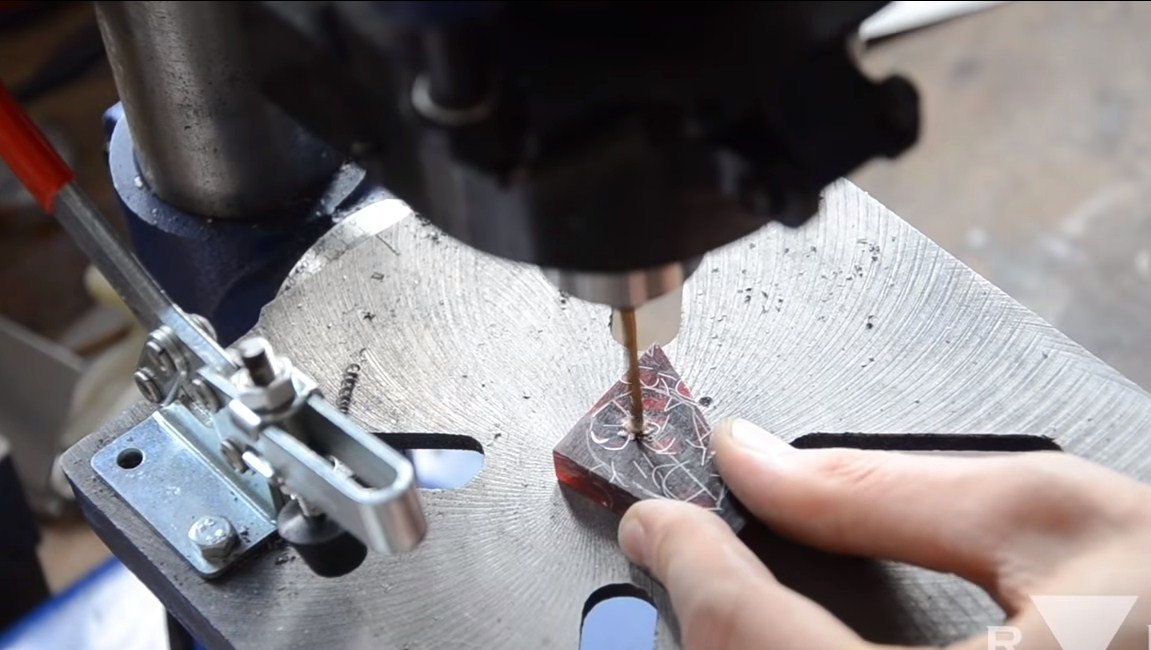
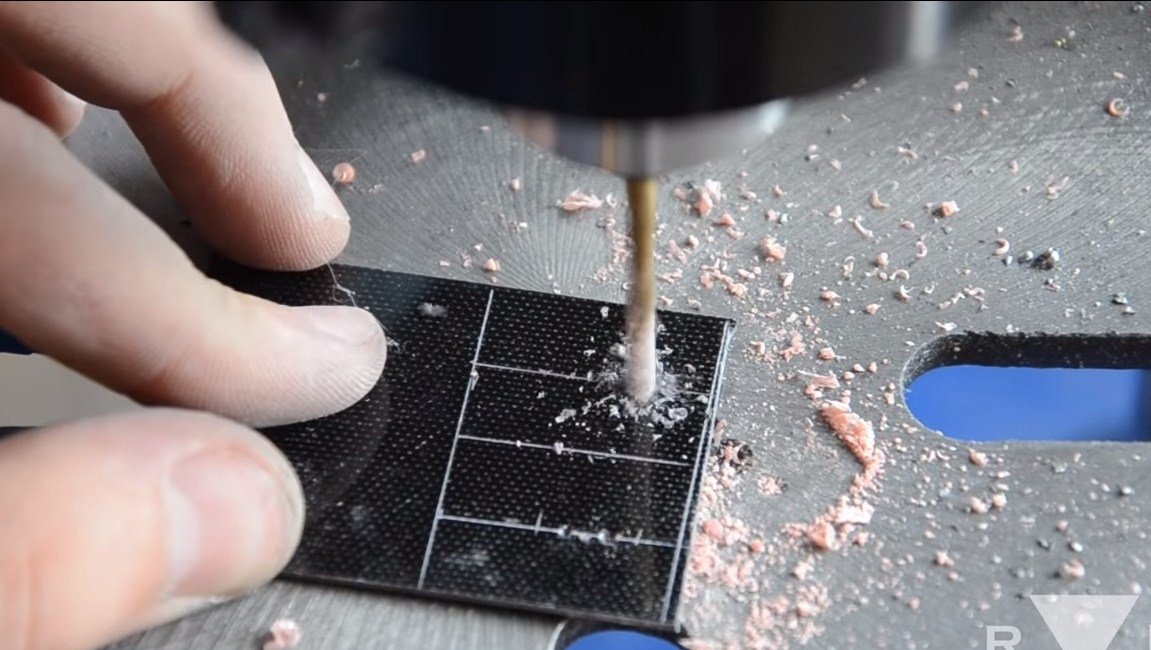
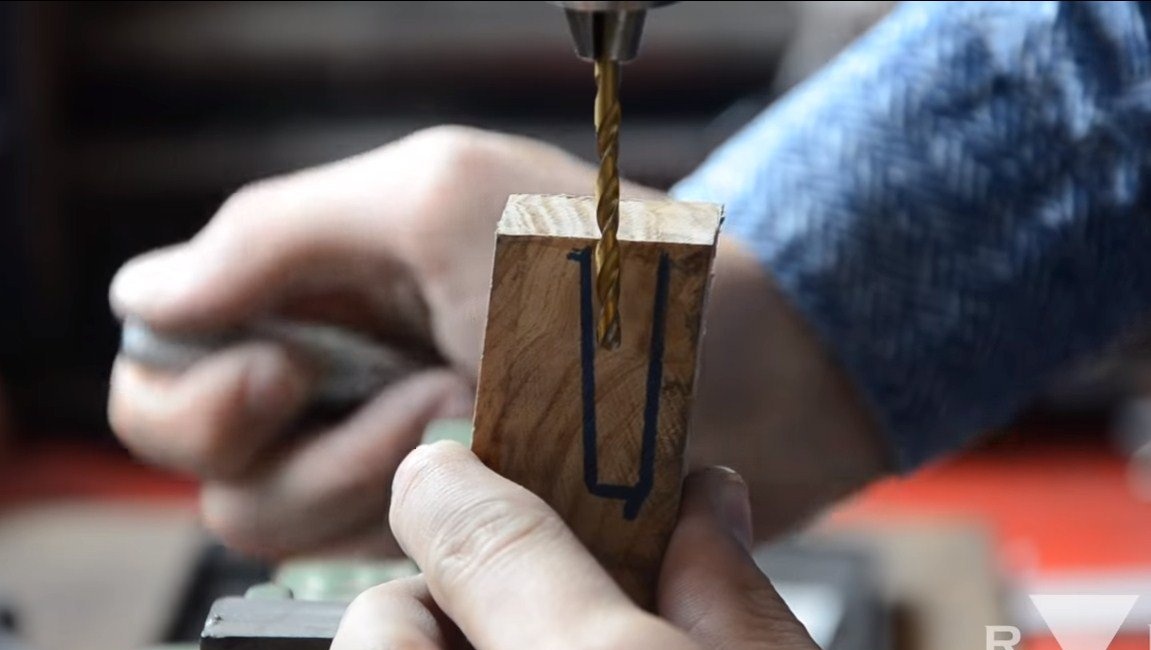
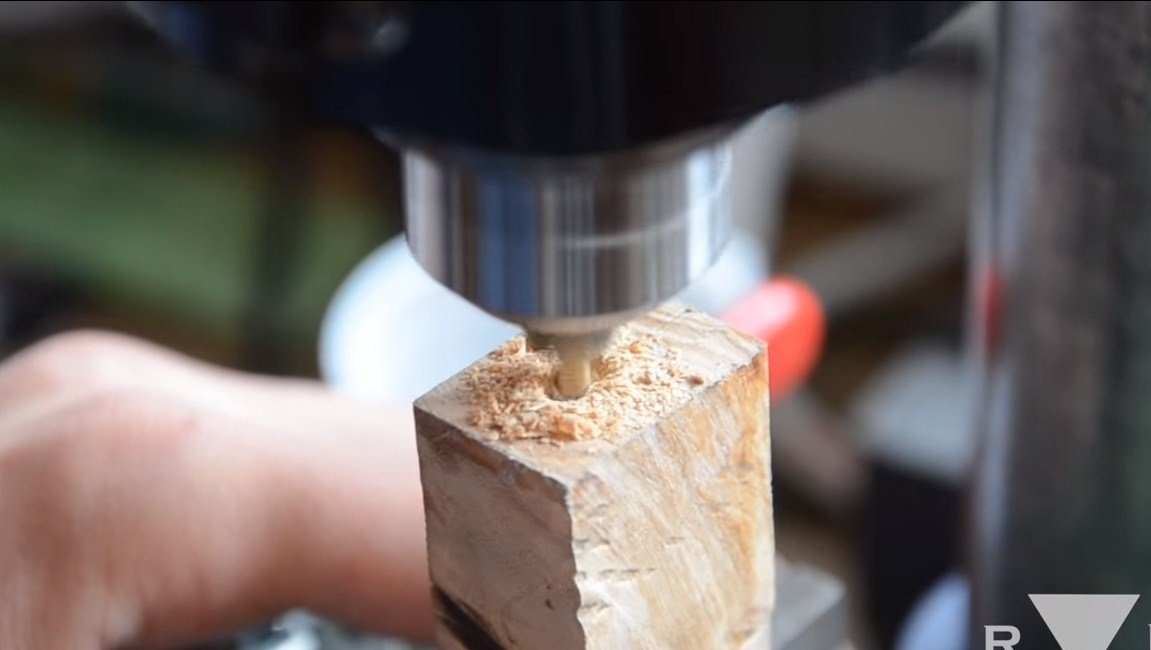
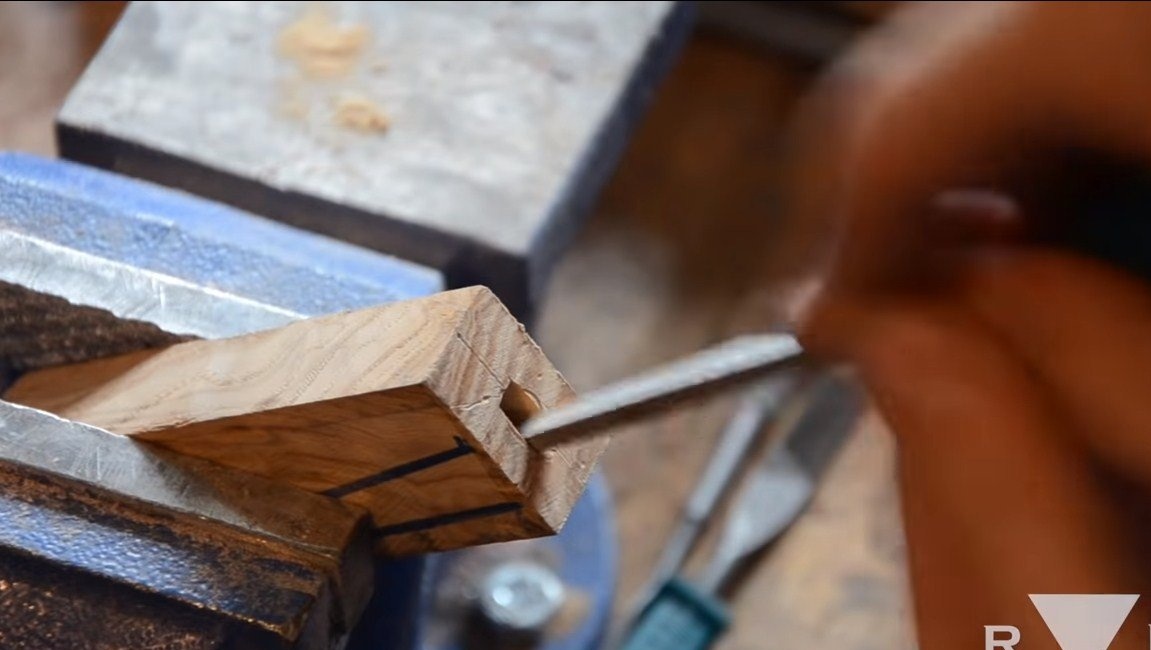
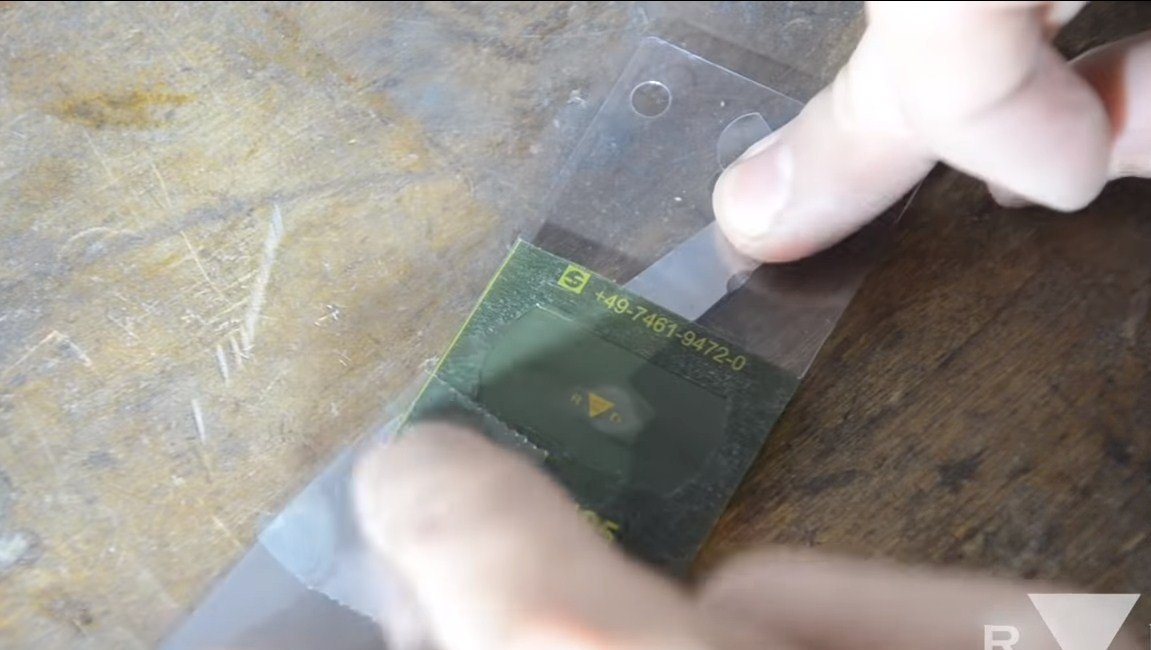
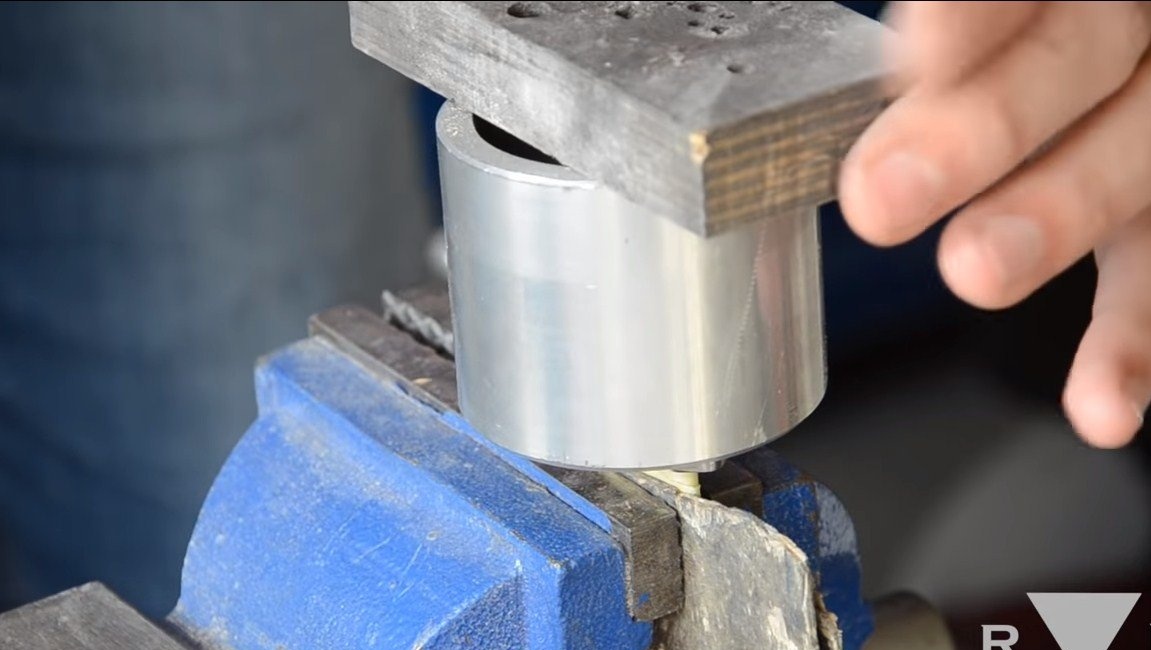
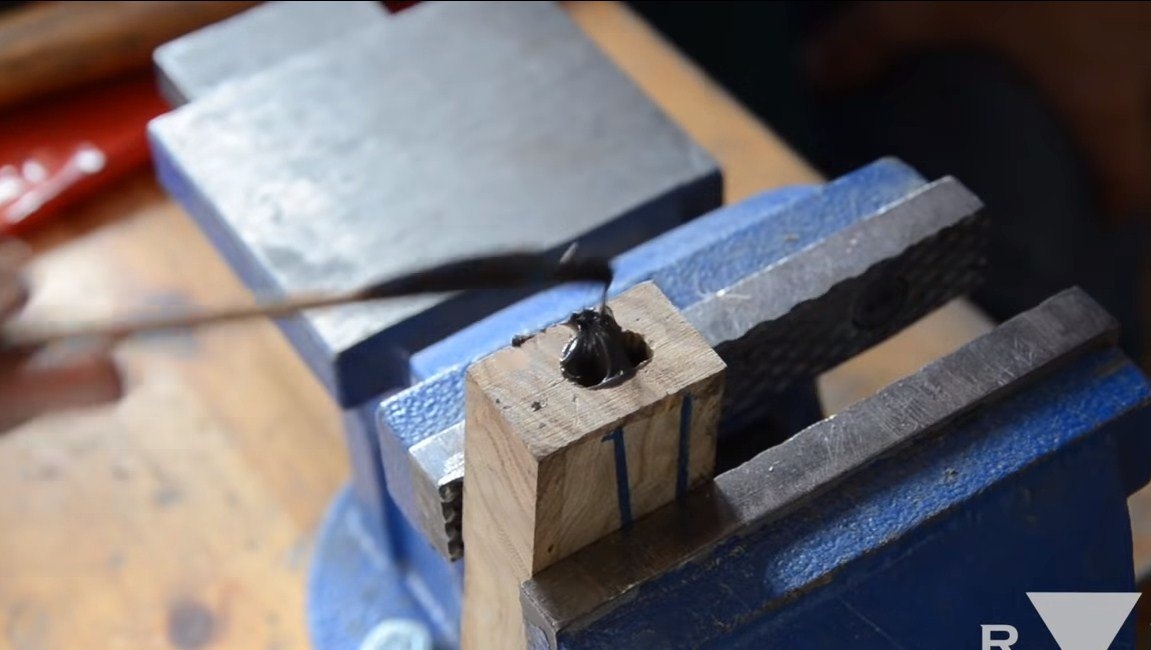
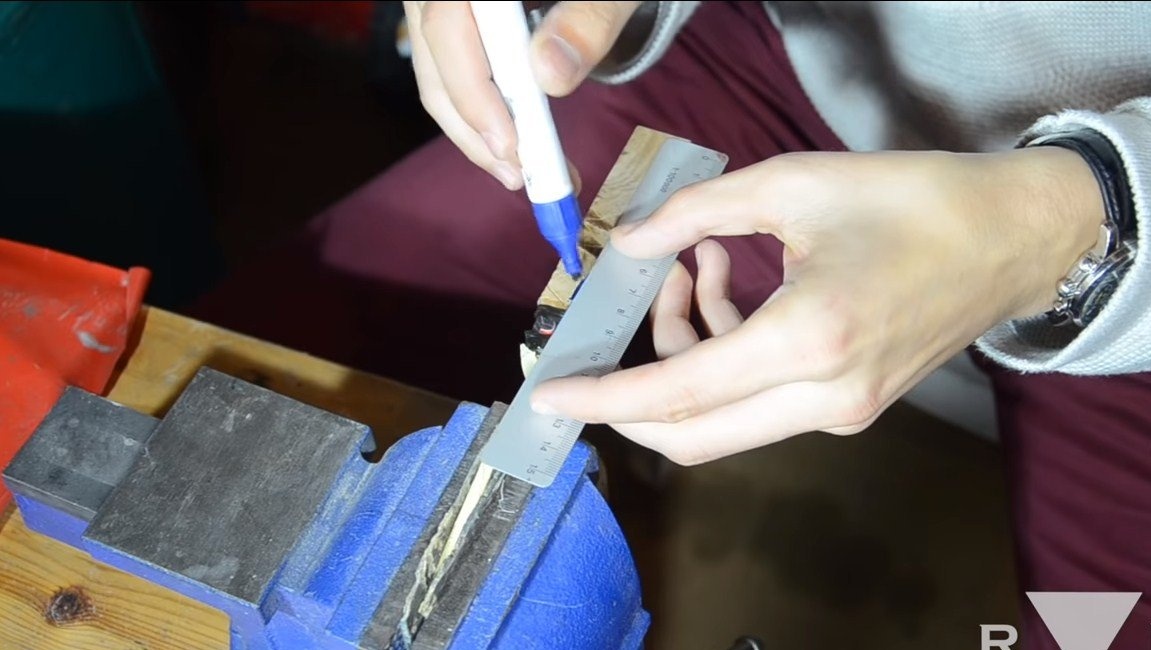
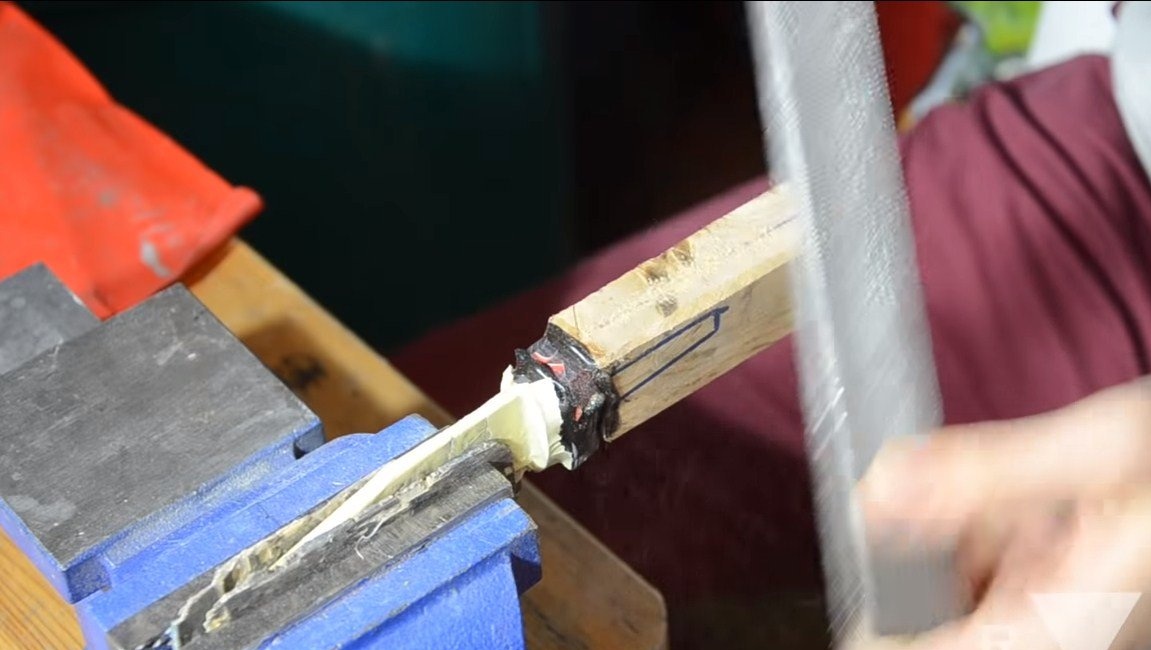
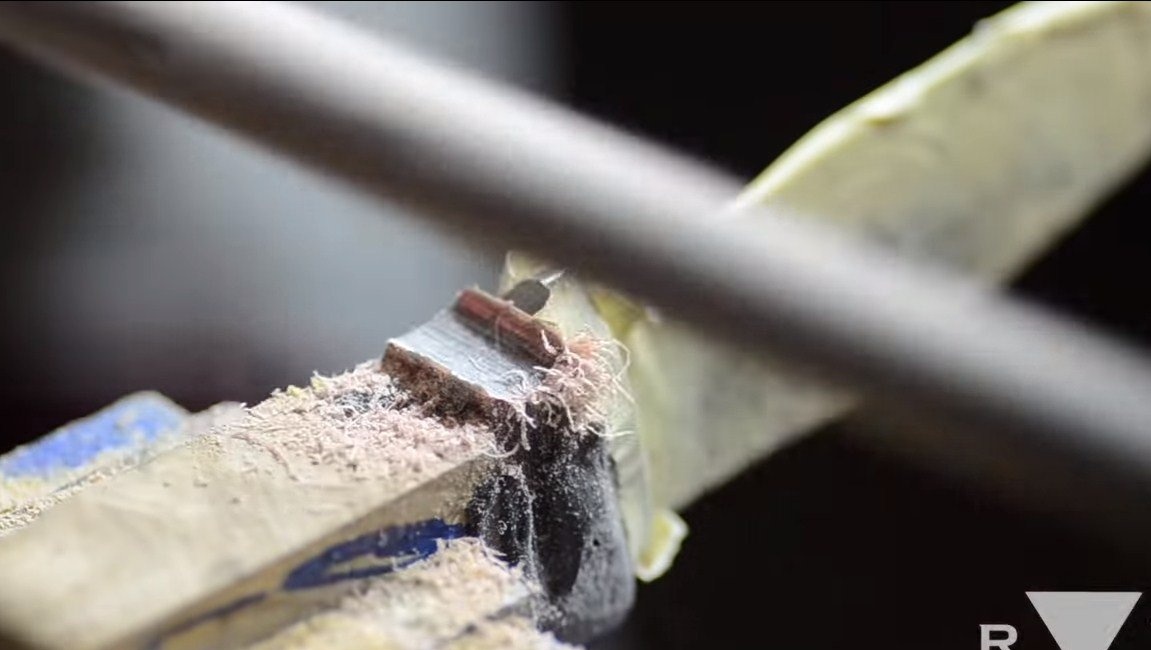
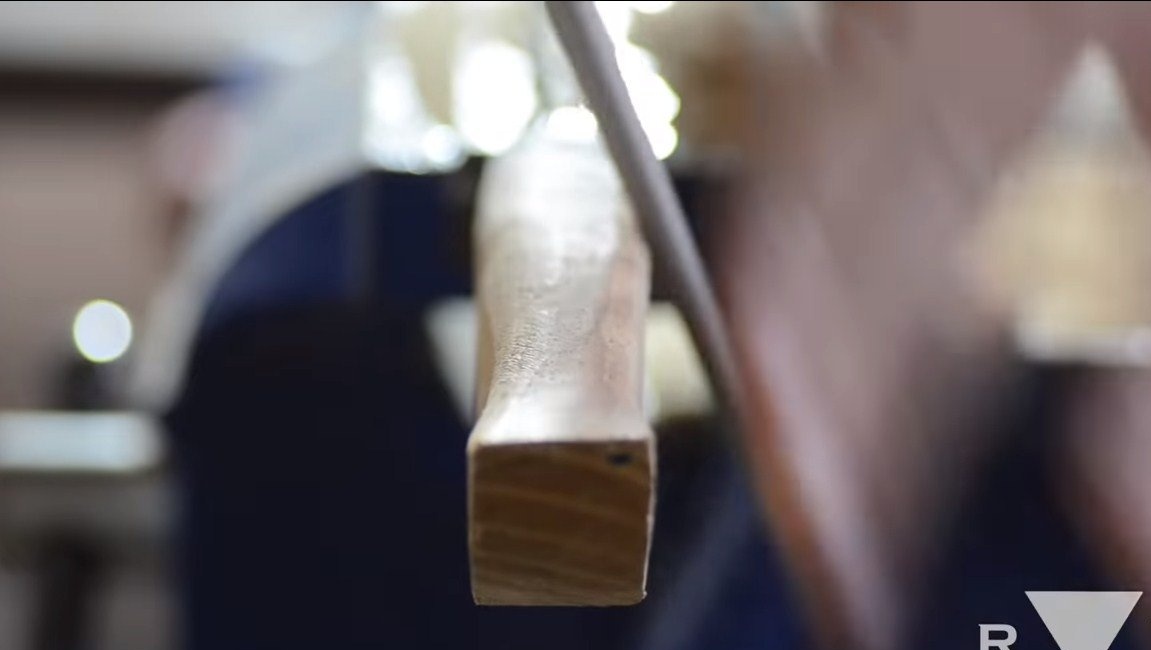
Further on the handle there are inserts from plexiglass and textolite. These parts are made just like the guard. We drill, bore a hole and cut it out. In conclusion, we will prepare the wooden part of the handle, here we need a bar of suitable sizes. It also needs to make a rectangular hole. The author works on a drilling machine as a milling machine, performing the main work. Final refinement is carried out by a rectangular file.
Step Six Etching
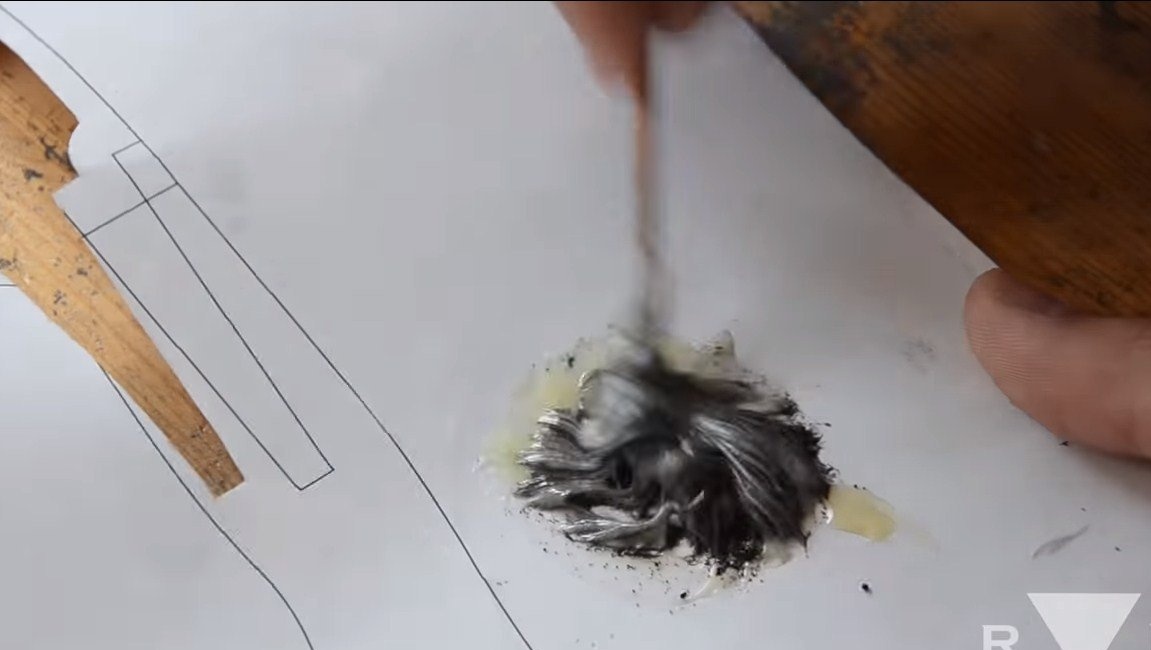
If desired, we put on the blade an emblem, an inscription, and so on. This can be done by etching or electrically.

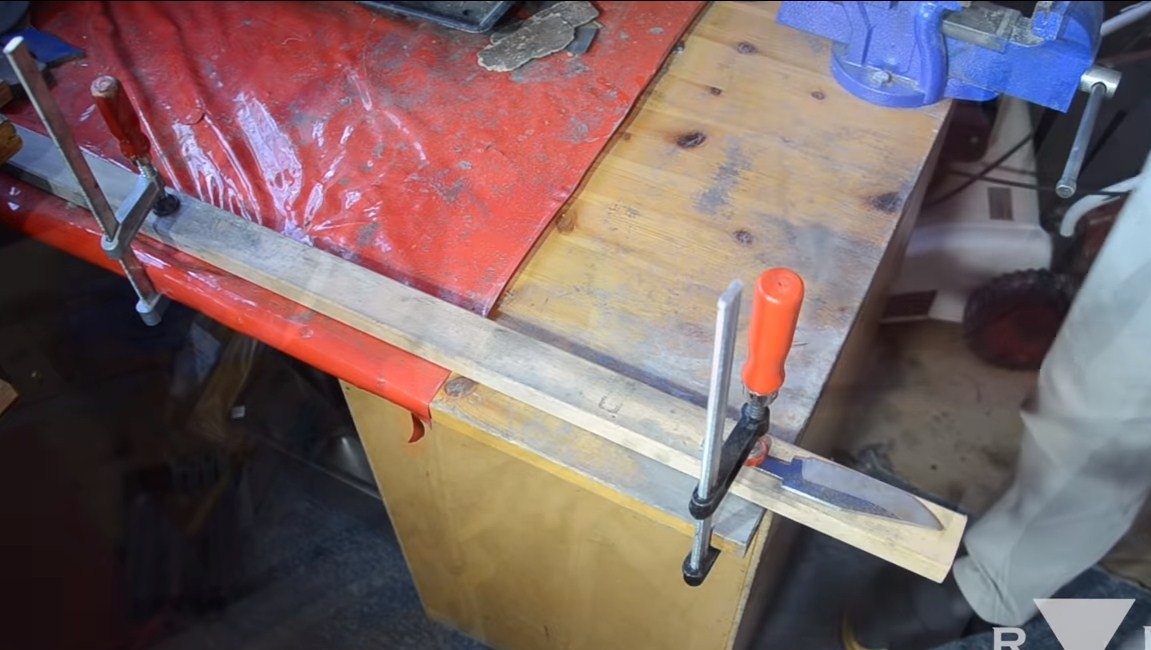
Seventh step. Pen assembly
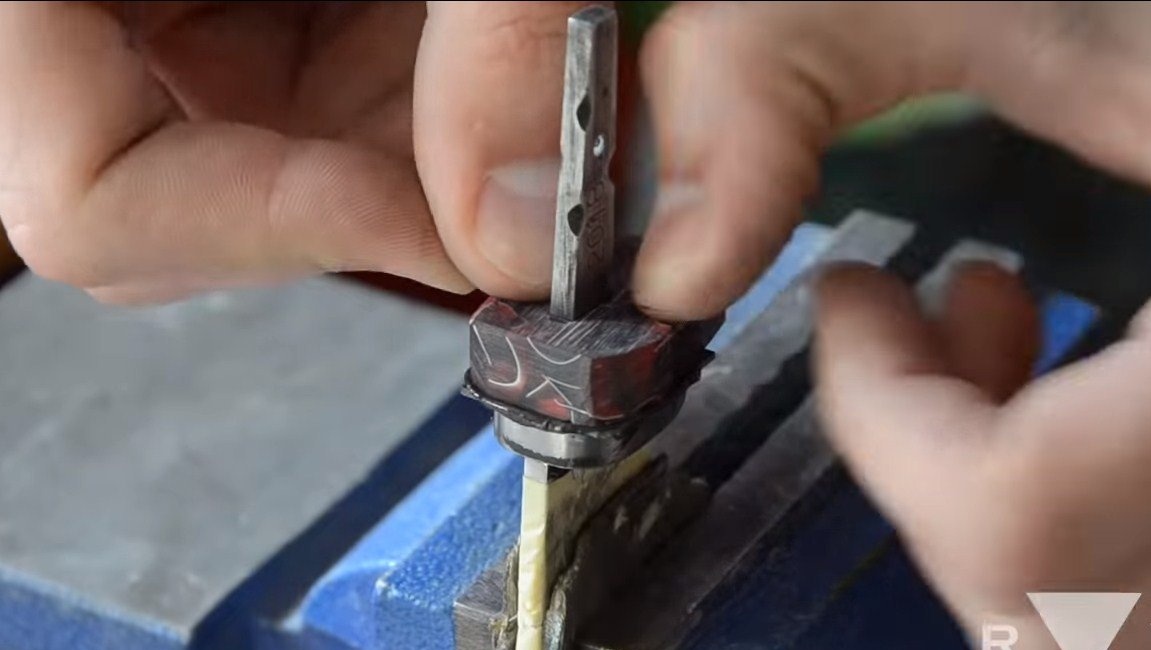
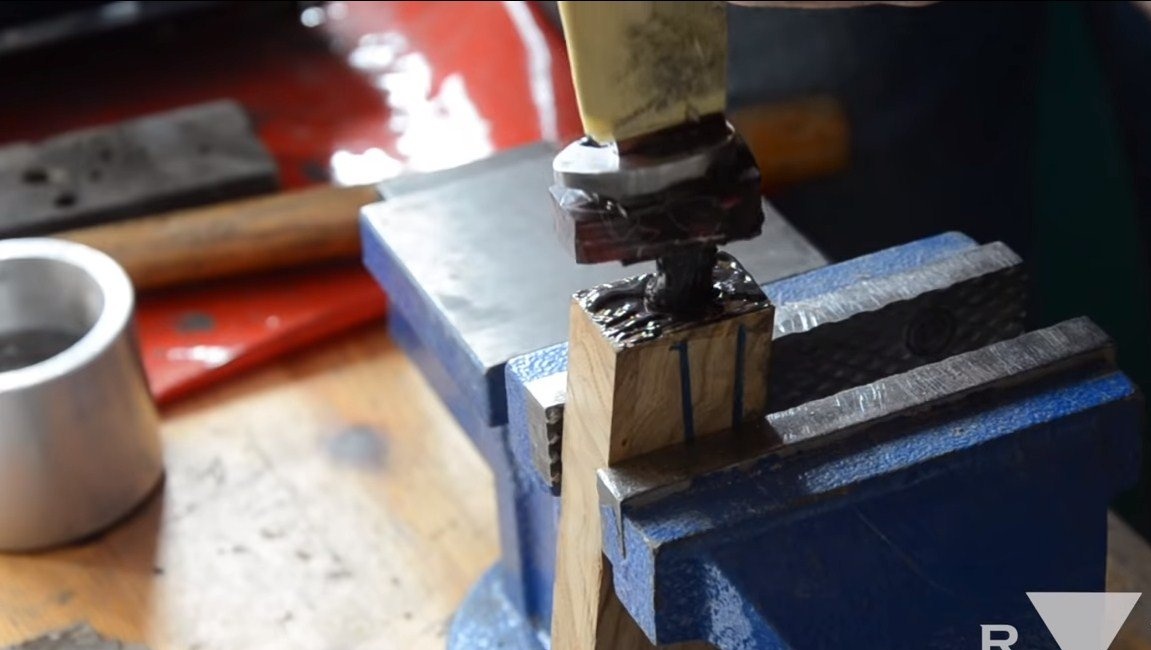
We start assembling the handle, for this we need epoxy glue, the author added a dark dye to it. First, install the guard, apply glue and press the guard on the shank. Then again we apply glue and put on the other parts, this is textolite, plexiglass and finally a wooden handle. We tighten everything well with a clamp and leave the handle to dry, the usual epoxy dries for 24 hours.
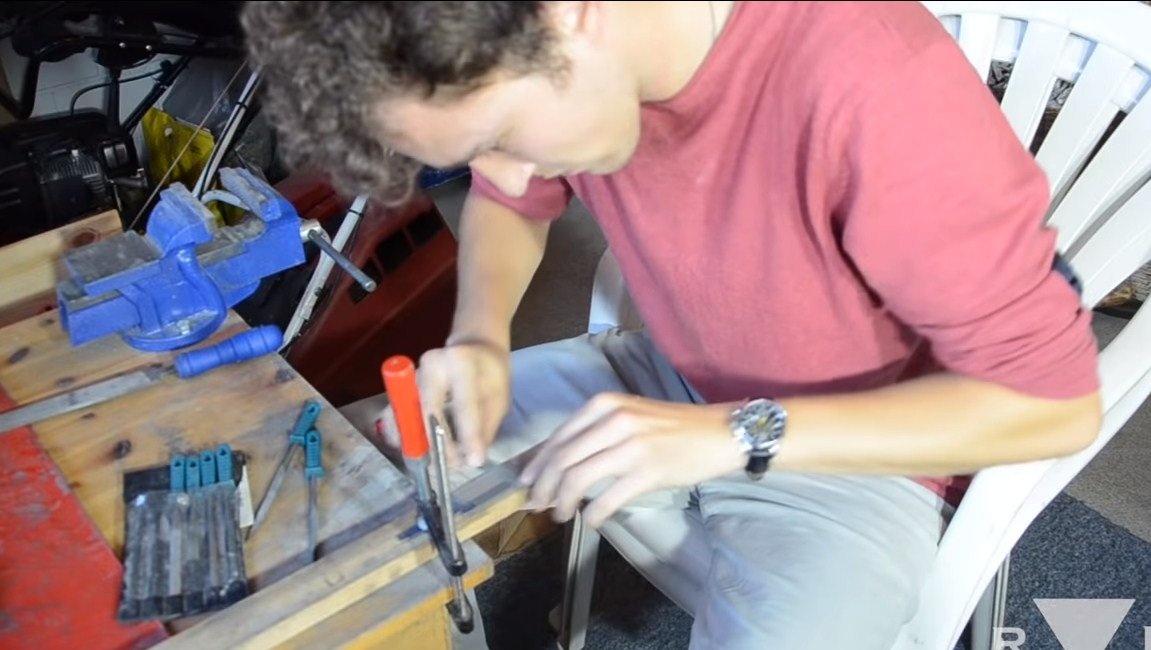
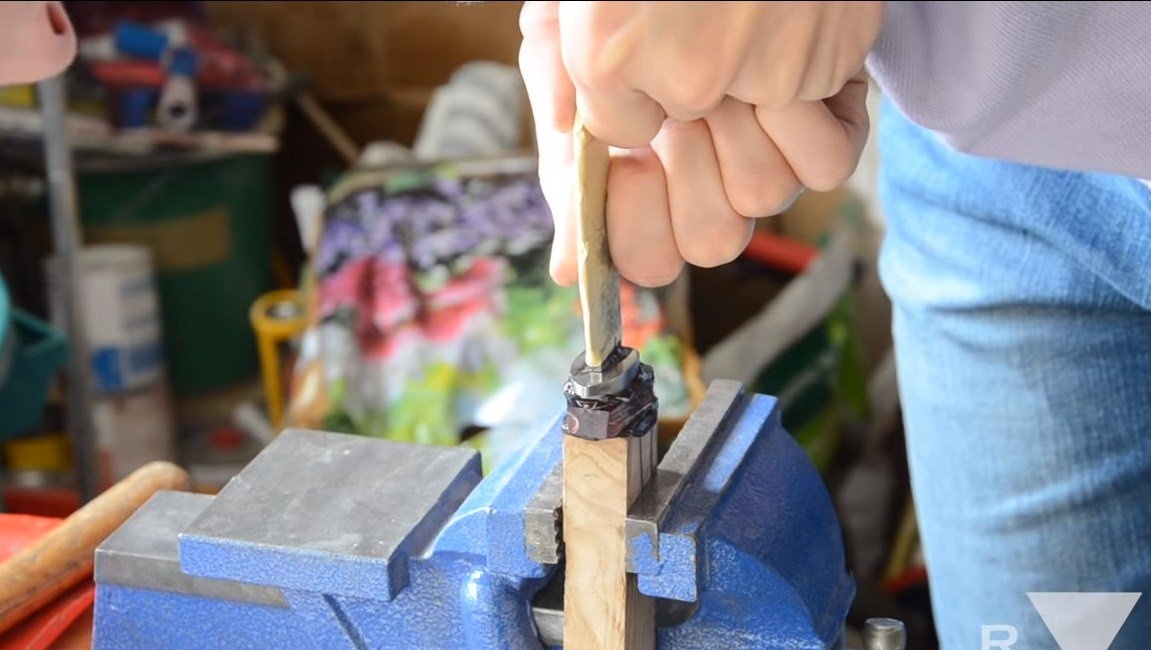
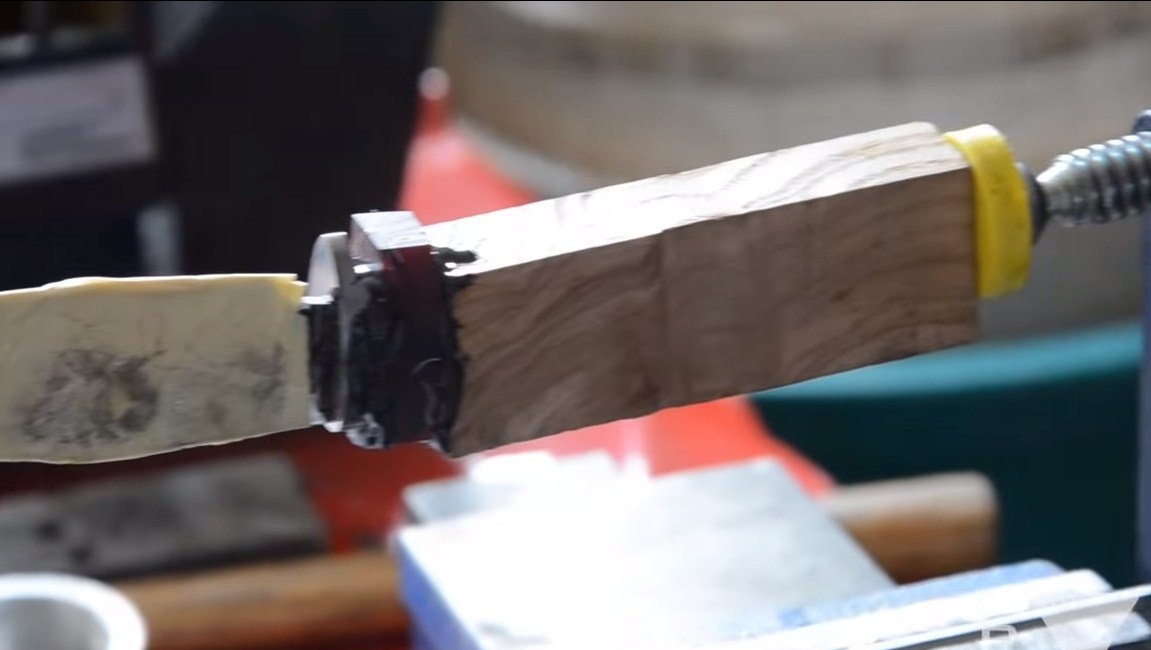
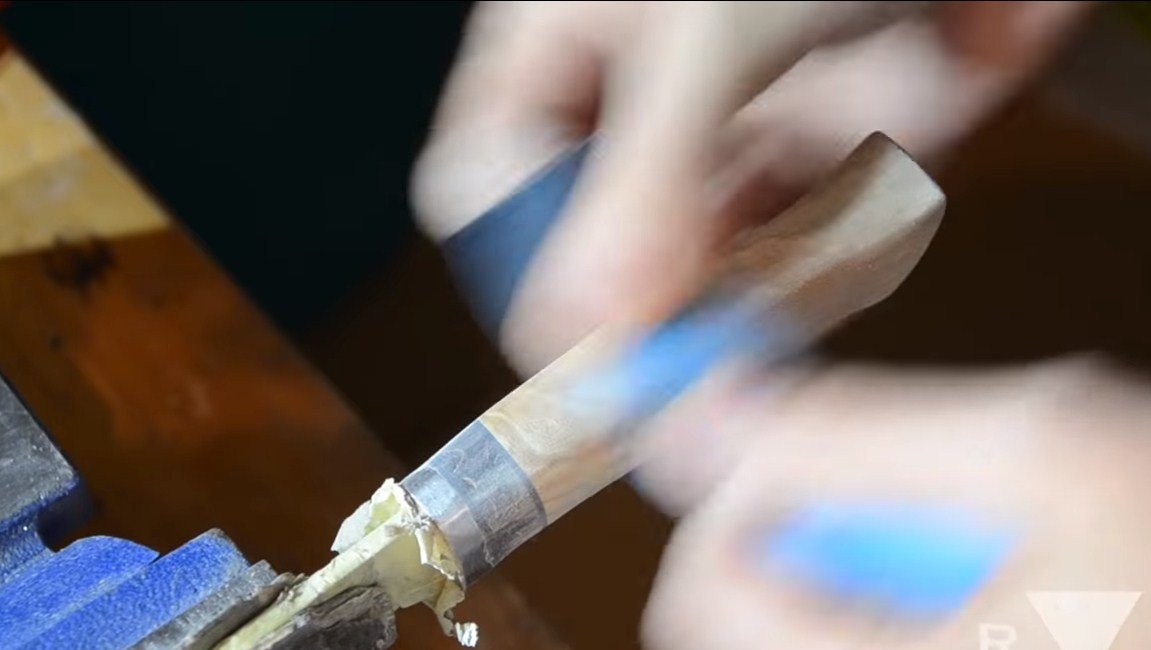
The glue has dried, now we proceed to the formation of the desired profile of the handle. To begin with, we work with a rasp, remove excess material. Then we switch to files and gradually to sandpaper. A little time and effort, and now the pen is almost ready. We bring it to a perfectly smooth state with fine sandpaper.
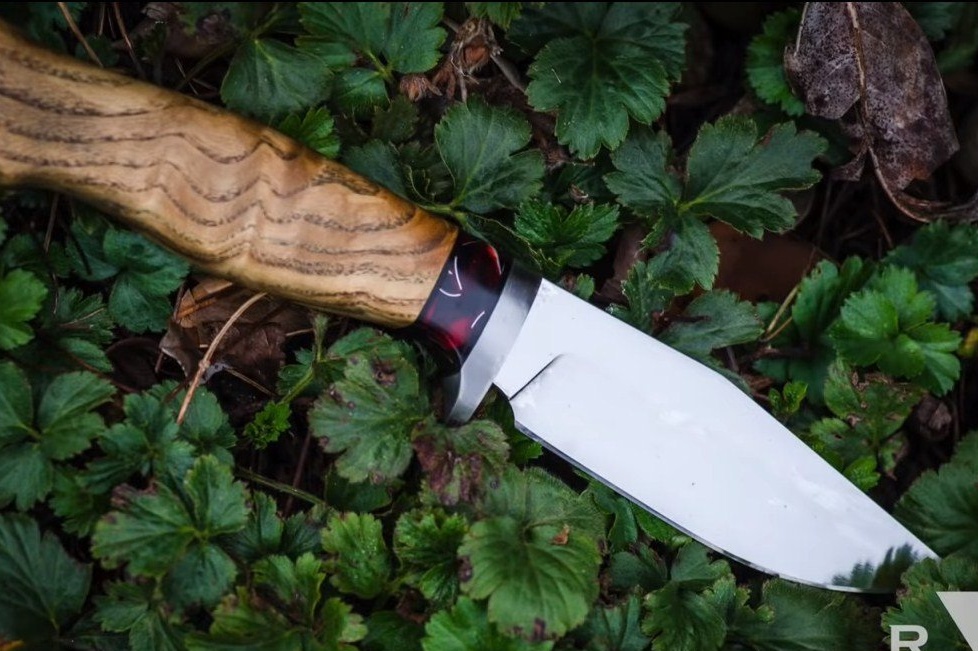
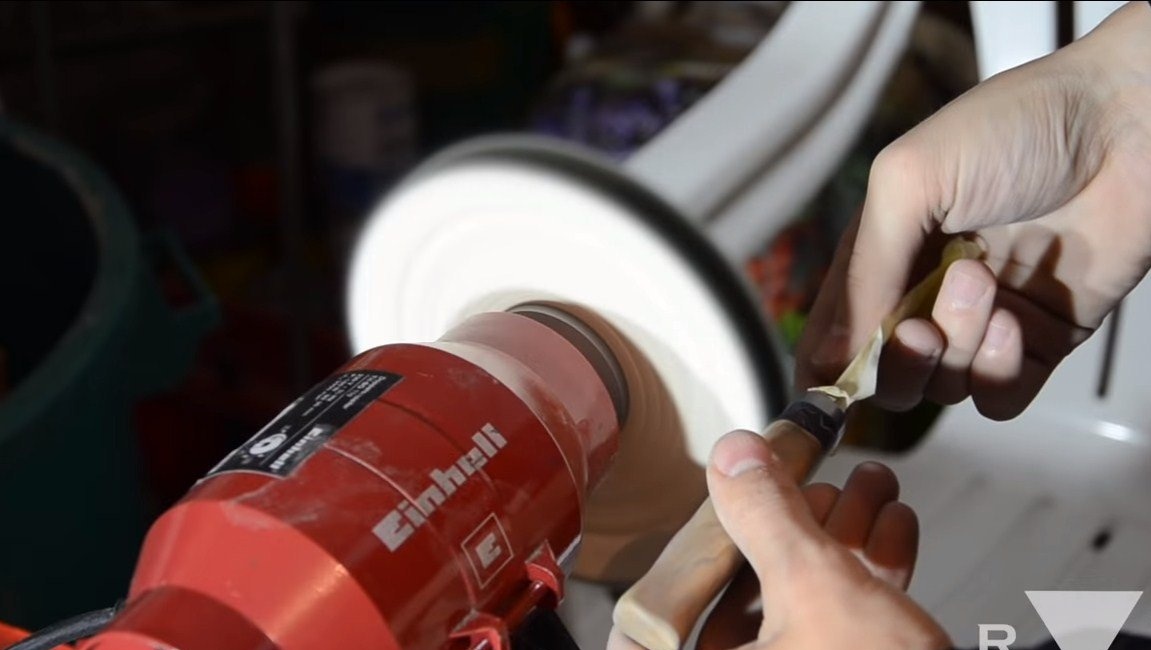
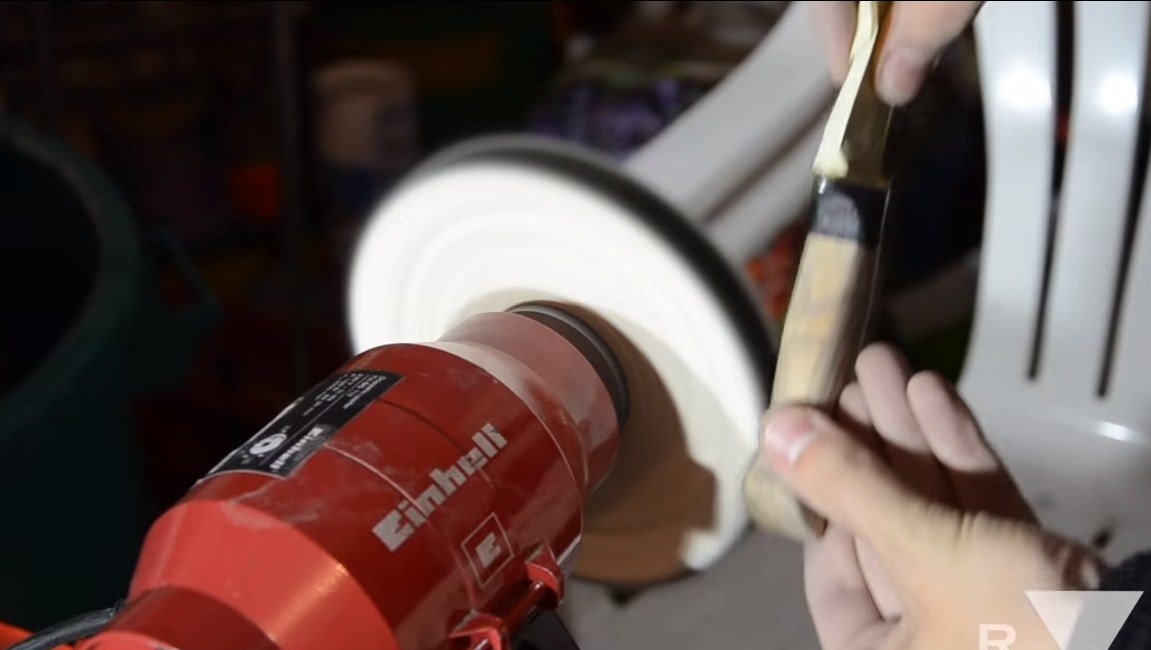
At the end, the pen can be polished, and to emphasize the beauty of the wood and protect it from moisture, we impregnate the wood with oil.
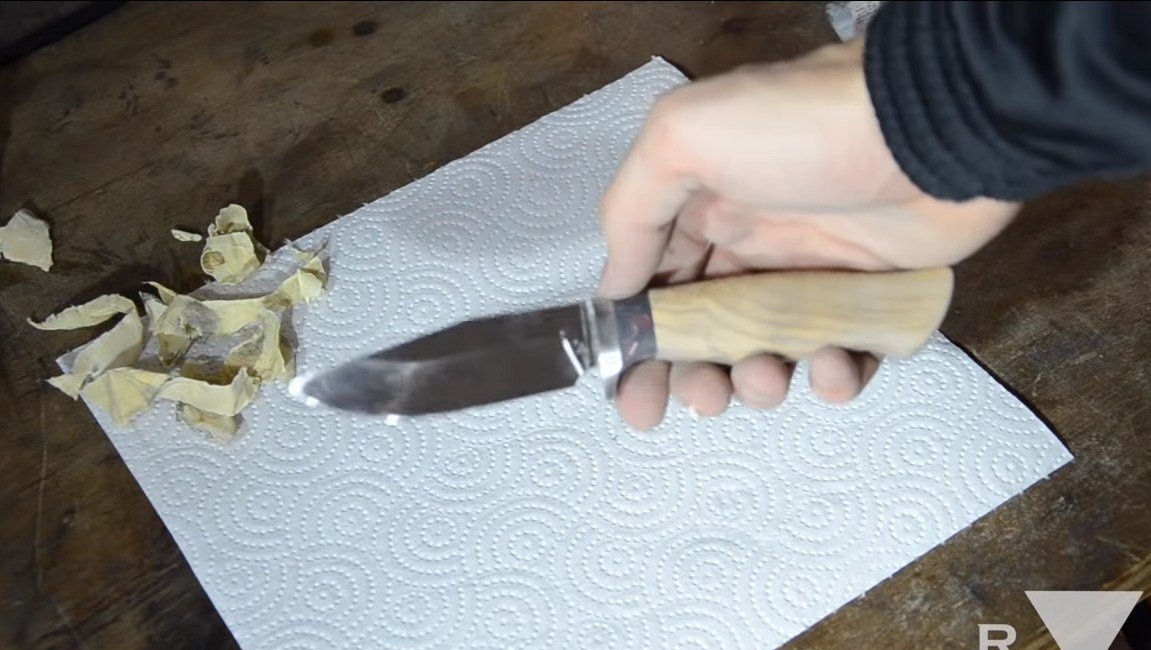
Step Eight. Sharpening
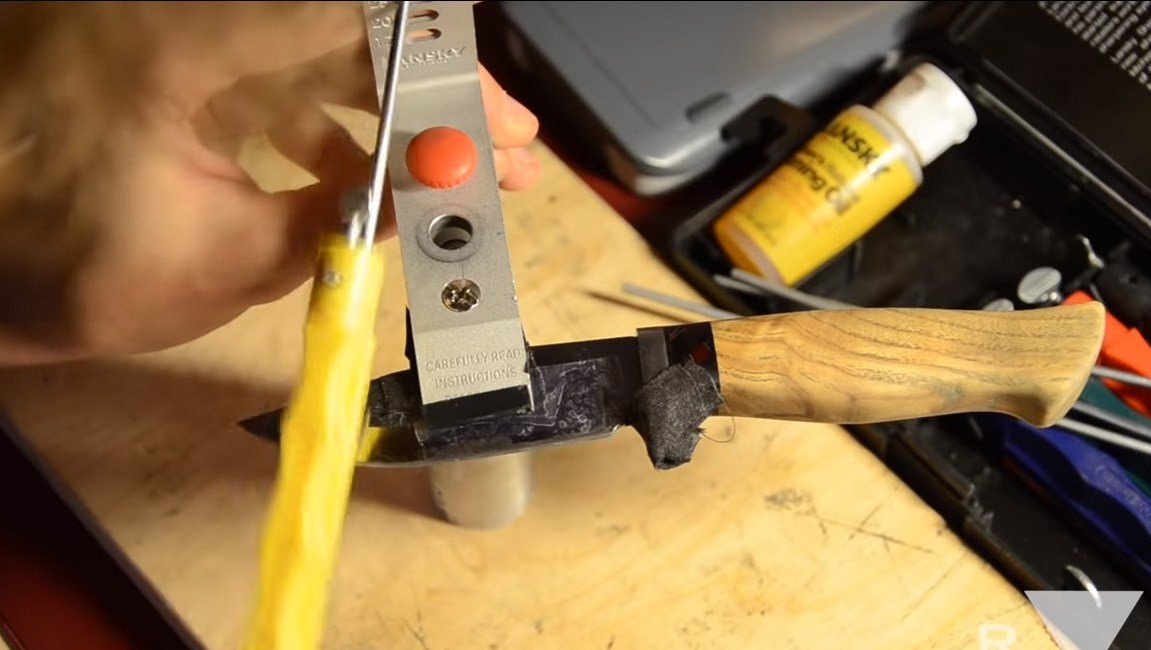
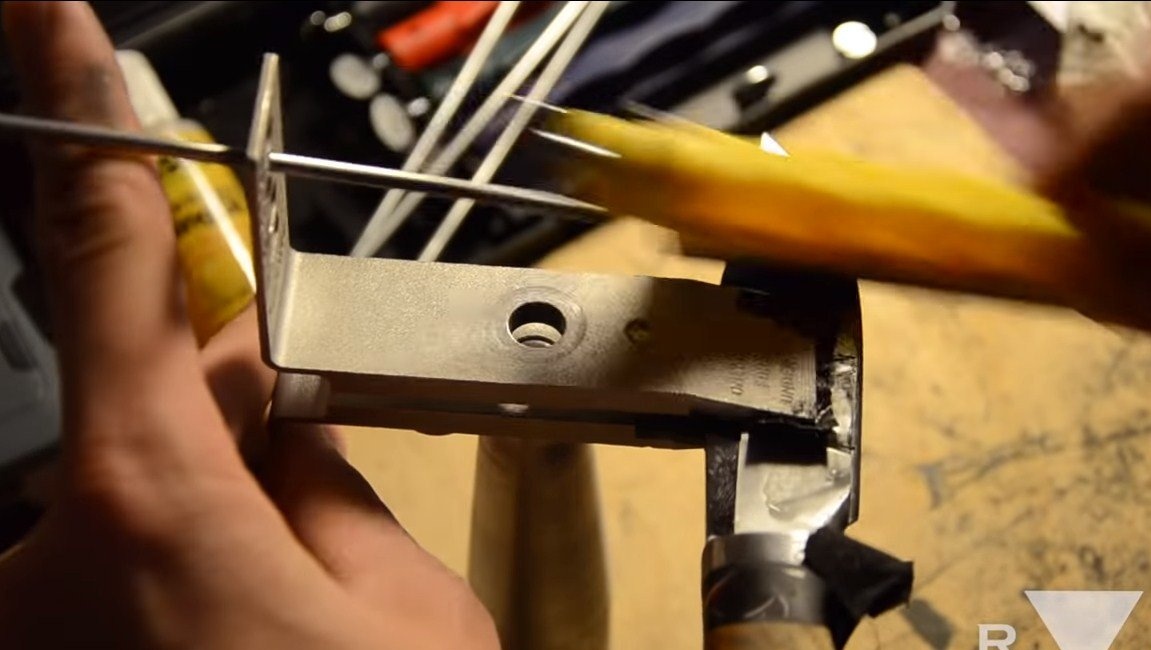
Sharpen the knife, correctly, quickly and efficiently, this can be done with. Gradually reducing the granularity of grinding stones, you can achieve the state of the blade.
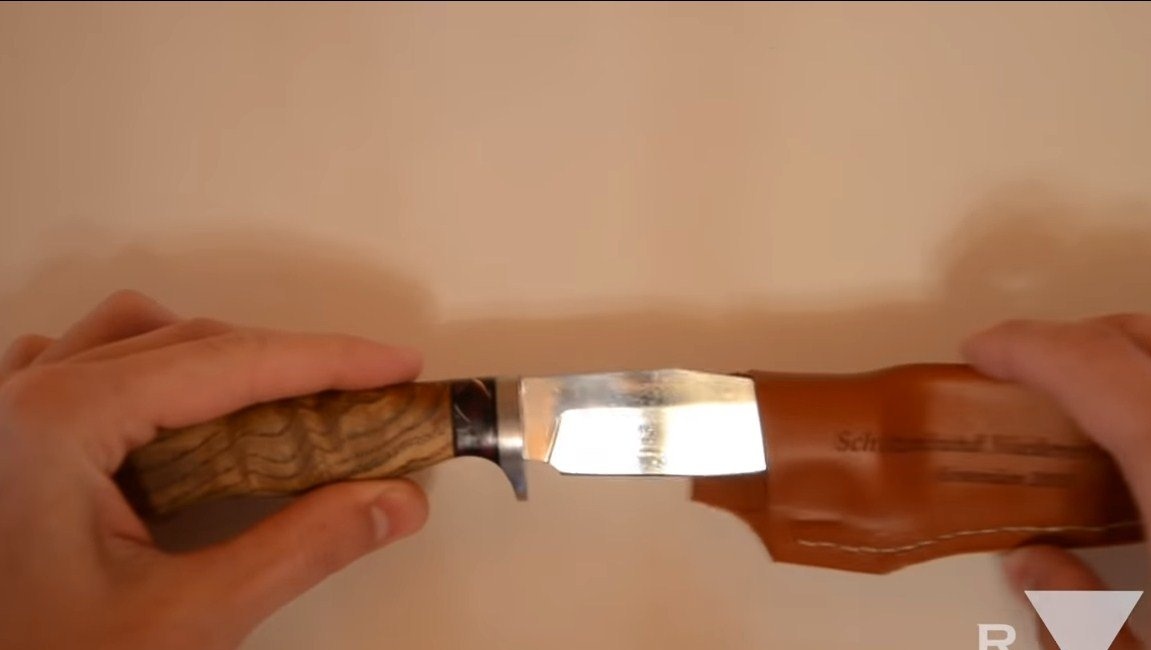
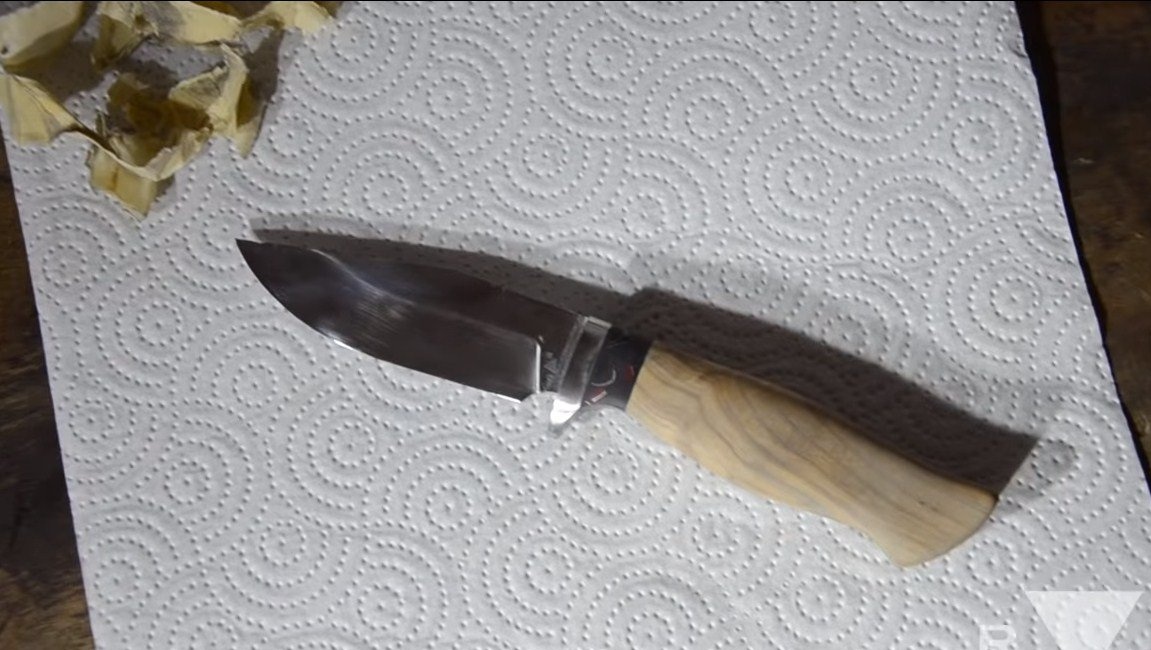
That's all, after that the knife will be ready, do not be too lazy to make a sheath for it, safety depends on it. I hope you enjoyed the project and it inspired you to take action. Good luck and creative inspiration, if you decide to repeat it!