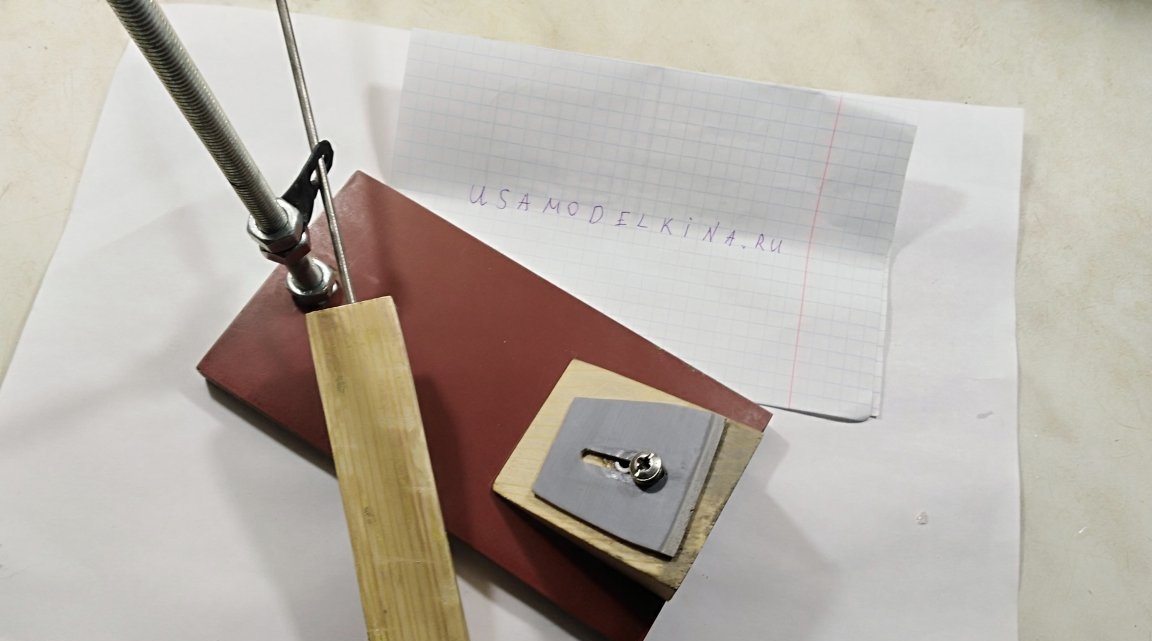
Greetings to all! Today I will show how I made a knife sharpener, it is completely invented by myself and it is very easy to manufacture. So let's get started.
Materials:
- laminate (plywood, textolite) or other material from 5 to 10 mm
- bars of small sizes
- hairpin m8
- nuts
- self-tapping screws
- steel wire 3 mm
- a piece of pipe 30 mm with a diameter of 8 mm
Materials can be used such or similar in characteristics, you can use blanks with aluminum or copper. The main thing is that the properties are similar. Now in more detail.
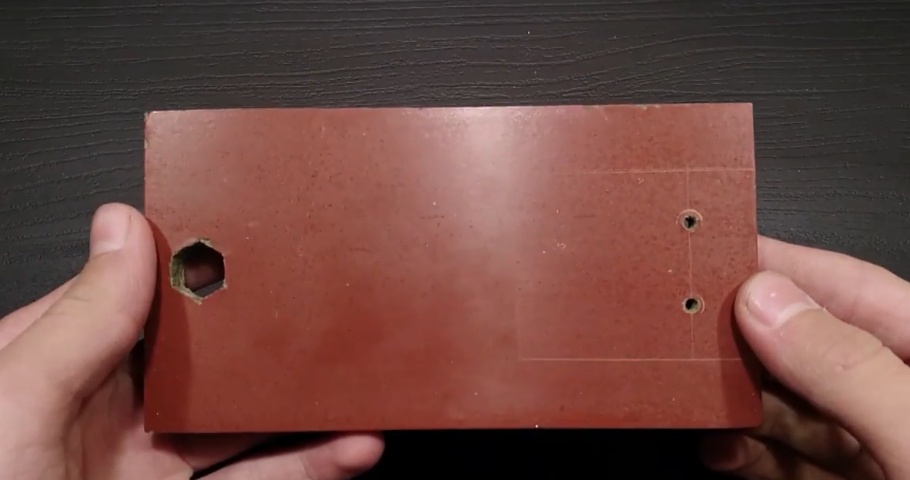
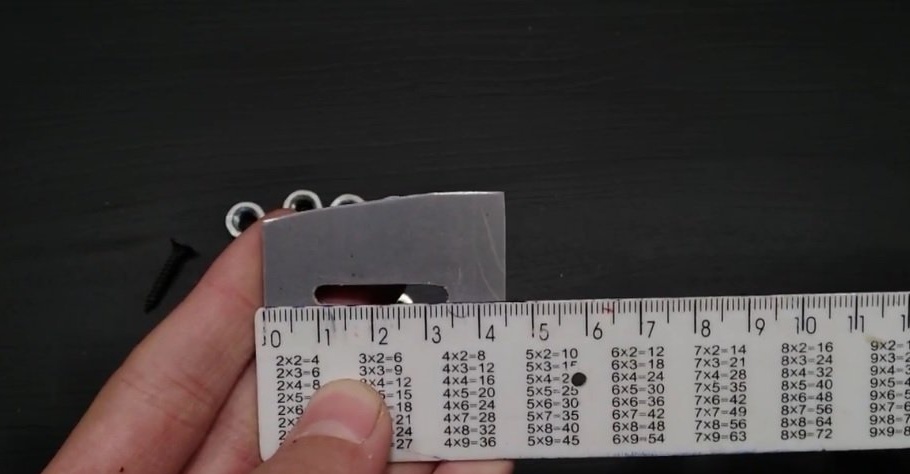
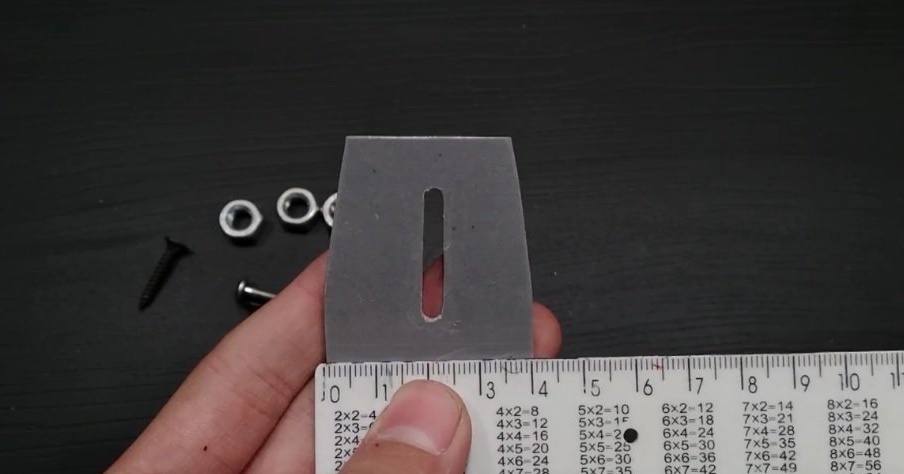
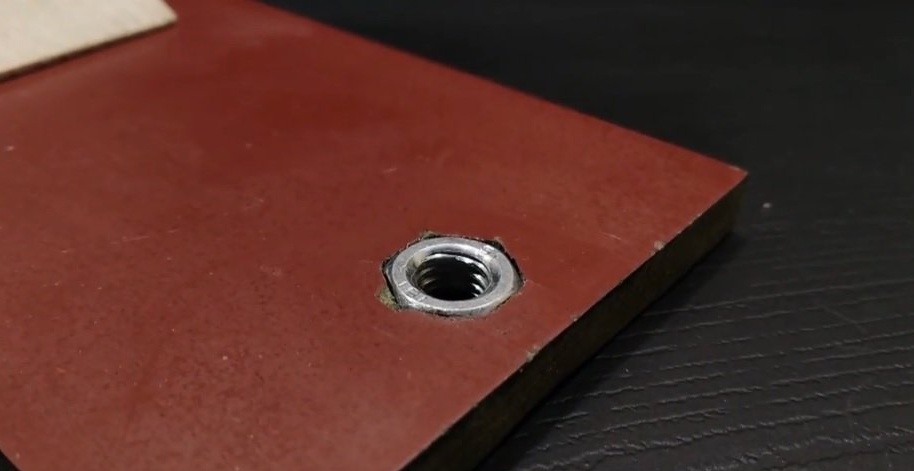
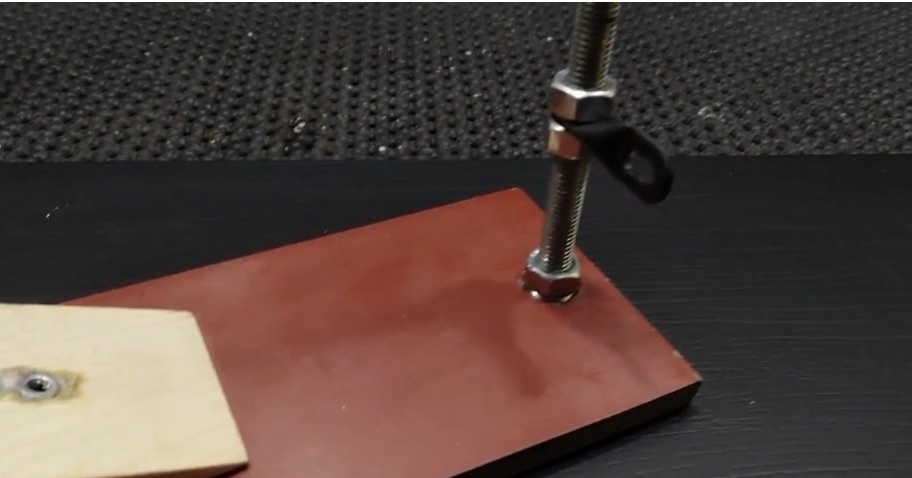
Laminate dimensions of 150x80 mm, thickness 8 mm. On one edge is the hole for the M8 nut. On the other side there are 2 holes for self-tapping screws. You can also stick the legs so that it is more stable.
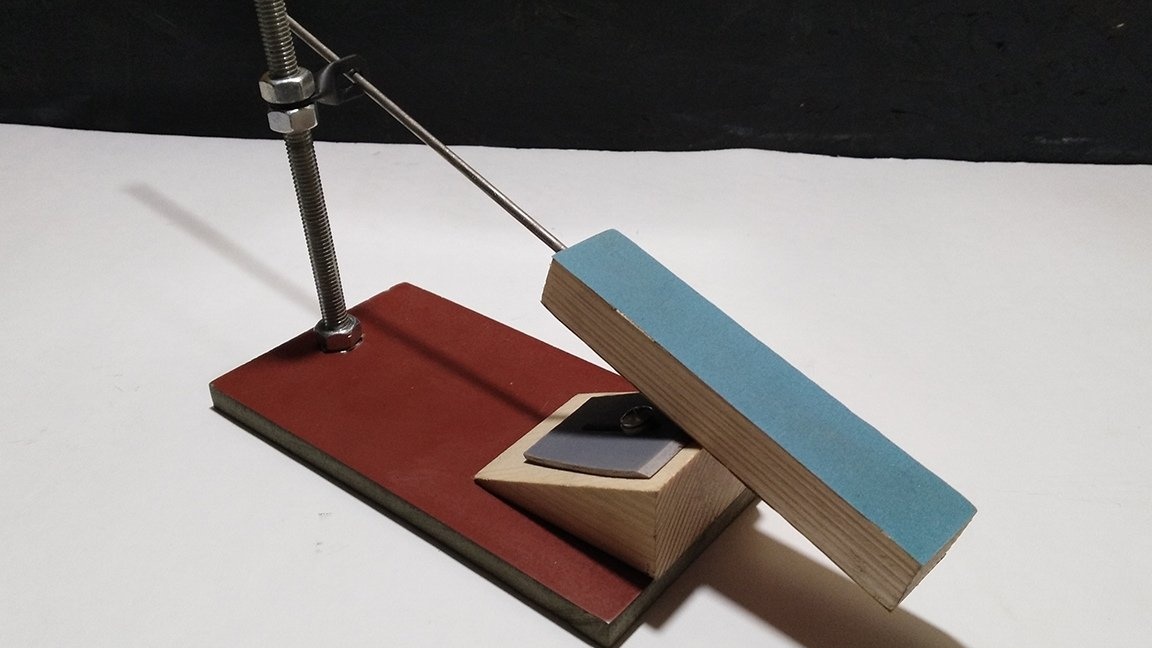
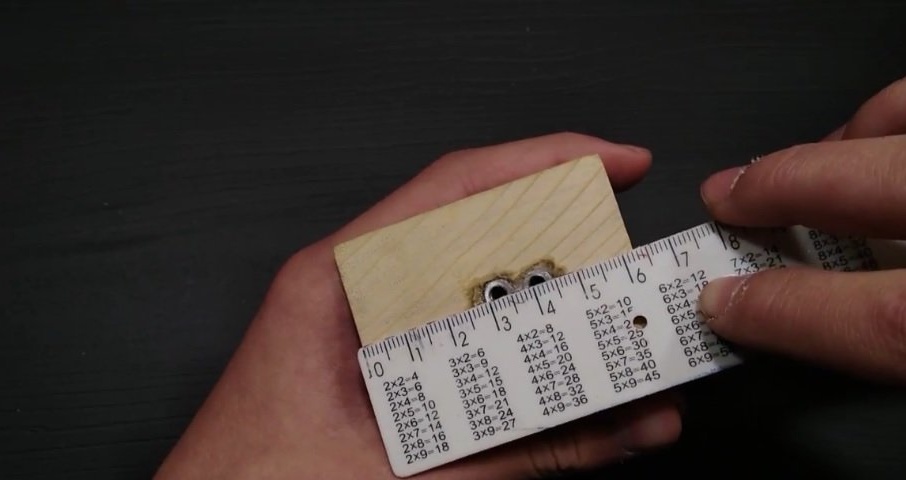
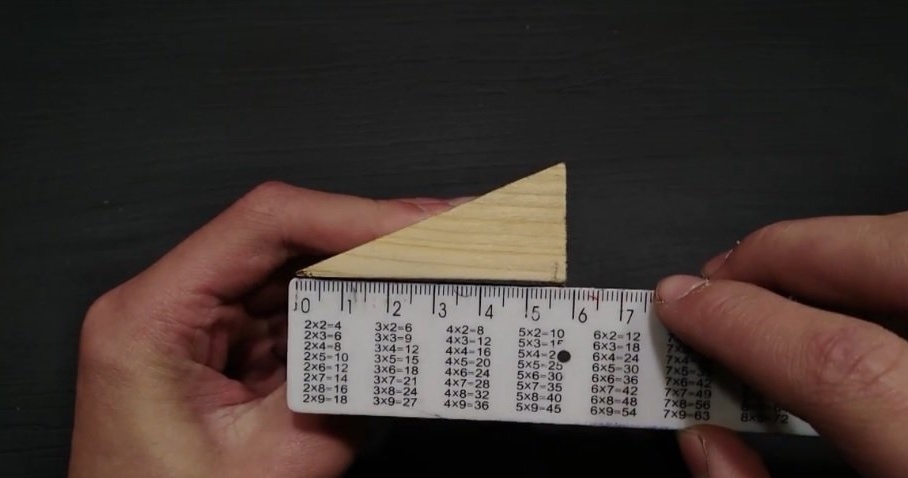
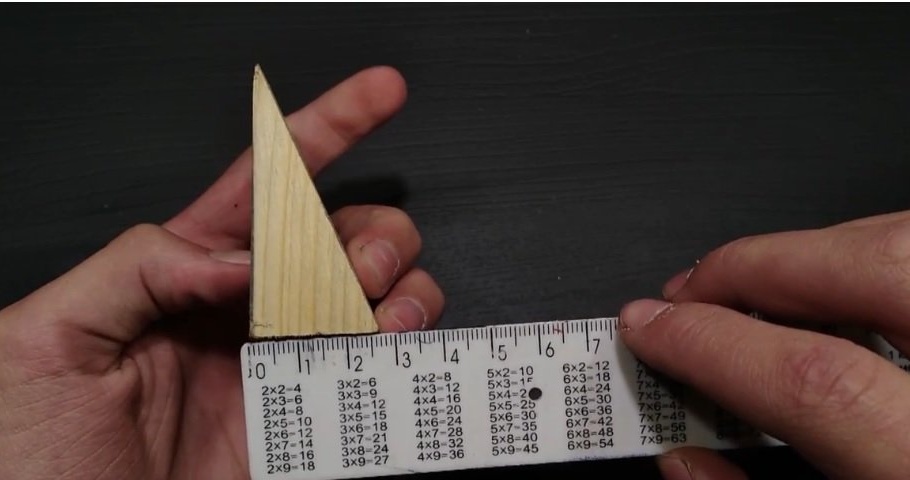
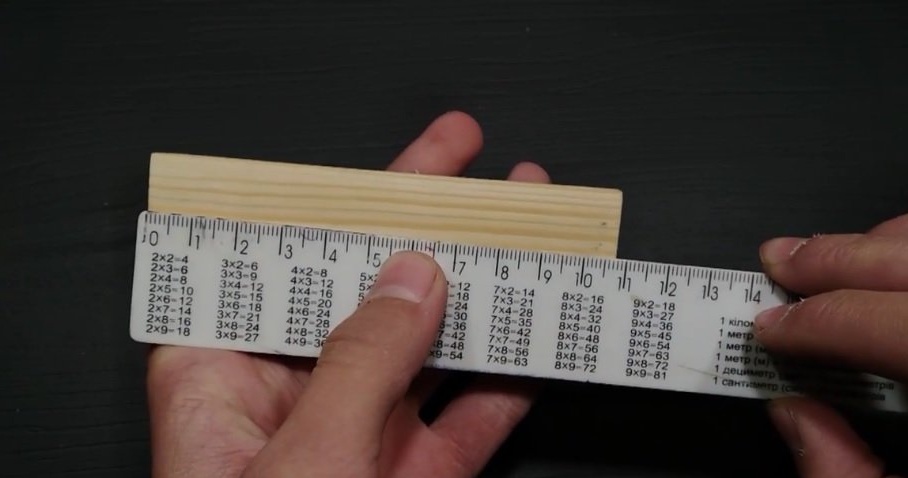
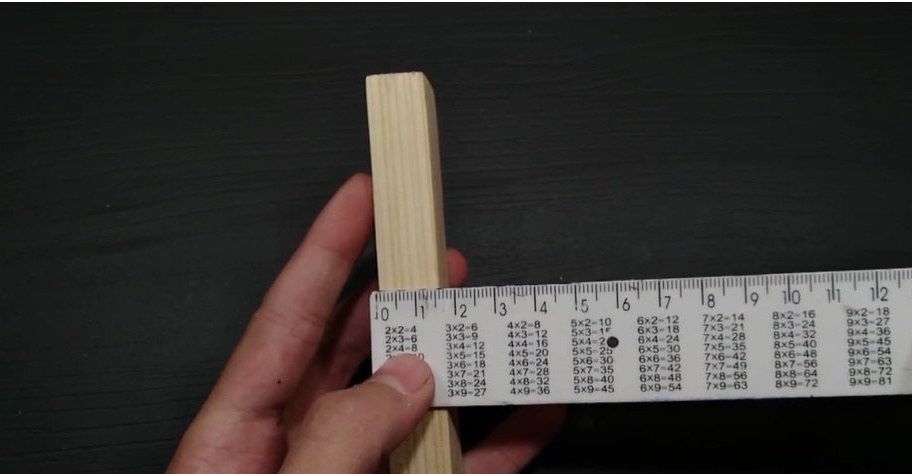
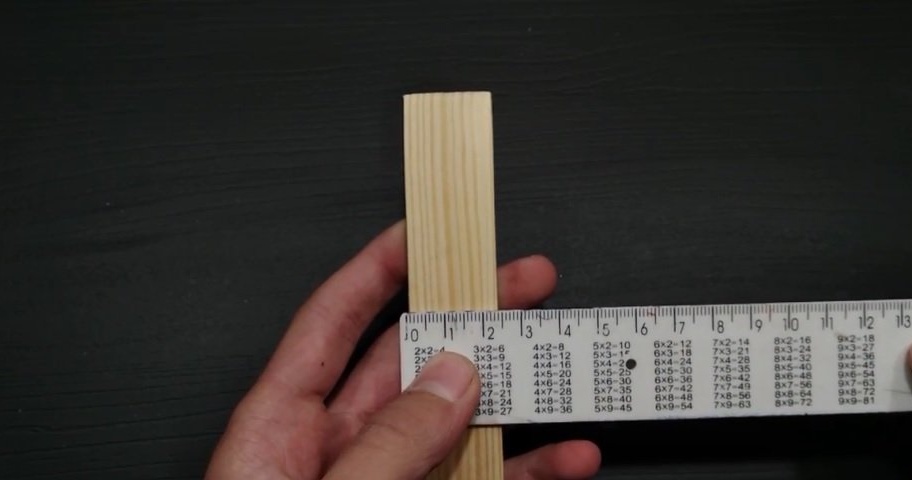
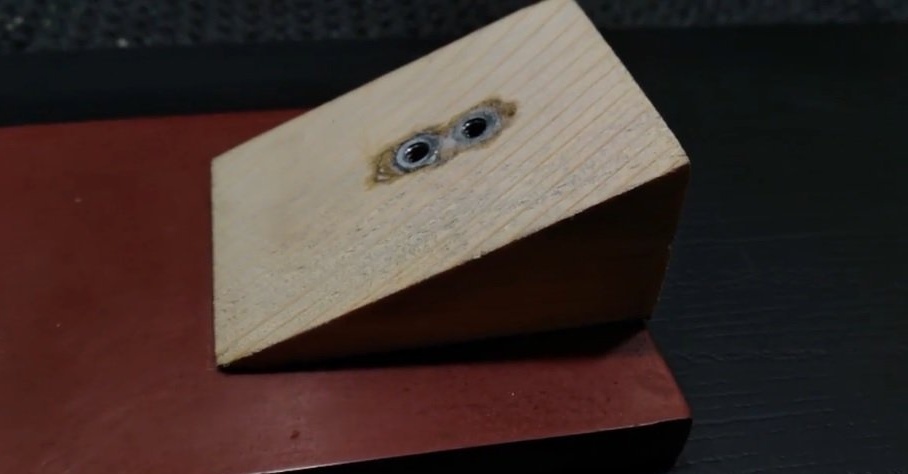
Here is the stand on which the knife blade or something else will be fixed. The angle can be made smaller, with a robot this one is big for me, but at the same time, the pin and the guide can be made smaller. But more on that later. Dimensions in the photo.

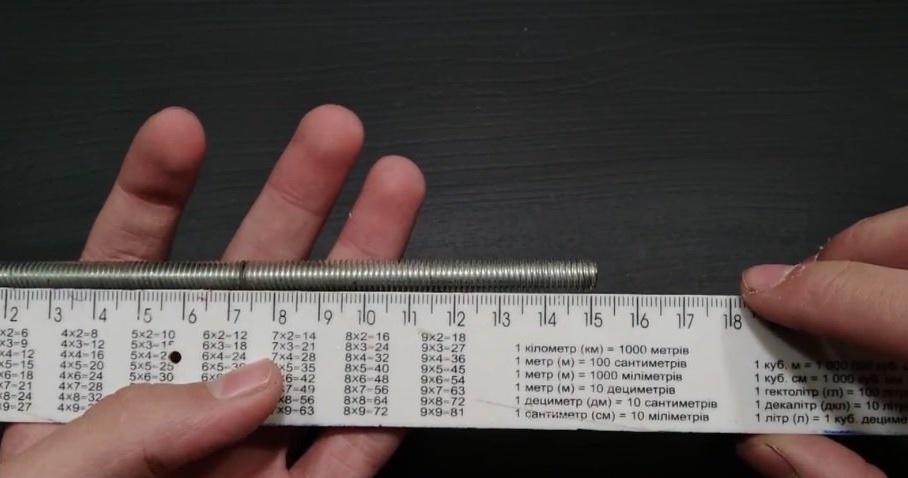
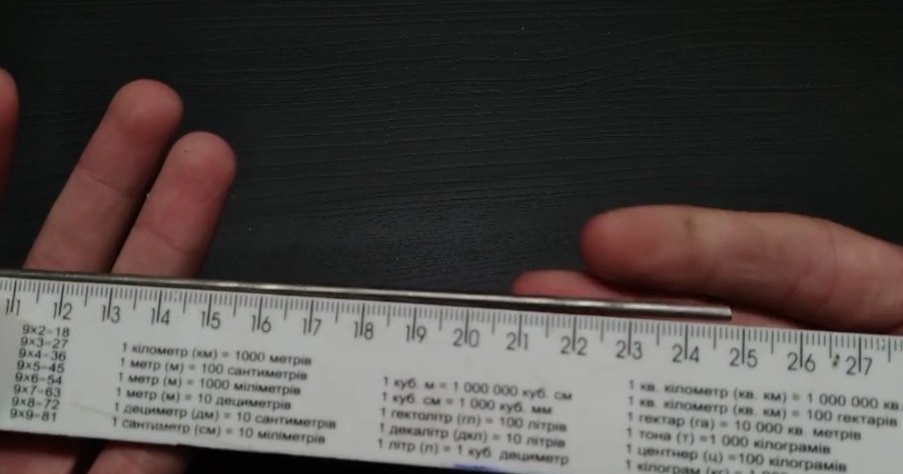
Now the m8 pin and the guide. You can use instead of m8 - m5,6,7 ... 10.
The guide is made of a 3 mm electrode. Dimensions in the photo.
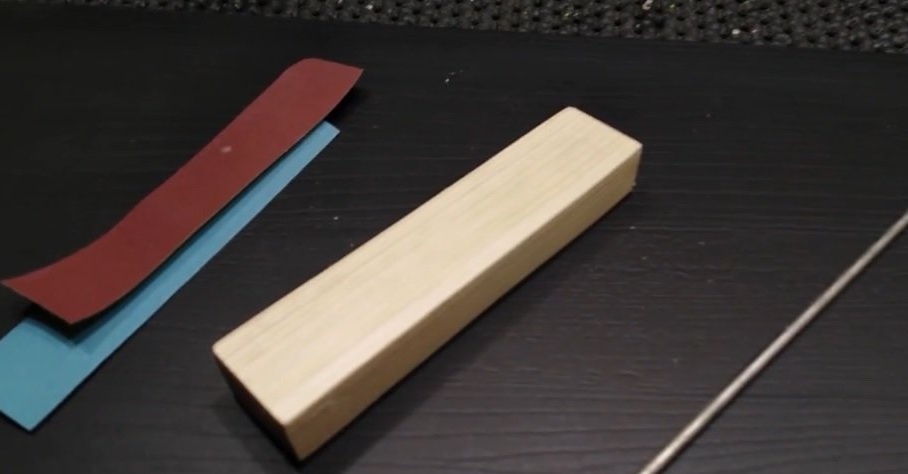
Emery bar, you can also take a bar, so it will be more correct, but there is already a big problem with fixing the stone. In one of the backs you need to make a hole under the guide 3 mm. Dimensions in the photo.
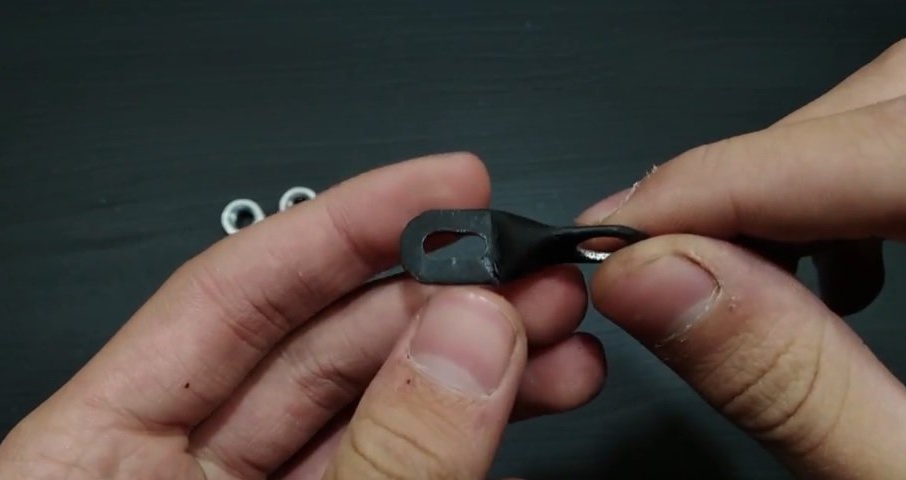
Super recessed for fastening to a hairpin, to maintain the correct blade sharpening angle. It is made of a piece of pipe 30 mm in diameter of 8 mm. It is curved as in the photo and the holes for the pin are made and under the guide 2 holes are made that are interconnected but this does not have to be done 2, you can make 1 a little more than the guide.
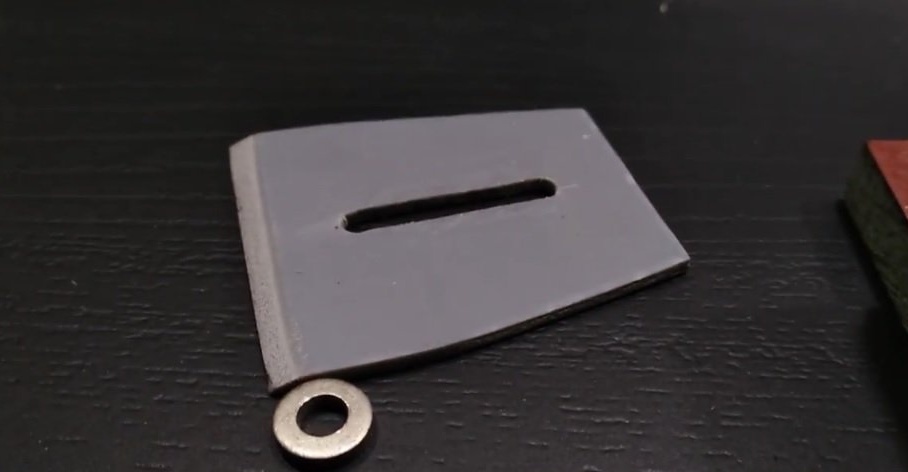
The blade holder is made of a piece of PVC pipe with a thickness of 1.5 mm, the pipe was heated and aligned. There was a mistake that made of plastic, you need to make of PCB or steel. In the center are several connected holes. Dimensions in the photo.
Assembly:
Stage 1
Screwing the table to the main deck.
Stage 2
Squeezing the nut into the deck holes. After that, a stud with squiggle will be fixed there.
Stage 3
Glue sandpaper to the bar and wire glued into the bar somewhere around 20 mm.
Stage 4
Screw the pressure plate into the table at an angle.
Done! Now sharpening, the blade, or rather the cutting edge itself, circle with a marker and thus lowering the nut on the stud to find the desired angle. Approximate my first sharpening in the video with the manufacture. Thanks for attention.