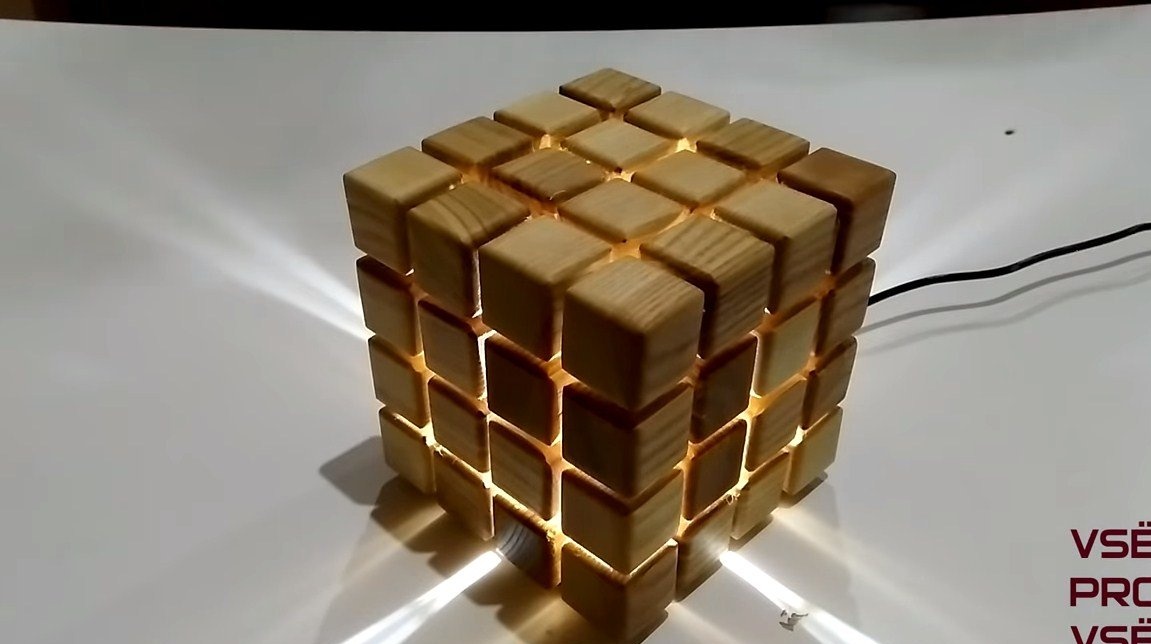
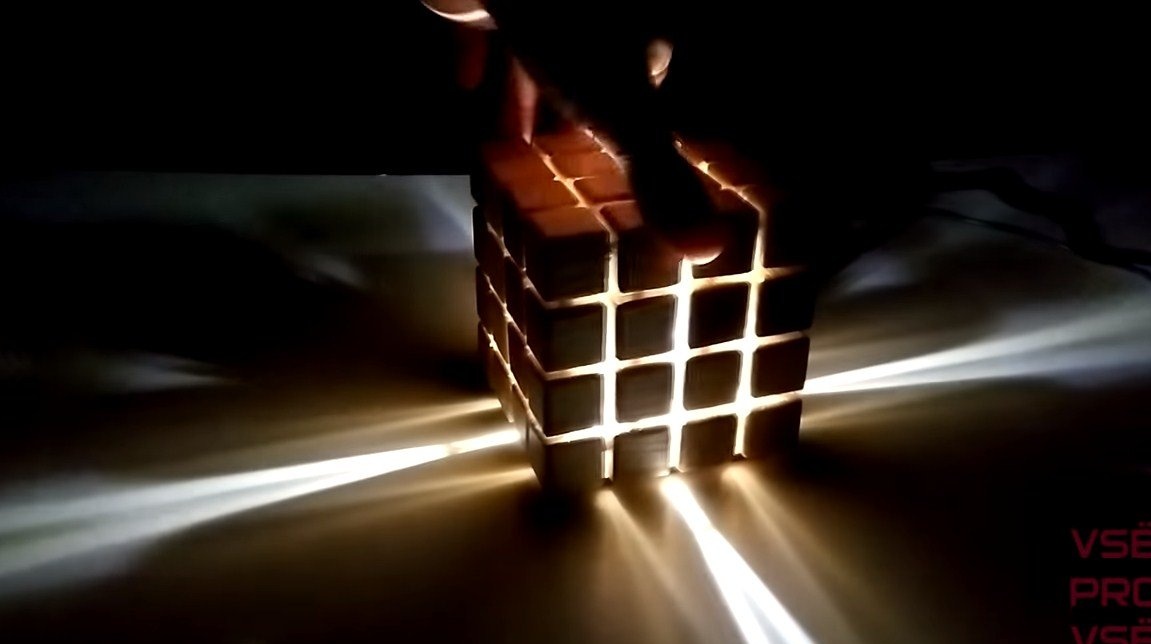
Hello everyone, I propose to consider the instructions for making an interesting wooden lamp. It is made of small wooden cubes, thanks to the slots between them homemade shines very interesting. The lamp is assembled quite simply from available materials. If an idea interests you, I suggest that you read the instructions in more detail.
Materials and tools used by the author:
Material List:
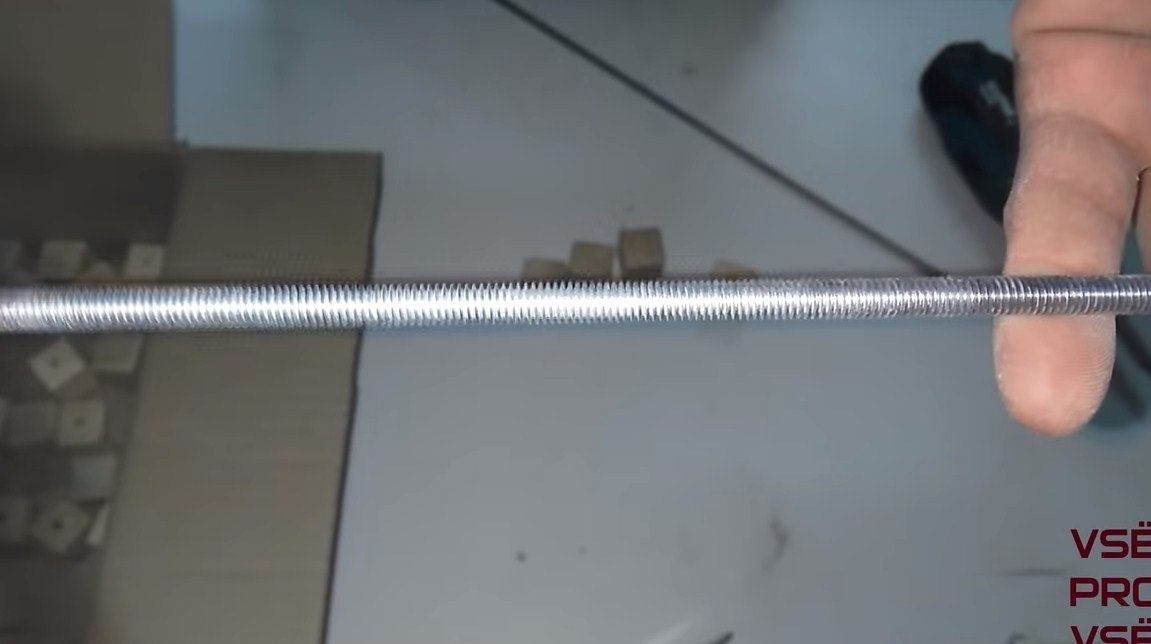
- threaded rods;
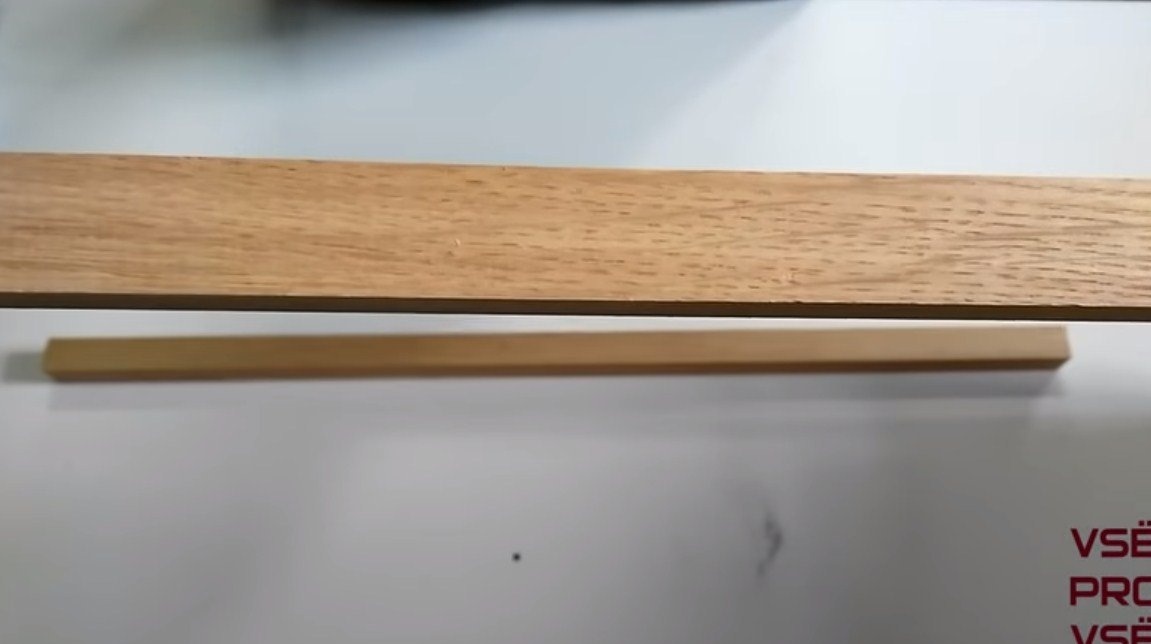
- bars (to cut cubes);
- thin lamellas or the like;
- epoxy adhesive;
- ;
- ;
- power supply (if the lamp is 12V);
- a piece of fiberboard or similar material;
- oil for wood impregnation.
Tool List:
- drilling machine;
- sandpaper;
- a hacksaw;
- drill;
- glue gun.
The manufacturing process of the lamp:
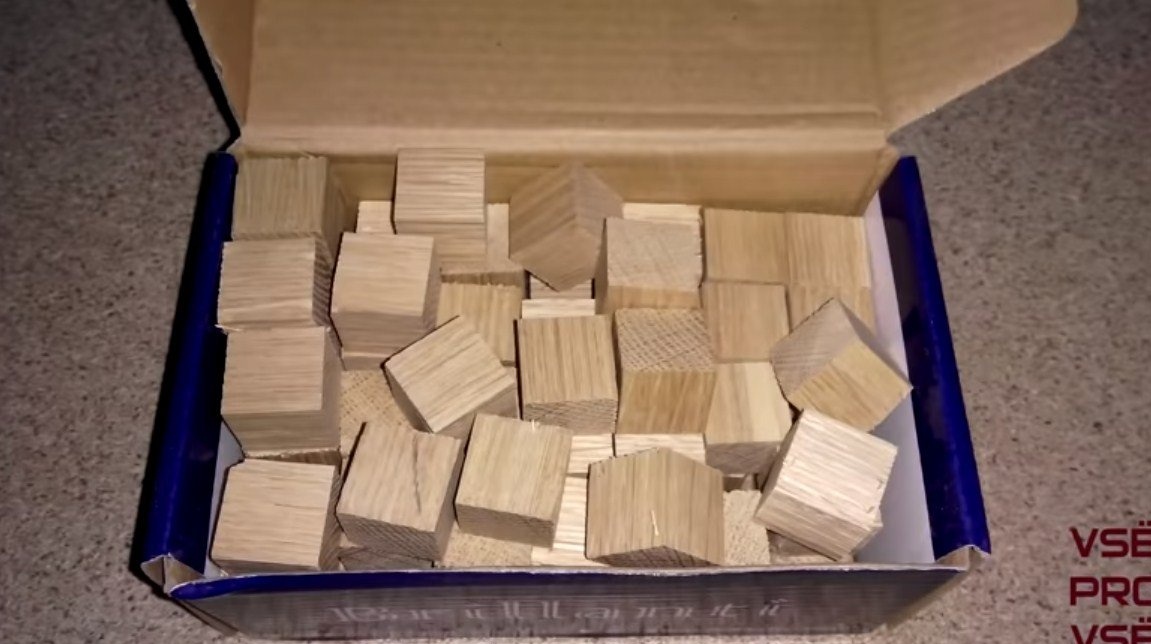
Step one. We make cubes
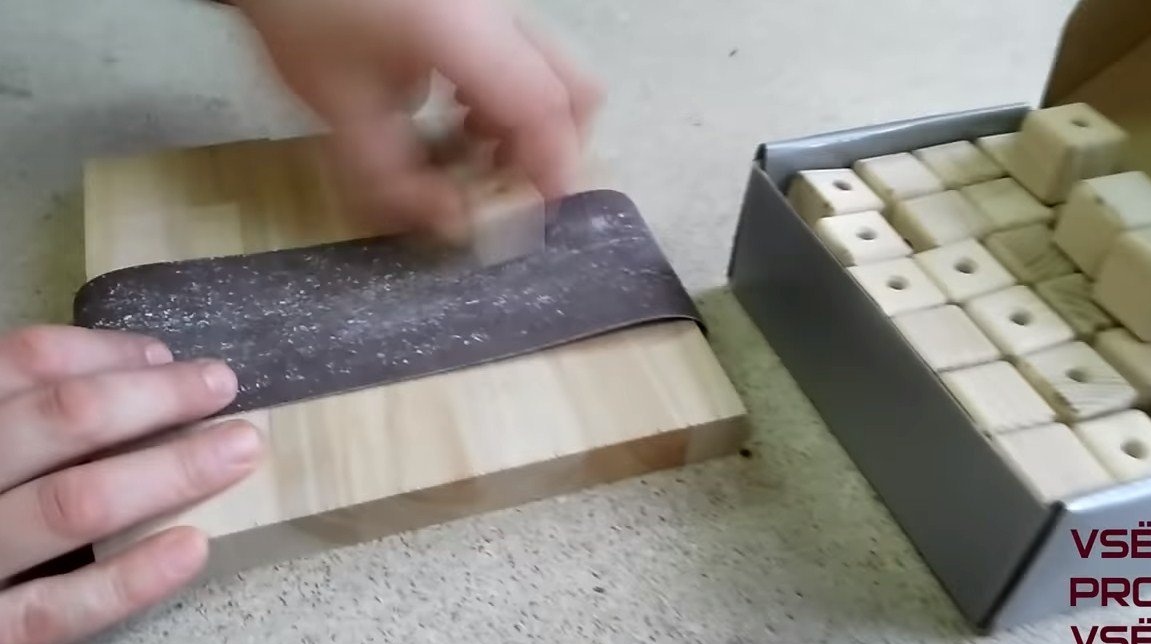
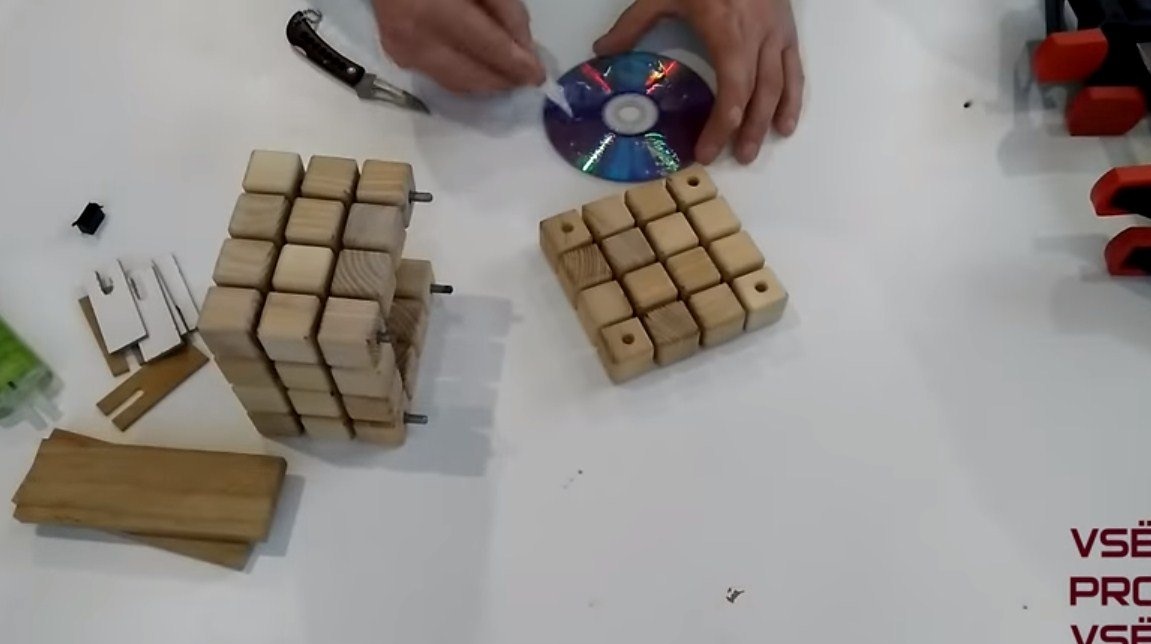
First of all, you need to cut the number of cubes you need, the source material can be a wooden beam. We carefully grind the cut cubes, this can be done manually, fixing sandpaper on the board. But better and faster you can do everything if there is a tape and orbital sander.
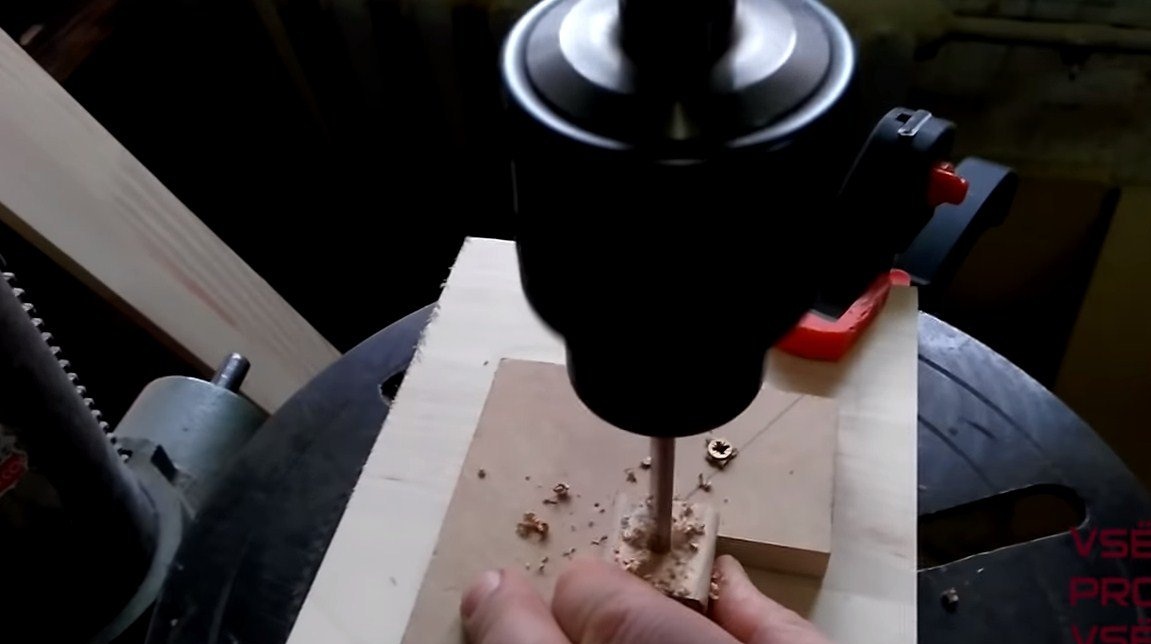
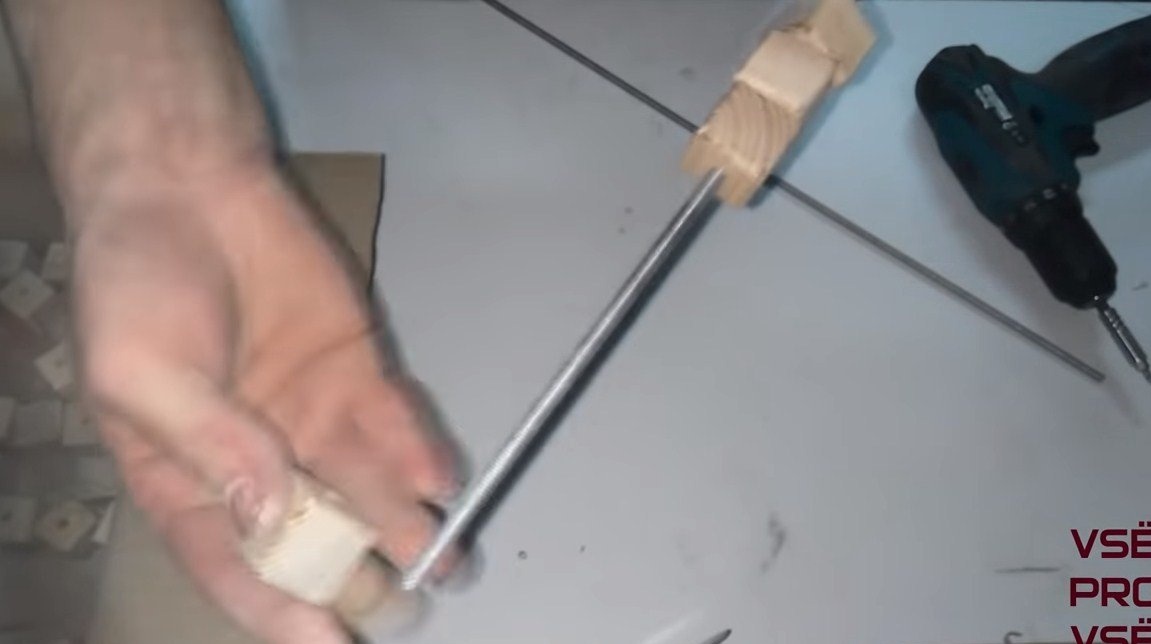
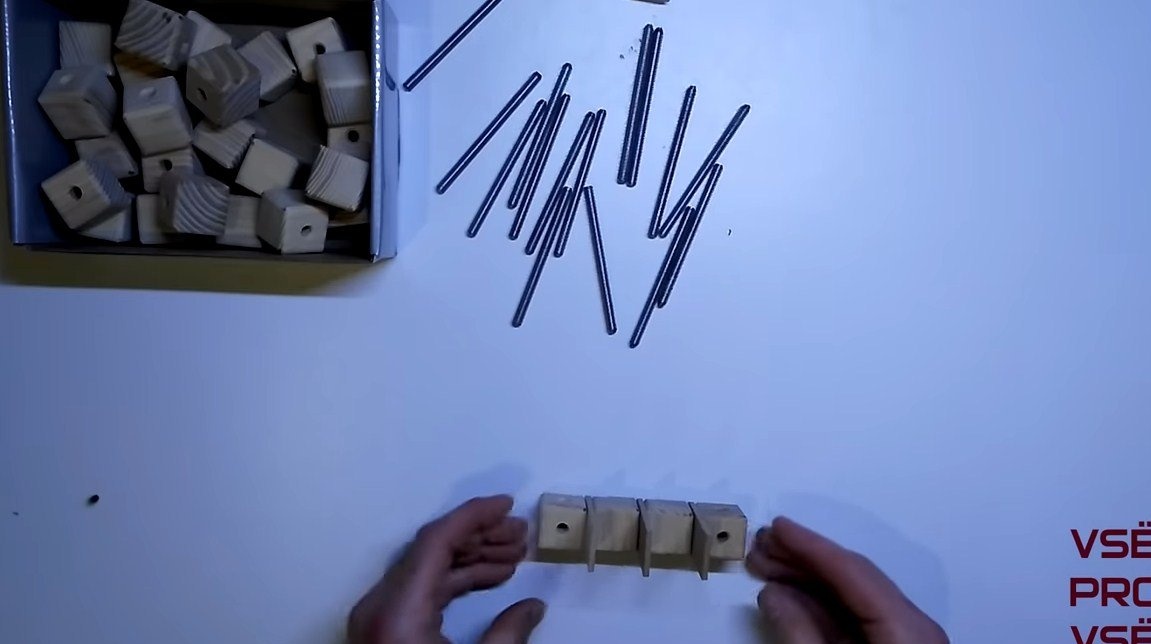
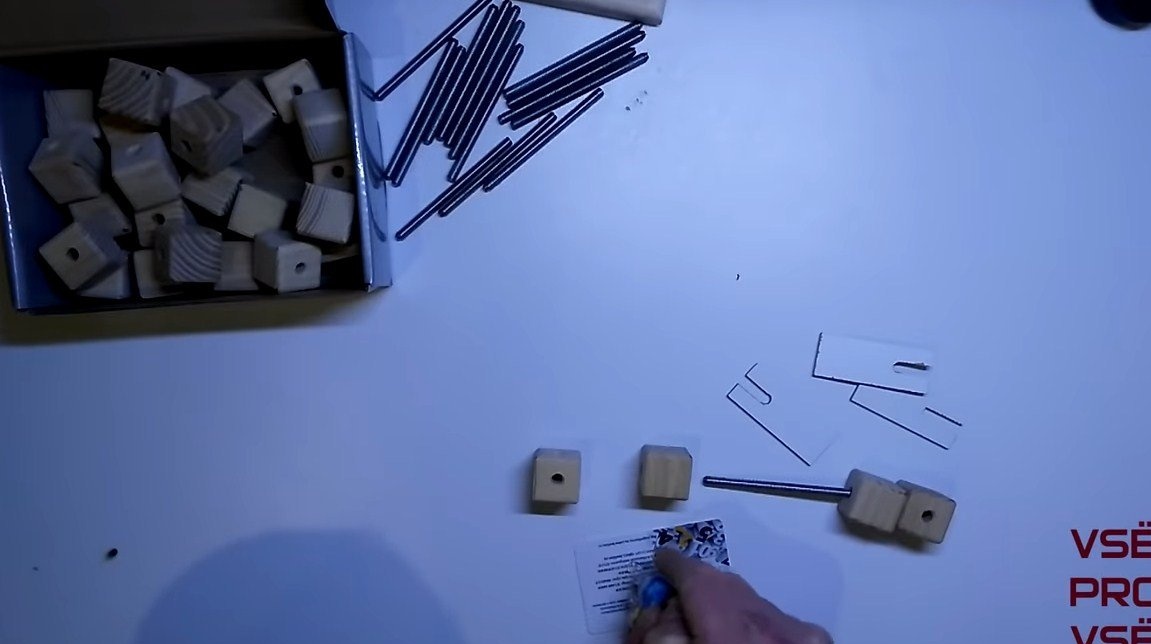
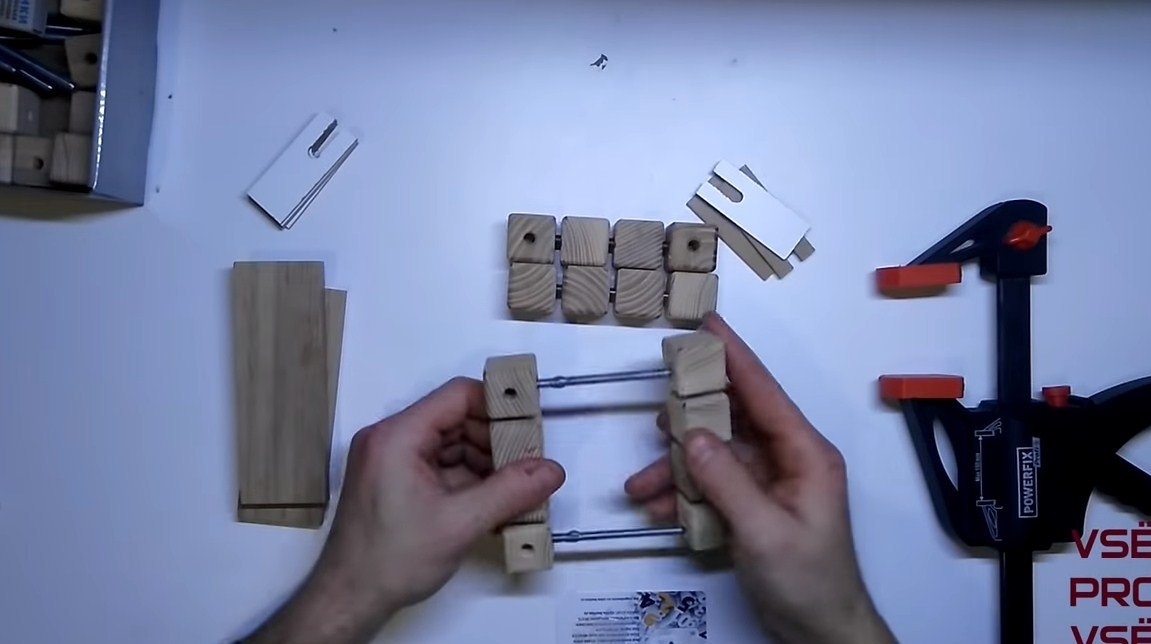
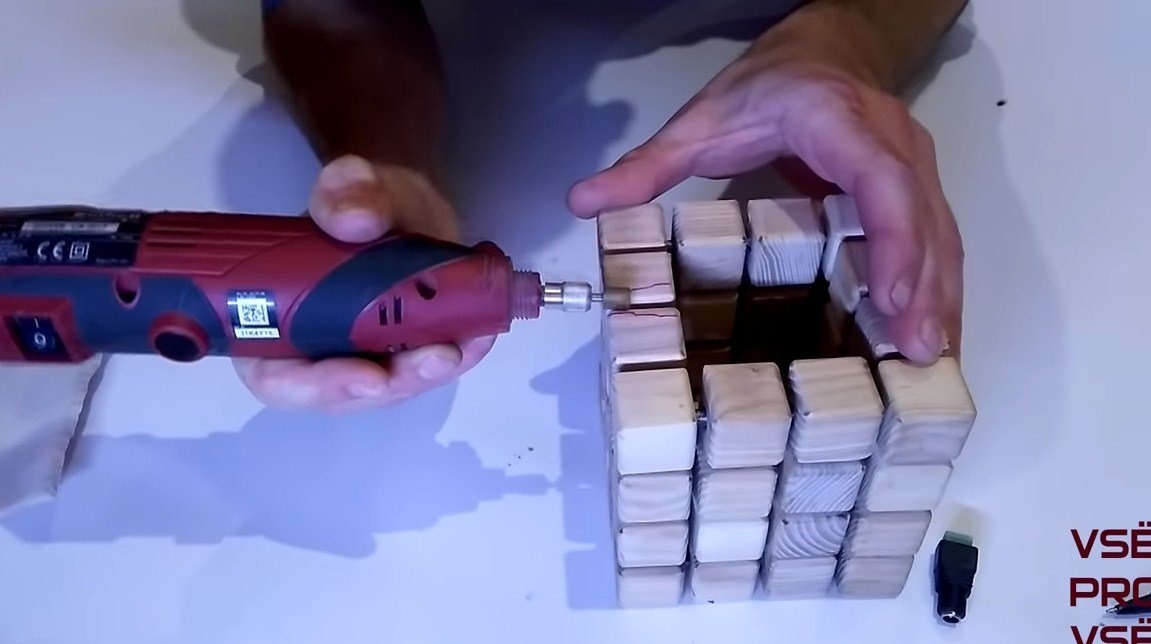
We have to drill holes in the cubes, we will insert threaded rods into them, on which the whole structure will be held. Note that on those cubes that will be at the corners of the lamp, the holes should not be through.
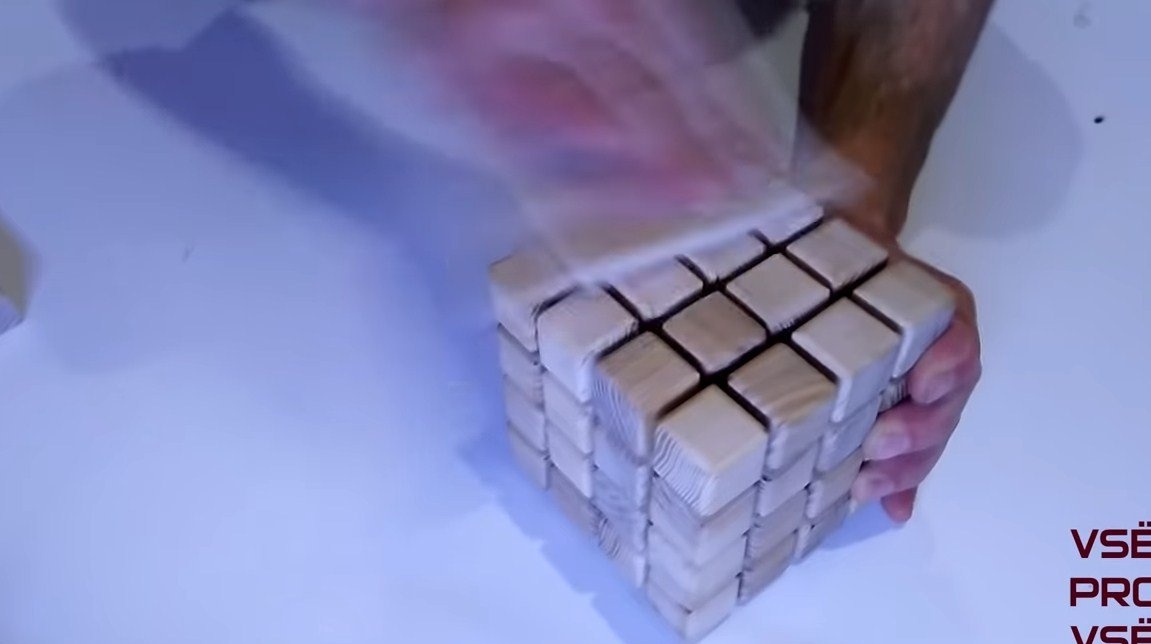
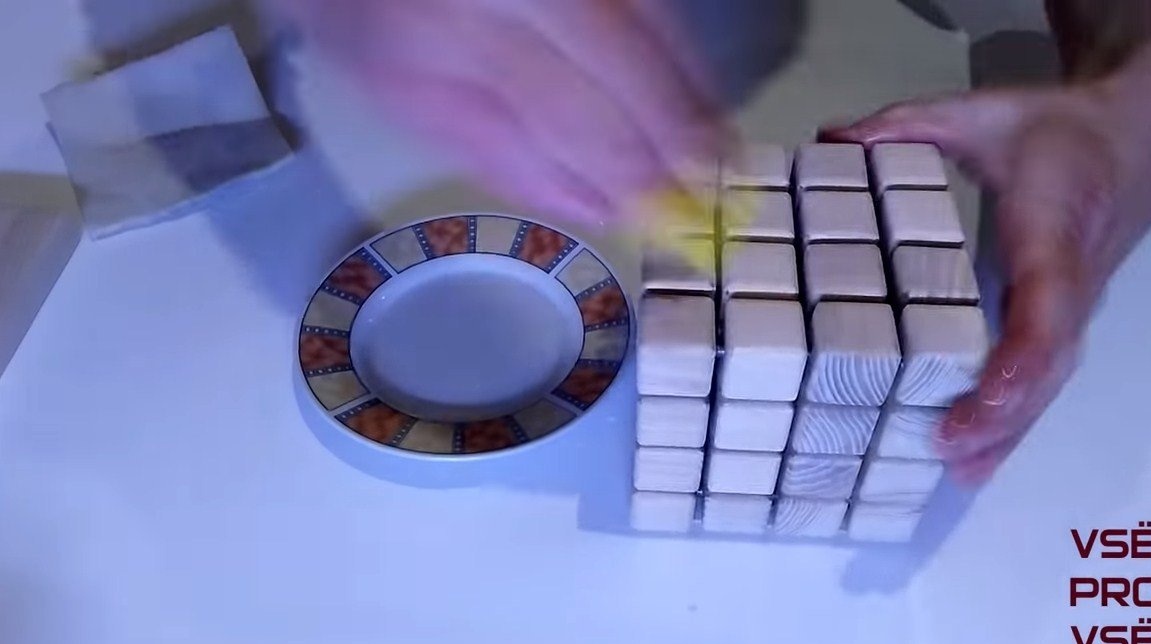
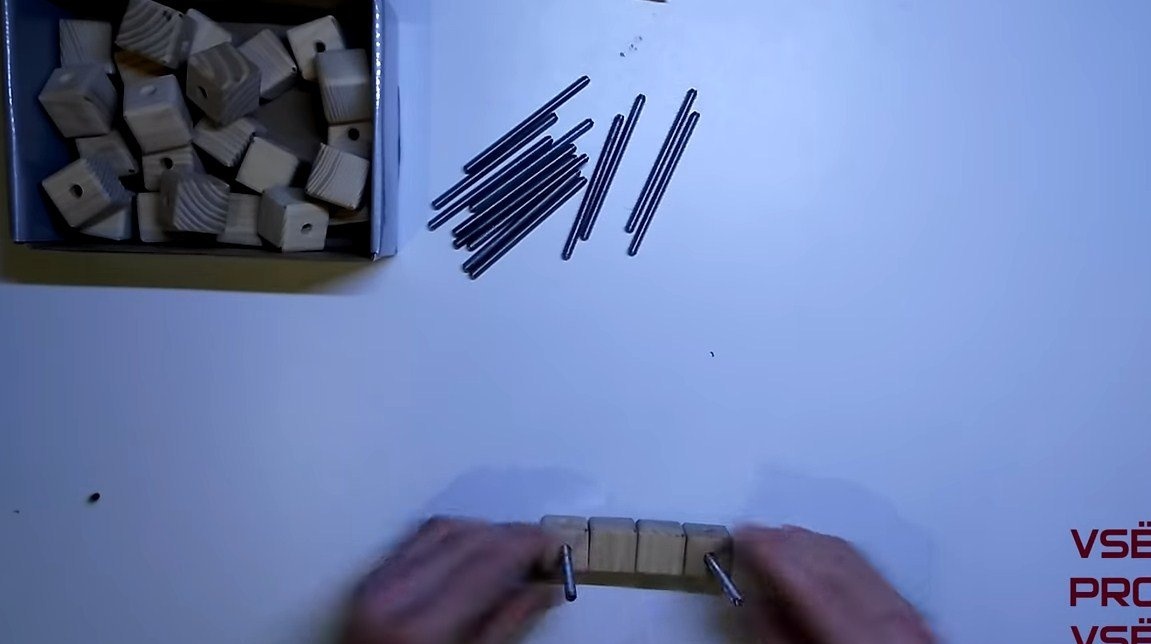
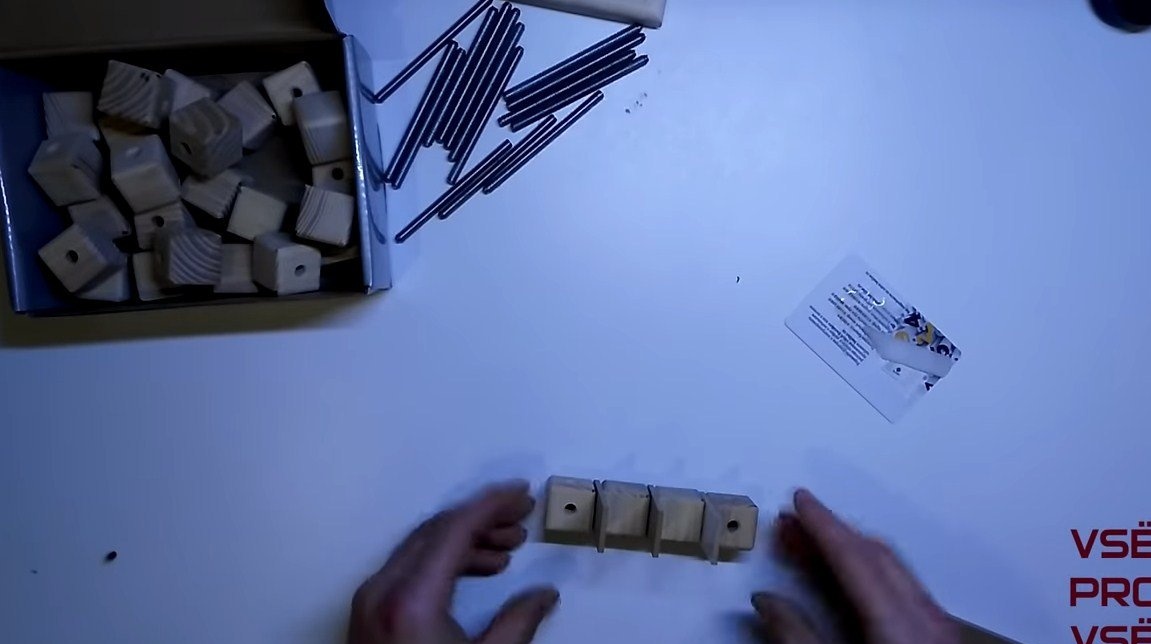
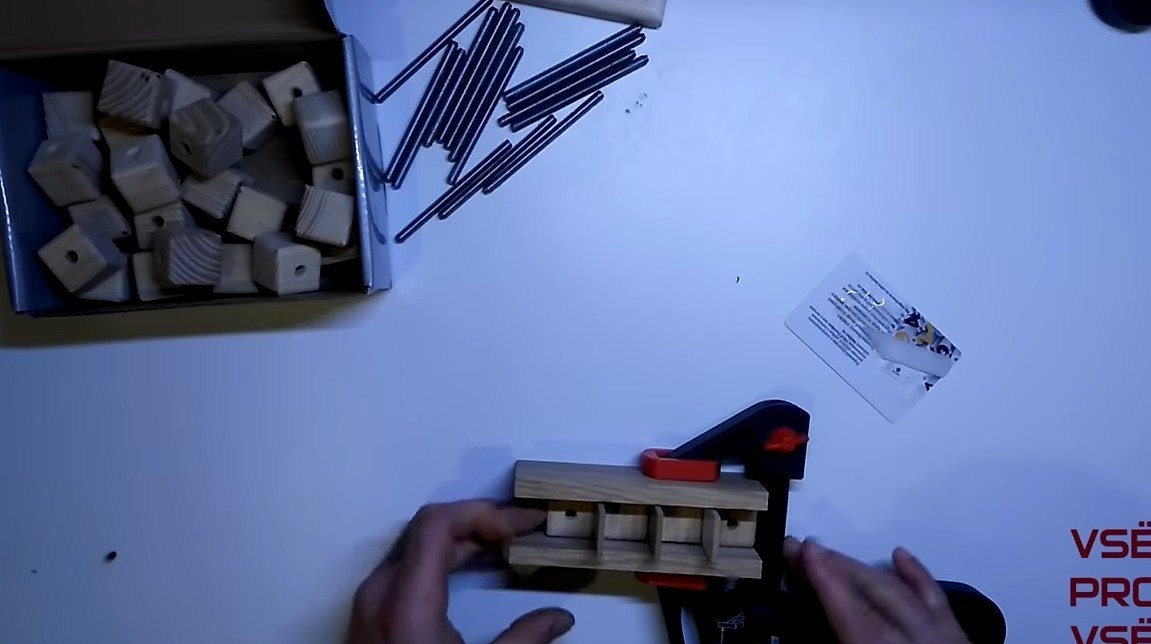
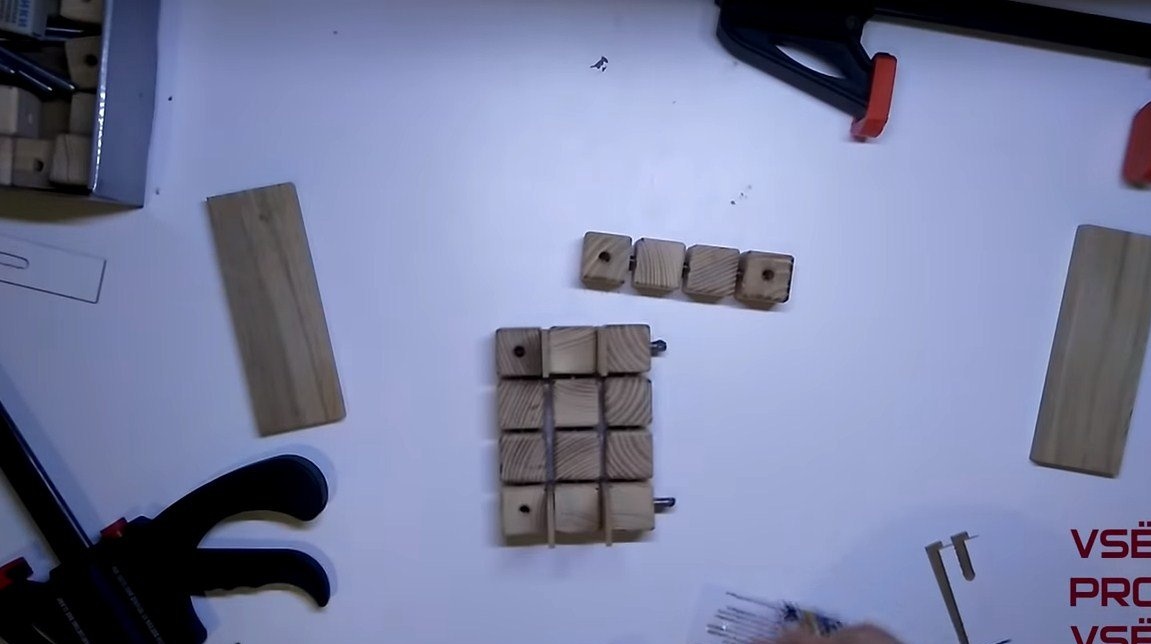
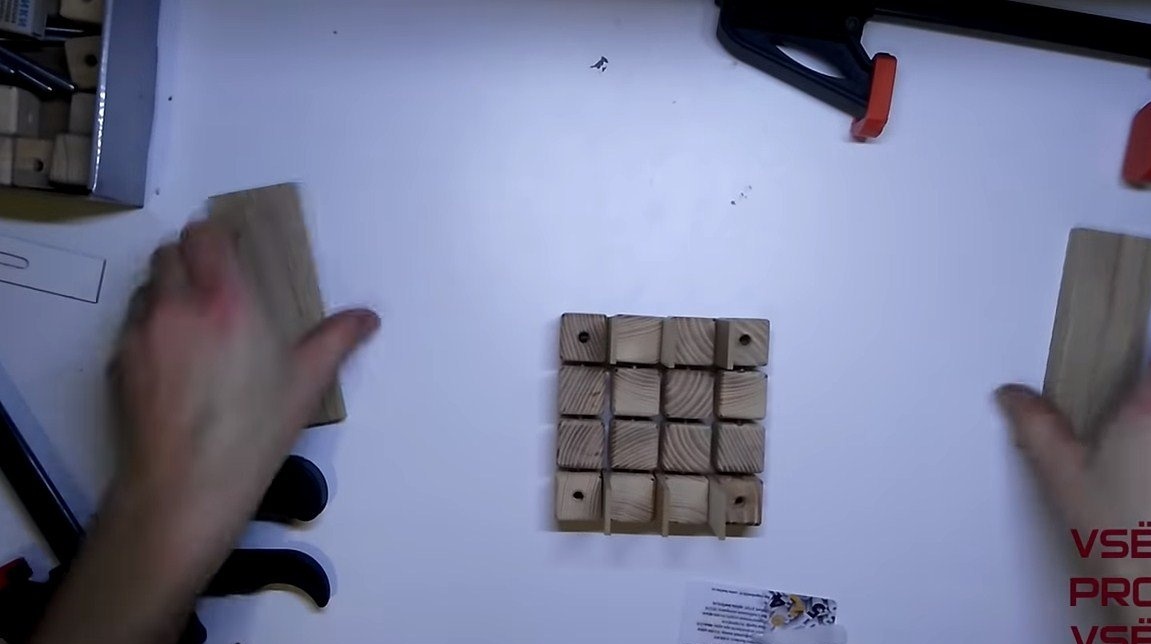
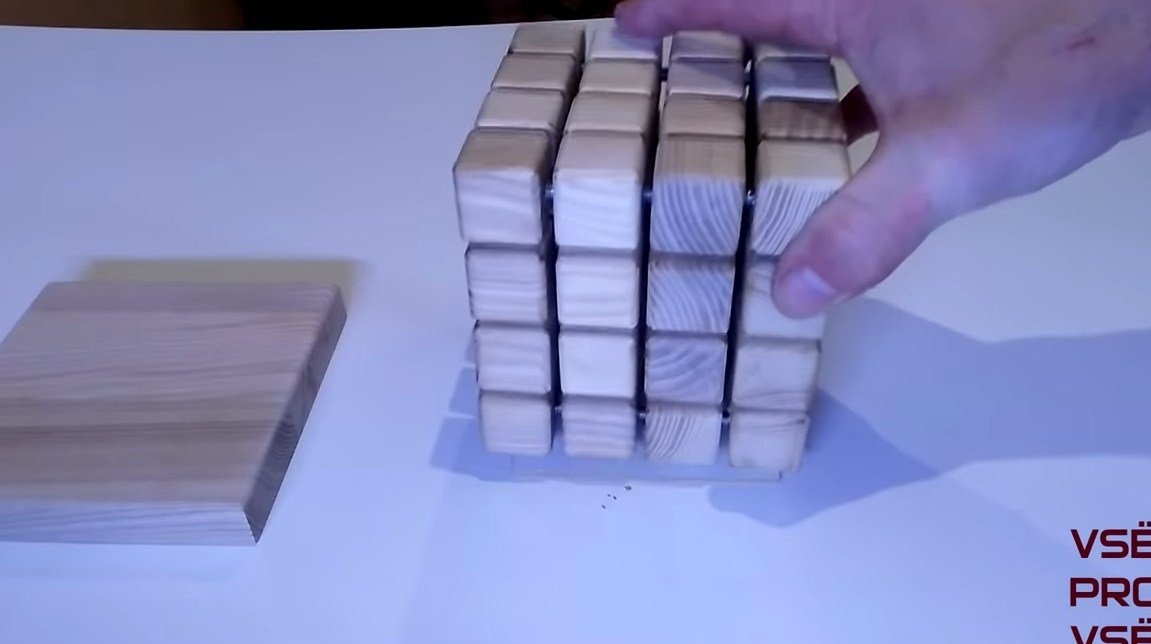
Step Two Cube assembly
Step by step, we gradually assemble a large cube from small cubes, which will be the body of the lamp. We assemble everything in sections, epoxy glue is excellent as an adhesive, it will hold everything very tightly. As a result, we give the whole structure to dry well.


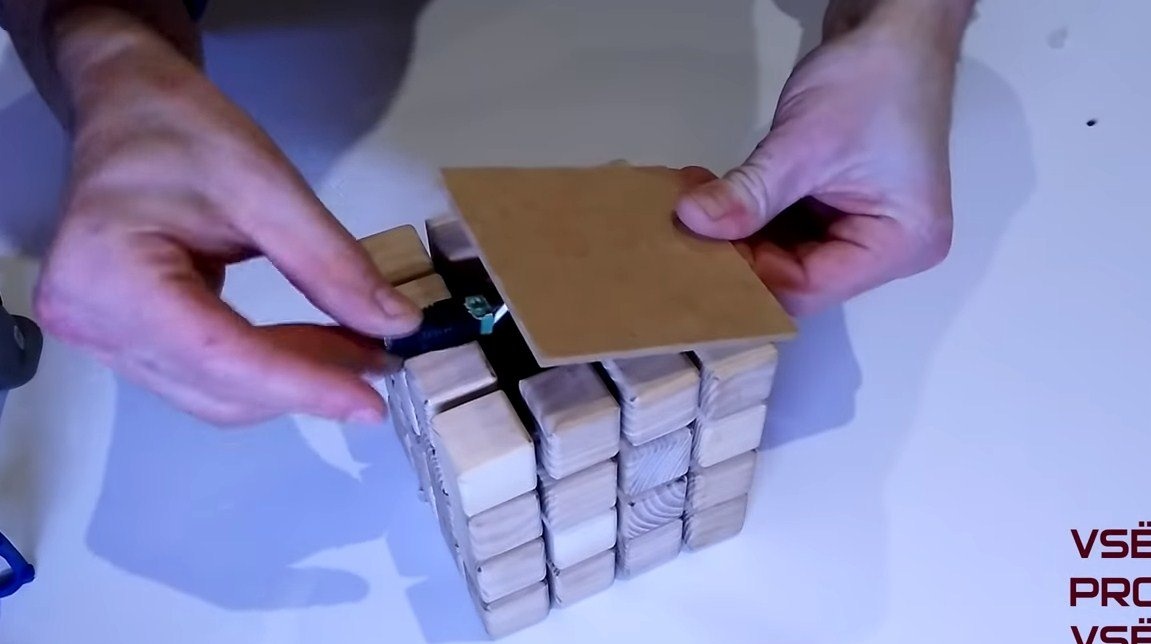
Step Three Insides
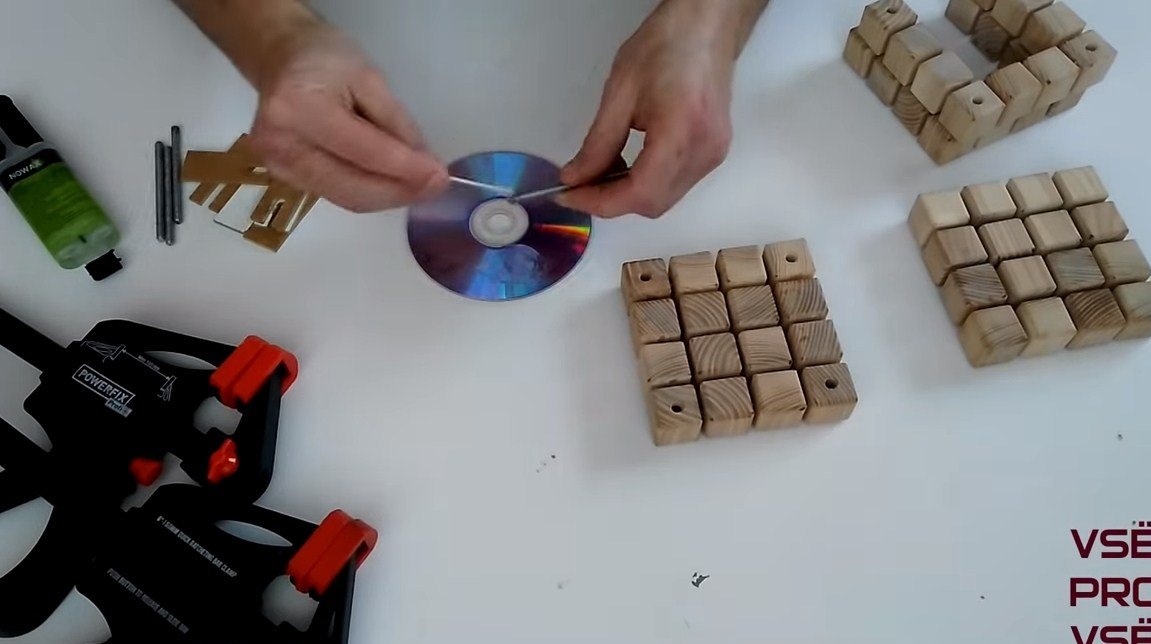
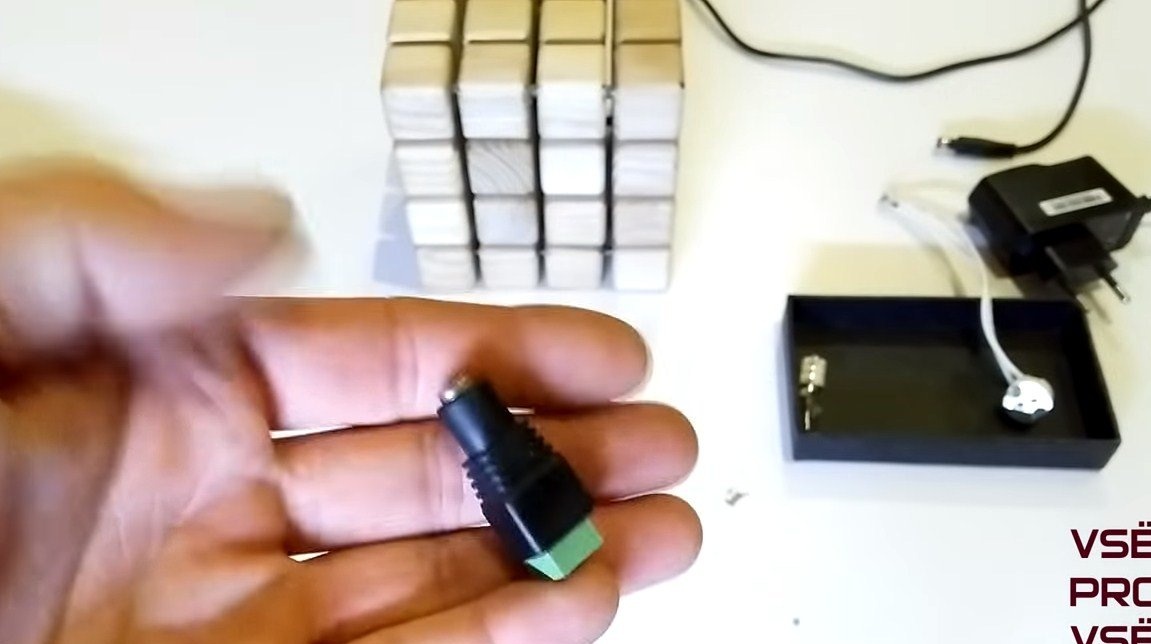
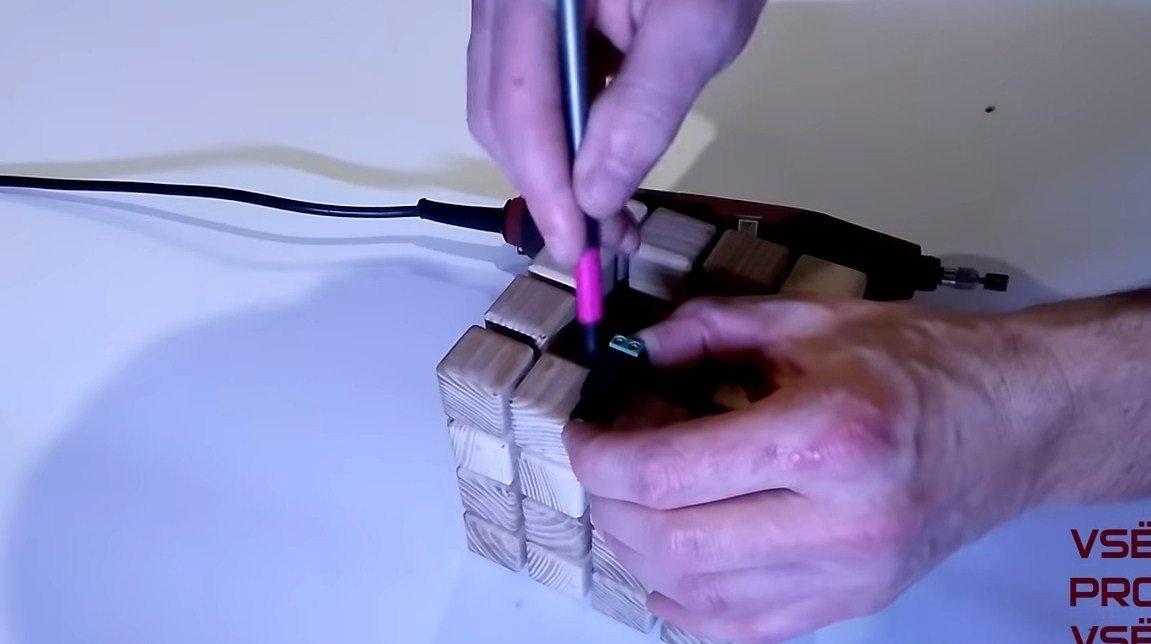
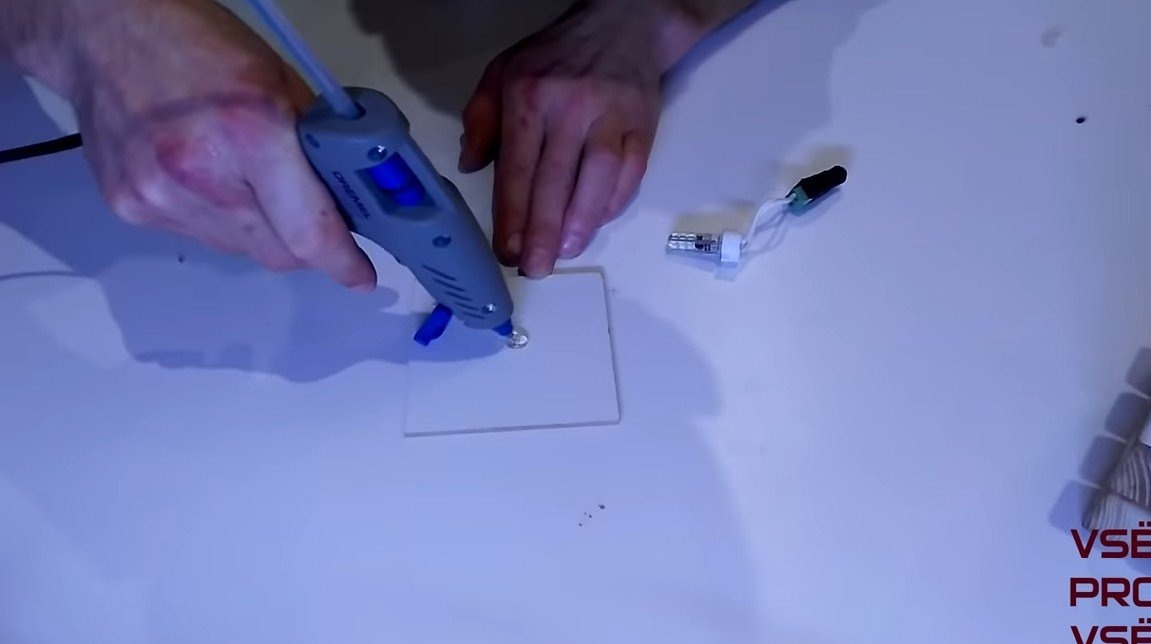
First, install the socket for connecting the power supply to the lamp. We cut out a seat for it with a drill, and then glue the nest with hot glue.
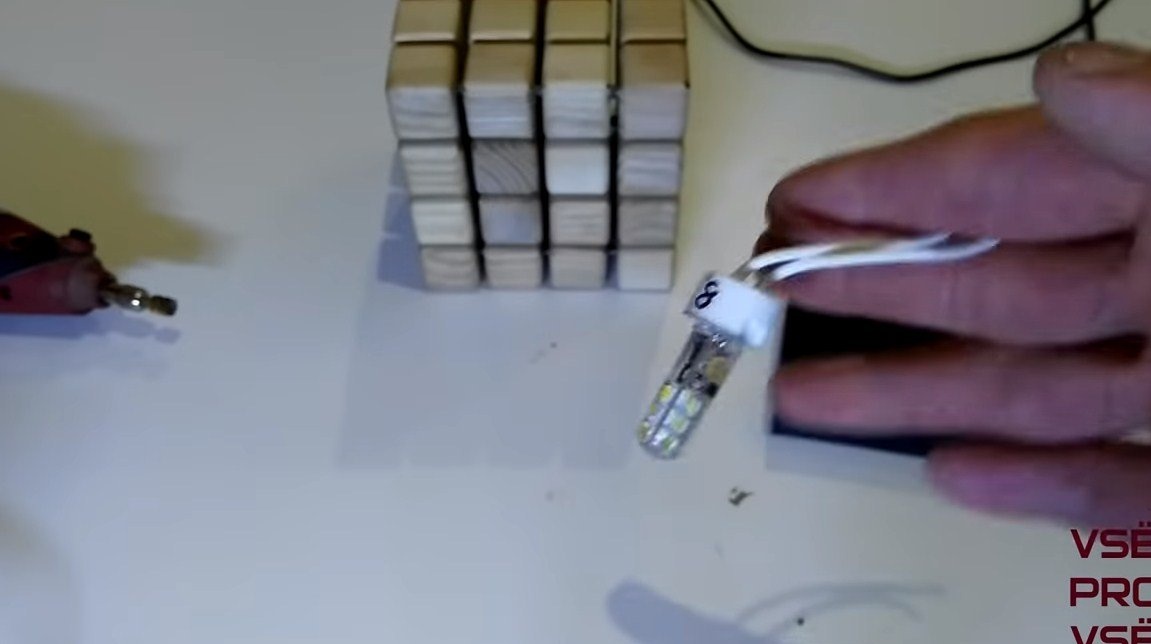
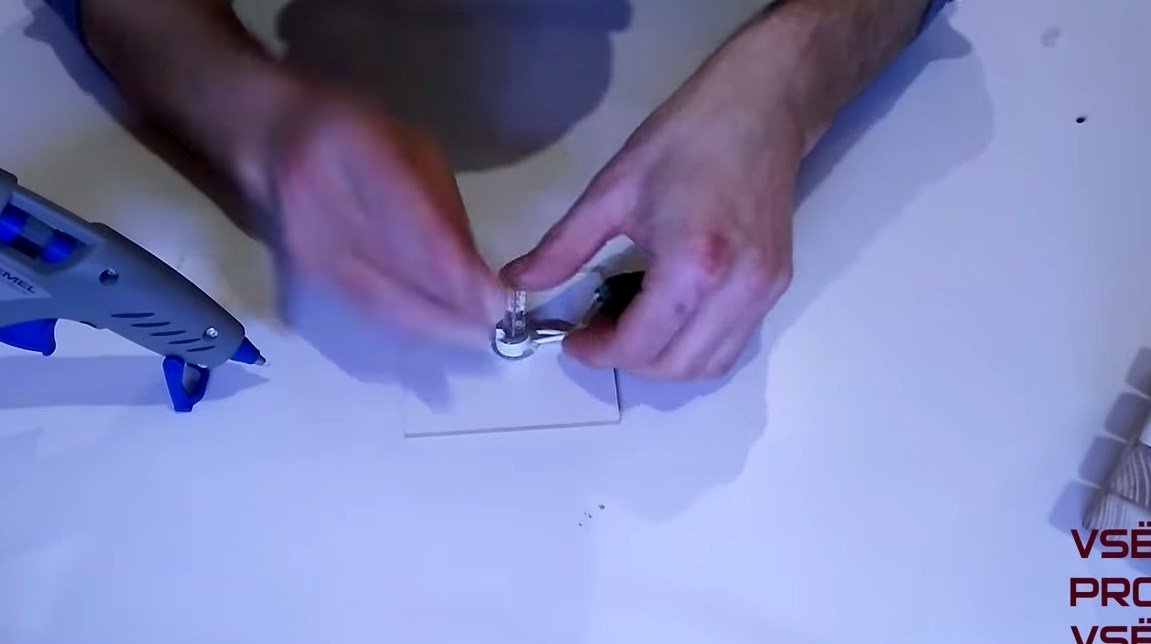
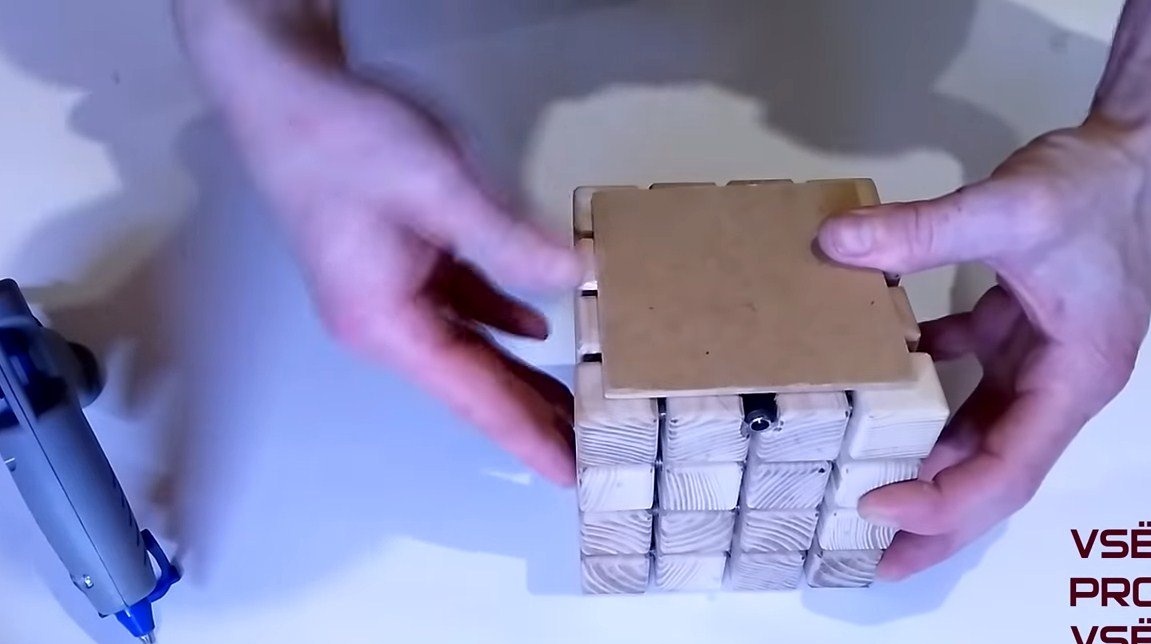
It remains to install the lamp, we install it on the basis of fiberboard or similar material, the author glues the lamp with hot glue. Note that the lamp may heat up, which means that it may peel off because the glue will melt. The author also glued the base with the bulb installed using hot glue to the lamp.

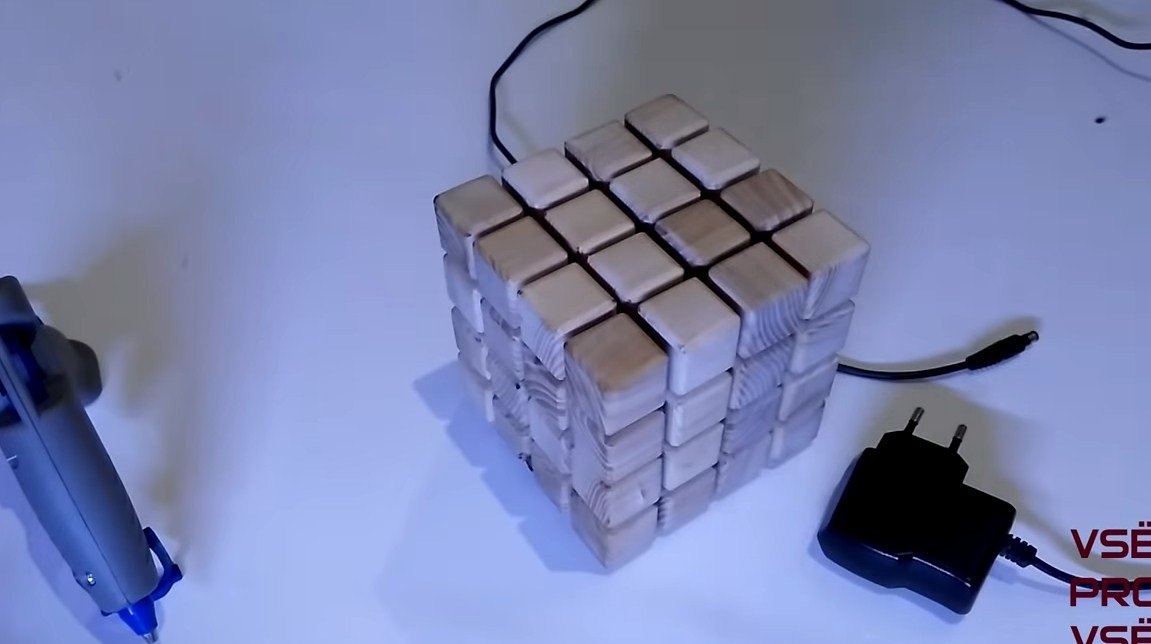
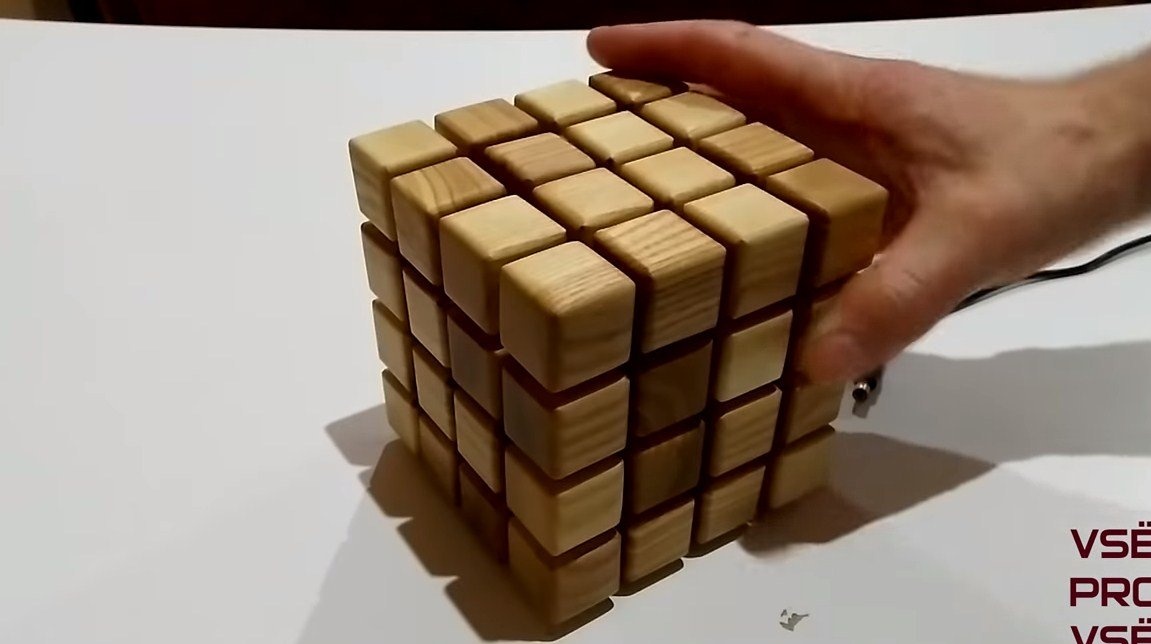
Step Four Completion
At the end, we saturate the tree with oil, under it the wood looks delightful. That's all. This is the end of the project, I hope you enjoyed it. Good luck and creative inspiration, if you decide to repeat this. Do not forget to share your ideas and homemade things with us!