Hello everyone, I propose to study how you can make interesting lamps from acrylic and wood. They are assembled quite easily, but look very interesting. The author used LED strips as a light source, and the lamps are powered by a switched-off power supply, so cables will not interfere with you when transporting the lamps. If the project interests you, I propose to study it in more detail!
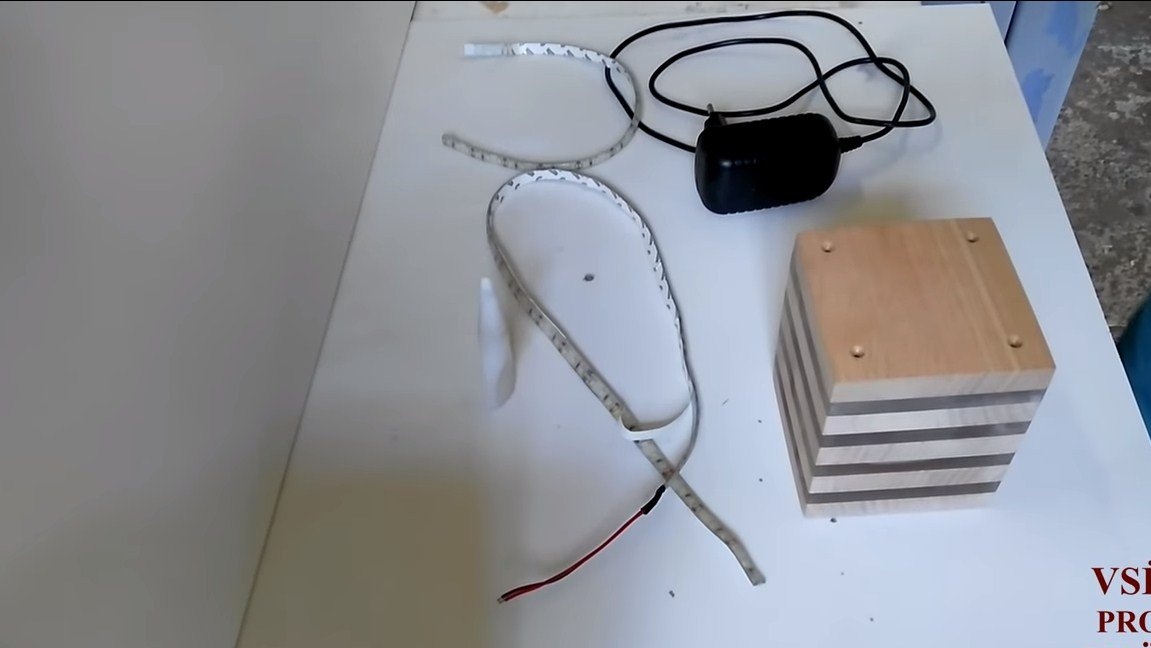
Materials and tools used by the author:
Material List:
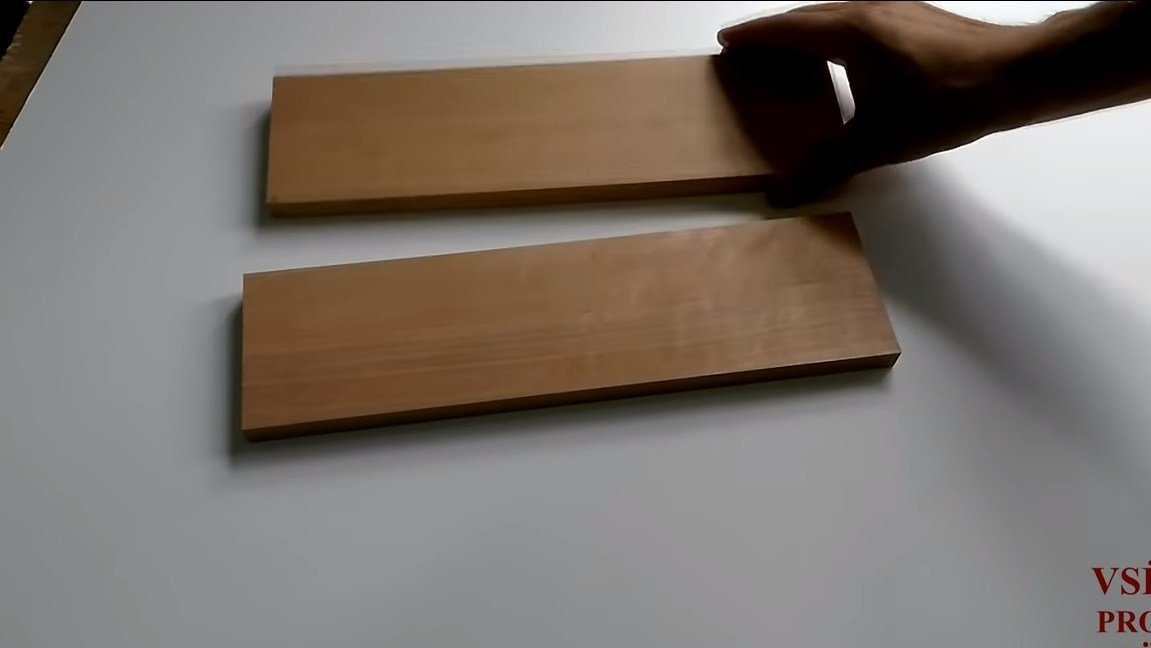
- boards (or other source of wood);
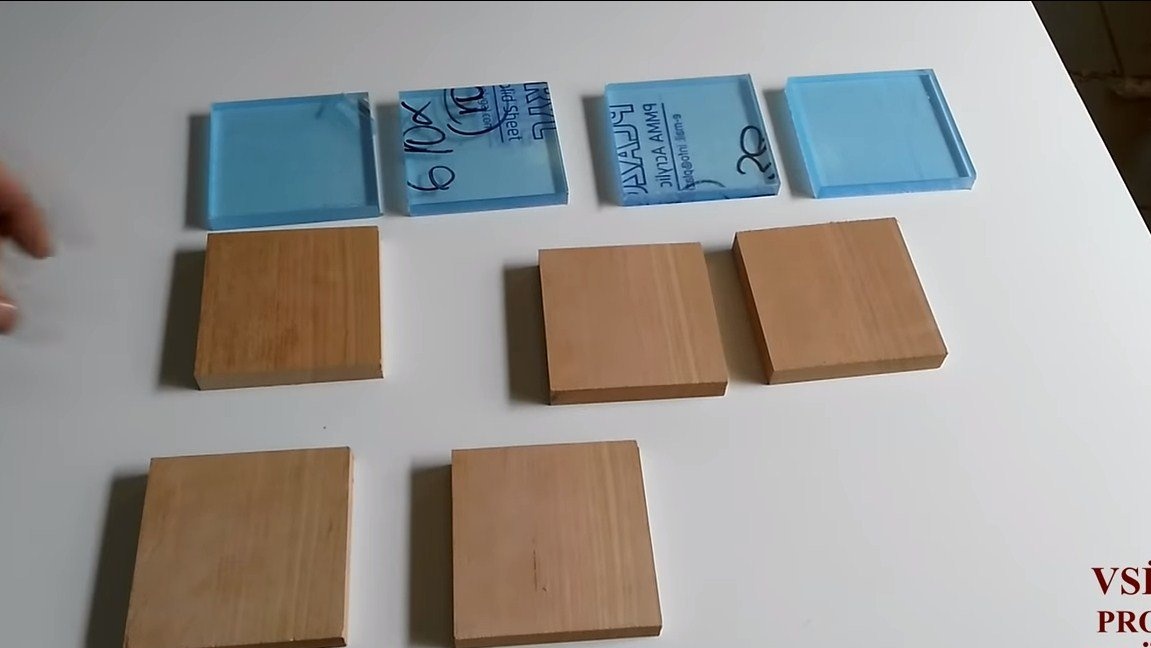
- a thick sheet of acrylic;
- ;
- ;
- ;
- oil for wood impregnation;
- self-tapping screws;
- a wooden core.
Tool List:
- carpentry glue;
- drill;
- belt and orbital grinding machines;
- drill;
- clamps;
- soldering iron;
-Super glue;
- glue gun.
The manufacturing process of the lamp:
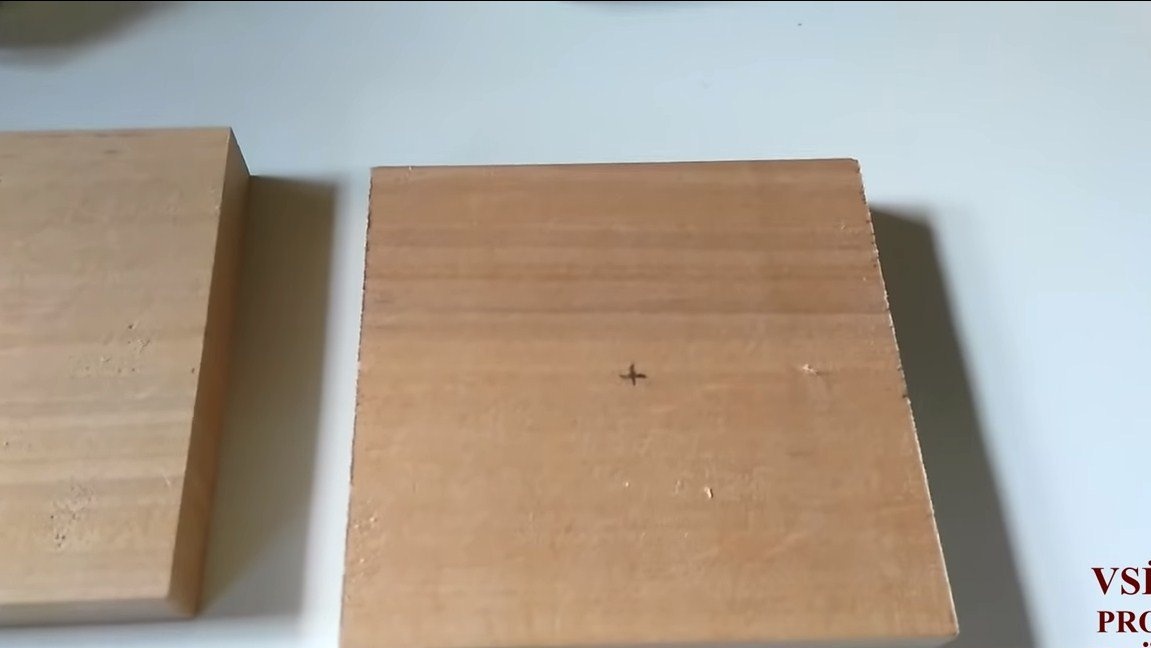
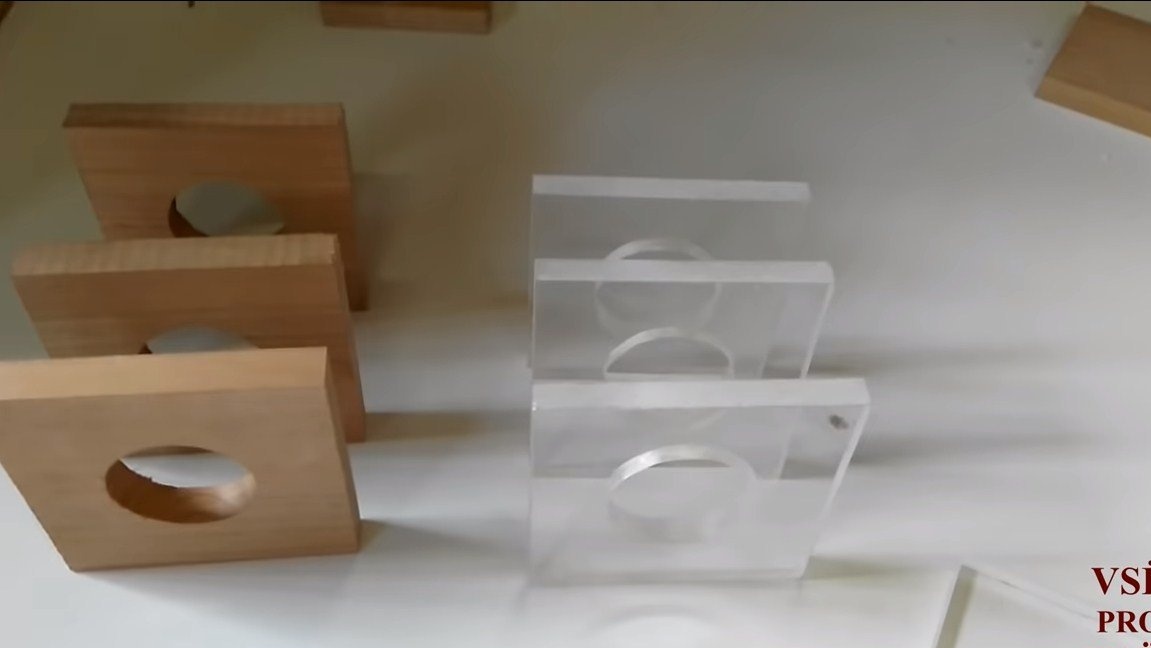
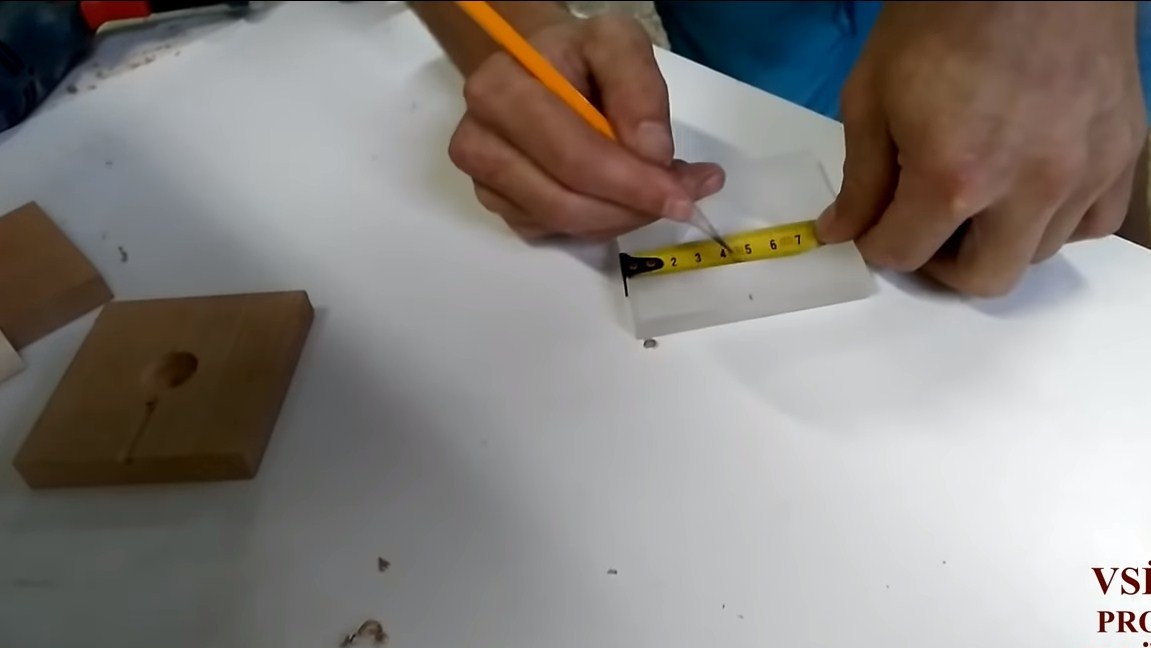
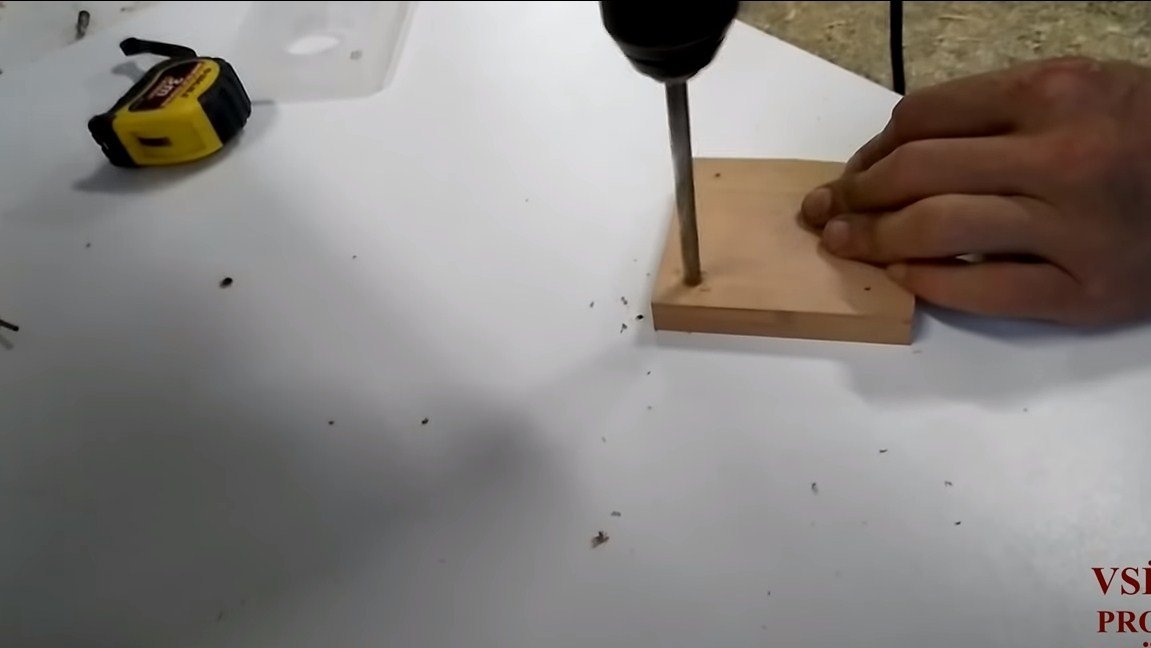
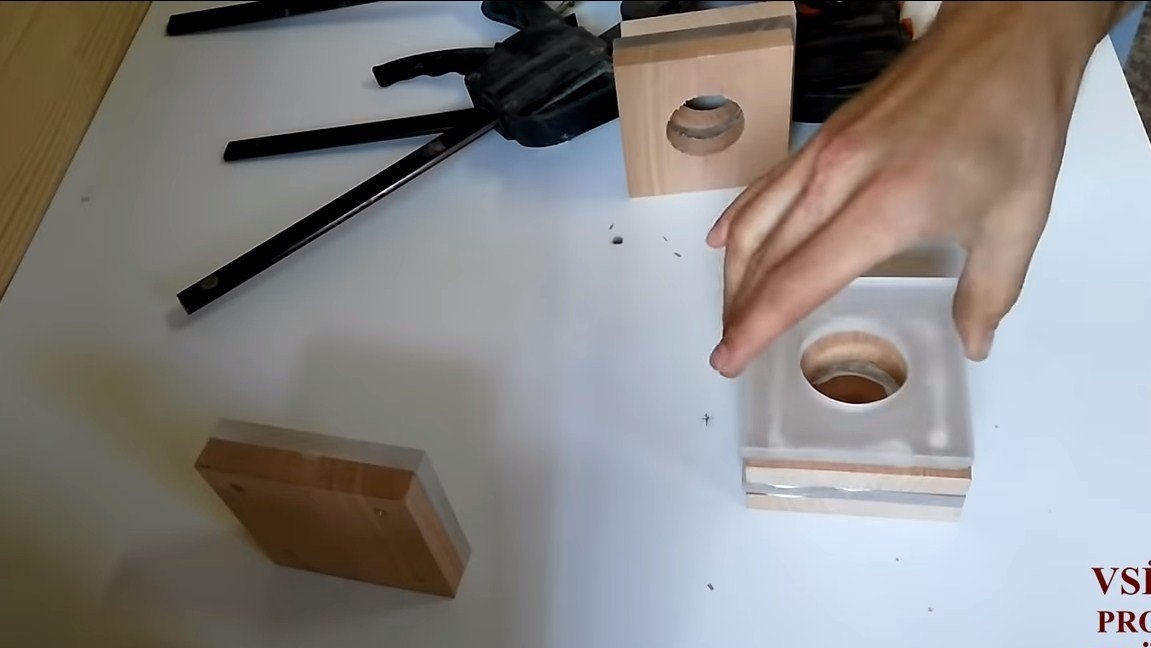
Step one. We prepare blanks
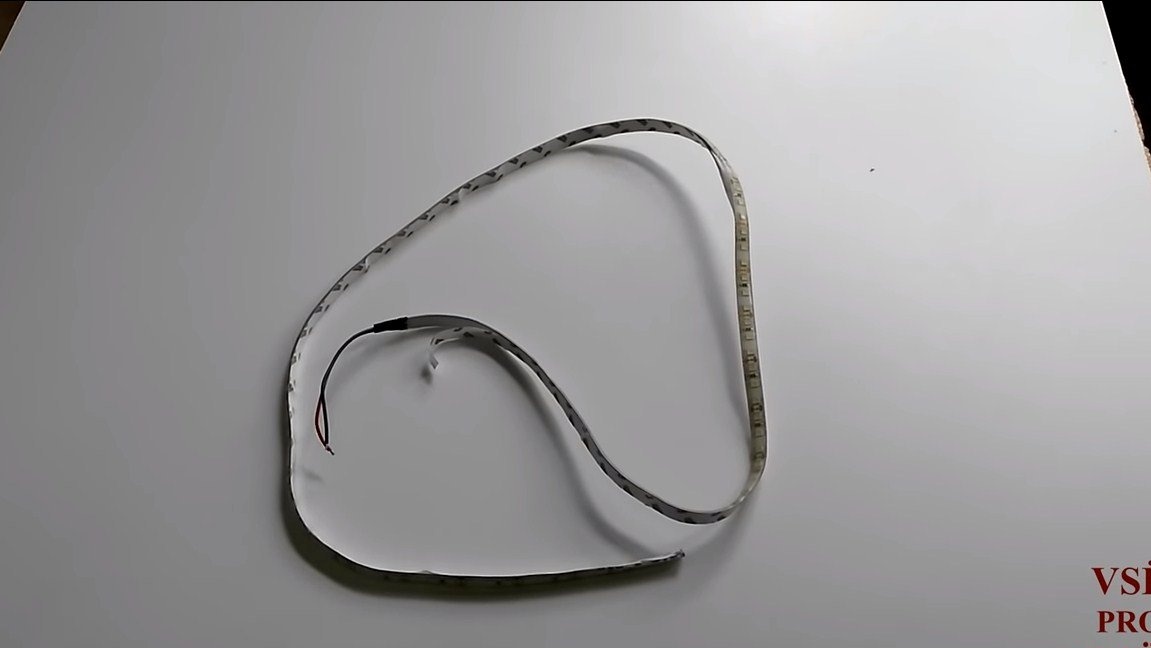
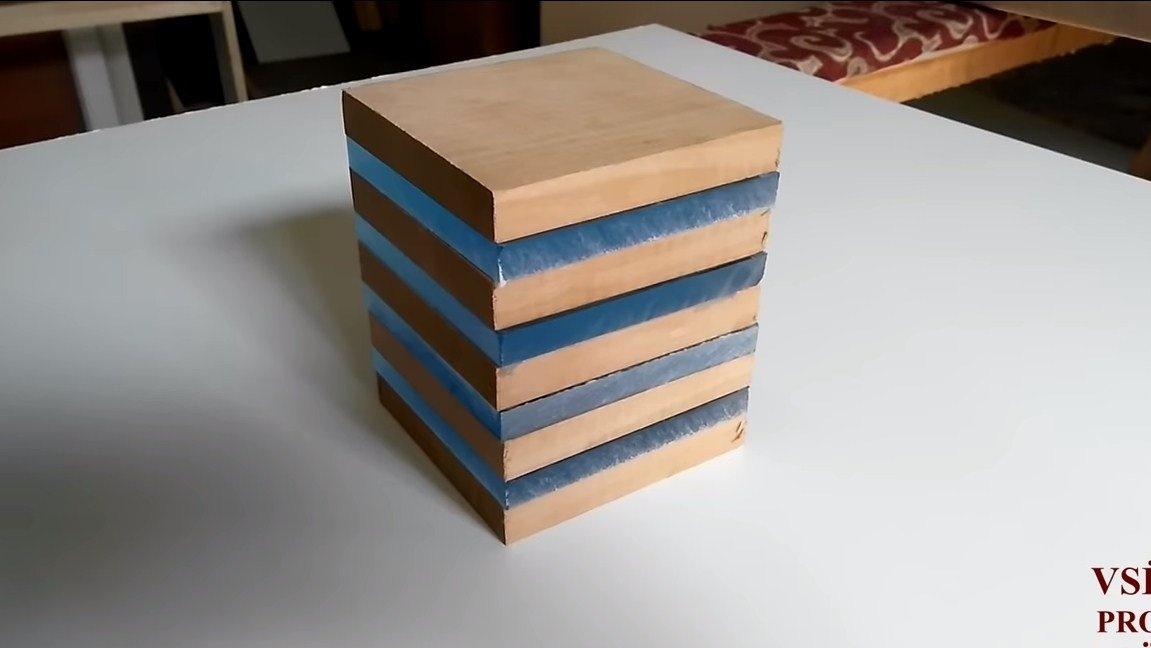
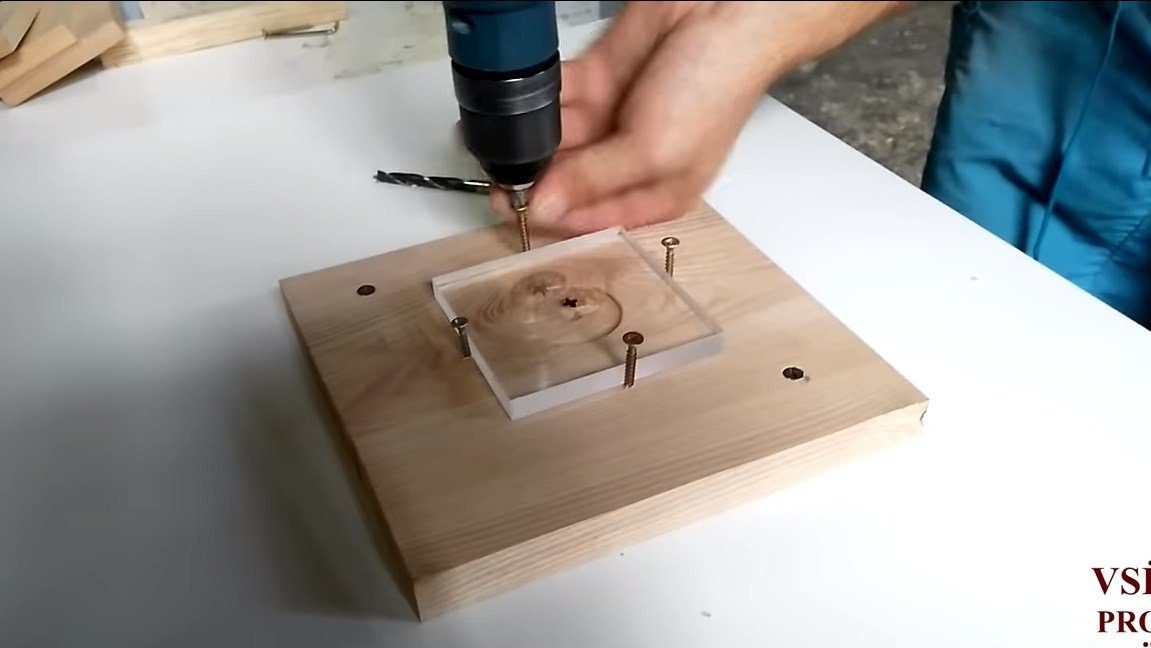
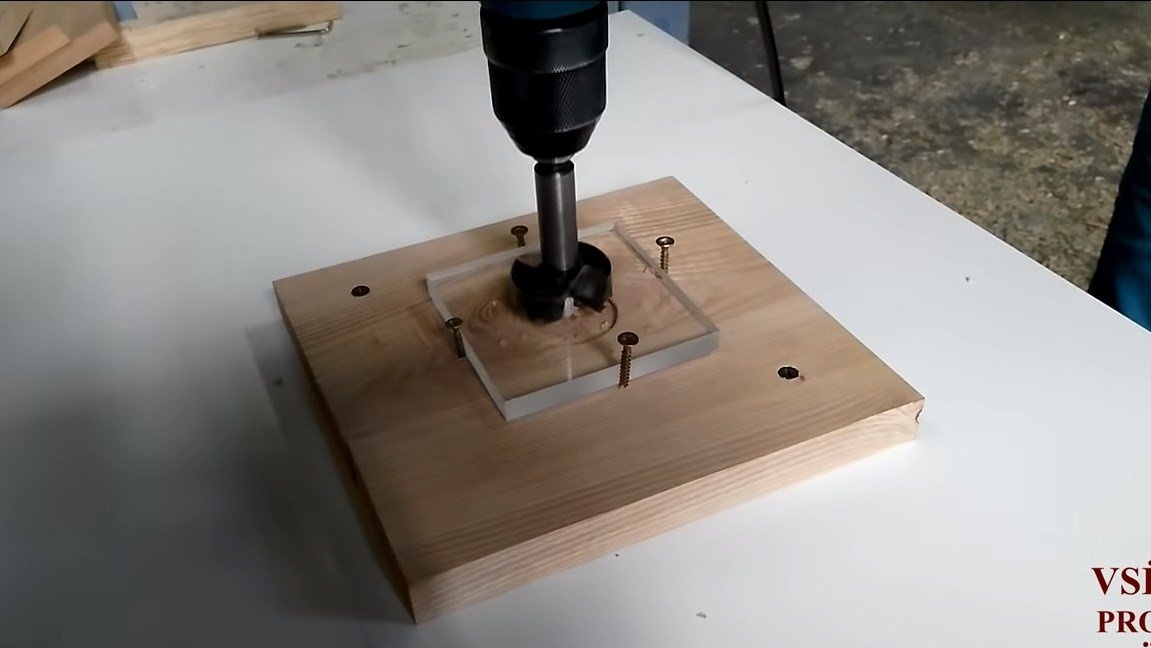
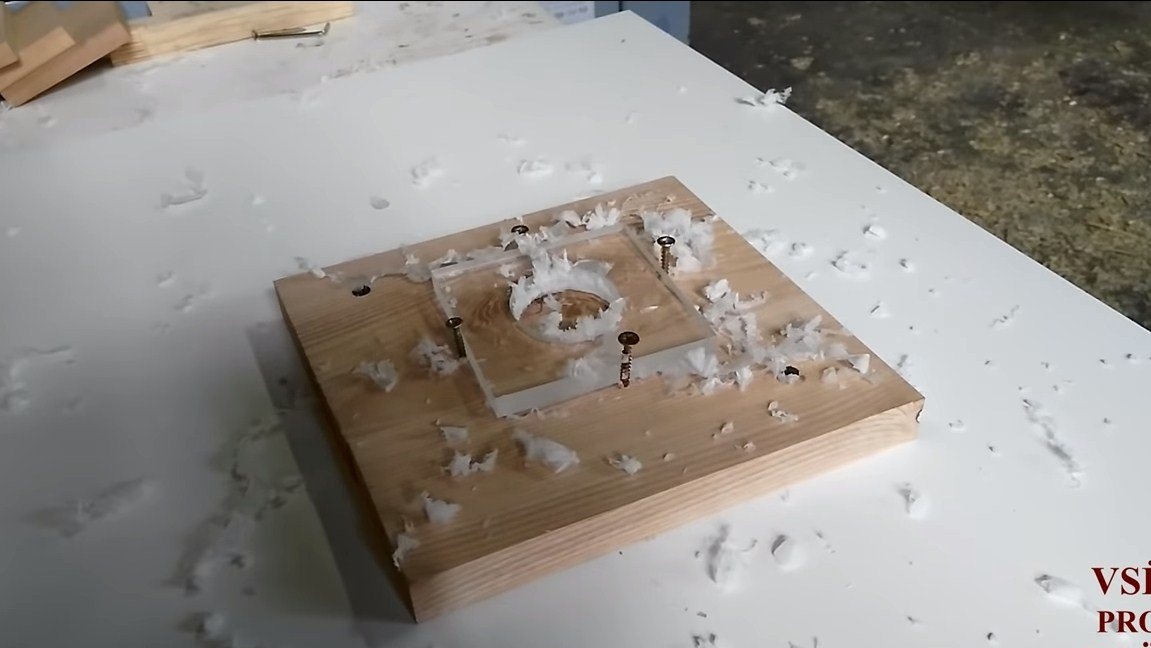
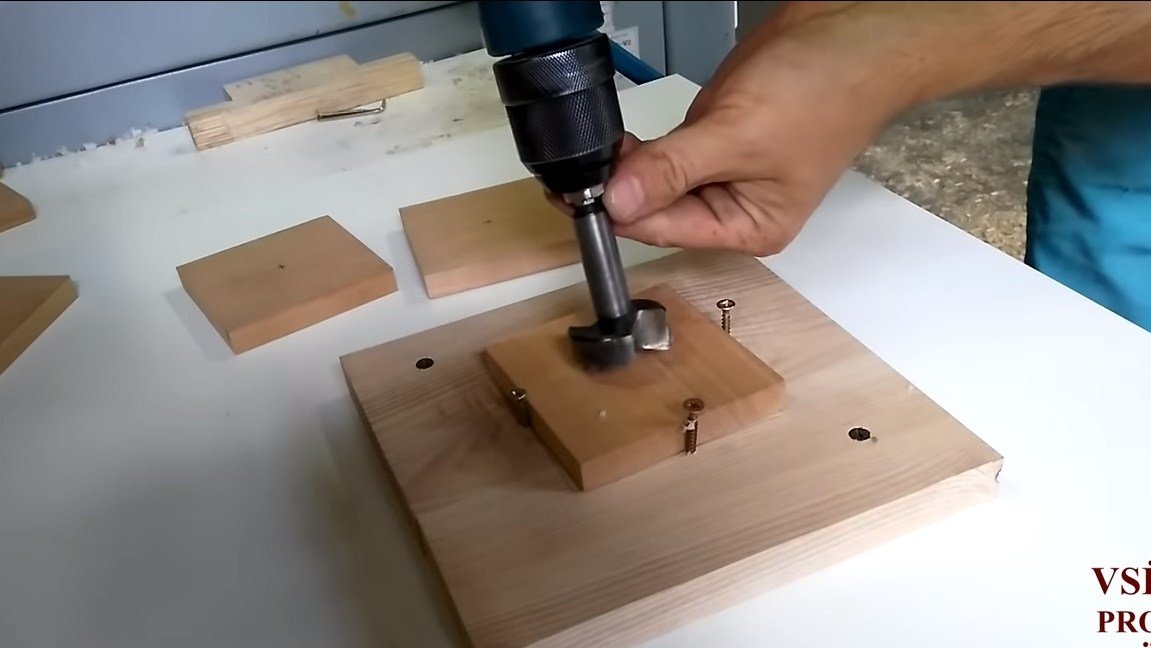
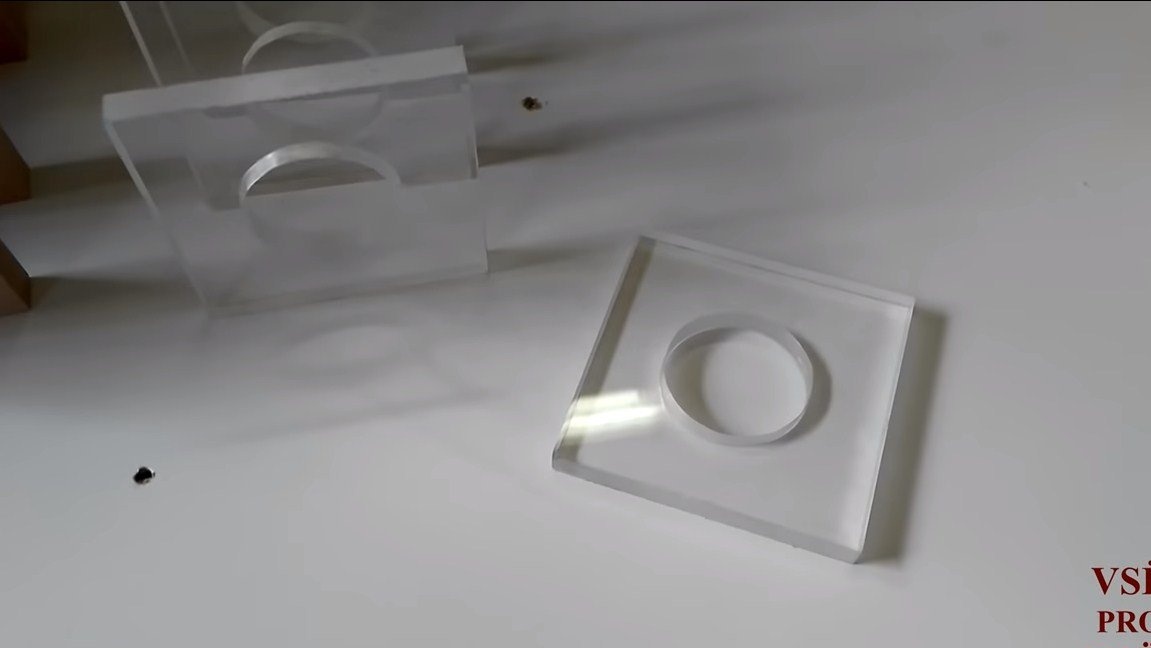
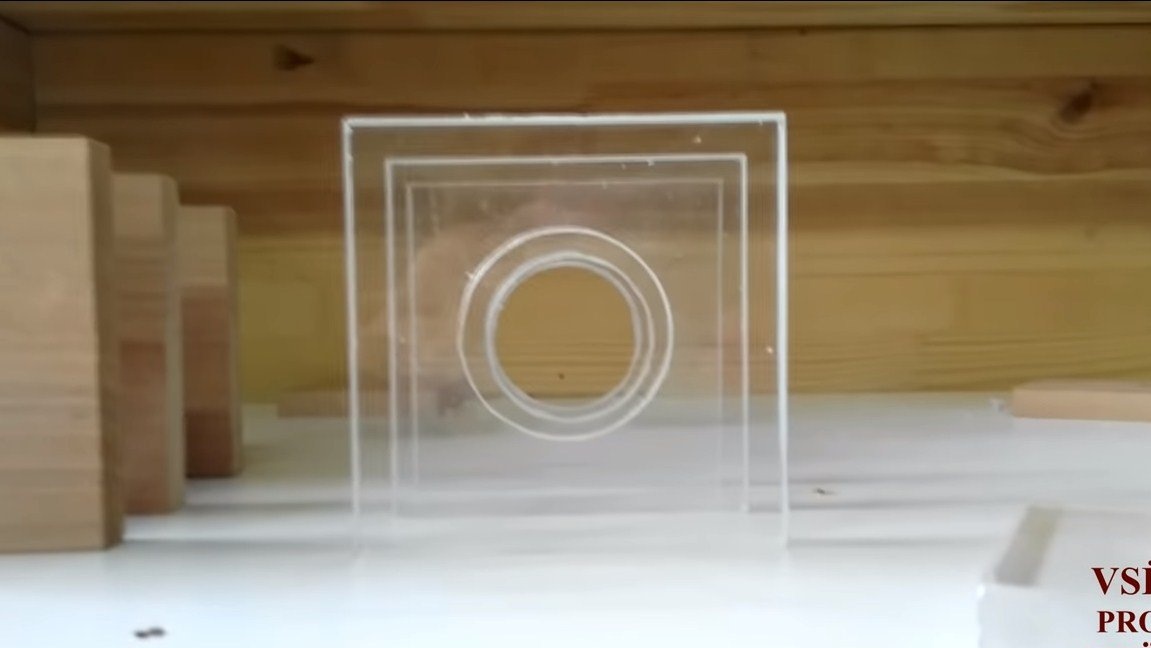
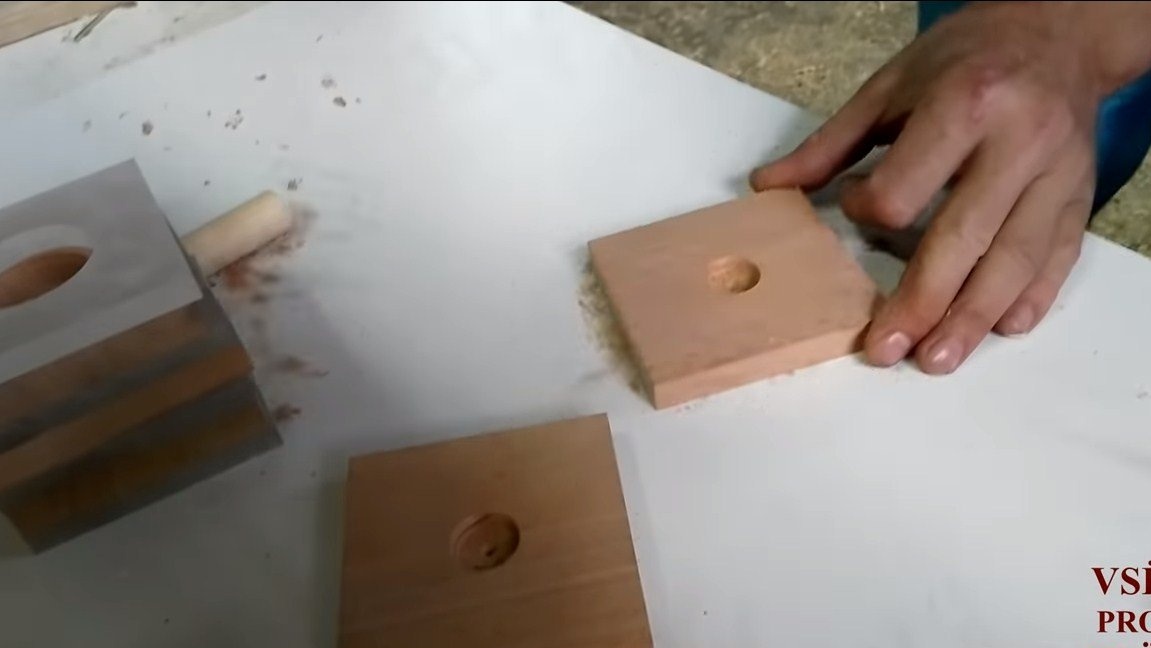
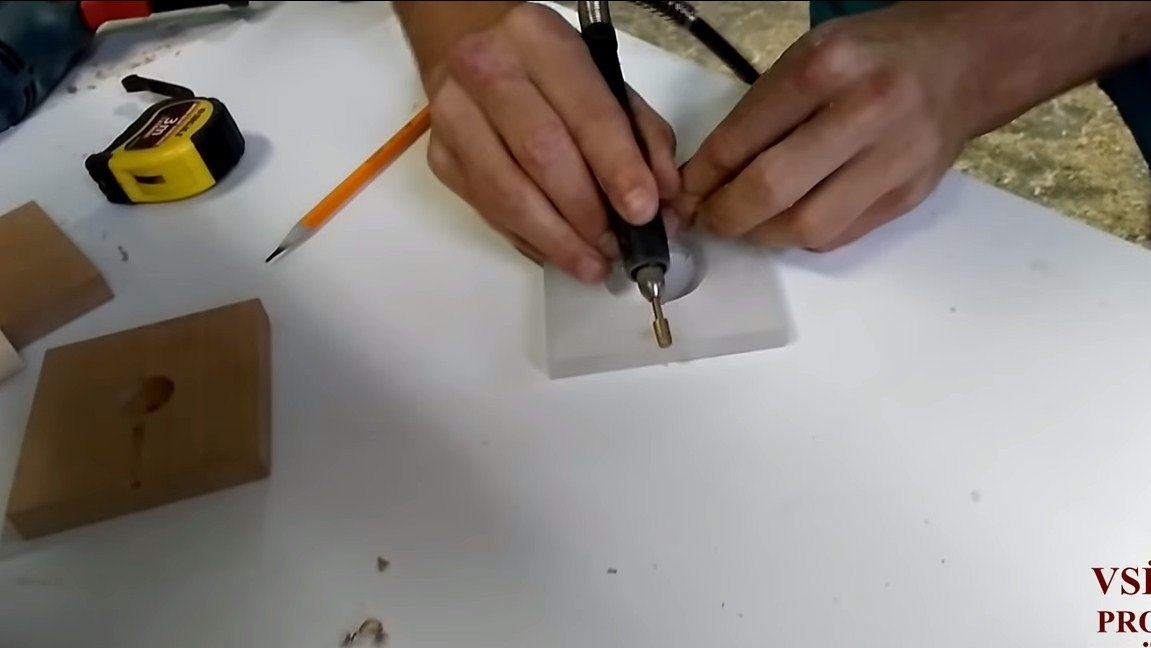
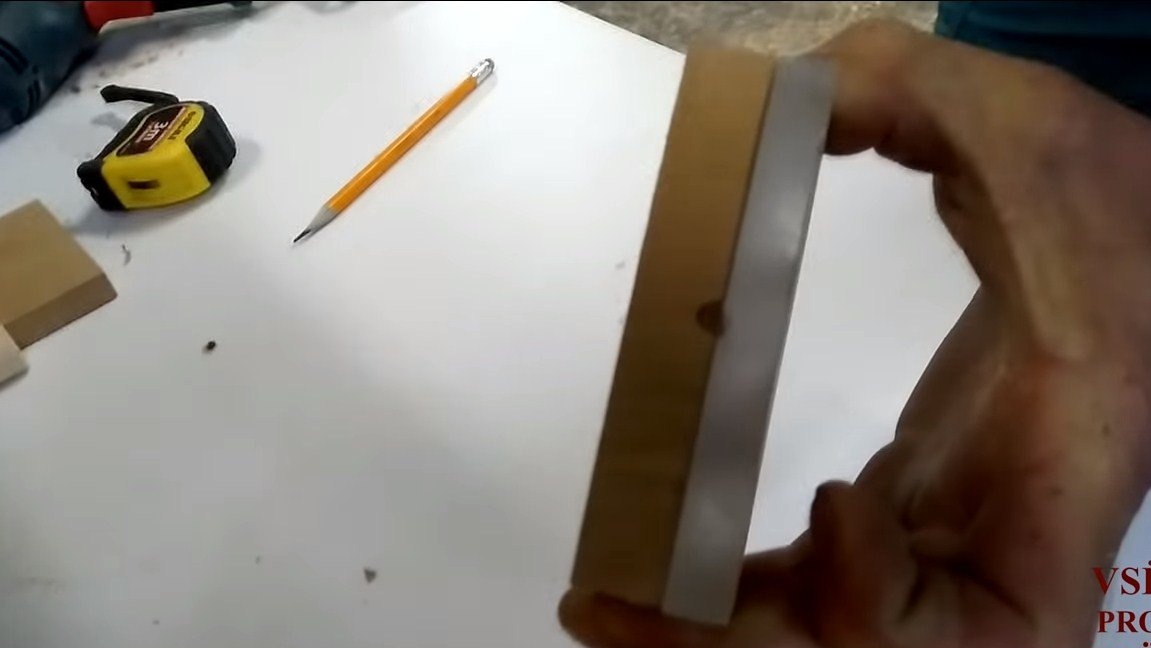
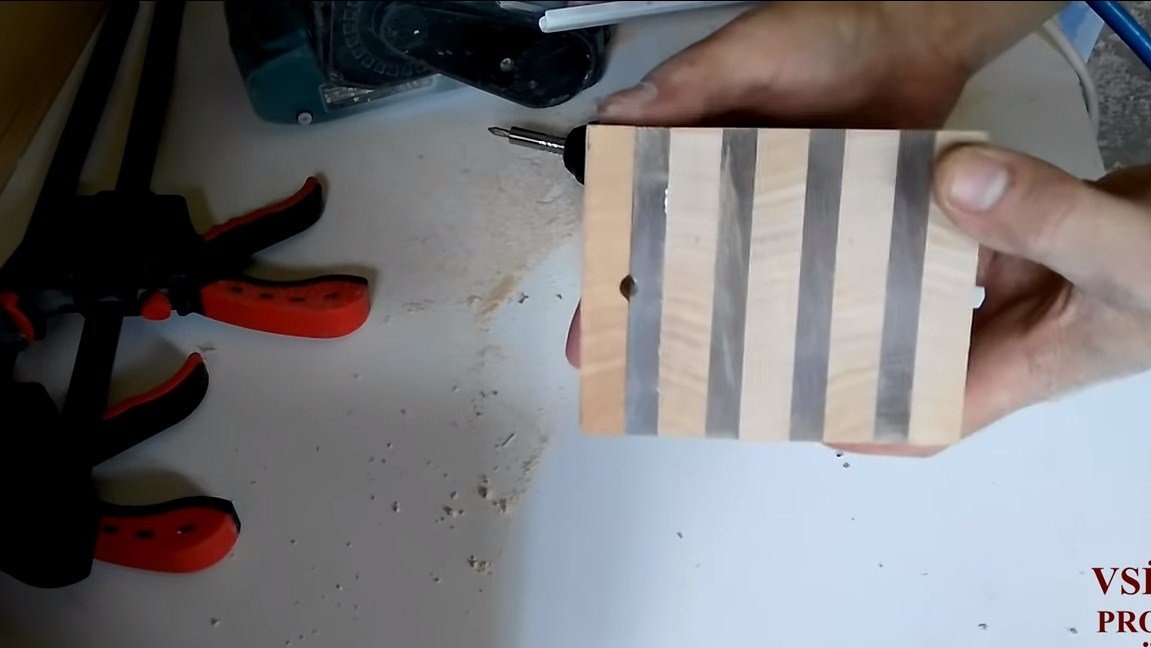
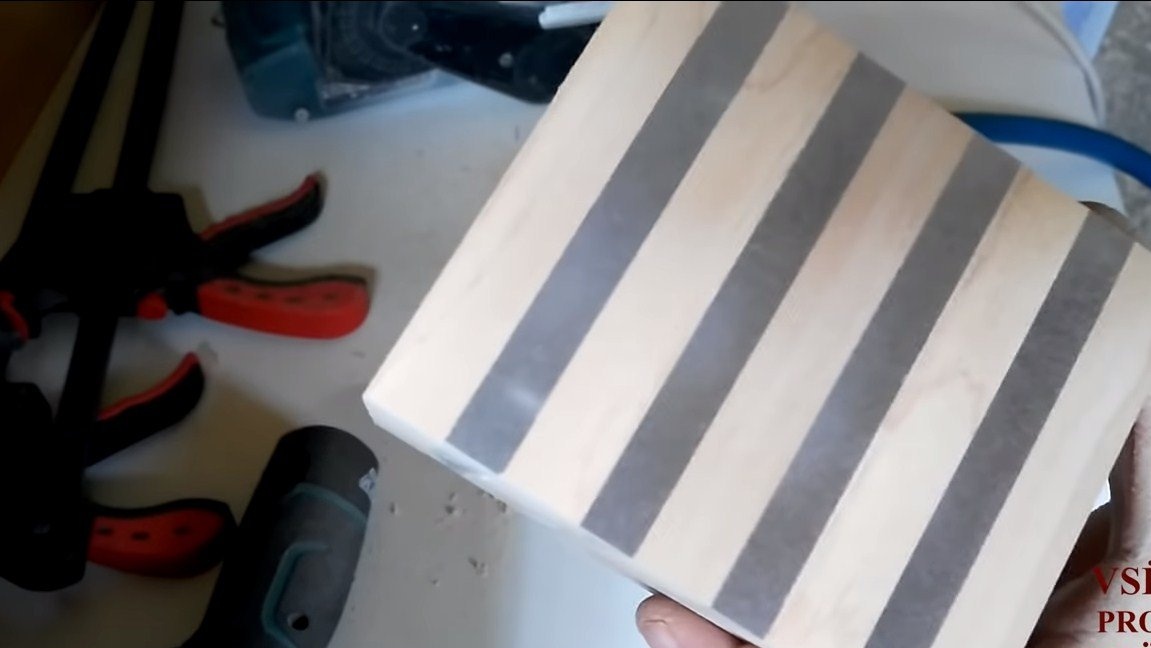
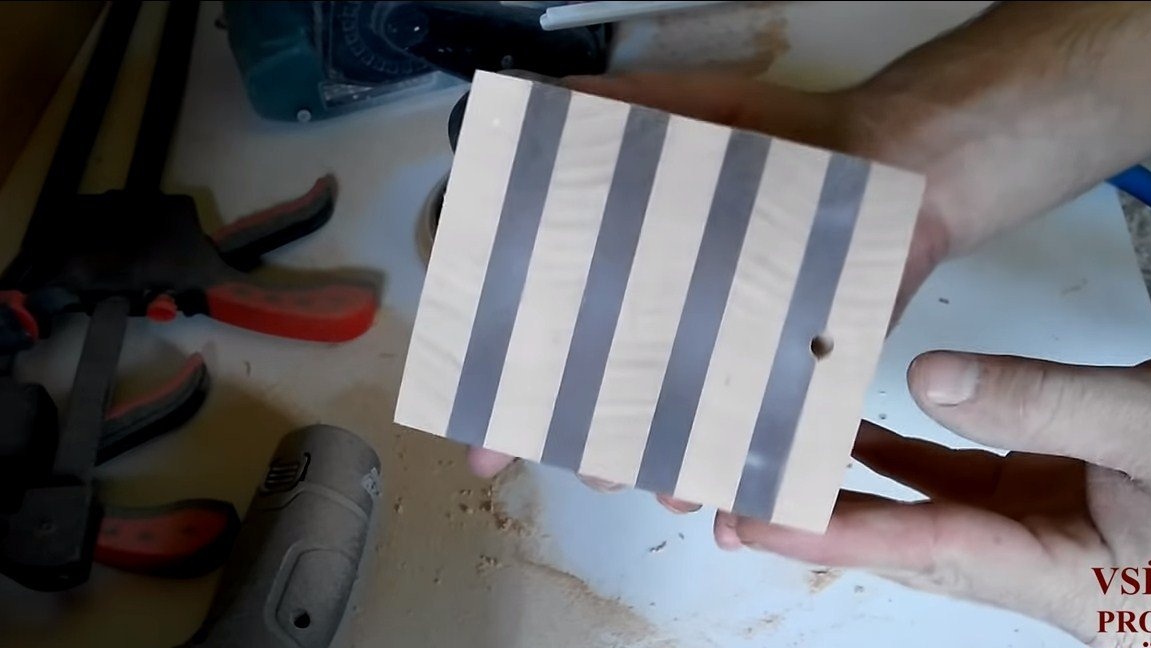
First we have to prepare the necessary parts for the assembly of the body. Here we need rectangles made of wood and acrylic. Materials do not have to be the same thickness, but the thicker the acrylic, the brighter the device will glow. We cut the material and drill a large diameter hole in the center of the workpieces. A wooden rod with an installed LED strip will be inserted here. Here you will need a drill and a special head or crown for drilling.
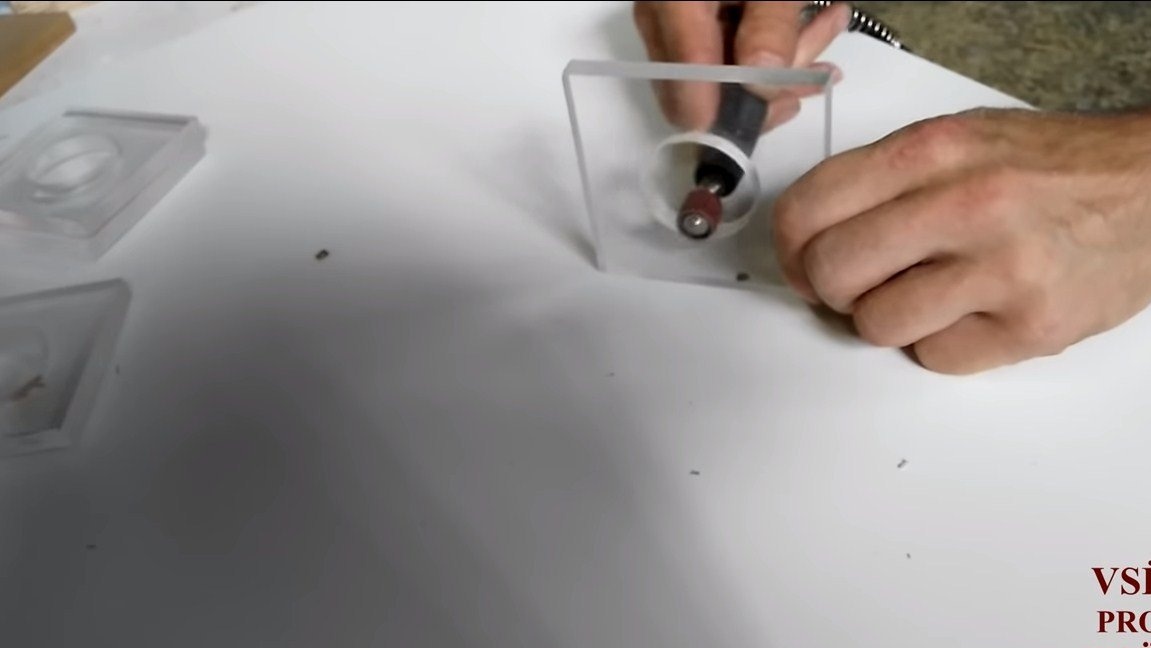
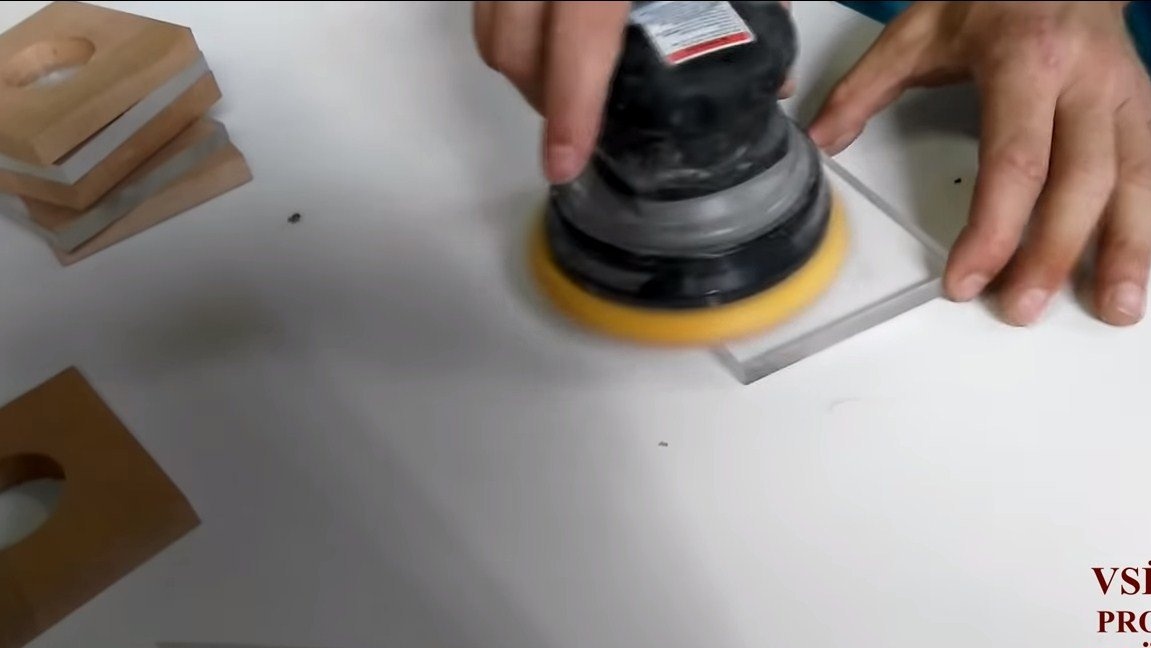
At the end, we grind the manufactured parts, this also applies to acrylic. Due to the fact that acrylic will become dull after polishing, it will scatter light well, which is what we need.
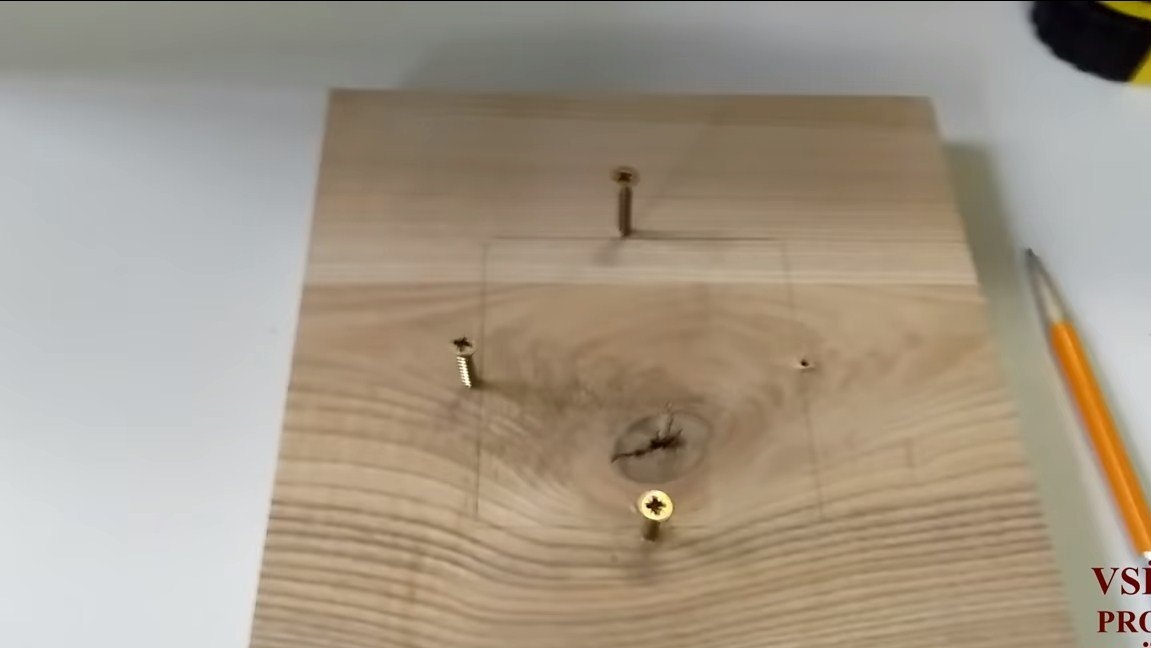

Step Two Top and bottom
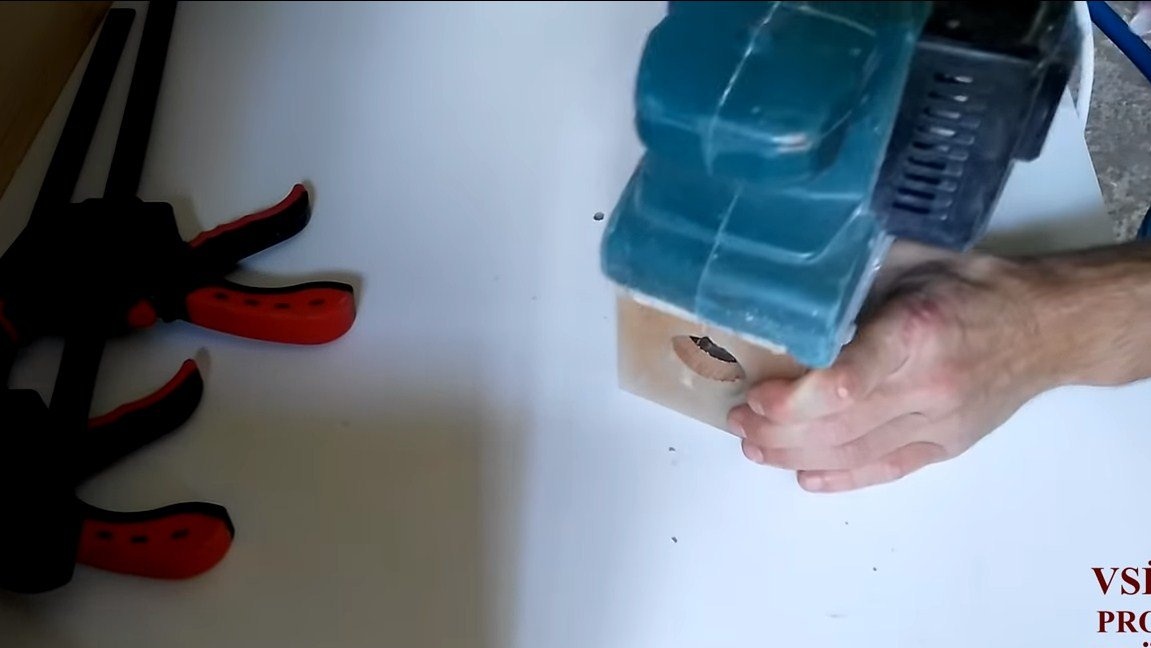
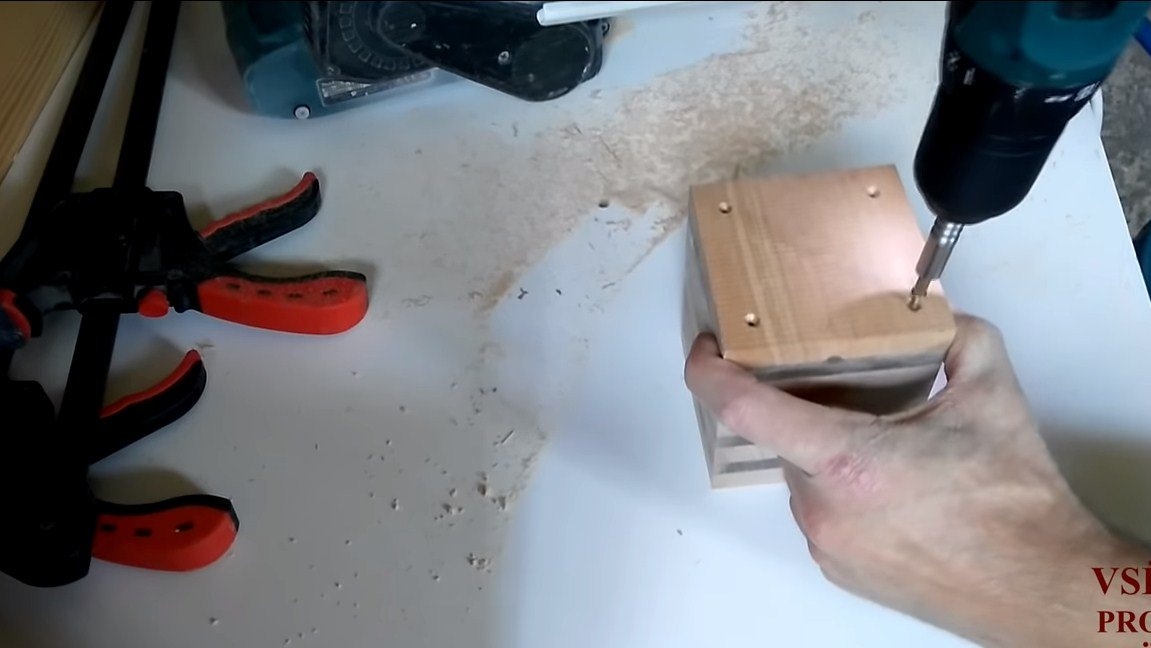
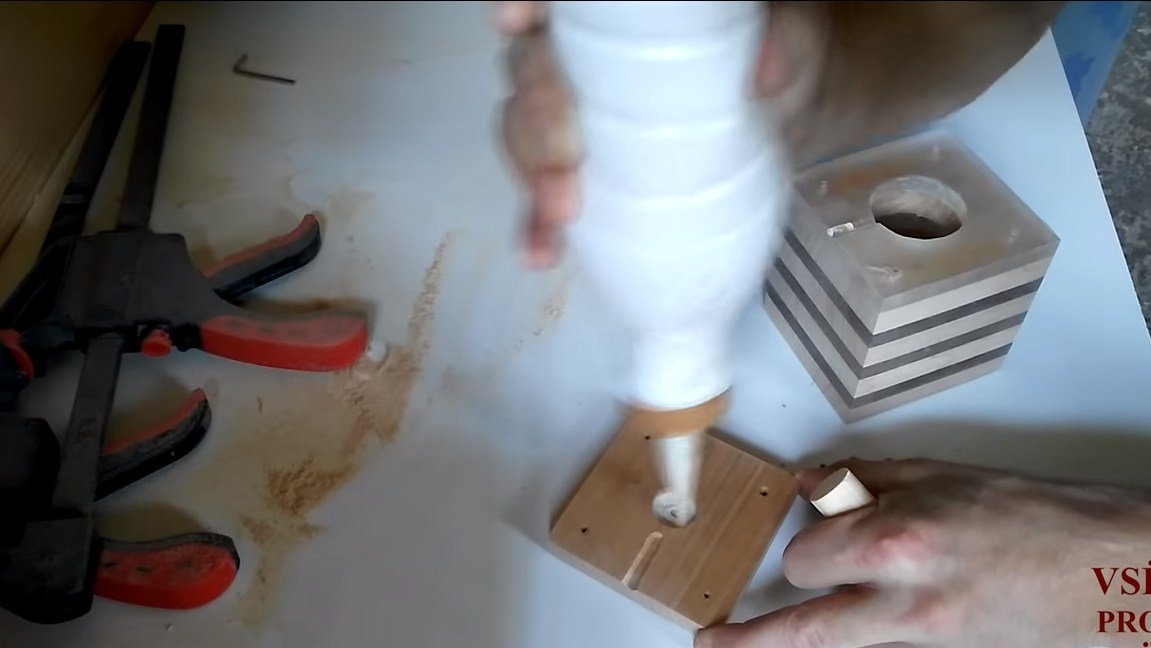
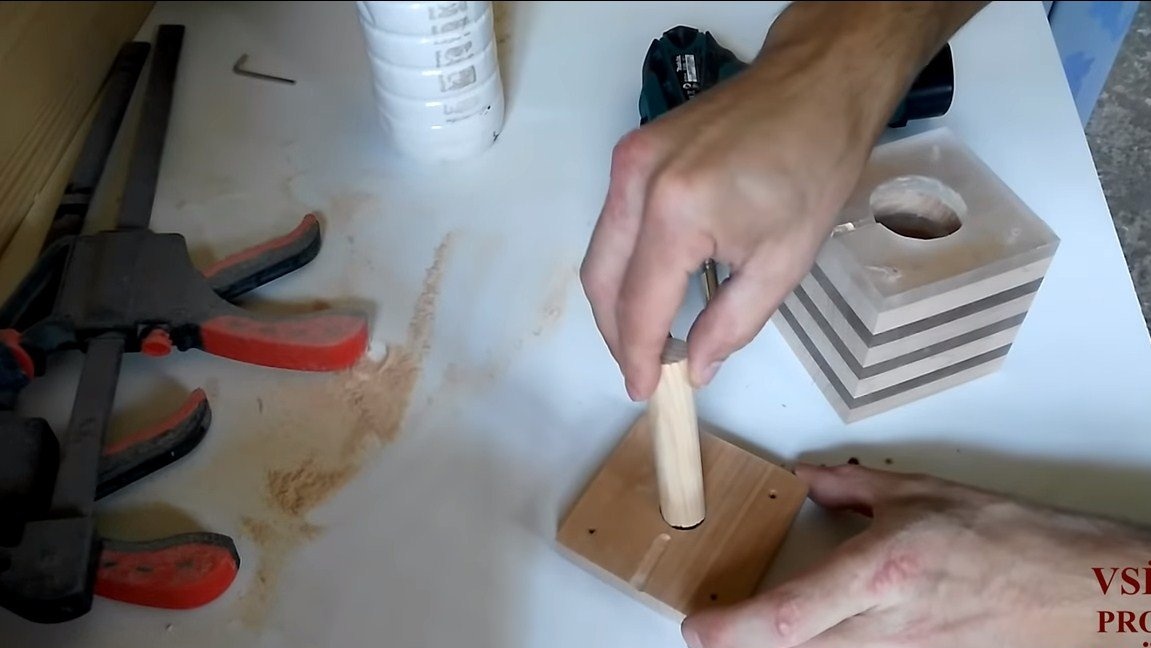
We will finalize the upper and lower parts of the lamp, here we need to make recesses under the wooden rod.
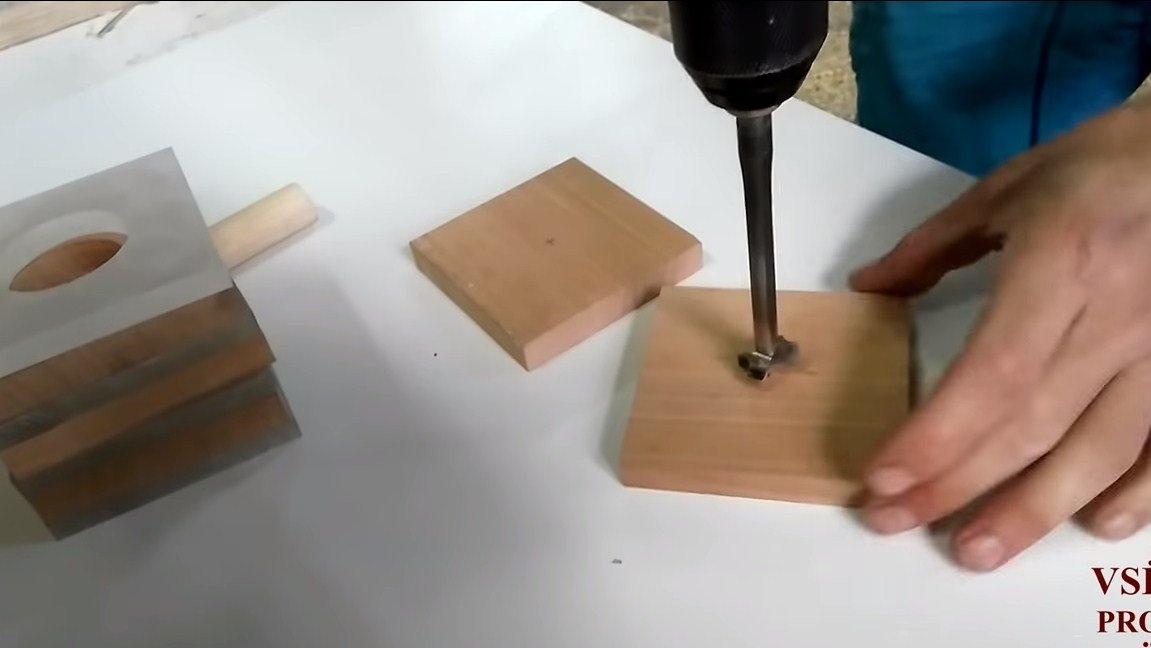
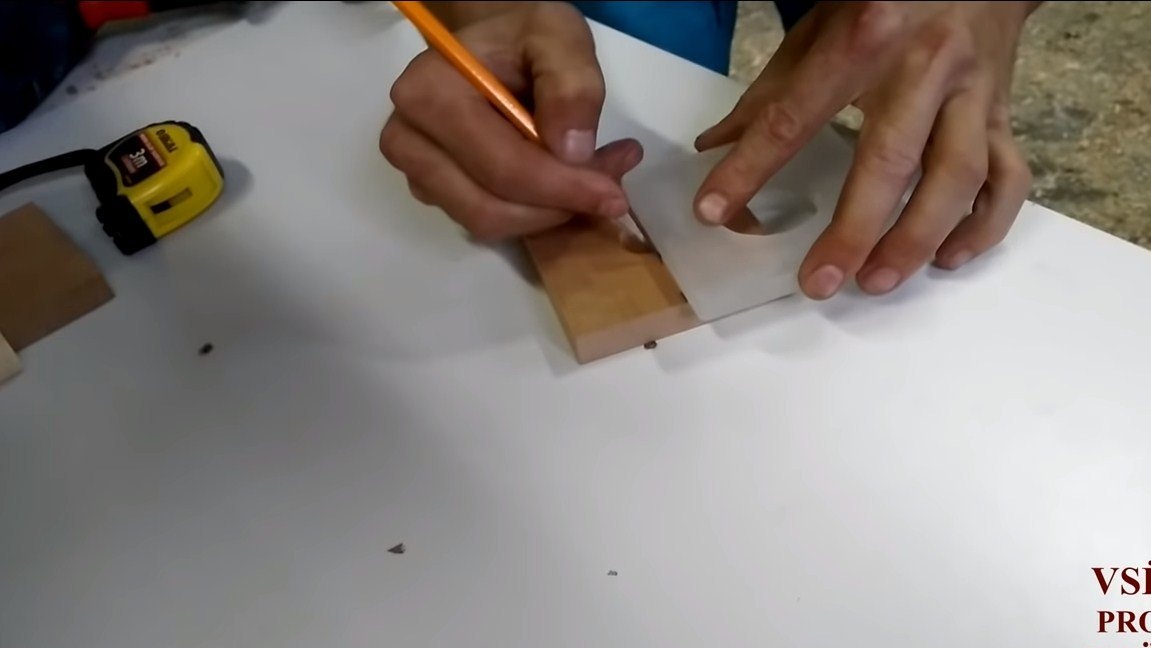
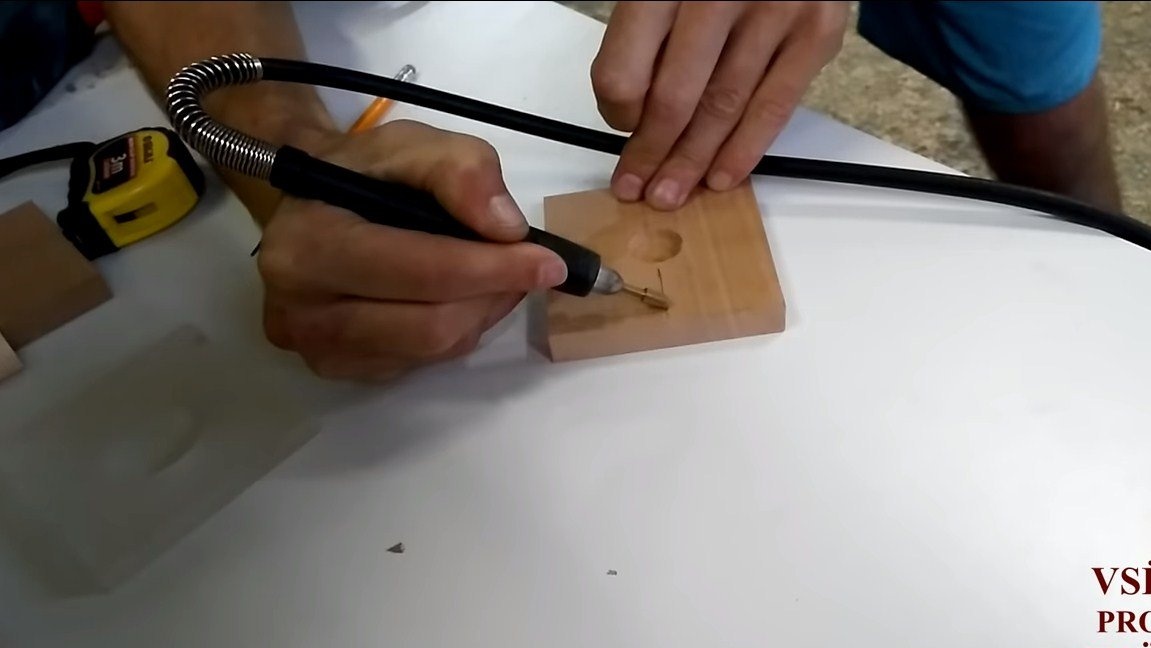
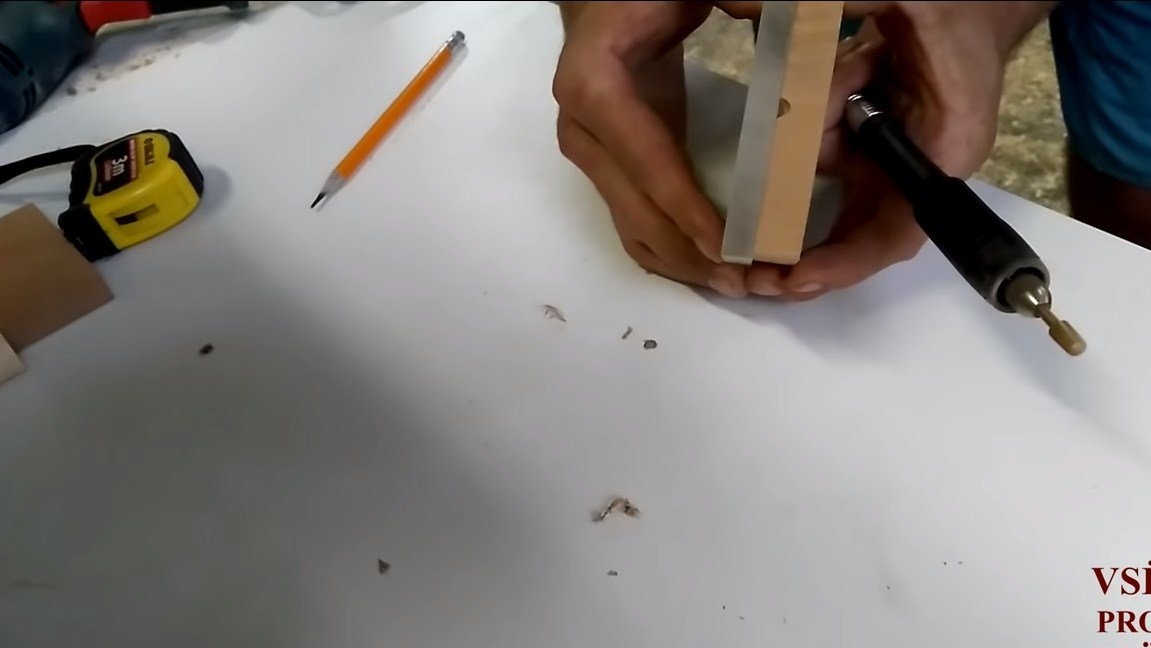

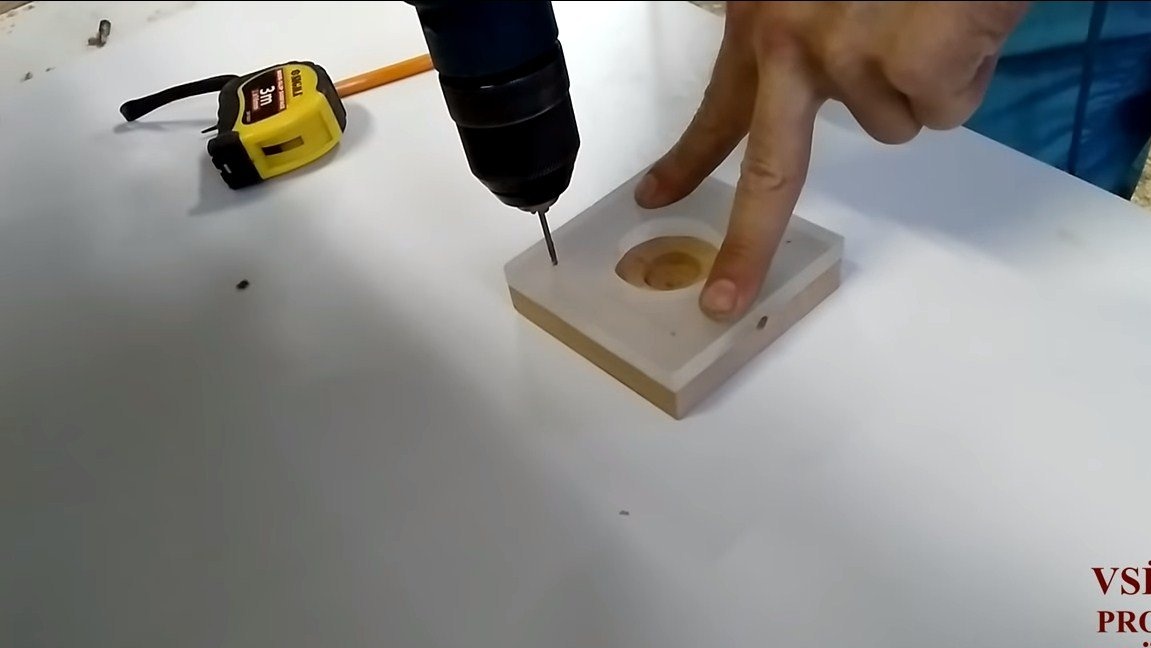
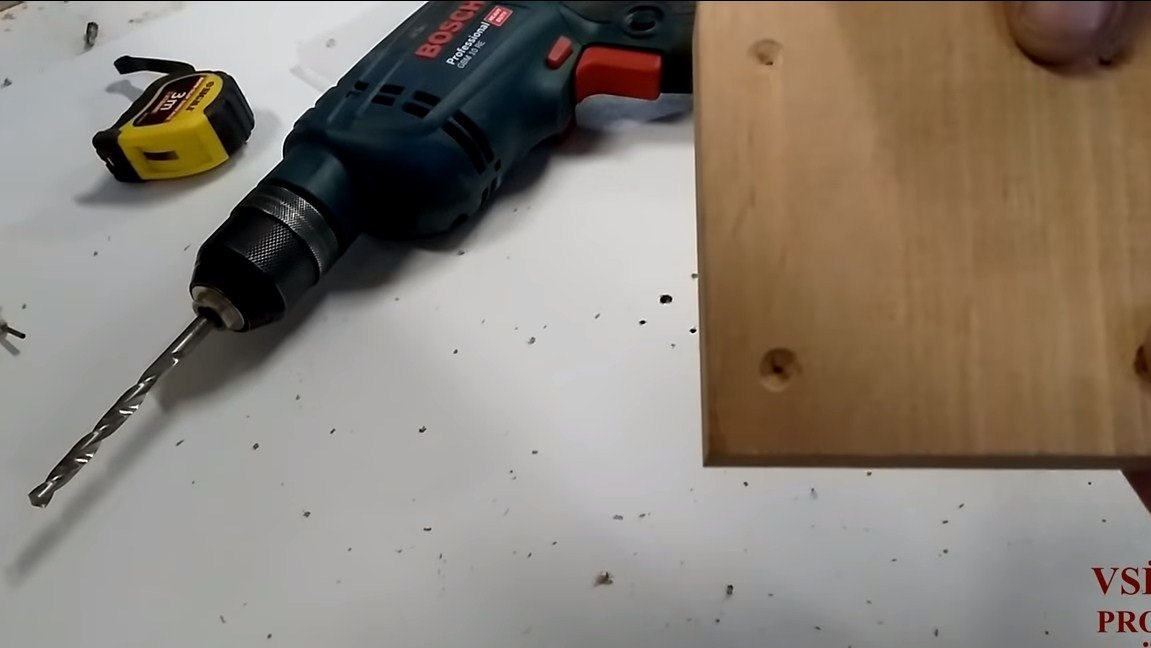
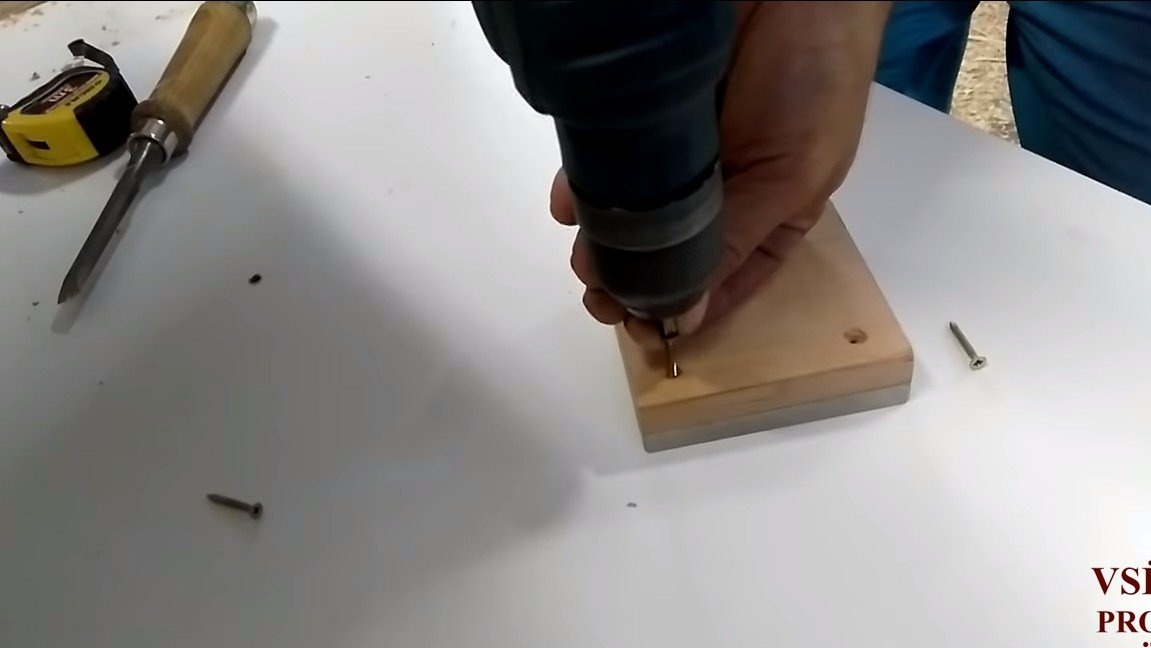
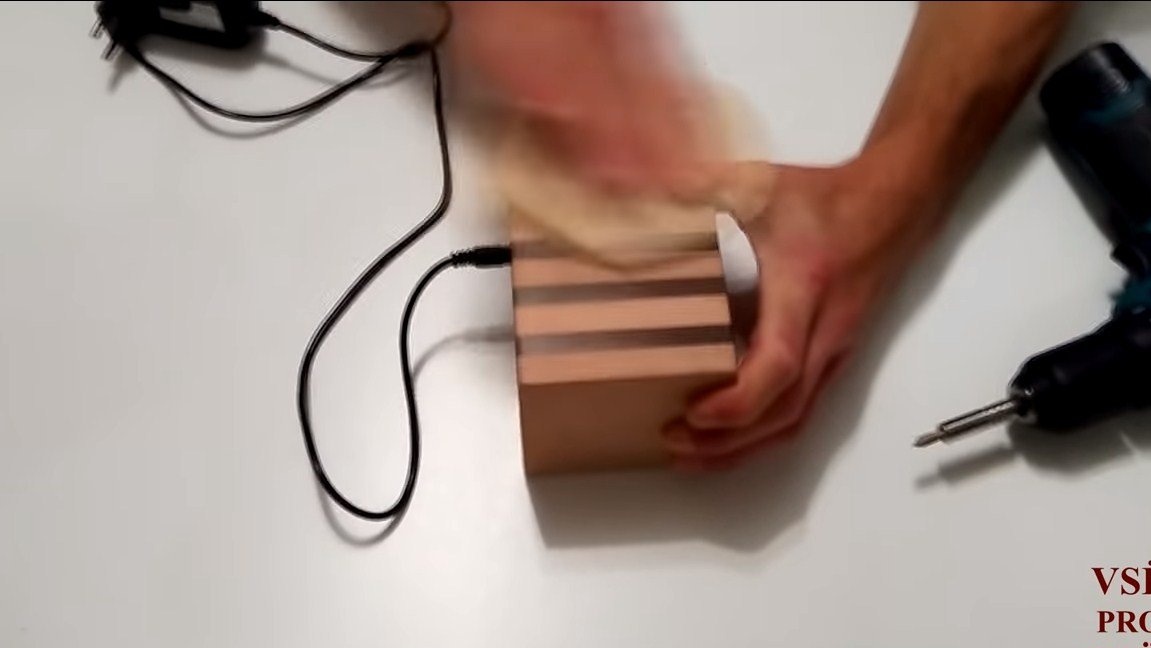
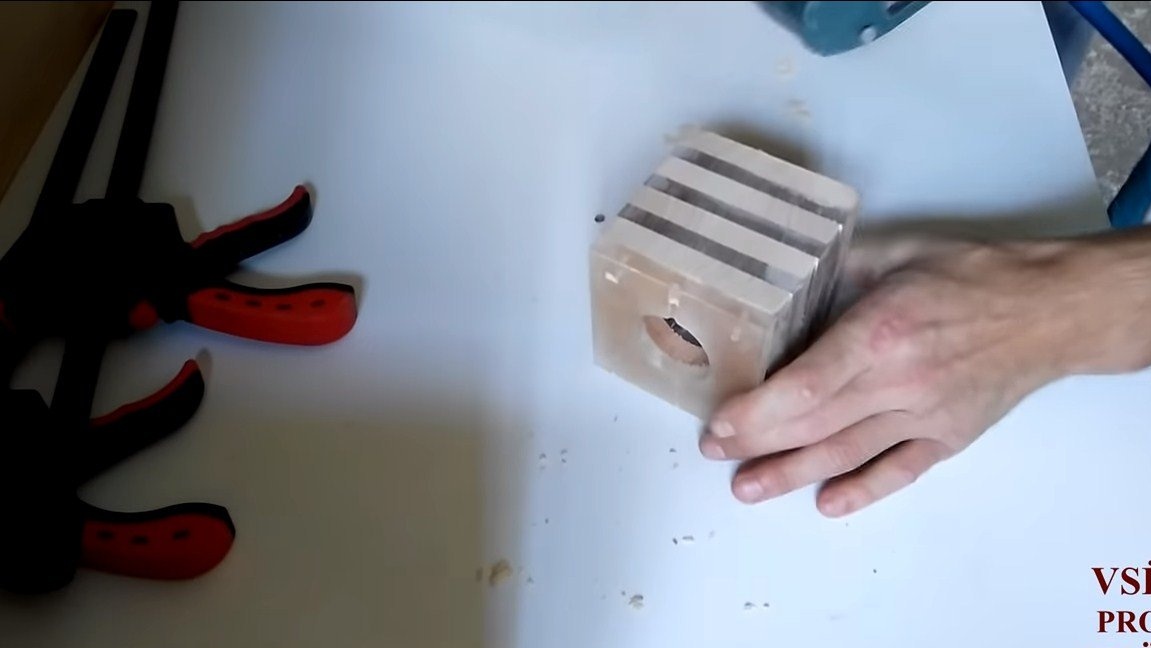
As for the bottom cover, it is necessary to drill 4 holes for self-tapping screws in it, this part will be removable. We also need to make a recess under the nest for charging in the lower part, its author makes a drill. We make a similar groove in the adjacent acrylic sheet. As a result, we get a hole between the parts, where we will later install the socket. Details can be fastened with self-tapping screws.
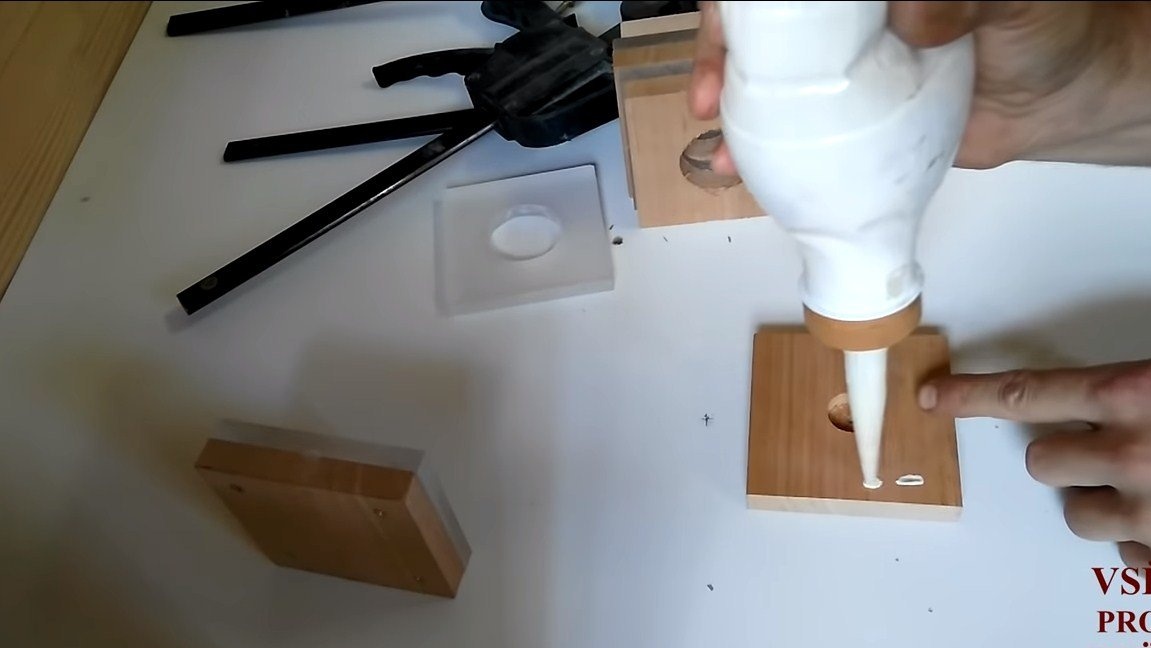
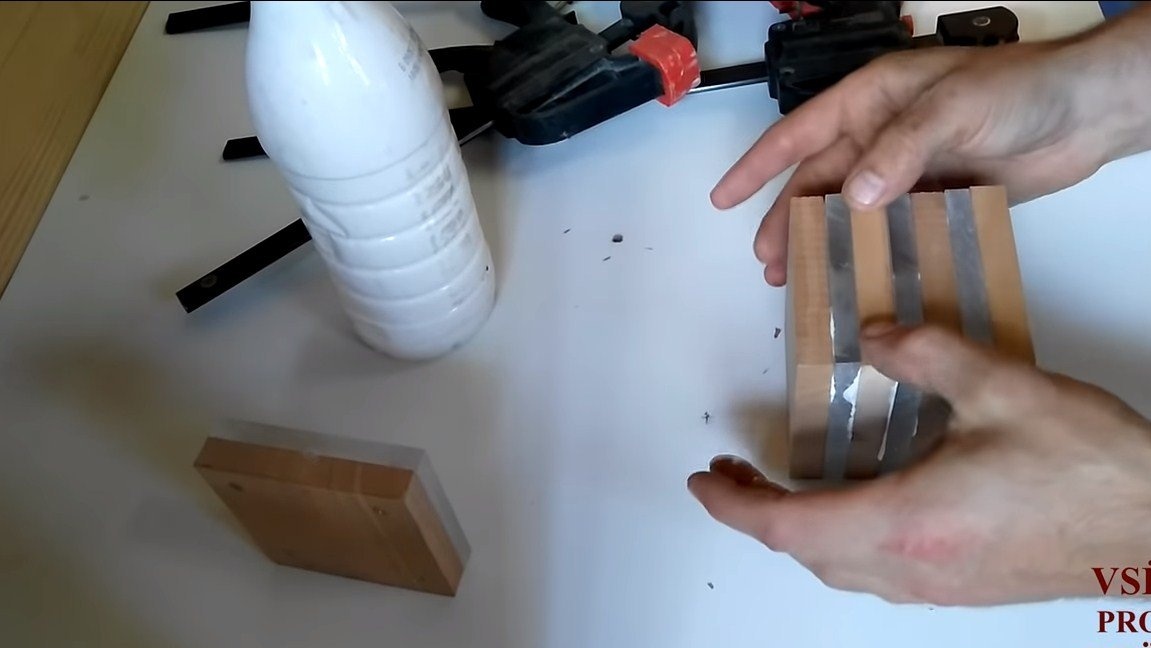
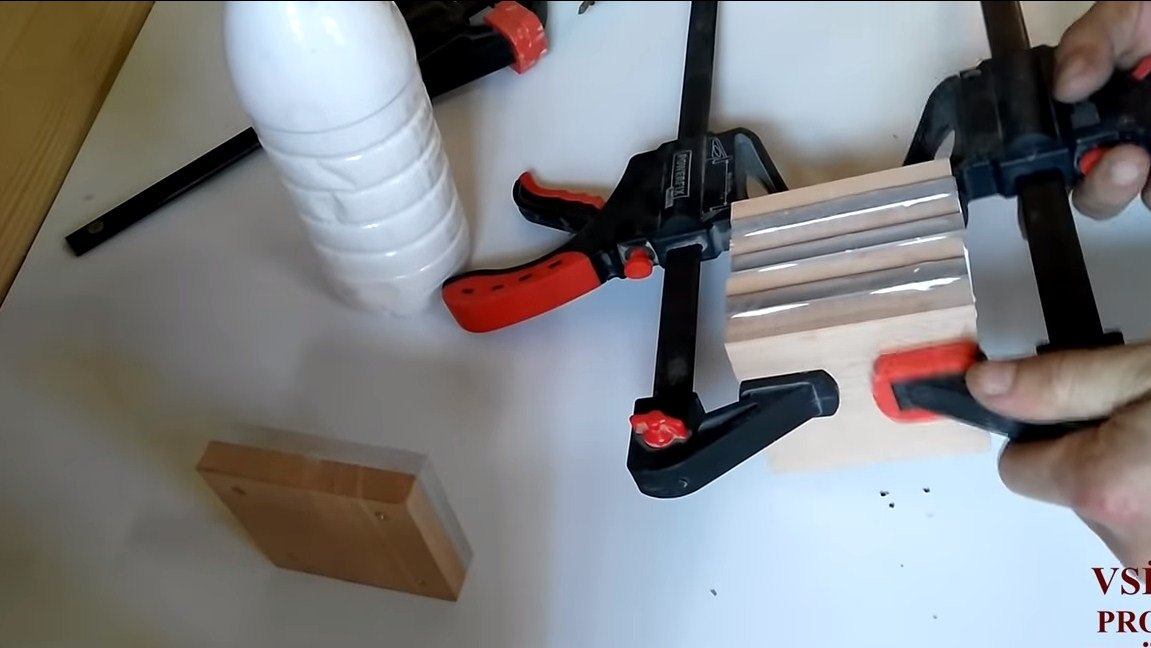
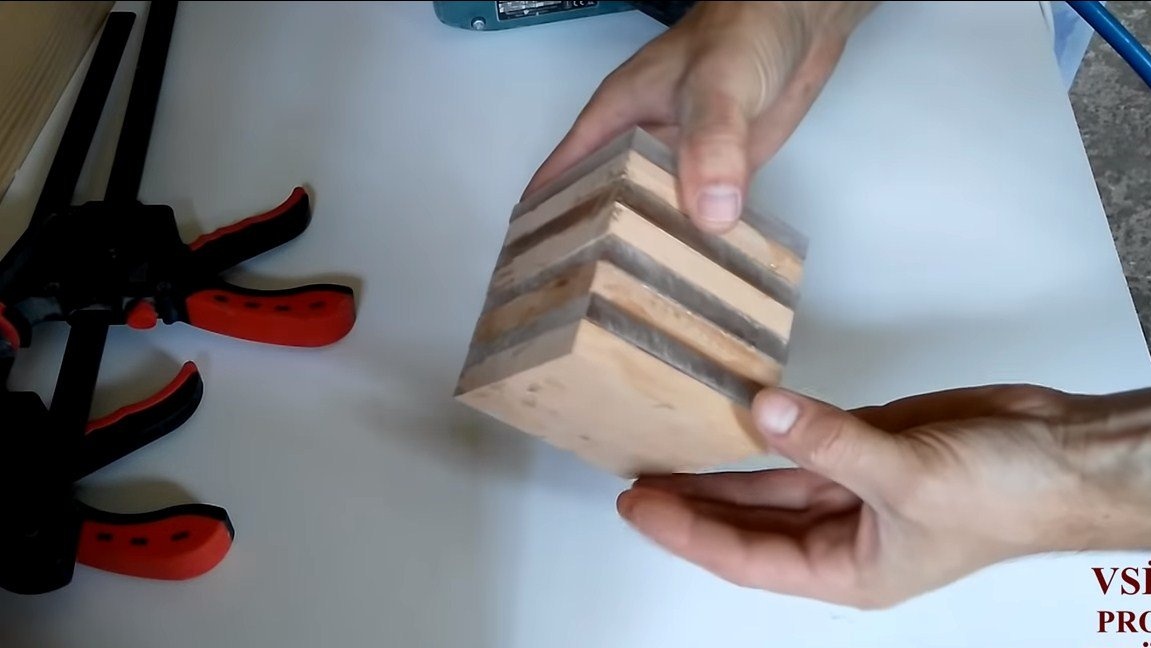
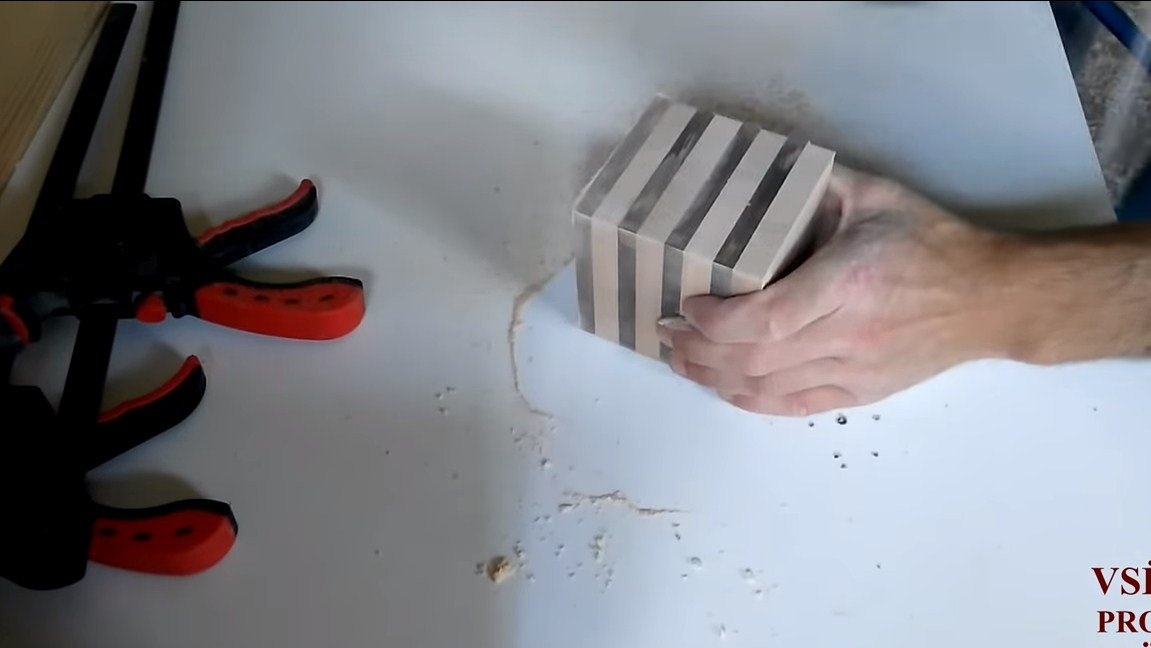
Step Three Body assembly
You can start assembling the lamp housing. We need to glue all the parts together, then carpentry glue, epoxy or the like, will do. Well we tighten everything with clamps and let the glue dry.
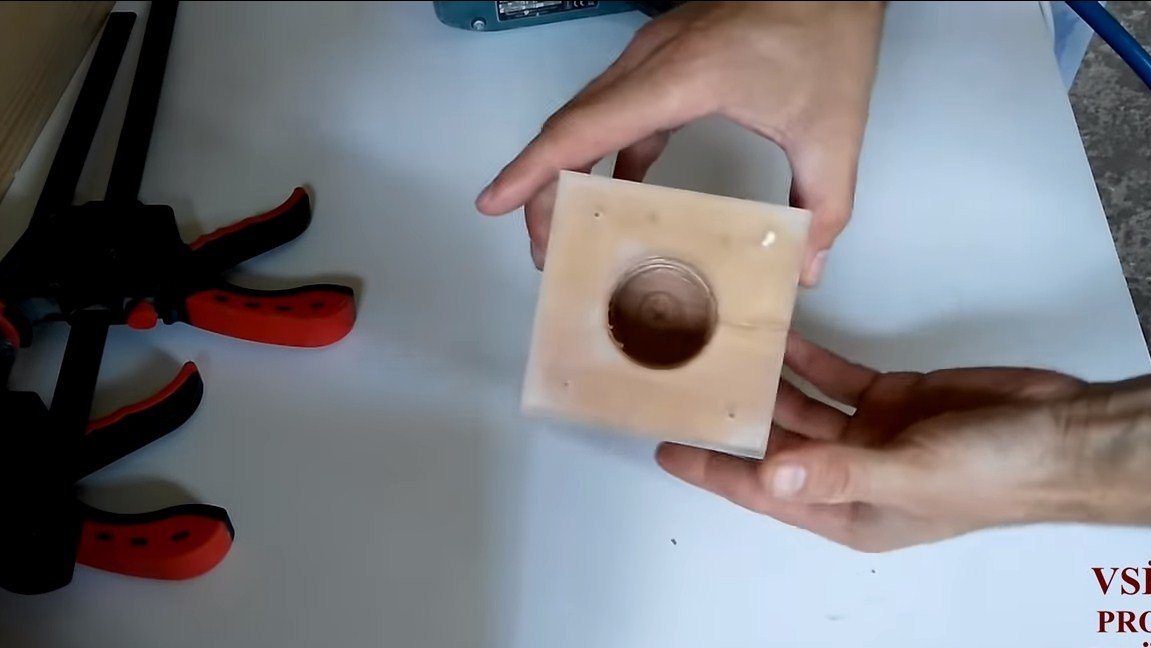
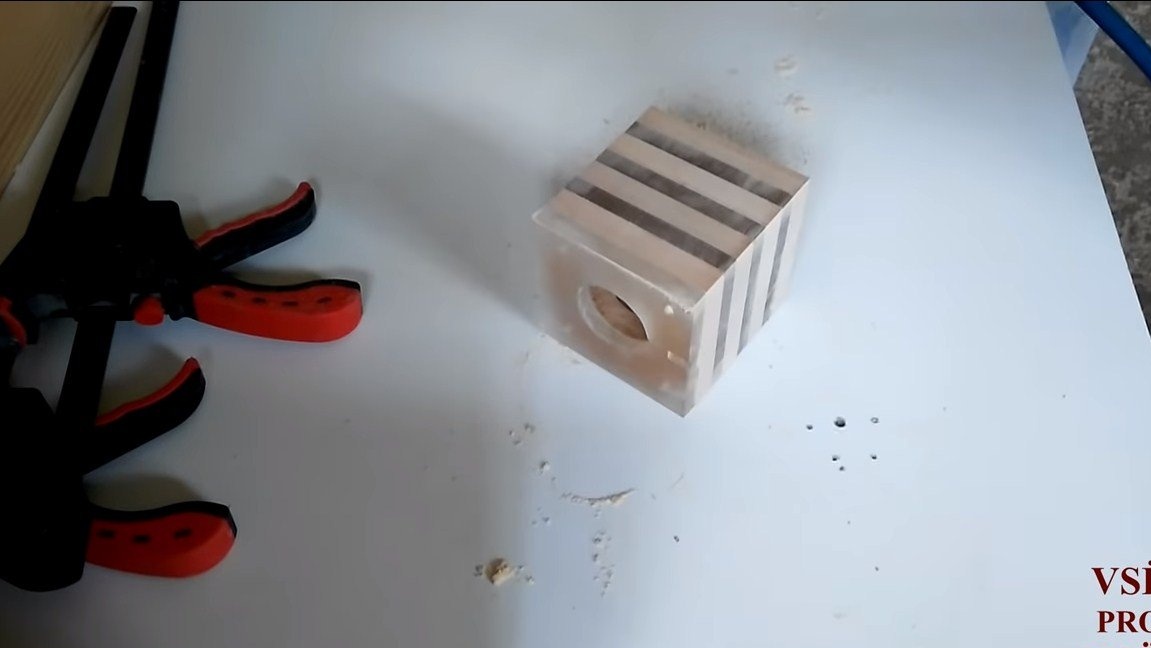
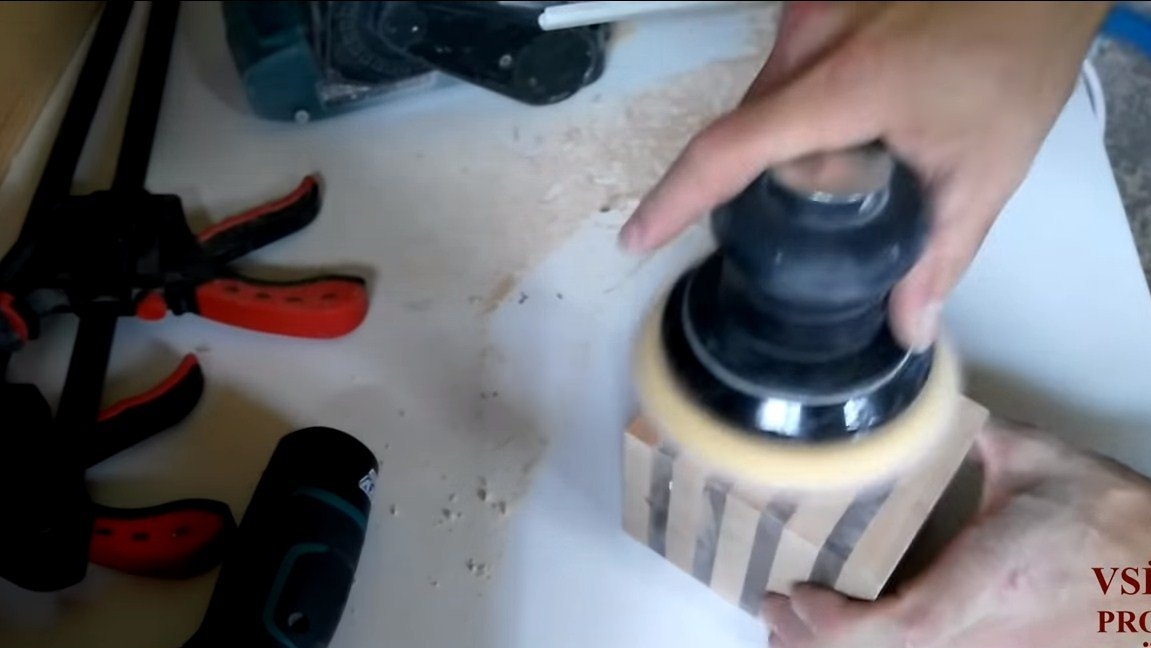
After drying, we proceed to grinding, we level the planes with the help of a manual belt grinder. Next, we proceed to finer processing, the author uses an orbital machine for this. As a result, the body takes on a finished look.
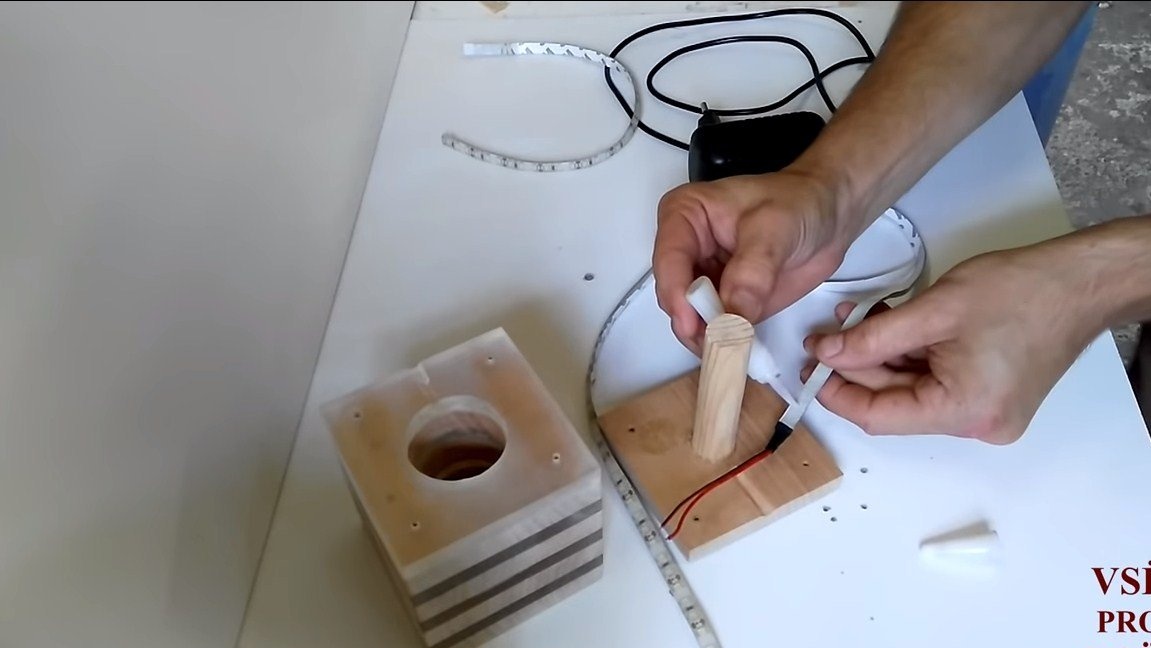
Step Four Setting the filling
Inside the lamp we need to install an LED strip, for its installation we glue a wooden rod into the base. You can glue the tape, although it is self-adhesive, it is better to additionally fasten its tips with superglue. We fix one of the ends with glue, wind the tape and fix the other edge in the same way.

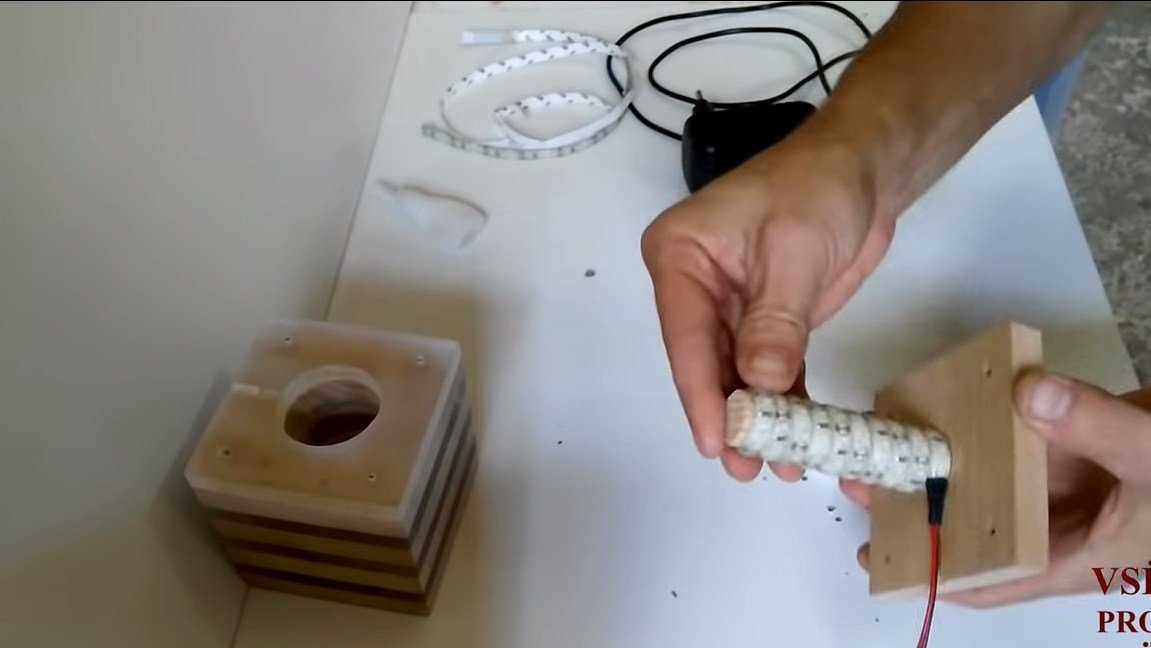
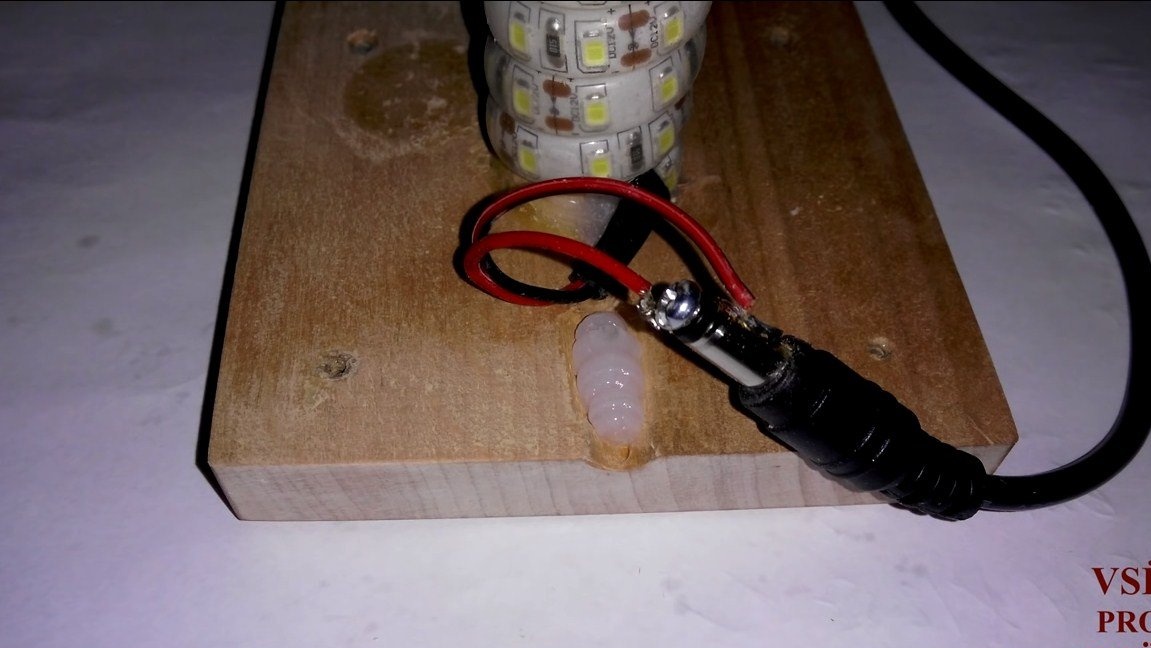
At the end, you need to solder the socket for the power supply to the wires without reversing the polarity. The nest itself is fixed with a glue gun. That's all, now we fasten the lower part to the body.
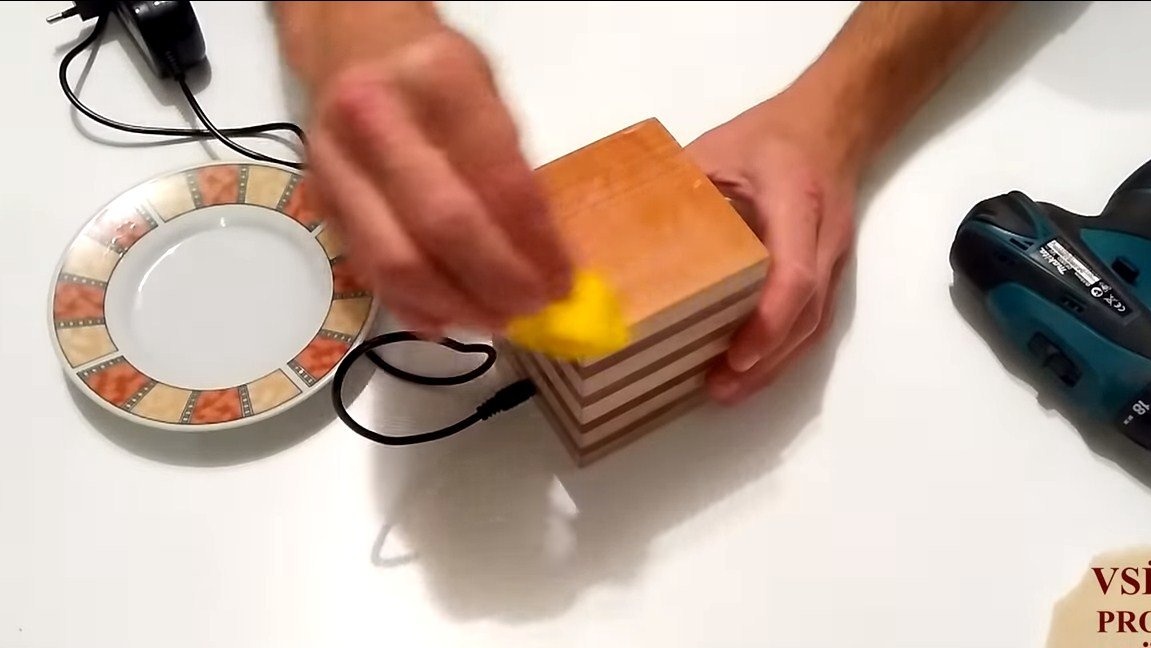
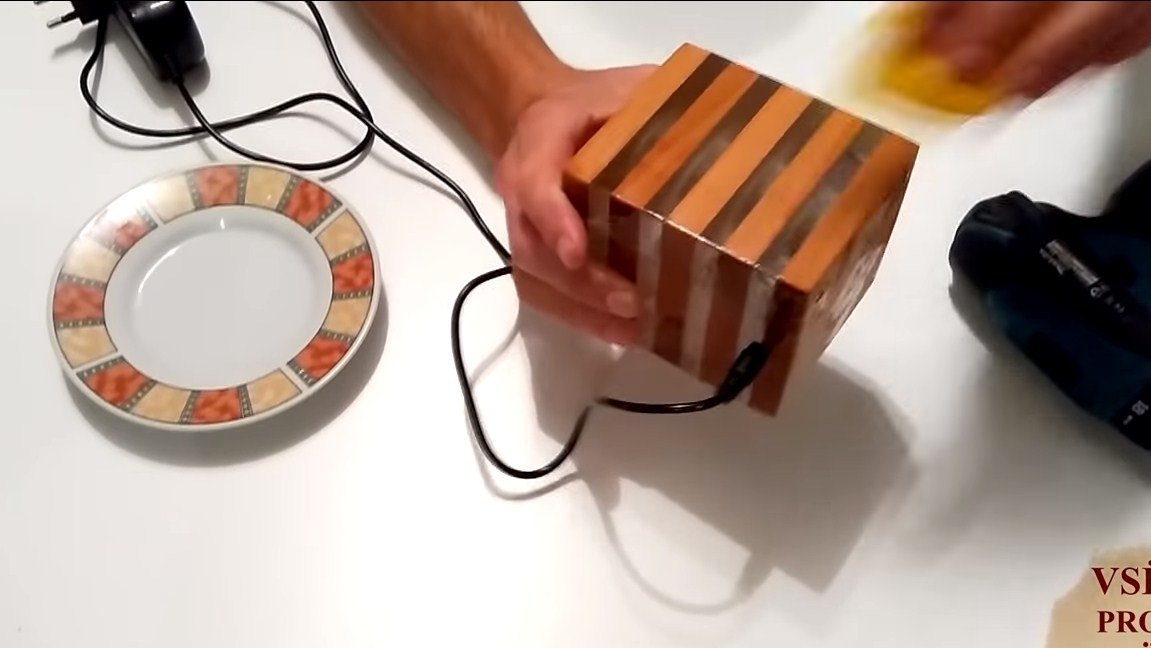
Step Five Impregnation
We impregnate the lamp housing with oil, the tree from this treatment will look very beautiful. As for acrylic, it will become transparent under the oil.
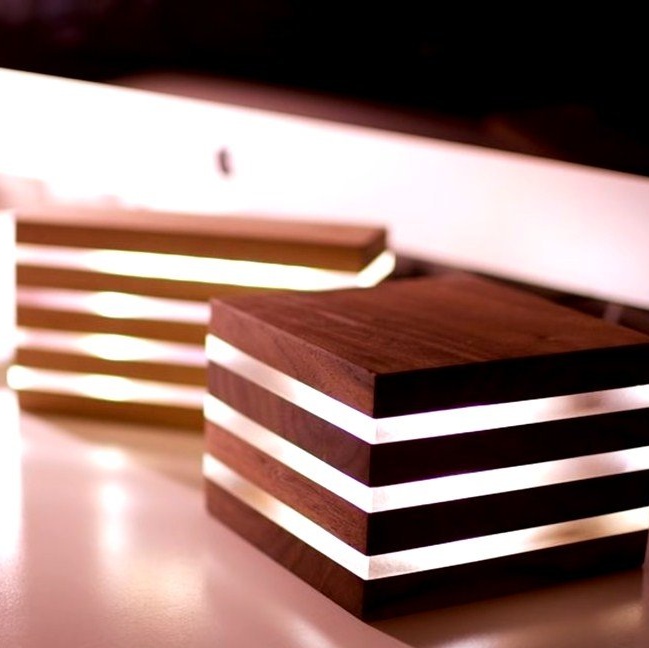
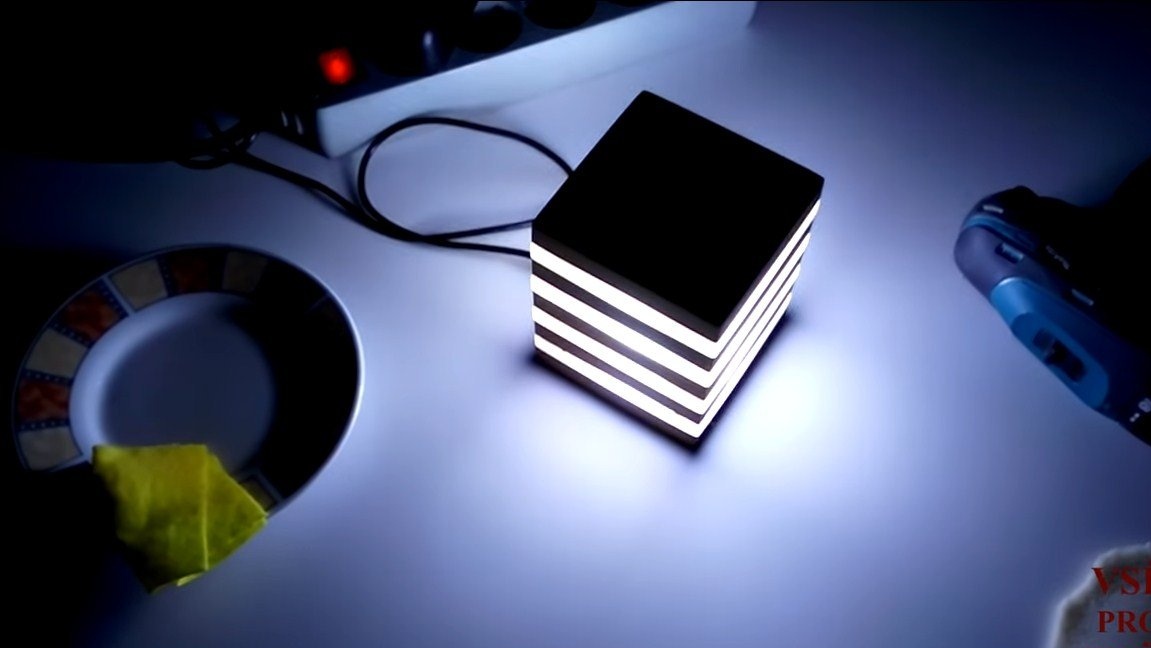
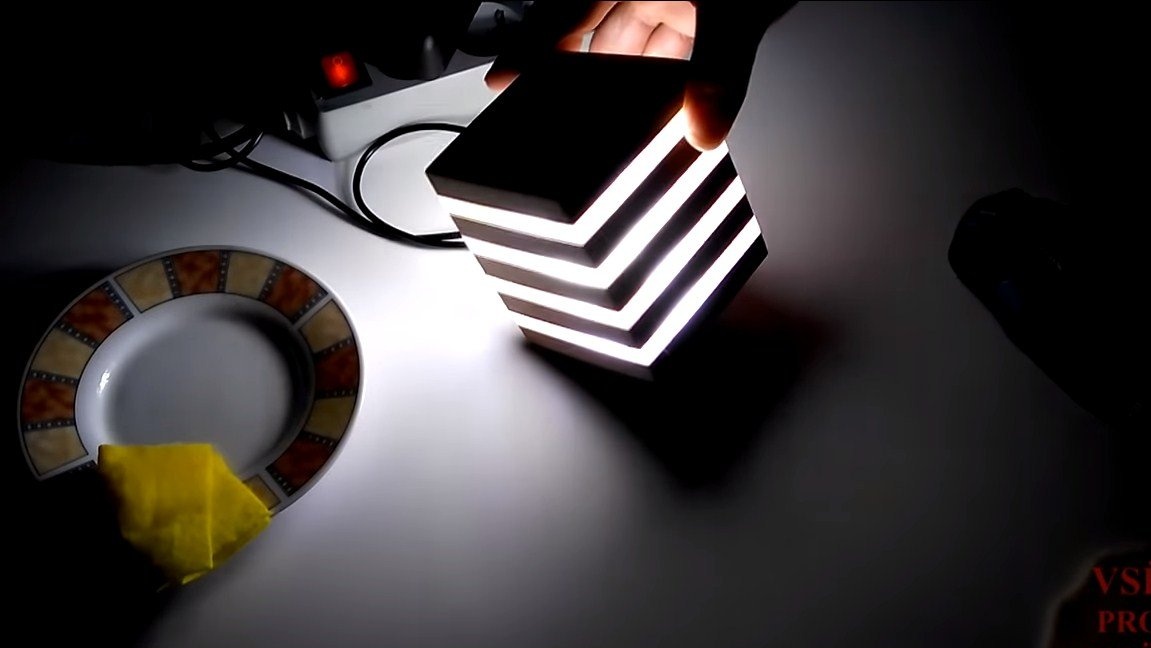
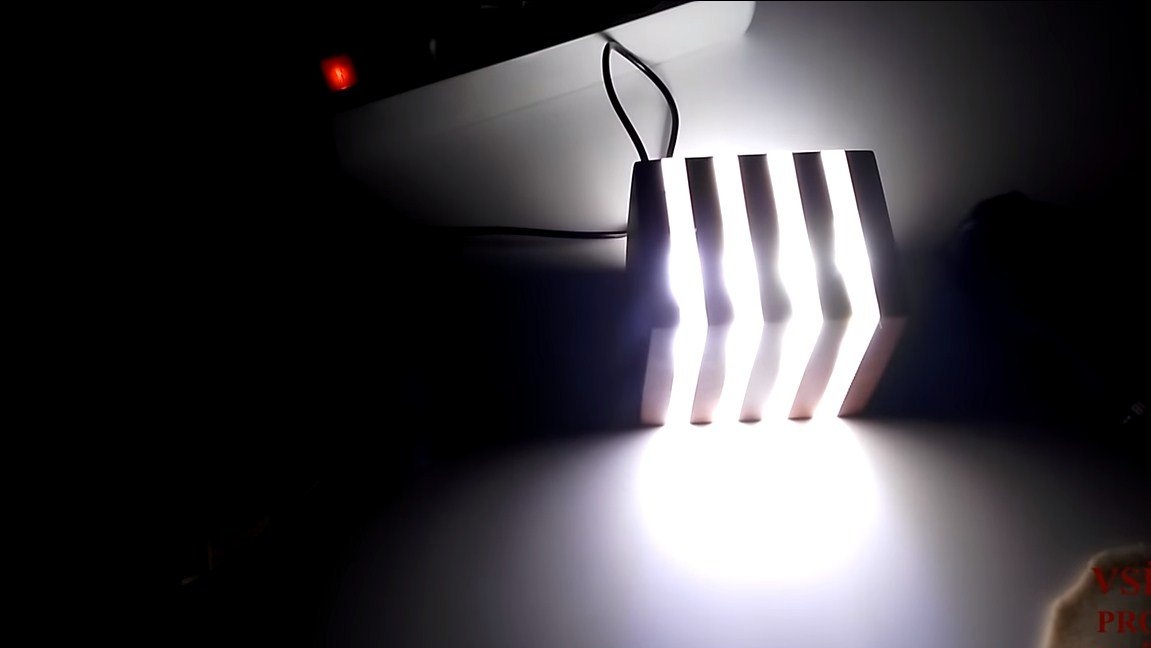
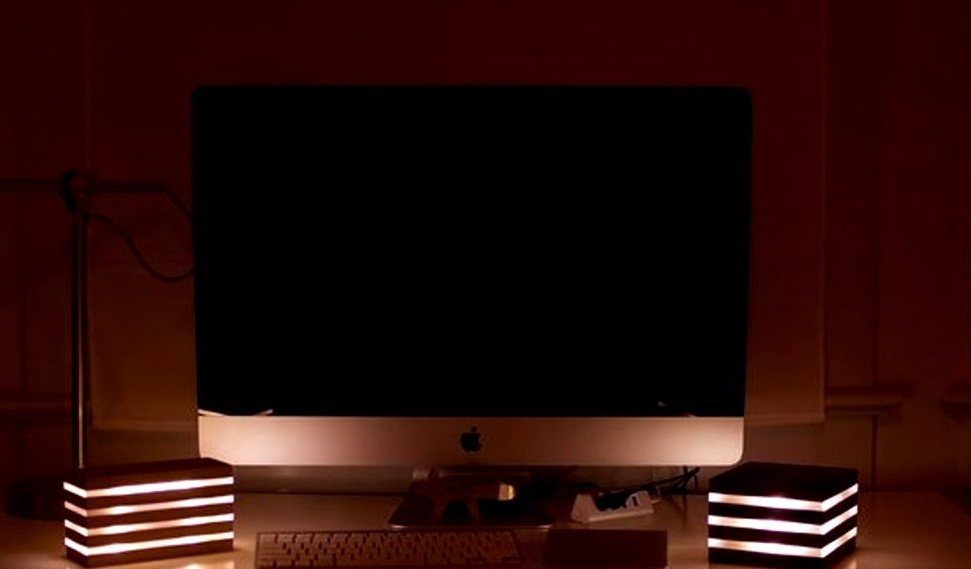
That's all, now the lamp is ready, you can experience it. We connect the power supply and enjoy a wonderful glow! Hope you homemade I liked it, good luck and creative inspiration, if you decide to implement a similar project. Do not forget to share your ideas and homemade things with us!