Shortly before the new year, in many families, men will begin to think about how to fix a living Christmas tree at home. If the spruce is artificial, most often no questions arise. Old crosses made of two slats with a hole in the middle do not give the tree the necessary stability, and when there are small children in the house, this becomes the main requirement. Often, even the old crosspiece simply cannot be found among the many things that filled the pantry or basement.
We suggest you watch the video, which shows the whole process of creating a cross for the New Year’s beauty
In order to make a cross, we need:
- board;
- screws;
- a hacksaw;
- drill;
- drill;
- screwdriver;
- a pencil;
- furniture stapler.
To create the simplest cross for a Christmas tree, it is best to take a pine board, the thickness is best taken 2 cm.
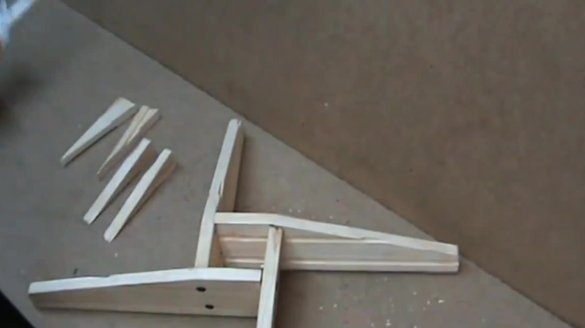
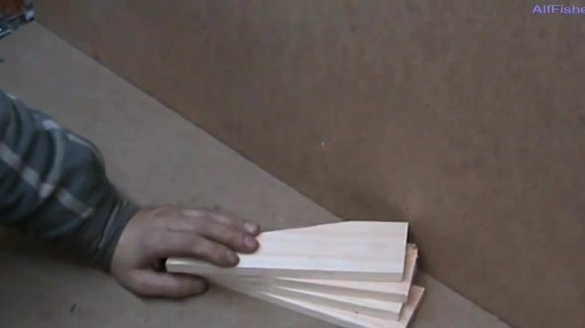
We cut the board into four parts, each should be 300 mm long and 80 mm wide. Dimensions are based on the fact that the tree will be about two meters in height.
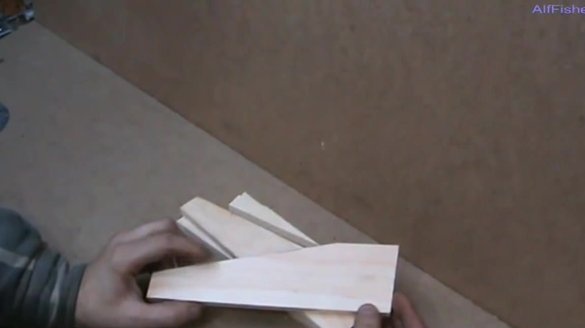
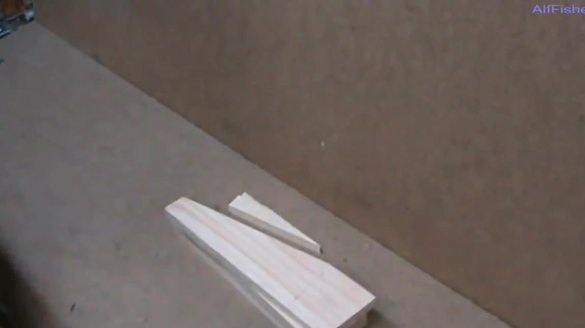
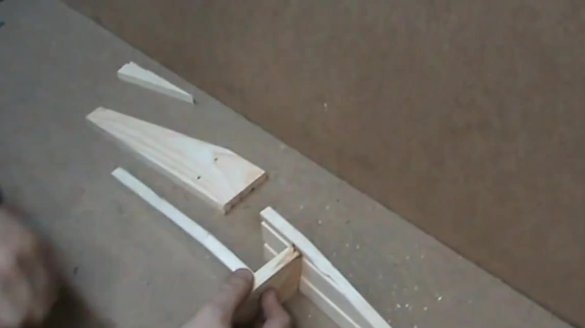
On each part, we cut from the middle to the edge at an angle of 45 °. And on the other hand, we make a saw cut from the ends at an angle of 5 ° (instead of the usual 90 °, to get 85 °). This is necessary so that when assembling our crosspiece near the hole, a slight narrowing is obtained.
Cropping should not be thrown away. They can be used as wedges for a more reliable fixation of the tree trunk.
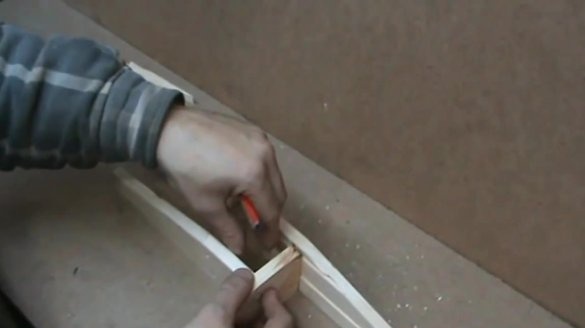
After this, it is necessary to outline the holes through which the fastening of the cross pieces will be made between themselves. On each part it is necessary to make two marks located vertically relative to each other, and the axis on which the marks are made should also be inclined 5 ° from the vertical.
Drills holes by marks.
Due to the inclination of the holes taken into account when assembling the crosspiece, a hole in the form of a trapezoid will be obtained for the reliability of fastening the trunk of the Christmas tree.
We assemble the cross with a screwdriver and screws.
In order for the cross to not stagger and the middle to be higher than the edges, we put small plates of fiberboard on the edges of the legs, securing them with a stapler bracket.
By inserting a tree trunk into the crosspiece, we additionally wedge it with the remaining pieces of the board, if necessary, you can fix the trunk with screws for stability.
You can use the same screws for assembling the crests as for attaching kips board.

