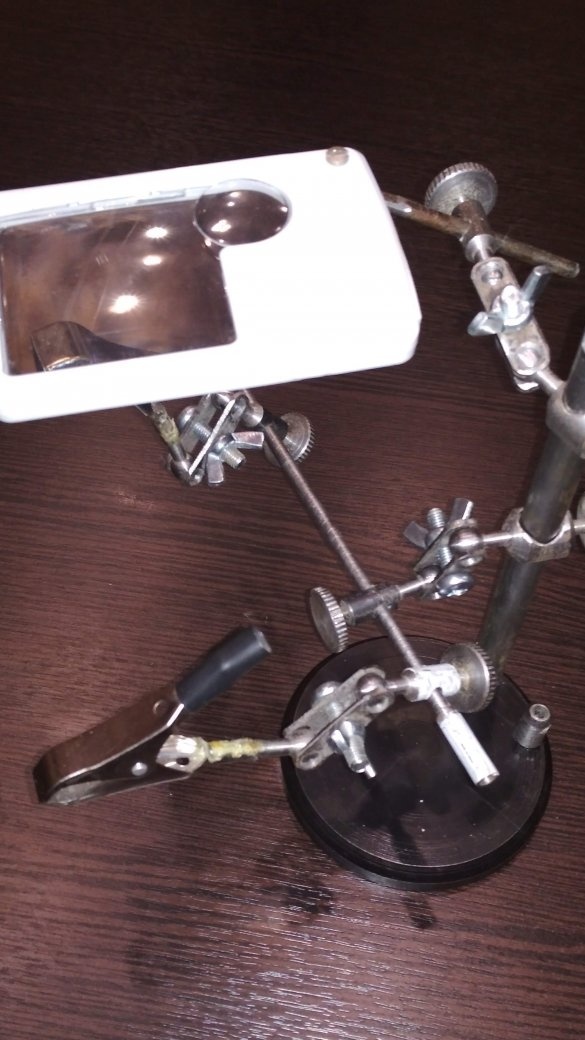
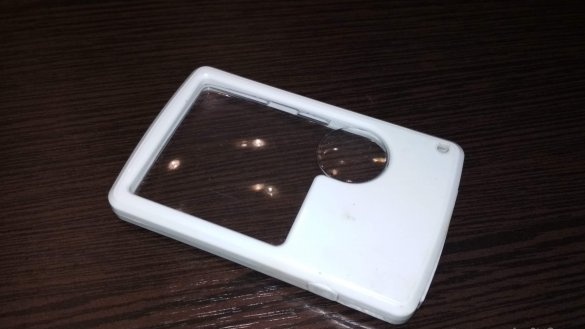
Given device facilitates the work with small parts, in particular when soldering, when it is necessary to fix the components motionlessly, and also they need to be increased and highlighted. There are ready-made racks in the stores, but I decided to do it on my own for my needs, sizes and with the materials that are available. During manufacture, I had to buy two crocodile clips at an electrical goods store, a magnifying glass with LED backlight, a metal strip, a round log with a diameter of 3 mm to 10 mm, and a pancake or square 100x100 mm in diameter or 100 mm in diameter. And so let's go ...
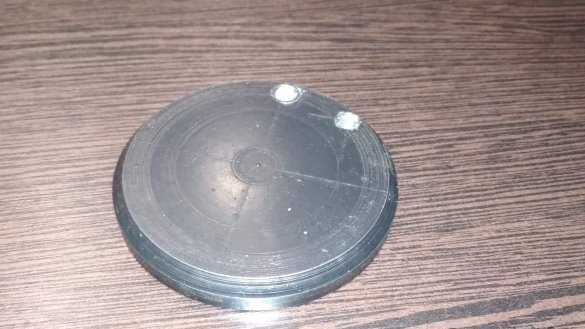
First we make the base, it must be massive in order to withstand the entire structure in a stable position excluding movement on the table surface. I made it from a circle with a diameter of 100 mm and a thickness of 12 mm. I drilled and cut two holes with a 5 mm thread in it, I placed them closer to the edge, since all the details will be on one side.
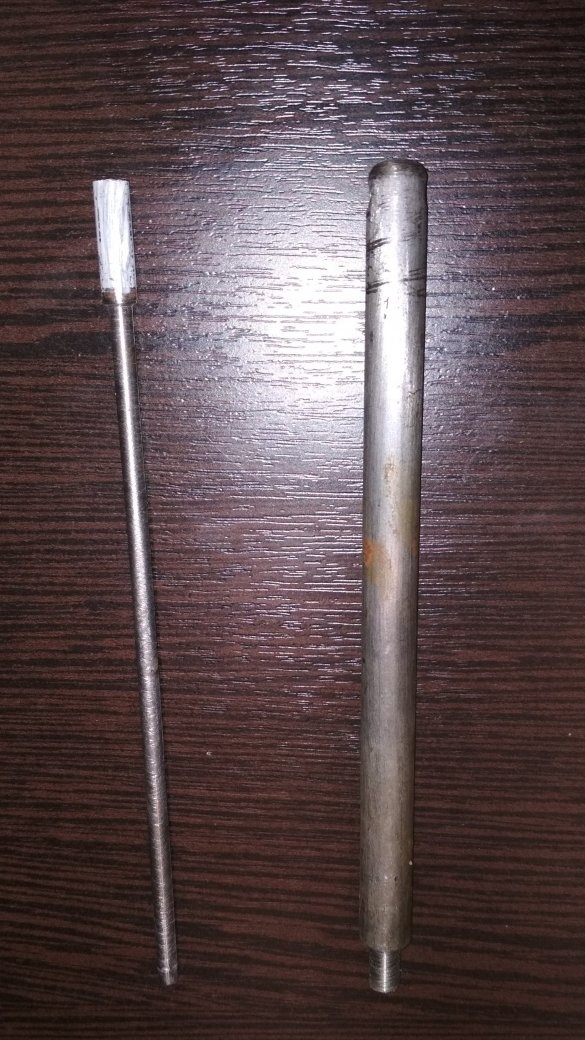
Then he turned a stand, a round log with a diameter of 10 mm and a height of about 150 mm and a bar with a diameter of 4 mm.,
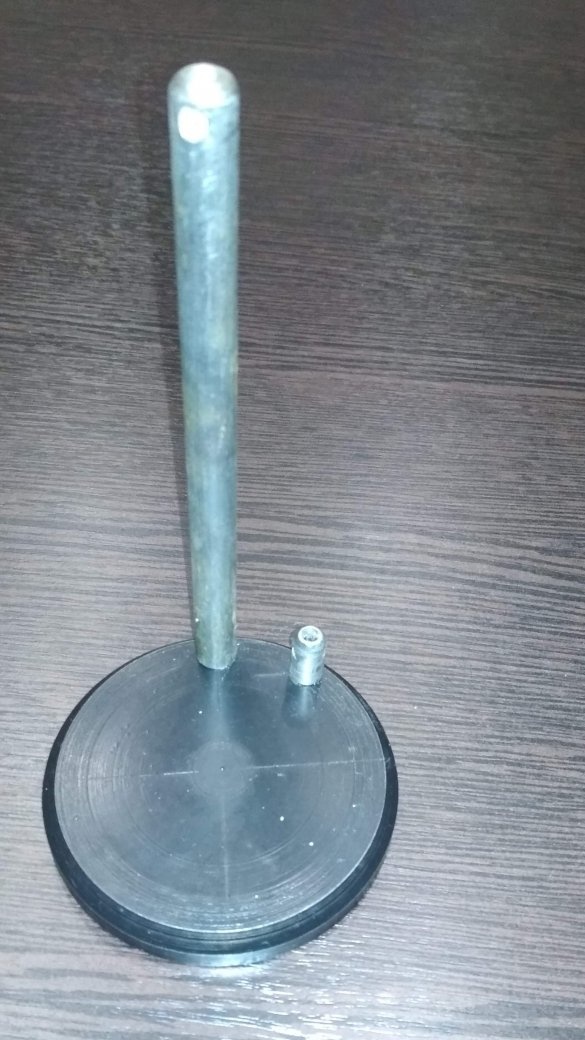
Screwed the stand into the base, that's how it looks.
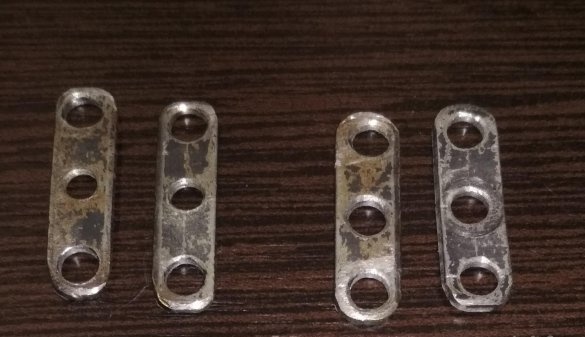
Then, from a metal plate, I cut out parts measuring 40x10x10.5 mm
I drilled three holes in them with a diameter of 5 mm, one in the center and two backsliding from the edge of 5 mm. These will be pressure plates for the “joints”, they need to be made two for each joint. The quantity can be made with a margin so that later, during operation, components can be added.
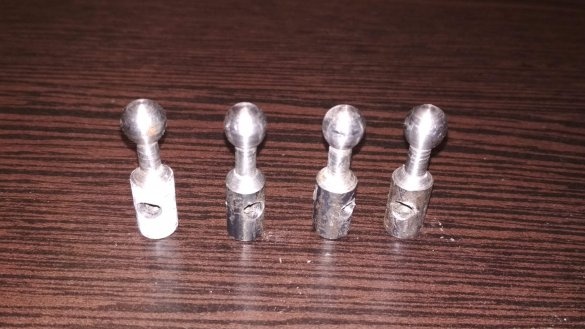
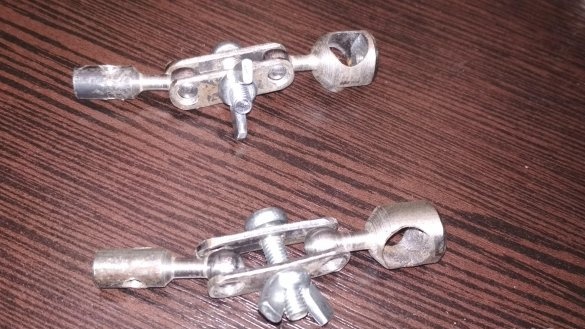
Then he began to manufacture parts for manning joints, some with a diameter of 8 mm.,
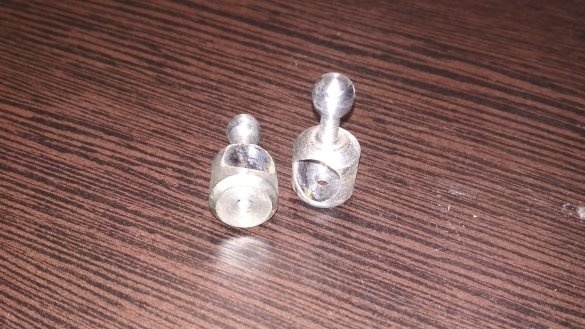
others from round timber 14 mm.
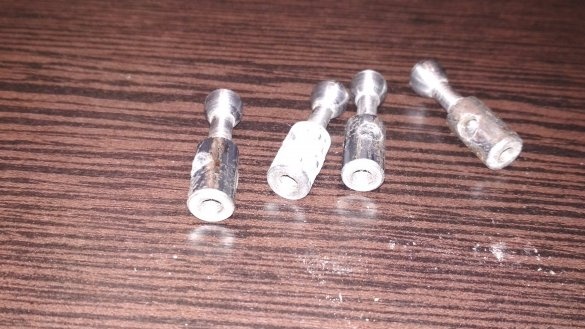
Holes were drilled across them, in small ones with a diameter of 4 mm., In large ones drilled with a diameter of 10 mm., Under the stand. All these parts end with a spherical head, with a diameter of about 8 mm. On the other hand. a hole was drilled along the axis of rotation and a M4 thread was cut.
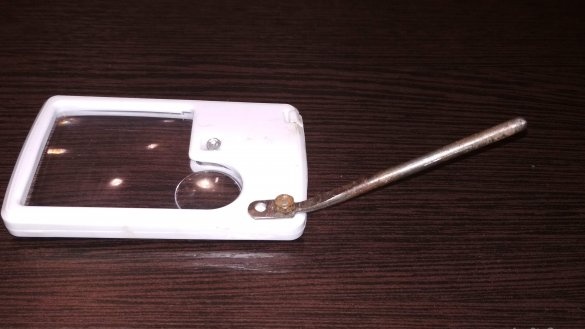
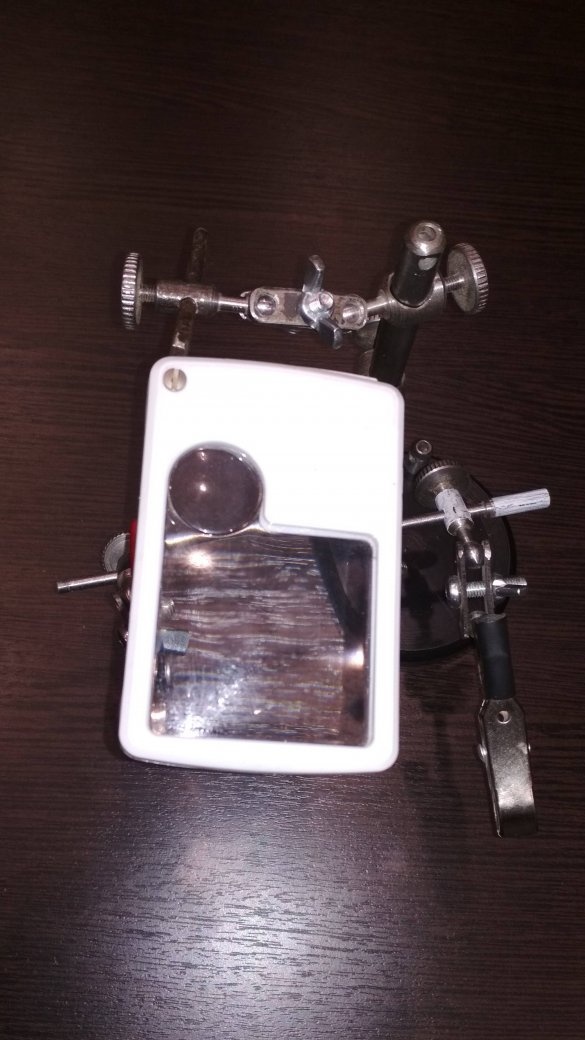
Magnifying glass also needs to be modified to fit your goals, namely to make it with a mount. To do this, we drill a 2.5 mm hole in the corner of the case, only before that I disassembled it and looked to see if there were any wires that could go to the LED and only making sure that I drilled a hole.
I also made a 3 mm electrode piece, from which I removed the coating and cleaned the skin with a sand, the rack, flattened one end and also drilled a 2.5 mm hole in it. By combining these details, I got a magnifying glass with lights on the mounting rack.
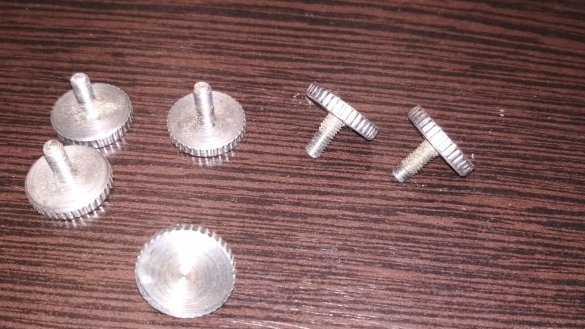
To fix the moving parts, I wanted to use ordinary M4 screws, but decided to sharpen the knurled fixing screws so as not to have a screwdriver on hand, but to reconfigure it quickly with my hands.
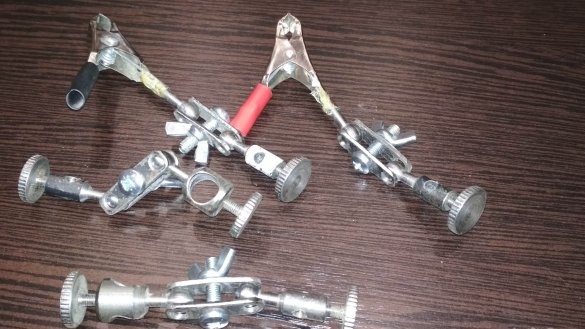
For the same purpose, M5 wing nuts were purchased, which tighten the plates together and thereby fixing the position of the spherical tip of the joint.
Now we take and collect joints and install crocodiles on two of them and put them on glue so that the crocodiles do not rotate and fall.
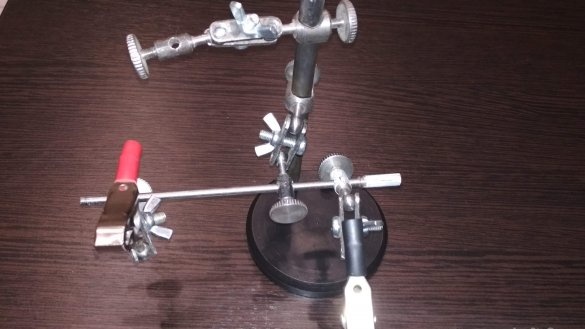
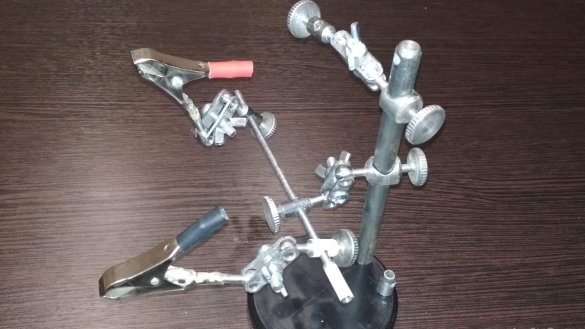
We begin to collect all this on the base platform, on the rack we fix one of the joints, on the second end of this joint we set the headquarters of the suspensions.
On the suspension bar we put two joints with crocodile clips.
On the rack we also wear another joint with a mount for a magnifying glass.
Now the rack has already acquired its working form, several more joints can be fixed on it with additional grips or whatever other auxiliary equipment is.
A sleeve with a hole and a clamp was screwed into the second hole in the base for installing a spiral stand for the soldering iron, but was not installed because the soldering iron overturned the entire structure (a 40-watt soldering iron is very heavy for it). The soldering iron is placed on its stand.
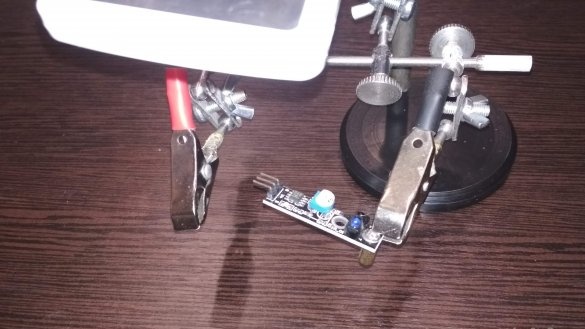
For example, I fixed a small board with a sensor, it holds tight, everything is highlighted, it’s very visible in the magnifying glass, especially in the part where the increase is with a large increase factor.
If you missed something, you can watch it in the video, everything is explained there in stages.
Good ideas and opportunities to bring them to life.


