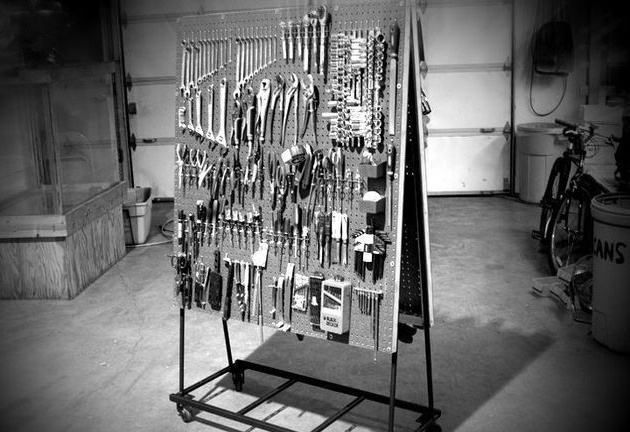
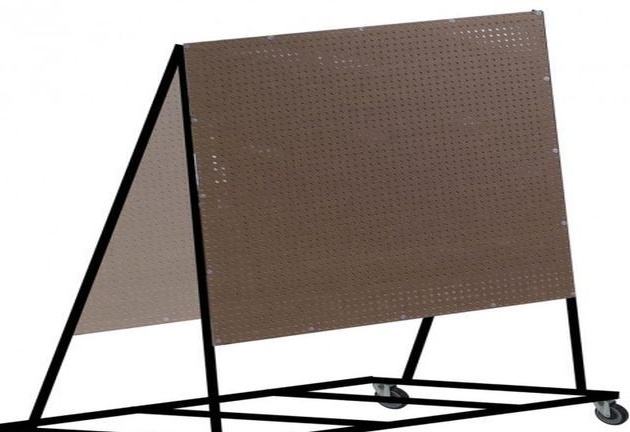
In the workshop there is always not enough room for a tool. Numerous drawers, shelves and, as always, you will not find the tool you need at this very moment. To arrange the storage location of the tool, the author homemade made a stand for its storage. Storage of the tool in one place and the ability to move the stand distinguish it from similar homemade products. With such a stand, the entire instrument is in sight.
Tools and materials:
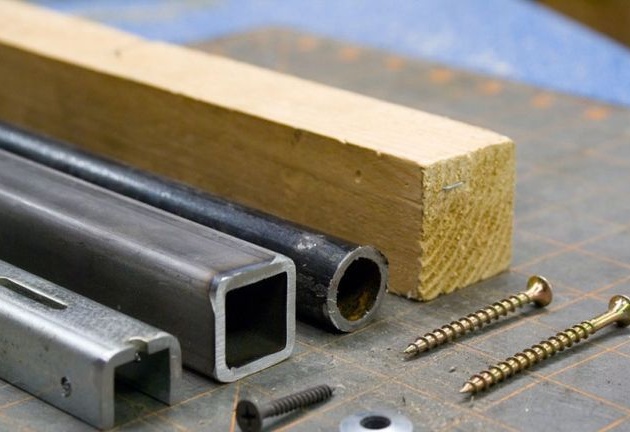
-Pipe profile;
- The pipe is round;
-Reyka 5 on 5 cm-10 m.;
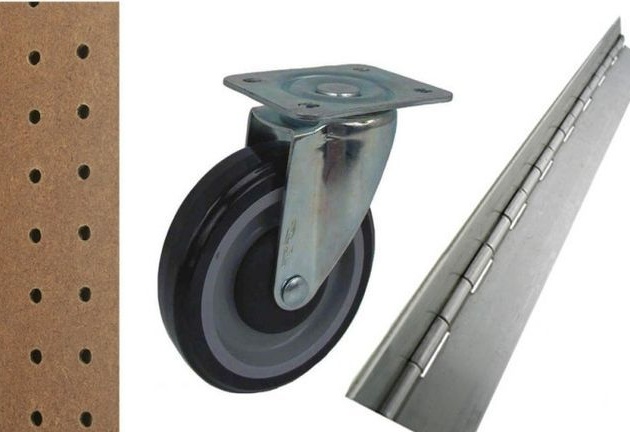
- Perforated sheet 2 on 1.2 m. - 2 pcs;
-Wheels -4pcs;
-Fasteners;
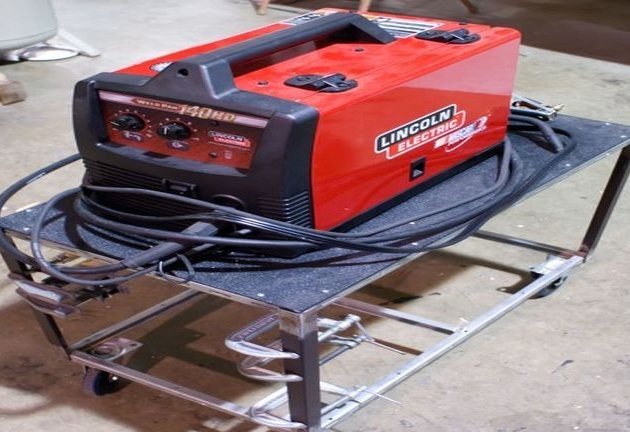
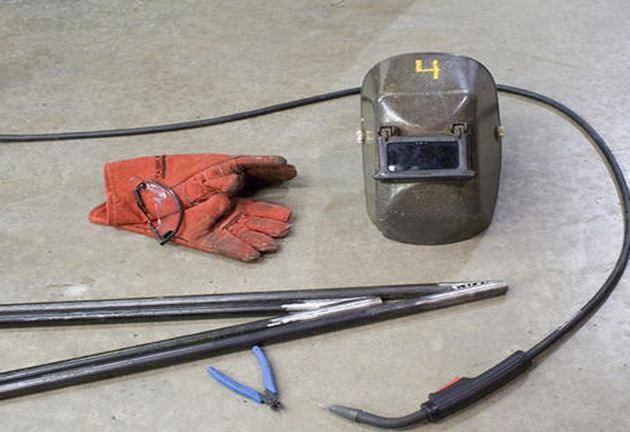
-Welding machine;
-Saw;
-Hacksaw;
-Electric drill;
-Sander;
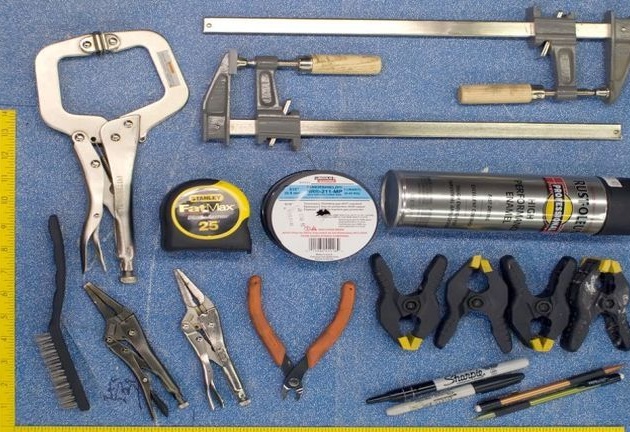
- Clamps;
-Compressor;


Step 1: Stand Design
First, the author made a draft stand. Based on the project, I calculated the amount of material and the necessary tool.
Step 2: Making the Pillars
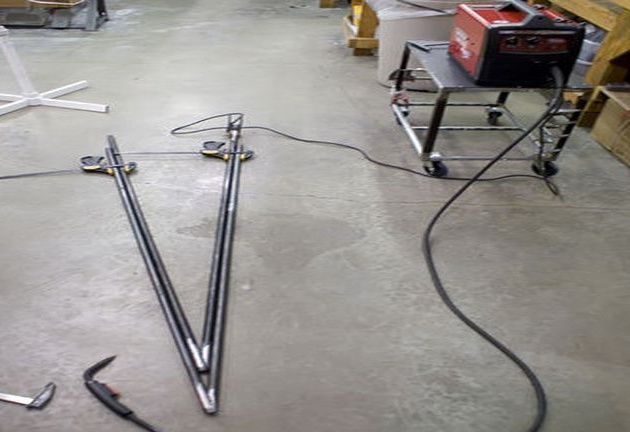
The author made the supports of the stand from pipes.
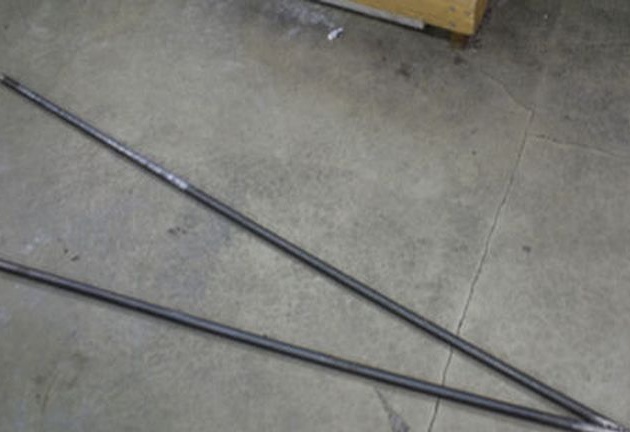
A grinder cut four round pipes of 1.5 m each. He cut two of them at an angle.
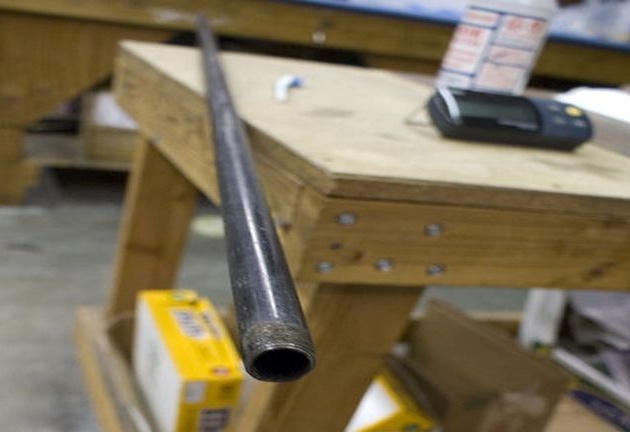
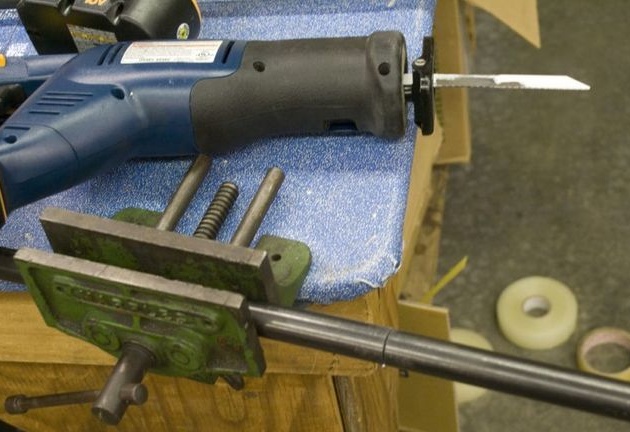
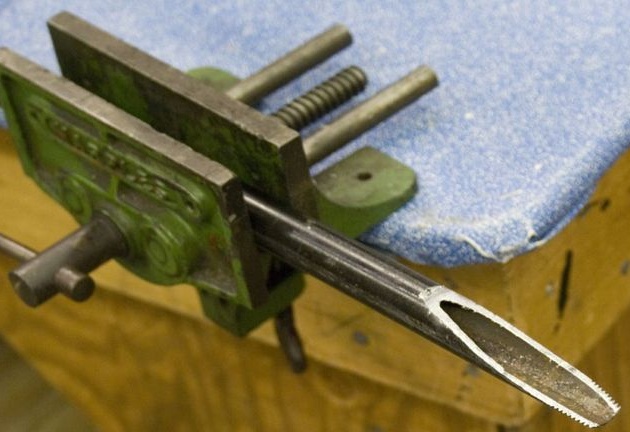
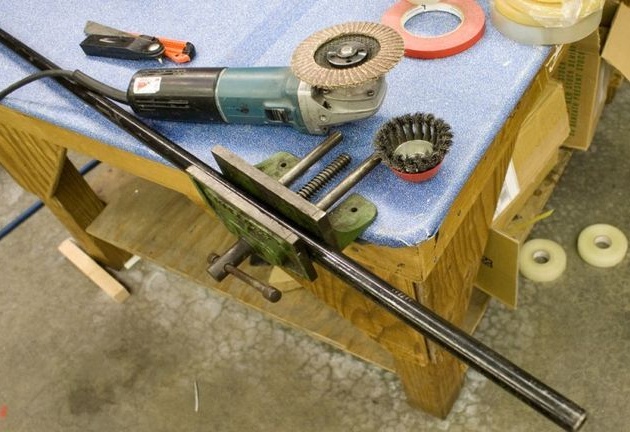
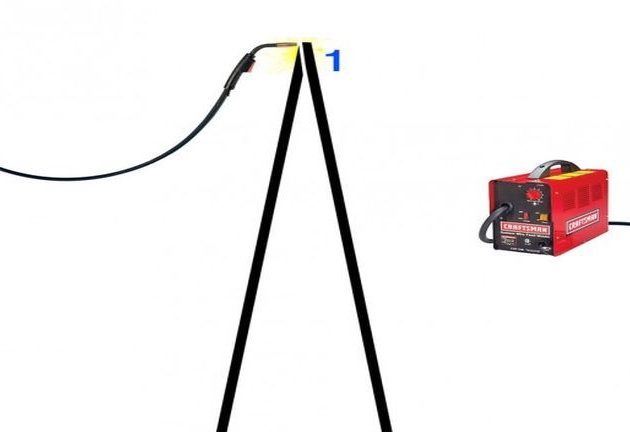
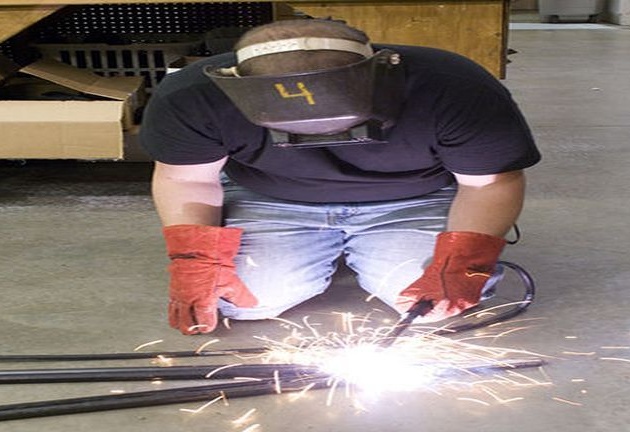
Then he cut off two square pipes 0.45 m long. He welded round pipes in an angle, welded a profile pipe below.
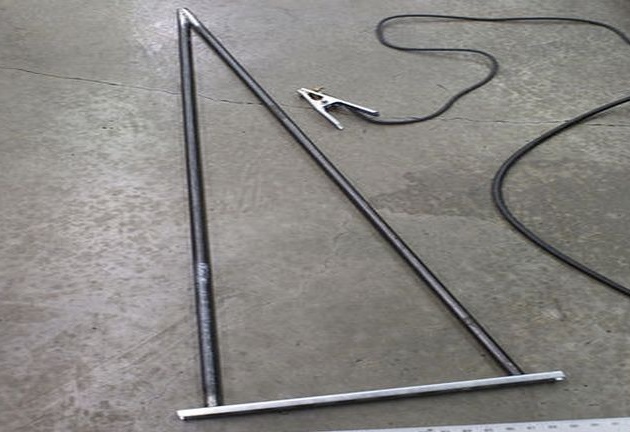
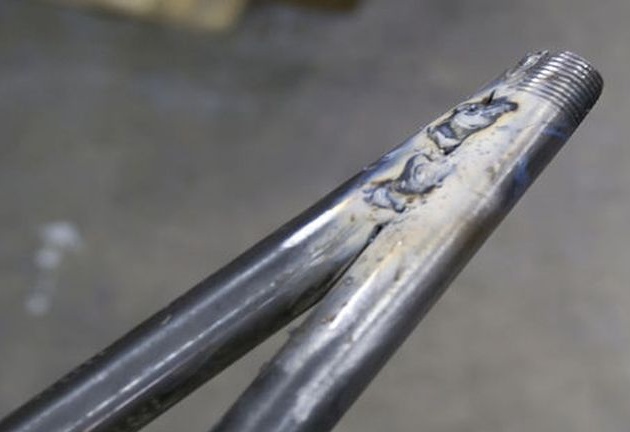

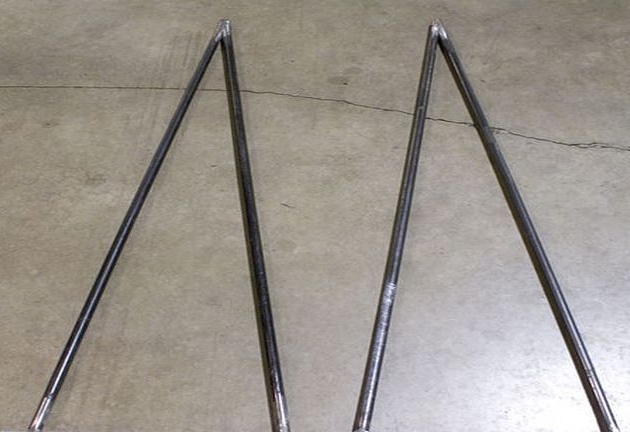
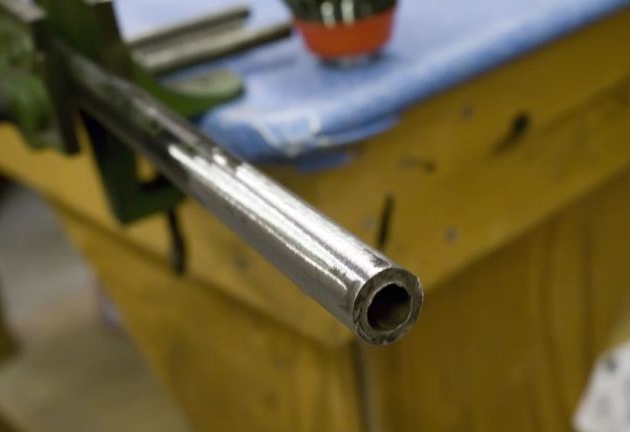
I cleaned the seams with a grinding wheel and painted the supports.
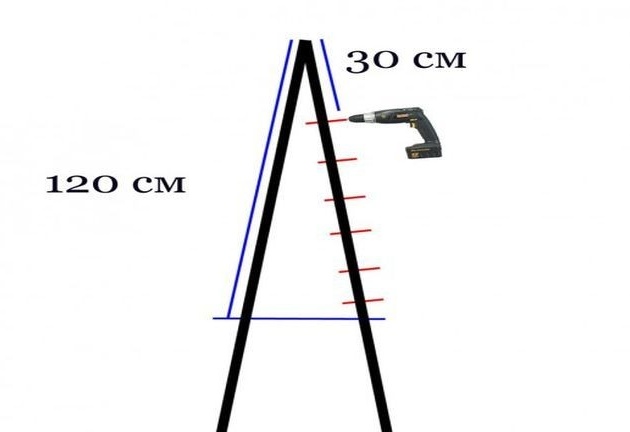
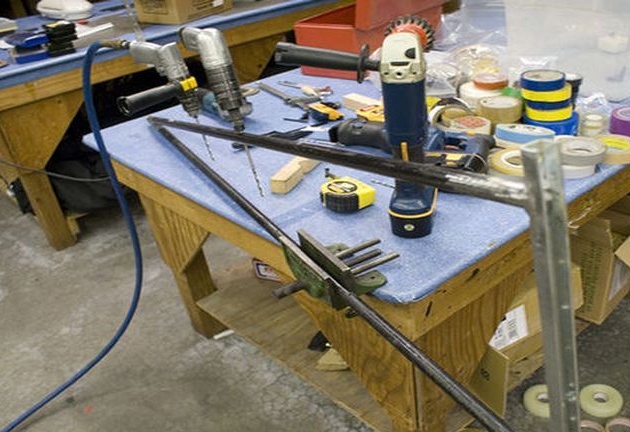
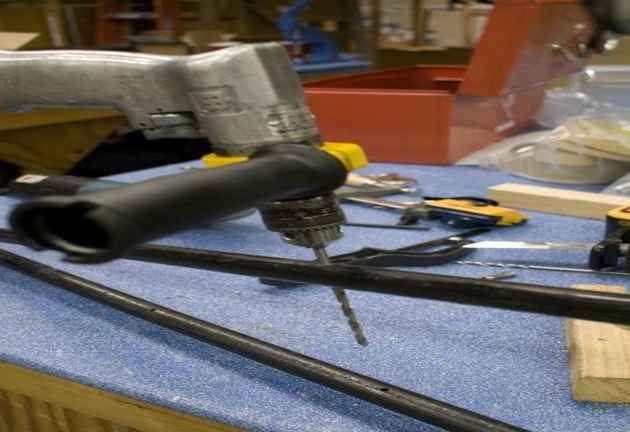
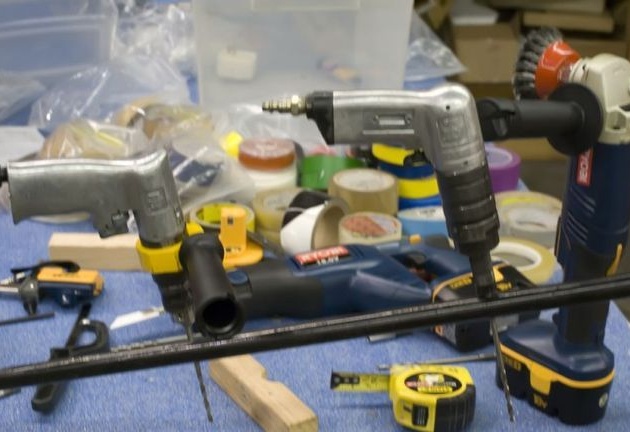
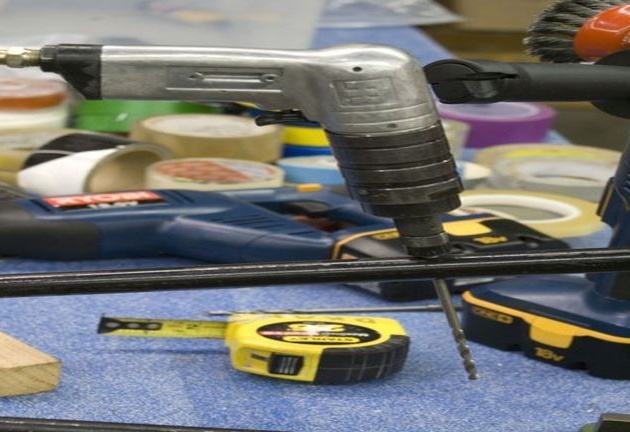
Step 3: Mounting Holes
The width of the shield is 1.2 m. For attaching the shield to the supports, the author drills holes in each rack. Only six holes in each rack, thirty centimeters in between.
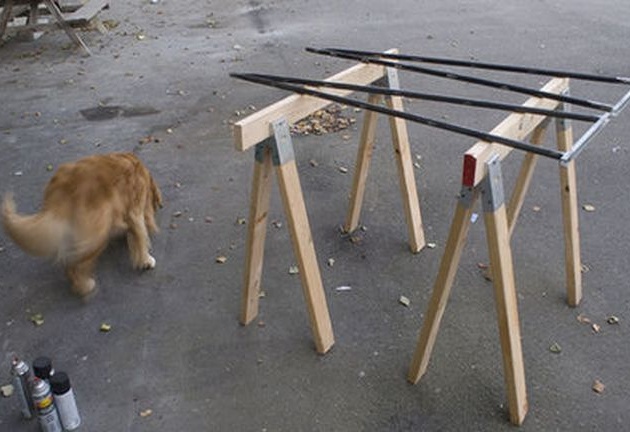
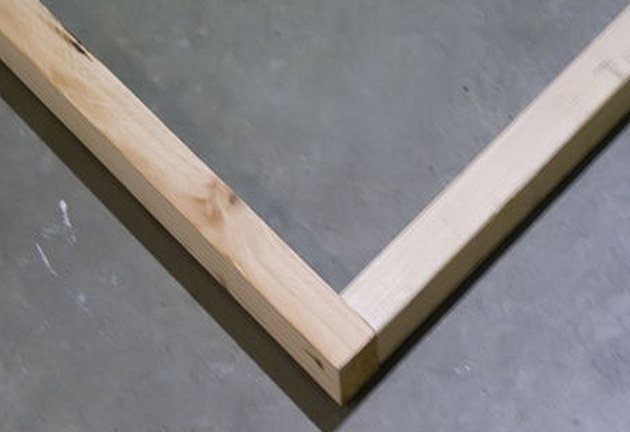
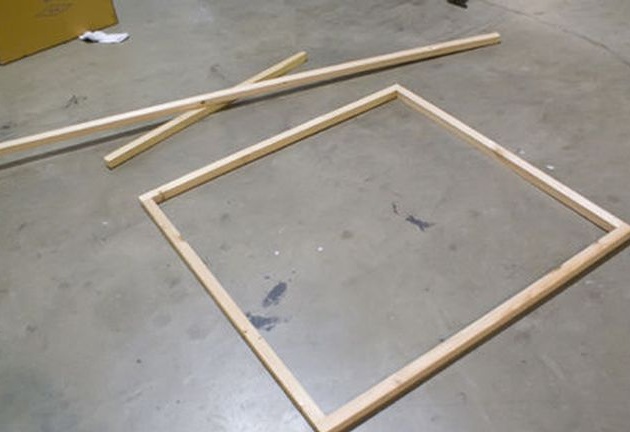
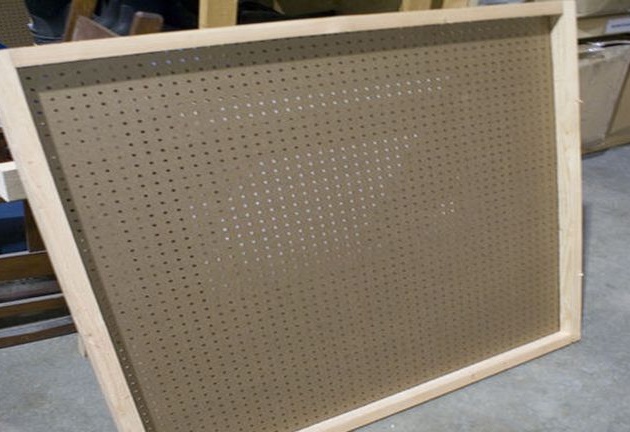
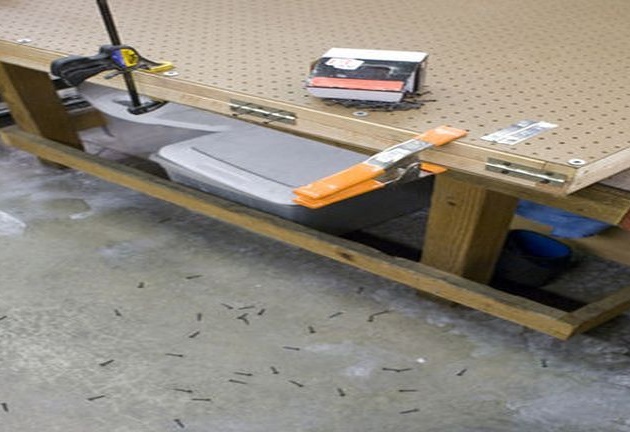
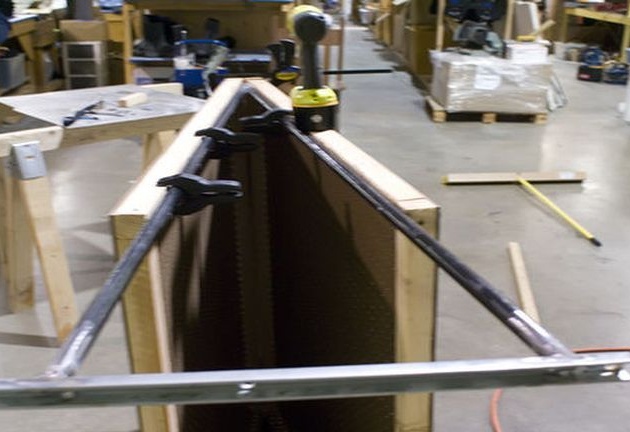
Step 4: Frame under the stand
Shields should be mounted on the frame. For its manufacture, the author cut off wooden blocks, according to the size of the sides of the shield. He fastened them together with screws.
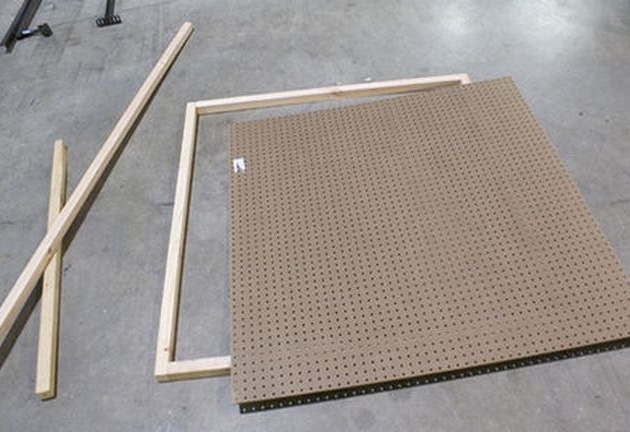
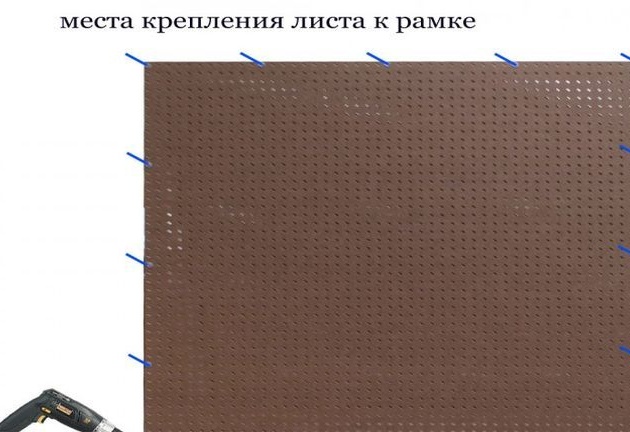
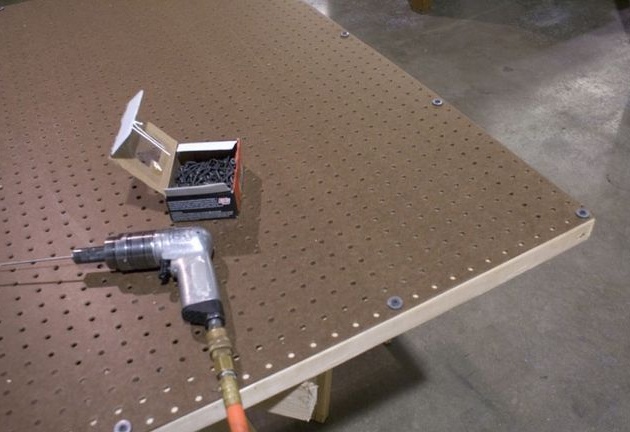
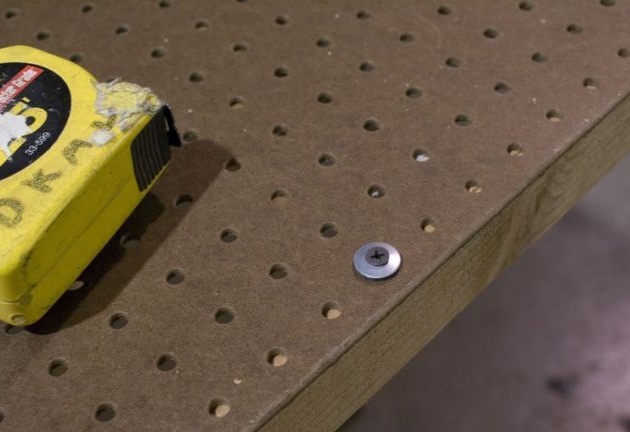
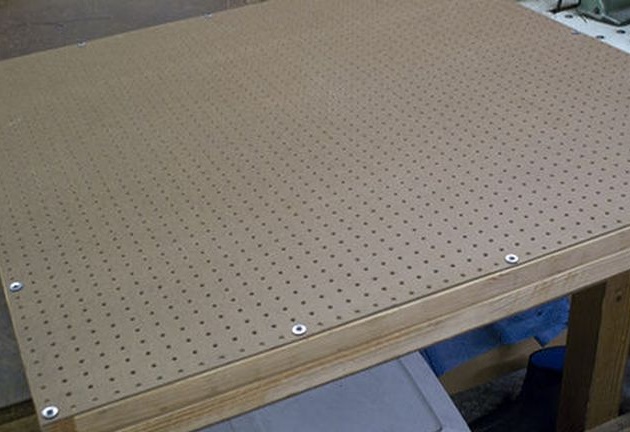
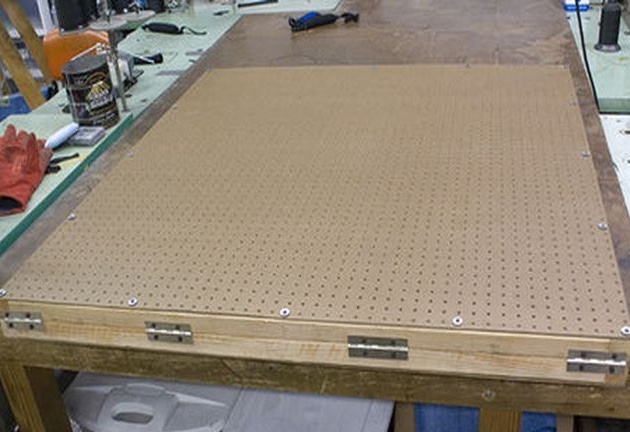
He put the perforated sheets on the frame and fastened them with screws to the frame.

He put one frame on another and, in the upper part, screwed four loops to them.


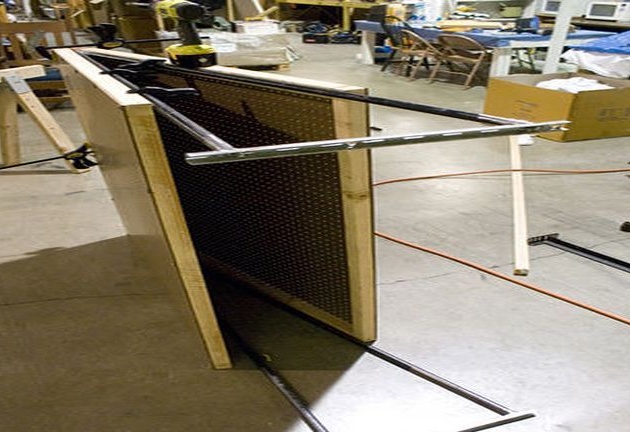
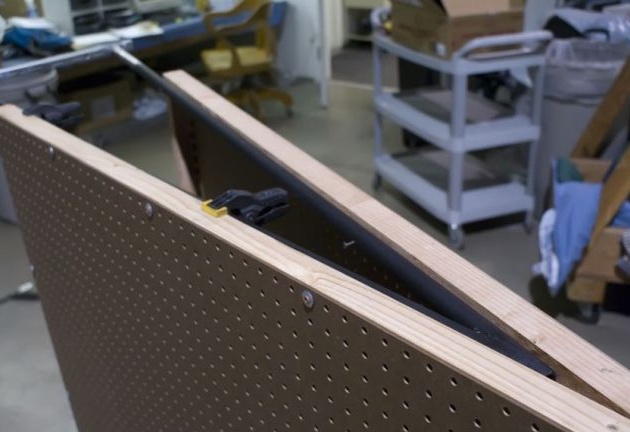
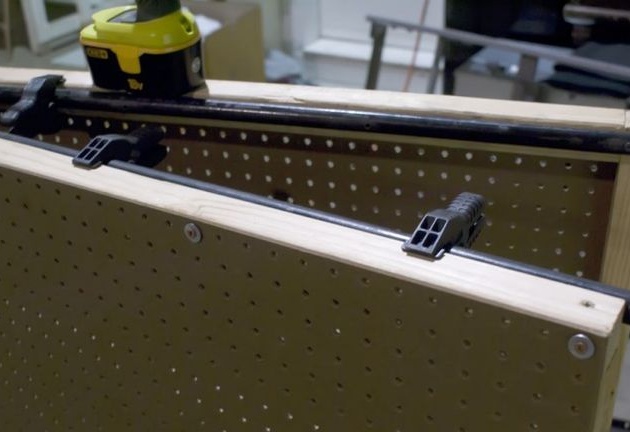
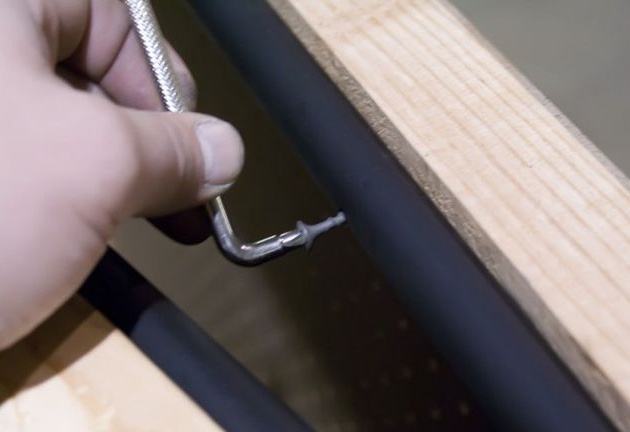
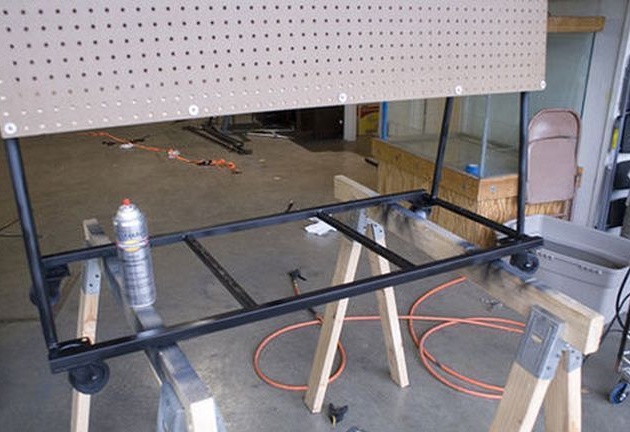
Step 5: Build the Stand
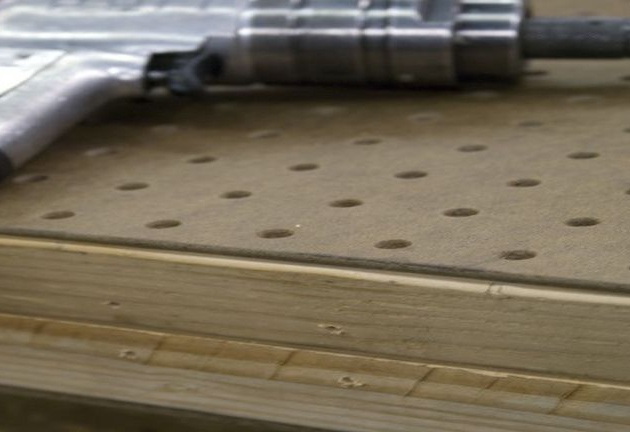
Between the frames of the stand establishes supports and fixes them with clamps. Drill drill holes in the uprights of supports. Screws the frames to the supports with screws.

Step 6: Strengthening the Feet
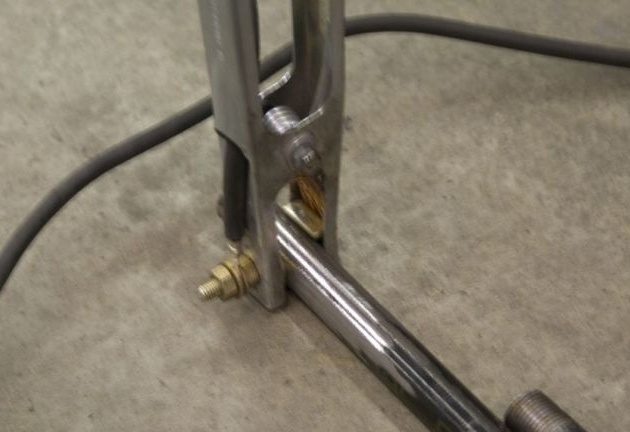
To strengthen the supports, the author cut four profile pipes and welded them in the lower part of the supports. Welded short pipes in such a way that it would be possible to install a box with fasteners on it.


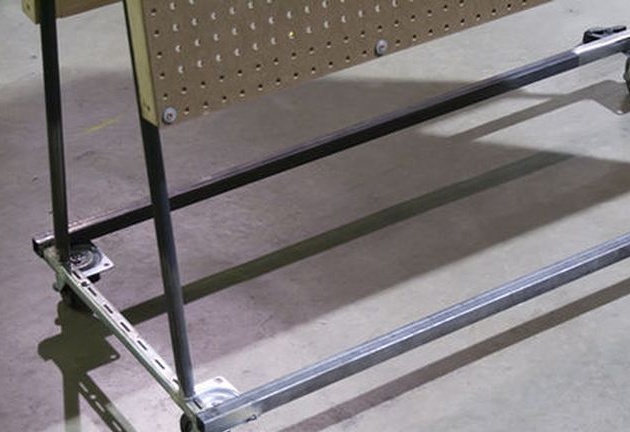
Step 7: Install the wheels
In order that the stand could be moved by the author, home-made, I decided to install the wheels.At the bottom of the supports at the corners I welded the platform of the wheels, then screwed the wheels to them.

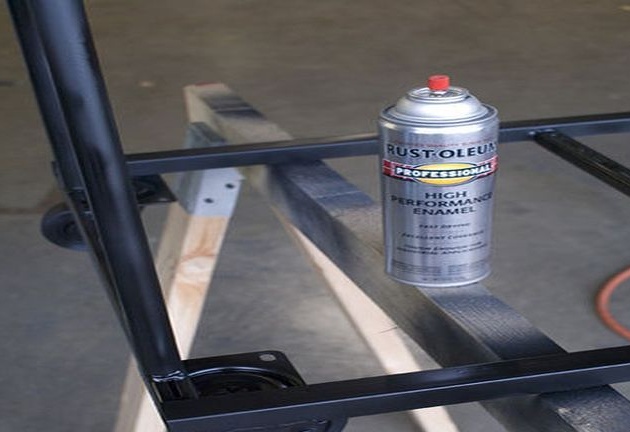
He cleaned the seams and painted the unpainted parts of the supports.

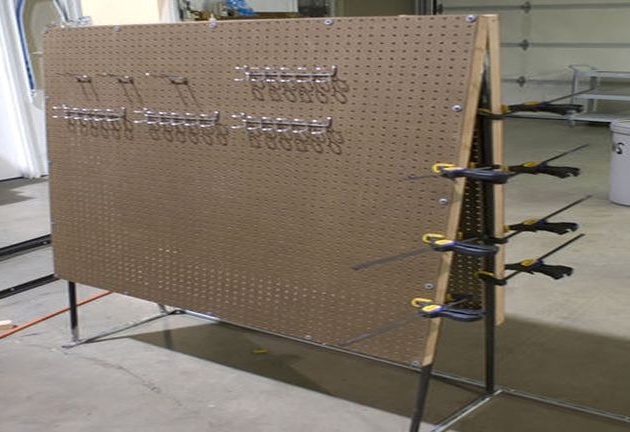
Step 8 Tool Installation
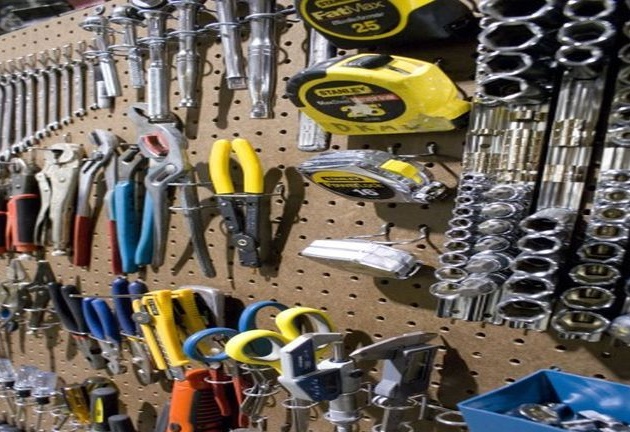
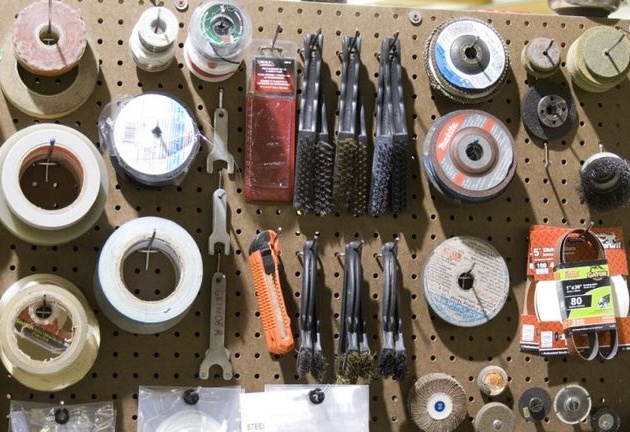
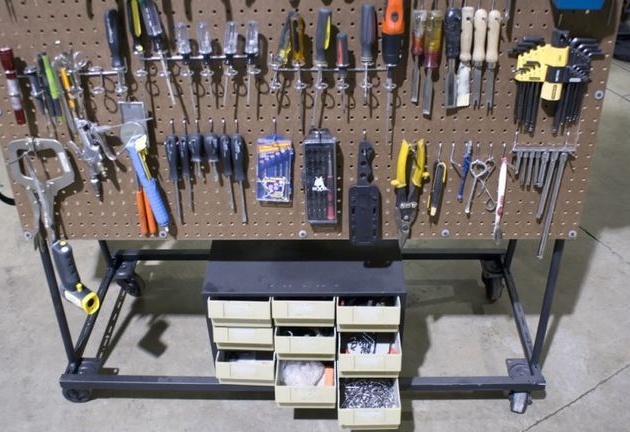
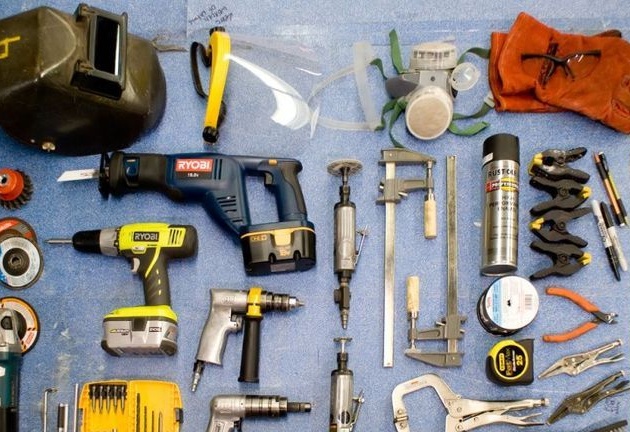
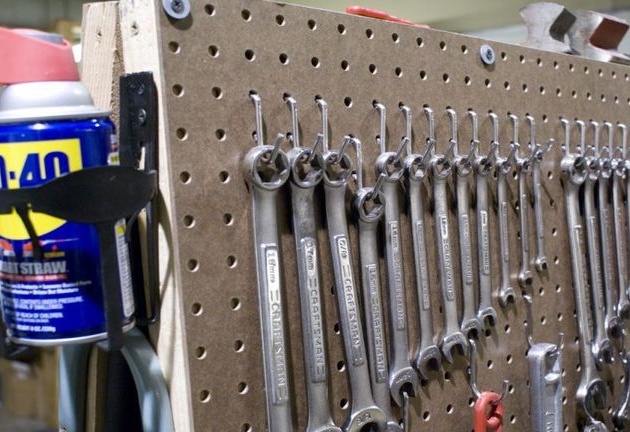
In the holes in the stand, the author secured a variety of mounts and hooks. He placed the tool on the hooks.
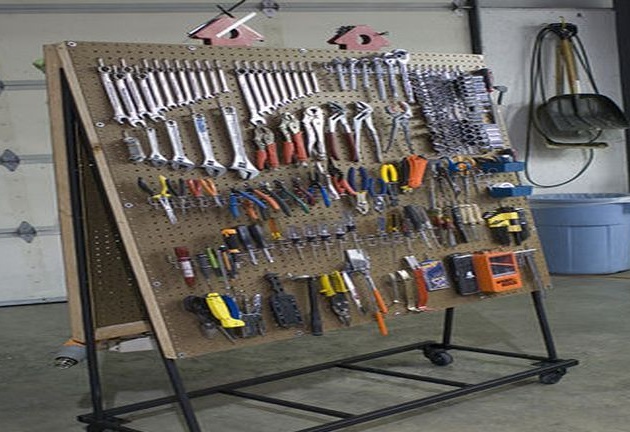
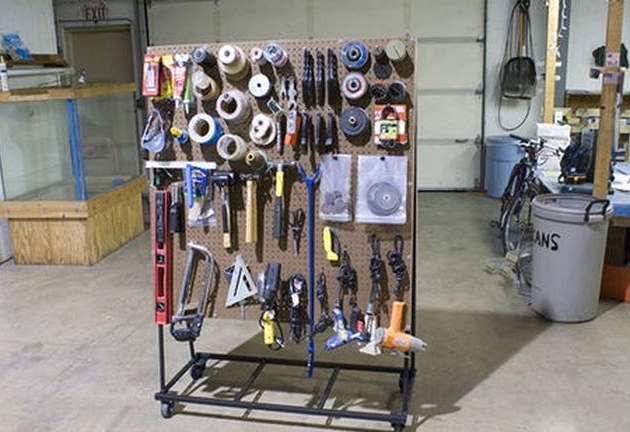
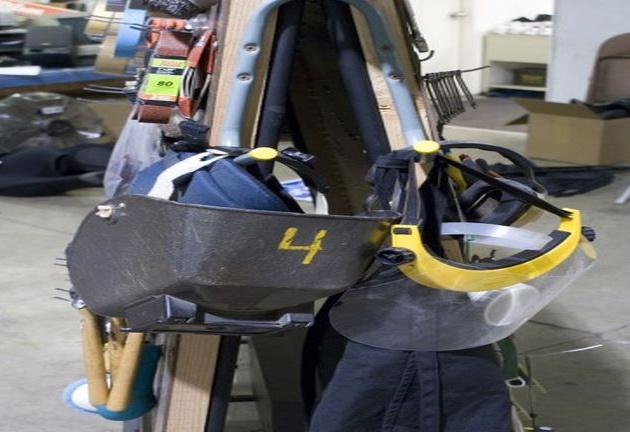
On the side I hung security elements.
At the bottom of the stand I installed a box with fasteners.

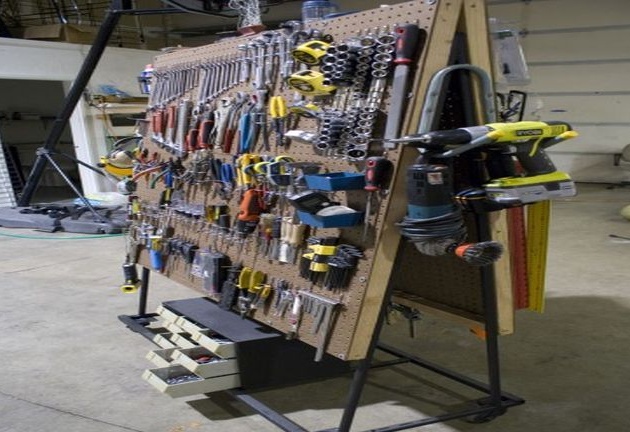
Now the tool is placed all in one place and is always at hand.