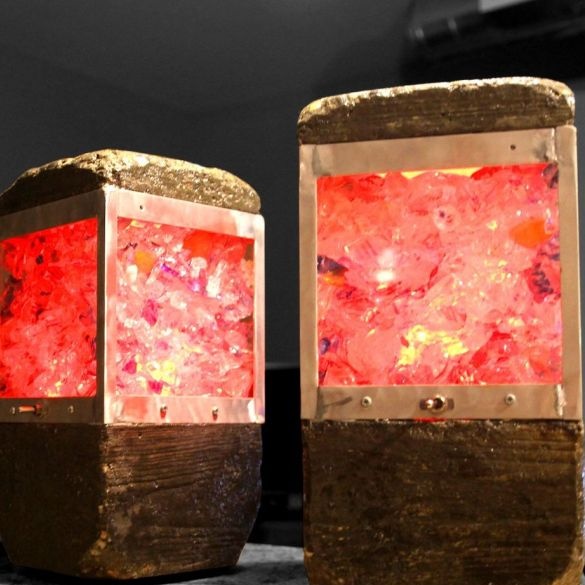
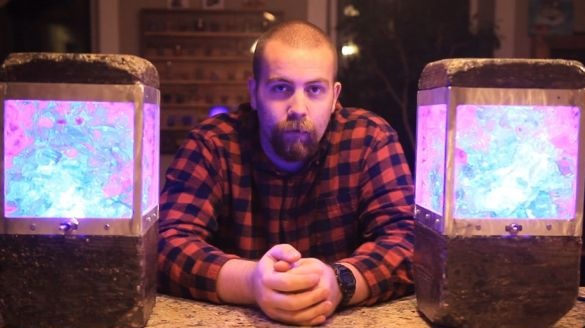
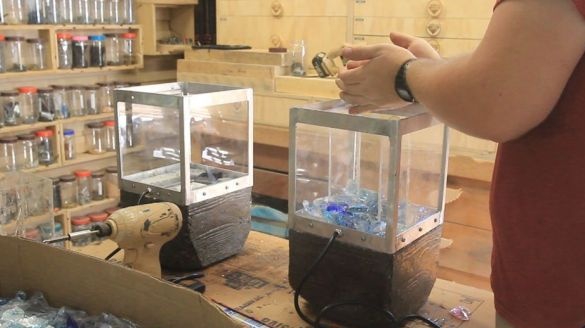
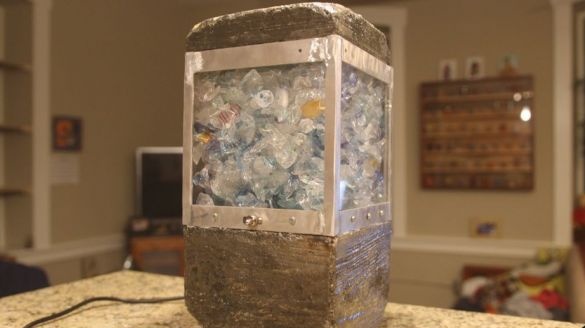
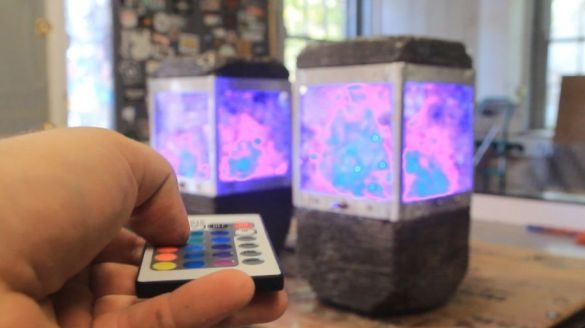
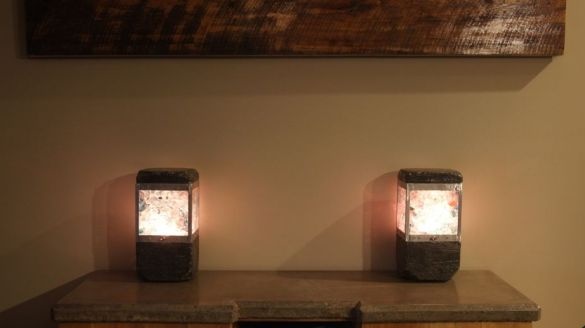
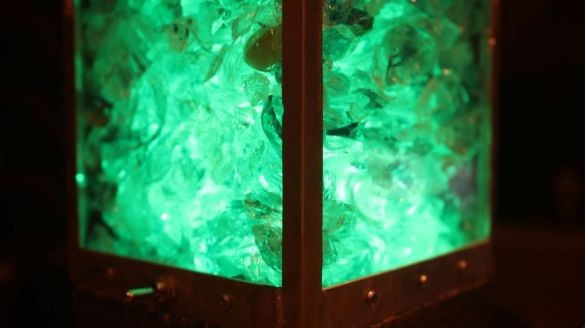
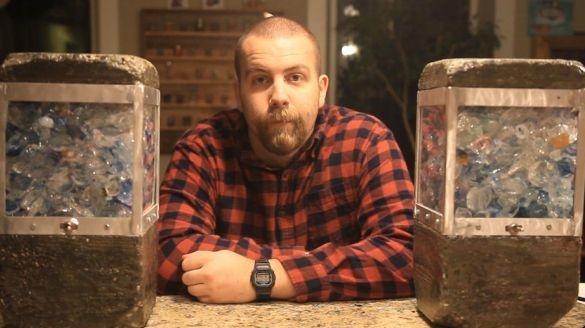
In this article, we will look at how the Master made a lamp using concrete to make a base and broken glass, like a diffuser.
Tools and materials:
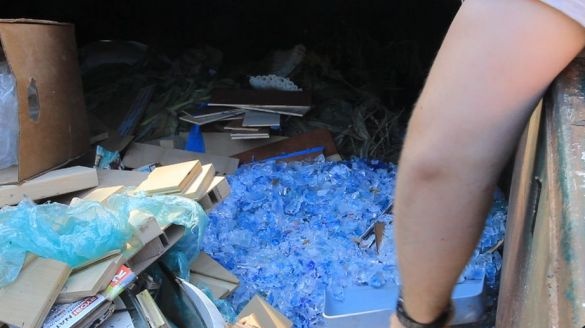
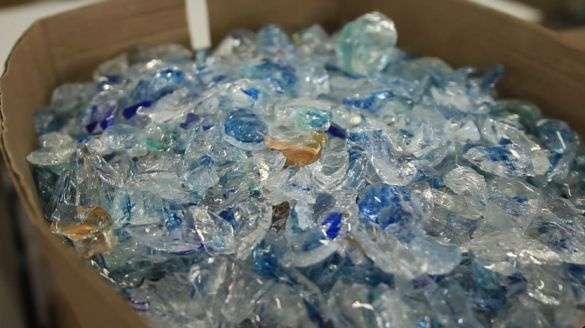
- Broken colored glass;
-Aluminum corner;
-A circular saw;
- Clamps;
-Tape grinding machine;
-Aluminum strip;
-Burner;
-Vise;
-Ushm;
-Pencil;
-Rule;
-Glue gun;
-Board;
-Drill;
-Fasteners;
Concrete solution;
-Master OK;
-Crushed stone;
- brush;
Epoxy resin;
-Silicone;
-Rubber legs;
-Tumbler;
-LED RGB-projector;
-Screwdriver;
-Pliers;
-Miter saw;
-Acrylic;
Step One: Frame
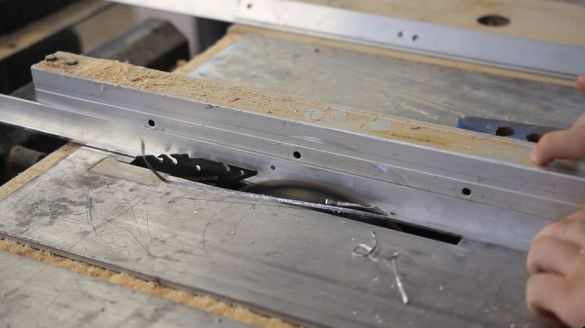
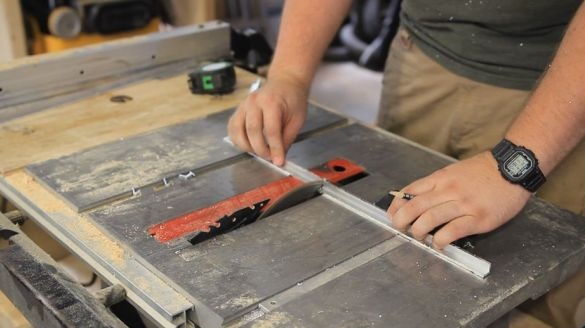
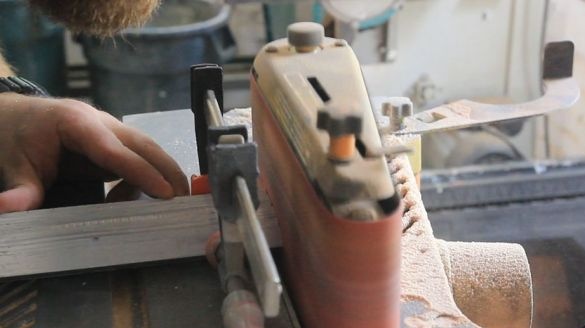
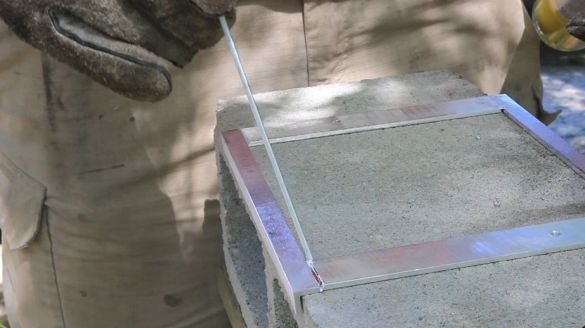
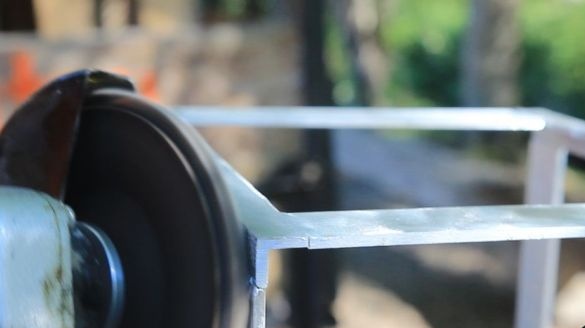
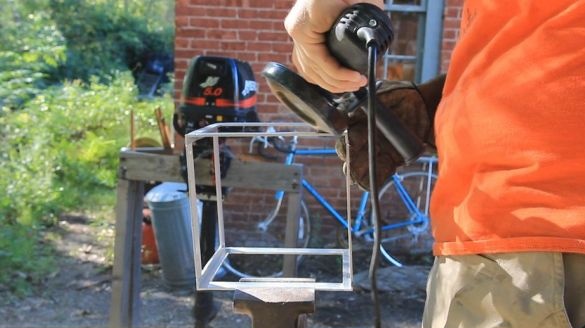
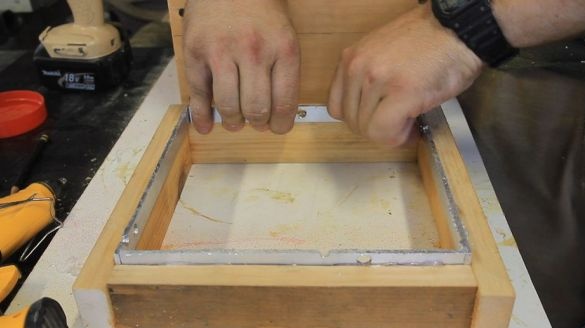
It makes a frame from an aluminum corner and strip. Cuts to size.
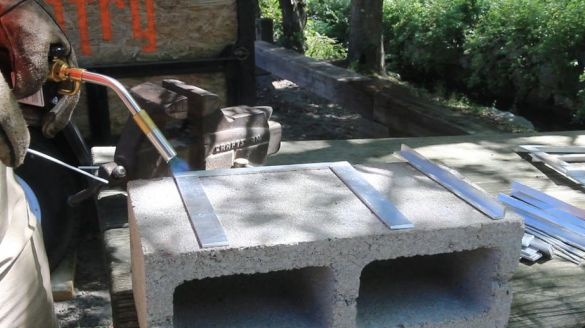
Solders.
Step Two: Forms
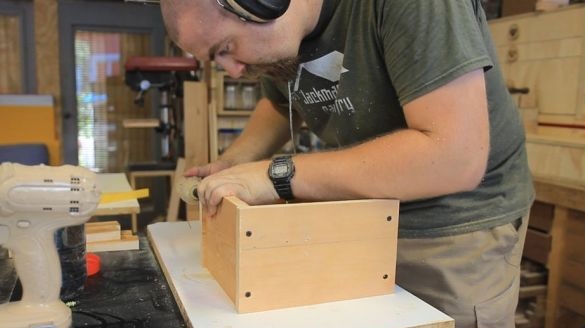
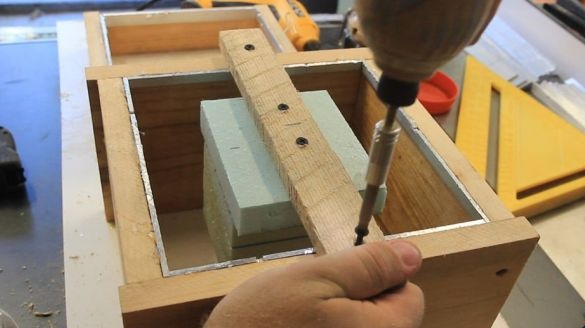
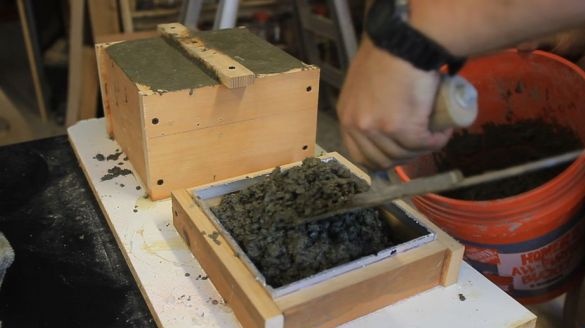
It makes concrete forms from a board. One mold for the base, the second for the lid. In the center of the base form, the insert is fixed.
Step Three: Fill
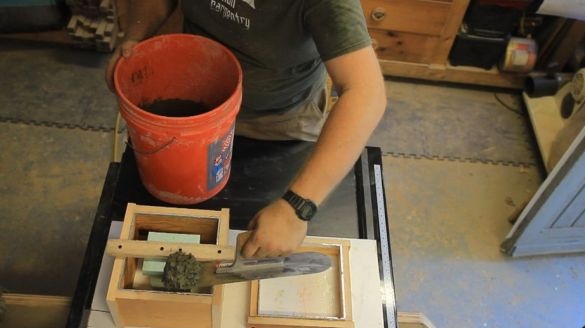
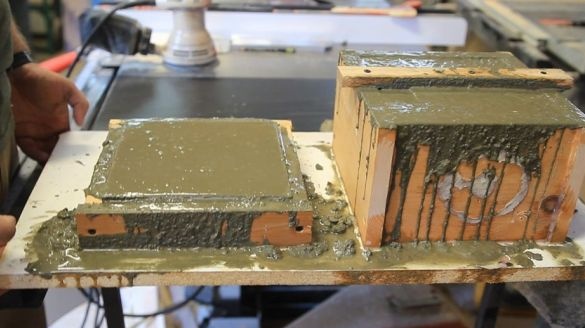
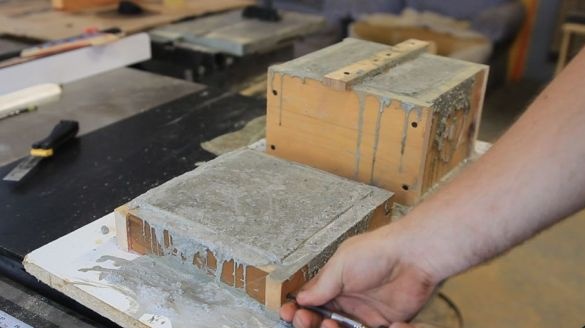
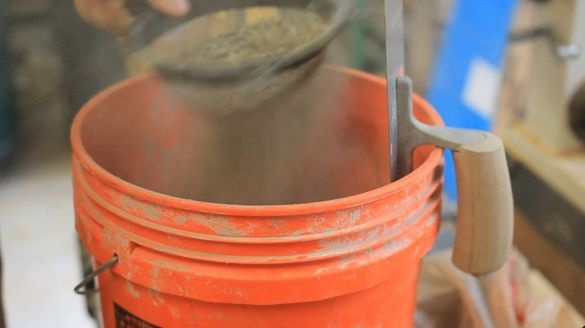
Mixes concrete. Adds crushed stone to concrete. Fills the form.
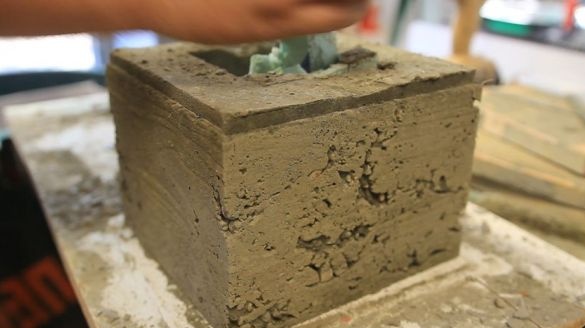
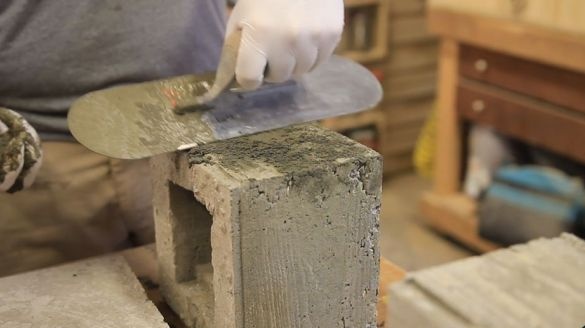
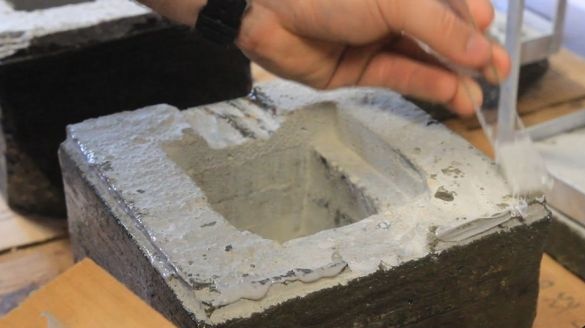
After concrete hardens, removes the form and removes the middle. Putty the outer walls of the base and cover.
Step Four: Processing
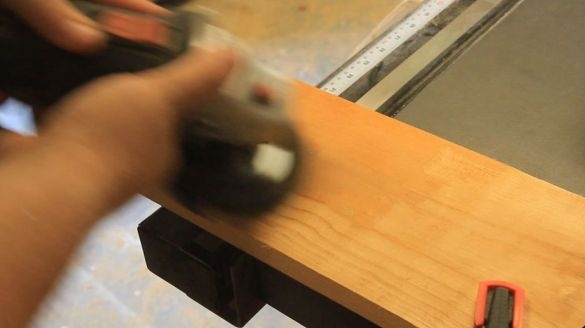
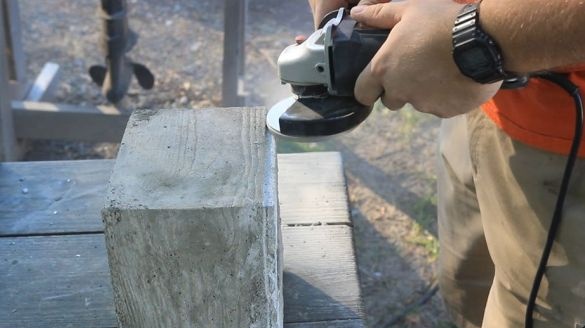
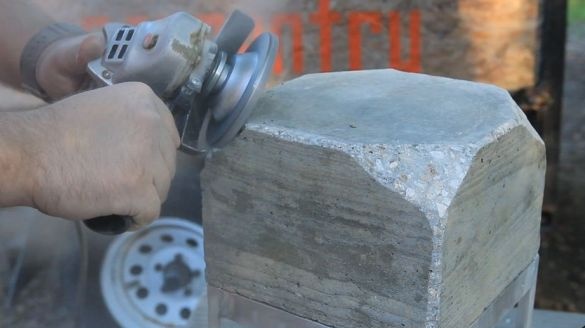
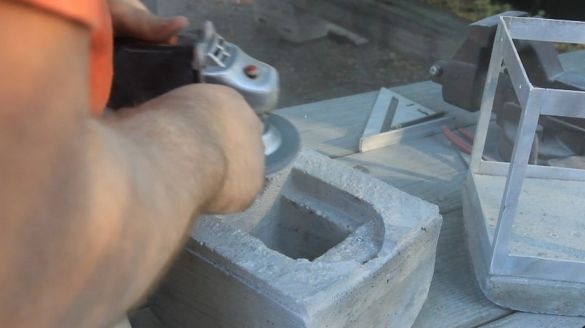
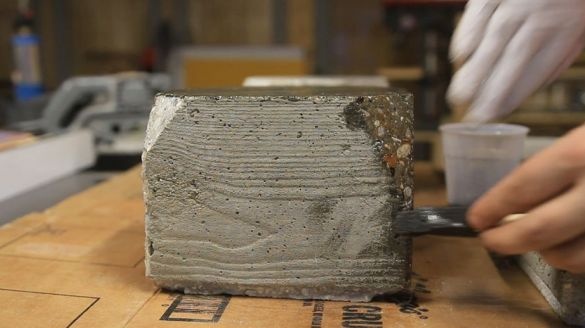
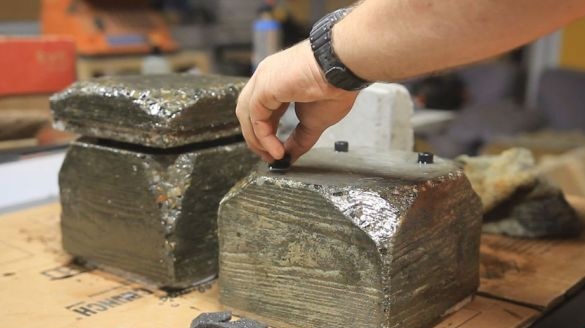
Grinds concrete parts of the lamp. Cutting off part of the concrete for the installation of the frame. Cuts corners. Covers the base and lid with epoxy.
Step Five: Setting the Frame
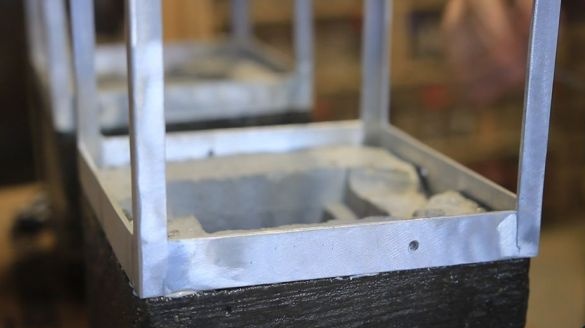
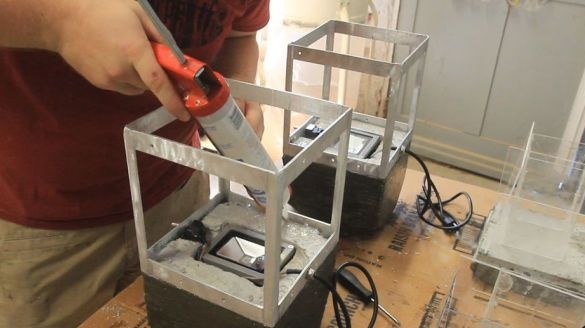
Epoxy fixes the frame to the base.
Step Six: Installing a Spotlight
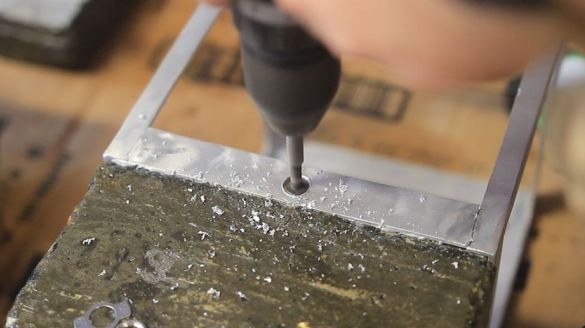
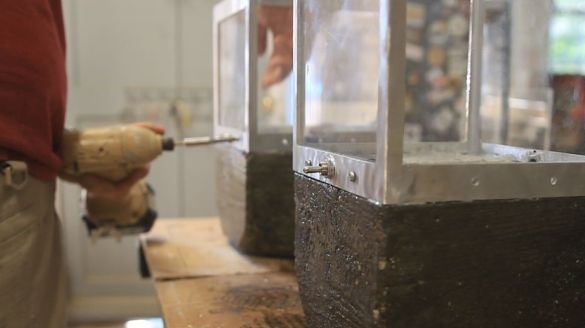
In the frame, drills two holes for the toggle switch and wire.
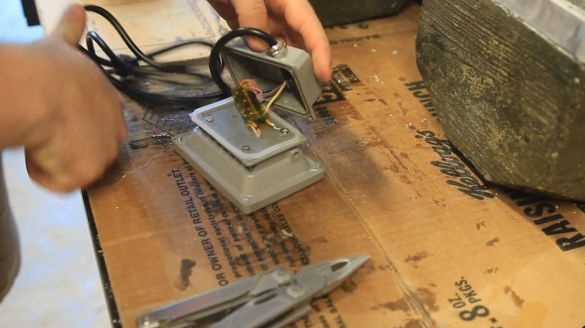
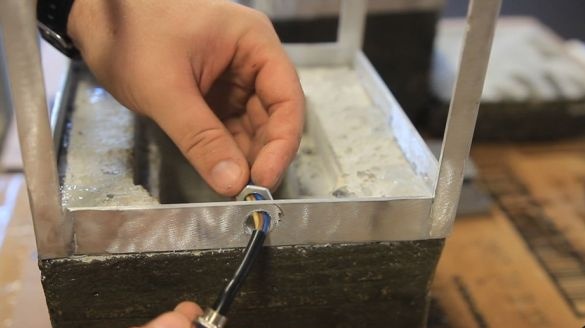
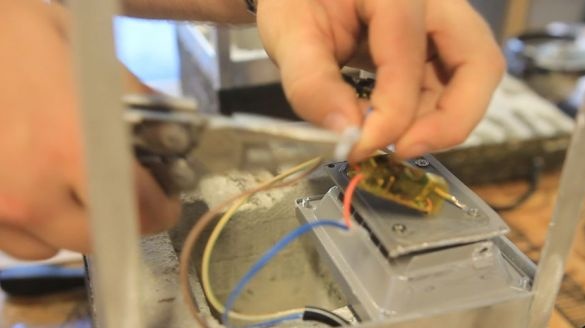
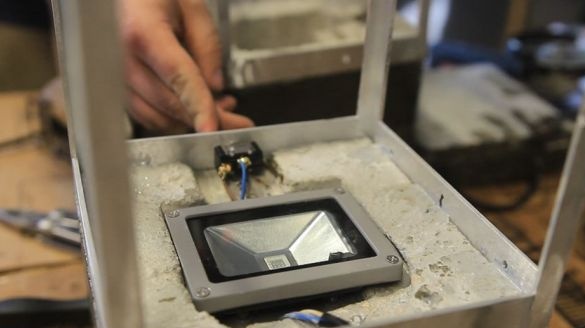
Parses a searchlight. Connects a wire and a toggle switch. Installs a spotlight in a niche.
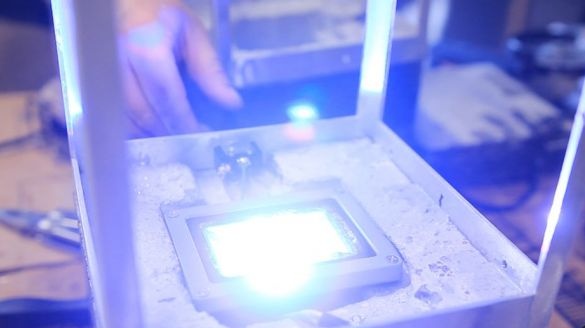
Checks.
Step Seven: Acrylic
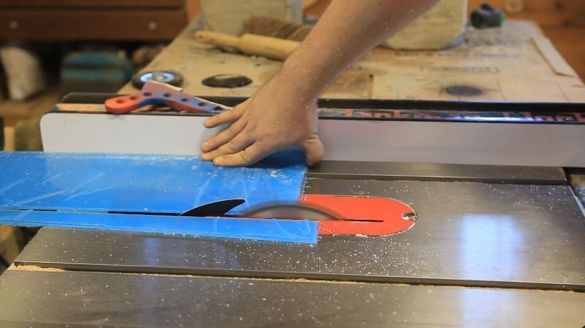
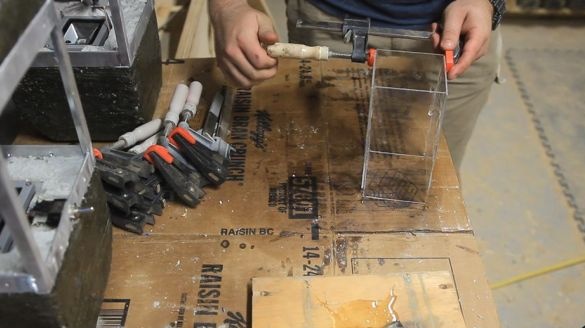
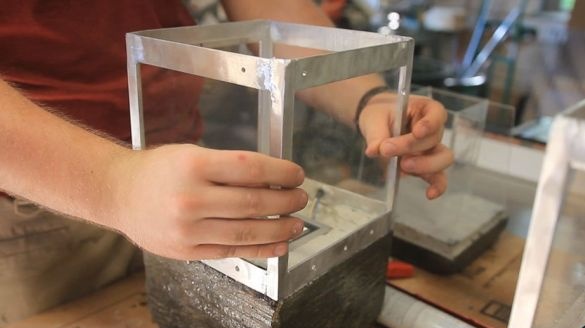
Acrylic master closes the openings of the frame and the space above the spotlight. Slices acrylic sheets. Sticks parallelepiped out of acrylic. Closes acrylic openings in the frame. Installs the box in a niche above the spotlight.
Step Eight: Glass
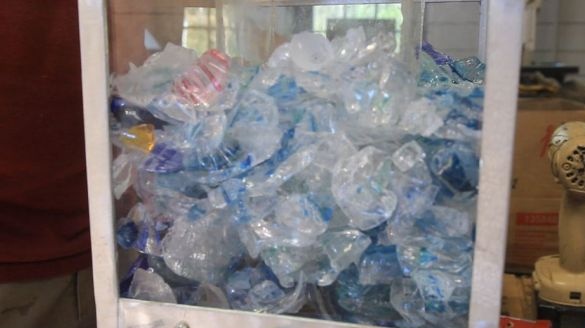
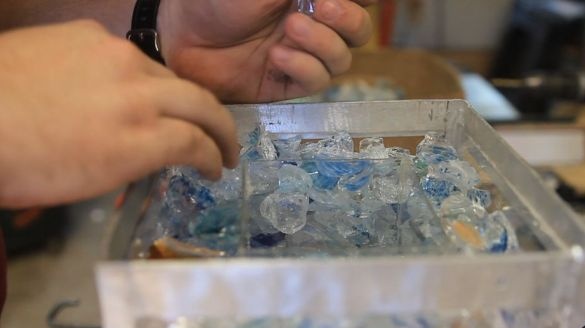
Fills the inside of the lamp with pieces of glass.
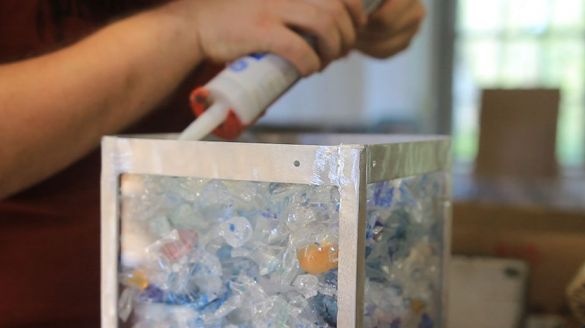
Mounts the top cover on the silicone.
The lamp is ready.
More information about the manufacturing process of the lamp can be seen in the video.

