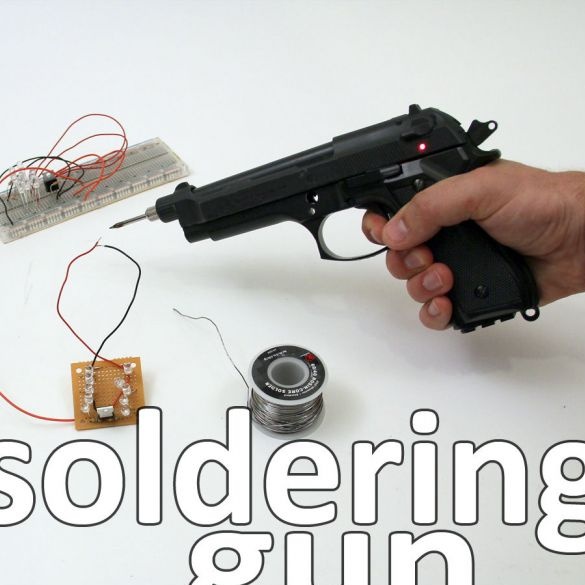
If you are aggressive, this instruction is for you! I bring to your attention in the form of a gun. In addition to an interesting appearance, it is also quite convenient to use such a soldering iron. You conveniently take it in your hand and pull the trigger, after a while the tip is warmed up and you can work with a soldering iron. The device runs on batteries, but if you want, you can make it exactly like that from a 220V network.
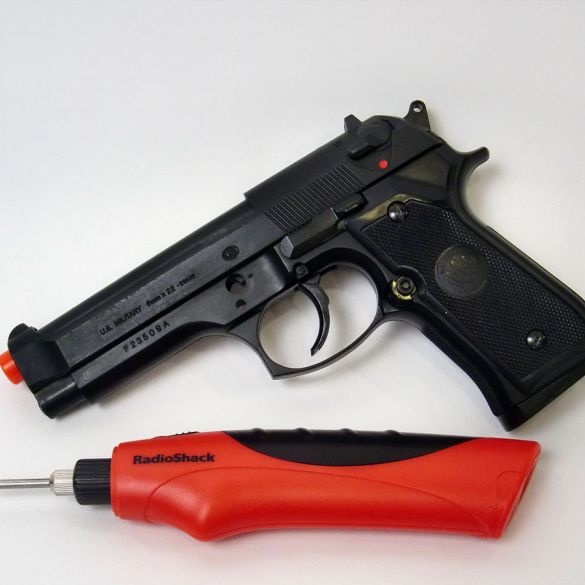
As a basis, the author used an old cheap battery that runs on batteries. As for the gun, this is a regular plastic toy gun. Do not forget that many guns look like real ones, therefore, do not appear with the device in crowded places so as not to scare others and earn problems. So, we begin to manufacture.
Materials and tools used by the author:
Material List:
- ;
- toy pistol;
- wires;
- 51Ω resistor;
- button to turn on;
- heat shrink;
- a piece of foam with a thickness of 3 mm;
- contacts from old electronics for batteries.
Tool List:
- soldering iron;
- screwdriver;
- a gun with hot glue;
- drill;
- epoxy.
Homemade manufacturing process:
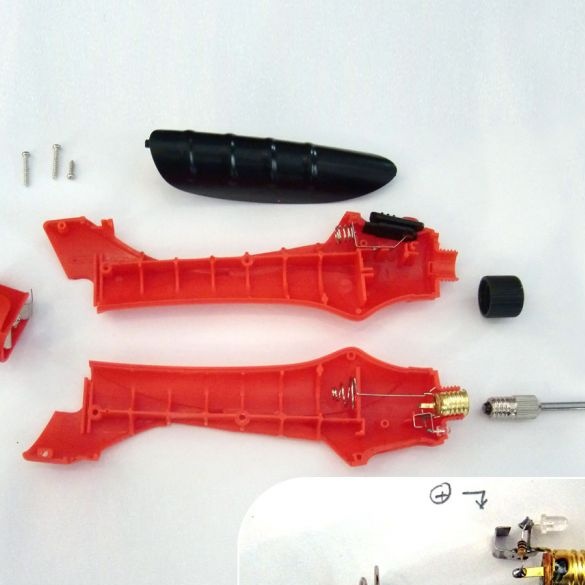
Step one. We disassemble a soldering iron
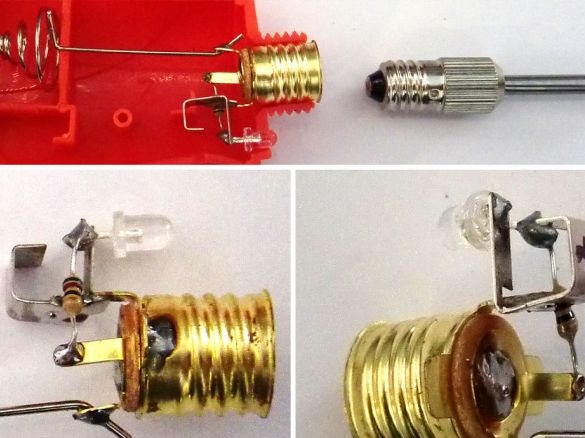
First of all, we will analyze the soldering iron, from the author it is a 15-watt unit. The device is powered by four AAA batteries, and a white LED is installed at the end to indicate the inclusion. 7 seconds after turning on, the soldering iron heats up to a temperature of 185 ° C. The maximum tip temperature of such a soldering iron can reach 565 ° C. Inside the case we will find an LED, a socket for installing a heating element, as well as a 51 ohm resistor.
Step Two Disassemble the gun
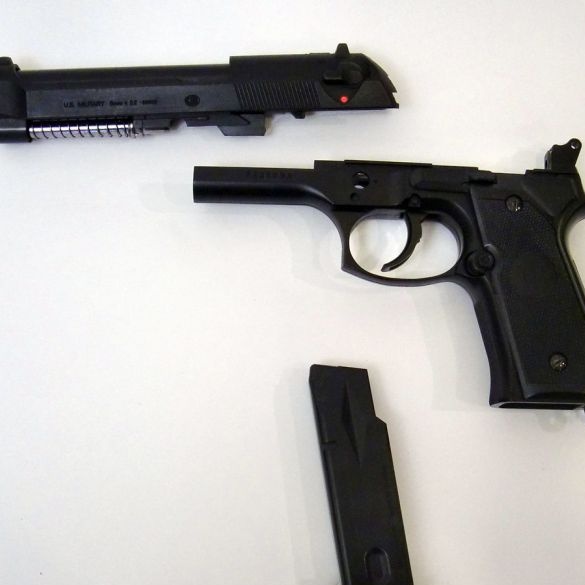
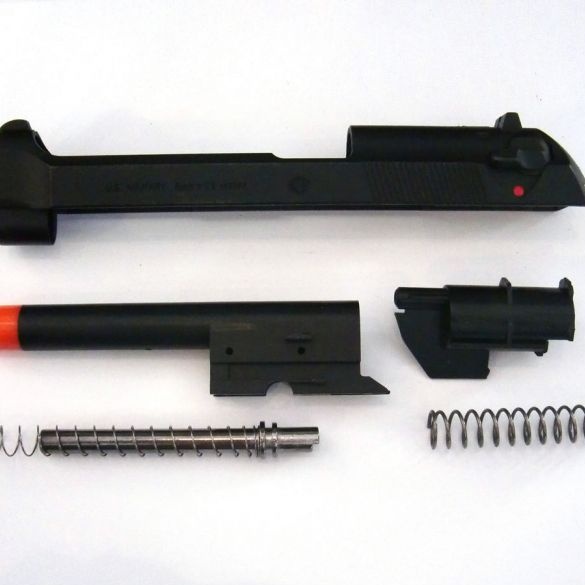
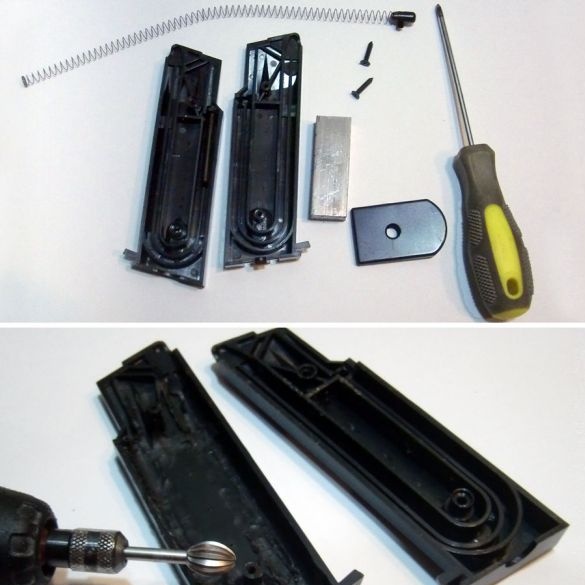
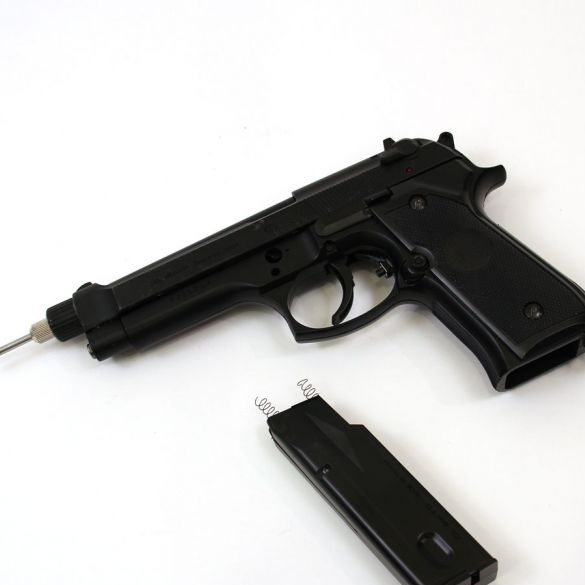
Now let's take a look at the gun. In our case, this is an ordinary pneumatic gun that shoots with plastic bullets. In such pistols there is a removable store, the author has 30 bullets. First of all, we get the store, in the future we will adapt it to the battery compartment. Disassemble the gun completely, we only need a muzzle, on the end of which we will install a heating element.
Step Three Wiring diagram
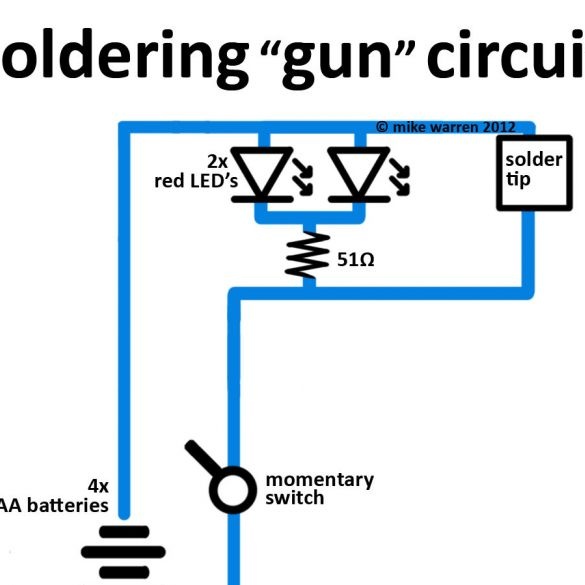
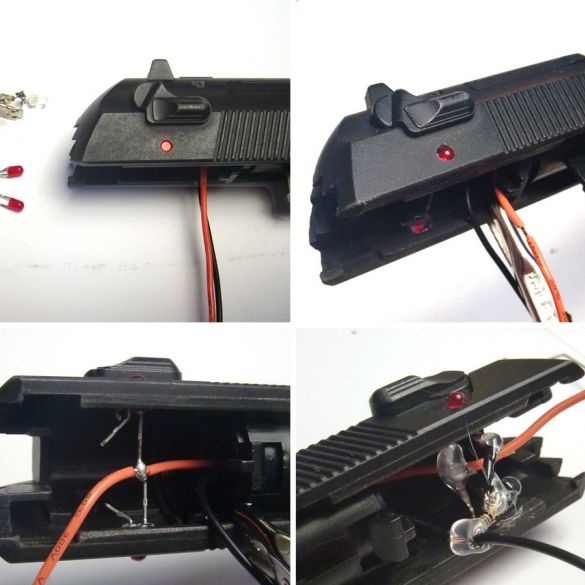
The connection diagram of all nodes remains the same. The only difference is that the author decided to install two LEDs instead of one. Due to the fact that the LEDs will be on both sides of the gun, the device will be more convenient to use.A button is installed in the circuit, which will turn on the device only when you hold the trigger, this will save energy.
Step Four Soldering tip
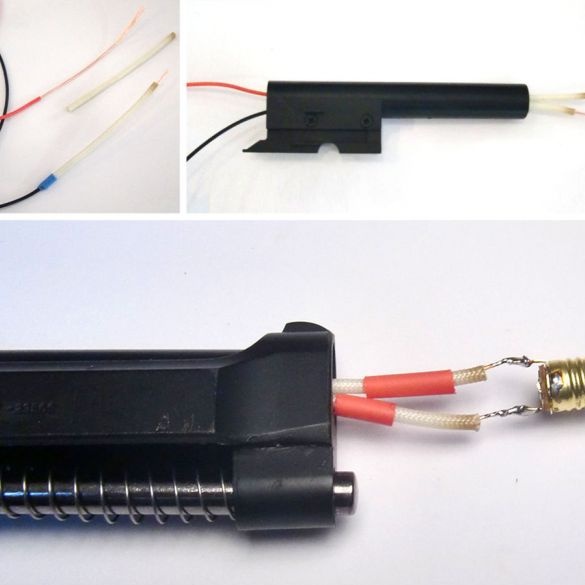
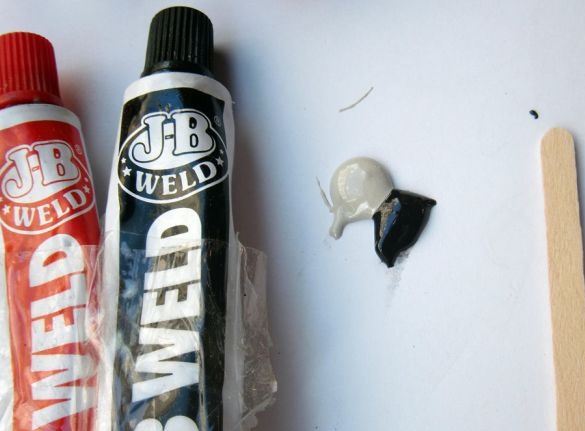
At the end of the barrel we install a cartridge in which the heating element is wrapped. To securely fasten this part, you will need epoxy glue, cold welding or similar material that is not afraid of heating.
Also place the LEDs in a convenient place that will signal that the soldering iron is on. The resistor and LEDs are securely fixed using hot glue. All open contacts that are at risk of being closed must be insulated with a heat shrink tube.
Step Five Switch
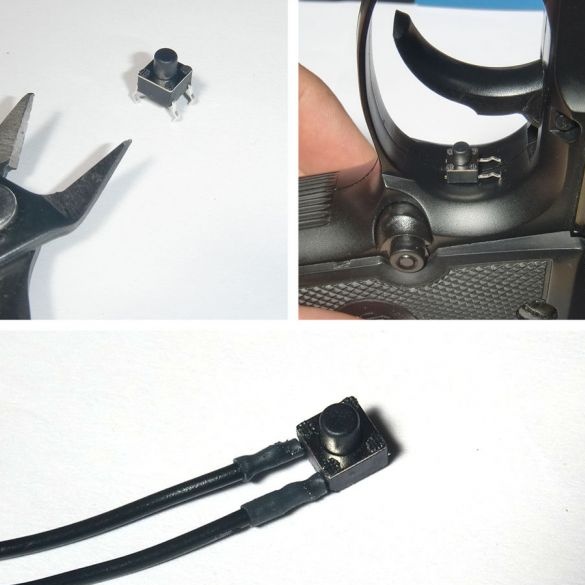
We have a button type switch, we install it under the trigger. As a result, when you pull the trigger, the button will be pressed. We fasten the button with epoxy or other reliable glue.
Step Six Battery compartment
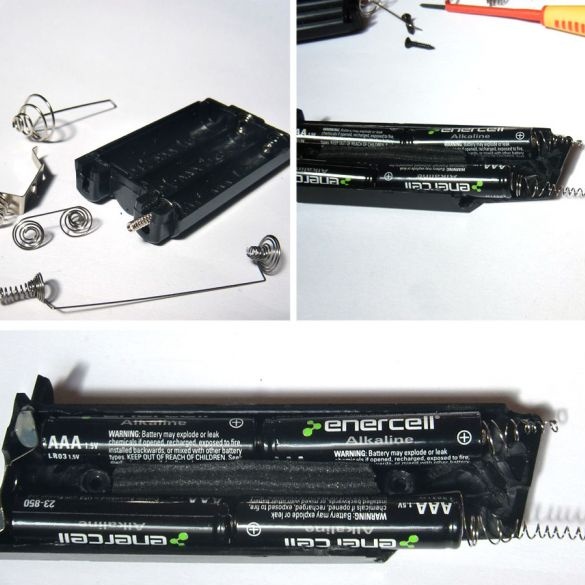
The author decided to install the batteries in a clip, it is very convenient, since the batteries are easy to remove. First of all, we disassemble the clip and extract from it all the excess. To increase the internal space, we work with a drill with the corresponding nozzle. So that the batteries are tightly clamped and do not rattle, the author fixes them with a piece of foam.
At the end, you will need to establish contacts, which are the springs. Such contacts can be found in the old electronics. We fix them with hot glue, epoxy and so on. And on the reverse side we close the battery contacts so that we get a voltage of 6 volts.
Seventh step. Gun contacts
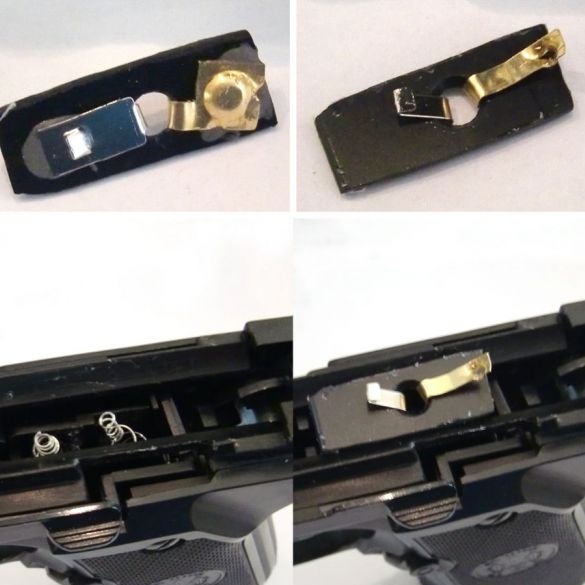
We installed springs at the store, now we need to install a thrust plate in front of it in the gun, on which the contacts will be placed. We cut out a plate from plastic or other similar material and glue metal plates to it. Next, glue this part using epoxy, making sure that the springs coincide with the contacts. Leave the whole thing to dry.
Step Eight. Testing!
The gun is ready, you can check it in practice. According to the author, such a gun melts cold solder in 10 seconds. Of course, it’s not very interesting for them to work at home, but taking something with them for repair is just right. Just do not take such a thing in crowded places.
That's all, the project is over, the author is pleased with him. Good luck and creative inspiration, if you suddenly want to repeat this. Do not forget to share your best practices and homemade products with us!

