Hello dear the inhabitants of our site and those who just read this article!
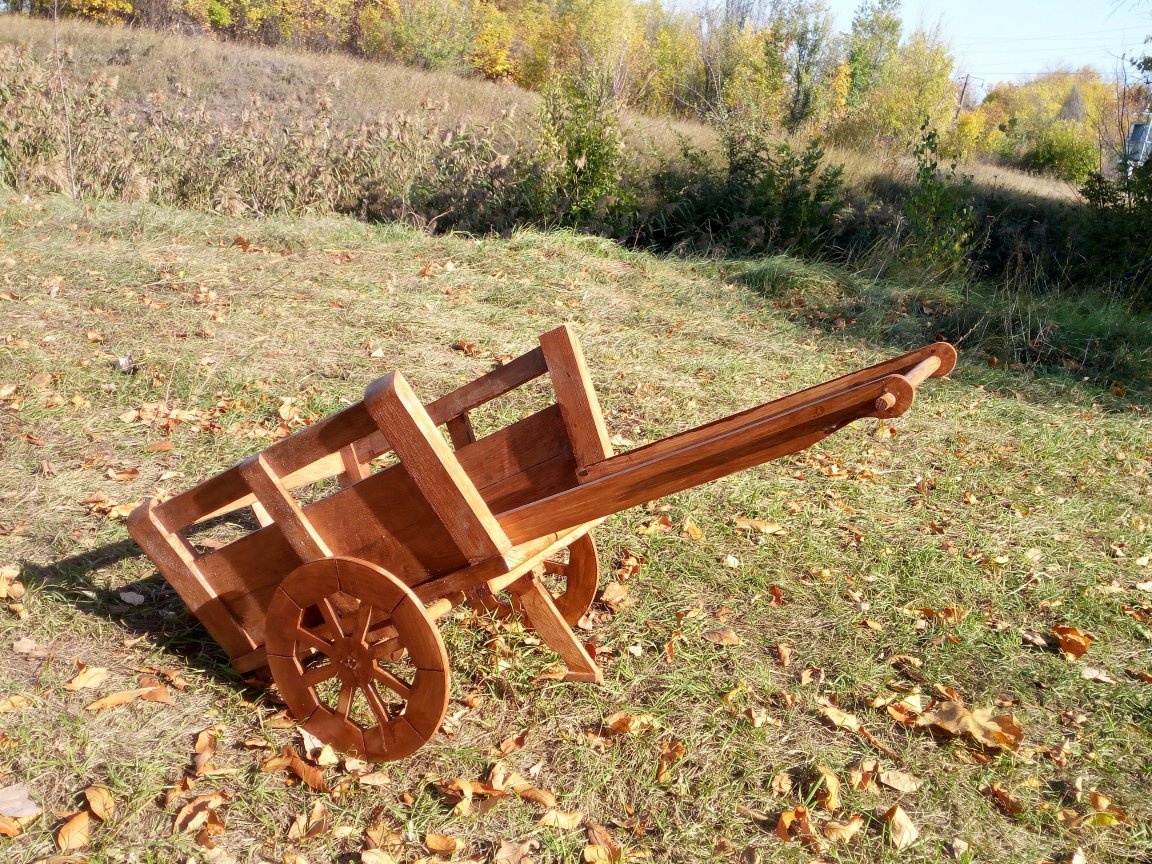
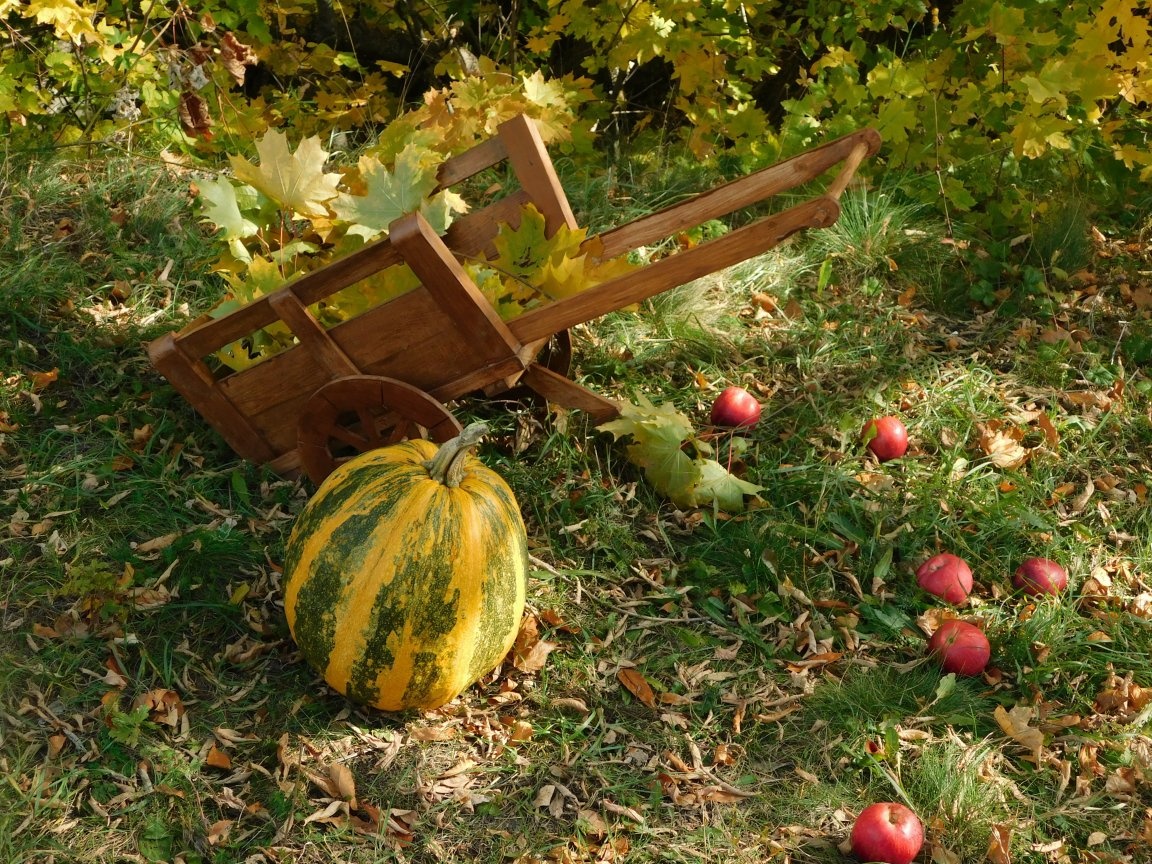
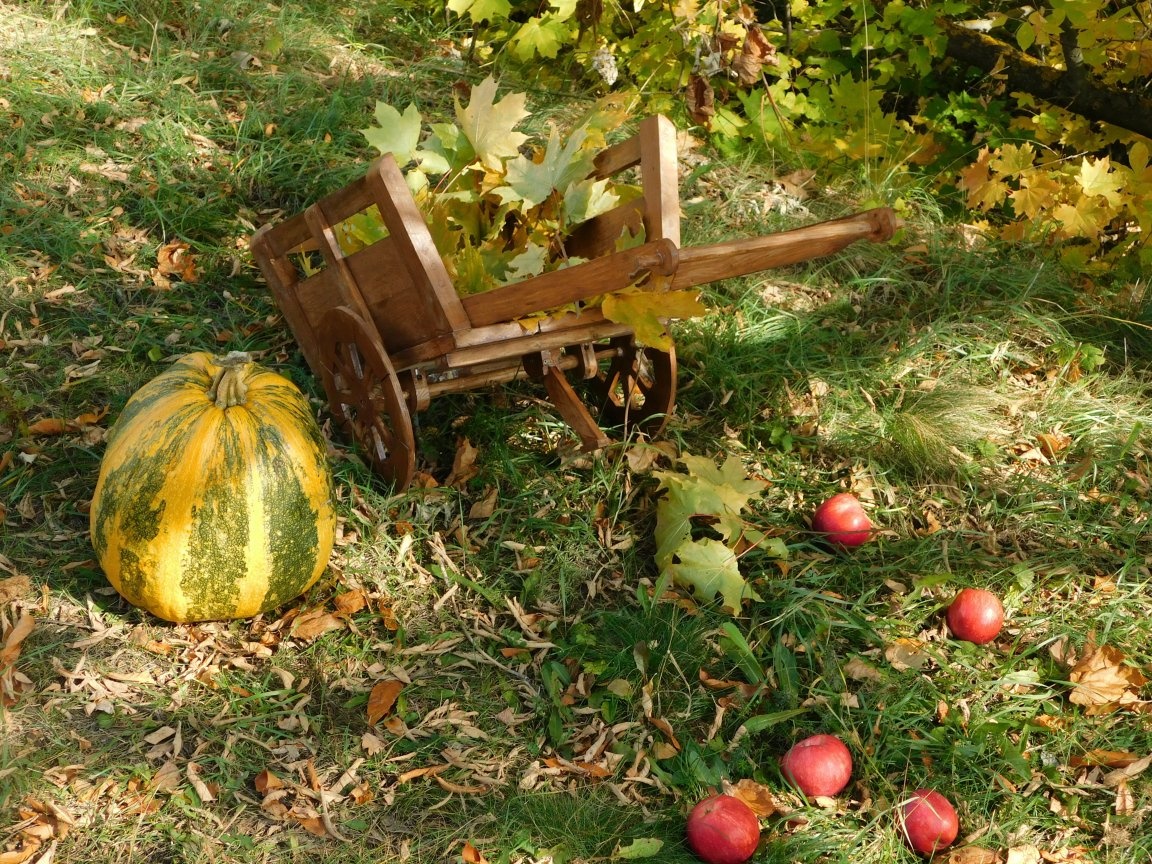
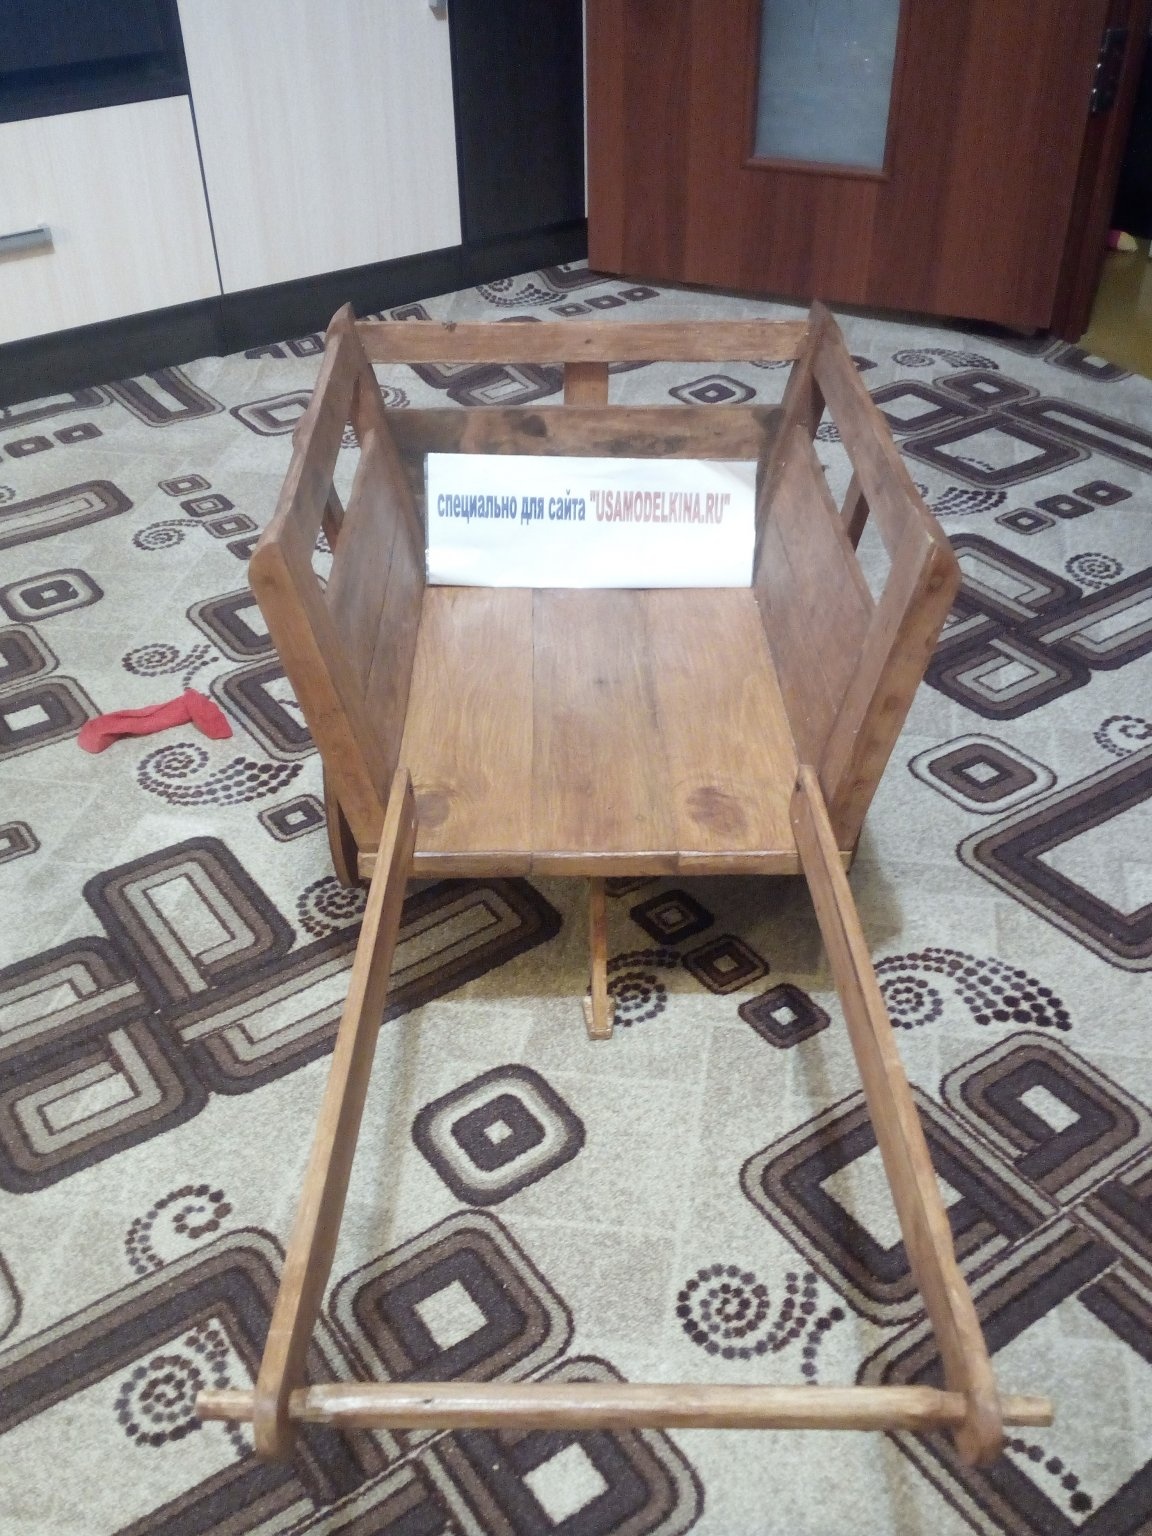
In it I want to tell and describe the process of creating a decorative wooden trolley, which was created specifically for the autumn photo shoot.
Its creation took 4 pm after a working day. The design is quite simple to manufacture and to make the same or something similar is not difficult for those who have never even dealt with wood and have the necessary minimum tools.
So, what I needed to build this photo shoot subject:
12 mm plywood
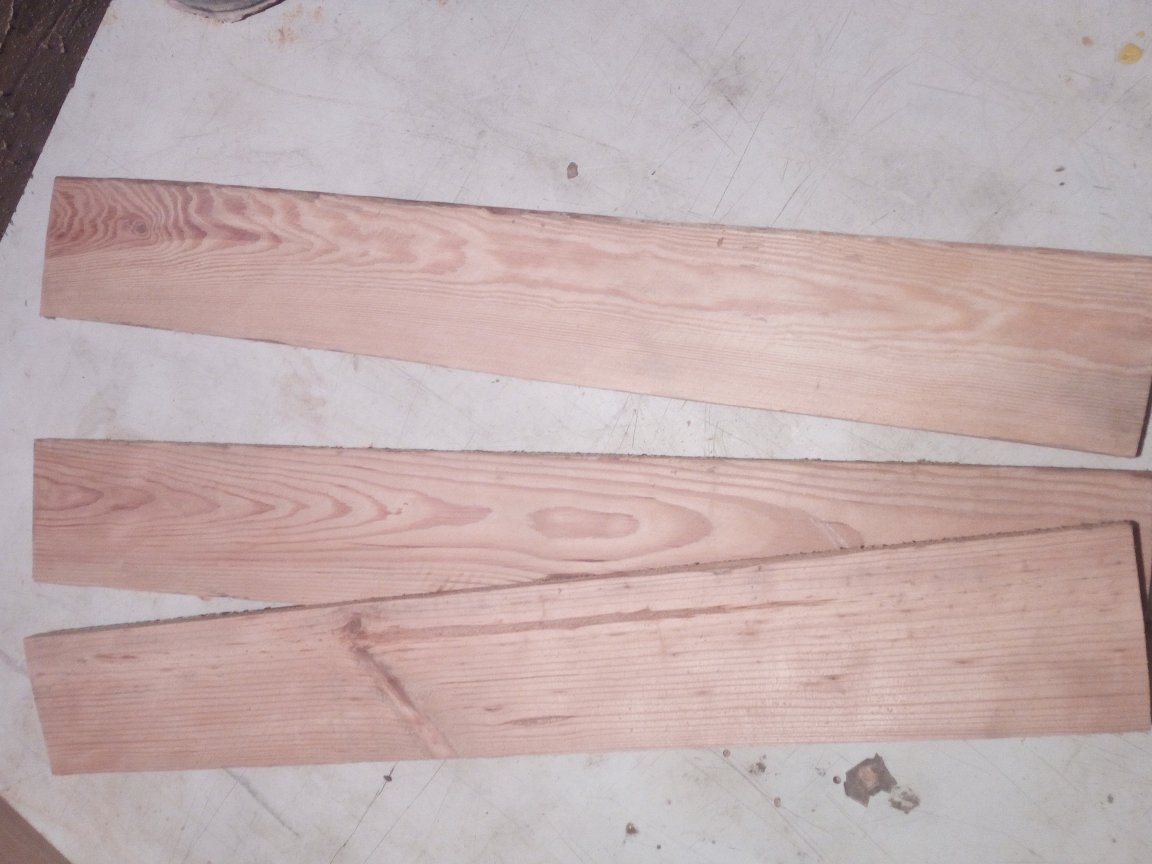
- boards 15x60 mm,
- board 20x100 mm,
rail 10x40 mm,
- bar 30x50 mm,
- putty on wood,
epoxy resin
-acrylic lacquer,
- wood screws of different sizes.
This applies to the material used. Of the tools you will need:
- Electric jigsaw with plywood files and regular wood file,
screwdriver or Phillips screwdriver,
-UShM with a petal disk or grinder,
-stationery knife,
compass, simple pencil.
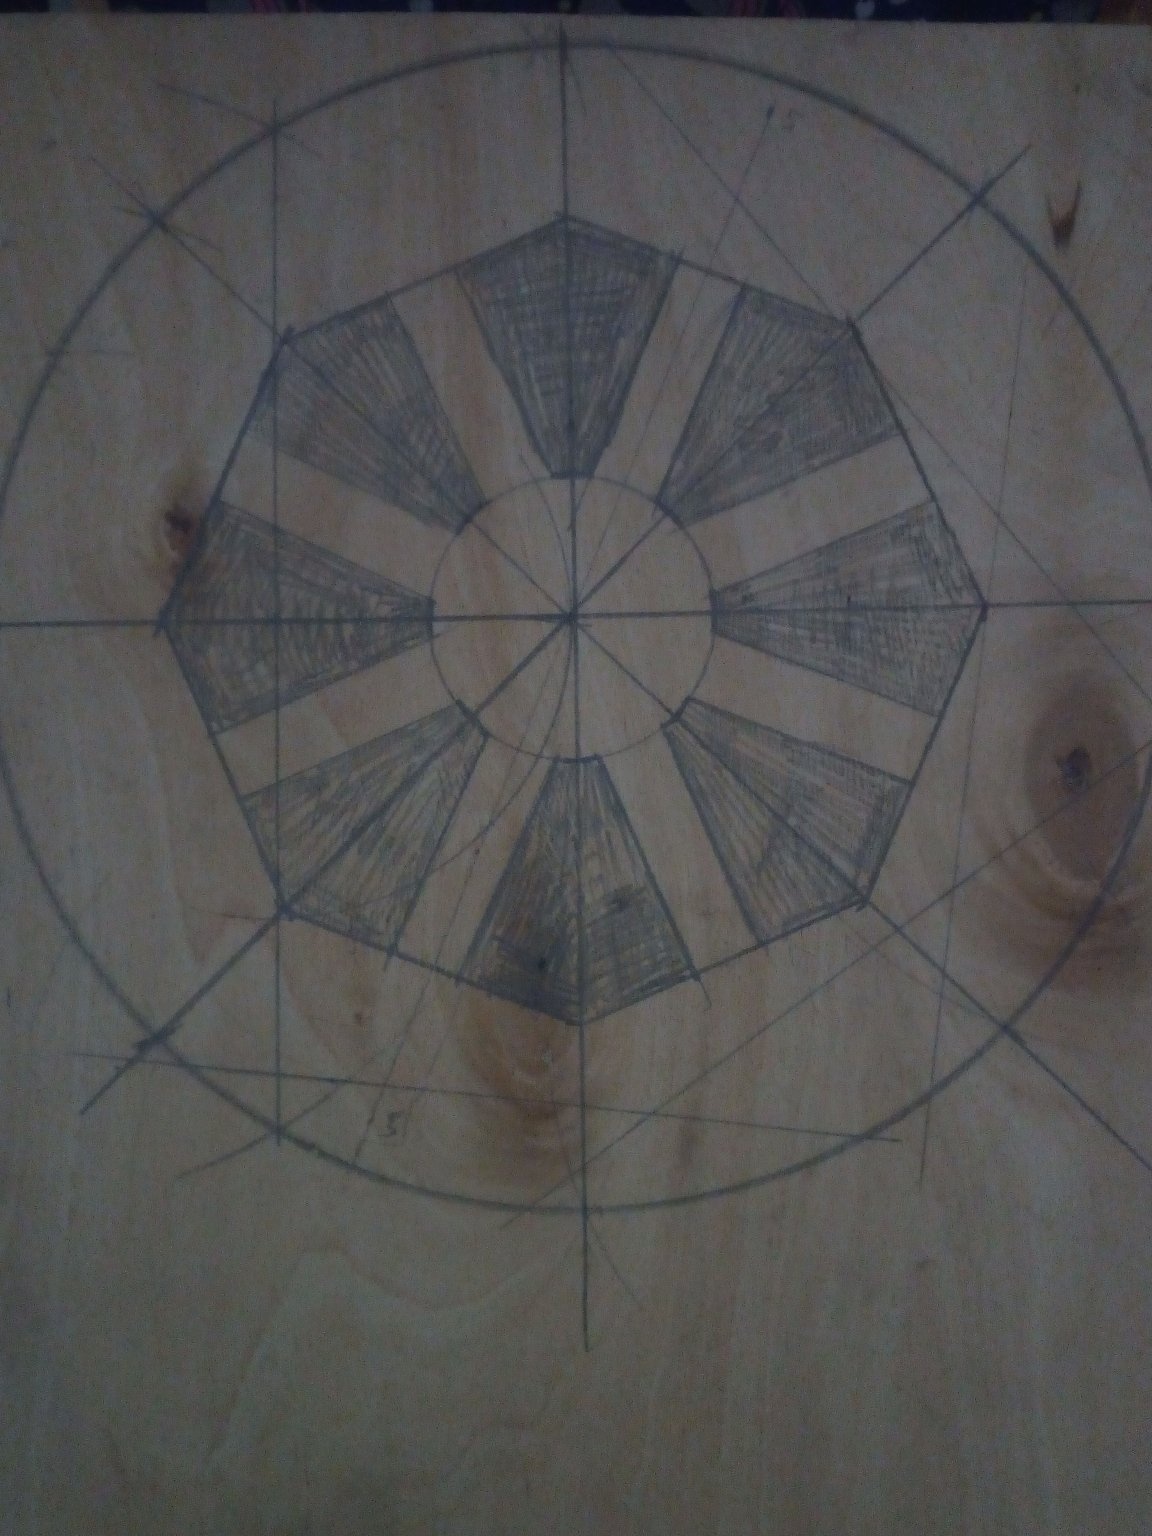
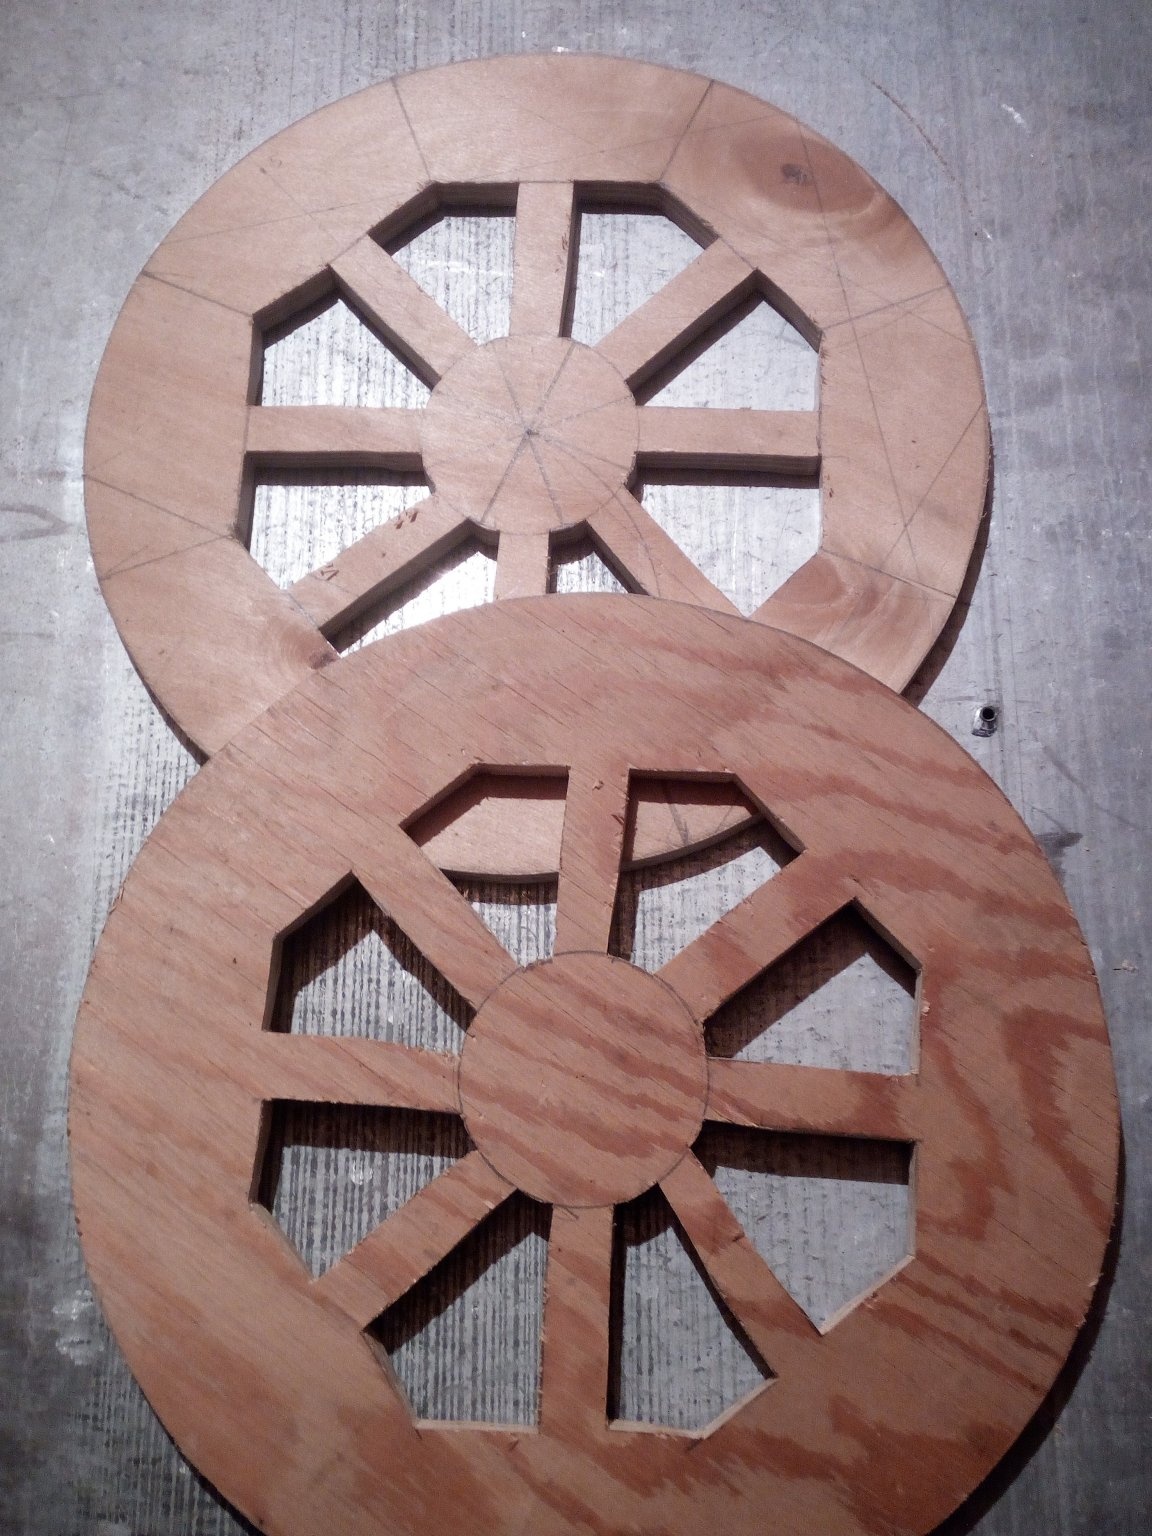
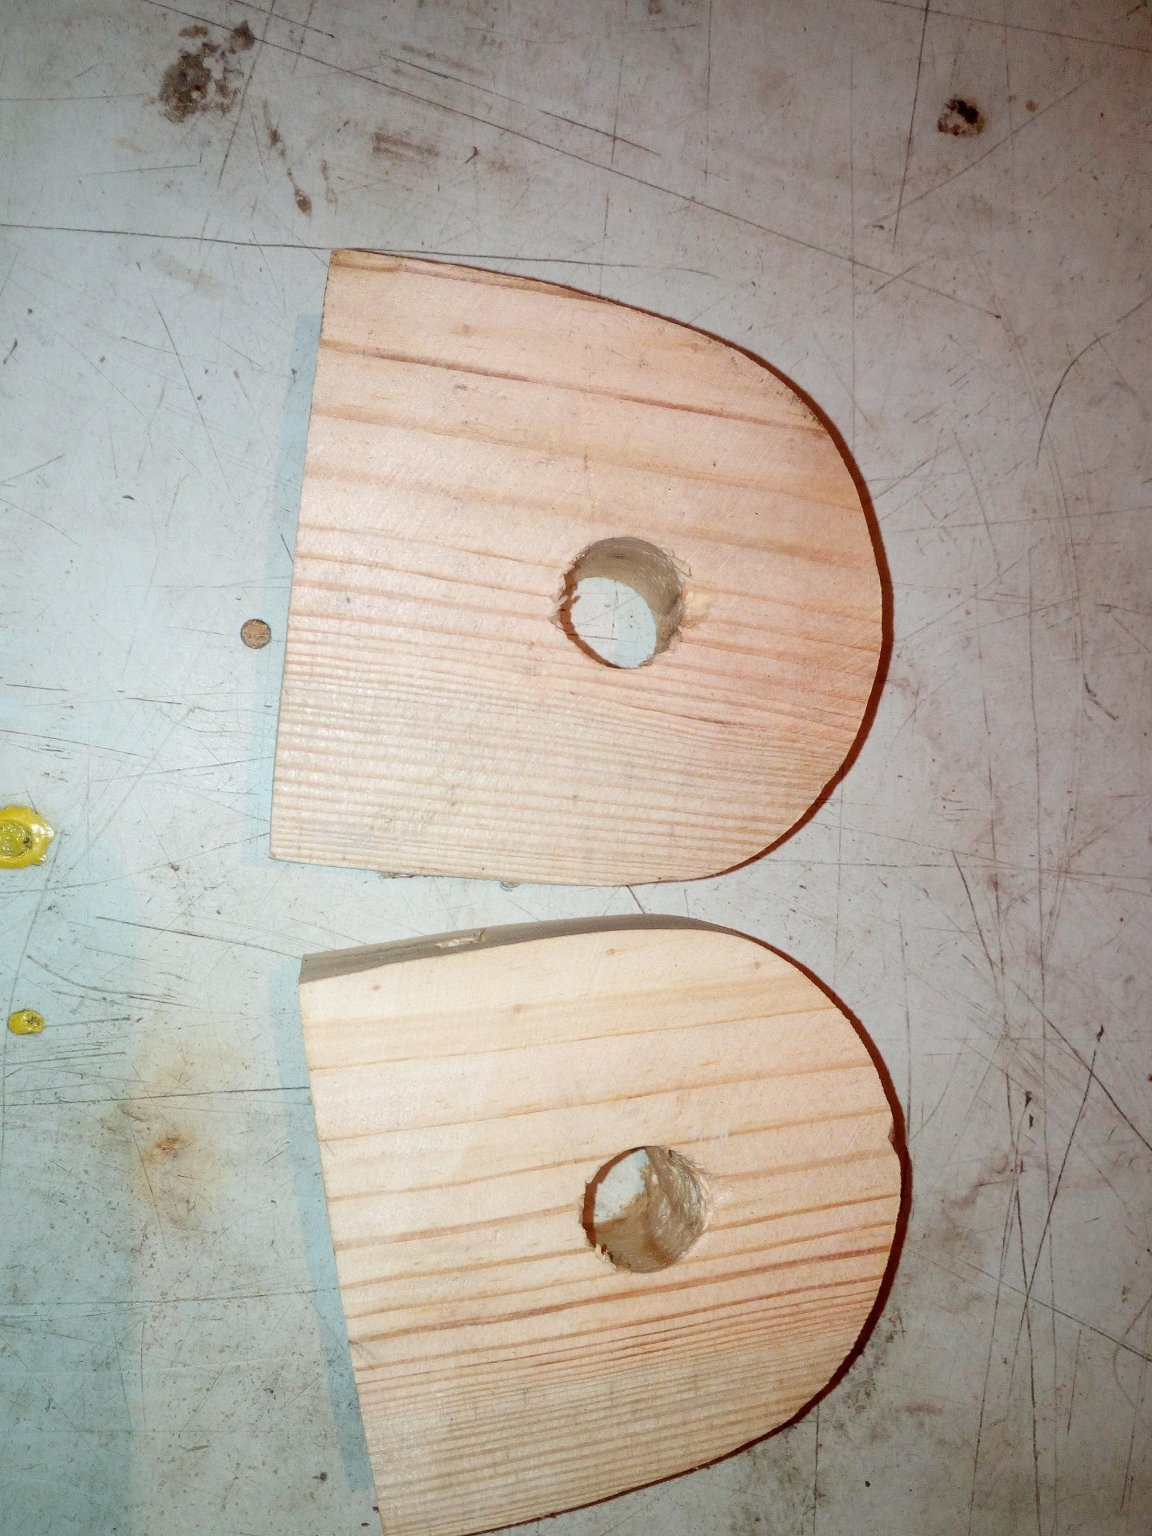
I decided to start making the trolley with wheels. As planned, they were supposed to be segmented, as in large carts in which horses were harnessed. But having cut the blanks, I decided that it was too troublesome and long to make such wheels for the cart, which will be used only once. Therefore, it was decided to make 12 mm plywood wheels. The compasser drew a circle of the diameter I needed. He broke it into 8 parts, each of which became a wheel segment. Further, on the workpiece, according to the drawing already obtained, I drew the wheel completely, as it should look after cutting.
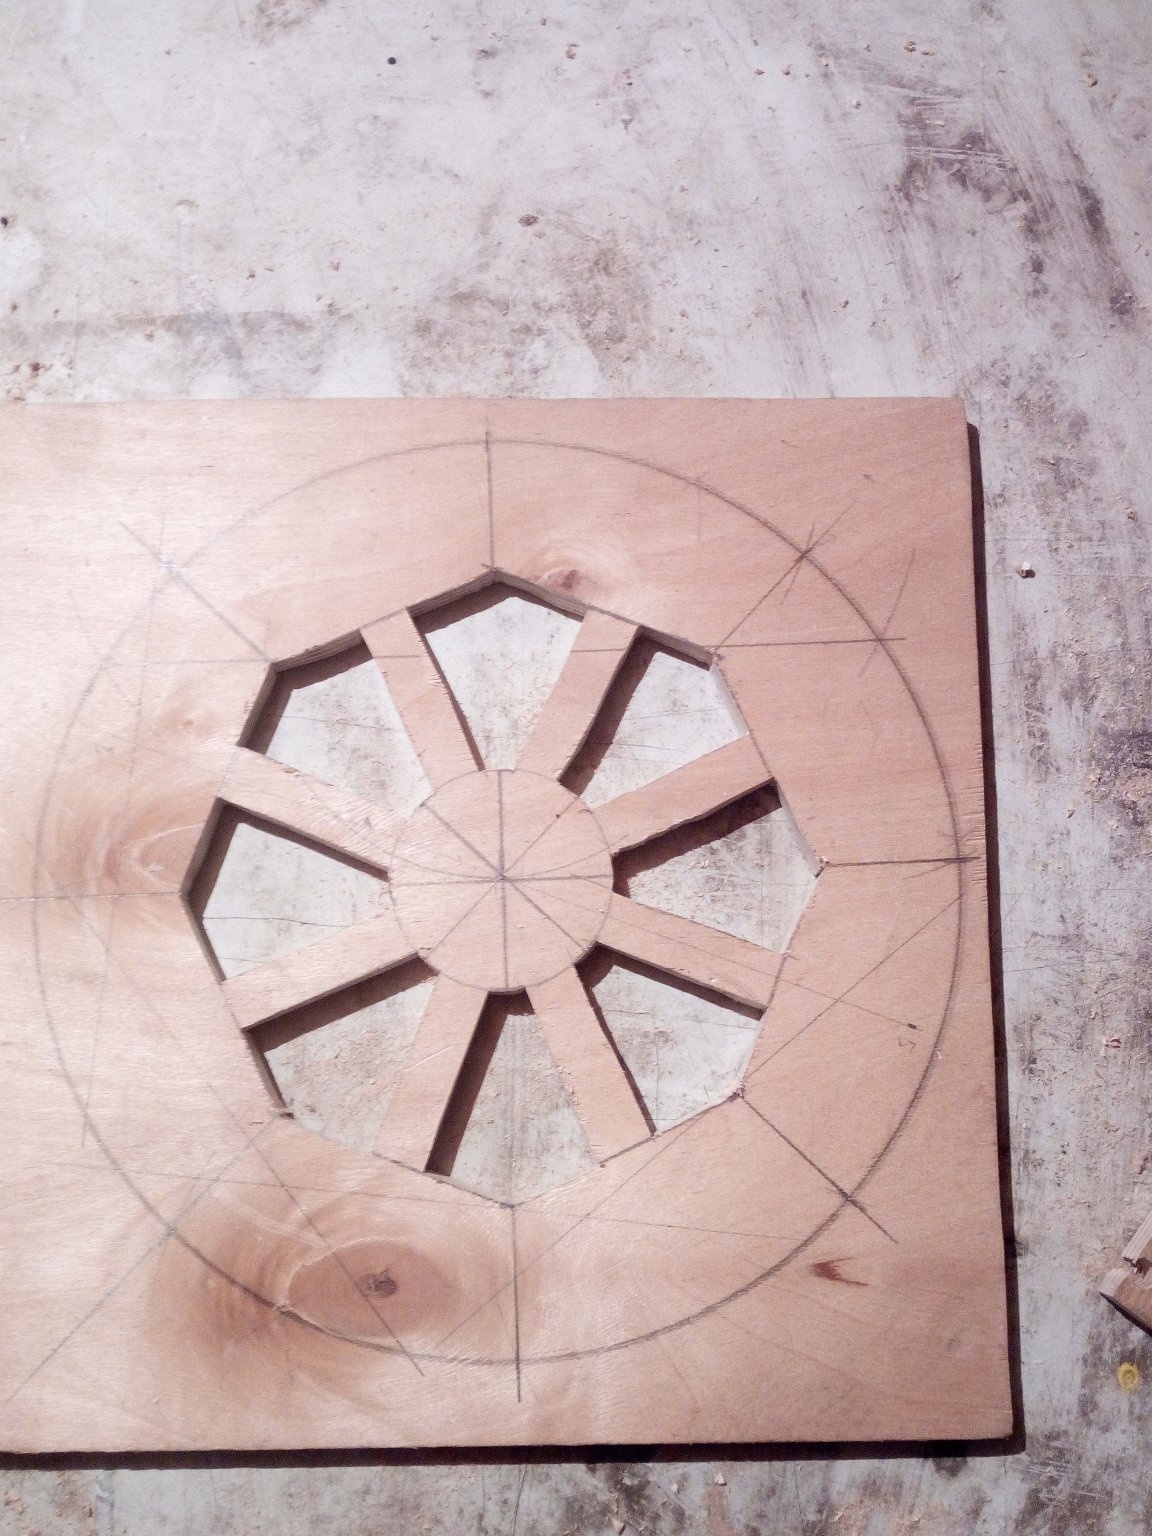
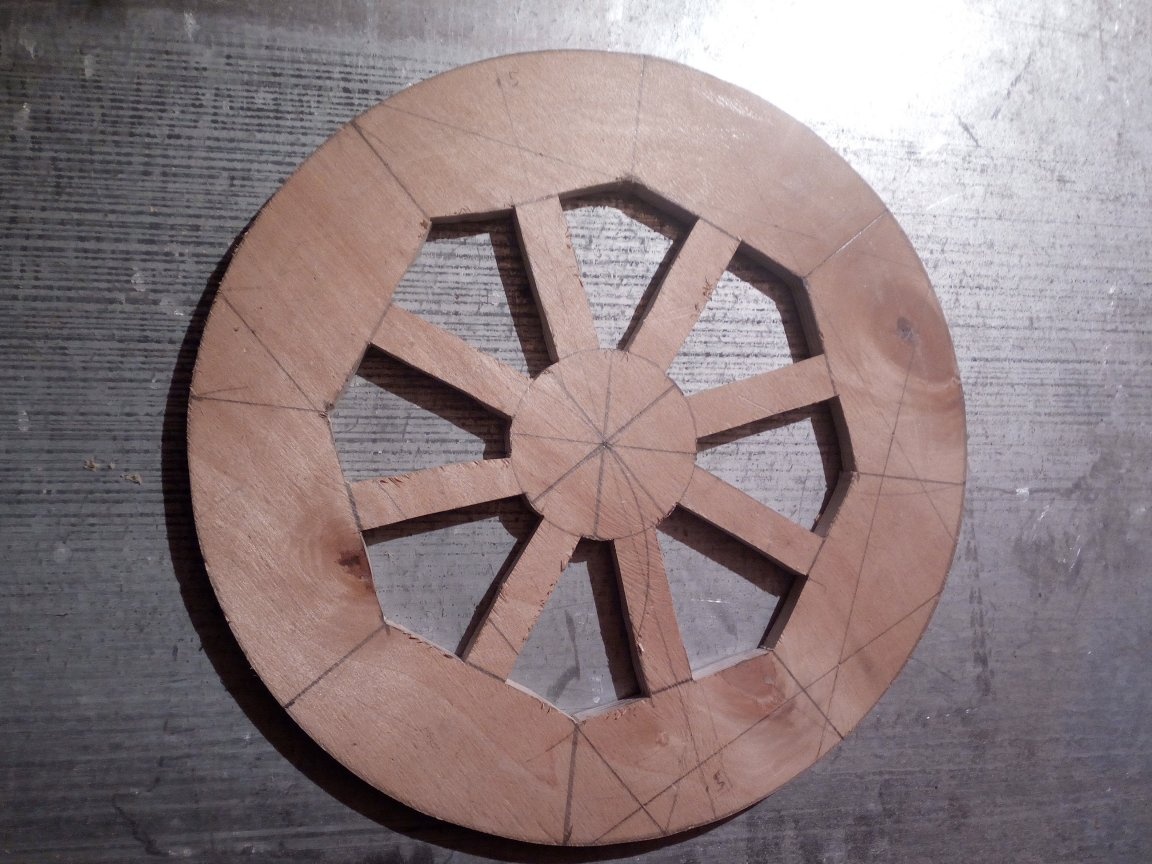
I started this process with a selection of the internal parts of the wheel, because the workpiece is still large and it was convenient to do these actions on it. Drilling holes for a jigsaw file, sawed out the shaded parts. After sawing the workpiece in a circle and it turned out exactly as I intended! Wheels need 2 pieces. After cleared the rim and internal cuts. The sander gave the wheels a more aesthetic appearance and removed the pencil markings from them so that she would not peek out from under the varnish. In order to make the wheel segments more visible in the finished product, I installed a cutting disc for metal on the grinder, set the rotational speed of the disc to almost minimum and went around the plywood, burning the grooves with the disc.

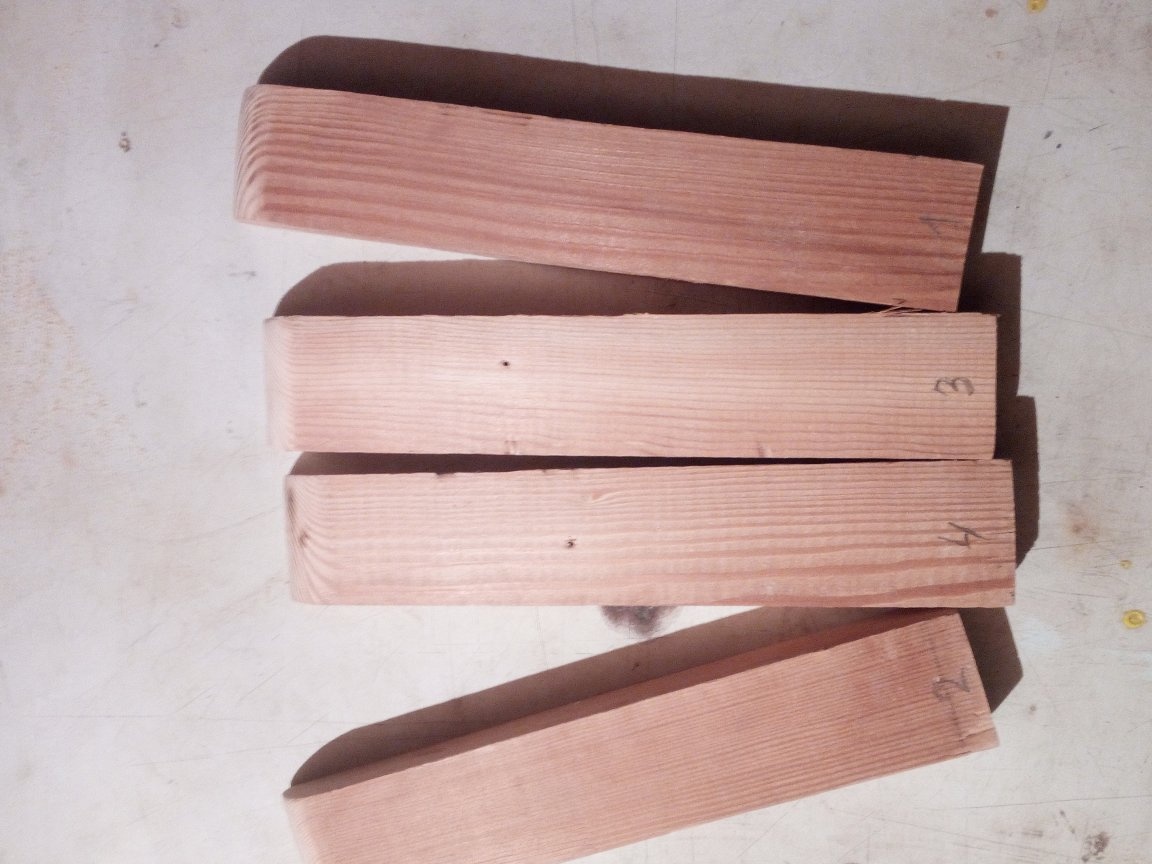
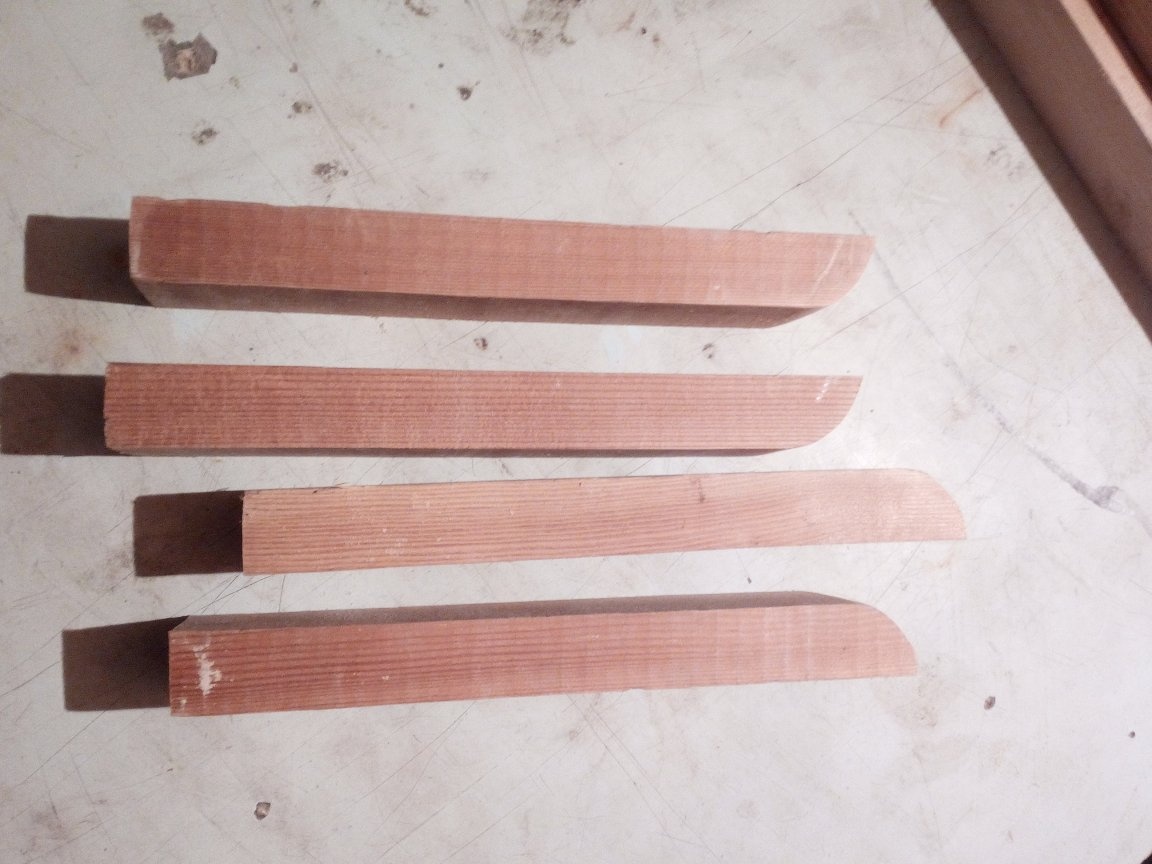
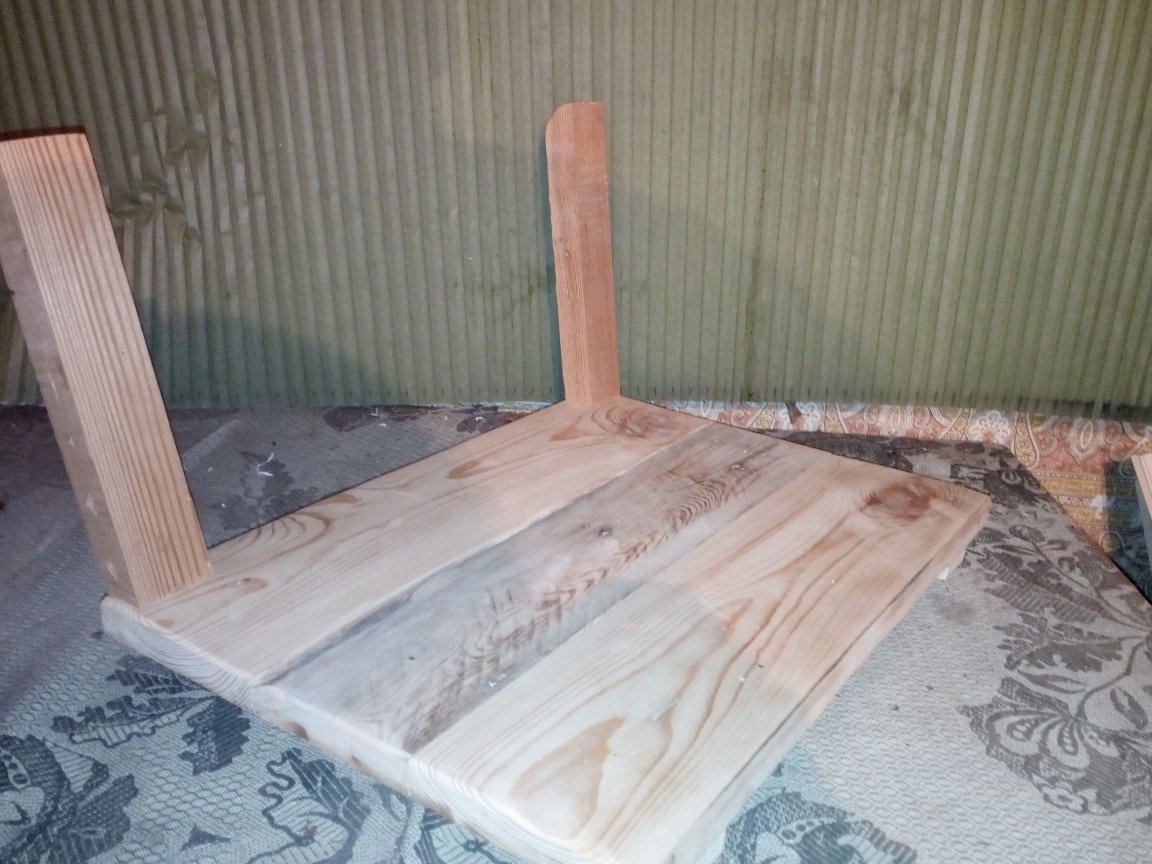
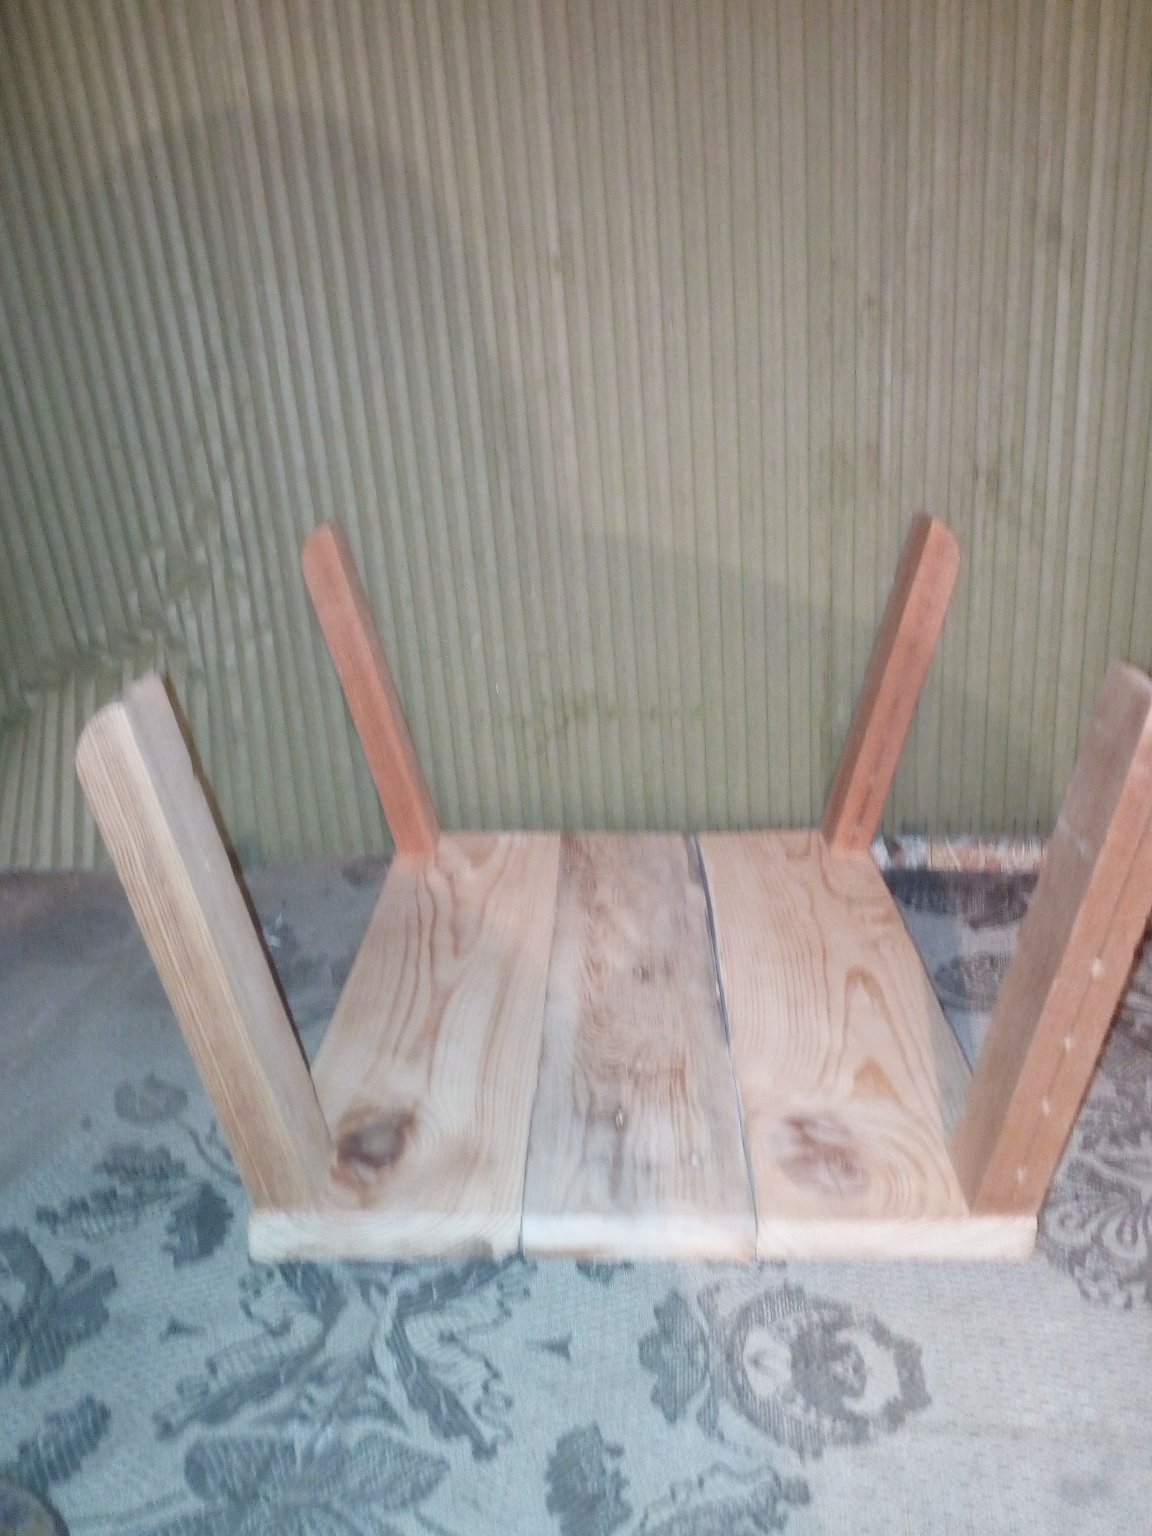
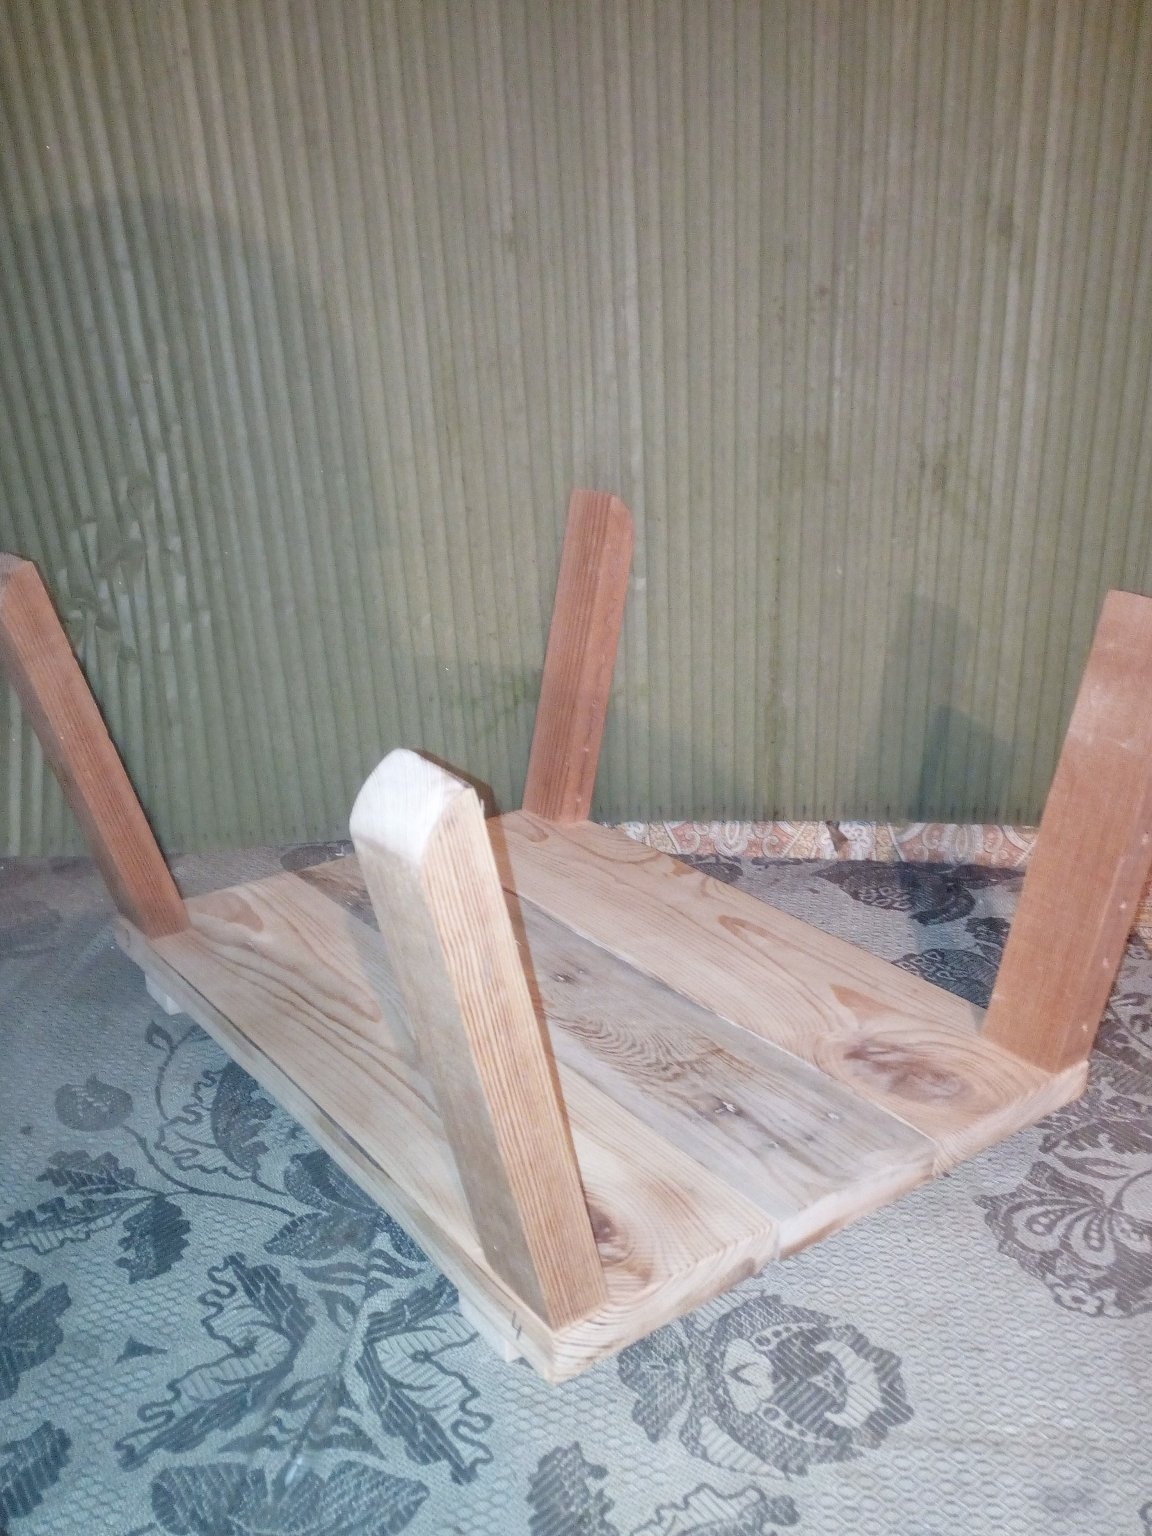
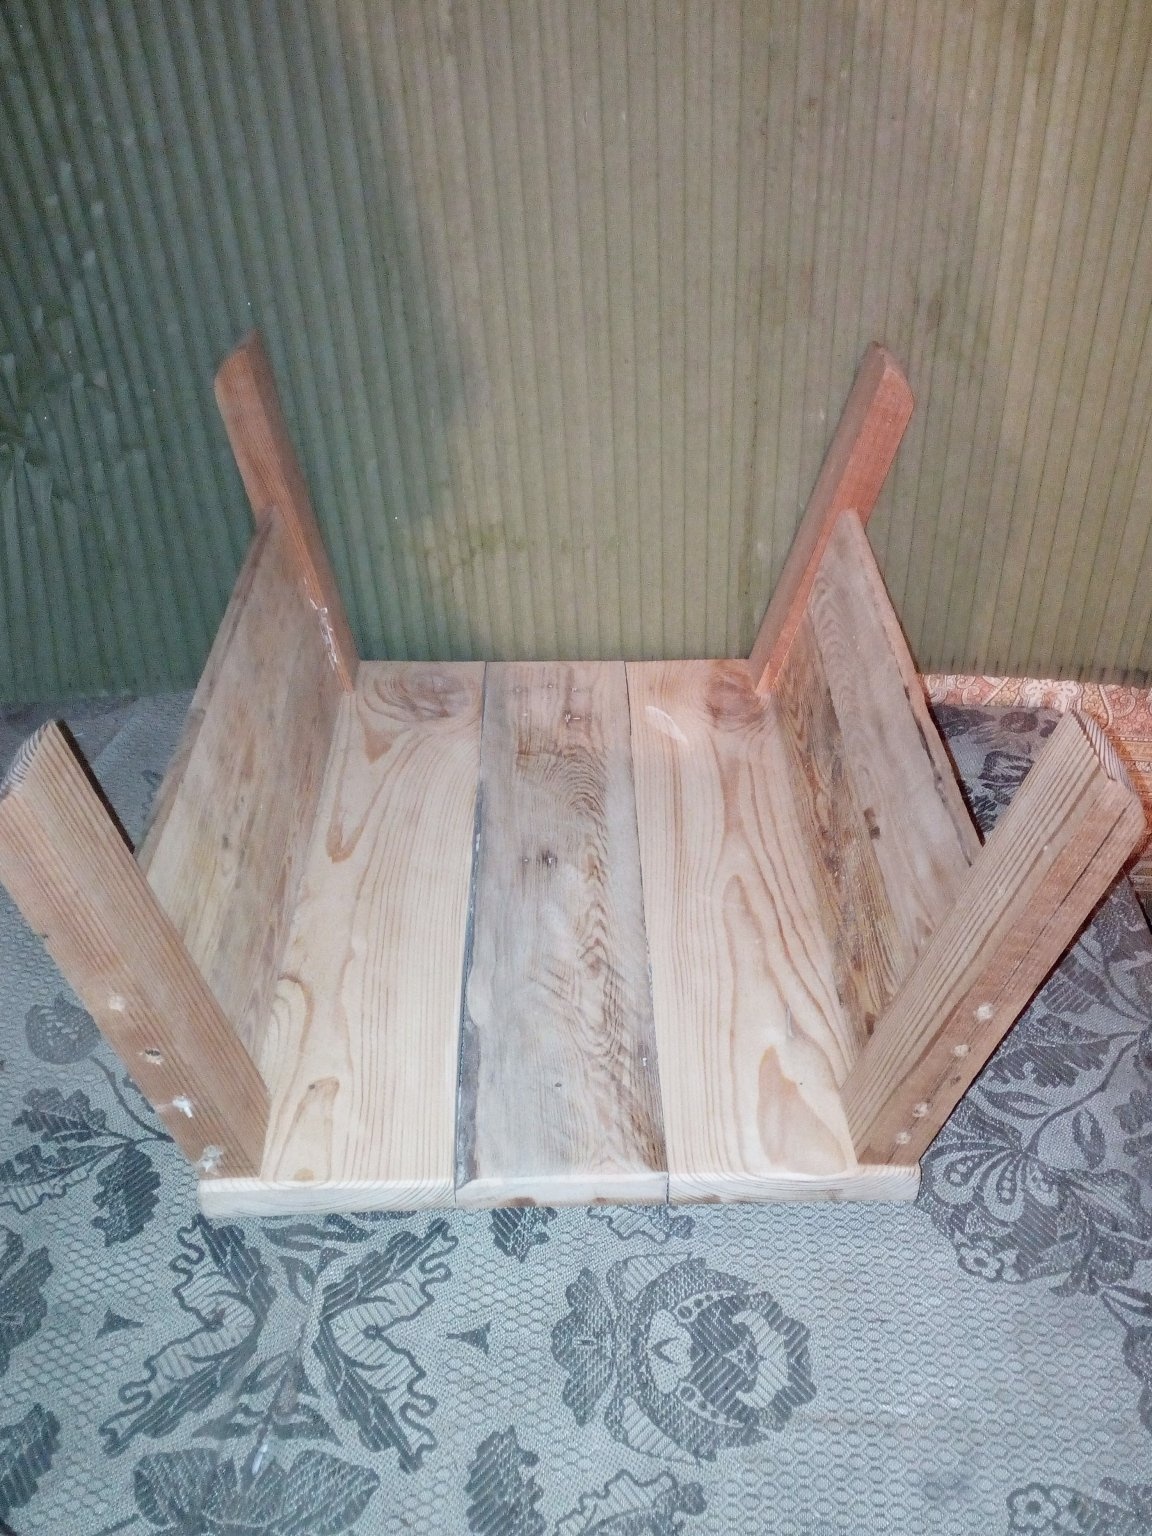
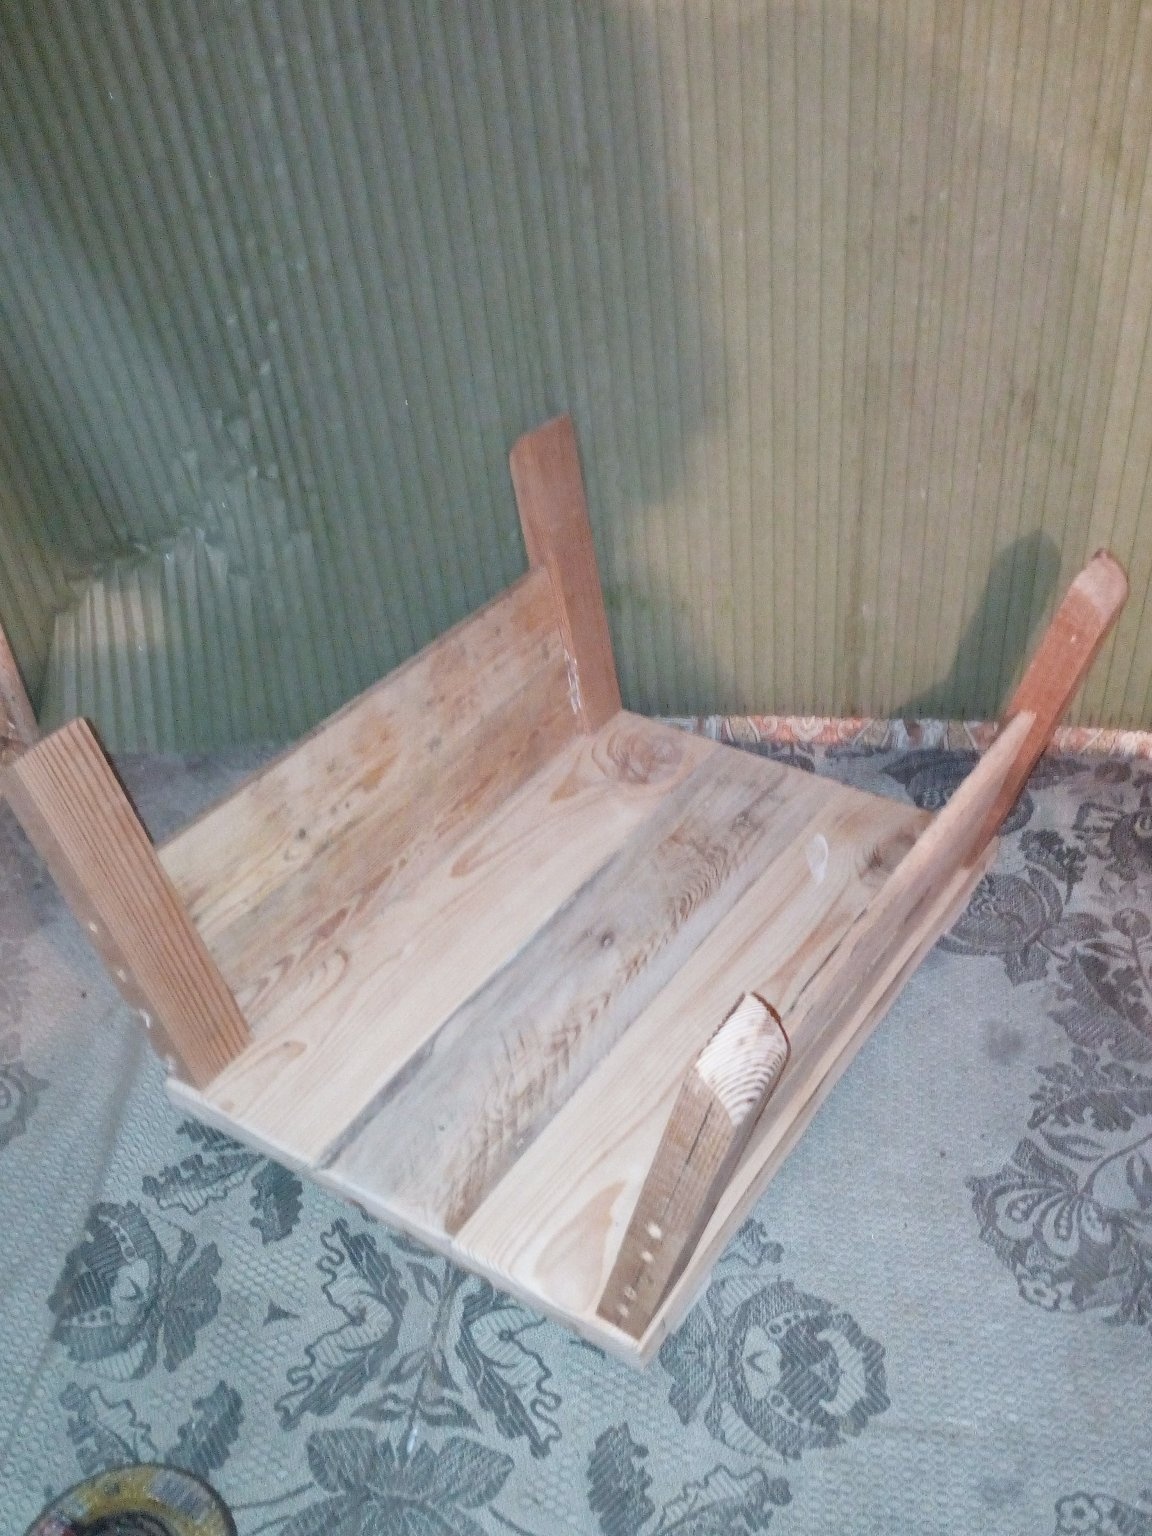
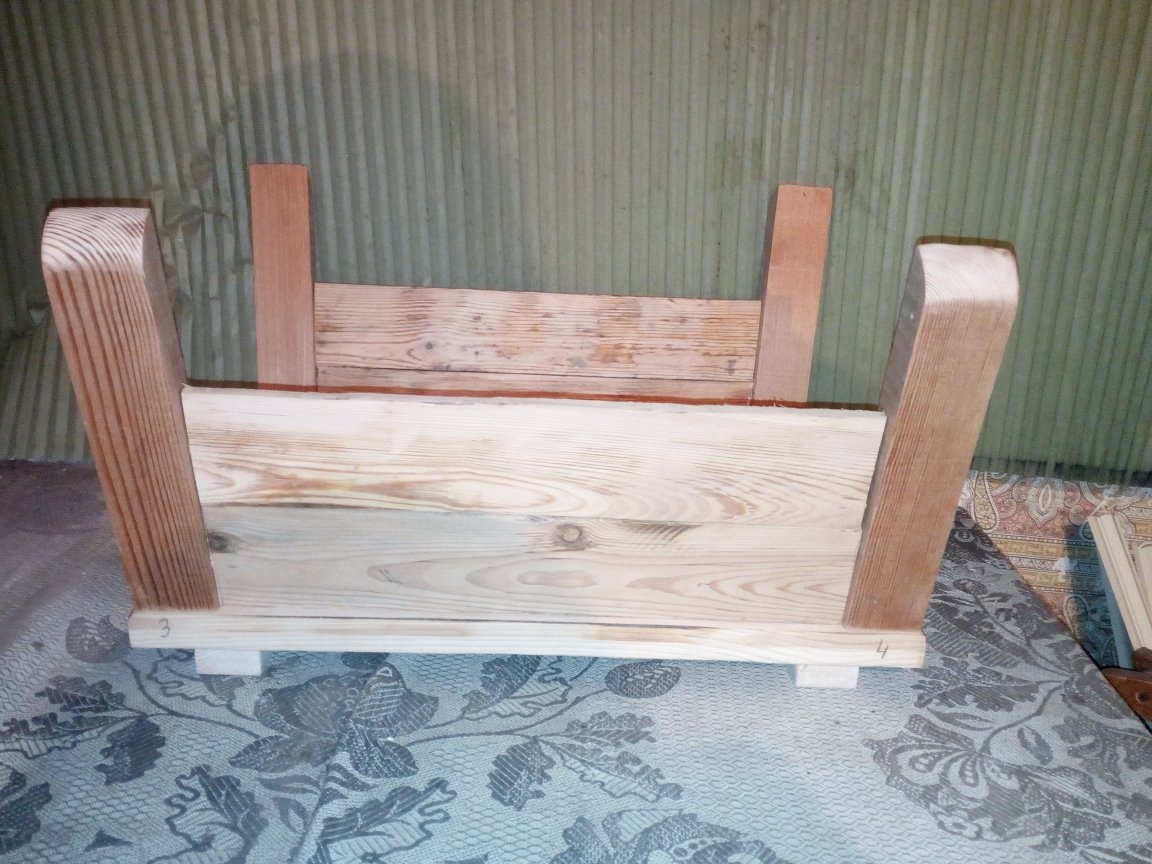
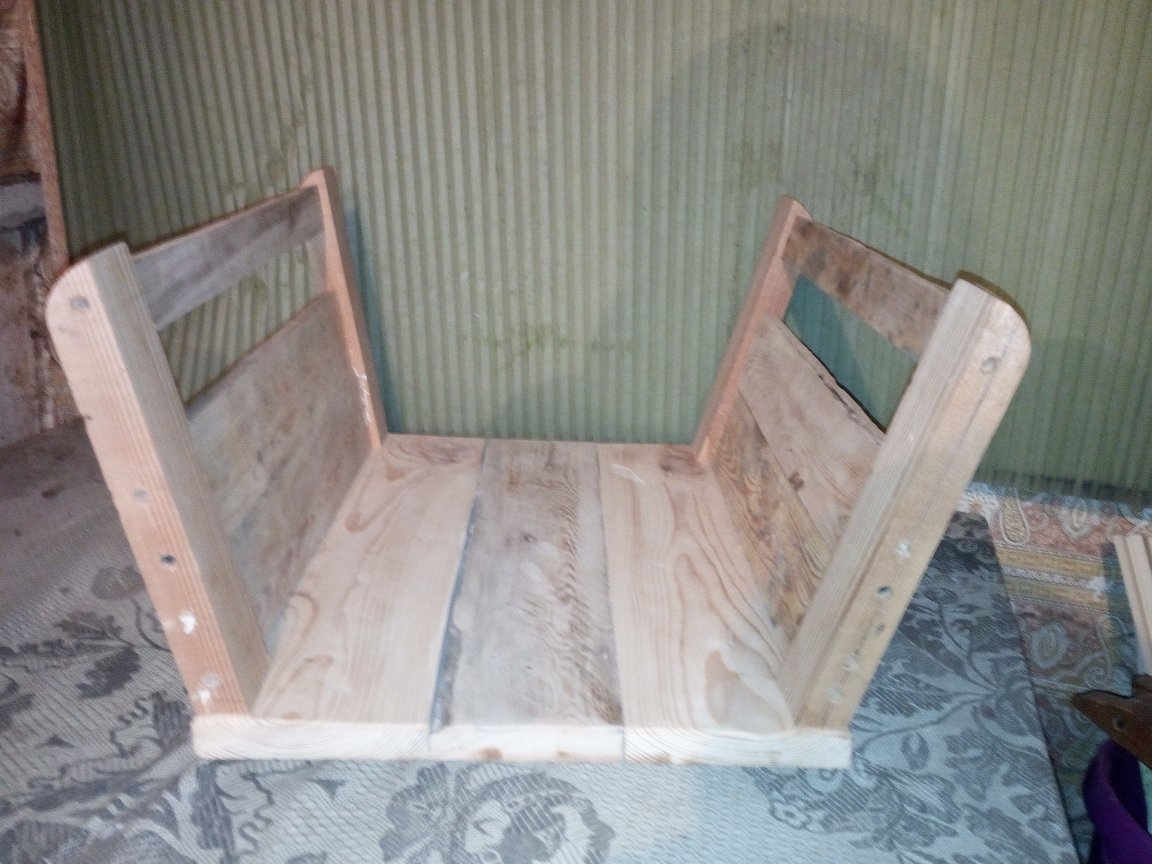
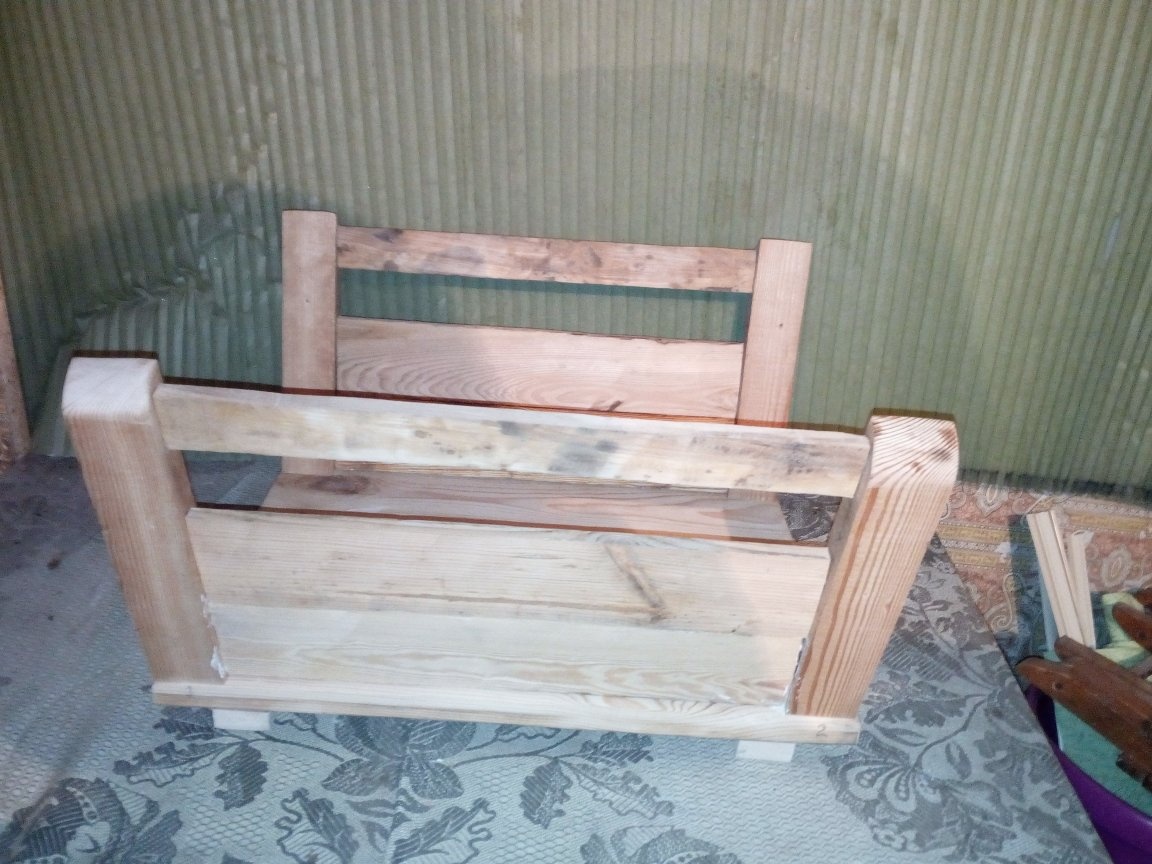
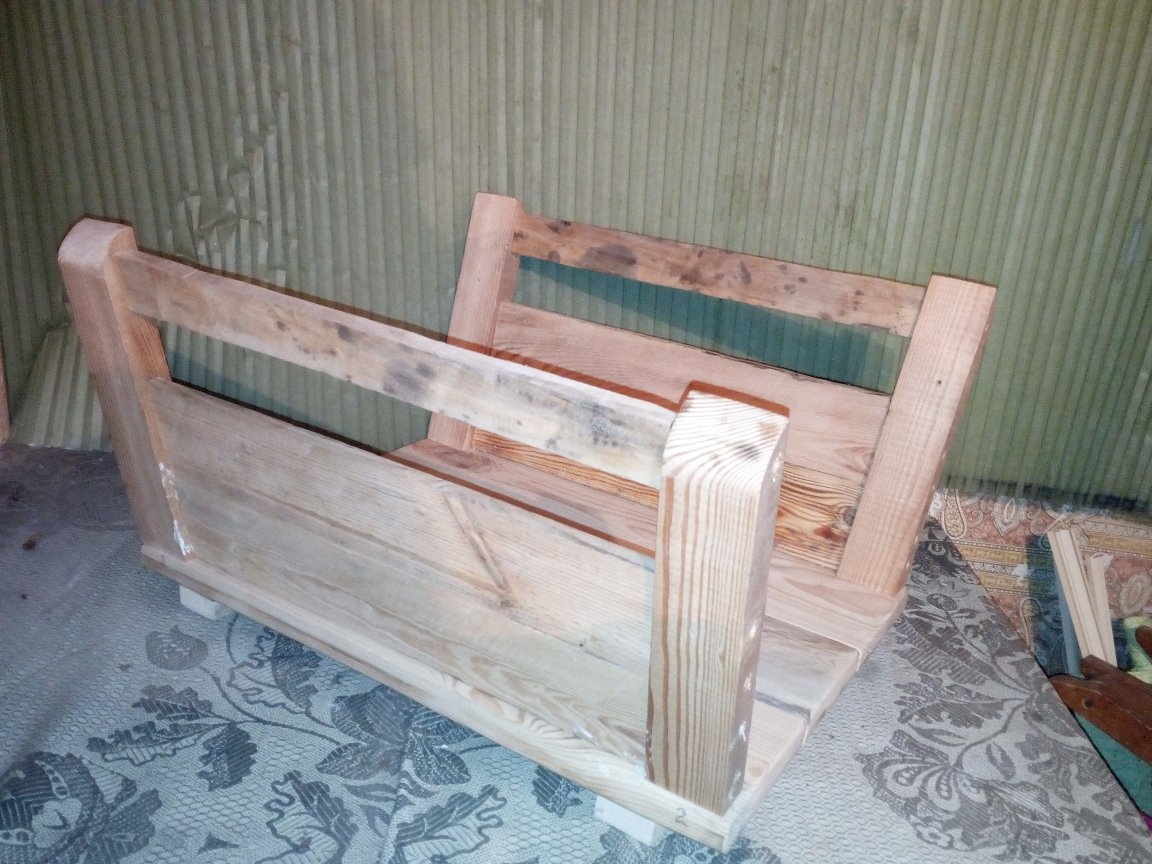
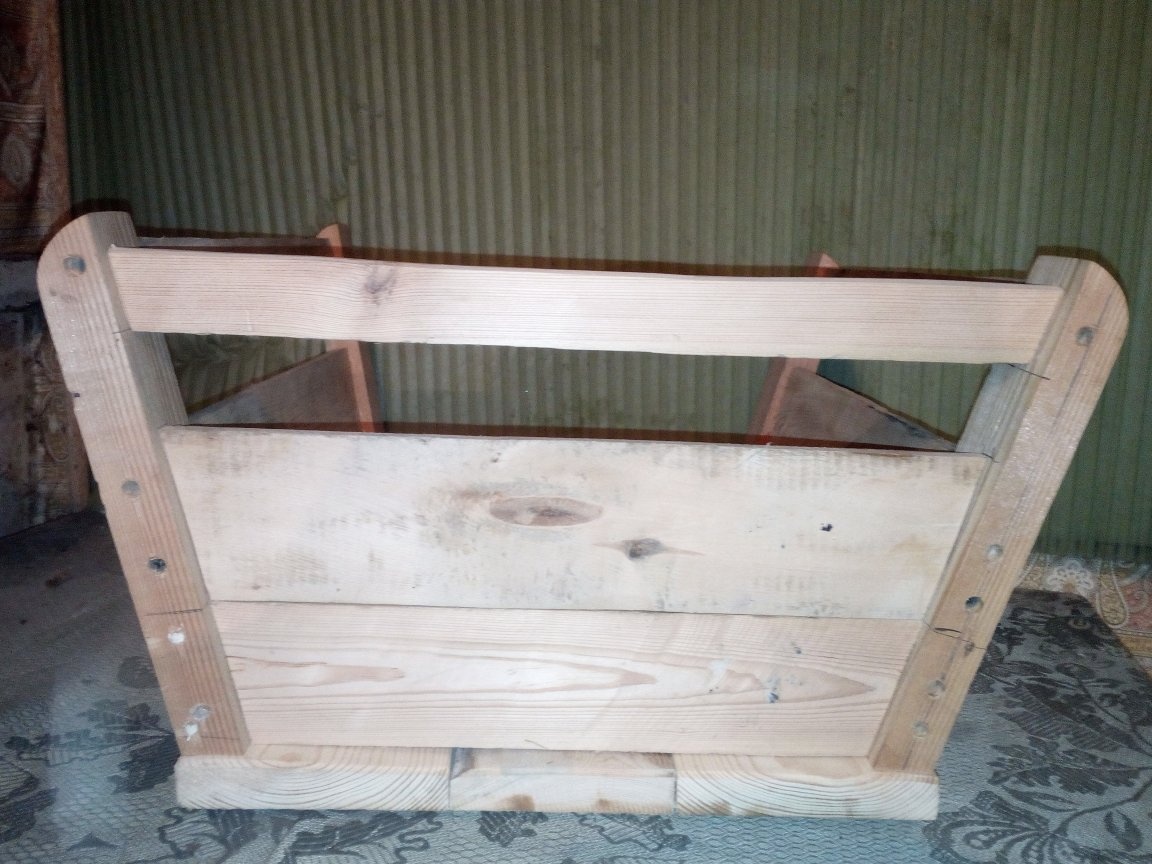
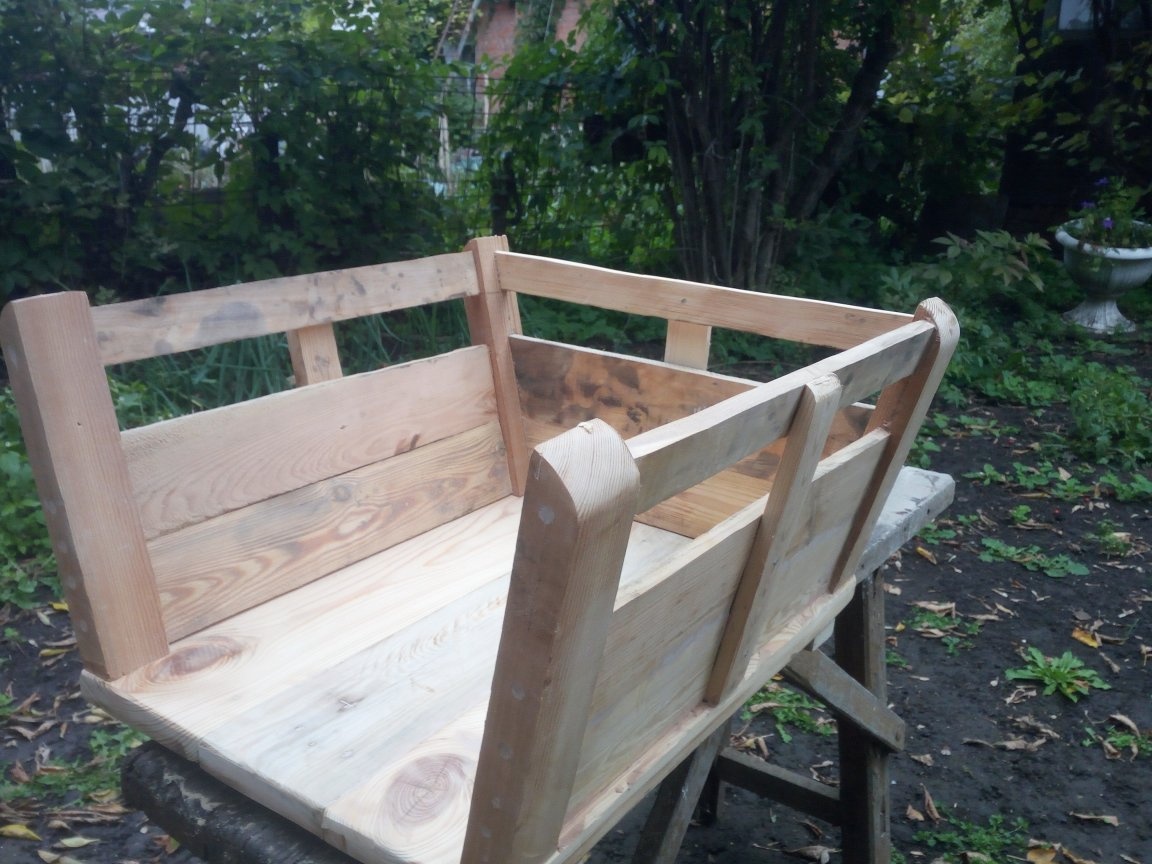
Now proceed to the assembly of the bottom of the trolley. To do this, I needed a 20x100 mm board.Dividing it into 3 parts, folded them together and fastened them with cross bars from the outside. I screwed them on self-tapping screws. Because I used a board that was already in business, then even after preliminary grinding it was with differences. Therefore, I had to completely level the base. After assembling the base, the bottom began to make the sides of the cart. From a bar 30x50 mm. 4 parts of the size I needed were sawn off. At one end, which will have to be attached to the base, a small angle was made so that the sides turned at an angle. It will be more beautiful, but it’s a little inconvenient to measure and fix the skin of the sides, which were made of 15x60 mm boards. The second end, the upper, was rounded to the outer edge relative to the interior of the cart. These bases for the sides were fastened with screws from the inside of the bottom. I drilled holes only after that I twisted the screws. For a more convenient and quick assembly of parts among themselves, I numbered bars and corners of the bottom of the cart. Here is what happened at this stage of work:


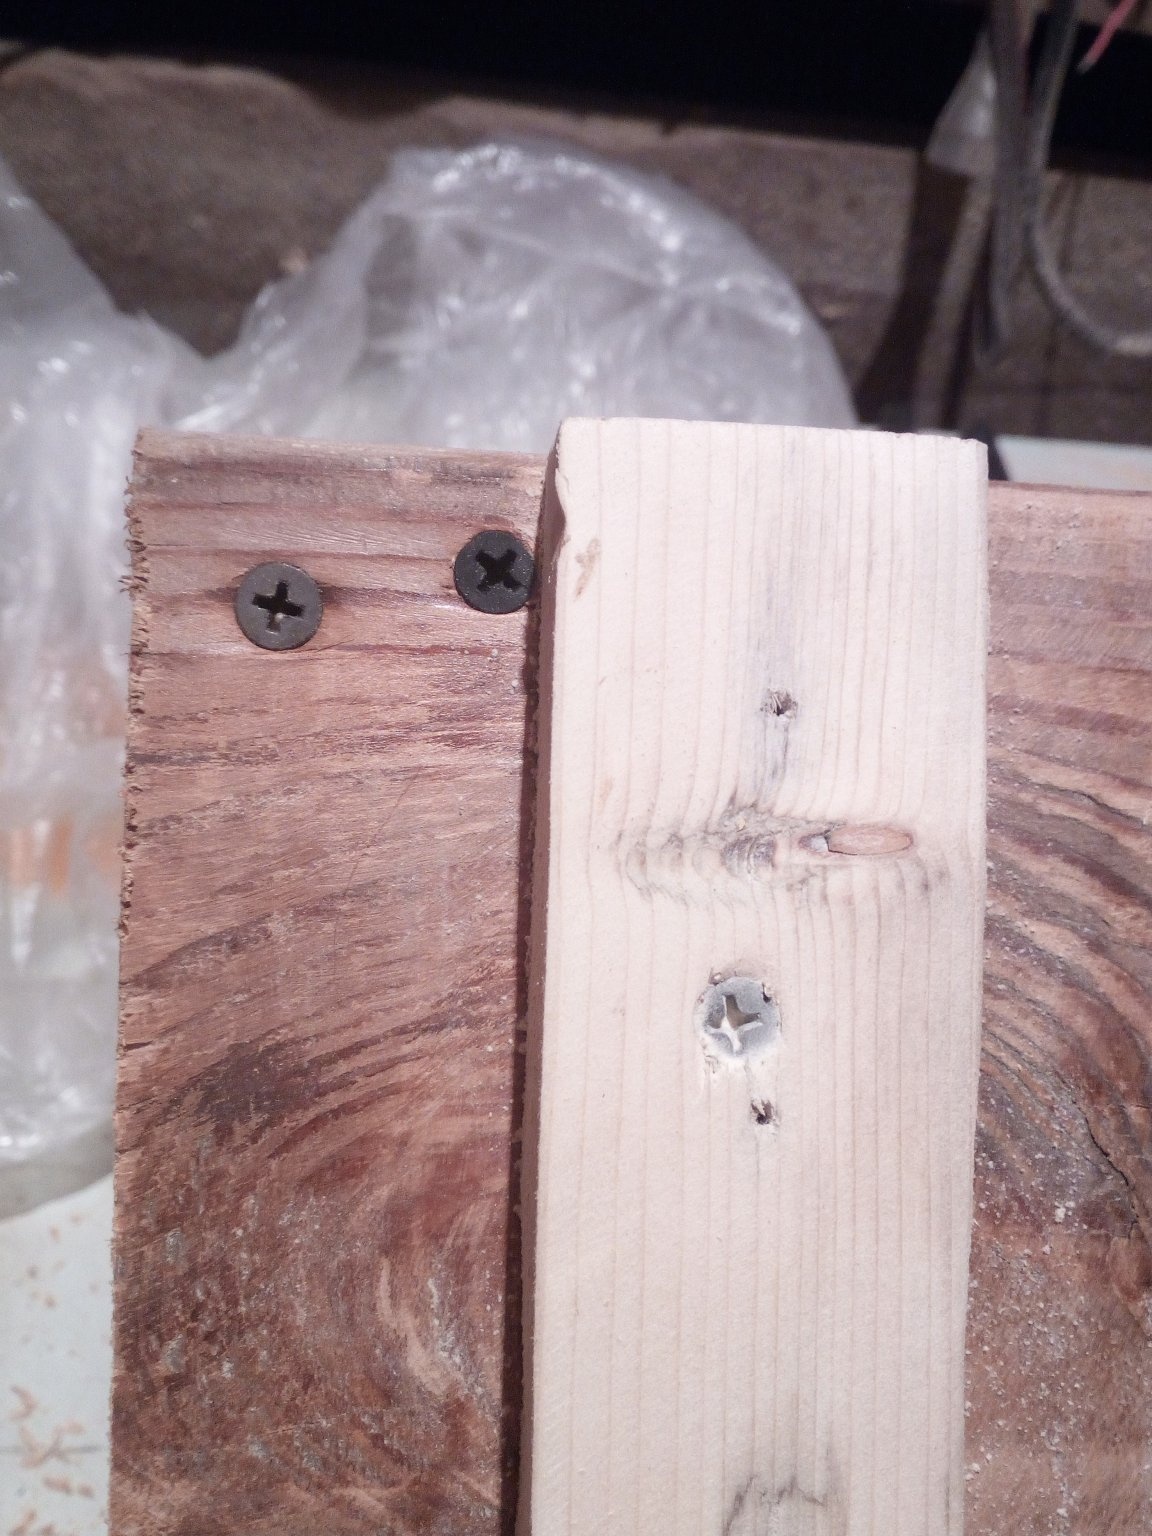

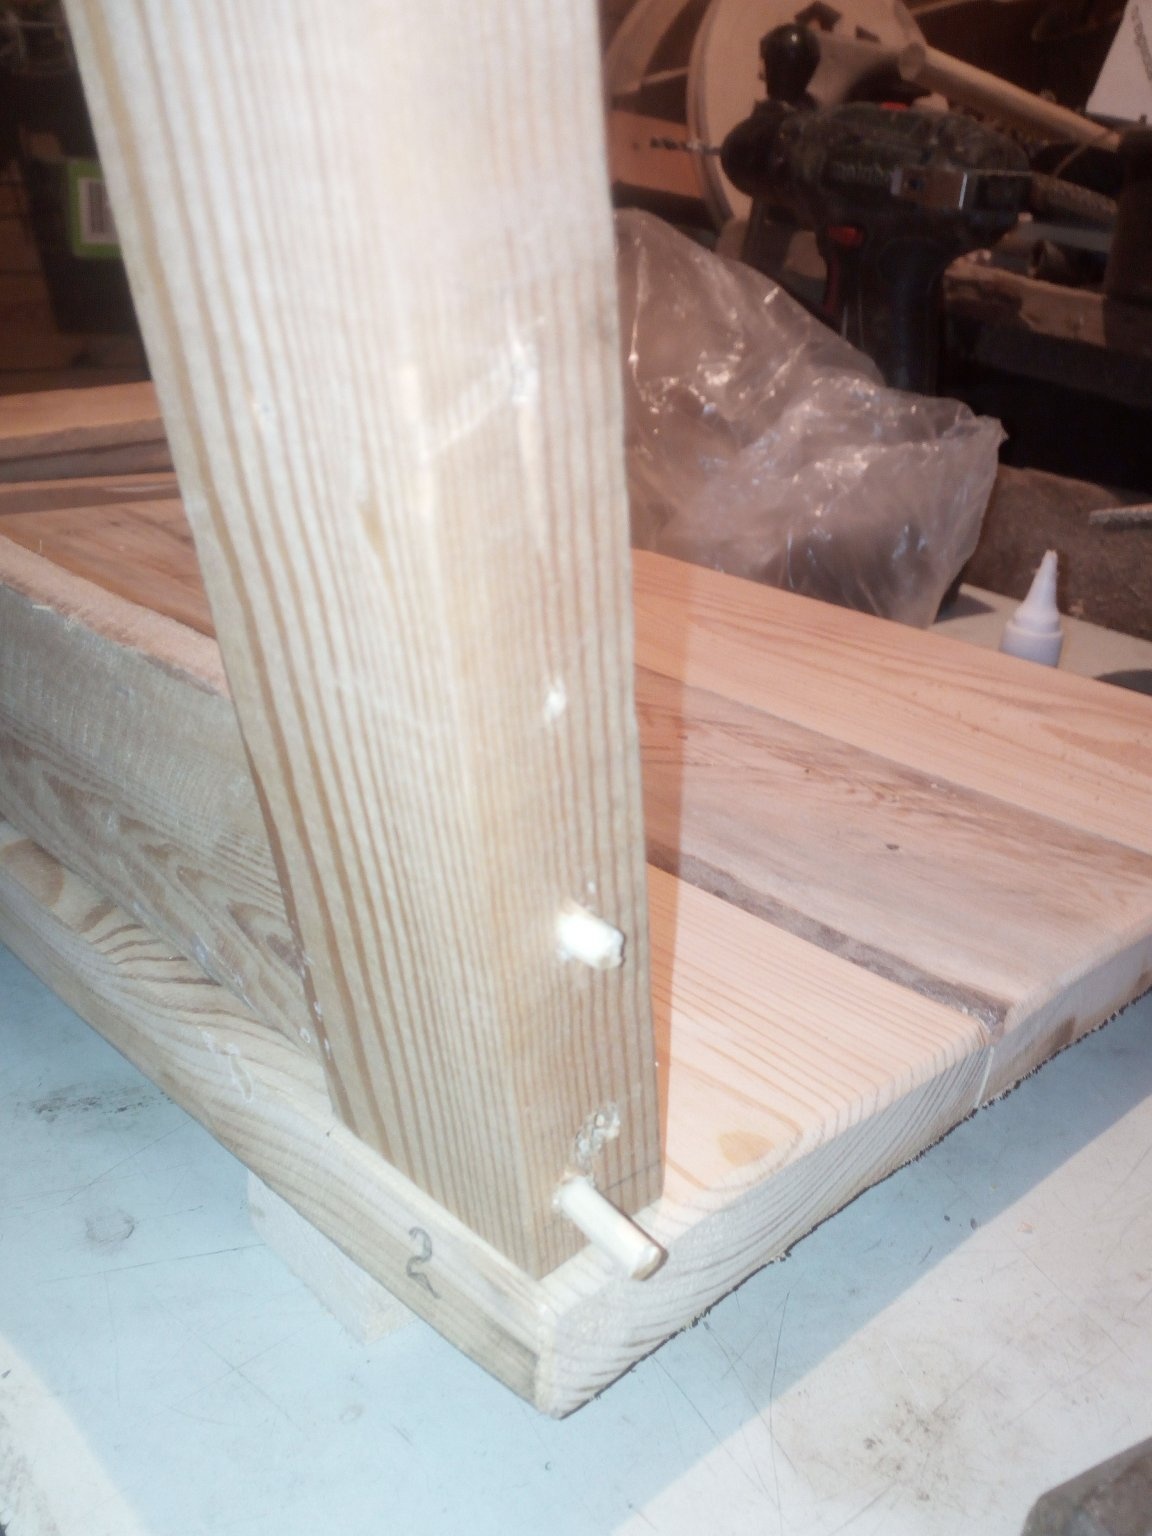
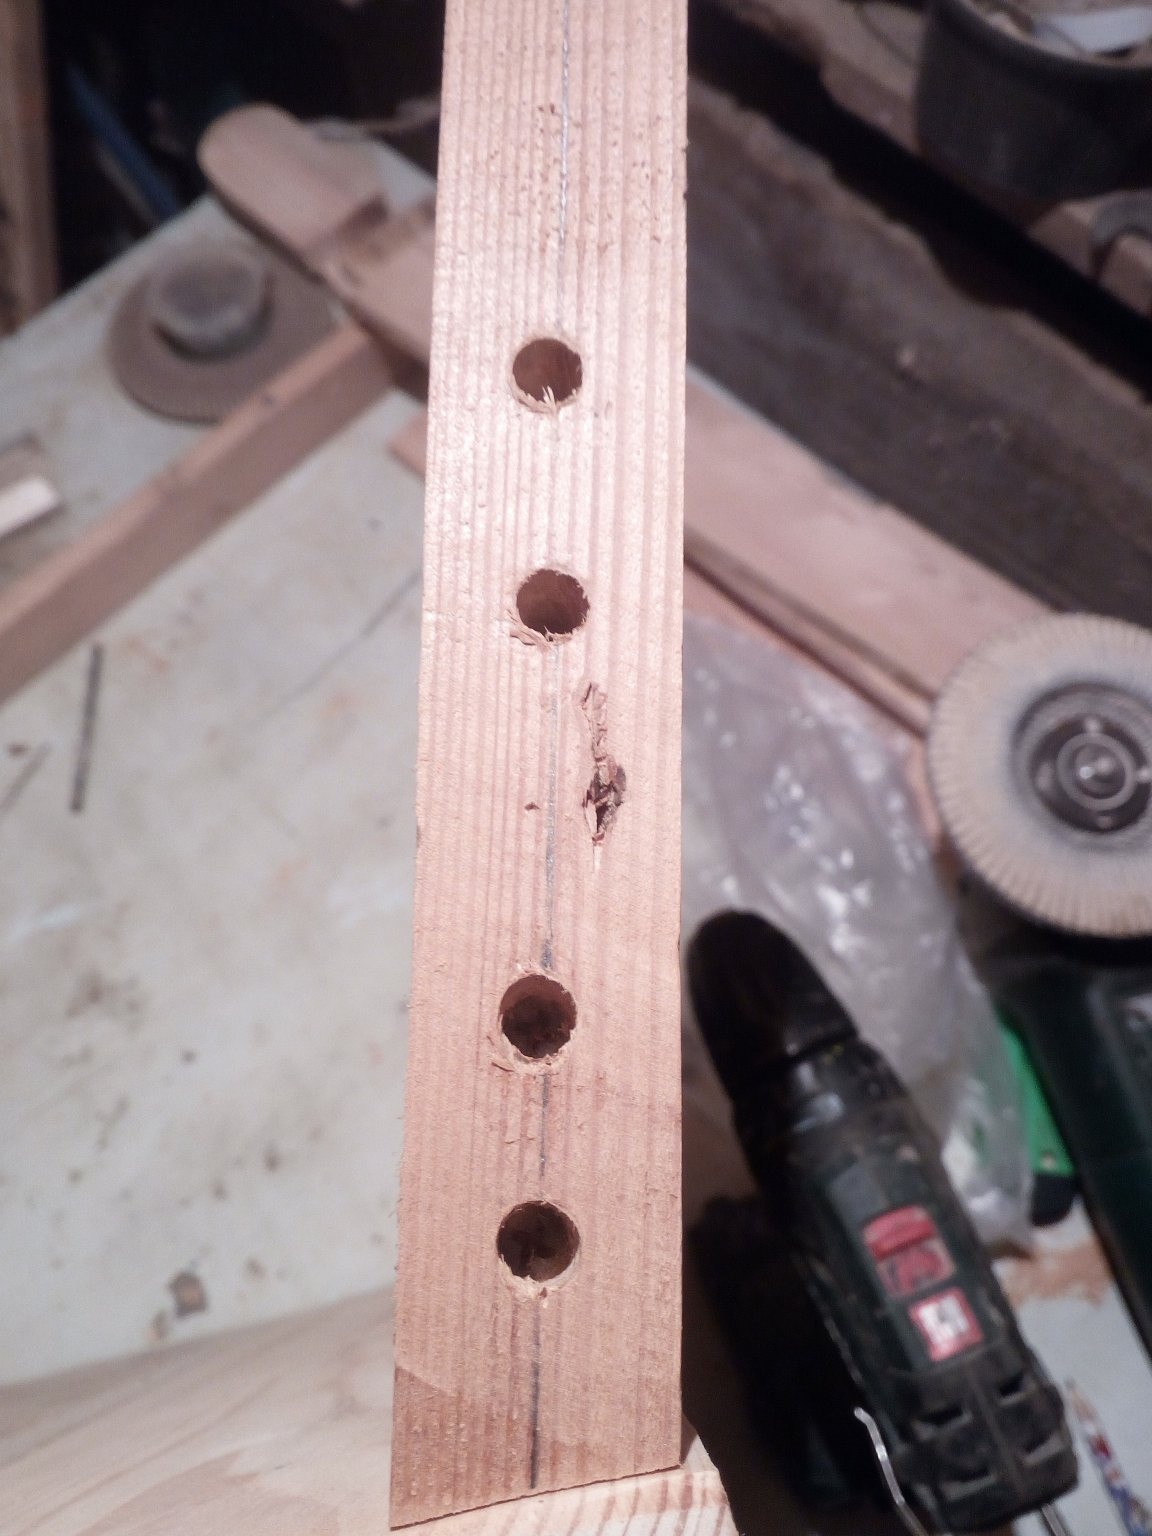
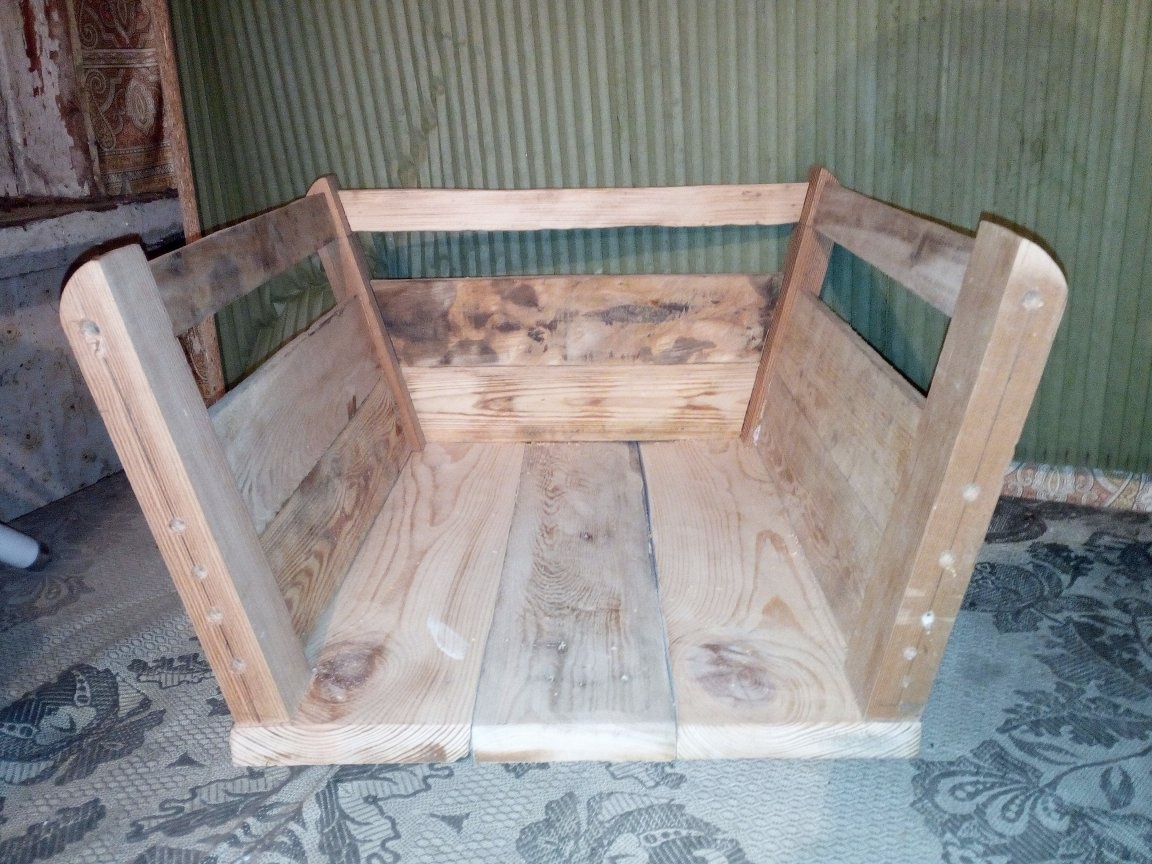
He began to skin. The sides are at an angle, so I measured the dimensions and the cutting angle of the ends of the board as accurately as possible. It should enter the space between the bars quite tightly. Initially, I wanted to fix the skin of the sides with dowels. And even put one board on such a connection. But, even considering that the holes for dowels were filled with glue, all the same, such a fastener did not inspire confidence in me. Therefore, I went in a proven and more reliable way - fastening on self-tapping screws. With their help, I was able to more tightly pull the workpieces to the bars. All boards are fixed not on the plane of the bars, but exactly in the middle of them. When fastening, I drilled holes in the bars and at the ends of the boards. It looks very worthy. Similarly manufactured and the back of the sides. For greater strength, I attached additional vertical bars in the middle of the sides. When this work was finished putty on wood, he patched up all the holes in the details.
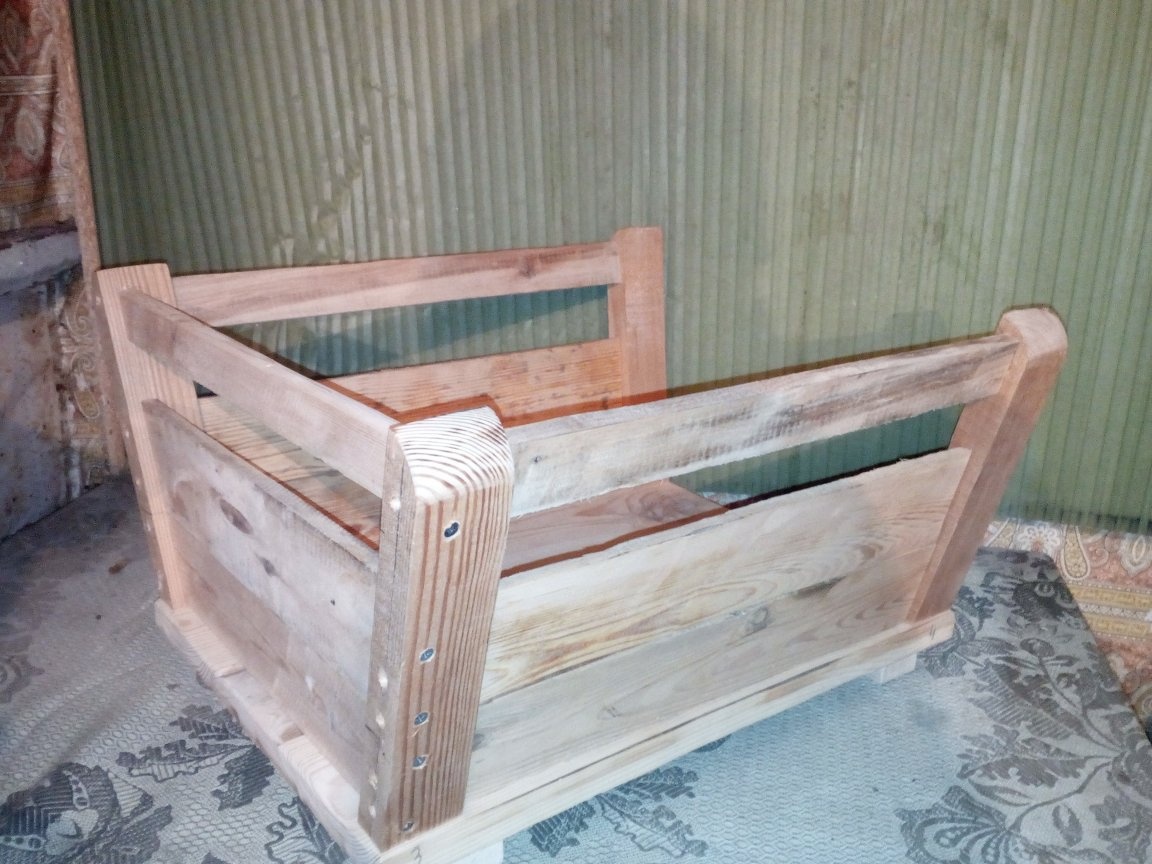
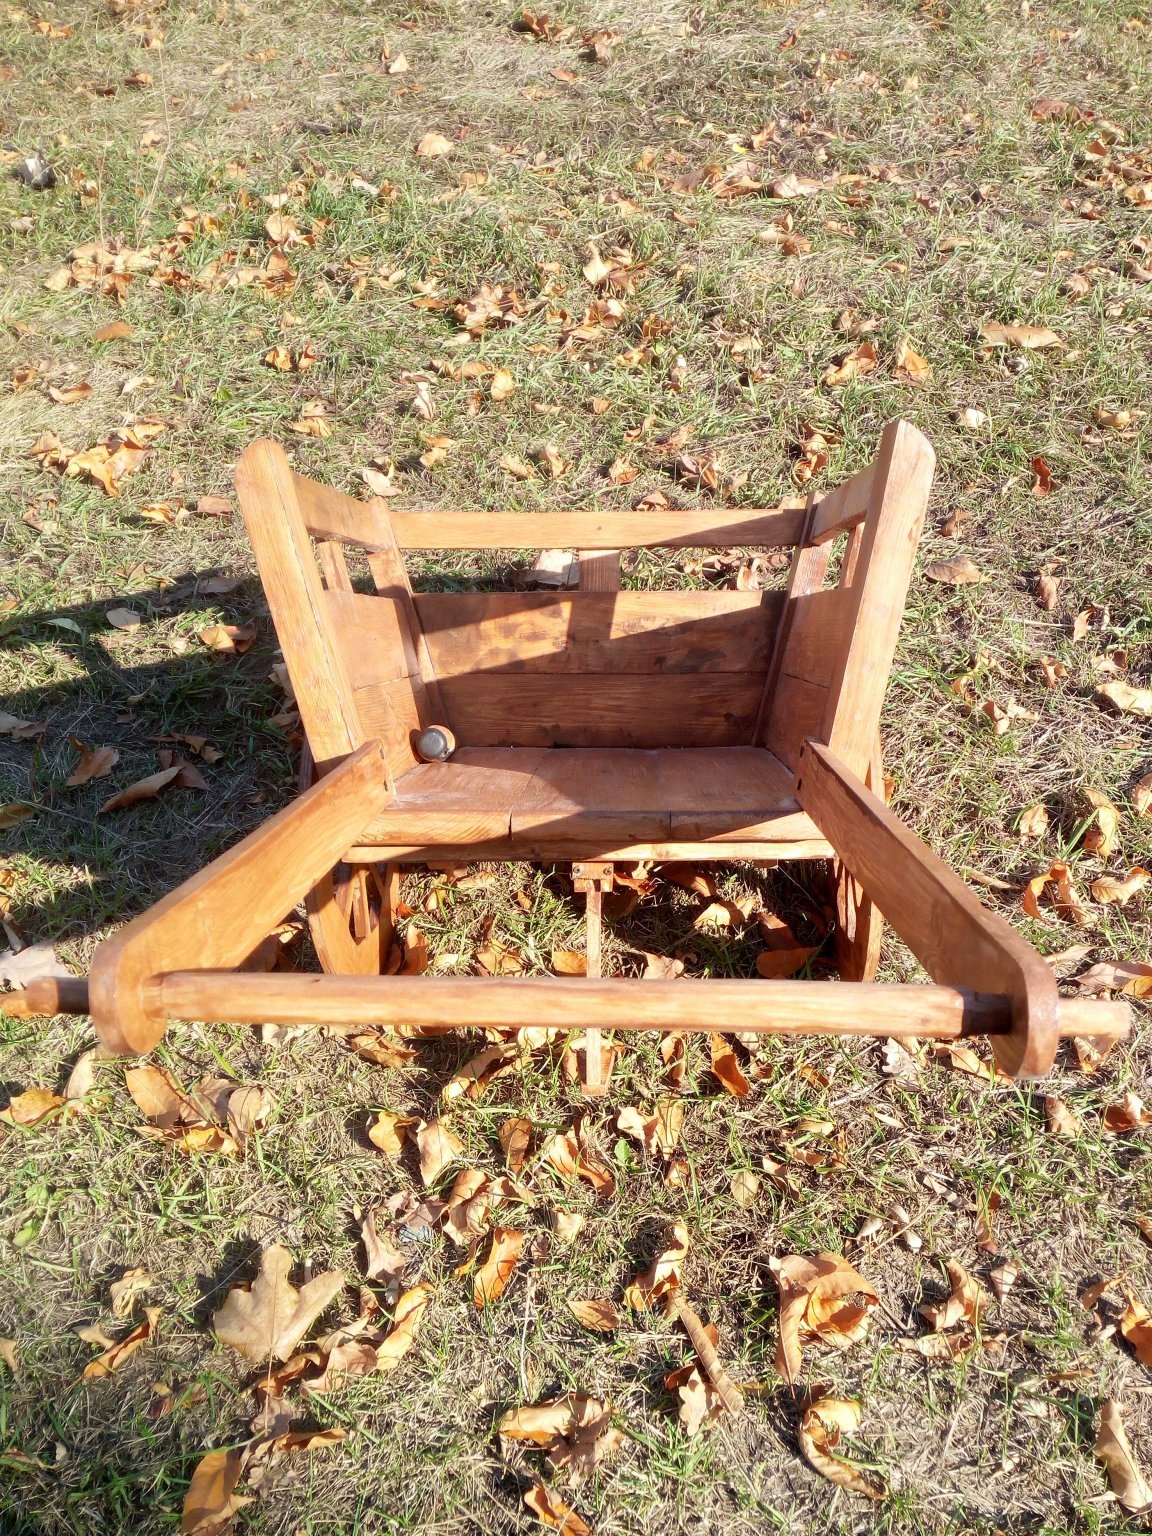
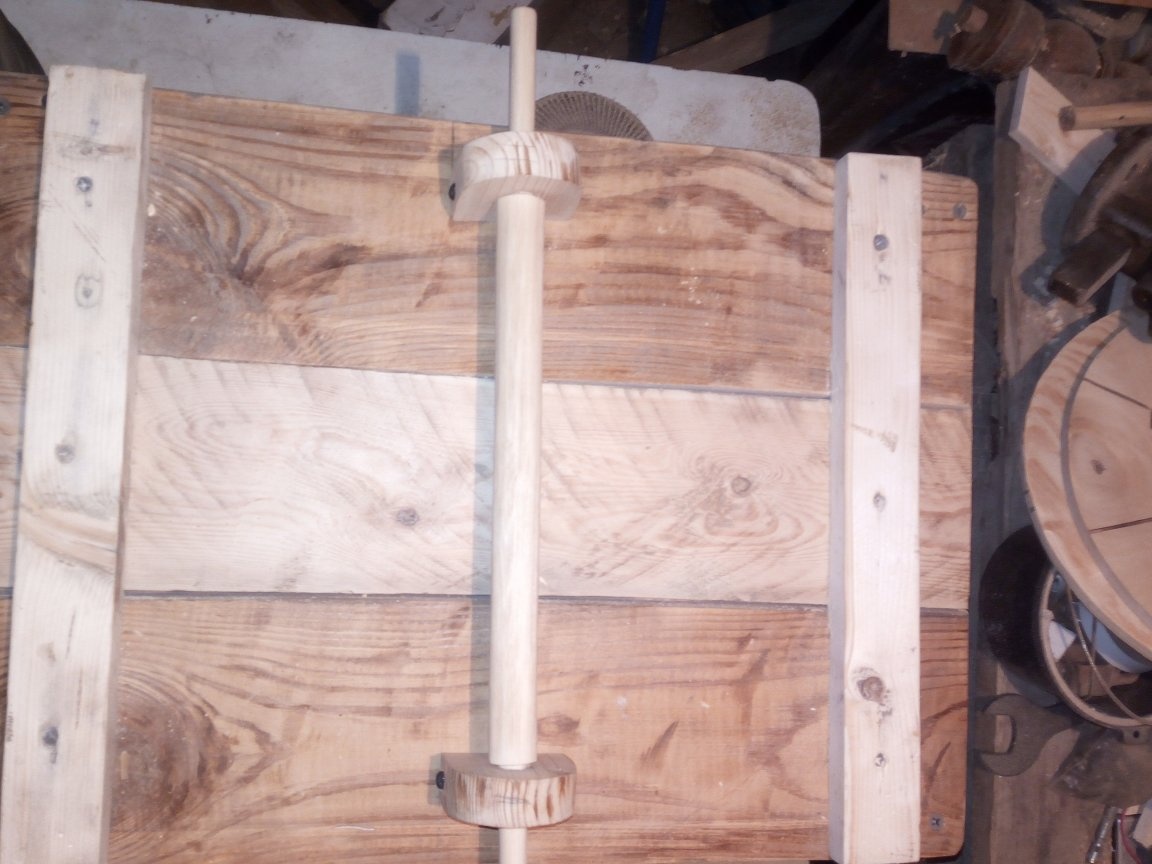
Now you need to fix the wheels on the cart. I made such parts from the scraps of the board, in the middle of which I drilled holes in which the axle for the wheels will be inserted.
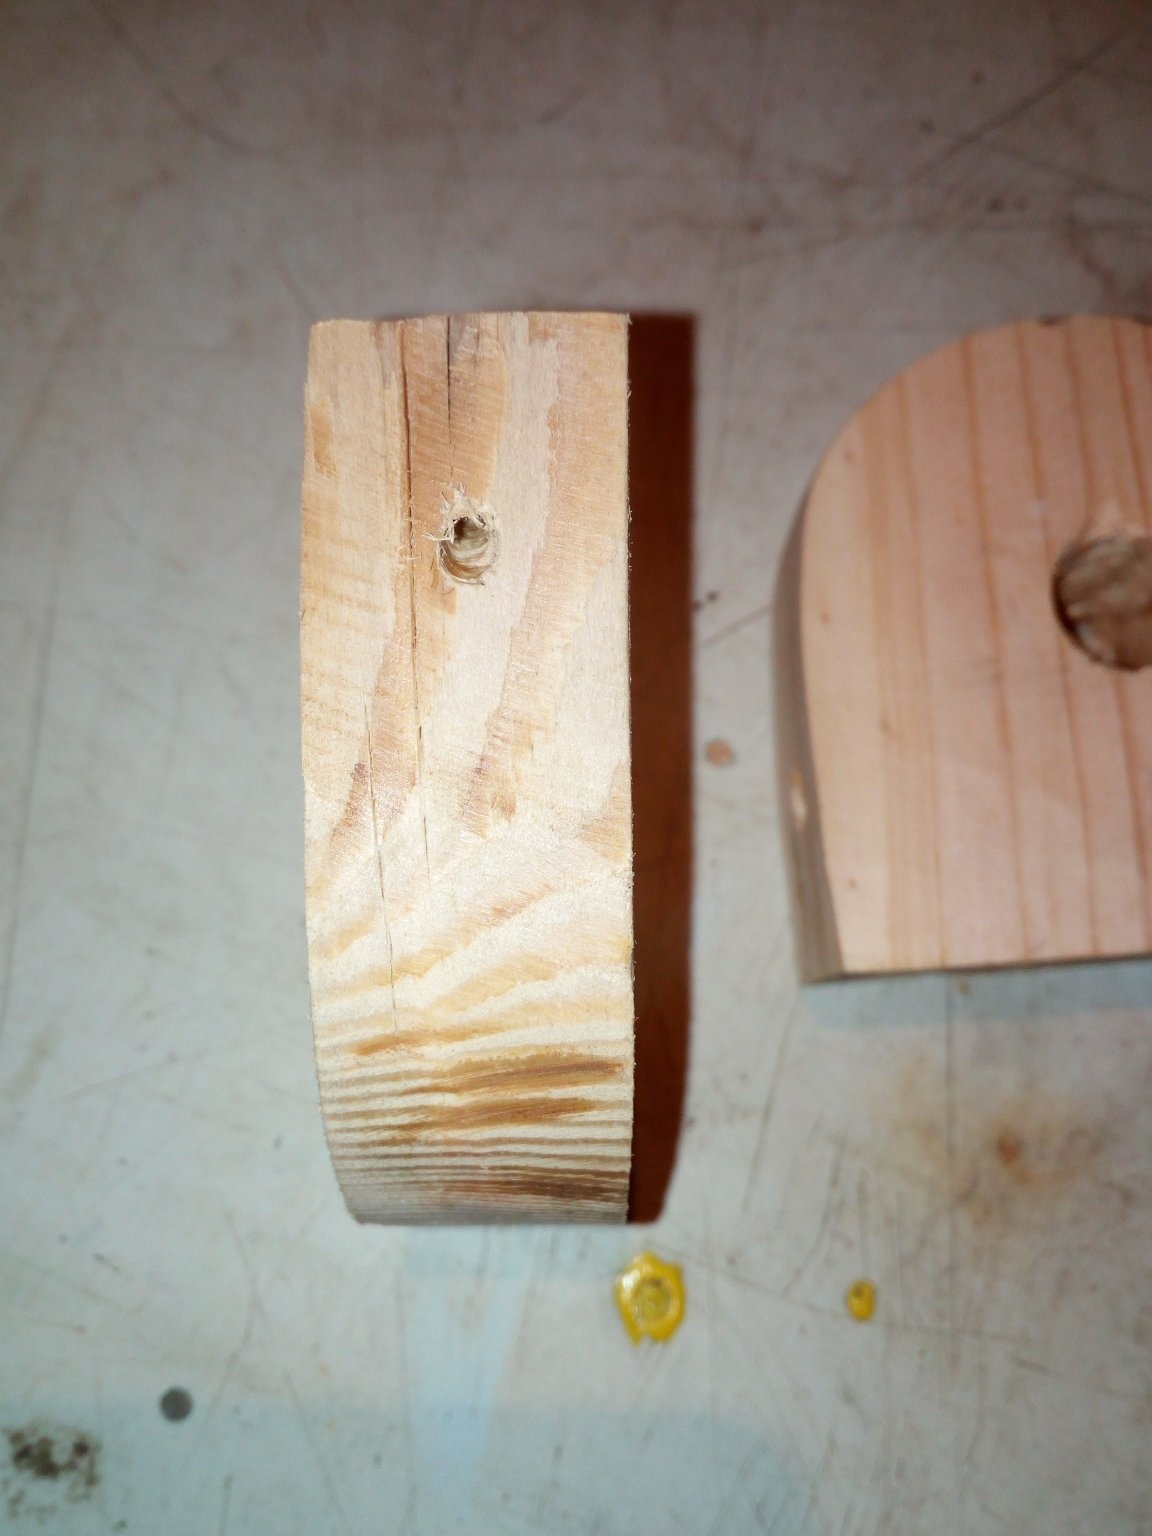
I cut the axis itself out of the bar somewhere around 30x30 mm. Since the sides of the cart are tilted to the sides, the axis should be a little more than the width of the sides so that when installing the wheels they do not rub against the sides. Secured axle holders on the cart with self-tapping screws. Because the axis itself is not of the same thickness, then standing in the strut kept it very well, without moving to the sides. He fixed the wheels with epoxy resin, was afraid to split a thin part of the axle. Here, of course, I hurried a little. The wheels needed to be fixed last, so that further manipulations were carried out without interference.
I also took care of the support, so that the trolley, with the attributes loaded in it, stood precisely on it.
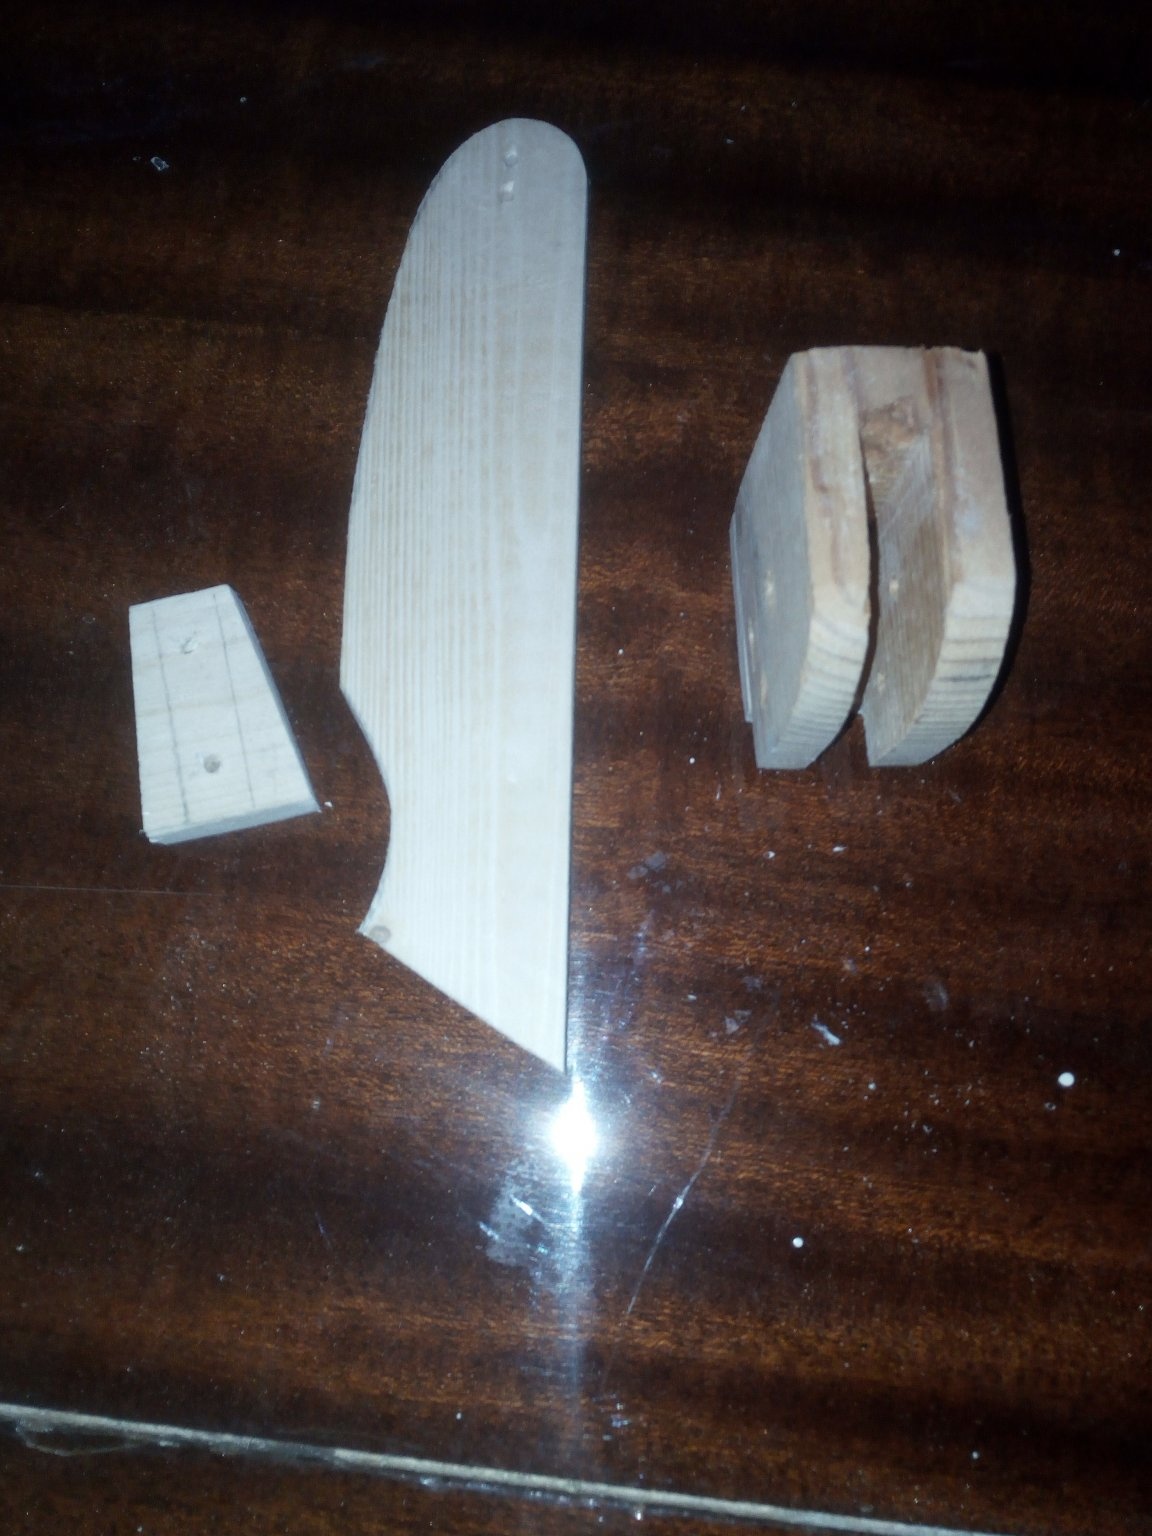
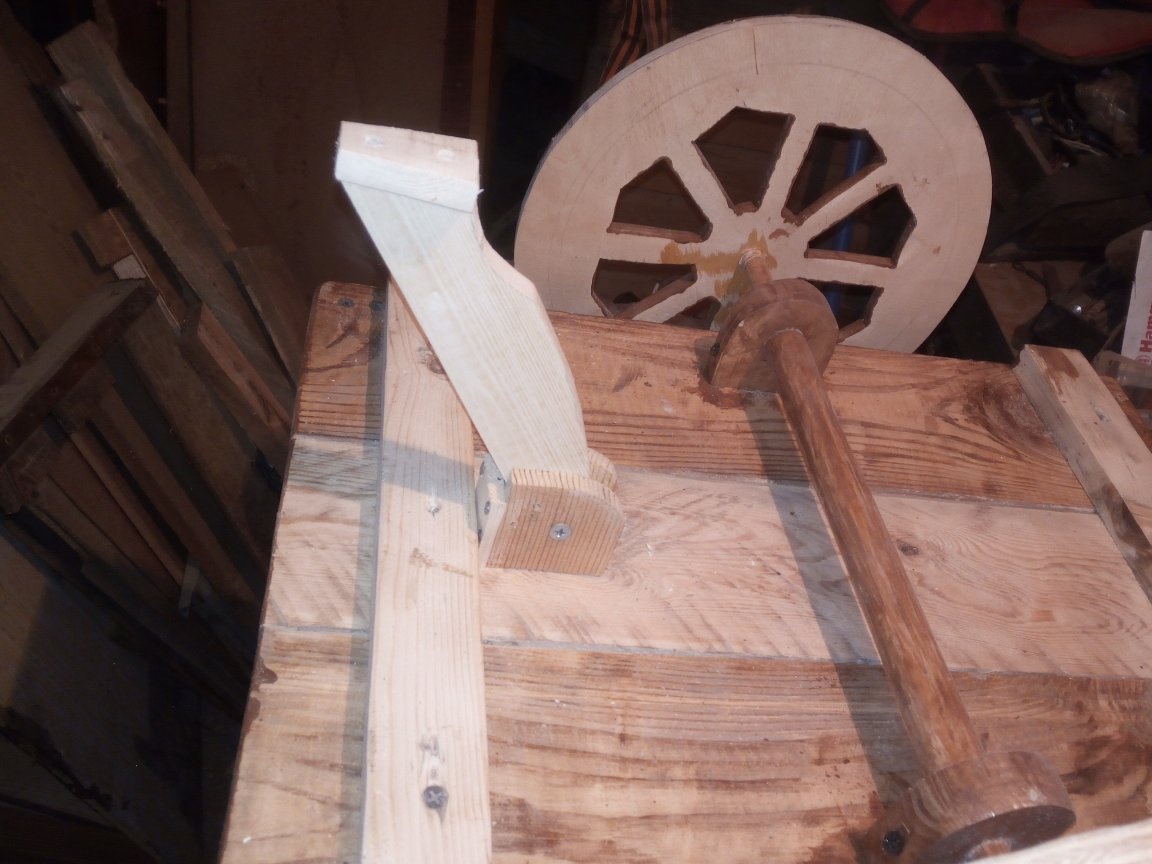
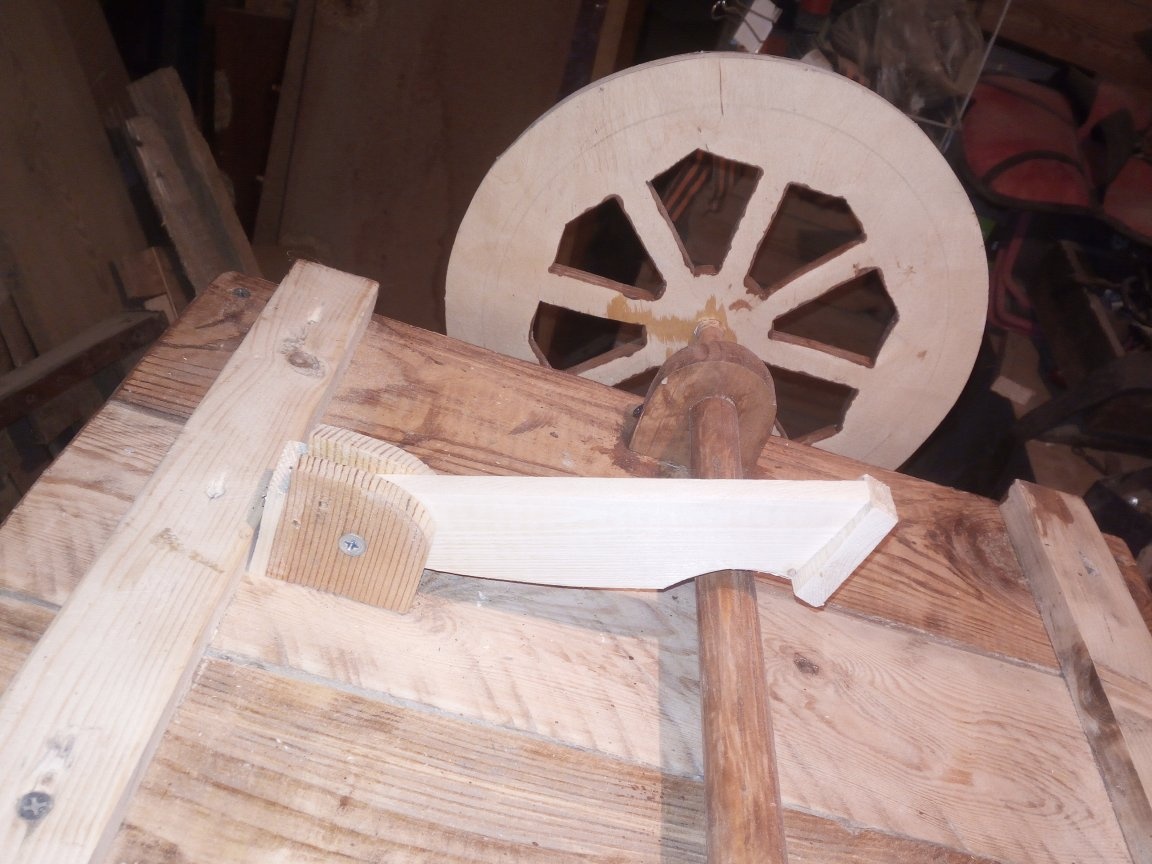
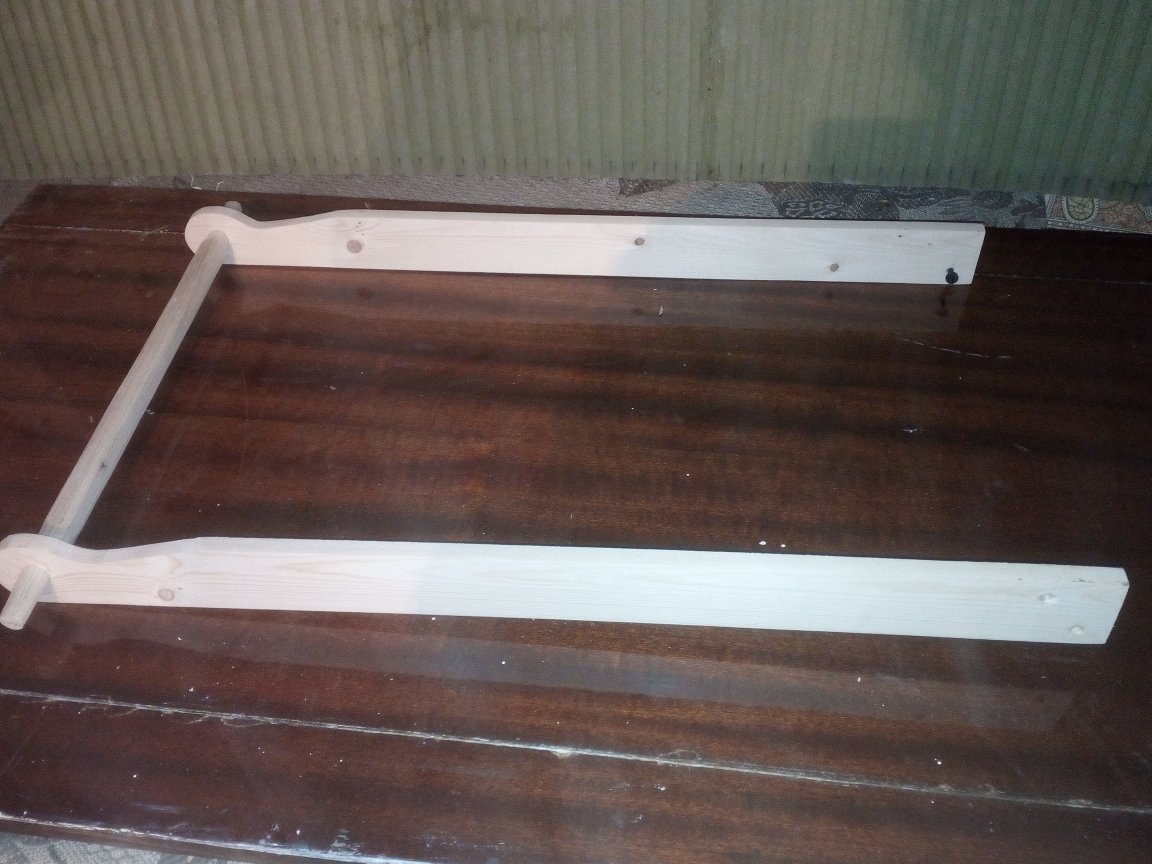
Made a removable handle for easy transportation in the trunk of a car.
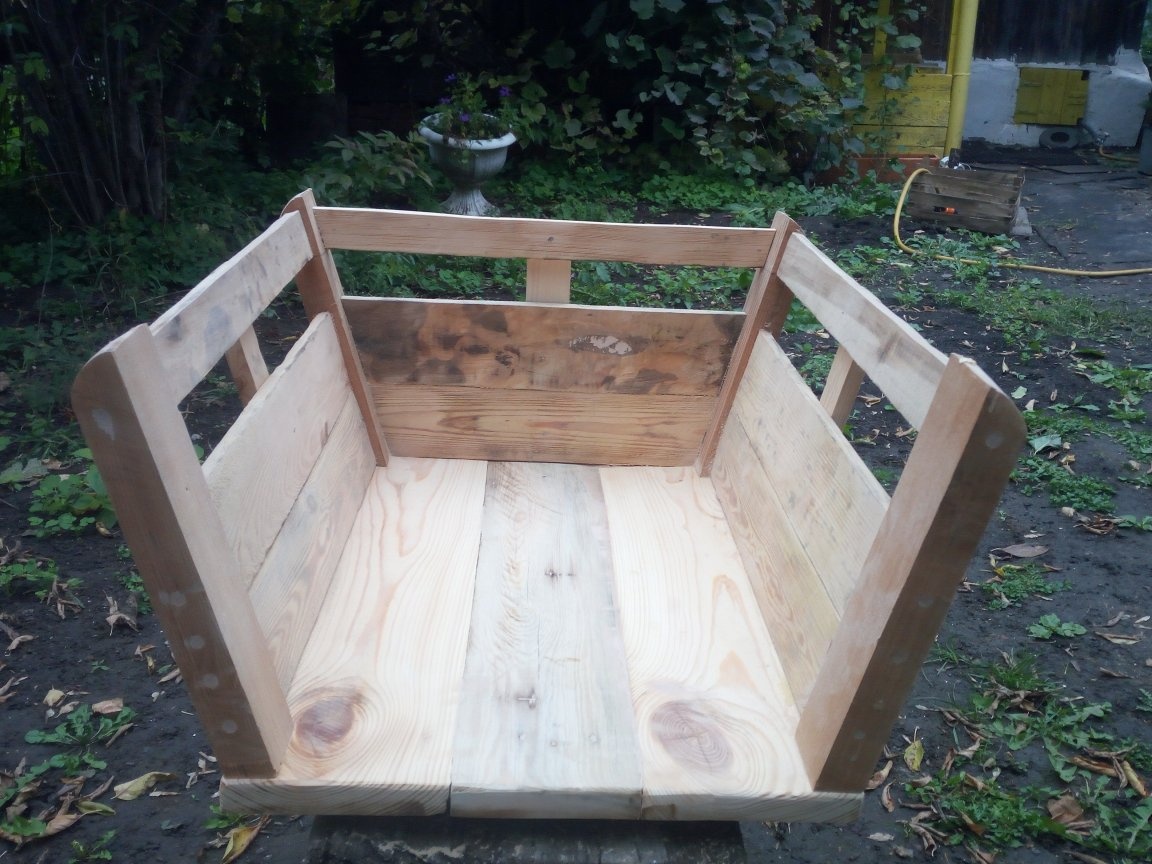
After all the carpentry was completed, it was time to finish. All cracks and holes were carefully plastered with a nut-colored putty. After drying completely with sandpaper, I removed everything that was not needed and covered the finished product with acrylic varnish.