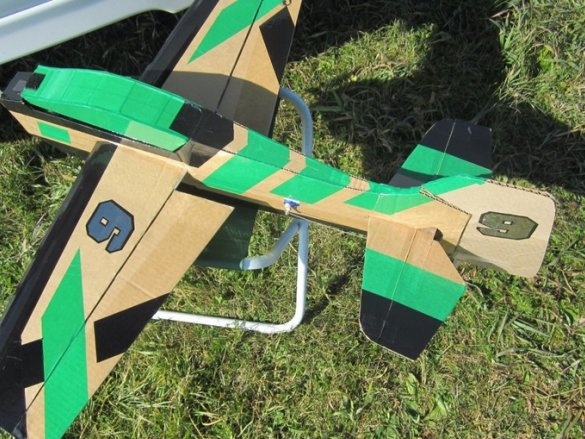
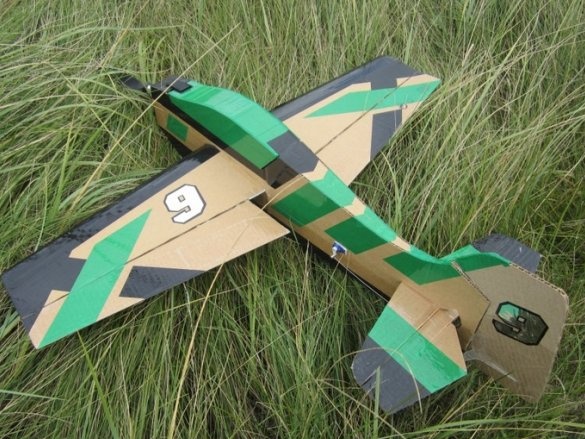
Hello lovers homemade.
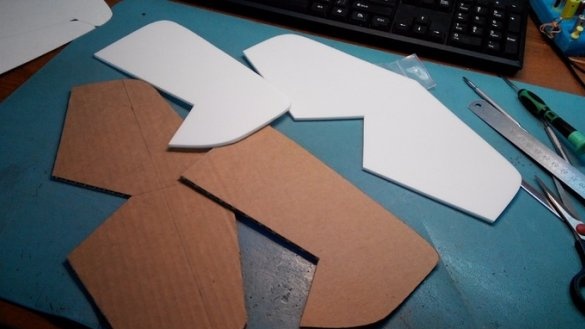
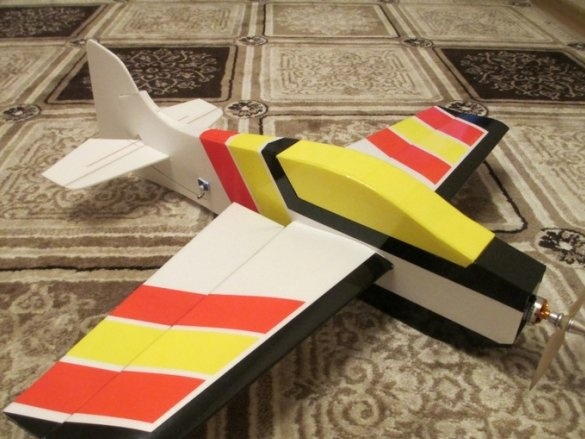
Recently bought a big refrigerator. You ask, and where does the refrigerator? Yes, despite the fact that it is packed in a huge box of fine corrugated cardboard. So I decided to build a full-fledged aircraft model from it. And the author of the article Oleg from Novosibirsk will help me with this. He very well and in detail described the process of building a trainer out of cardboard. True, he built two models at once, one from the ceiling, the other from cardboard, in order to compare technologies. I want to build model from cardboard, but I will show you all the photos of the model’s construction from the ceiling too. So that you have the right to choose what to build the model from. You have to buy a ceiling, spend money, and cardboard still goes to waste.
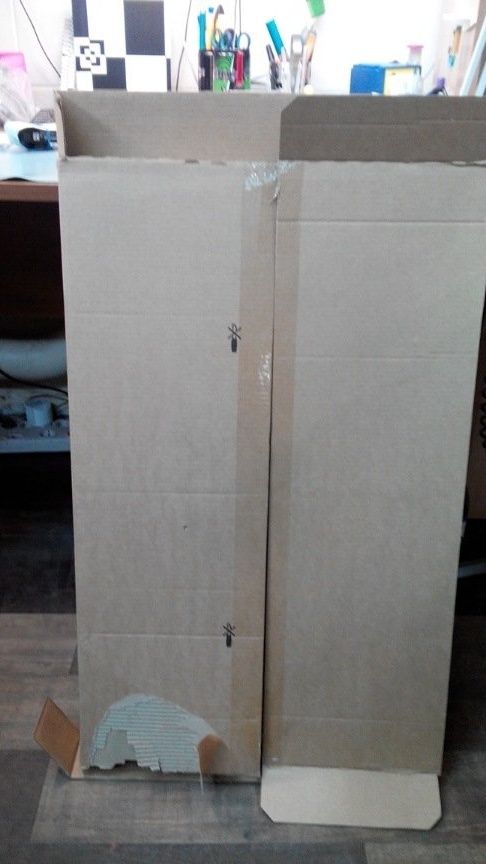
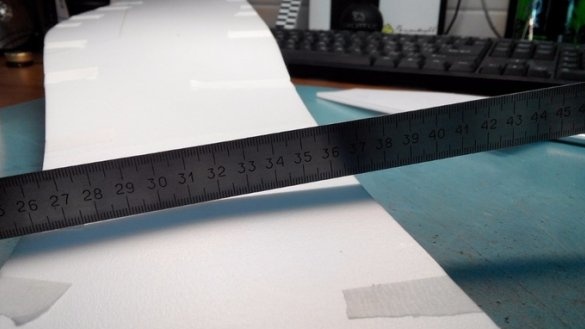
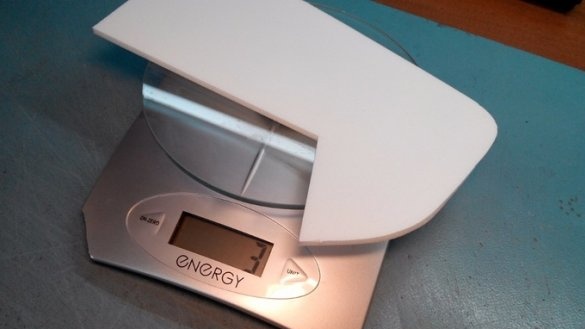
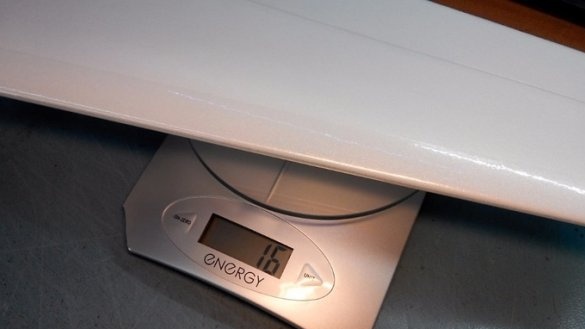
The thickness of the material is the same, the author measured.
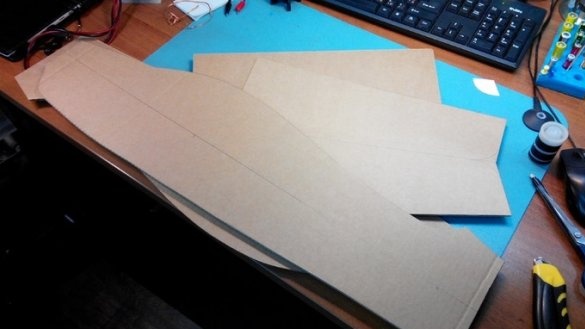
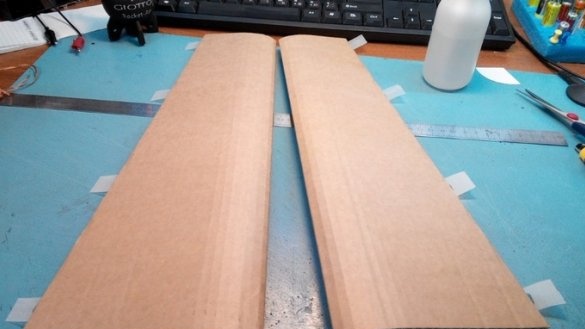
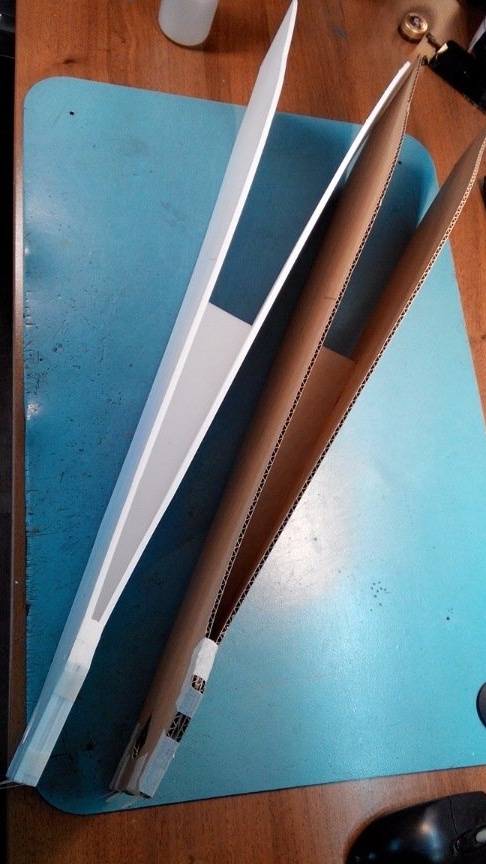
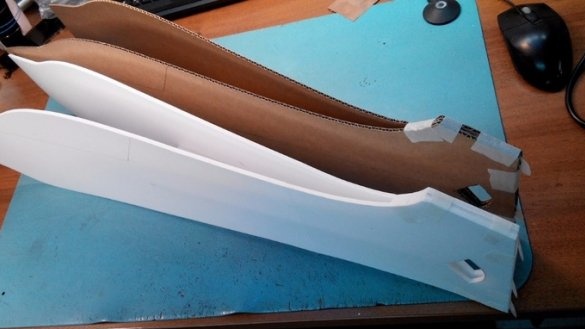
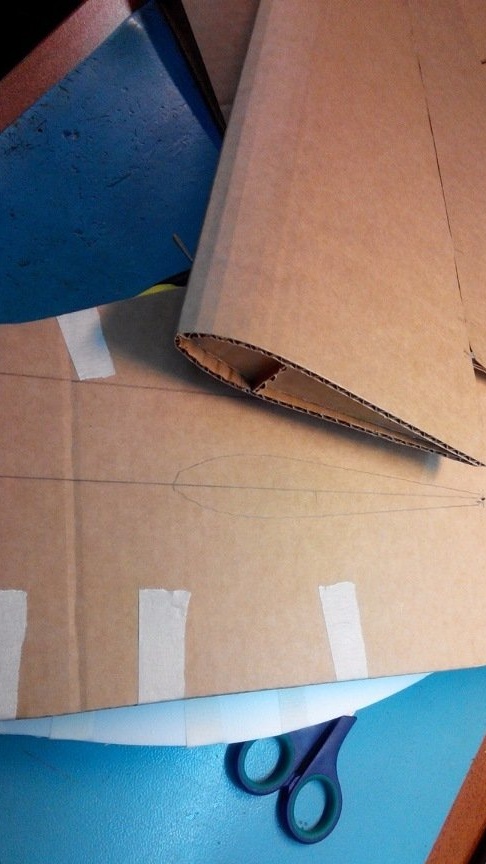
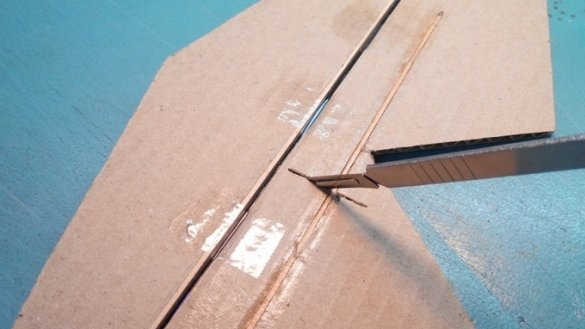
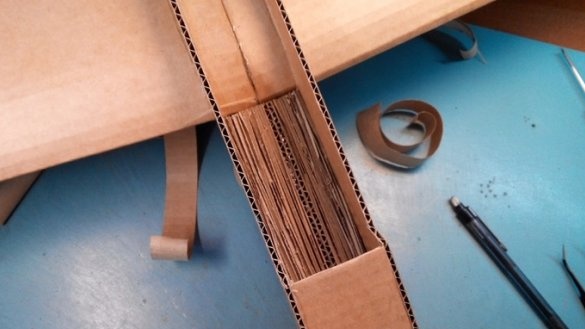
In principle, the technology for making a wing from cardboard is not much different from building a wing from ceiling tiles. The only thing that needs to be taken into account is the corrugated structure of the cardboard and the correct direction of the corrugation.
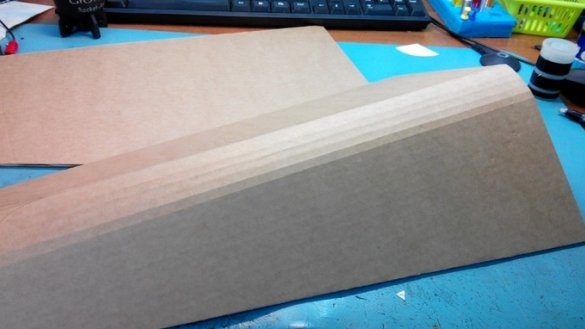
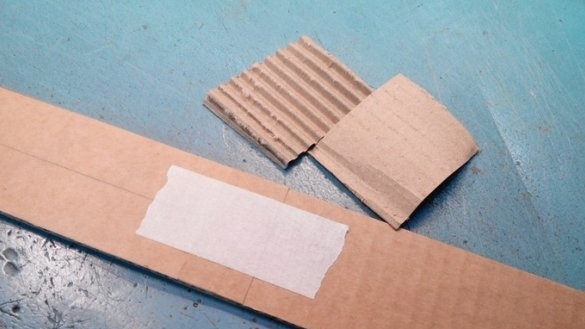
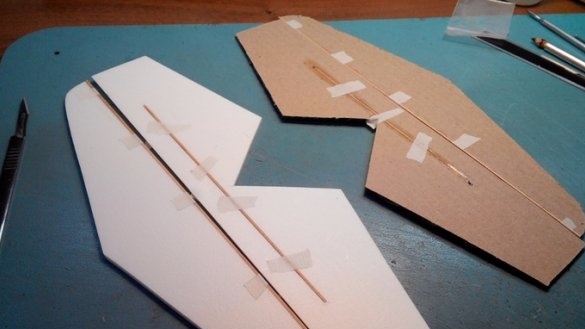
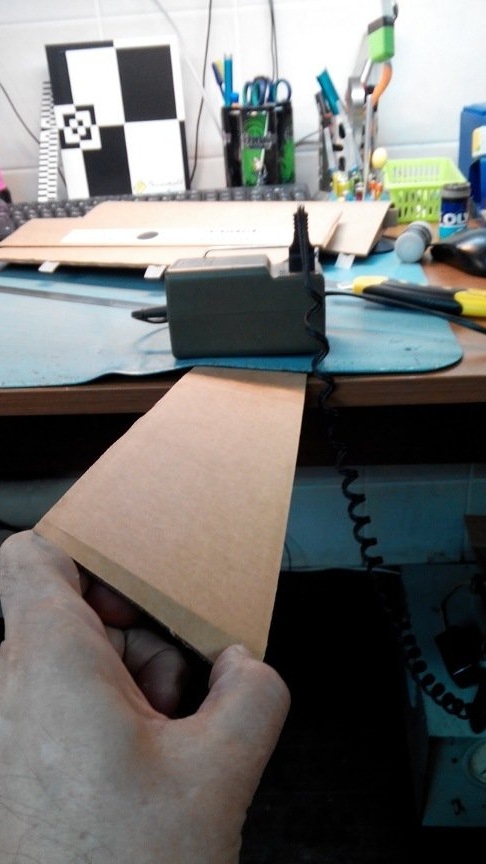
Details of the wing can be bent at the edge of the table. Before giving the wing blanks a profile bend, I tighten the blanks with transparent tape.
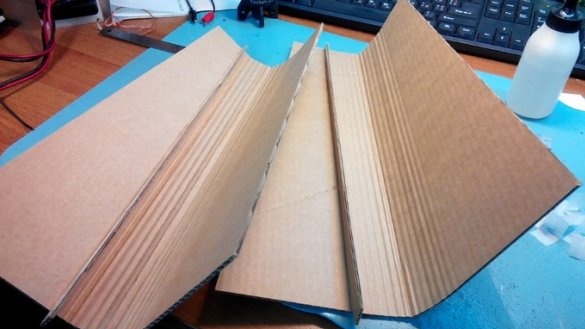
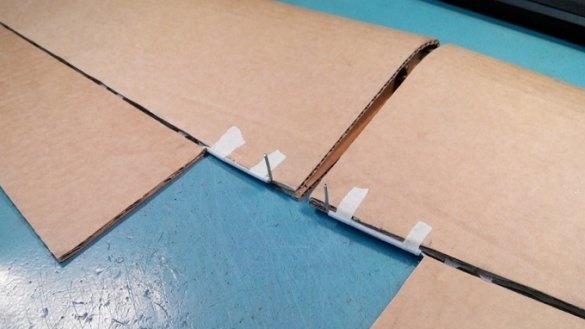
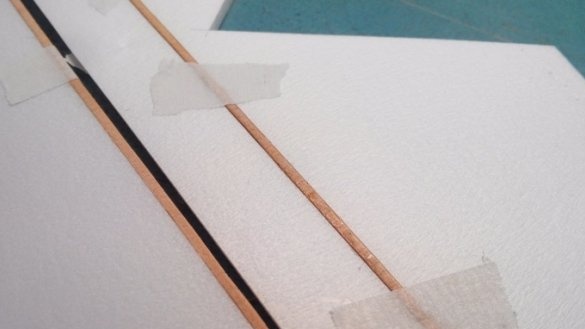
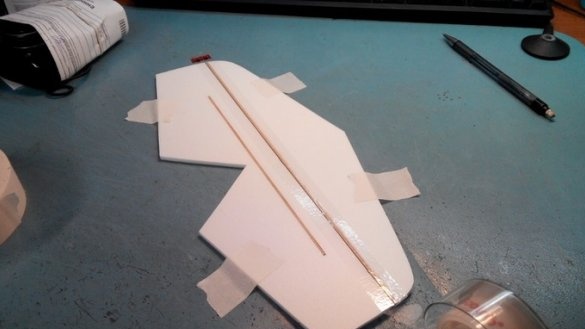
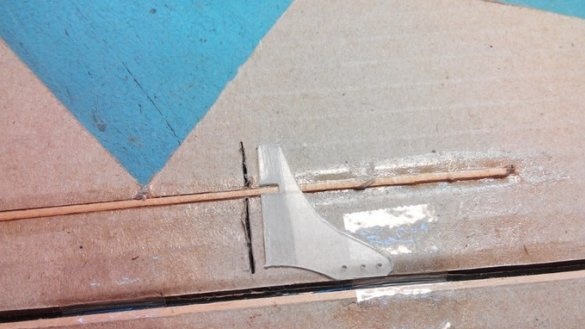
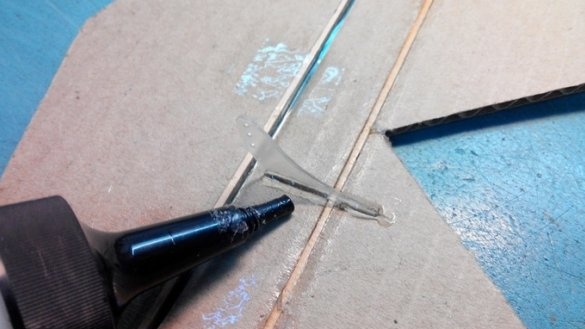
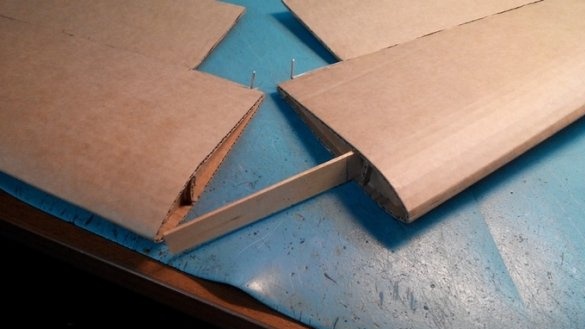
Spars are made of wooden slats with a section of 3 x 10 mm. Before gluing the wing, do not forget to glue the aileron loops from double-sided tape.
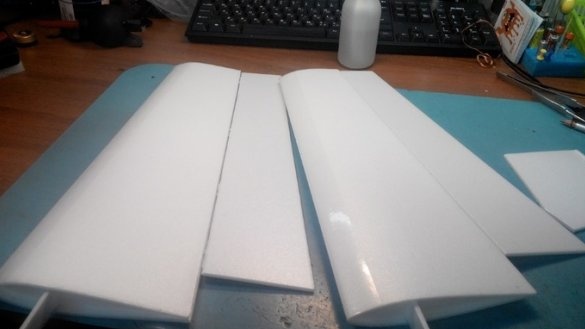
Ailerons can very well be made from one layer of cardboard.
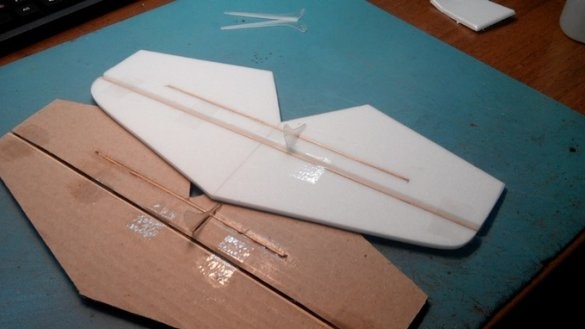
I will make of two layers, between which, when gluing, the loops left for the ailerons on the wings are clamped. Before installation, I also fit the ailerons with transparent tape.
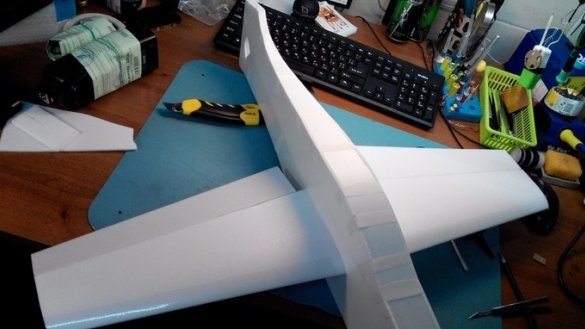
It turned out quite suitable wings. Nothing worse than from the ceiling.
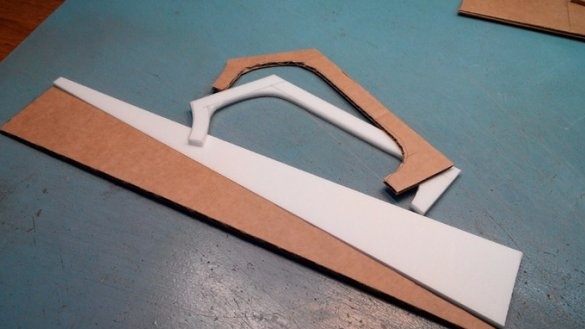
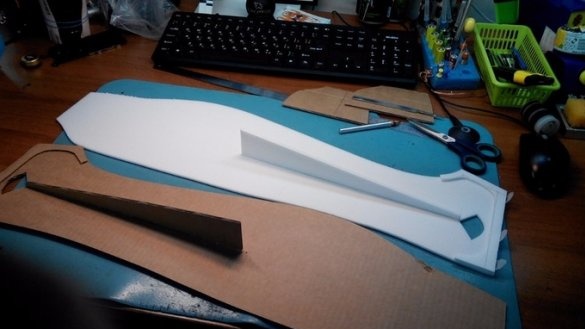
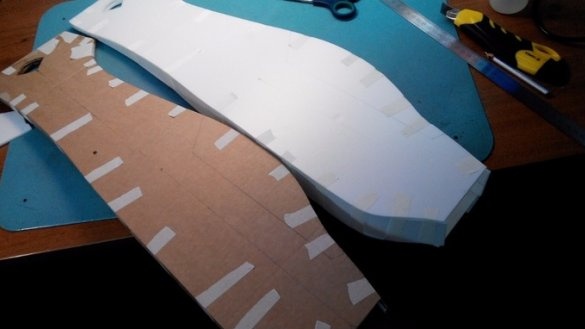
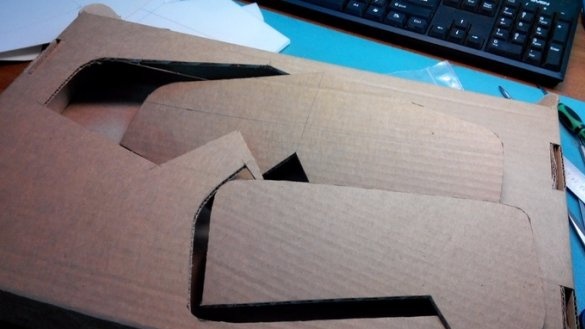
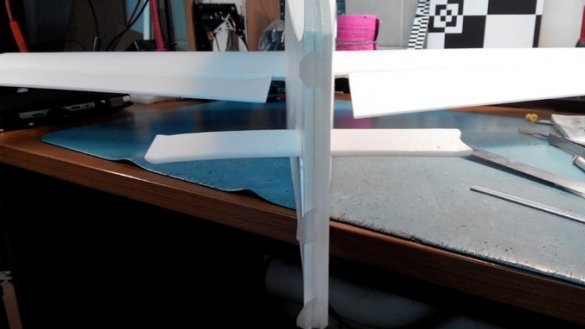
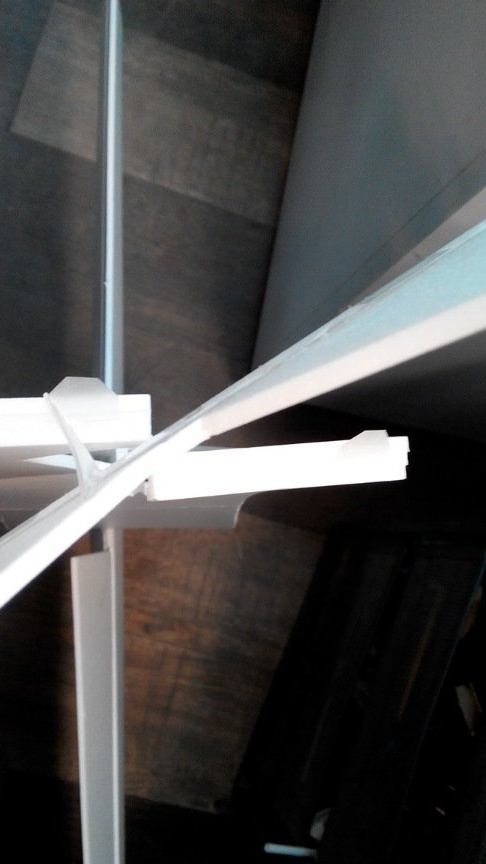
Fuselage blanks are cut out. A horizontal insert was made to strengthen the rear of the fuselage. I paste loops for the pH.
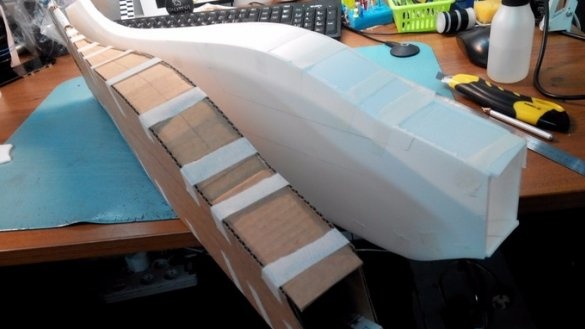
When mounting the fuselage, pay attention to the direction of the corrugation, so that it would be easier to bend the workpiece. Components from cardboard, I glue from the inside with paper masking tape.
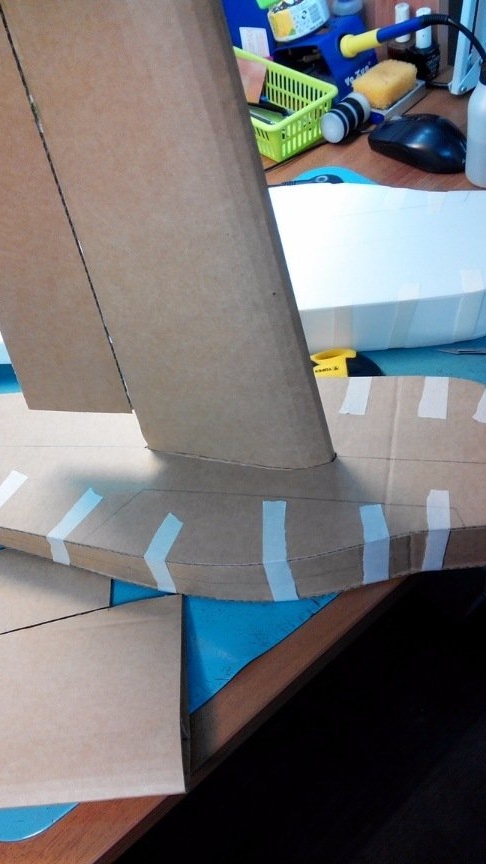
Designated places for the installation of wings. It is necessary to cut very accurately and accurately, so that there would not be large gaps.
All parts are fixed with technological stickers from masking tape.
I want to note that the size of the model largely depends on the size of the cardboard. Otherwise, there will be many undesirable joints, which will reduce the strength of the model.
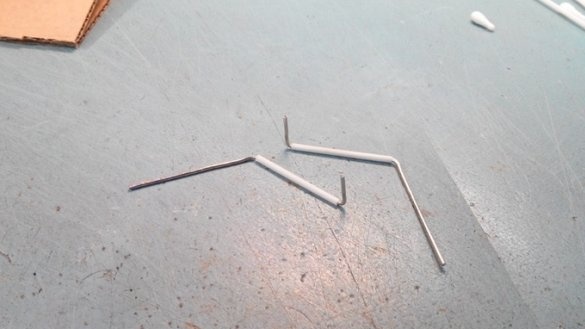
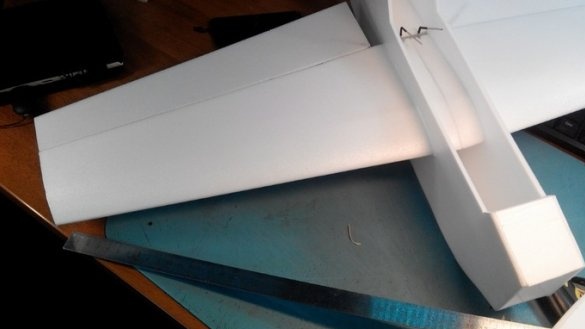
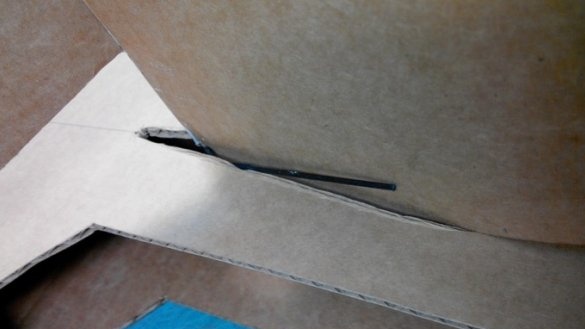
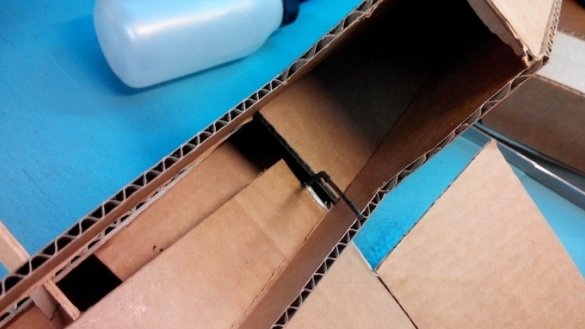
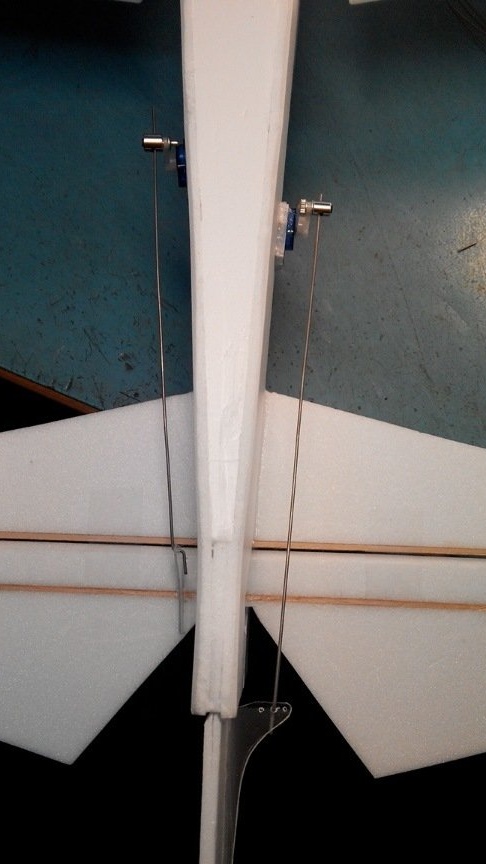
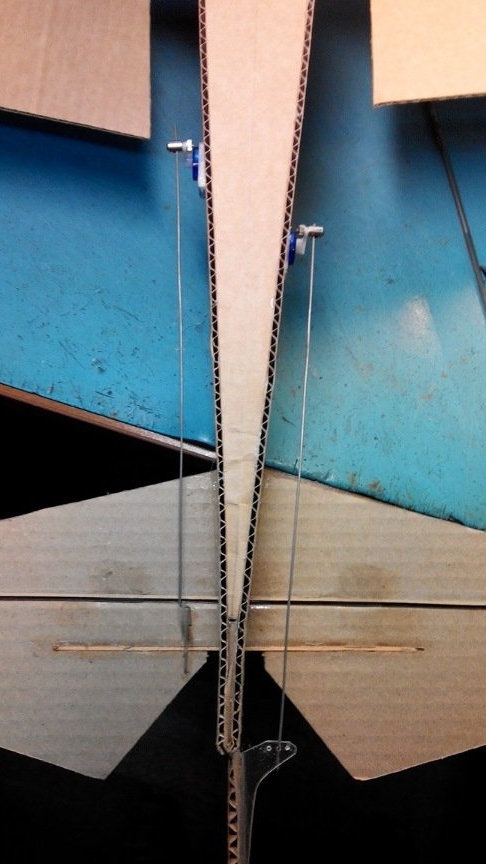
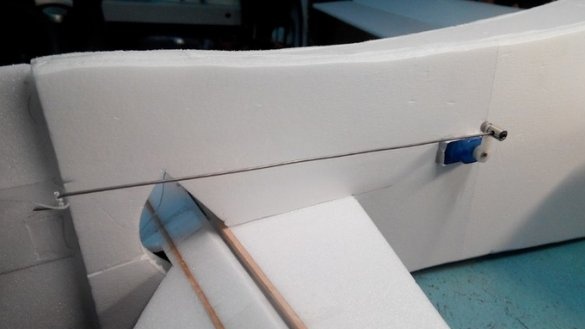
In order to save weight, the author puts on ailerons one servo control from which will be transmitted through torsion bars. For their manufacture, you can take office paper clips and sticks from Chip - Chups sweets.
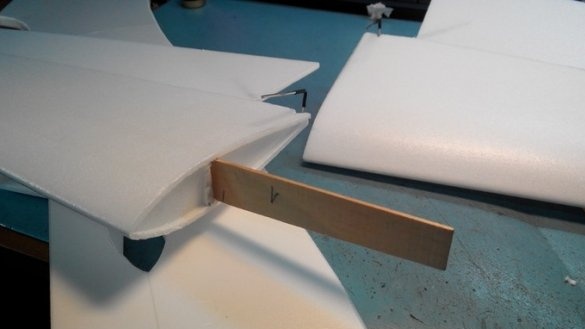
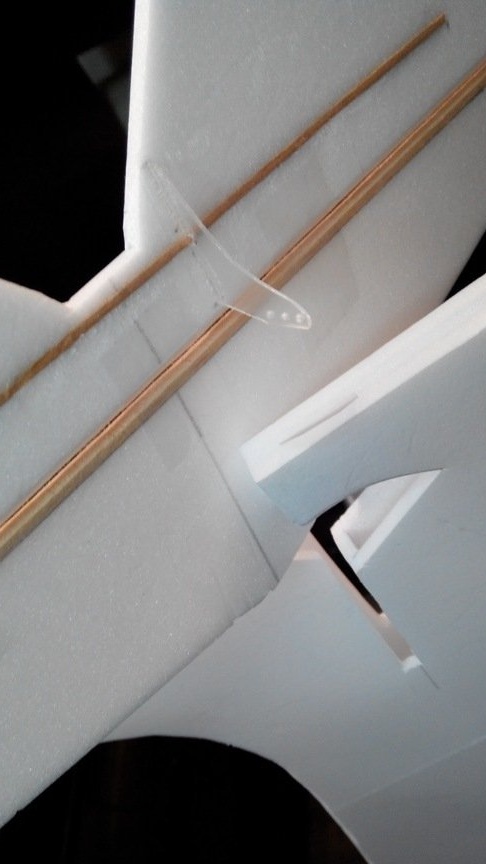
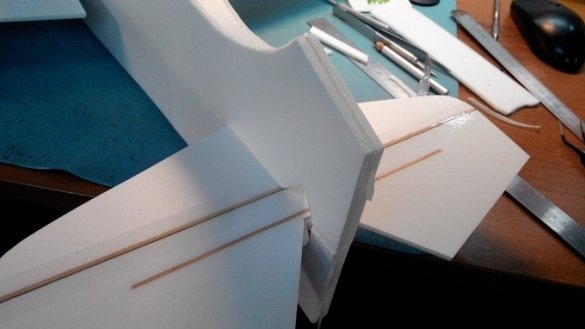
The author proposes to strengthen the tail part of the fuselage with a wooden lath of -1.5x3 mm.
Reinforcement of tail parts with trim from a wooden ruler.
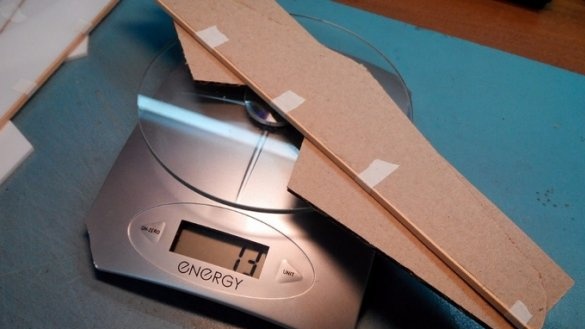
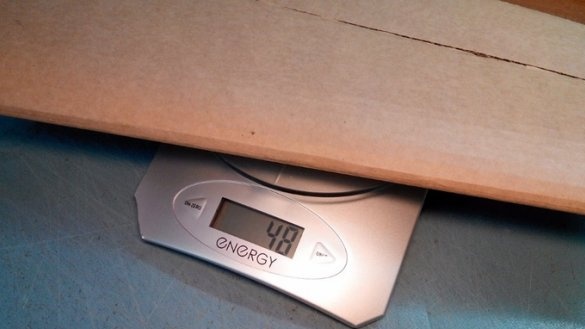
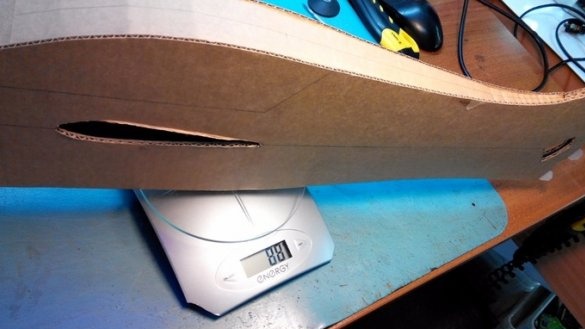
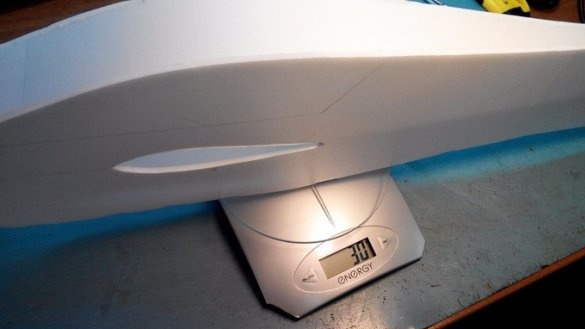
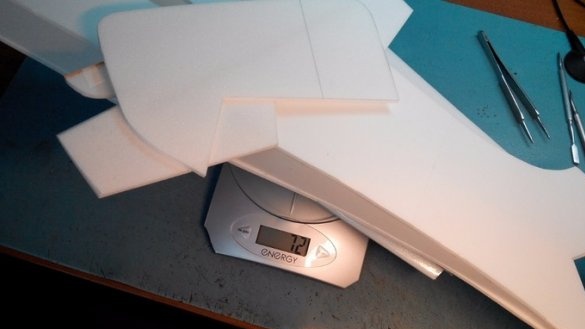
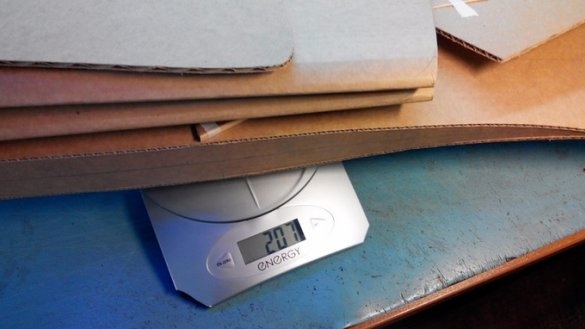
Further, the author gives comparative weight characteristics of the individual parts of the model.
The resulting weight of the author was upset.
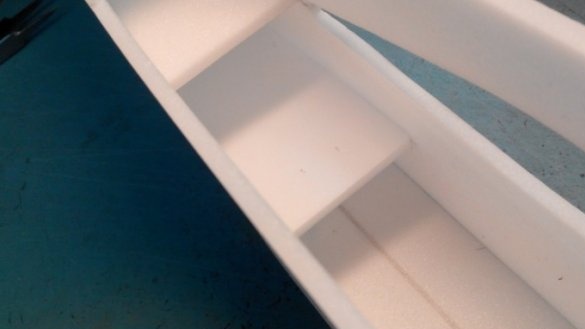
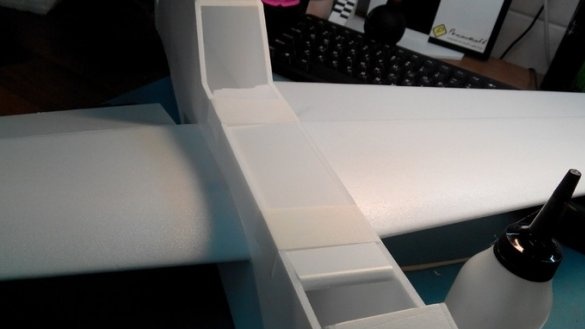
The middle part of the fuselage in the cockpit area is being strengthened.
The cabin is cut off from the fuselage.
Two wing halves are prepared for connection.
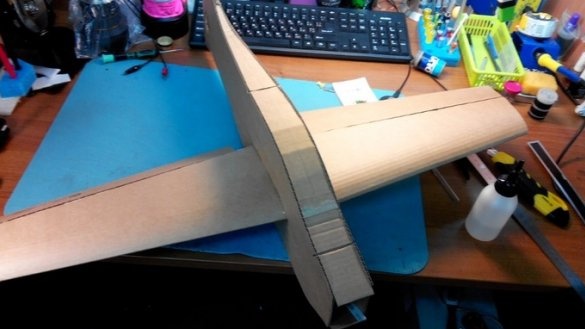
Mounting the wing on the fuselage. First try on everything, and then put it on glue.
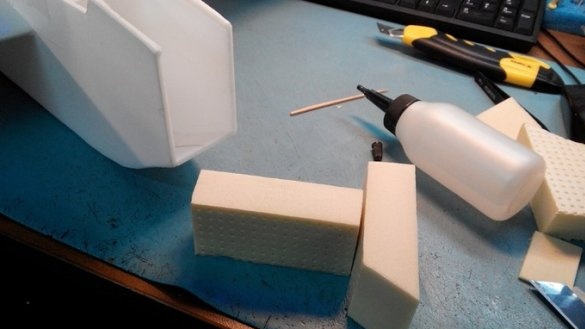
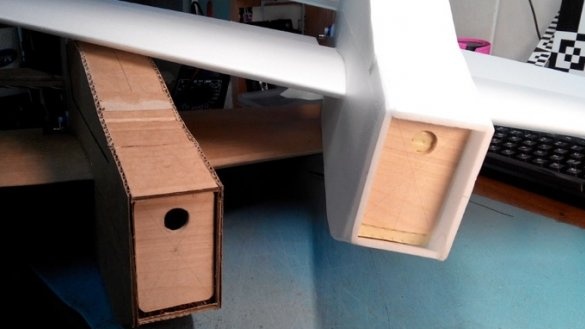
Manufacturing engine mounts.
The assembly of the model comes to an end. Boars are cut and set.
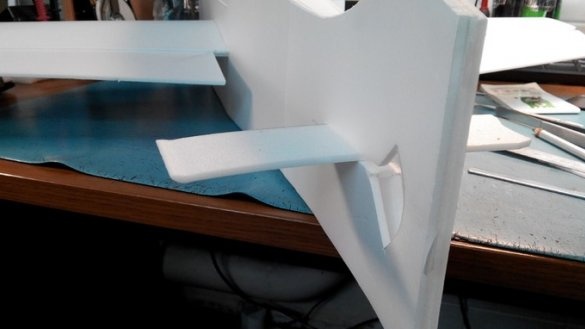
RV is hung on tape.
When installing boars in cardboard parts, you need to be very careful.
We fix the installation places of the hogs with glue.
Particular care must be taken when installing the elevator, so as not to break the cardboard blank.
When mounting a wing made of cardboard, all operations are repeated, as well as when assembling a wing from a ceiling.
Motorama is made from cardboard strips.
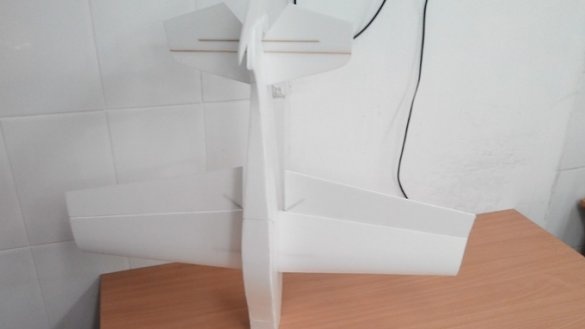
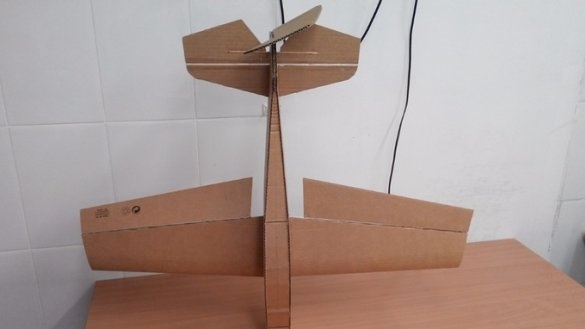
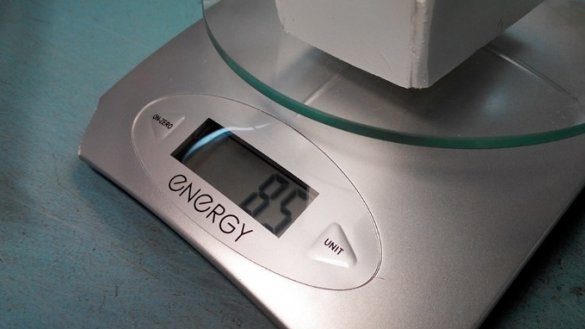
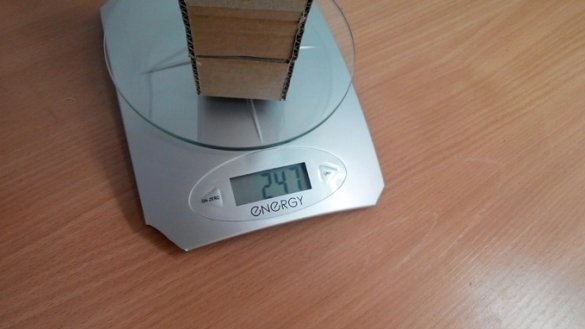
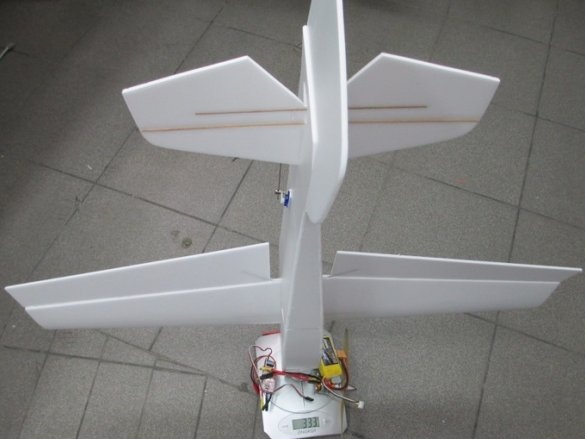
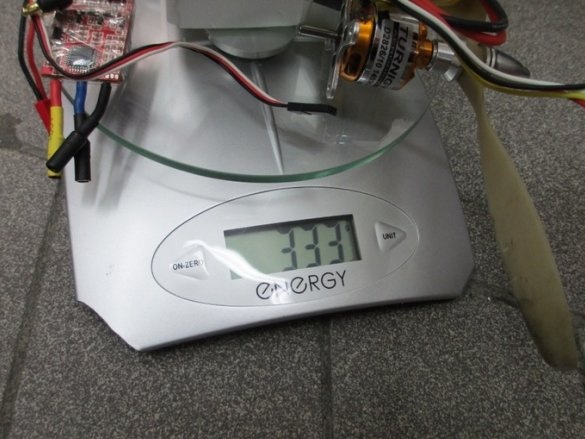
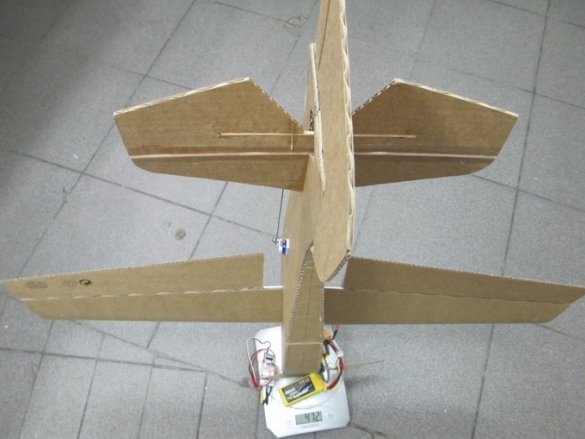
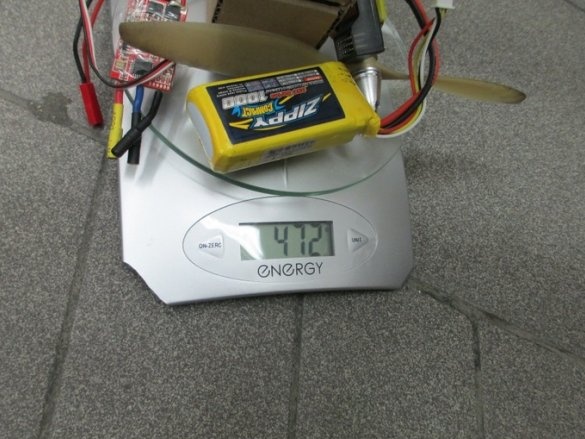
Comparative weighing of finished “carcasses” of models.
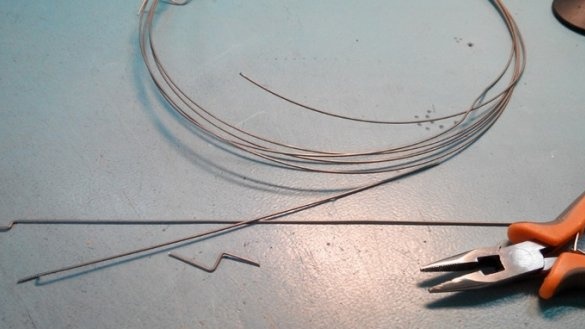
Rods are made of wire - 1.5 - 2 mm. thick.
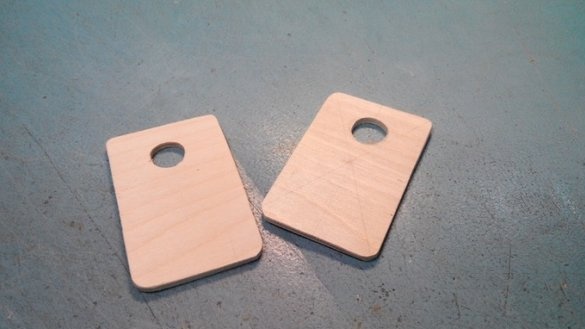
To mount the motor, you can use plywood or fiberboard (hardboard).
And again weighing.
The author installs the same equipment on both models.
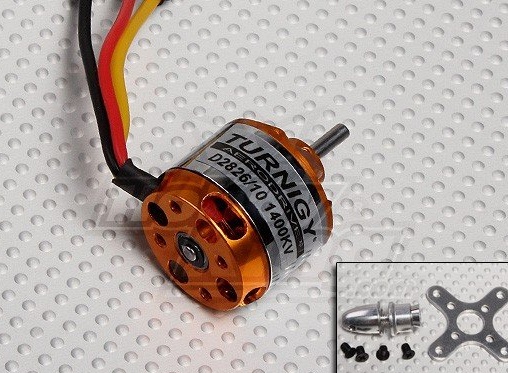
Motor - D2826-10 1400kv Brushless Motor
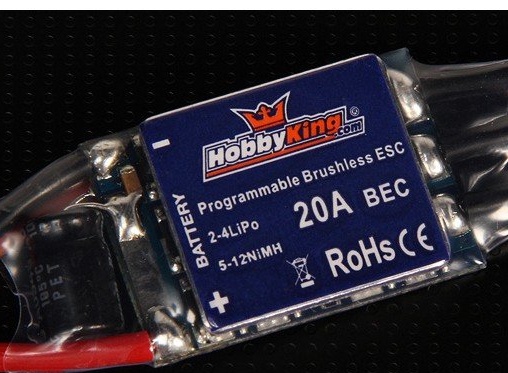
Regulator - 20A
Servos - HXT900

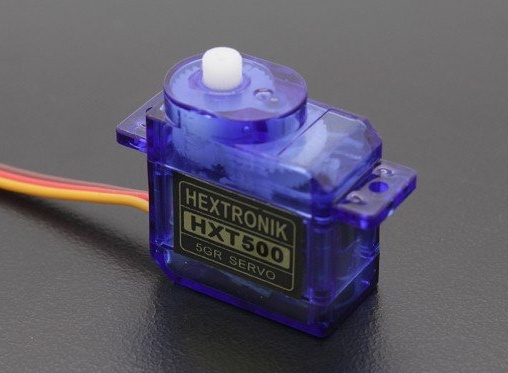
Servos - HXT500
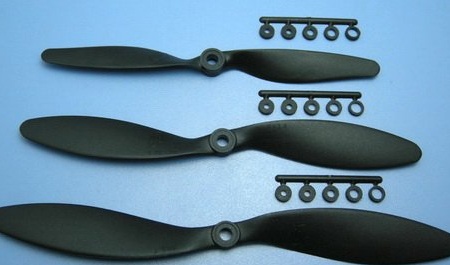
Screws - HY 9x3.8SF
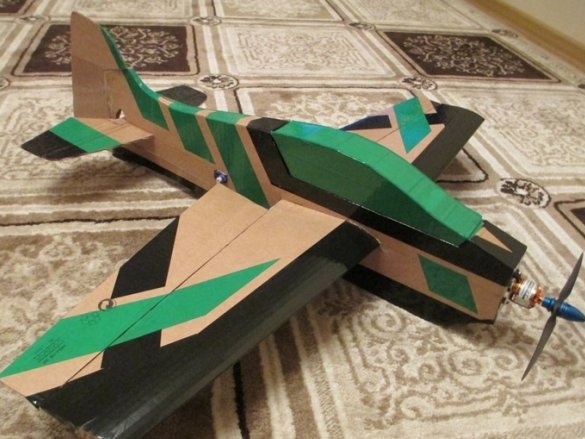
Tighten with colored tape. By the way, I want to clarify that the wings, and indeed all the details of the model, can immediately be fitted with colored tape. Then tight transparent tape will not be needed.
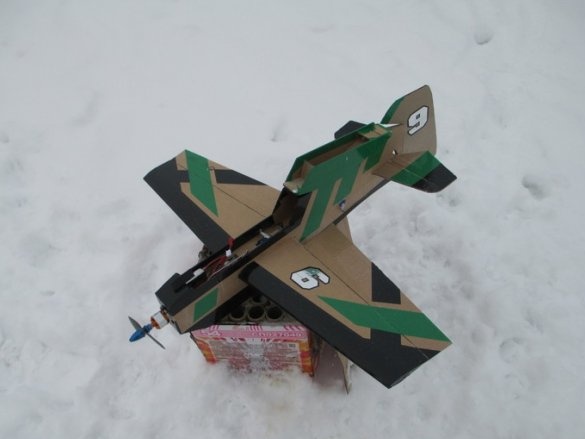
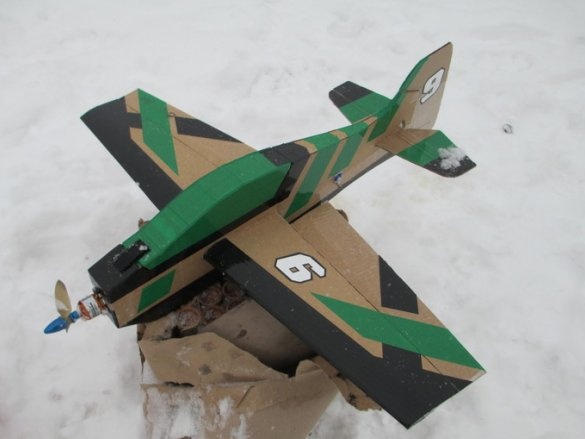
The model is ready for a test flight.
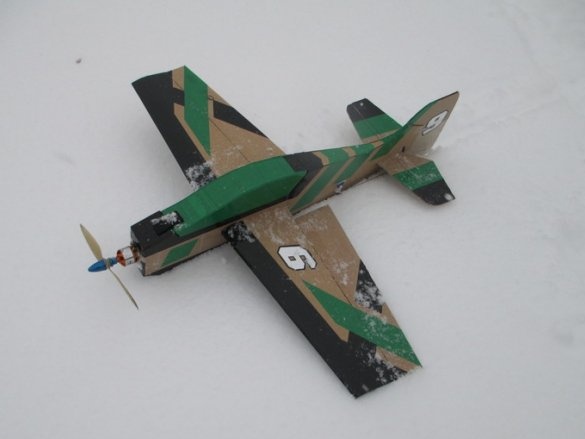
The result was a very beautiful and durable model much stronger than from the ceiling.
Cardboard models should be covered with fully colored tape to distinguish it in the sky with contrast.
We conclude - a model from cardboard flies!
Friends, build - Kartonycha!

