
Many people want to learn how to manage aircraft models and for this purpose trainers build special models, on which it is easiest for beginners to learn how to fly.
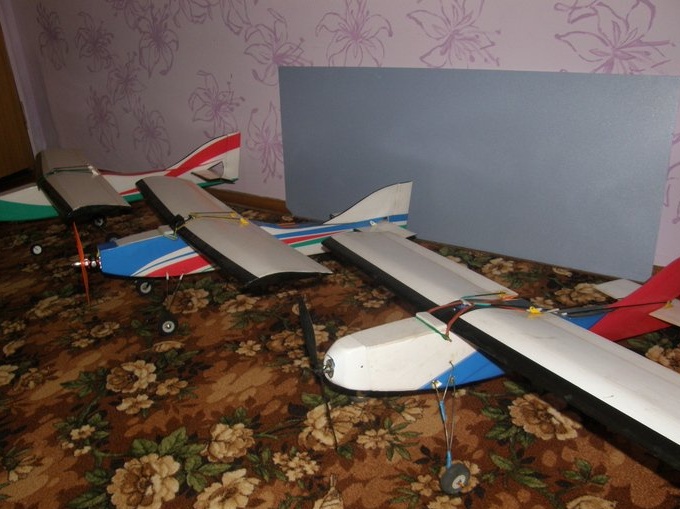
I want to show you a very interesting article in which the author tells and demonstrates the assembly of three aircraft models at once - trainers. The main difference in these models is the three wing types.
The author made certain conclusions after the construction and flights of previous aircraft models of this type, corrected all the errors and wants to share this with you.
Errors related mainly to the insufficient strength of the chassis, the large length of the nose of the fuselage, which created difficulties in achieving balancing of the model under the center of gravity (center of gravity).
What is the difference between the wings offered by the author from each other?
One wing has a V angle.
The other is swept in shape.
The third wing is made with twisting along the profile.
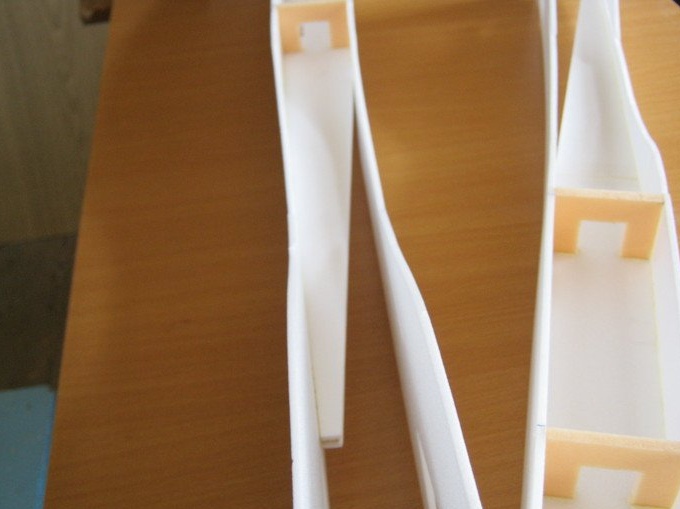
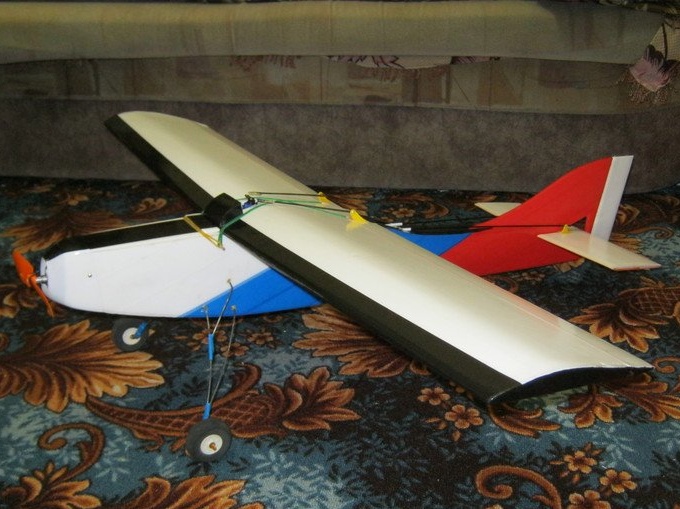
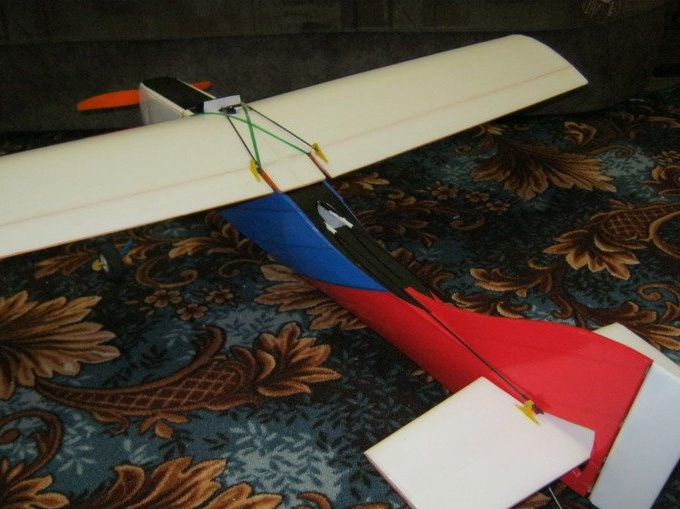
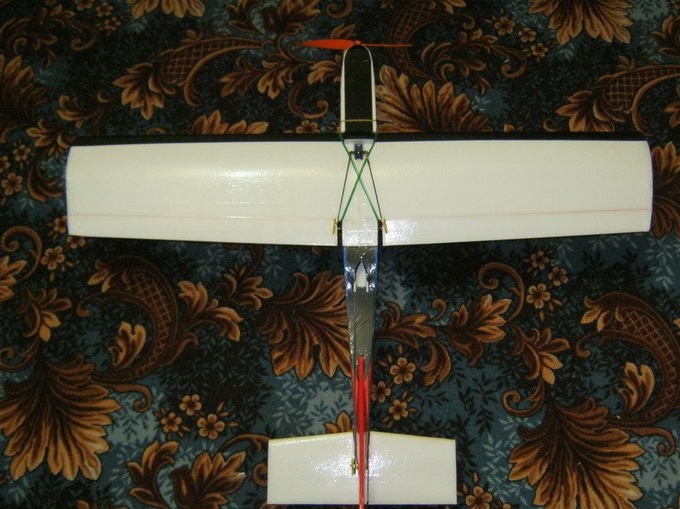
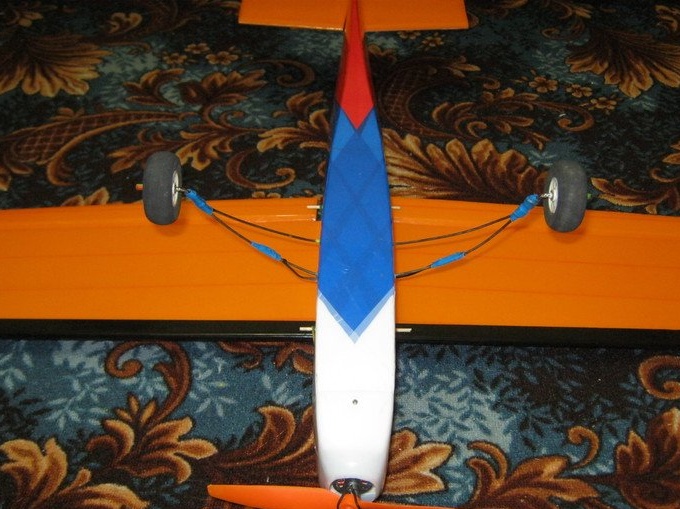
The wings have the same mounting design and can be put on one fuselage.
The author shows many photographs that show in detail the process of building three wings for three models, looking at them the building process will be clear.
I will try to give more detailed comments on the photos.
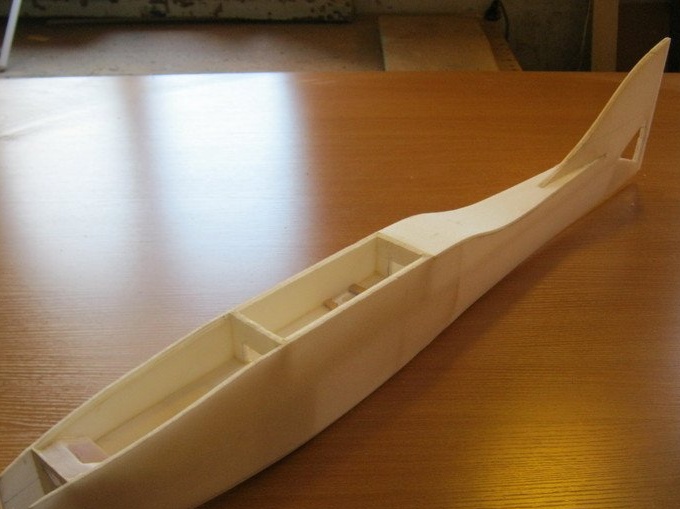
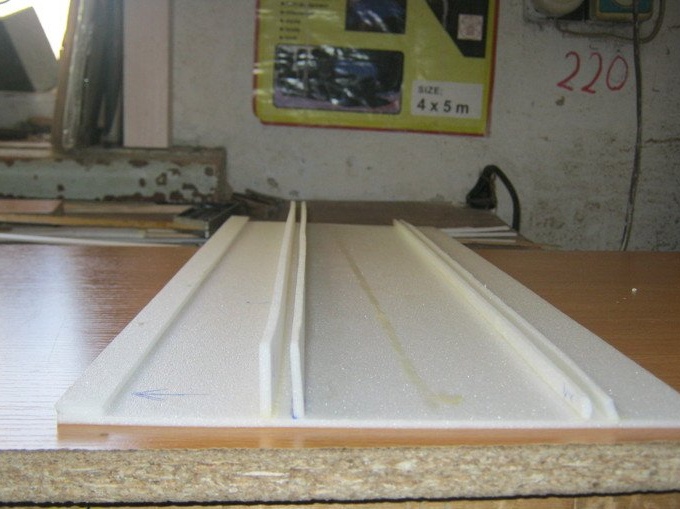
The bearing plane of the fuselage runs almost along an axial horizontal line. It is glued from a double ceiling, between which are glued wooden, preferably spruce slats.
Reiki can not be glued, but then the strength of the model will decrease sharply, and no one is safe from “carrots”.
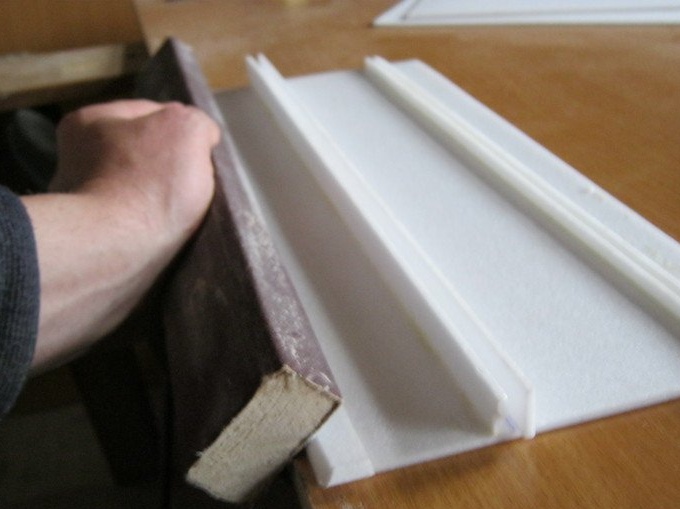
Then, in several stages, the side parts of the fuselage are glued.
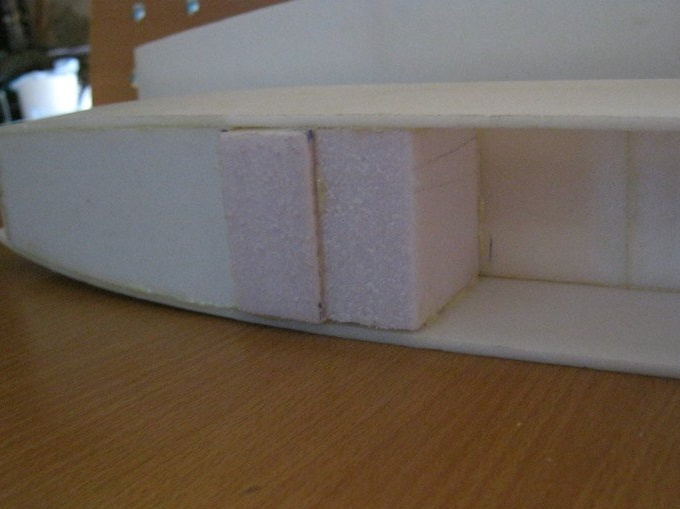
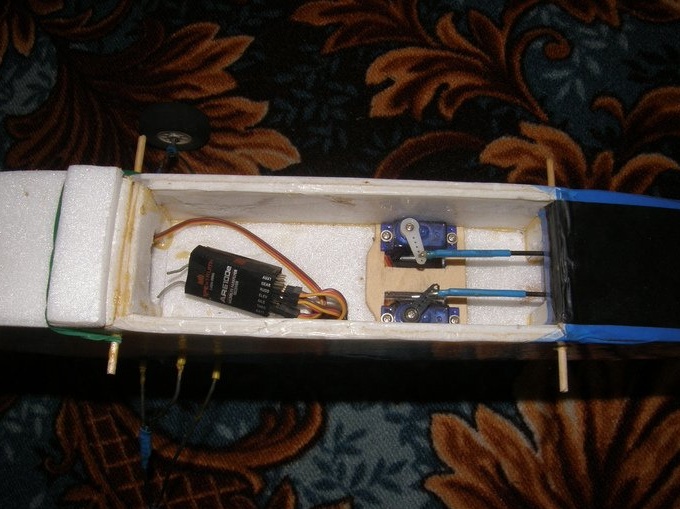
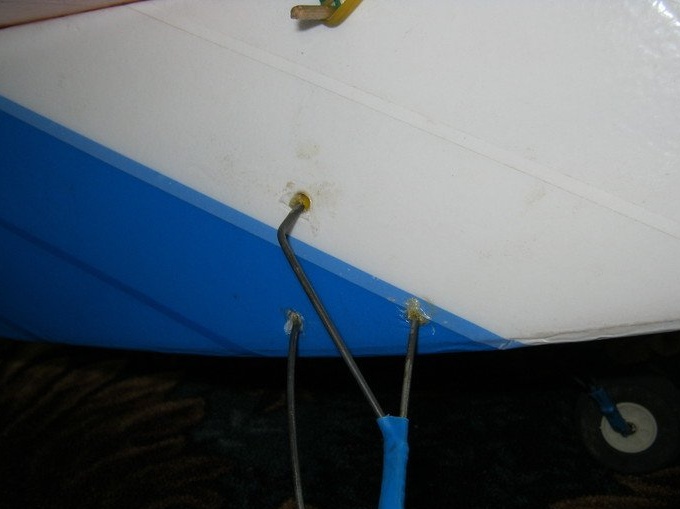
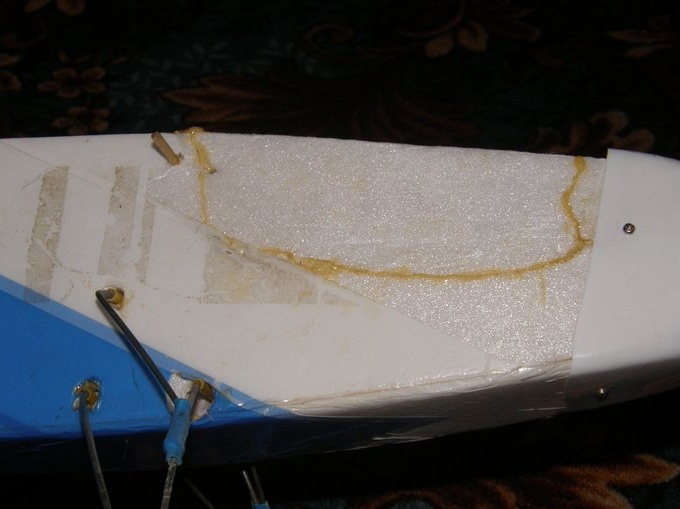
The place of mounting of the chassis is strengthened by the Penoplex insulation. The side walls of the fuselage are strengthened by a ceiling.

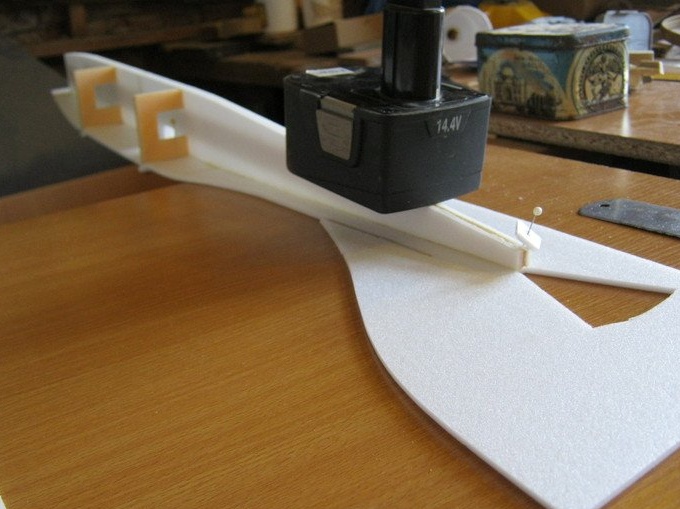
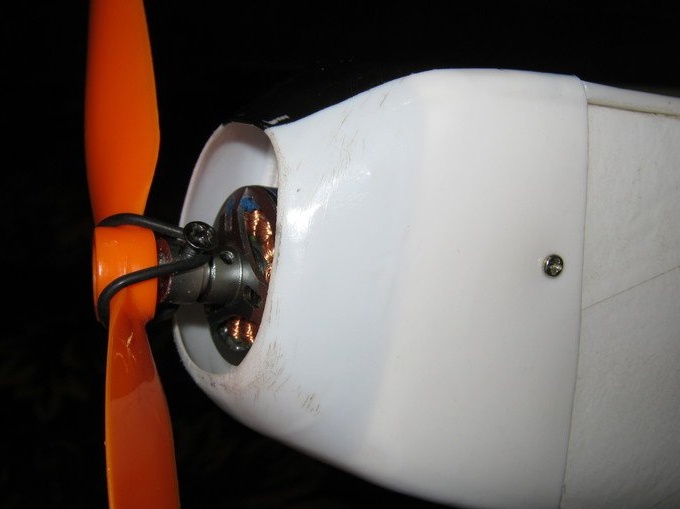
The motor mount is reinforced with insulation pieces. For mounting the motor, plywood or hardboard (fiberboard) is glued.
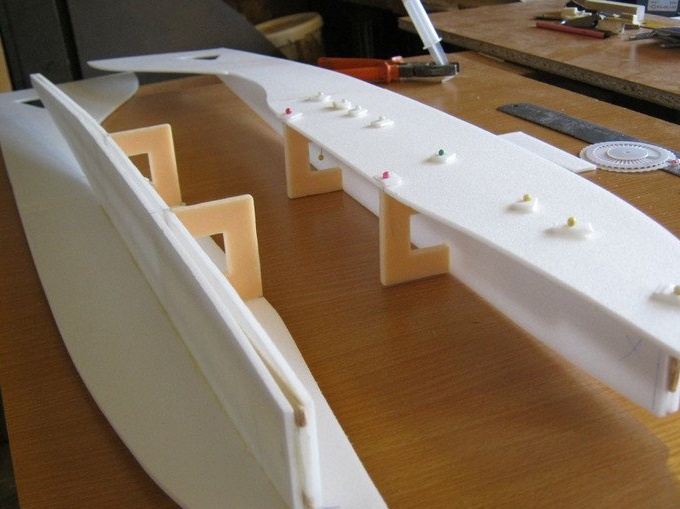
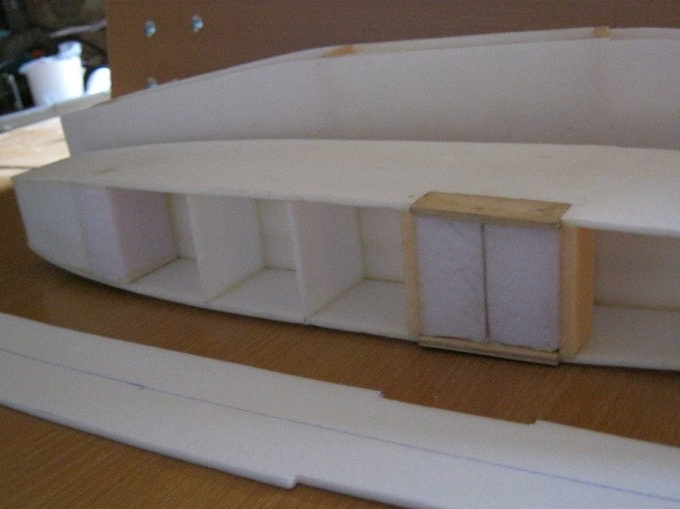
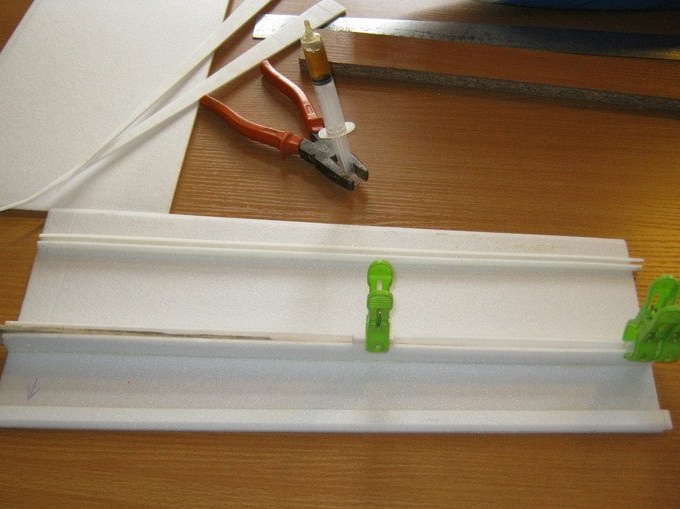
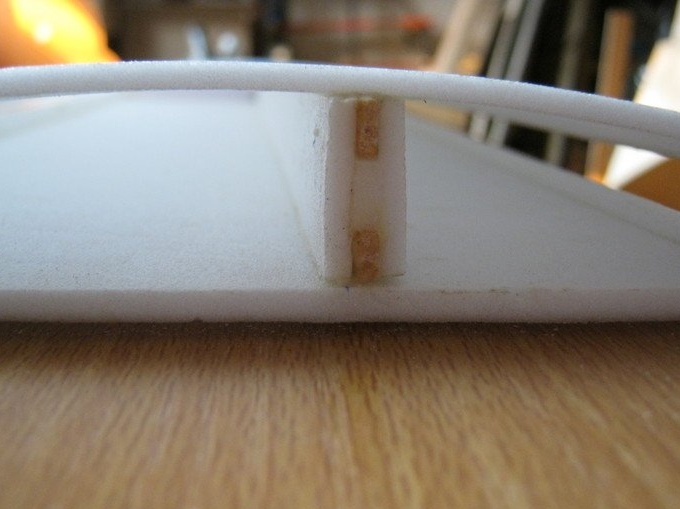
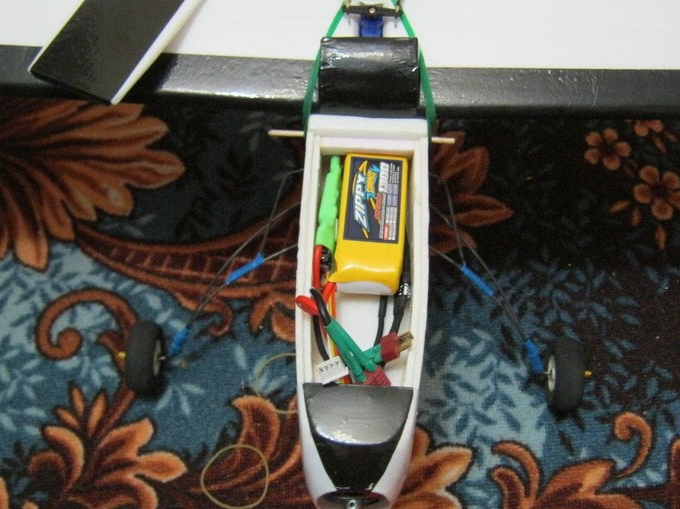
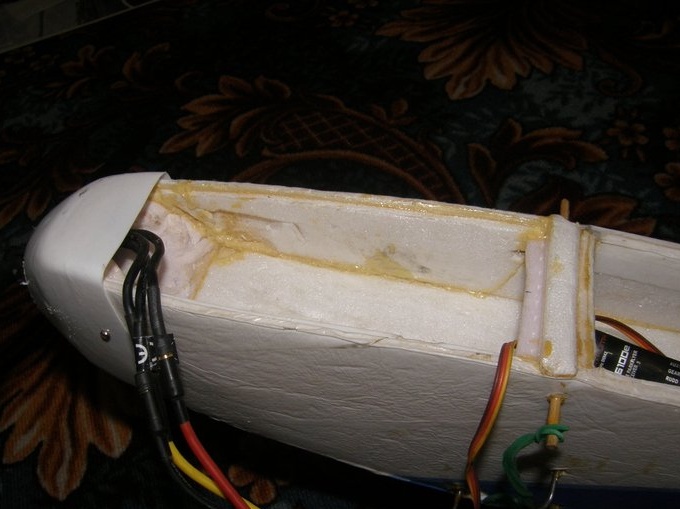
In the places of installation of the wing and the battery, the fuselage is made in two layers of ceilings.

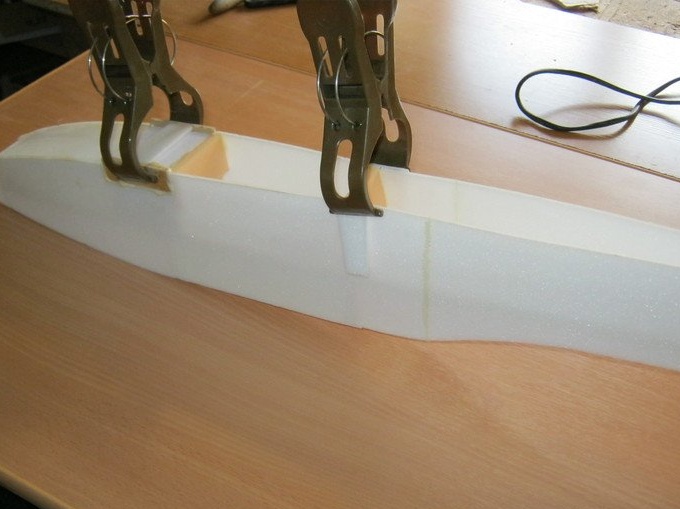
In the battery compartment and under the wing there are two layers of ceilings.
Individual parts of the structure at the bottom of the fuselage are made at the place of their installation, adjusted before gluing.
Gargrot is being made.
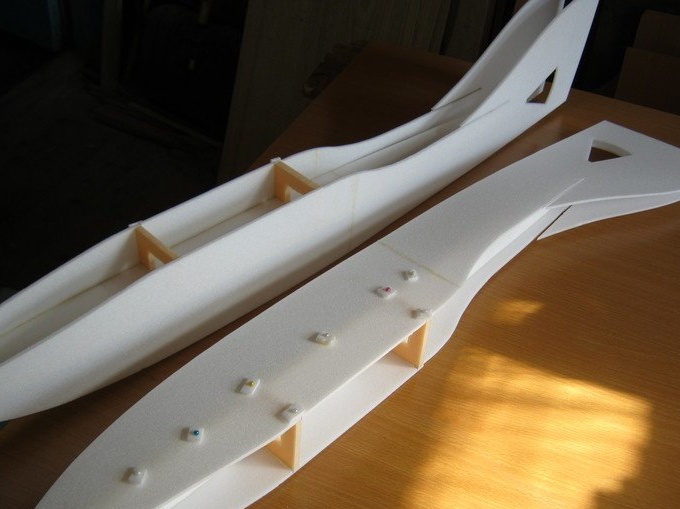
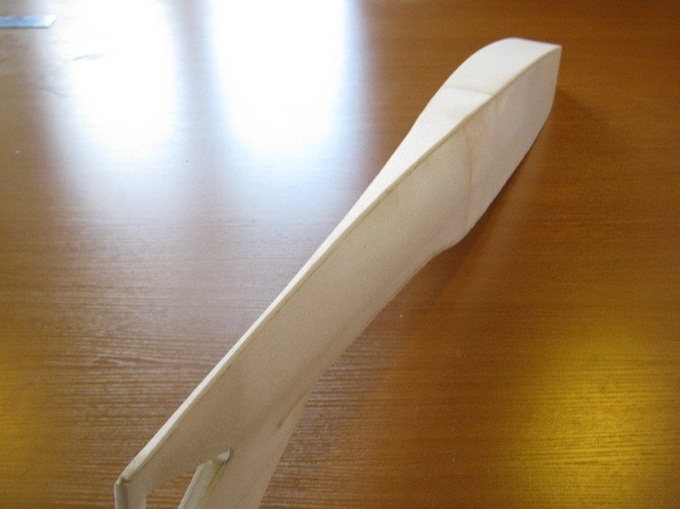
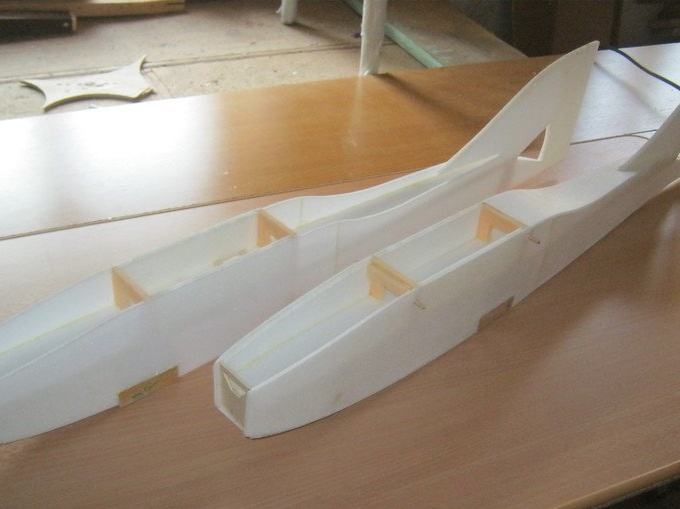
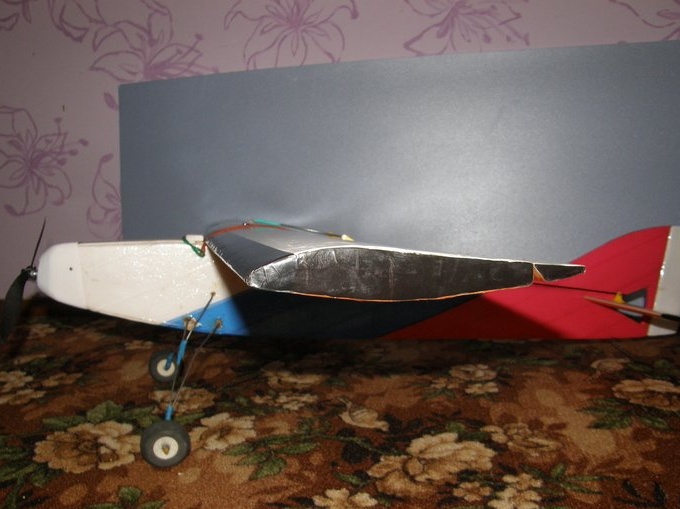
This is how the first fuselage looks like.
This is the second fuselage.
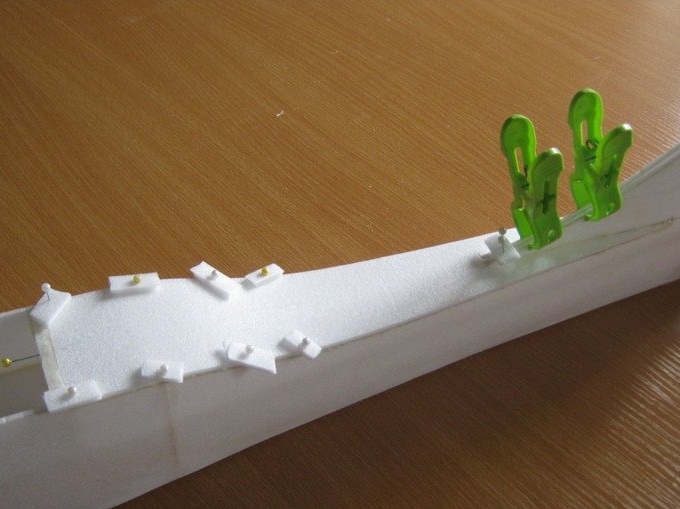
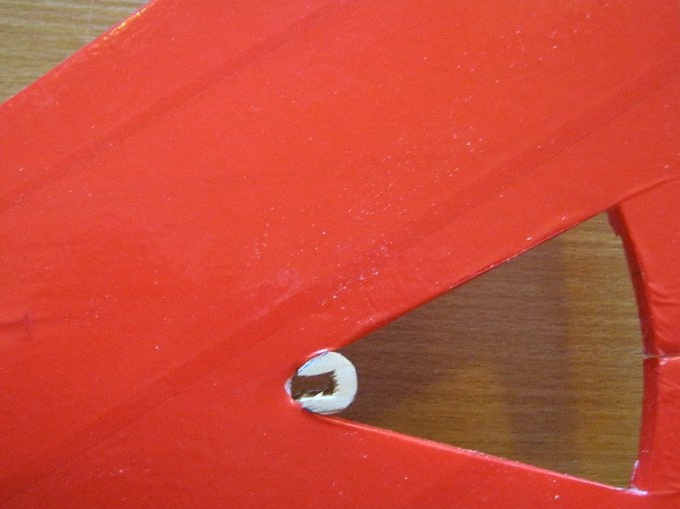
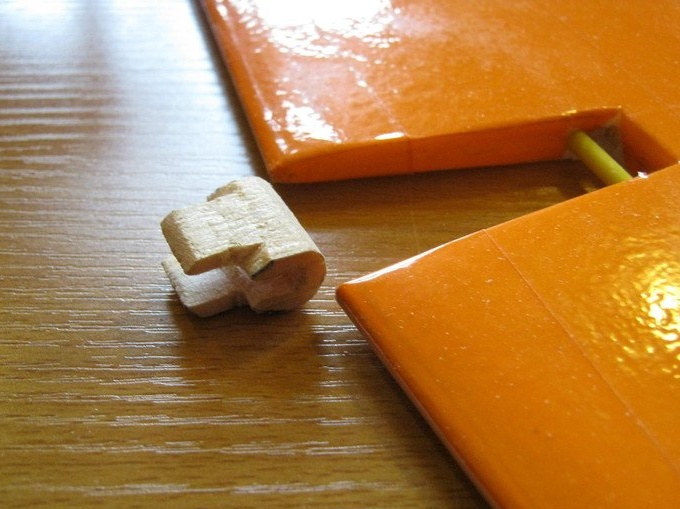
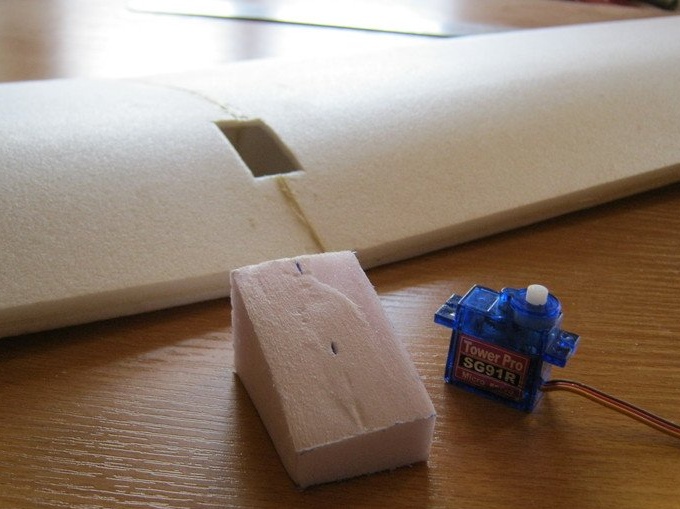
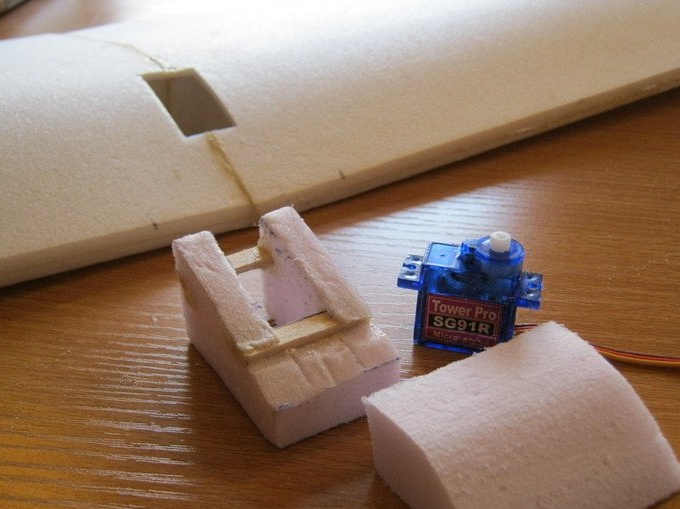
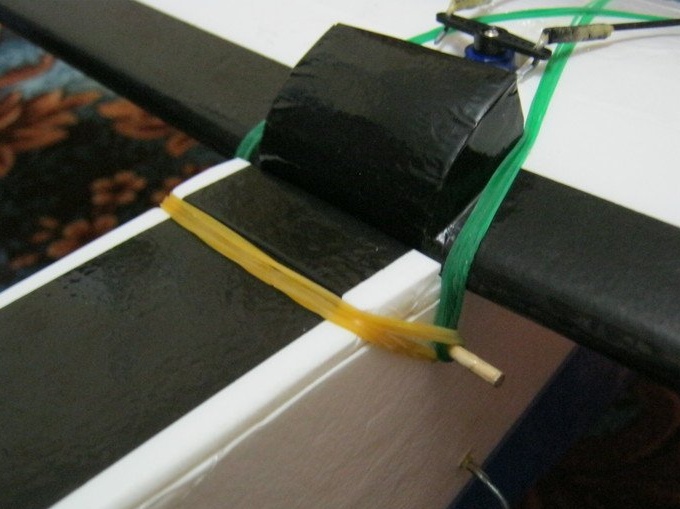
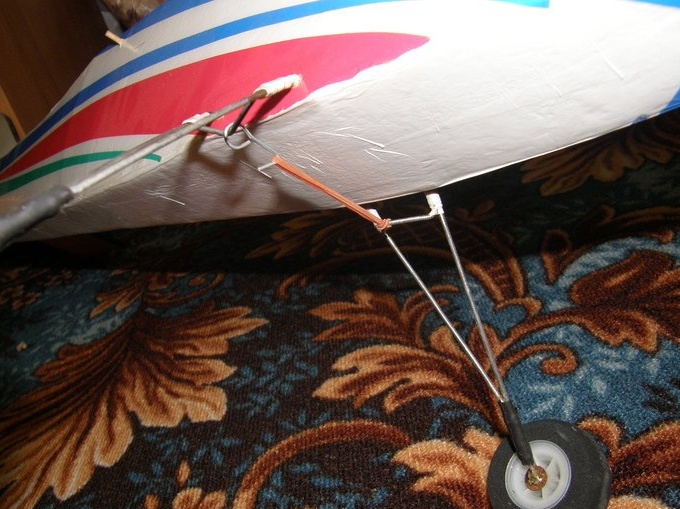
To mount the chassis, the author uses tubes from Chip-Chups sweets. , and you can use ear sticks.

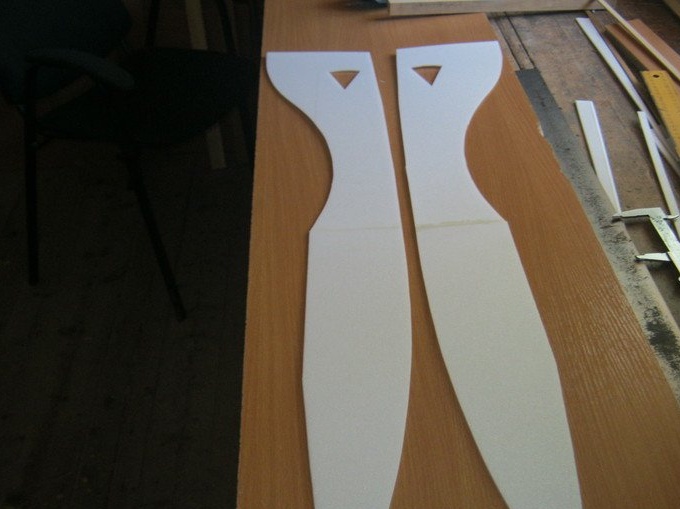
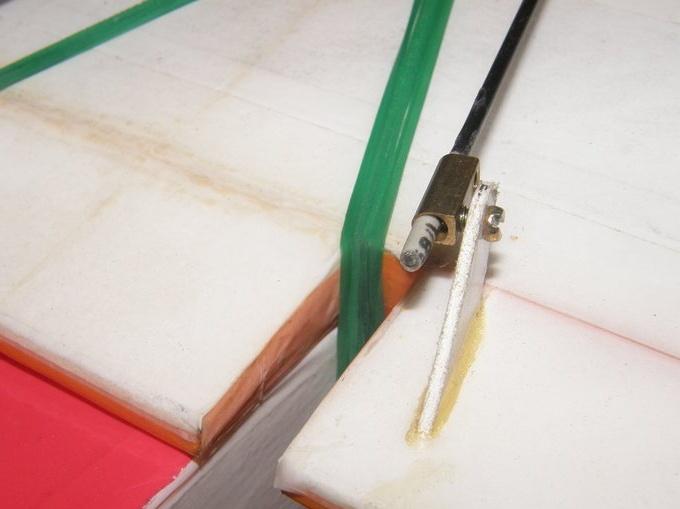
One of the options for the design of the stabilizer, it is solid-rotary.
The main thing is to be able to make a hinge on which the PB rotates. The basis of this hinge is a wooden sleeve, which is glued to the tube from the Chip-Chups candy, or an ear stick, inside which a wire is bent, bent in the form of the letter P. Here such a hinge should turn out.
On other models, the usual stabilizer design is done.
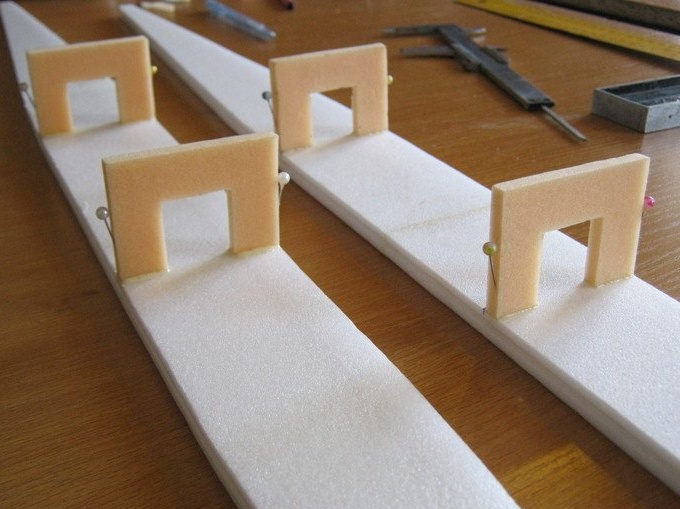
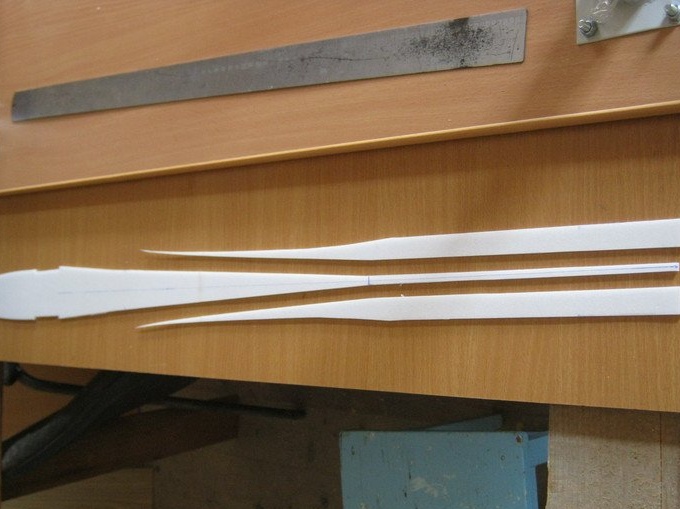
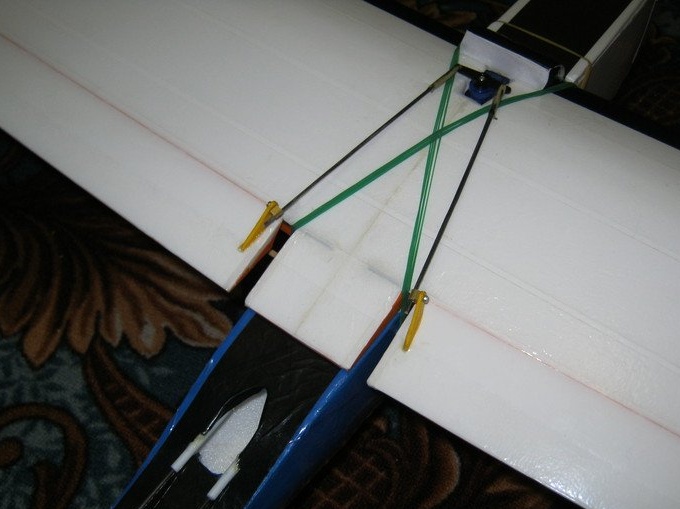
Now go to the wings. One is done with a V angle. The second with a twist on the profile, but without a V corner.

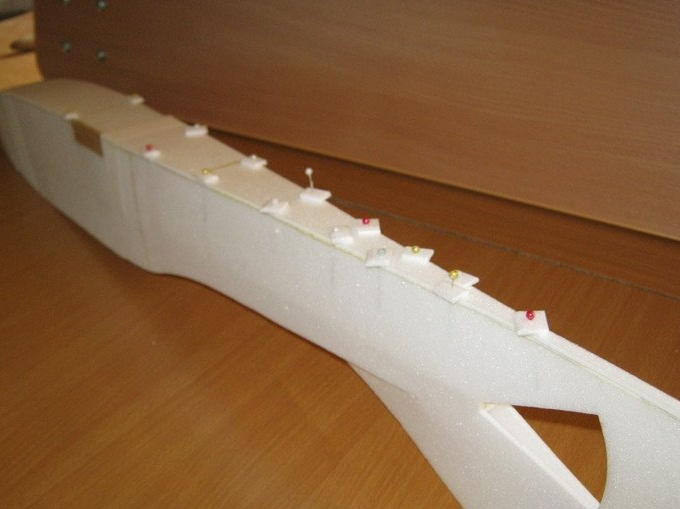
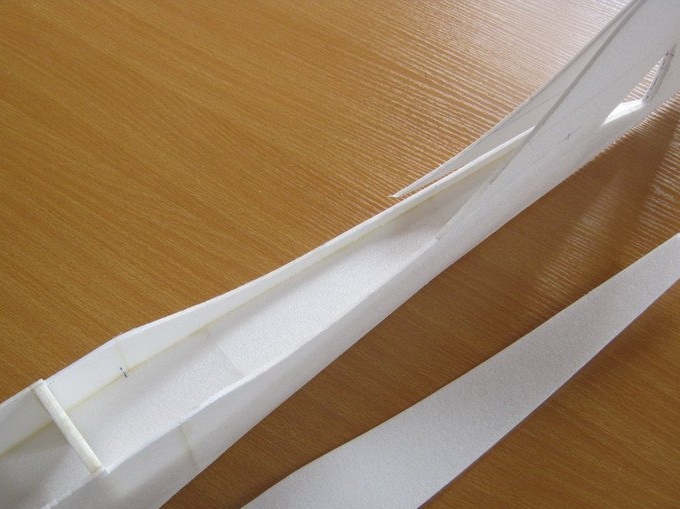
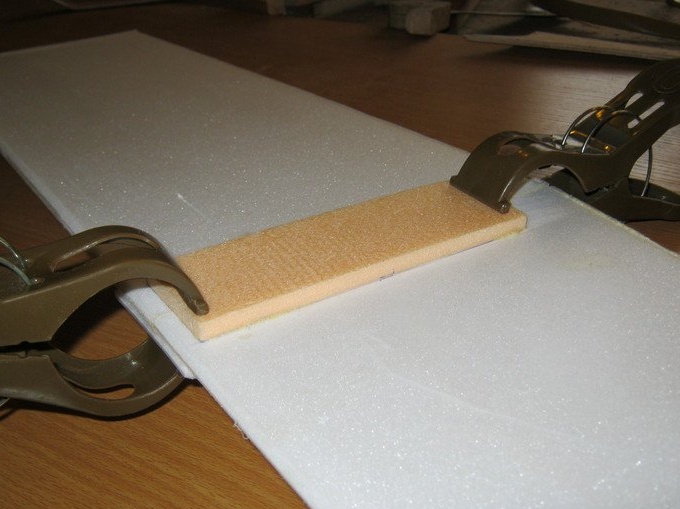
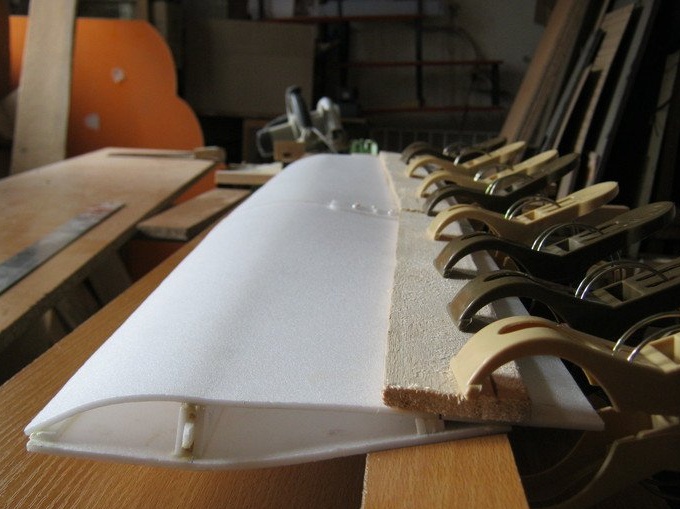
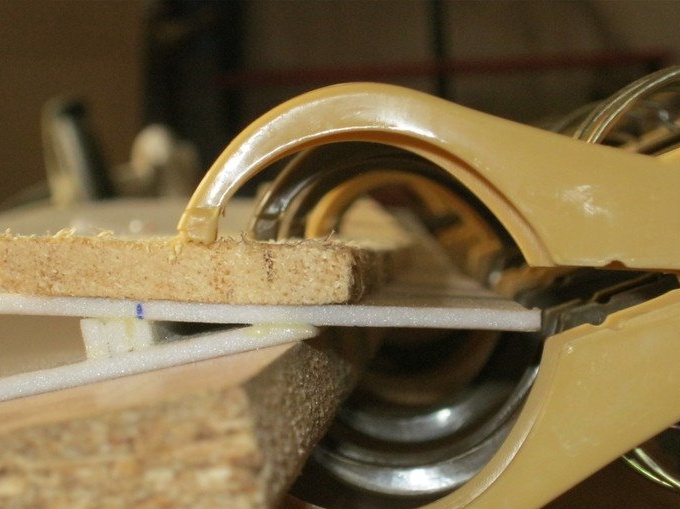
Both wing consoles are assembled separately. Strips of the ceiling are glued inside the wing along the thickness of the spar.


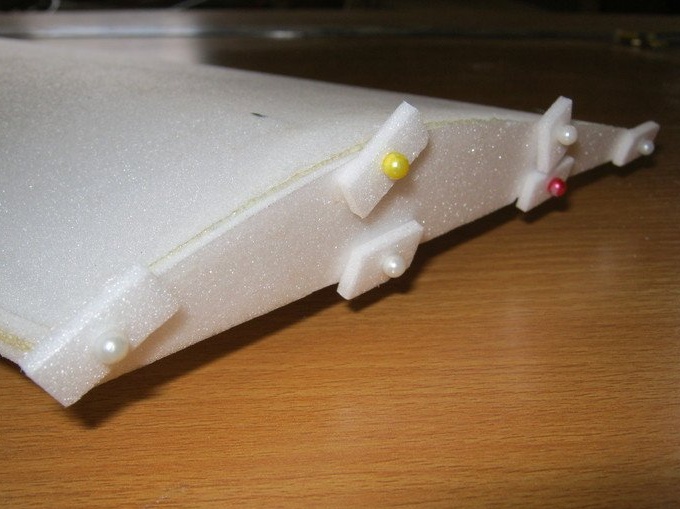

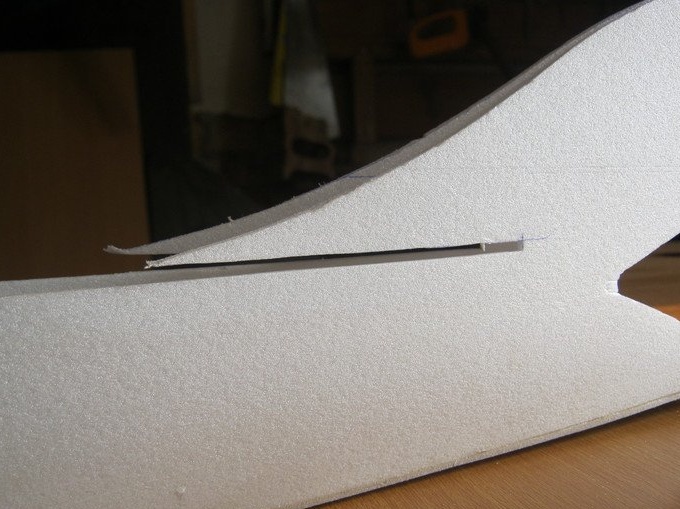
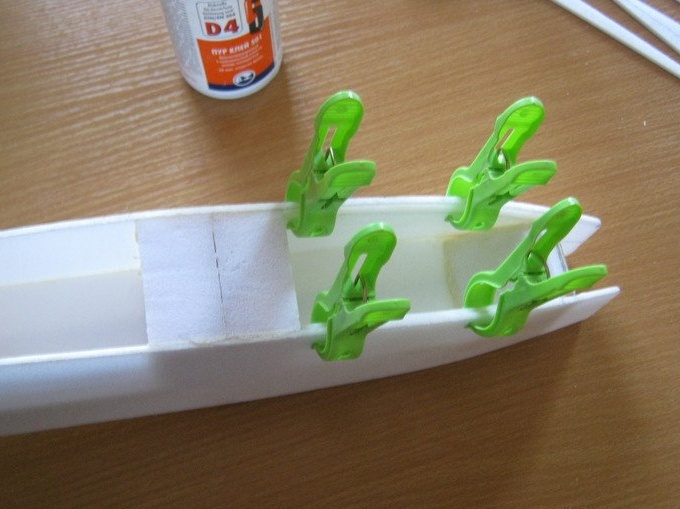
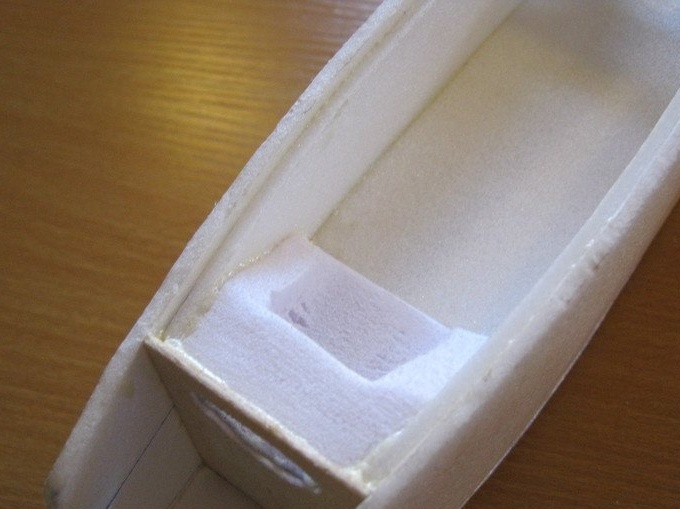
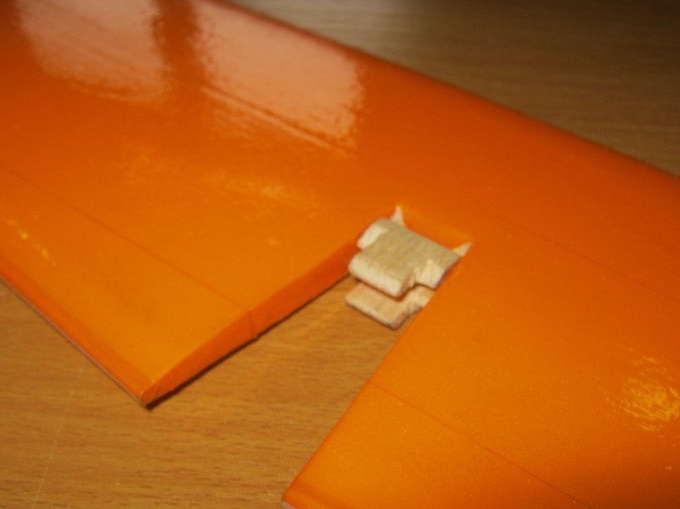
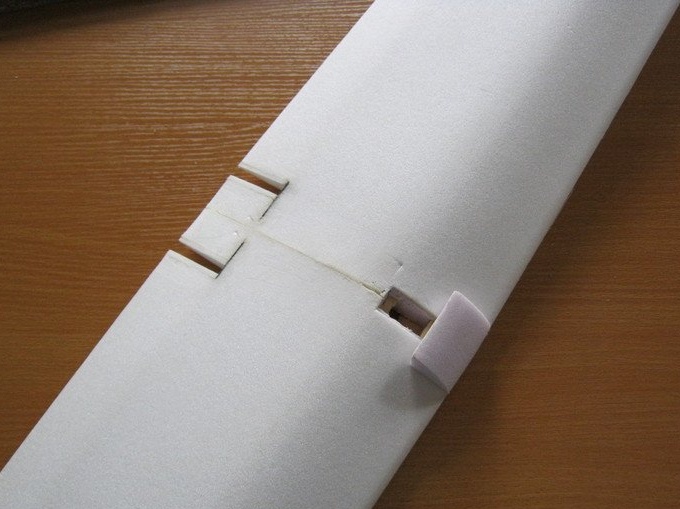
At the place of installation of the wing, such a piece of insulation is glued so that the wing correctly fits into place.
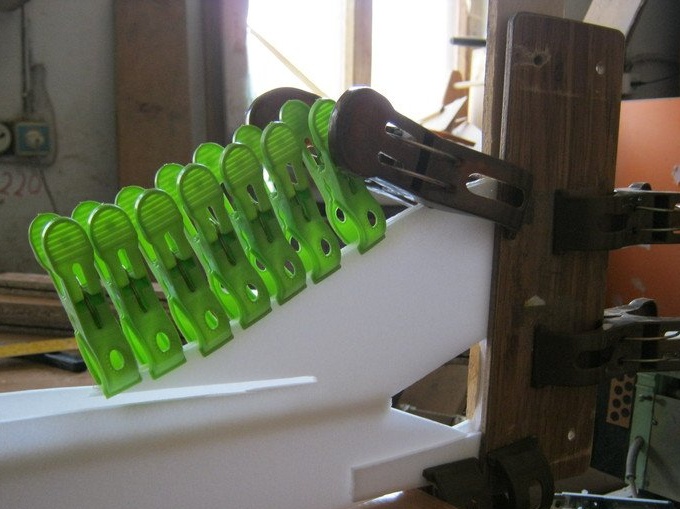
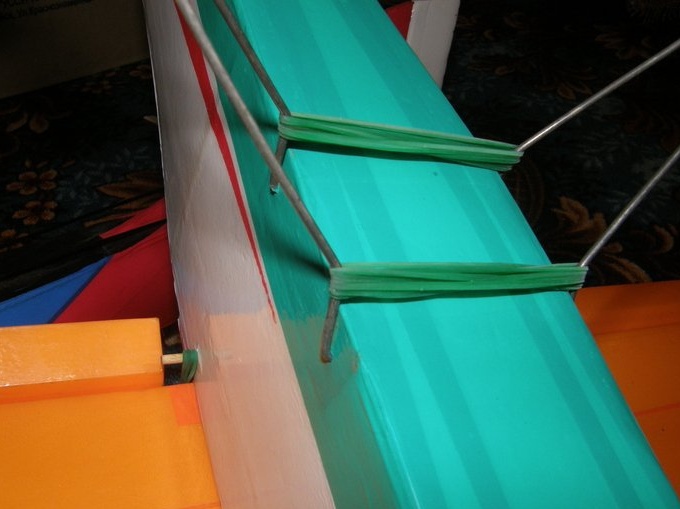
To protect the wing from dents from the rubber bands that hold the wing on the fuselage, carbon twigs are glued.
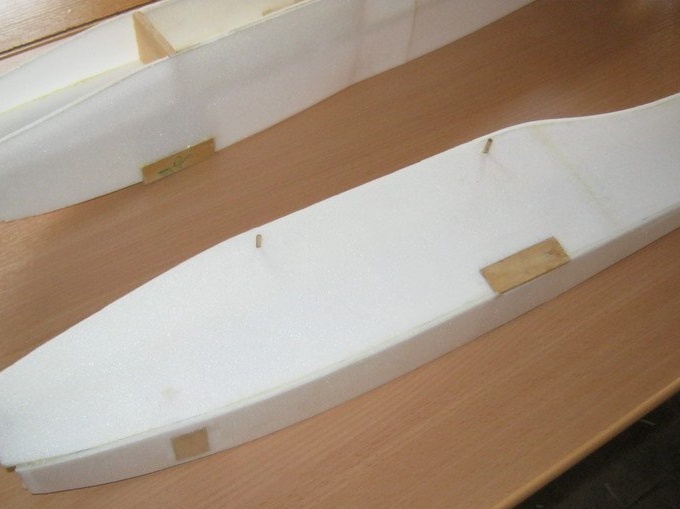
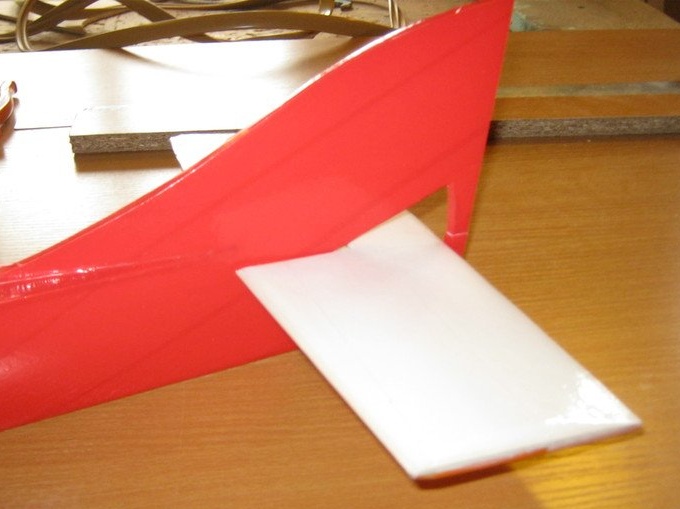
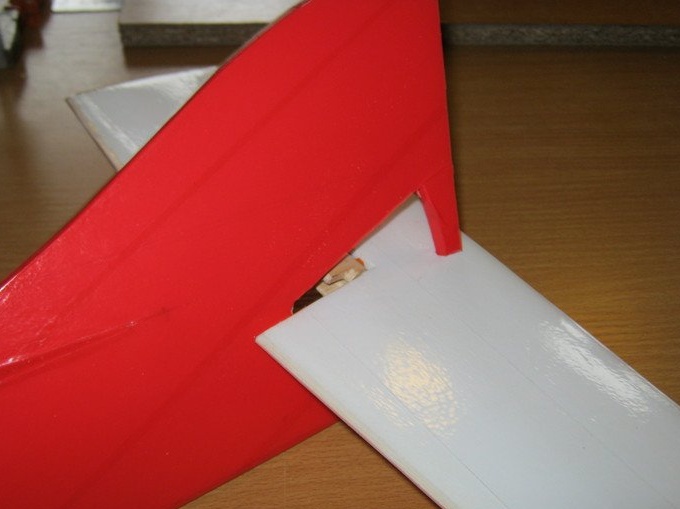
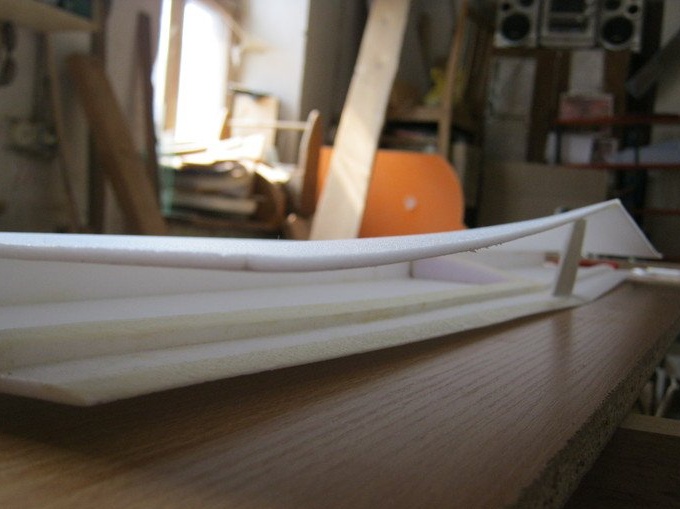
The second wing is absolutely straight of the same thickness.
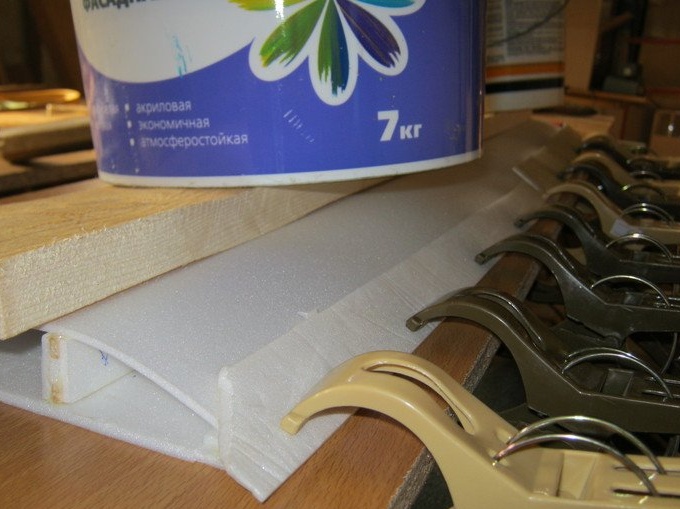
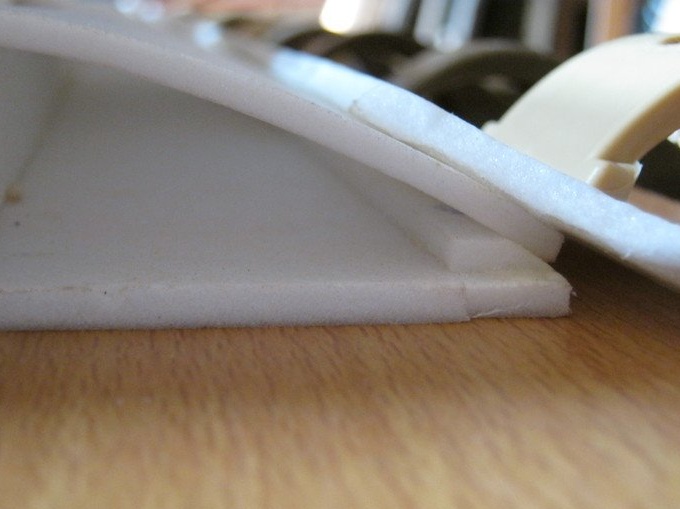
Putting the wing on a flat surface, marks are put on which the twist of both consoles will be carried out.
Inside the wing, in the middle, pieces of the ceiling are inserted, which prevent the wing from being pushed through with rubber bands.
The V corner is visible on the wing.

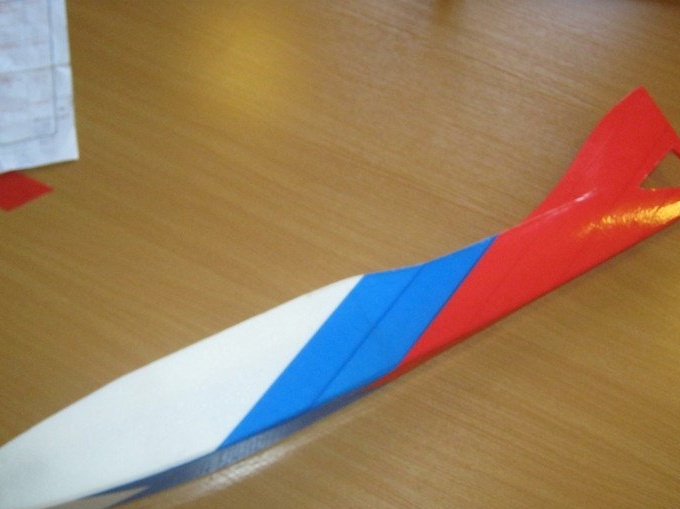
Now the third wing, to which the trailing edge is straight, and the front has a bevel back.
The best wing, according to the author of the project, is the second wing, which gives the model stability in flight and flight.

At the end of the article, the author tells and shows photographs of the mistakes made by him during the construction of previous models. This mainly concerned the incorrect mounting of the chassis, and the battery.


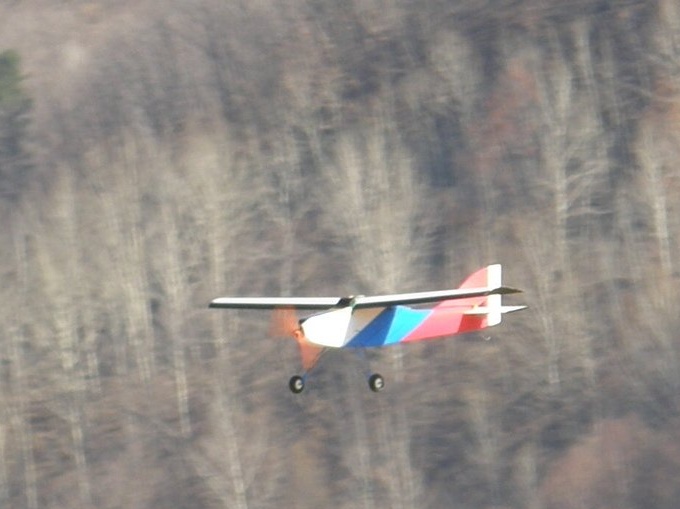
TTX.
Span - 960 mm
It is long - 870 mm
Weight -475 gr
Battery - 3S 1000
In conclusion, a small video about the flight of the model.
Build an aircraft model - trainer, learn to manage models.