

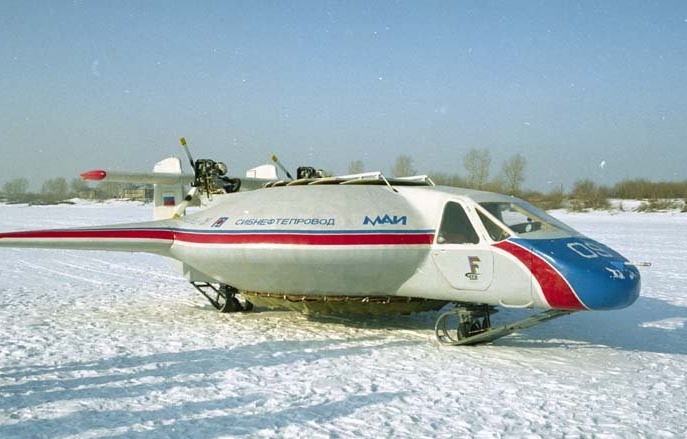
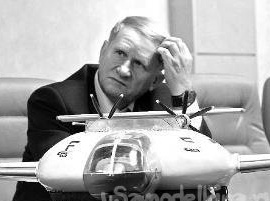
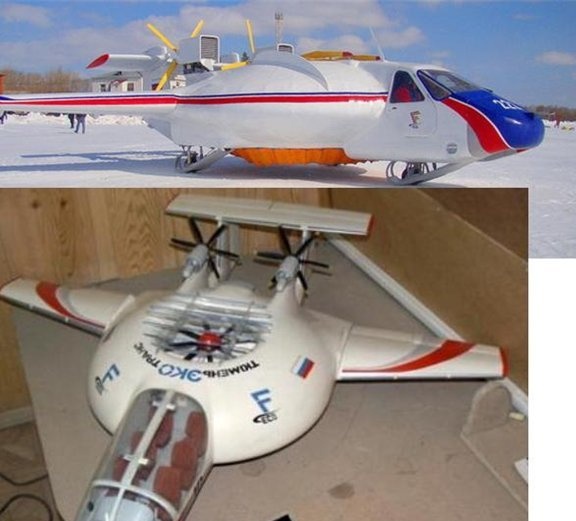
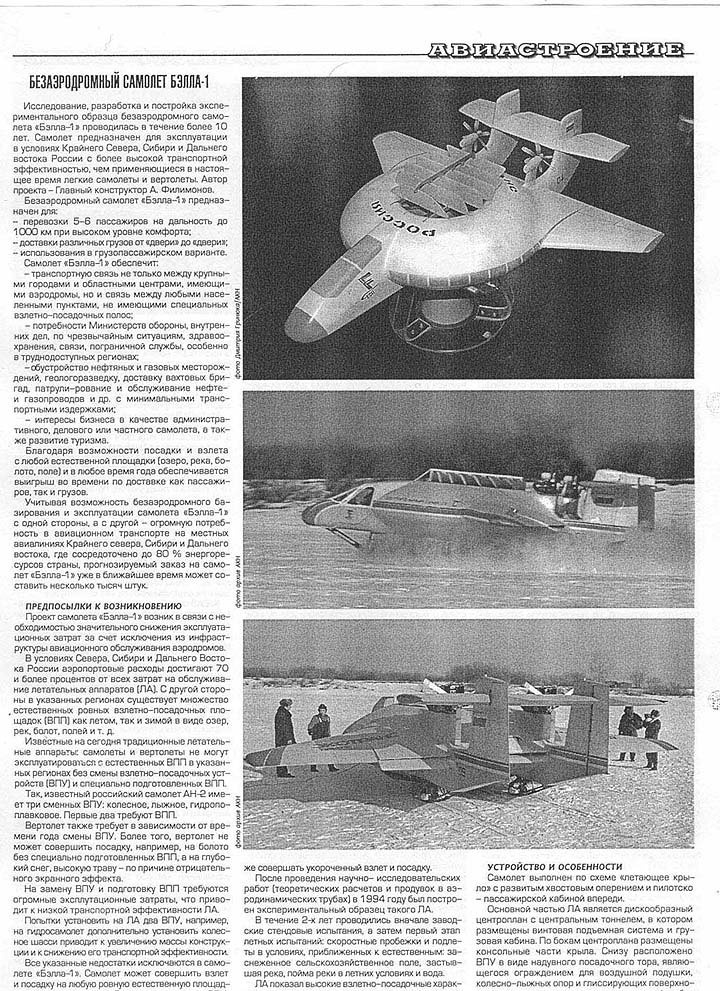
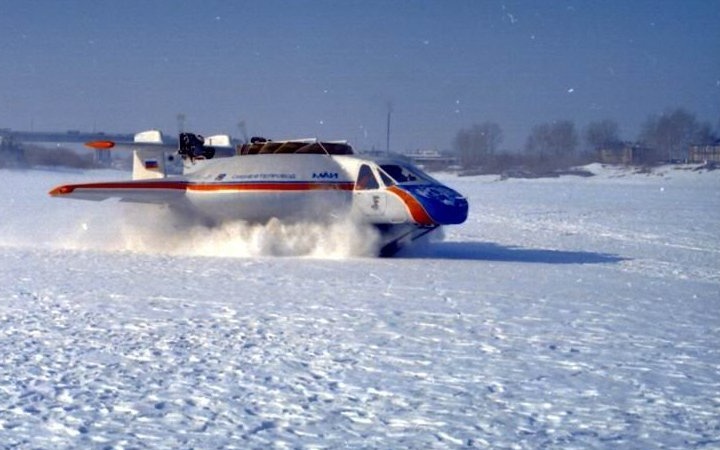
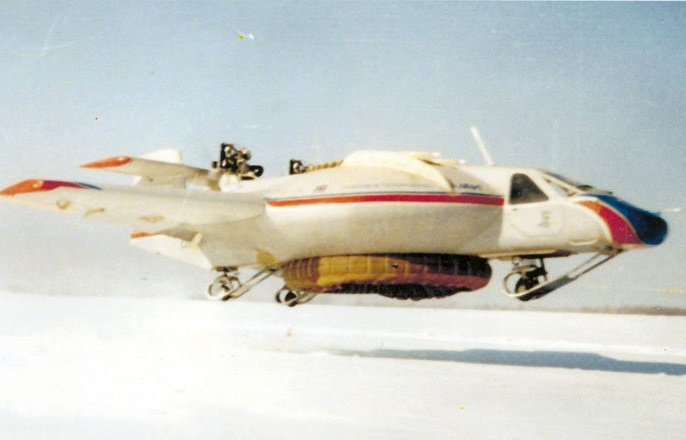
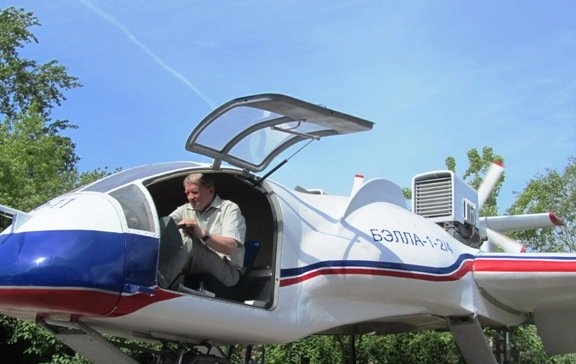
It all started with the fact that I came across a clipping from the Trud newspaper on March 14, 1996, where an article was published about the unusual LA Aleksey Filimonov - BELL-1.
That was 4 years ago.
I really liked the topic and I decided to build a similar device.
Here are some photos of the construction of that model.
Last time I had to interrupt this topic due to illness, I decided to correct this injustice.
Again, I looked at materials on this topic, photos, drawings.


Picked up electronics, estimated the scale of the model under it and began to work.
On this model, instead of an impeller for blowing air into the air cushion, I decided to put a motor with a screw.
Applicable materials.
A simple substrate for a laminate - 4 mm. thick.
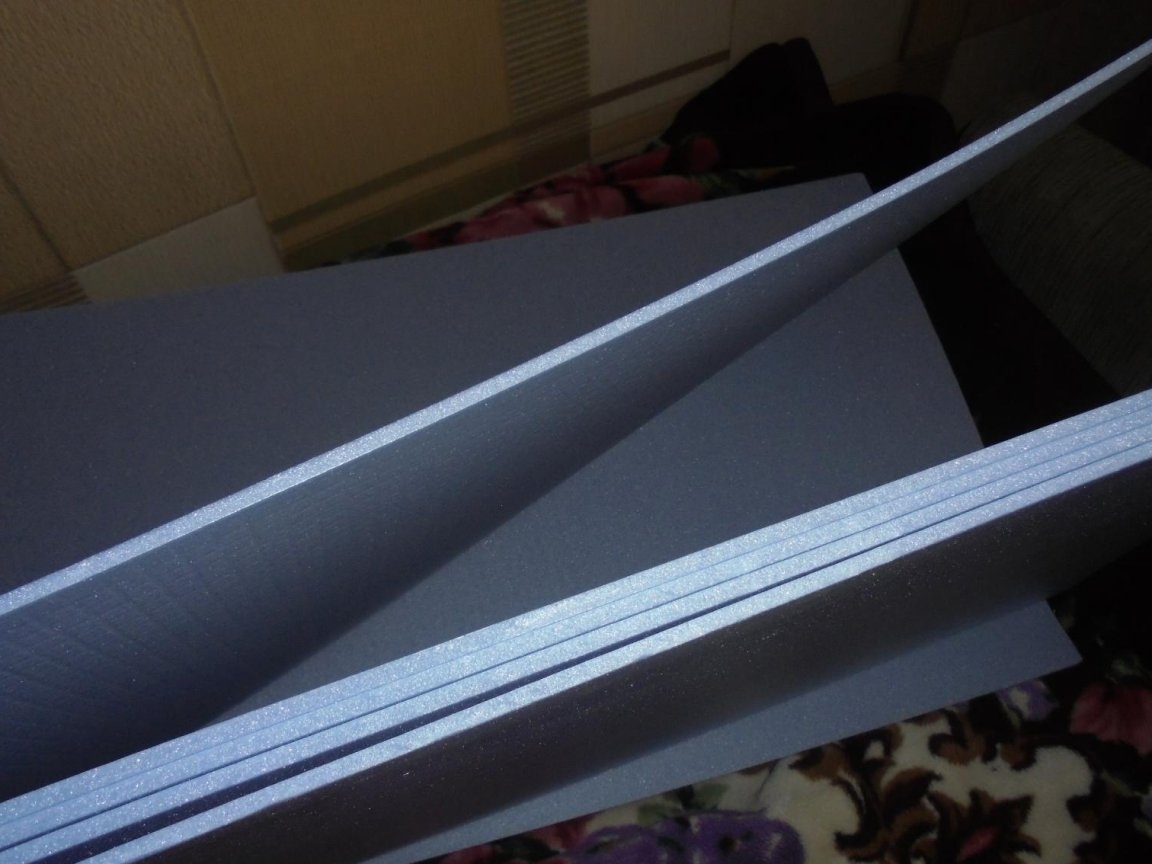
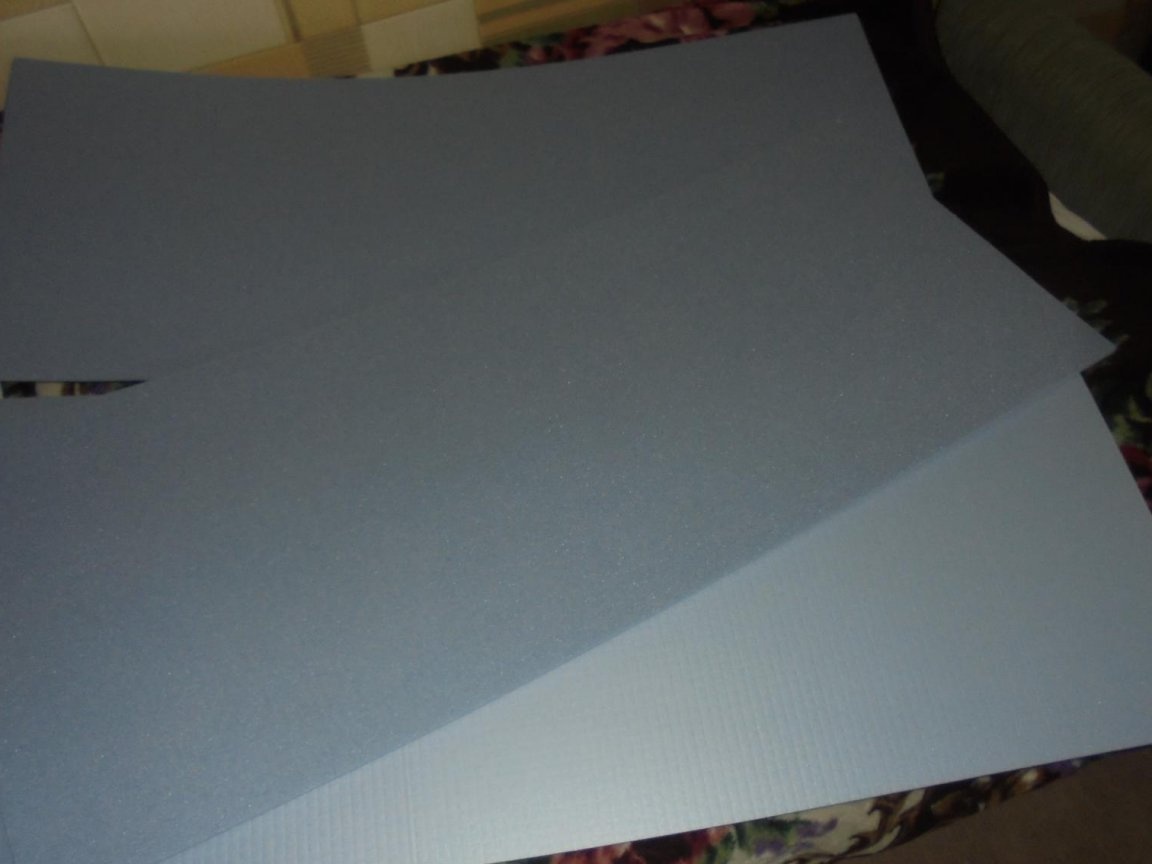
Heater "Penopleks" .50 mm thick.
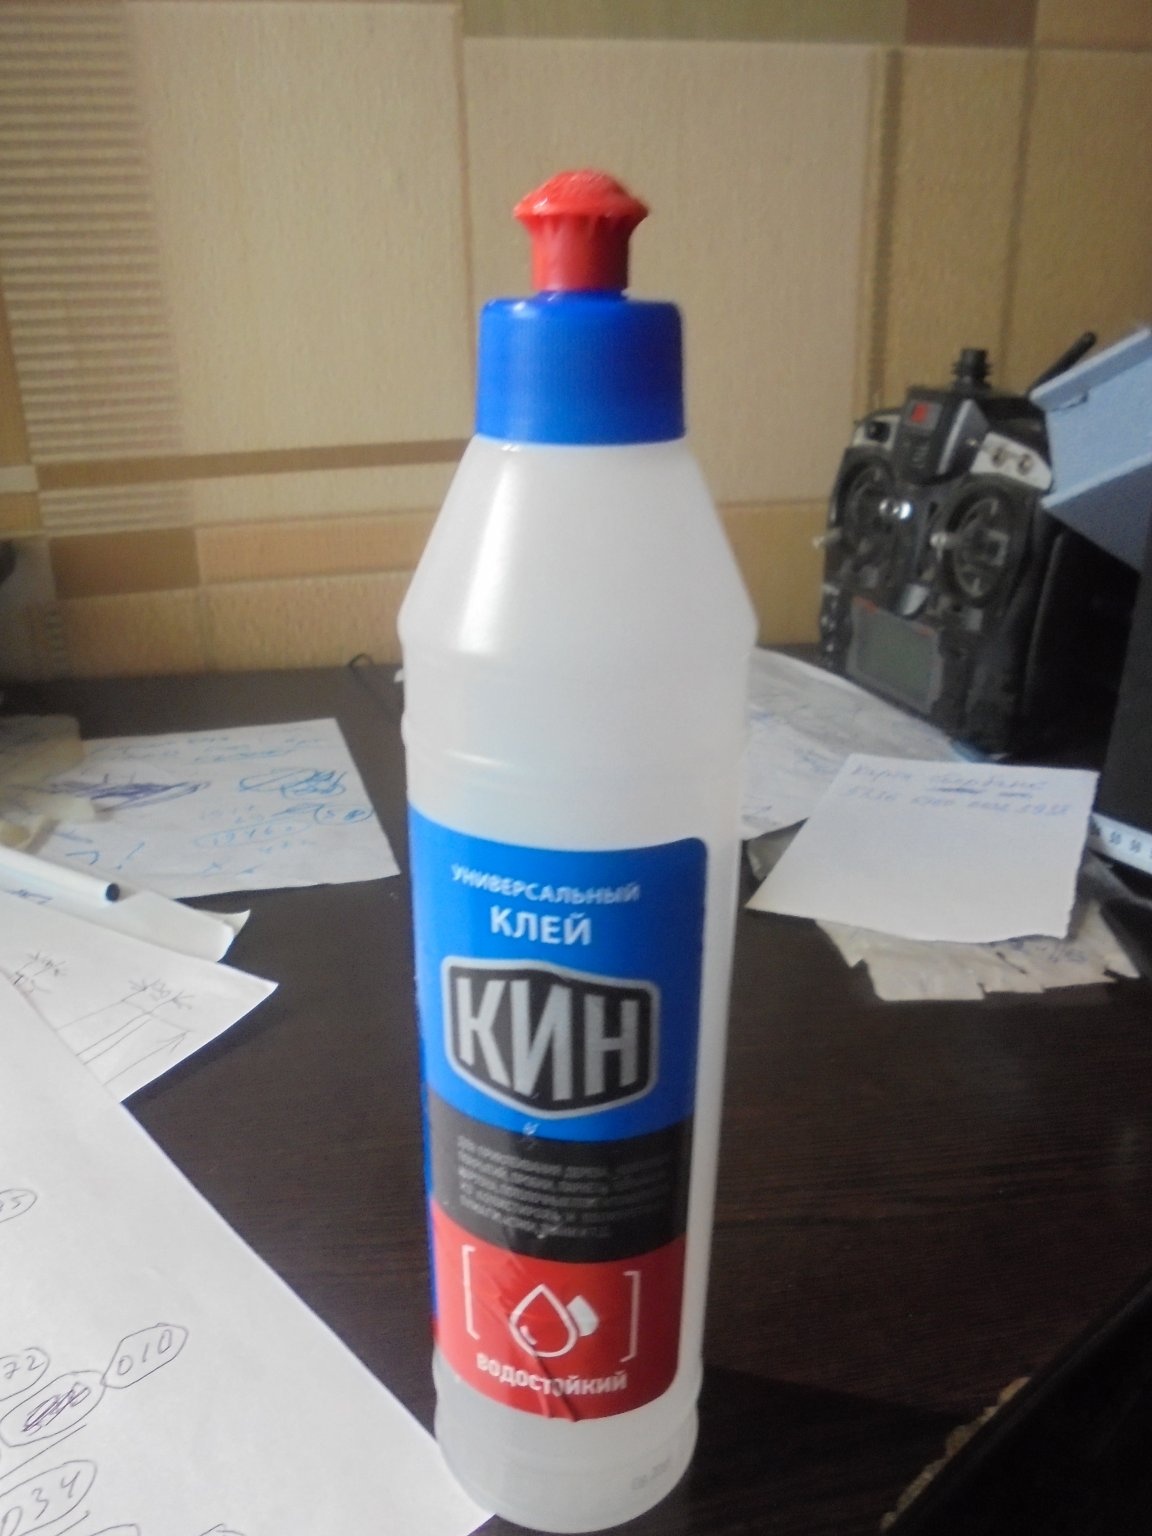
Universal glue, moisture resistant - "CIN".
Silk fabric.
Color and double-sided tape.
Electronics.
Motor (marching) - 3010 С 1300Kv.
Regulator 60A.
Screw - 8 X 6.
Motor (blowing) - D2926 / 10 1400 Kv.
Screw - 4 X 5 three-blade.
The regulator is 40A.
Servos - MG90S.
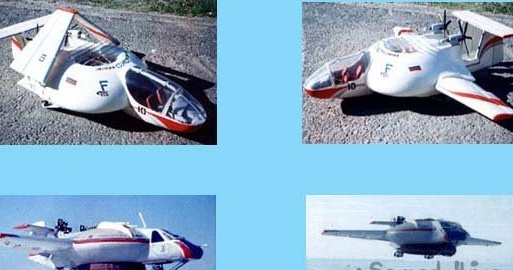
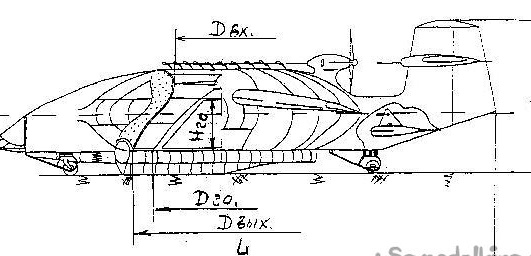
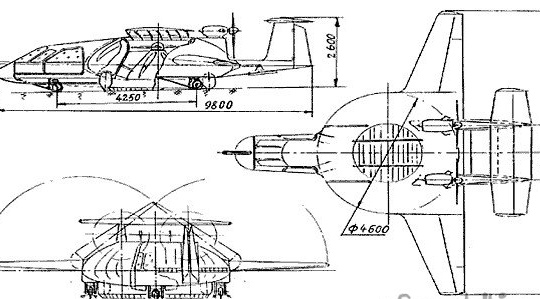
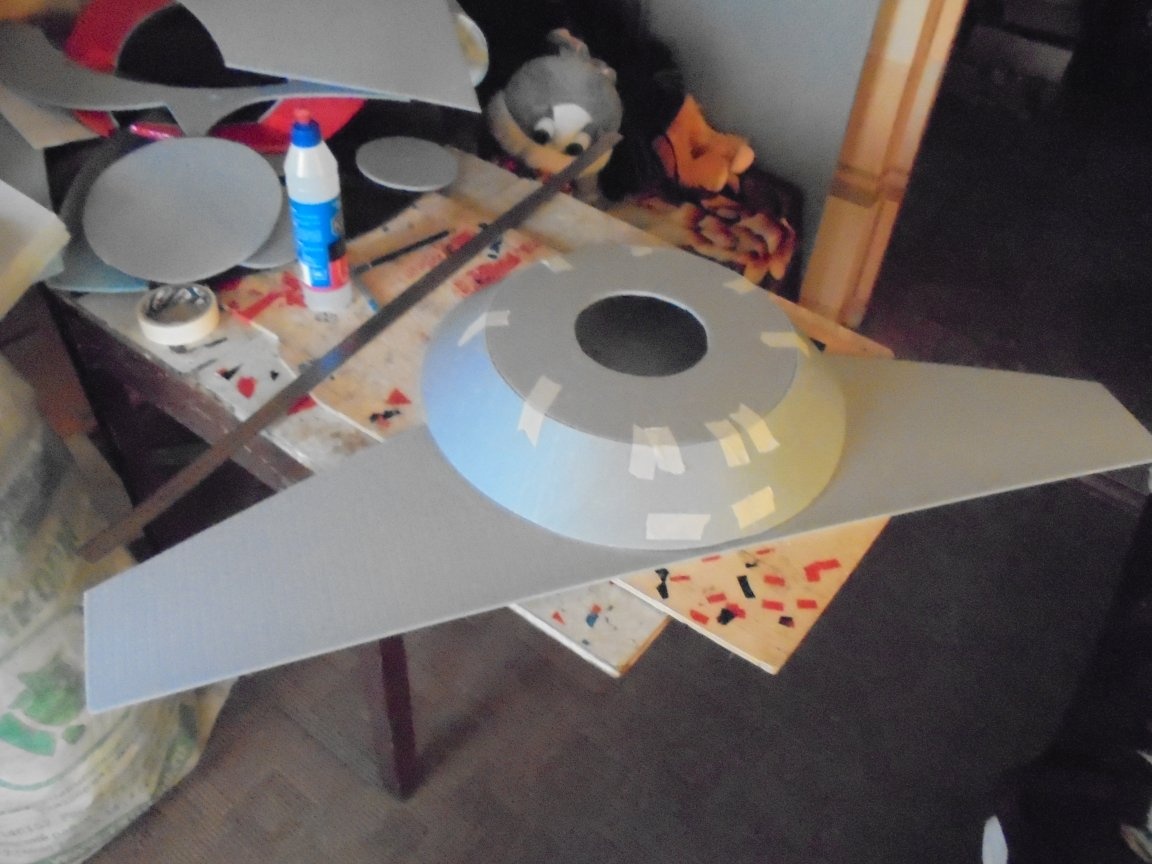
These photographs are taken as the basis and on them, according to the selected scale, the dimensions are affixed.
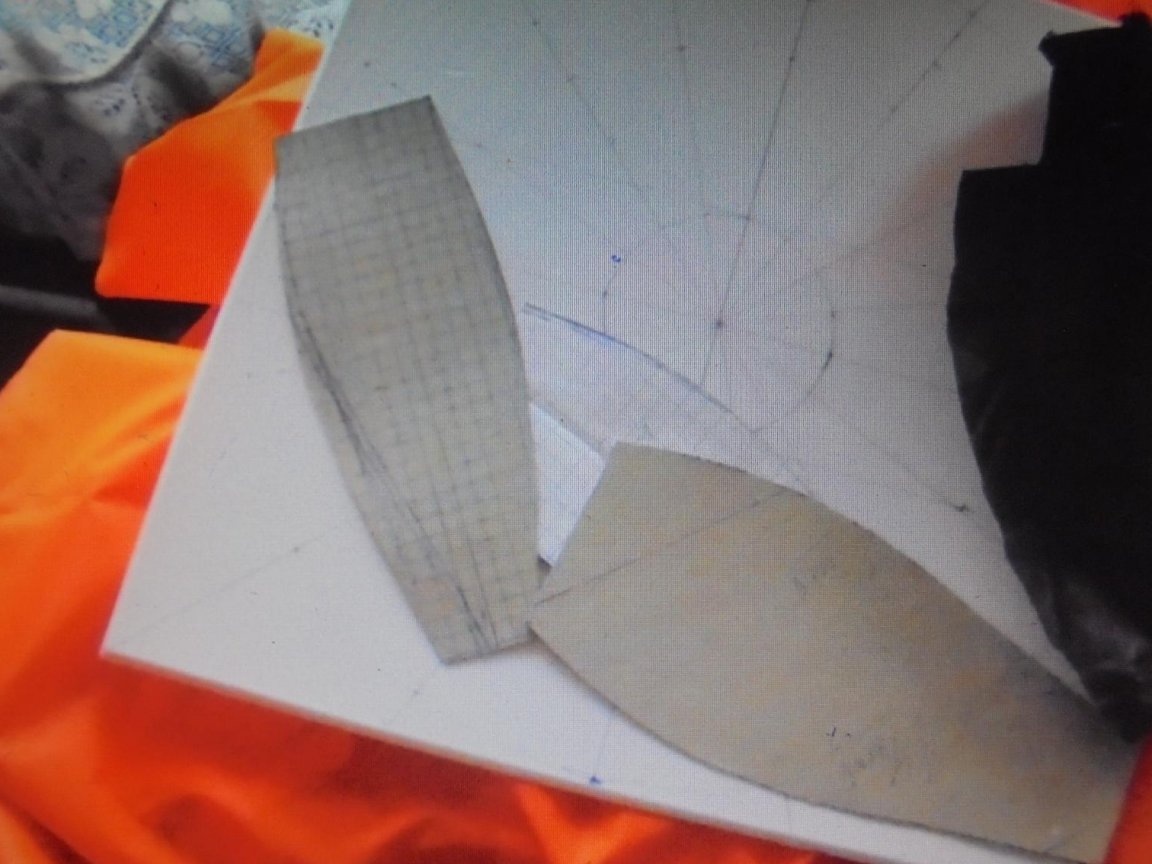
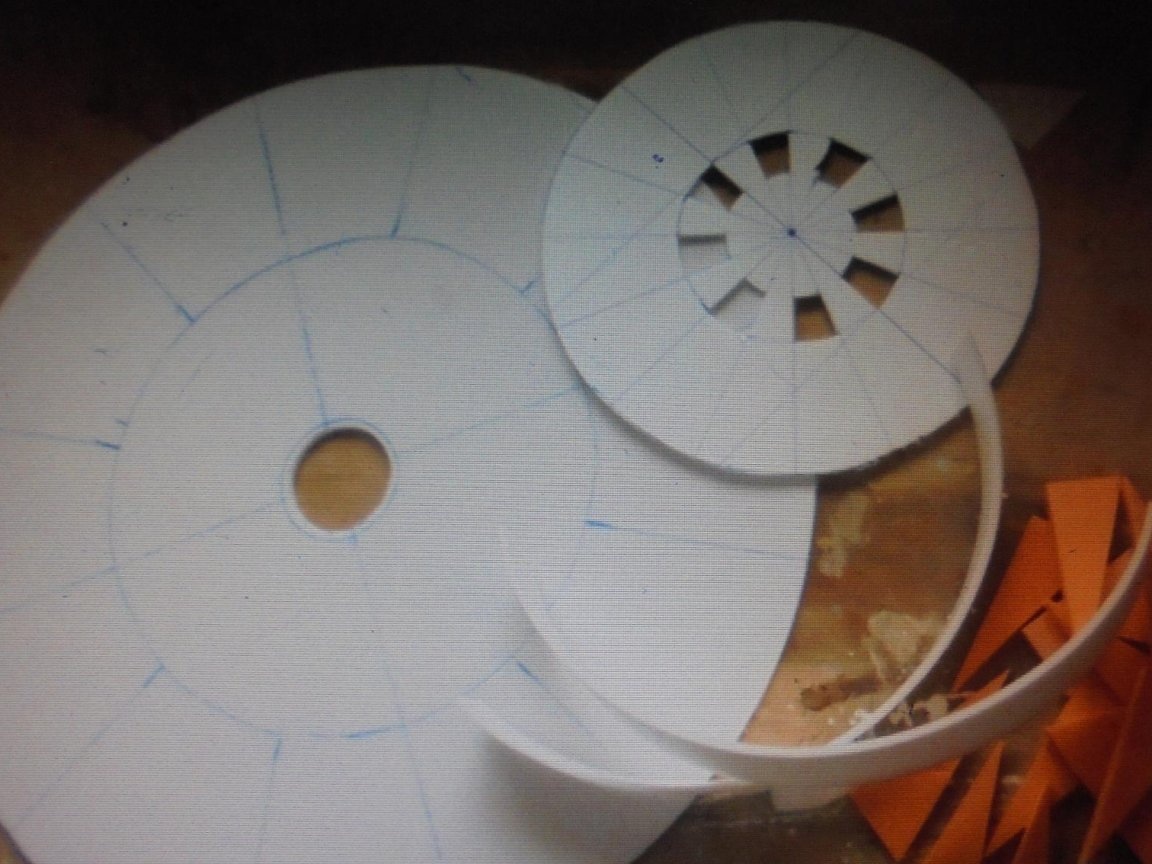
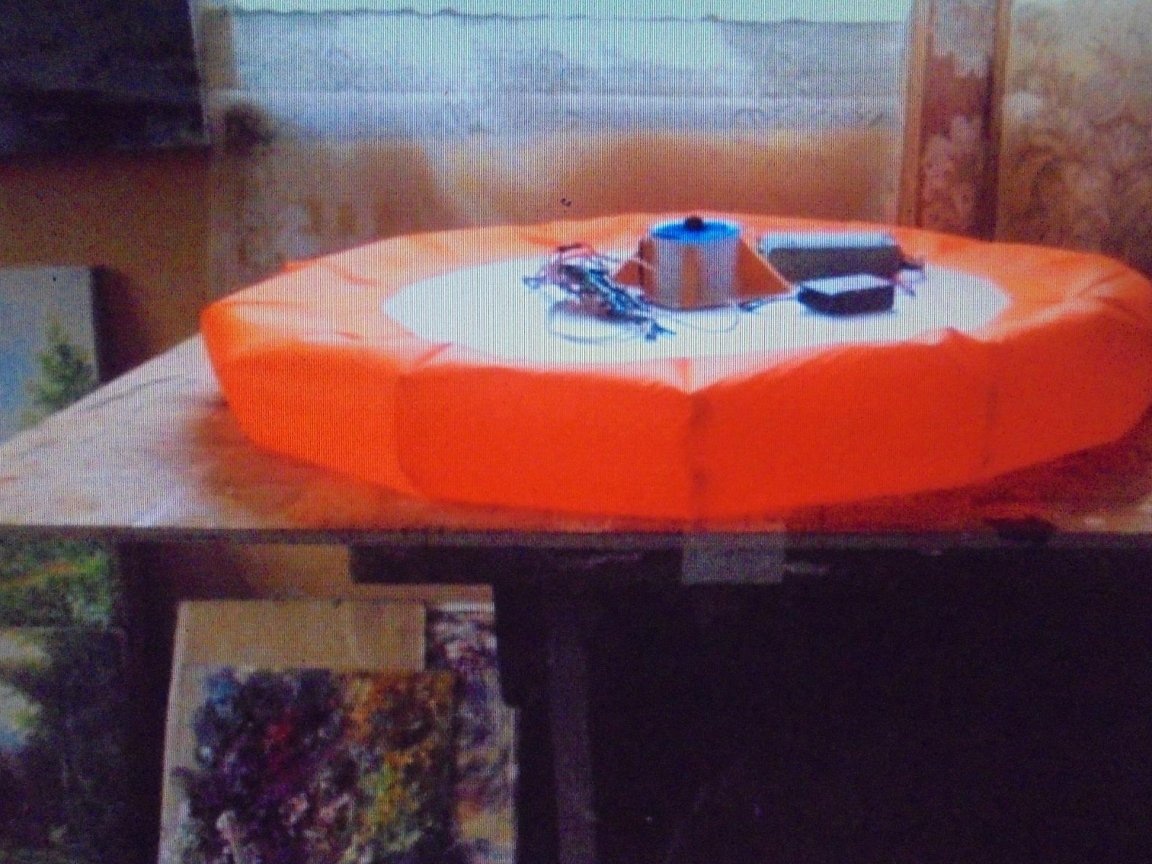
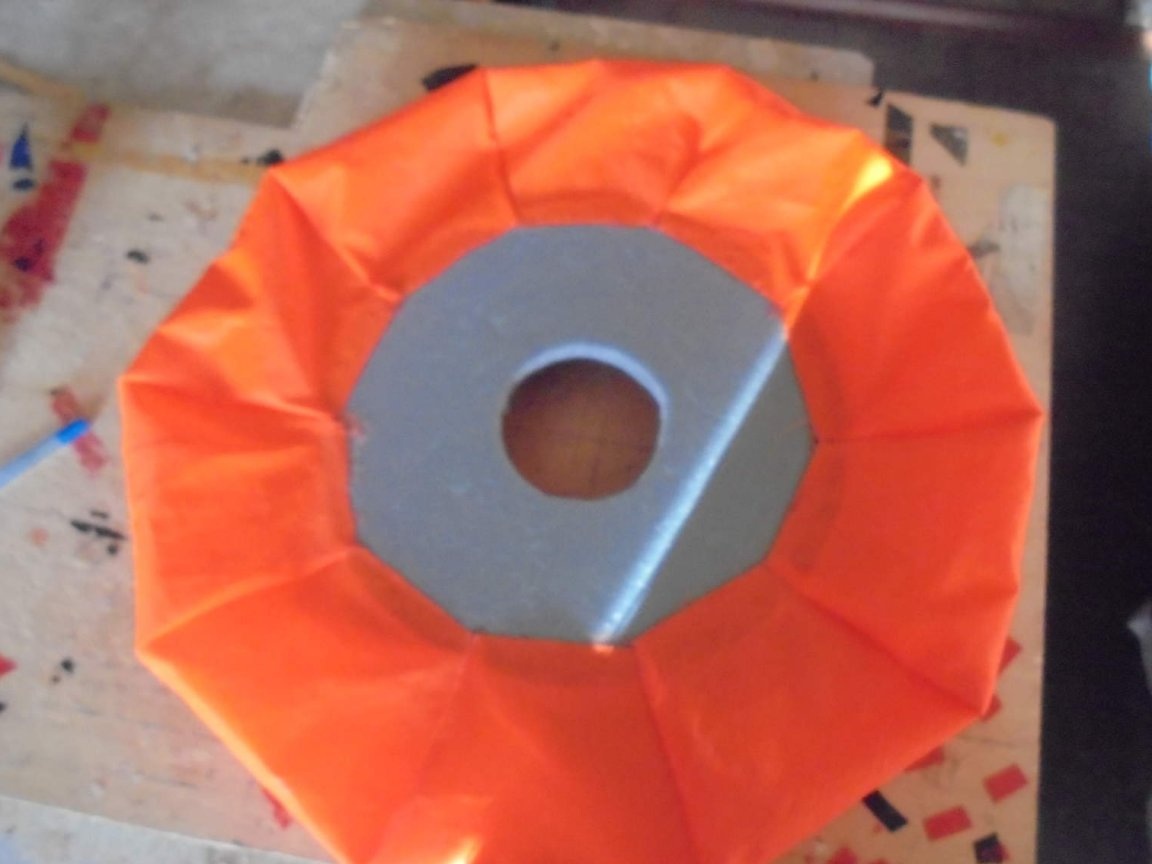
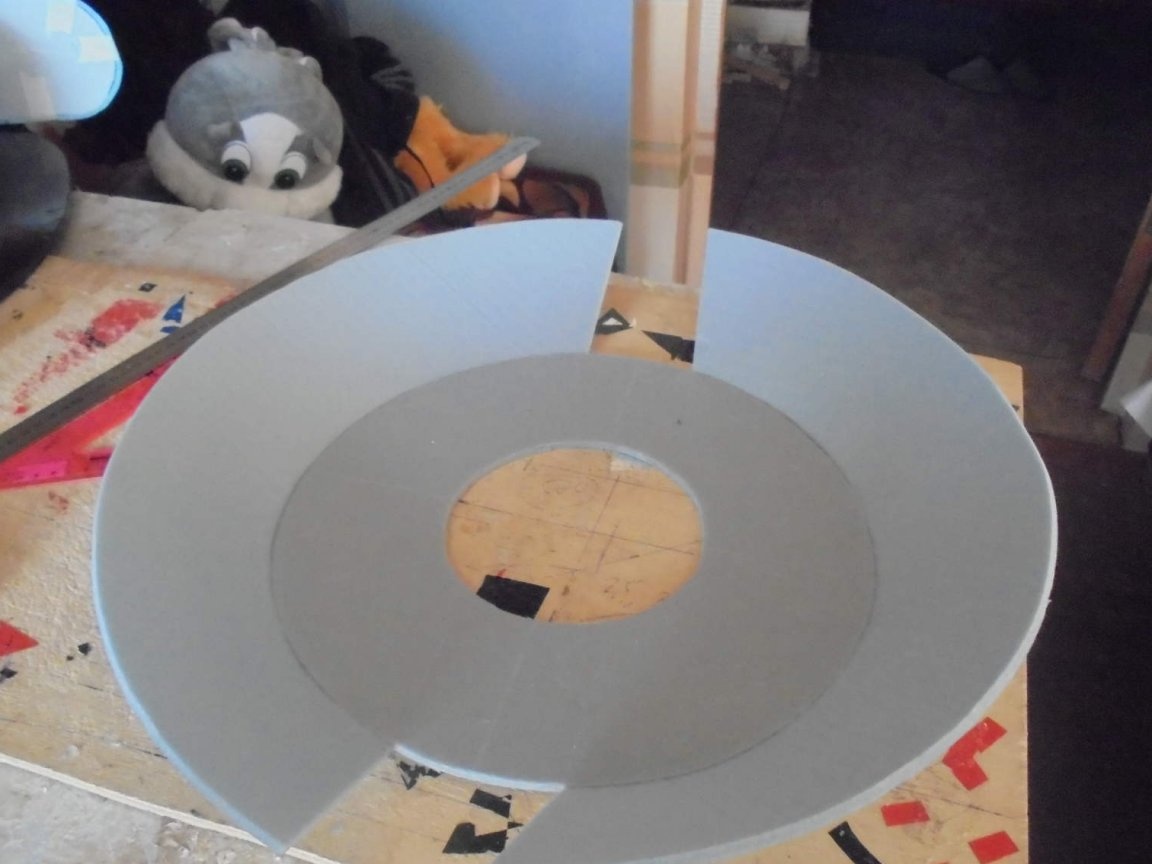
He began, as in the construction of any SVP, with the pattern of a "skirt" for an air cushion.
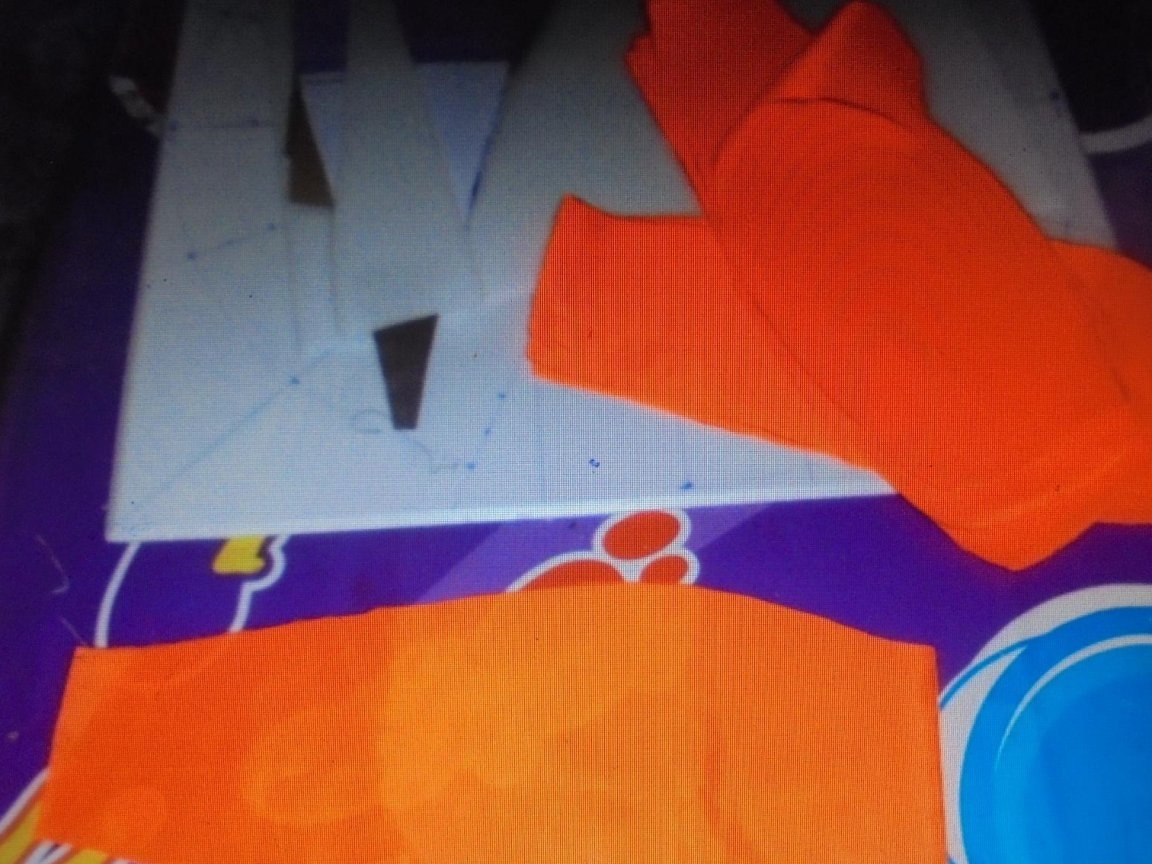
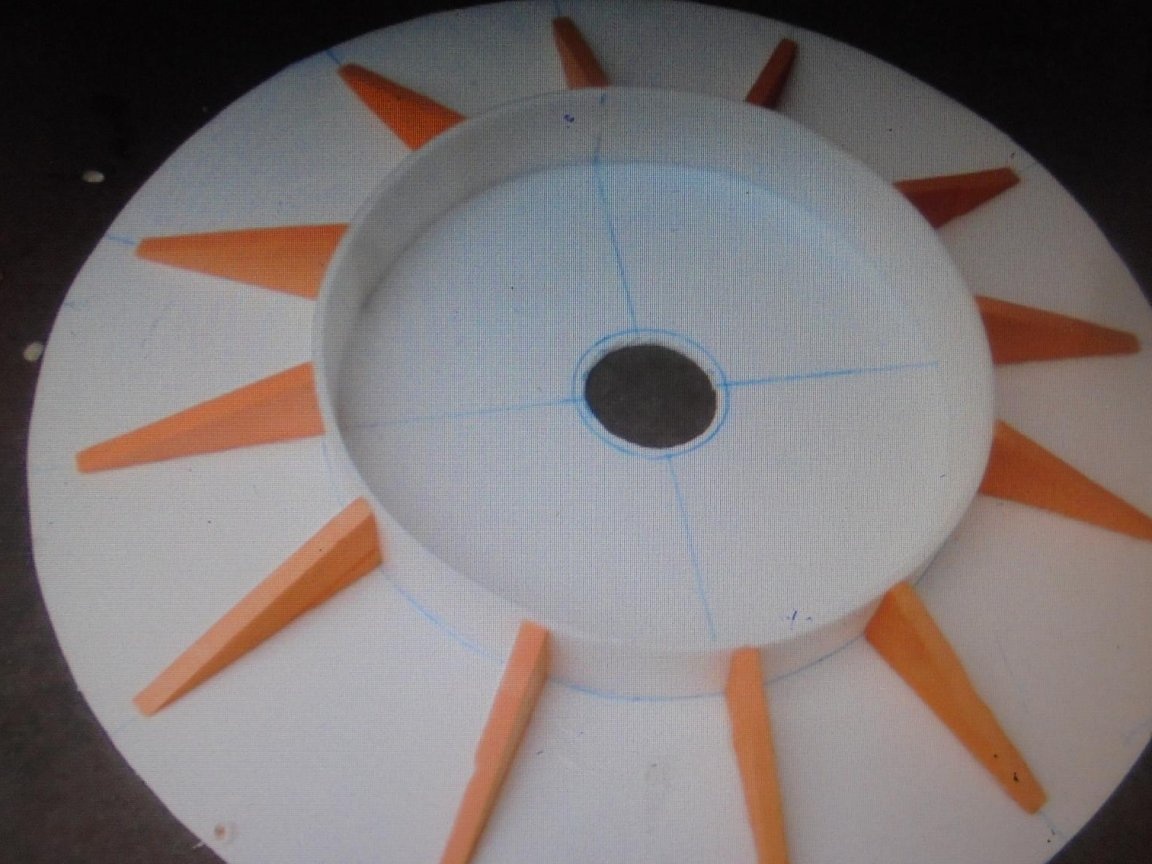
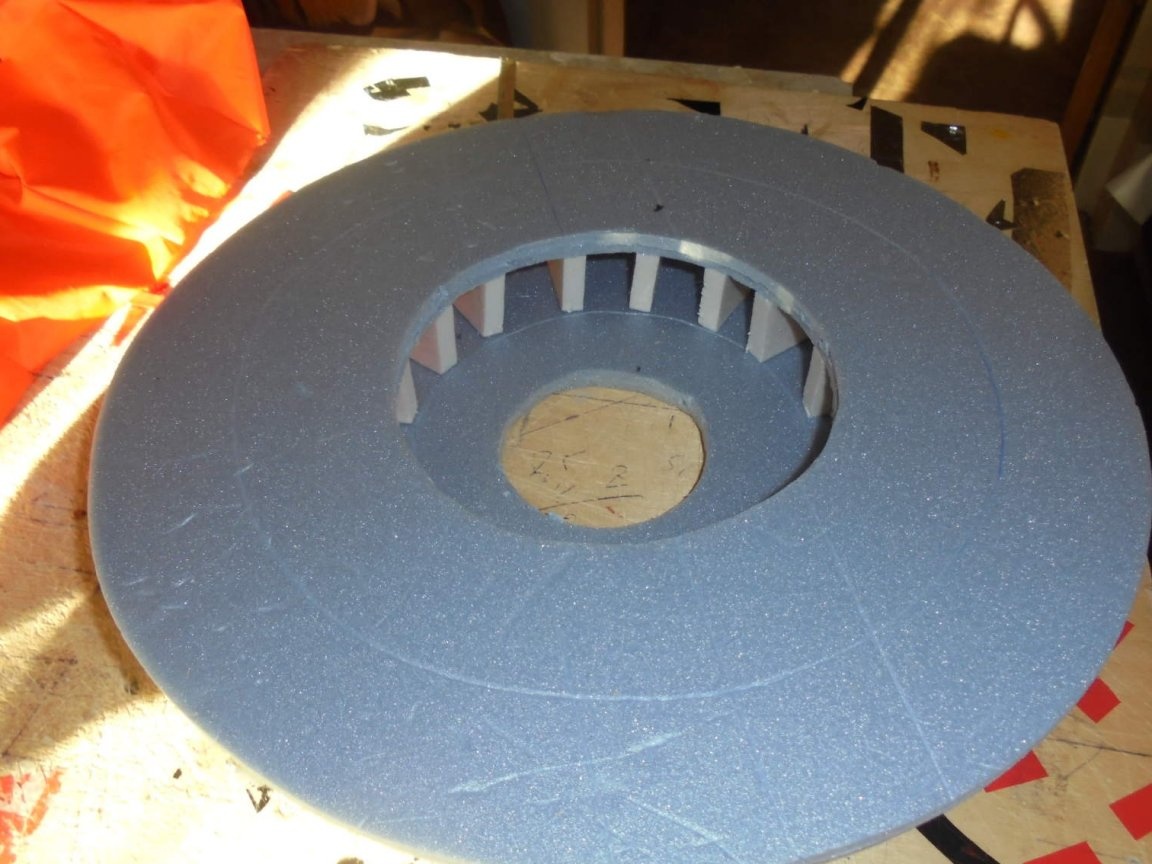
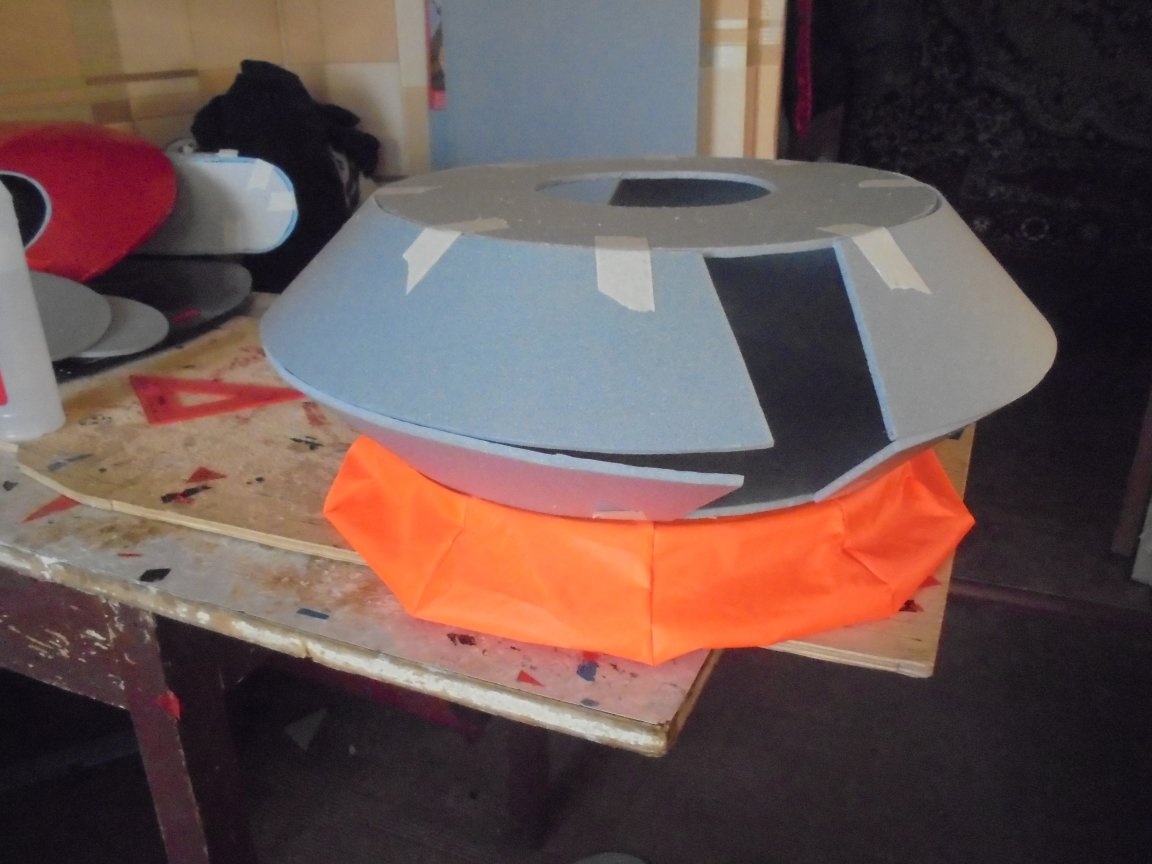
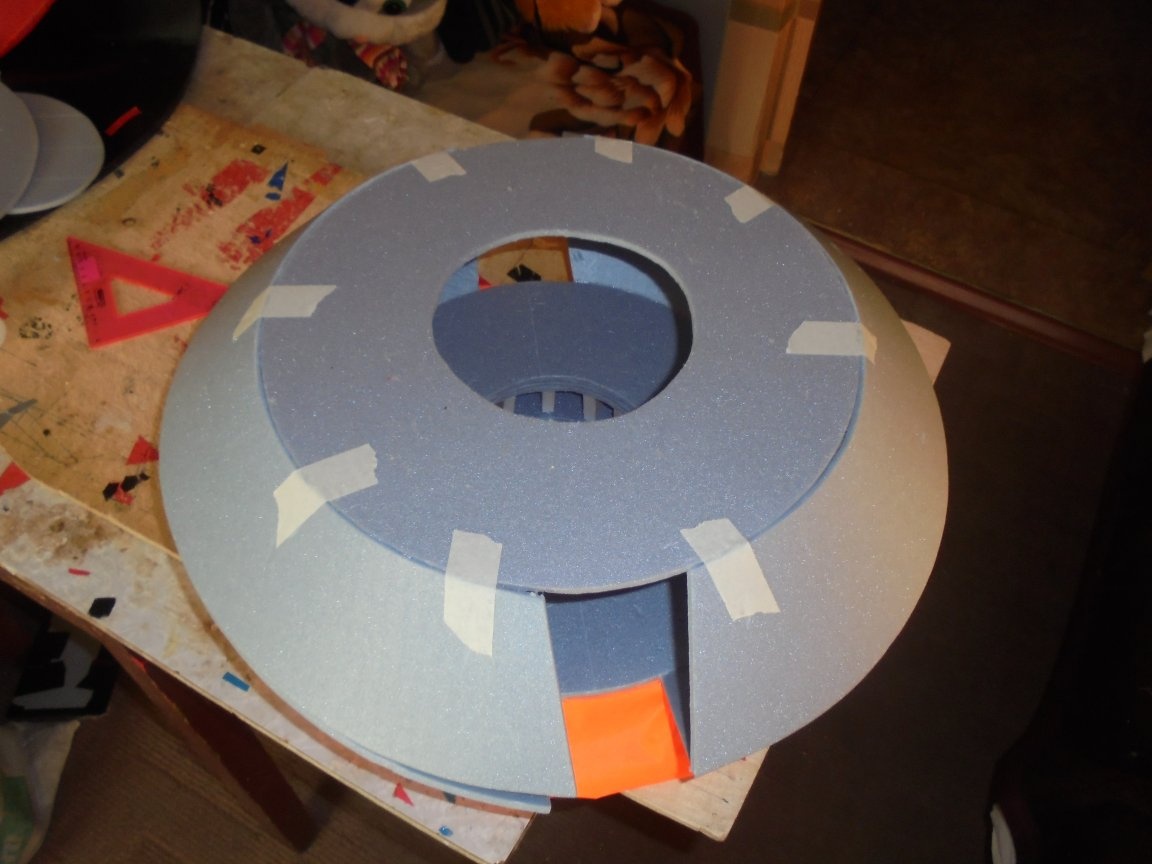
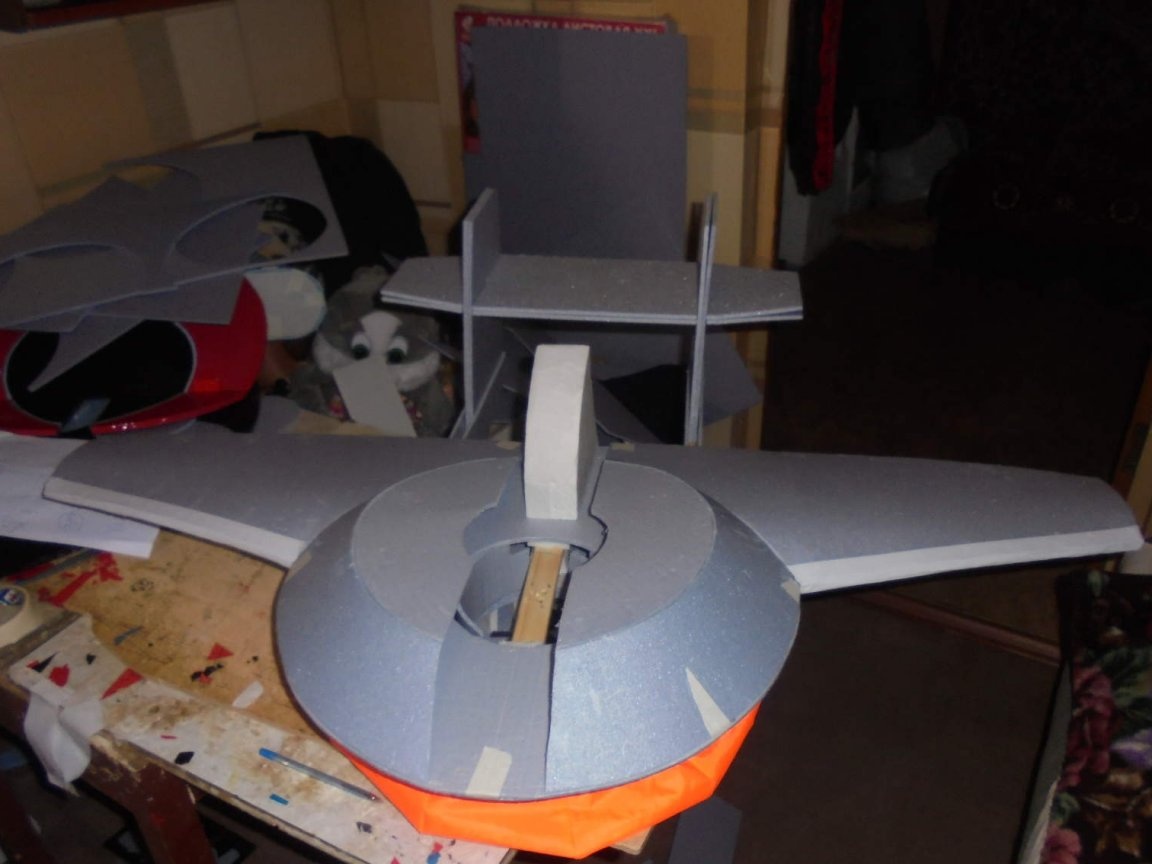
For the VP unit, I cut out two circles - this is the upper and lower “decks” of the airbag unit.
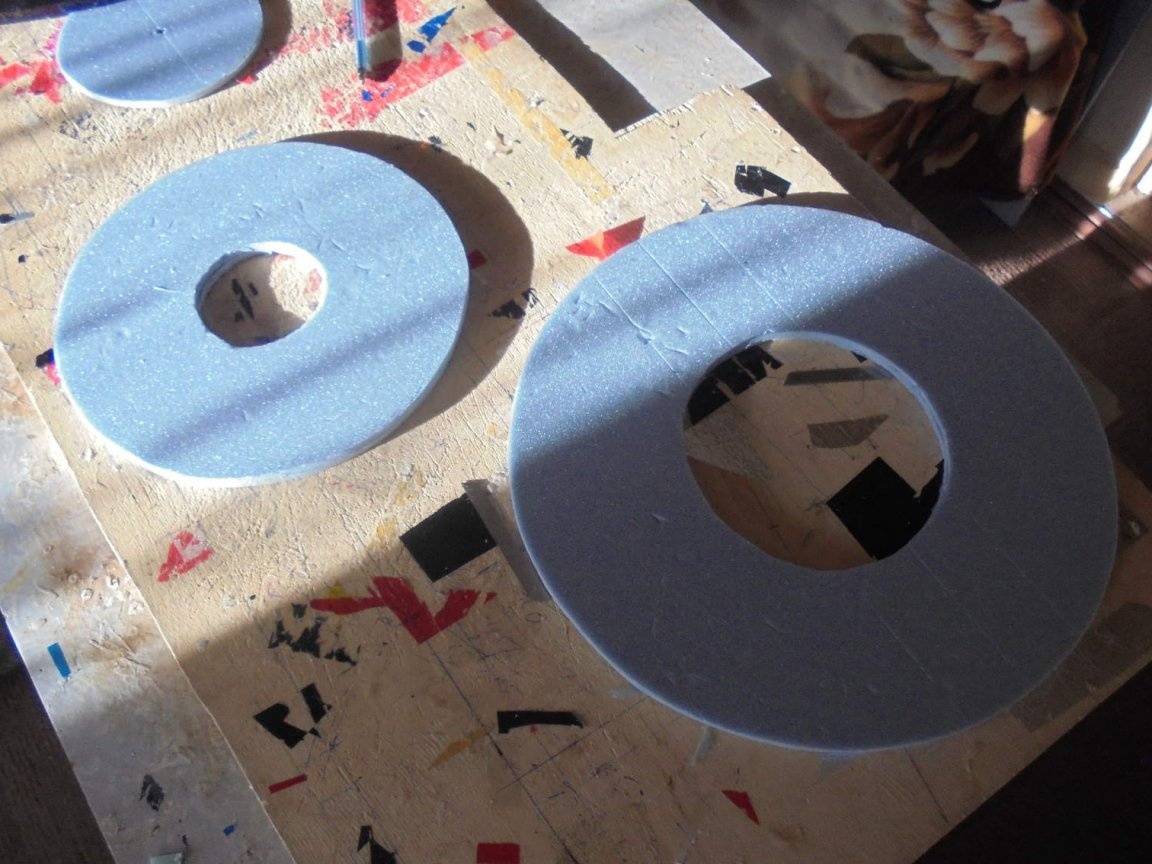
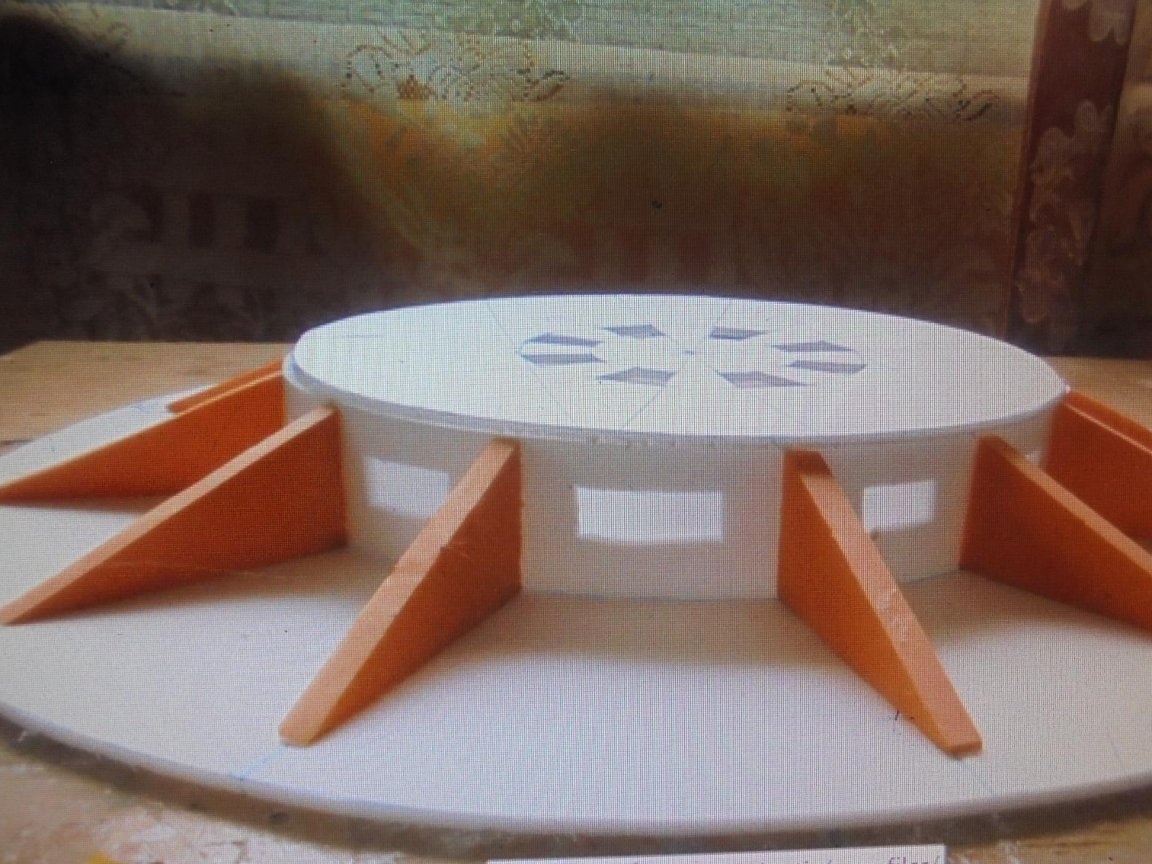
I cut the partitions and mounted the VP unit.
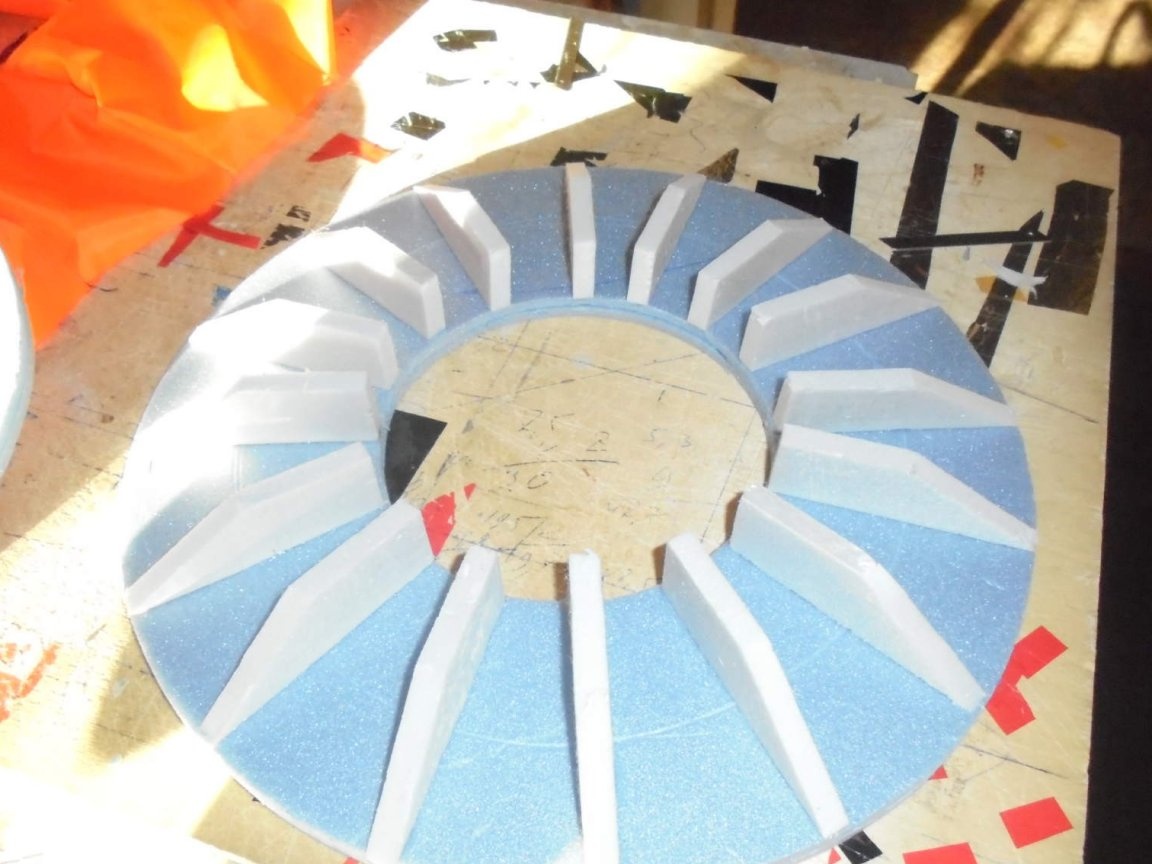
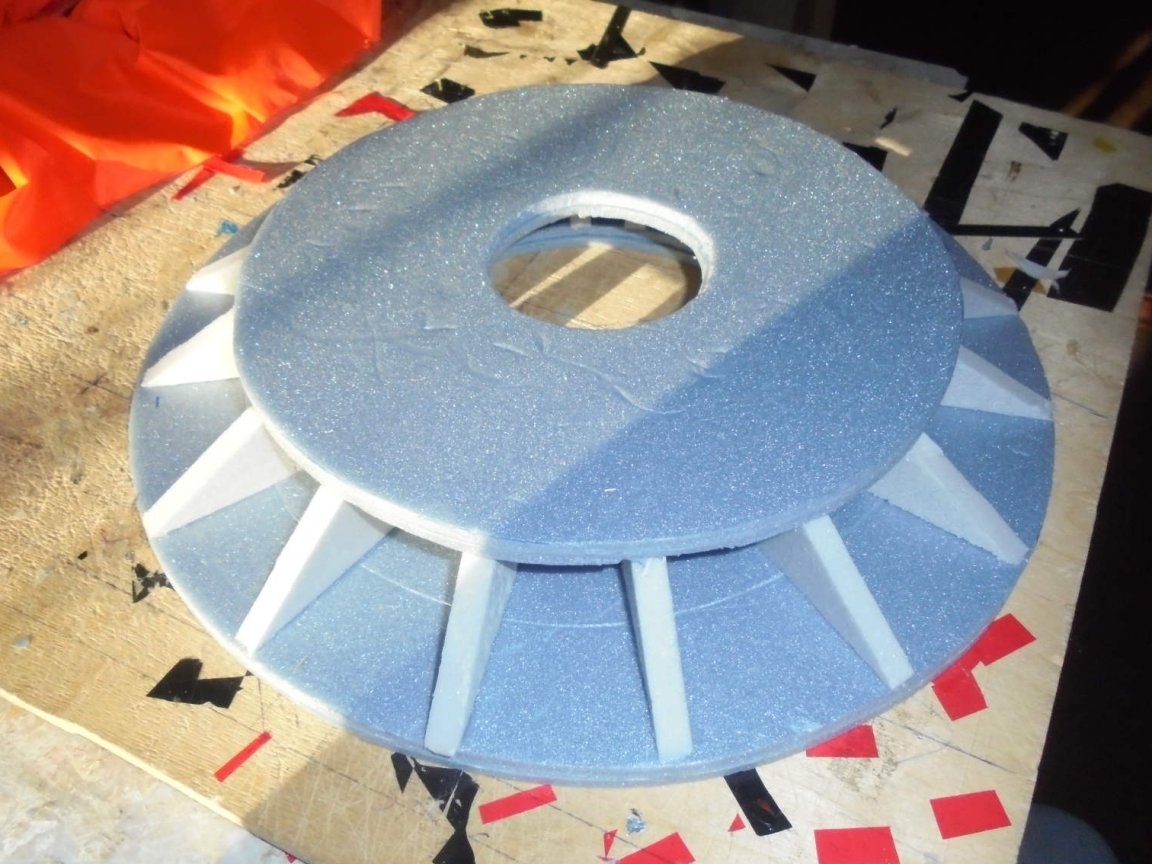
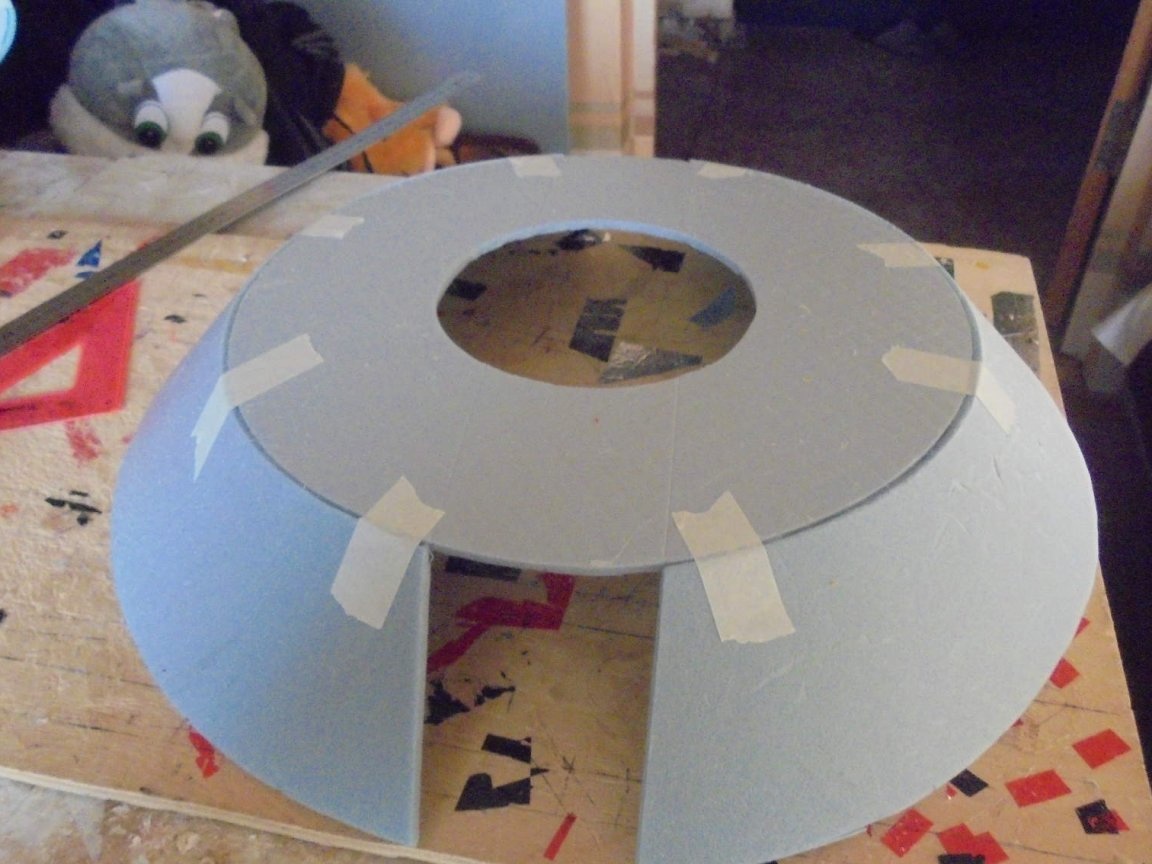
Divided each circle into 10 parts (segments) received the size of the pattern of the "skirt" itself. He made a pattern, using it he cut out rags from silk fabric and sewed a “skirt”.
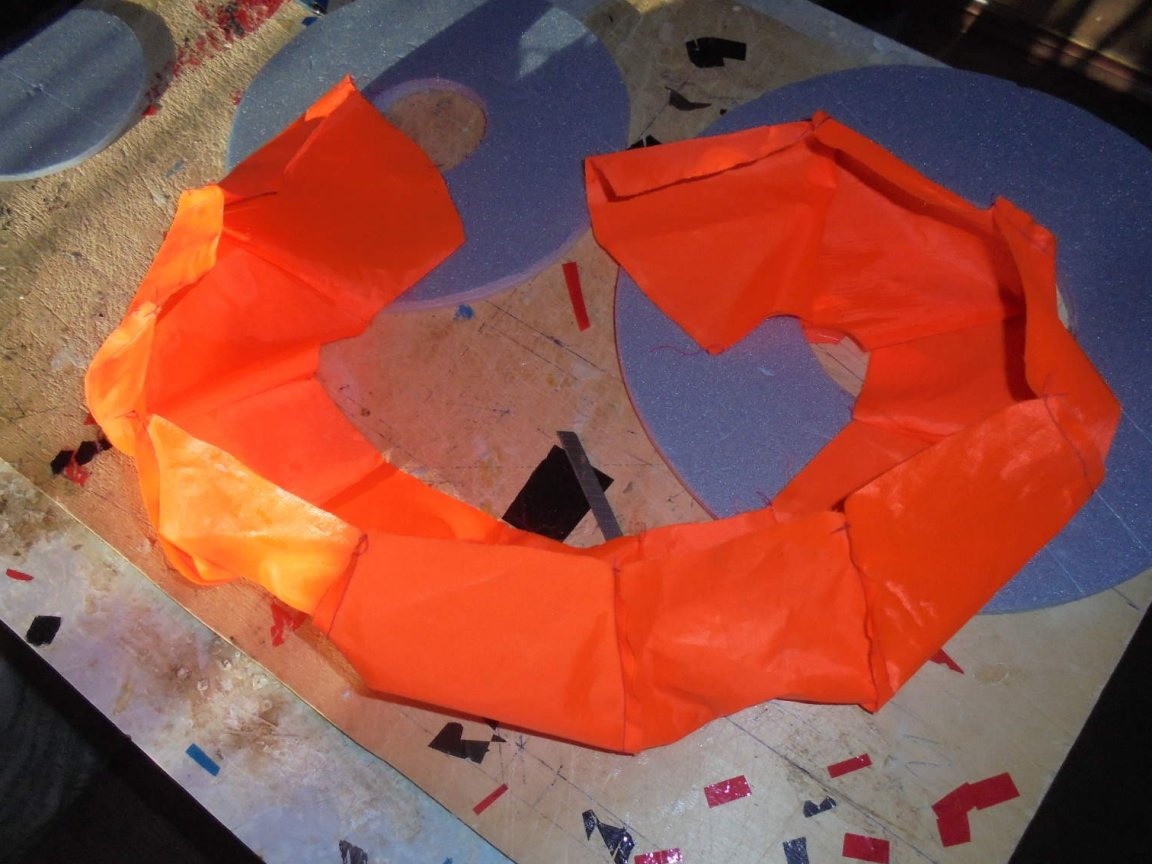
The circle "Cutting and sewing" began work.
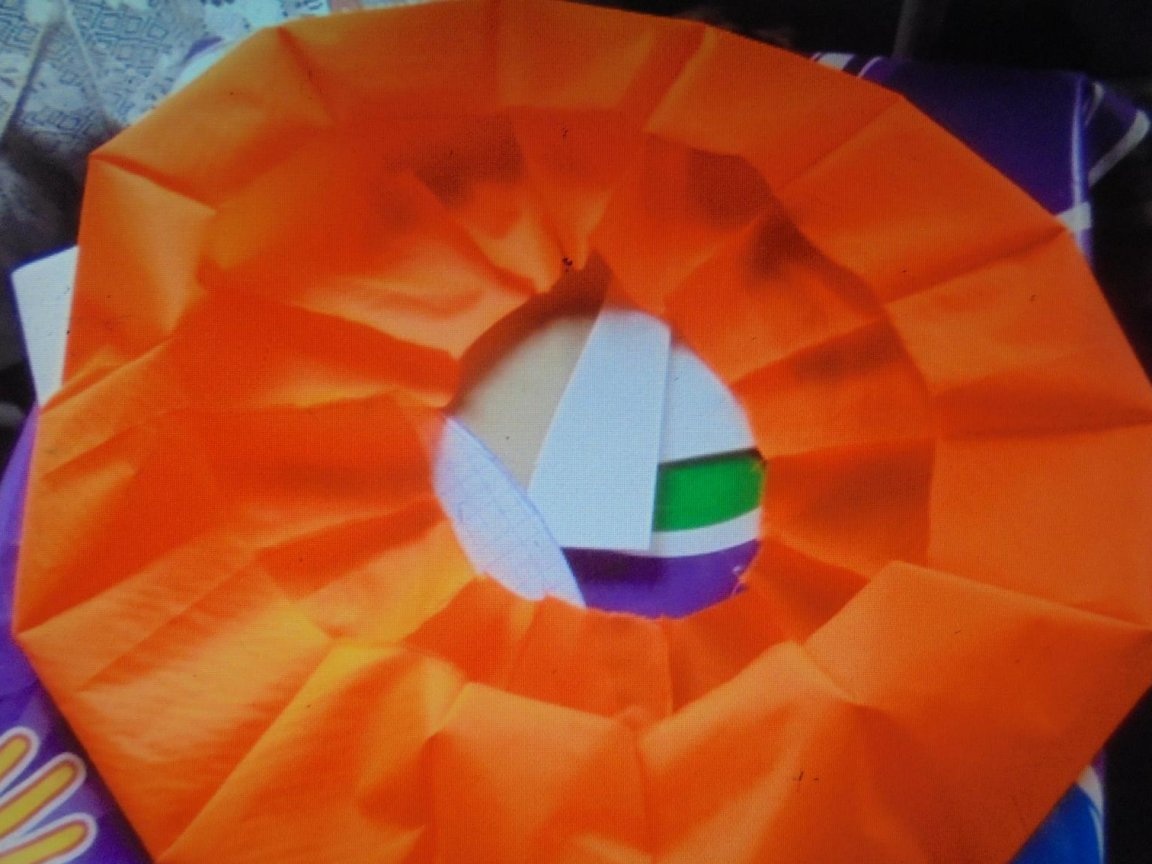
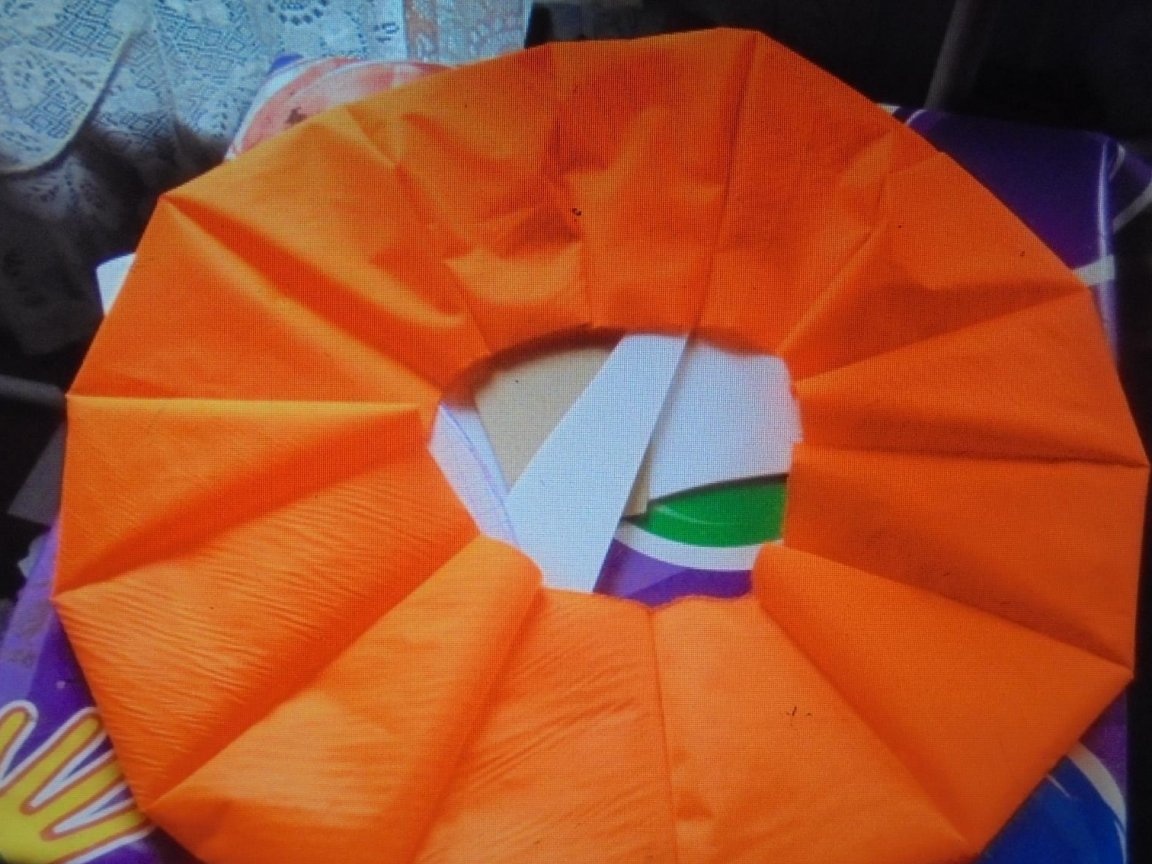
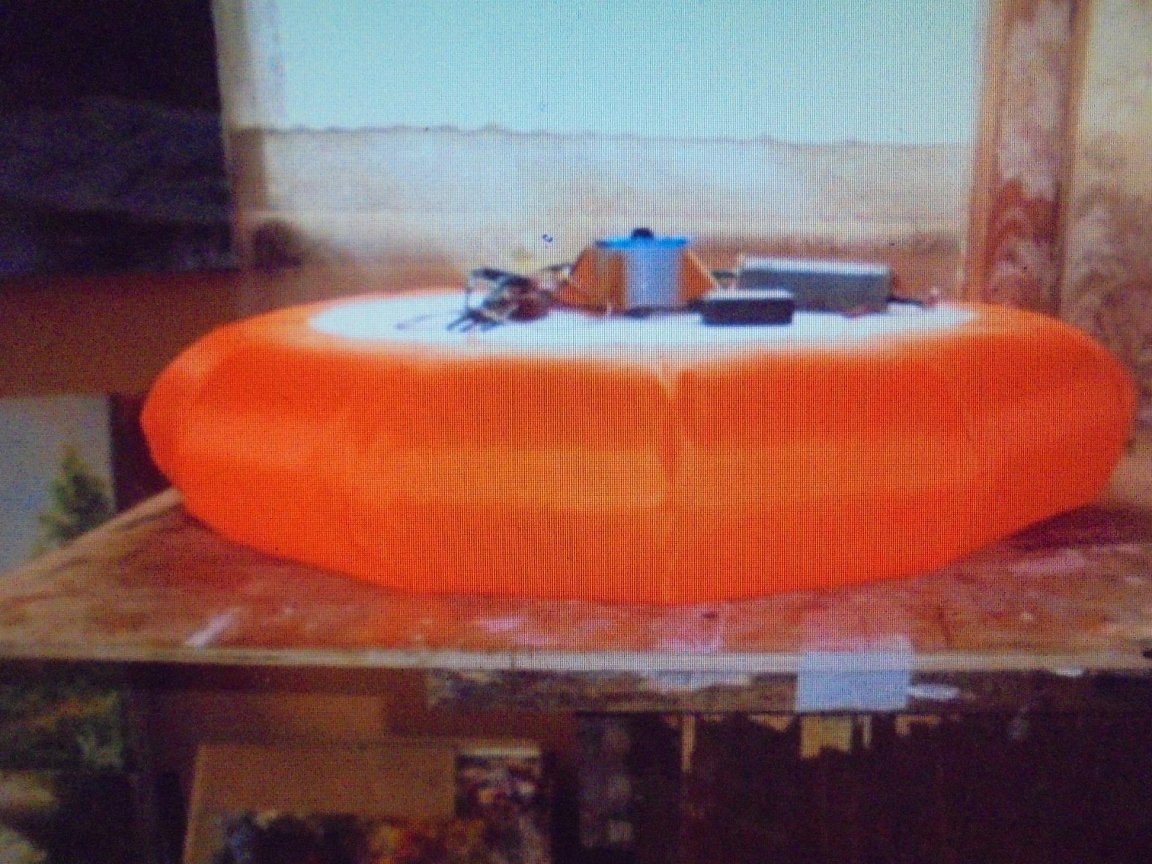
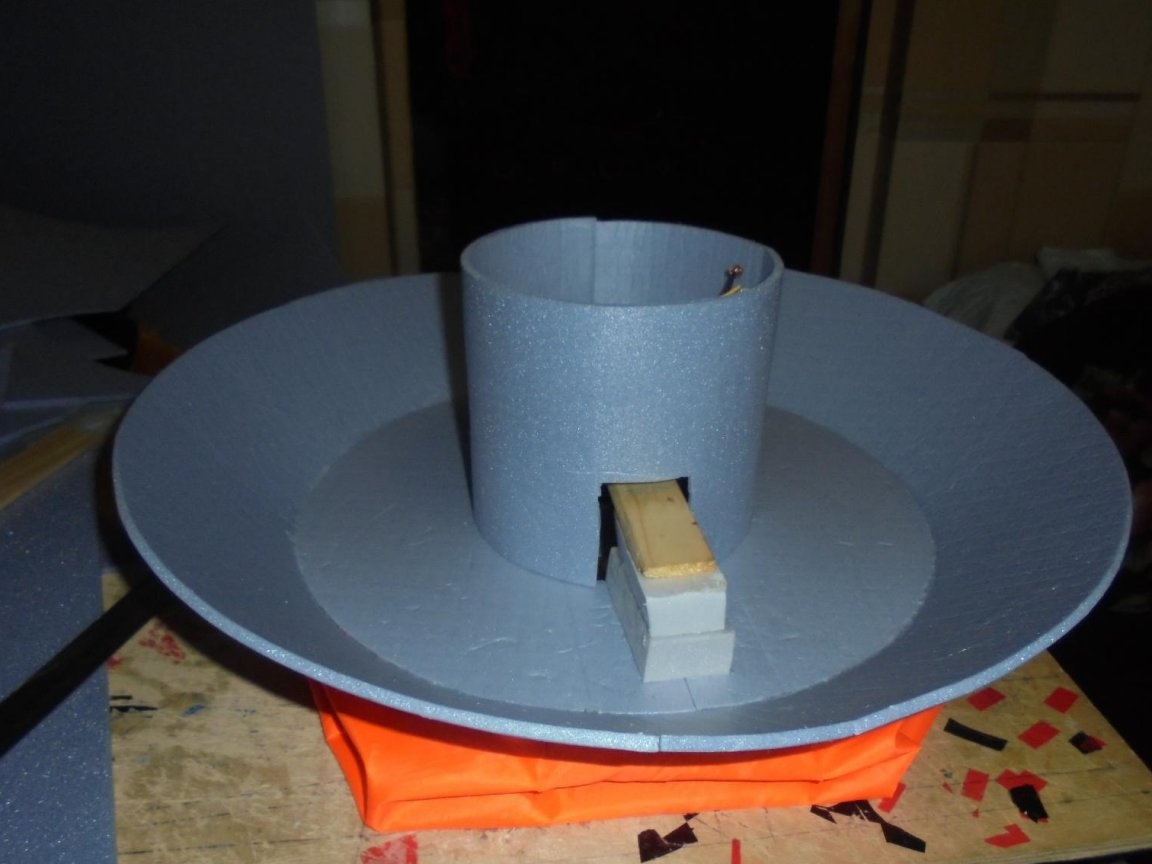
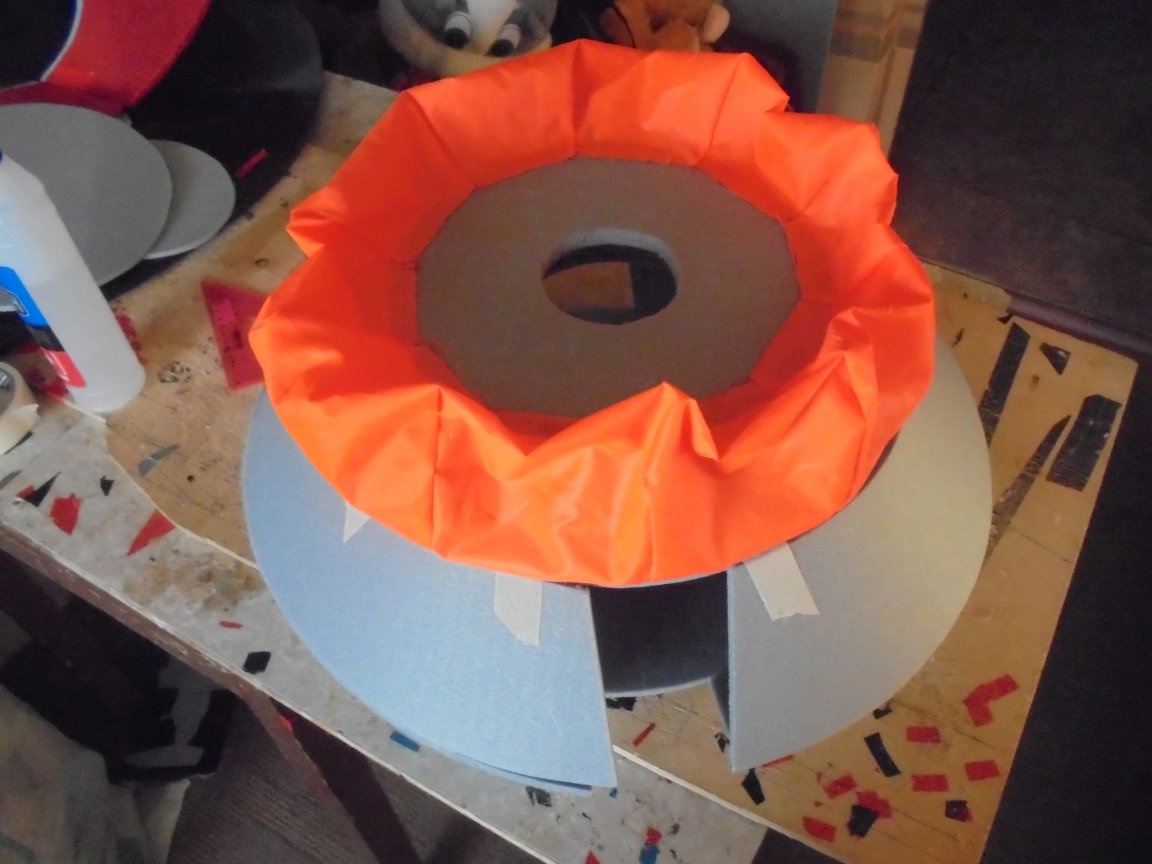
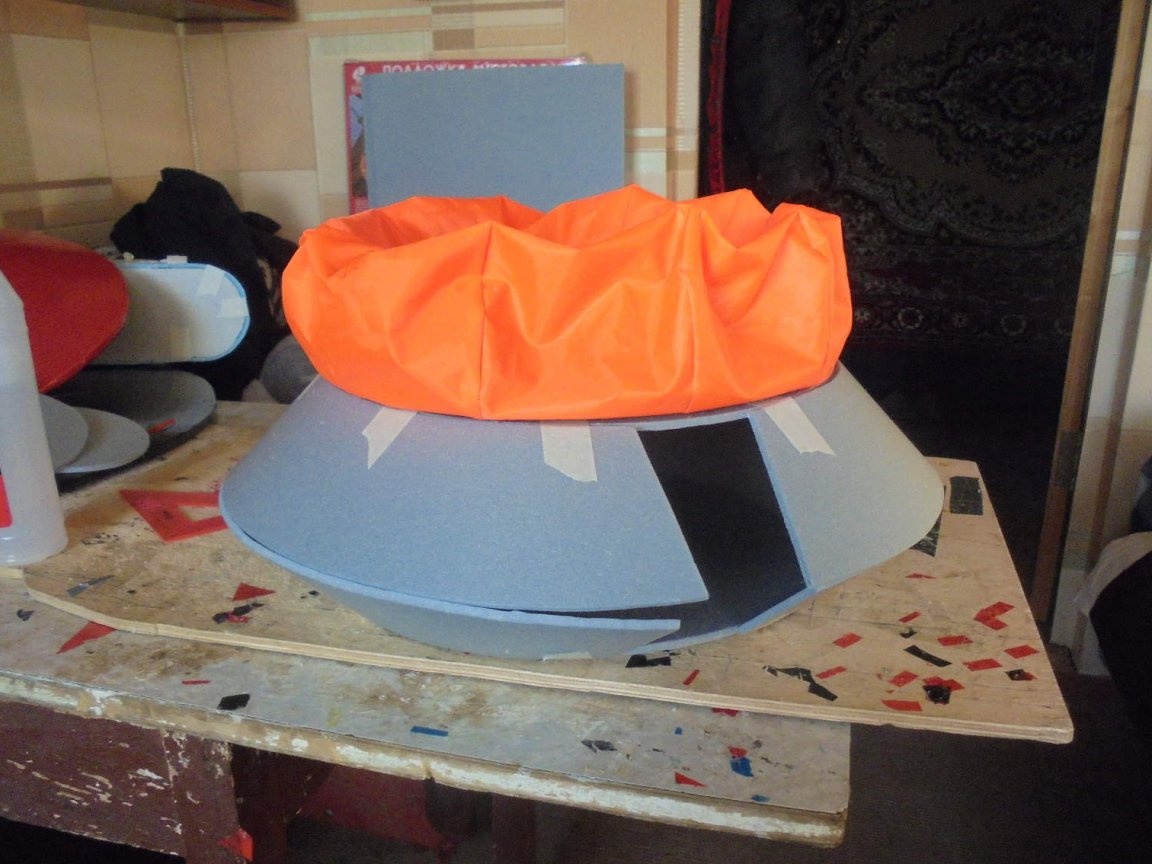
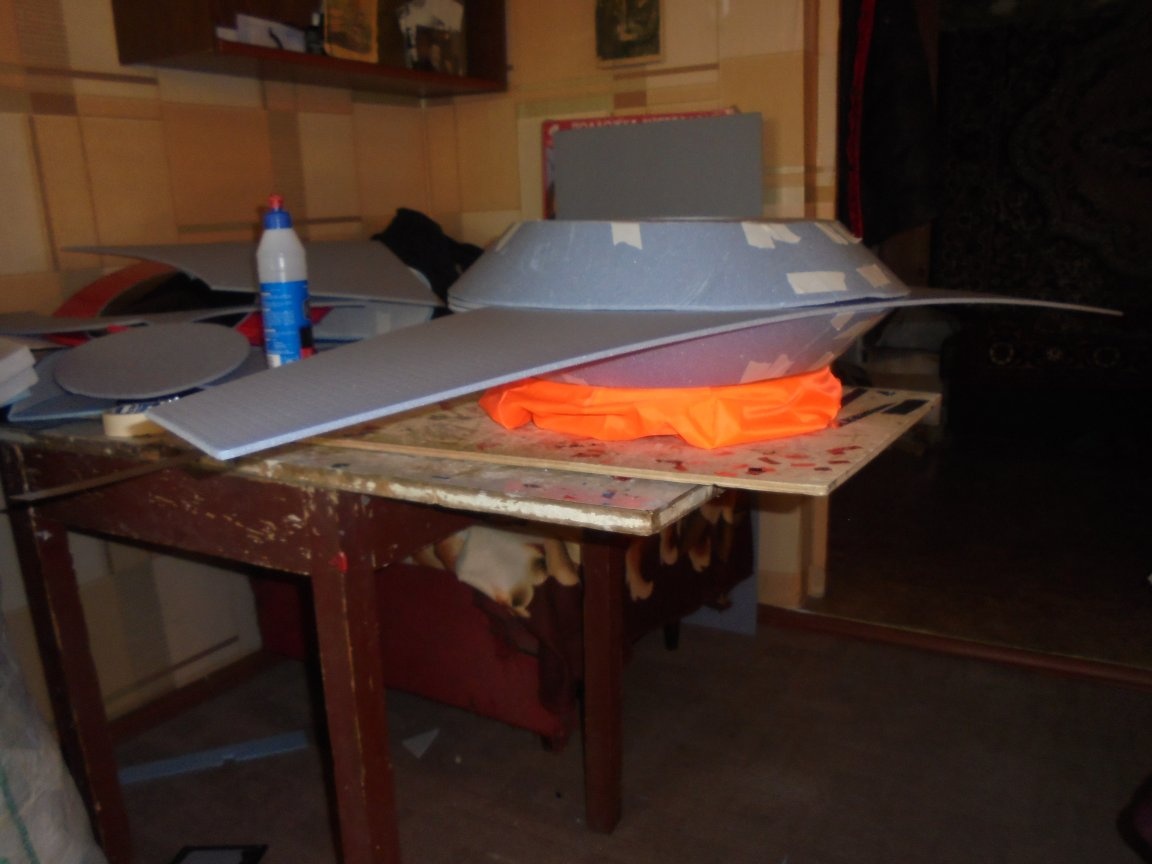
He tried on and glued a stitched “skirt” onto a prepared block of an air cushion.
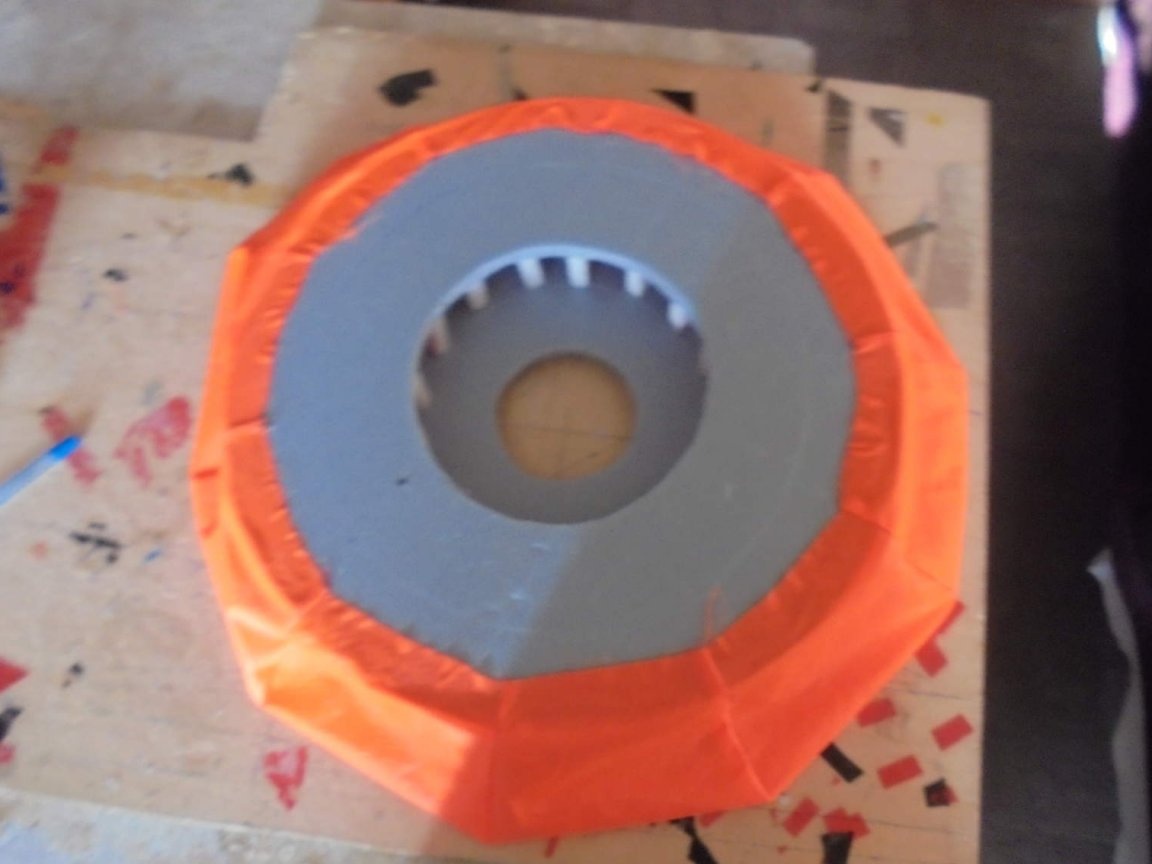
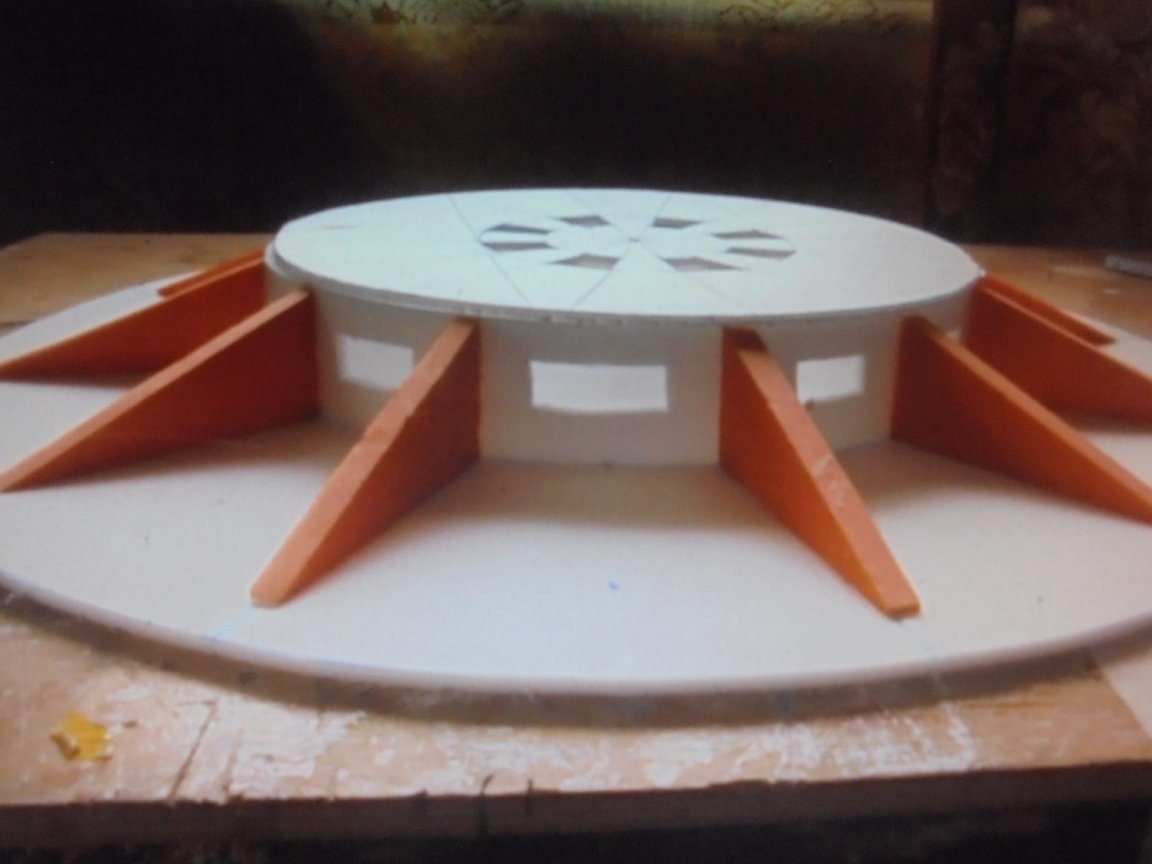
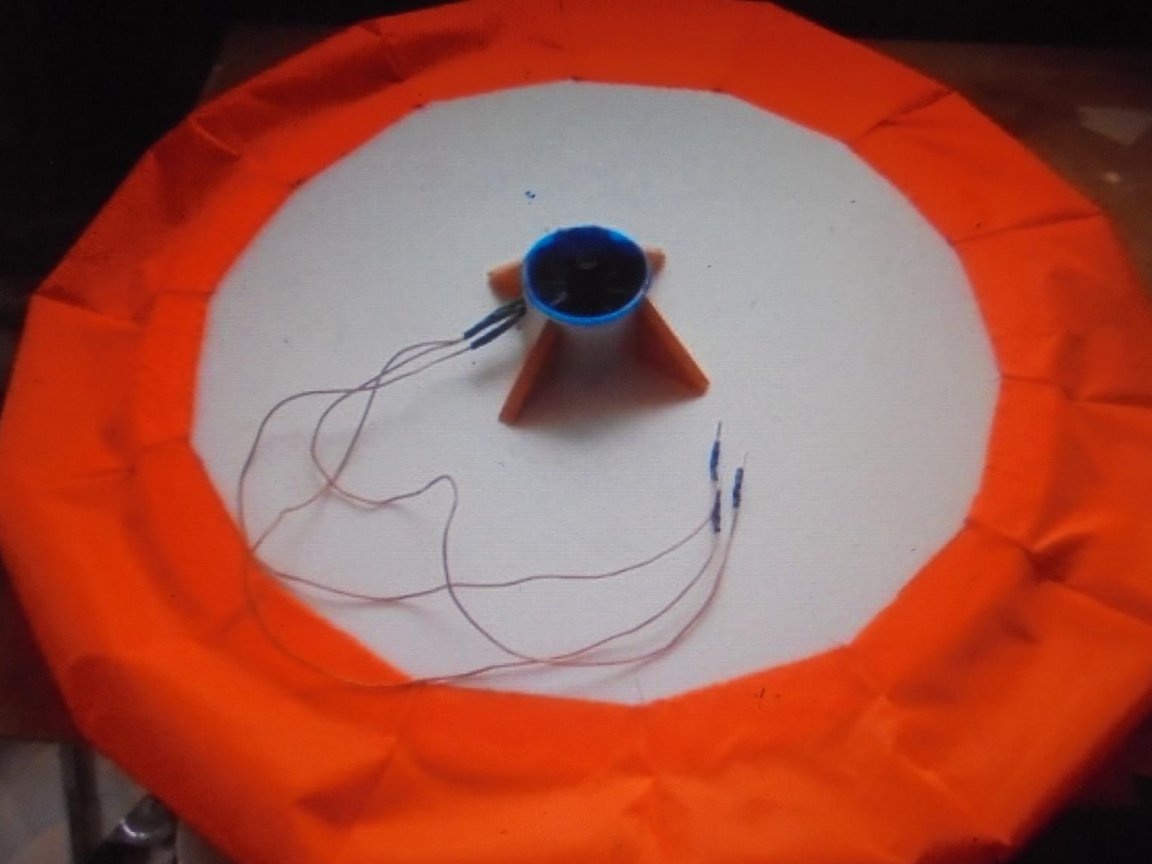
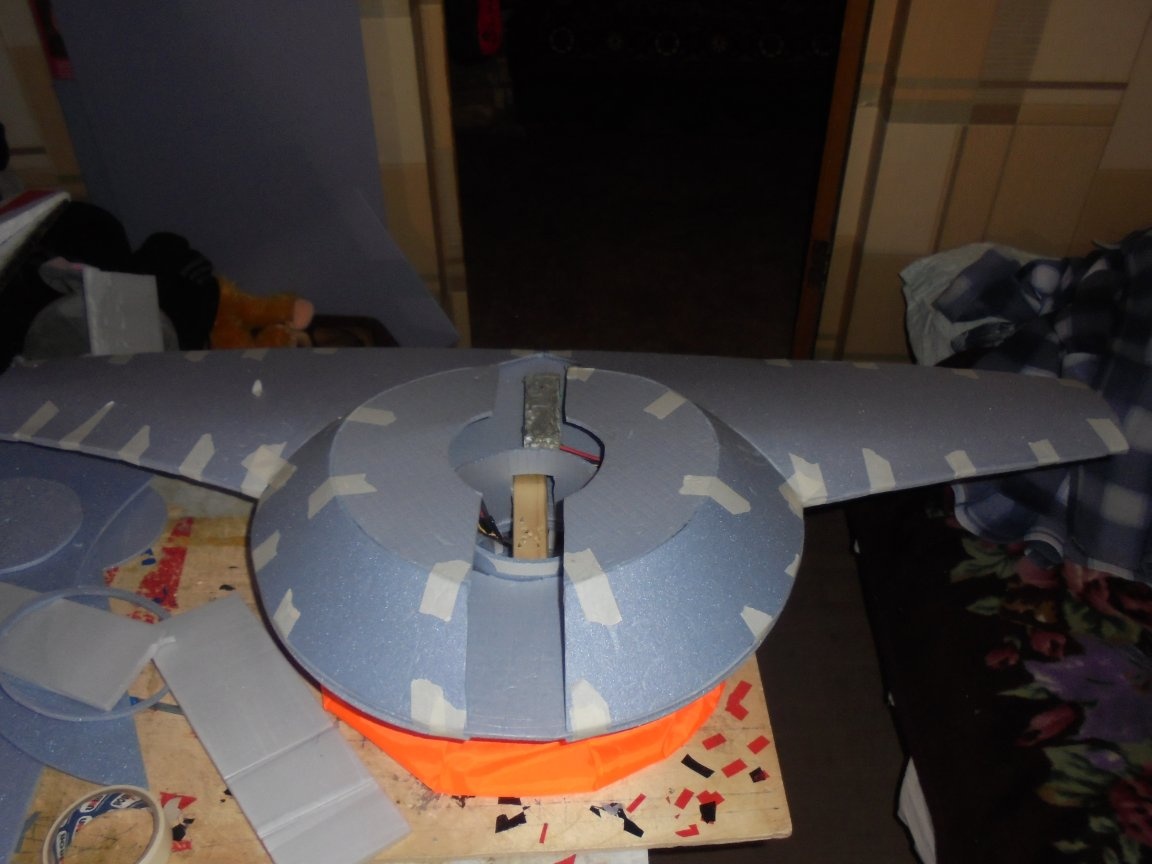
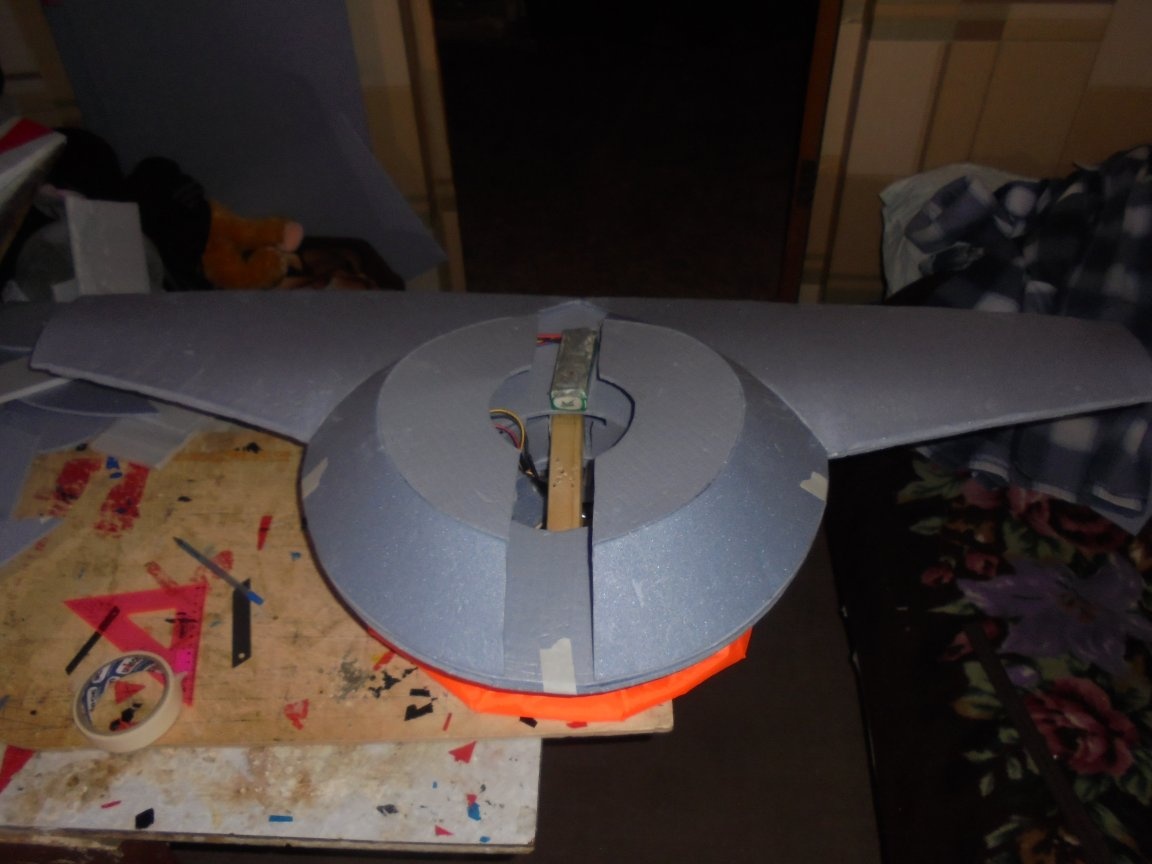
I glued a piece of wooden battens with a section of 3 x 50 mm into the VP unit. for mounting the motor.
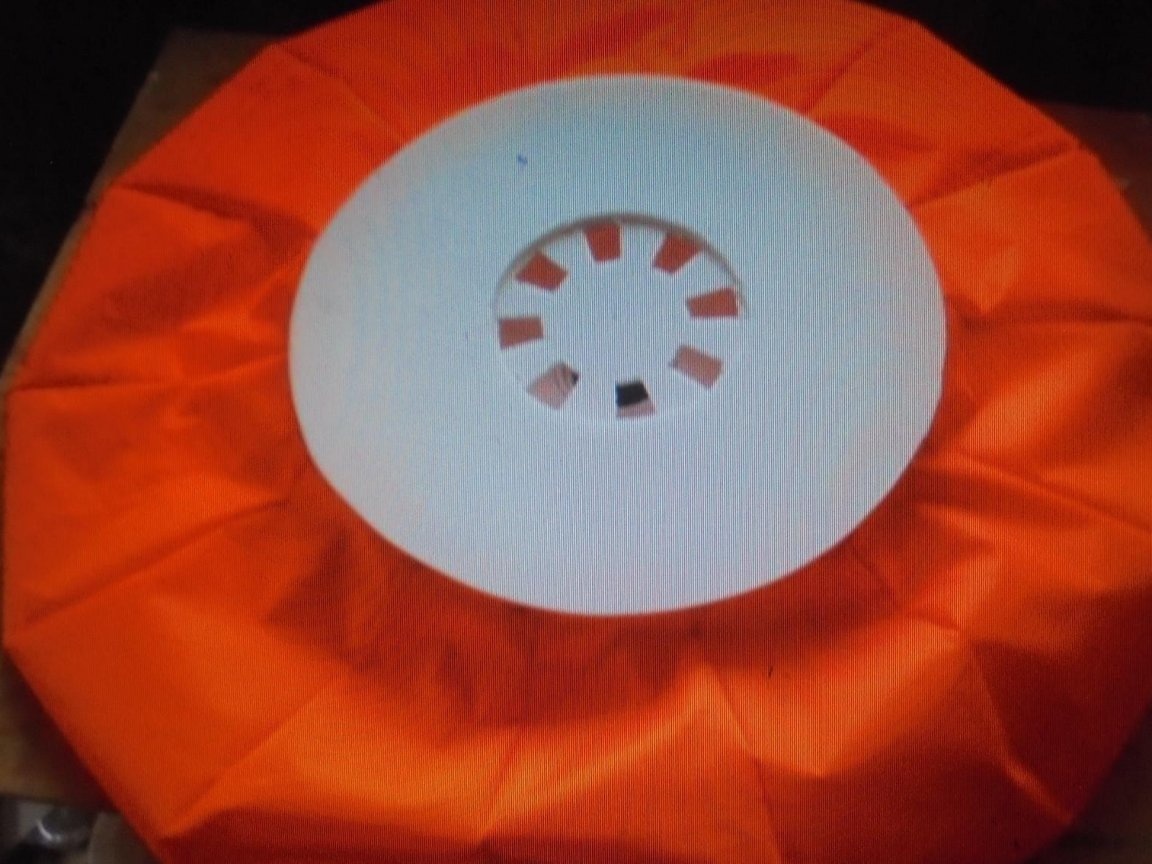
Installed a motor for pumping air into the air cushion (blowing).
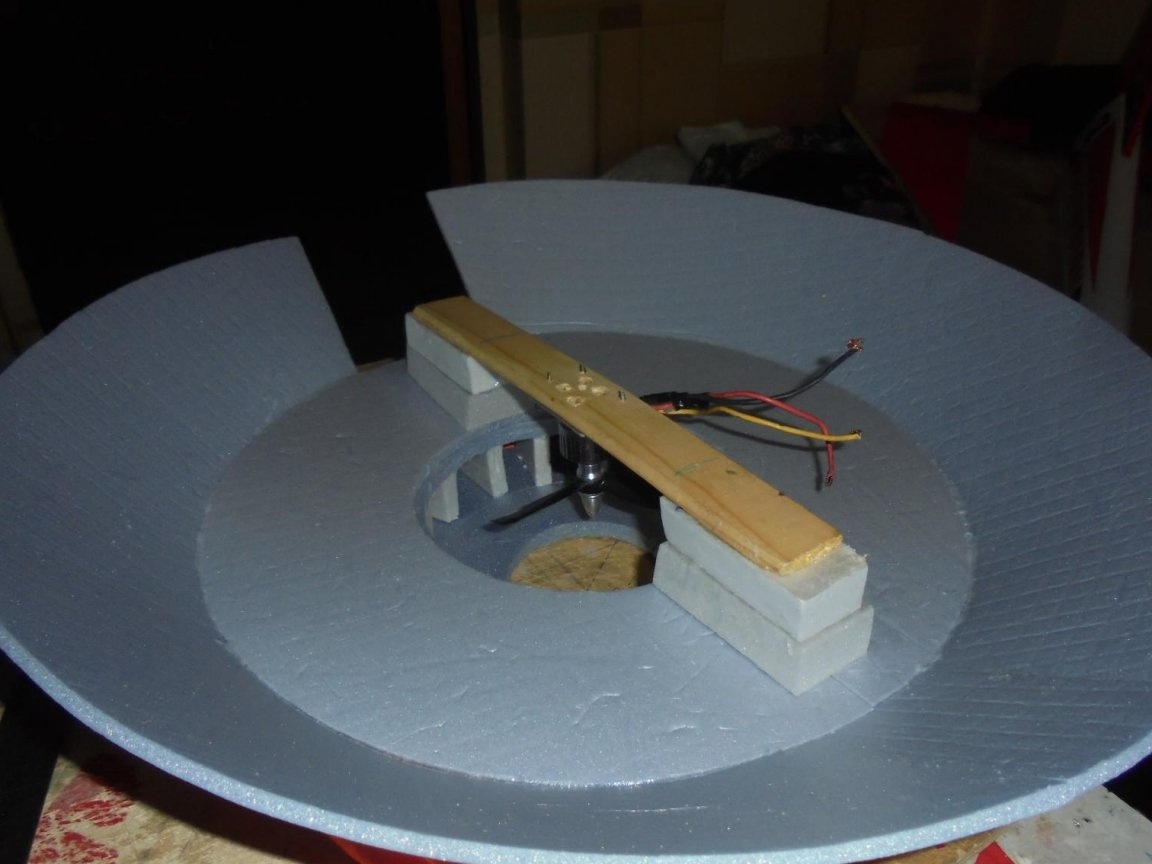
Checked how it works.
Everything is fine!
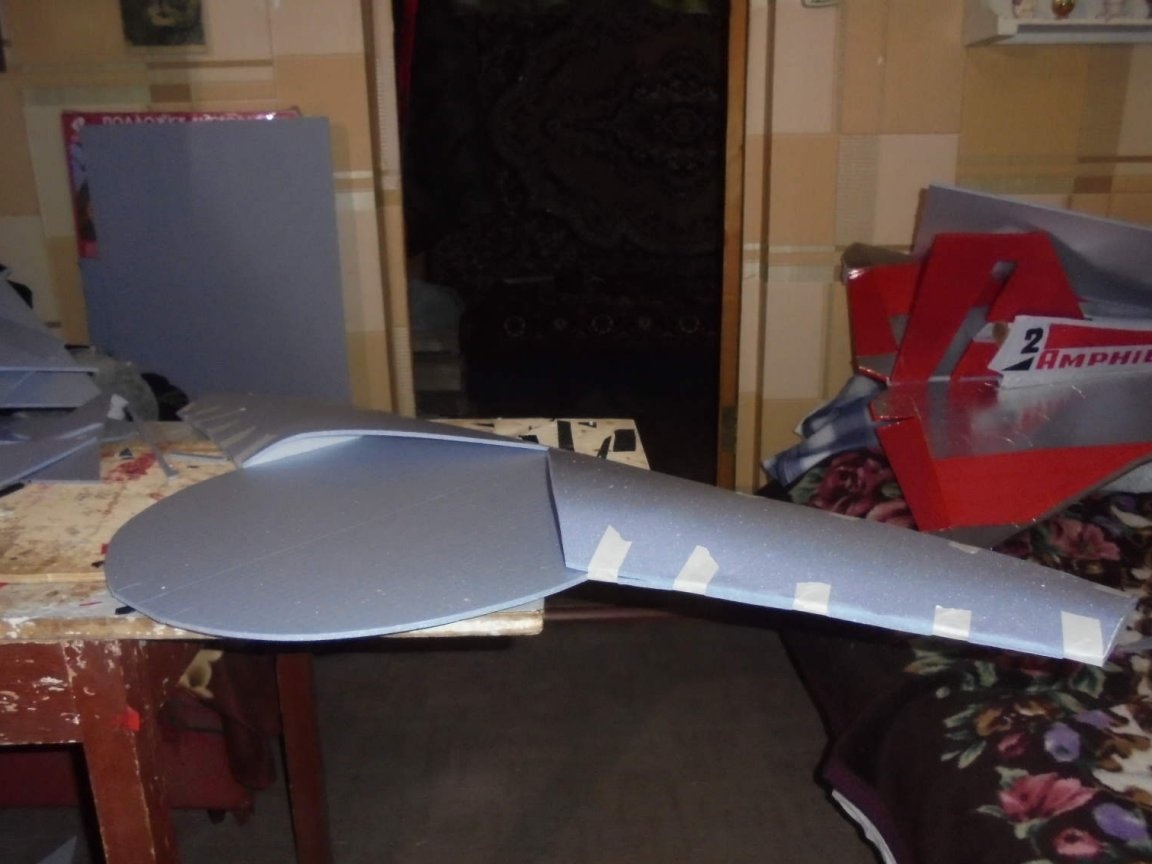
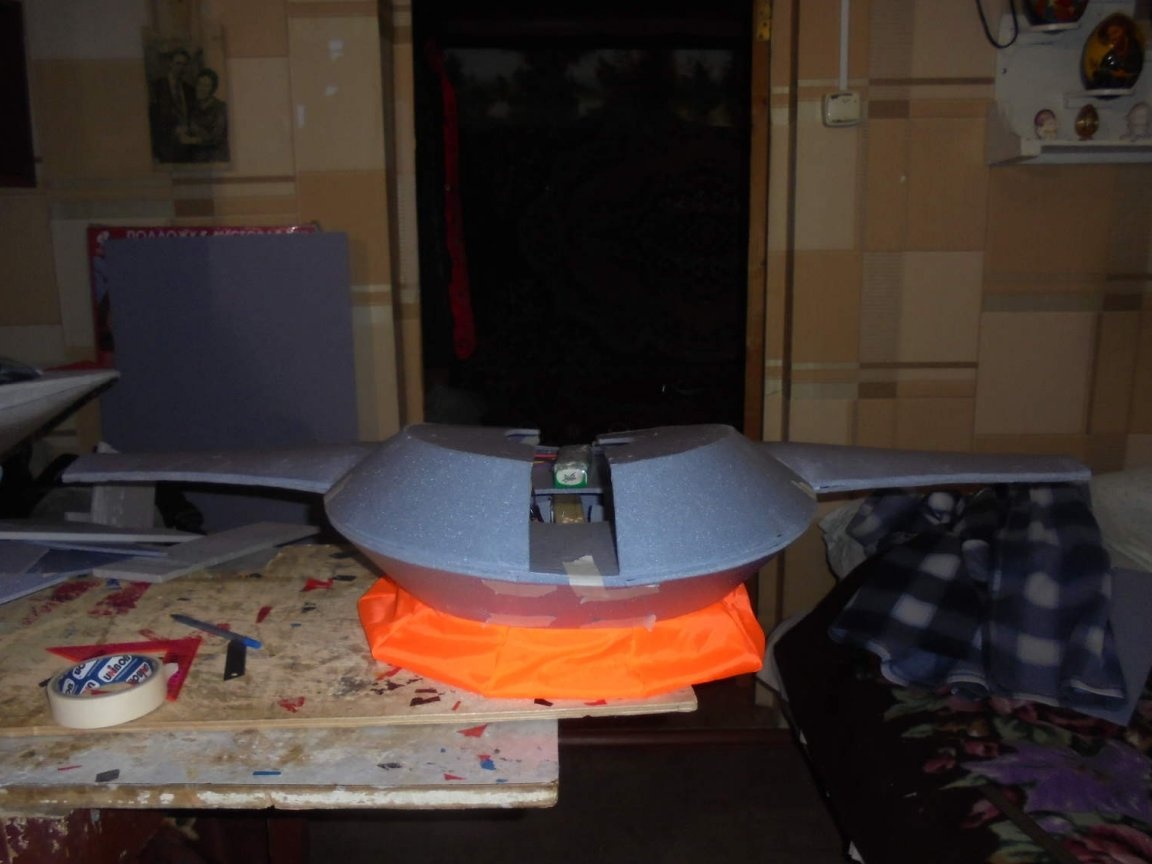
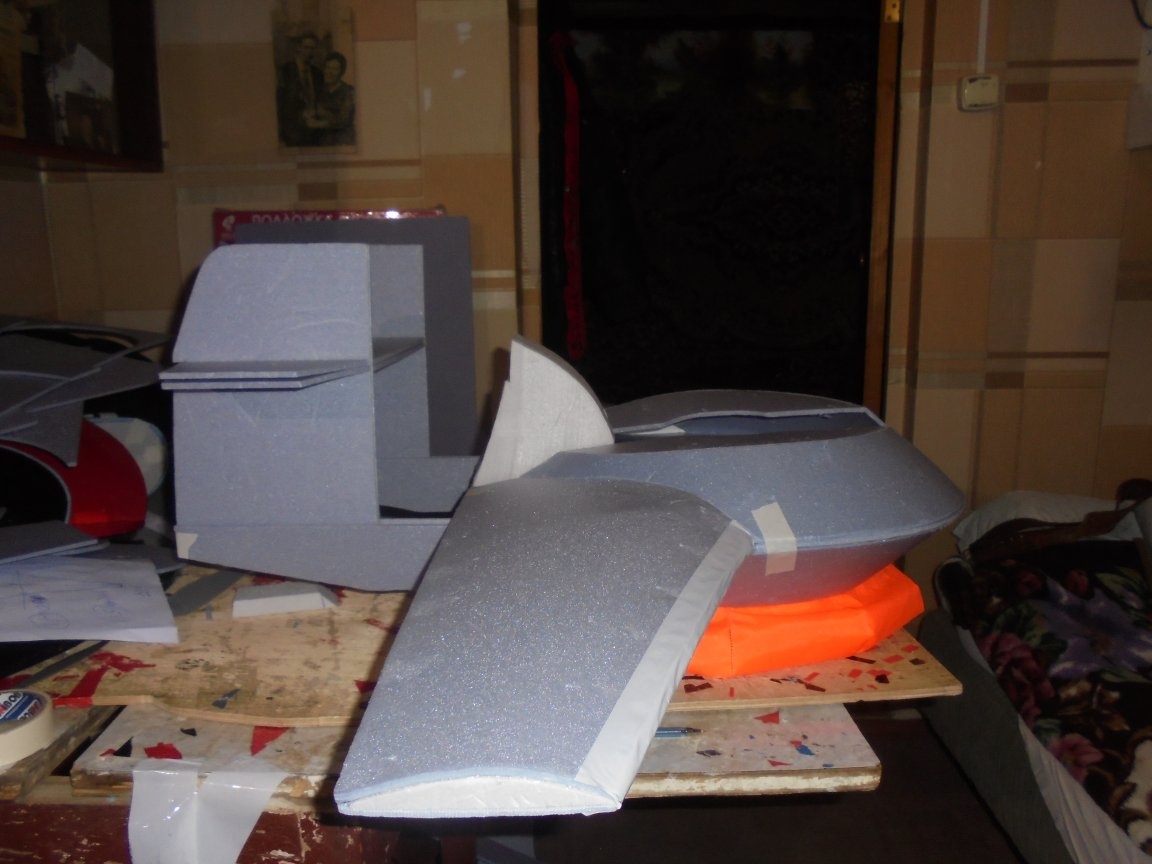
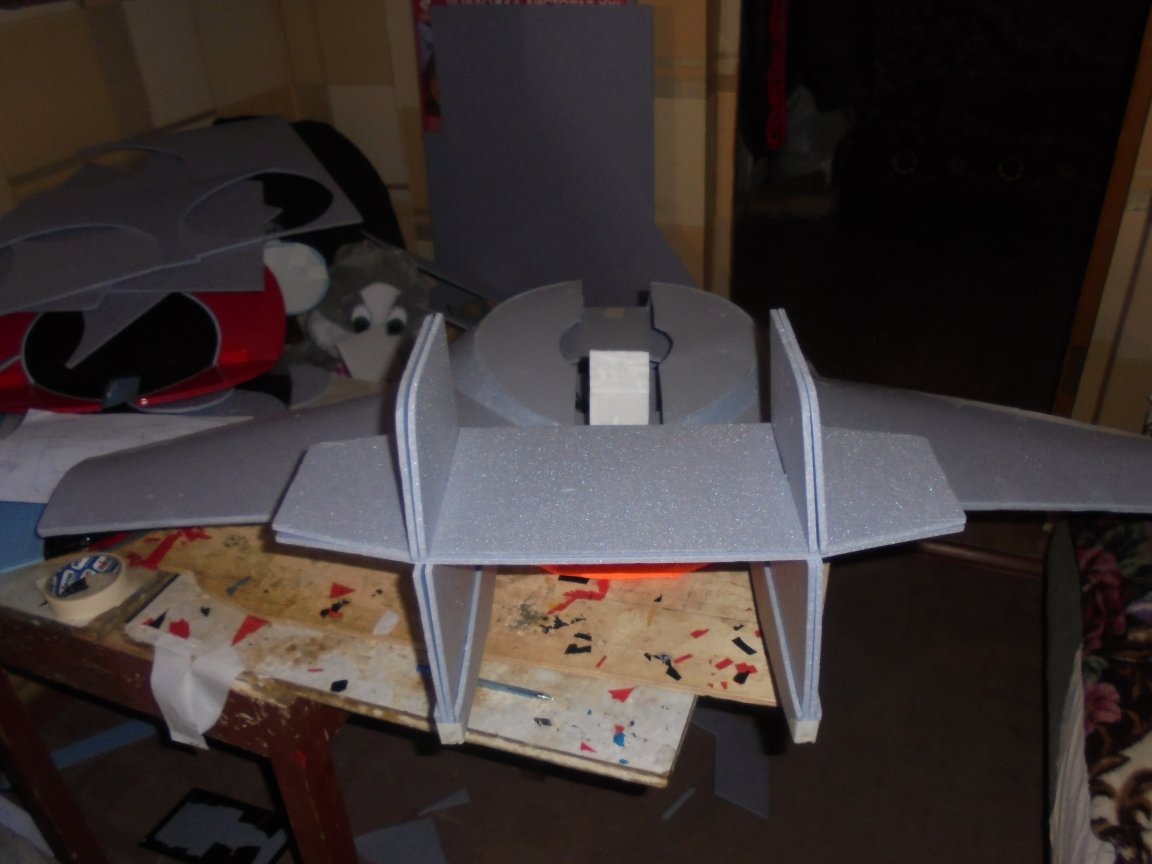
Next, work began on the creation of the fuselage and wings. I want to note that all work is carried out without drawings.
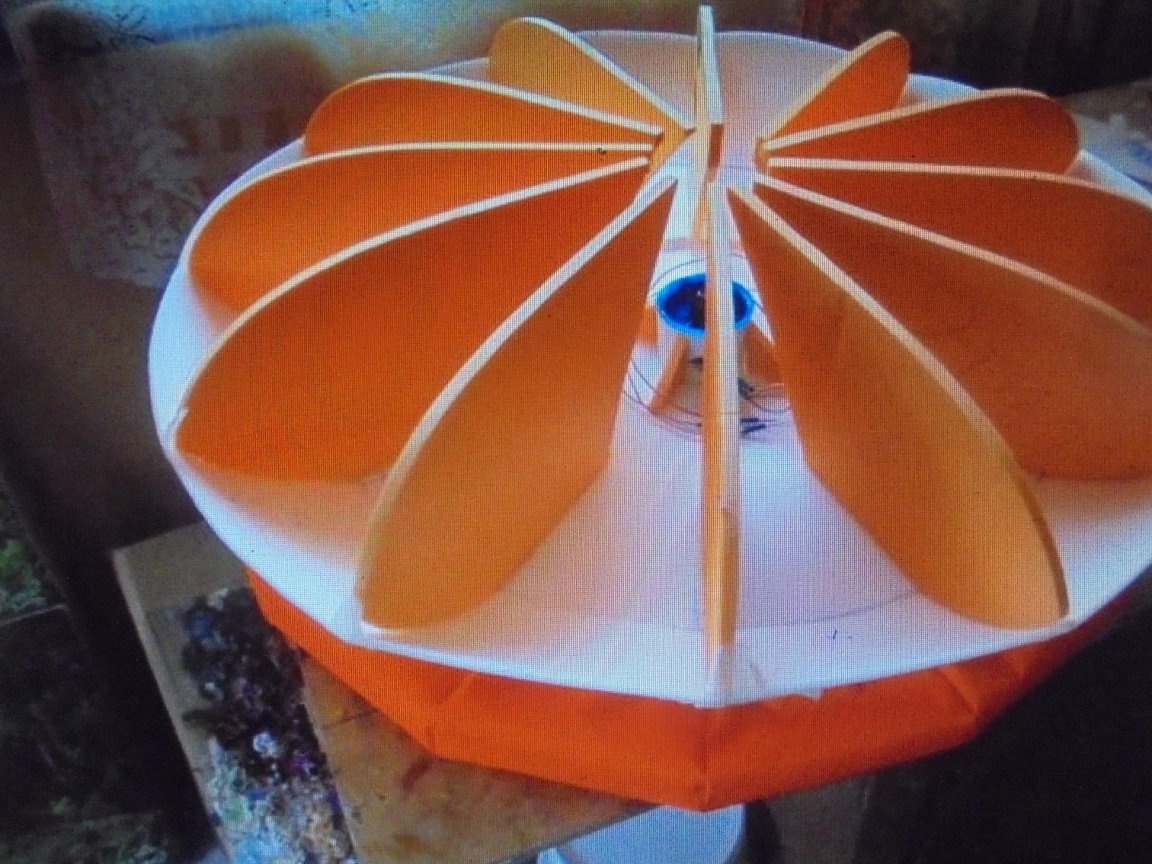
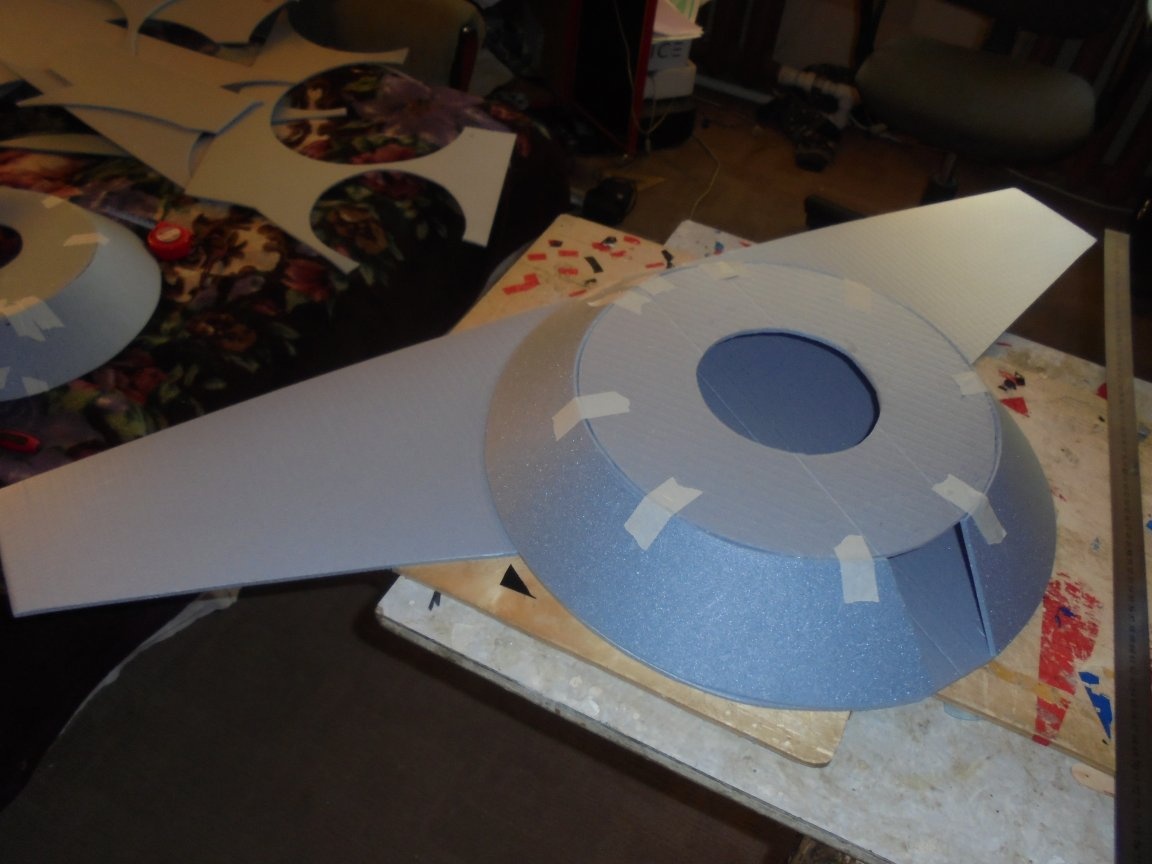
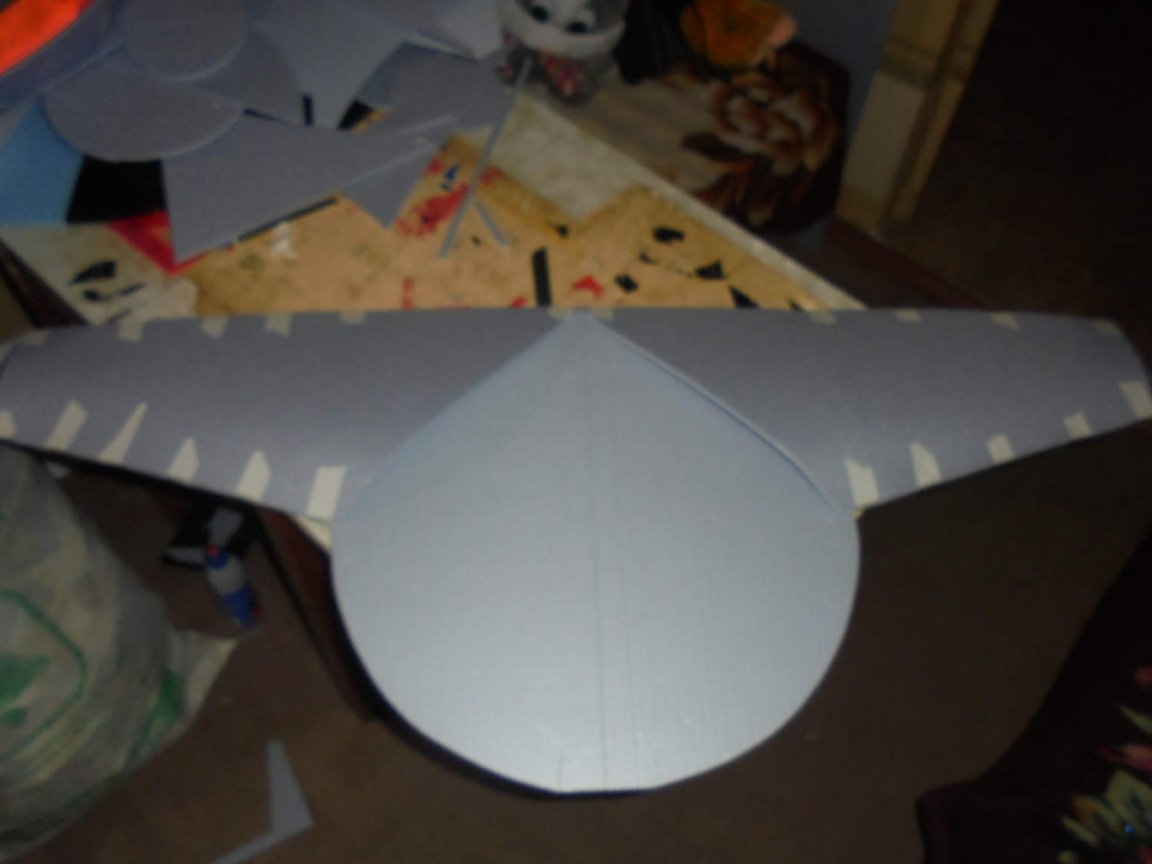
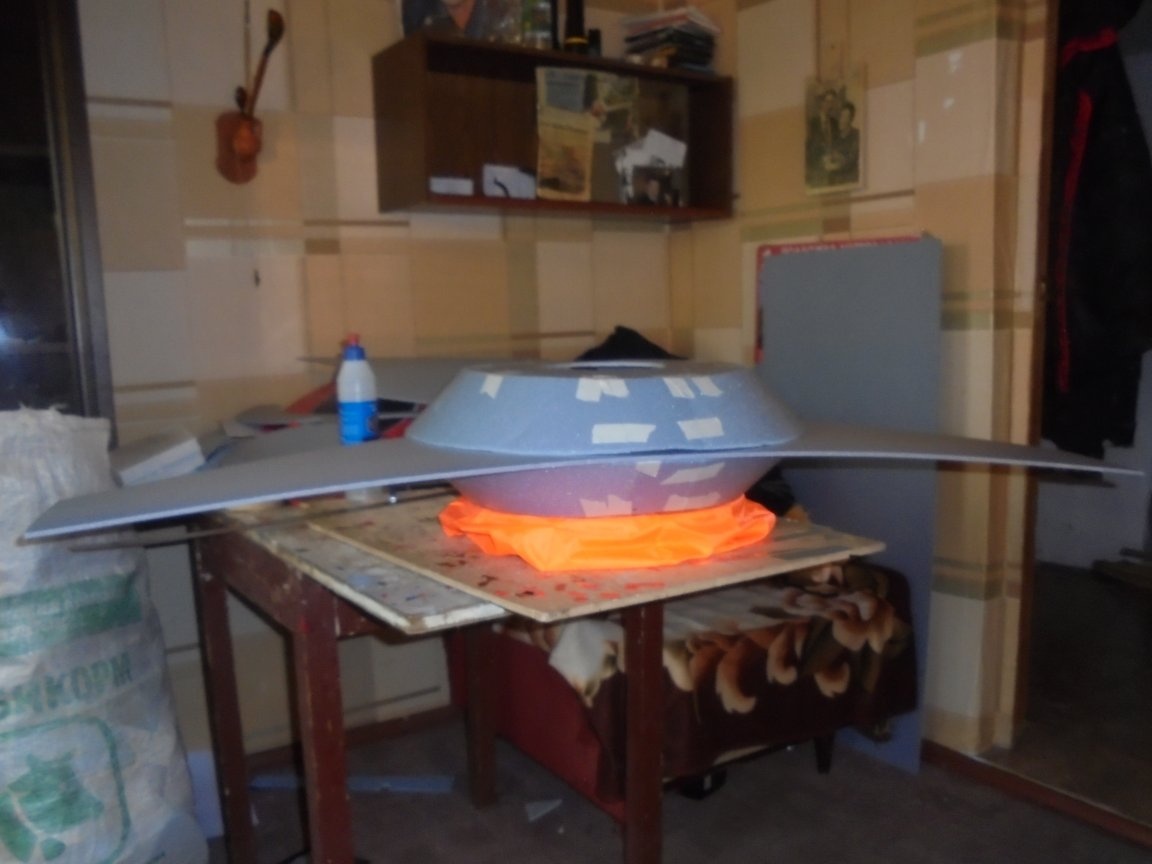
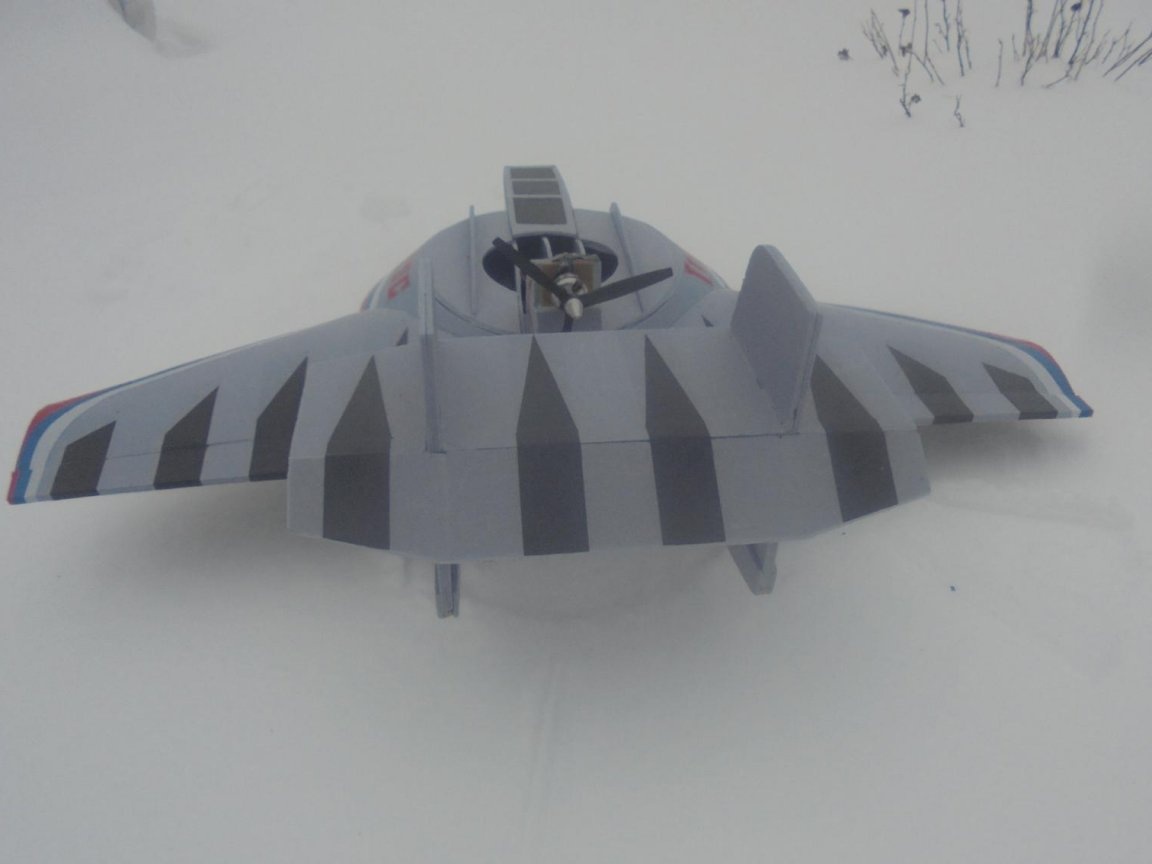
On top of the VP unit, I attach the carrier plane on which the wings are mounted.
Inside the wings set ribs, root and end, between which the spar is glued to create a wing profile.
The side walls of the fuselage are glued.
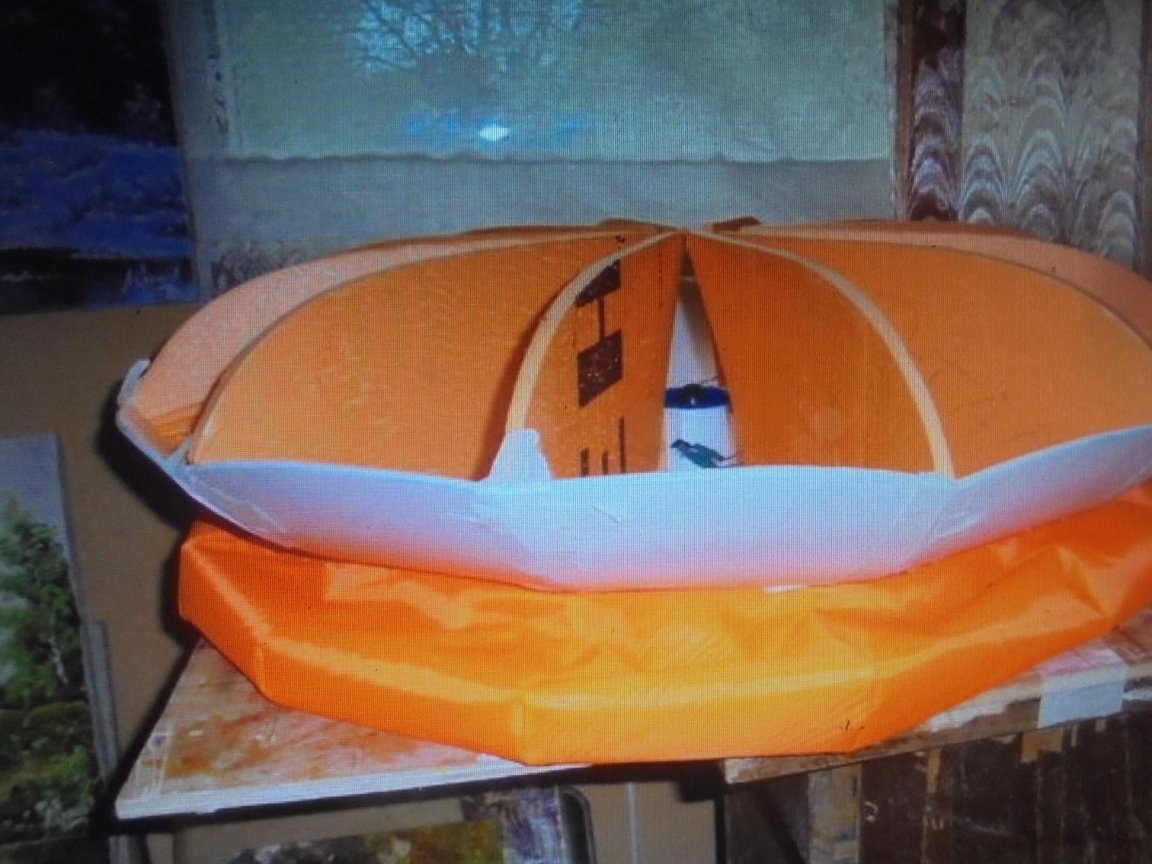
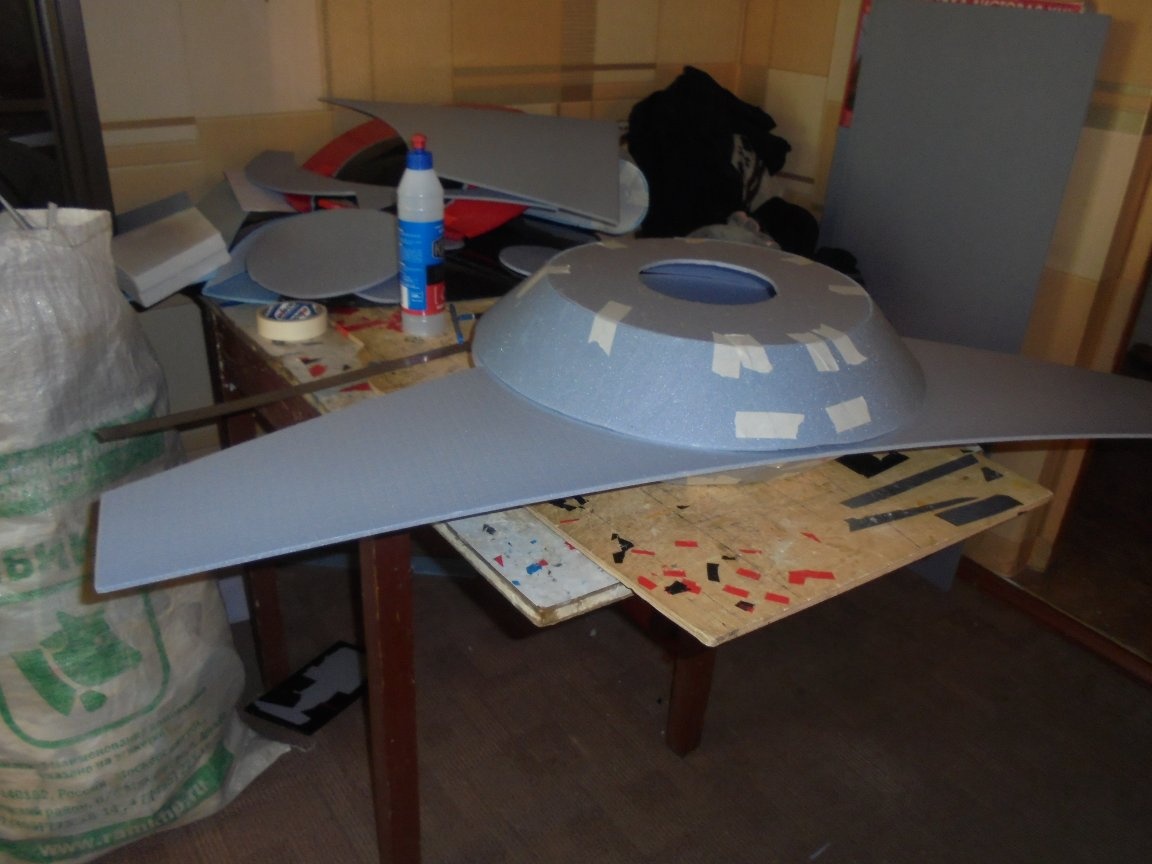
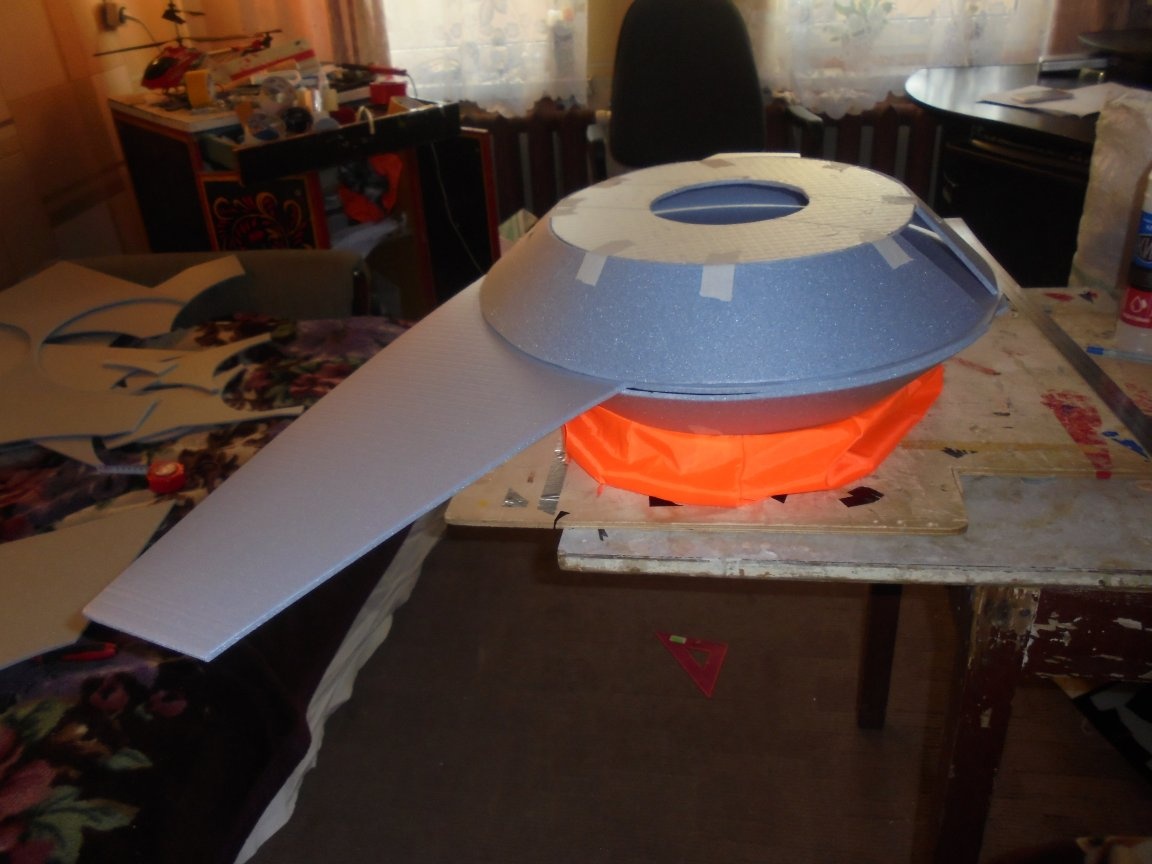
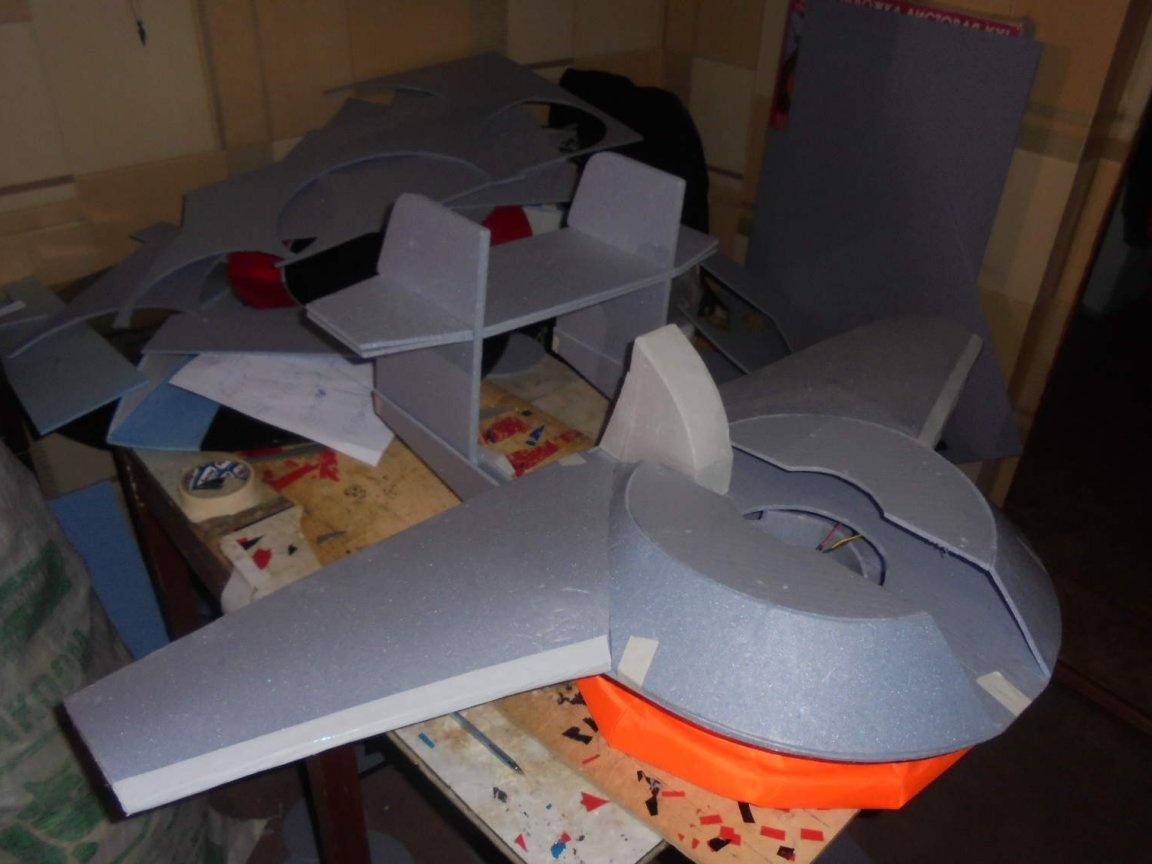
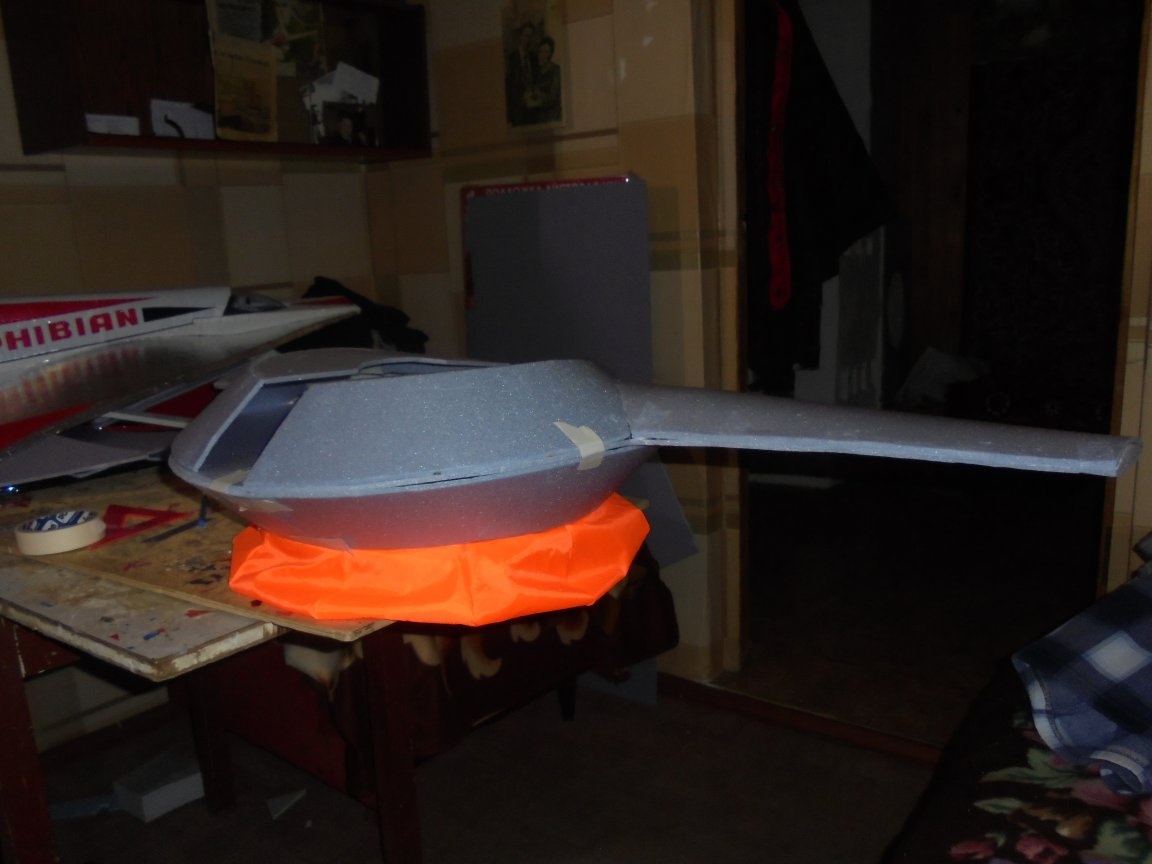
Cut blanks for sheathing the toroidal part of the fuselage.


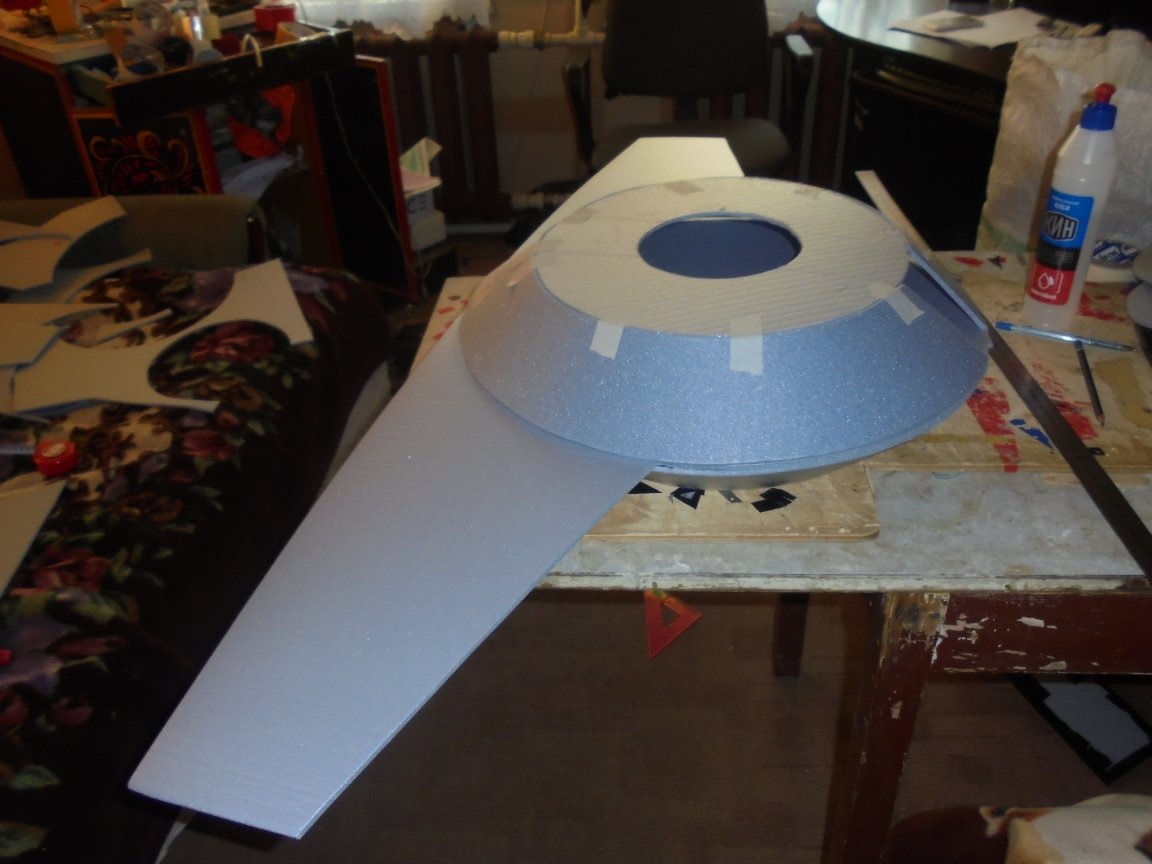
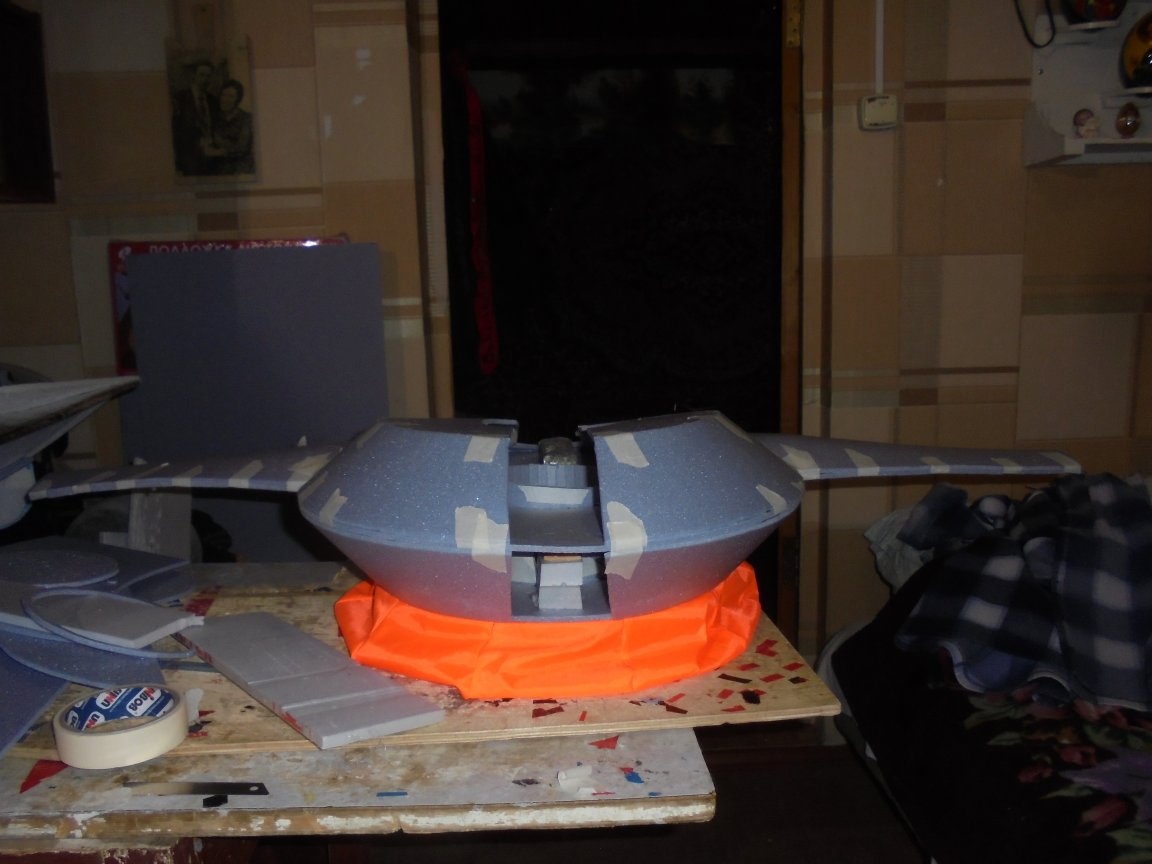
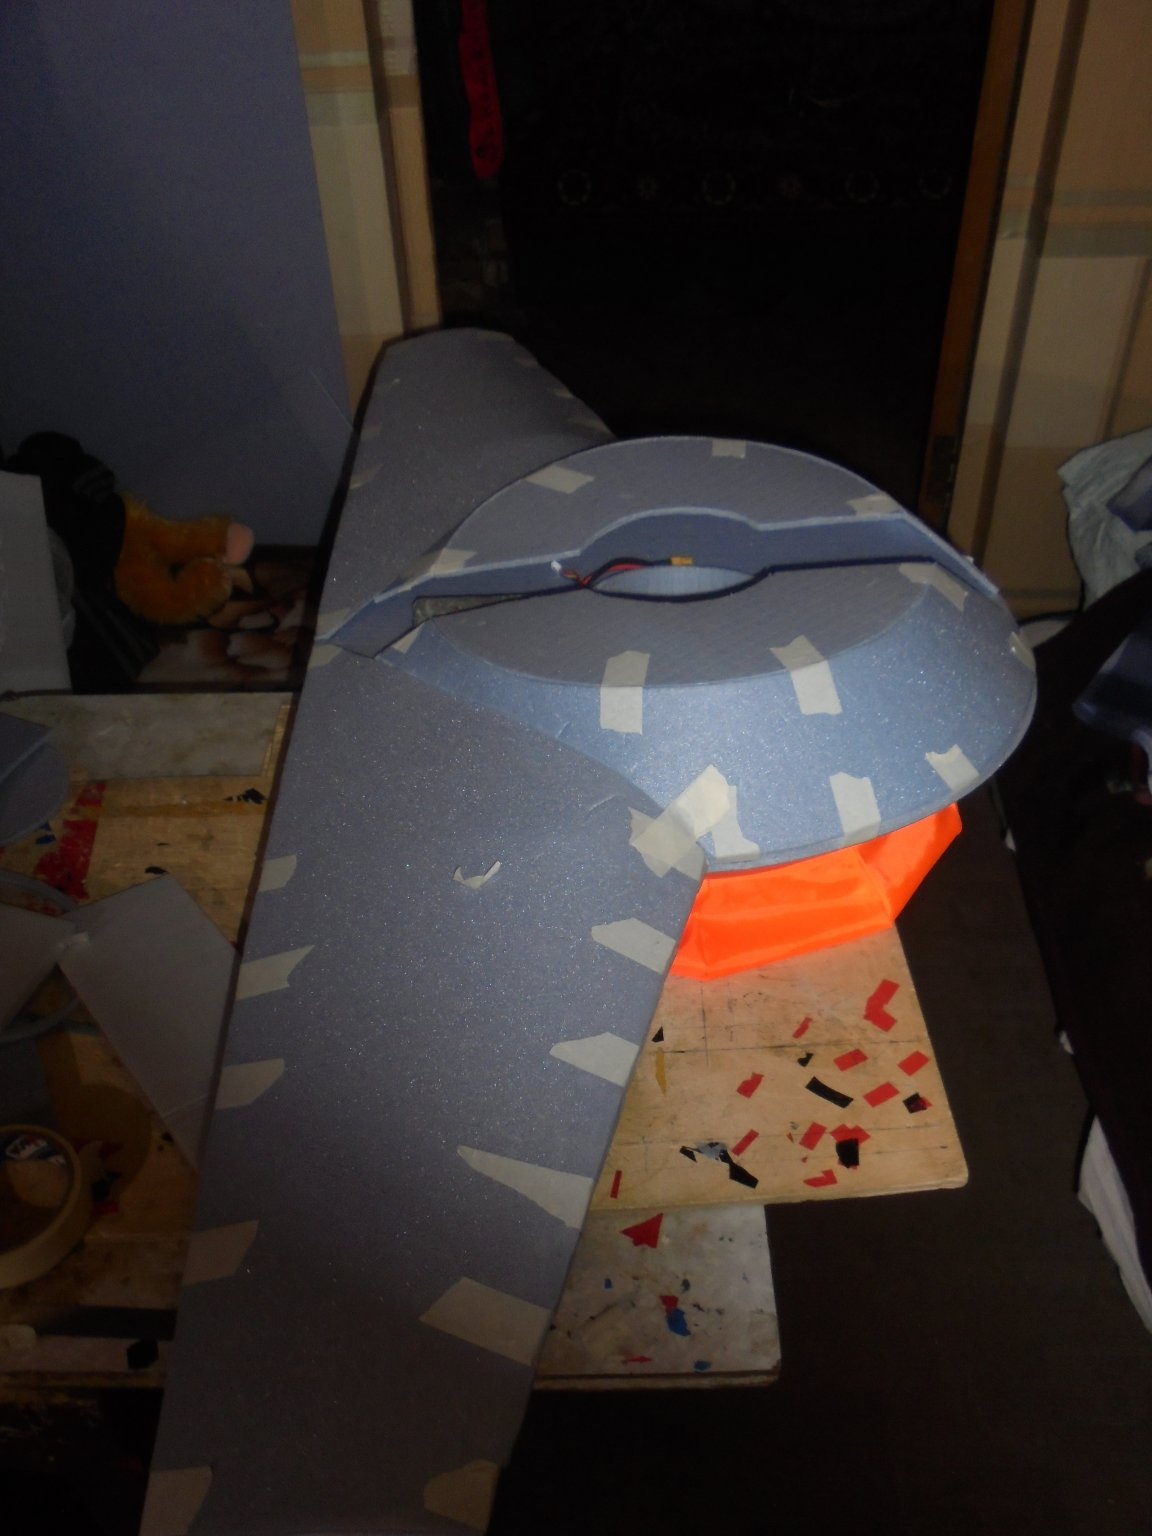
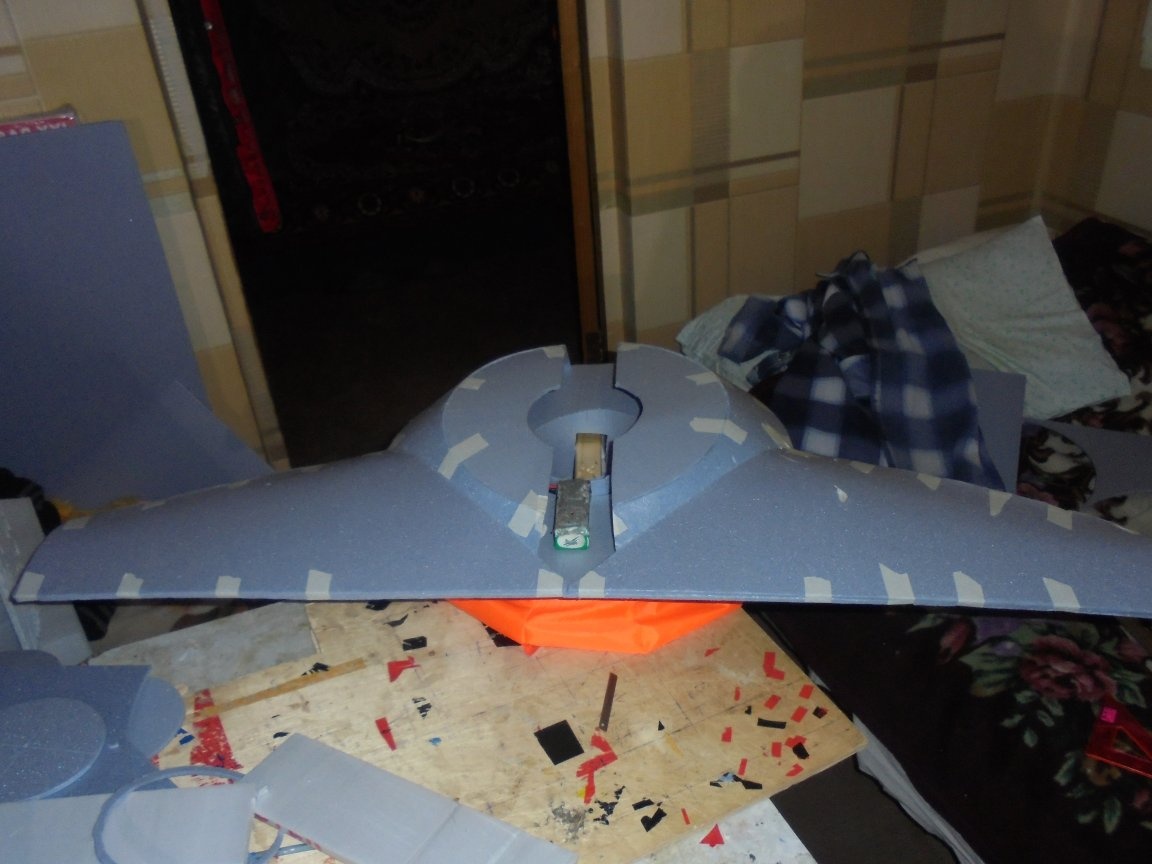
Mounting the toroidal part of the model body on the VP unit.
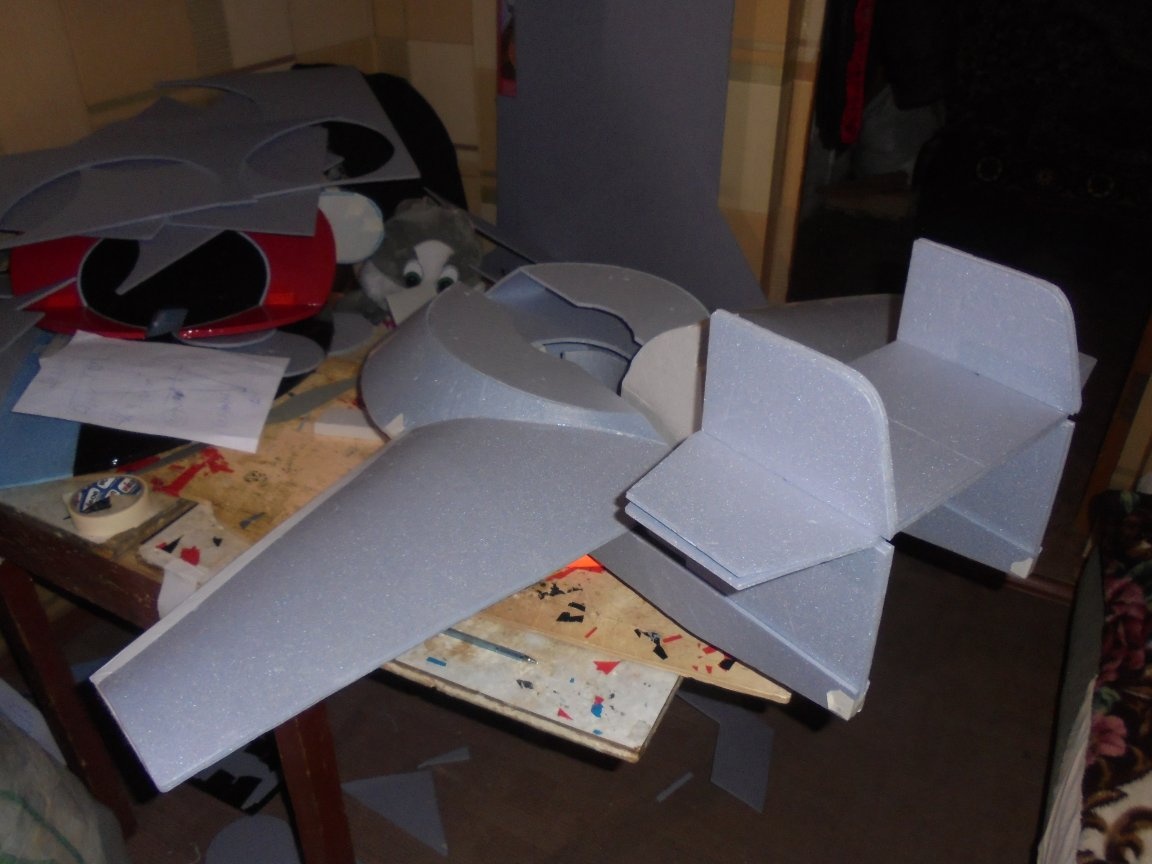
Further installation of the toroidal part of the fuselage on the supporting surface, between the wings.
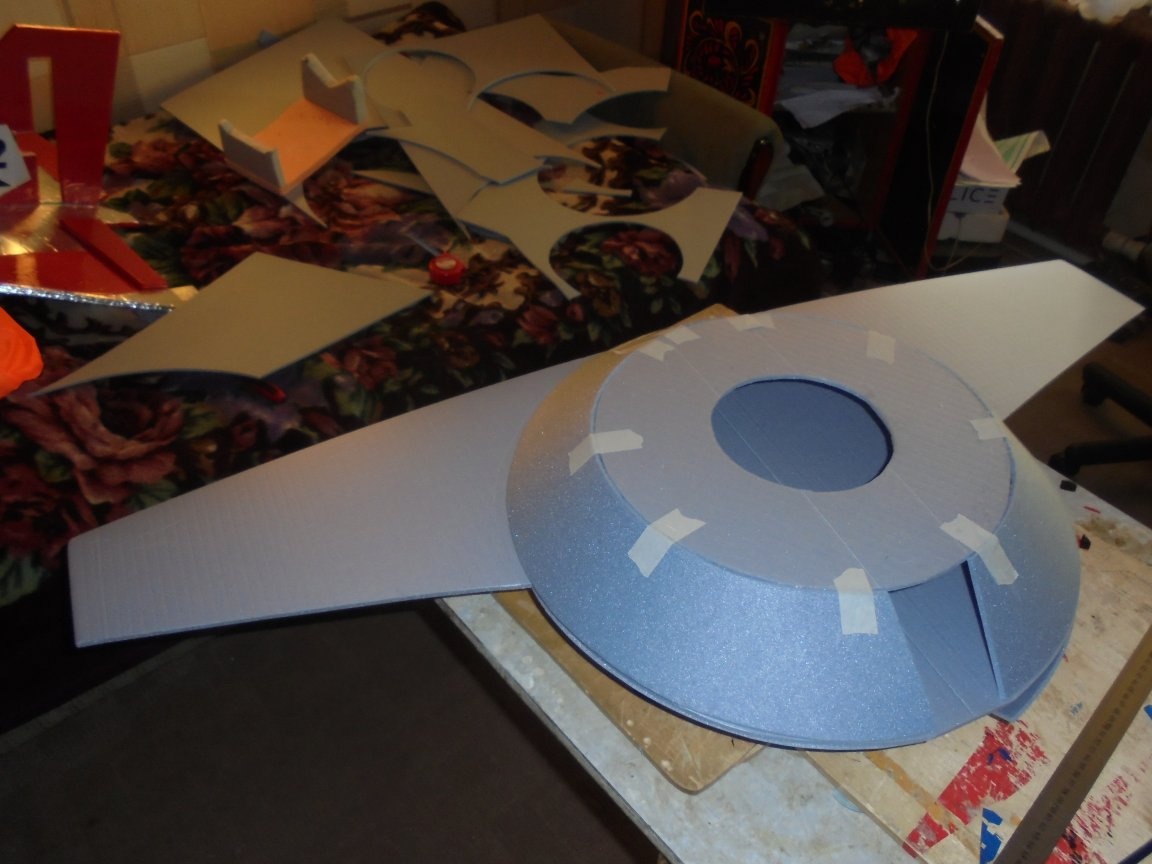
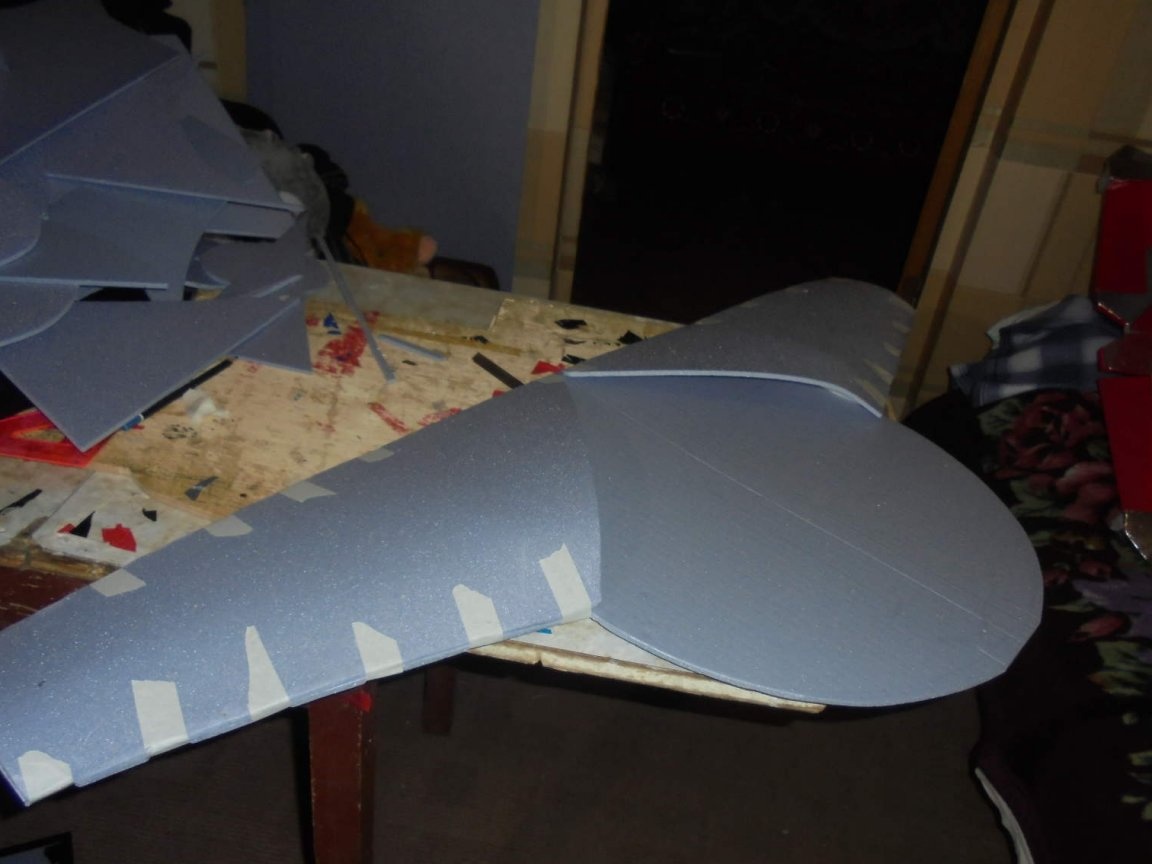

I glue the wings with the VP unit.


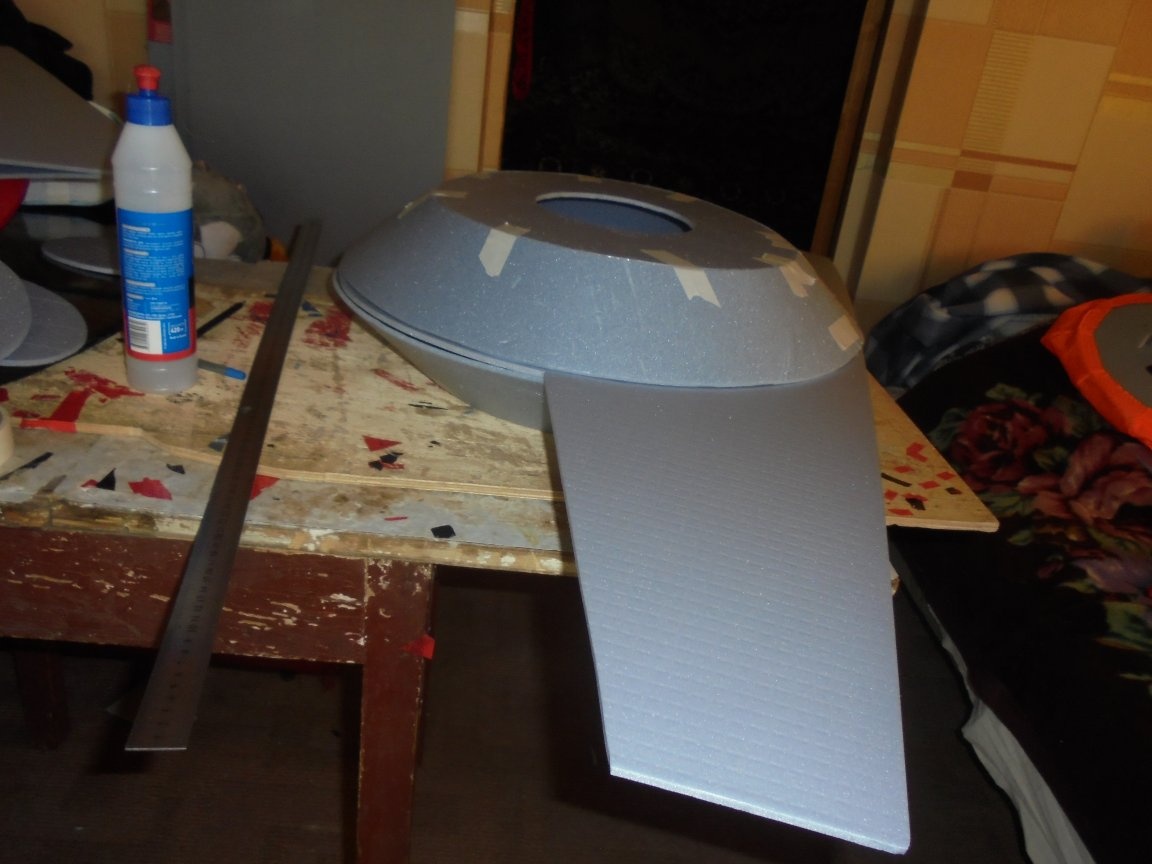
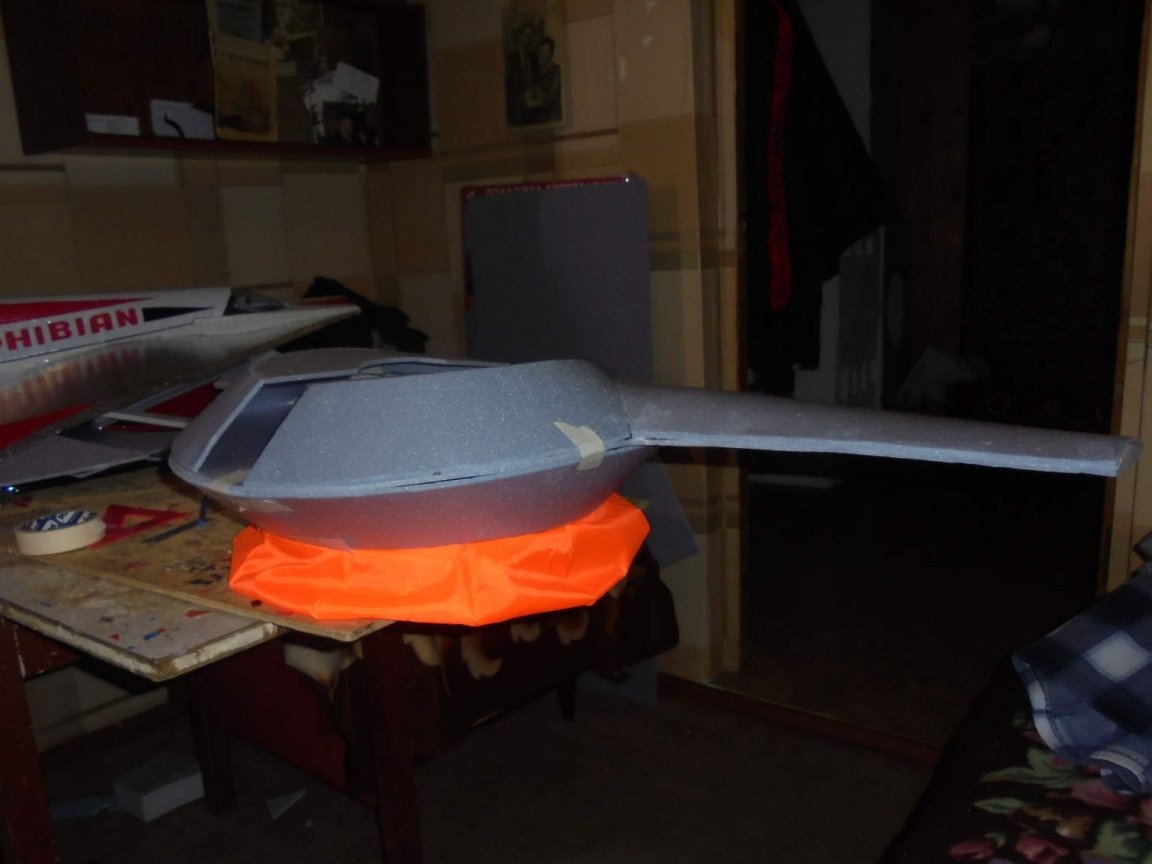
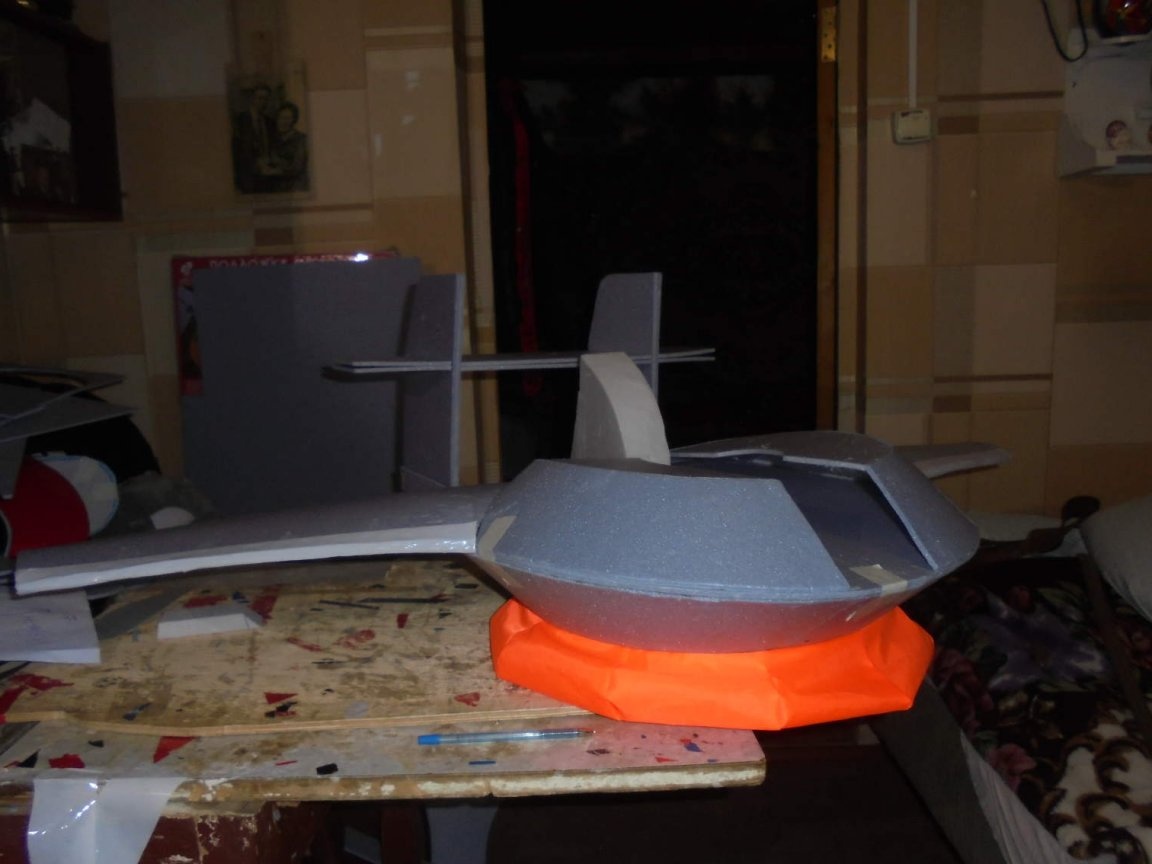
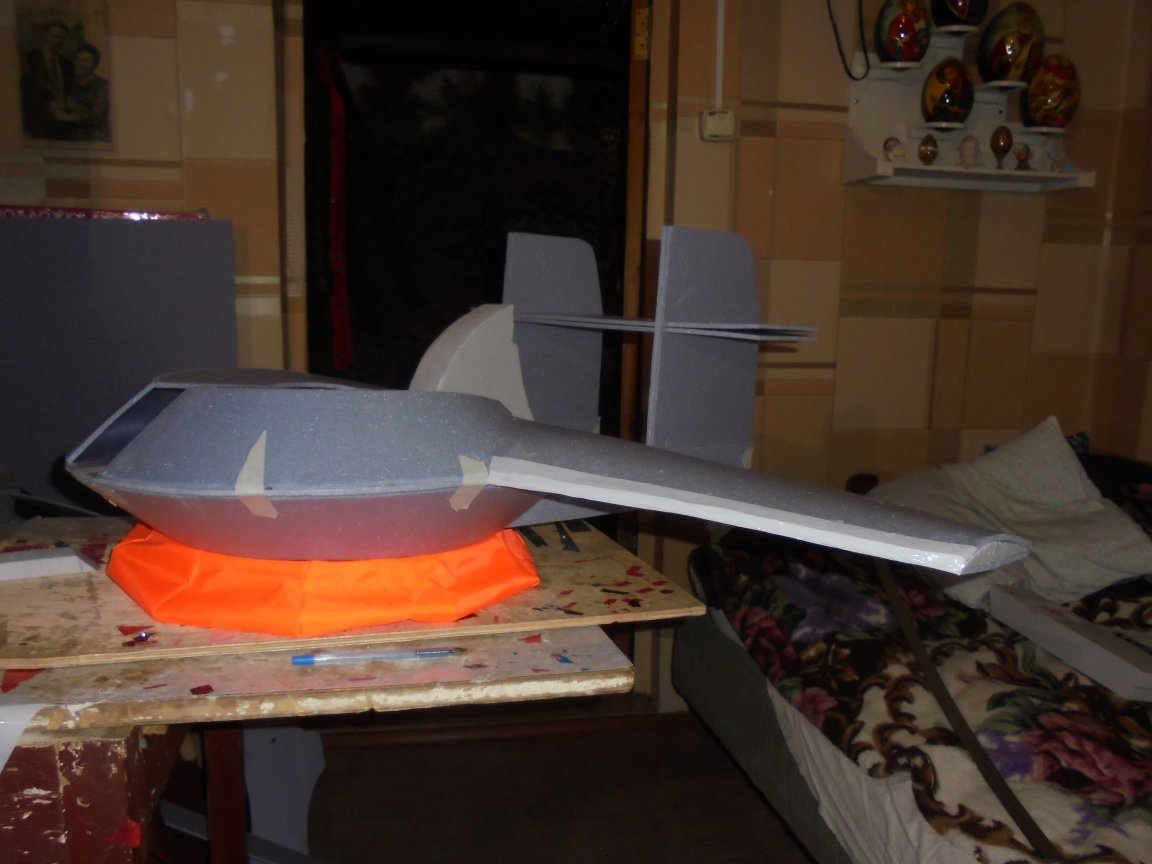
There is a further installation of the front of the fuselage, the tail unit with the PB, aileron hitch.


A blank for the engine mount is glued, with a piece of hardboard (DVP) glued in, size 40 X40 mm. for mounting the motor.

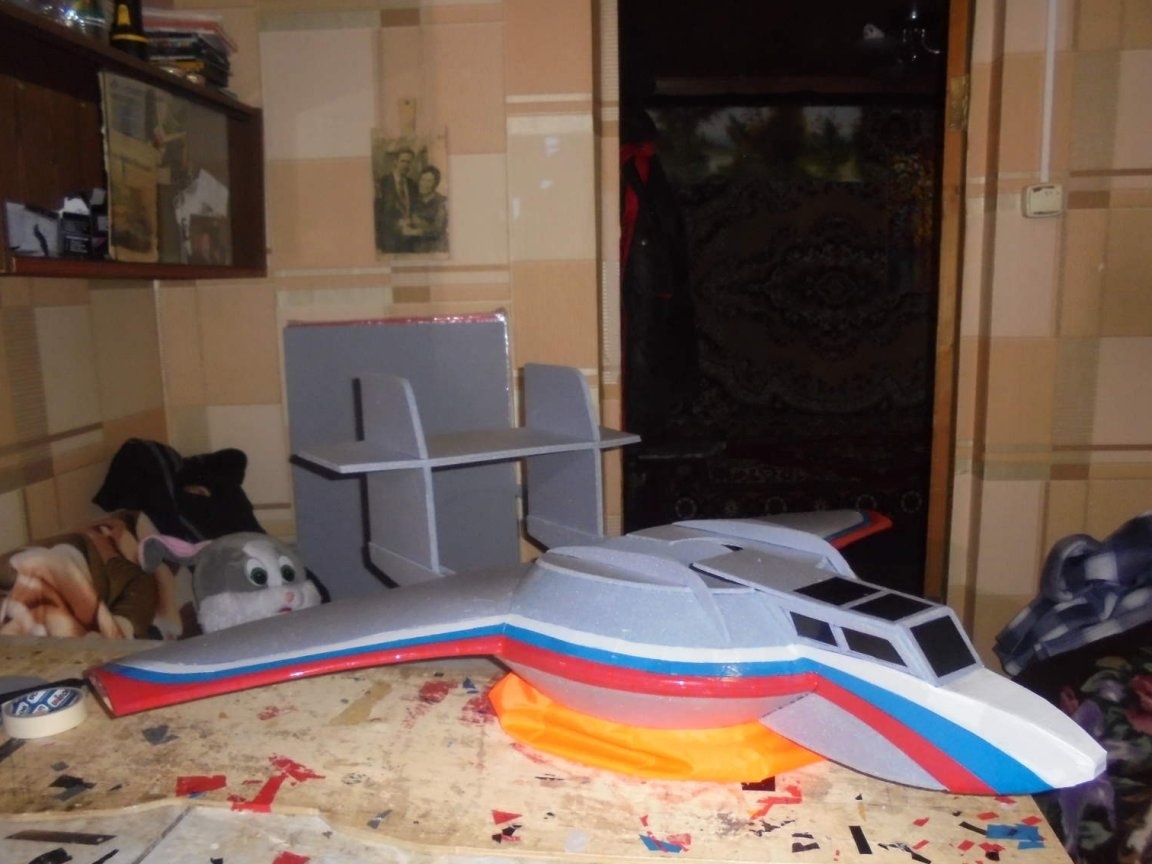
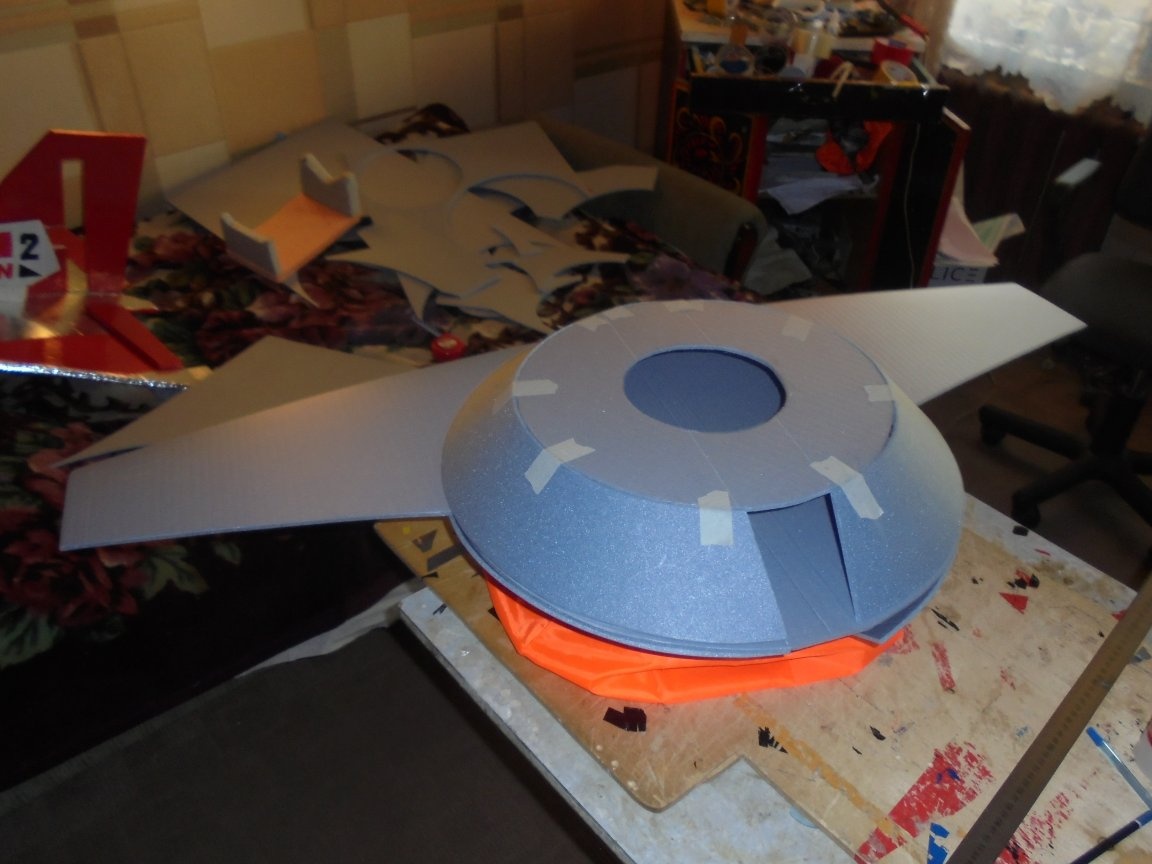
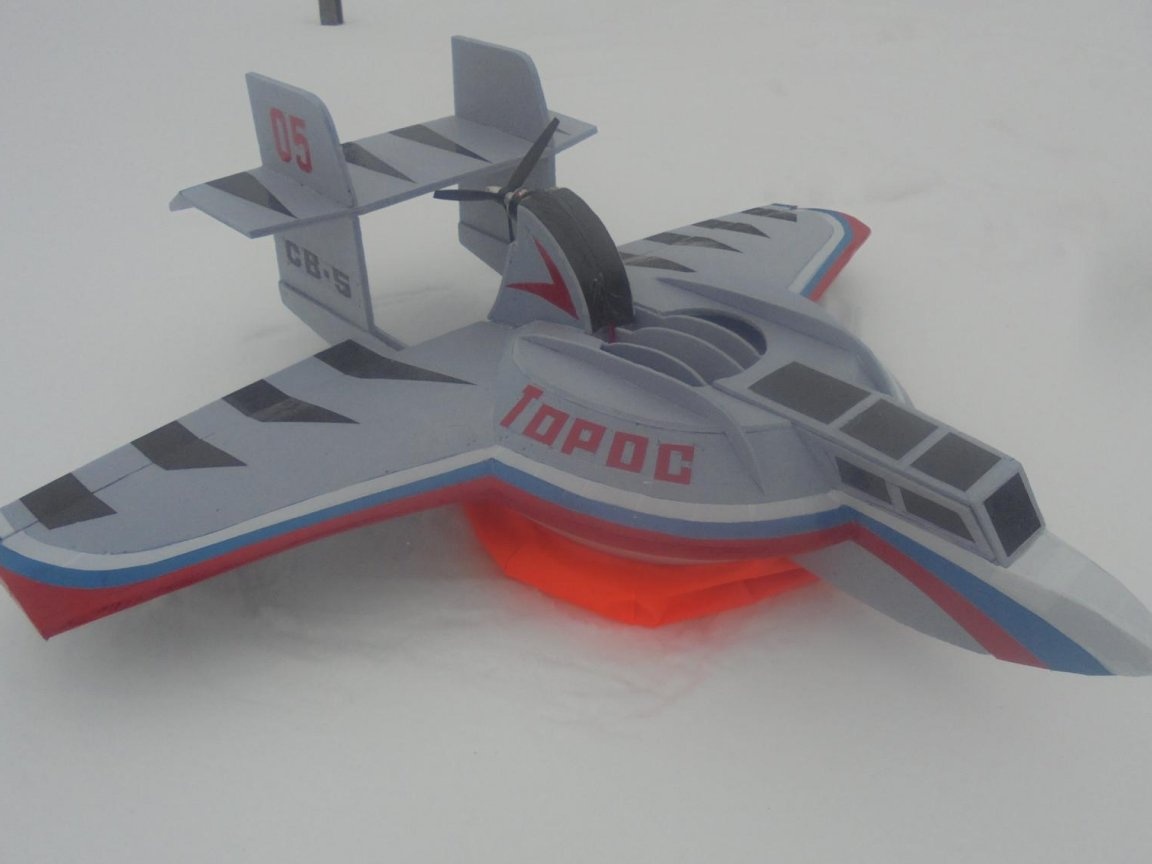
I spend the local covering of the model with colored tape, I make inscriptions.

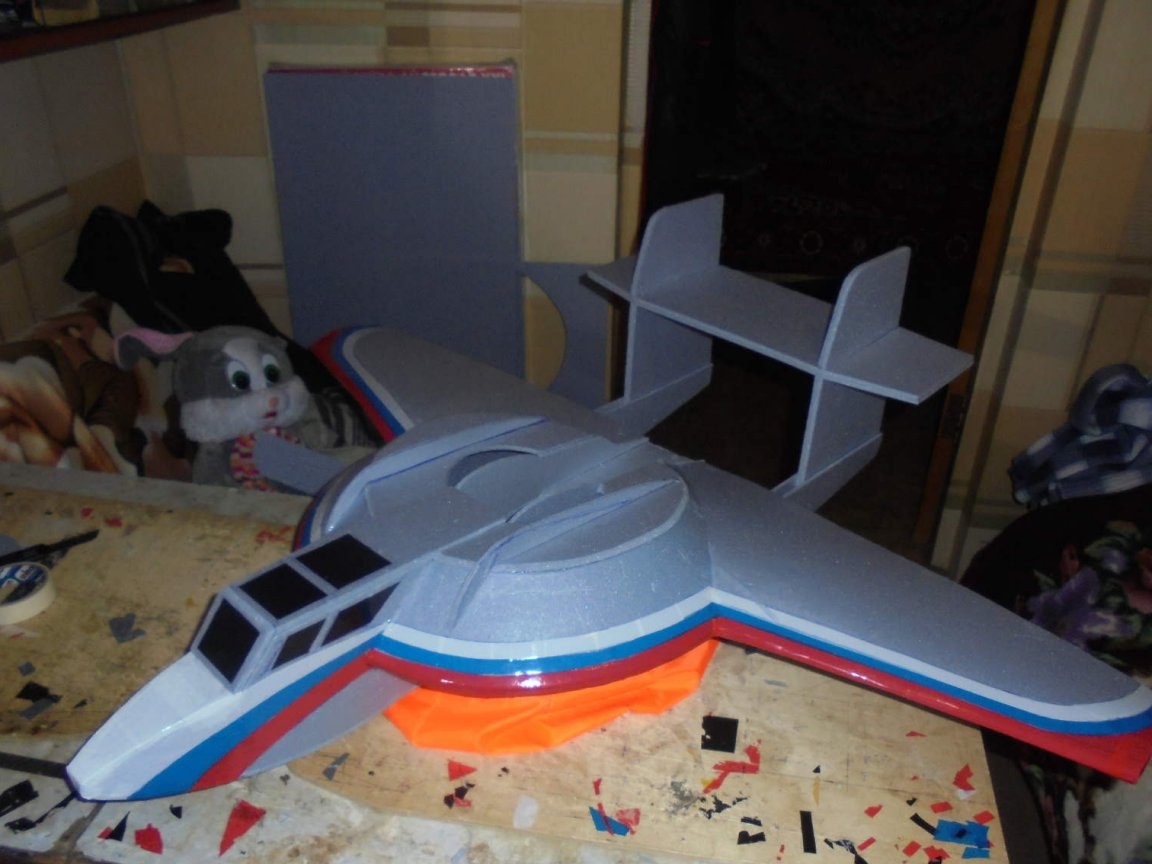
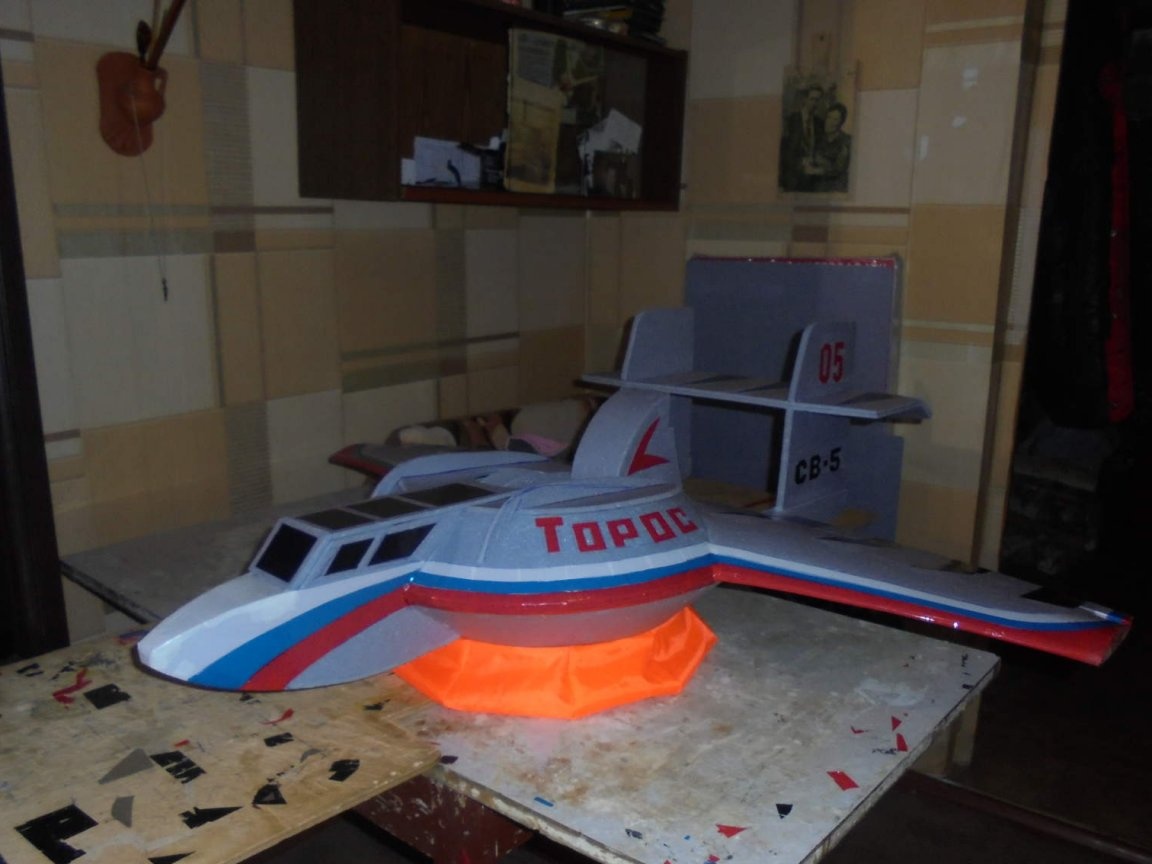


I spend the final cleaning of the model, remove technological stickers from masking tape.
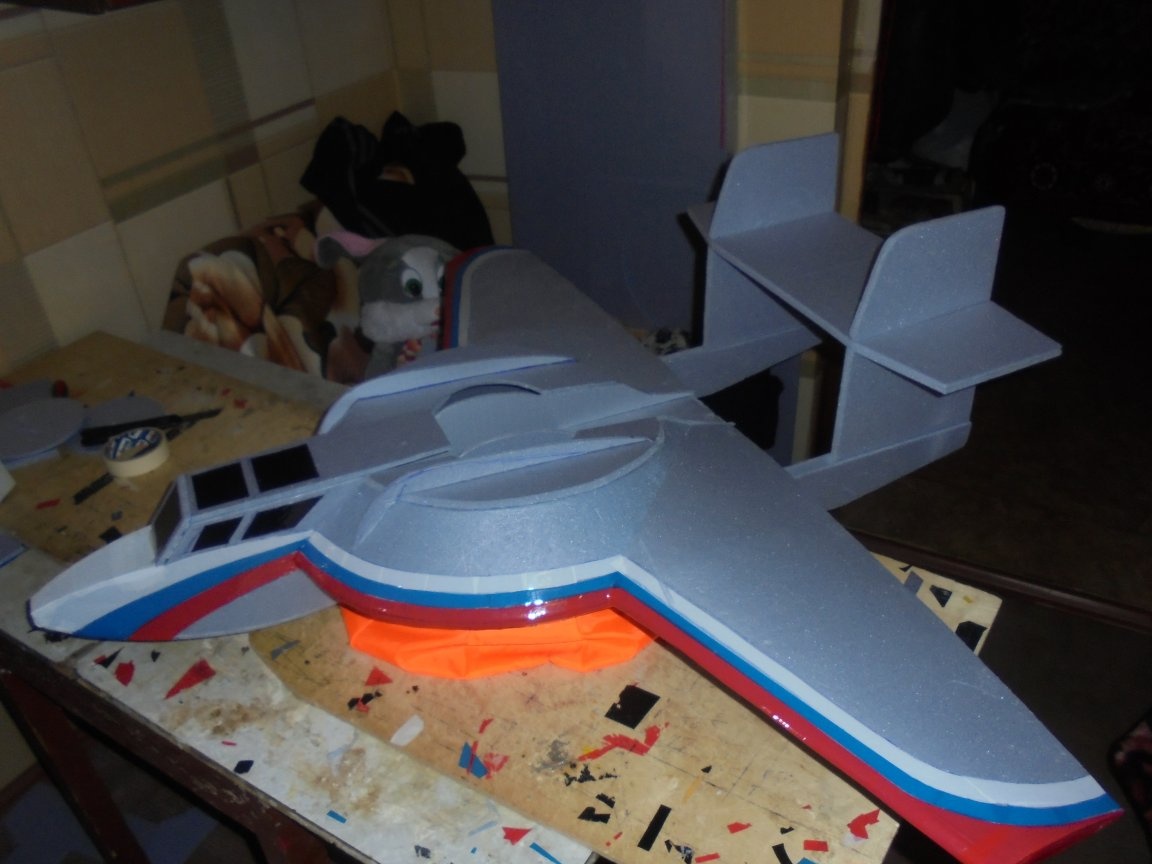
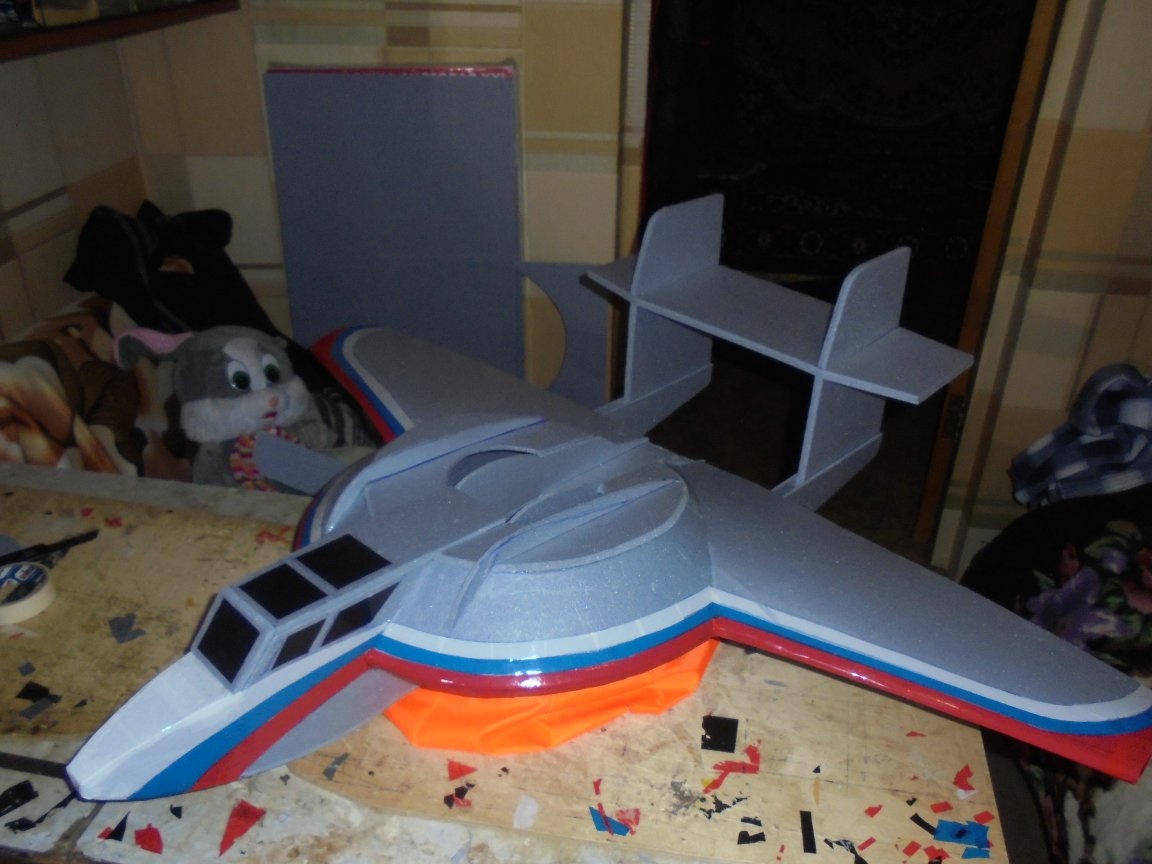
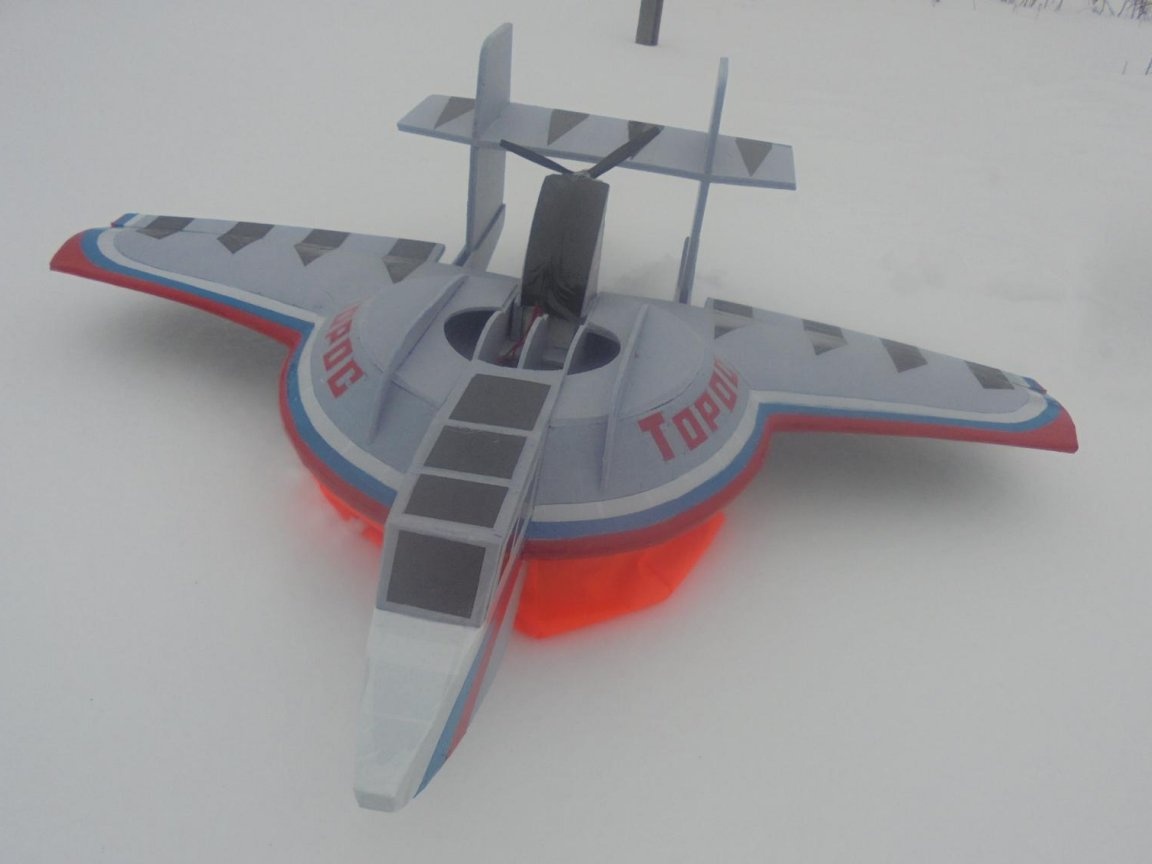
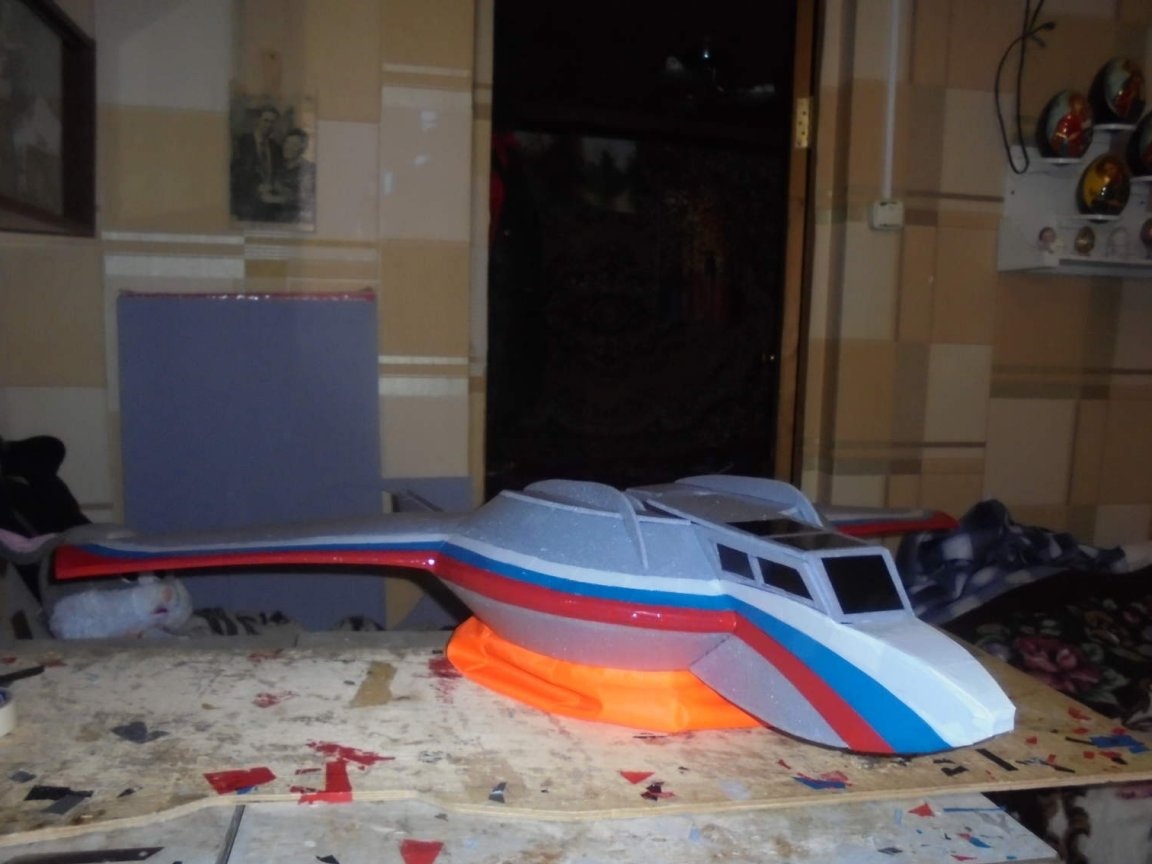
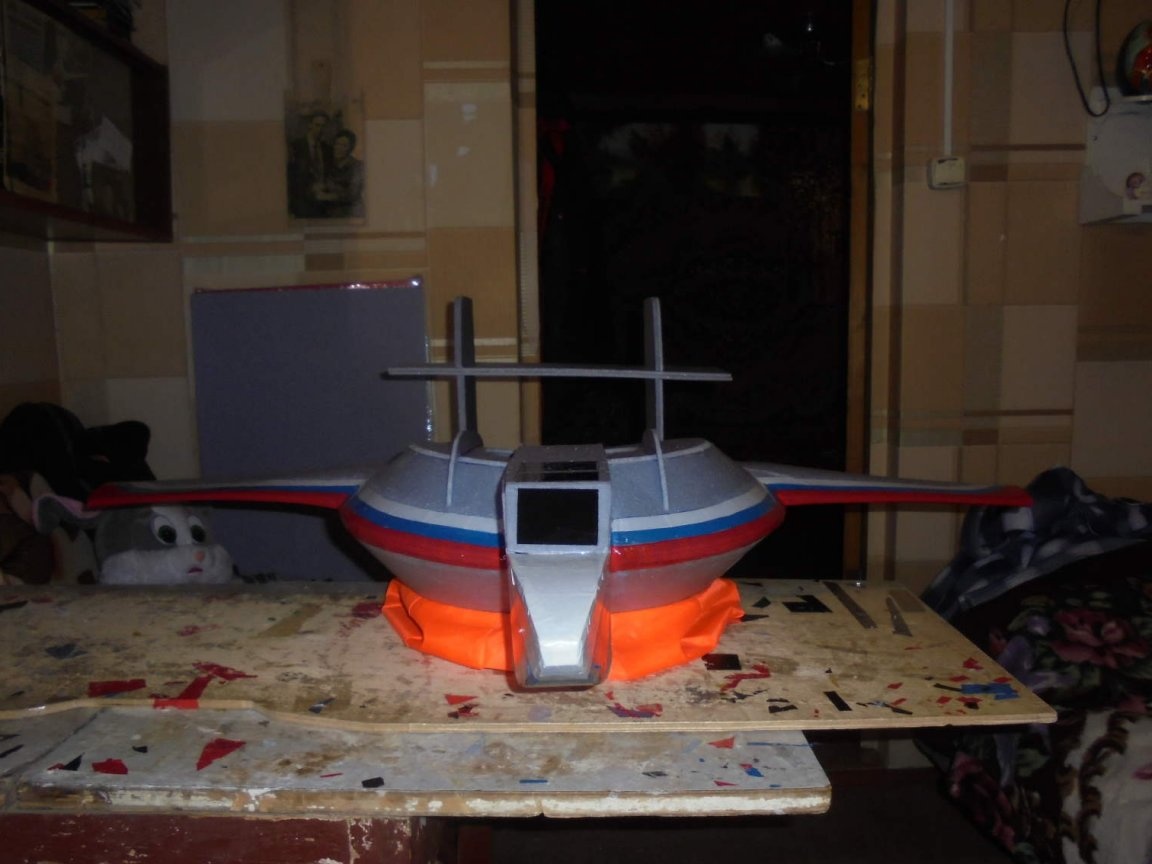
Such model it turned out.
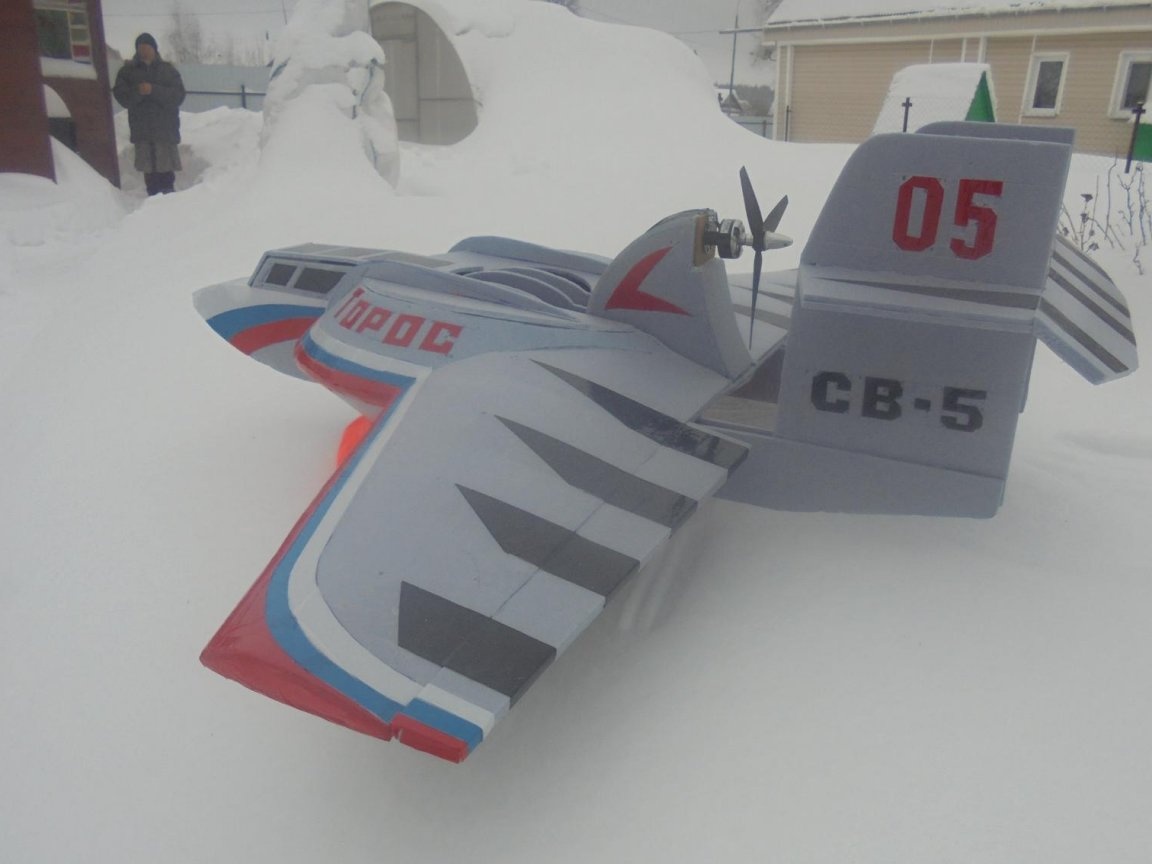
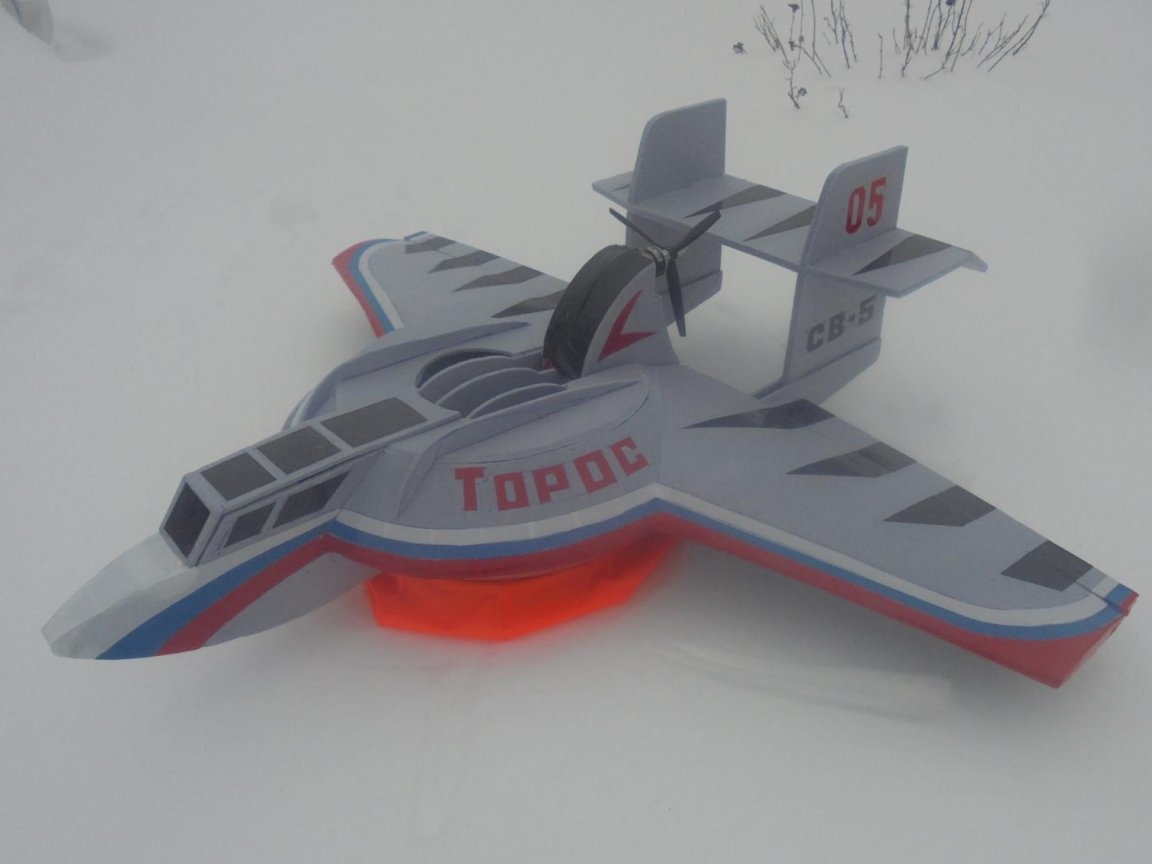

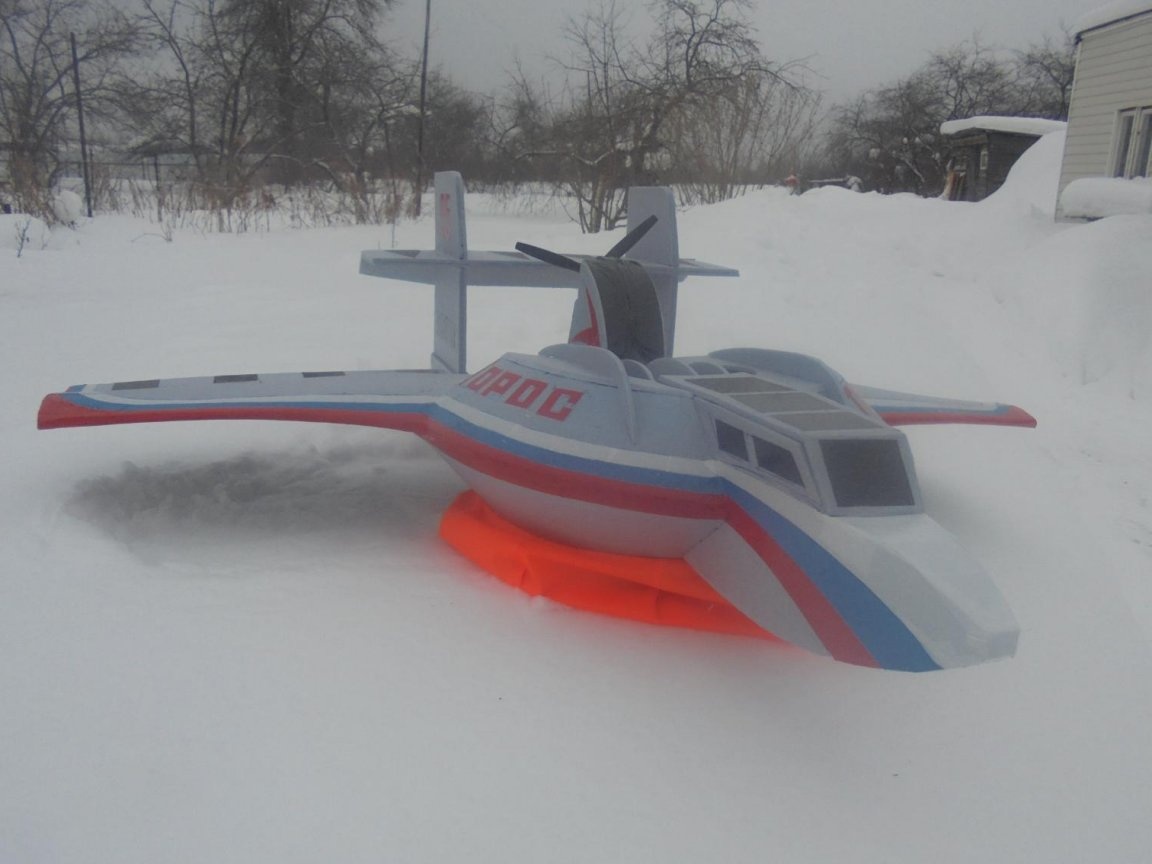

Photos with the model as a keepsake.
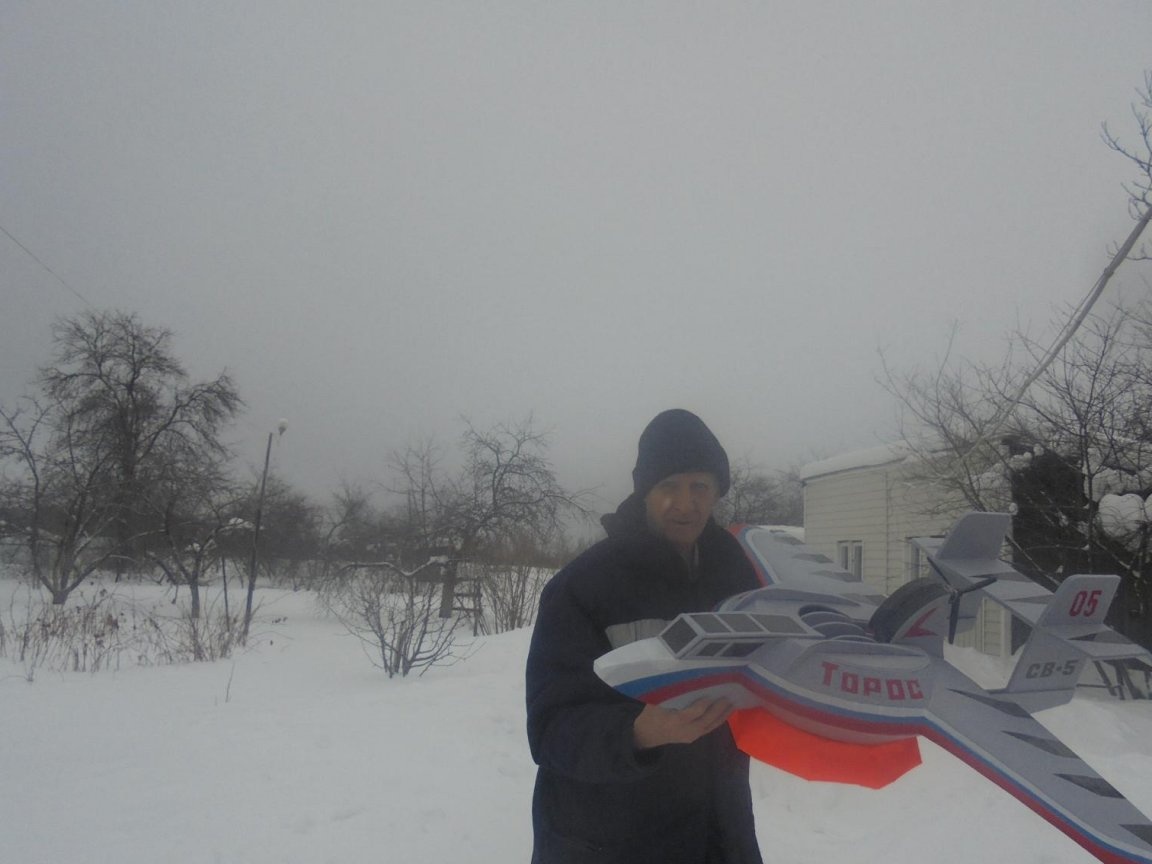
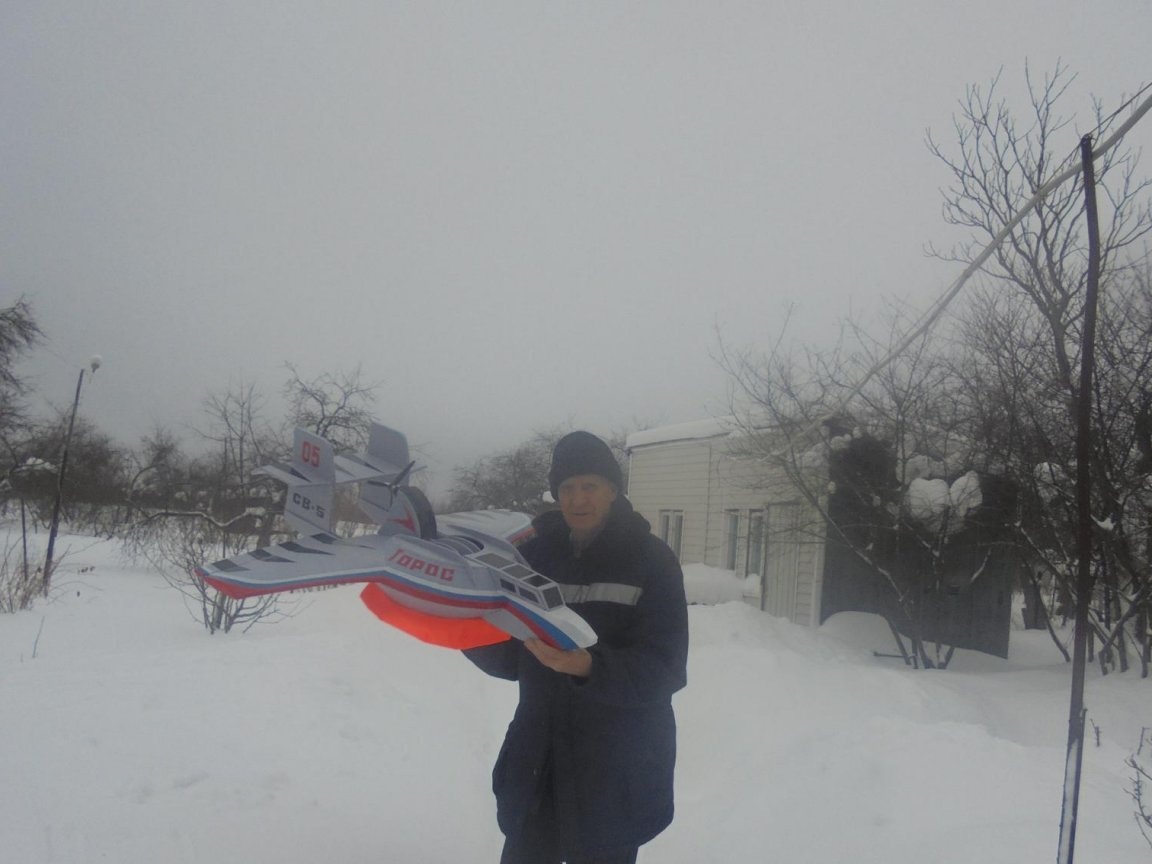
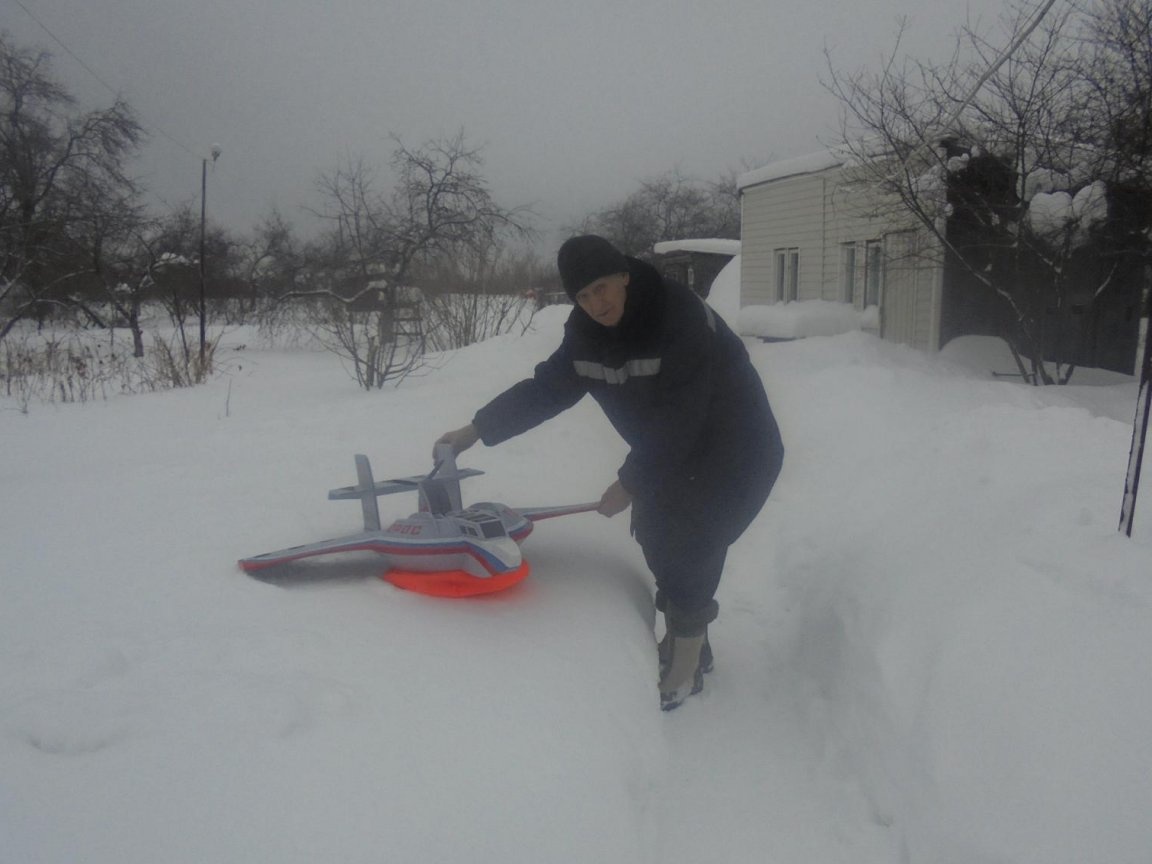
For test take-off there are not enough servos, I'm waiting for the parcel.
Best wishes, your Valerian.