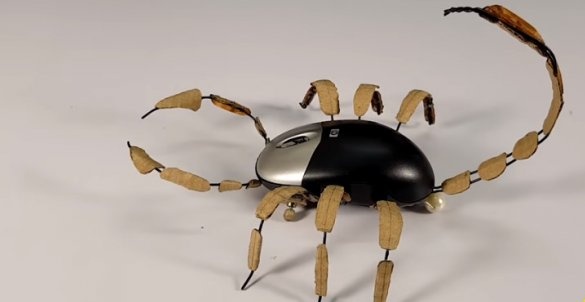
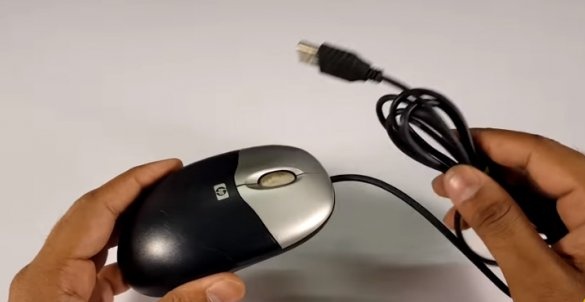
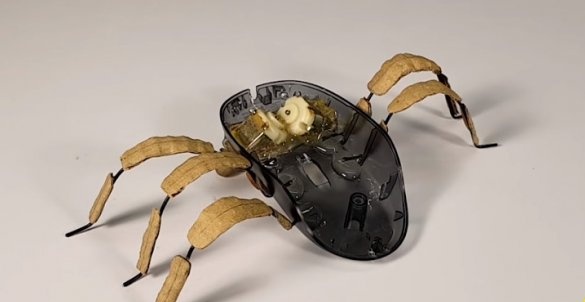
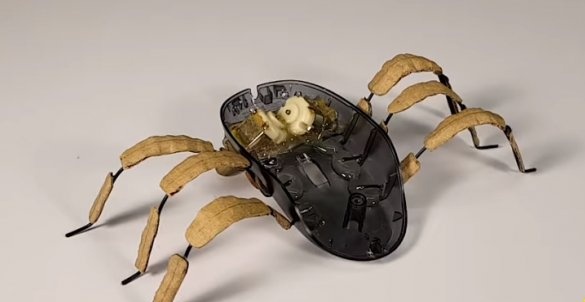
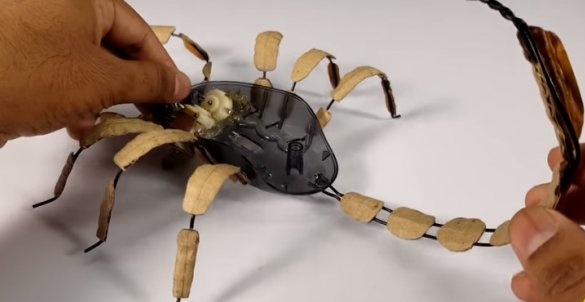
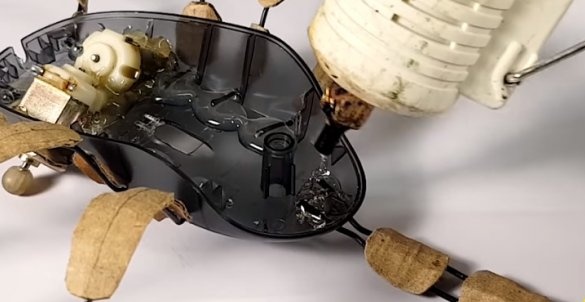
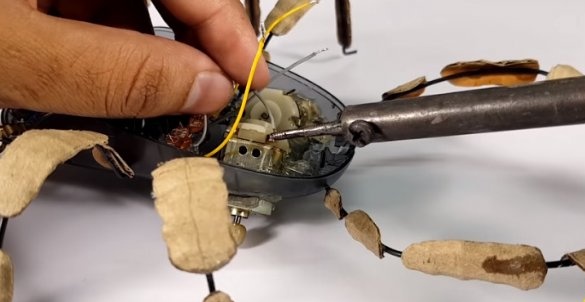
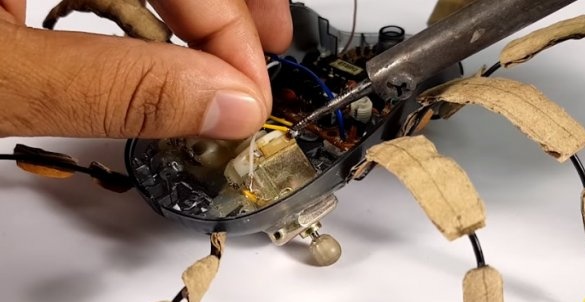
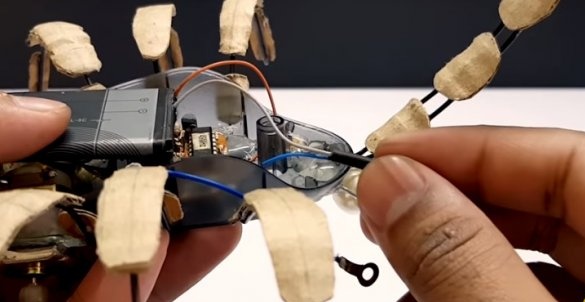
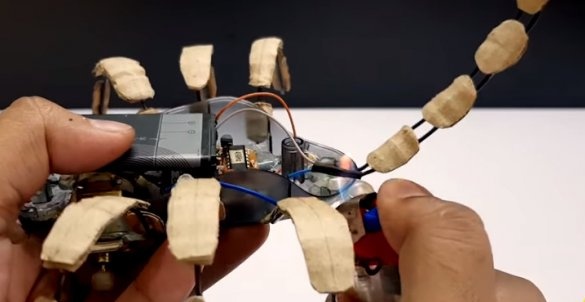
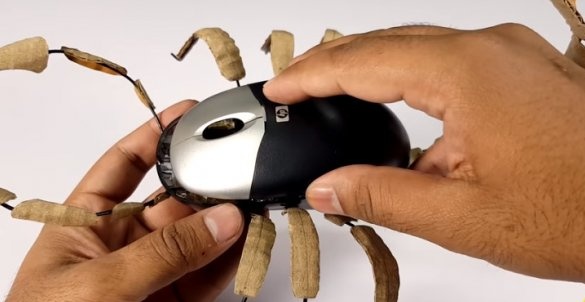
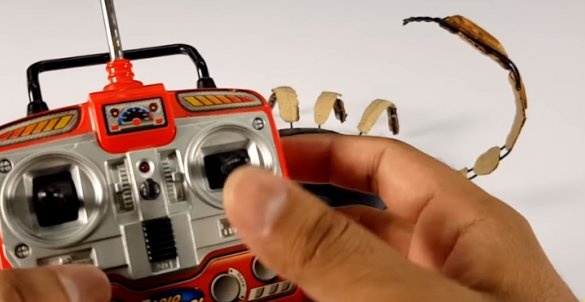
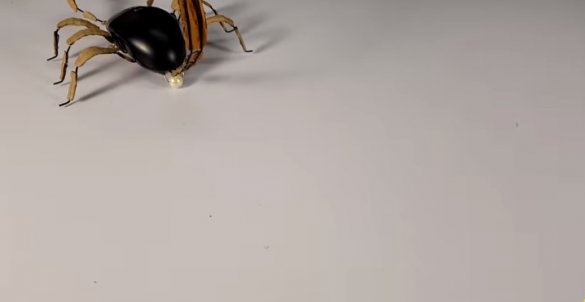
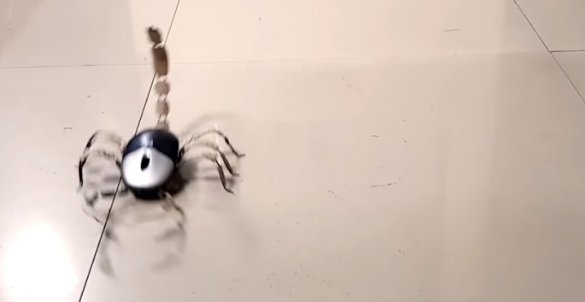
If you have children, then there will probably be at least a couple of broken toys on the remote control. Well, a broken computer mouse is probably in every home. Adding a few more details, you can collect, together with the child, a scorpion on the control panel - a fun toy for adults and children.
Tools and materials:
-Computer mouse;
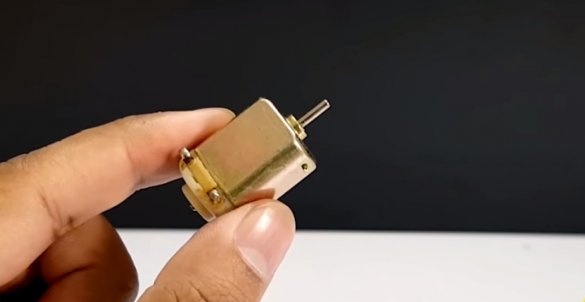
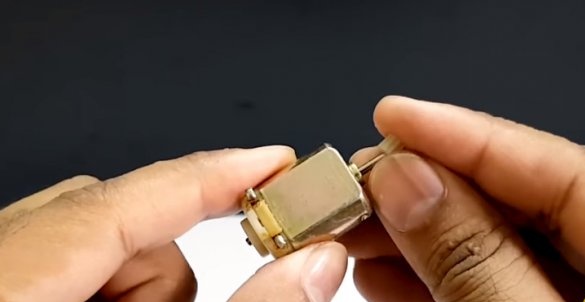
-Two DC motors;
-Two gears;
-Battery;
- TP4056 charging module;
-Glue gun;
-Soldering accessories;
-Cardboard;
-Wire;
-Nippers;
-Pencil;
-Scissors;
-Super glue;
-Wire;
-Ball decorative;
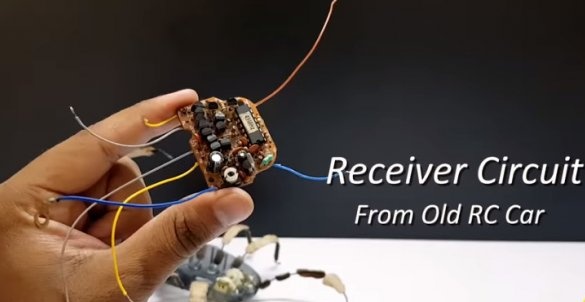
-Radio module with a remote control from an old toy;
Step One: Preparing the Case
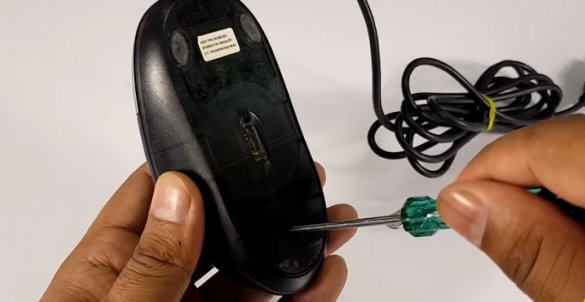
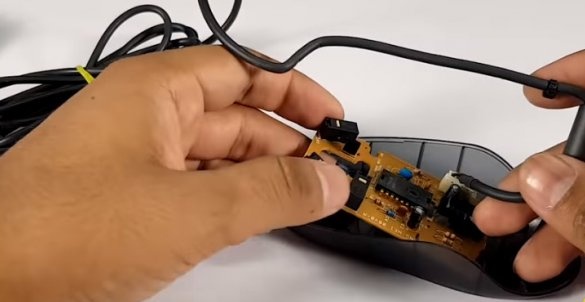
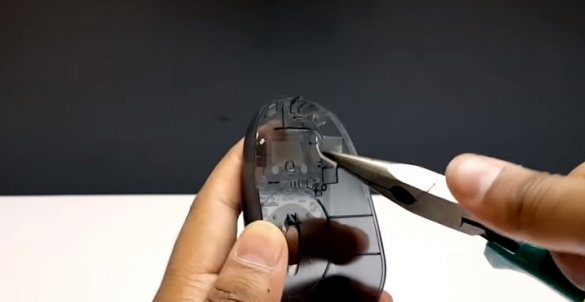
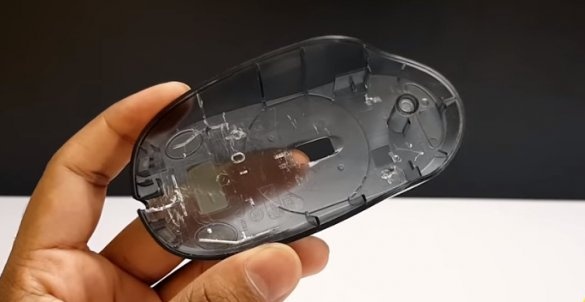
First you need to disassemble the mouse and remove all the details.
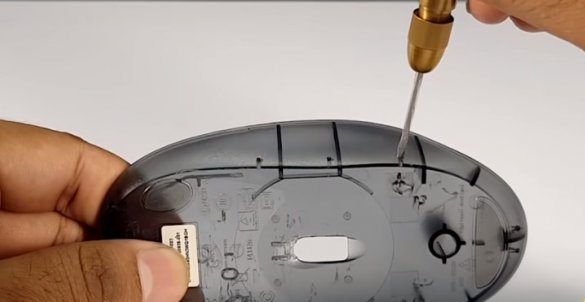
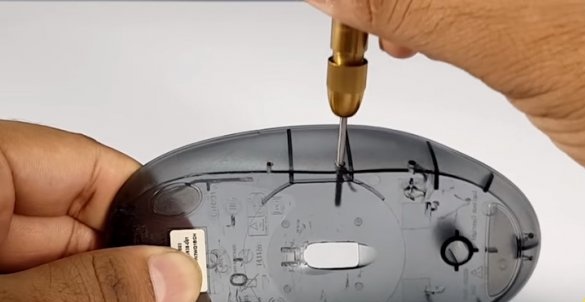
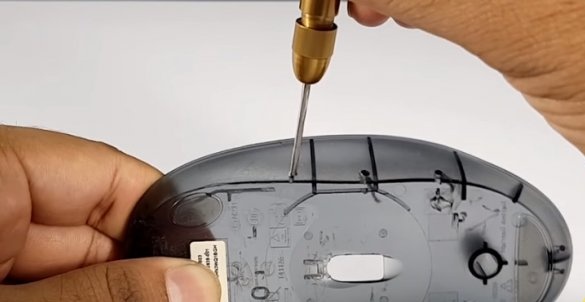
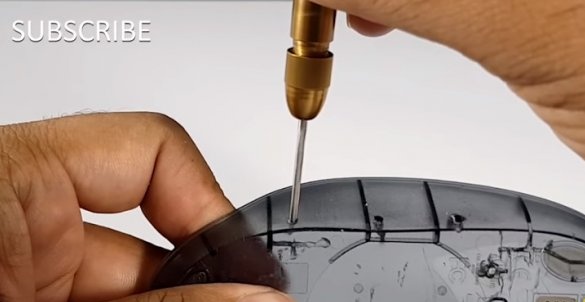
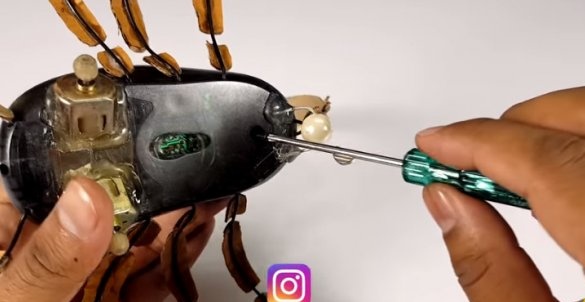
Break inside the partition wall (do not touch the fasteners). Drill two holes at the back and front of the body and three holes at the sides.
Step Two: Engines
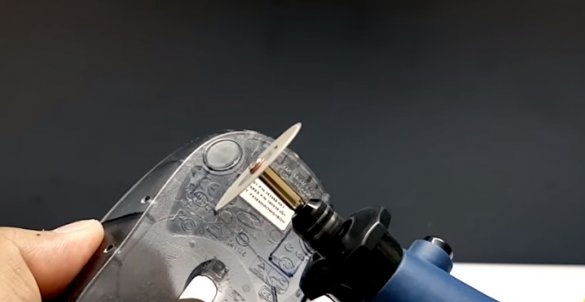
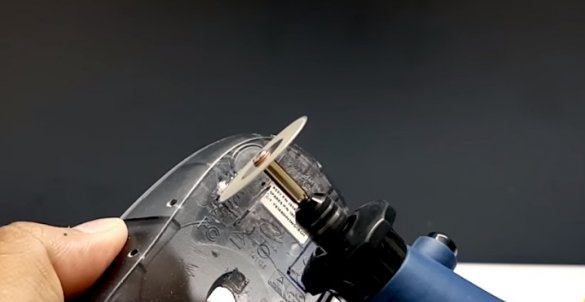
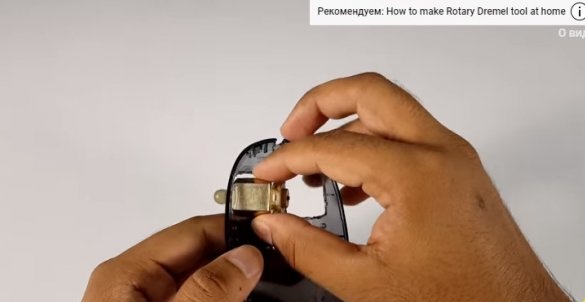
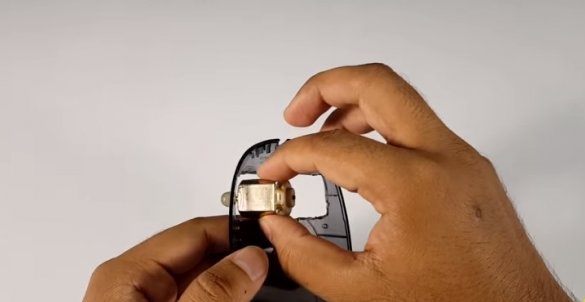
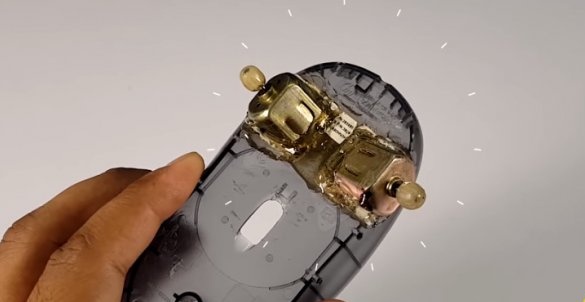
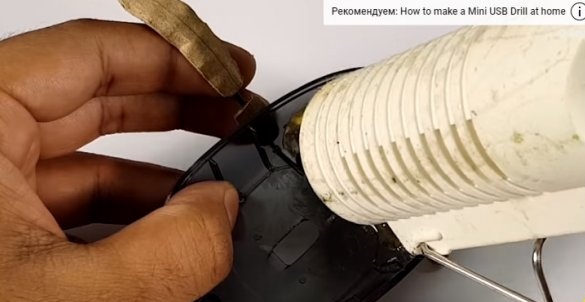
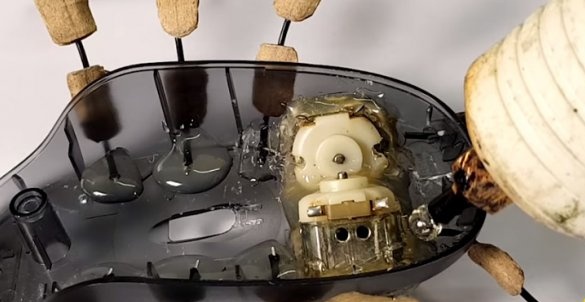
In the lower half of the body cuts out two windows for installing engines.
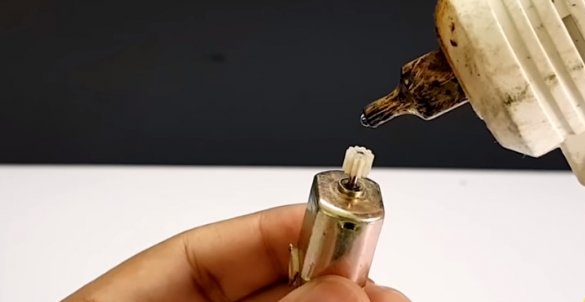
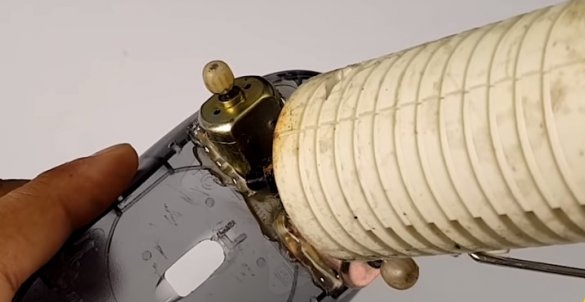
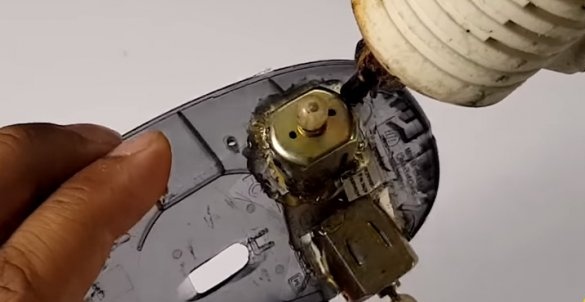
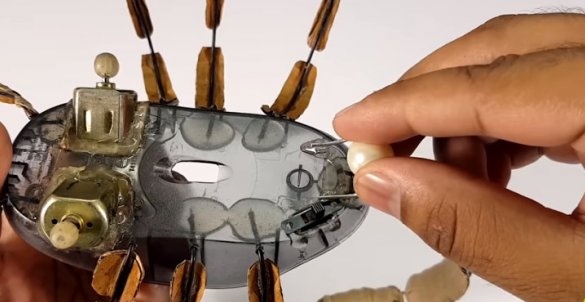
Installs gears on engines and fixes with glue.
Glues engines to the body, as in the photo (gears down).
Step Three: Paws, Claws, Tail
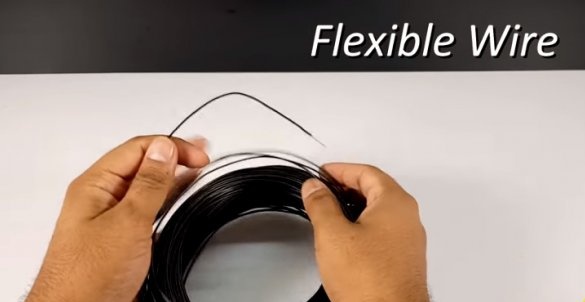
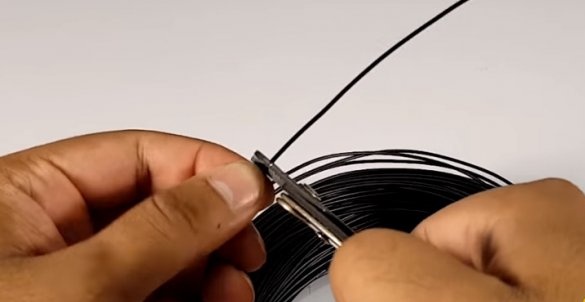
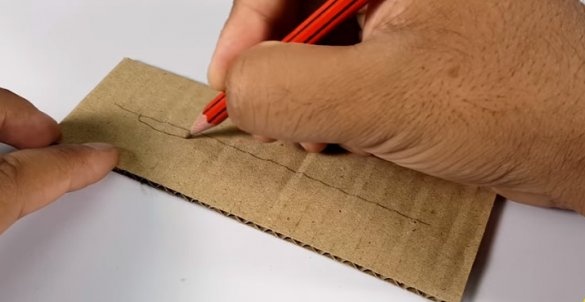
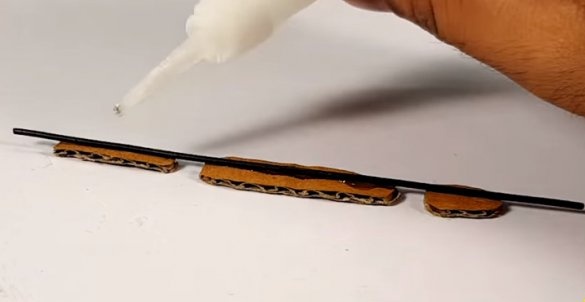
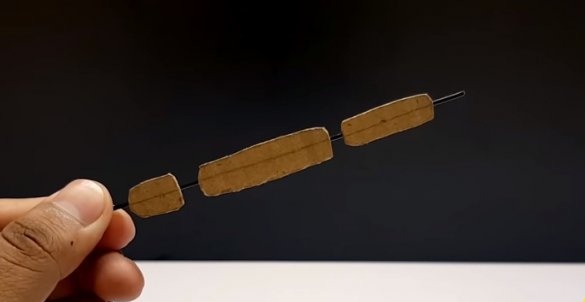
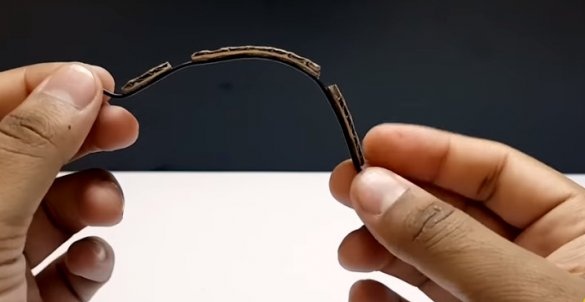
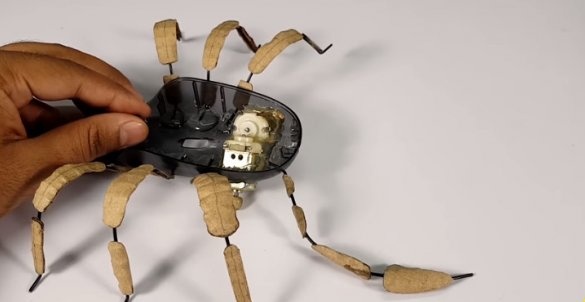
Paws, claws and tail are made of cardboard and wire. Cuts a wire of a certain length.
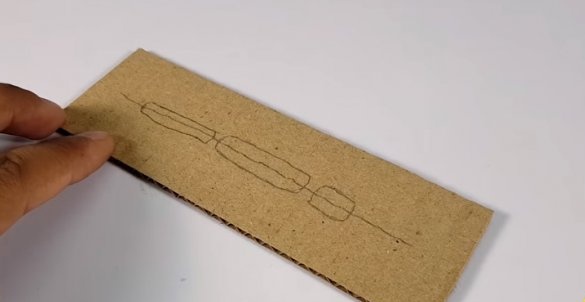
From cardboard cuts parts.
Glue cardboard parts to the wire.
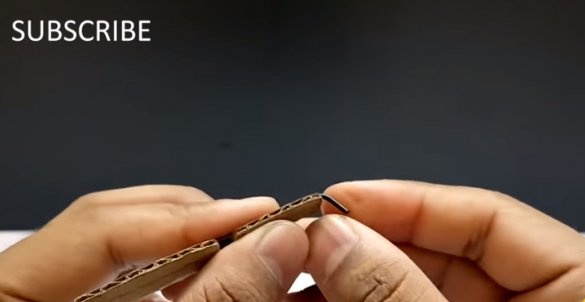
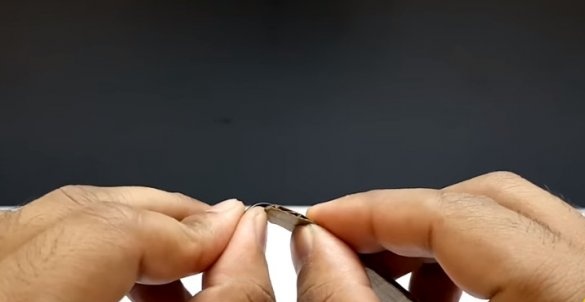
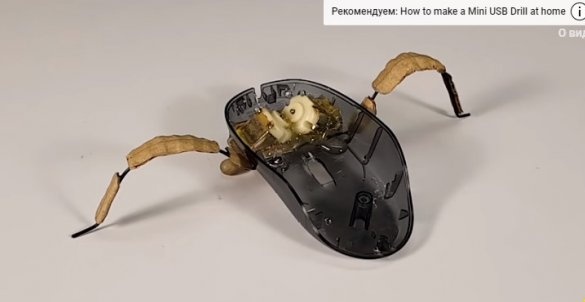
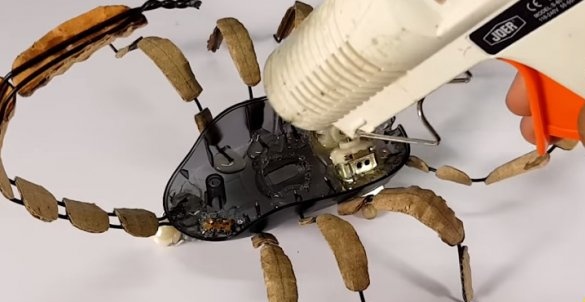
It bends the limbs, inserts the ends into the hole in the body and fixes it with glue.
Step Four: electronics
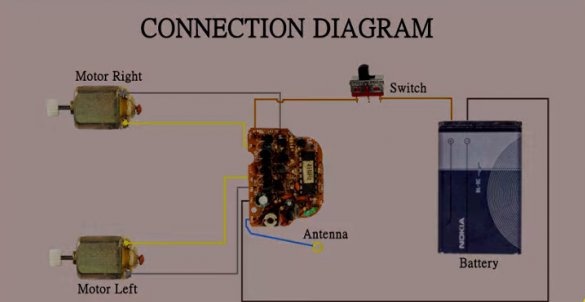
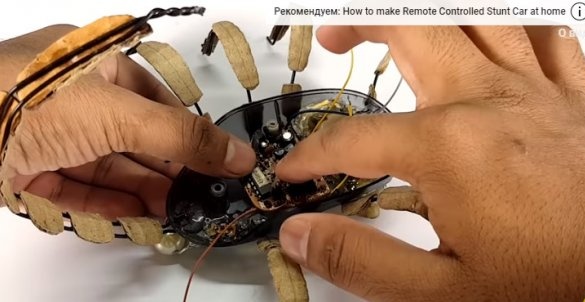
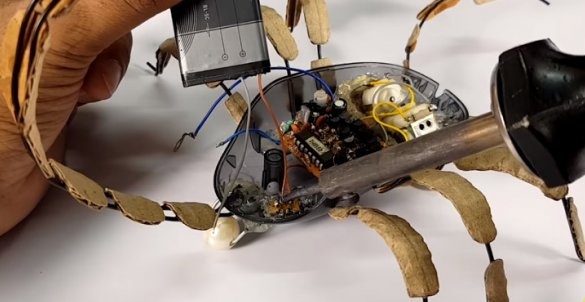
Electronics are mounted as shown below.
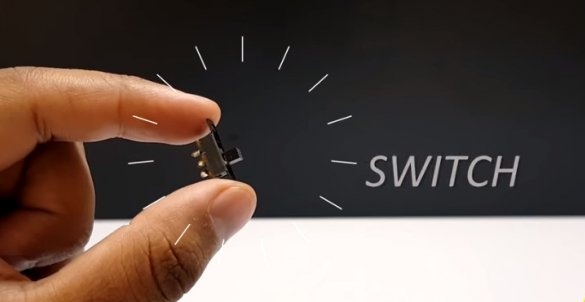
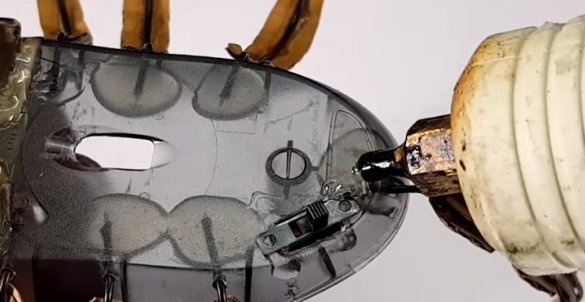
Sets the switch.
Immediately fixes the bead (the back of the scorpion will rest on it).
Secures the receiving module. When removing the module, it is necessary to fix where, which wire was soldered on the toy. In the same order, it is necessary to mount on a scorpion.
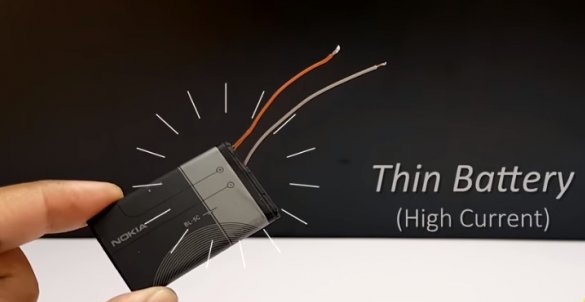
Installs the battery and charging module.
Now it remains to close the top cover and check the scorpion in work.
The full video on the manufacture and operation of the scorpion can be viewed below.

