

Hello dear the inhabitants of our site and all visitors to the site.
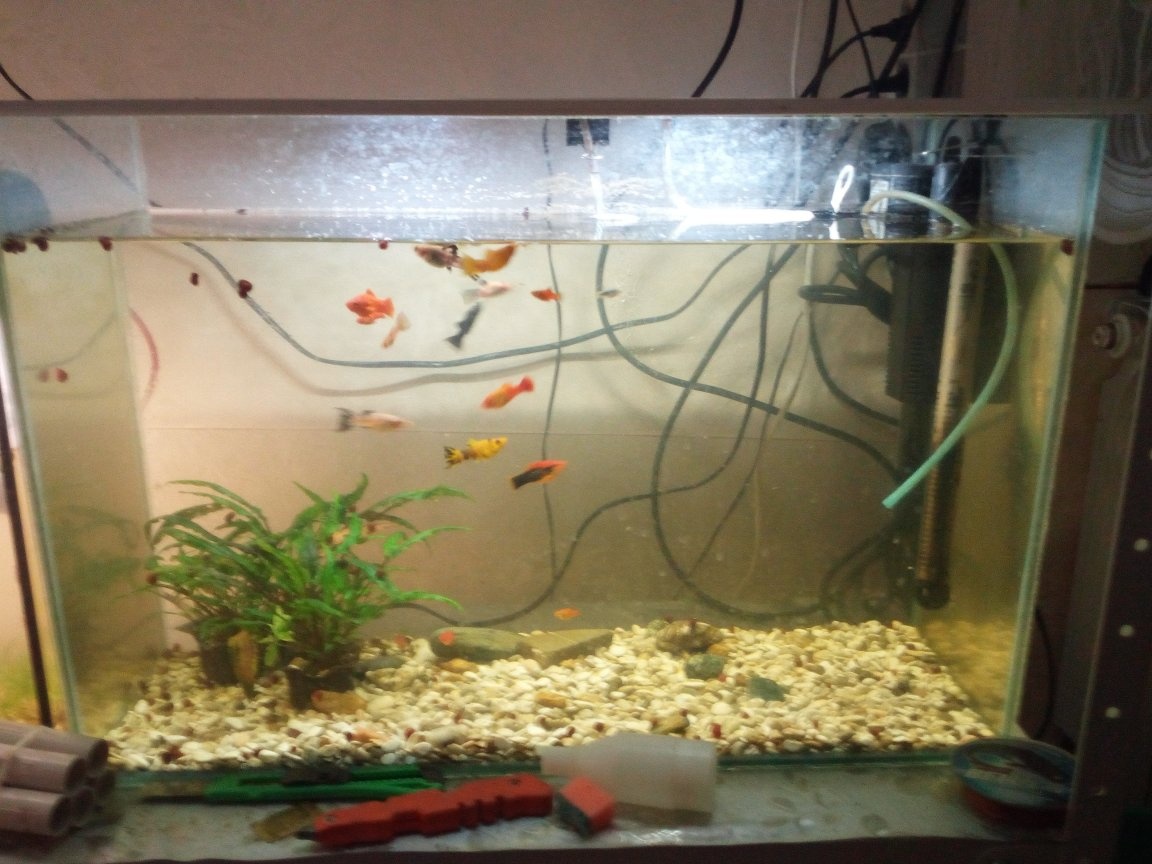
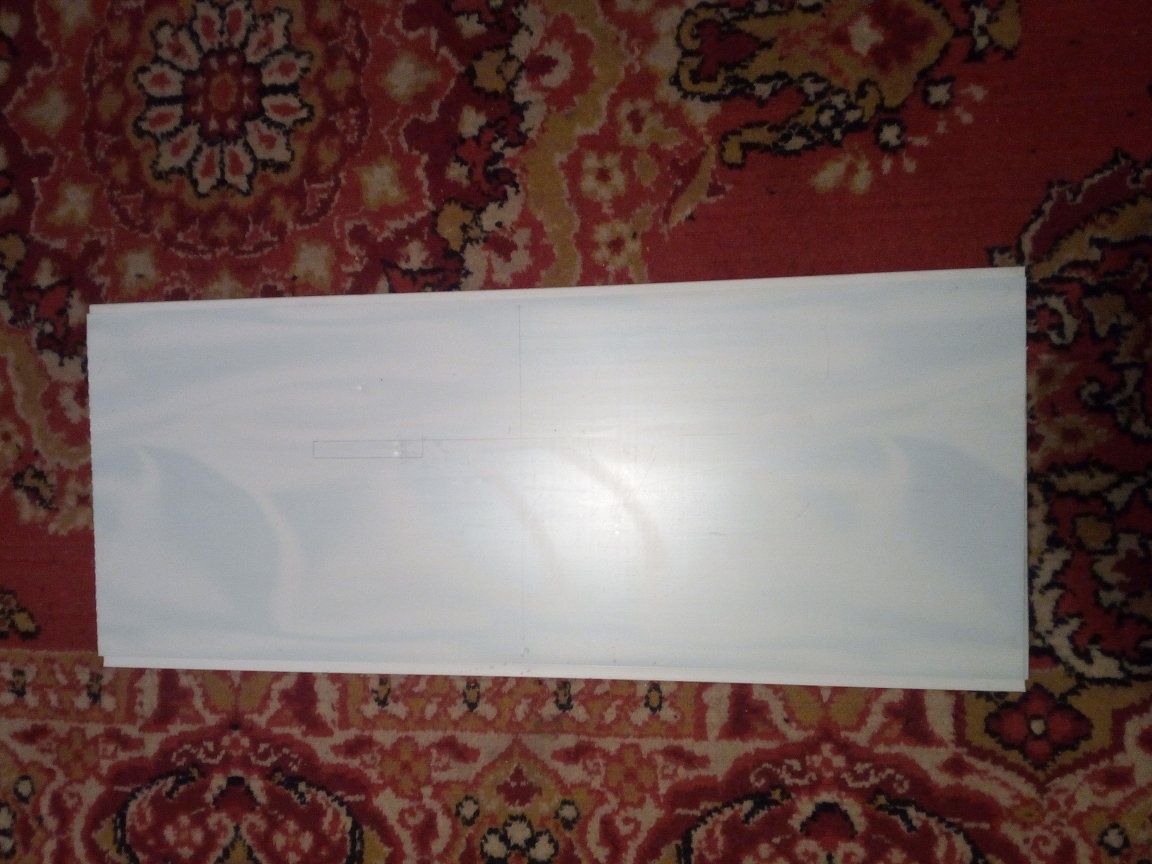
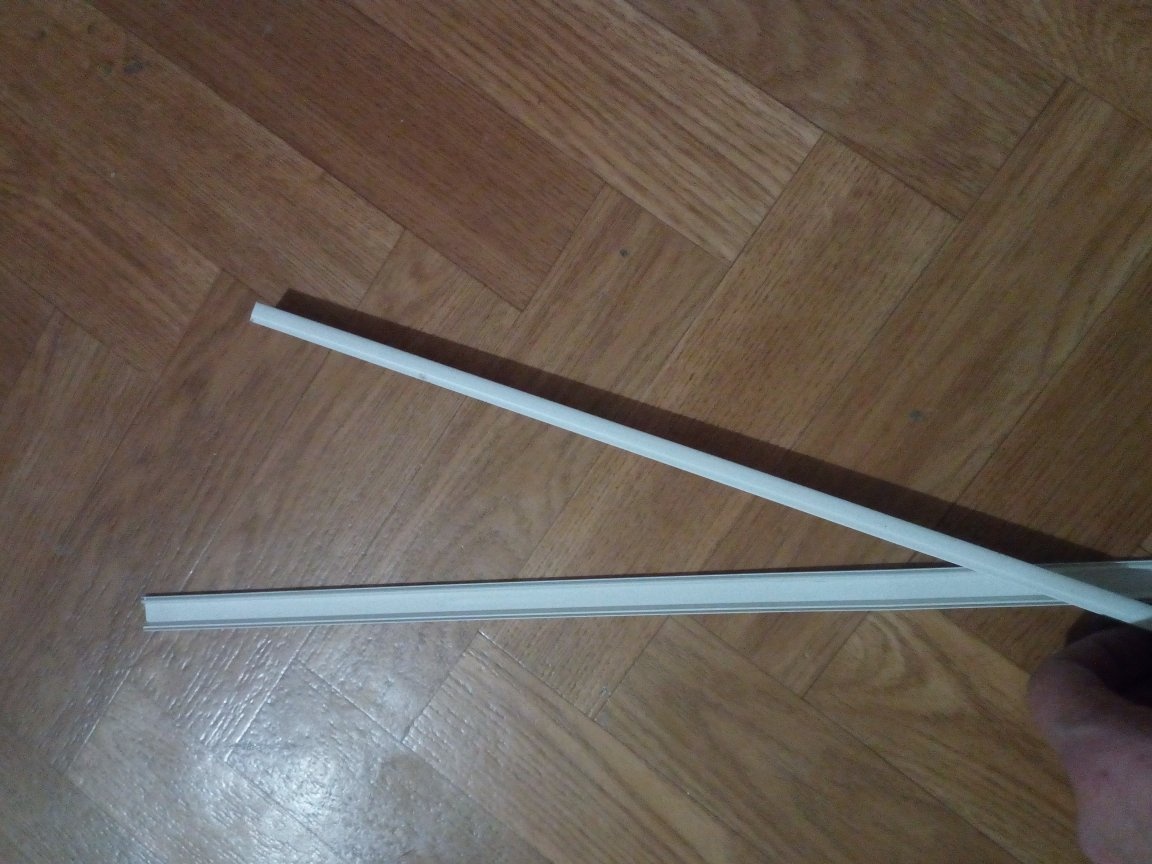
The other day, on occasion, I managed to get another aquarium for my pets. And since among those whom I want to identify for a new place of residence there are those who cannot sit quietly in their place, either a cover glass or something that prevents the fish from jumping out of the aquarium is necessary. Glass, of course, is the easiest and most economical option, but there is one thing. Shine. Since I have a lot of aquariums and so far they are practically on each other’s heads, I have to reconnect and connect the light to every fish house. This is the whole snag. Therefore, I decided to combine the useful with another useful and combine these two factors - safety and lighting. I rummaged in my bins and found a plastic panel for wall cladding. So I took it as the basis for covering material.
So, what I needed to work:
- PVC panel
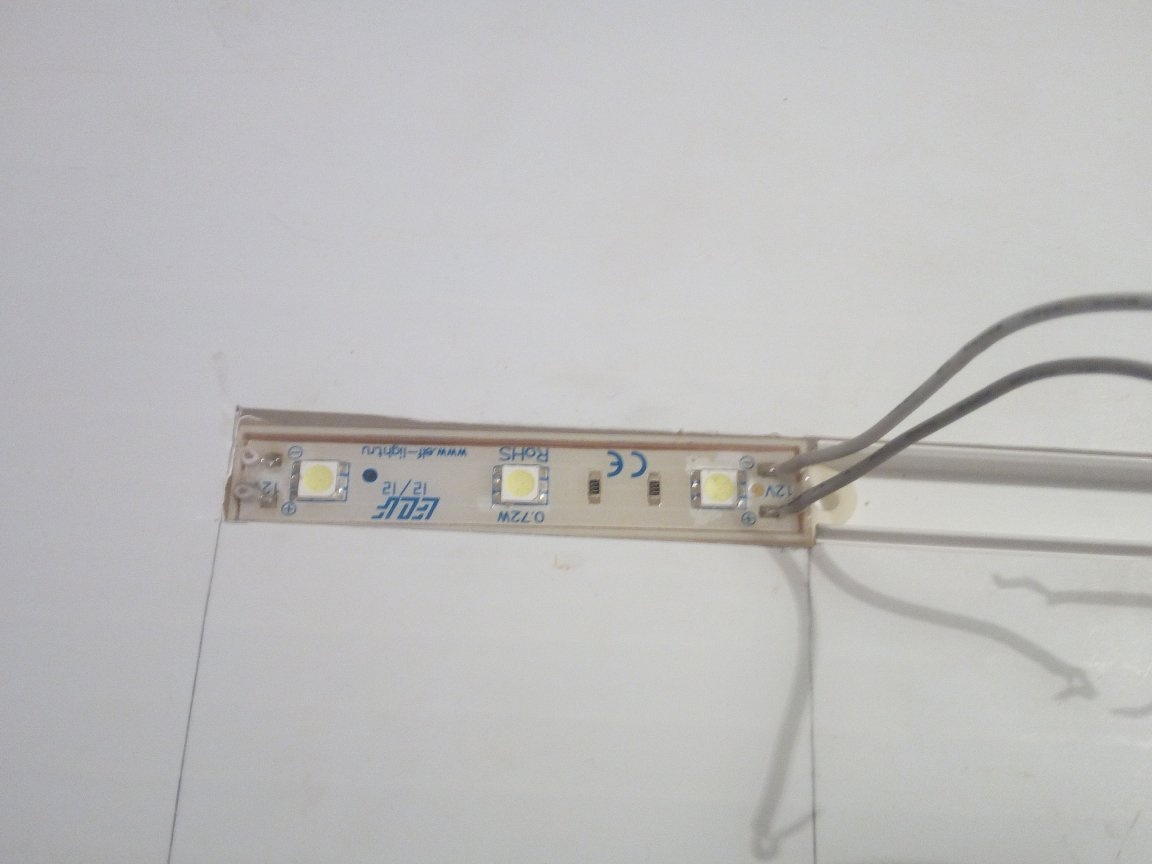
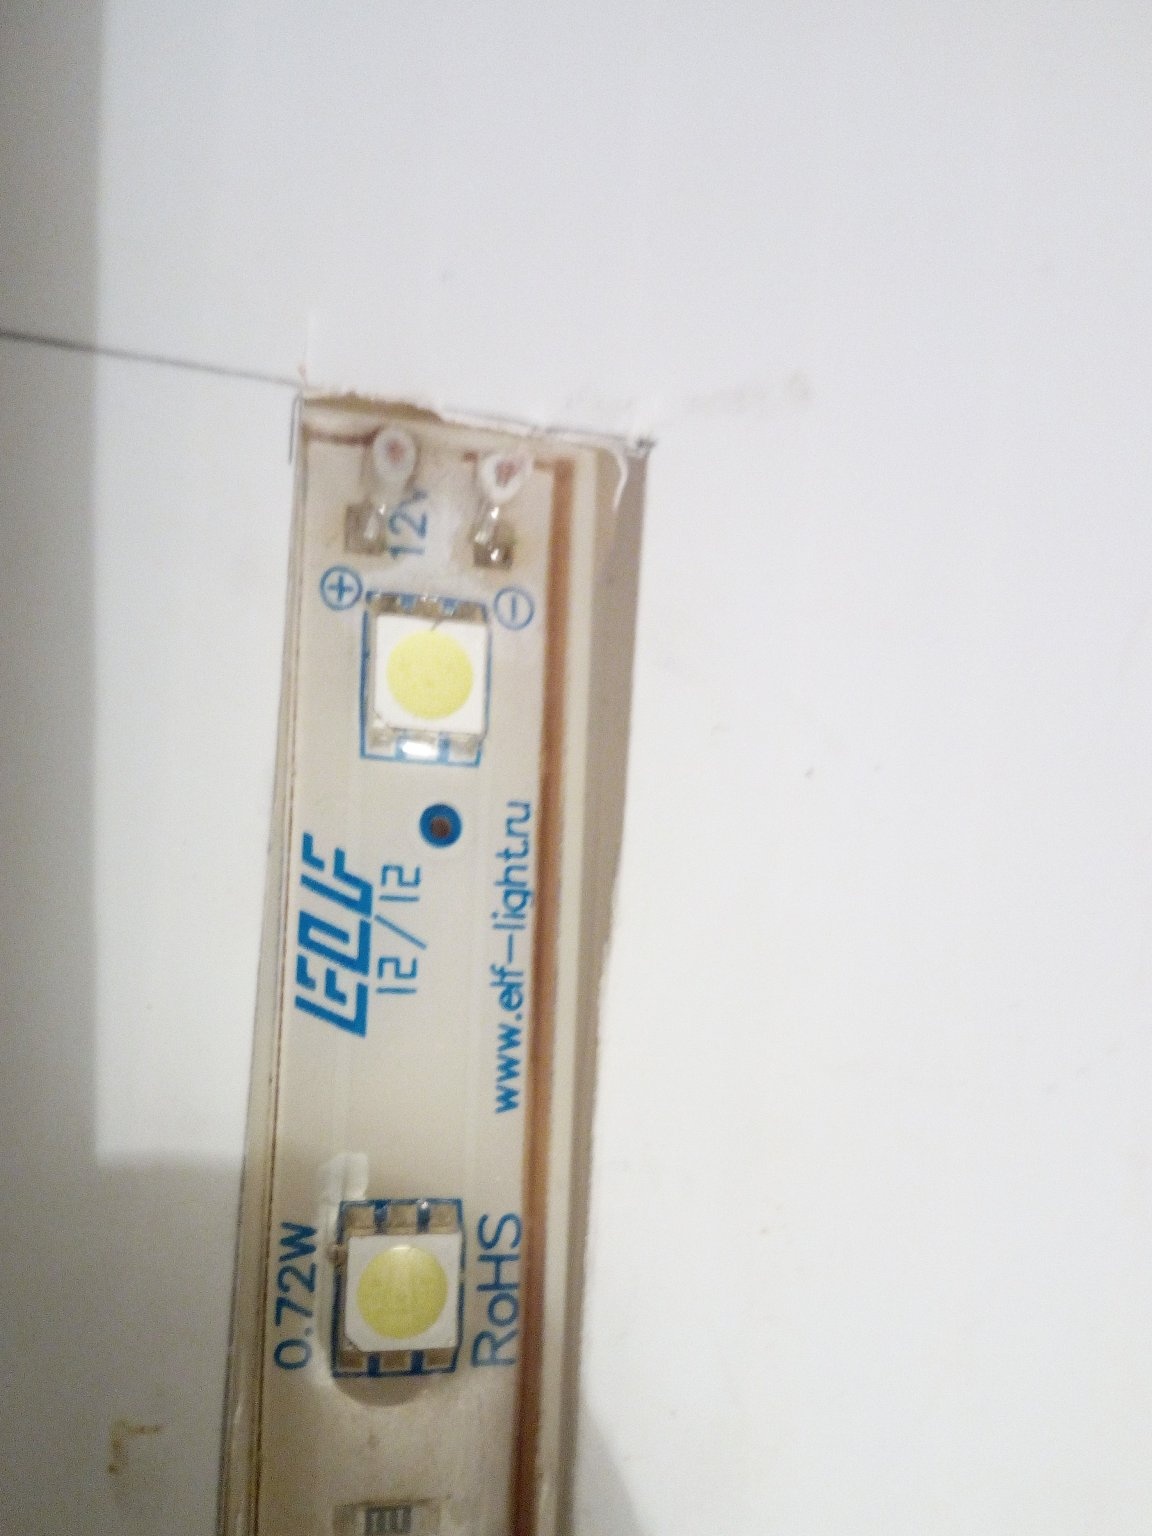
- a pair of LED lamps on a flat base in silicone fill,
- stationery knife,
- nippers
- a simple pencil
- cable channels (preferably the same size with lamps in width),
- power supply for 12V,
- heat shrink,
- ruler
- lighter,
- aquarium sealant.
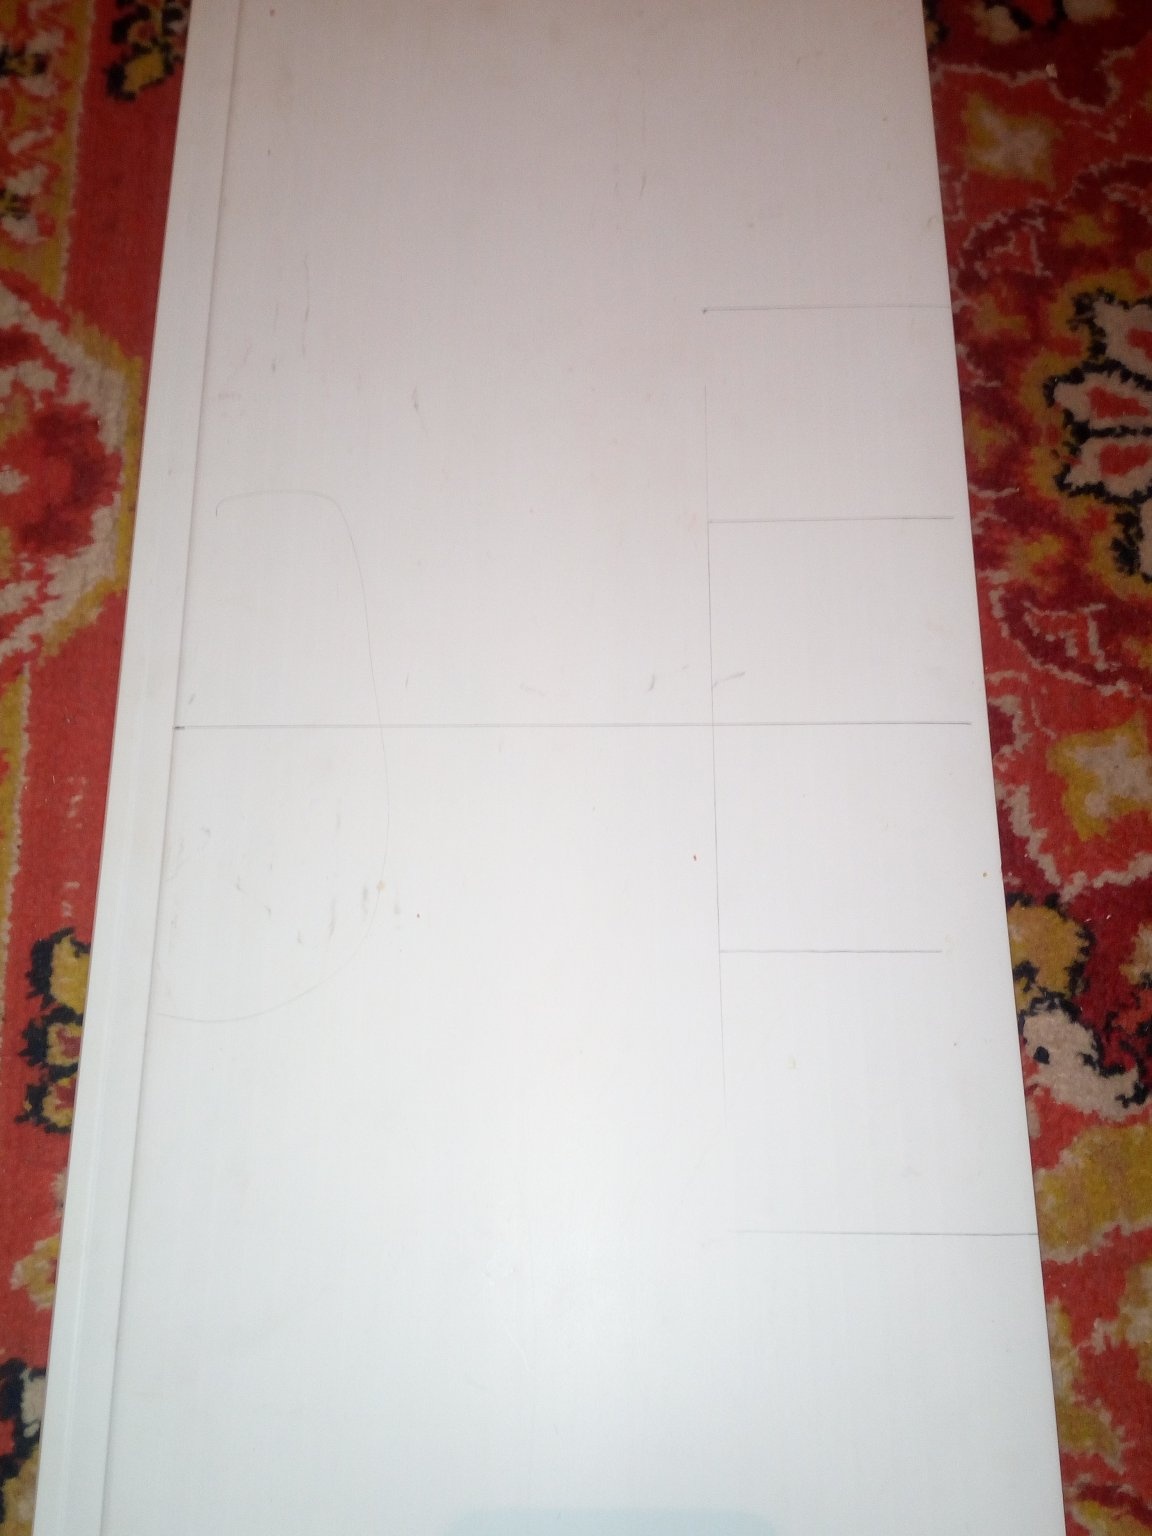
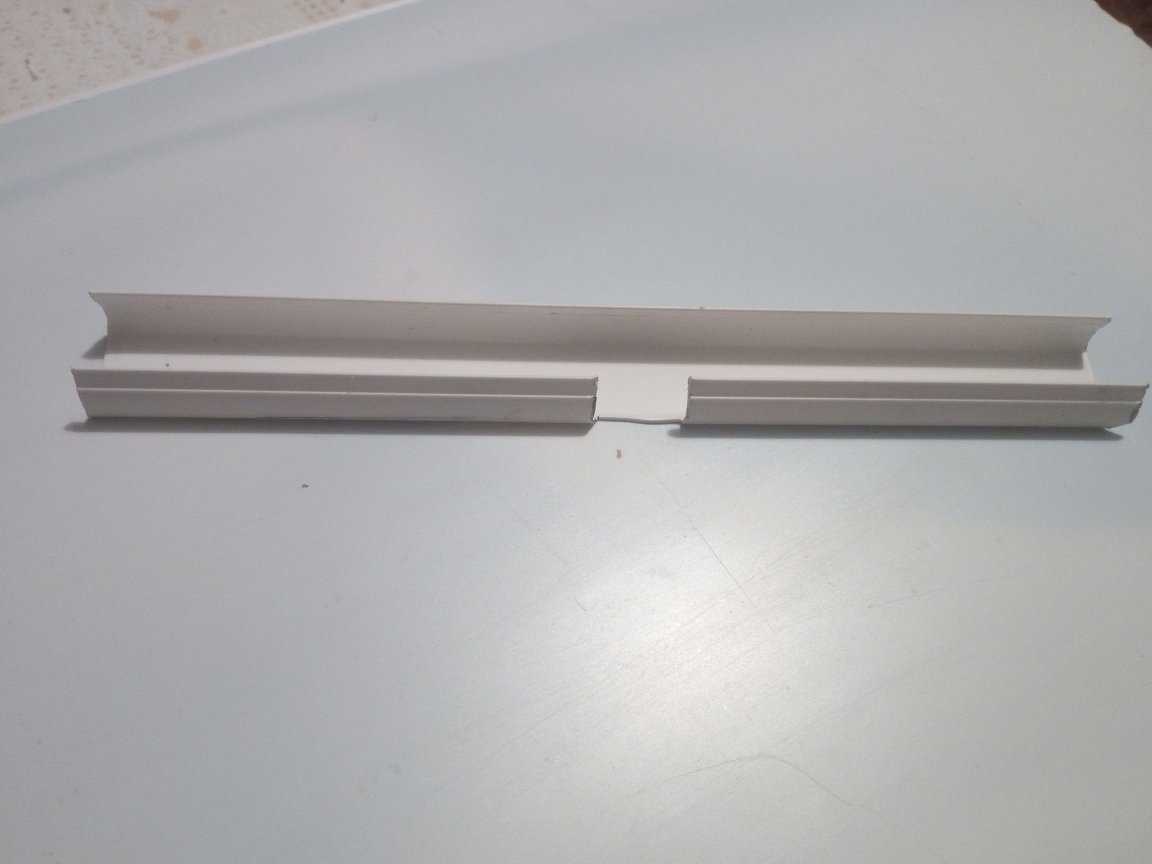
First, I took the sizes from my aquarium and compared them with the dimensions of the PVC panel. It turned out that the panel is only slightly larger than the aquarium in width! This made me very happy because did not have to trim the panel along.
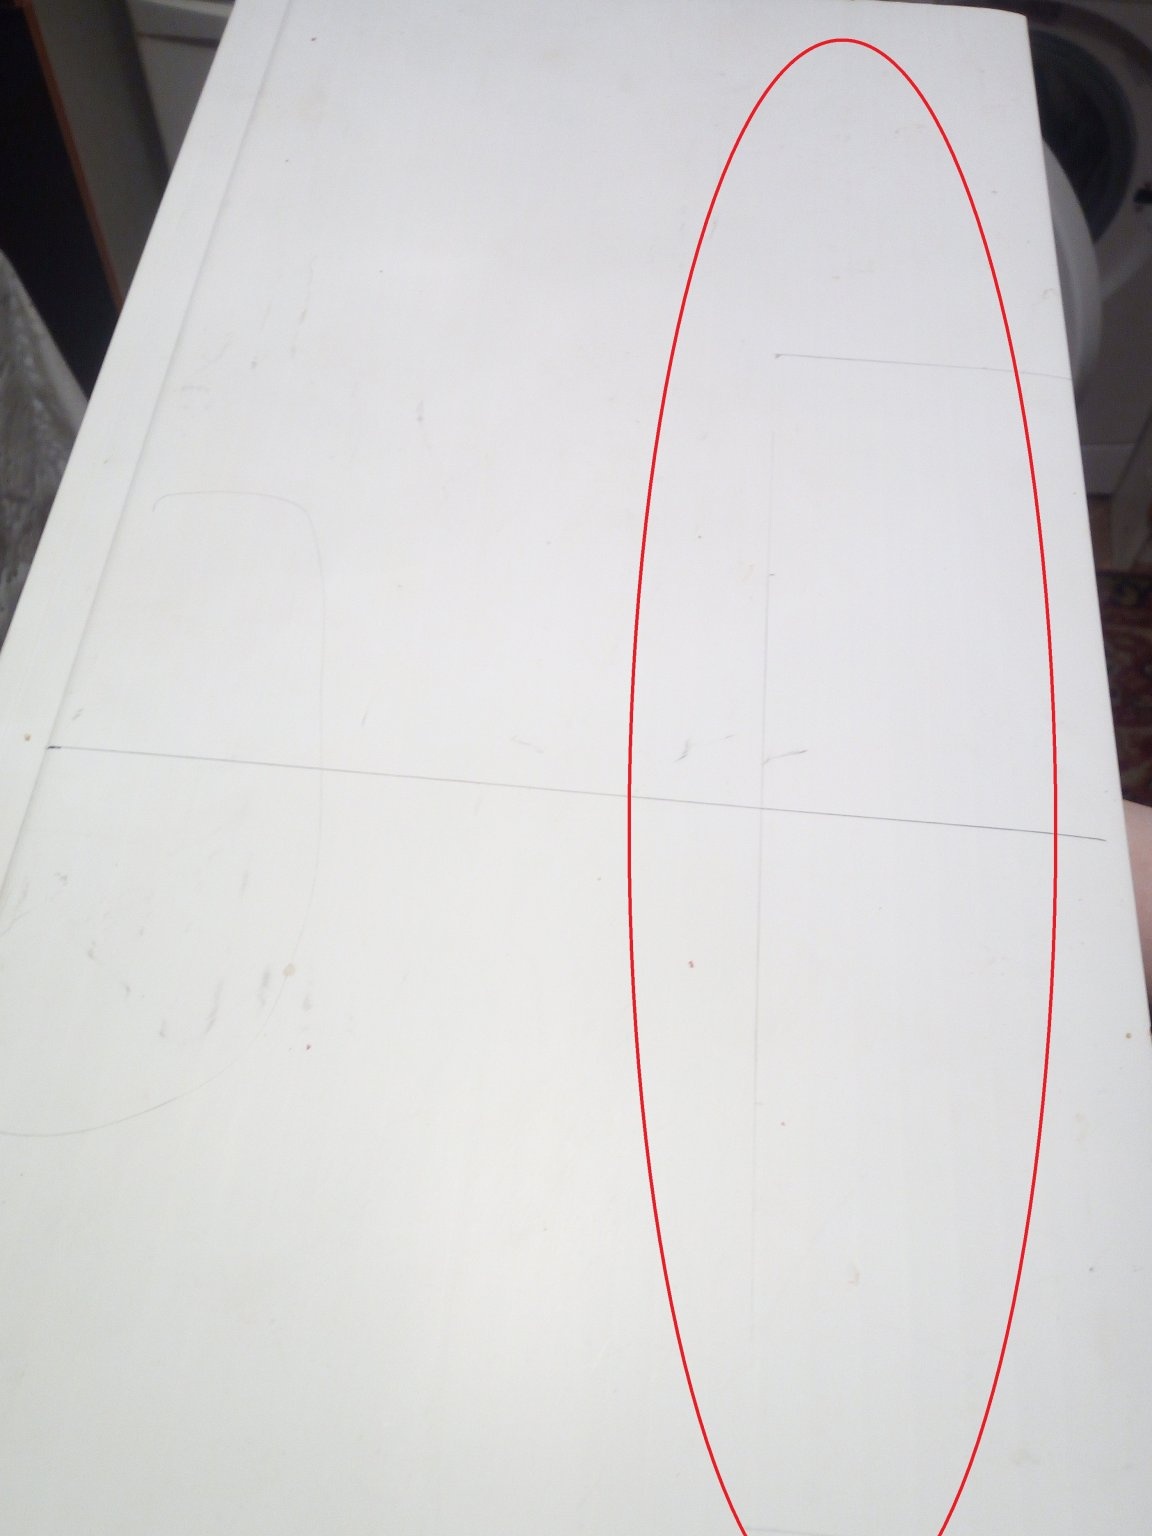
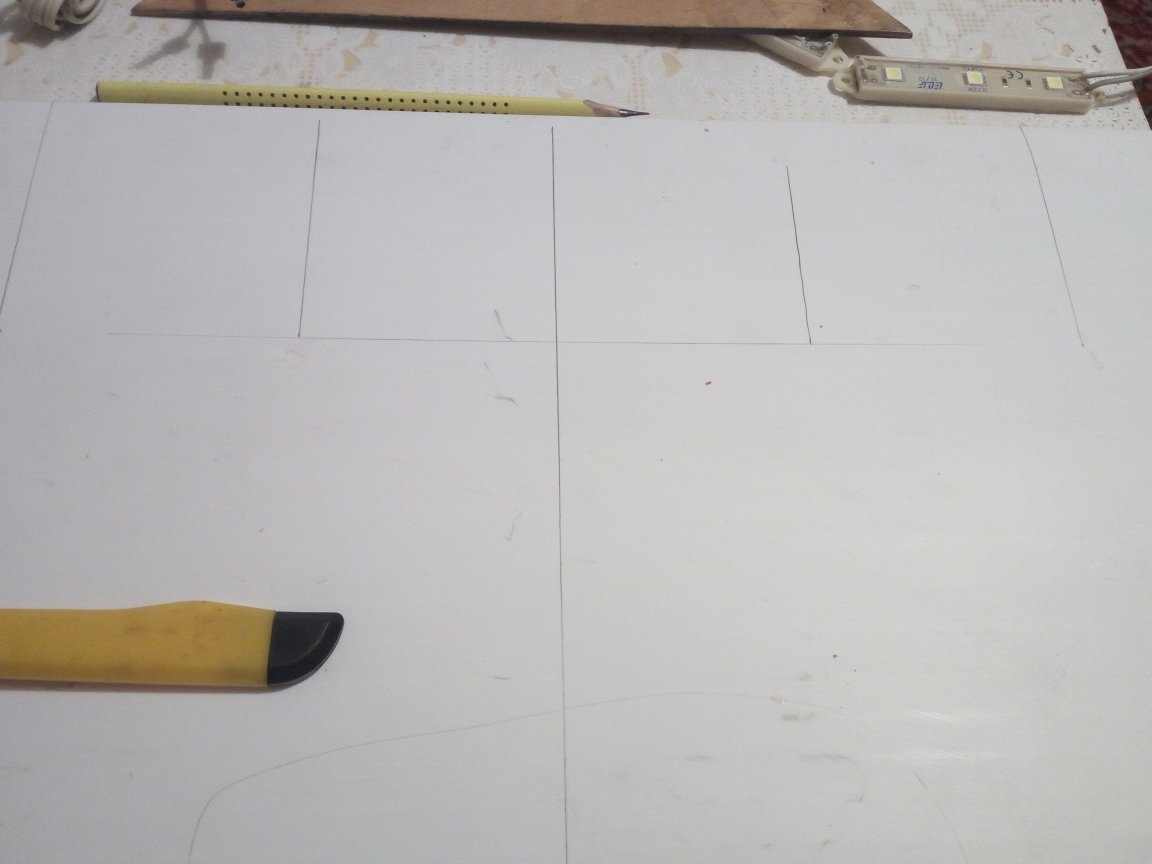
Take a pencil and mark the center of the lid. From this place, a short distance from
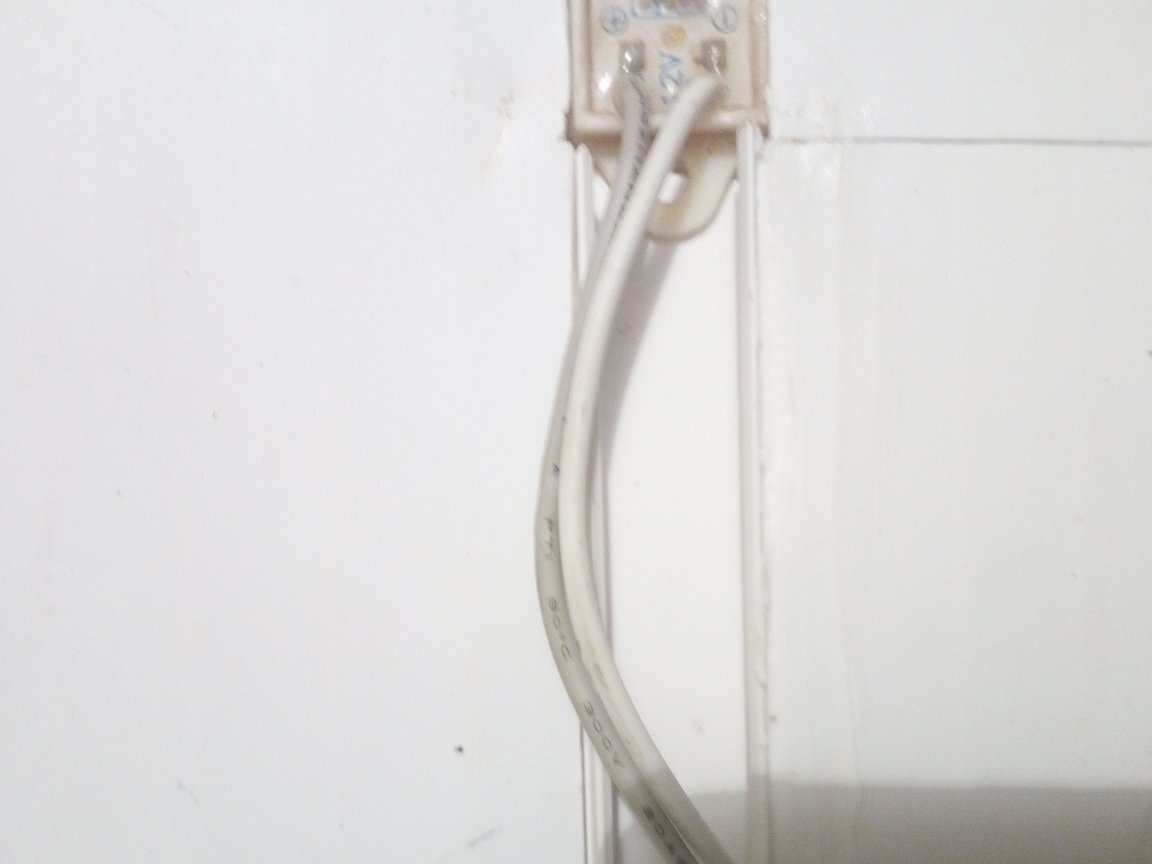
the center line on both sides and the back wall of the can, mark the places where the LED lamps will be.
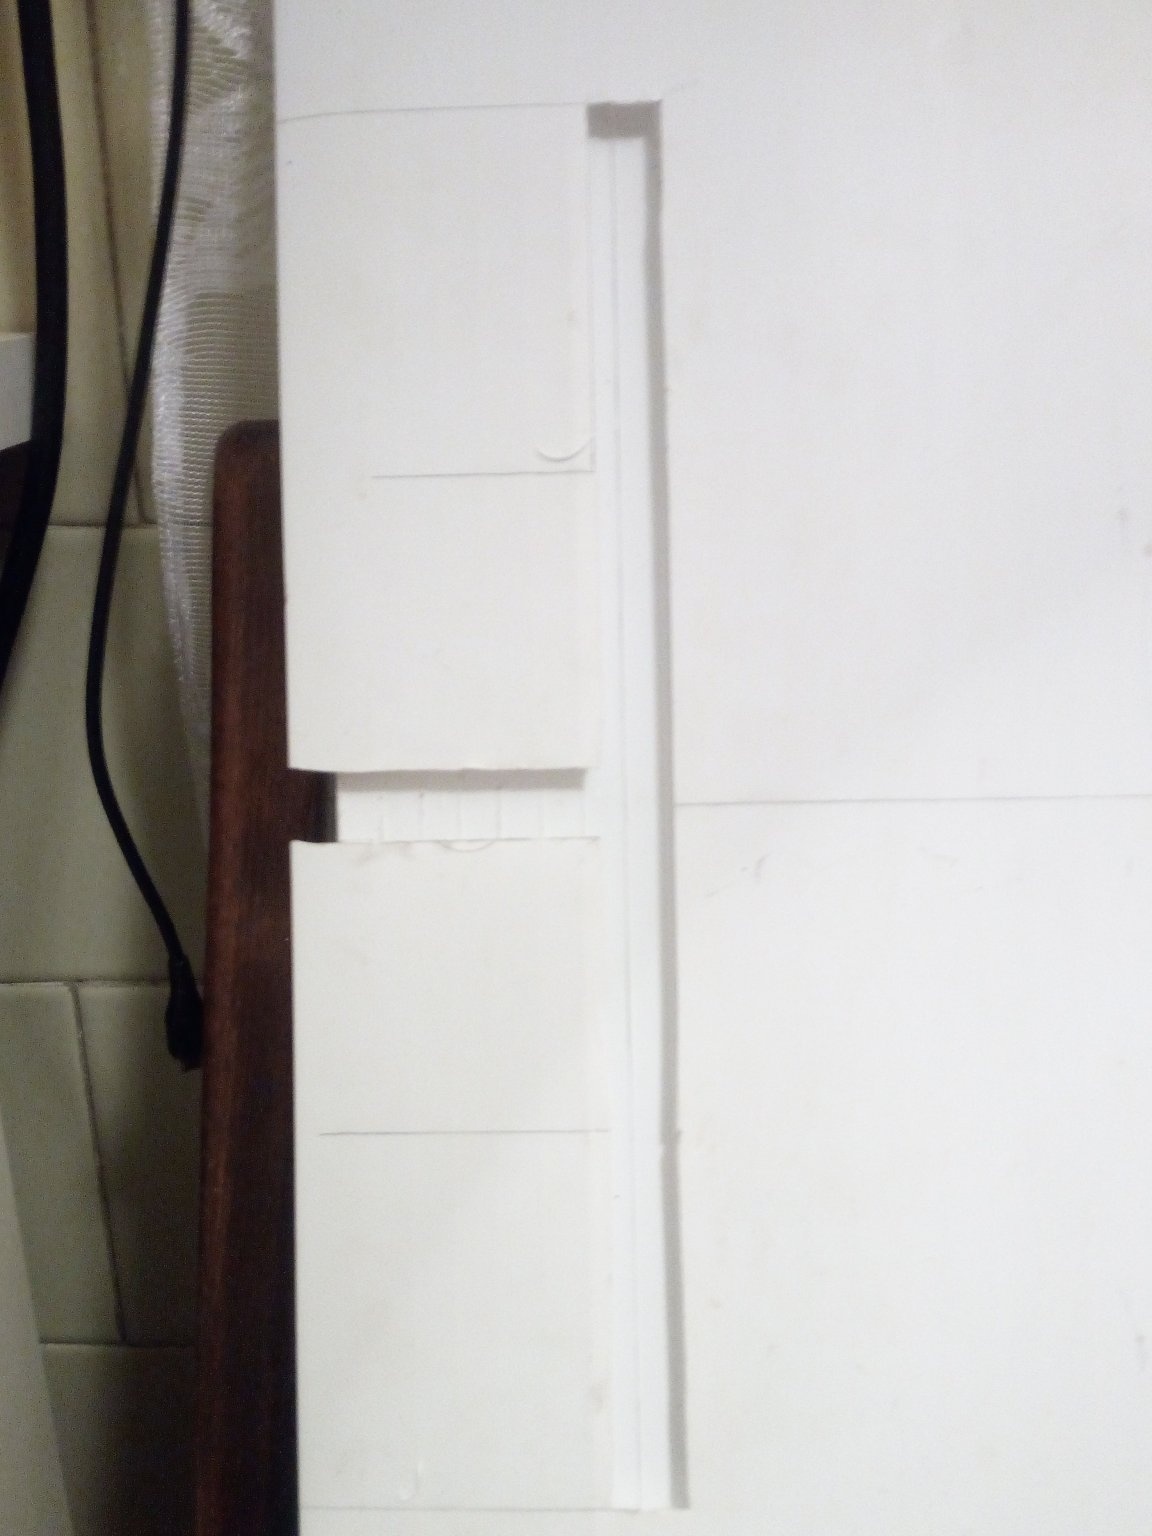
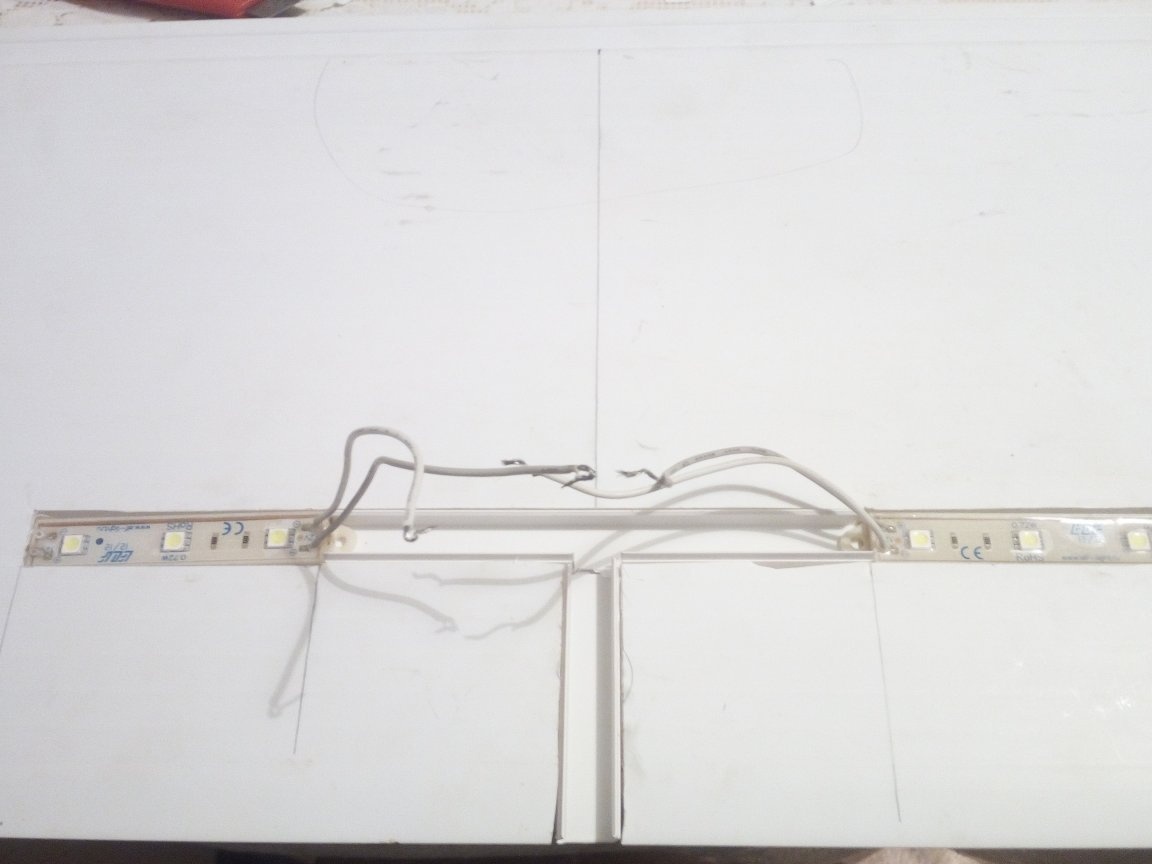
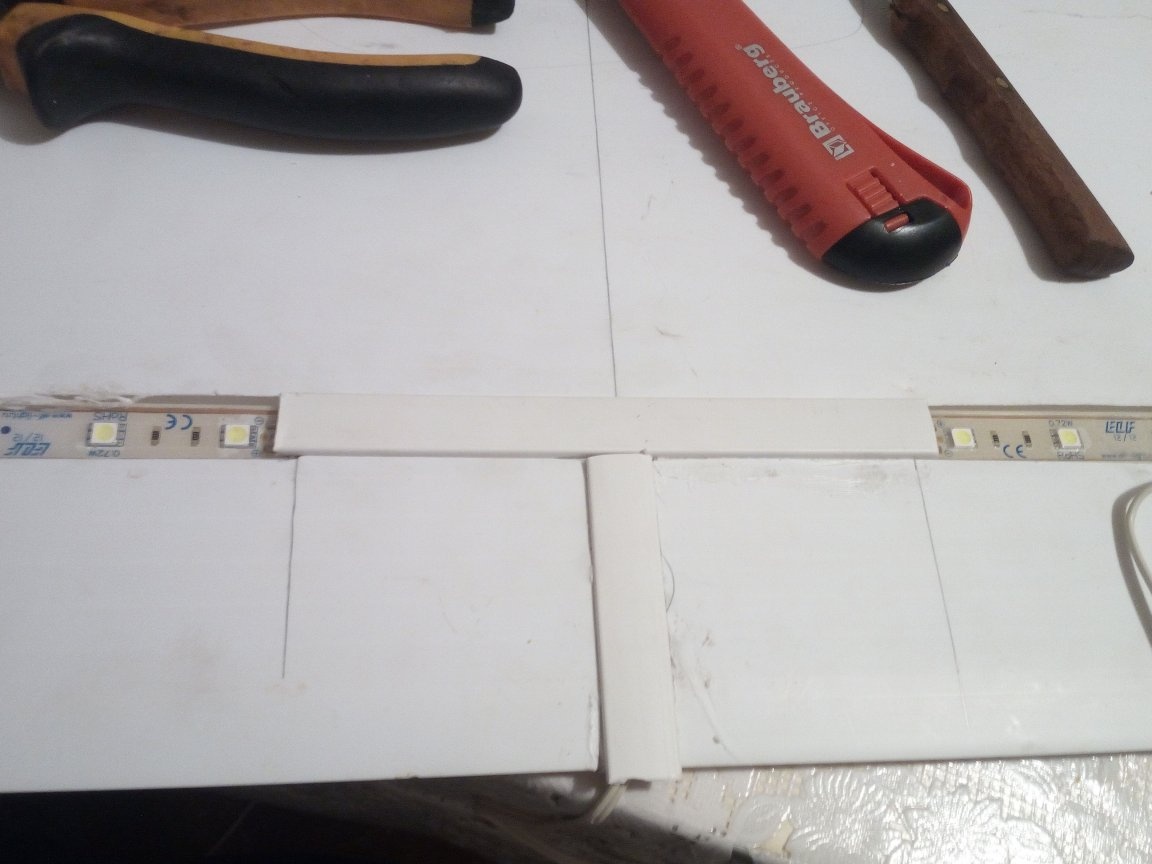
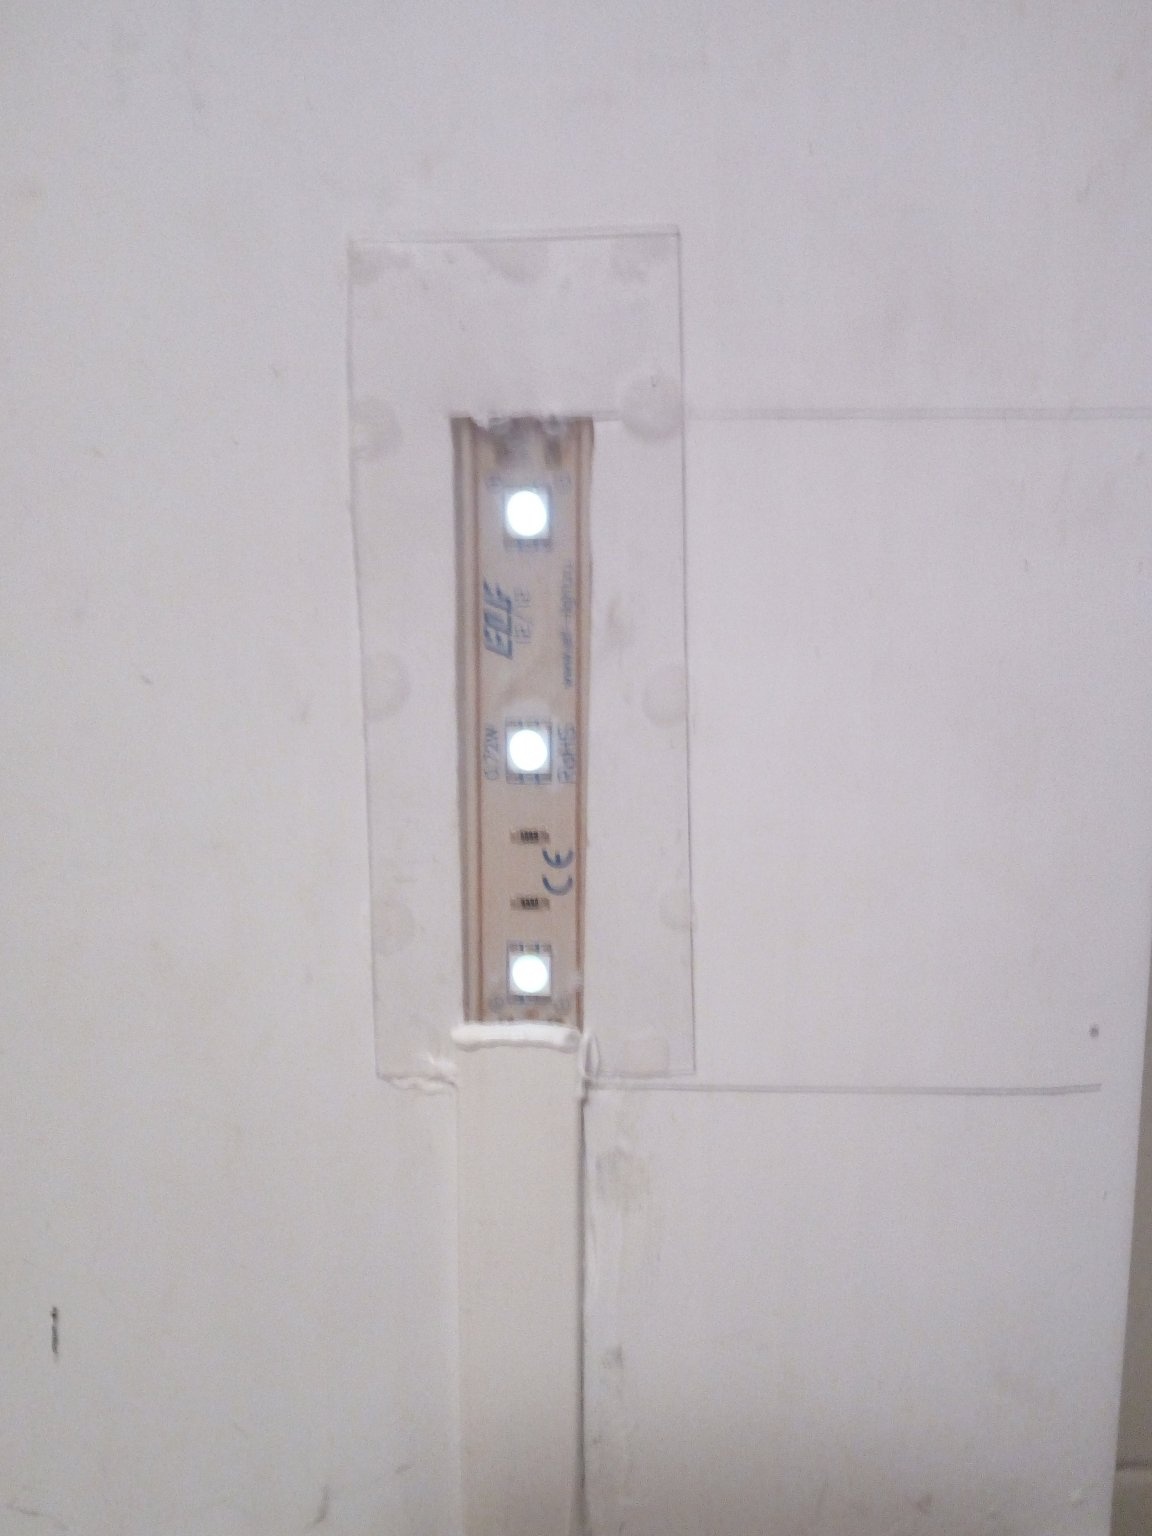
The next step was the preparation of seats for lamps. To do this, with the help of a clerical knife, I cut out recesses in the panel. I cut off the top layer of PVC, the inner side stiffener, left one layer as the place for the lamp sticker.
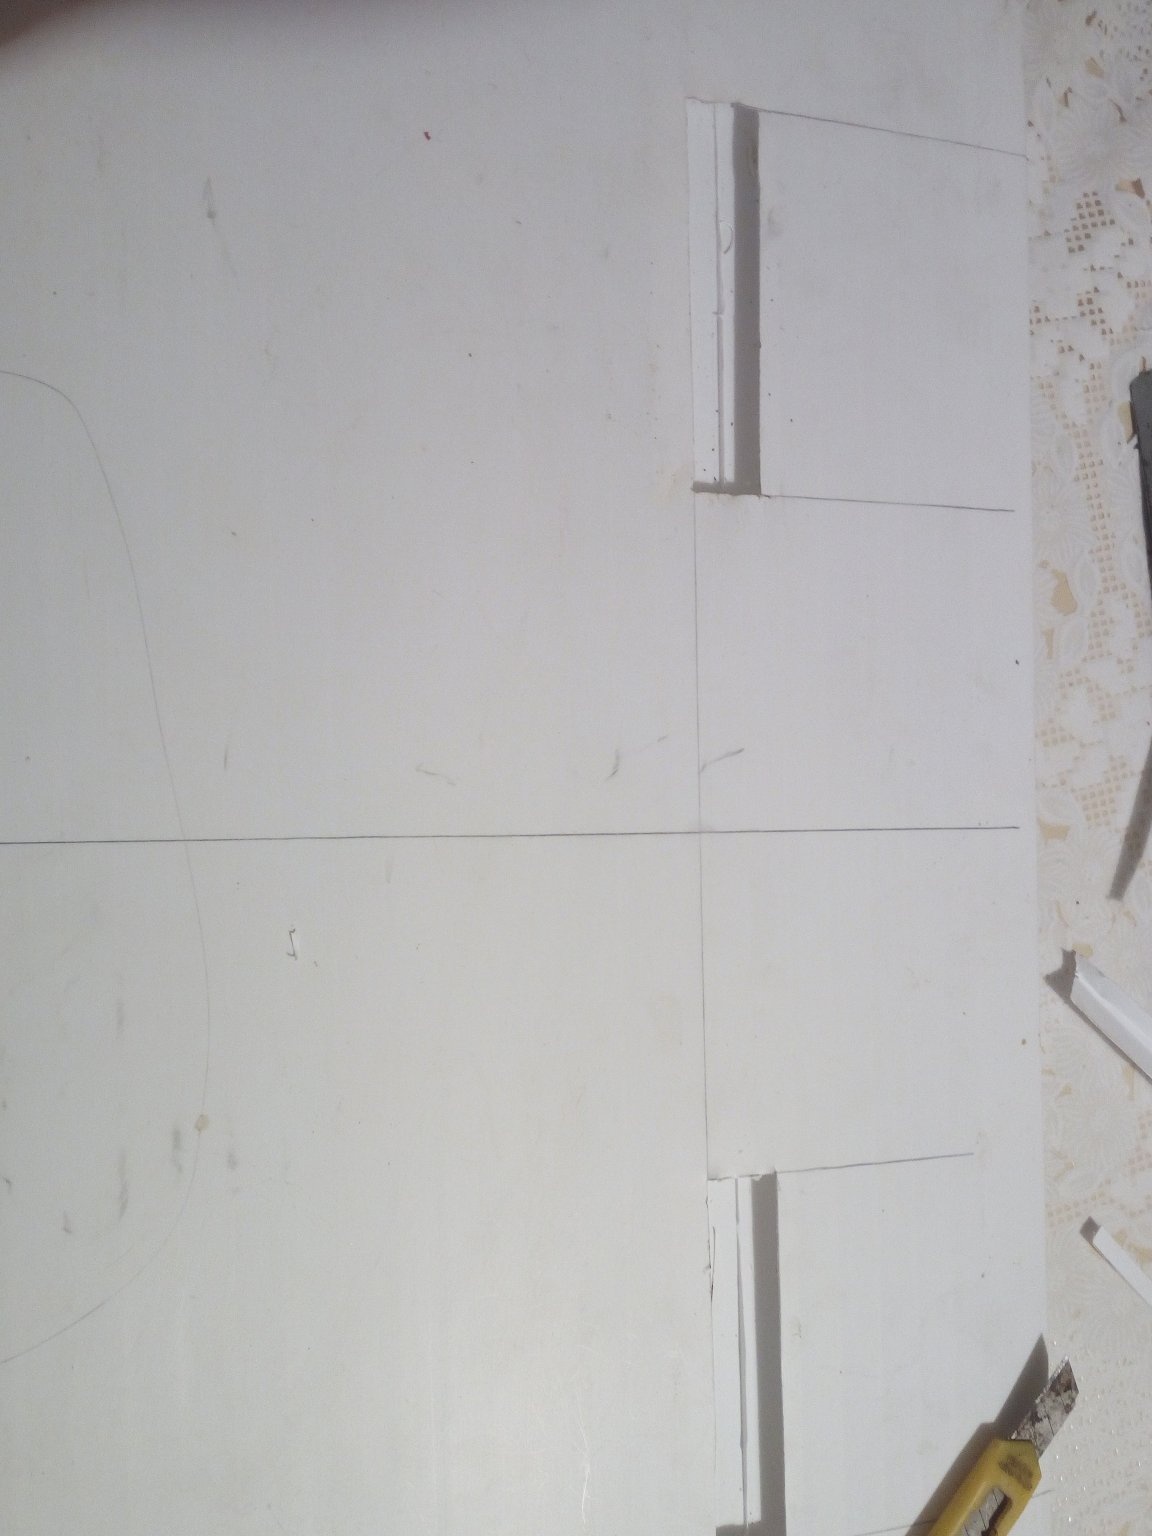
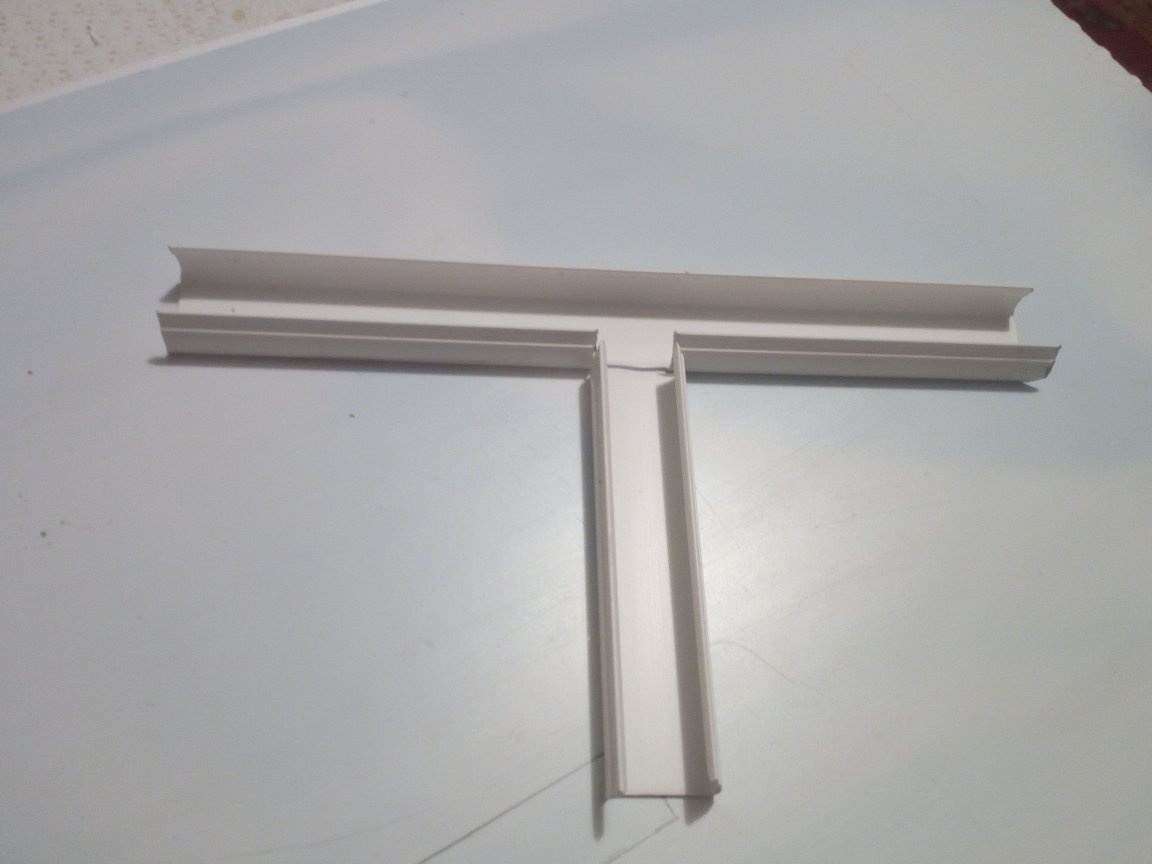
Then I was a little mistaken, because I forgot about the cable channel, through which the supply wires from the lamps will go to me. For convenience and speed of assembly, it was necessary to immediately cut out completely the recesses, and not like me. Therefore, it turned out a little longer. Trying on the lamp.They sit well in nests.
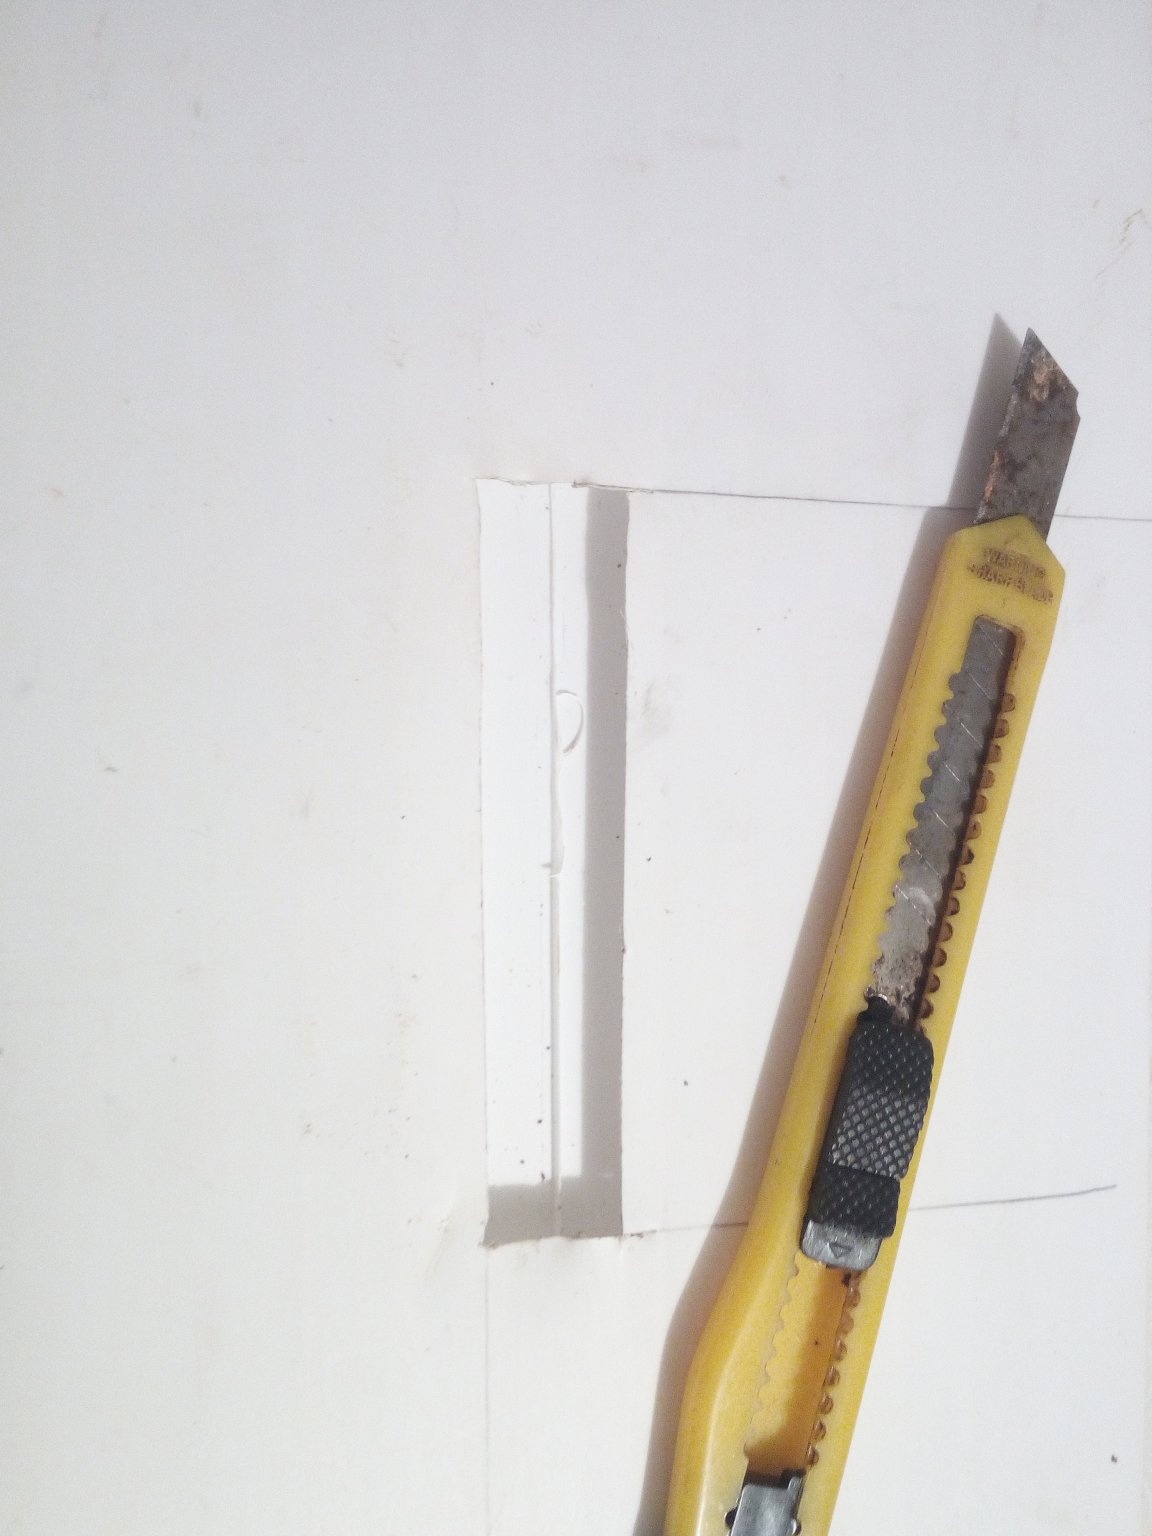
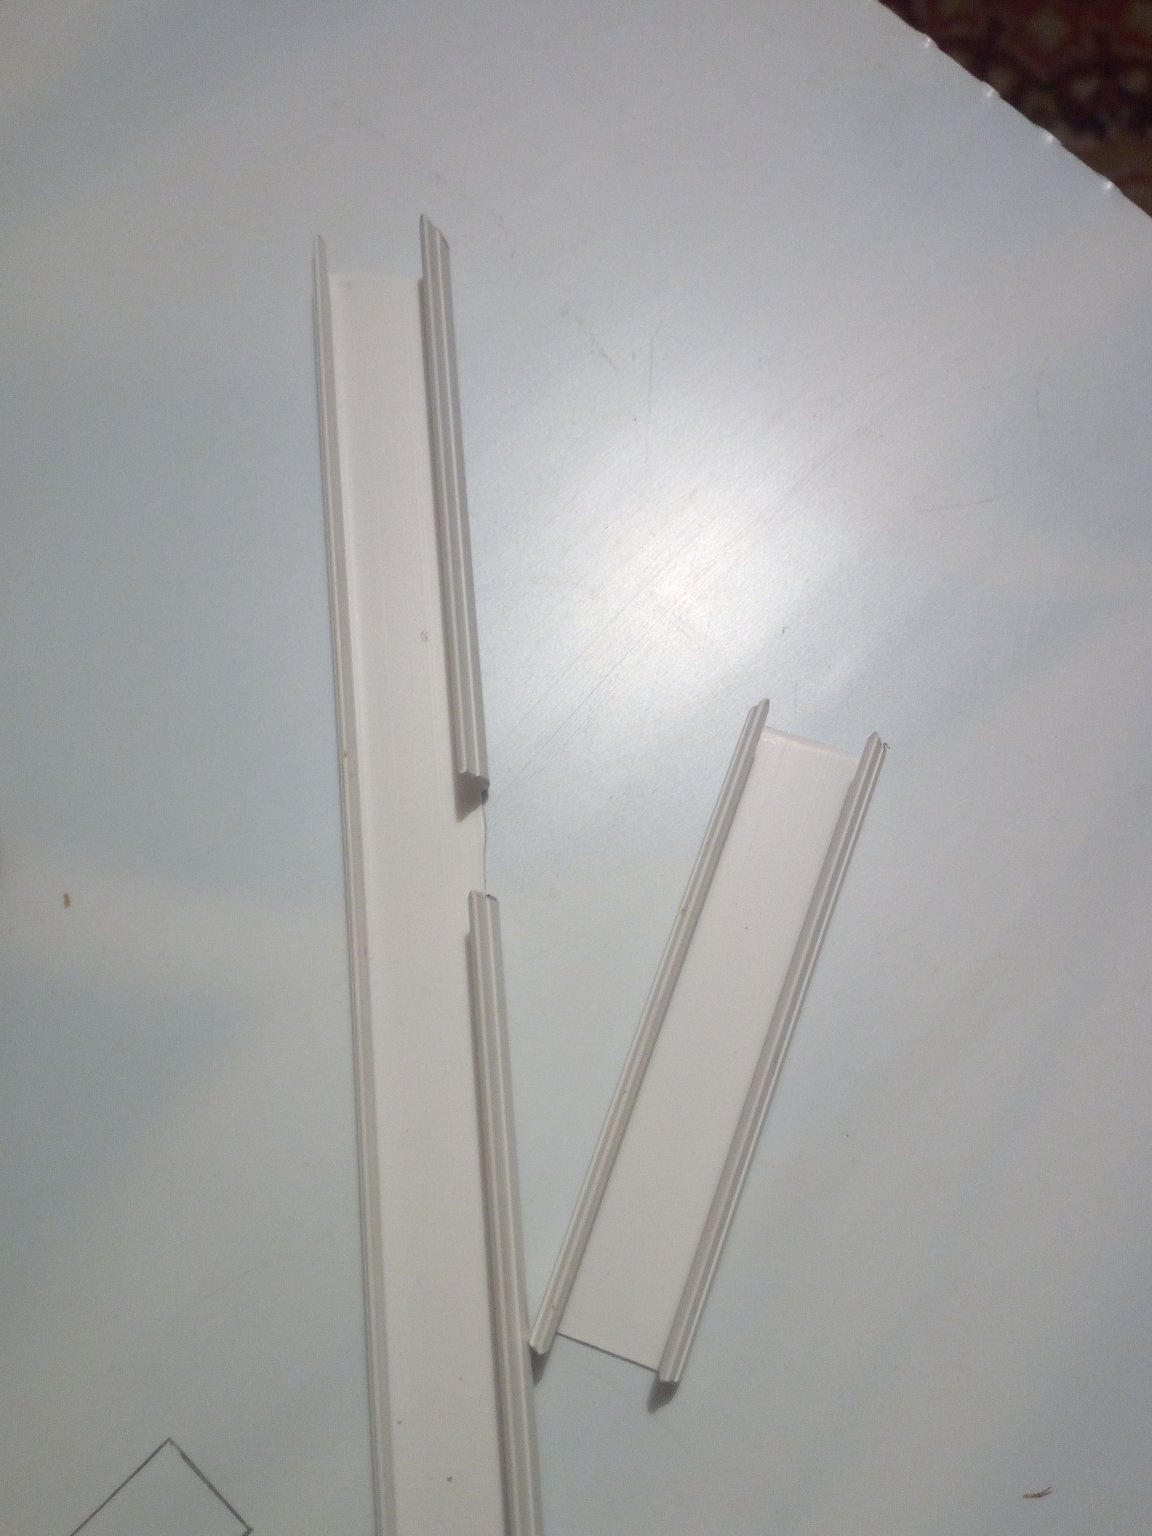
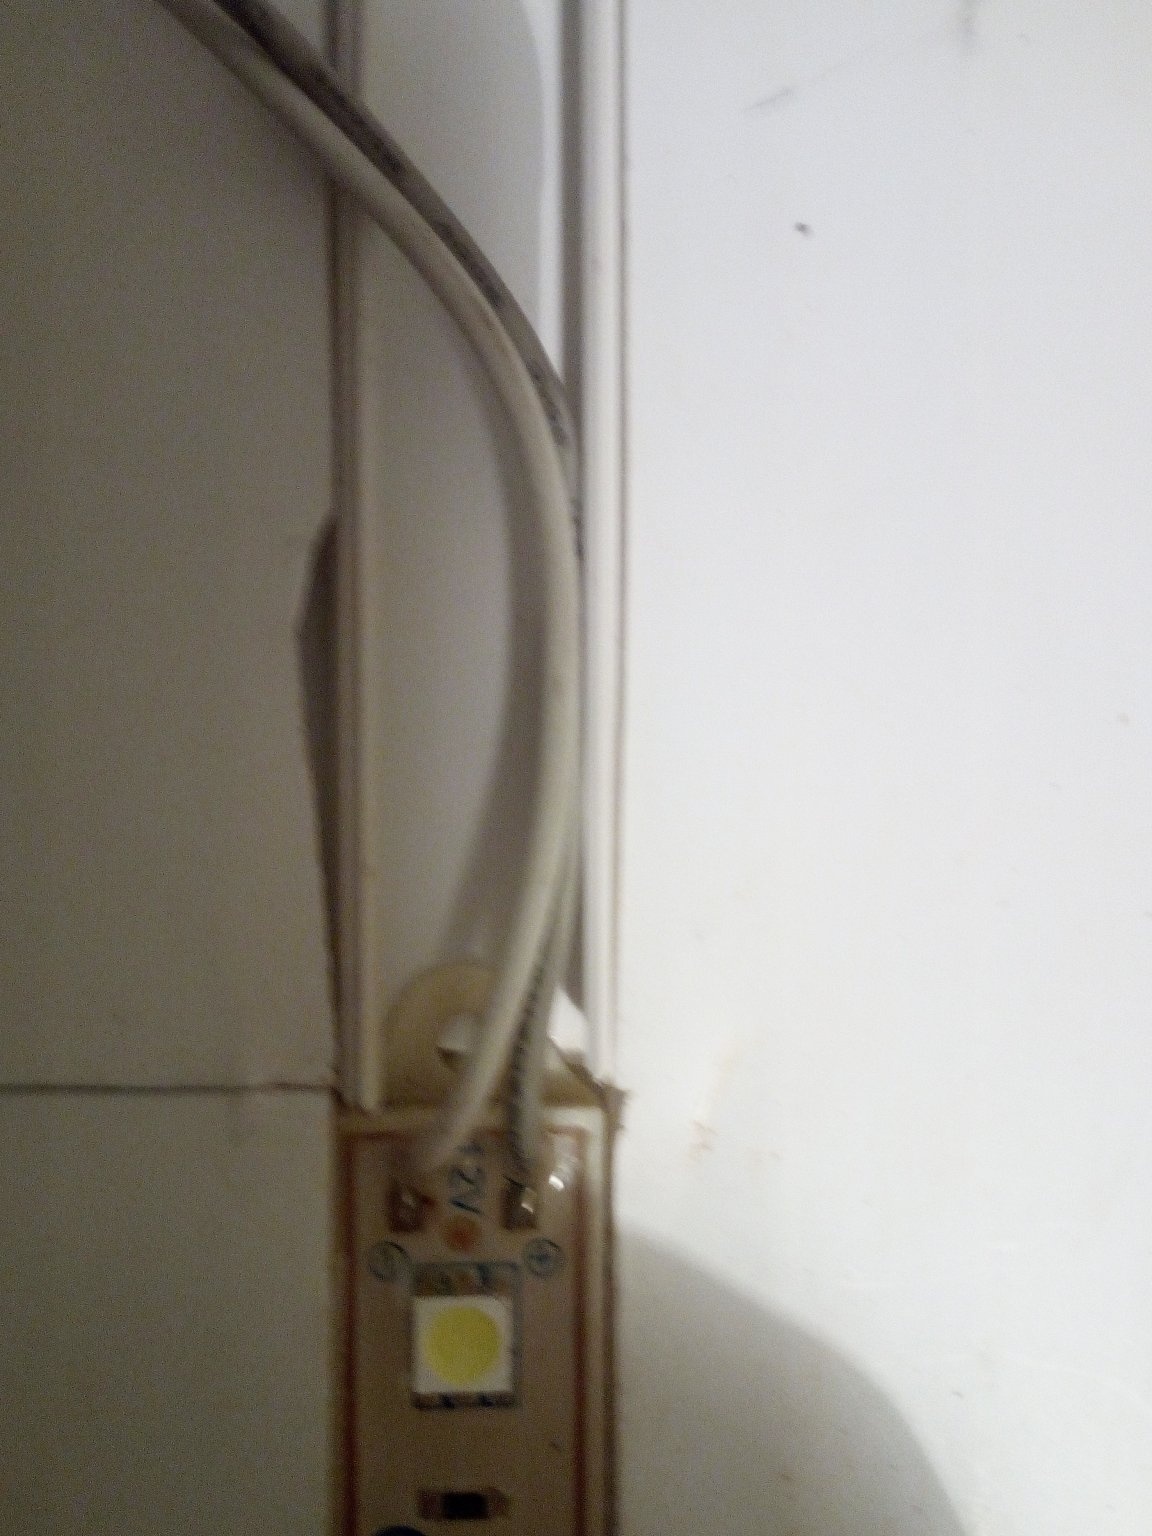
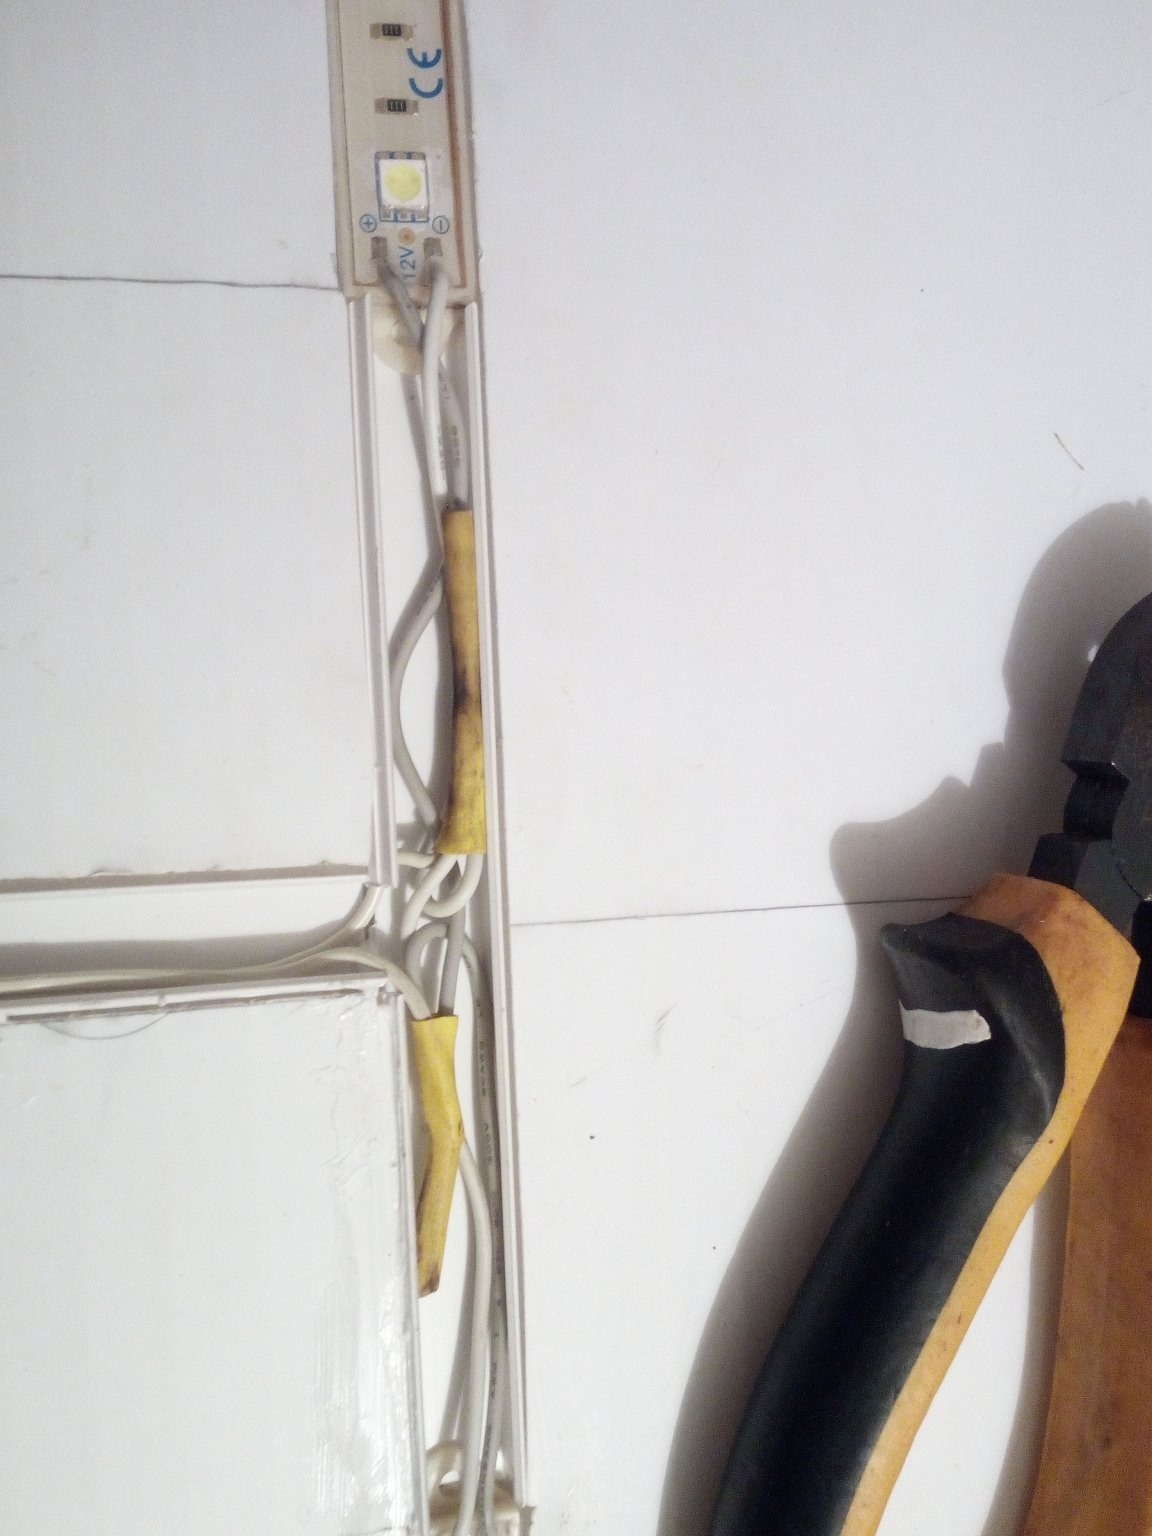
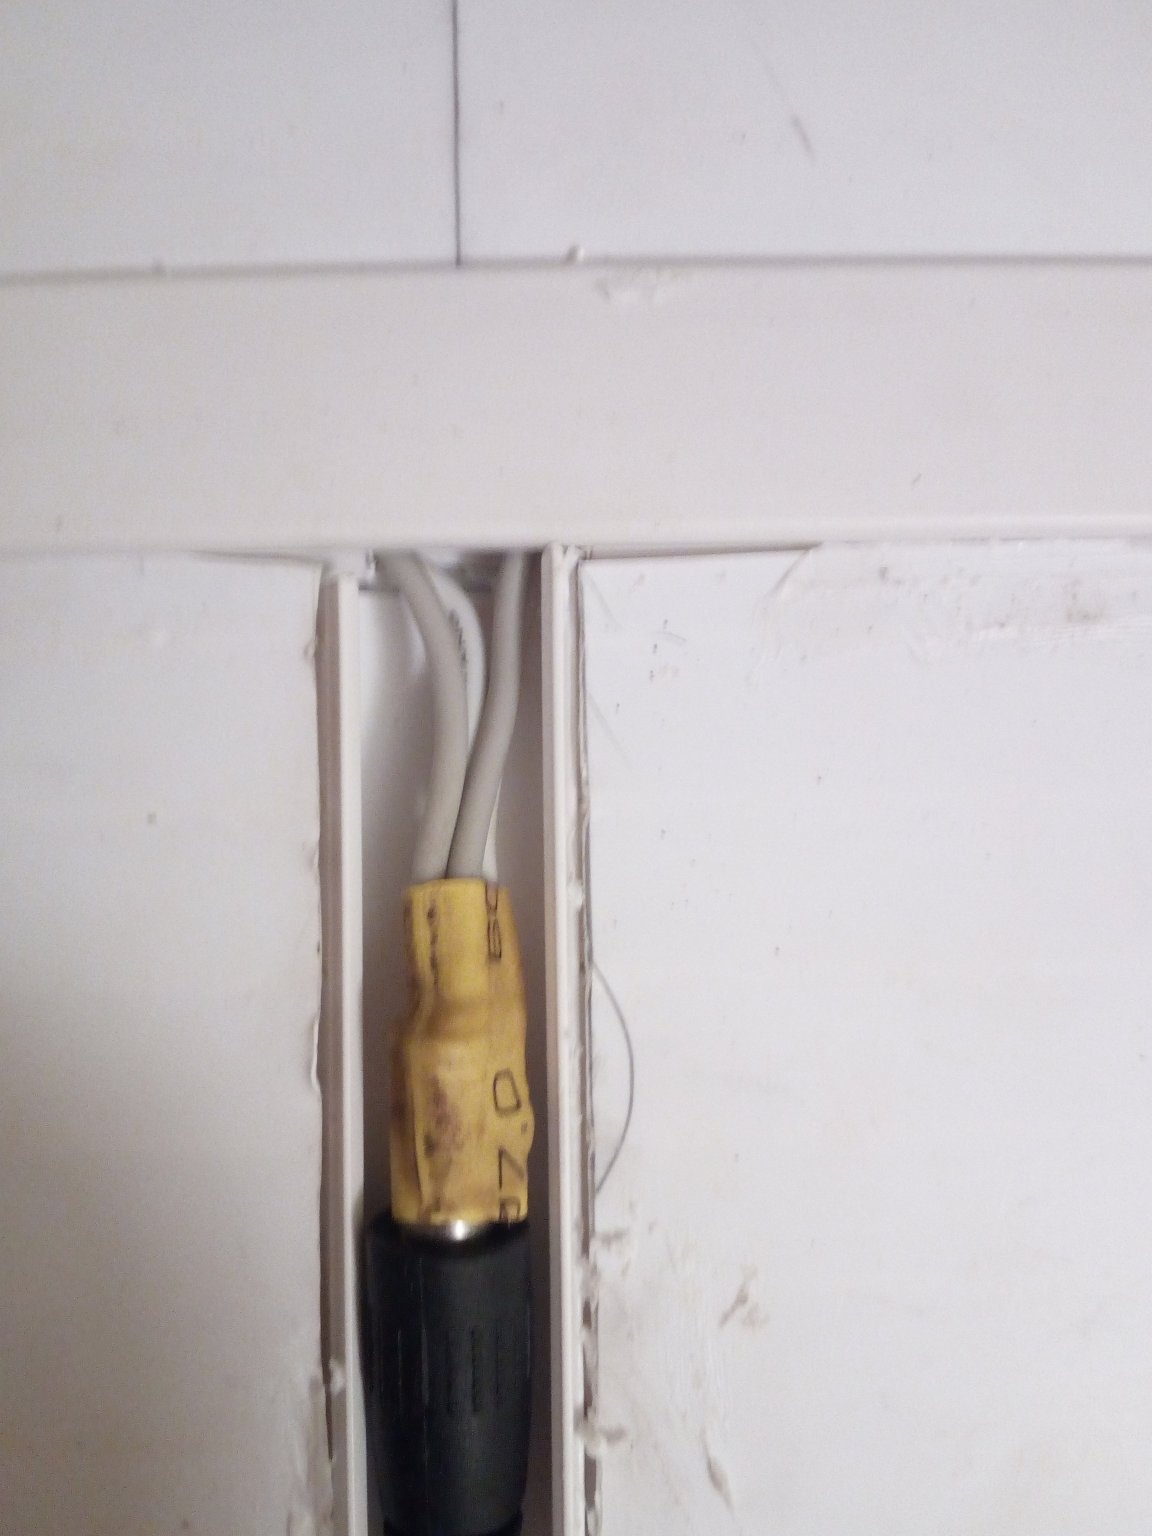
Now we need cable channels. I put a cable in them, and they themselves will also serve as a good protection of wires from moisture. If necessary, it is convenient to disassemble them by simply removing the cover and checking the condition of the electrics for moisture.
I correct my mistake. I increase the recesses for the protective channels. The result is a T-shaped socket.
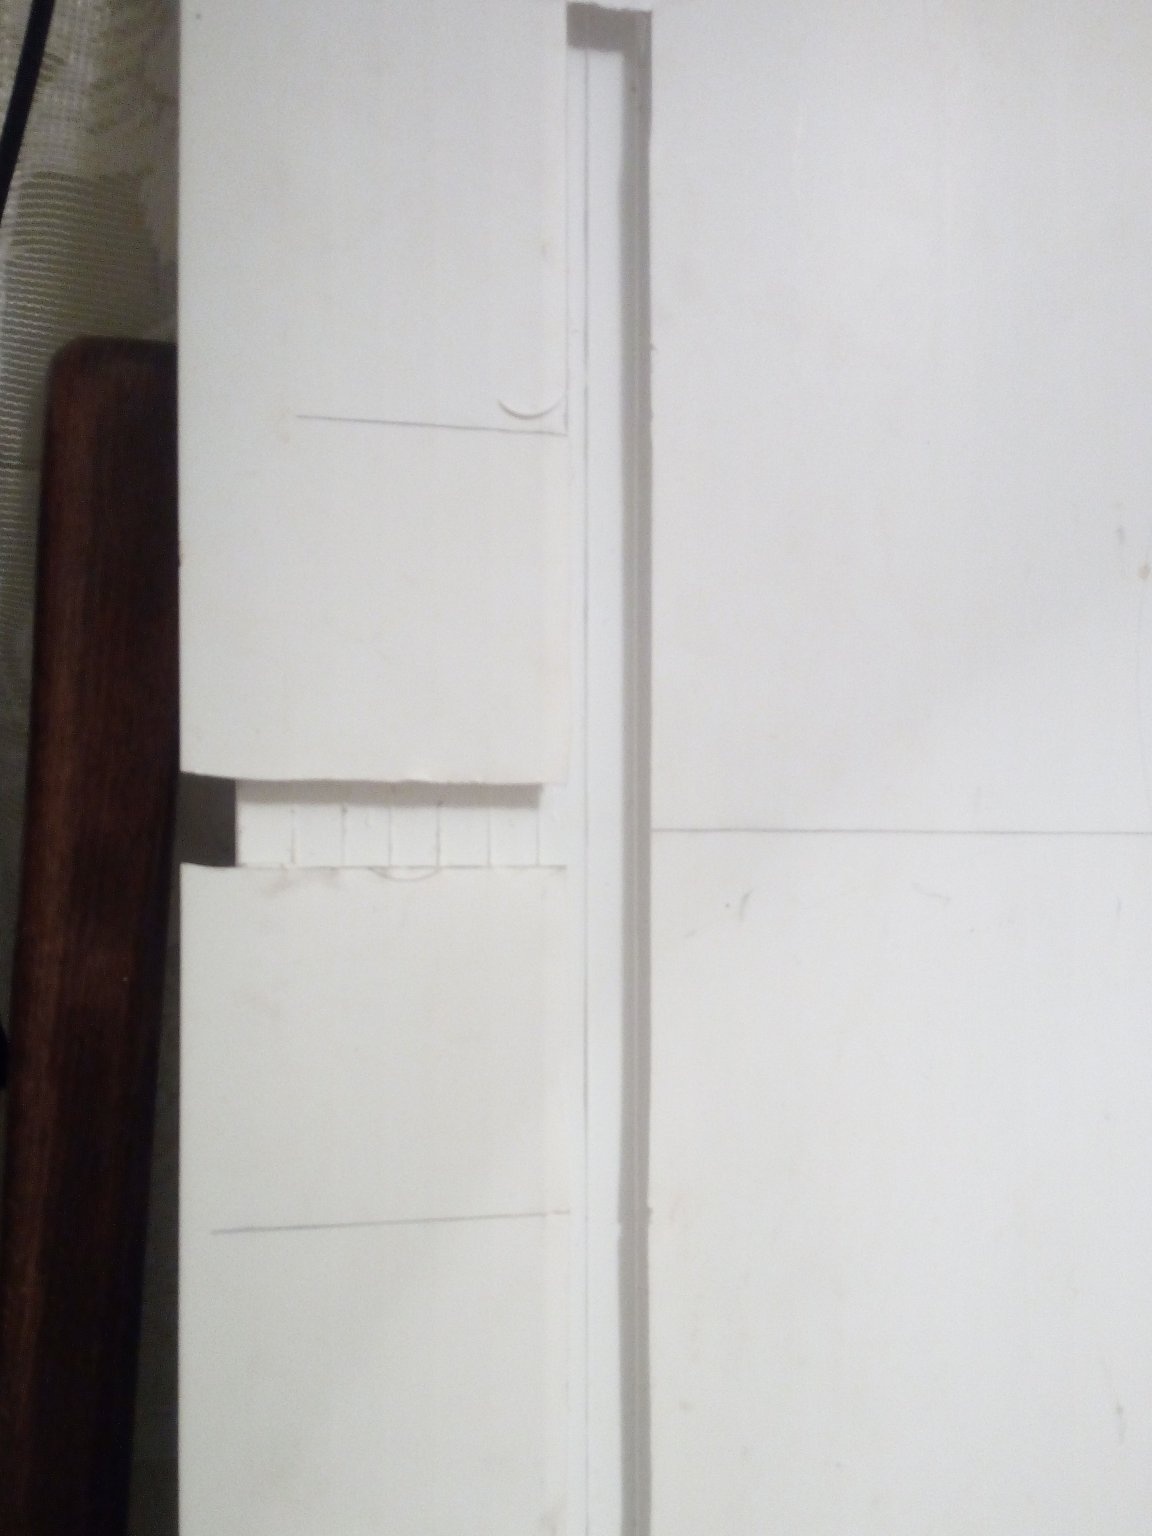
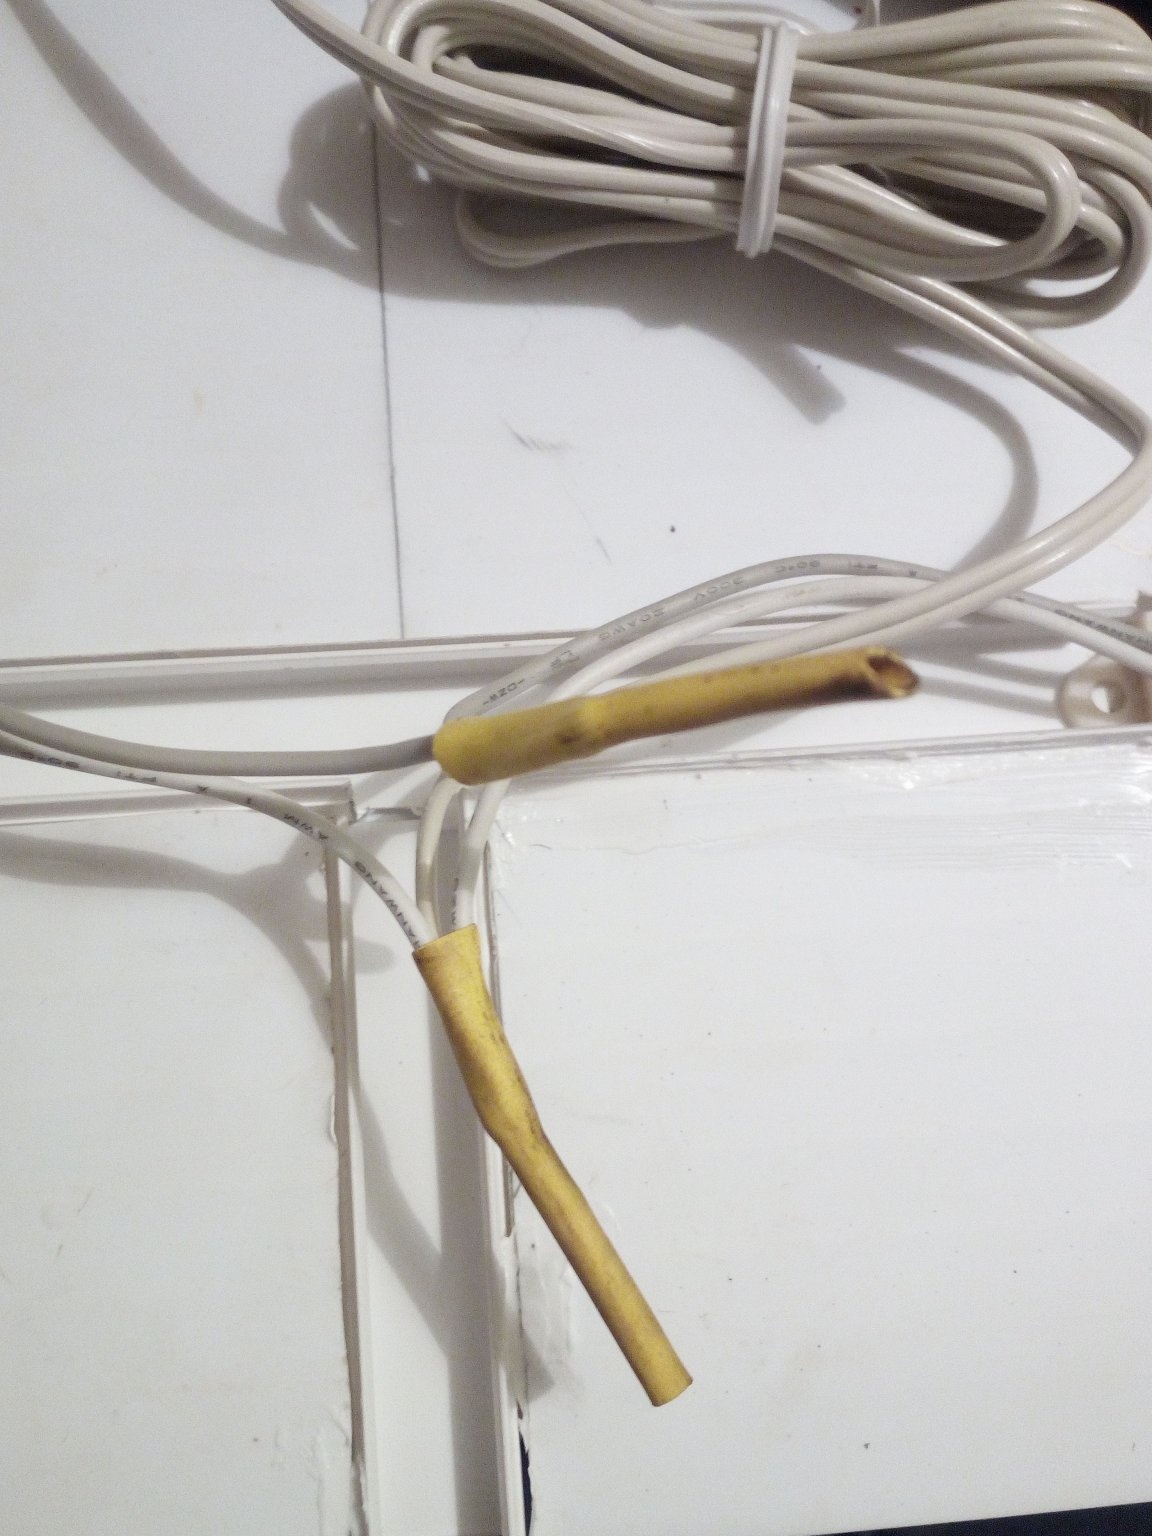
I am preparing a place for wiring. With the help of cutting pliers I adjust the sizes of the channels to the necessary ones, taking into account the lamps.
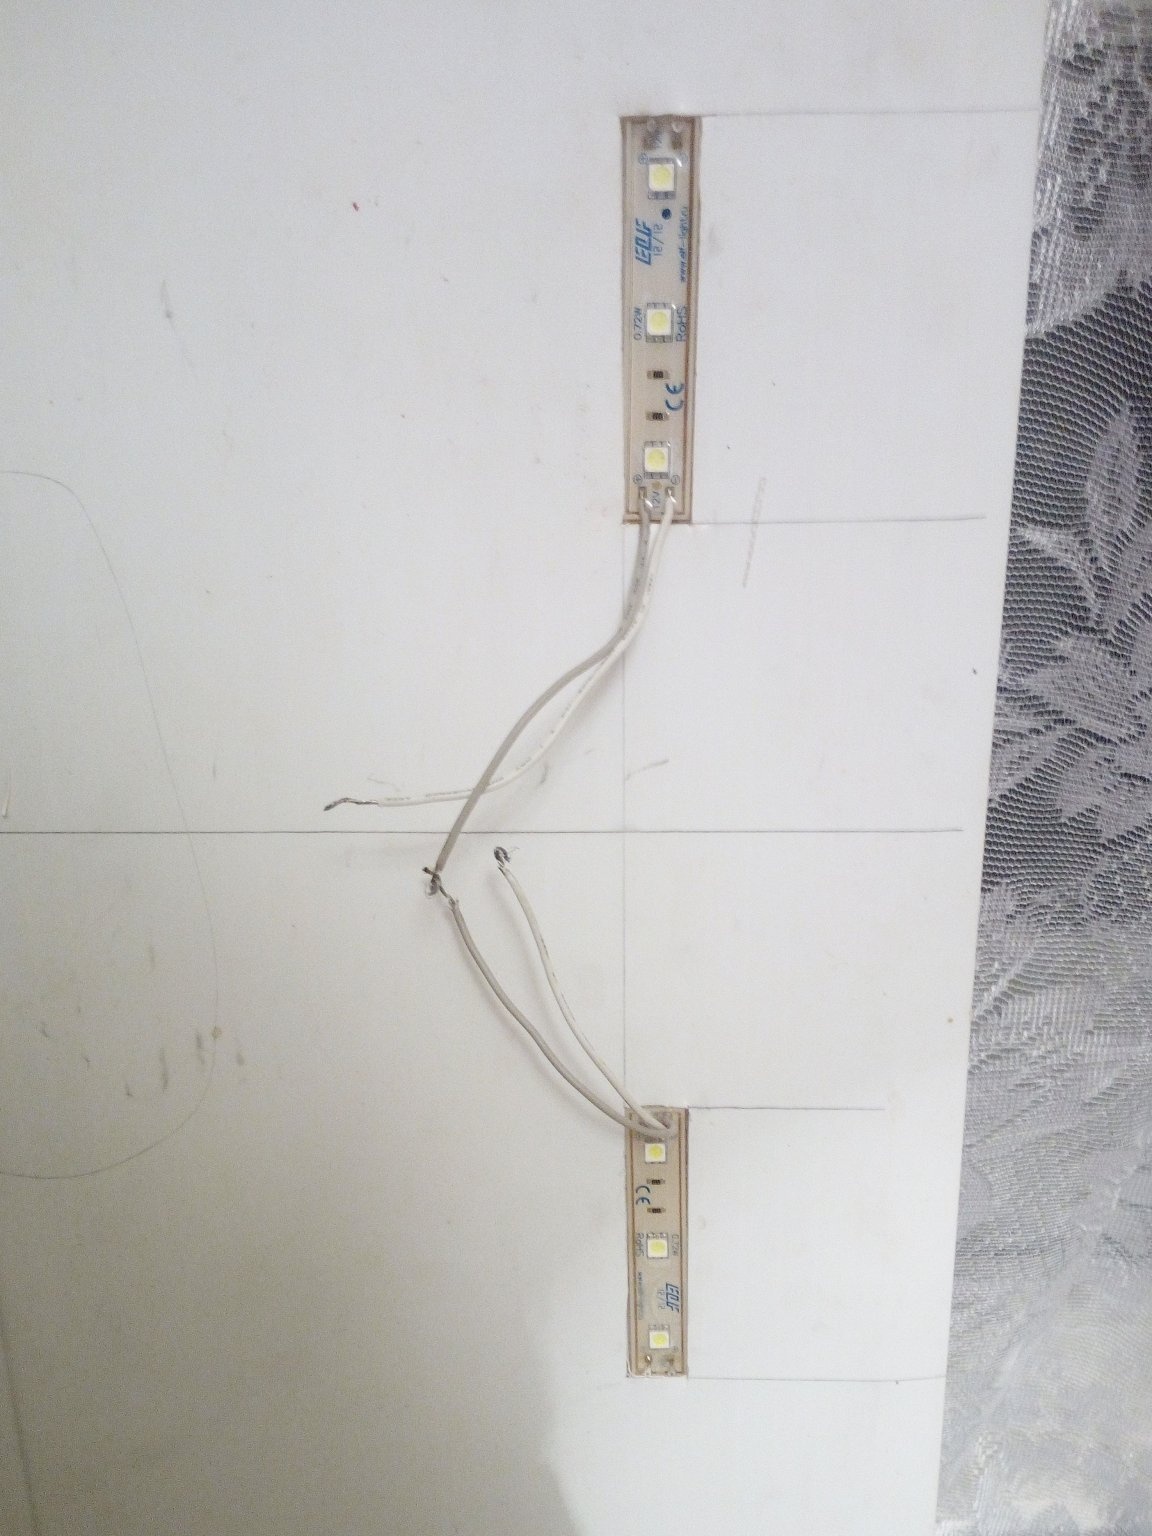
After I put the aquarium sealant on the bottom of the grooves and insert the lamps and cable channels there.
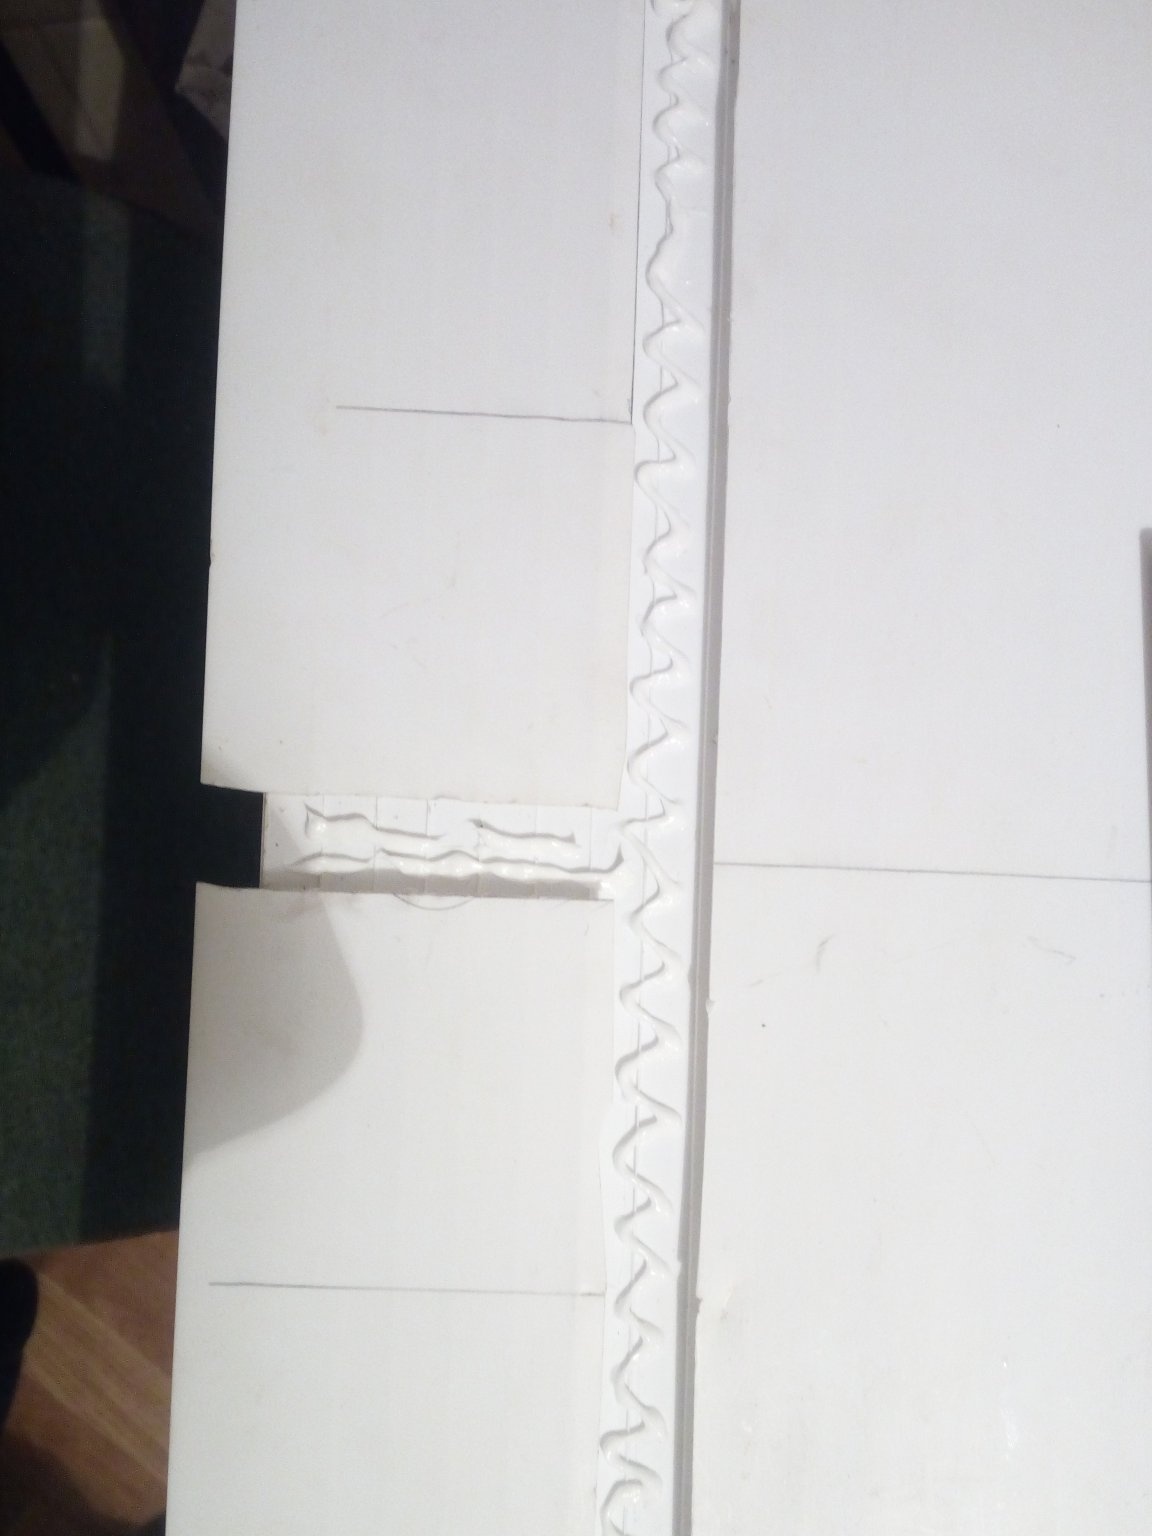
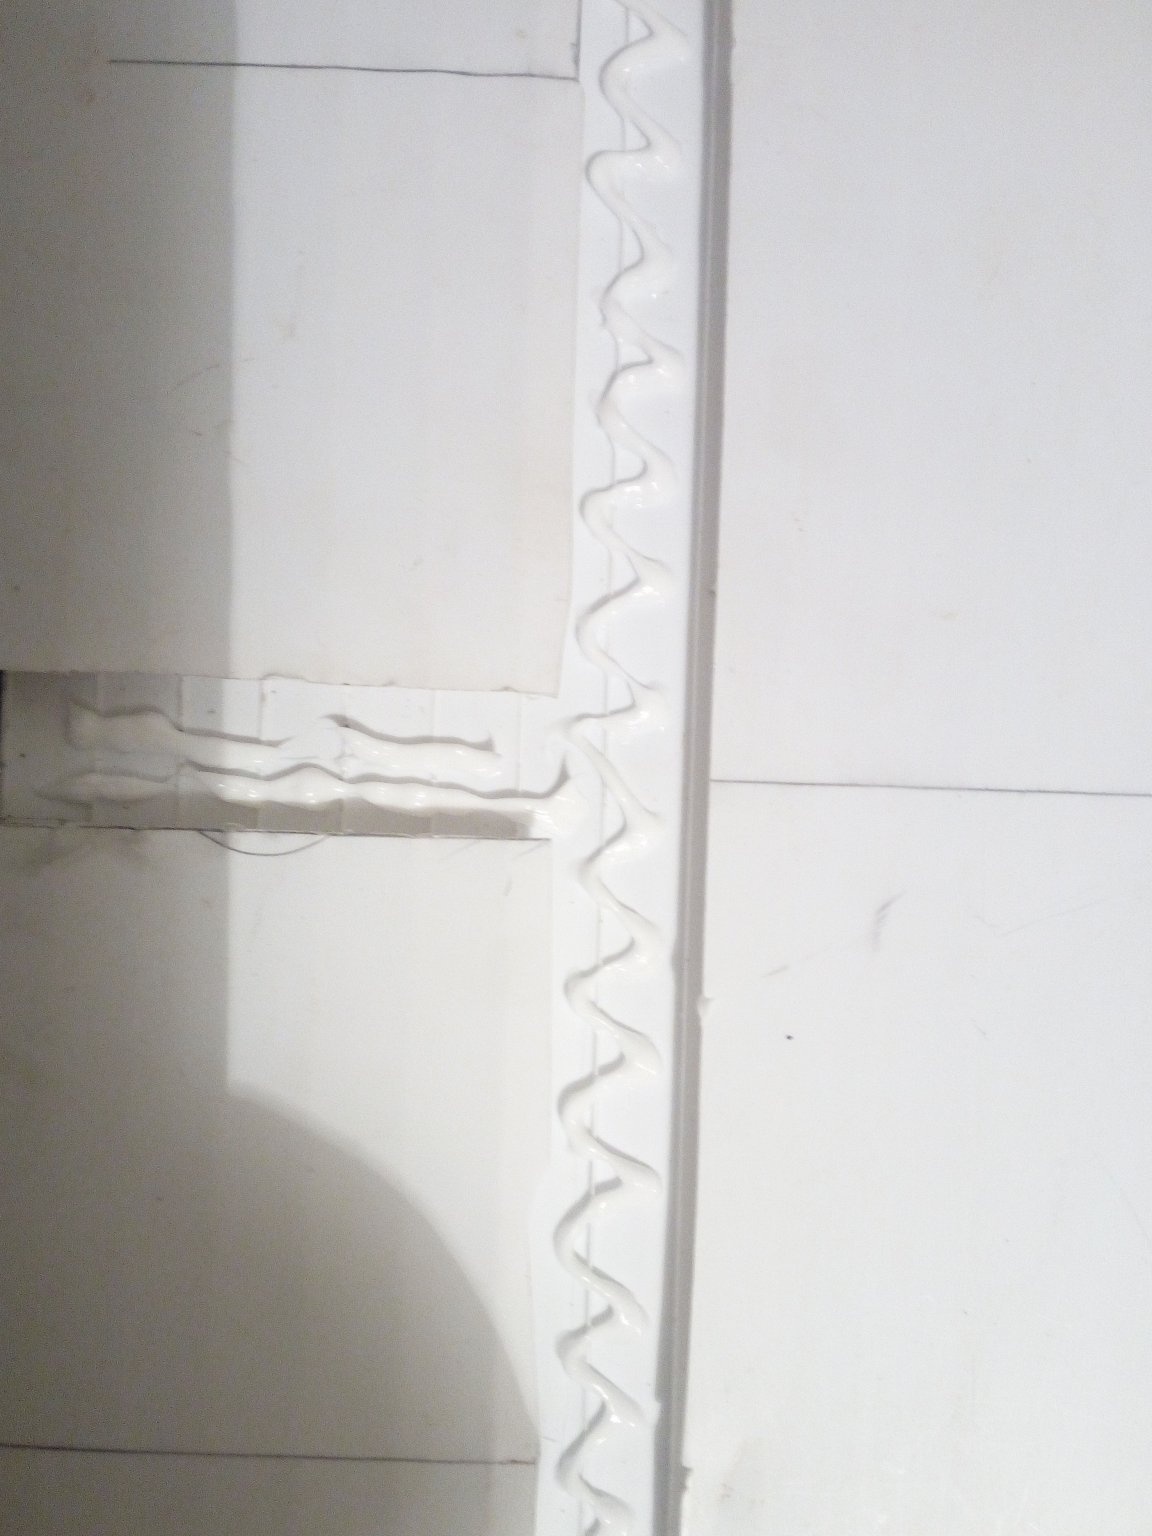
As I tried, but still got flaws and cracks when cutting grooves. Therefore, so that when the compressor is running, when air bubbles burst to the surface and splatter, moisture does not get inside the cover, I carefully lubricate everything with the same sealant. It is white, so the smeared areas are practically invisible.

Now turn it off. For power, I used a 12V power supply. I connect the wires together and close the connection with heat shrink. I put all the wires in the trays and close the lid.
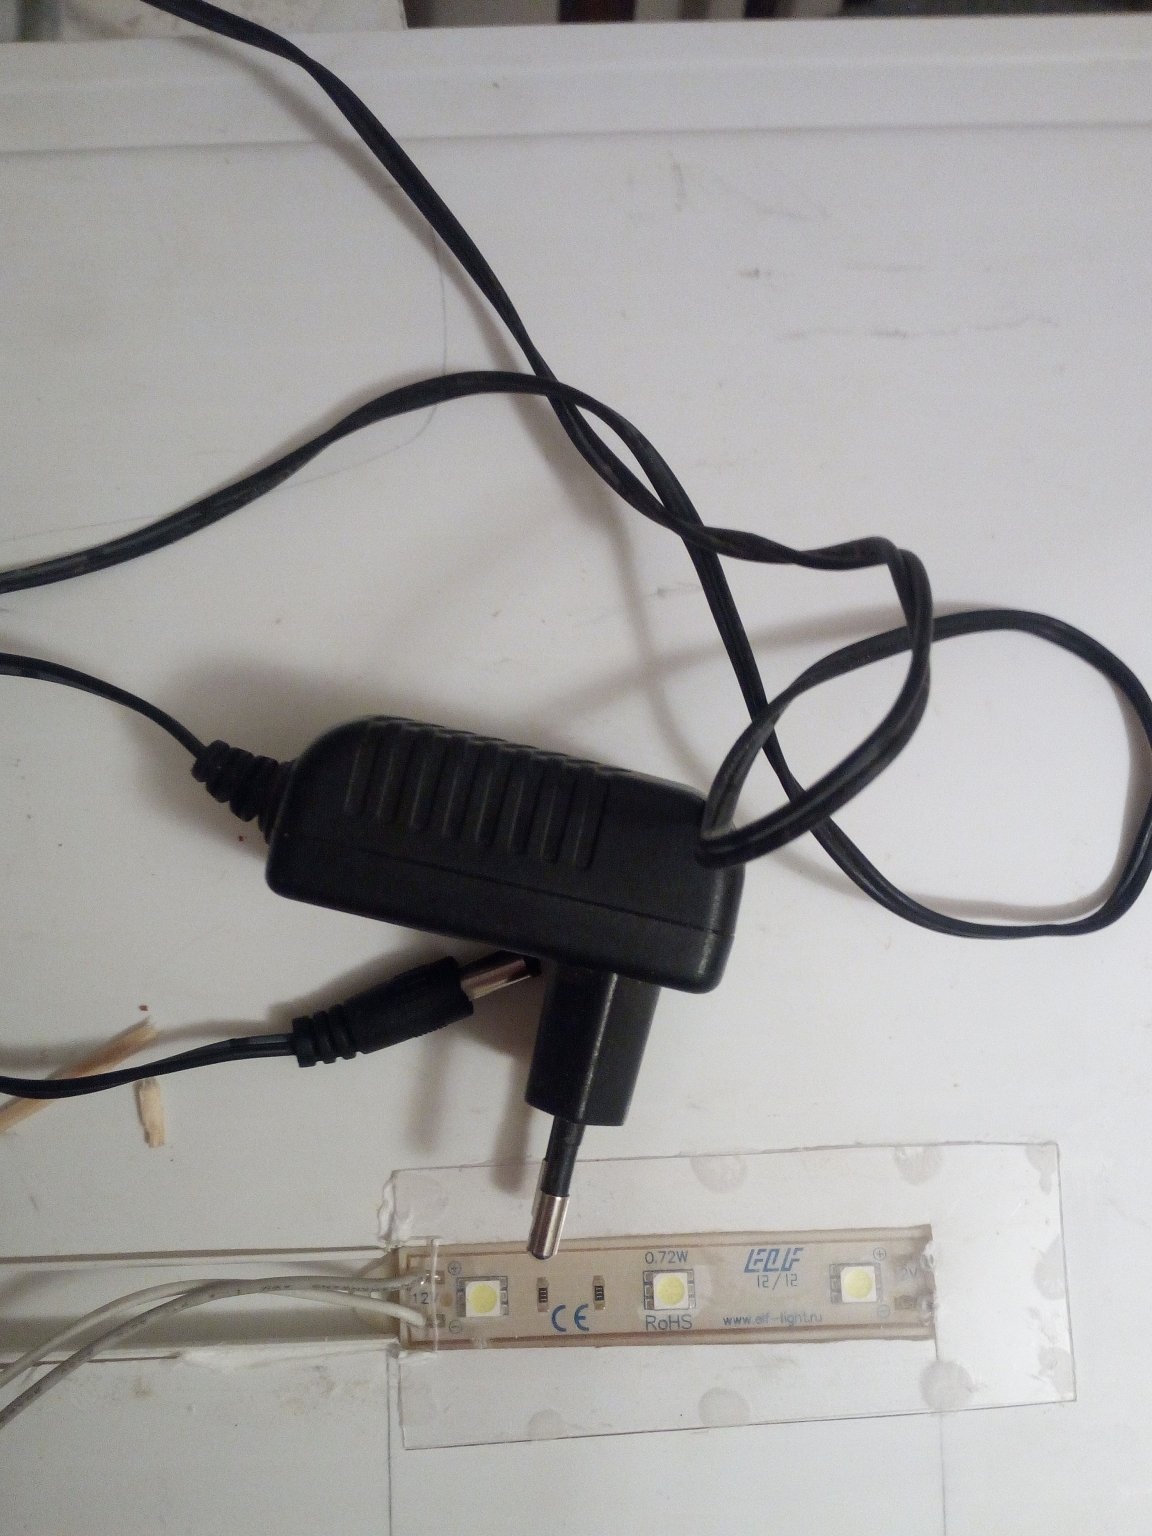
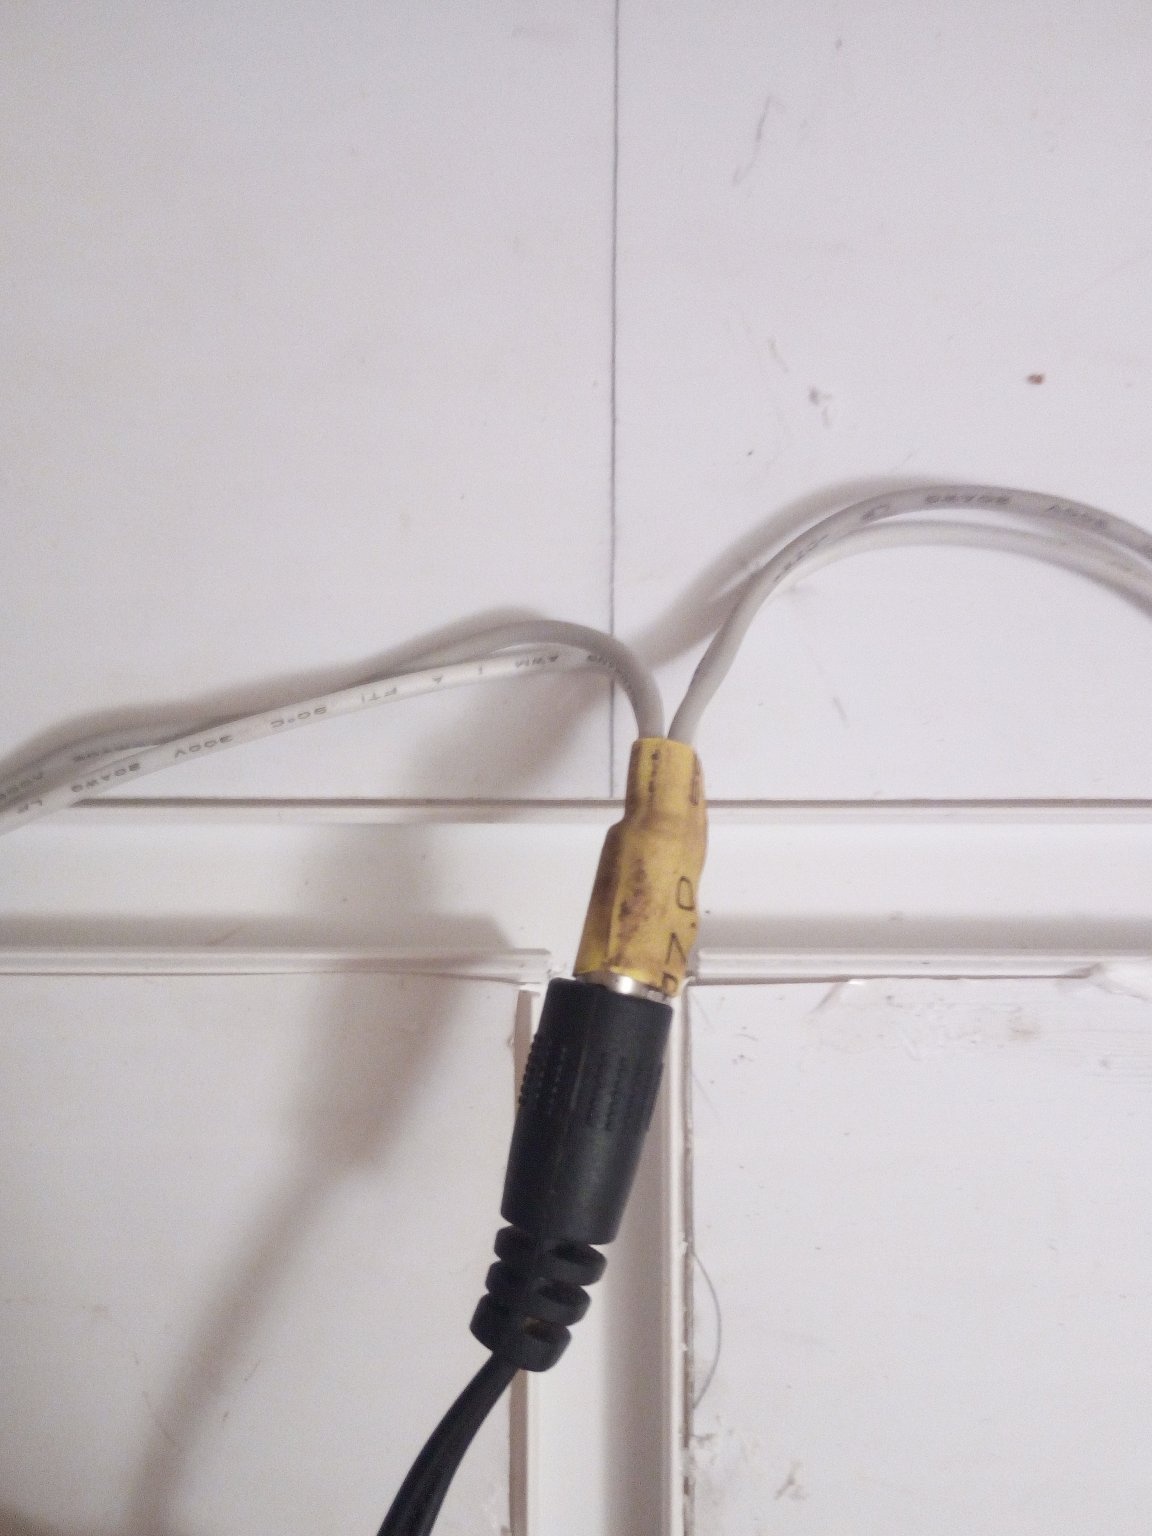
In the photo I see one PSU, but another is connected. The first, without having worked even a couple of hours, burned down.
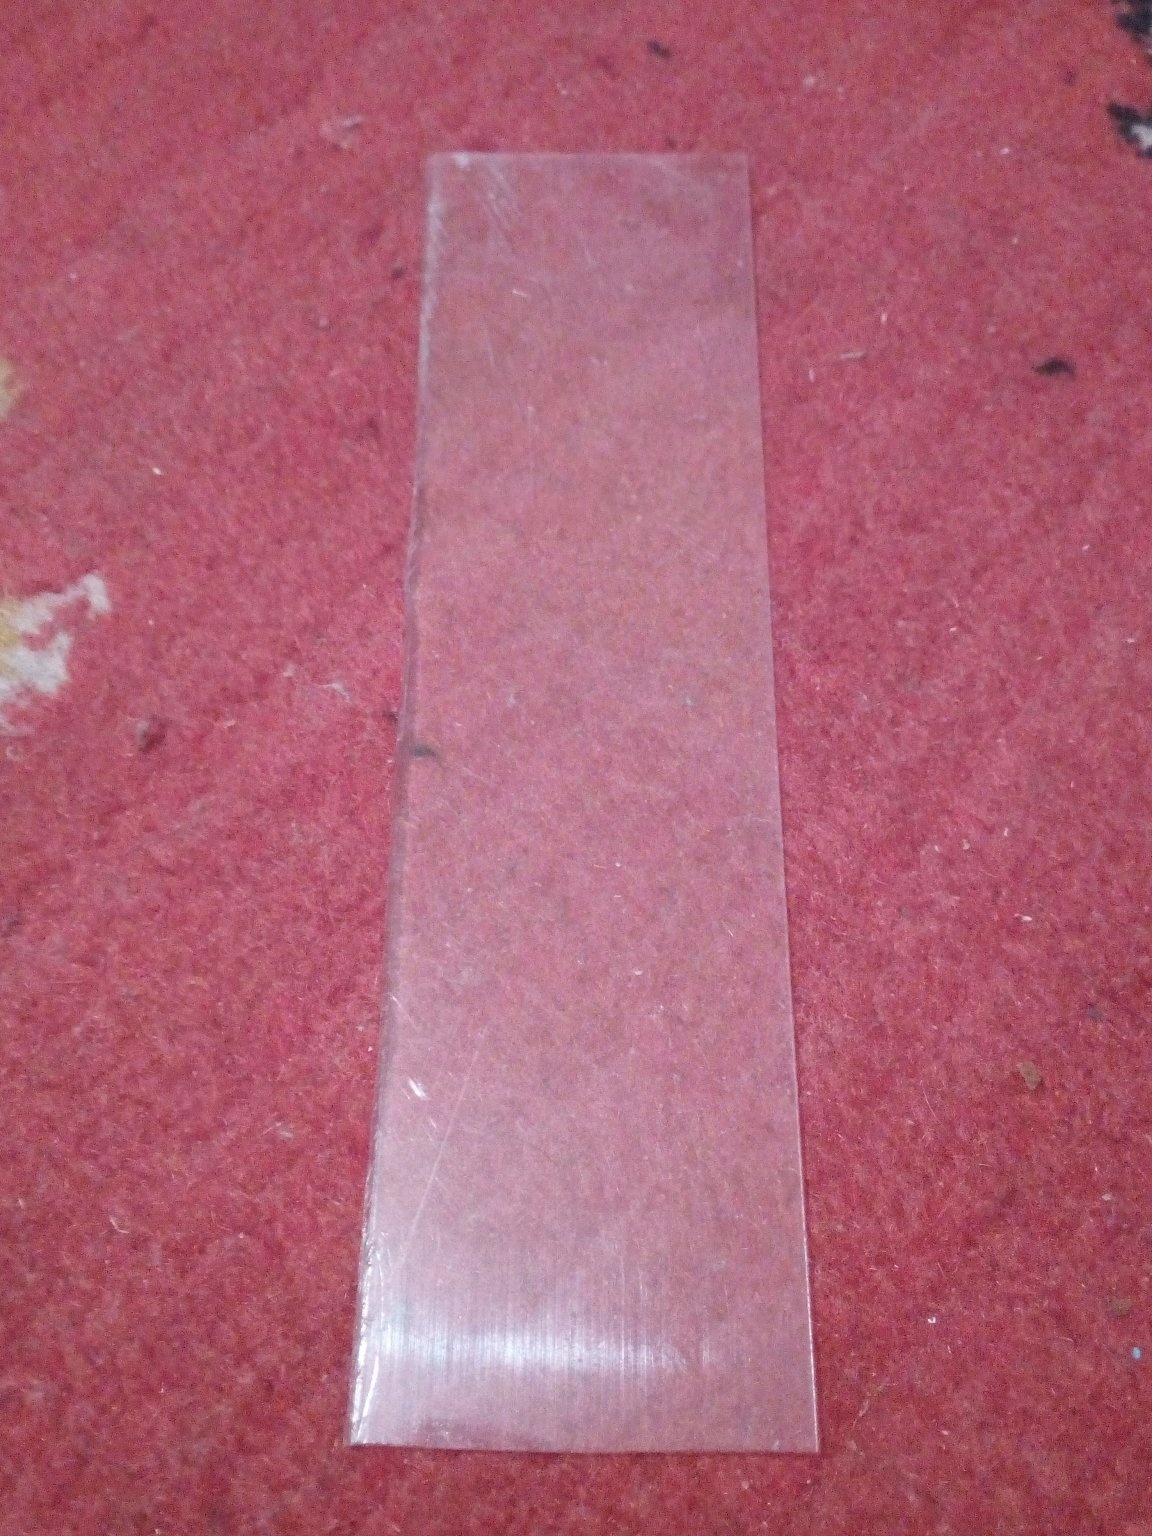
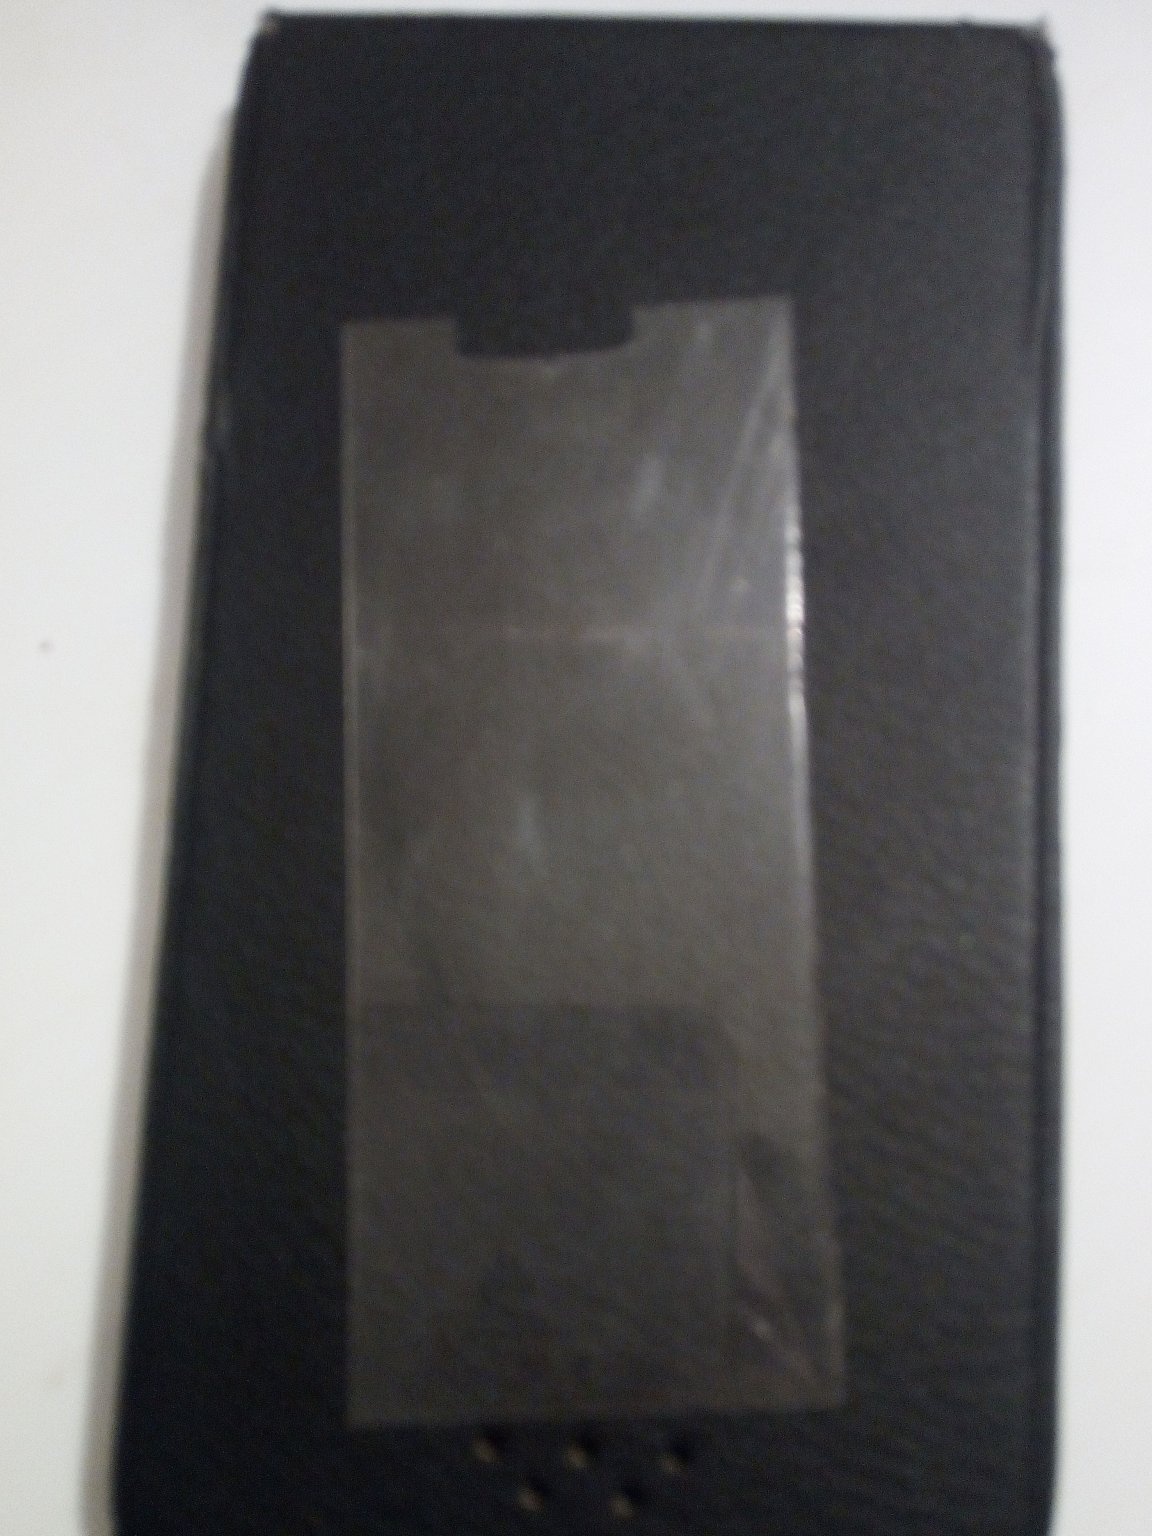
Then I decided to hermetically hide the lamps. To do this, from a cardboard gift box with a transparent window, this very window was successfully torn. And already from it turned out good, transparent protective screens. Cut to size, with the necessary recesses and put on sealant.
It remains to verify the operability of this design. Of course, in the process of finding out I checked everything, but you never know ...
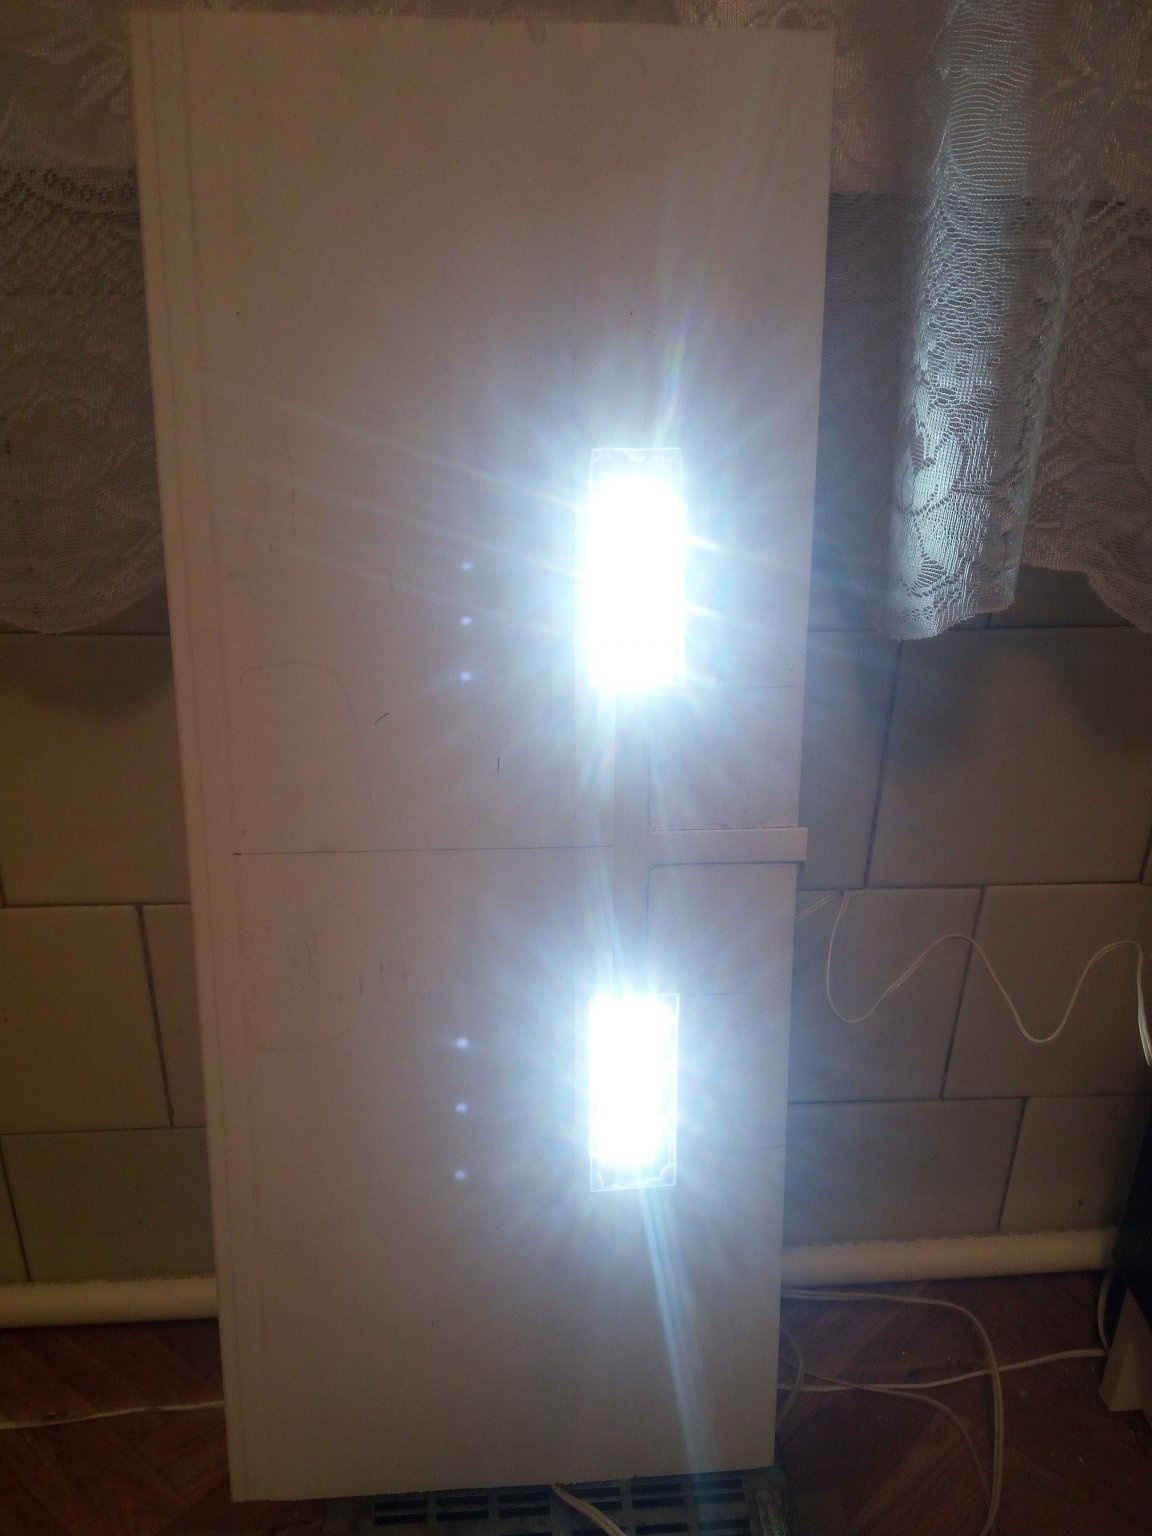
Lit! And after several hours of work, I can not be afraid that I will see in the morning next to the aquarium the lifeless body of a dead traveler ...
And if necessary, and with some additions, I can easily convert this covering part into a full-fledged lid for the aquarium, with a thermometer, a feeding window, cooling coolers, etc. In the meantime, and so will!
Thank you all for your attention! I wish you every success!