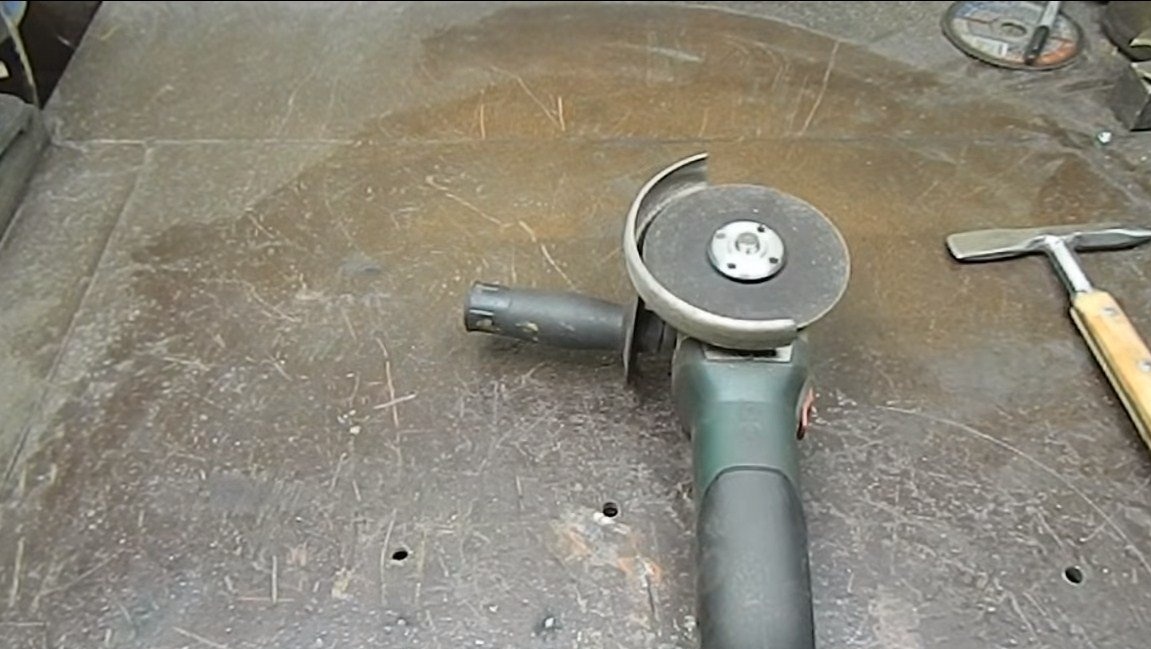
Hello fans to craft, in this instruction we will consider an interesting frame for the grinder, which greatly expands its functionality. Now you can work on the grinder as emery, installing various grinding nozzles. And if you install a metal brush on a grinder, then with it it will be very convenient to clean pipes and other pieces of iron from rust.
All of the available materials are assembled, these are several corners, screws, and a piece of sheet steel. Of course, the author did not make a latch for his device, so the fixture is mounted in a vice. If you are interested in the project, I propose to study it in more detail!
Materials and tools used by the author:
Material List:
- steel corner;
- screws, bolts and nuts;
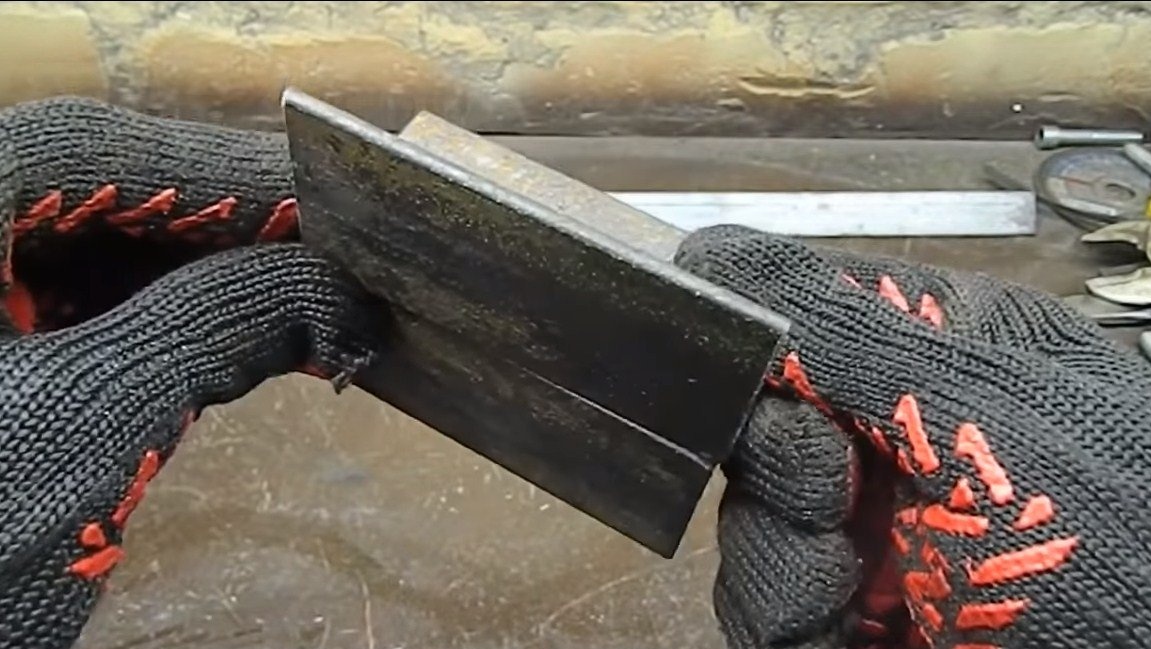
- Sheet steel;
steel plate.
Tool List:
- welding machine;
- drilling machine;
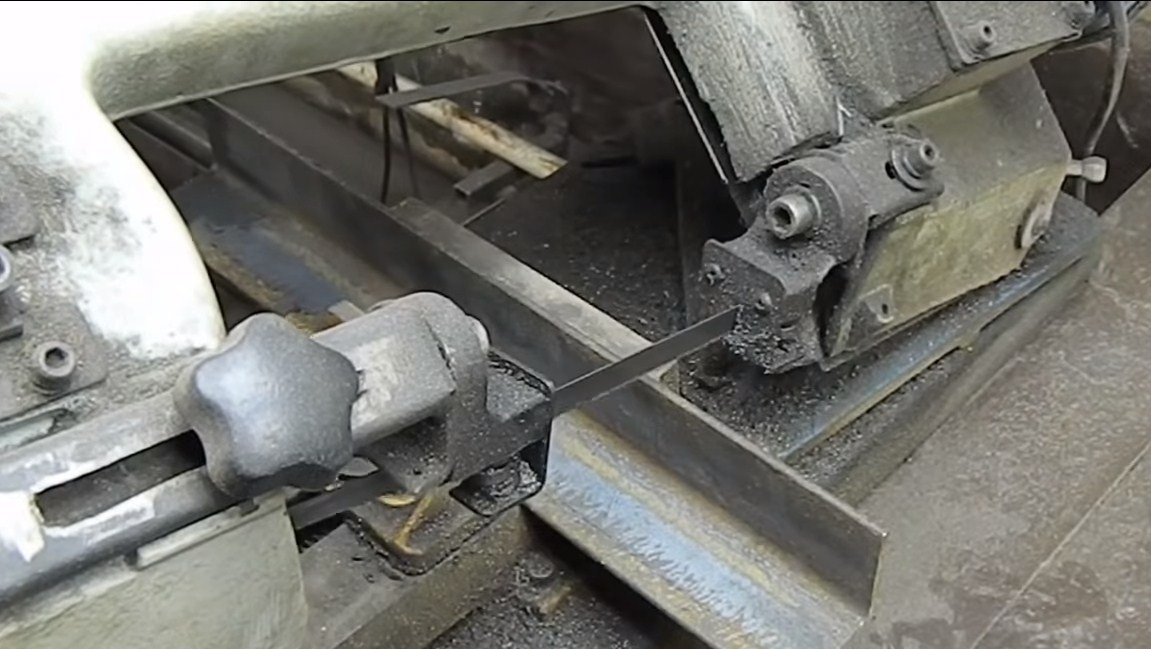
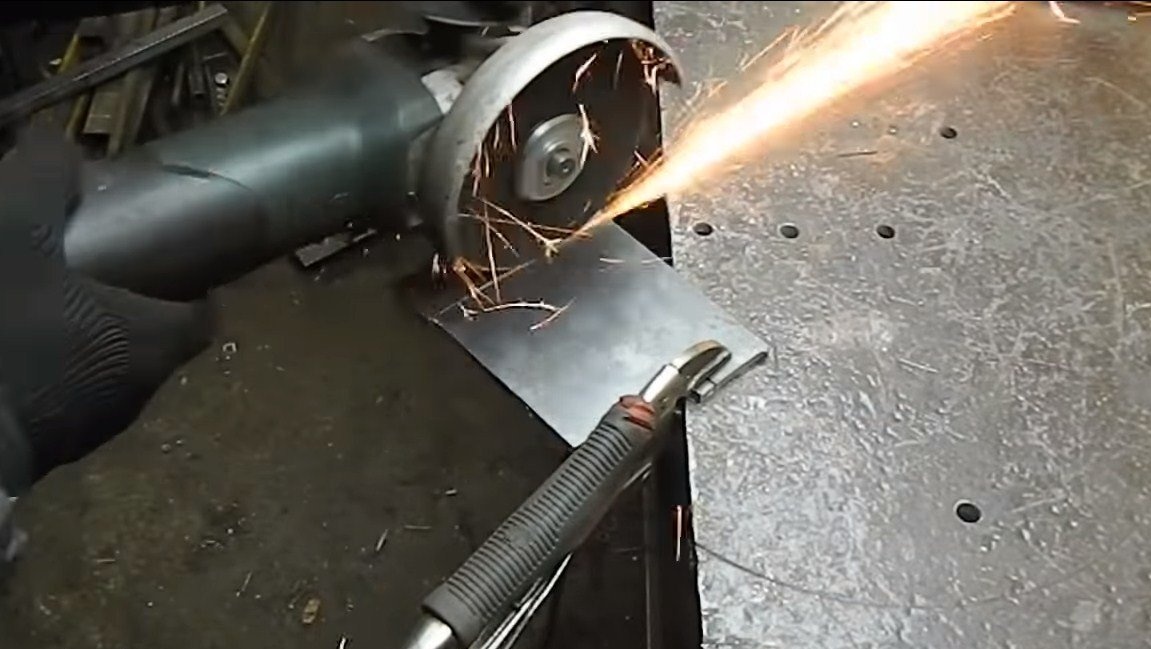
- tape cutting saw or grinder;
- tool for threading;
- grinder;
- vernier caliper;
- hydraulic press (you can do with a vice);
- marker;
- files;
- a hammer, wrenches, etc.
Manufacturing process homemade:
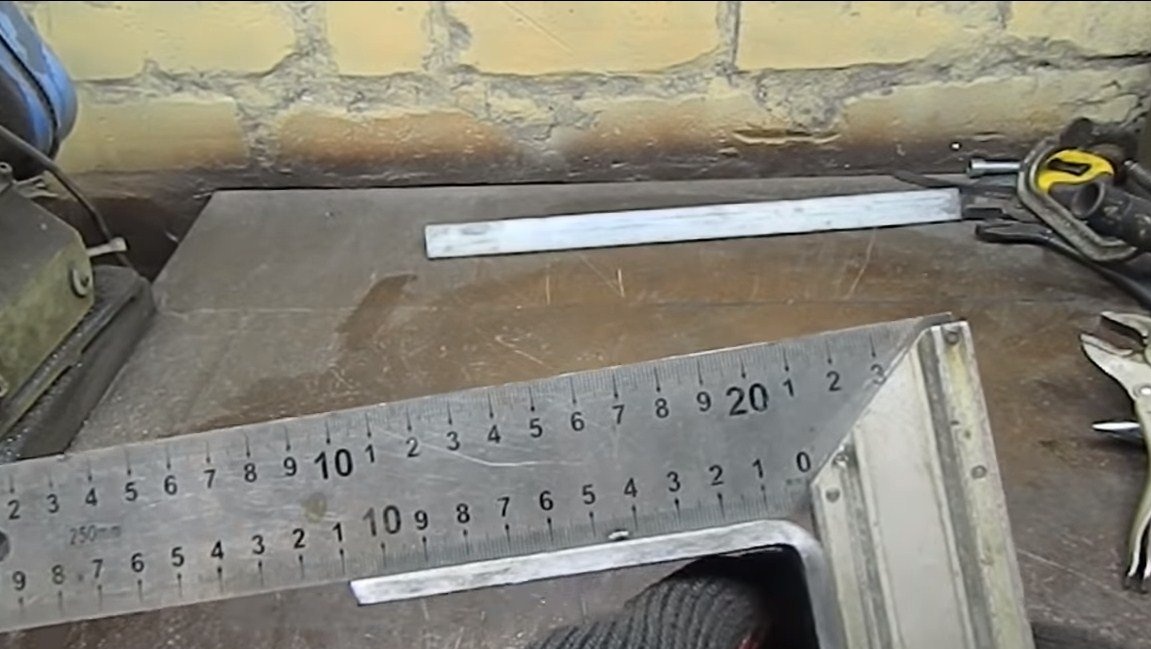
Step one. The foundation
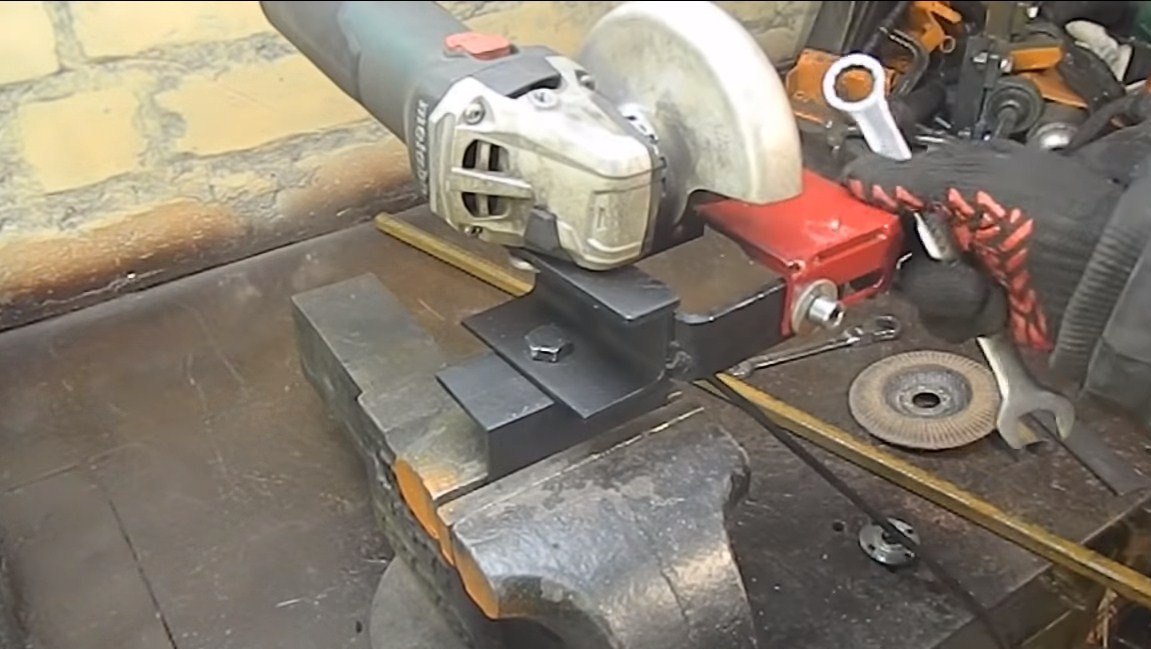
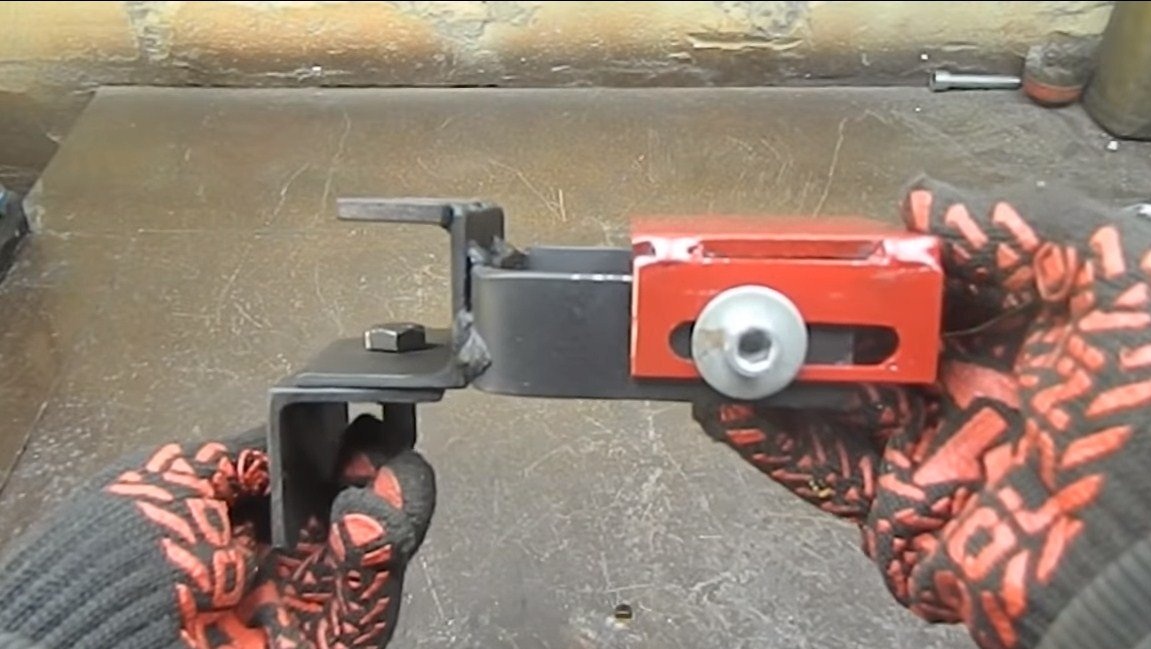
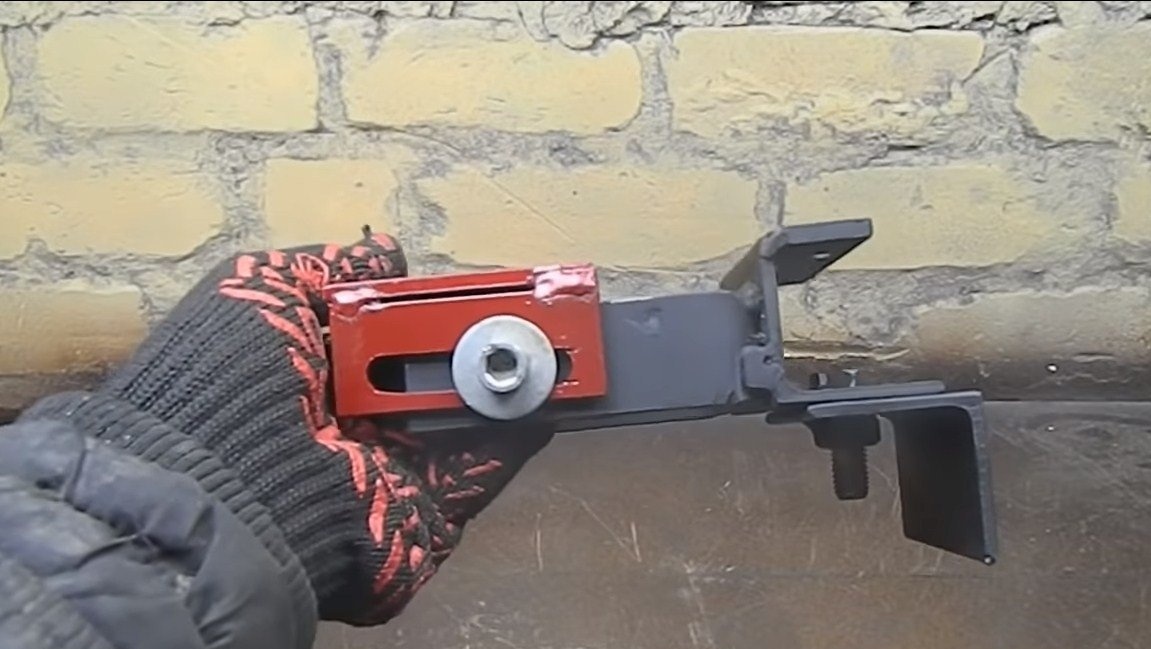
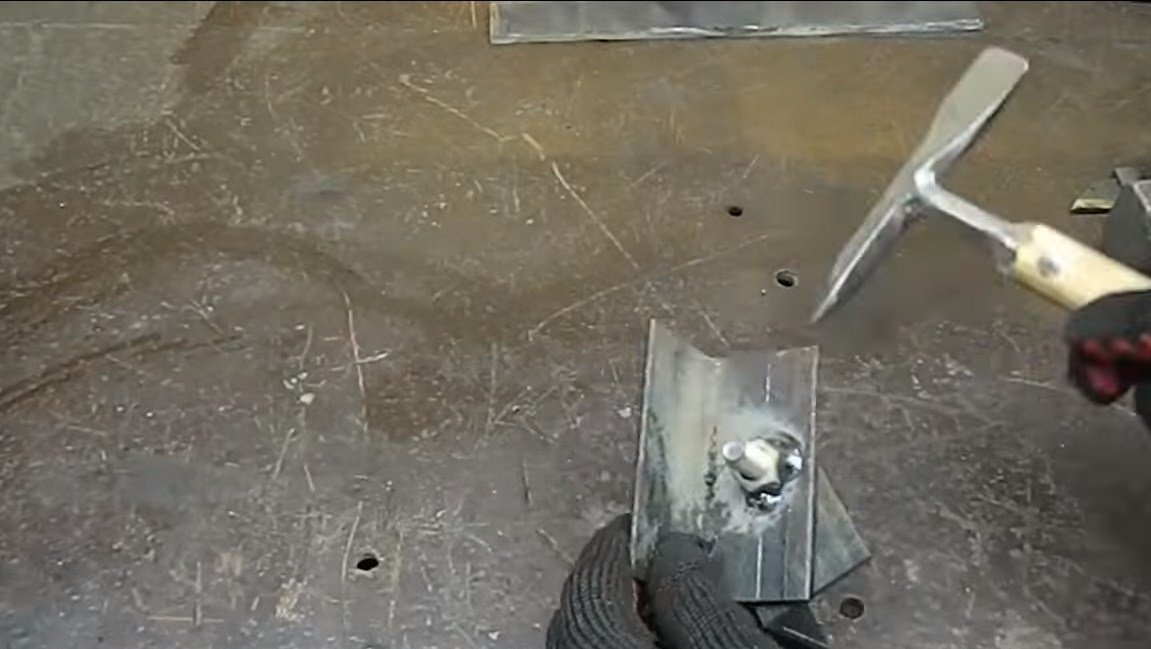
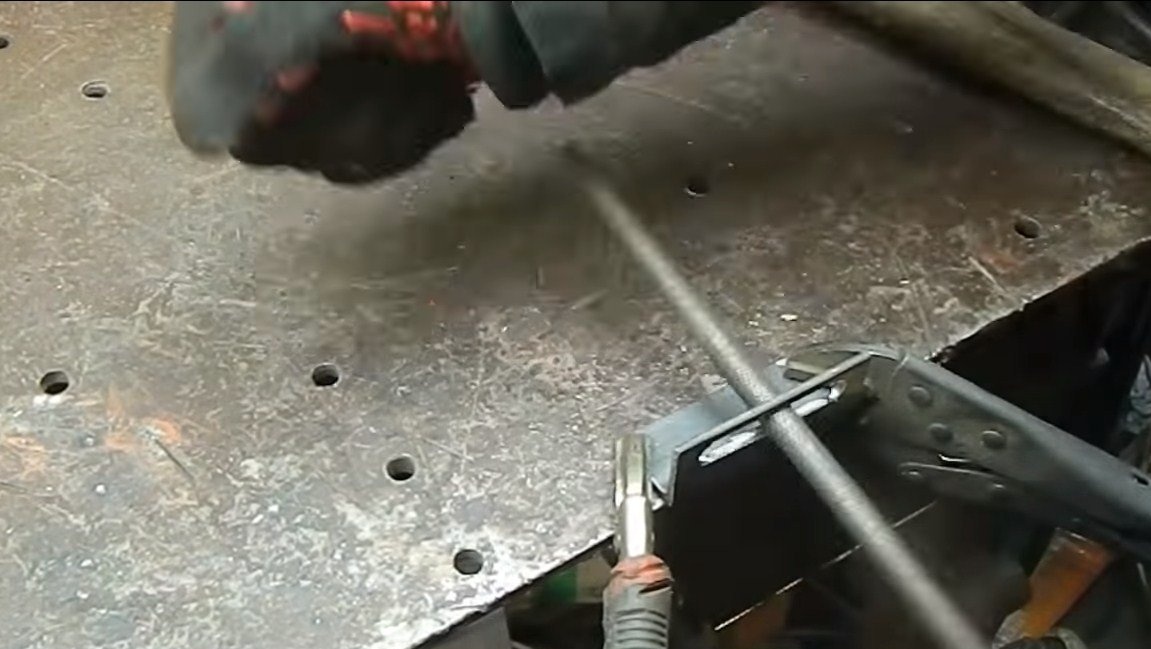
First of all, we will make the basis for homemade work, with the help of it we will fasten the device in a vice. Here we need two pieces of a corner of the same size, they need to be connected articulated so that the machine can turn. As an axis, we use a bolt with a nut, we weld the nut to the corner.
Step Two "P" -shaped part and mount the grinder
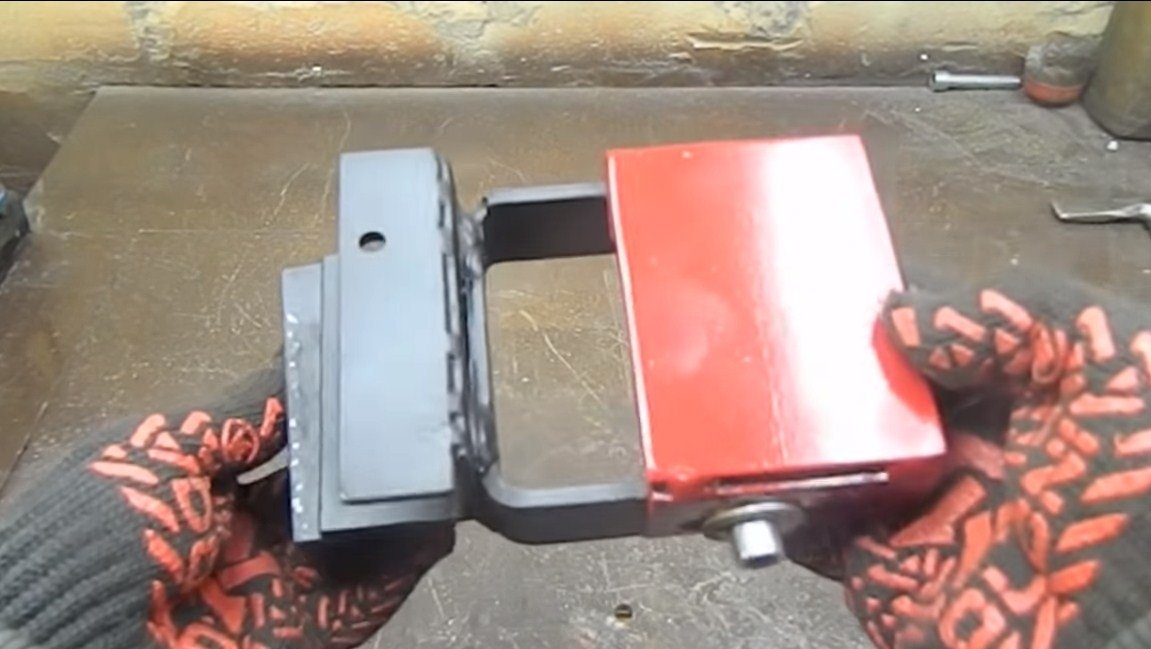
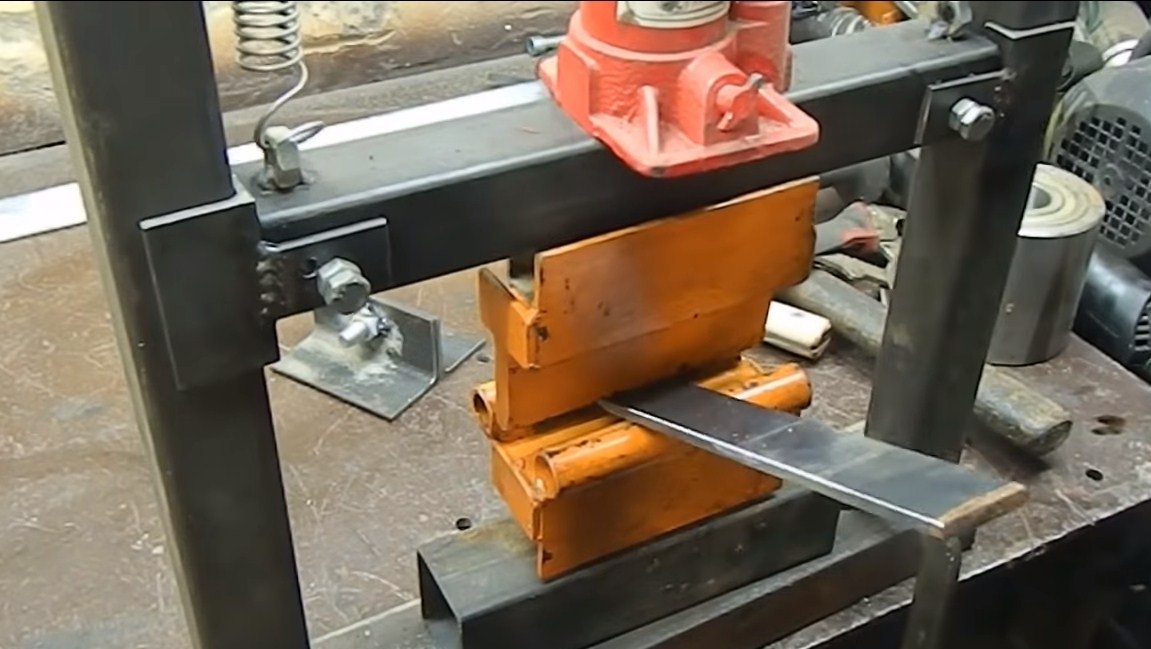
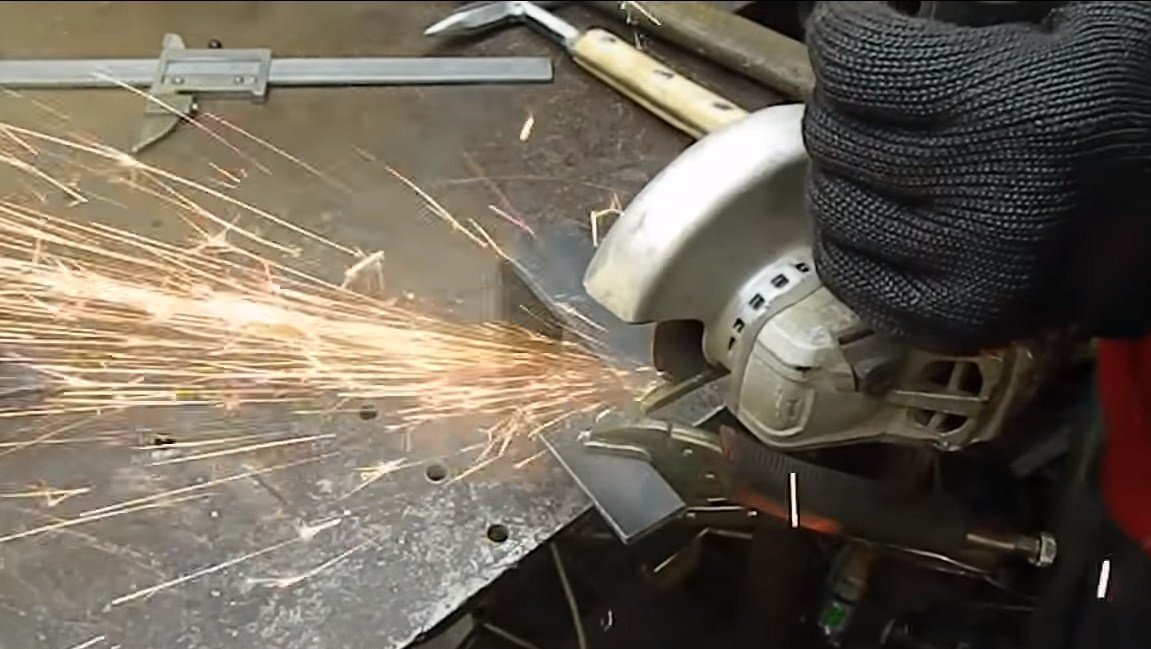
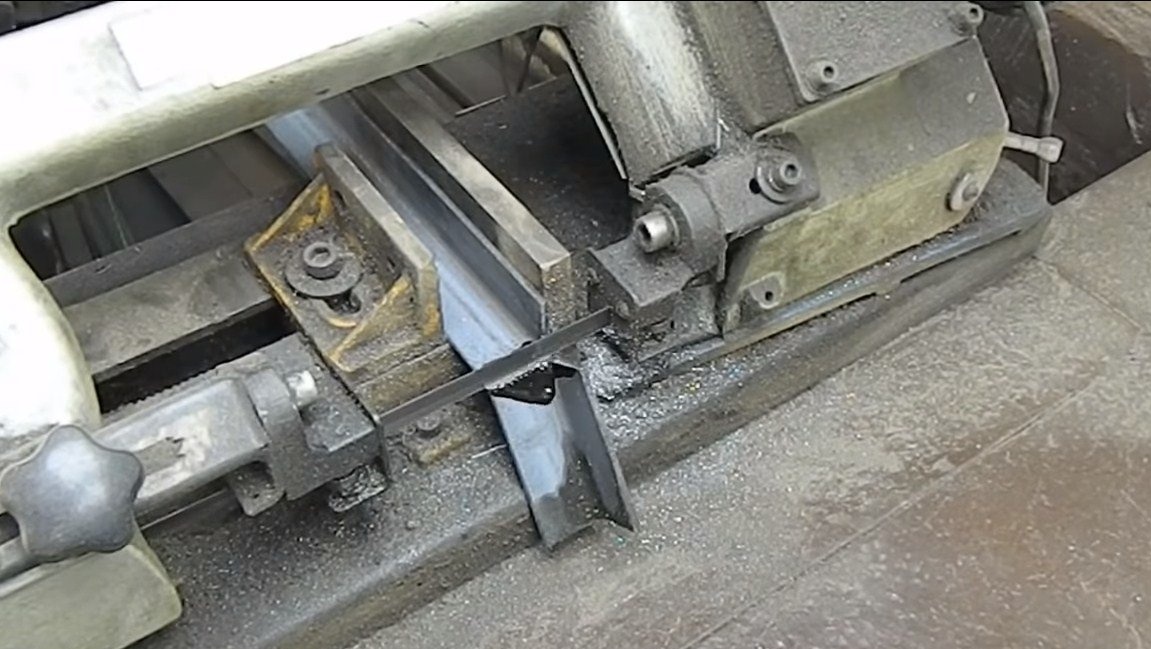
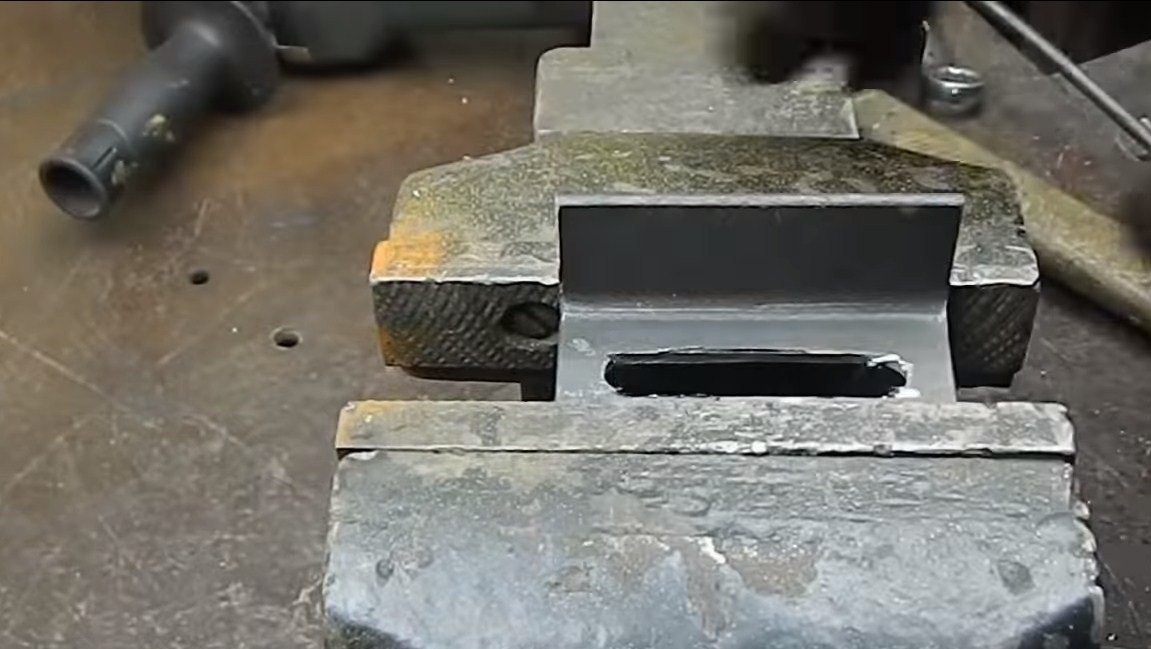
Now we will make a "P" -shaped part, a little table will ride on it, about which we will rest the details during operation. To make a part, you will need a hydraulic press, or you can make a cut in the right places with a grinder and then bend the workpiece. Of course, then you will need to boil the cuts.
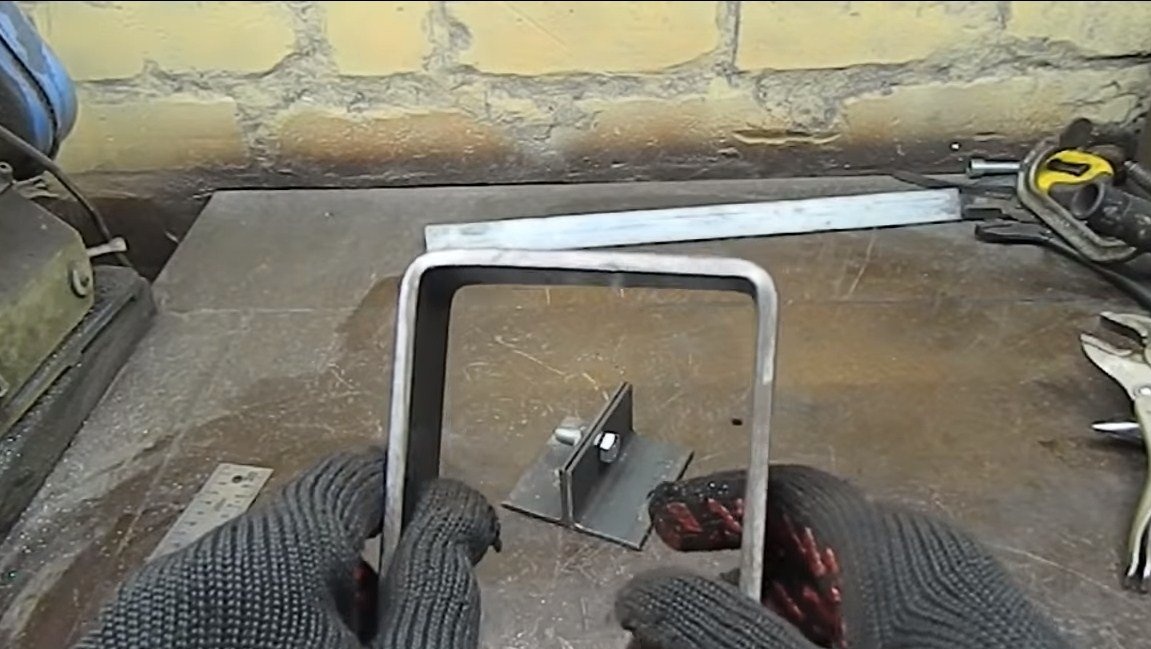
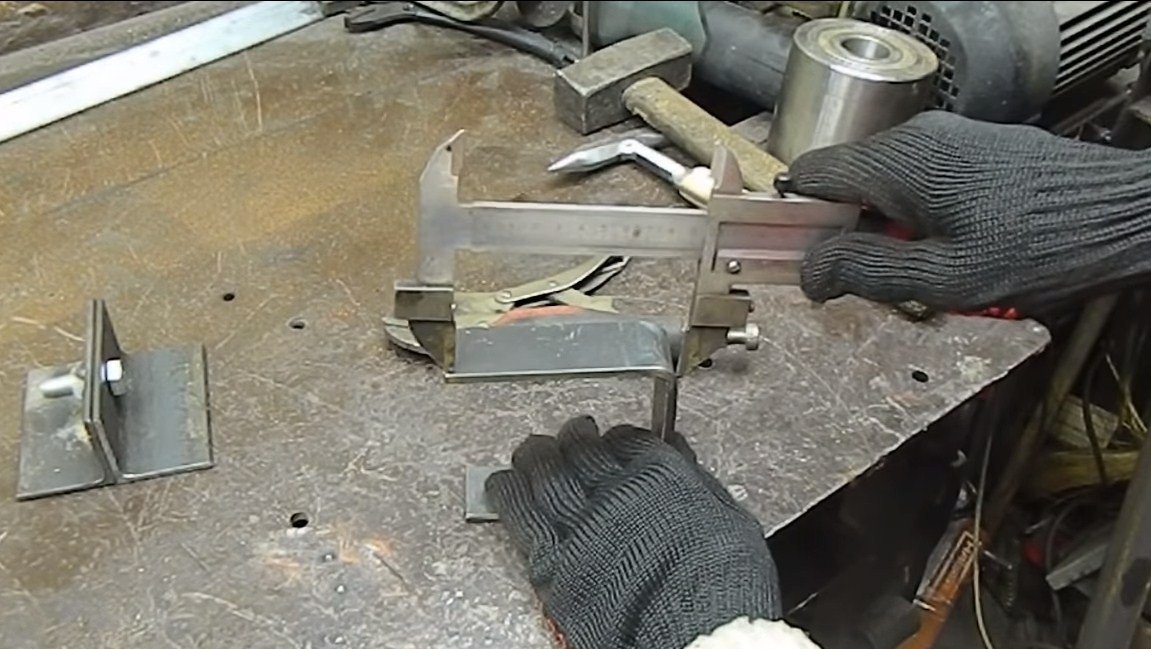
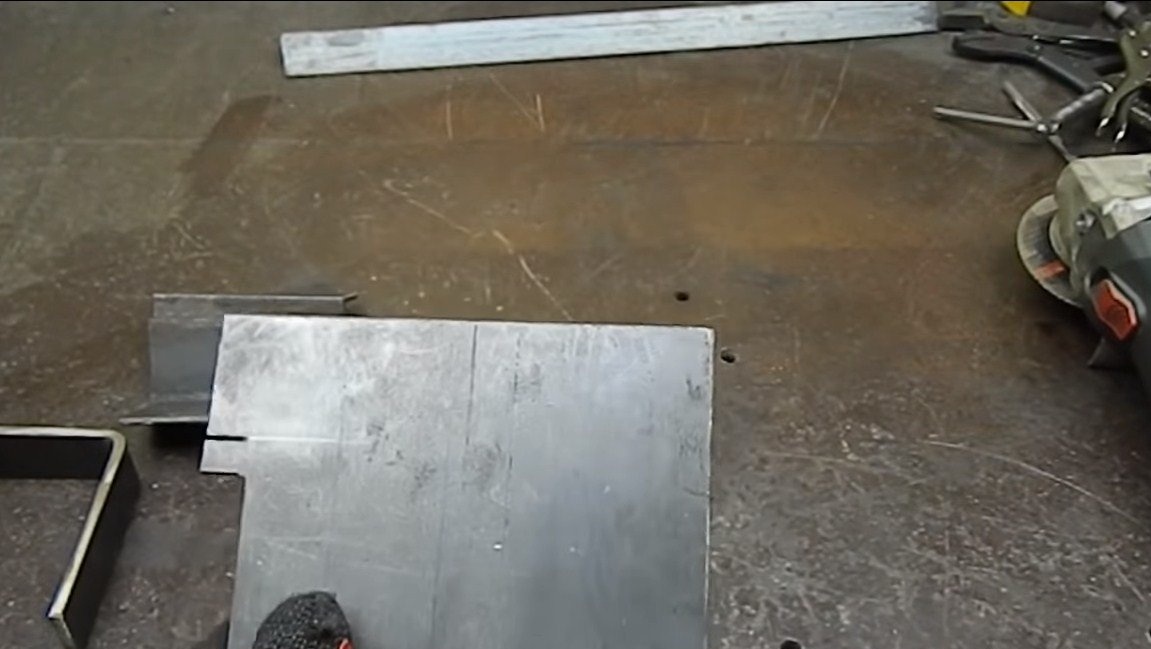
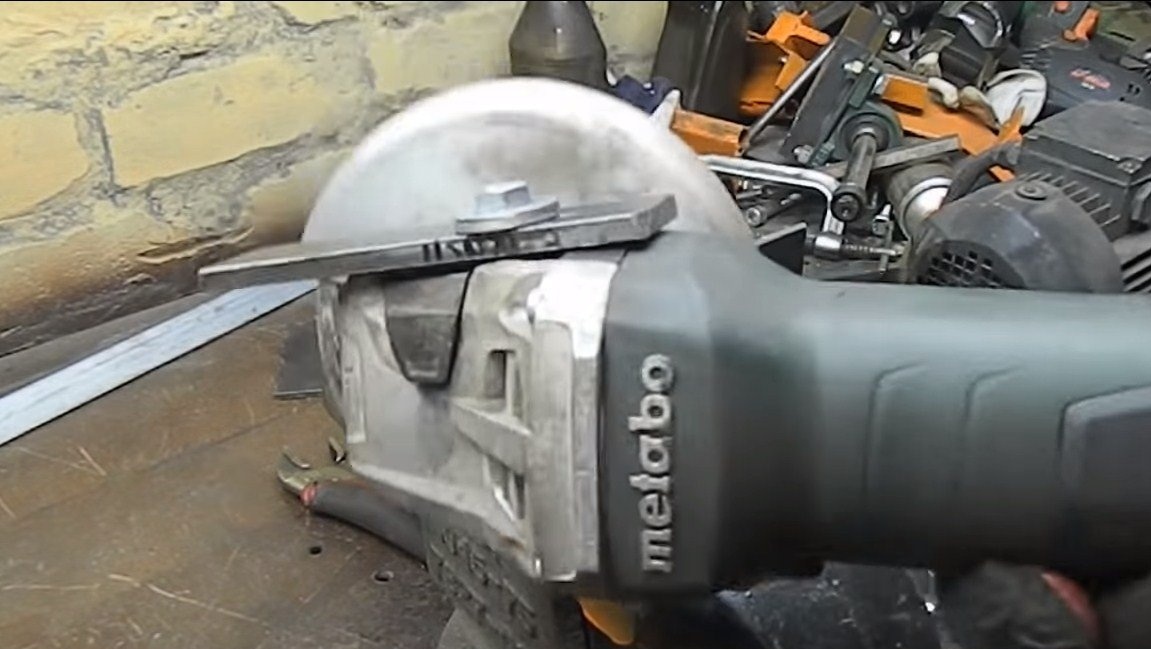
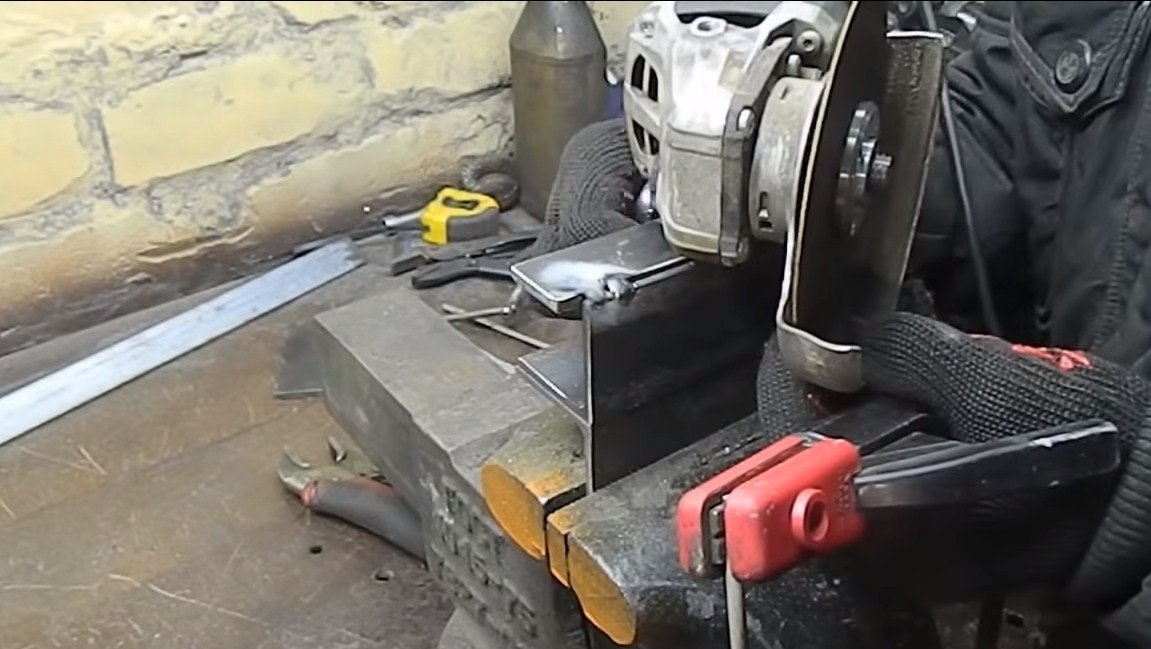
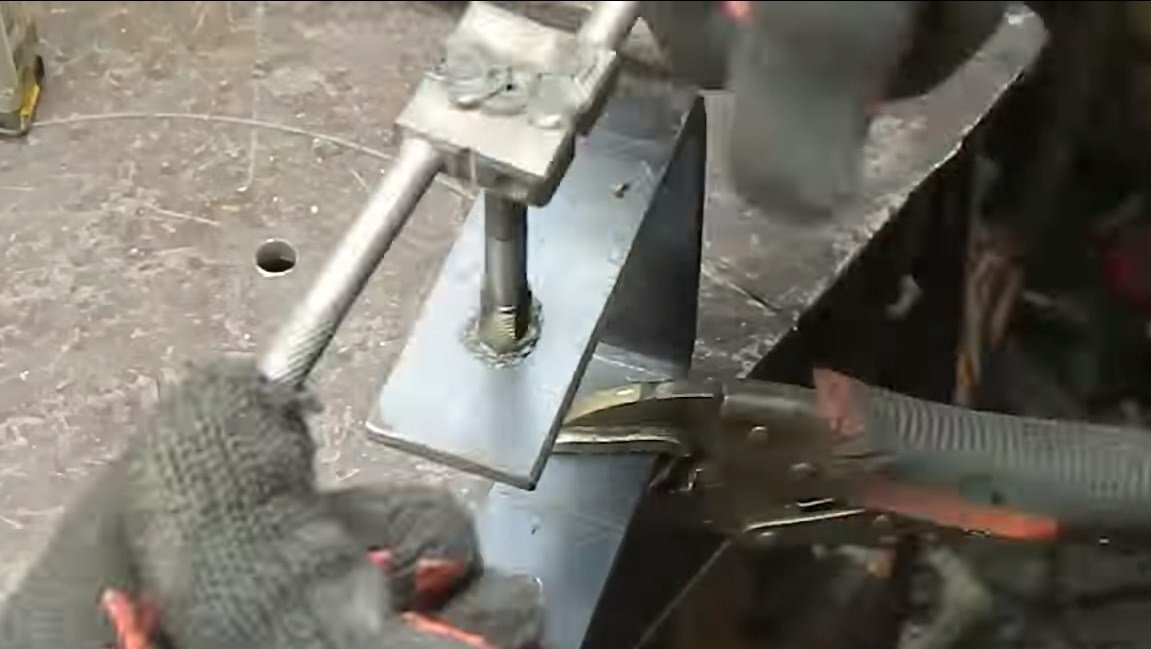
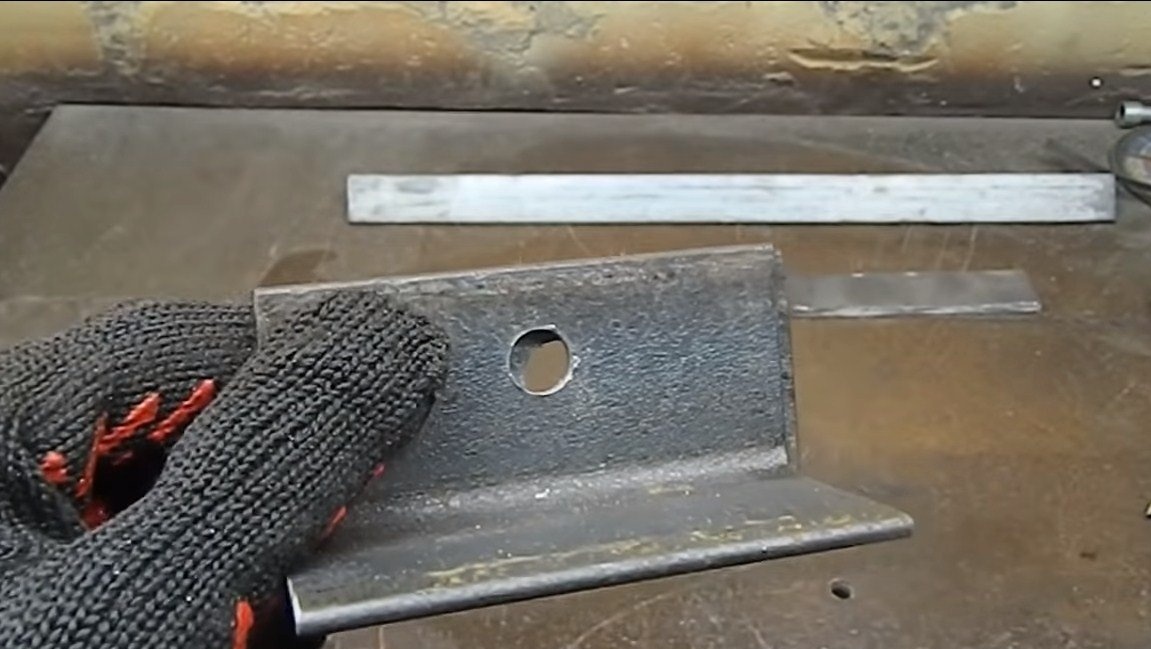
Next, you need to cut another piece of the steel plate and drill a hole, this will be the fastener with which we will fix the grinder on the bed. It will be fastened with one bolt. Both parts are welded to the base, as in the photo.
Step Three Work plane
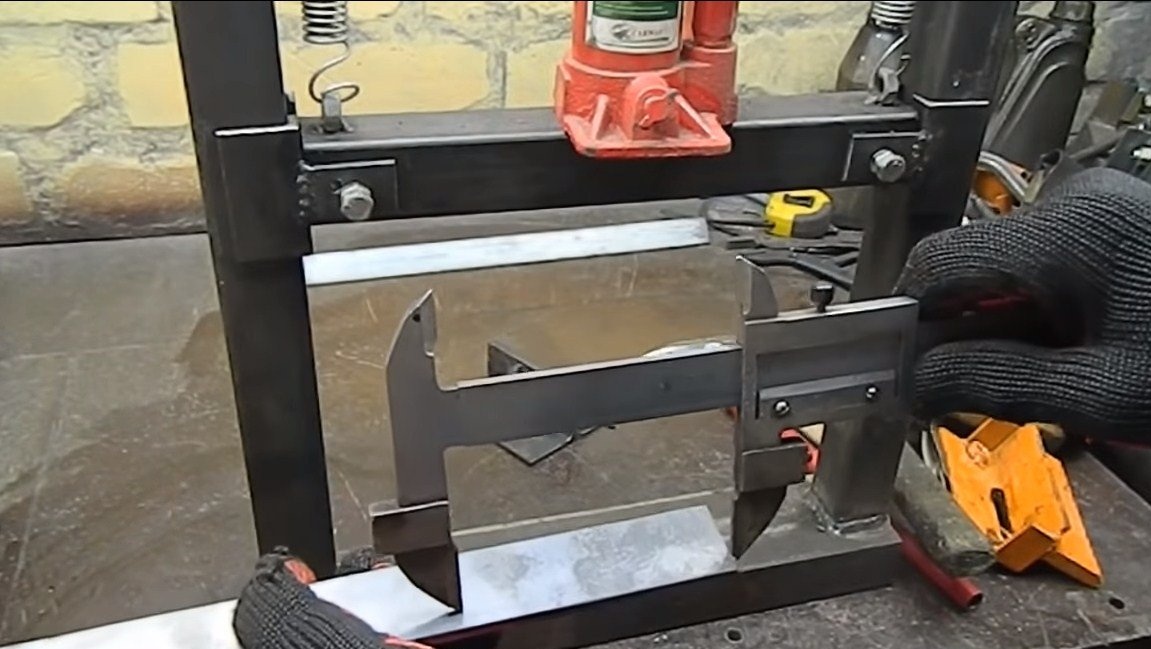
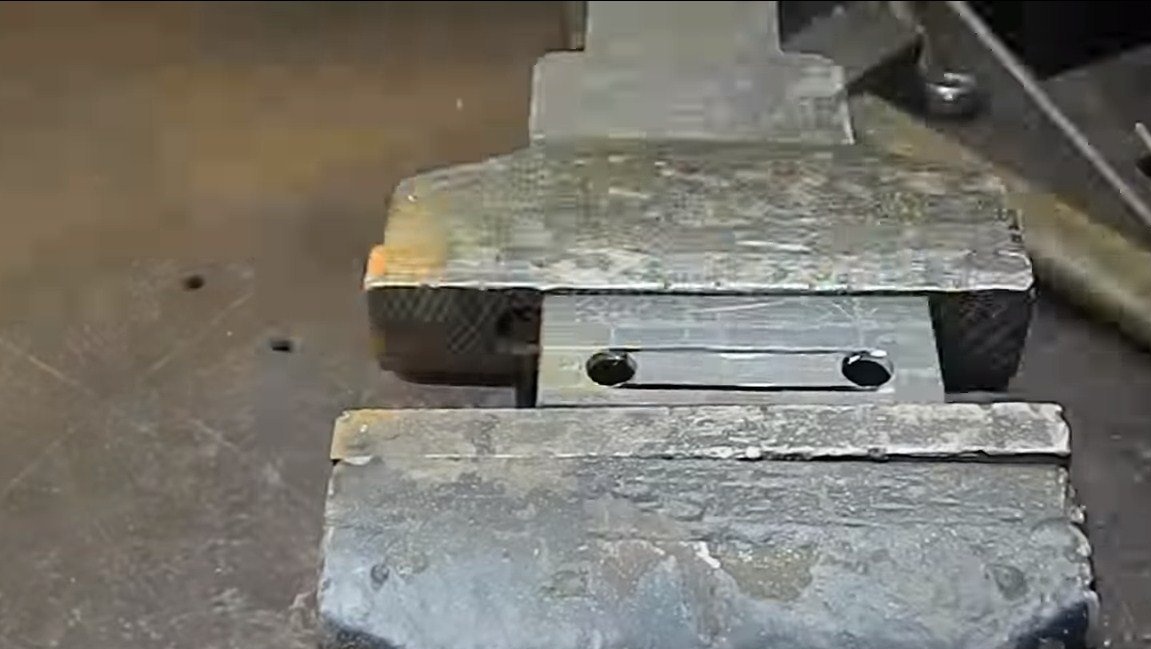
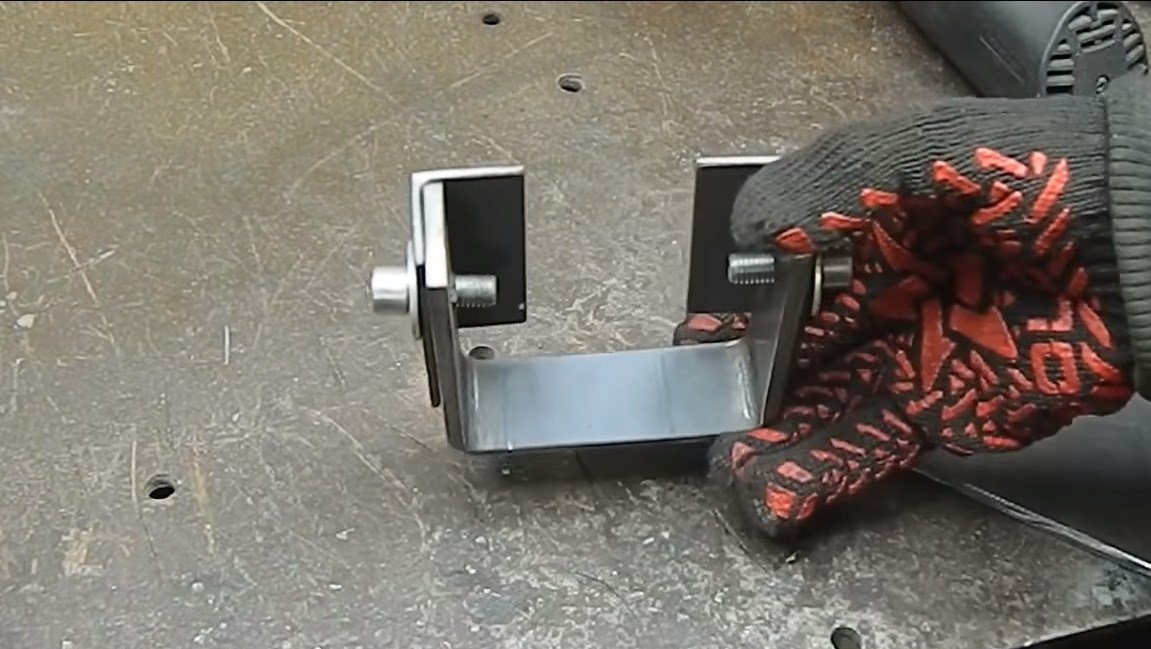
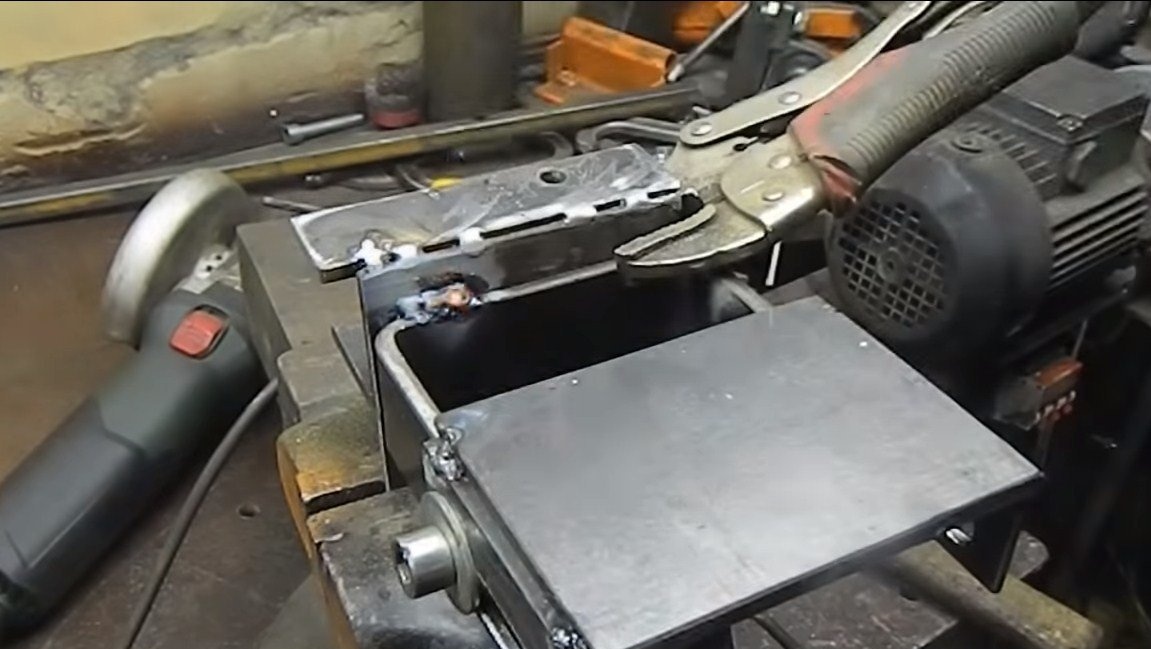
We will make a working plane, that is, a table about which we will rest on the details.Here we need a piece of sheet steel and two corners that are welded to the "countertop". In the corners, you need to make slotted cuts, and the table will be attached with screws to the "P" -shaped part. As a result, the table can be moved away or pushed to the grinder, depending on the nozzle used.

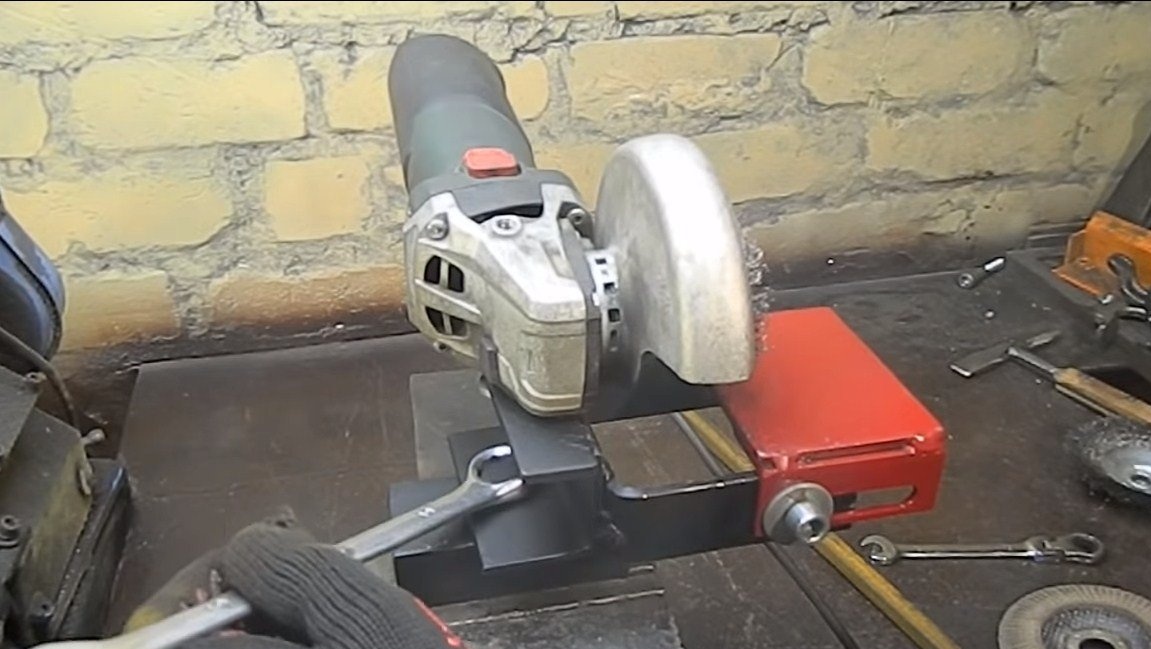
Step Four Painting and testing
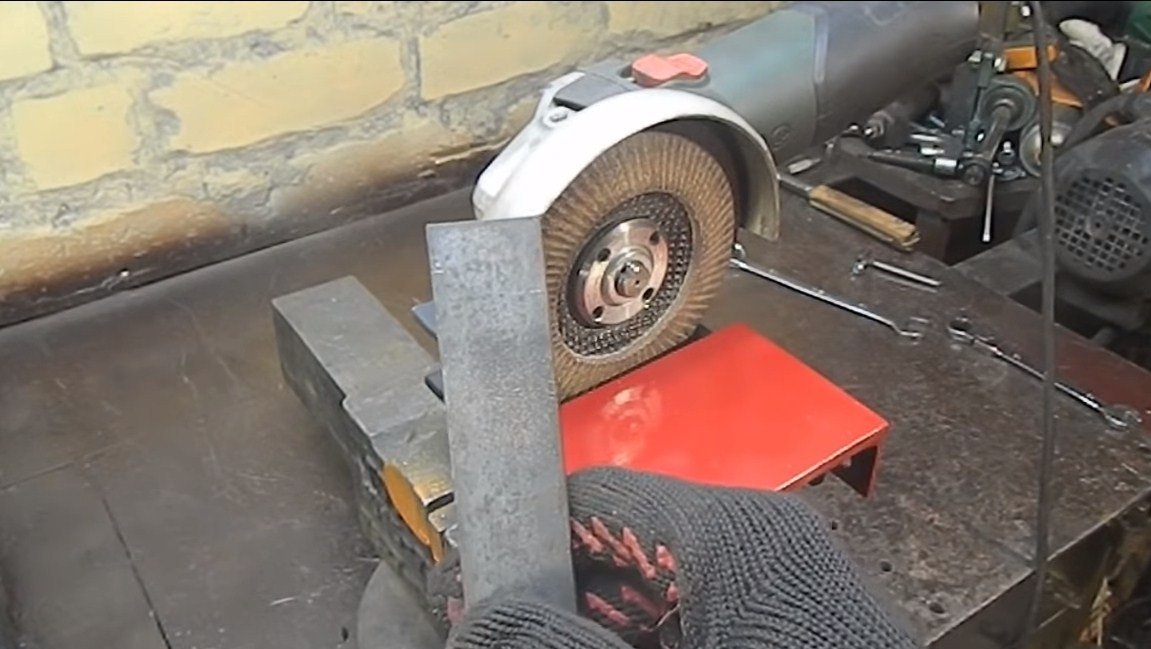
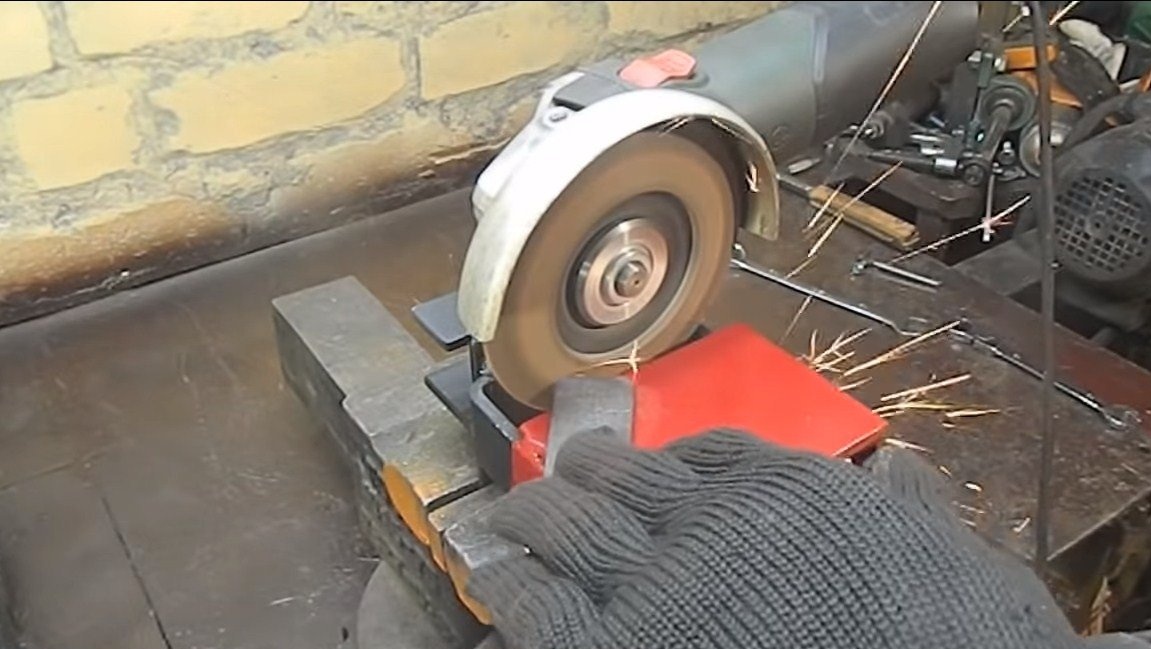
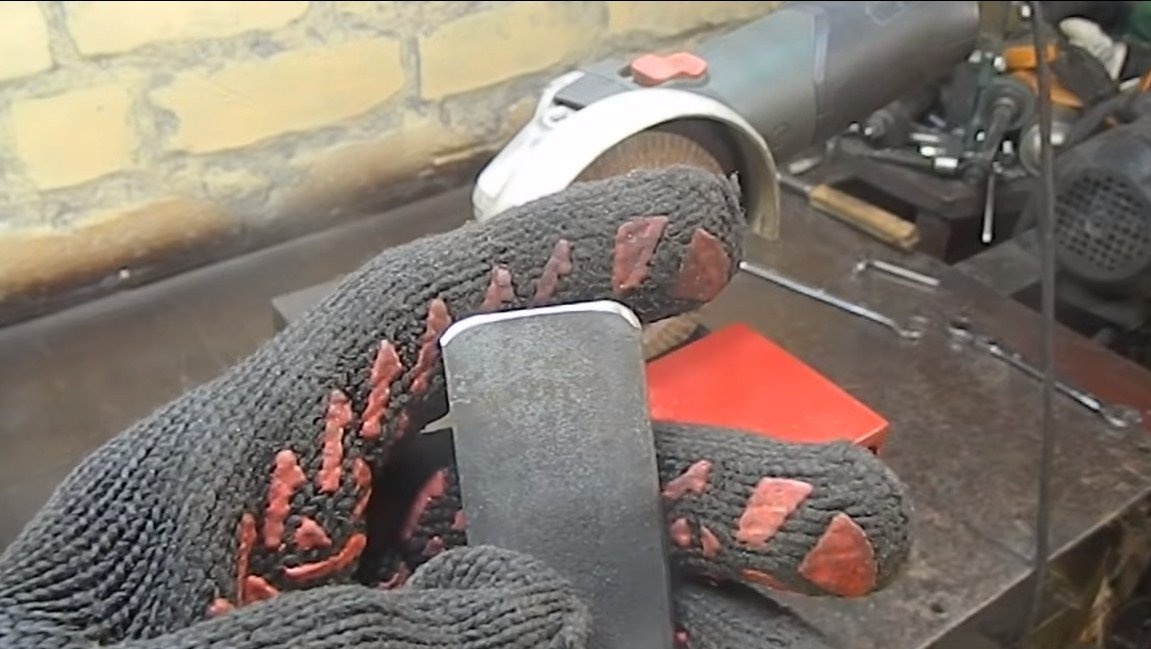
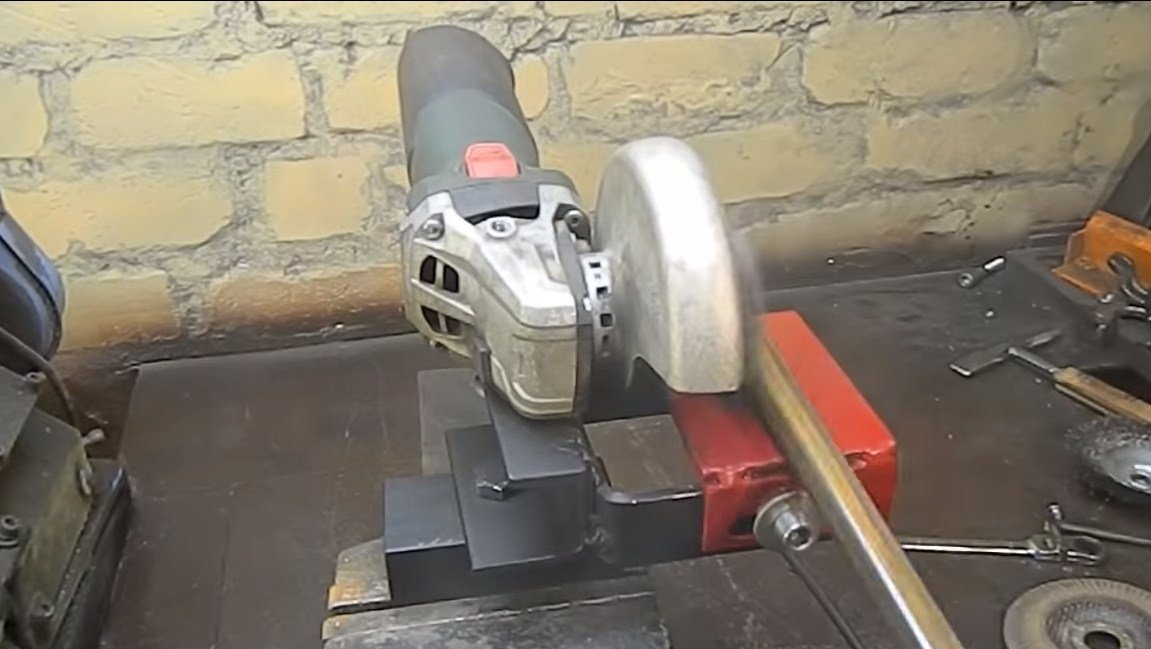
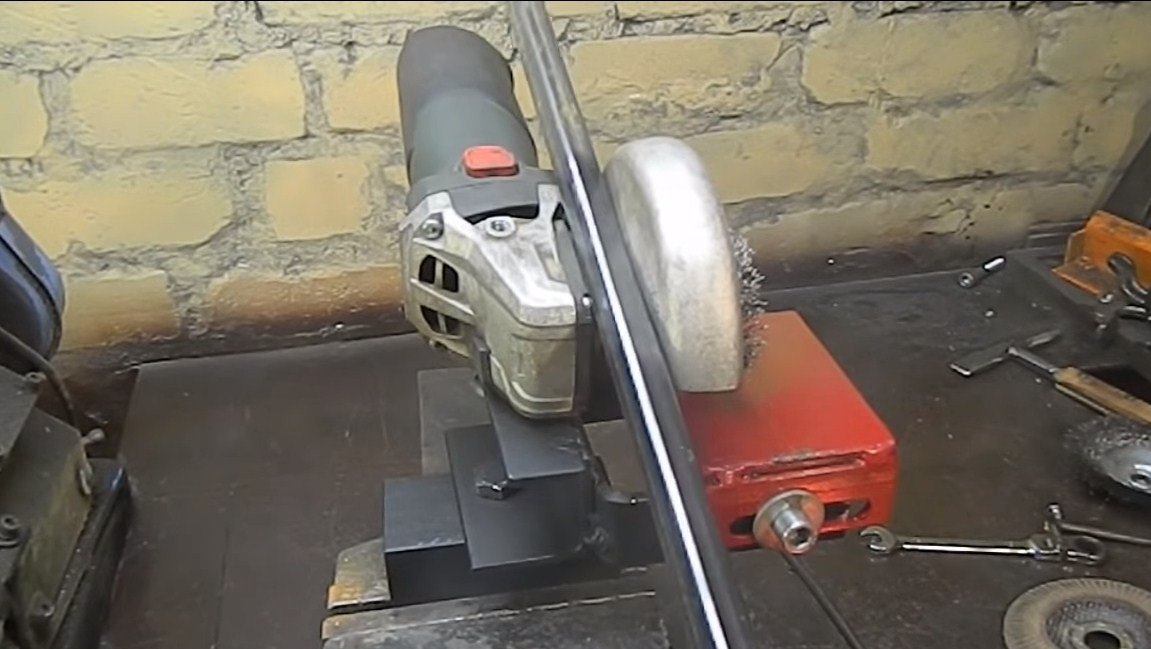
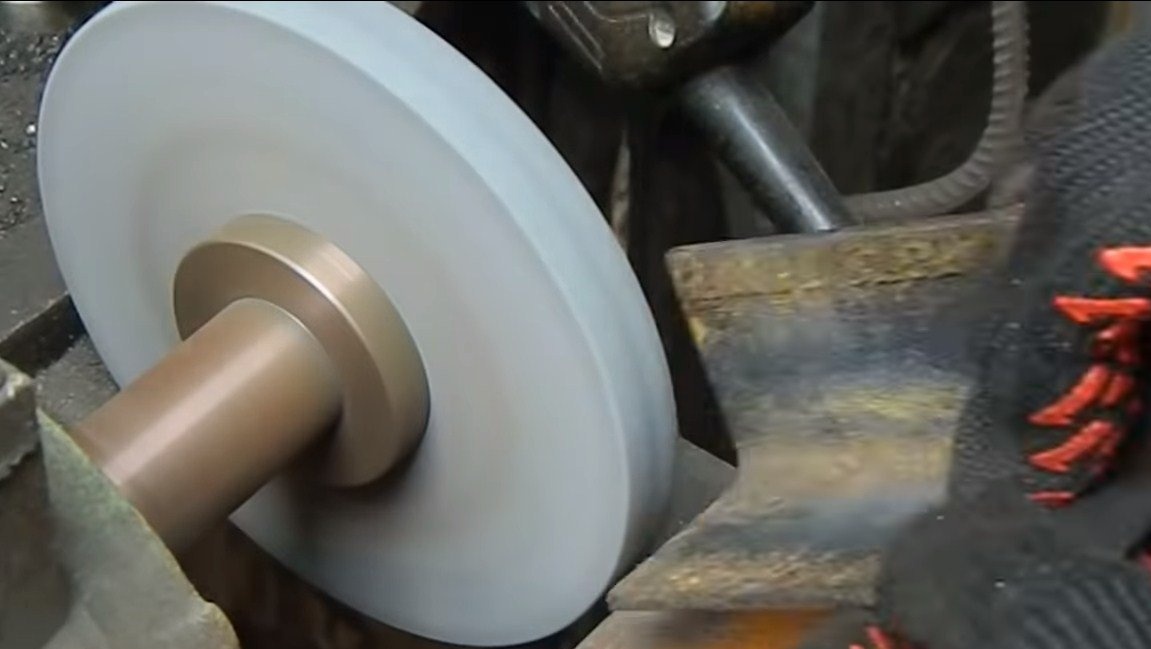
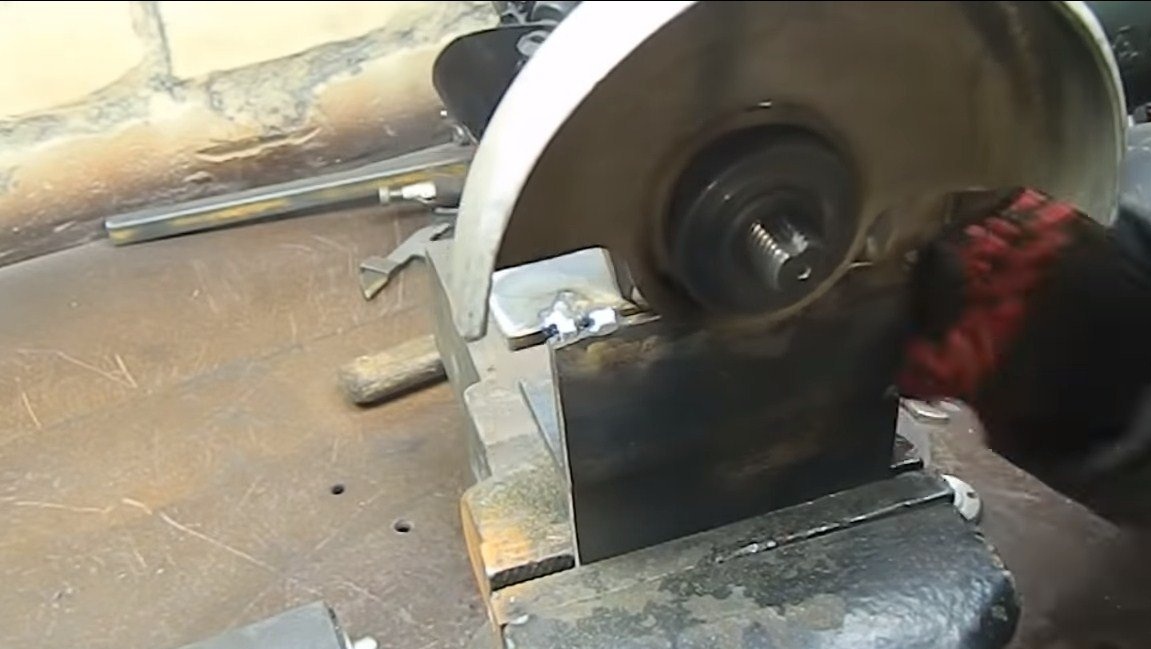
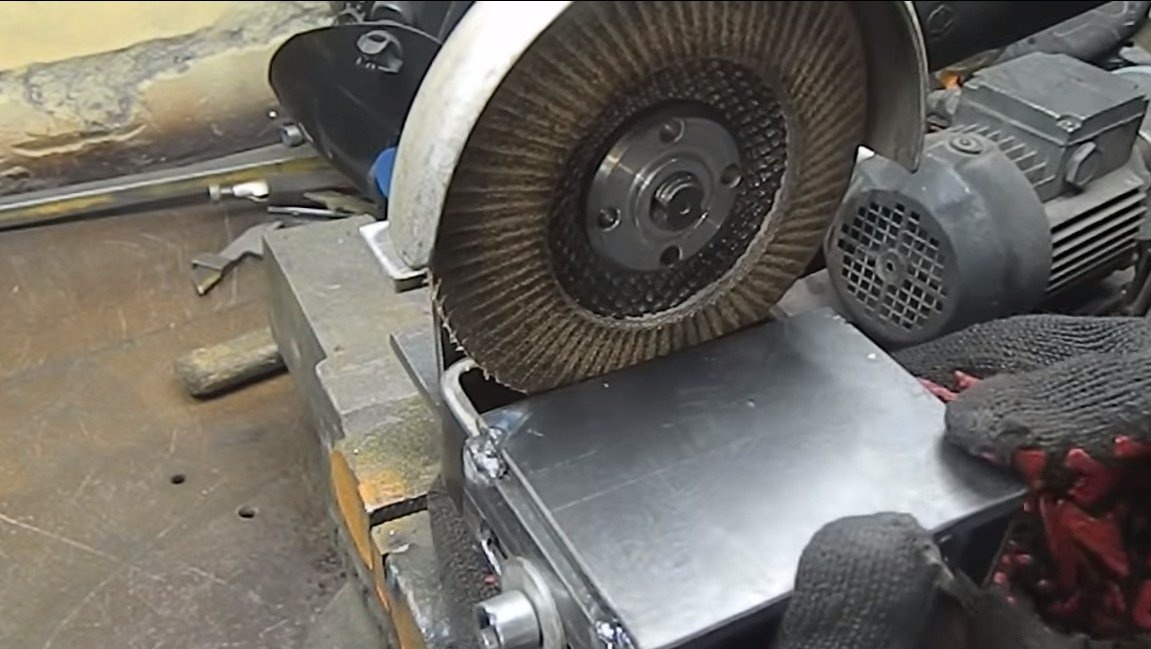
At the end, we paint all the details so that the steel does not rust and looks good. After that, we collect everything and experience homemade work. To begin with, the author tries to polish a steel plate, using a petal disk as a nozzle. Everything is simple and convenient.
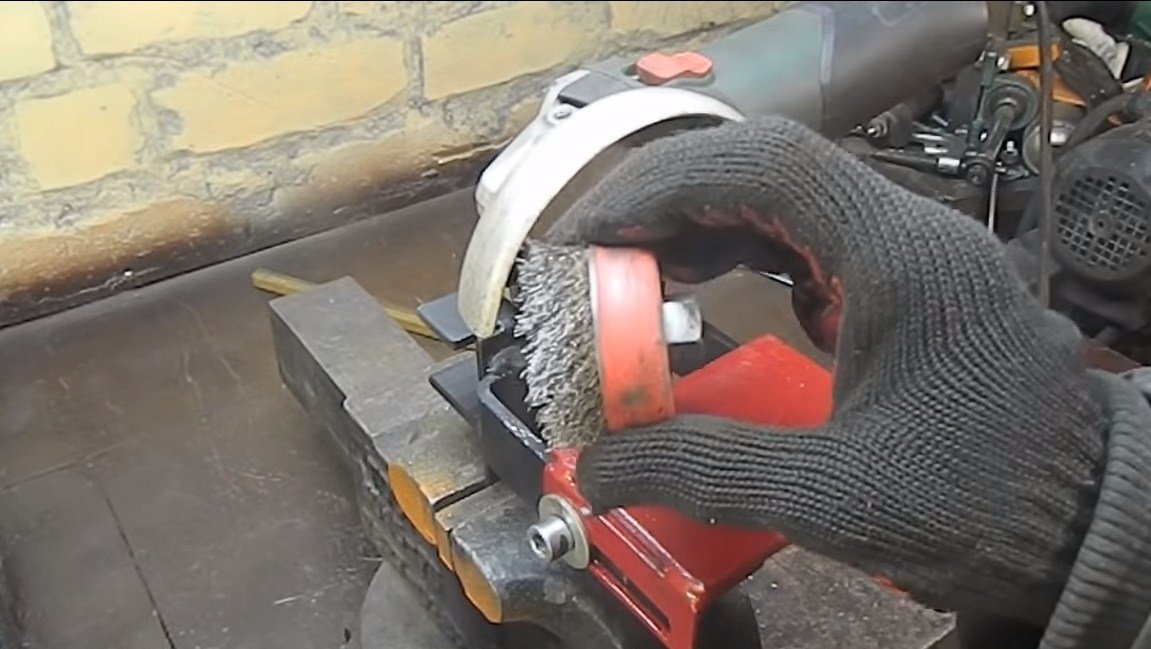
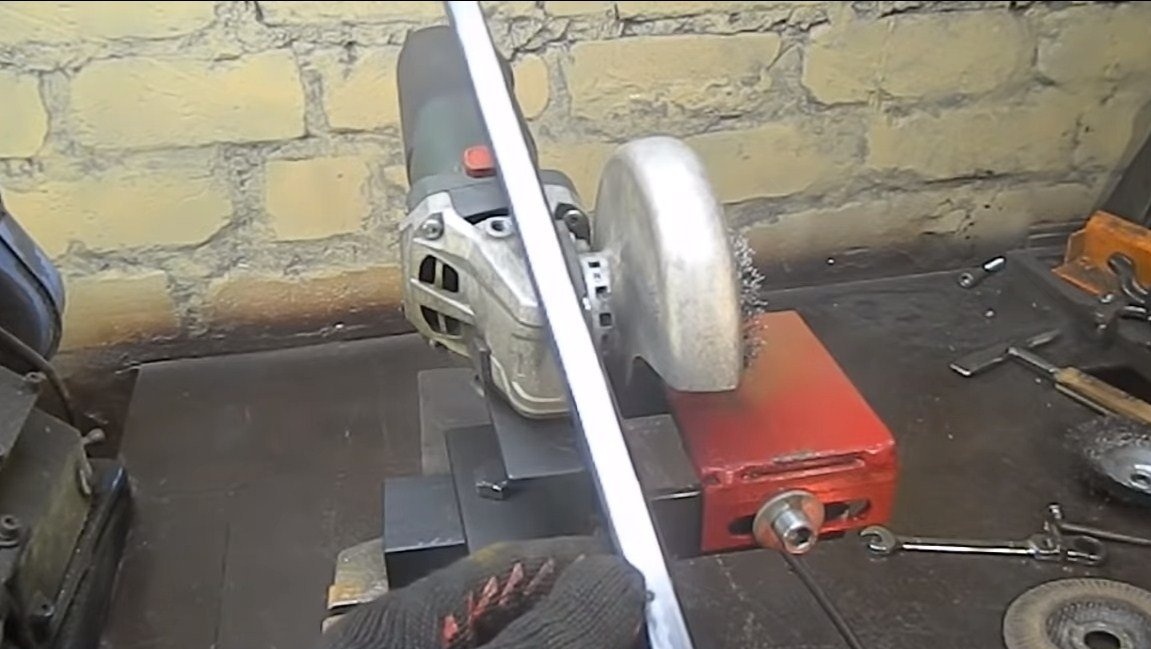
Then there was an experiment to clean the profile pipe from rust, a wire brush was used as a nozzle. The car also coped with this task without any problems.
That's all, the project is over, the homemade work turned out to be quite useful, I hope the project interested you and you found useful information for yourself. Good luck creative inspiration, ate decide to repeat this. Do not forget to share with us your ideas and homemade products.