

Over the years, in the workshop of the author of this homemade, accumulated a lot of modern and old electronics. He always supported the idea of recycling. electronic components and their reuse or recycling. Old electronics is full of good components like variable capacitors, transformers, coils, etc. The main problem with them is the wiring. Not so much the soldering itself, how much smoke from solder and flux, which is harmful to the human body.
As luck would have it, this smoke constantly follows you. Most likely, this is just an electrostatic attraction.
Previously, the master used a fan to blow smoke, but this did not solve the problem radically. So he decided it was time to make a hood. Of course, from reusable parts.
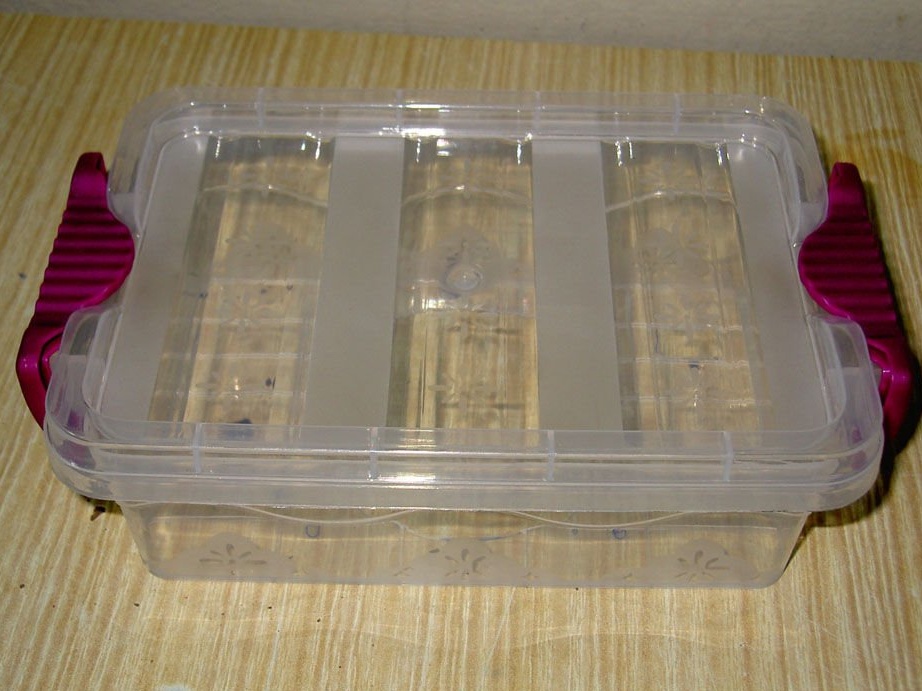
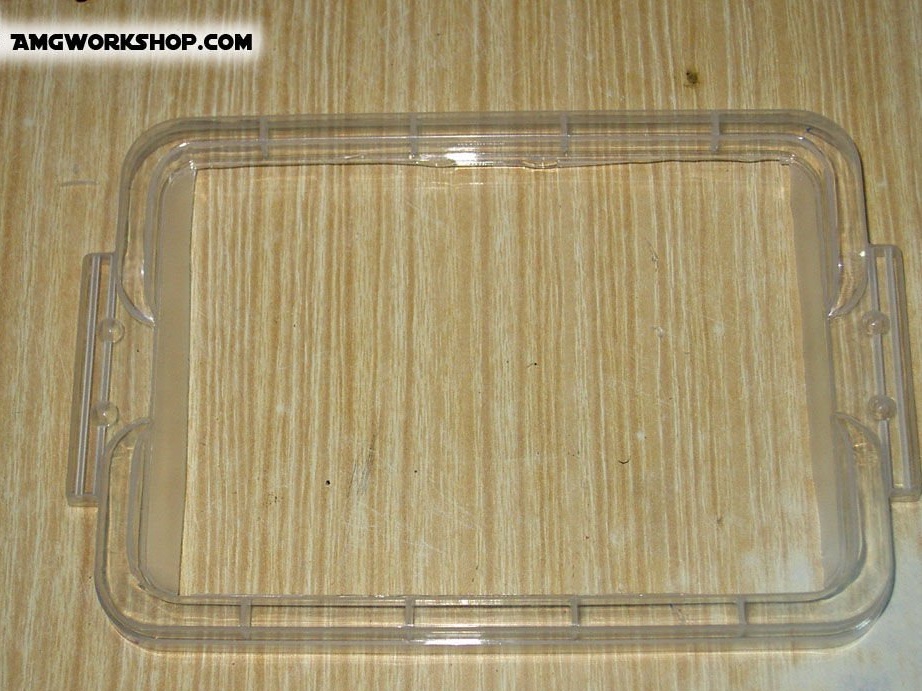
After much deliberation, the idea was born to use a food container and a fan from an ATX computer power supply. The main characteristics of the hood are simplicity, efficiency and low cost. But the main goal of this homemade product is efficiency / size.
Step One: Materials and Tools

Materials:
- A small food container with locking handles;
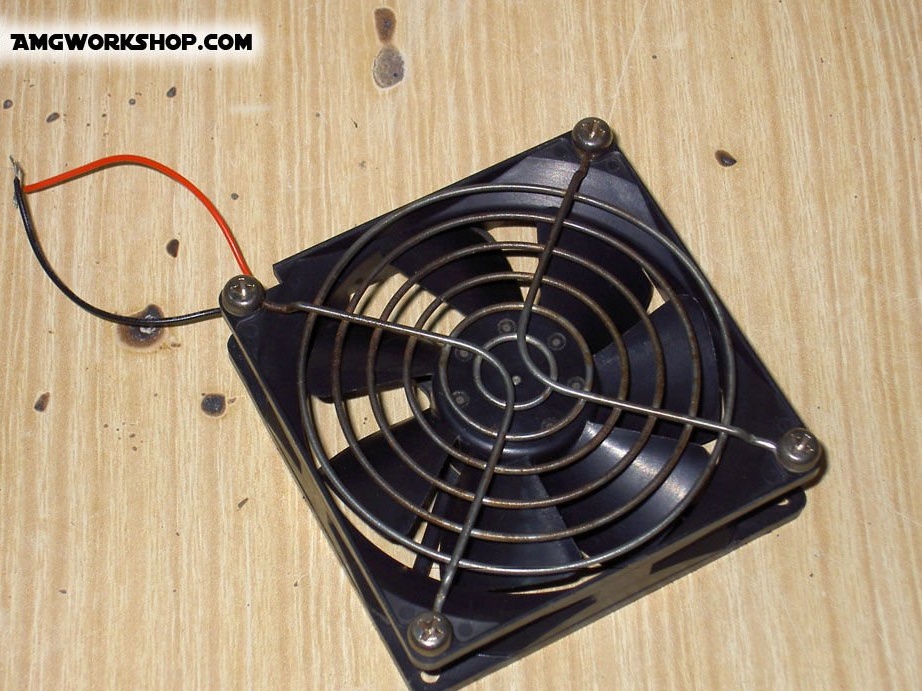
- 120 mm fan with grill;
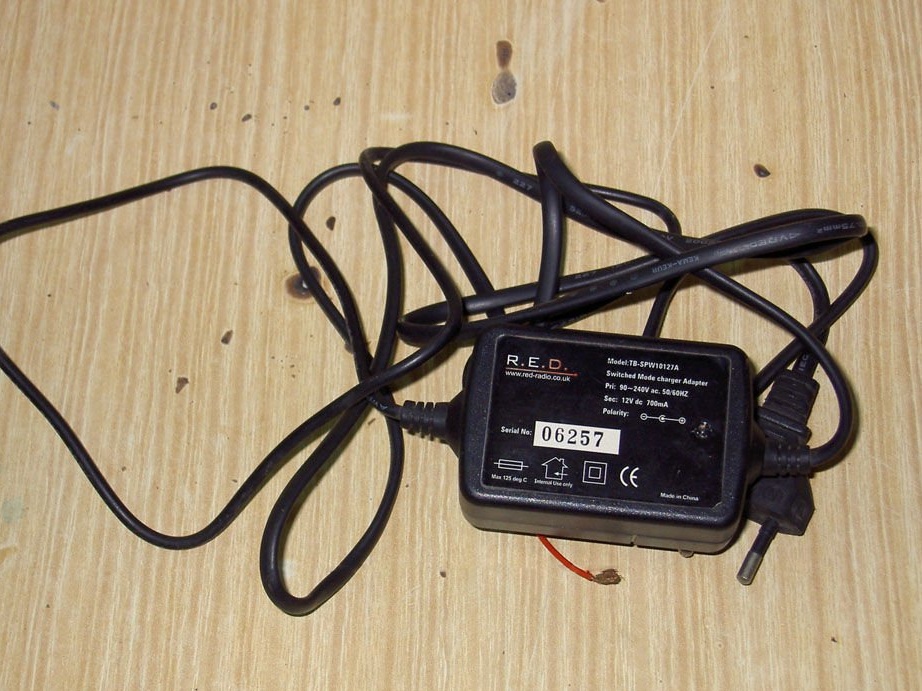
- A 12 V power supply with a current of at least 500 mA;
- A piece of sponge with a thickness of 5 mm, preferably a carbon filter;
- Plastic;
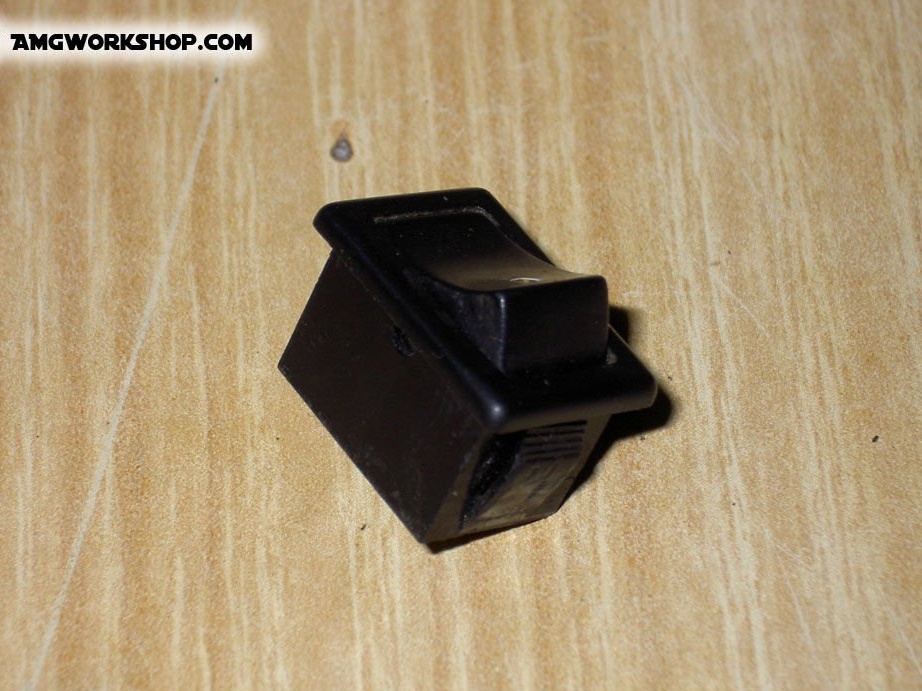
- switch;
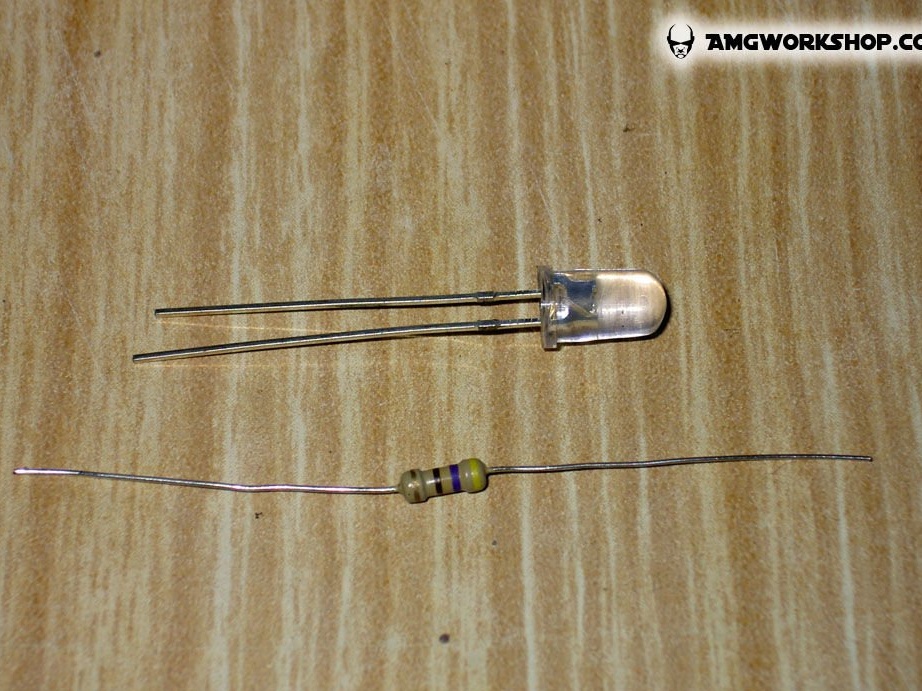
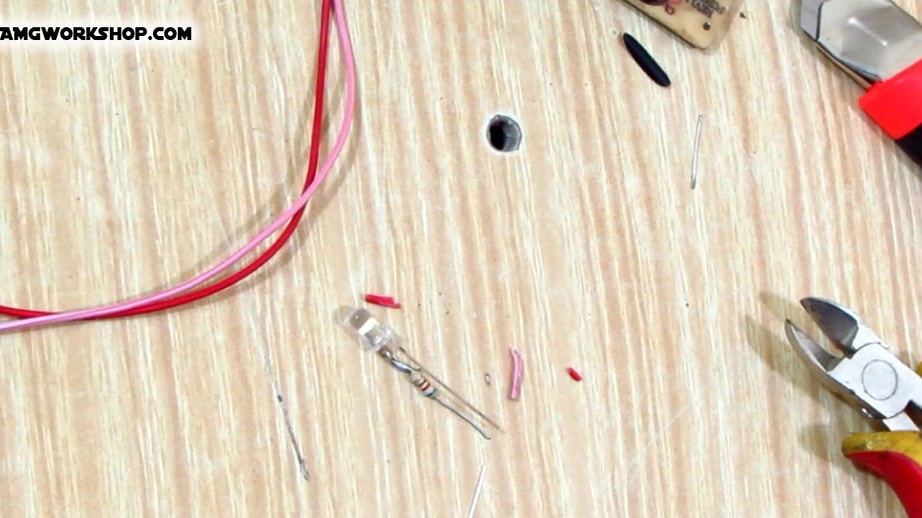
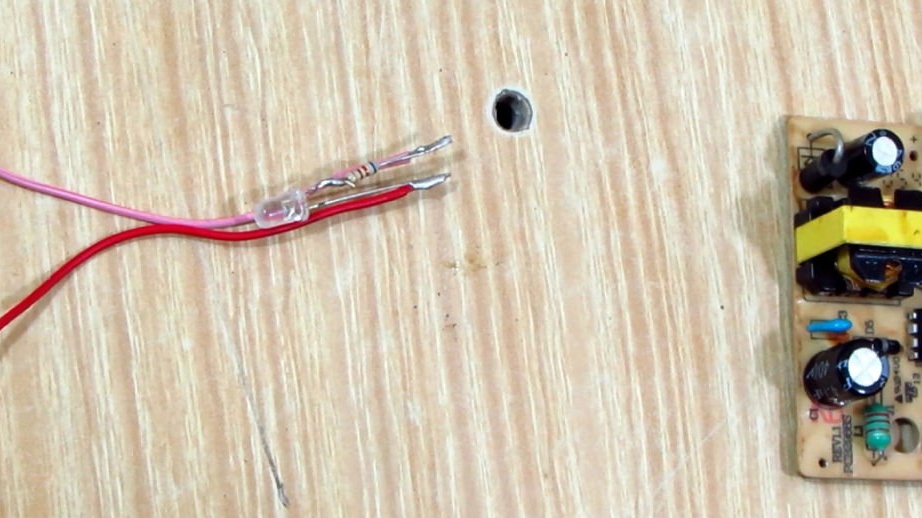
- Red LED with 620 Ohm resistor;
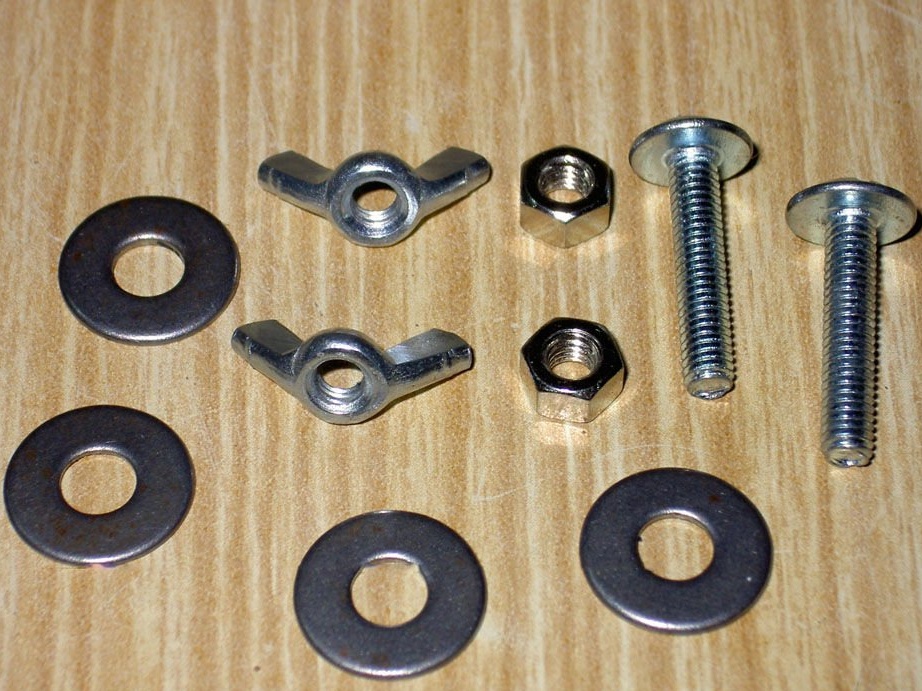
- Two 4 mm mounting screws;
- Two nuts;
- Two lamb;
- Four washers;
- wires;
Instruments:
- Marker and ruler;
- Hot glue gun;
- Sealant or PVC glue;
- Soldering iron with solder;
- pliers;
- screwdriver;
- Sandpaper;
- Jigsaw;
- Electric drill;
- 4, 7, 8 mm drills;
- spanners;
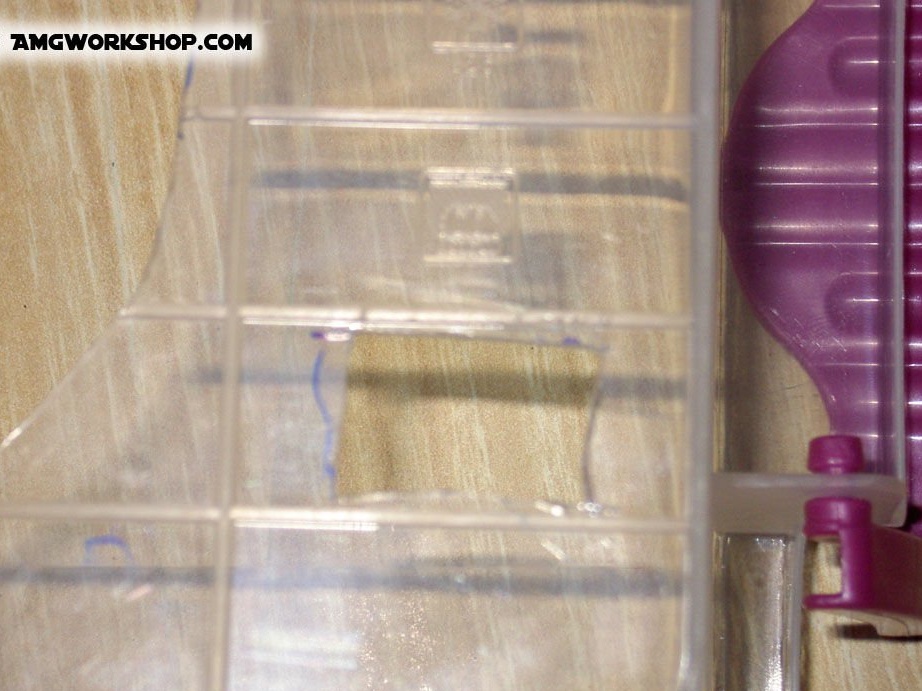
Step Two: Preparing the Food Container
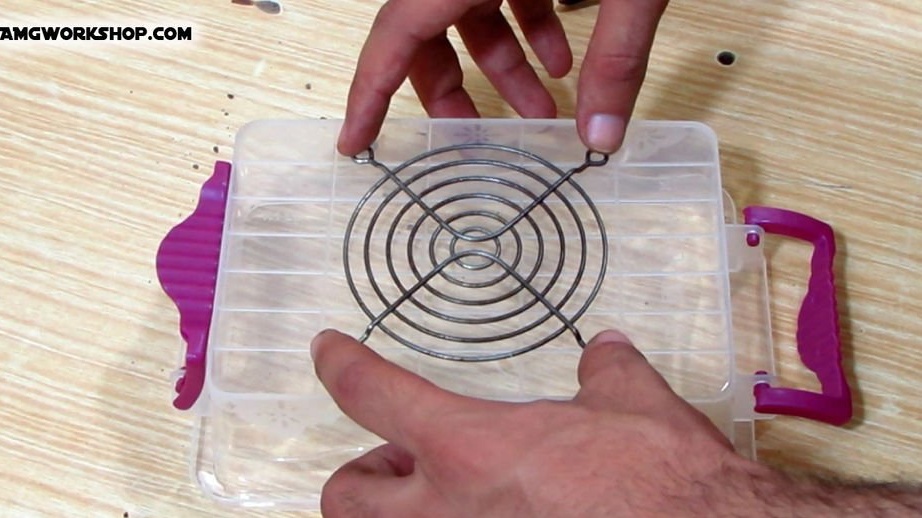
• The fan grill must be removed if it is bolted.
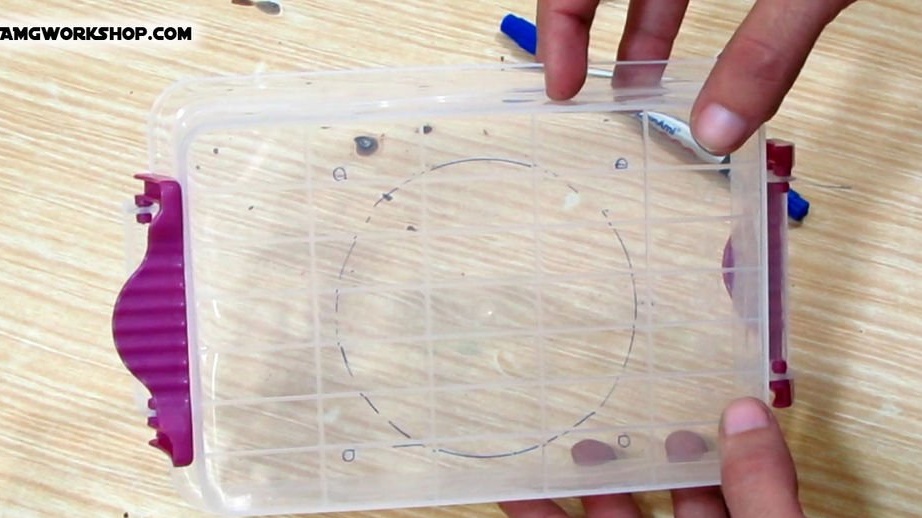
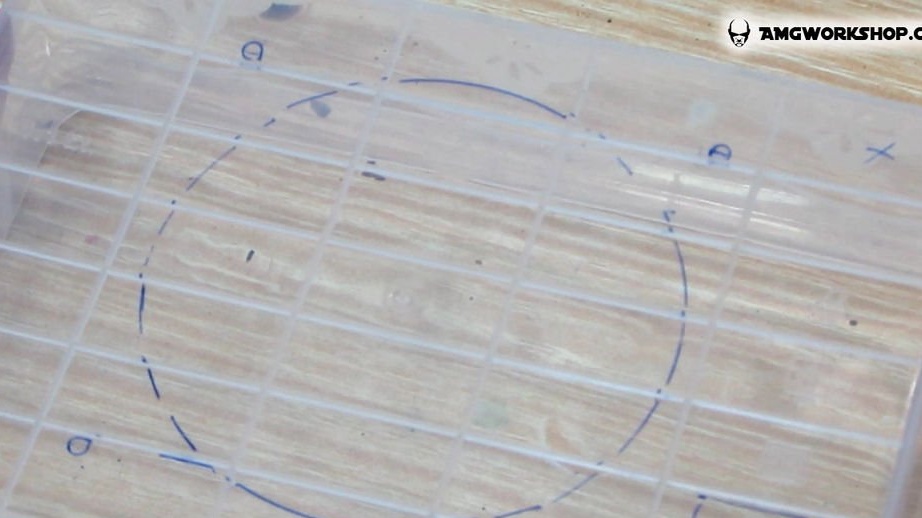
• Attach the grill to the bottom of the container from the outside and apply marks to center the location of the fan.
• Mark the location of the fixing screws and fan with a marker.
• Draw the outline of the power switch below, next to one of the corners.
• Mark the power cable on the opposite side of the power switch.
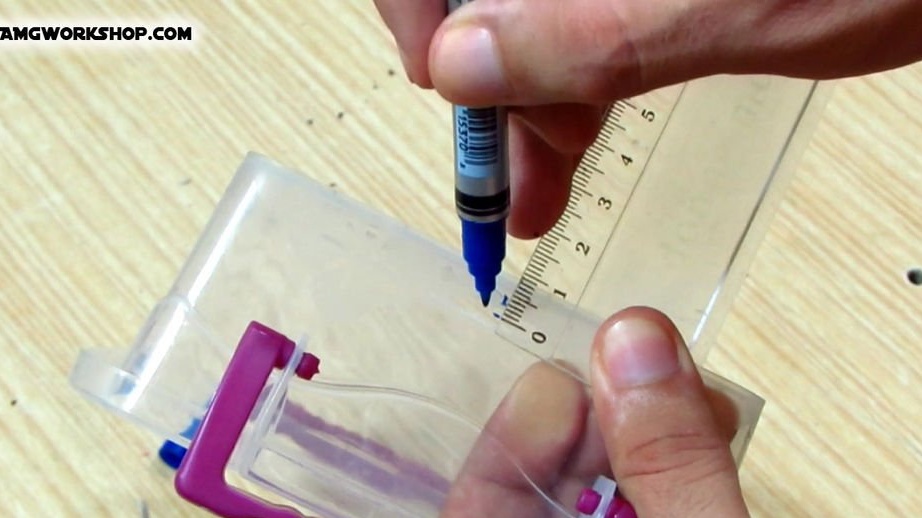
• To fix the support legs of the hood, you need to find the middle of the side wall of the container. Mark the footwell 5 mm from the bottom.
Step Three: Making Holes
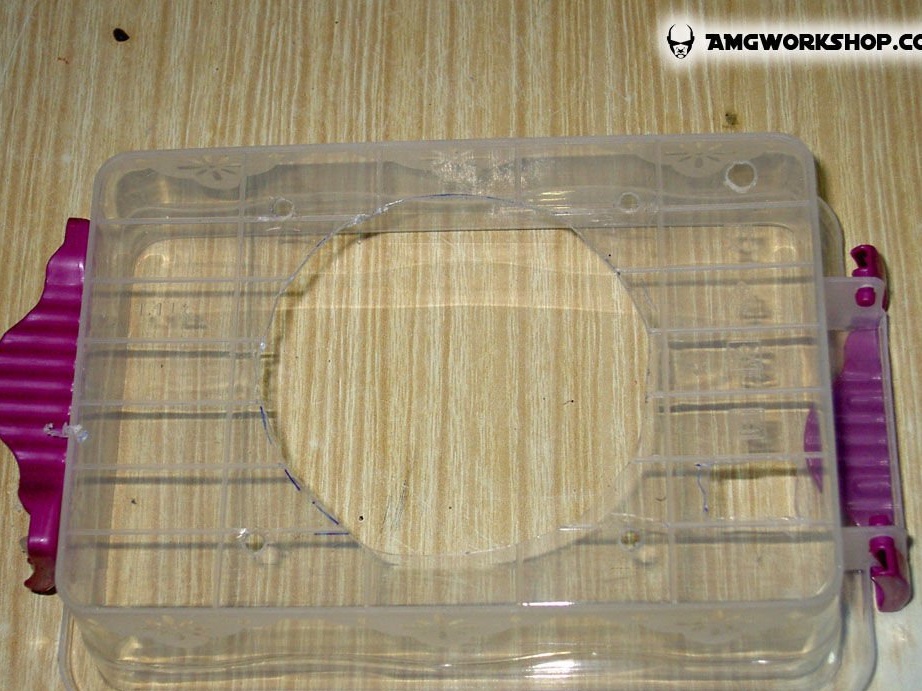
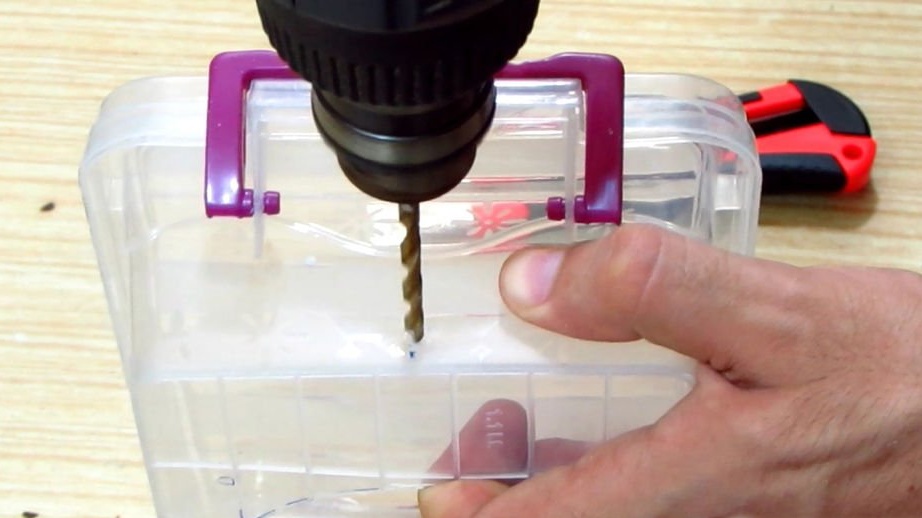
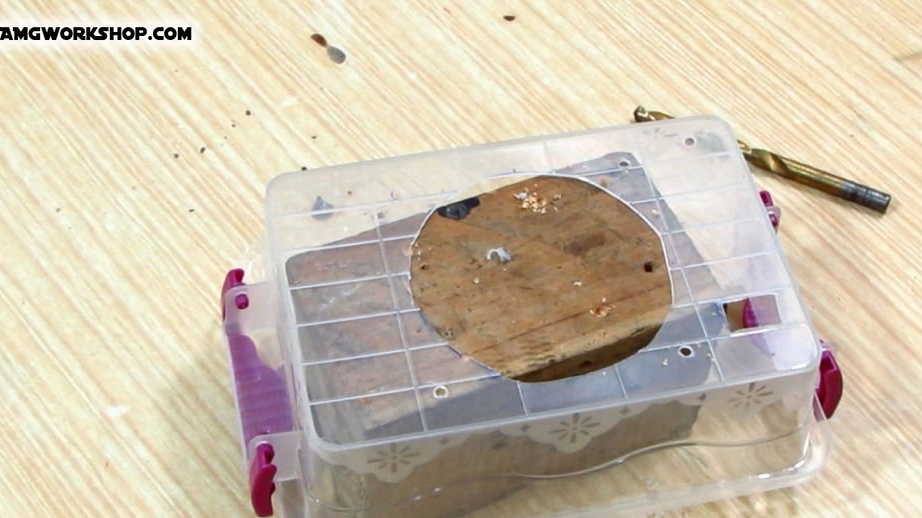
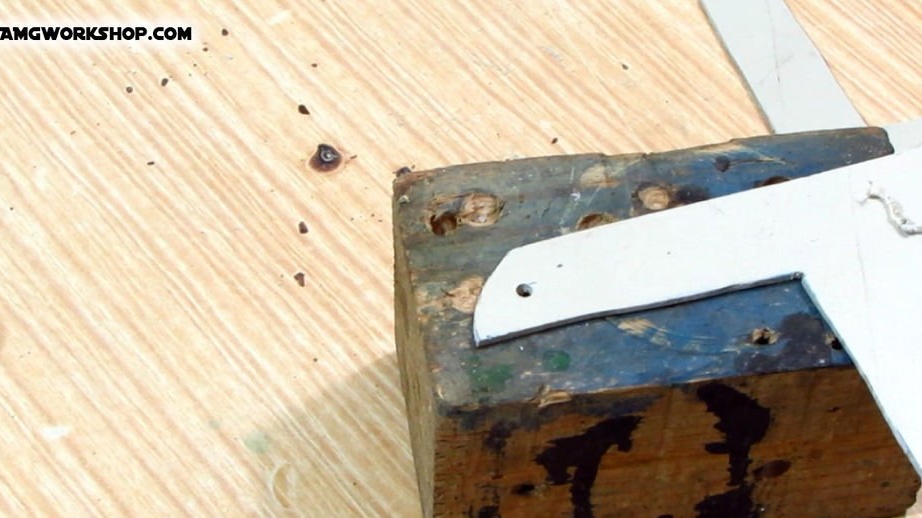
The working hole for the fan is cut with a knife. Also cut out a hole for the on / off button.The mounting holes for the fan are drilled with a drill with the required diameter. Before drilling, a wooden block must be placed under future holes for a more tight contact.
Step Four: Making Legs
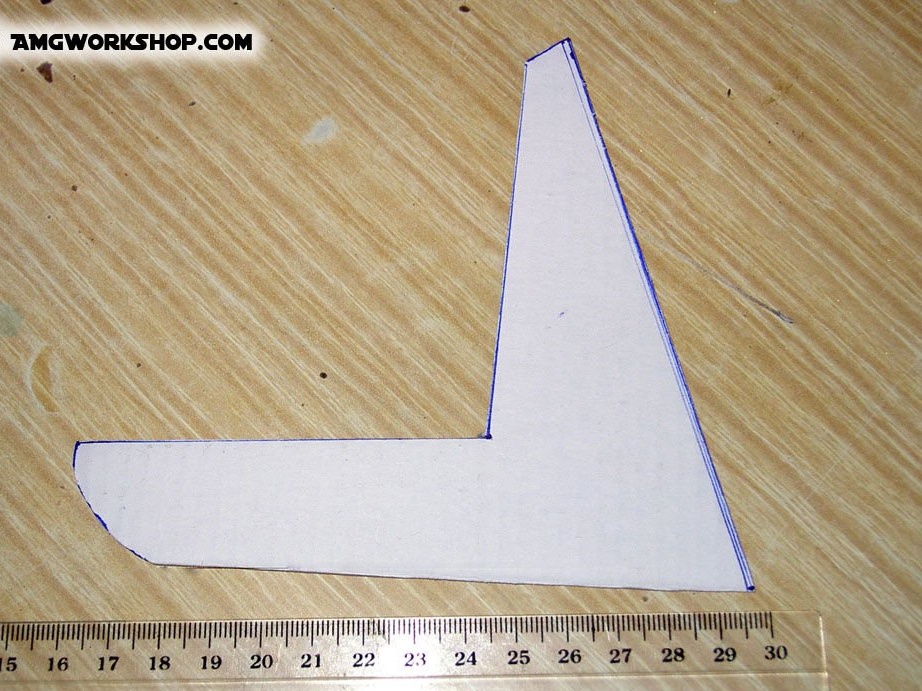
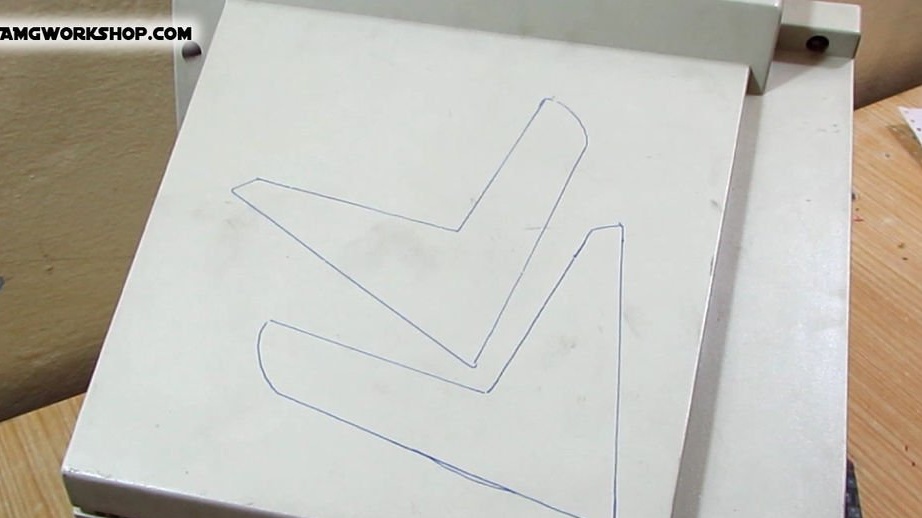
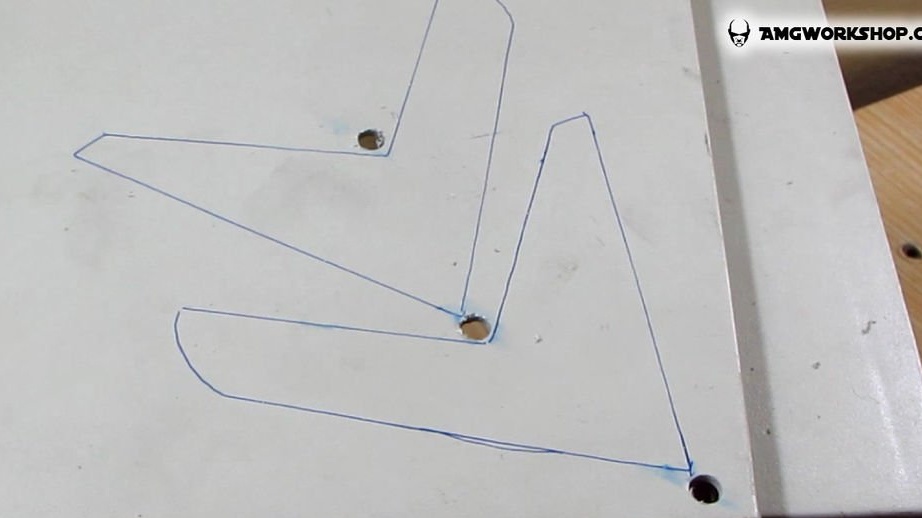
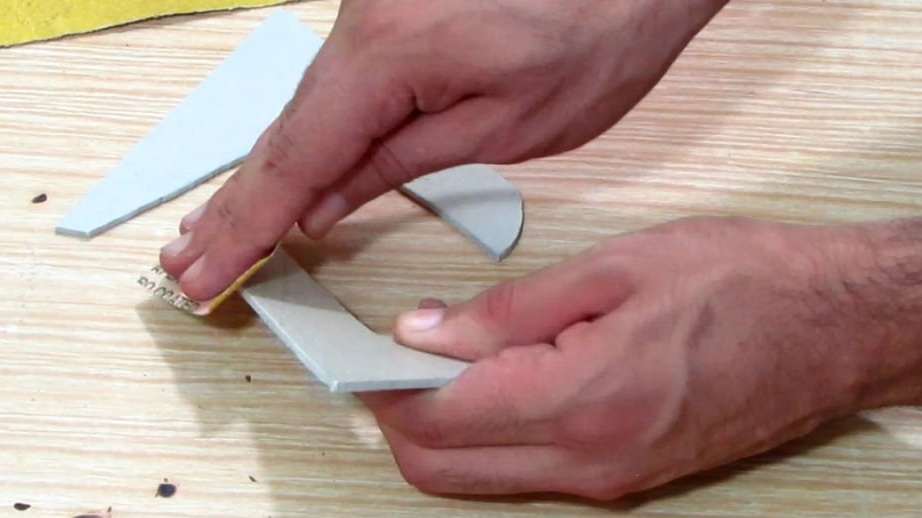
Download and print the leg template below and stick it on the plastic. Between the legs, it is desirable to leave free space for the holes for the jigsaw.
Then drill holes with a 7 mm drill.
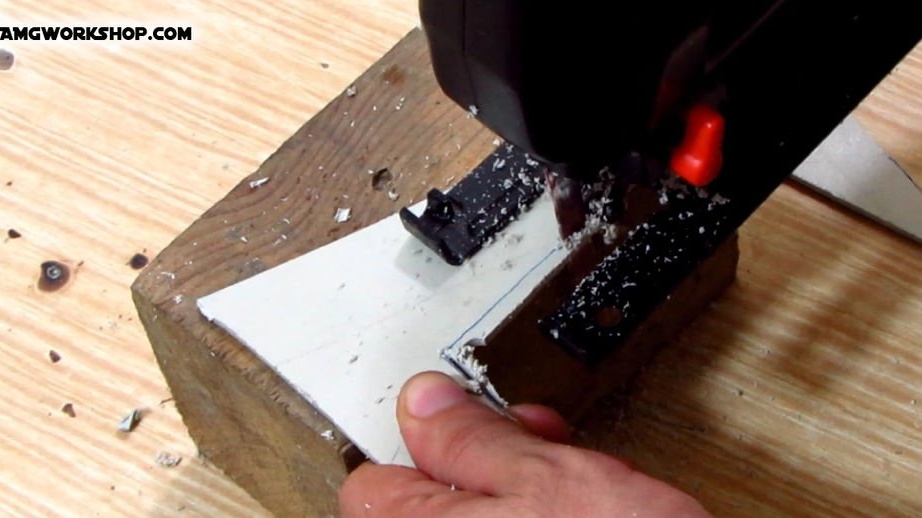
Now insert the jigsaw into one of the holes and start curly cutting the plastic.
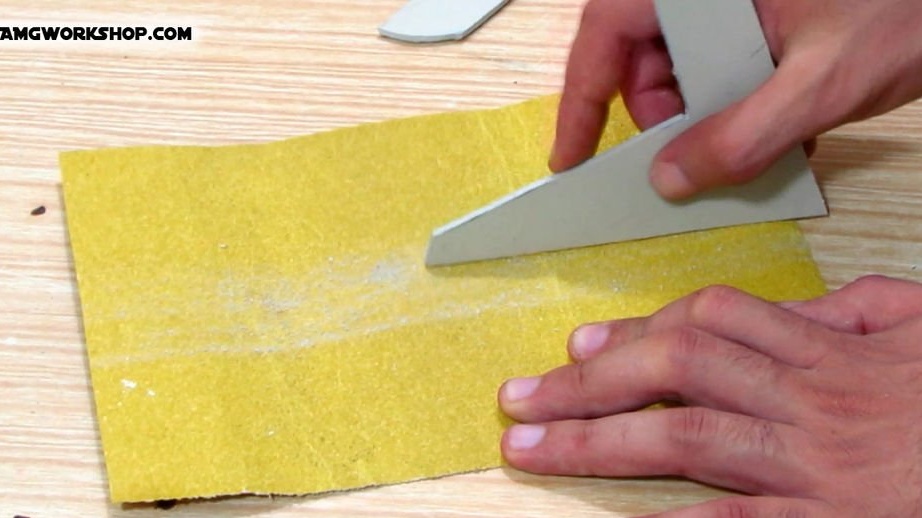
Having finished cutting the material, it is necessary to remove the burrs using sandpaper.
Mark the hole for fixing the legs with a marker, and then drill it with a 4 mm drill.
In order to symmetrically drill holes for mounting in the legs, it is necessary to lay the legs on top of each other.
Attachments
Step Five: Making the filter and its holder
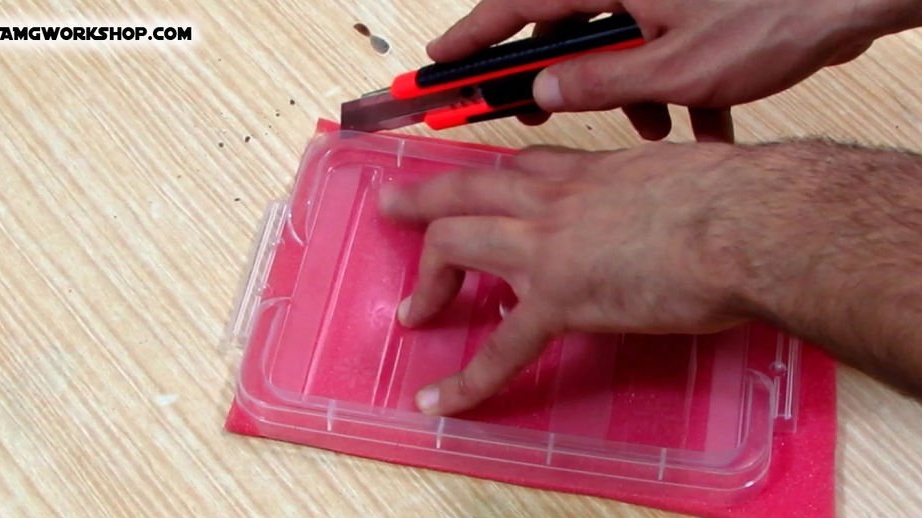
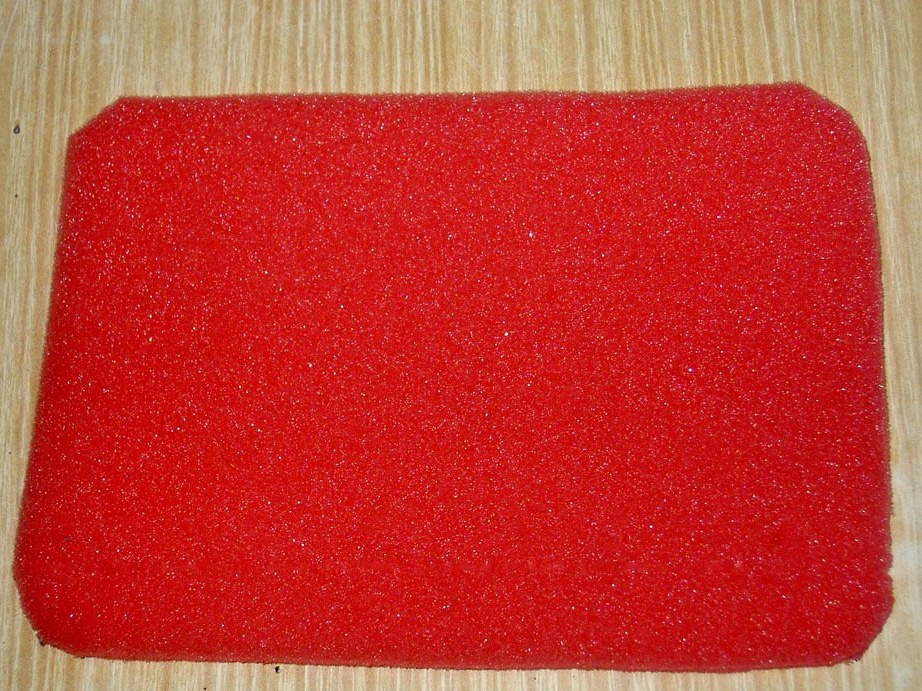

• Place a sponge or charcoal filter on a work bench.
• Place a container lid on top.
• Using a knife, cut the sponge to fit the shape of the container.
• The entire middle part is cut out in the lid. The filter will be located here.
Step Six: Posting
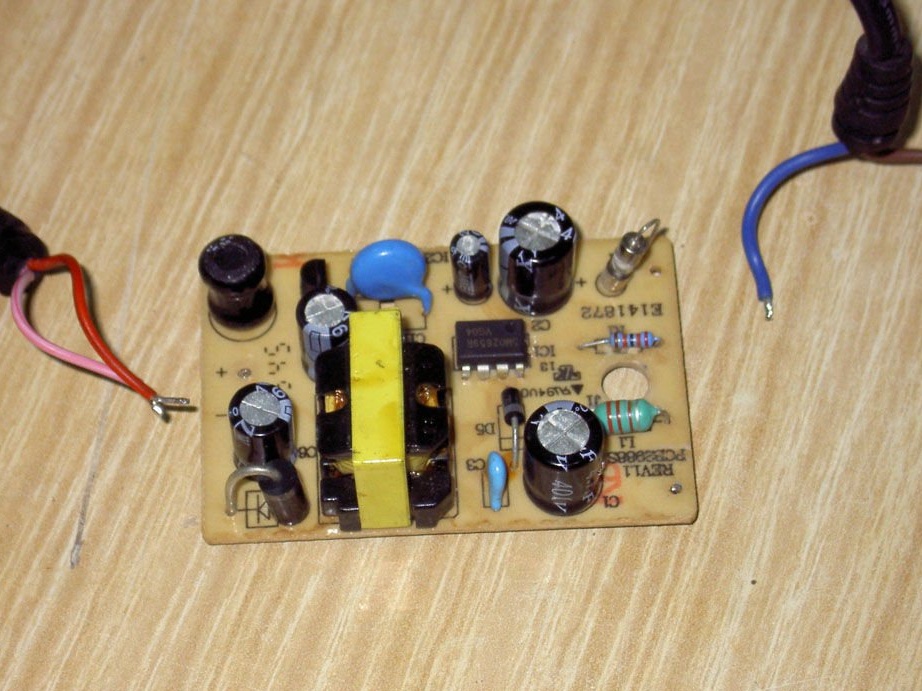
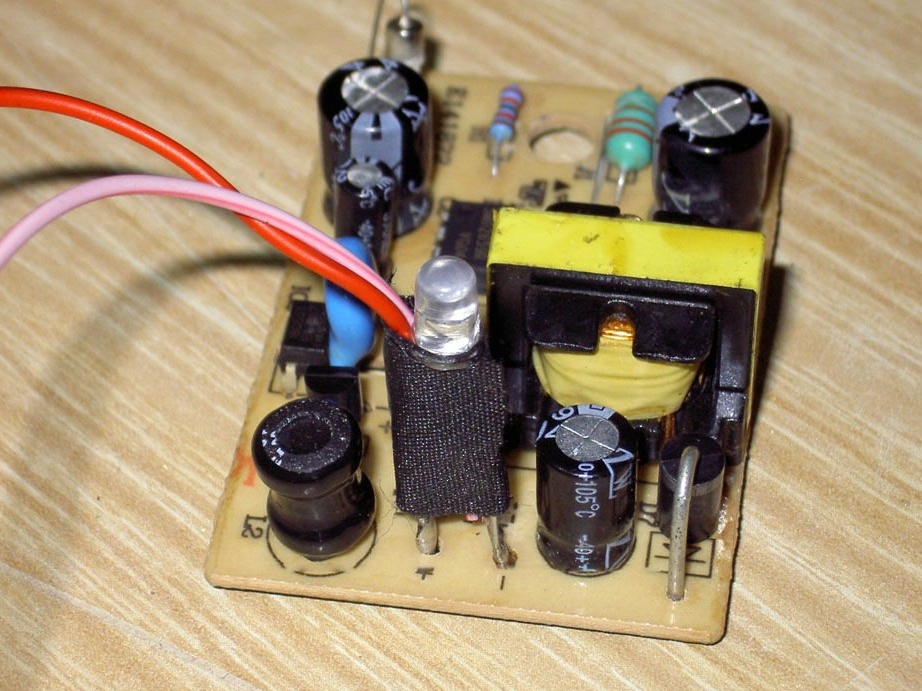
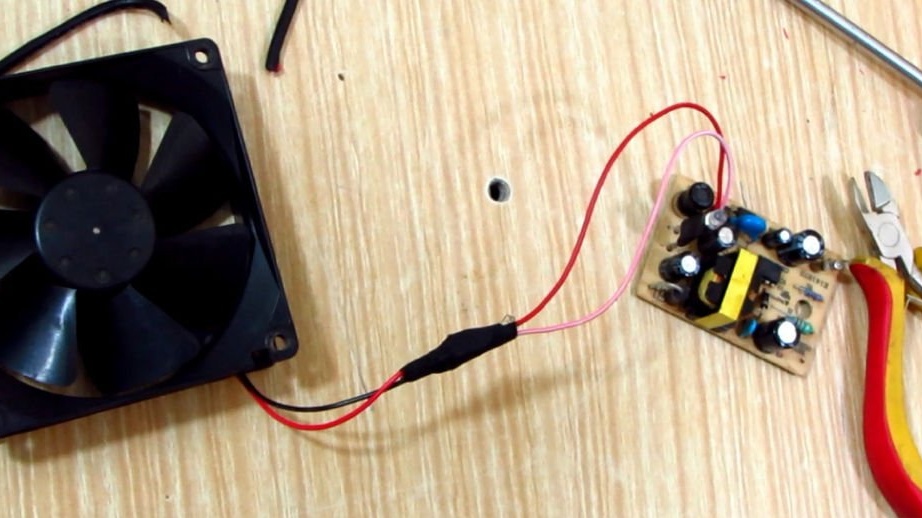
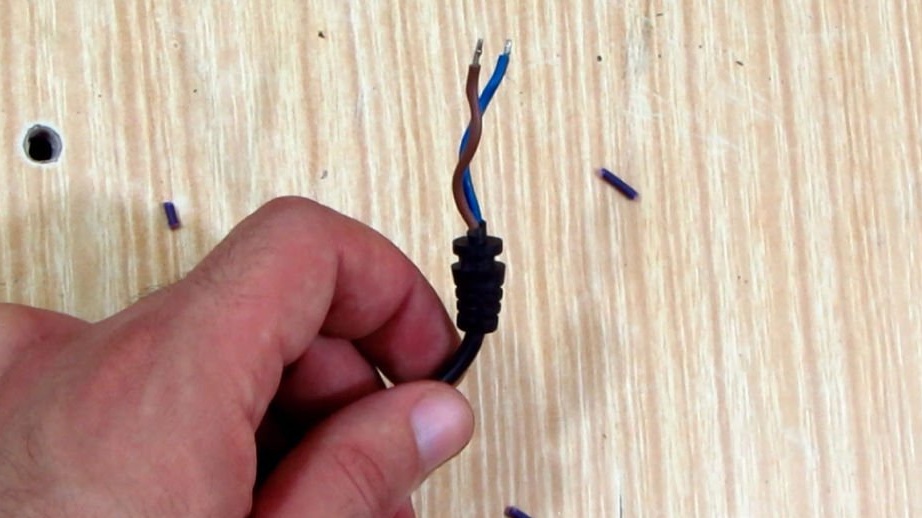
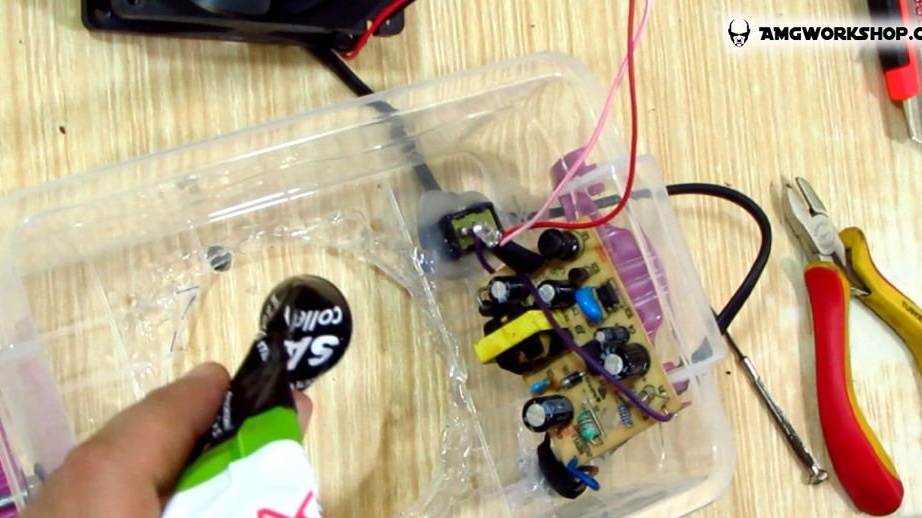
• Disassemble the power supply and unsolder the power cable and 12 V plug.
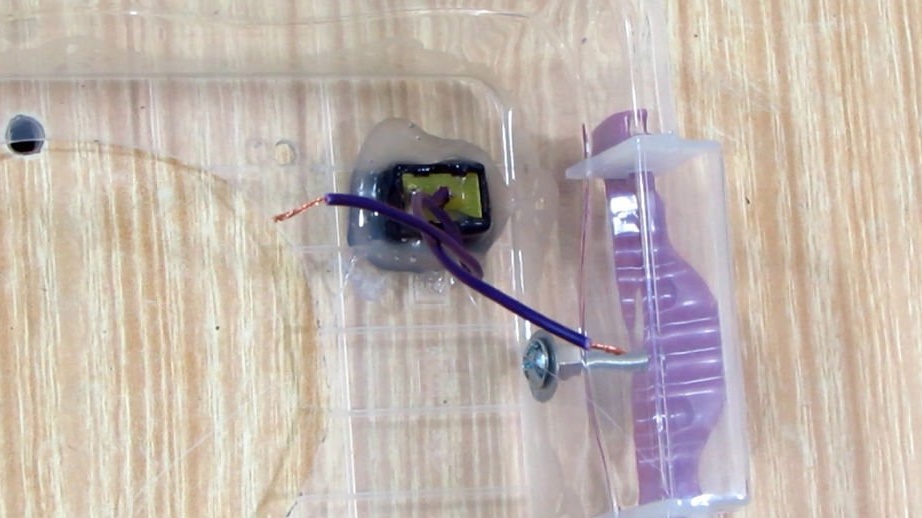
• Twist the cathode and one end of the resistor together and solder them.
• Two pieces of wire are required. One must be soldered to the anode of the LED, and the other to twist the cathode and resistor. Then you should build up the wires and solder them to the fan.
• The other edge of these wires should be soldered to the board in the place where the 12 V plug used to be.
• Do not forget about polarity. The wire, on the other end of which there is a resistor with the cathode of the LED, is the negative pole of the current source.
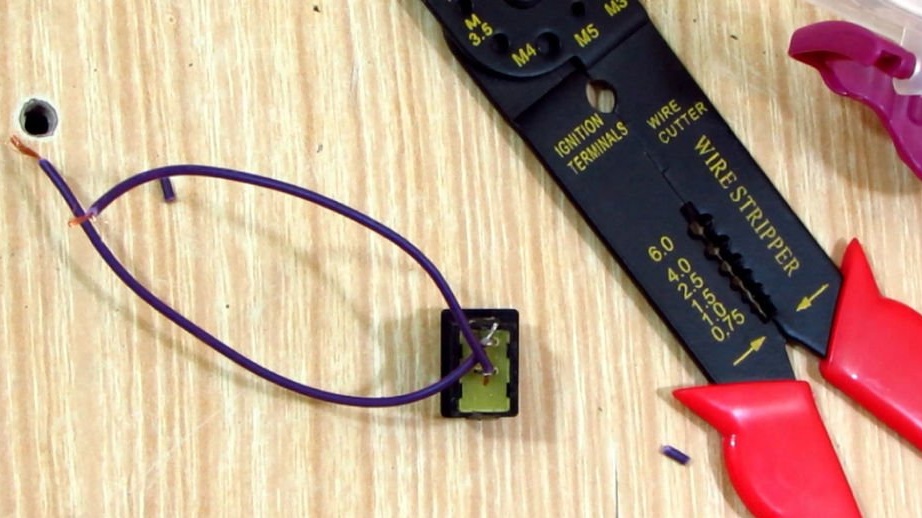
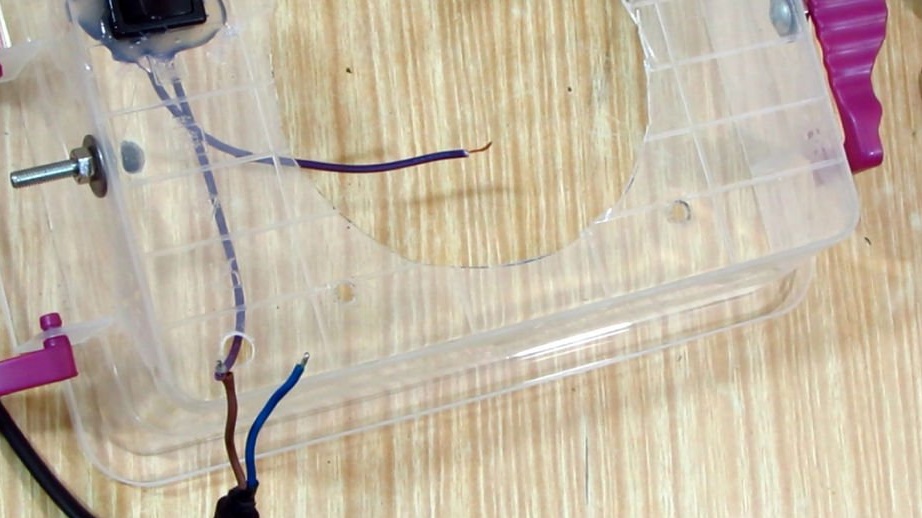
• Cut two more pieces of wire and solder them to the contacts of the power switch.
Seventh step: Assembly of the hood
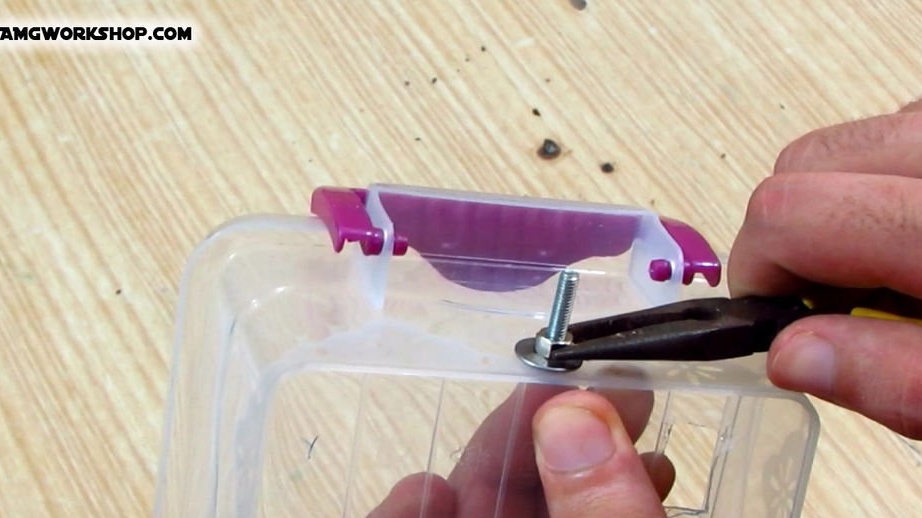
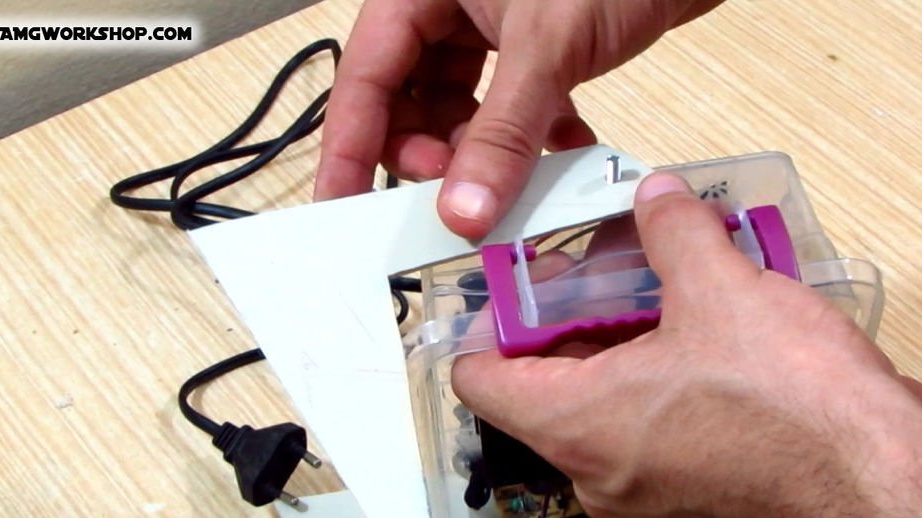
• Insert bolts with a diameter of 4 mm into the side openings in the container. From the outside, put the washer and nut on the bolt. Using a wrench of the required size, tighten the nut. And you can use pliers, as the author of this device did.
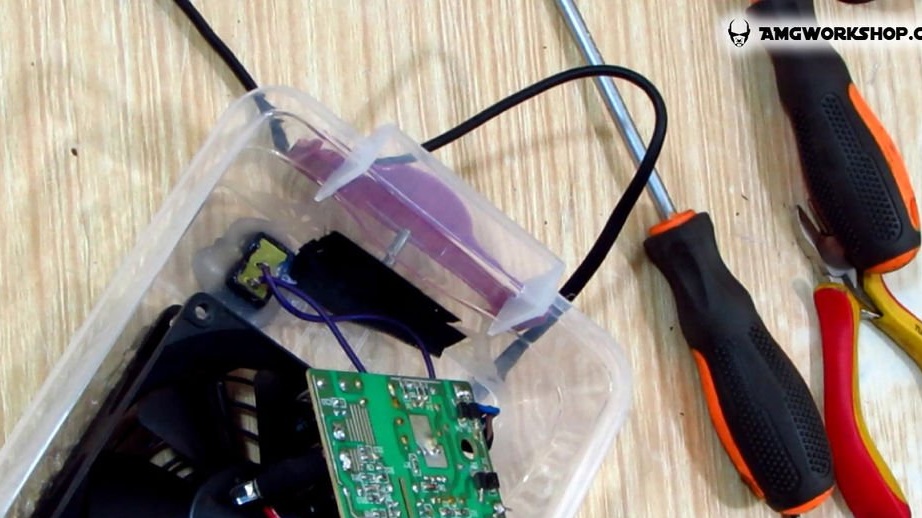
• Insert the power cable into the desired hole and glue it with hot glue.
• Insert the power switch in its place and also glue it with hot glue.
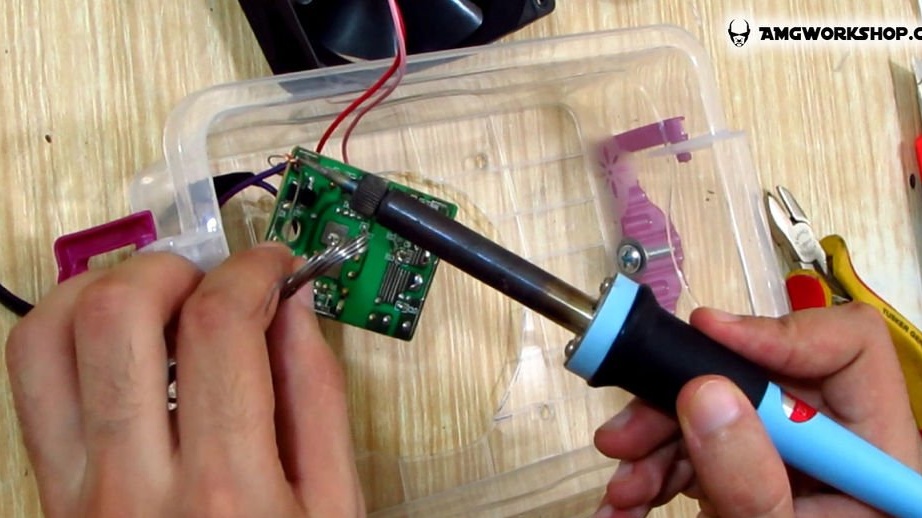
• Solder one power wire to the board.
• Solder the remaining wire to the power switch. Solder the wire to the second terminal of the switch, and solder its second end to the 12 V power supply board.
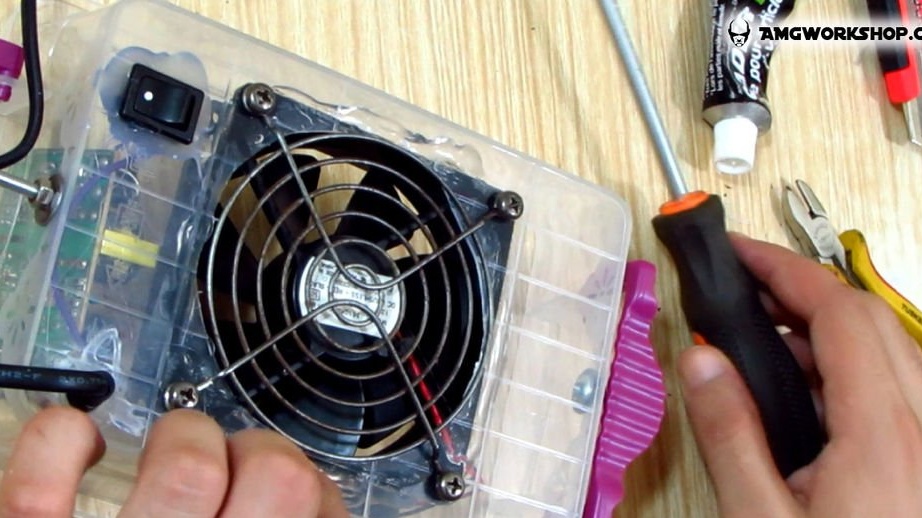
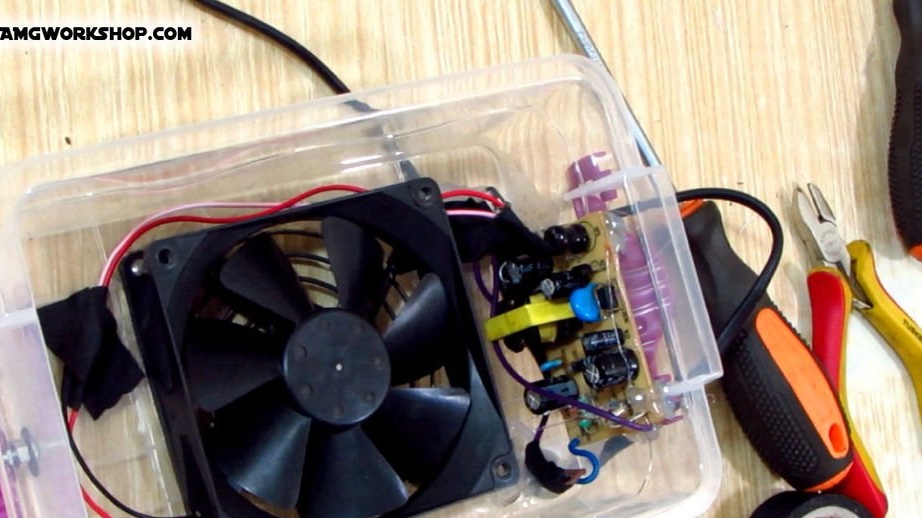
• Apply sealant around the fan opening.
• Replace the fan. Insert the screws into the mounting holes of the fan and tighten them.
• Using hot glue, glue the power supply into its place, having previously insulated the screw head to prevent any short circuits.
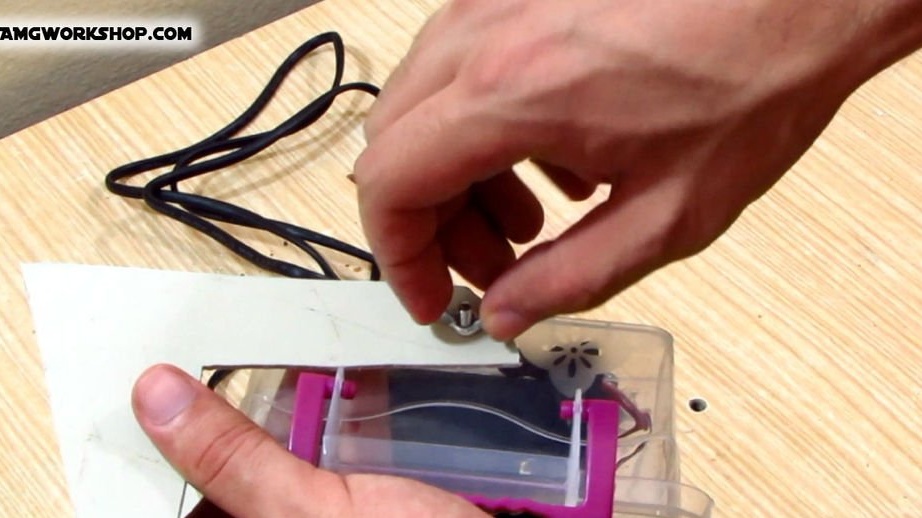
• Put the legs on the screws.
• Put a washer on top of the legs and tighten them with the thumbs.
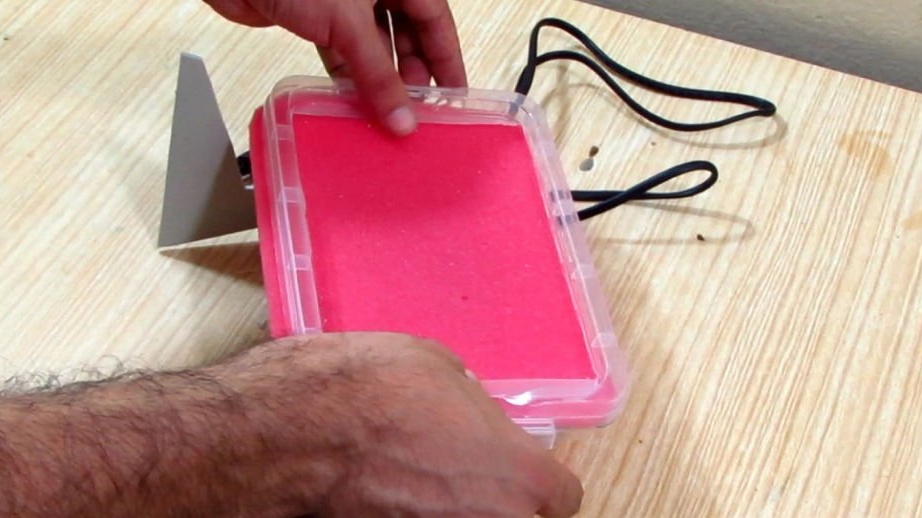
• Place the sponge on top of the container and press down on the lid, then secure with the latches.
The design is completed and ready for the first inclusion.