
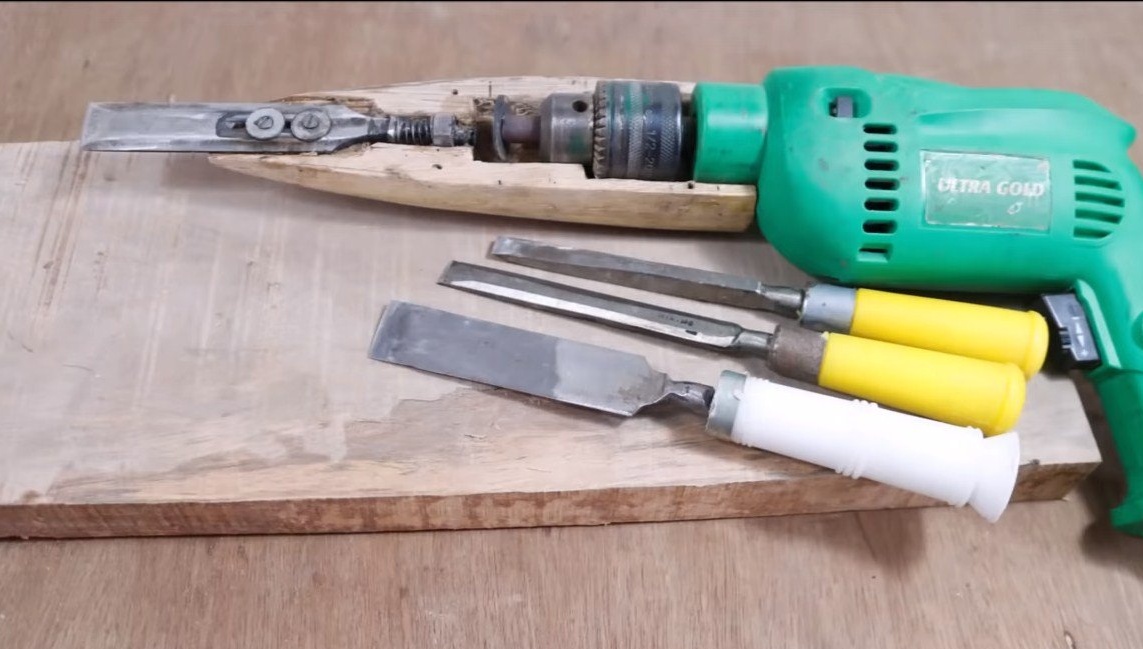
Hello fans to master, in this instruction we will look at how do it yourself make simple drill-based. Such homemade greatly facilitates the work with wood, it is assembled very simply, and materials are scarce. The design of the drill does not change at all, it's just a nozzle for a drill. When the chisel rests on the tree, it starts to hammer there automatically with a drill, while the tree is cut simply and with minimal effort. If the homemade product interests you, I suggest that you familiarize yourself with the project in more detail!
Materials and tools used by the author:
Material List:
- wooden block;
- nut;
- spring;
- washer;
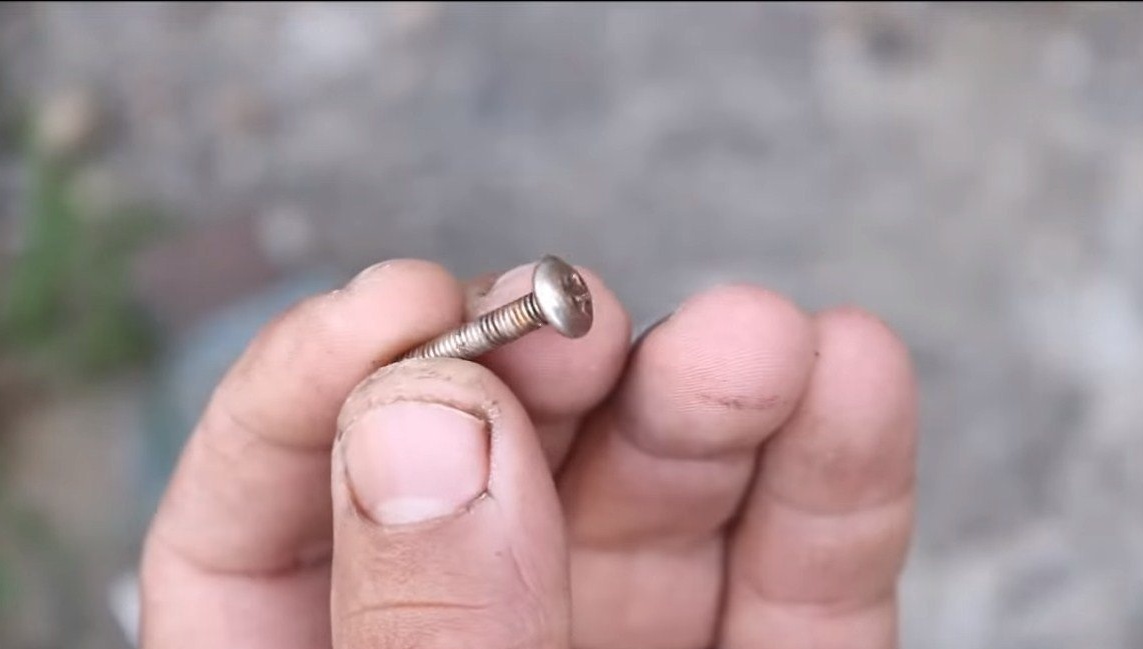
- steel rod;
- a chisel;
- screws and washers.
Tool List:
- grinder;
- grinder;
- welding machine;
- pliers;
- screwdriver;
- a chisel;
- sandpaper.
By the way, from China you can use a flexible shaft for a drill that works like.
Homemade manufacturing process:
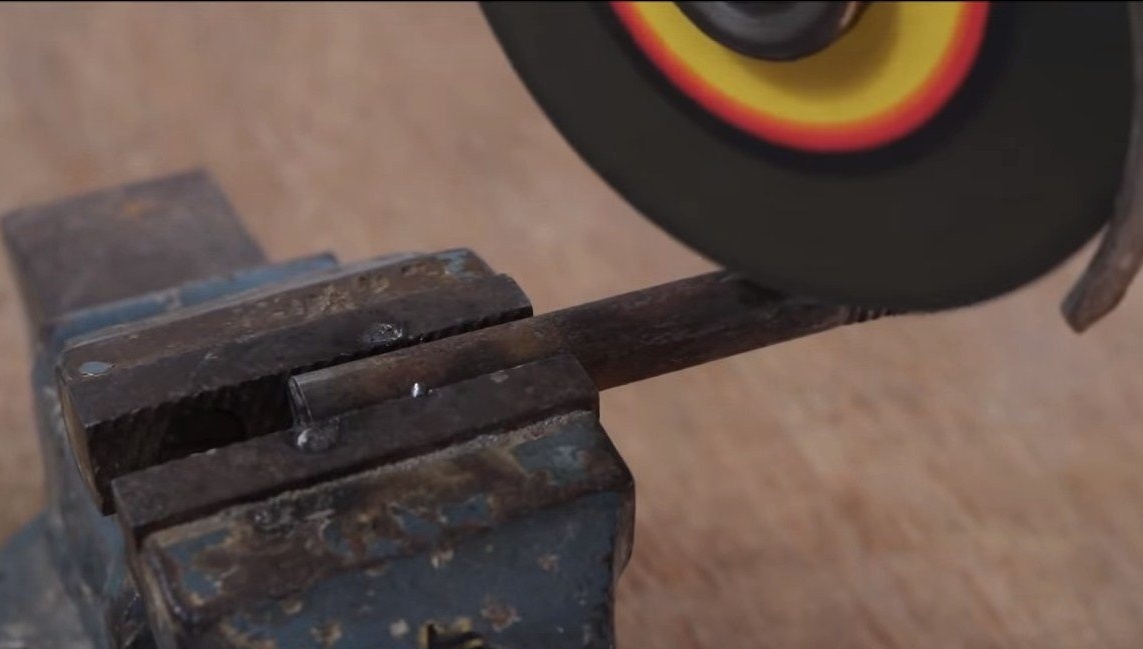
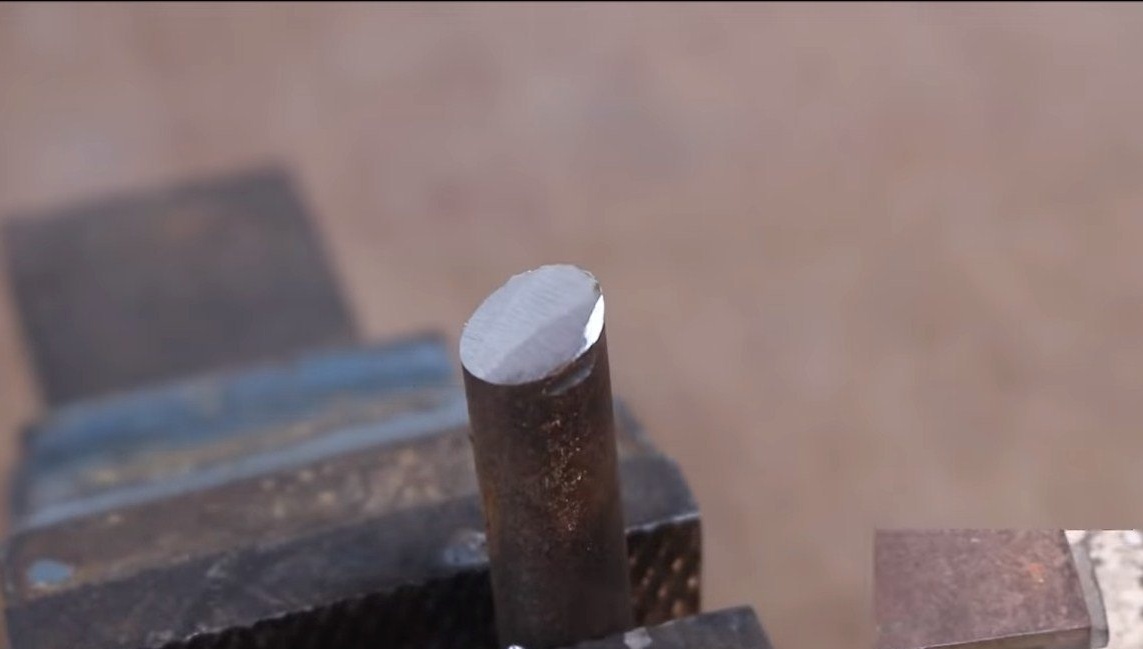
Step one. Pusher
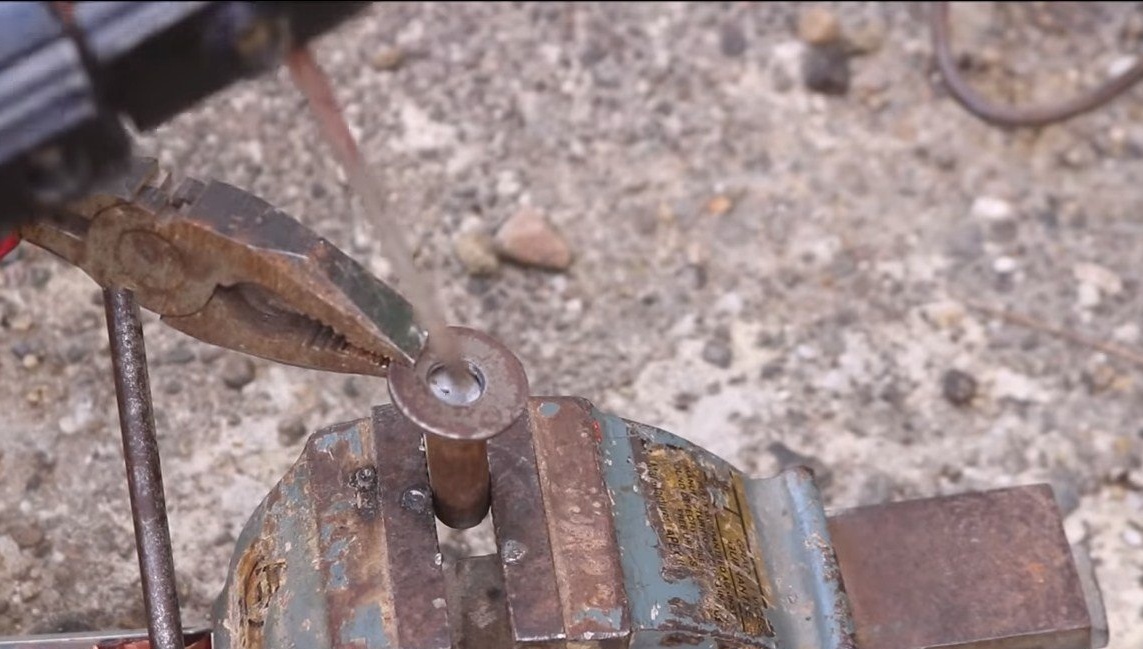
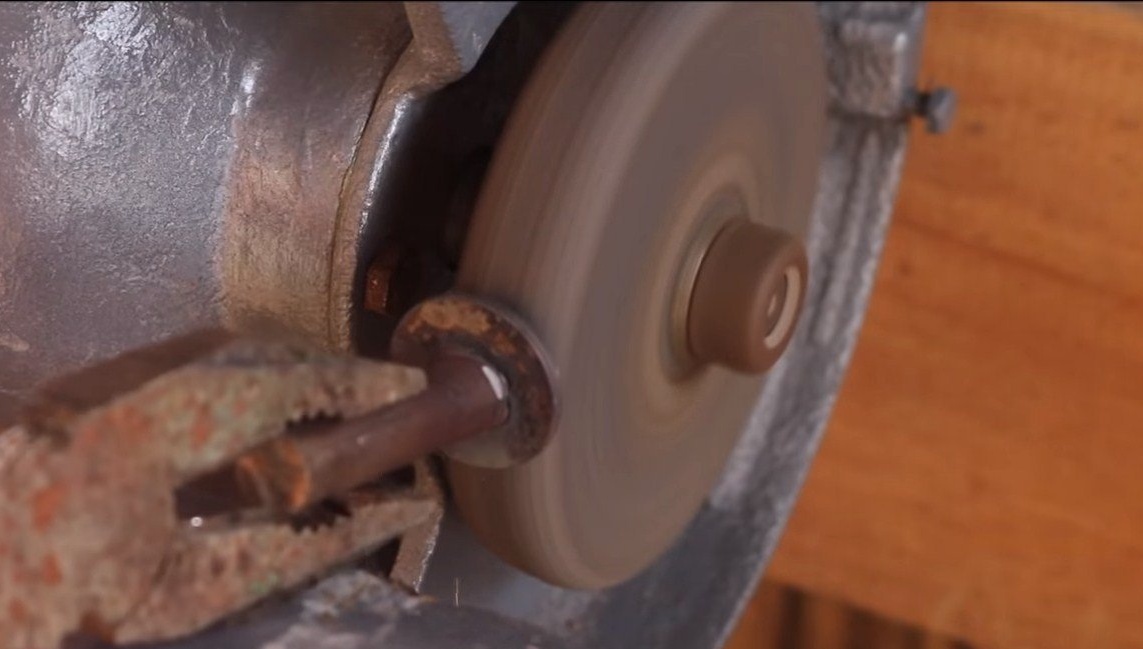
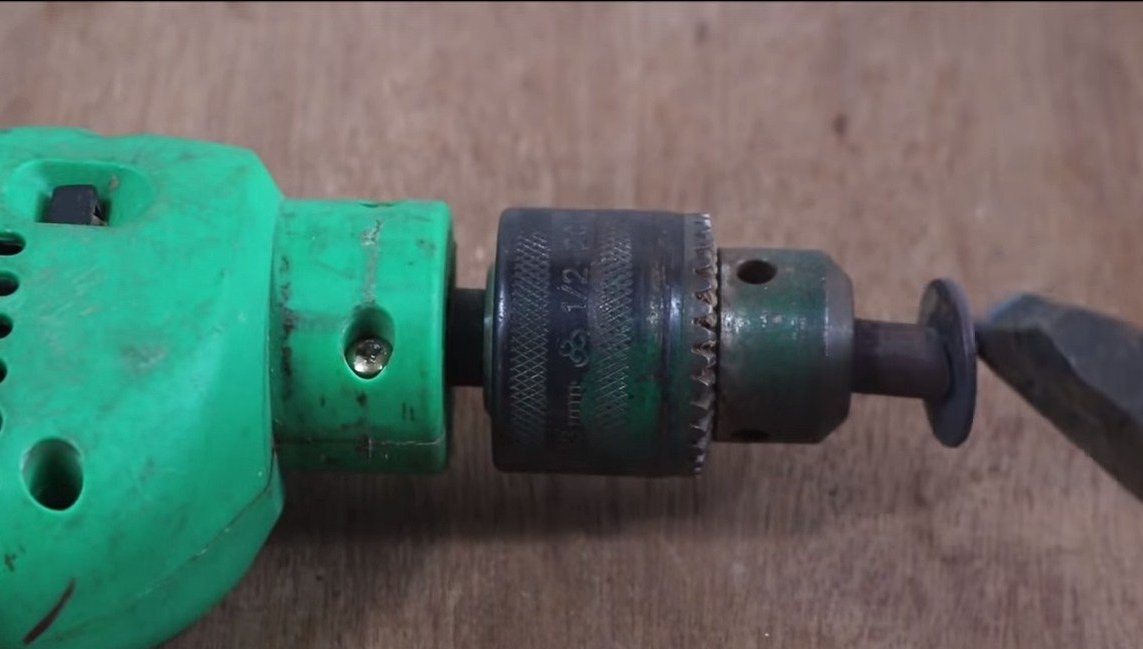
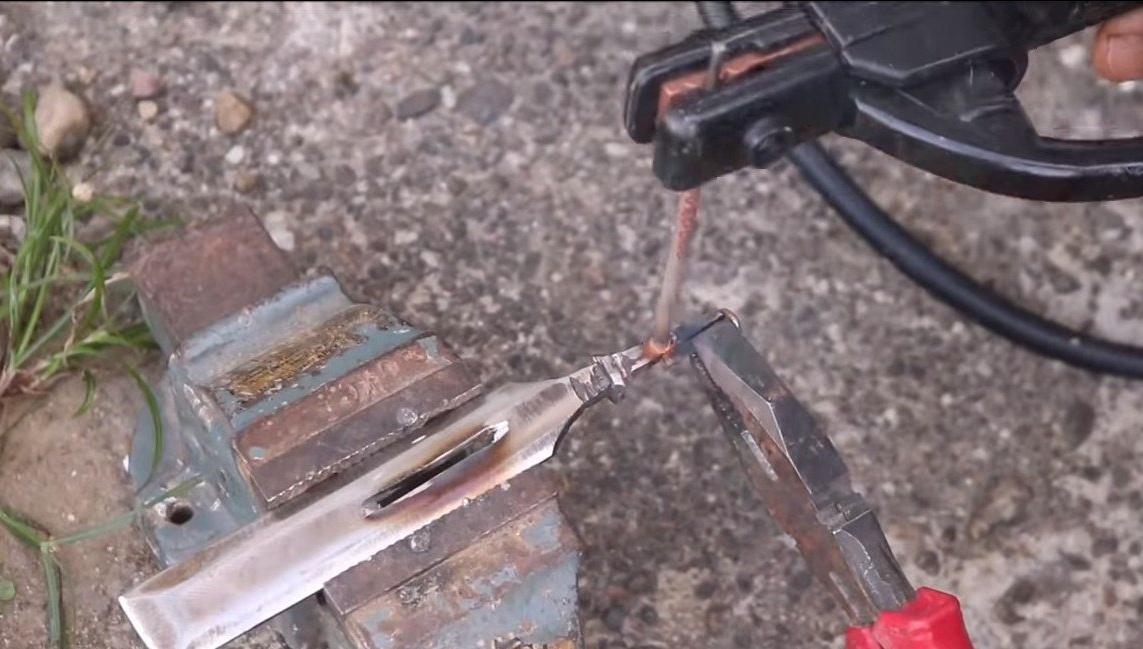
First of all, we’ll make a pusher that will push the chisel forward. Its construction is very simple, we need a piece of a bolt or a steel rod, we cut it at an angle, and then we carefully weld the washer. Of course, we choose the puck thicker and stronger, otherwise it can bend, and the wear can be considerable. We clean the weld well so that nothing interferes with the tool.

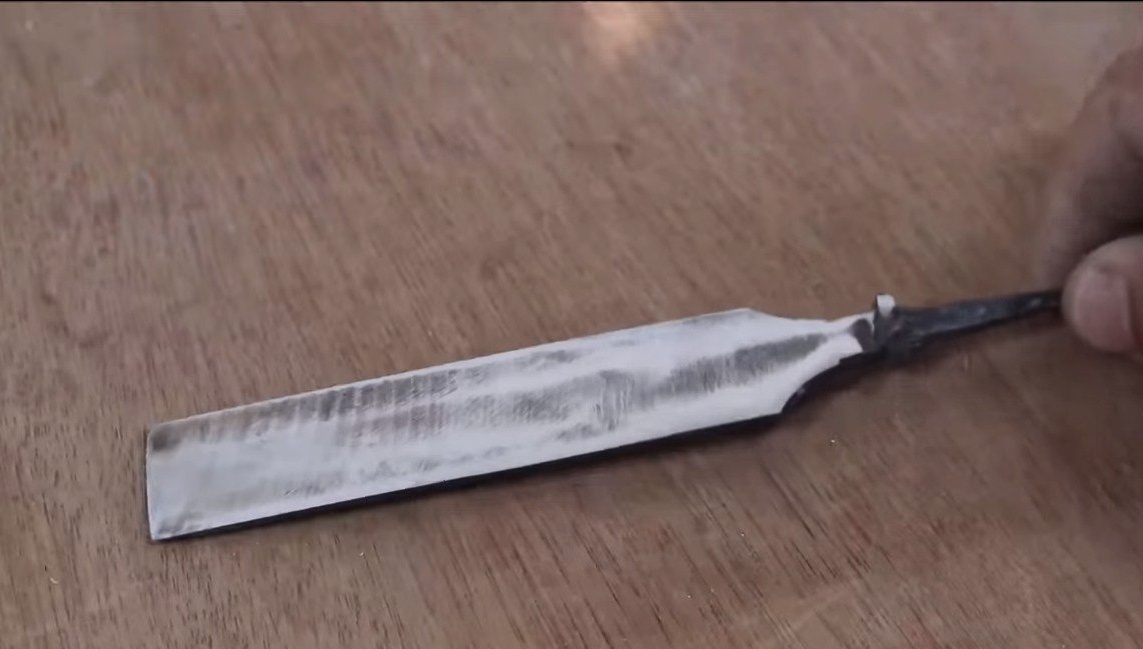
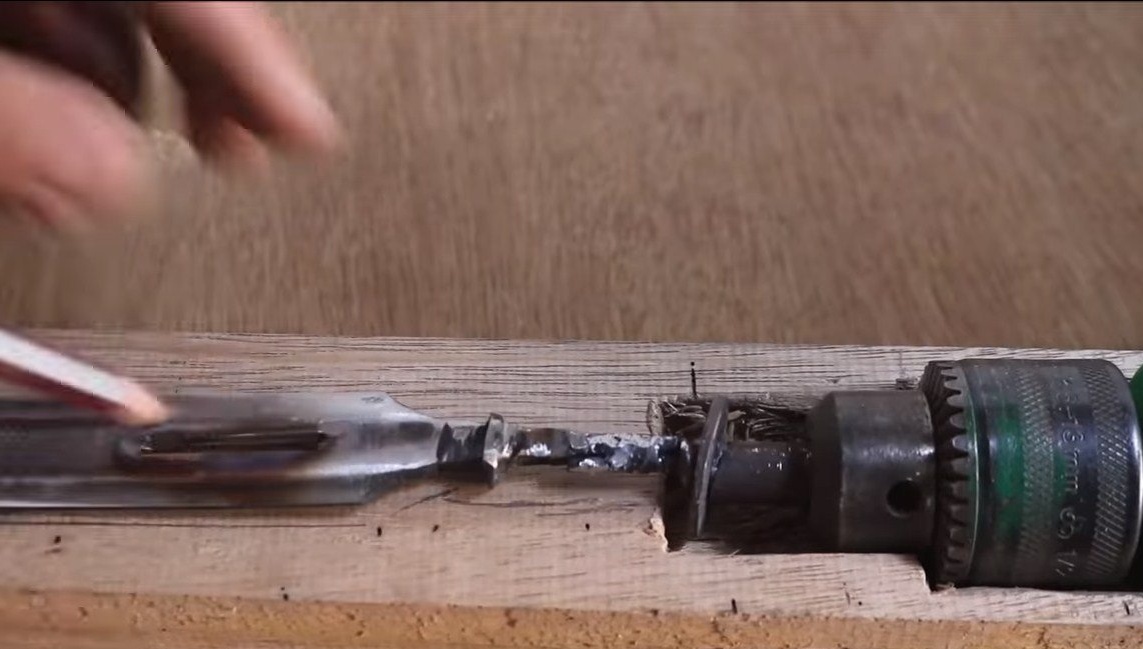
Step Two Chisel
Next, we need to modify the chisel, first we remove the handle, it will not be needed. The author of the chisel is quite old, judging by the shank, it was forged. The author welds a screw to the shank, which will rest against the pusher with a hat.
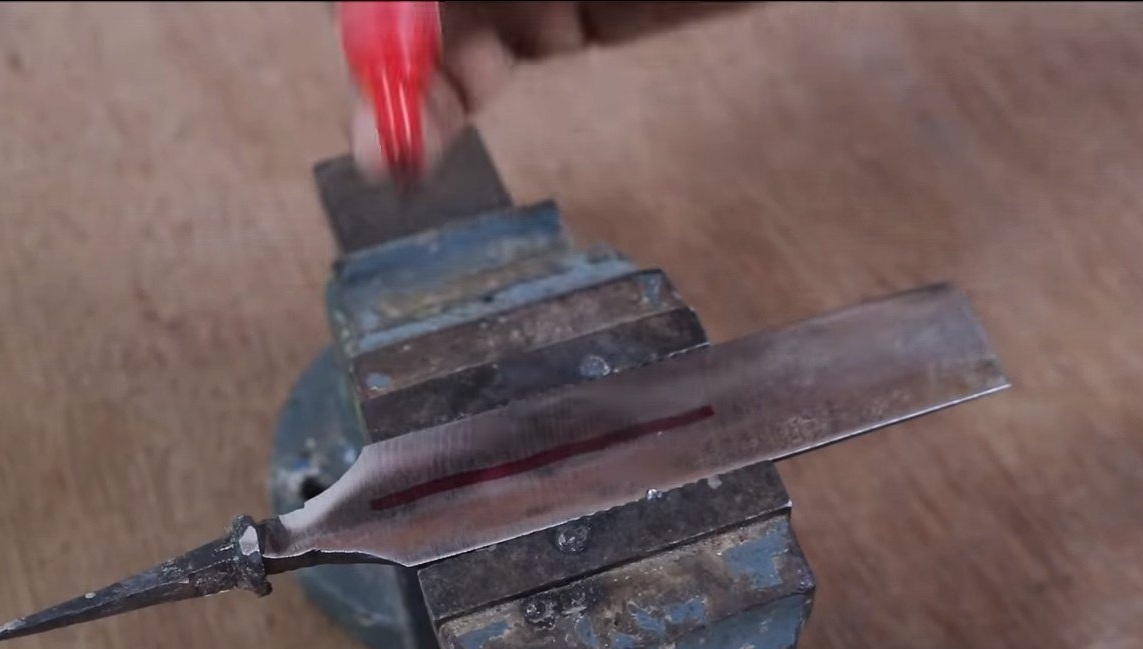
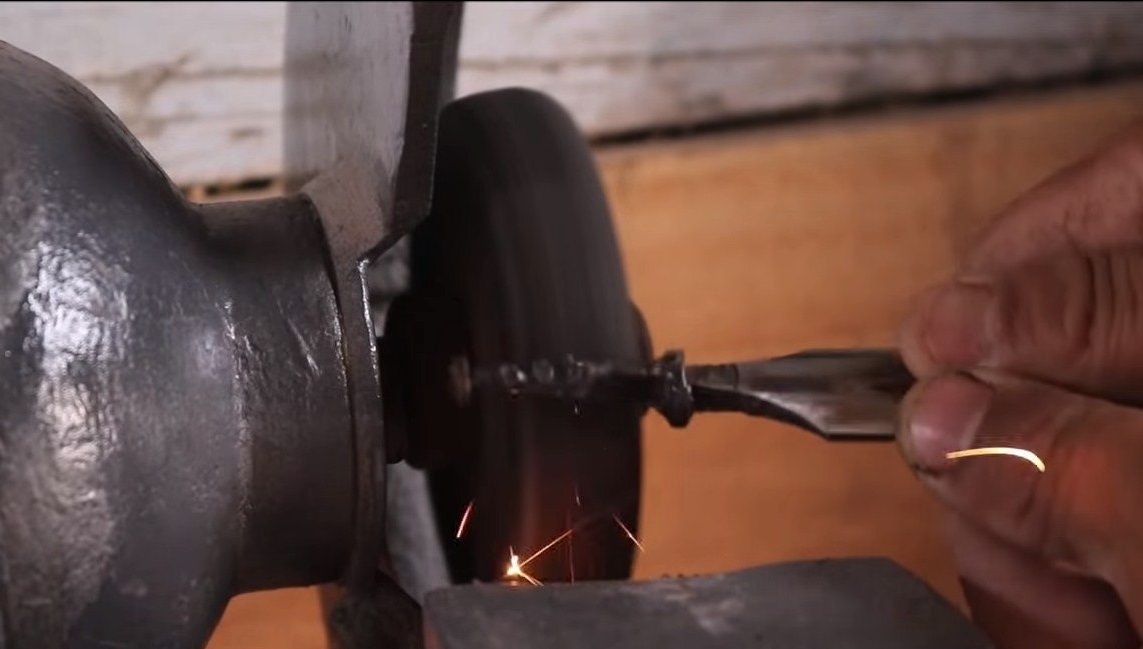
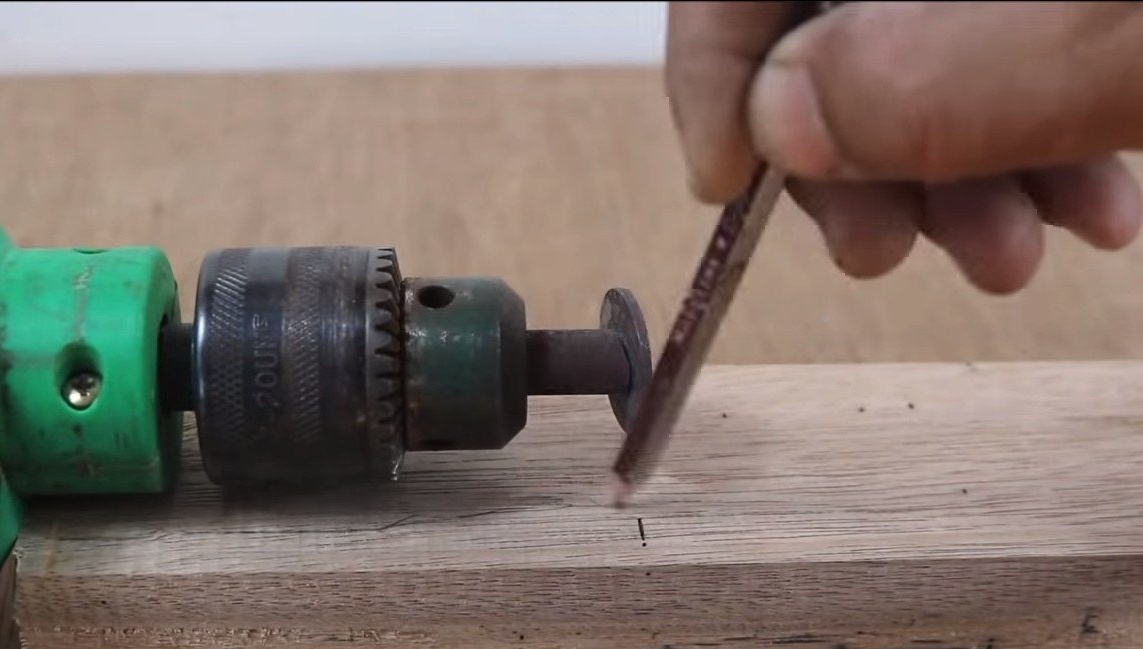
Next, along the chisel, you need to make a slotted hole, we work as a grinder. It is necessary so that the chisel can be fixed on the base.

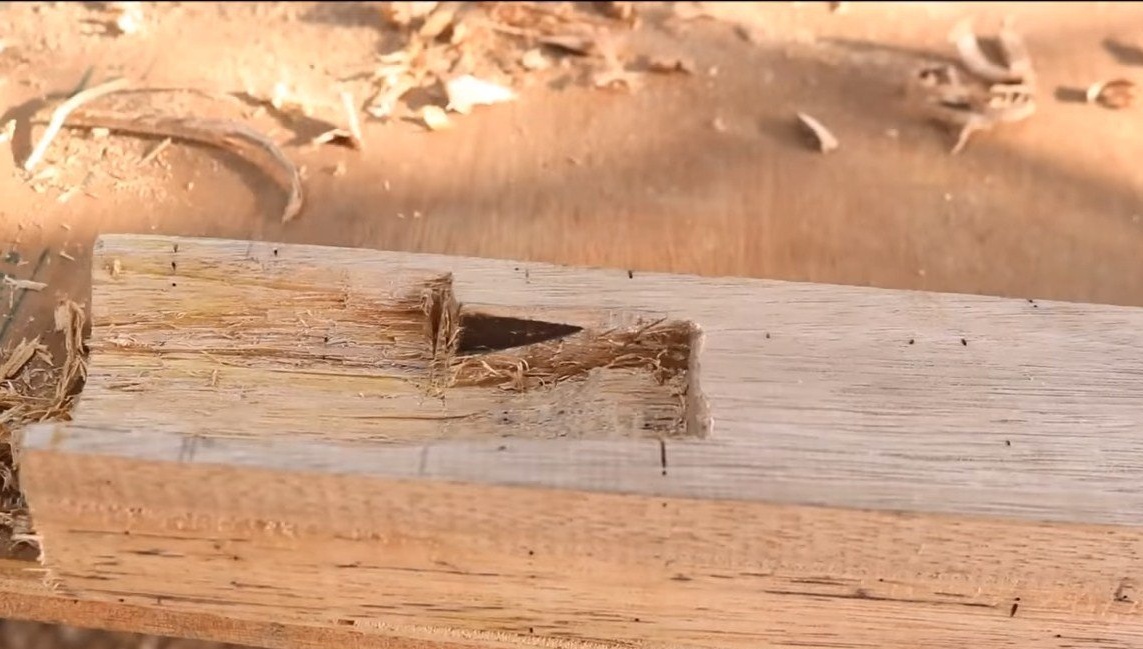
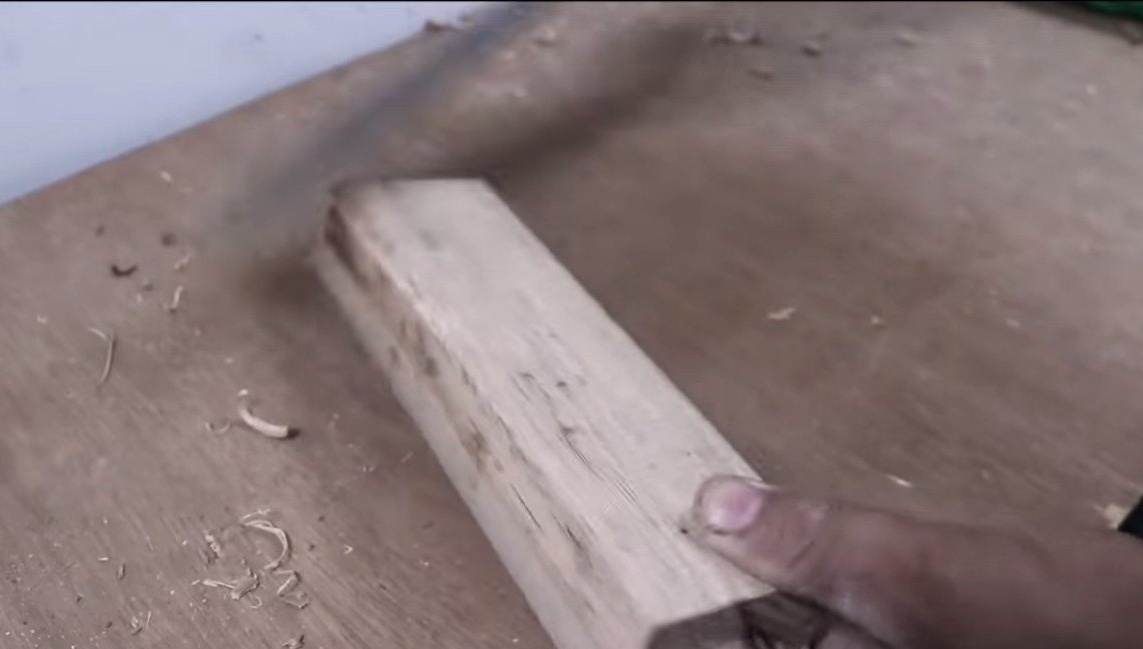
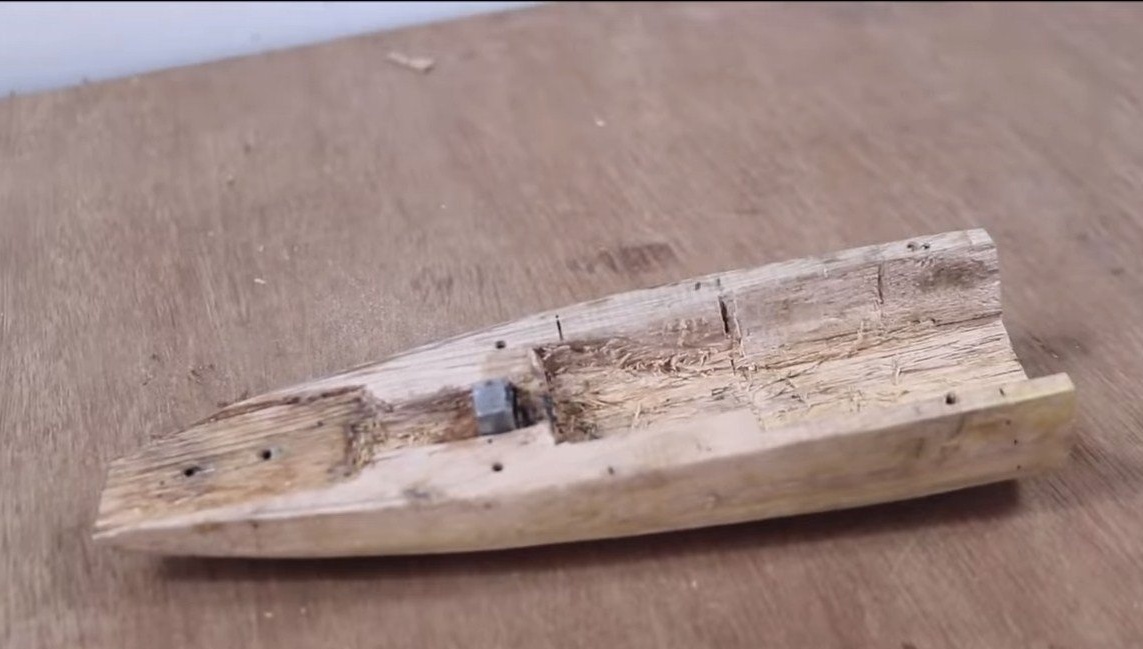
Step Three The foundation
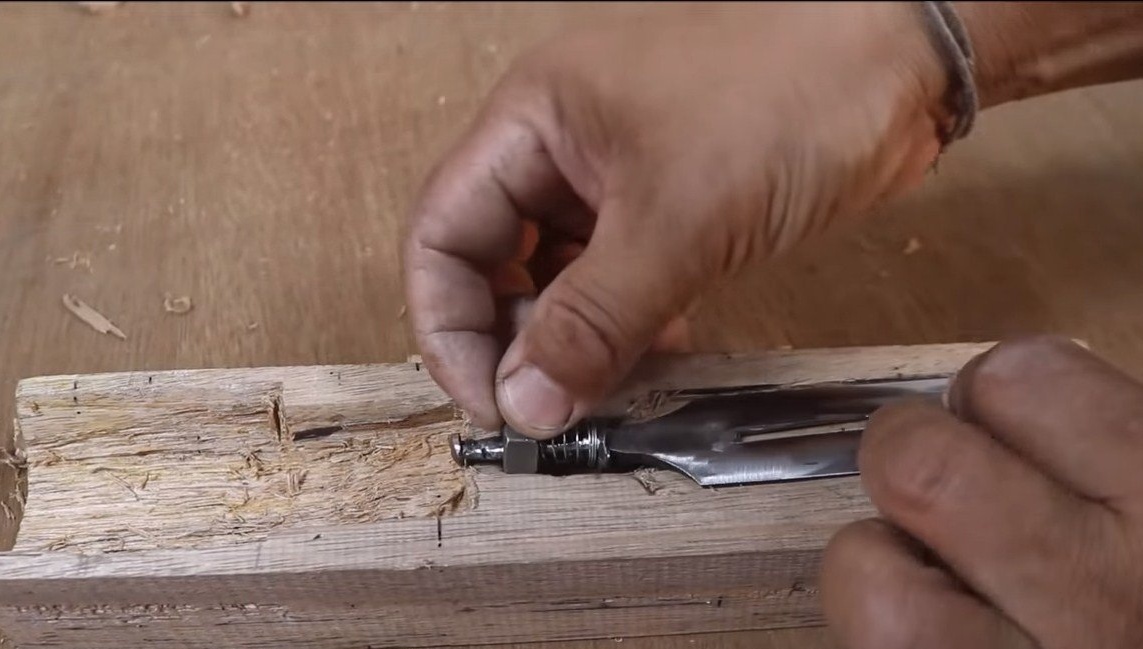
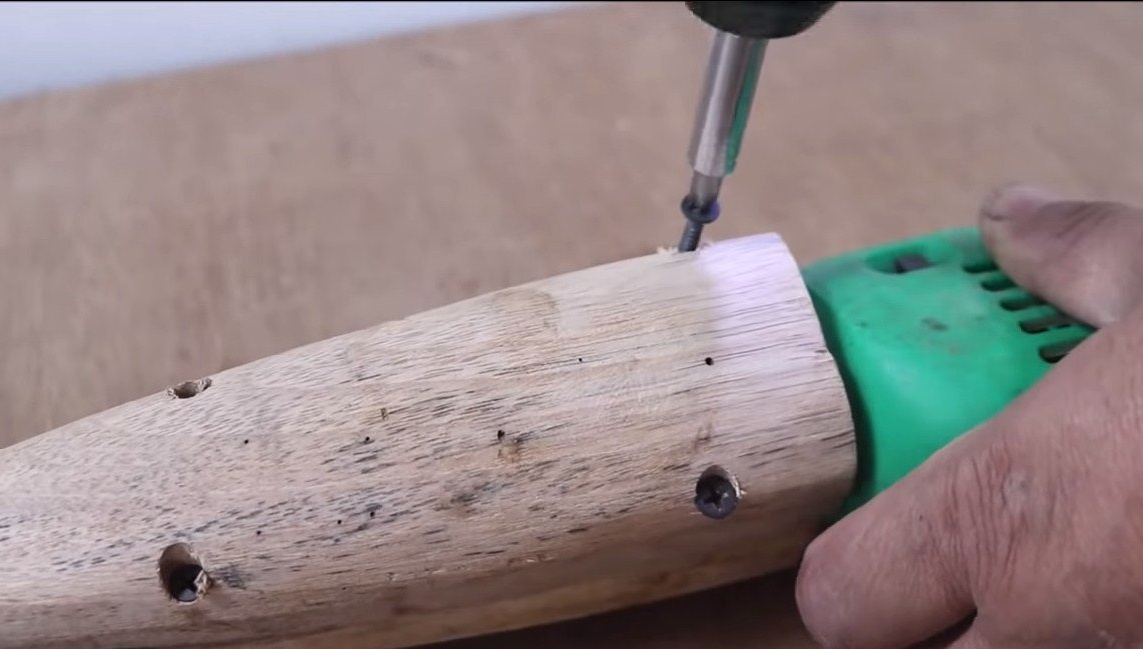
The author used wood as a basis, in our case it is a bar. We make the markup and chisel out the places under the internal details of the homemade product. The nozzle will be clamped on the drill with screws in the part where the front handle is attached to the drill.
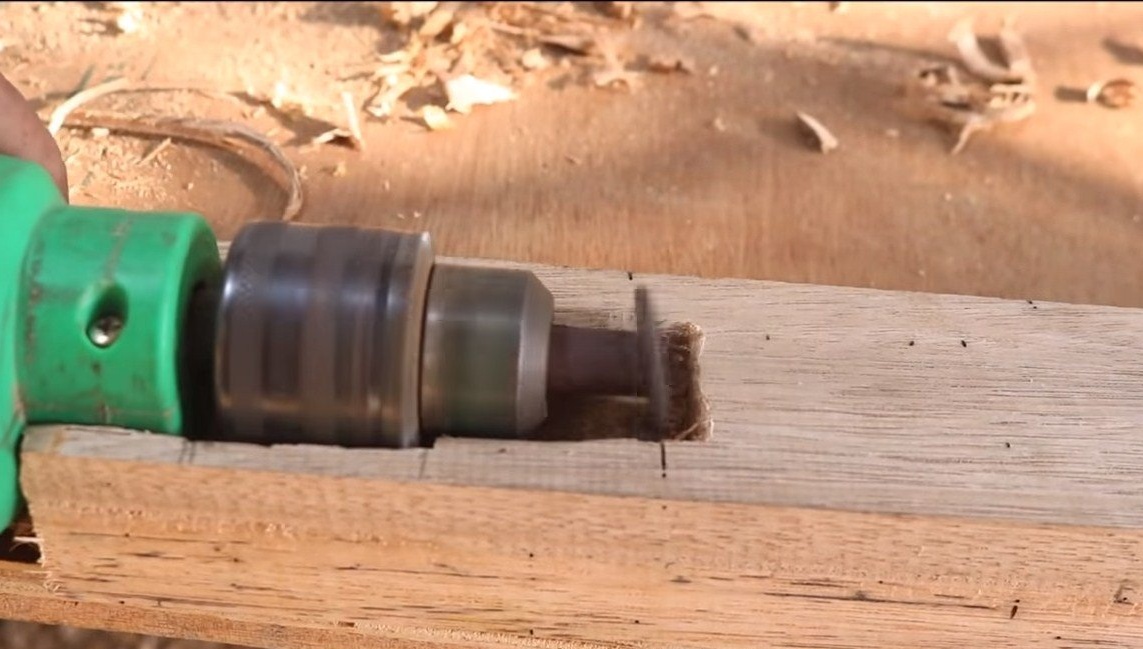

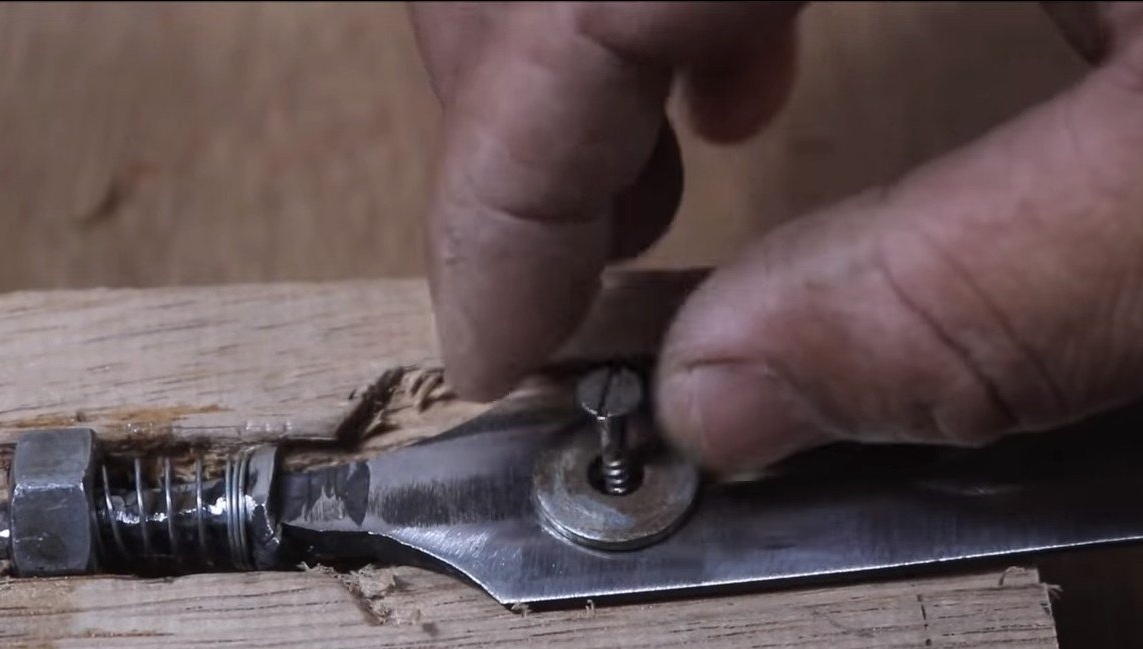
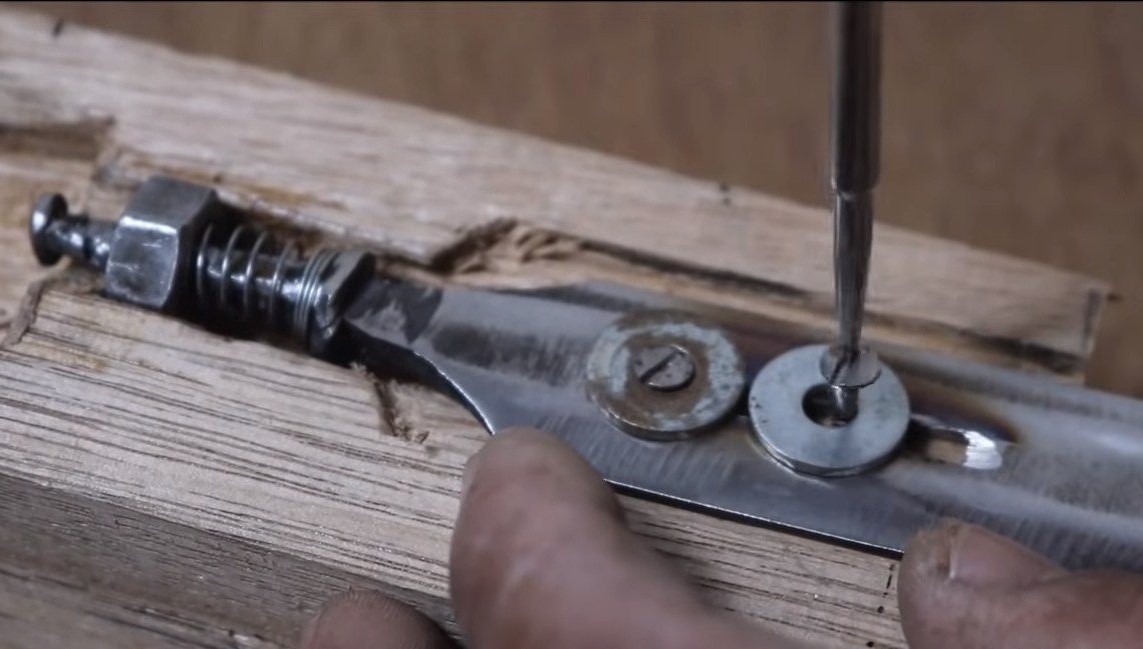
In the end, it remains to fix the chisel on the base, the author fastens it with screws, using washers. Self-tapping screws do not need to be tightened much, the chisel should easily move on the base. It is desirable to lubricate this place to increase the resource and efficiency. We install a nut and a spring in the tail section, which will return the chisel to its original position and the tool will not work “at idle”.
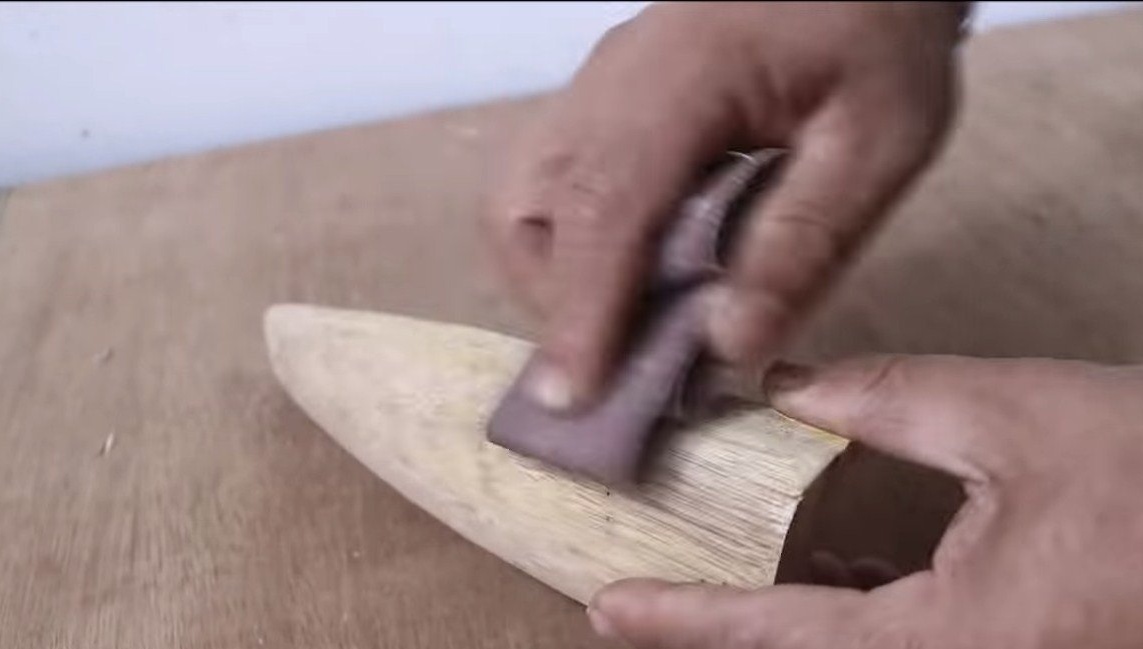
Step Four Final touches and tests
At the end, we make the second half of the case from wood and assemble the home-made, tightening with self-tapping screws. It is very useful to lubricate the internal parts of the device, since considerable friction is present there.
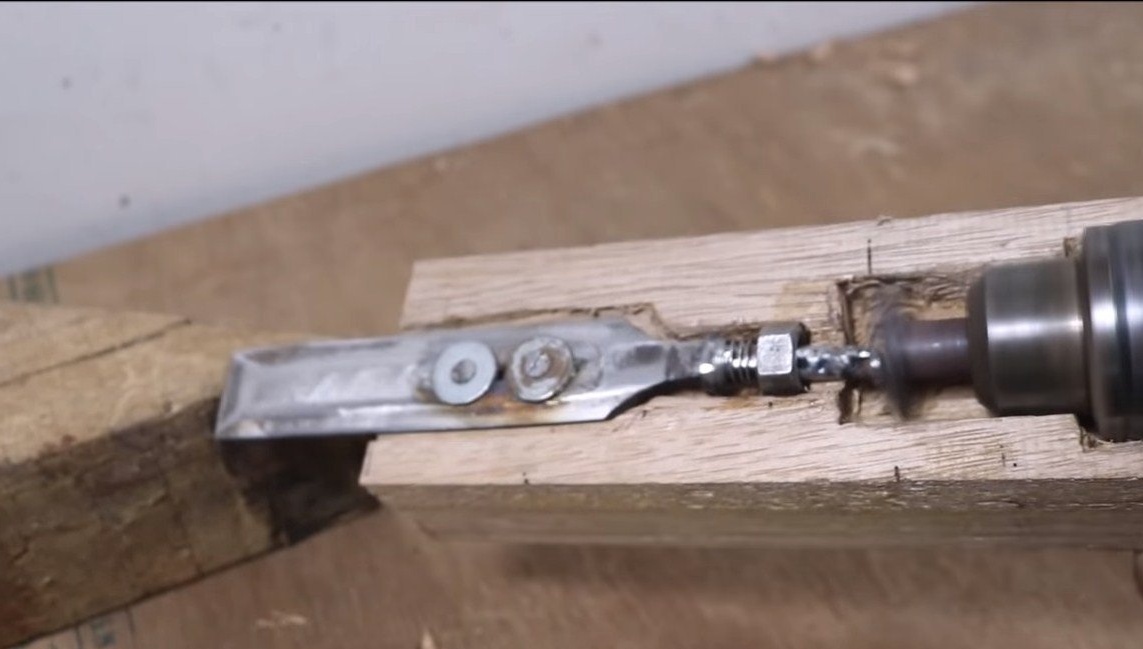
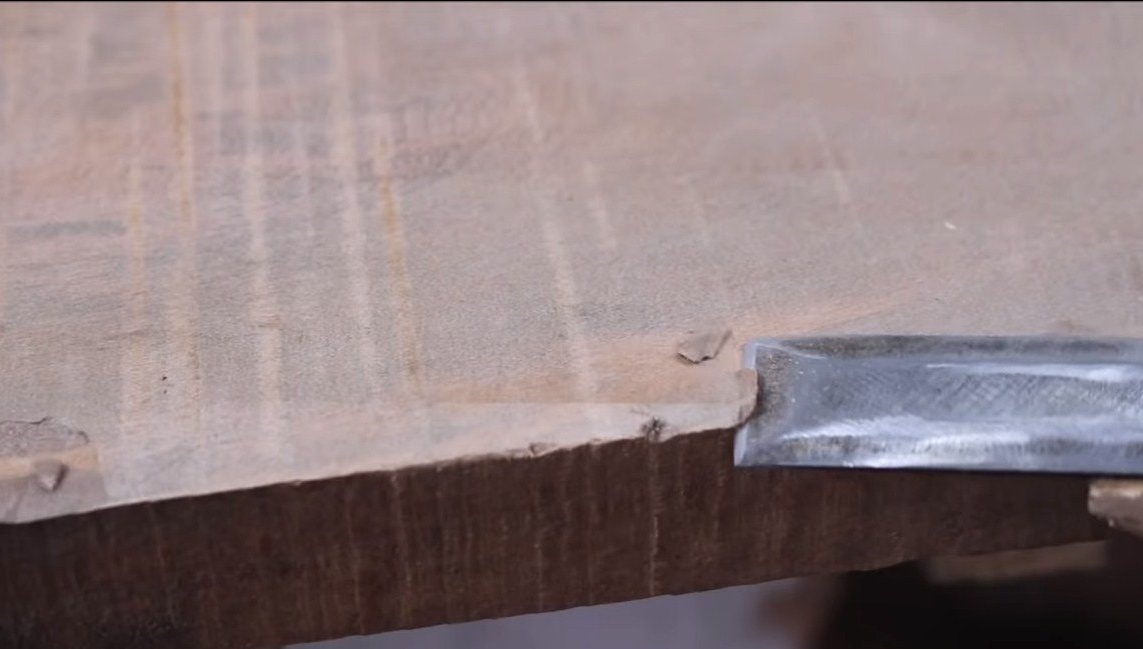
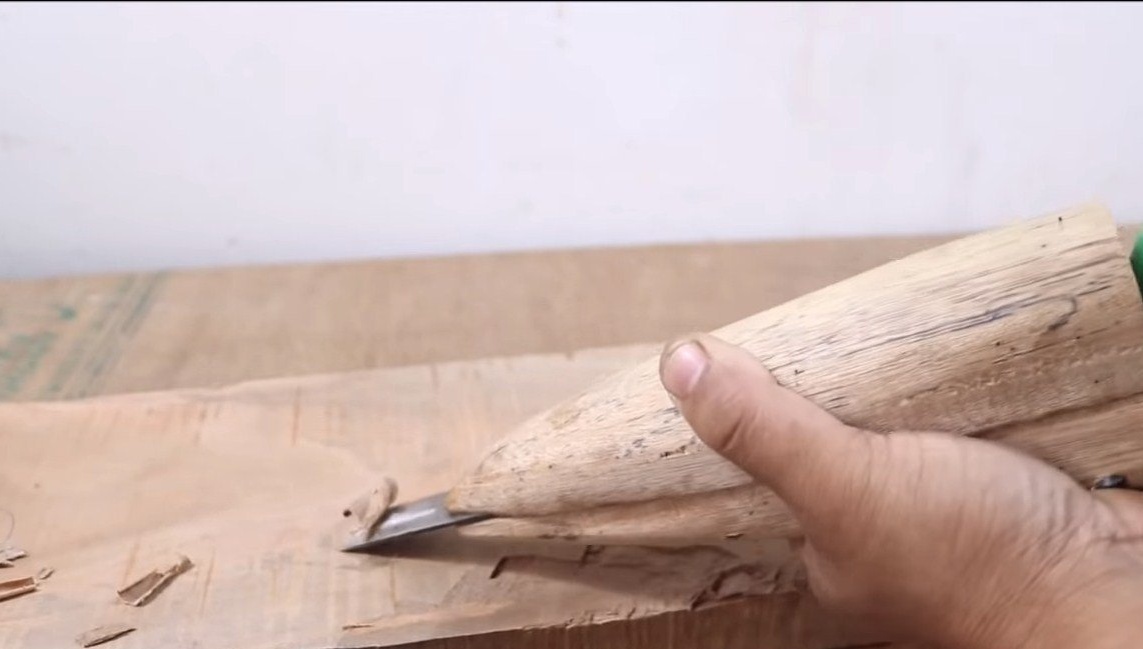
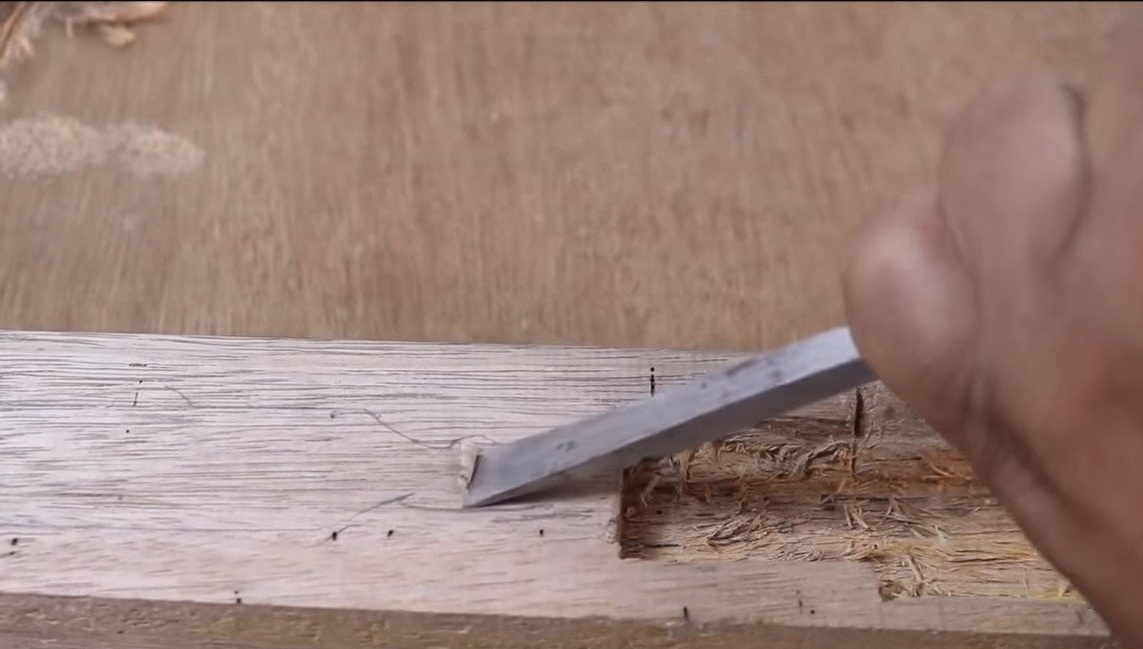
The device is ready to use! We turn on the drill and rest against a tree with a chisel, it will immediately begin to cut it itself, you will only feel small strokes in your hand. The tool turned out to be quite useful, and if you upgrade it, it will serve much longer, and the nozzle will be more convenient to install.
That's all, the project is over, I hope you have found useful information for yourself. Good luck and creative inspiration, if you decide to repeat this. Do not forget to share your ideas and homemade things with us!