
Hello, dear aircraft models.
I want to tell you about one unique project of my friend.
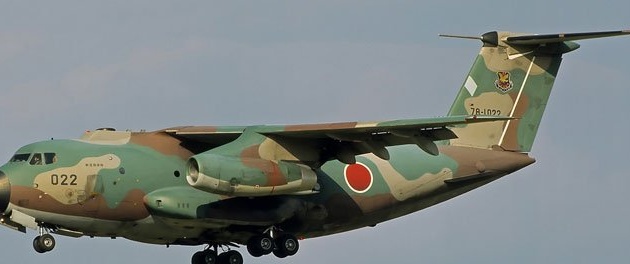
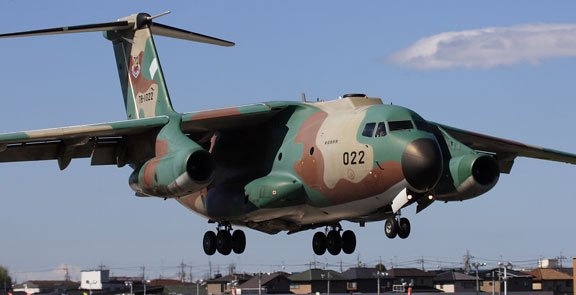
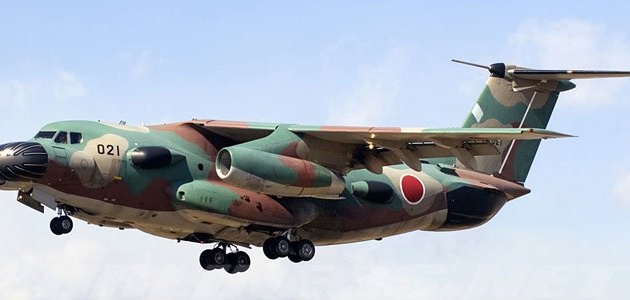
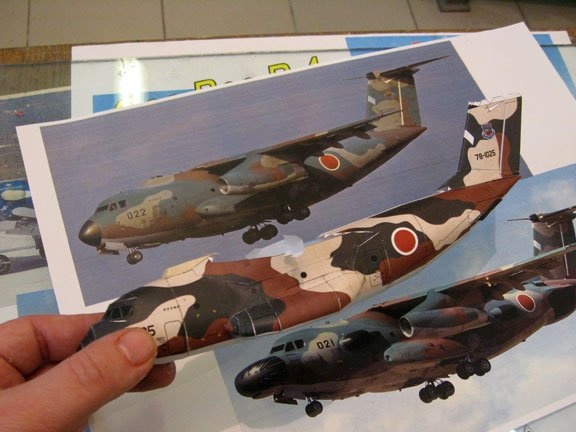
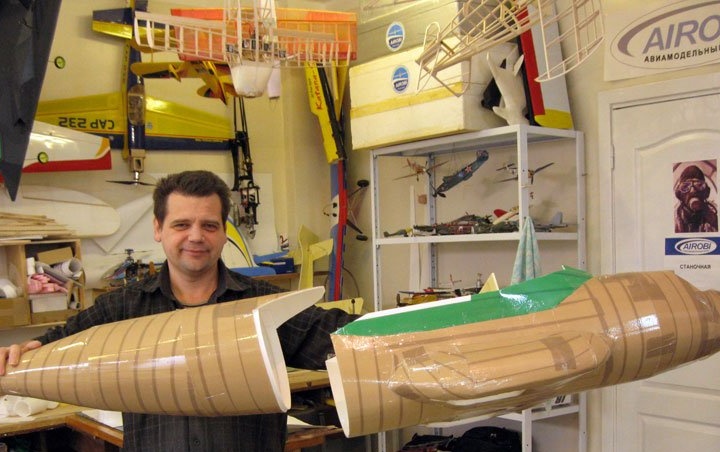
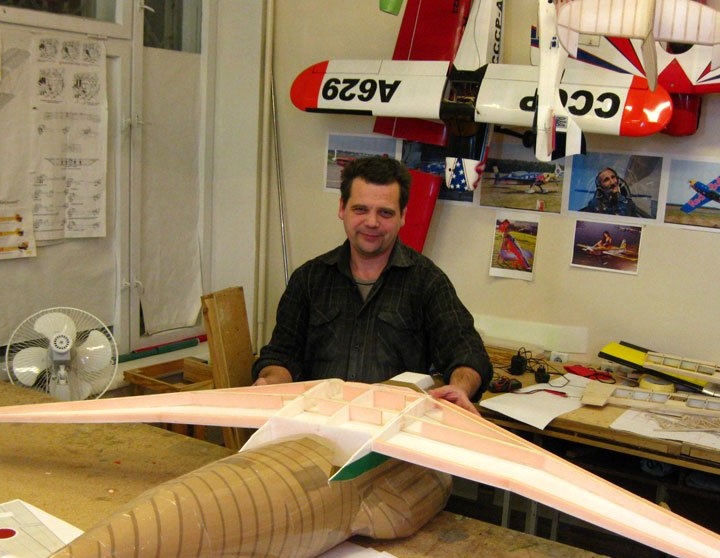
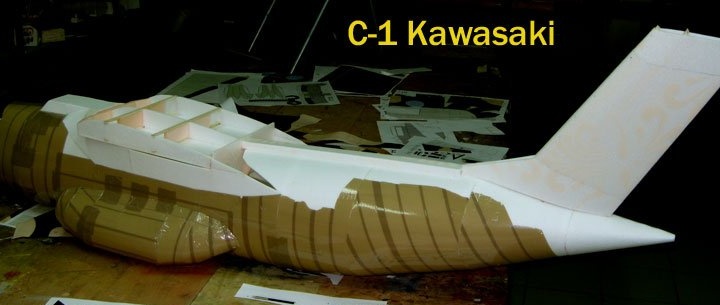
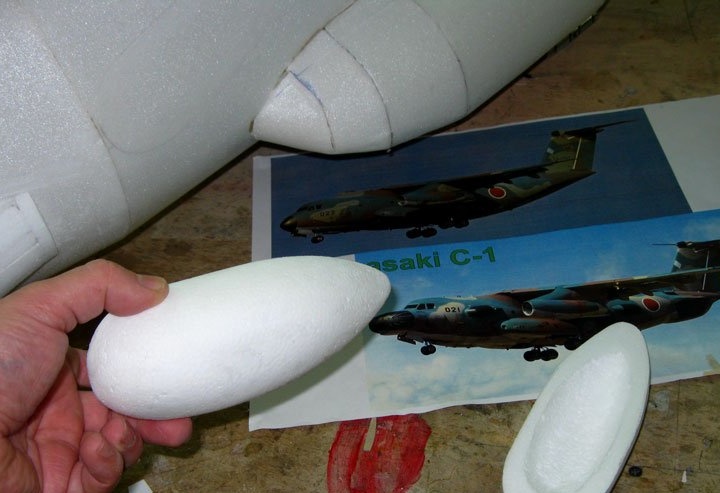
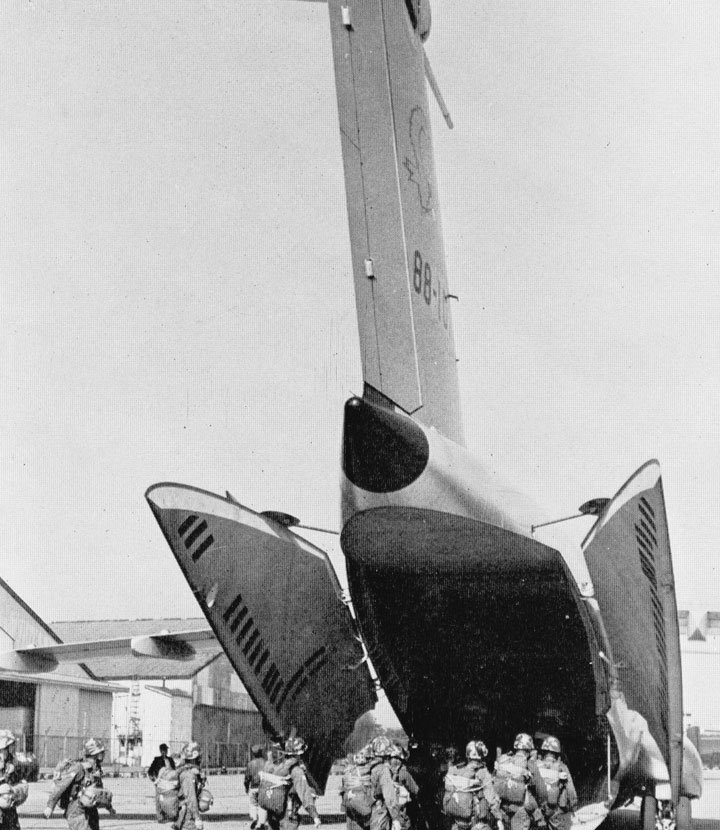
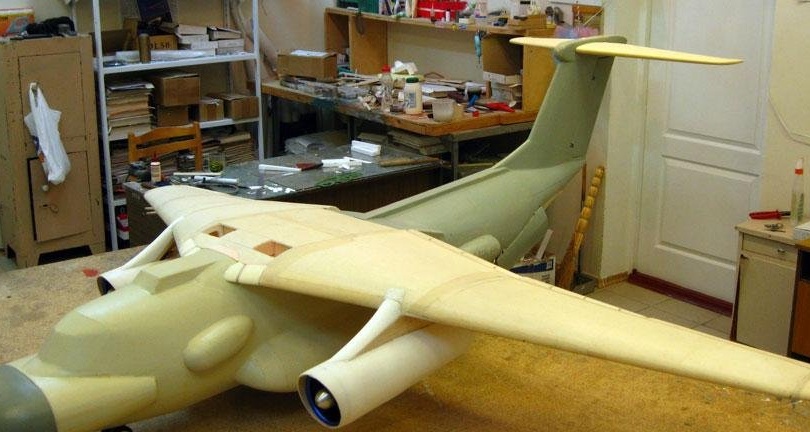
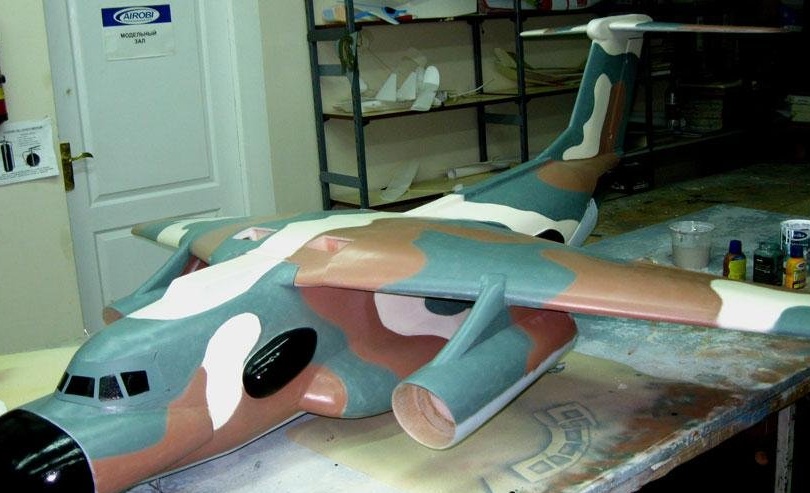
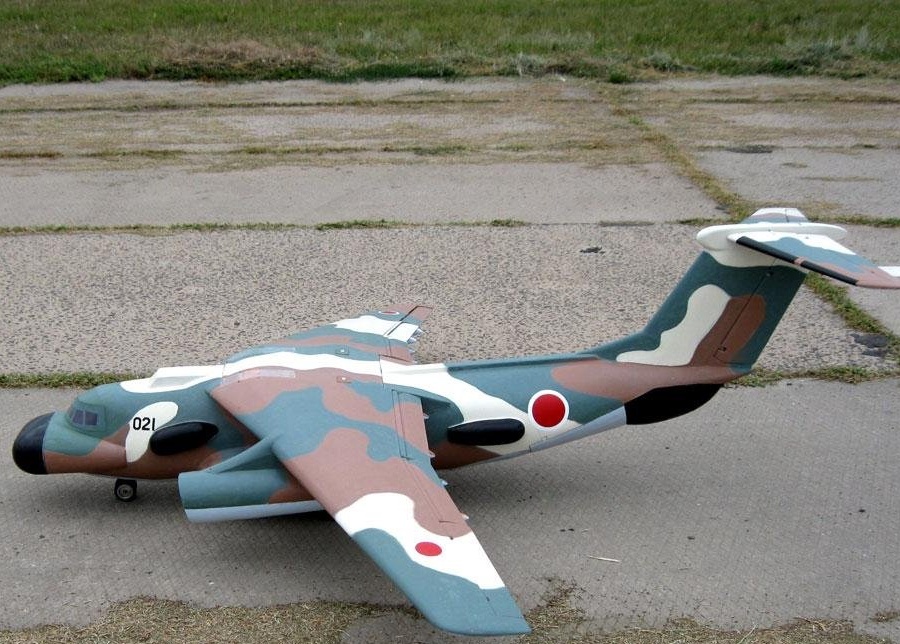
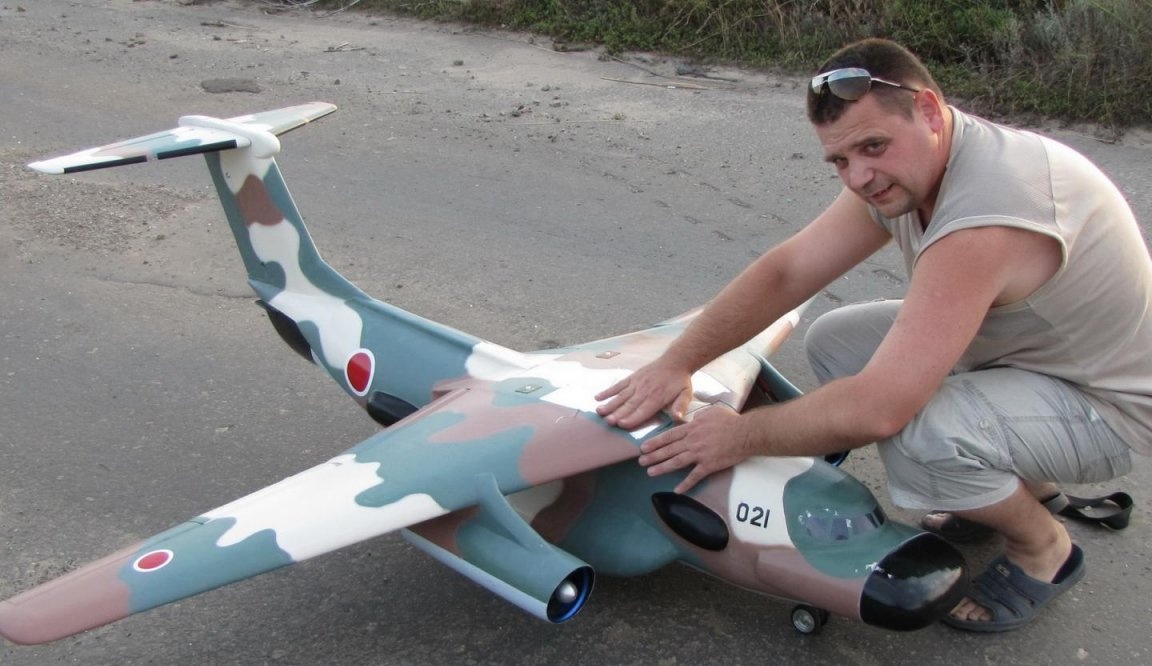
I always admire projects that go beyond building conventional radio-controlled aircraft models. This time, my friend decided to build an aircraft model, the prototype of which was the Japanese transport aircraft Kawasaki C-1.
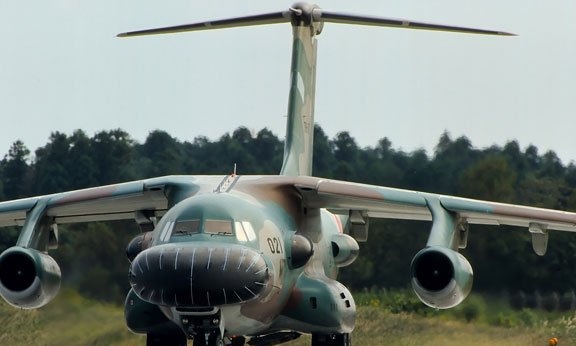

From childhood, the author loved “thick” planes and his dream, in the future - to build model An-10 aircraft.
He talks about the goals of his project:
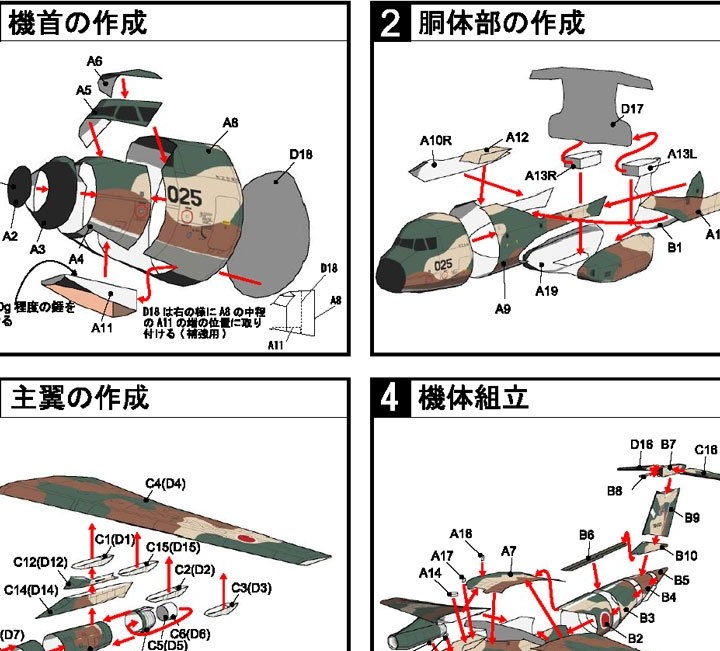
“For a long time I have been tempted to do paper scans, of which there are a huge number of flying RC copies. I want to improve the technology, there are a number of ideas for its development. "
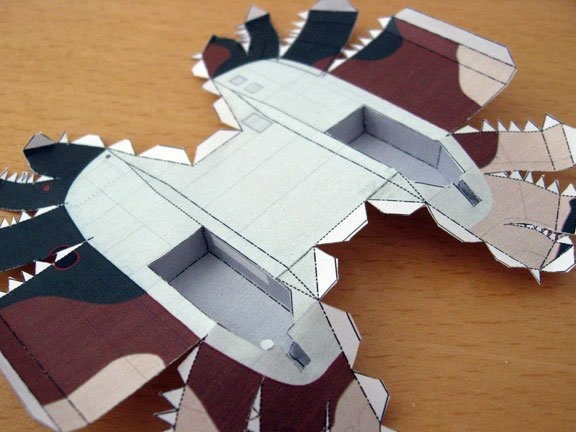
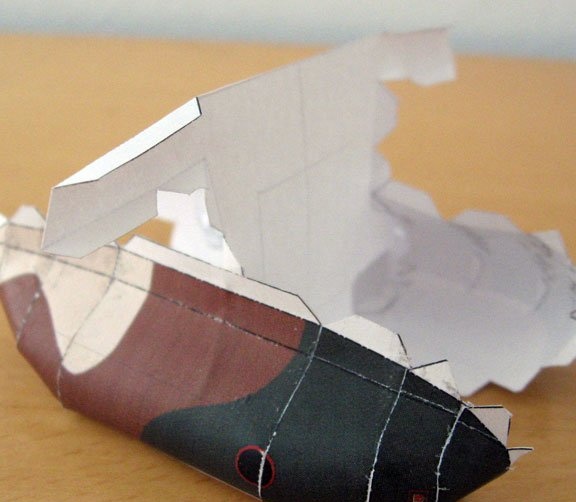
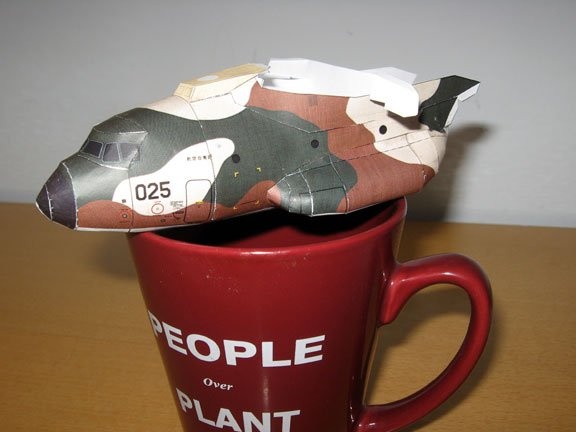
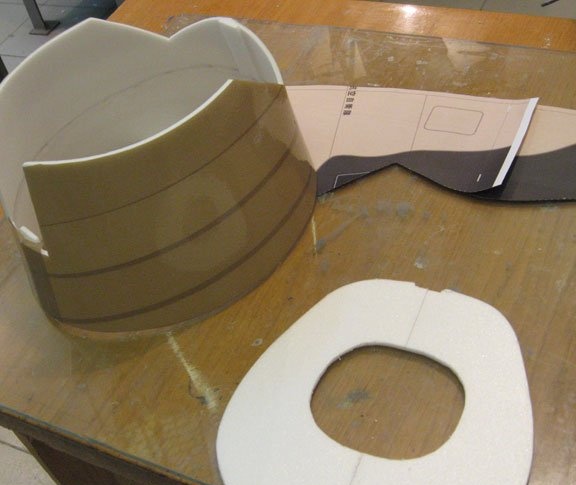
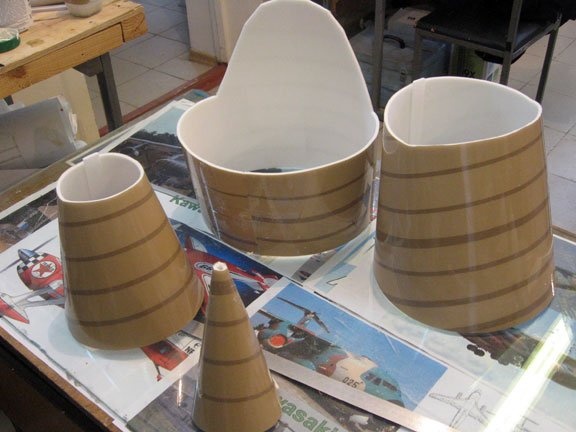
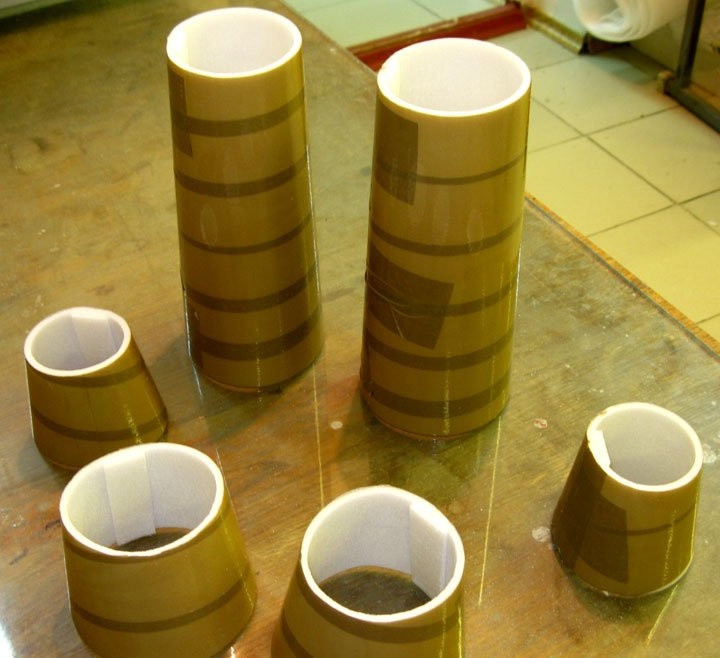
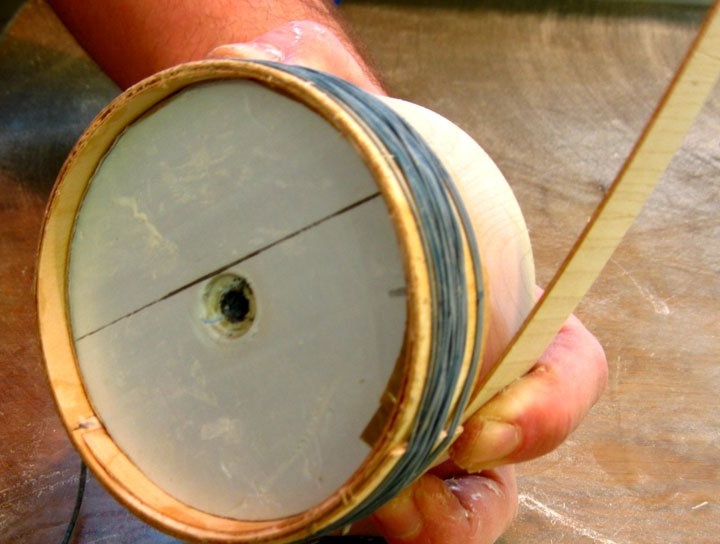
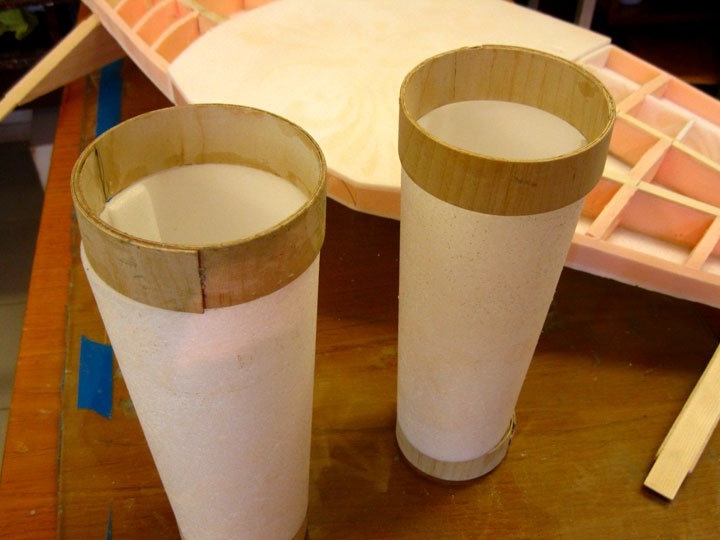
By testing the technology, the author collects individual elements of the model from paper.

The author was very interested in the flight qualities of the future model.
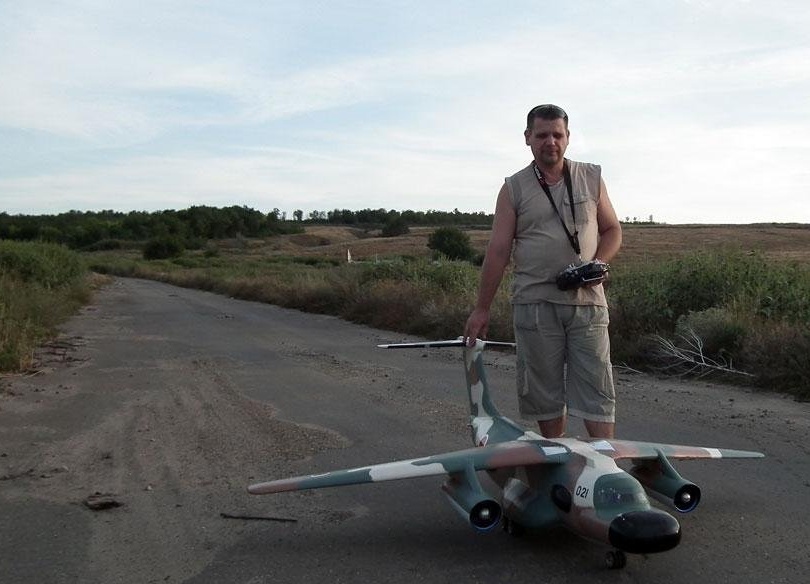
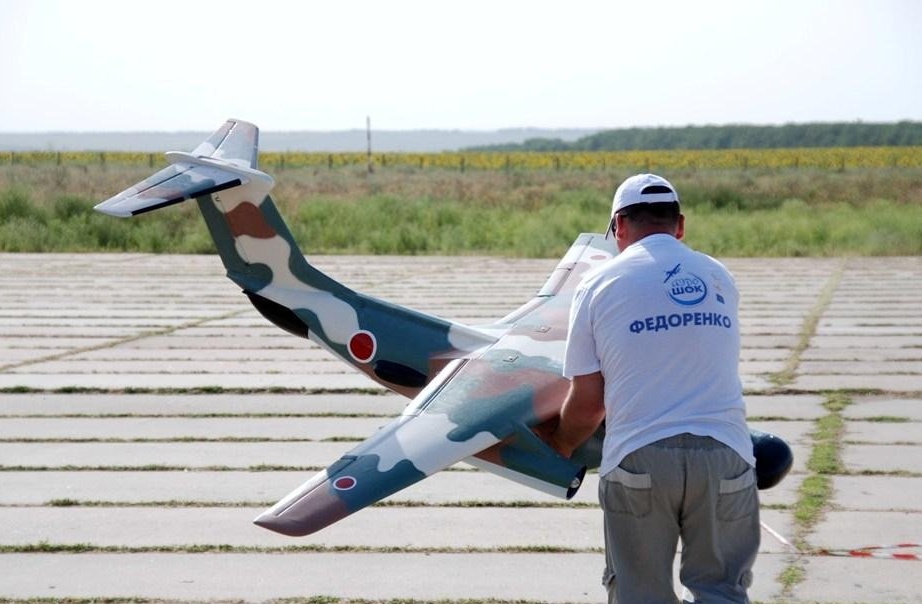
The main goal of the author was to create a large model for speaking at competitions and flying in stadiums.
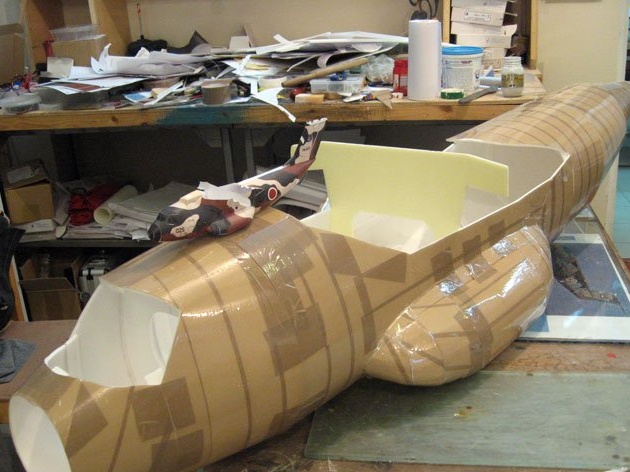
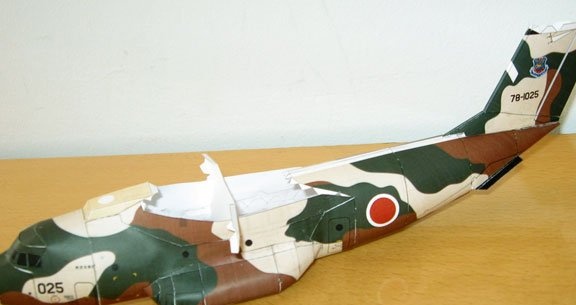
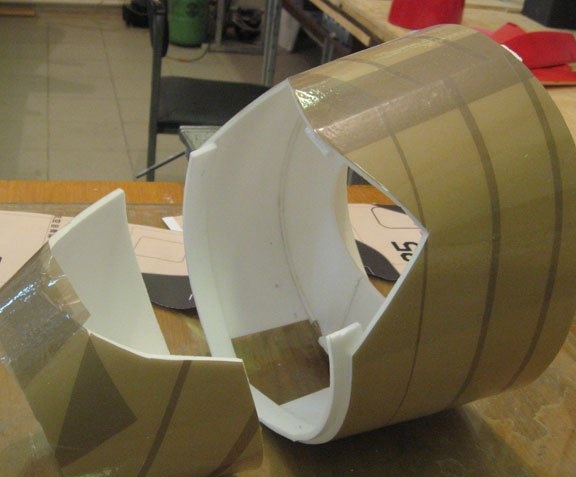
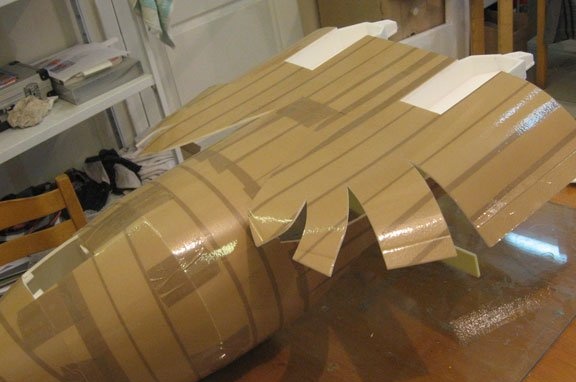
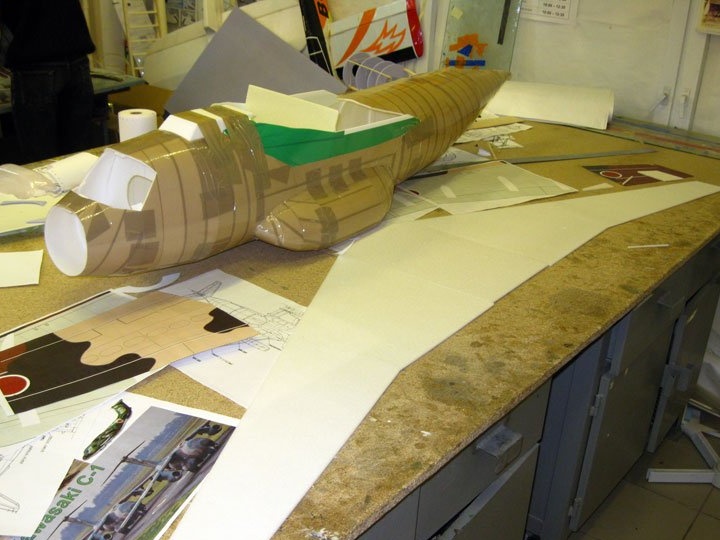
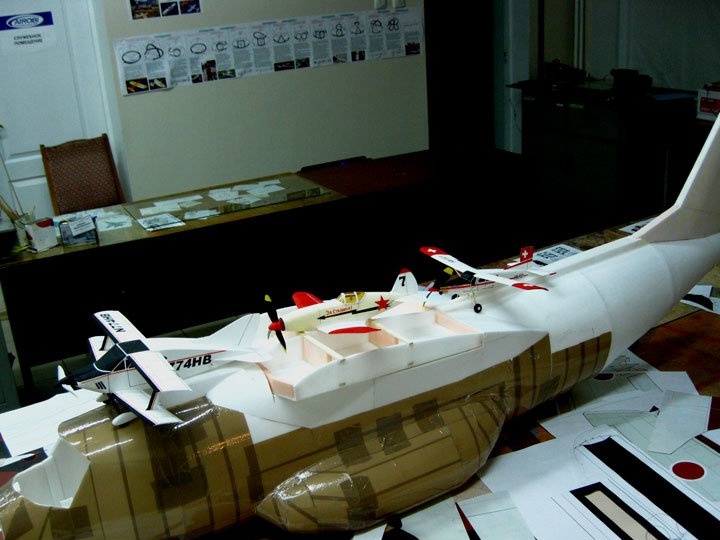
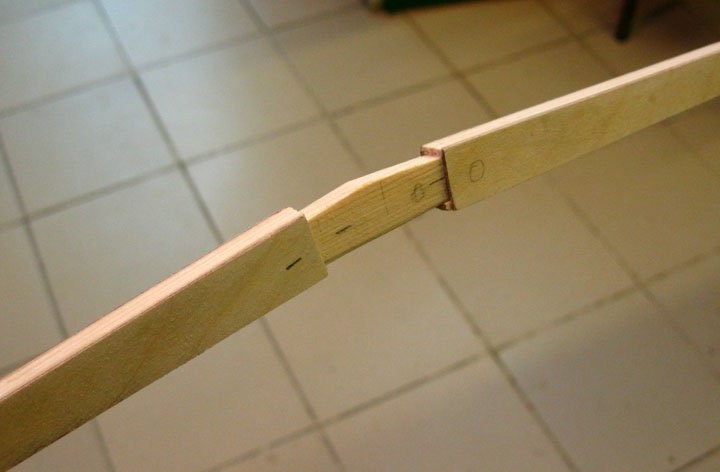
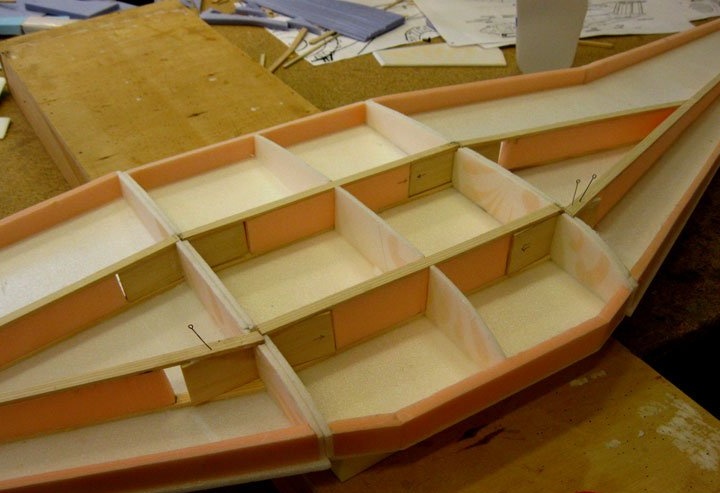
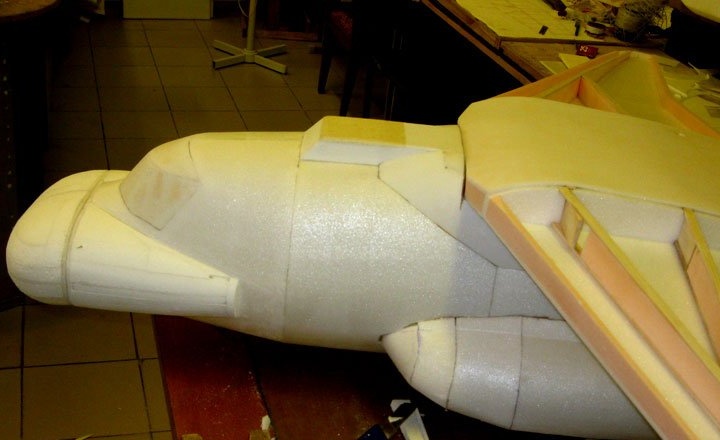
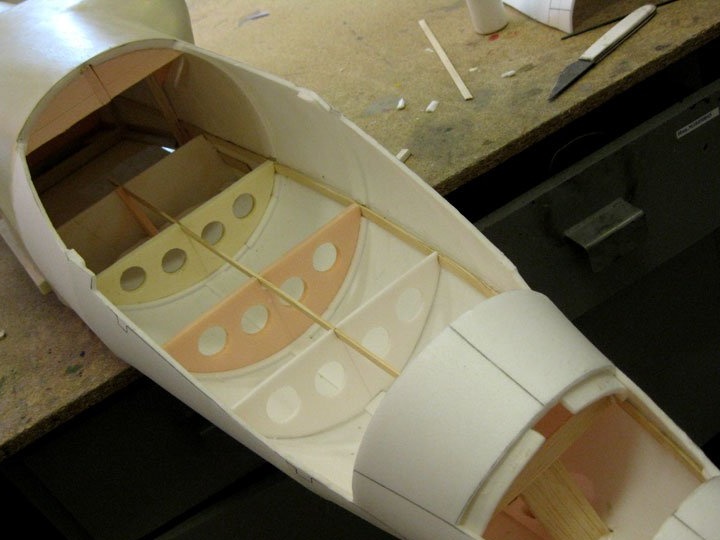
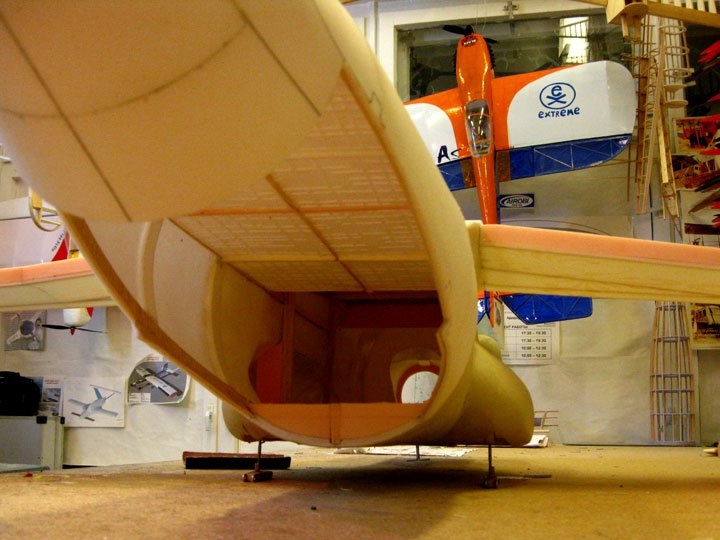
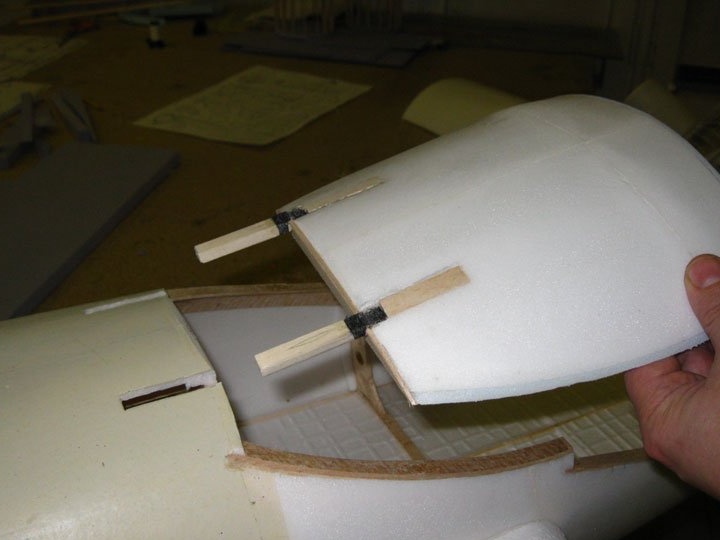
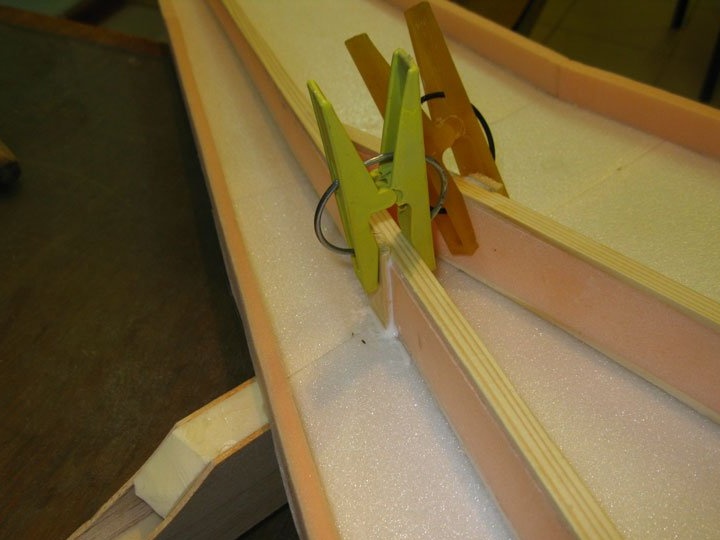
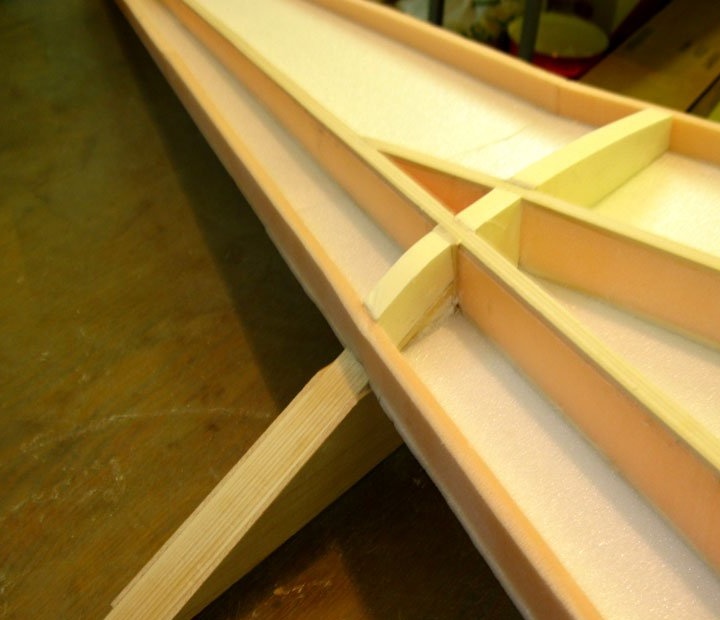
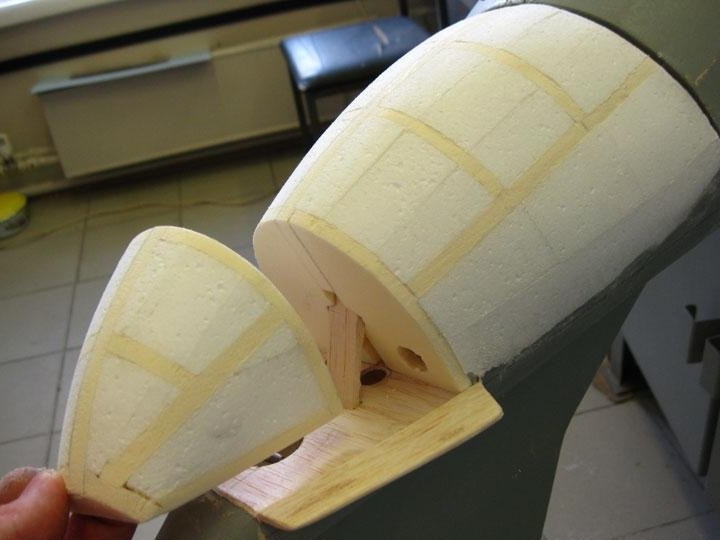
The connection of the individual parts of the fuselage into a single whole.
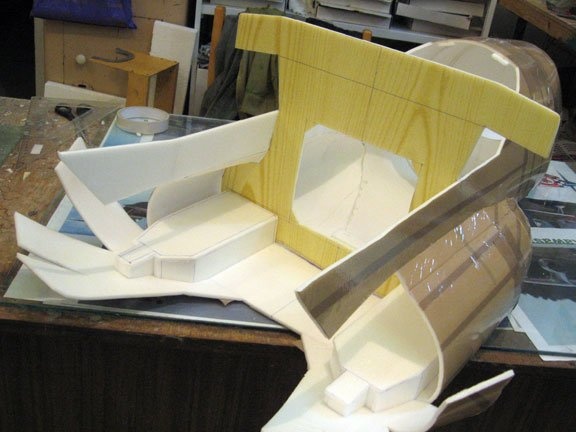
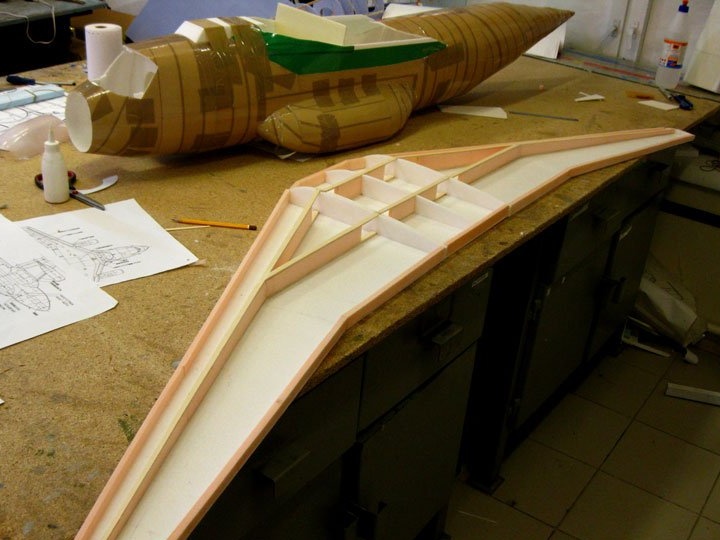
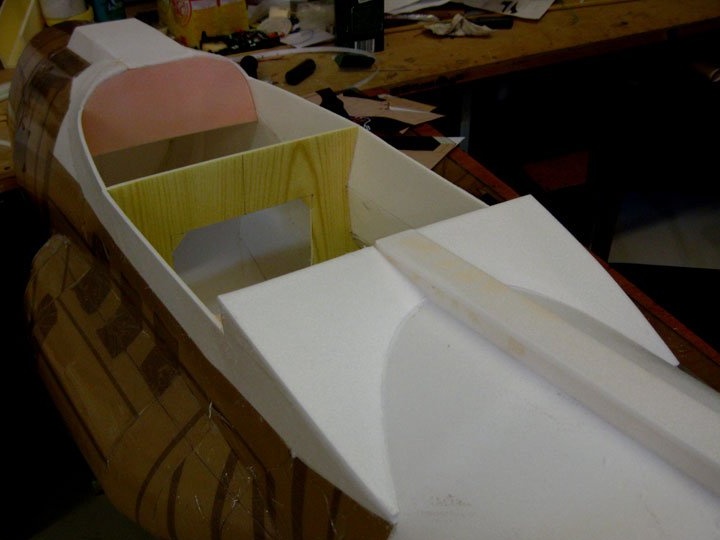
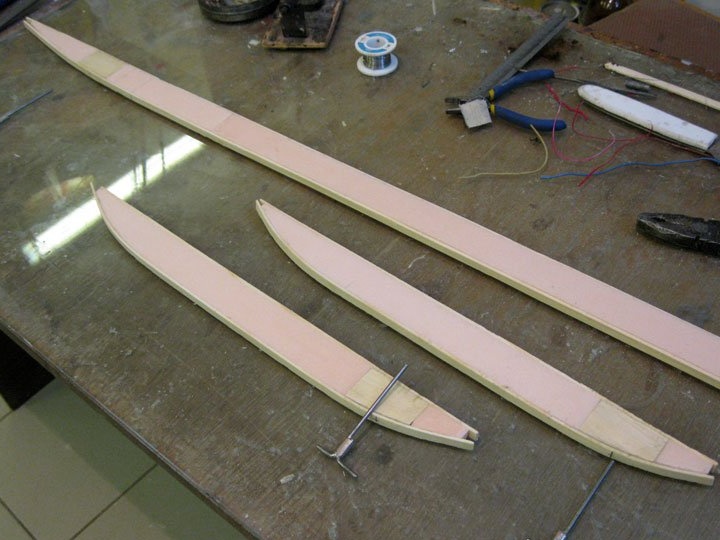
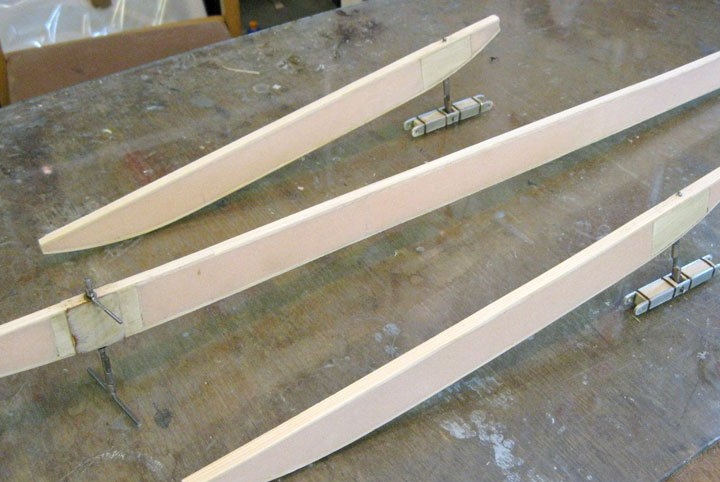
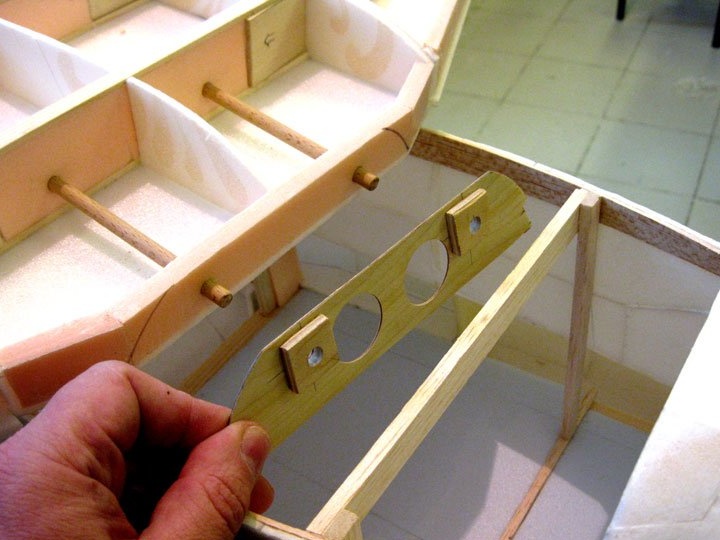
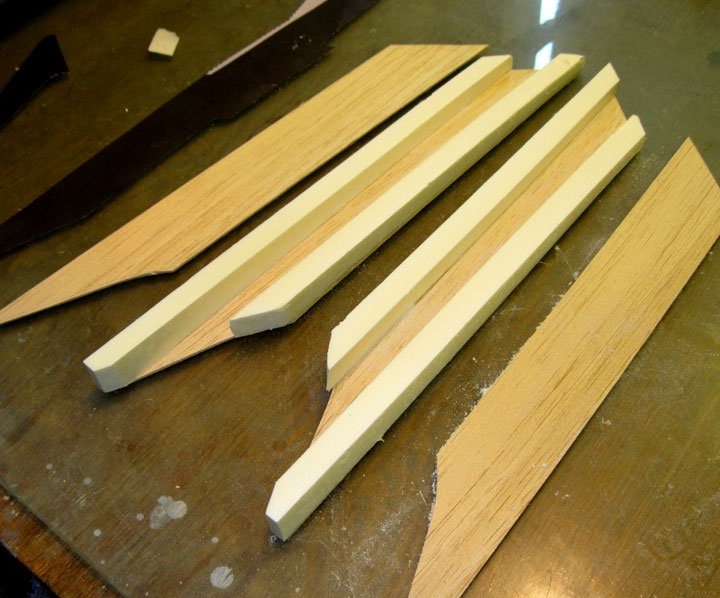
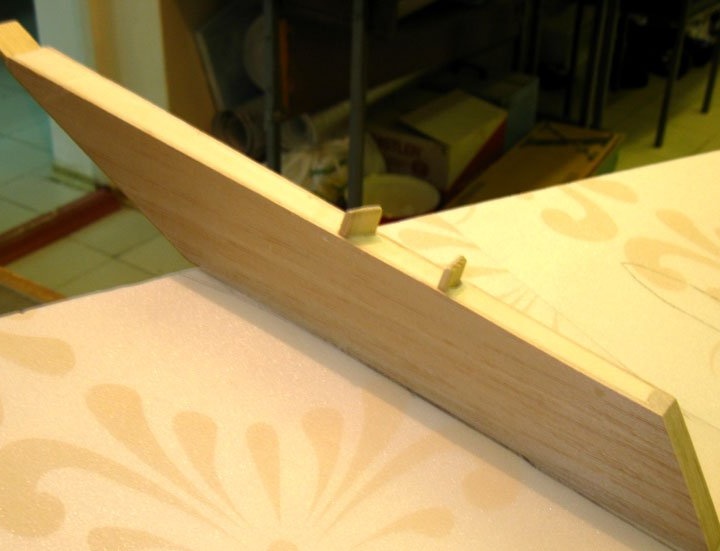
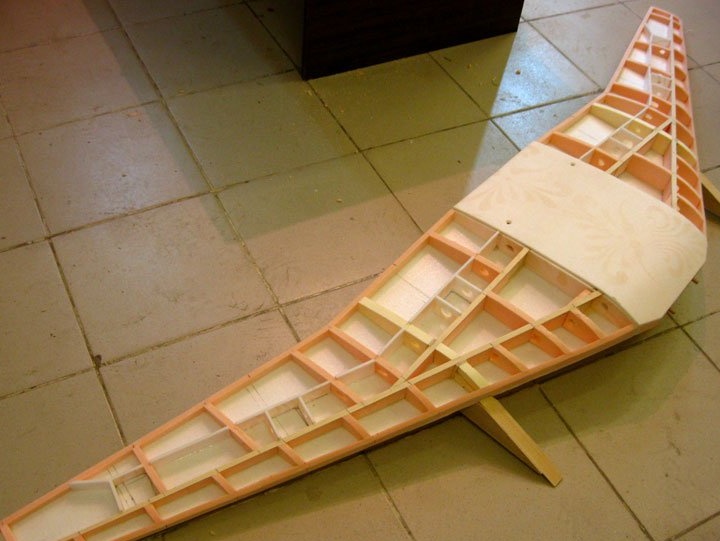
Spars are made from pine slats.
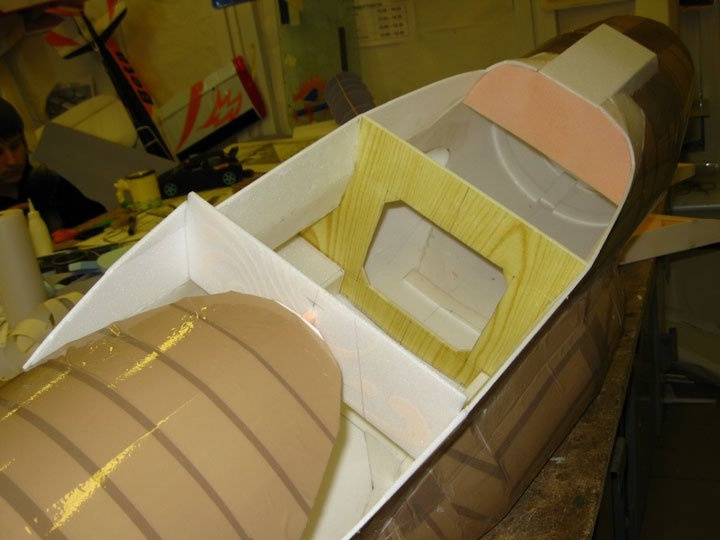
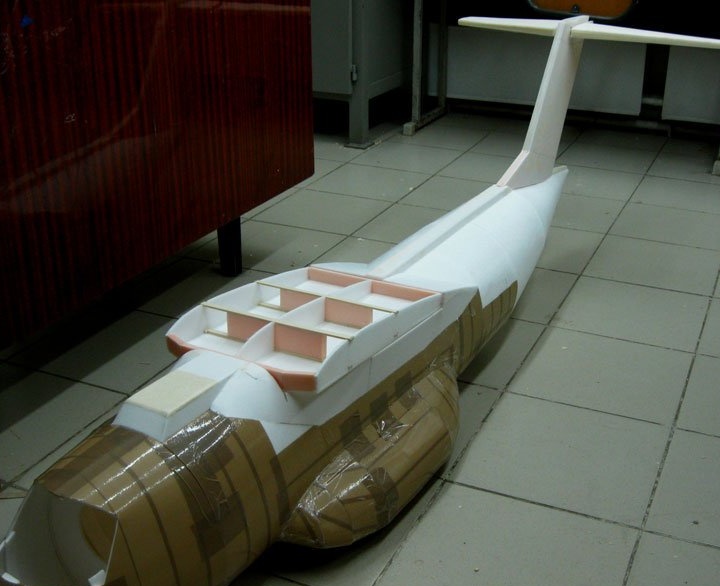
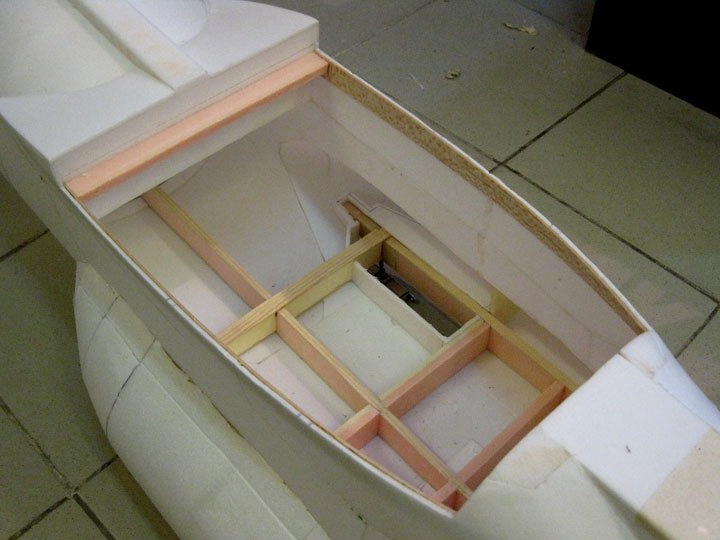
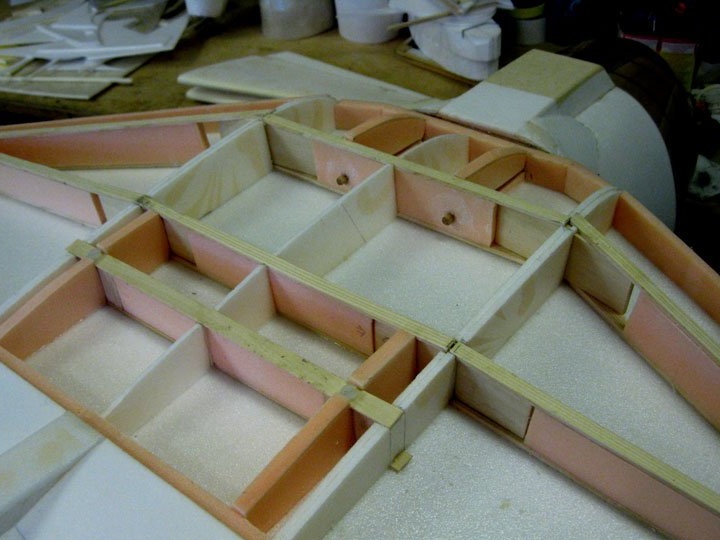
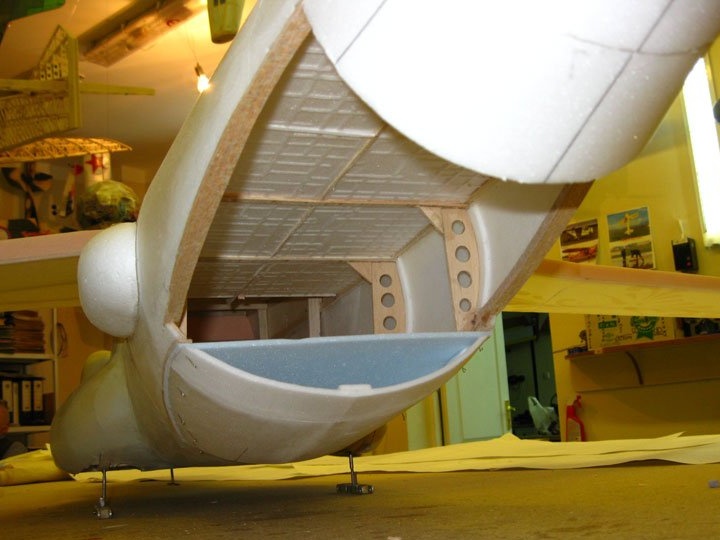
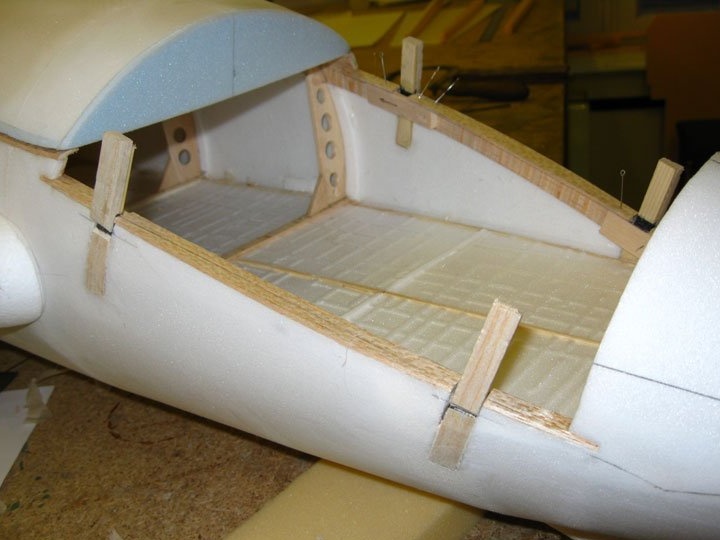
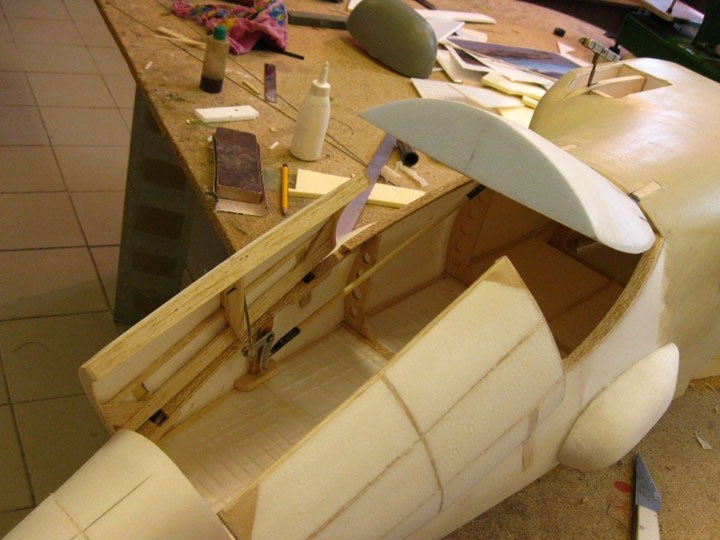
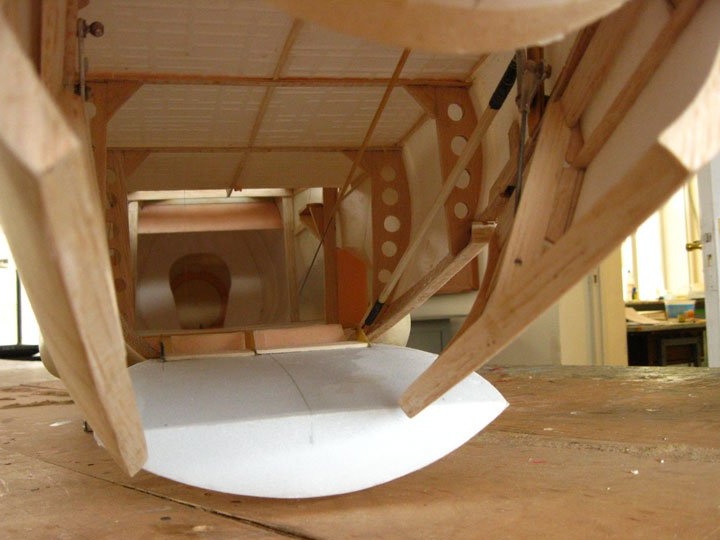
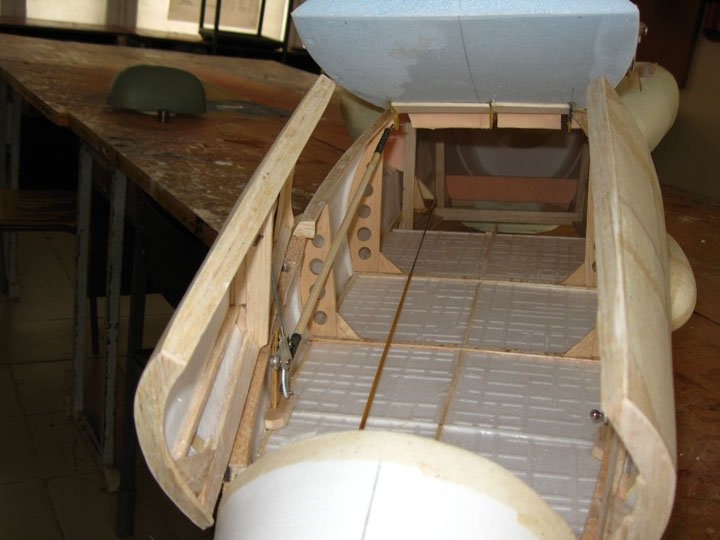
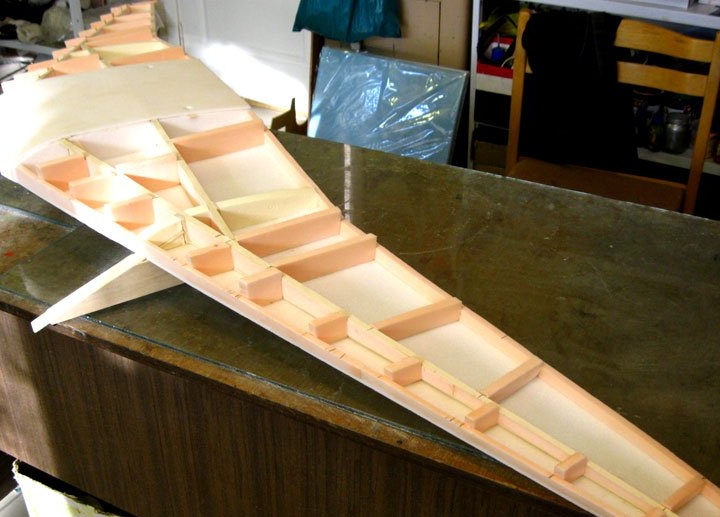
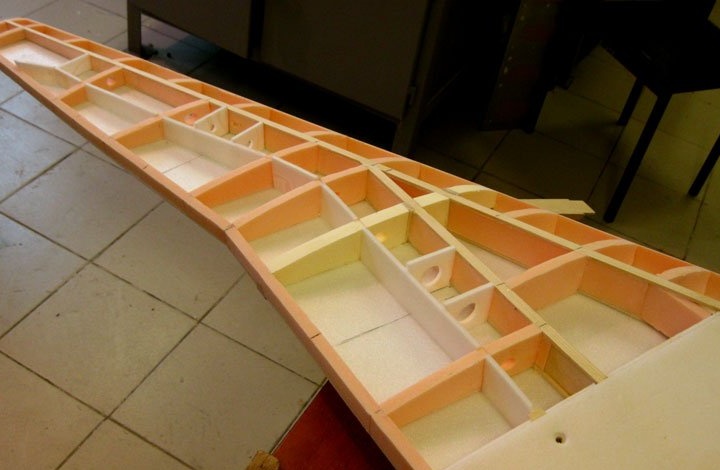
It looks like a fuselage inside.
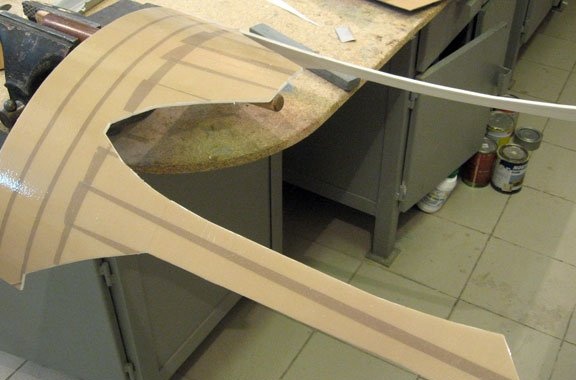
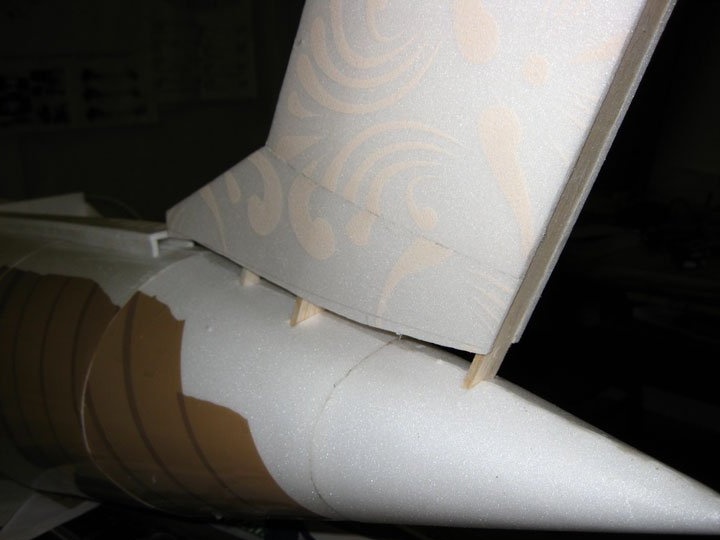
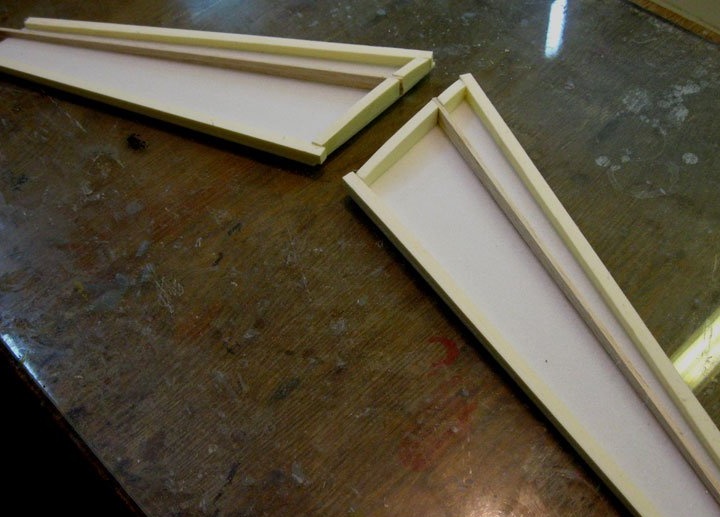
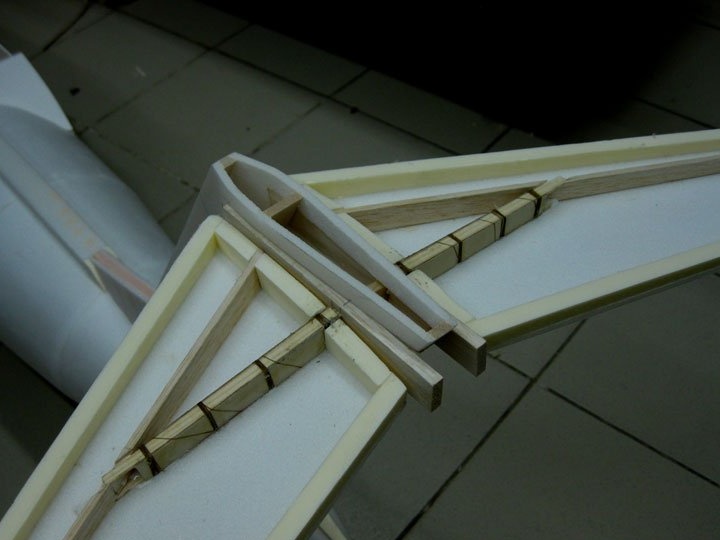
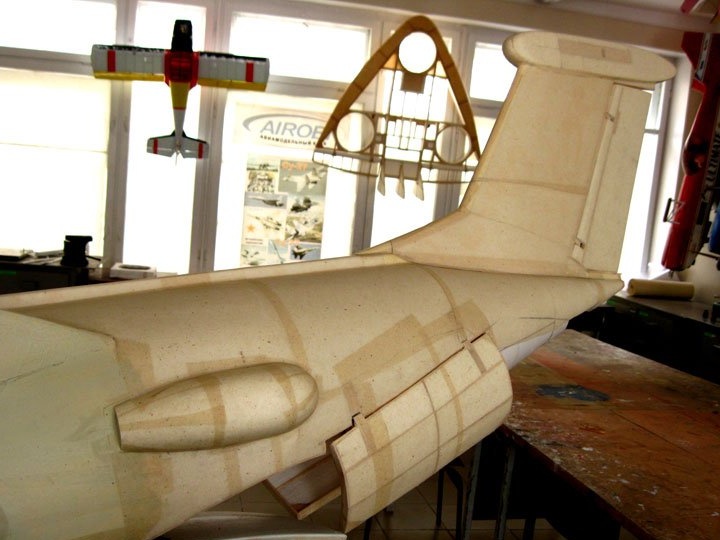
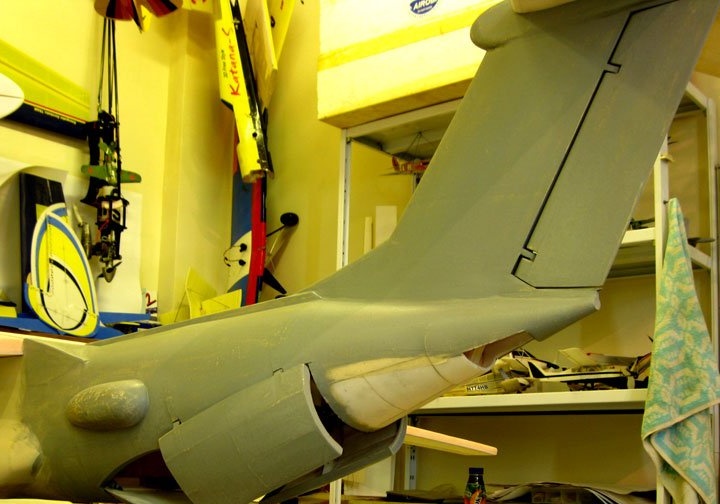
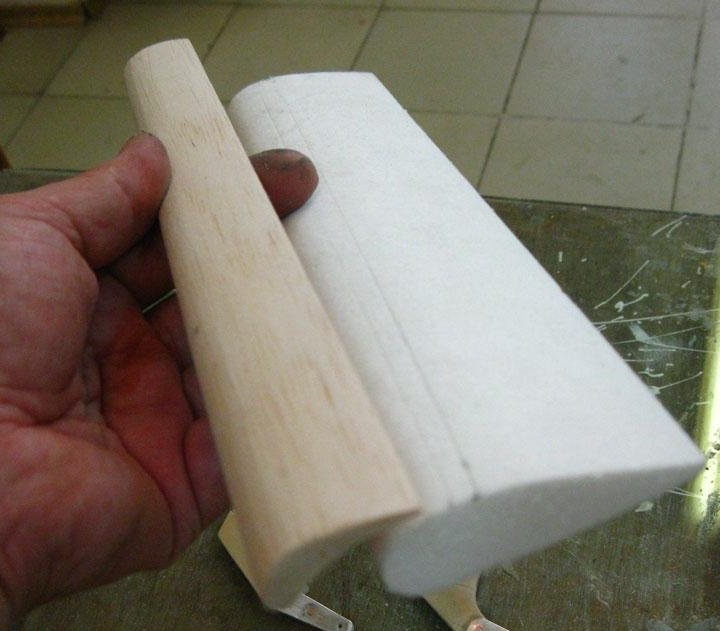
Work begins with the keel.
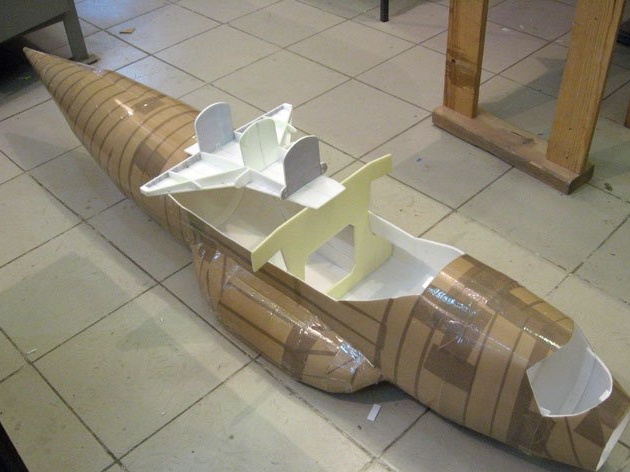
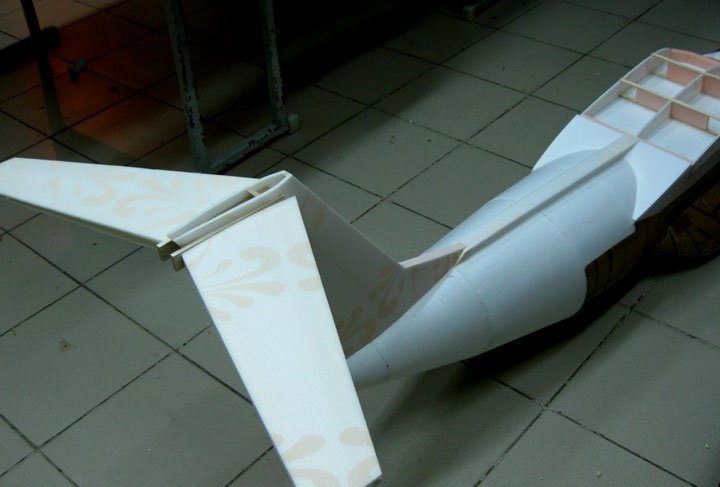
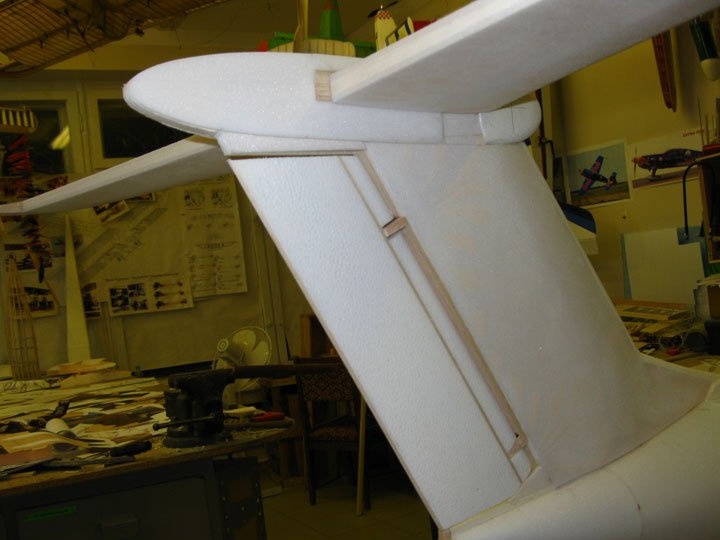
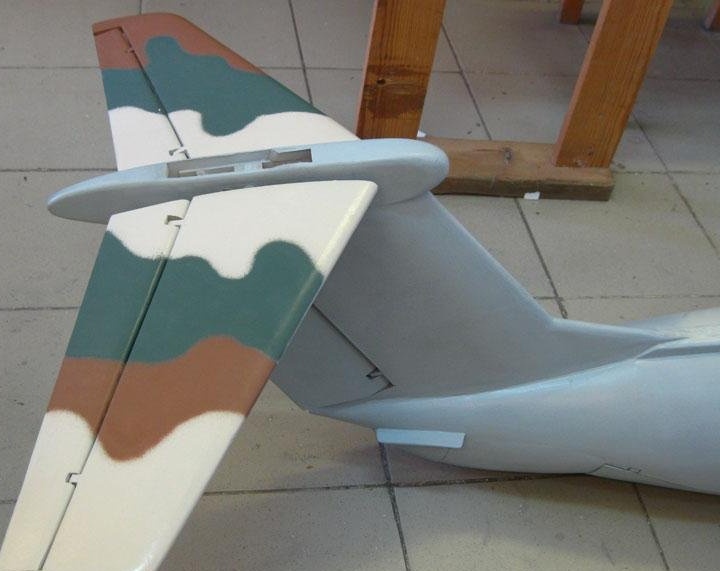
The tail unit has a very complex shape.
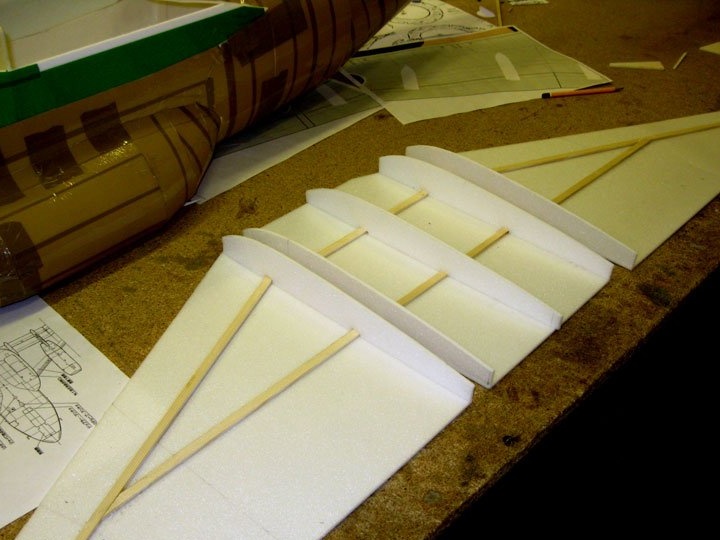
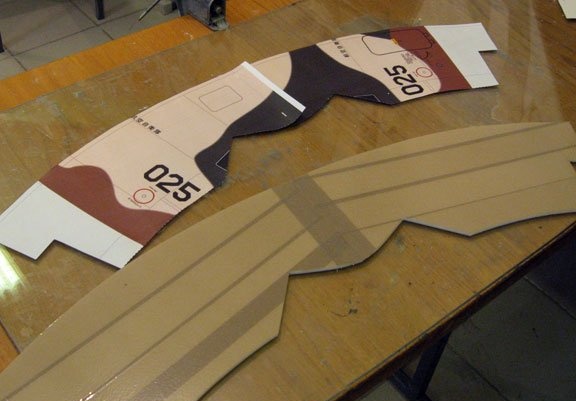
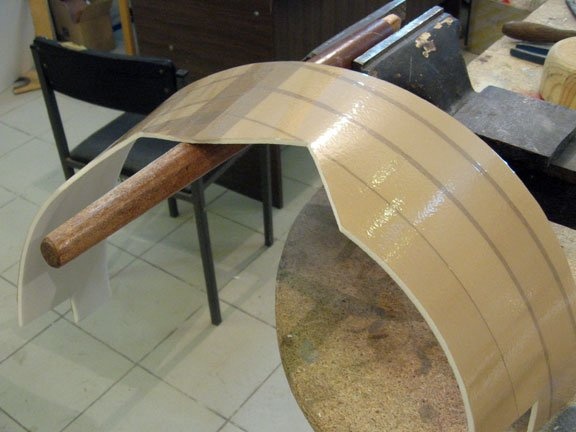
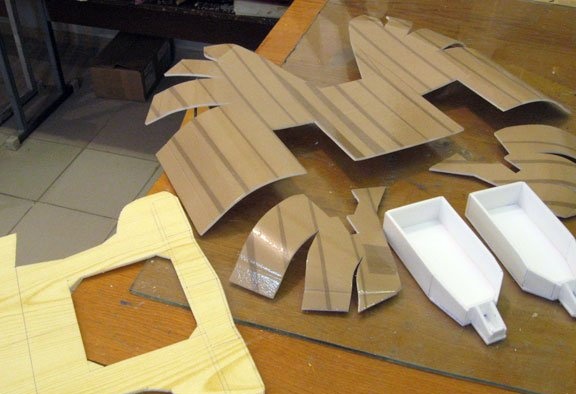
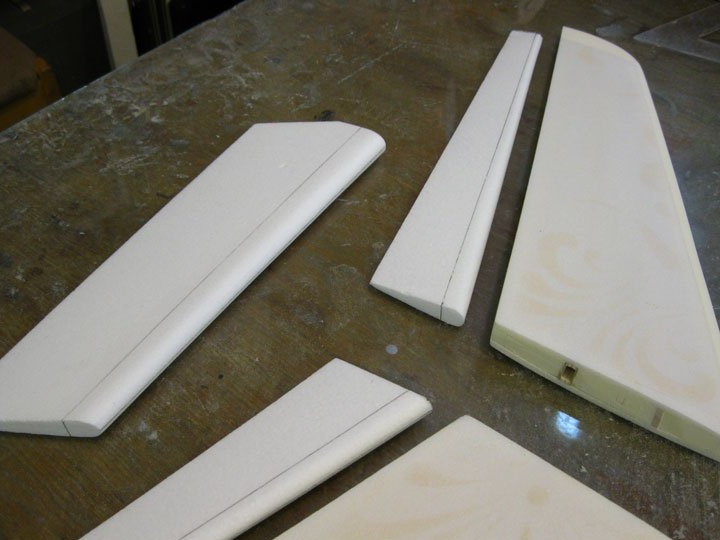
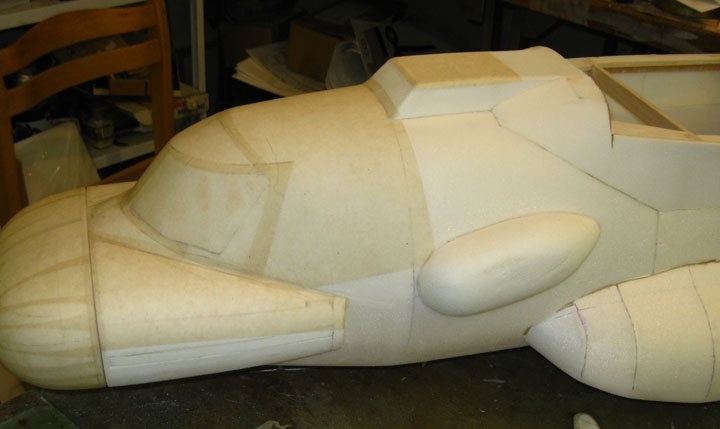
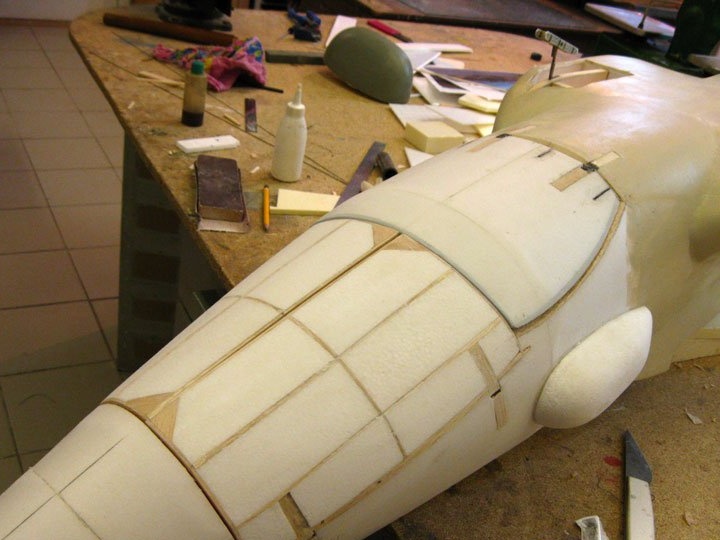
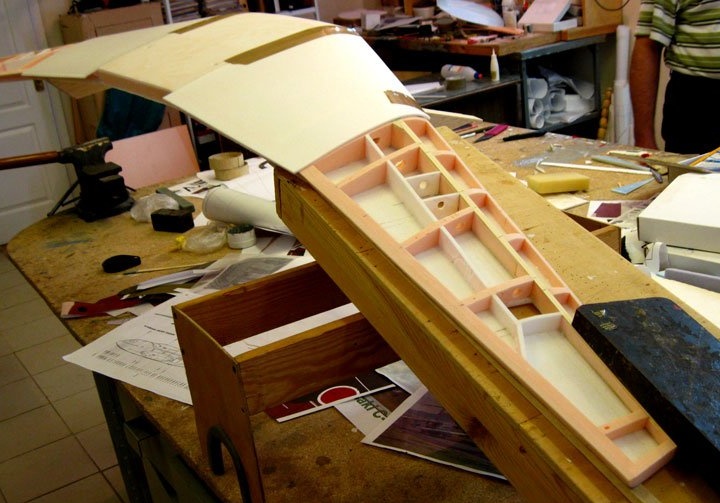
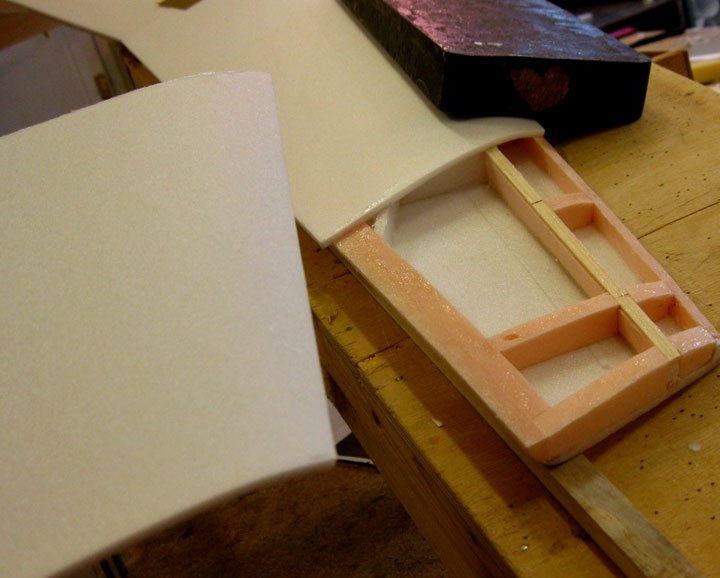
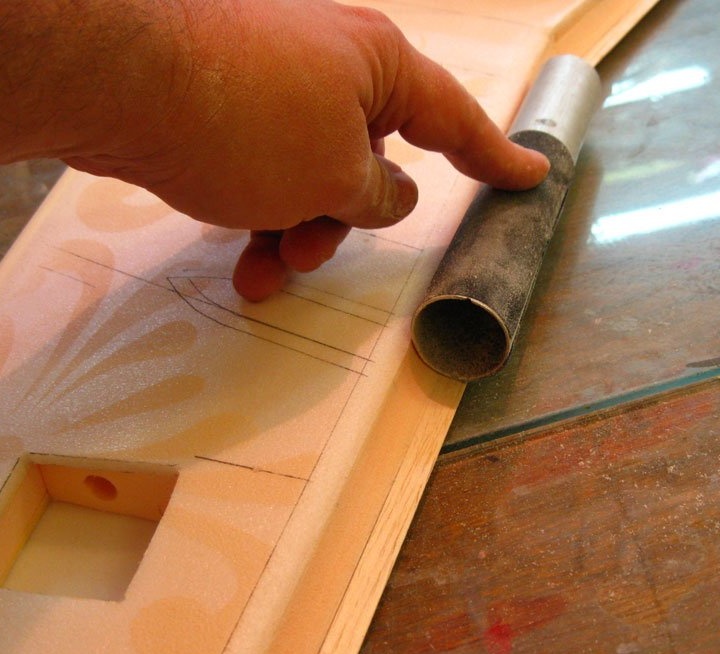
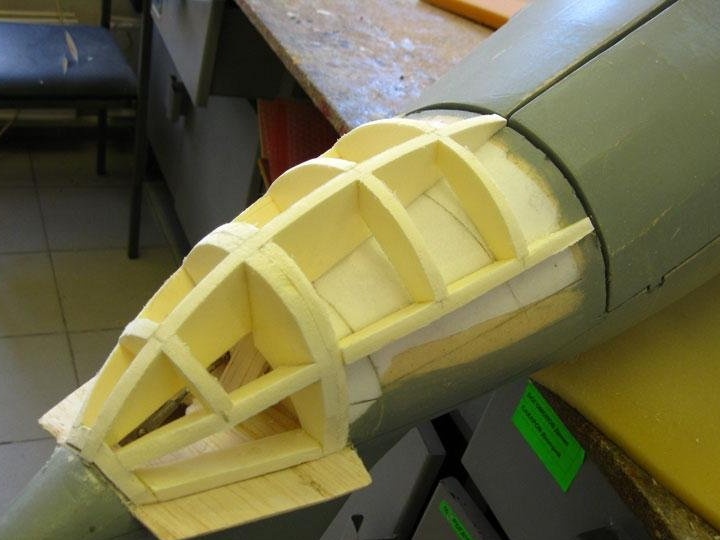
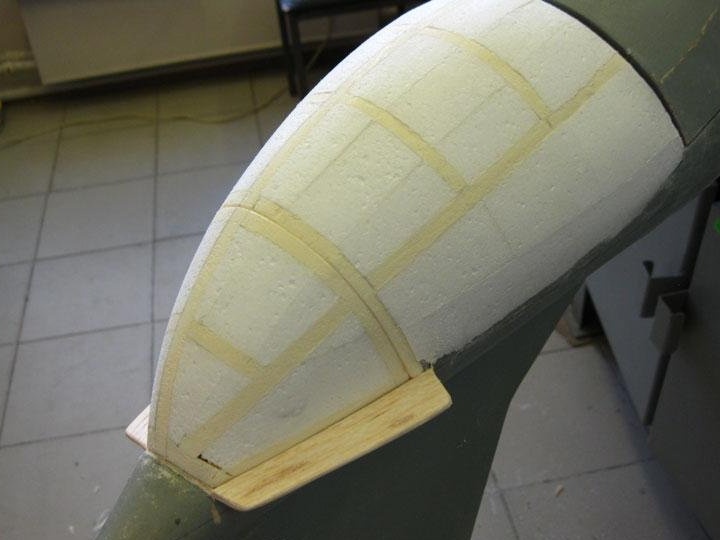
Using paper templates - scans, individual elements of the model are made from the ceiling - 5 mm.
A paper template is glued over the ceiling and soaked with any varnish.
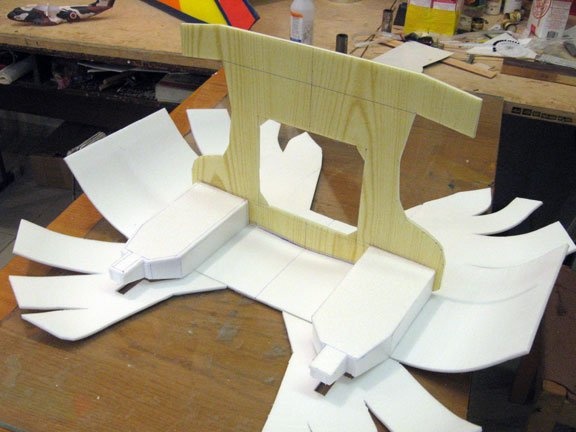
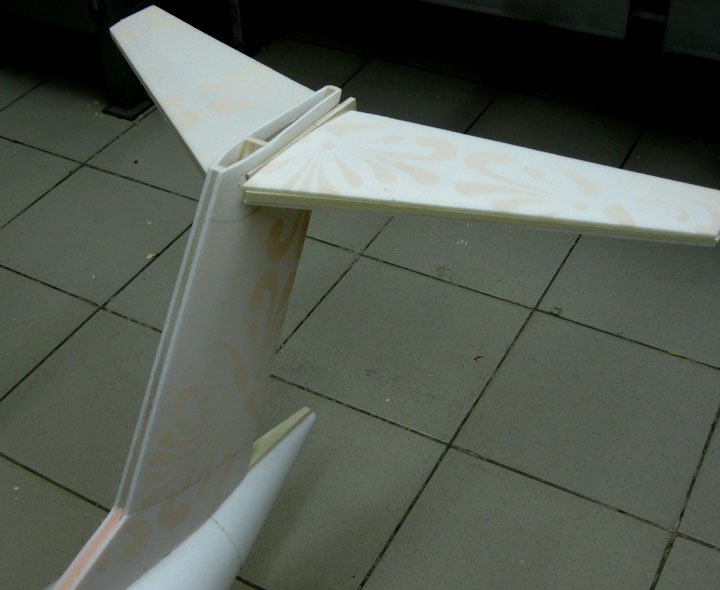
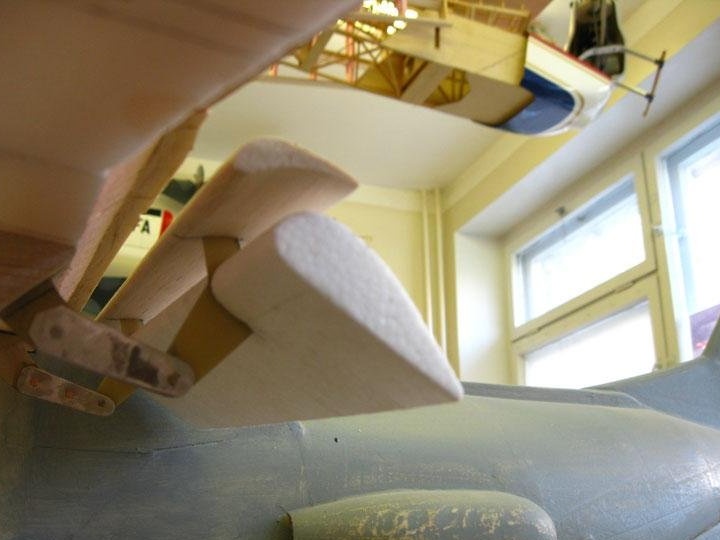
The keel is installed strictly vertically.
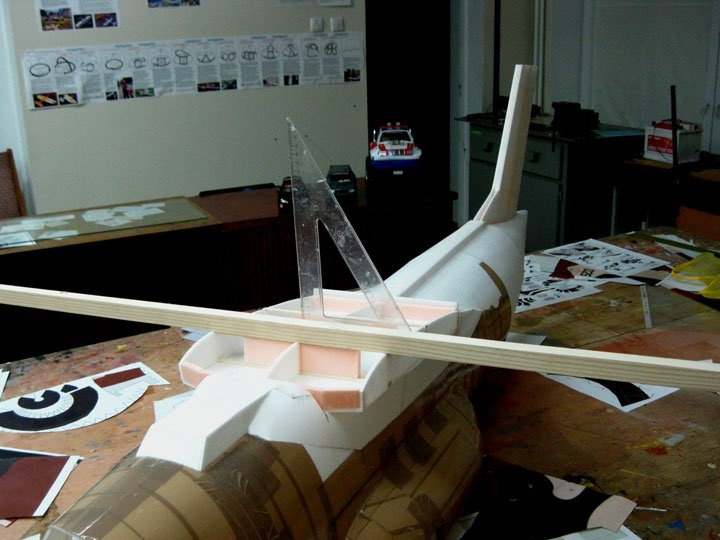
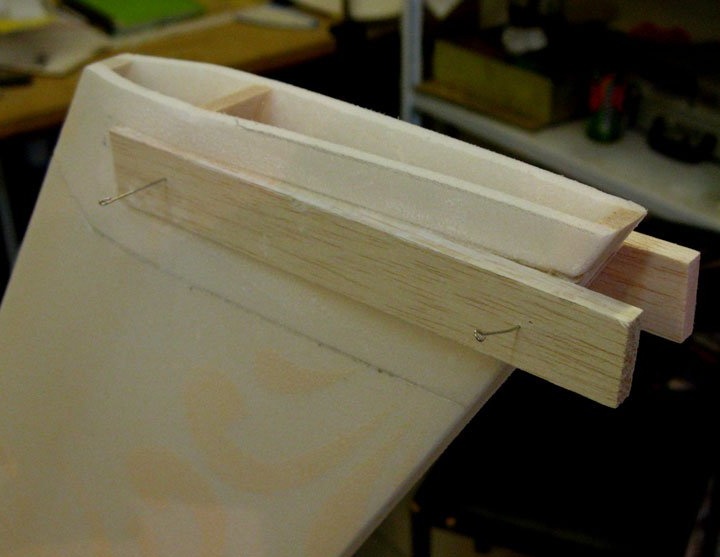
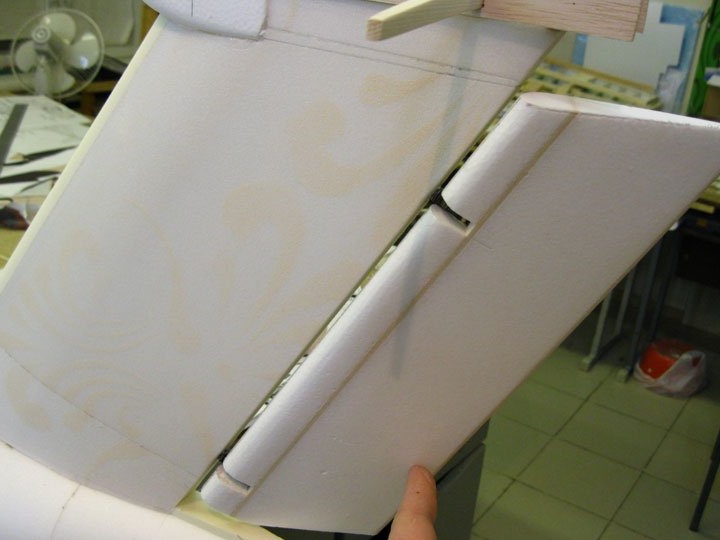
The next critical operation is the installation of a stabilizer.
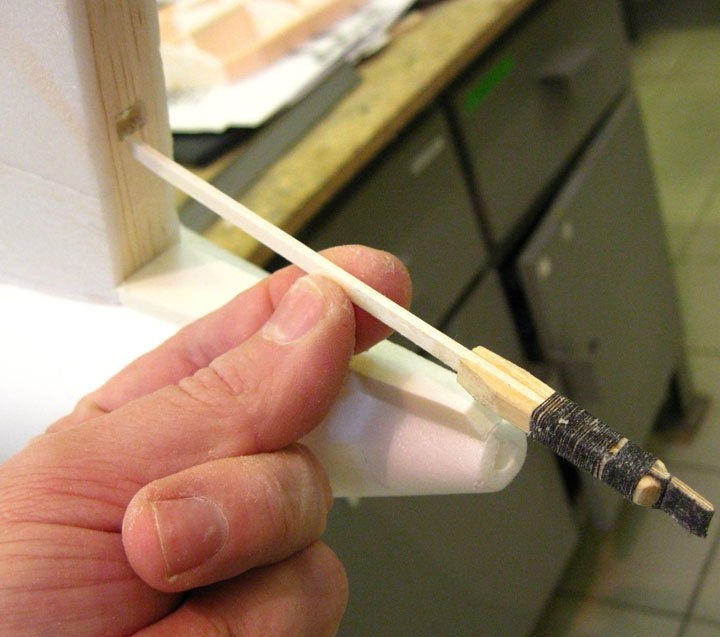
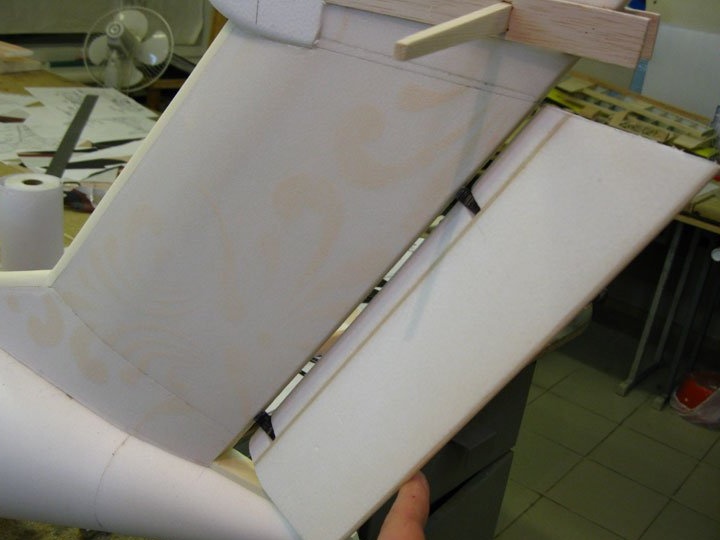
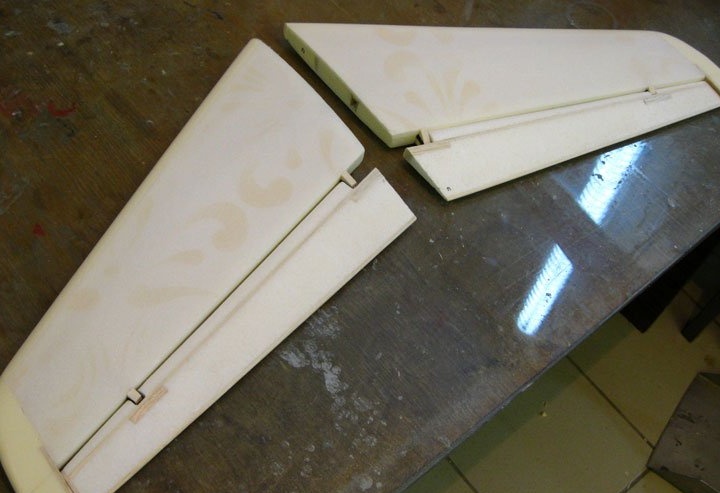
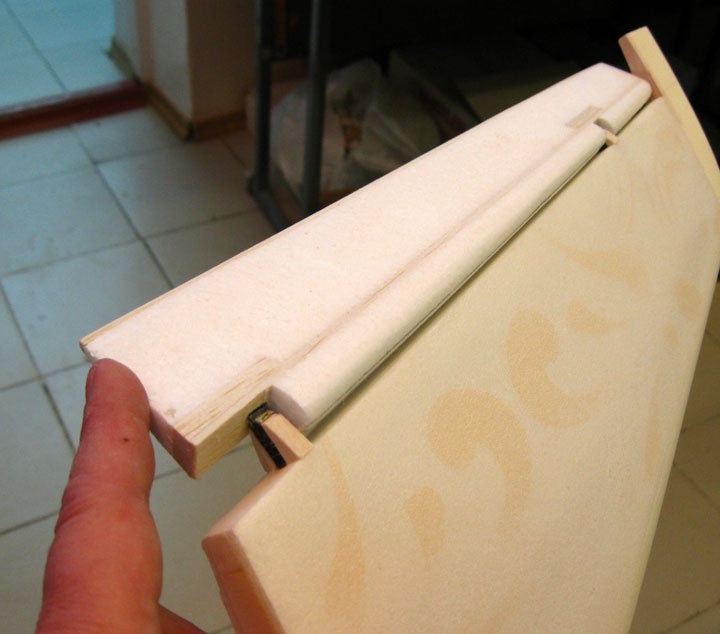
A balsa spar is glued into the stabilizer.
The stabilizer console has two mounting points.
Trying on the steering wheel and checking its deviation.
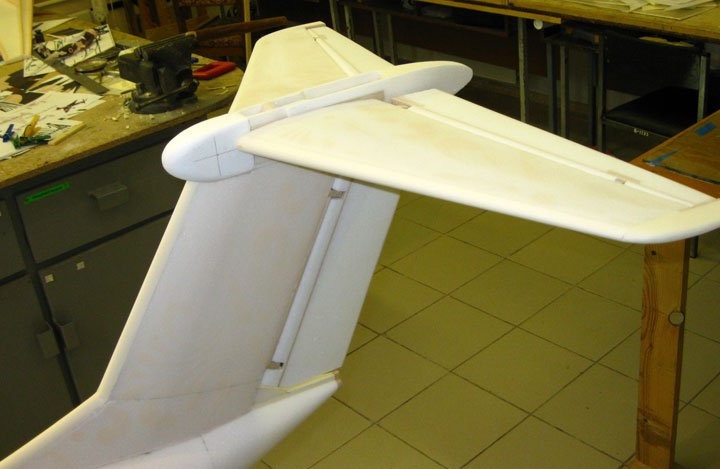
Work continues with the tail.
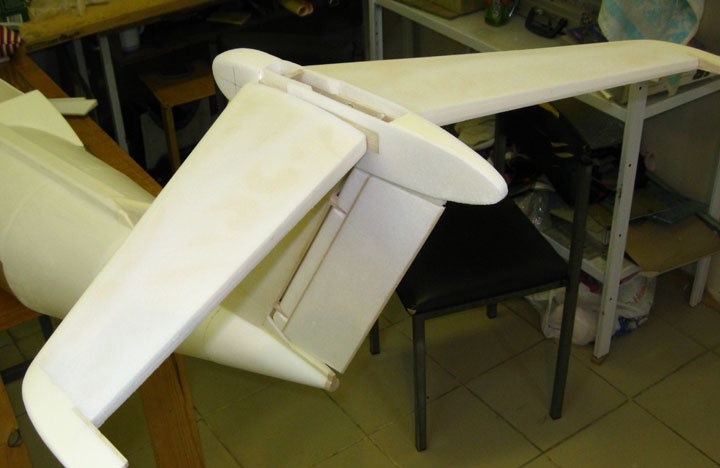
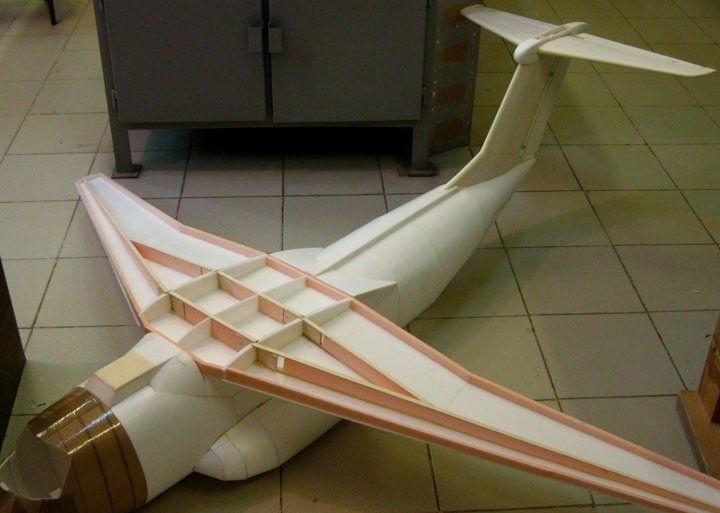
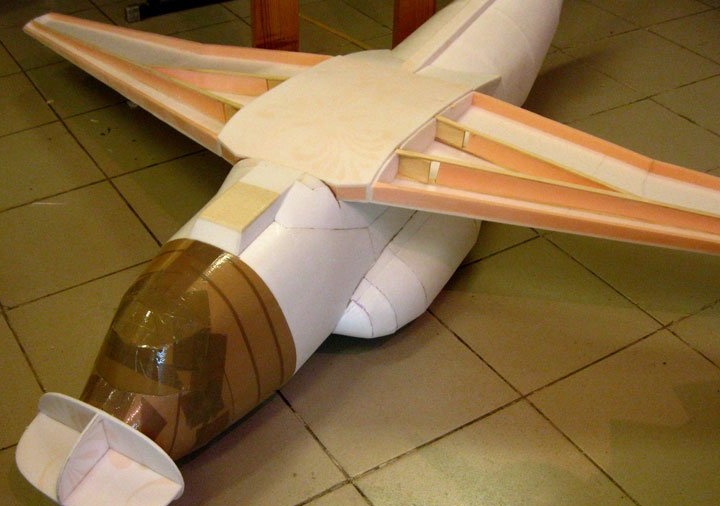
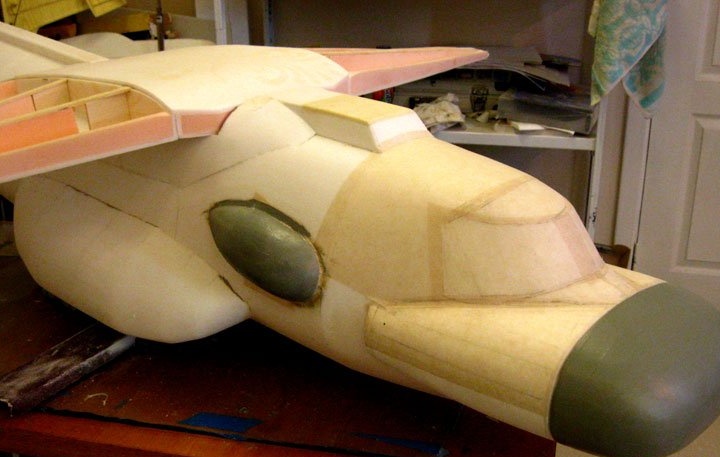
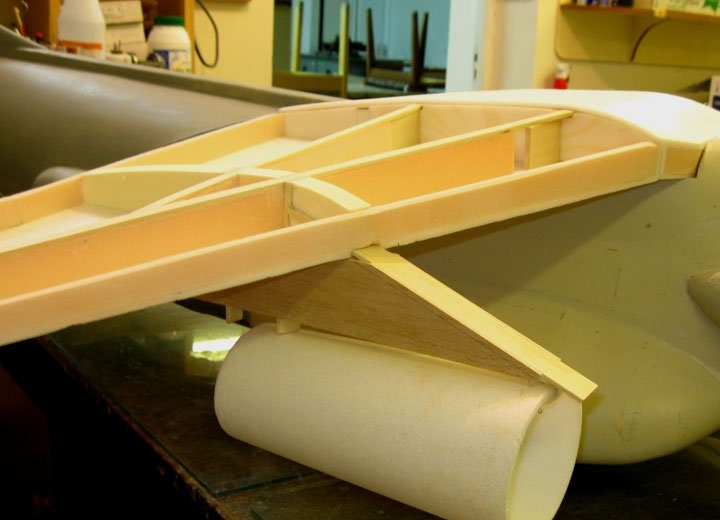
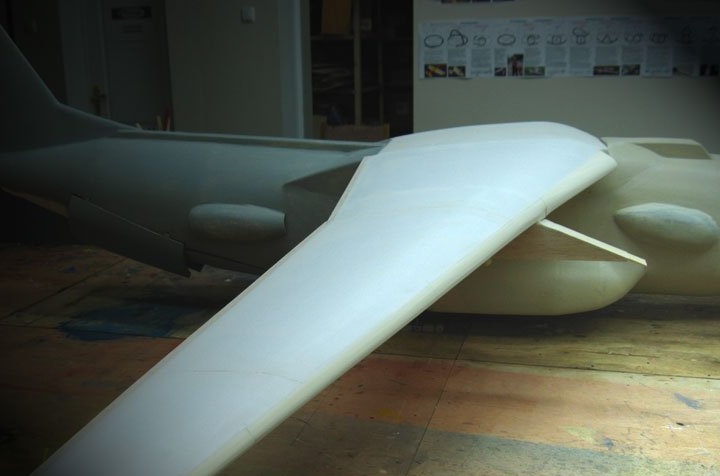
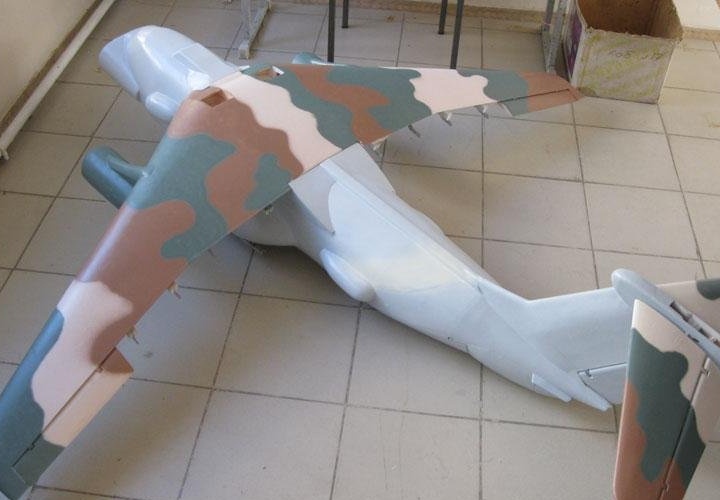
The wing of the model has a reverse V angle.
The wing will be mounted on the fuselage with plastic screws.
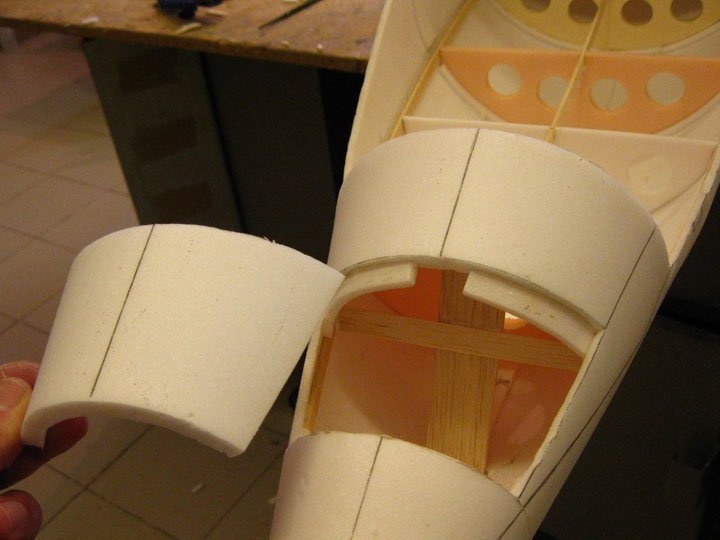
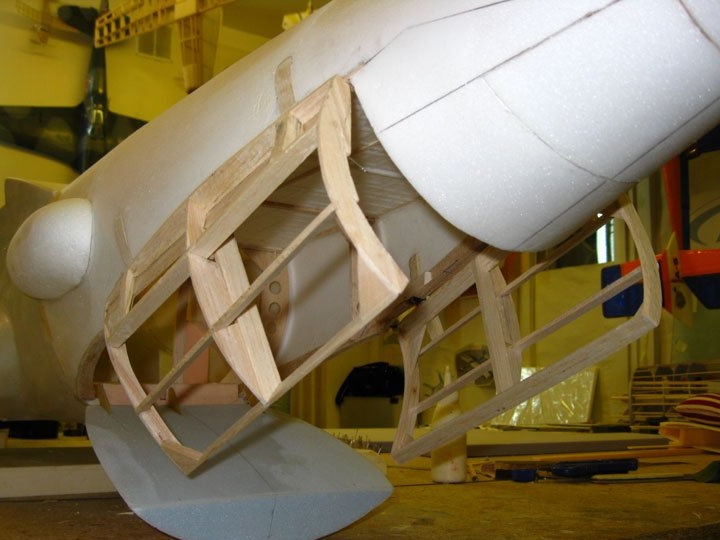
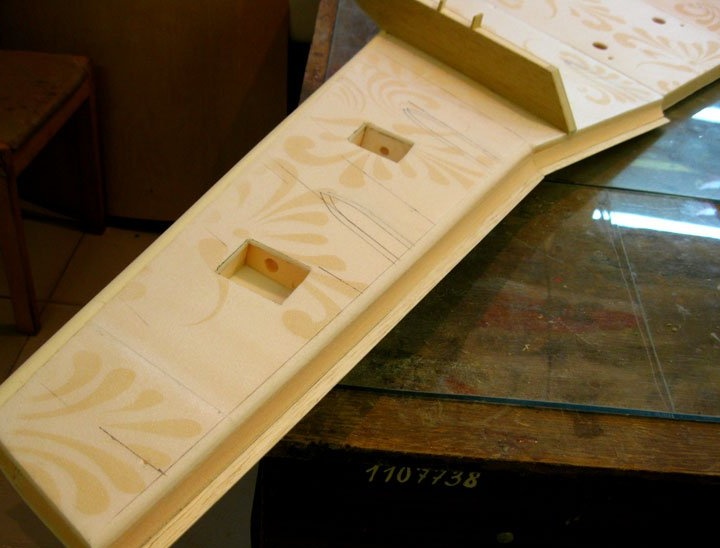
The issue of installing the chassis on the fuselage is being addressed.

Landing gear
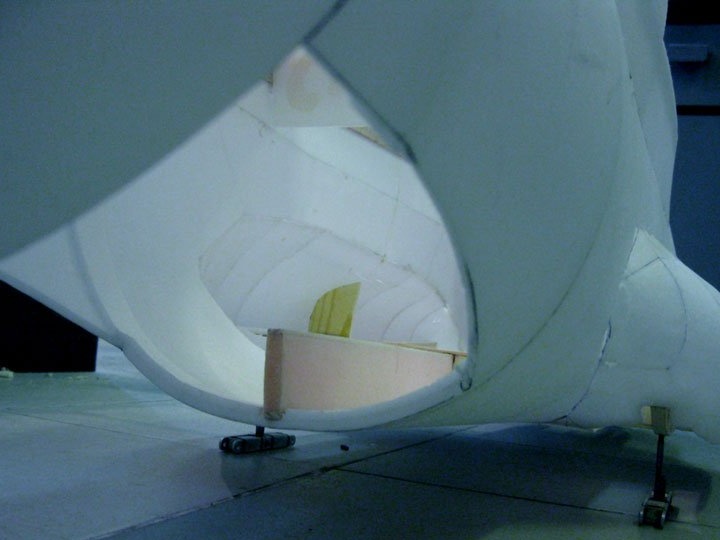
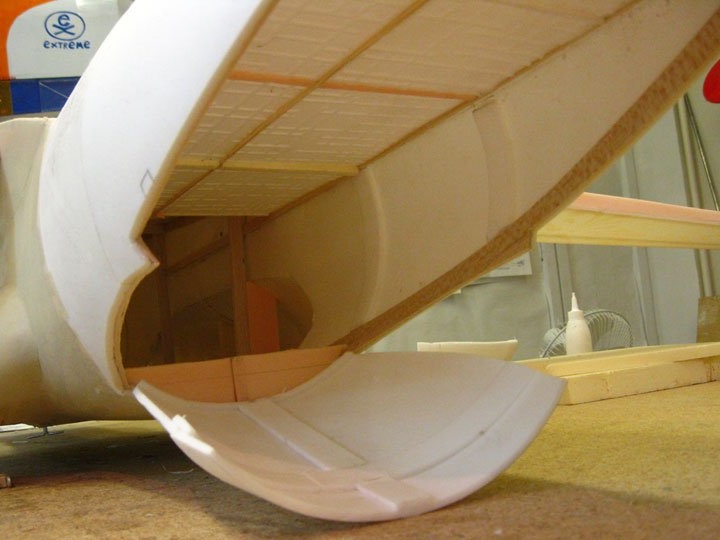
Chassis installation design inside the fuselage.
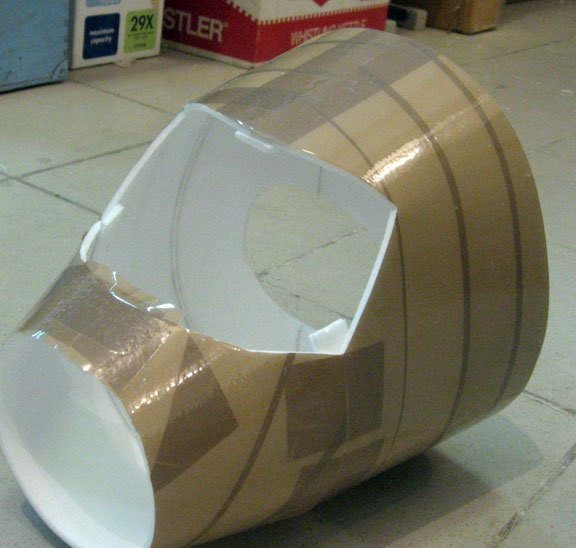
Cargo hatch made.
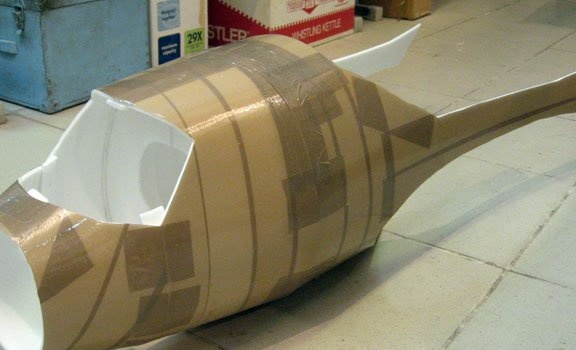
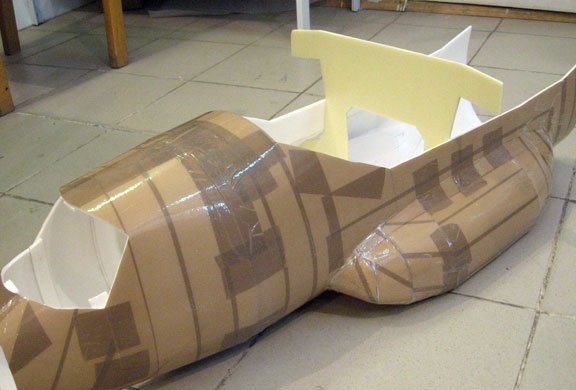
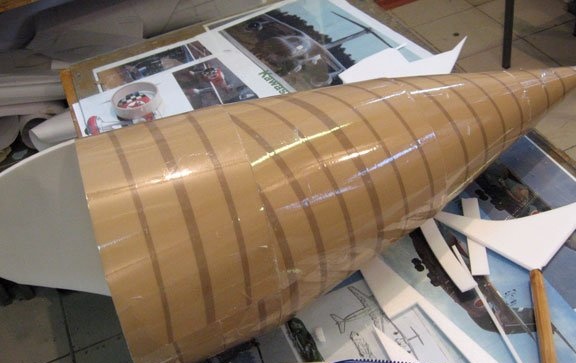
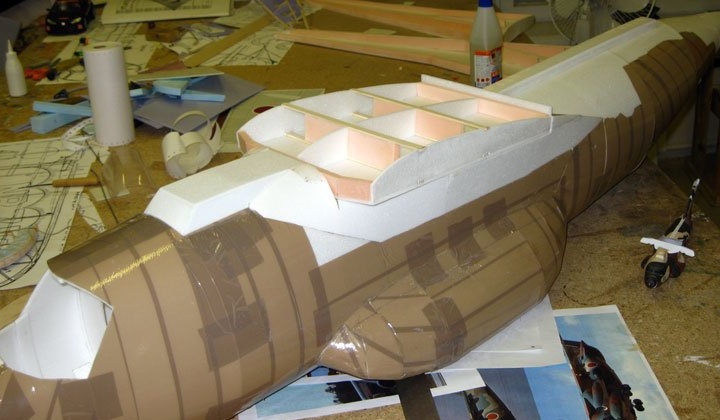
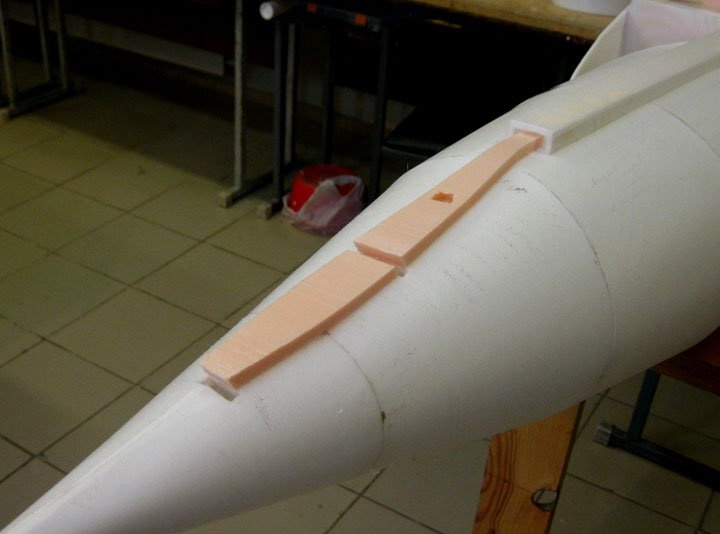
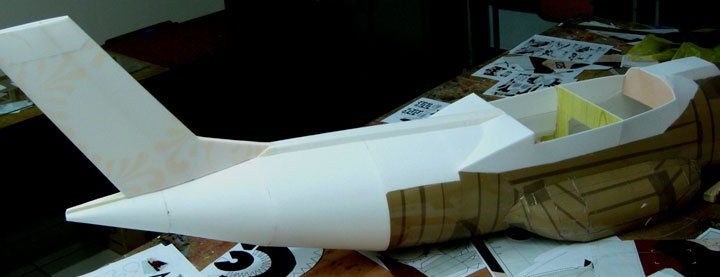
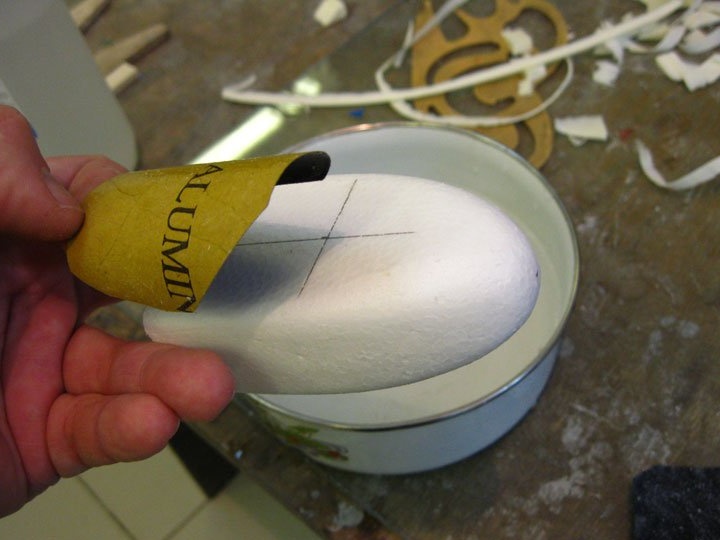
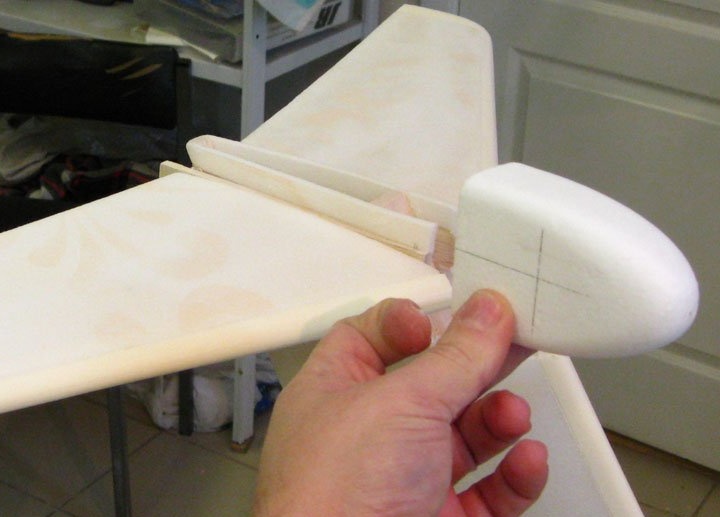
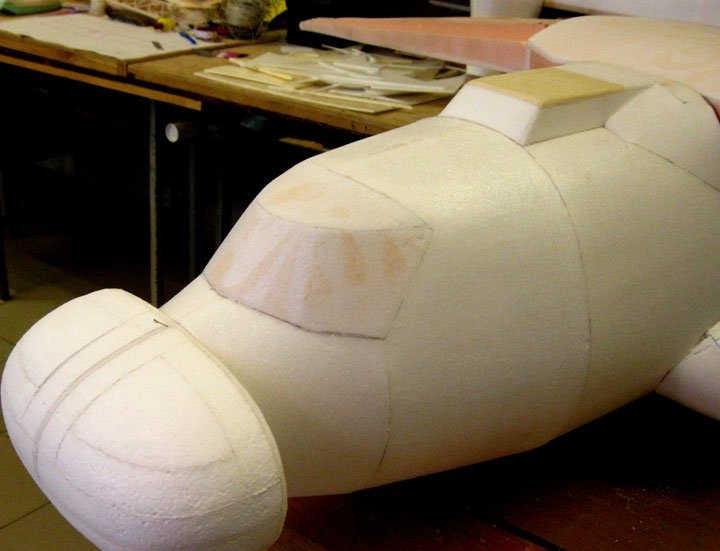
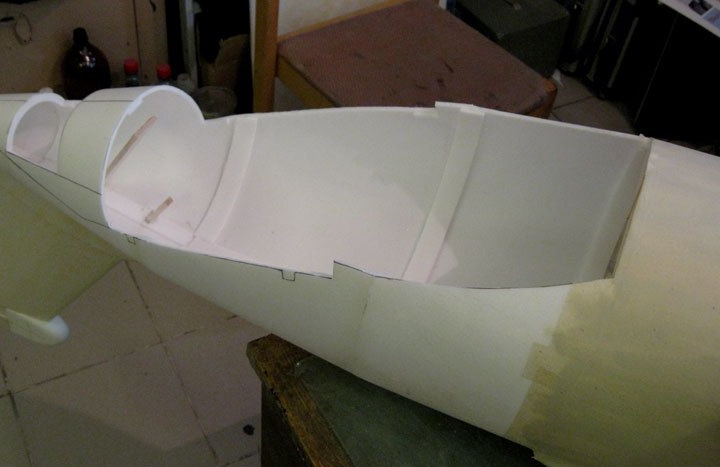
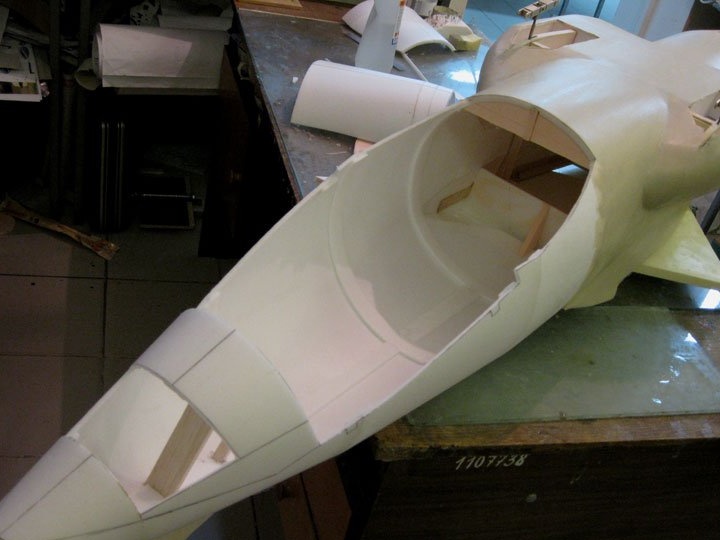
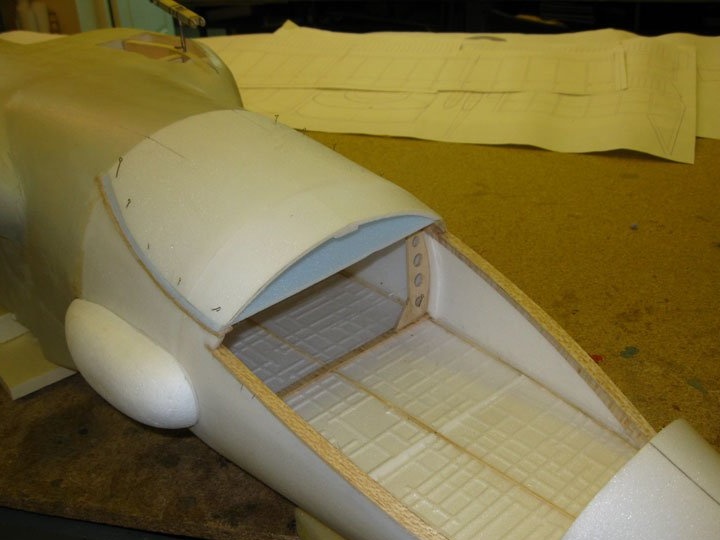
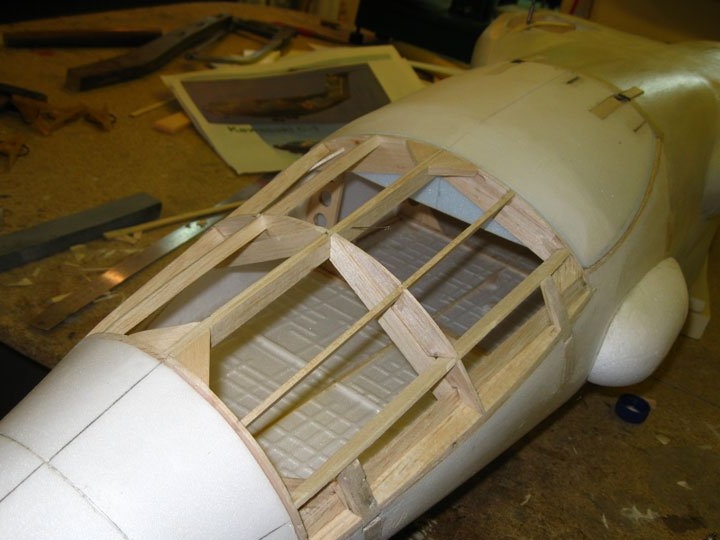
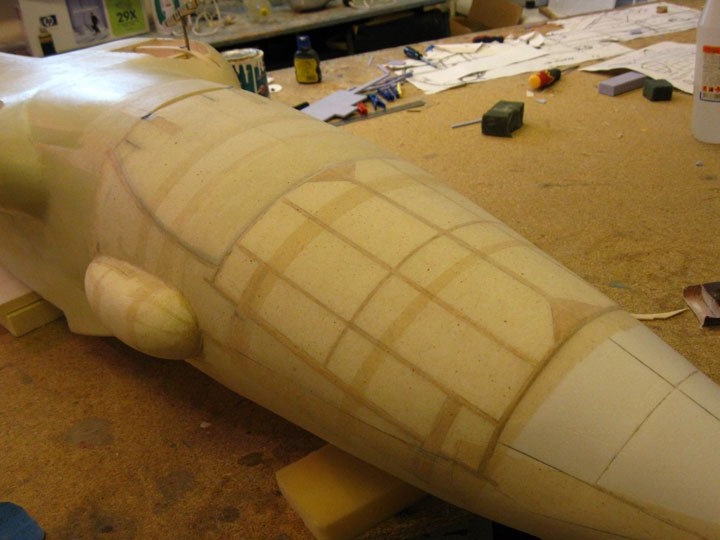
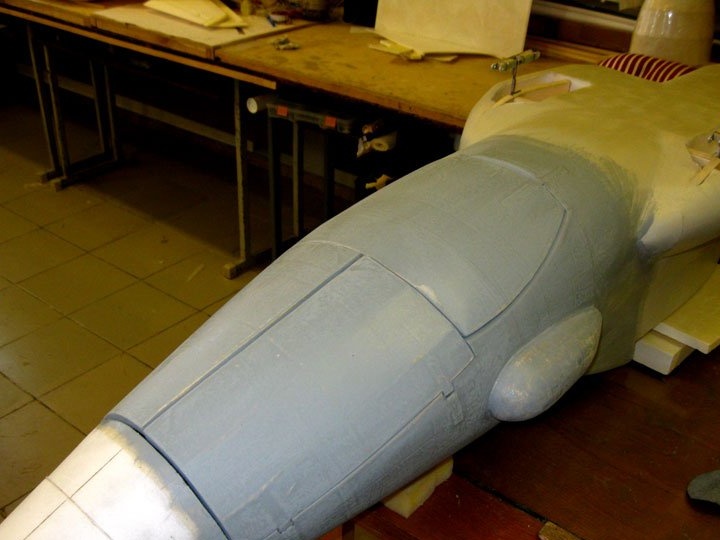
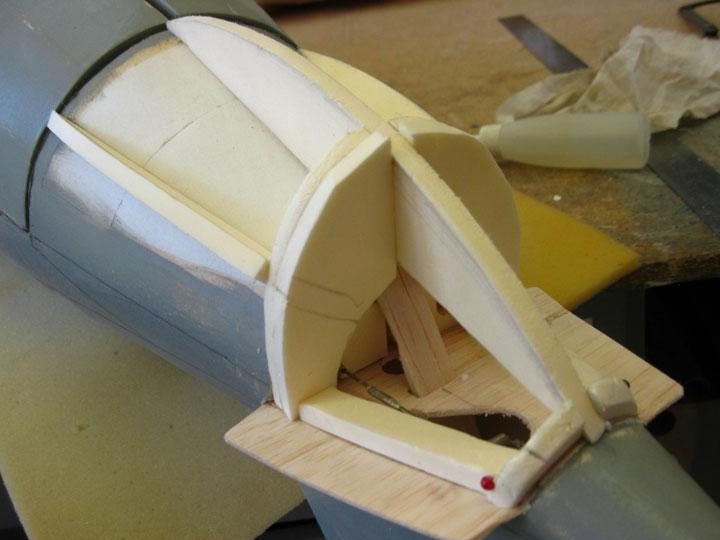
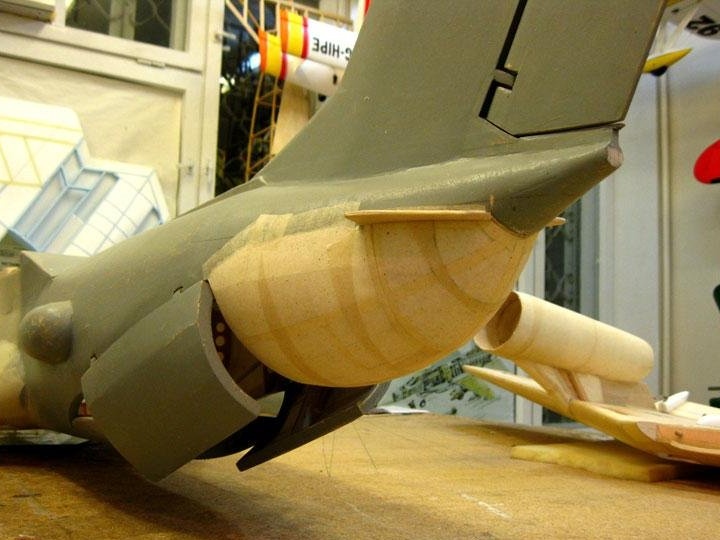
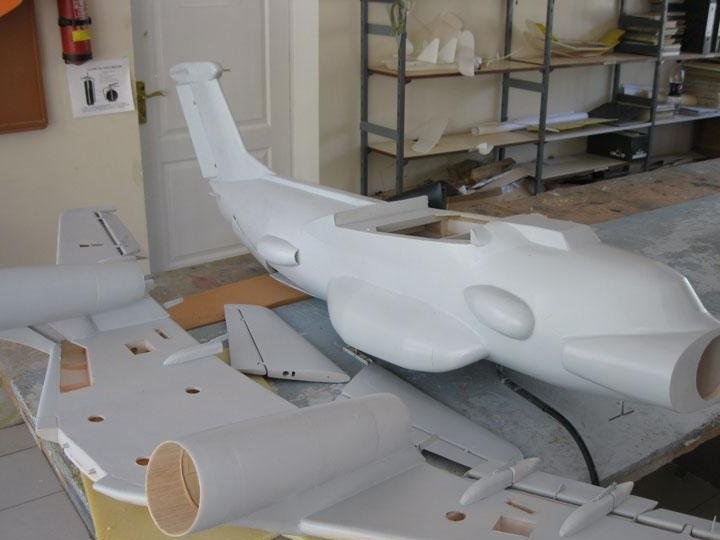
Tightening of the nose of the fuselage begins. Of the whole model, the author likes her nose most.
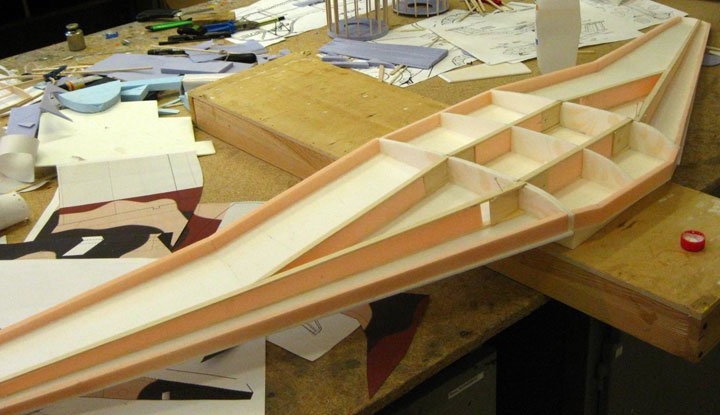
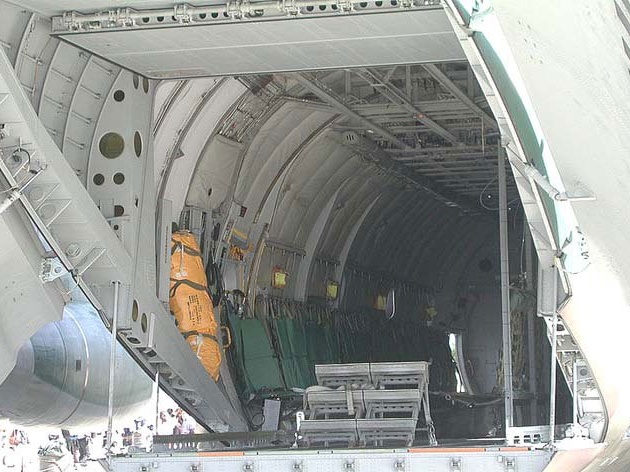
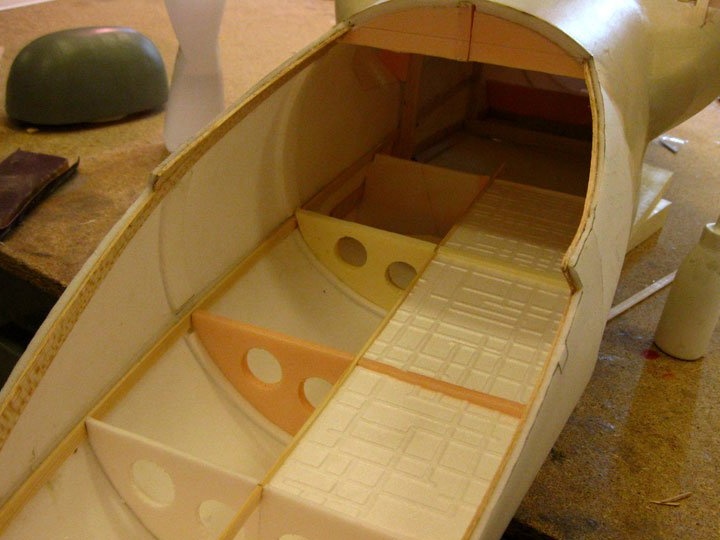
Rear view on the inside of the fuselage.
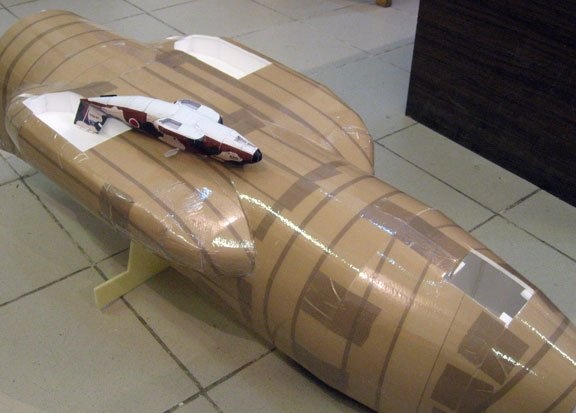
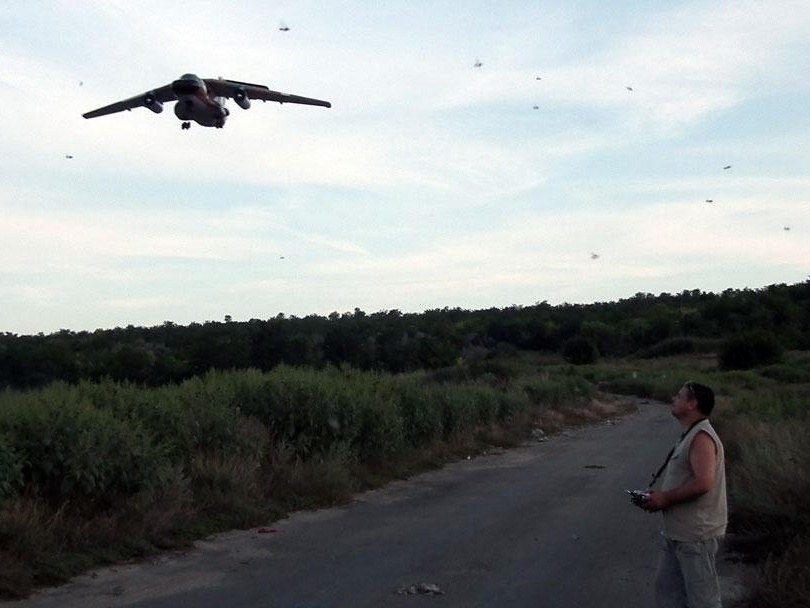
The main condition of this project is the dumping of “paratroopers”.
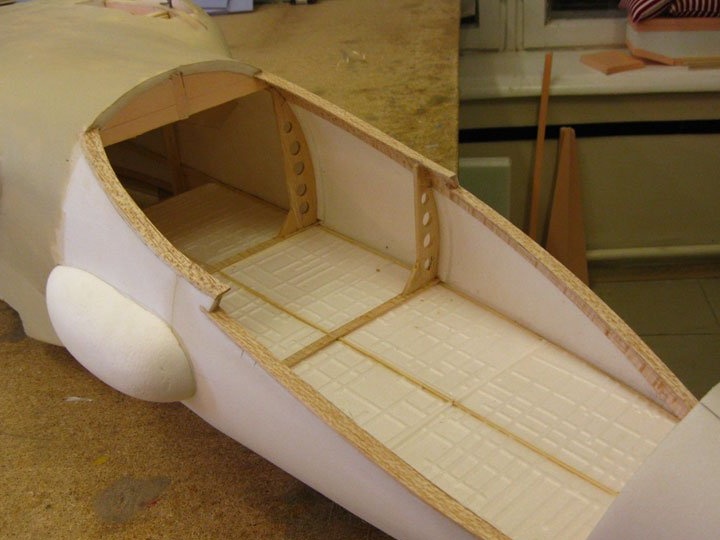
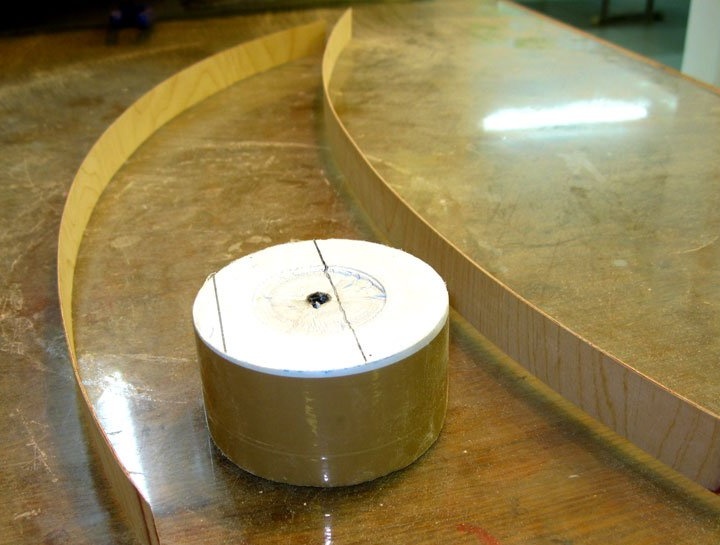
Stringers are made from pine blanks.
From the ceiling, a ceiling is made in the cargo compartment.
Everything is glued with paper.
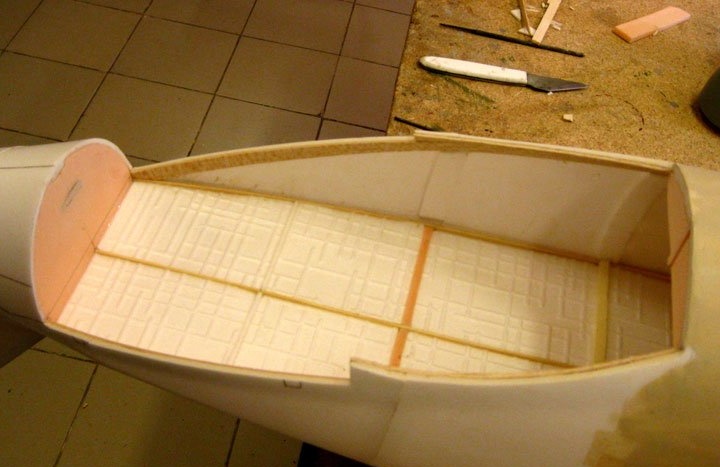
Details are being prepared for mounting hatches.
Antenna fairings are installed in the rear of the fuselage.
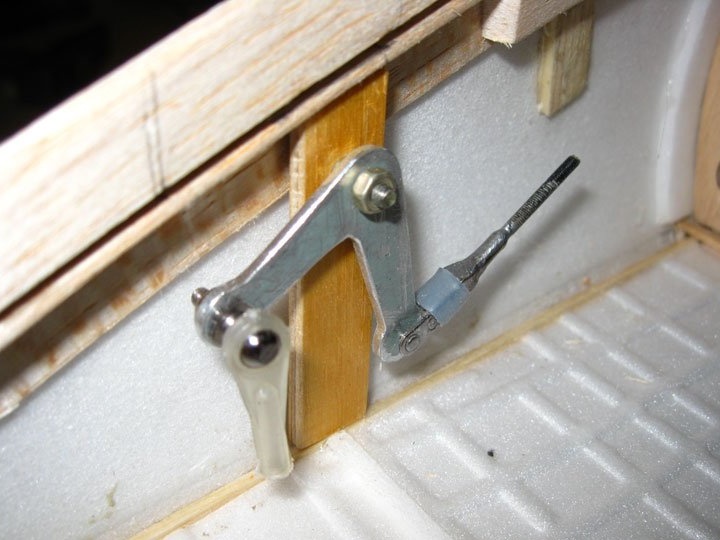
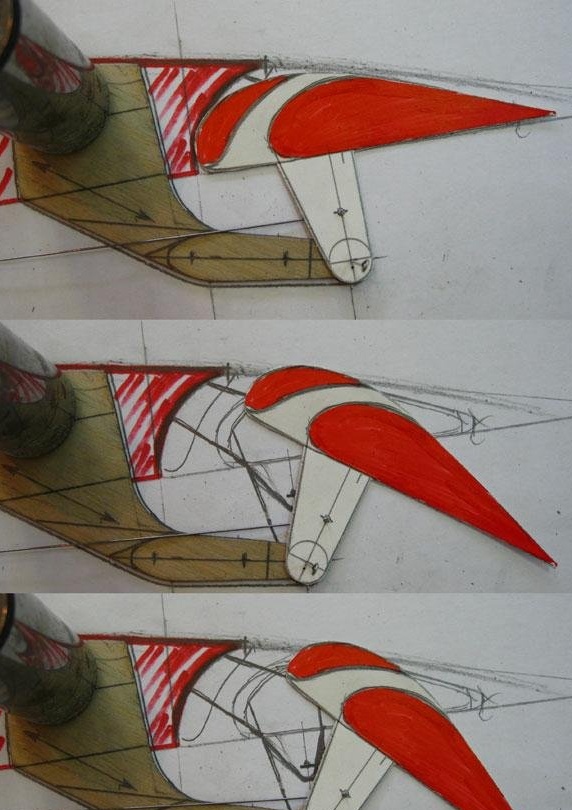
A kinematic diagram of the operation of the hatch leaves is made.
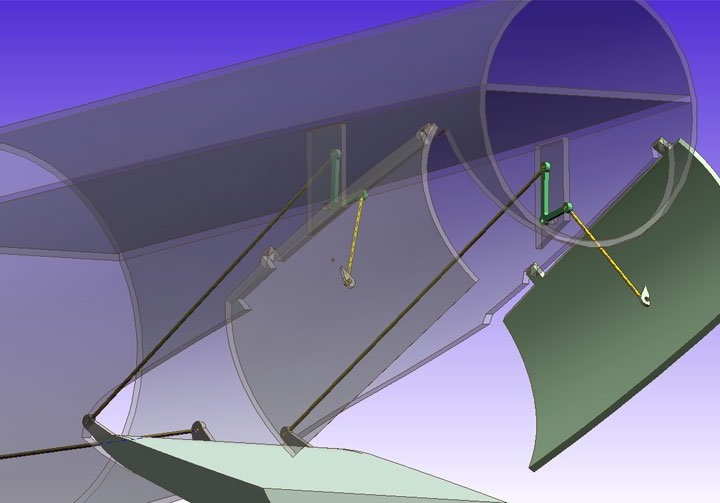


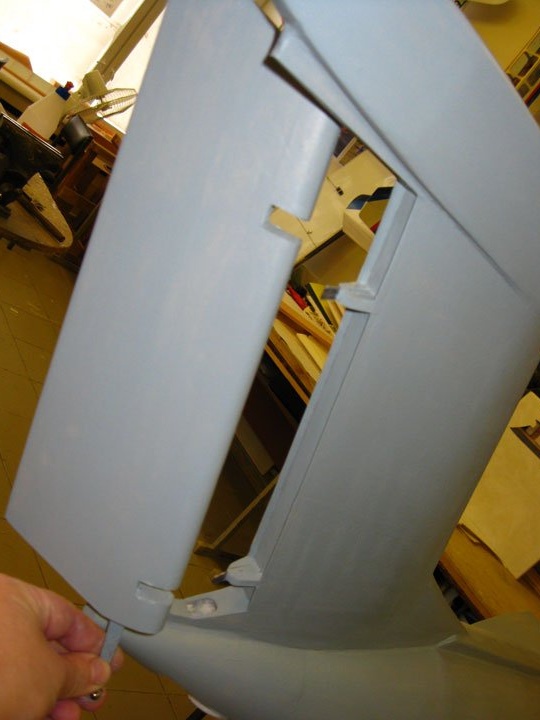
Checking the opening and closing of hatches.
Final processing of this section of the fuselage.

Checking the opening of the hatch.
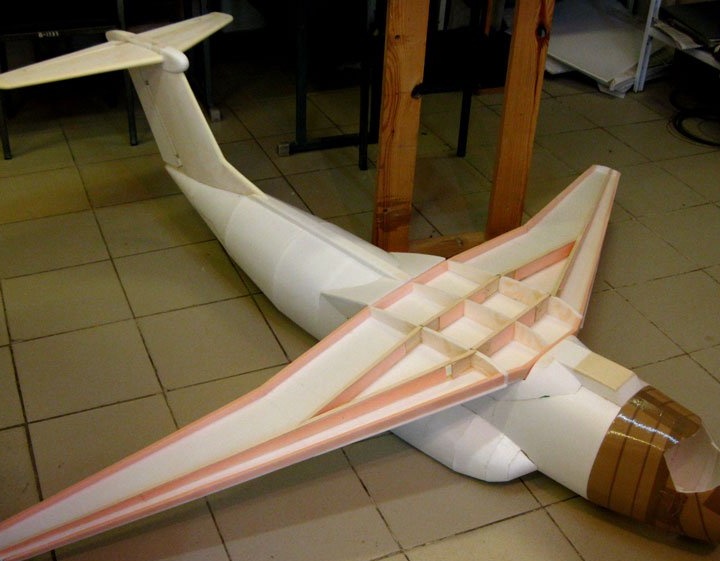
Close-fitting rear fuselage.
A boar is installed on the launch vehicle.
Stripping is carried out, after priming with varnish.
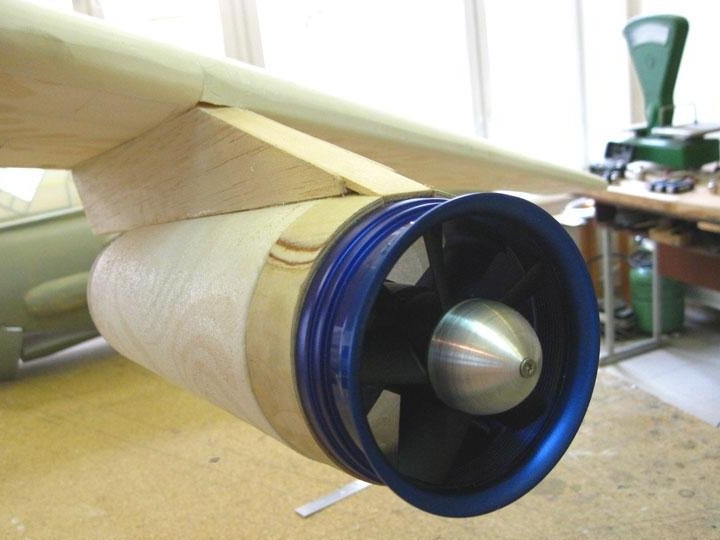
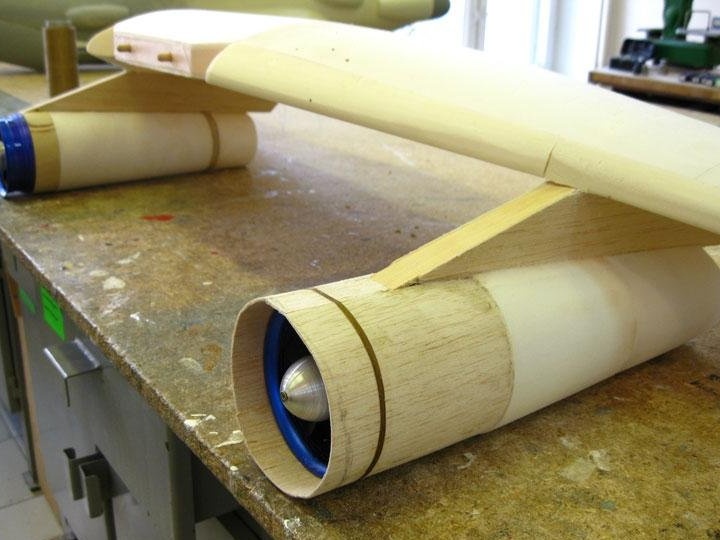
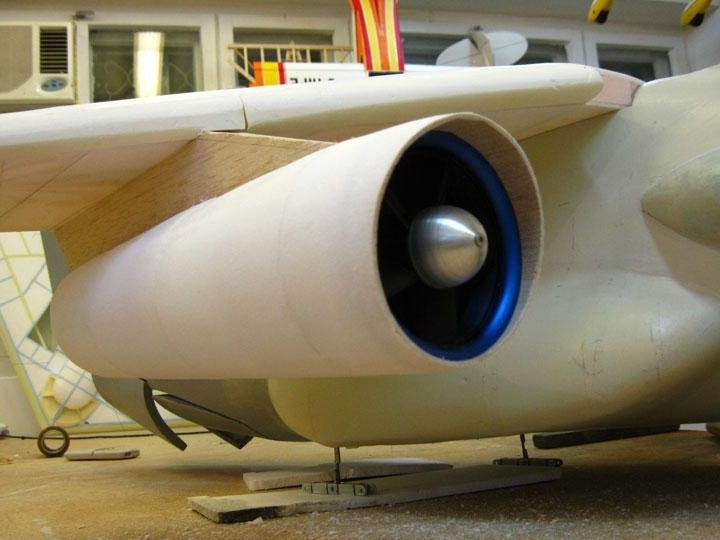
The installation of power plants begins.
From the ceiling made places for the installation of motors.
Fitting a turbine.
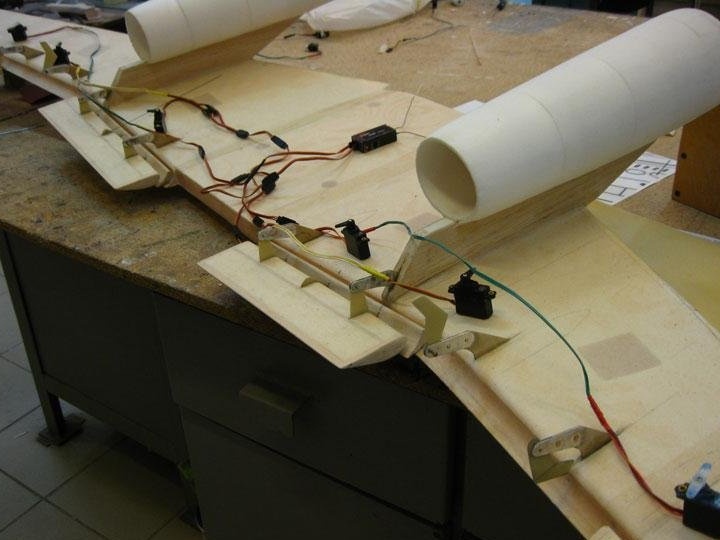
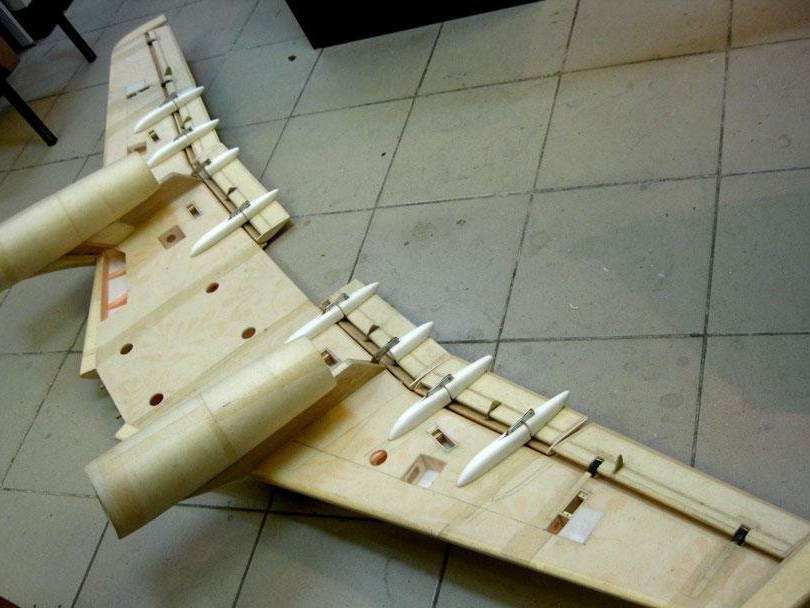
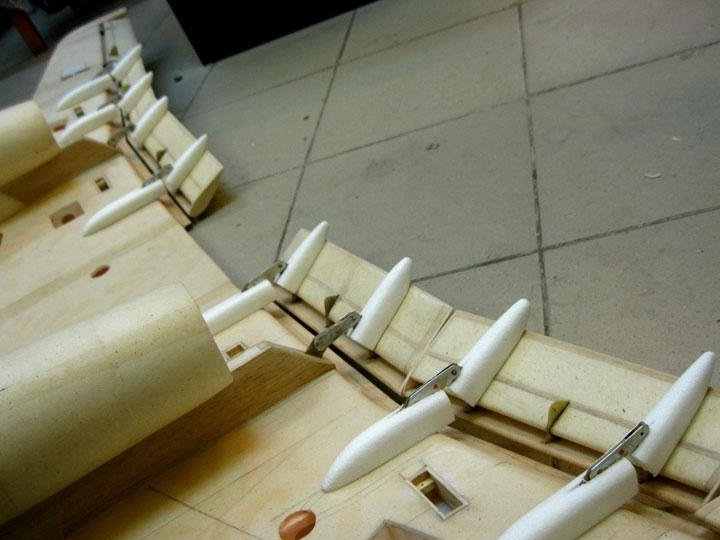
Work continues on the wing, flaps, ailerons and slats.
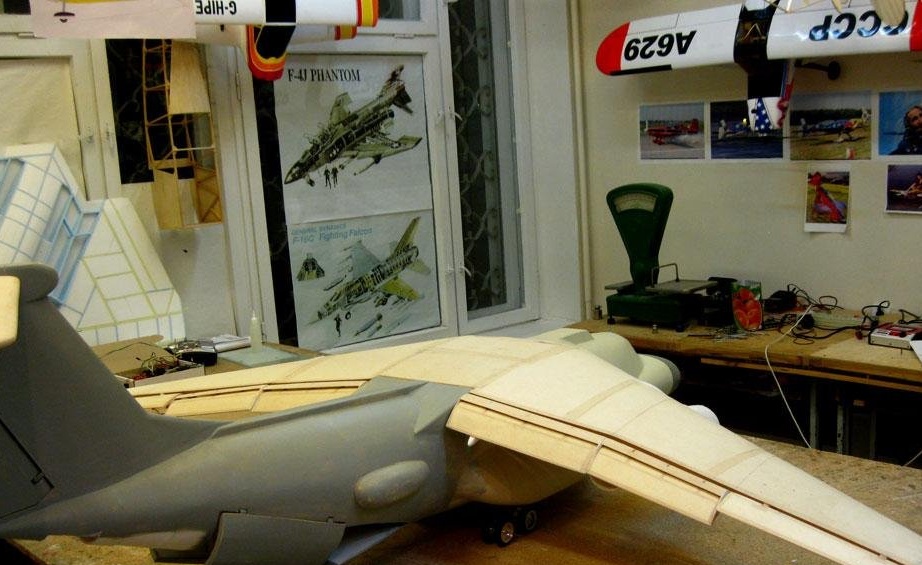
On the wing you can put the skin.
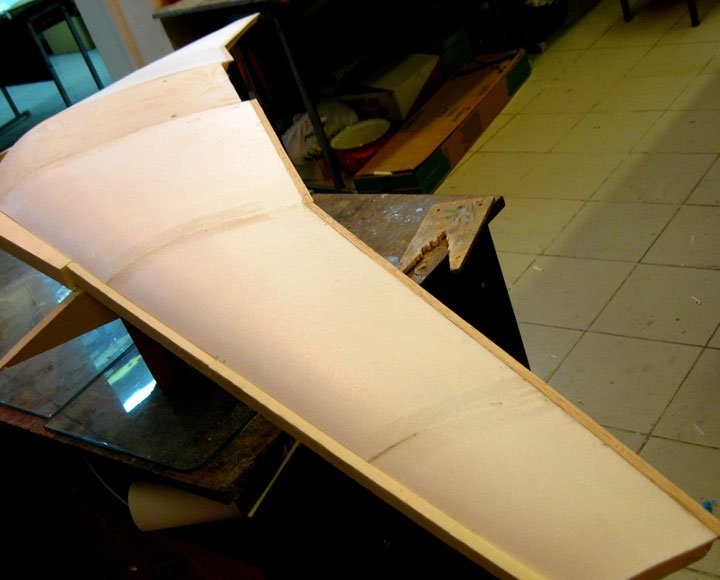
That's how the work was done to create a negative twist of the wing.
This is how the model with the wing covering installed looks like.
Servo connection Y cable.
The work of kinematics.
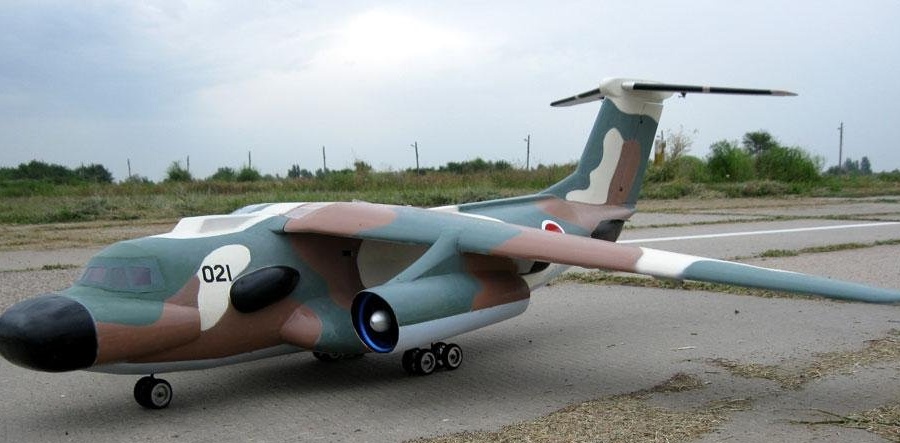
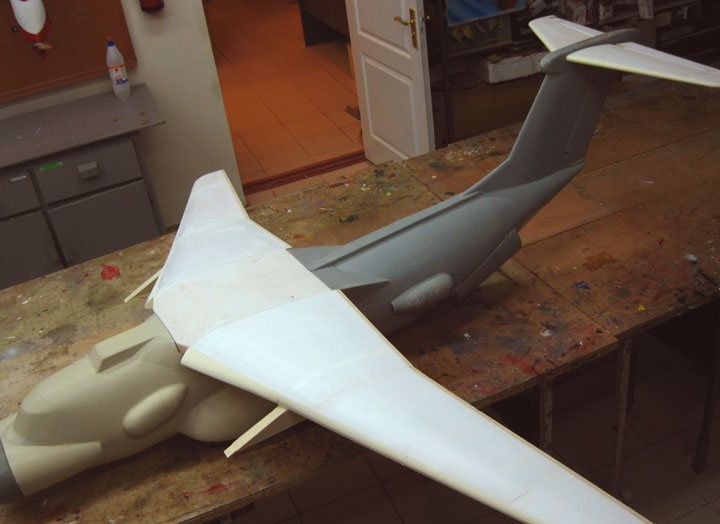
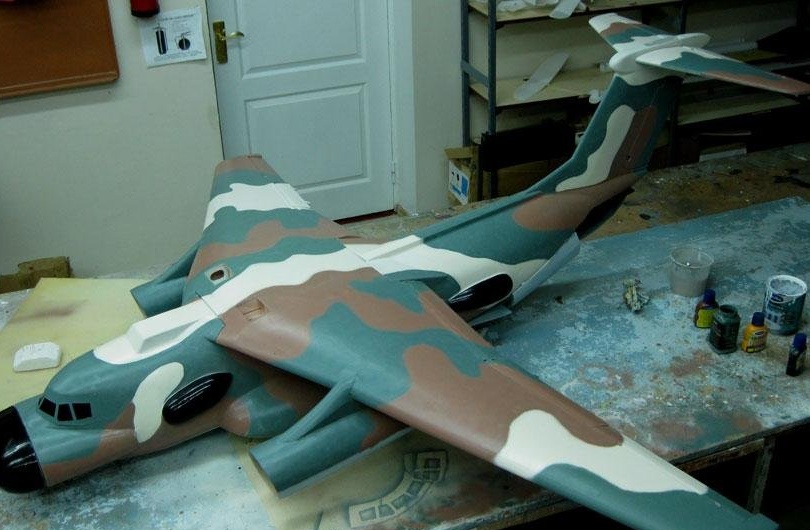
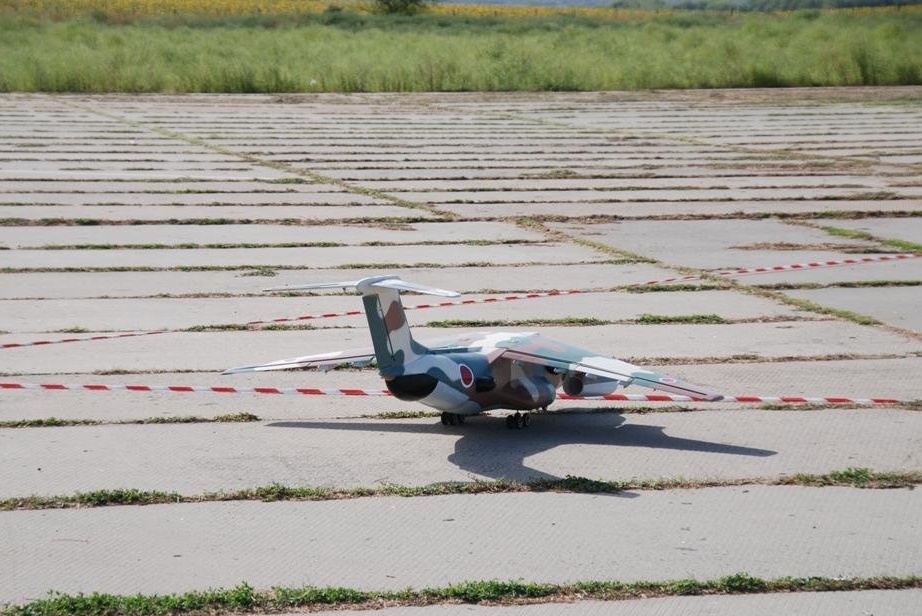
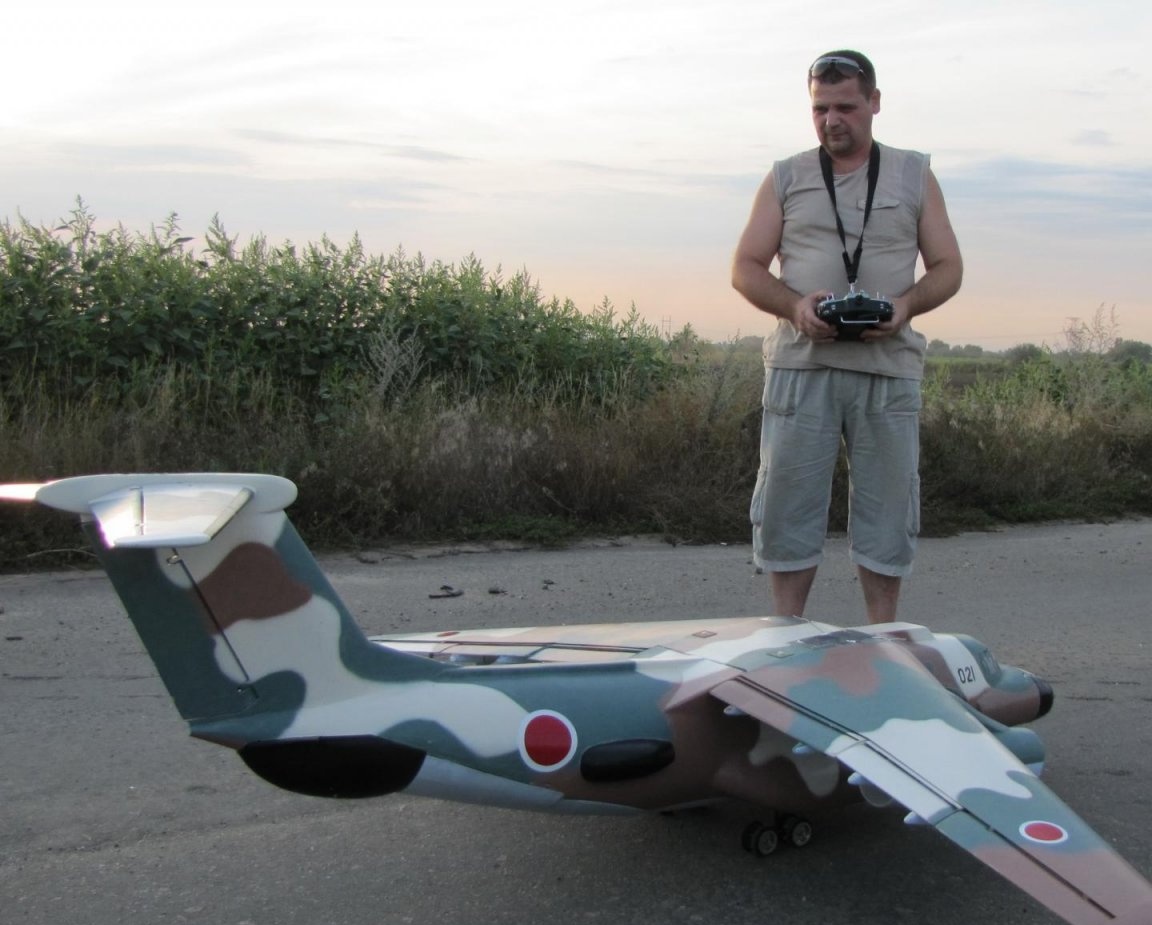
Can be painted.

Close-fitting rear fuselage.
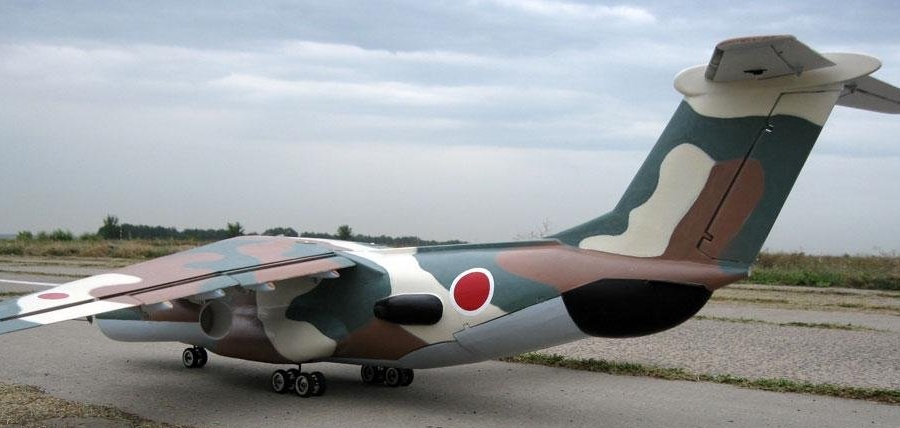
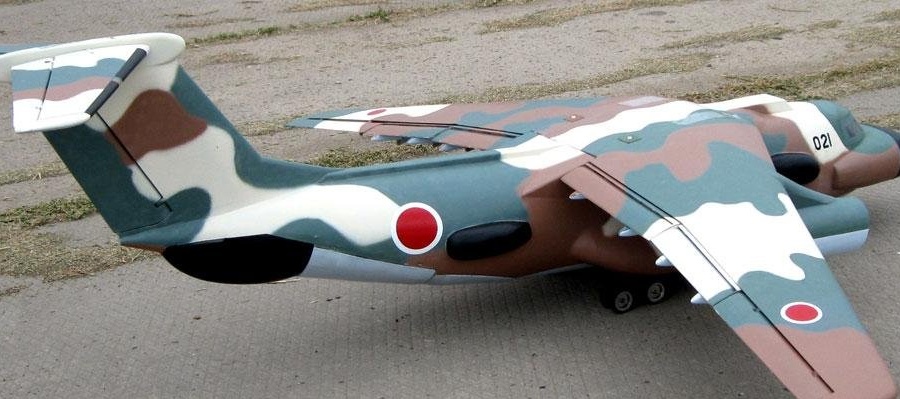
The model is being painted.
TTX.
Span - 2080mm
Length - 1800mm
Wing Area - 51dm2
Beats wing load - 84.9g / dm2
Take-off weight - 4330g.
Glider weight - 2200g.
Impellers - 90mm - 2pcs.
Regulators - 85A - 2pcs. Y cable
Batteries - 6S 4000mA x 2pcs
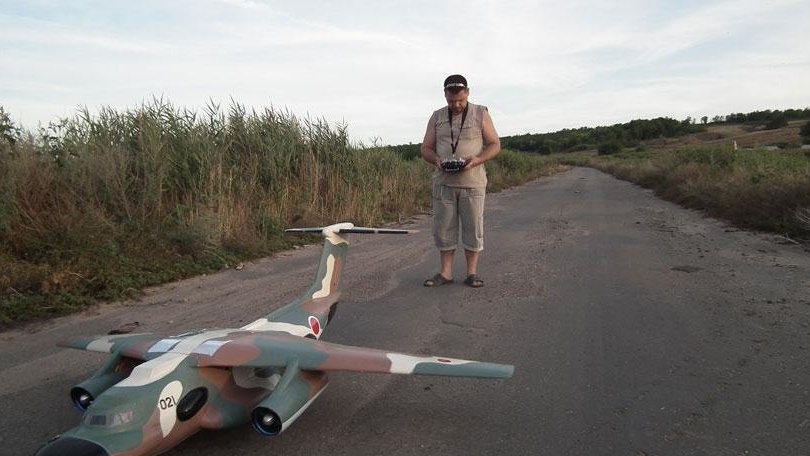
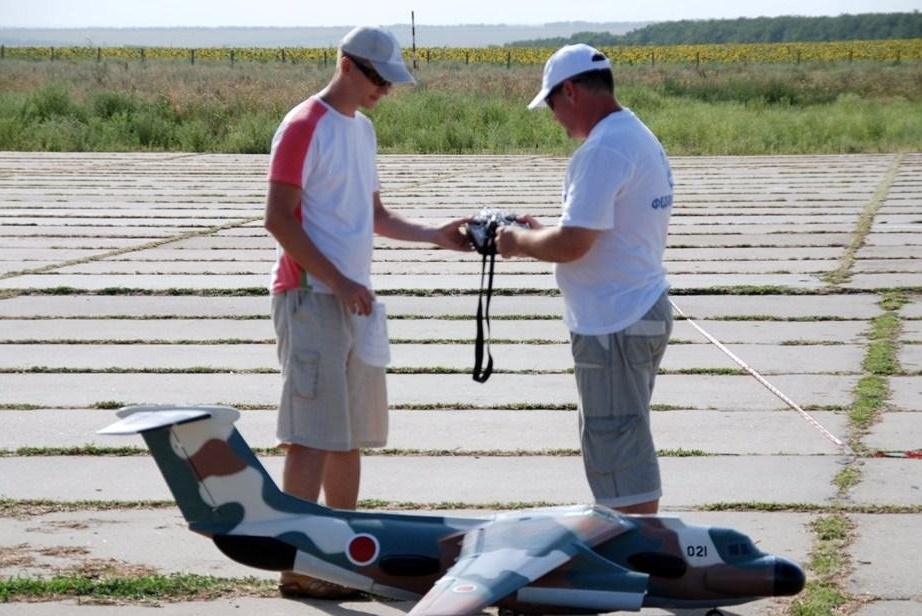
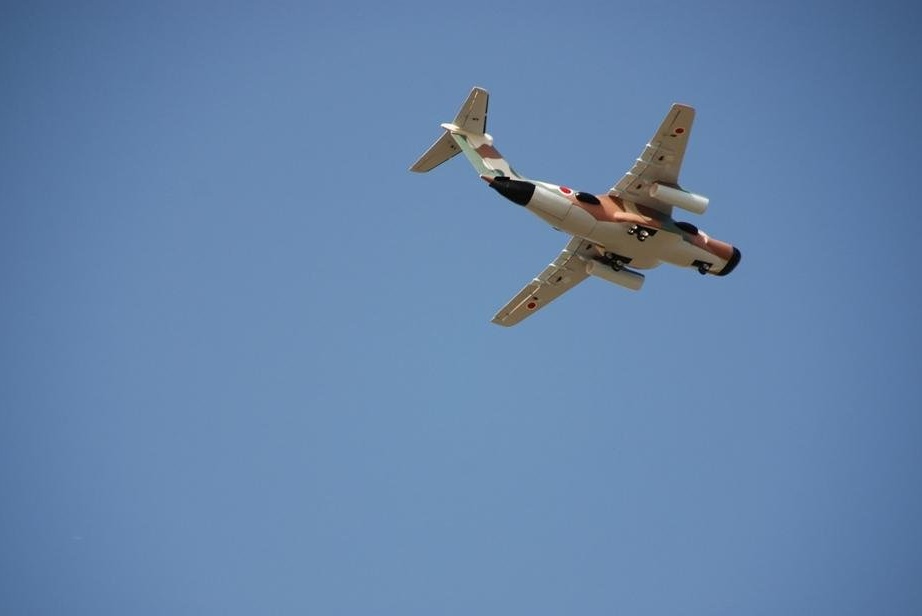
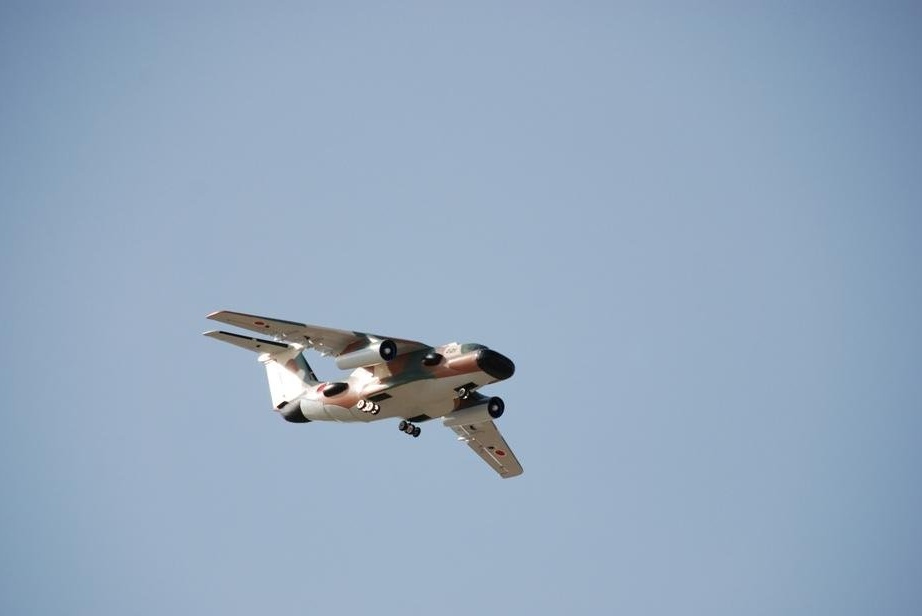
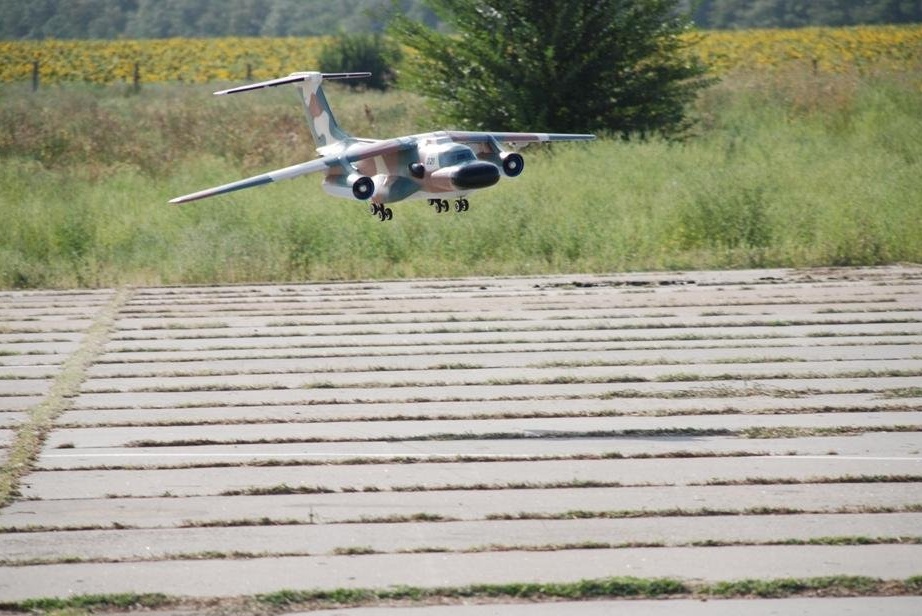
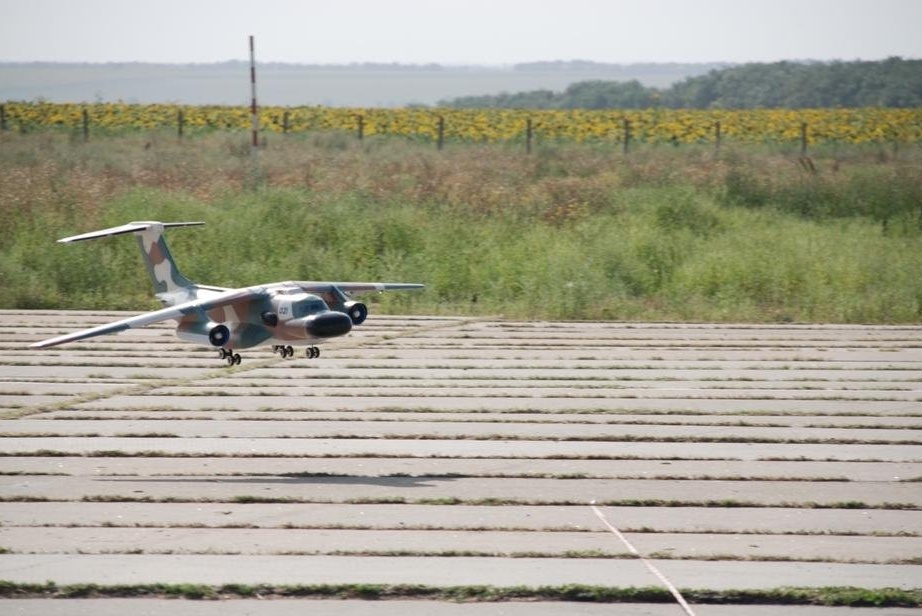
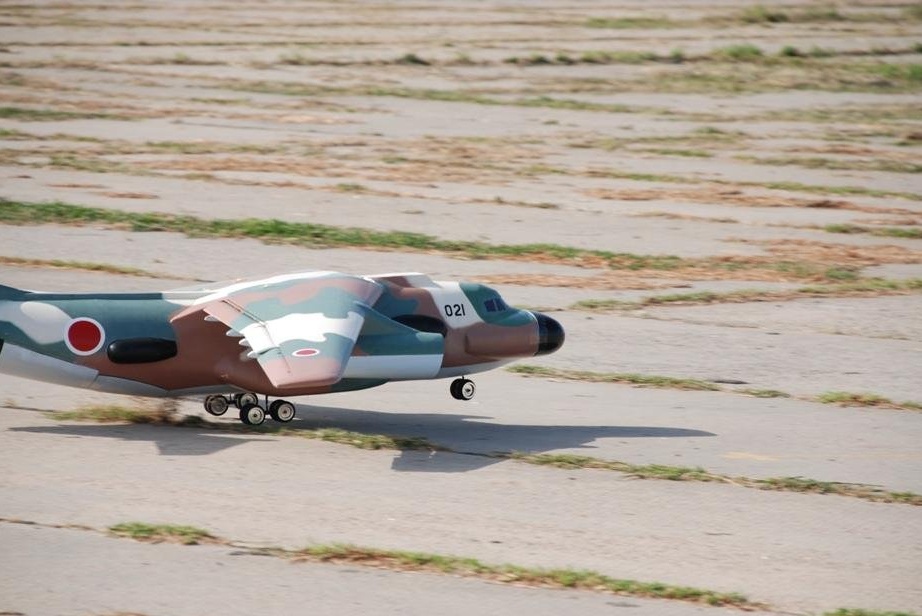
Model at the start.
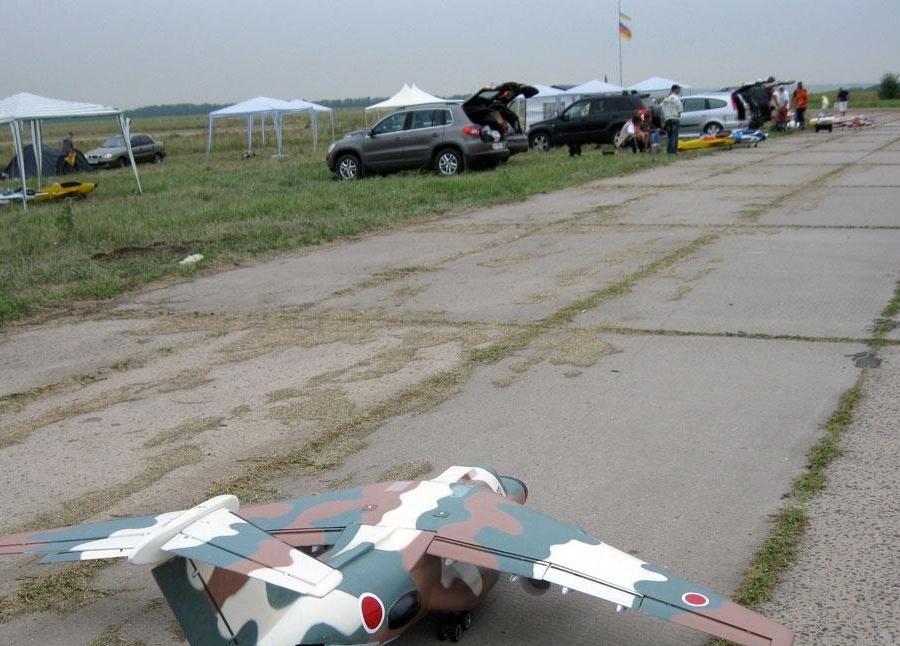
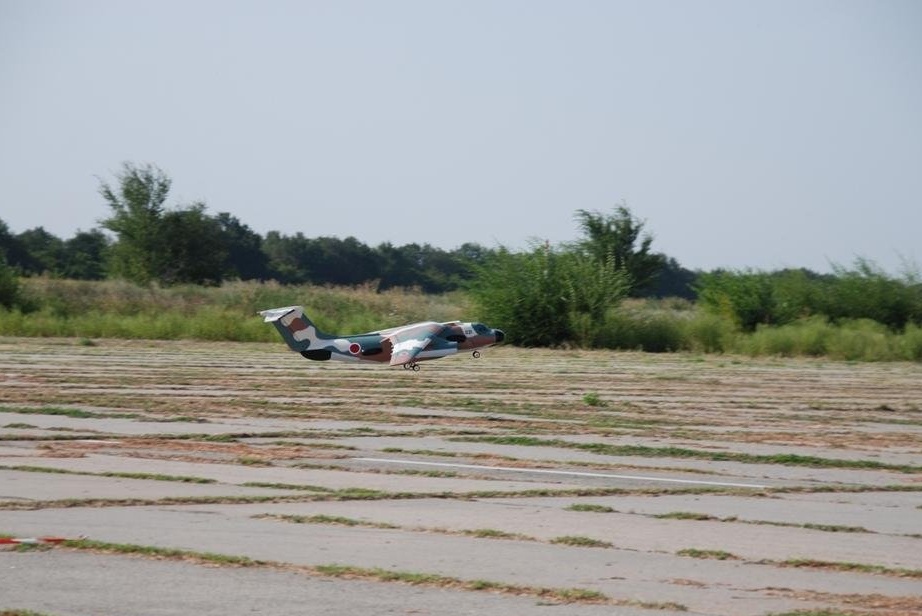
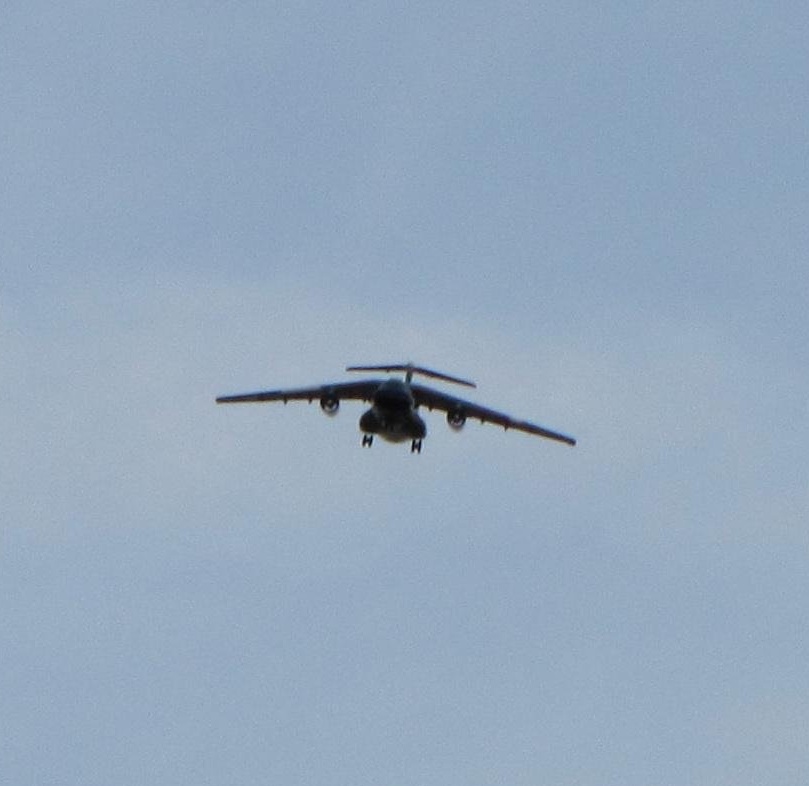
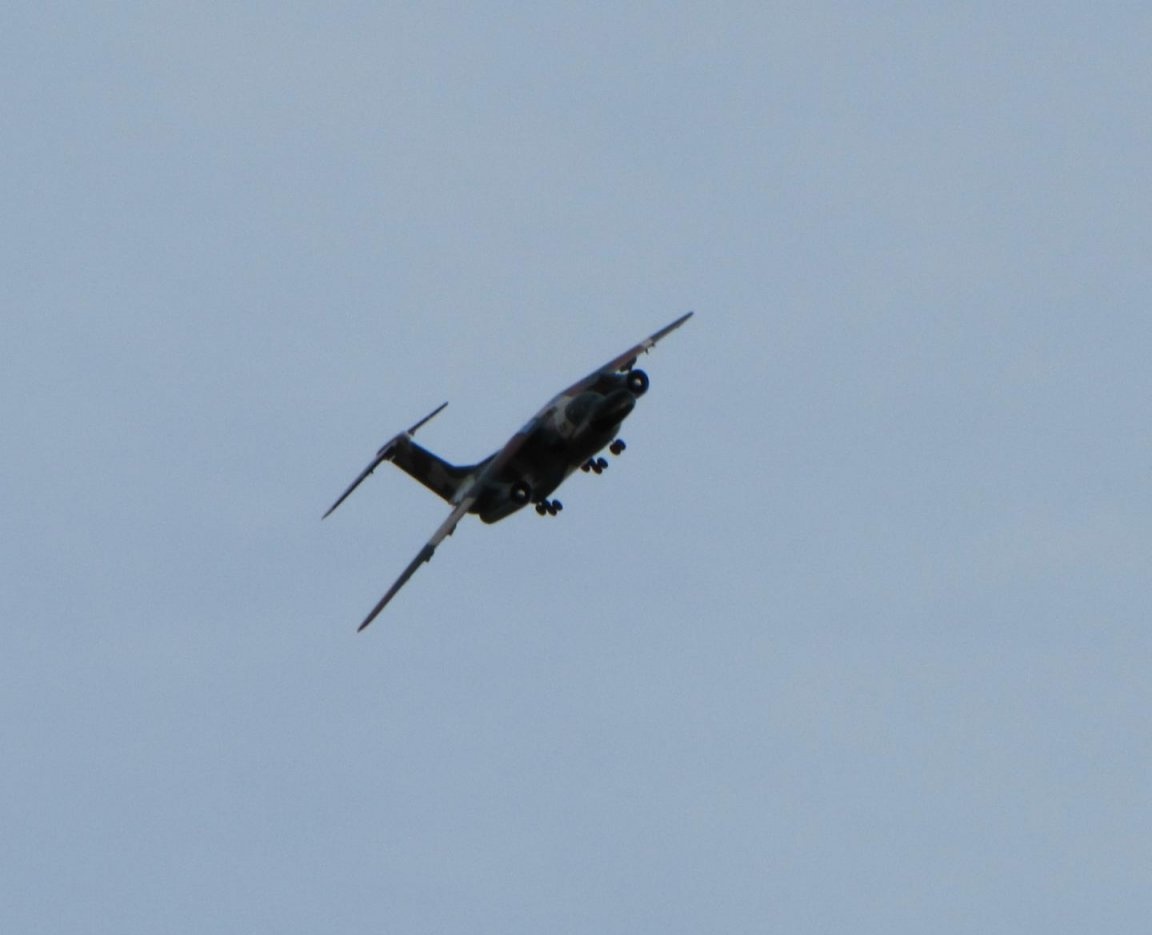
Video flight.
The model won 3rd place in the Championship of Ukraine.

Here's a model built by my friend. I admire his work. That concludes my story.
Bye. Your valerian.